

April 25, 2018
Throughout junior year in college I predominantly ate Chinese, West Indian, and Sri Lankan food. To be sure, I made Italian and a smattering of other cuisines but that year was really an intensive study in three cuisines.
My roommate, Ray Hugh, was from Guyana. His grandparents emigrated from China to Guyana around 1870. My grandparents emigrated from Italy (on my mother’s side) and Slovakia (on my father’s side) to the United States a few decades later.
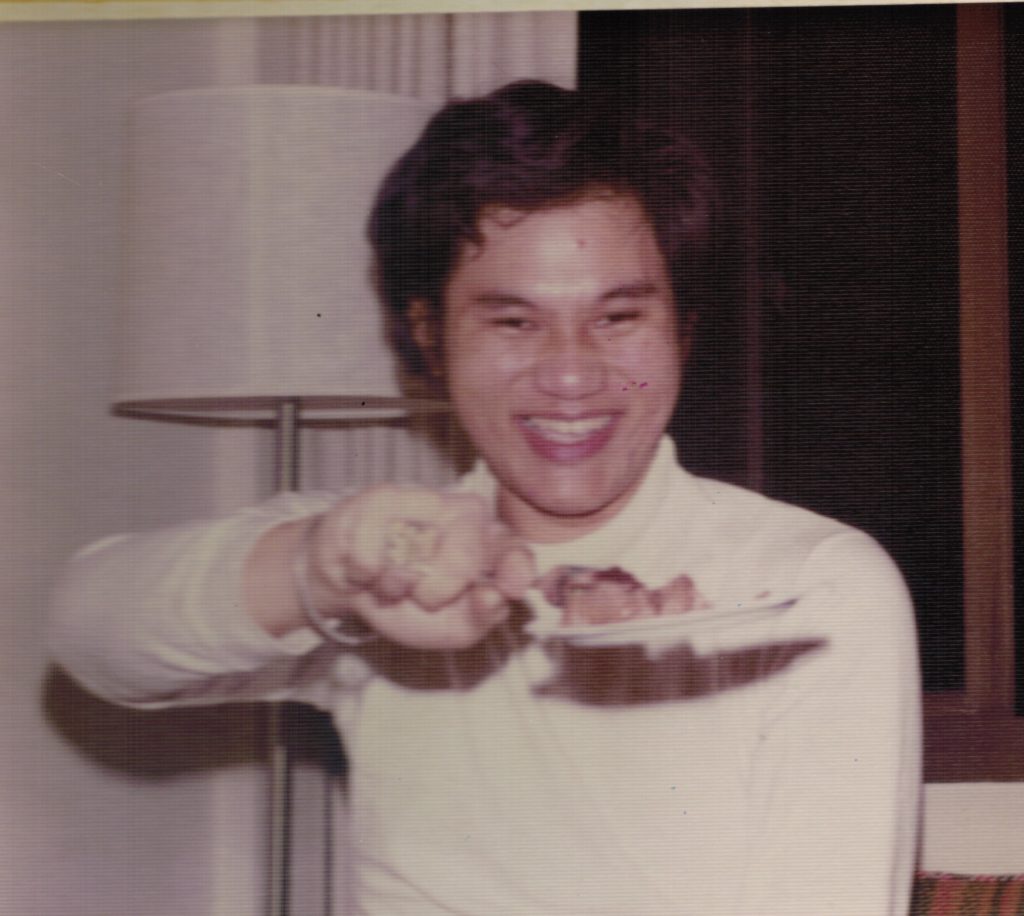
I learned a lot about Chinese food, especially Hakka Chinese, from Ray. We also went to Chinese restaurants regularly so my palate got accustomed to the different regional cuisines of China. We spent six weeks the summer after junior year staying with his mother outside of London. I learned a lot about Chinese (and West Indian) food from her.
Click HERE to join our mailing list and you’ll never miss a recipe again!
As for West Indian, my primary influences were, again, Ray Hugh, Valrie Tracey, and Gloria Lannaman. Though located on the South American mainland, Guyana was administered (then called British Guiana) as part of the British West Indies and it definitely has a West Indian cultural heritage.
Valrie and Gloria were from Jamaica. I posted my version of a recipe for Valrie’s Easter Bun a few weeks ago. If I get in the right frame of mind, I’ll post my interpretations of her recipes for curry goat and for home-salted mackerel cooked in coconut milk. Admittedly, these may be a stretch for most of my readers but they fulfill the blog’s goal of highlighting traditional recipes from around the world.
From Gloria, I got a wonderful pot roast recipe with allspice (called pimento in Jamaica) and a shockingly pink rum punch recipe. I still use her technique for sautéing baked ham with caramelized onions and Scotch Bonnet peppers for a quick supper or served on crackers with cocktails. These will all appear in due course.

As I’ve described several times, Nanacy and Reggie Rajapakse were my primary instructors in the art of Sri Lankan cooking…along with a couple of cookbooks by Charmaine Solomon, who Nanacy and Reggie knew.
For much of the summer that Ray and I spent with his mother near London, we explored the city almost every day. We’d have breakfast, walk to the train station in New Malden, and take the train to London. We’d be home for dinner, usually. Lunch was frequently at a restaurant in Chinatown—you know, the Cantonese ones with roast pork, roast ducks, and other roasted animal parts hanging in the window. That was where I honed my taste for Cantonese roast pork—minus the bright red food coloring.
Follow us on your social media platform of choice
![]()
![]()
![]()
In these restaurants, lunch was a bowl of rice and some sort of roasted meat, hacked to bite-size bits with a very heavy cleaver. There was nary a vegetable in sight. When I mentioned to Ray, once, that a vegetable would be nice, he walked over to the chef, who was putting together everyone’s lunch right inside the front window of the store, with rows of glistening roasted meat on hooks hanging in front of him. The chef pulled a few greens from somewhere, dipped them in a bubbling cauldron of broth momentarily, and put them in my bowl along with the rice and roast pork. He was very gracious about it but I realized that vegetables were not the point of a restaurant like this. From then on I was happy to eat rice and roasted meat for lunch, choosing to balance out my diet at the other two meals of the day.

Friday, July 4, 1975 was one of the days we did not go into London from Ray’s mother’s house. Instead, we stayed home and made hamburgers and hot dogs (well, that being England and then being then, they were bangers, really) and a few of the usual trimmings. Ray and I along with his mother and two sisters, and his younger sister’s boyfriend, Clive, sat outside in the charming little backyard (what the Brits call a “garden”) eating. Clive asked what we were celebrating. I told him we were celebrating the independence of the United States from Britain. That didn’t go over really well but he was a good sport about it.
From that summer of eating Cantonese Roast Pork in London’s Chinatown, I got home wanting to be able to make it. Ray and I roomed together senior year as well. That’s when I perfected my recipe for roast pork. It involves marinating strips of pork overnight then hanging them from hooks in the oven and roasting them. It sounds fussy, but it’s really quite easy.

This Cantonese-style roast pork is totally different from Ray’s Five Spice Roast Pork, which I like equally well.
")
| Prep Time | 15 minutes |
| Cook Time | 1 hour |
| Passive Time | 24 hours |
| Servings |
people
|
- 1 pound lean boneless pork
- 2 tablespoons grated fresh ginger
- 2 cloves garlic minced
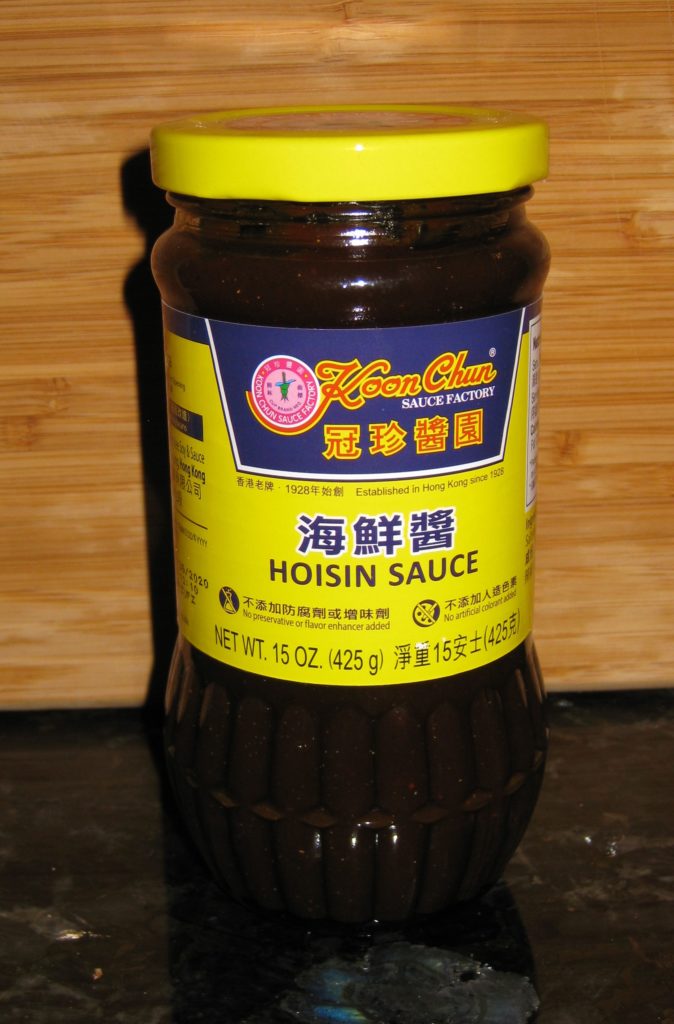
- 1 1/2 tablespoons hoisin sauce
- 1 whole star anise crushed in a mortar
- 1/4 cup sake or pale dry sherry or Chinese rice wine
- 3 tablespoons soy sauce
- 1/4 cup honey
Ingredients
|
|
- Cut pork into 1½ x 1½ x 4 inch strips.
")
- Mince the garlic.
")
- Grate the ginger.
")
- Crush the star anise in a mortar.
")
")
- Combine the ginger, garlic, hoi sin sauce, crushed star anise, sake, soy sauce and honey. Mix well.
")
")
- Add the pork strips and toss to coat.
")
- Marinate the pork at least 2 hours, but preferably overnight turning once or twice.
- To roast, put one oven rack in the top position and another in the bottom position. Preheat the oven to 350°F.
- Hang each strip of pork from an "S" shaped hook on the top rack. Put a roasting pan below the pork, filled with water, to catch the drippings.
")
- Roast at 350°F for 30 minutes. Increase the temperature to 450°F and cook for another 20-25 minutes.
- Remove the pork strips from the oven. Slice them crosswise, approximately 1/3 inch thick. Pile the pork on a platter to serve.
Sho Chiku Bai sake is reasonably priced and good to drink as well as to cook with.

Hoisin sauce is available in Asian markets and many well-stocked supermarkets.
Copyright © 2018 by VillaSentieri.com. All rights reserved.


")
")
")
")
")
")
")
")
")
")
")
")
")
")
")


")
")
")
")
")
")
")


")
")
")
")
")
")
")
")
")
")

")
")
")
")
")

")
")
")
")
")
")
")
")
")
")
")
")
")
")
")
")
")
")
")
")
")
")
")

")
")
")
")
")
")
")
")


")
")
")
")
")
")
")
")
")
")
")
")
")
")
")
")

")
")
")
")
")
")
")
")
")
")
")
")
")
")
")
")
")
")

")
")
")
")
")
")
")
")
")
")
")
")
")
")
")
")