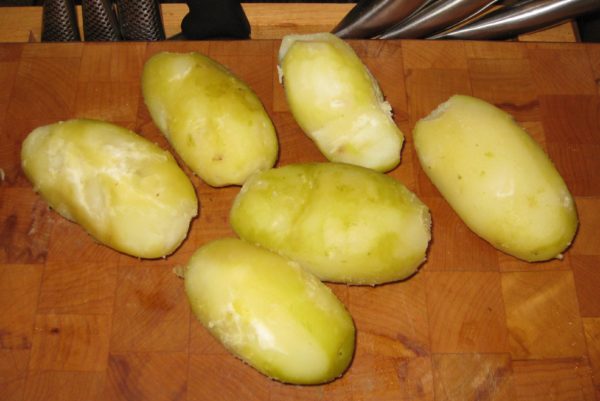
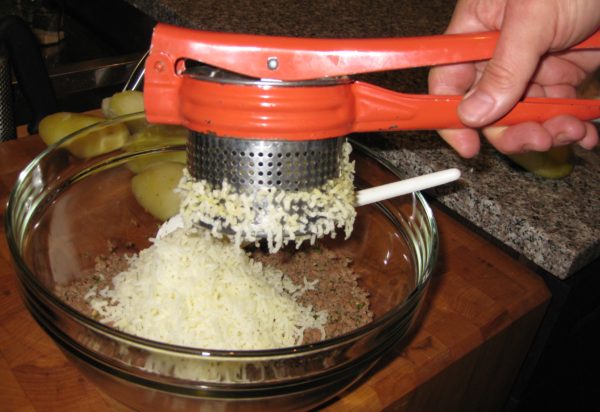
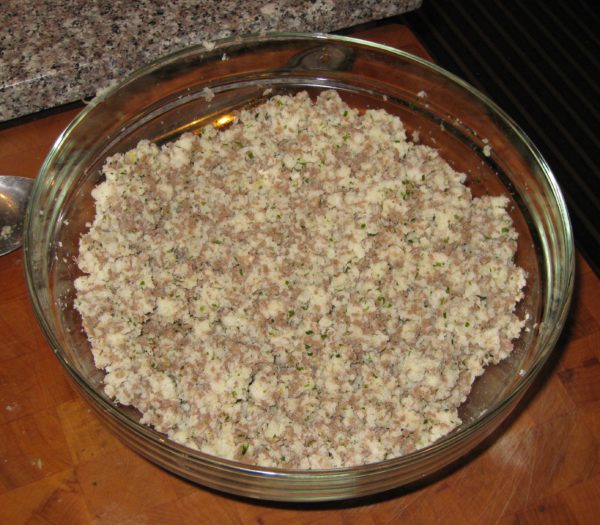
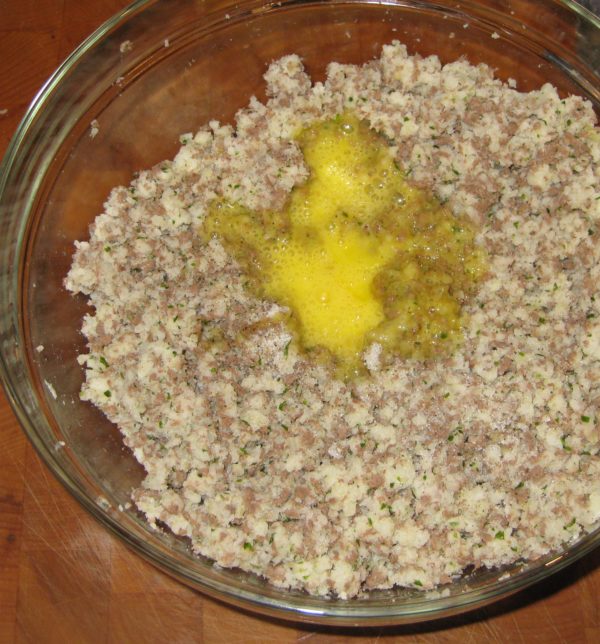
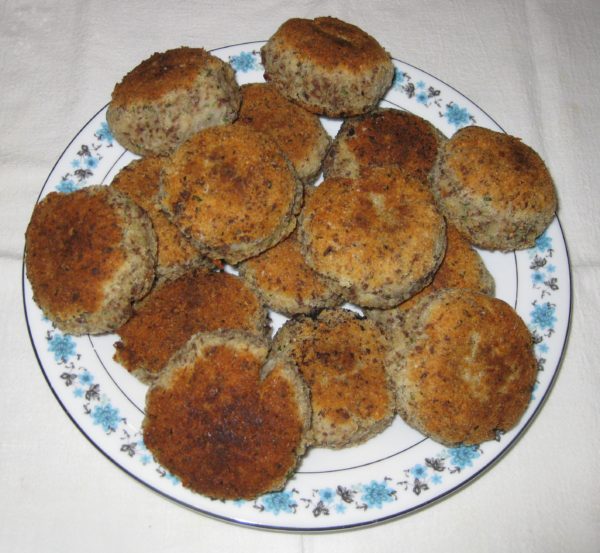
Funghi Ripieni (Stuffed Mushrooms)

September 29, 2021

“Your grams are killing me!”

That’s what a friend told me recently regarding some of the recipes on my blog.

His comment came as he was considering how much pasta to cook for dinner.  I repeated what Great Aunt Fidalma told me:  80 grams per person.

Making the change to the metric system (International System or SI) of measurement isn’t easy and we don’t do much as a country to catalyze the change.  In some areas, though, we’ve made the transition.
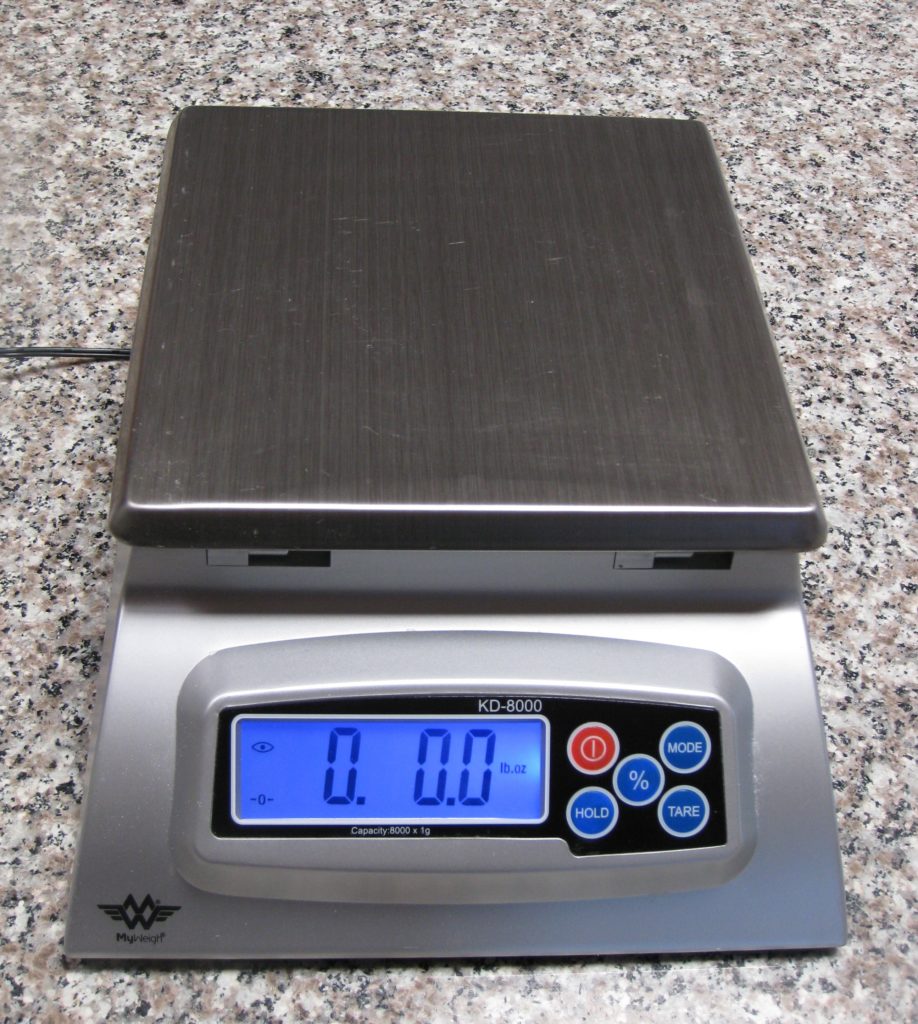
The digital scale I use on a daily basis. I also have two battery powered scales that are just as accurate that cost $20 each.

Have you looked carefully at a wine or liquor bottle recently?  The contents are specified in the metric system even as we continue to refer to a bottle of liquor as a “fifth.”  Until January 1979, a liquor bottle, indeed, held one-fifth of a US gallon, approximately 757 ml.  Standard liquor bottles now contain 750 ml, just a smidge less.


Join our mailing list and you’ll never miss a recipe again!


Cooking, and especially baking, is much easier with the metric system.  And that doesn’t even take into account the ease of weighing ingredients rather than trying to measure cups and fractions of cups.

I find that I am frequently scaling recipes up and down, but usually up.  If the recipe calls for 3/4 cup of water, and I’m upscaling by 20%, I end up with the unwieldy amount of 9/10 cup of water.  If I were using metric measures, I’d be starting with something like 180 ml and increasing by 20% to get to 216 ml which is much easier to measure out than 9/10 of a cup.
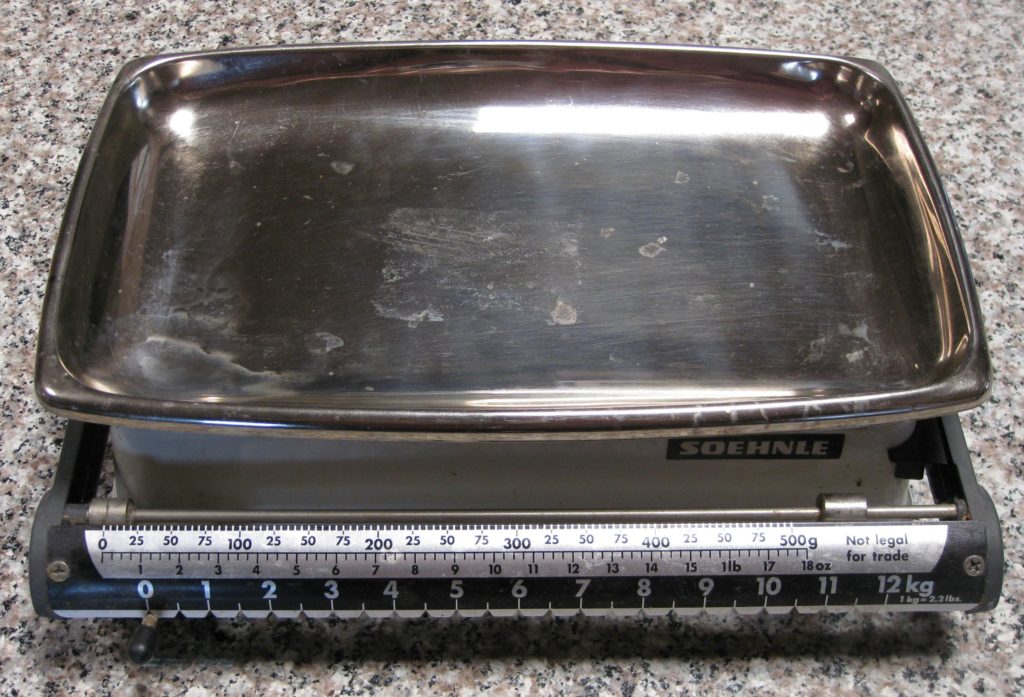
The manual scale that I used for many years. It has since been mothballed.

Let’s face it, how do you measure 9/10 cup.  You first start by determining what 1/10 cup is, which is 1.6 tablespoons.  Multiplying that by 9 gets you 14.4 tablespoons.  But since you’re not going to measure out that many tablespoons one by one (and you’re likely to get pretty inaccurate after a few tablespoons, if you do) you work backwards to figure out what standard measure comes close.  That gets you back to the 3/4 cup (12 tablespoons) you started with plus 2.4 tablespoons.

For most purposes, you can treat 2.4 tablespoons as if it were 2.5 tablespoons since the difference is likely within the margin of error for measuring with kitchen equipment.  But unless you have a set of measuring spoons that contains a 1/2 tablespoon measure, you’ll be measuring out 2 tablespoons plus 1 teaspoon plus 1/2 teaspoon… if you can remember how many teaspoons are in a tablespoon.

So rather than just pouring 215 ml into a measuring cup (a reasonable approximation for 216 ml and one that can be found marked on some metric measuring “cups”) you’d be measuring out ¾ cup plus 2 tablespoons plus 1 teaspoon plus 1/2 teaspoon.  In my book, that’s crazy!


Follow us on your social media platform of choice


It gets even easier if you give up the notion of measuring by volume and measure everything by weight, even liquids, as is typically done in professional kitchens.  You can get a very accurate scale for less than $20.  With that, you could weigh out the 216 grams of water (equivalent to 216 ml of water) and call it a day:  no guessing, no eyeballing, no complex calculations needed.

For weighing small quantities this little scale can’t be beat for accuracy.

So really, what’s holding you back from giving the Metric System a go?

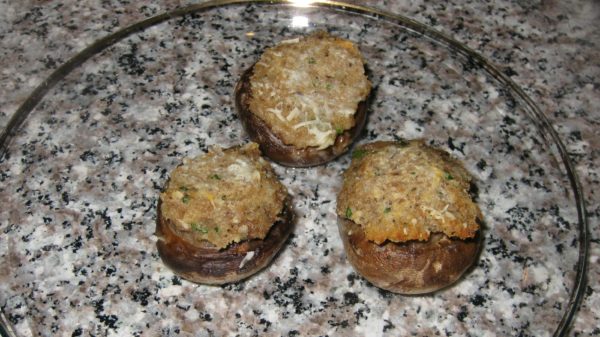
It’s time for me to get off my soapbox (for now) and actually cook something.  How about stuffed mushrooms?  I’ll even write the recipe in American measures!!
Print Recipe
Funghi Ripieni (Stuffed Mushrooms)
These stuffed mushrooms come together quickly and can be made early in the day and refrigerated until it’s time to pop them in the oven.
Votes: 0
Rating: 0
You:
Rate this recipe!
Prep Time 20 minutes
Cook Time 35 minutes
Servings
people
Ingredients
Prep Time 20 minutes
Cook Time 35 minutes
Servings
people
Ingredients
Votes: 0
Rating: 0
You:
Rate this recipe!
Instructions
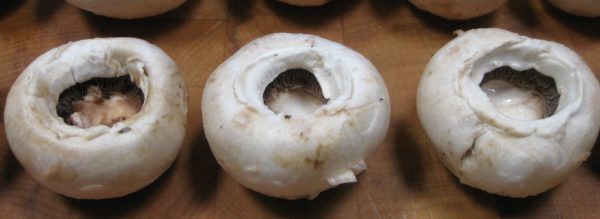
  1. Wipe the mushrooms with a damp cloth.
  2. Remove the stems.
  3. Finely grind the stems in a food processor.
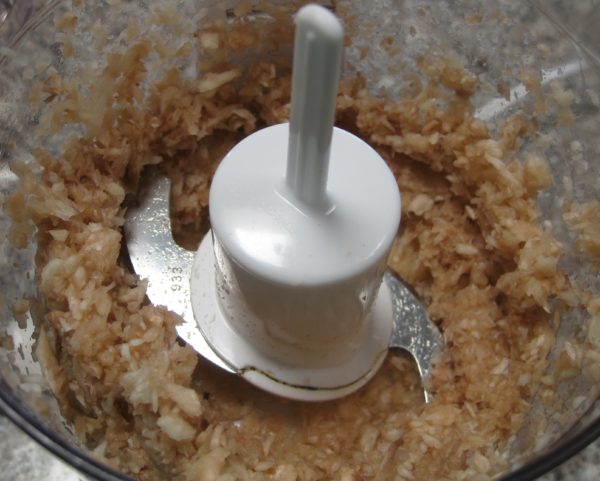
  4. Sauté the ground stems in the butter with a pinch of salt until the liquid is drawn out and then completely evaporated.
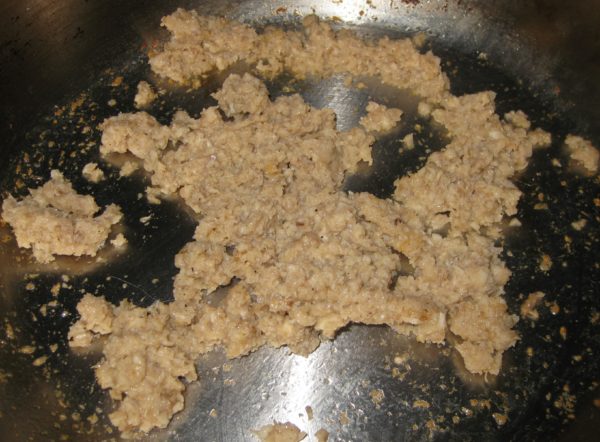
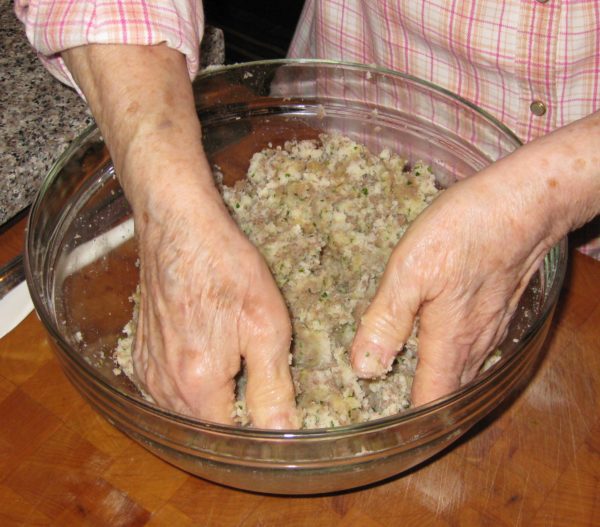
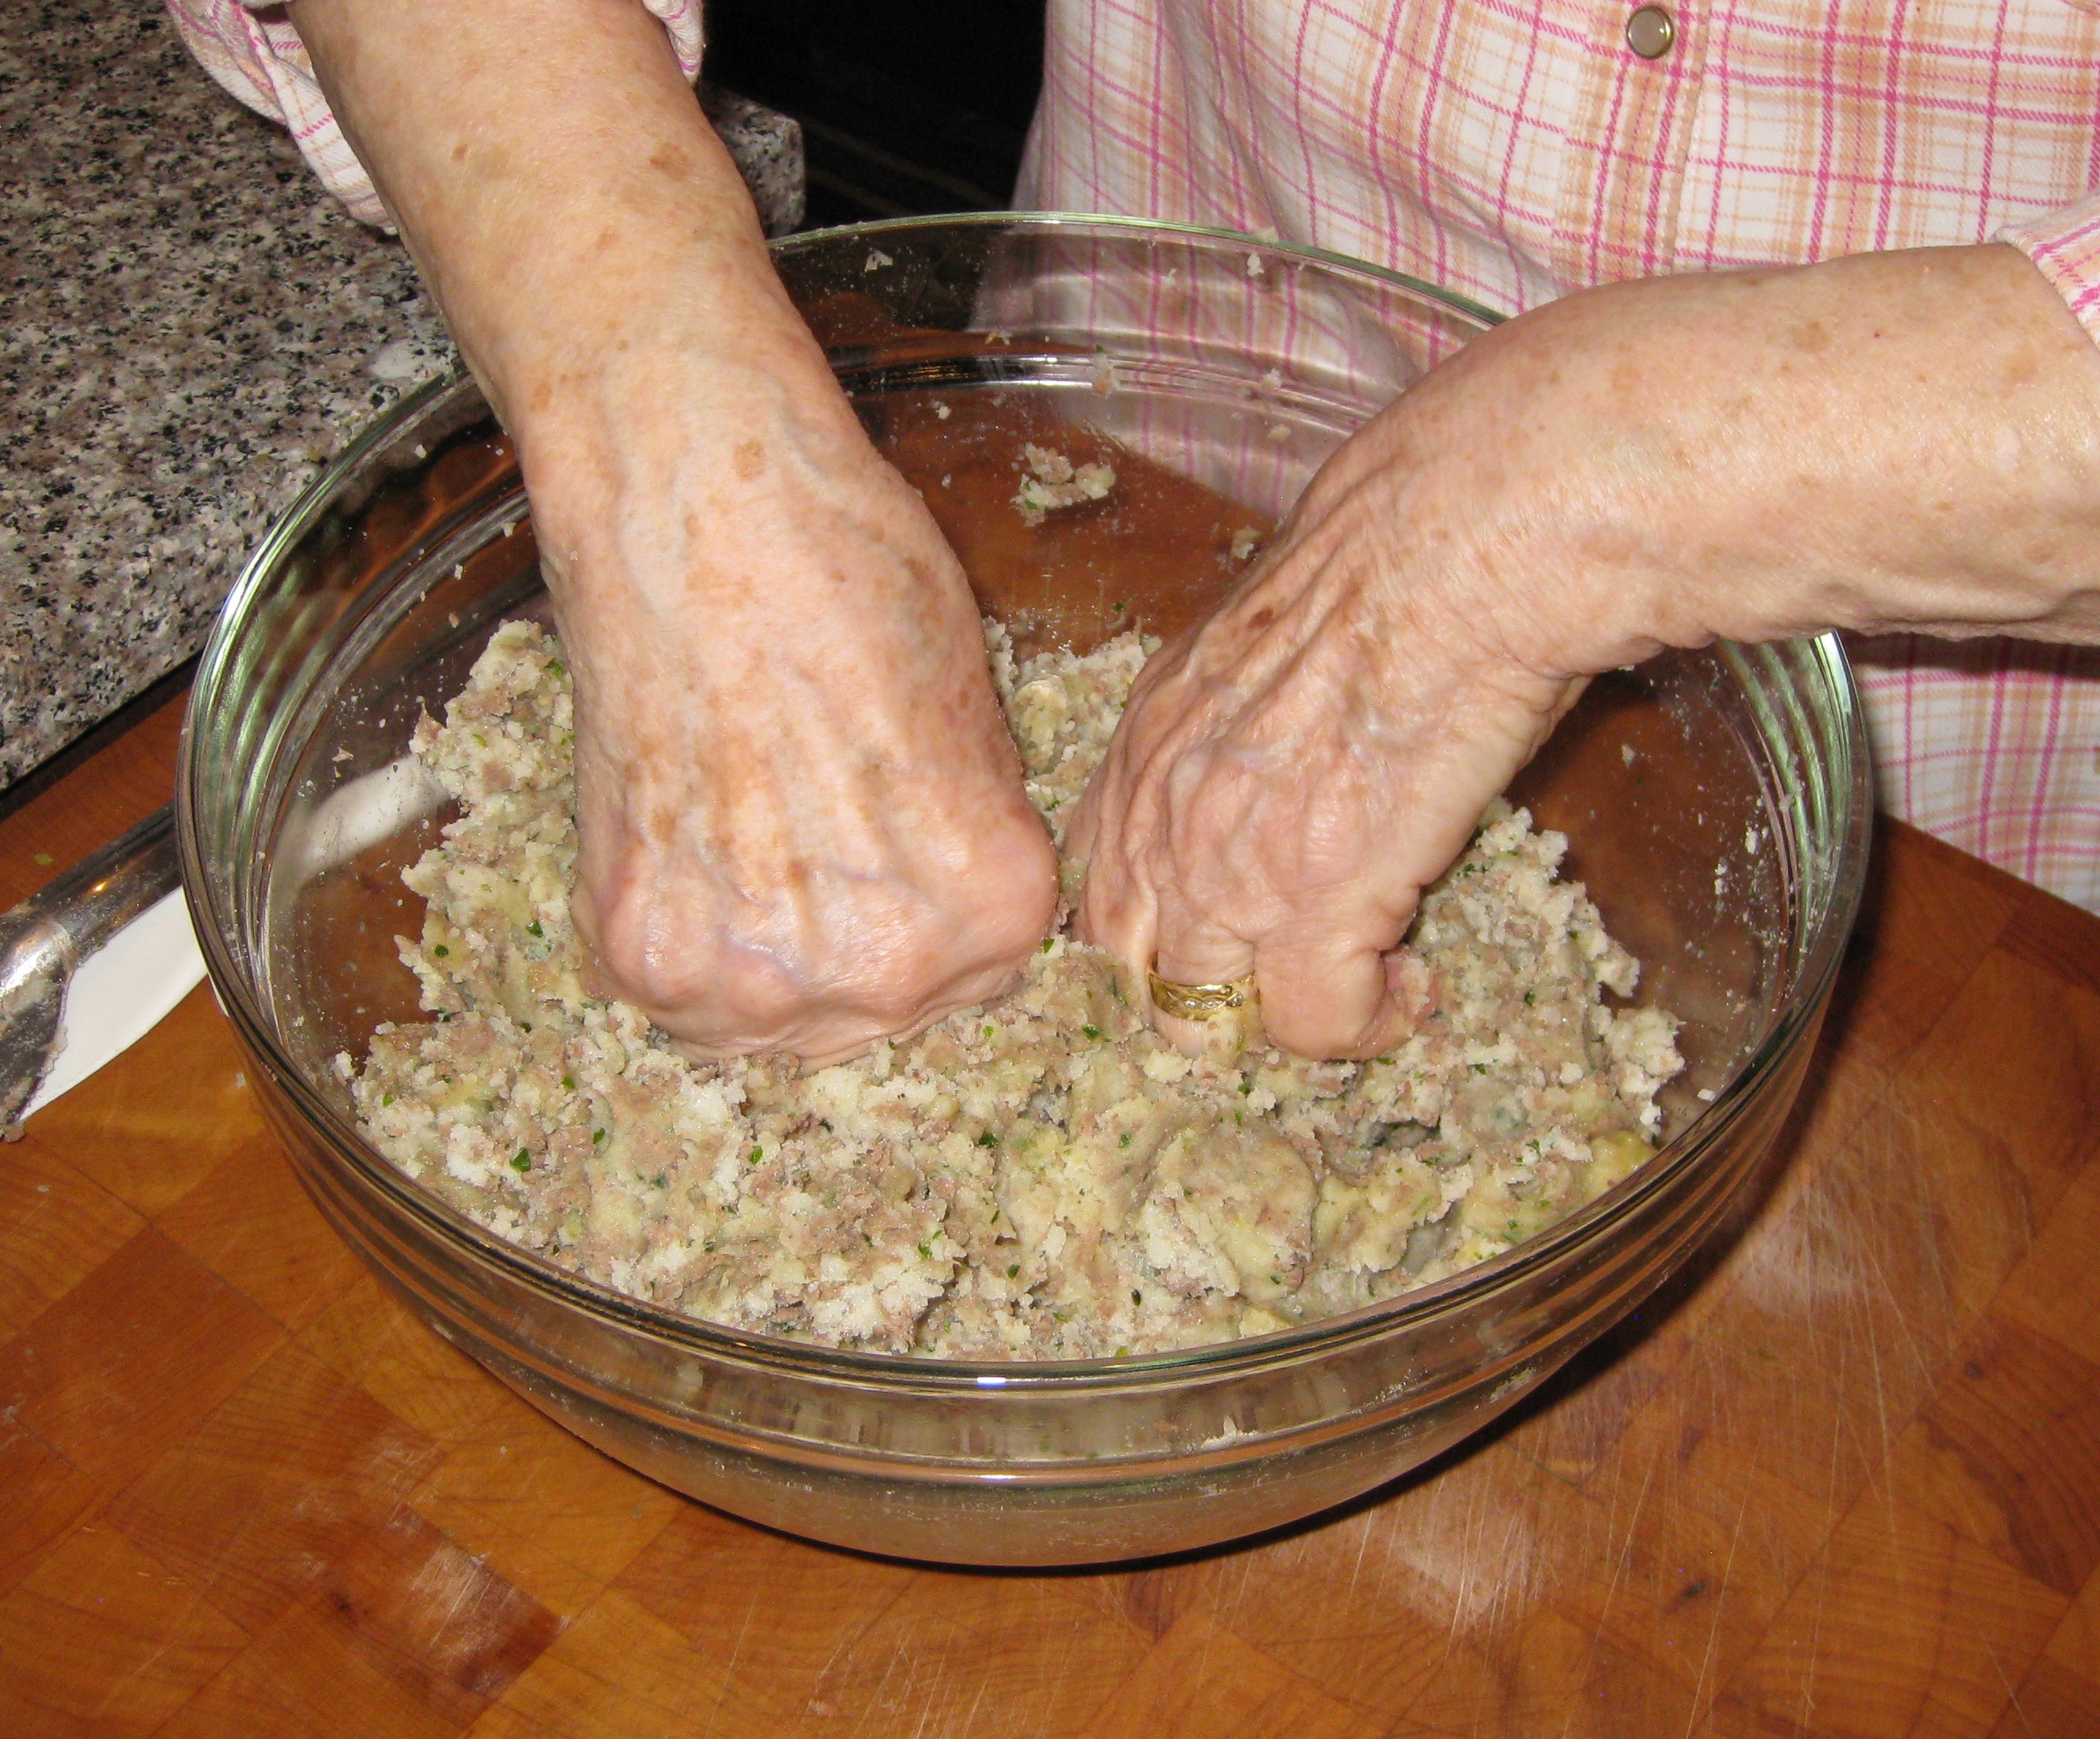
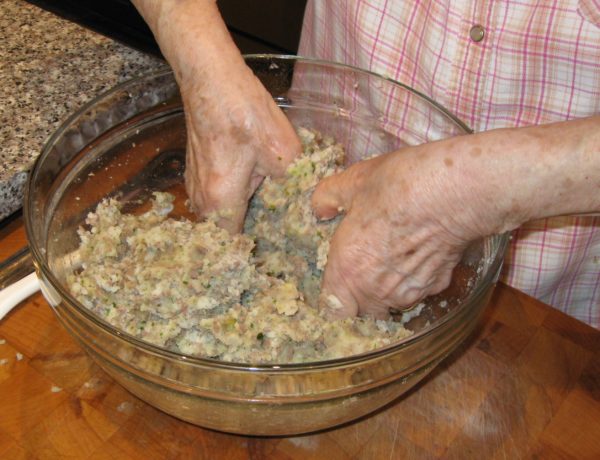
  5. Mix the cooked stems with the breadcrumbs, eggs, parsley, garlic, oregano, and salt and pepper to taste.
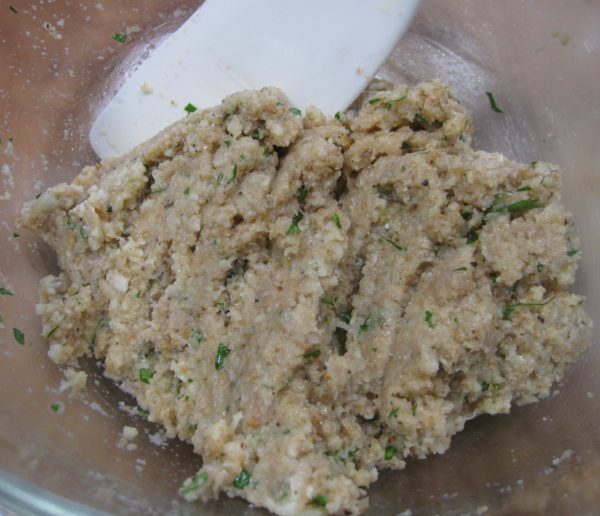
  6. Cool slightly and add 3 tablespoons Parmesan cheese.
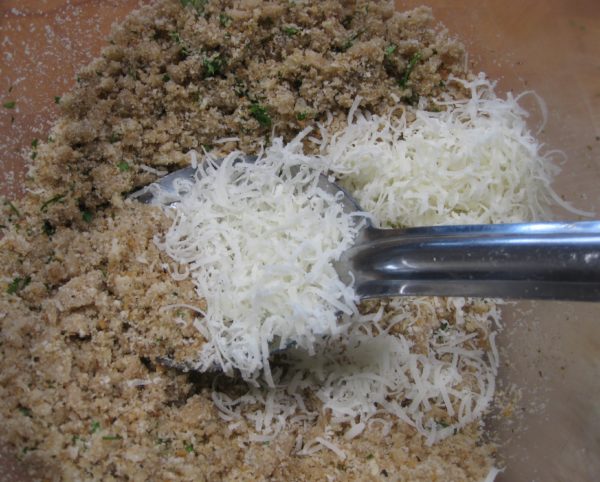
  7. Butter a baking dish large enough to hold the mushroom caps in a single layer, snugly.
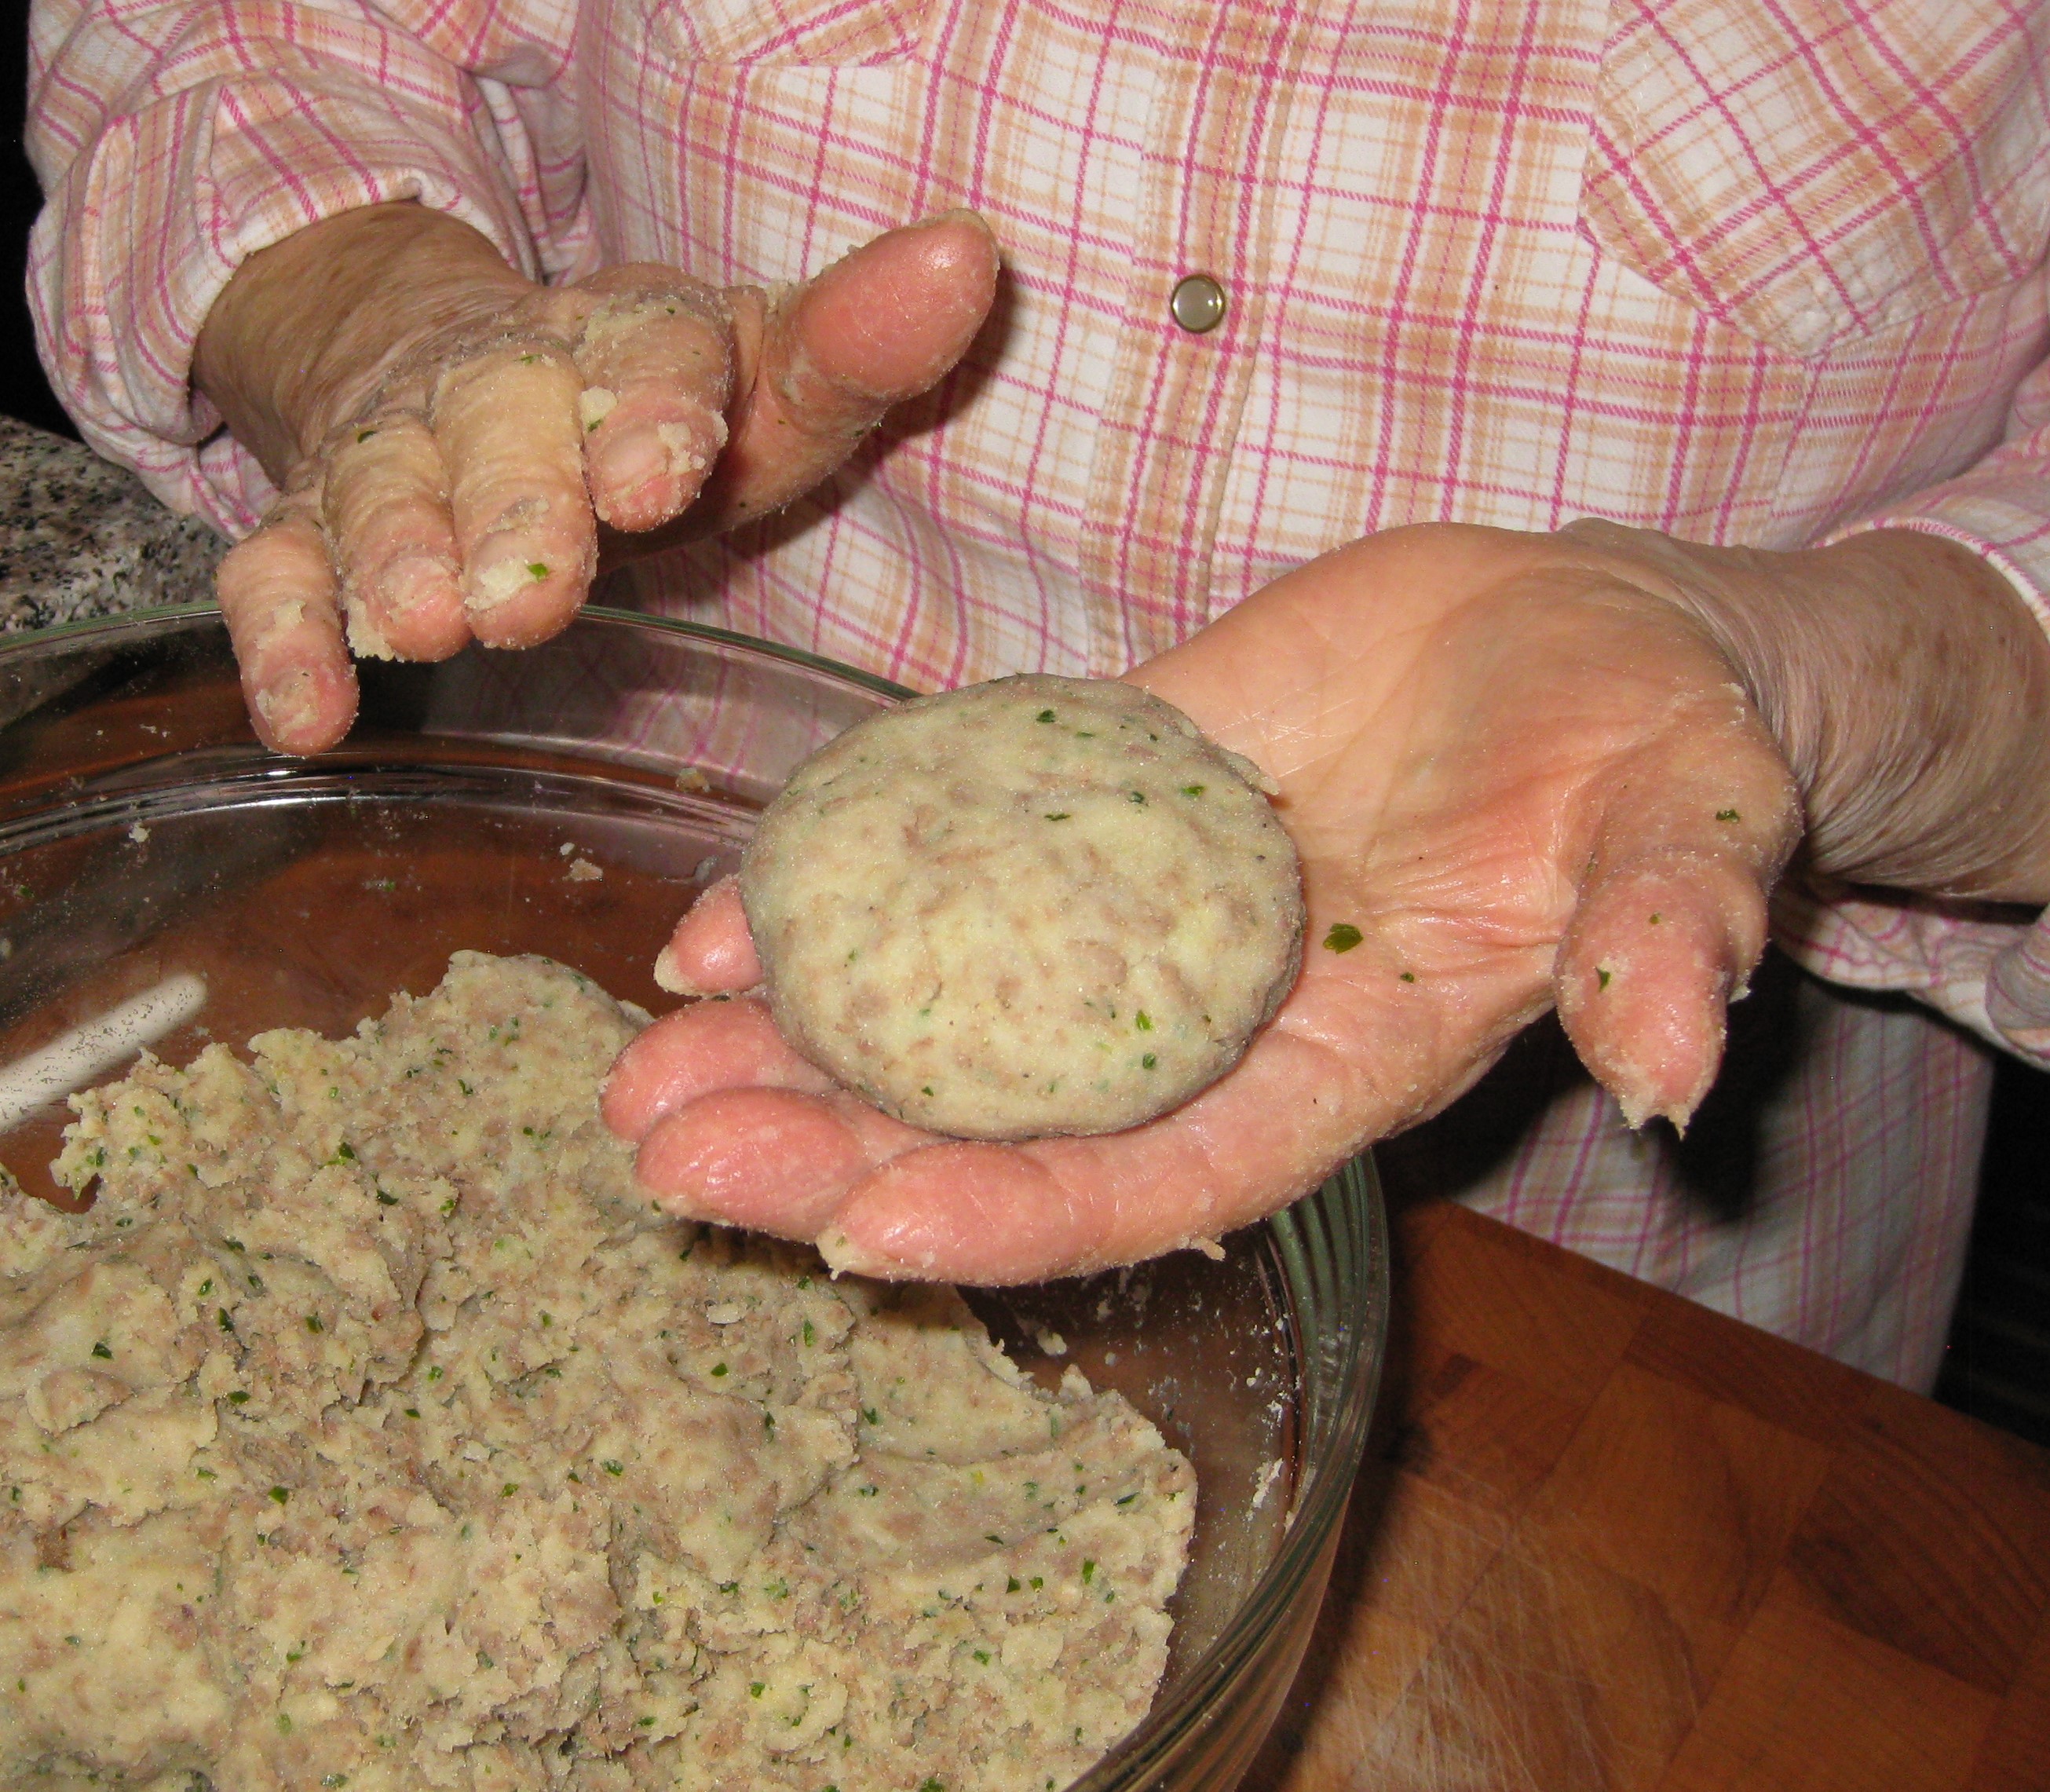
  8. Fill each mushroom cap with some of the stuffing mixture.
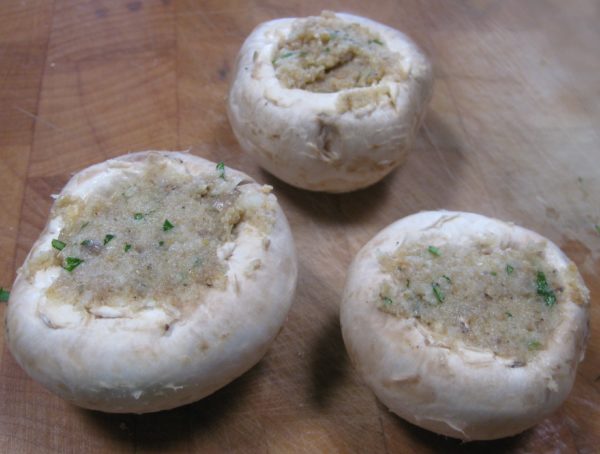
  9. Arrange the stuffed mushroom caps in the buttered dish.
  10. Sprinkle with additional Parmesan cheese, dot with butter and add a small amount of broth or water to the bottom of the dish to keep the mushrooms from sticking.
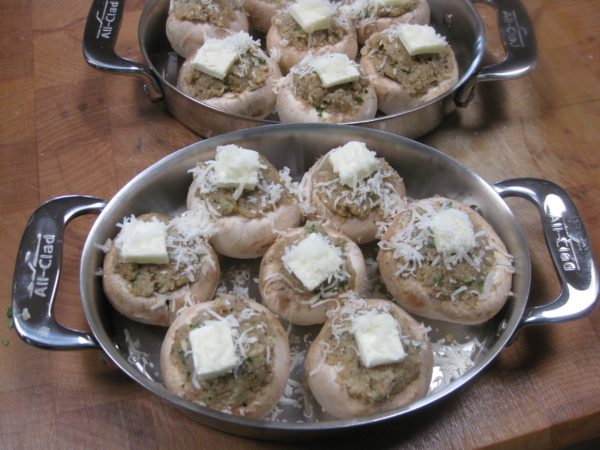
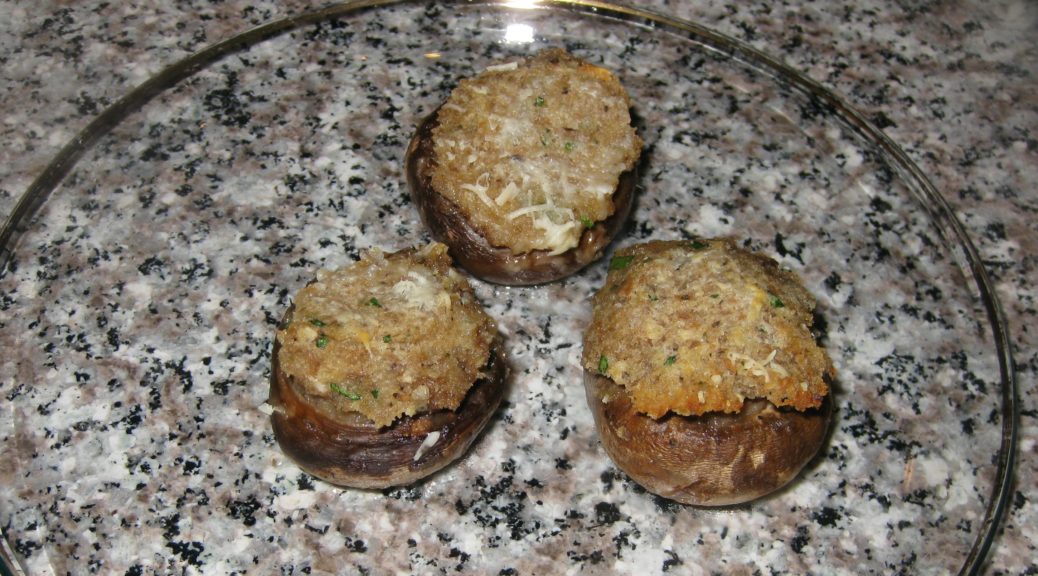
  11. Bake at 375°F for 20 minutes, until golden brown on top.
  12. Baste occasionally with the liquid in the pan during baking.
Recipe Notes

Copyright © 2021 by Villa Sentieri, LLC. All rights reserved.

Share this Recipe

Roman-Style Olives (Olive alla Romana)

February 3, 2021

This recipe is for Mike.

It’s for all of you, too, but especially for Mike.

Mike dutifully reads all of my posts and recipes but says he’ll never make any of them despite the fact that he’s a good cook.

I challenged myself to post a recipe that Mike COULD make if Mike CHOSE to make it.  (Hint:  that means it’s fast and easy!)

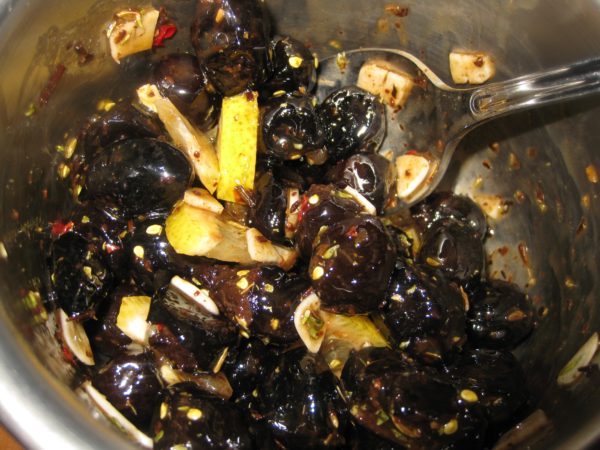
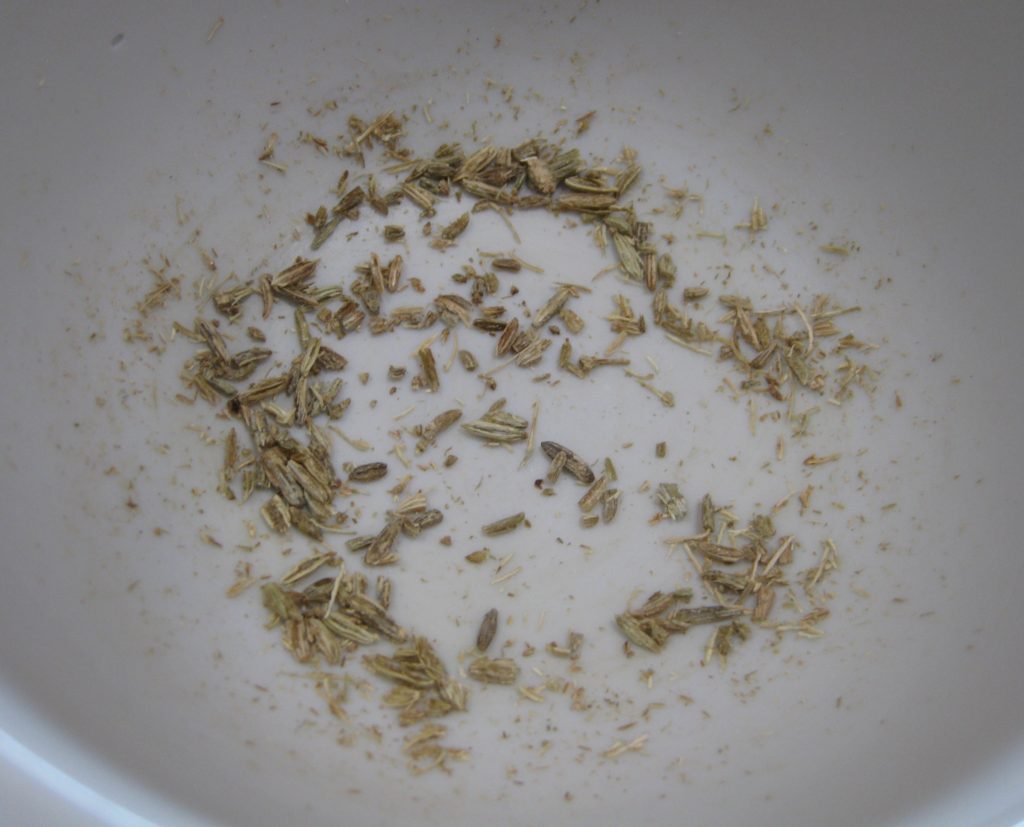
Crushed fennel seed.

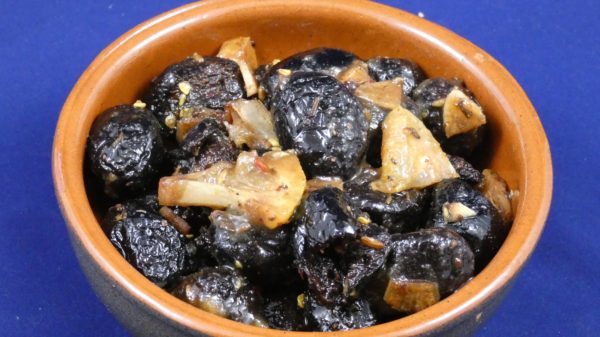
Most of us are not going to cure our own olives.  Even in Italy that’s true.  But starting with good quality cured olives and seasoning them to make them unique is quite another thing.


Join our mailing list and you’ll never miss a recipe again!


Many years ago, when we were living in Chicago, and had a very productive garden plot, fall “harvest” season saw lots of foods being made and preserved for the coming months.  One of the ways we made use of abundant fresh herbs was to put up gallons of olives with herbs and a light vinegar brine.  It was a technique I learned from a friend in Santa Fe, Joe Hoffman.

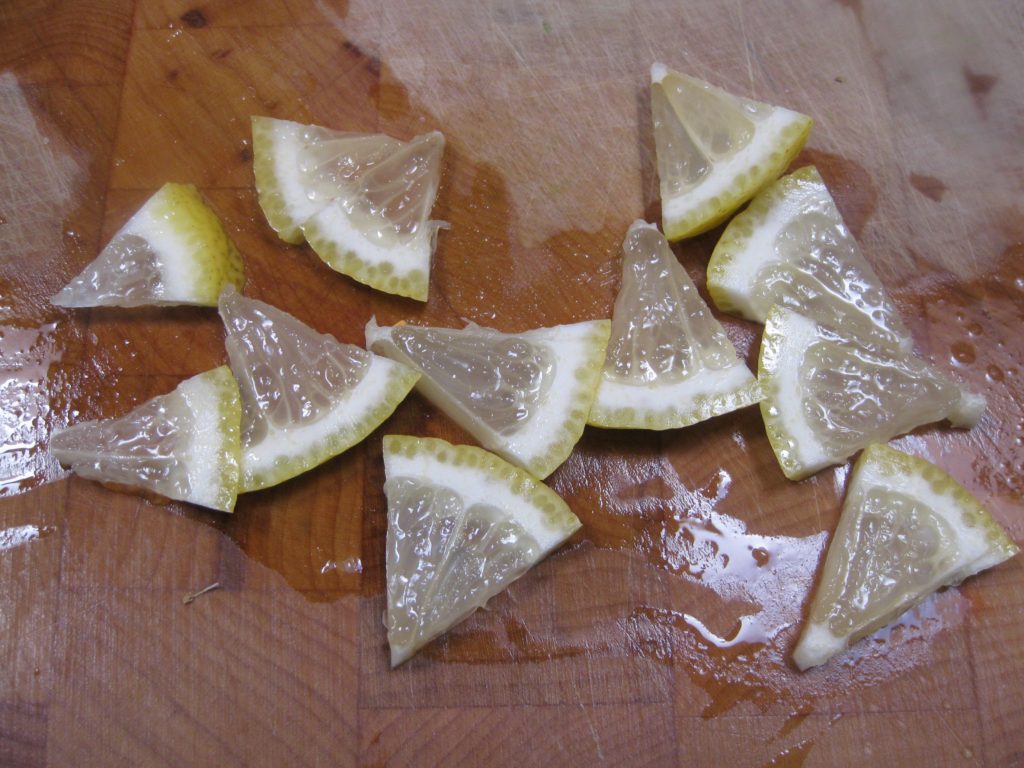
Tiny lemon wedges, about the size of an olive.

The vinegar allowed the olives to be kept for months and months without deterioration.  Done right, they weren’t sour.  In fact, I thought the vinegar treatment mellowed some of the bitterness that olives can have.

“Joe Hoffman’s Marinated Olives” were a staple nibble during cocktail hour for most of our dinner parties for many years.

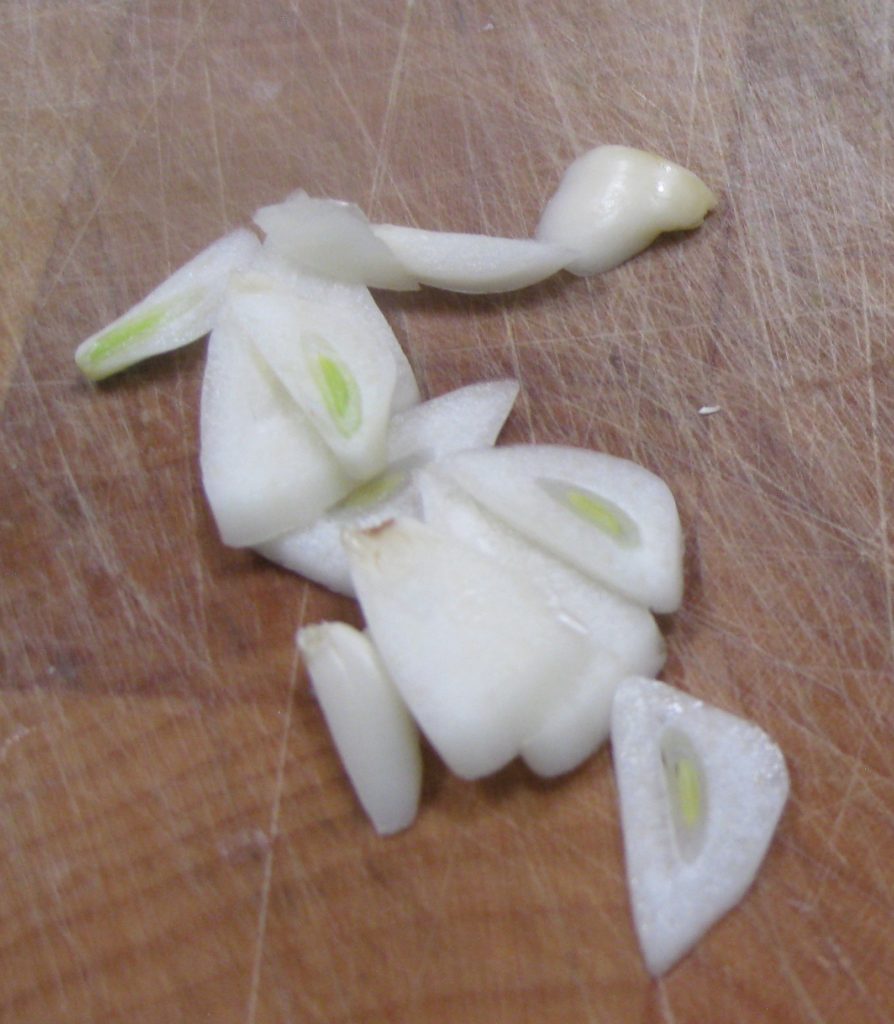
Garlic slivers.

Our herb harvest since moving to Santa Fe hasn’t been as abundant as it was in Chicago so I haven’t made these olives in a while.  What I do make is an utterly different style of marinated olive that can be prepared just a few hours before serving time.  These olives will last in the refrigerator for several weeks, though not as long as Joe Hoffman’s olives.


Follow us on your social media platform of choice


The original recipe, which I have since modified, came from Jo Bettoja’s In a Roman Kitchen.

These olives pack a major flavor punch and never cease to get raves from dinner guests.

Print Recipe
Roman-Style Olives (Olive alla Romana)
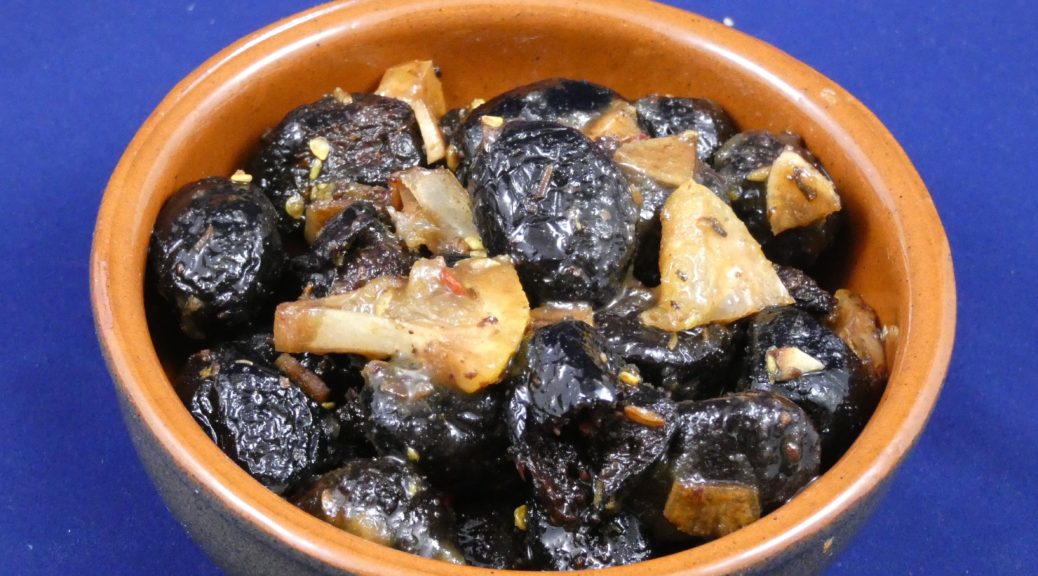
These olives only need to marinate a few hours before serving. They will keep in the refrigerator, tightly covered, for several weeks.
Votes: 0
Rating: 0
You:
Rate this recipe!
Prep Time 10 minutes
Passive Time 3 hours
Servings
Ingredients
Prep Time 10 minutes
Passive Time 3 hours
Servings
Ingredients
Votes: 0
Rating: 0
You:
Rate this recipe!
Instructions
  1. Combine all ingredients. Mix well. Cover and allow to sit at room temperature a few hours, stirring occasionally.
Recipe Notes

Copyright © 2021 by Villa Sentieri, LLC. All rights reserved.
Share this Recipe

Crostini with Fava Beans and Arugula

March 18, 2020

A few weeks ago, our dinner group decided that the theme of our dinner would be dishes from my blog.  For complete disclosure, I recused myself from that decision.

Dating back to the beginning of our group, Santa Fe Ate, the name being both a play on what we do and how many we are [though recently we’ve been six due to a move out of state], Becky Gould has bid on appetizers.  There is the occasional exception but one can count on Becky to sate our hunger at the beginning of an evening with some artfully created appetizers.

Santa Fe Ate (minus two) our current configuration. (left to right: Pat Assimakis, Doug Howe, Gary Mihalik, Frank Pieri, Rich DePippo, Becky Gould)

Becky went through every one of my blog posts and came to the conclusion that I had not posted very many recipes for appetizers.


Join our mailing list and you’ll never miss a recipe again!


My review confirmed the same.

This post is the beginning of trying to rectify that situation.

Appetizers that Becky whipped up from the first edition 1950 Betty Crocker Cookbook for a dinner where all dishes had to come from that book.

Crostini are a favorite appetizer in our house.  The formula is infinitely adaptable.  It goes something like this:

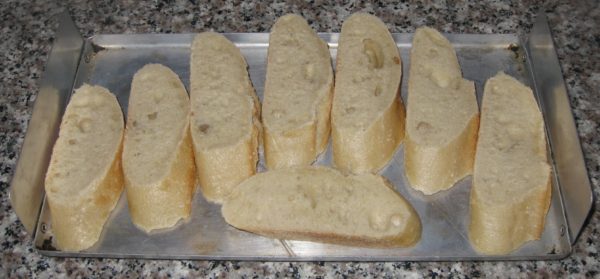
  1. Toast bread, preferably a rustic Italian-style loaf or a baguette.
  2. Drizzle with good extra-virgin olive oil.
  3. Rub with the cut side of a clove of garlic.
  4. Add a topping of your choice.

Often, I stop at step three.  Toasted bread rubbed with garlic and extra-virgin olive oil is good without any embellishment.

If I’m not making many crostini, I’ll toast the bread in my 1967 General Electric Toast-R-Oven using the aluminum tray and the “top brown only” setting, flipping the bread once to toast both sides.  [Yes! I really do use a 53-year-old toaster oven.]

My 1967 General Electric Toast-R-Oven.

When making crostini for a crowd, I use the broiler and follow the same process of flipping the bread.


Follow us on your social media platform of choice


Choose toppings to suit your whim and the season.  Chopped fresh in-season tomatoes with a hint of basil is a classic topping as is coarsely mashed cooked cannellini beans with an extra drizzle of extra-virgin olive oil.

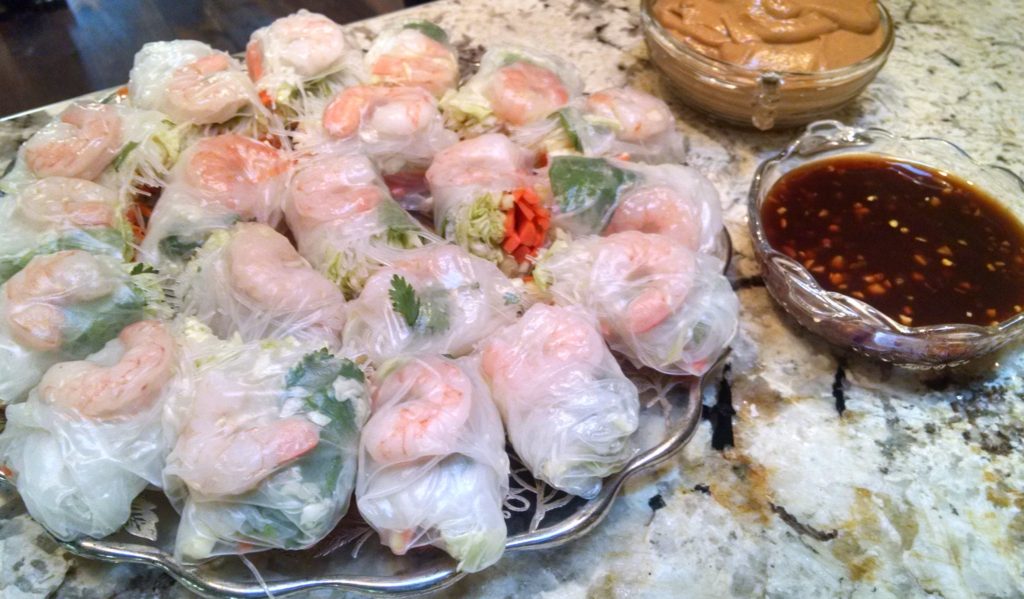
Becky’s spring rolls for a meal focused on “French Indochina 1920’s to 1930’s.”

Just last week I made crostini topped with goat cheese and spicy eggplant preserved in extra-virgin olive oil (melanzane piccante sott’olio) that I had made a few days earlier.

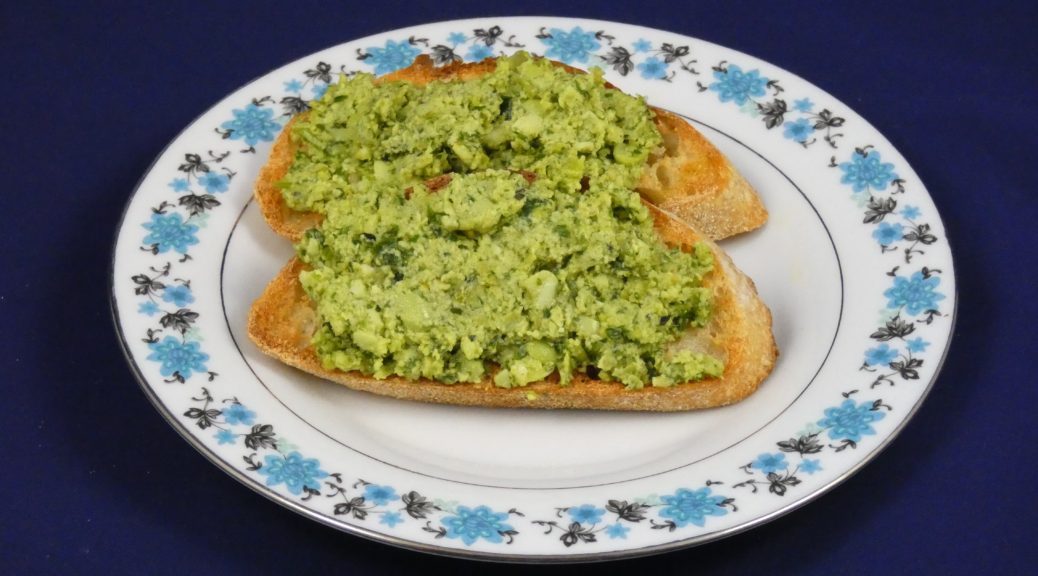
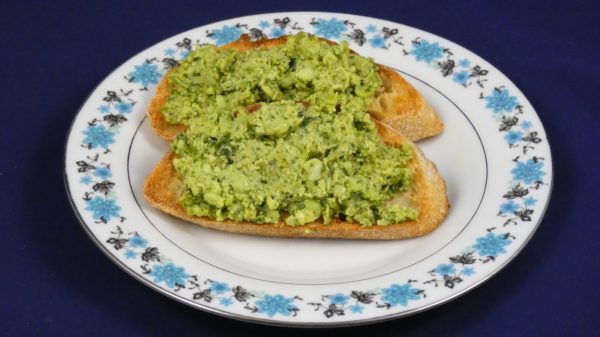
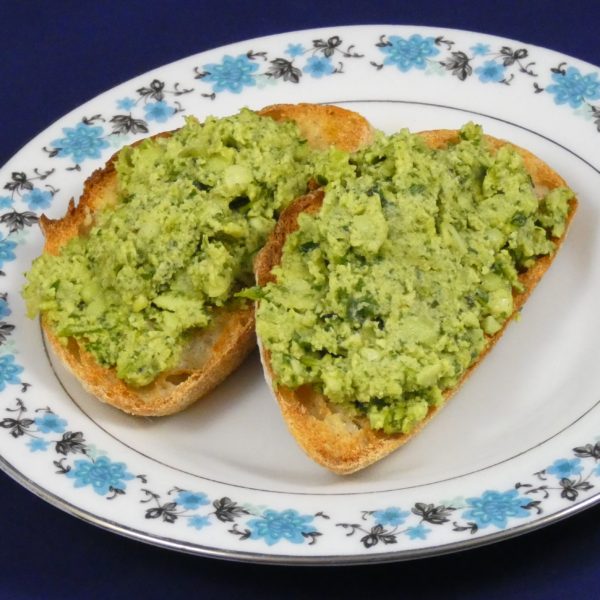
This particular combination of beans and arugula, zipped up with lemon, is very refreshing and a reminder that spring is not far away.


Print Recipe
Crostini with Fava Beans and Arugula
Frozen fava beans work well in this recipe. If you cannot get fava beans, substitute edamame. If using fava beans, you will need to start with more than one cup of shelled beans to have one cup of peeled beans after cooking.
Votes: 0
Rating: 0
You:
Rate this recipe!
Prep Time 20 minutes
Cook Time 10 minutes
Passive Time 6 hours
Servings
persons
Ingredients
Prep Time 20 minutes
Cook Time 10 minutes
Passive Time 6 hours
Servings
persons
Ingredients
Votes: 0
Rating: 0
You:
Rate this recipe!
Instructions
  1. Cook fava beans or edamame till tender, approximately 3-4 minutes. Drain and shock in ice water.
  2. If using fava beans, peel them.
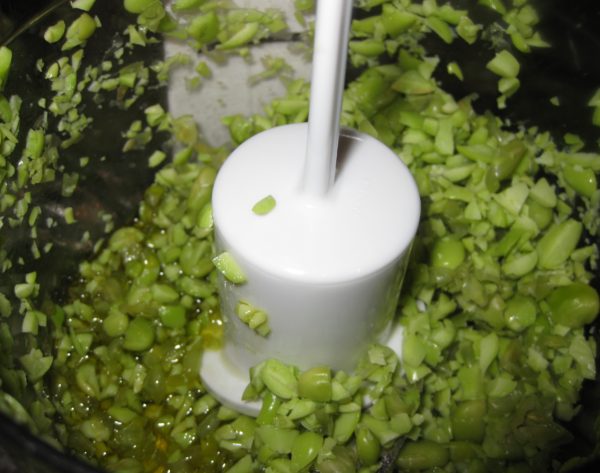
  3. Coarsely chop the cooked beans in a small food processor.
  4. Remove half the beans and reserve.
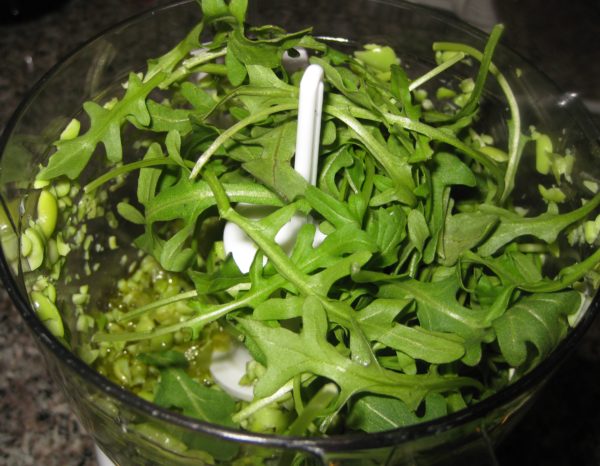
  5. Coarsely chop 1/2 ounce of arugula by hand. Reserve.
  6. To the beans in the food processor, add 1/4 cup of olive oil, the remaining 1/2 ounce of arugula, mint leaves (if using), Pecorino Romano cheese, lemon zest, and lemon juice.
  7. Process until almost smooth.
  8. Combine puree with the coarsely chopped beans and arugula and mix by hand.
  9. Adjust salt, pepper, and lemon juice. Refrigerate several hours, or overnight, to allow flavors to blend.
  10. Return to room temperature before using.
  11. To serve, toast slices of baguette. Drizzle one side of the toasted bread with extra-virgin olive oil. Rub the bread with the cut side of a garlic clove, distributing the oil.
  12. Top each slice of bread with some of the bean mixture.
Recipe Notes

Copyright © 2020 by Villa Sentieri, LLC. All rights reserved.
Share this Recipe

Caponata: A Taste of Sunny Sicily

January 22, 2020

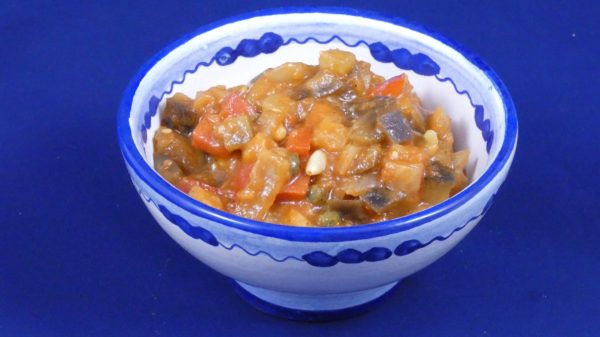
The origins of both caponata and its name are unknown but that doesn’t keep some “authorities” from making definitive statements about both its origins and its name.  Other authors are more cautious about how they approach the topic.  There are many theories.  There are perhaps more theories about the origins of the dish and its name than there are versions of caponata itself, and that’s saying a lot.

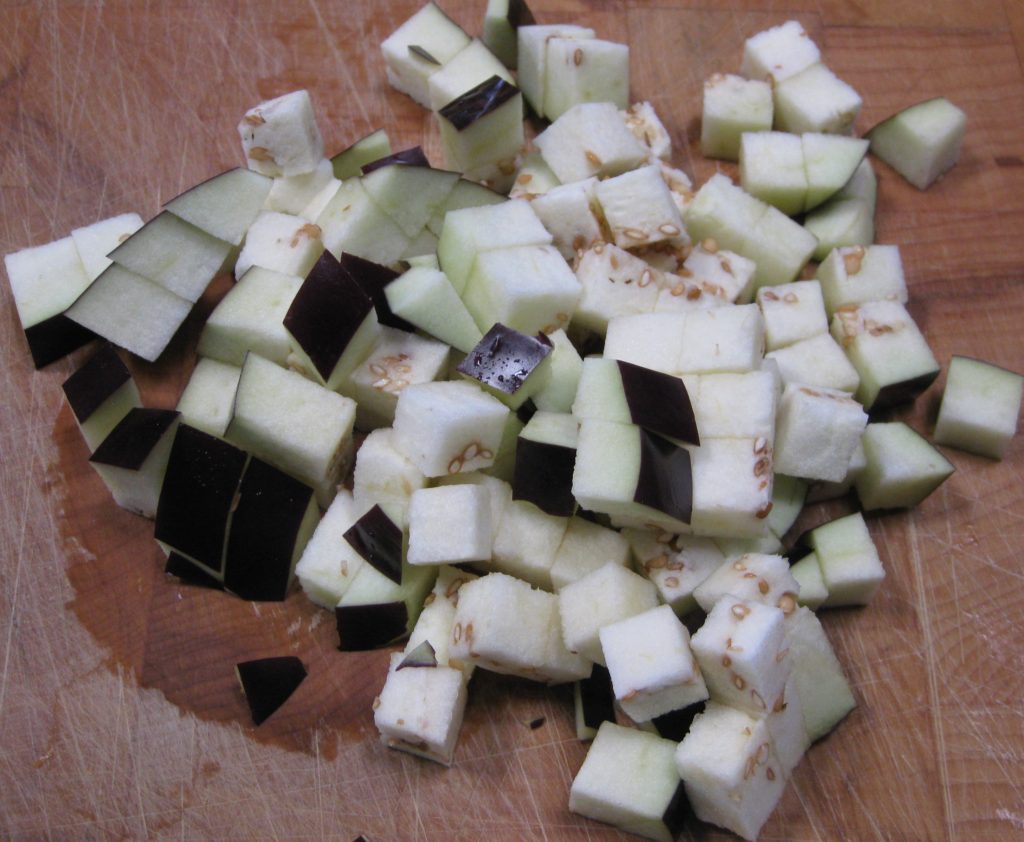
Leaving the skin on the eggplant improves the texture of the caponata.

What we do know is that caponata, as we now know it, is Sicilian though there are traditional Neapolitan versions as well.


Join our mailing list and you’ll never miss a recipe again!


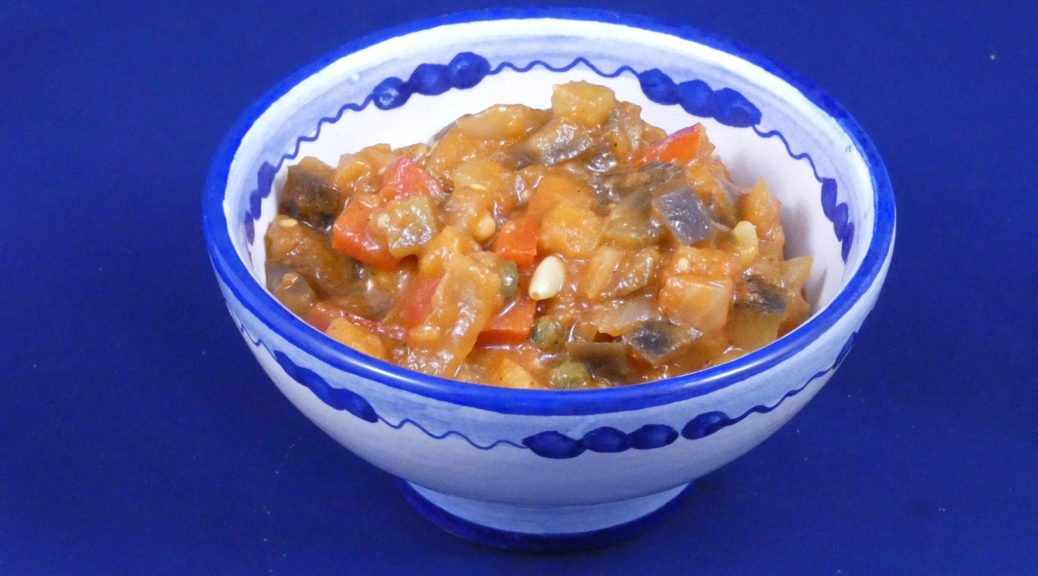
At its most basic caponata is a vegetable dish (though some versions include fish) with eggplant typically being the predominant ingredient (though there are other versions, such as one with artichokes) in a lightly sweet and sour sauce that usually contains some tomato product (fresh tomatoes or tomato sauce of some sort) and capers.

Beyond the basics, caponata has numerous traditional regional variations from different areas of Sicily.  There are also the endless variations introduced by individual cooks.

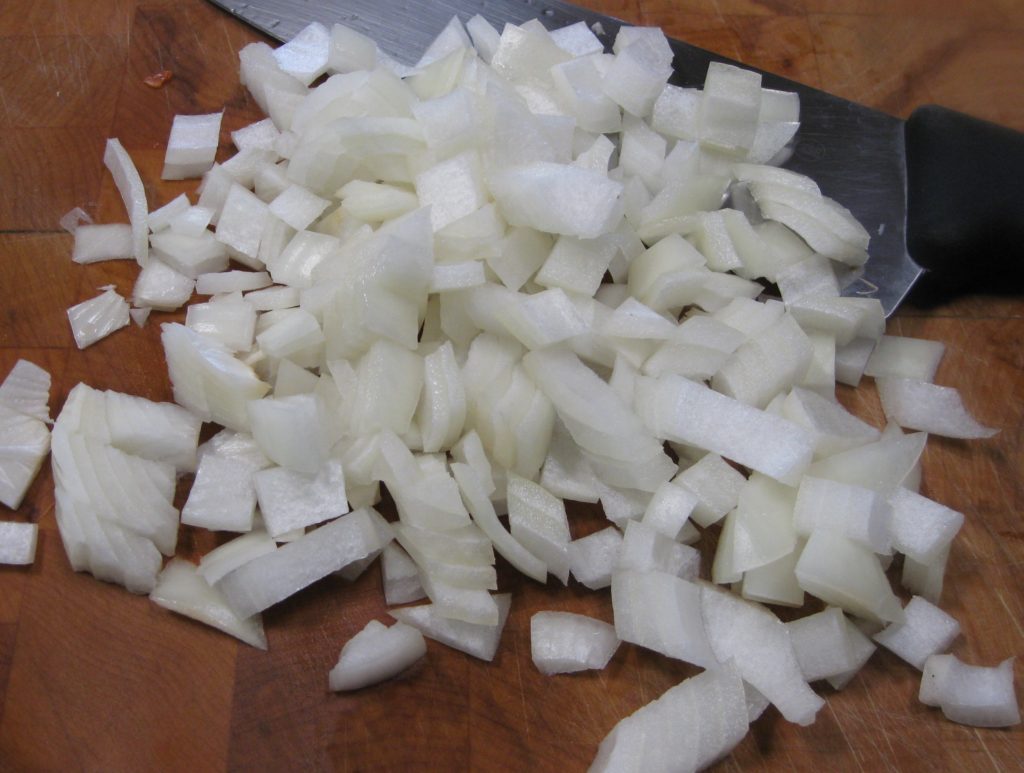
Onions are a common addition to caponata.

One could add or subtract celery, sweet peppers, zucchini, olives, pine nuts, almonds, and raisins (to name a few).

The eggplant can be fried, sautéed, or steamed (but almost always with the skin on).

Caponata can be served on a slice of toasted bread (crostino), as (part of) an antipasto, as a side dish (contorno), or as a main dish (secondo).  Though not traditional, I like tossing it with pasta.

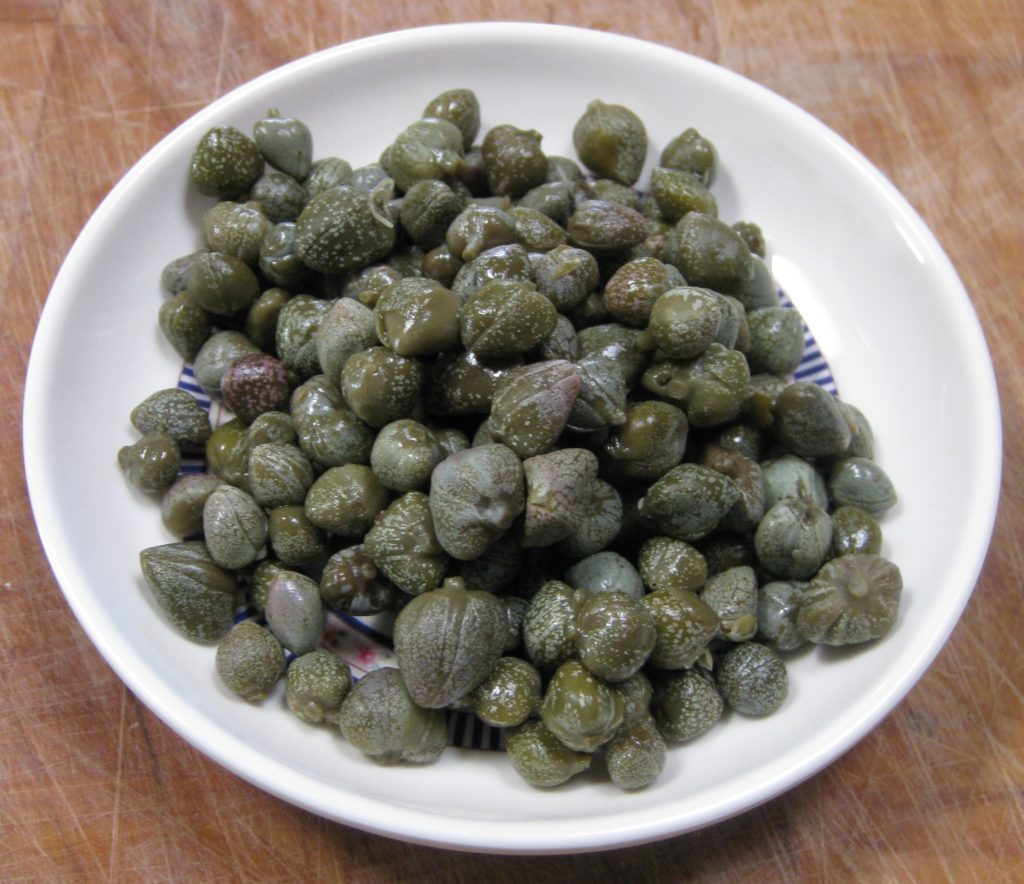
Capers are in virtually every traditional version of caponata. Some authorities suggest the name “caponata” may be related to the word “caper.”

I prefer caponata that is neither aggressively sweet nor sour and, while the vegetables should not be mushy, I don’t want to hear a crunch when I bite down.


Follow us on your social media platform of choice


If I were drowning in home-grown tomatoes during harvest season, I’d probably work on perfecting a version that uses fresh tomatoes.  Since that’s not the case, my version uses tomato sauce.  The advantage is that I can make it year-round as the necessary vegetables are always available and of good quality.

Though it should not be frozen, caponata can be canned.  In fact, one of the demonstrations that I did for students at the Italian Culinary Institute this past September was how to can caponata.

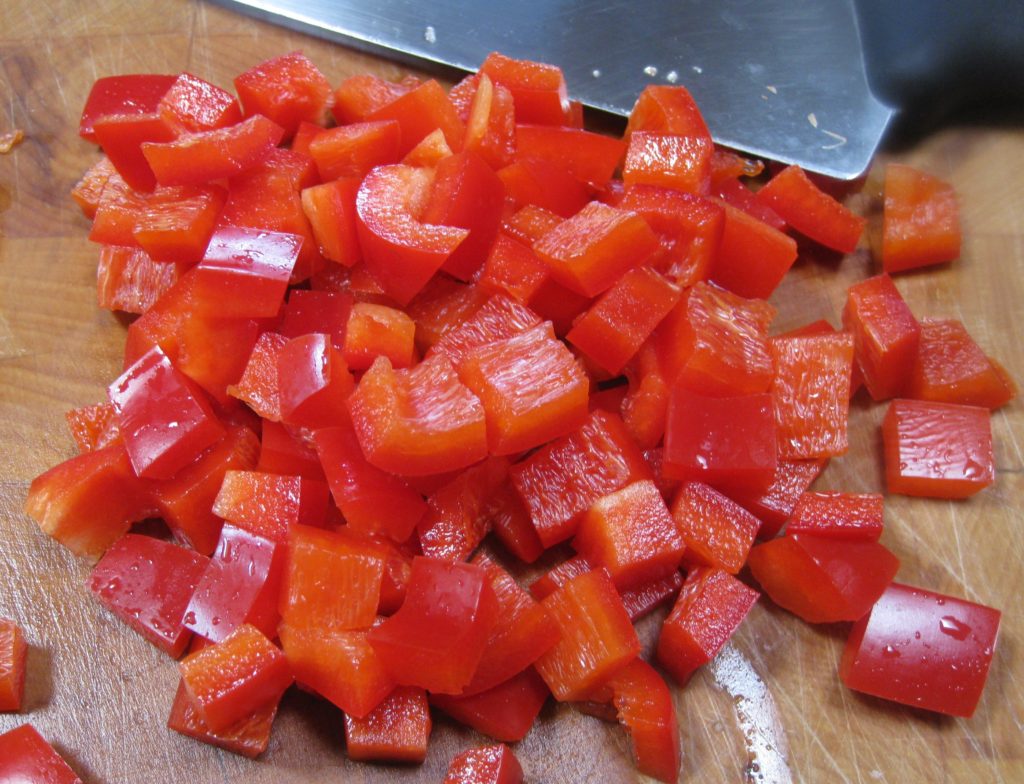
Sweet peppers are traditional in some versions of caponata.

Unlike Italy, where the best eggplants and peppers are available only “in season” that’s not true in the United States.  Rather than canning a large batch of caponata, I just make it whenever I want some.

I hope you enjoy this version of caponata.

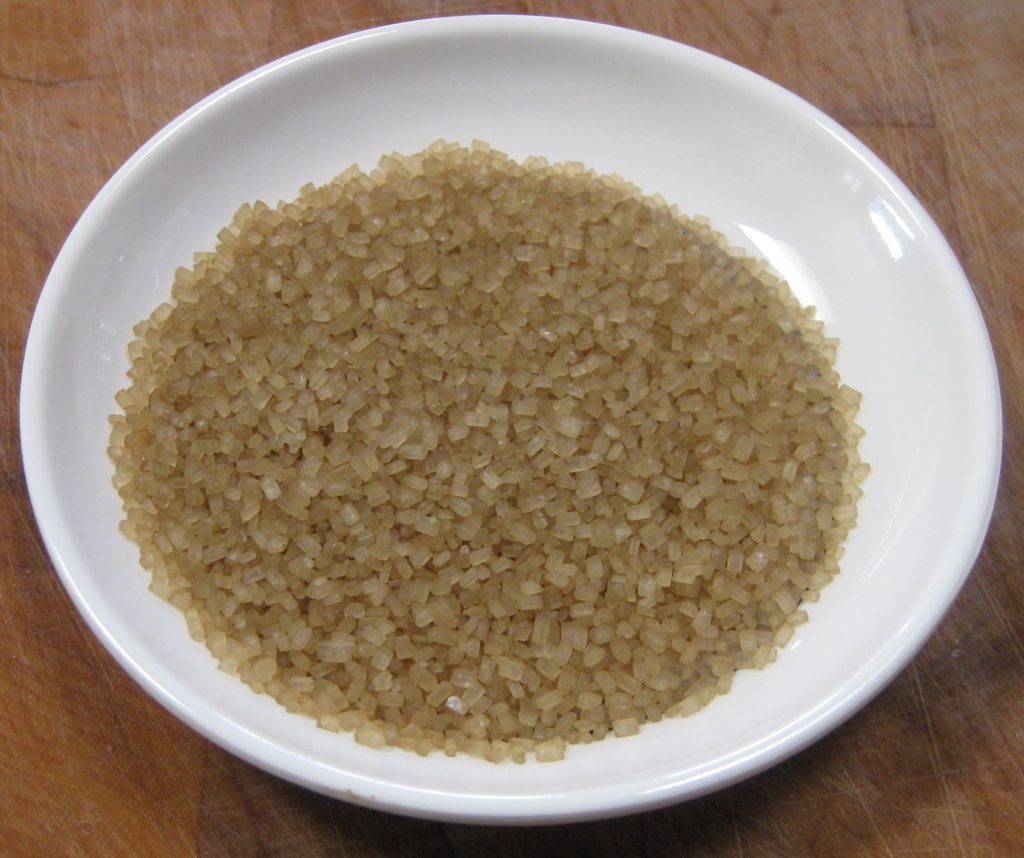
Turbinado or Demerara sugars are good substitutes for Italian “cane sugar” (zucchero di canna).

If you want to get more into the fray about the origins of caponata or its name, or the different versions, you can look here, here, here, here, here, or here.

Print Recipe
Caponata: A Taste of Sunny Sicily
There is a link to the recipe for Basic Tomato Sauce in the Notes section below. Any simple tomato sauce, or even tomato puree, could be substituted. If vegetable broth is not available water can be used. To my American readers, I apologize for the metric measures. You can convert to American measures by using the dropdown menu below. Turbinado and Demerara sugars are most similar to the “cane sugar” used in Italy. American light brown sugar would work in this recipe since the quantity is small. You can use either vinegar-packed or salt-packed capers.
Votes: 0
Rating: 0
You:
Rate this recipe!
Prep Time 30 minutes
Cook Time 45 minutes
Servings
cups
Ingredients
Prep Time 30 minutes
Cook Time 45 minutes
Servings
cups
Ingredients
Votes: 0
Rating: 0
You:
Rate this recipe!
Instructions
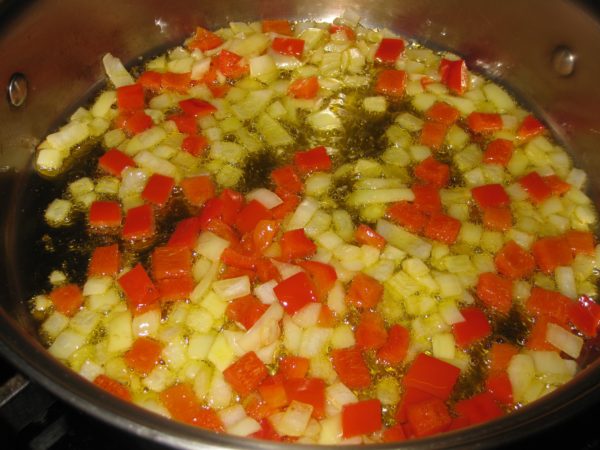
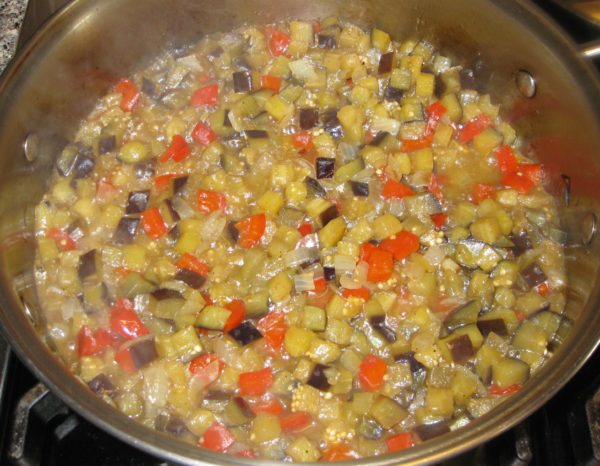
  1. Sauté the peppers and onions in olive oil with a pinch of salt until the onions become translucent.
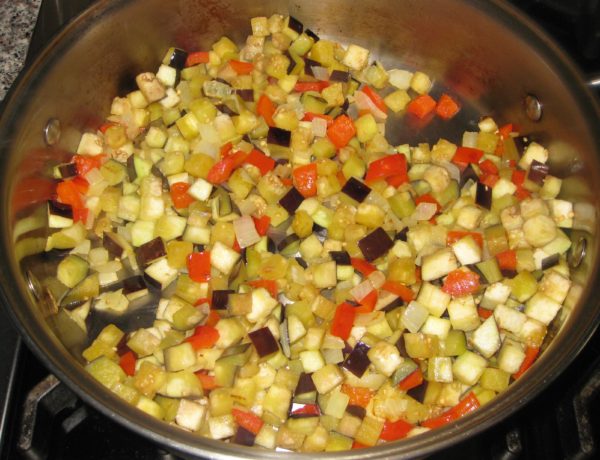
  2. Add the eggplant and sauté until most, but not all, of the eggplant has become translucent.
  3. Add the vegetable stock and salt and pepper to taste. Cover and cook until just tender, 5-10 minutes.
  4. Remove cover. Quickly evaporate any remaining liquid.
  5. Add sugar and vinegar. Cook over moderately high heat until almost dry.
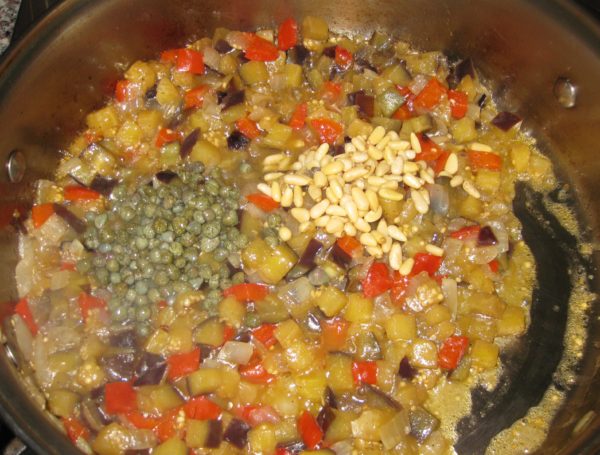
  6. Add the capers and pine nuts.
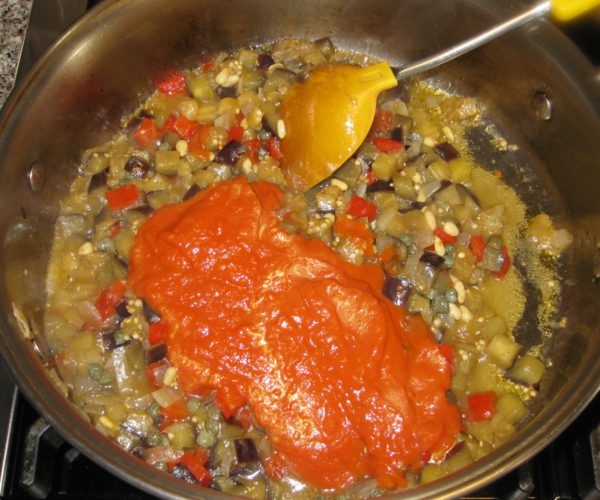
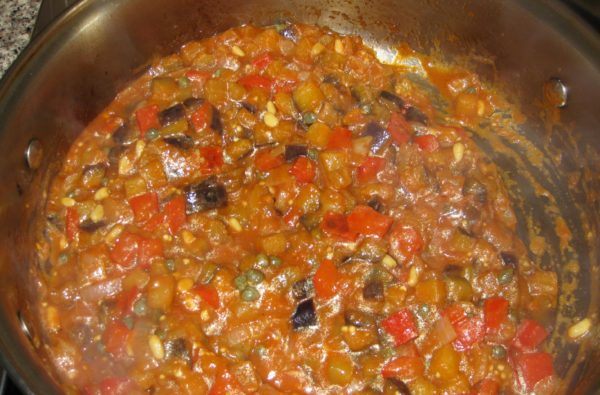
  7. Add the tomato sauce. Simmer briefly to blend flavors, 5-10 minutes.
  8. Adjust salt and pepper while cooking.
  9. Refrigerate.
  10. Bring to room temperature for serving.
Recipe Notes

The recipe for Basic Tomato Sauce can be found here.

Copyright © 2020 by Villa Sentieri, LLC. All rights reserved.
Share this Recipe

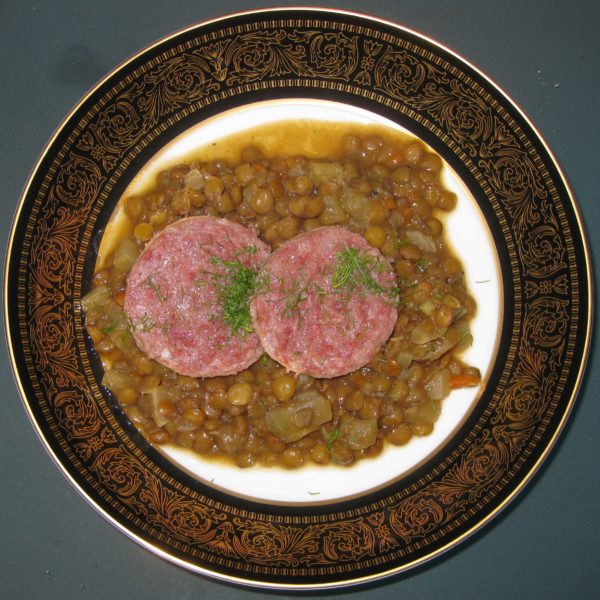
Cotechino with Lentils

January 2, 2019

Cotechino is not a food I grew up eating.  It entered my food canon through my husband’s family, Northern Italians all!

Over the years we’ve melded together our different family traditions.  Although there’s some variability from year-to-year based on travel plans and invitations to the homes of family and friends, our usual sequence goes something like this.

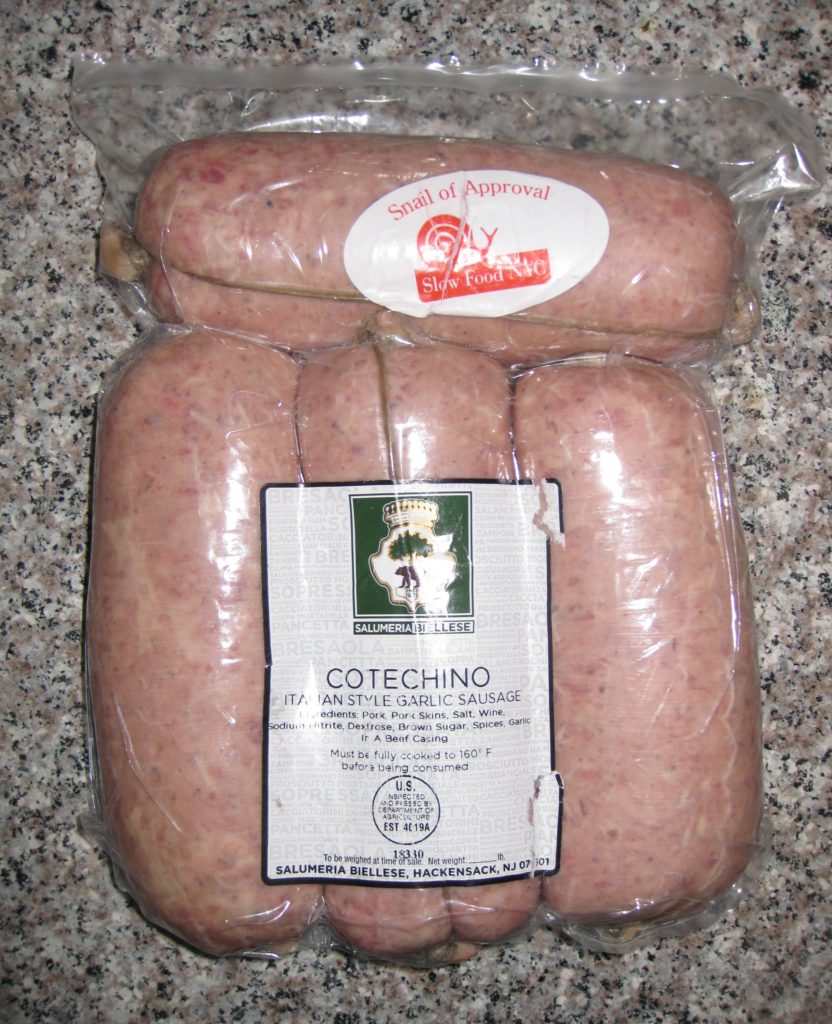
Cotechino purchased at Eataly in Los Angeles. We had one on Christmas Eve and two on New Year’s Eve. The last one is in the freezer waiting for my return from Italy.

Pasta Ascuitta on Christmas Eve harkens back to my childhood when Christmas Eve dinner was a groaning table full of seafood at Aunt Margie and Uncle Joe’s house.  Pasta Ascuitta was only one of many dishes, including Baccala cooked in Tomato Sauce with Green Olives, Braised Stuffed Calamari, Breaded and Fried Cod, Spicy Mussels in a Garlicky Tomato Sauce, and on and on and on.  Mostly, now, we have a quiet Christmas Eve dinner with my in-laws at which we serve Pasta Ascuitta and call it quits!

That means somewhere else over Christmastime we have to fit in Baccala since it is a favorite of my in-laws.  This year we had it several days before Christmas.  I bought the baccala at Eataly in Los Angeles (on the second of my two trips to secure a visa for my three-plus months in Italy that start in early January).  It was truly the best baccala I have ever had.


Join our mailing list and you’ll never miss a recipe again!


My family didn’t have any specific traditions for what was served on New Year’s Eve but New Year’s Day always saw Pork, Sauerkraut and Sausage with Dumplings.  That meal, repeated in one fashion or another in most homes in Johnstown, PA, pays homage to the original German founders of the town.

Somewhere around New Year’s Day my mother-in-law would make Cotechino with Brovada.  Brovada is turnips that are fermented in grape pomace left over from crushing and pressing grapes for wine.  Since Brovada is unobtainable (in my experience) in the United States, my mother-in-law would pickle turnips in red wine vinegar to create a reasonable substitute.  The turnips are peeled and shredded before cooking.  Brovada ends up tasting remarkably similar to sauerkraut.

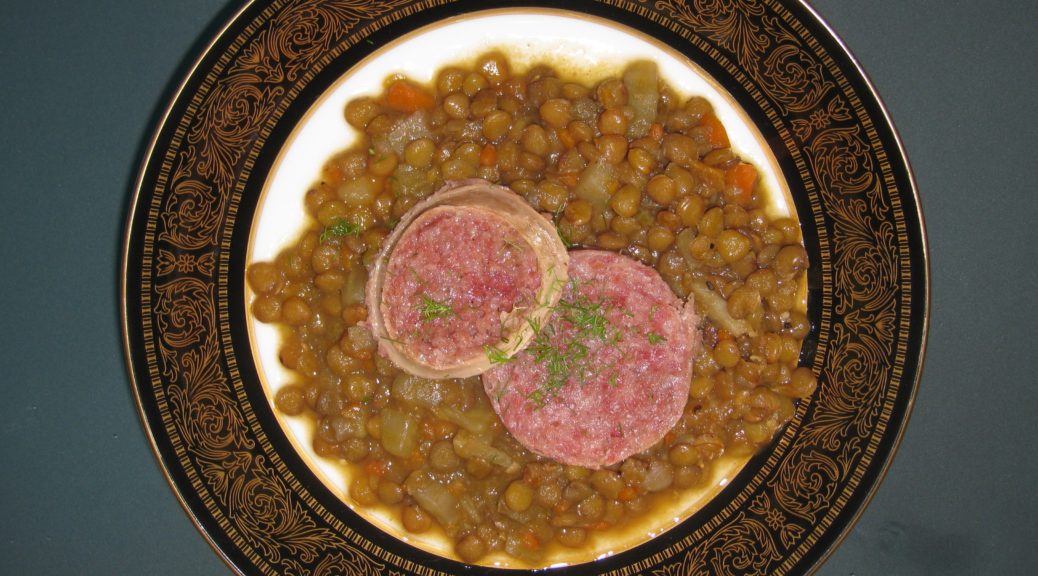
Before Frank and I started spending New Year’s in Palm Springs, we would host a New Year’s Eve dinner at Villa Sentieri at which we served Cotechino as the appetizer course.  Although Cotechino is typically served with Brovada in Friuli, it is served with lentils in most of the remainder of Northern Italy.  I always opted for lentils for the New Year’s Eve dinner, leaving my mother-in-law to make it a second time with Brovada.

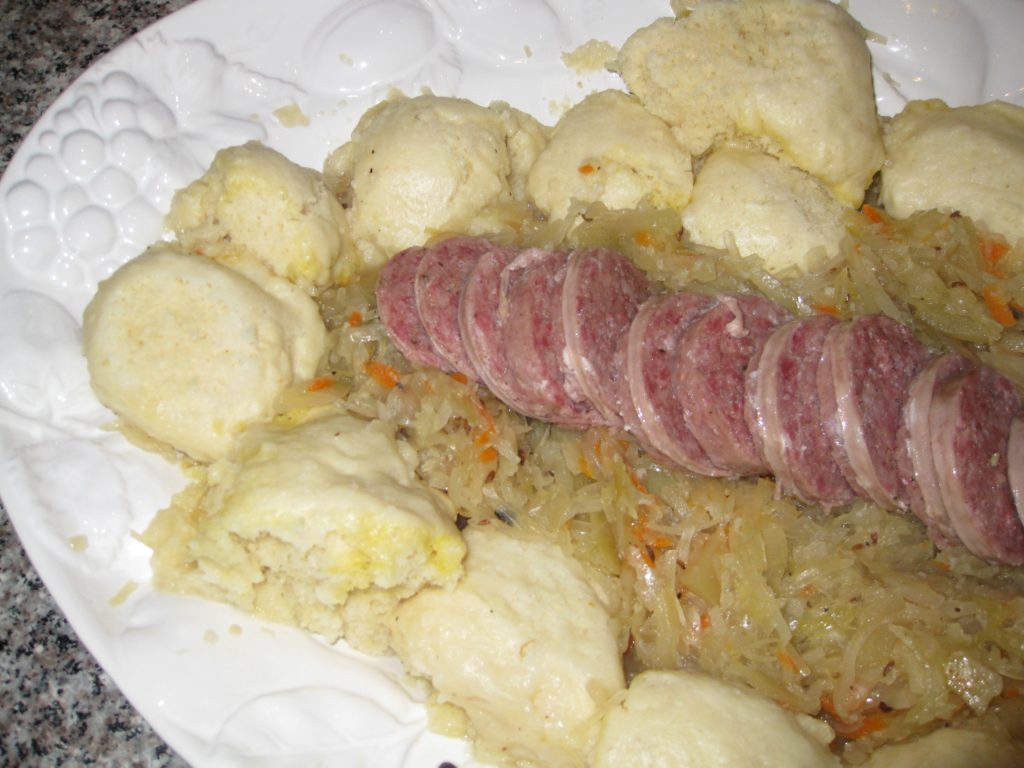
Many of our traditions got up-ended this year.  For Christmas Eve dinner we had Cotechino with Sauerkraut!  My mother-in-law did not make Brovada this year and said she preferred to have the Cotechino with Sauerkraut rather than Lentils.  I used the sauerkraut portion of my recipe for Pork with Sauerkraut.  It was a great combination.  I also made Dumplings just because everything is better with dumplings.


Follow us on your social media platform of choice


That means we didn’t have Pasta Ascuitta on Christmas Eve for the first time in I-don’t-know-how-many years!

The cotechino with sauerkraut and dumplings we had on Christmas Eve.

Even though we didn’t host New Year’s Eve dinner this year, I was assigned the task of making the first course for the dinner hosted by our friends John O’Malley and Bob Reddington in Palm Springs.  I jumped at the chance to make Cotechino with Lentils.  The Cotechino came from Eataly in Los Angeles, and like the Baccala, was excellent.

As I’m writing this blog on the first of the year, and contemplating what to make for dinner today after a holiday season marked by over-consumption and with no time to recover before leaving for my three months in Italy on January 7th, I think we may just have Spaghetti with Garlic, Oil and Red Pepper.  Pasta Ascuitta will need to wait for another year!

Print Recipe
Cotechino with Lentils
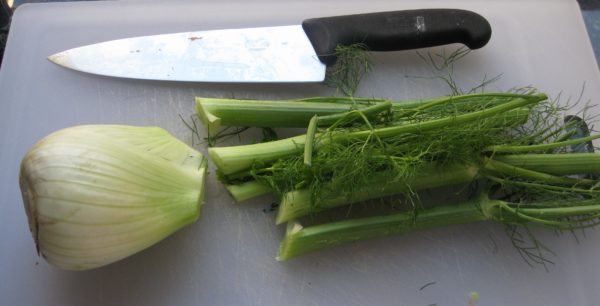
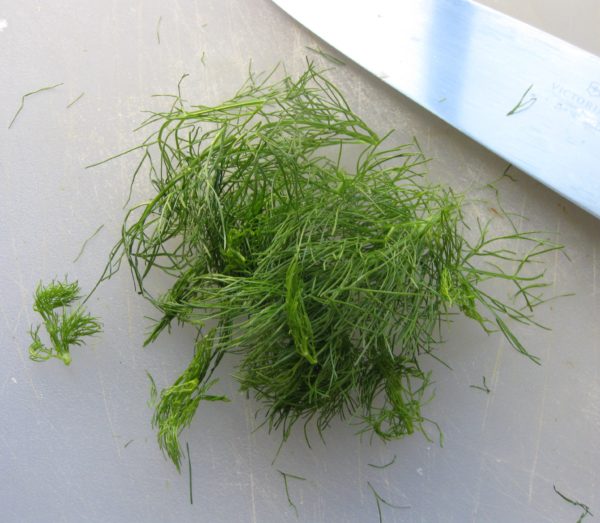
The lentils make a wonderful dish on their own without the cotechino. The lentils are better if made a day or two in advance and refrigerated. For added flavor, let most of the broth evaporate during the first 30 minutes then add enough of the cotechino cooking water, skimmed of fat, to make the lentils loose but not soupy. If the broth has salt, it may be necessary to reduce the amount of salt called for in the recipe. Save the fennel fronds to garnish the cotechino, if desired.
Votes: 0
Rating: 0
You:
Rate this recipe!
Prep Time 20 minutes
Cook Time 3 1/2 hours
Servings
people as an appetizer
Ingredients
For the Lentils
For the Cotechino
Prep Time 20 minutes
Cook Time 3 1/2 hours
Servings
people as an appetizer
Ingredients
For the Lentils
For the Cotechino
Votes: 0
Rating: 0
You:
Rate this recipe!
Instructions
For the Lentils
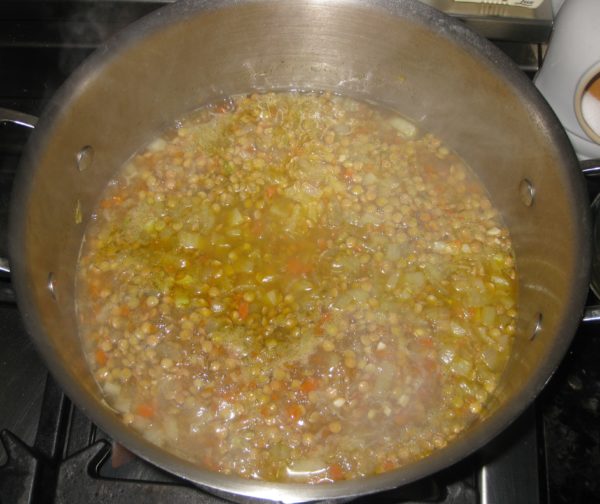
  1. Cut off the stalks of the fennel before dicing.
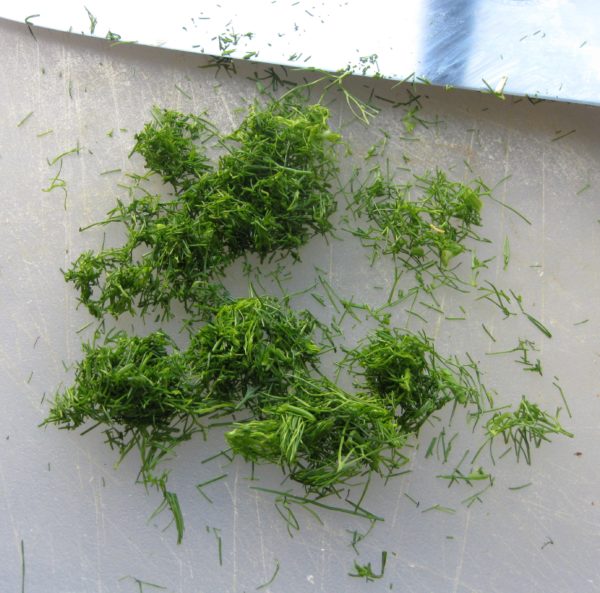
  2. Reserve the fennel fronds for garnishing.
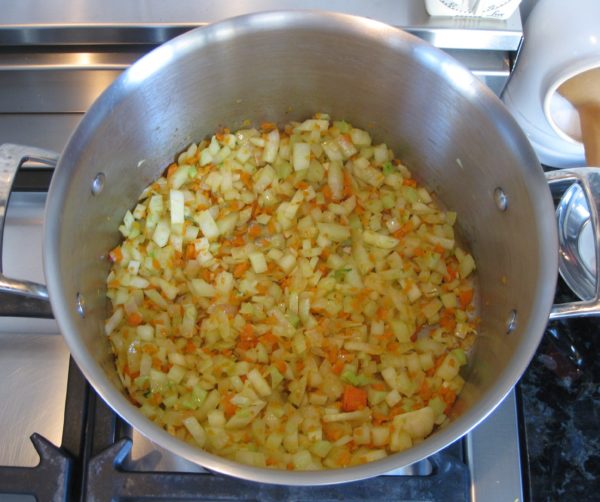
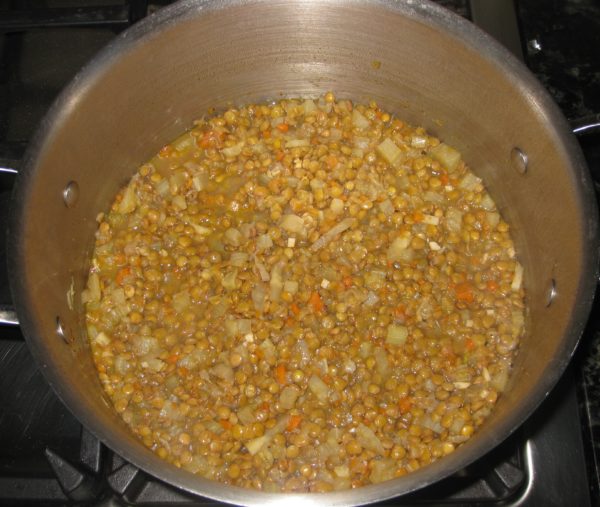
  3. Sauté the carrot, onion, fennel, and garlic in the olive oil in heavy-bottomed Dutch oven until the vegetables begin to soften, approximately 15 minutes.
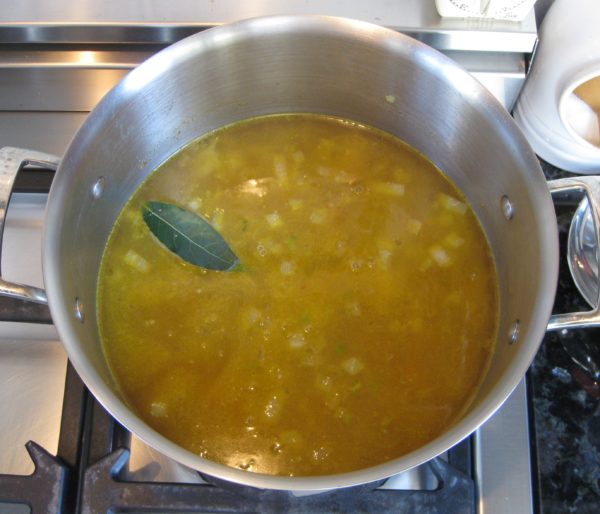
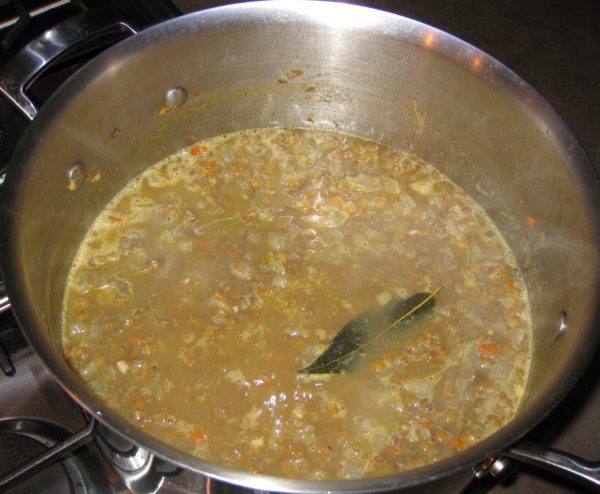
  4. Add the broth and bay leaf. Boil gently, partially covered, for 15 minutes.
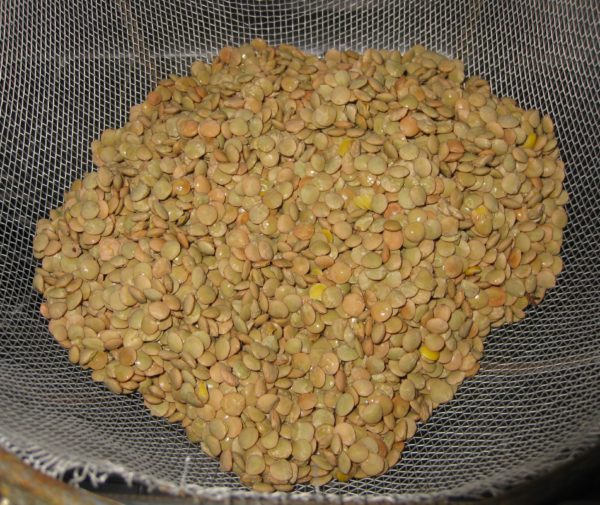
  5. Meanwhile, rinse and drain the lentils.
  6. Add the lentils to the broth. Bring the lentils to a gentle boil, partially covered, and cook approximately 30 minutes, adding salt and pepper after the first 15 minutes.
  7. If making the lentils in advance, remove them from the heat, cool to room temperature, and refrigerate.
  8. When ready to serve, bring the lentils to a gentle boil with enough of the cotechino cooking liquid, or water, to loosen them but not make them soupy. Cook until tender but not mushy, approximately 10-15 minutes longer.
  9. Taste and adjust seasoning if necessary.
For the Cotechino
  1. Prick the sausages in several places using a pin. If the holes are large the casing may split during cooking.
  2. Put the cotechino in a large pot, cover with cold water, simmer, covered, approximately 2 ½ hours.
  3. Mince the fennel fronds while the cotechino cooks.
  4. The cotechino is best served piping hot as soon as is it removed from the cooking liquid.
  5. Slice the cotechino.
  6. Plate several slices of cotechino on top of some of the lentils and garnish with minced fennel fronds, if desired.
Recipe Notes

Copyright © 2019 by Villa Sentieri, LLC. All rights reserved.
Share this Recipe

Sri Lankan Fish Croquettes

December 26, 2018

OK, I’m going out on a limb again posting another Sri Lankan recipe.

Whenever I do that, fewer people open the email and even fewer look at the recipe.  Sri Lankan food just doesn’t garner the interest (among my readers, at least) that Italian food does.  Interestingly (or not, perhaps) my cousin’s Marinated Pasta Salad from two weeks ago got the largest response ever!

Although a majority of my recipes are Italian, I am reluctant to post ONLY Italian recipes.  There are just so many things that I like to cook…and therefore want to share…that I want to keep my options open.  What happens, if for example if I choose to post only Italian recipes and then want to post my recipe for Bourbon Brown Sugar Apricot Jam?  That most certainly is NOT Italian.  (But it is so, so good!)


Join our mailing list and you’ll never miss a recipe again!


One possibility, I guess, would be to focus this blog on Italian food exclusively and to start a second blog that includes all the other foods I like to cook.  The majority of that food would end up being Asian with a smattering of Western Cuisines.  Bourbon Brown Sugar Apricot Jam would be just as out of place there as it would in an exclusively Italian-food-oriented blog. (And, I’m not sure I could keep two blogs going.)

Here’s my request:  Use the comment feature to let me know what you think about the options, or even come up with alternative suggestions, for how to focus the blog.  I plan to continue posting while I am in Italy for three months but that would be a great time to redesign the focus of the blog, if need be, and start fresh when I return.

Nanacy Rajapakse (left), who taught me the fundamentals of Sri Lankan cuisine, and her sister Thilaka in 2005.

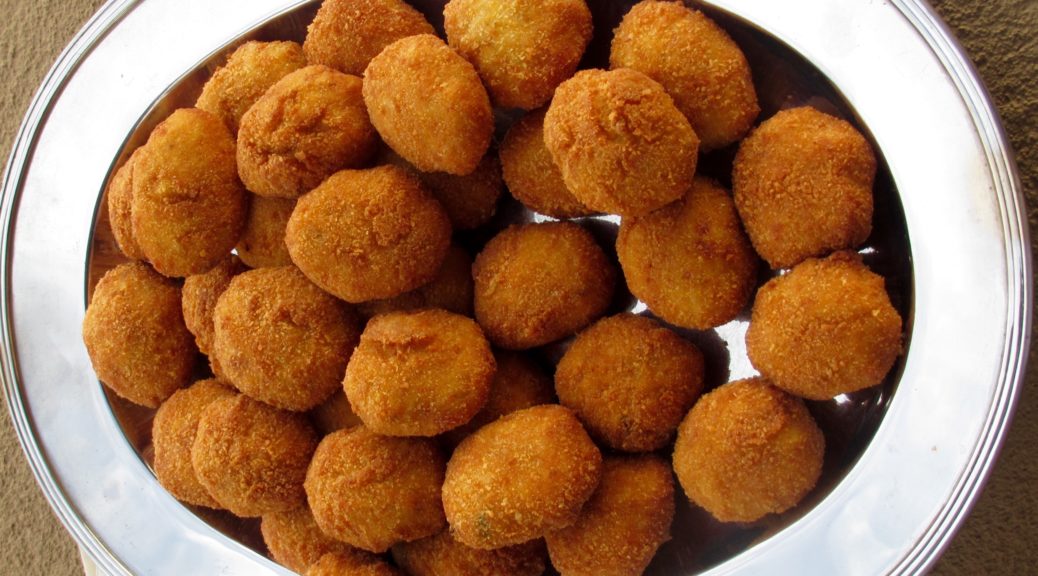
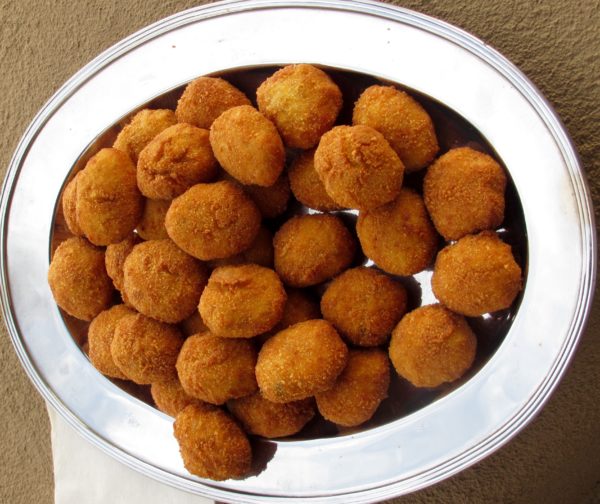
As for the Fish Croquettes, these are actually called Fish Cutlets in Sri Lanka but croquettes would be a more common term in the West.  I think you’ll find that they go really well with cocktails and, if you didn’t tell anyone they were Sri Lankan, nobody would be the wiser.


Follow us on your social media platform of choice


Over the next few months, I will post a few more of my favorite Sri Lankan recipes.  When I started doing this in the late summer, my plan was to post enough recipes for my readers to be able to put together a credible Sri Lankan meal, not that every dish I posted would need to be included but that I would have posted enough of an assortment of recipes to provide a good basis for selection.

Fishing boats in Sri Lanka

I am going to follow through on that plan in the coming months.  Upcoming recipes might include Beef Smoore, Devilled Cashews, Ghee Rice, Pol Sambol, Pork Badun, Beet Curry, Fish Curry, Pickled Lime, Pumpkin Curry, Tempered Cabbage and Peppers, and Wattalappam.  If you’ve got a favorite that you want me to post just let me know!

The blog will be an interesting juxtaposition over the next few months as I chronicle my culinary experience in Italy interspersed with Sri Lankan recipes.

Print Recipe
Sri Lankan Fish Croquettes
Although Tuna is a traditional fish used for cutlets, almost any type of fish will work. Good quality frozen tuna can be used in place of fresh. Curry leaves can be found in many Asian markets. There really is no substitute for them in terms of taste but if not having access to curry leaves is the only thing preventing you from trying this recipe, use another fresh green herb such as basil, thyme, or oregano. These may be served warm or at room temperature.
Votes: 0
Rating: 0
You:
Rate this recipe!
Prep Time 1 hour
Cook Time 1 1/2 hours
Passive Time 4 hours
Servings
croquettes
Ingredients
For the croquettes
For dredging and frying
Prep Time 1 hour
Cook Time 1 1/2 hours
Passive Time 4 hours
Servings
croquettes
Ingredients
For the croquettes
For dredging and frying
Votes: 0
Rating: 0
You:
Rate this recipe!
Instructions
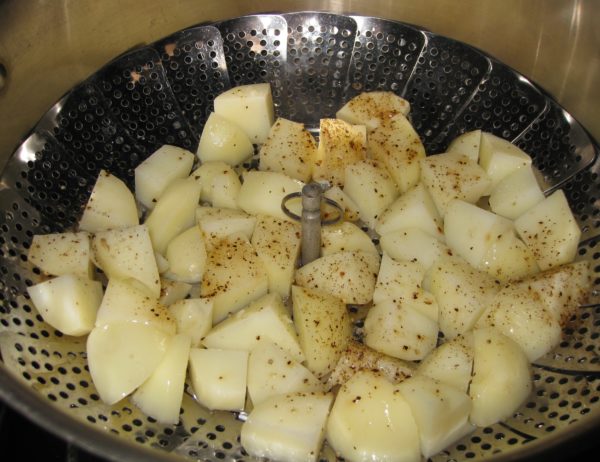
  1. Peel the potatoes. Cut them into pieces approximately ¾ inch on a side.
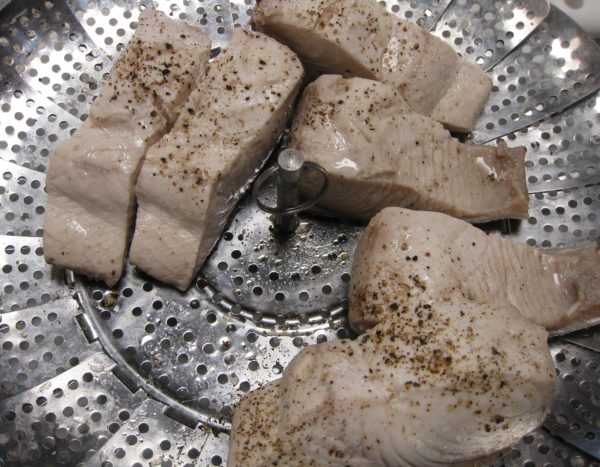
  2. Put the cut potatoes in a steamer basket. Sprinkle with ground black pepper to taste.
  3. Steam the potatoes over boiling water until tender, 15-25 minutes.
  4. Put the cooked potatoes into a mixing bowl.
  5. Cut the fish into strips approximately 1 ½ inches wide.
  6. Put the fish in the steamer basket. Sprinkle with ground black pepper to taste.
  7. Steam the fish over boiling water until fully cooked and flaky, 10-20 minutes. If the fish has skin, remove it after steaming.
  8. Put the fish on a plate to cool.
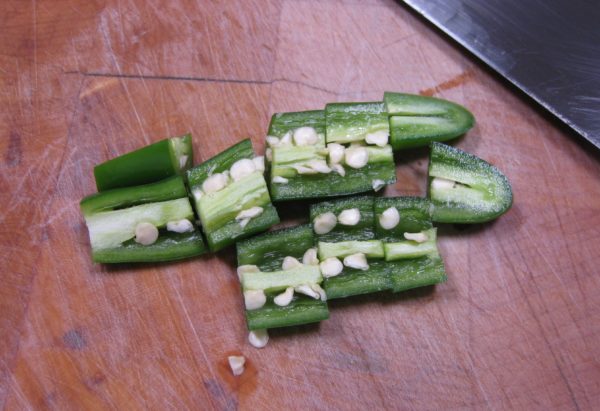
  9. Coarsely chop the green chiles
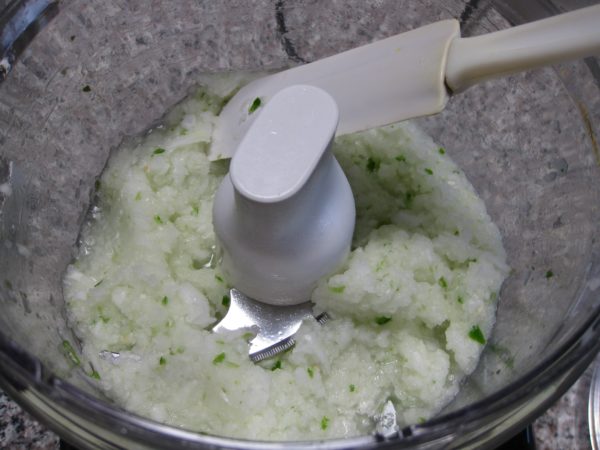
  10. Grind the onions and green chile in a food processor.
  11. Sauté the ground onion mixture, curry leaves, and cumin in the oil until the onion is soft but not brown, 6-8 minutes.
  12. Coarsely mash the partially cooled potato.
  13. Add the fish to the potato and mash again. The mixture should not be completely smooth but there should not be any really large chunks.
  14. Add the onion mixture and salt to the mashed potatoes and fish. Mix well.
  15. Add the eggs and then enough breadcrumbs to bind the mixture. The amount of breadcrumbs needed will vary based on the moisture content. Use your judgement and opt for making the mixture a little loose rather than overly stiff.
  16. Refrigerate, covered, for several hours for the breadcrumbs to fully hydrate.
  17. Taste and adjust salt (and chile if you wish).
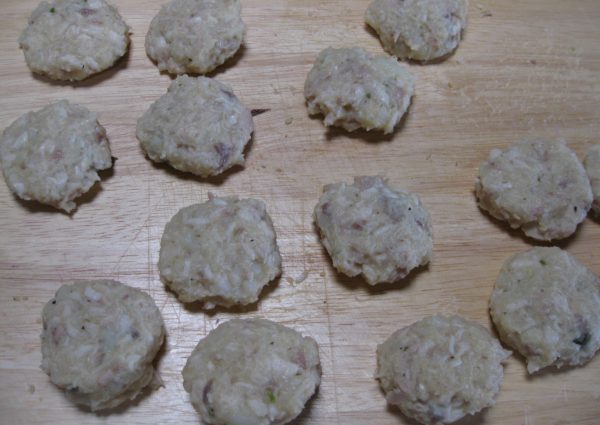
  18. Divide into 50 portions. Shape each into a slightly flattened oval shape.
Final Assembly
  1. Season the flour with salt and freshly ground black pepper to taste.
  2. Beat the four eggs lightly and season with salt and freshly ground black pepper to taste.
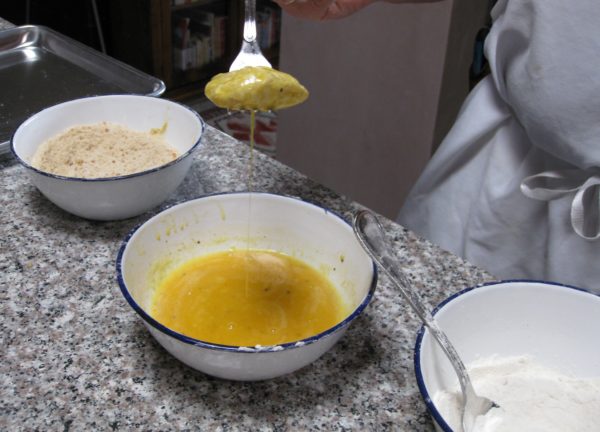
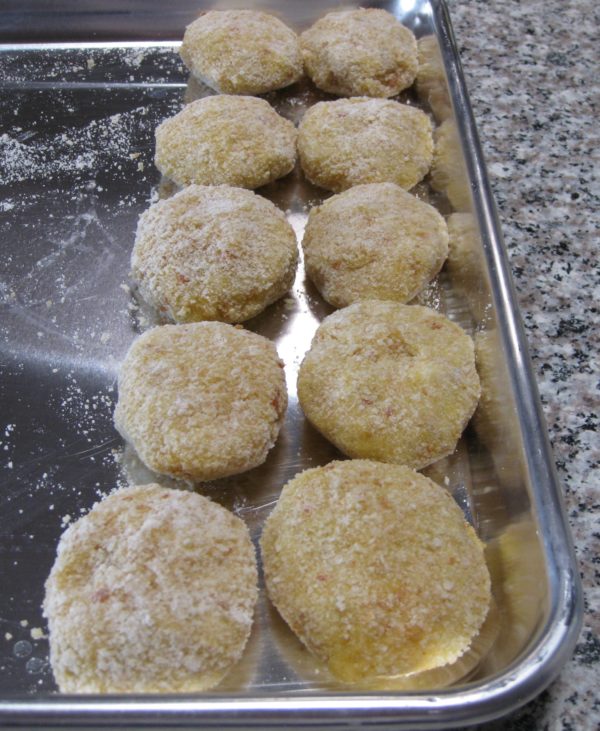
  3. Dredge each croquette in flour, then dip in the beaten egg, then roll in the breadcrumbs.
  4. Refrigerate, uncovered, at least one hour before frying.
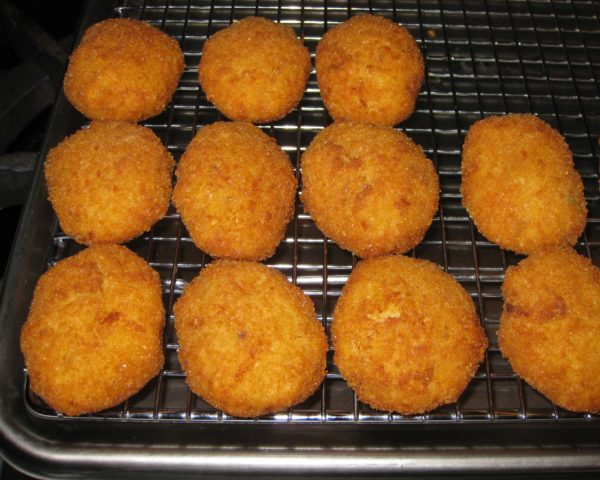
  5. Deep fry the croquettes at 350°F to 375°F until golden brown.
  6. Drain on a rack set in a rimmed baking sheet.
Recipe Notes

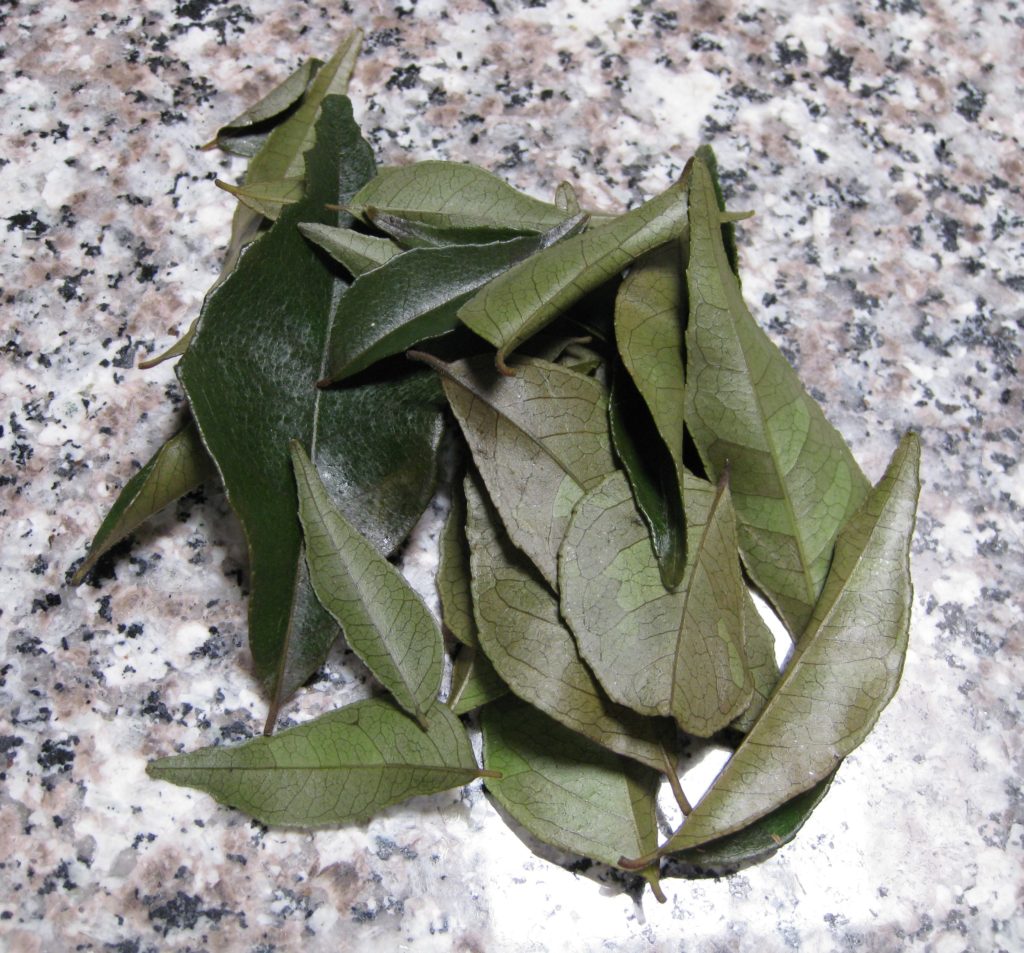
Curry leaves have an alluring flavor that isn't really comparable to any other herb.  I recommend that you try to find them.  You will probably have extra left.  I suggest adding the whole fresh leaves to eggs before scrambling.

Fresh curry leaves

Copyright © 2018 by Villa Sentieri, LLC. All rights reserved.
Share this Recipe

Bertha’s Salsa

April 16, 2018

Bertha was born and raised in Duran, New Mexico.  She was one of 15 children.

If her family lived in Duran now they would constitute 50% of the population of 33 people (35 according to some reports).

With a few dozen residents, Duran doesn’t qualify as an actual ghost town but many of its buildings are abandoned.

One of many abandoned buildings in Duran. This was a general store and hotel adjacent to the railroad tracks.

Duran popped up in the very early 1900’s thanks to the railroad, a common occurrence in New Mexico.  Twenty years later the railroad moved it operations (repair shops, etc.) south to Carrizozo, dealing Duran, population 300 at its peak, a blow.


Click HERE to join our mailing list and you’ll never miss a recipe again!


In the 1930’s US 54 came right through Duran.  The highway traffic revived the town a bit.  In the early 1960’s however, I-25 opened about 60 miles away.  Traffic on US 54 dropped precipitously and Duran entered a downward spiral.

A sign without a purpose

Bertha has been our housekeeper in Alamogordo for the last five years.  As you may know, my husband is the Medical Director for Behavioral Health at the Gerald Champion Regional Medical Center in Alamogordo.

He’s in Alamogordo during the week and back home in Santa Fe on the weekends.

The fastest way from Santa Fe to Alamogordo involves US 54, so Frank and I know Duran well.  It’s almost the halfway point of the trip.

Another abandoned building

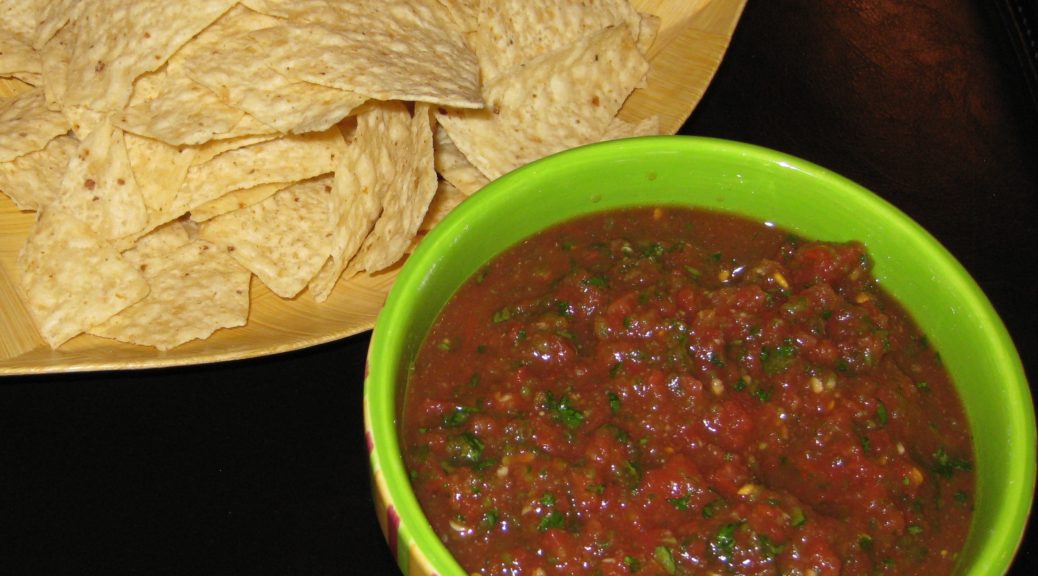
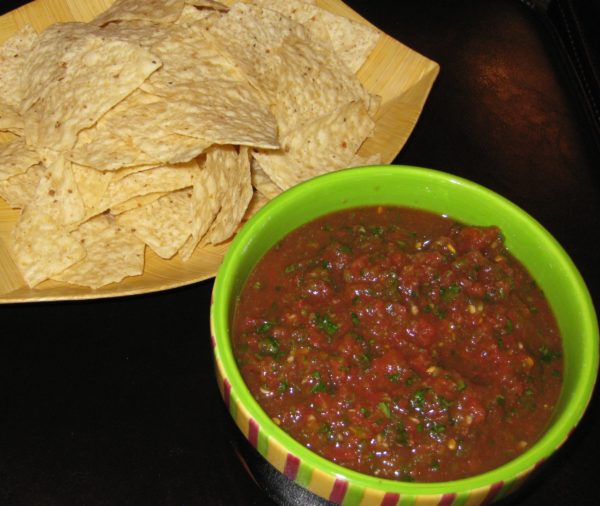
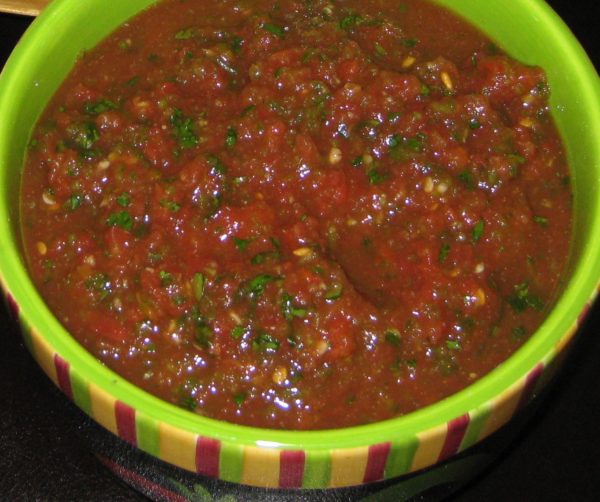
Bertha loves to cook.  She periodically leaves goodies in the fridge in Alamogordo.  This salsa appears frequently.  It’s an interesting recipe using canned tomatoes and garlic powder.  The canned tomatoes mean that it’s a year-round treat which does not require the red-ripe tomatoes of late summer.


Follow us on your social media platform of choice


I’m not sure why the garlic powder instead of fresh garlic but there are several dishes that I make that turn out better with garlic powder than with fresh garlic (like my mother’s roast turkey and chicken).  So, I didn’t play with Bertha’s recipe.

And yet another

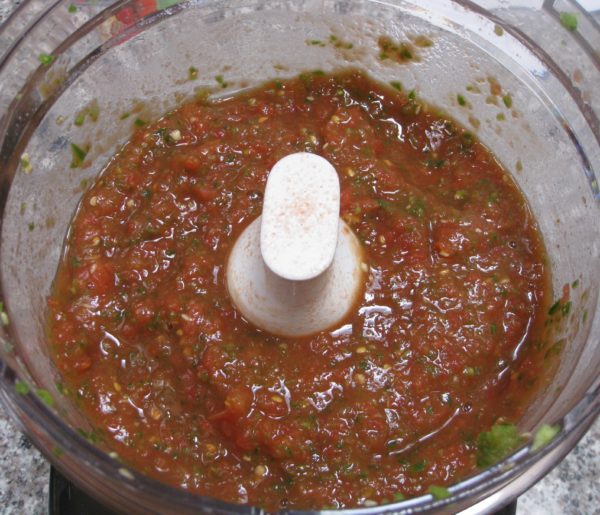
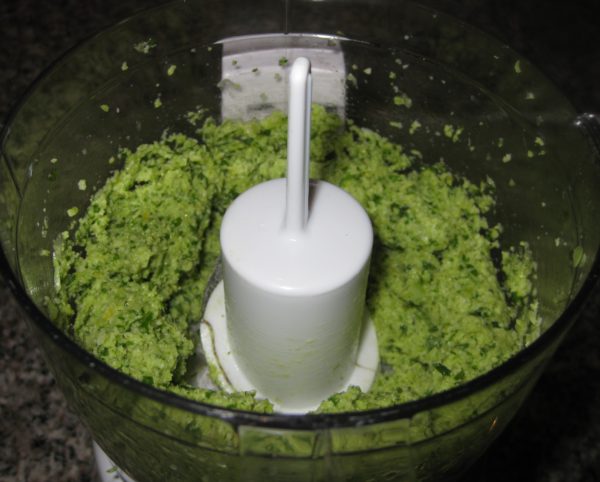
Just whizz everything in the food processor and refrigerate for several hours for the flavors to blend and you’ve got an amazing salsa with almost no work.

The fire department is still in operation

Frank is leaving Alamogordo at the end of June.  We’re going to miss Bertha, her husband Miguel, and the surprise treats that occasionally appear in our refrigerator!

Print Recipe
Bertha's Salsa
Since this salsa doesn’t use fresh tomatoes it can be made year-round. Despite the use of canned tomatoes and garlic powder it tastes bright and fresh.
Votes: 0
Rating: 0
You:
Rate this recipe!
Prep Time 5 minutes
Passive Time 2 hours
Servings
cups
Ingredients
Prep Time 5 minutes
Passive Time 2 hours
Servings
cups
Ingredients
Votes: 0
Rating: 0
You:
Rate this recipe!
Instructions
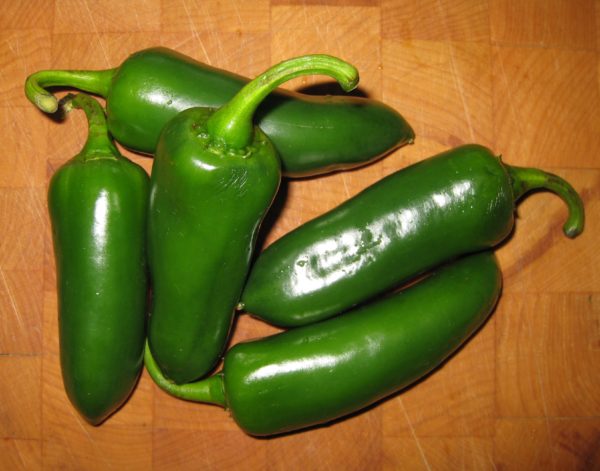
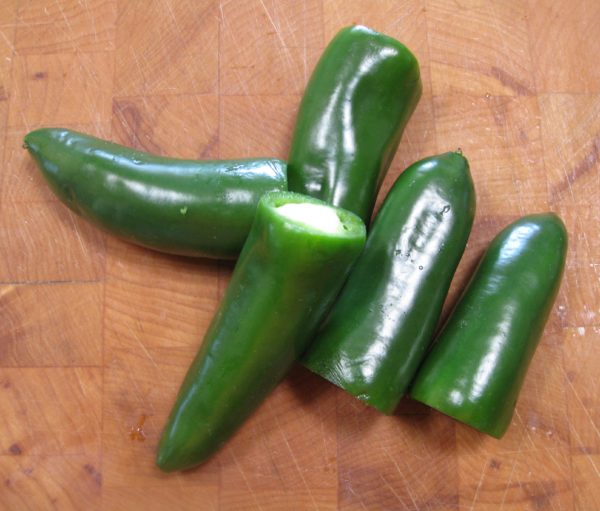
  1. Cut the tops off the jalapenos.
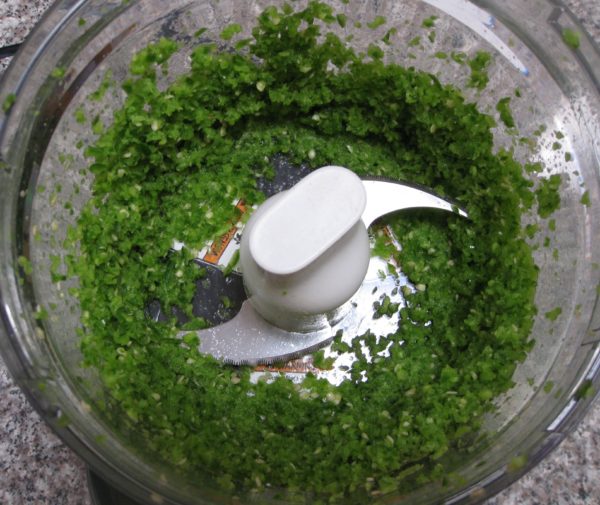
  2. Put the jalapenos in a food processor and chop finely.
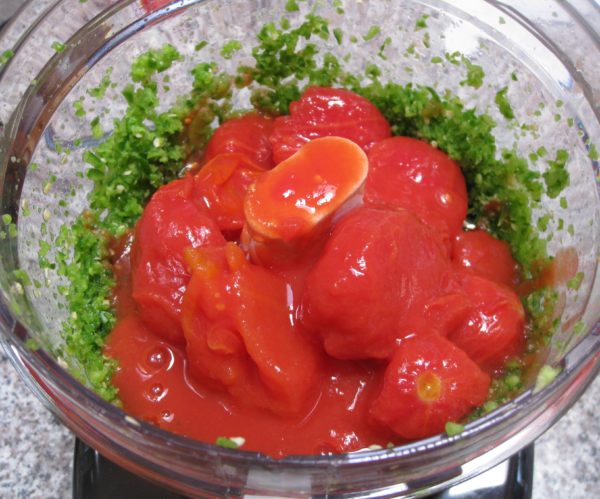
  3. Add the tomatoes and pulse until chunky.
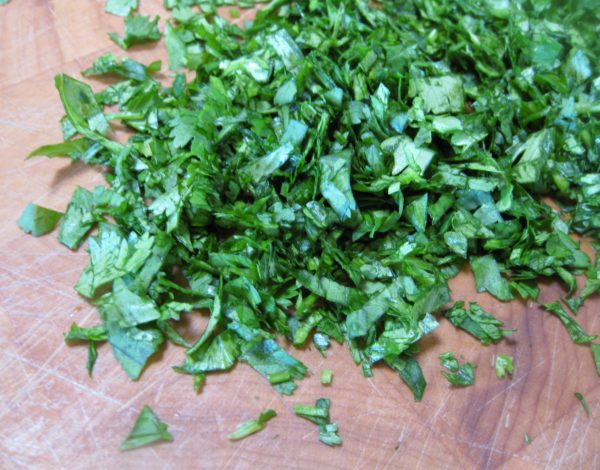
  4. Remove from the food processor and add cilantro, salt, and garlic powder. Mix well.
  5. Add a bit of lemon or lime juice to perk up the flavor. The amount will depend on the tomatoes.
  6. Adjust salt and garlic powder.
  7. Refrigerate several hours to allow the flavors to blend.
Recipe Notes

Copyright © 2018 by VillaSentieri.com. All rights reserved.
Share this Recipe

Marisa’s Mystical Meatballs

February 9, 2018

These meatballs are really mystical if you consider the sway they hold on my husband, his brother, and his father.  They go wild for these meatballs.

Well, wild in that very restrained Northern Italian way.

If they were Southern Italian, where a dinner conversation can seem like a minor riot, their meatball response would barely register on the scale.  It would signal almost utter disregard for the meatballs.

But that, in fact, is not the case.  The meatballs hold some sort of magical, mystical charm.

Marisa, of course, is my mother-in-law and these are her meatballs.  She considers them quite unusual, having learned to make them from her mother and basically not remembering any other relatives or friends making something similar.

And, as meatballs, they ARE unusual!

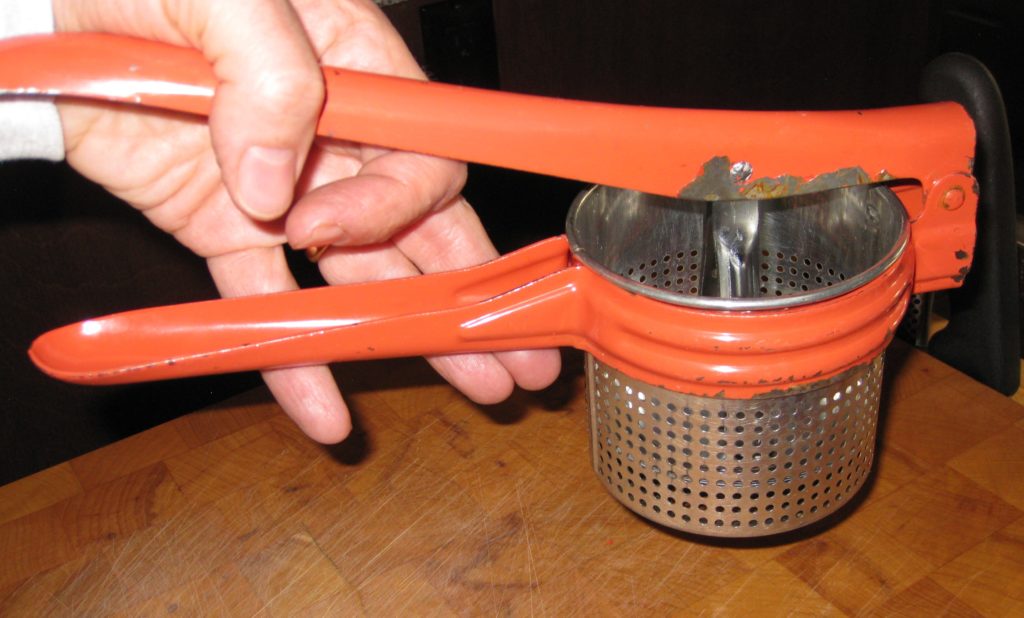
An old-fashioned ricer is still an indispensable piece of kitchen equipment. Make sure yours is very sturdy. Many new ones are not.

Click HERE to join our mailing list and you’ll never miss a recipe again!


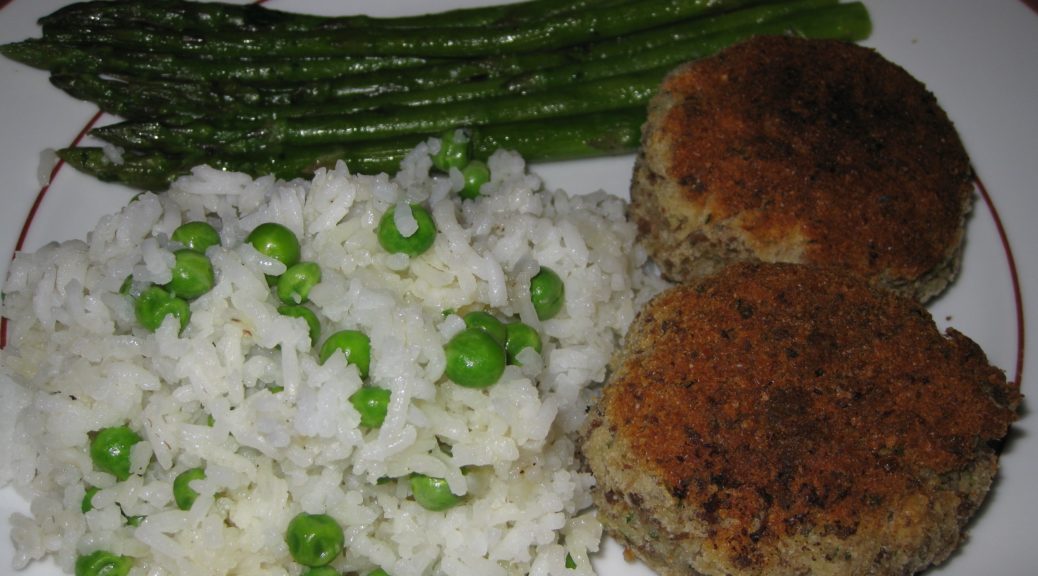
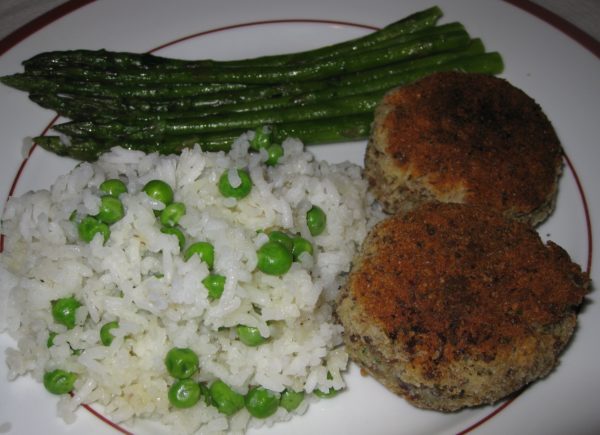
But here’s a secret that I haven’t told anyone yet.  They really AREN’T meatballs.  They’re croquettes!  Crocchette in Italian.

There, I said it.  Marisa’s Mystical Meatballs aren’t really meatballs.  But everybody in the family calls them “Ma’s Meatballs.”  “Ma’s Croquettes” doesn’t have the same alliterative allure, even if it’s more accurate.

My mother-in-law and father-in-law celebrating his birthday.

When I did a Google search for crocchette, Google turned up about 1,730,000 results in 0.51 seconds.  When I searched for crocchette patate e carne (potato and meat croquettes), Google returned 1,500,000 results in 0.72 seconds.

And that was doing searches in Italian!

I found a Japanese woman who seems to have the same relationship to her mother’s meat and potato croquettes (korokke) as my husband and his family have to his mother’s.


Follow us on your social media platform of choice


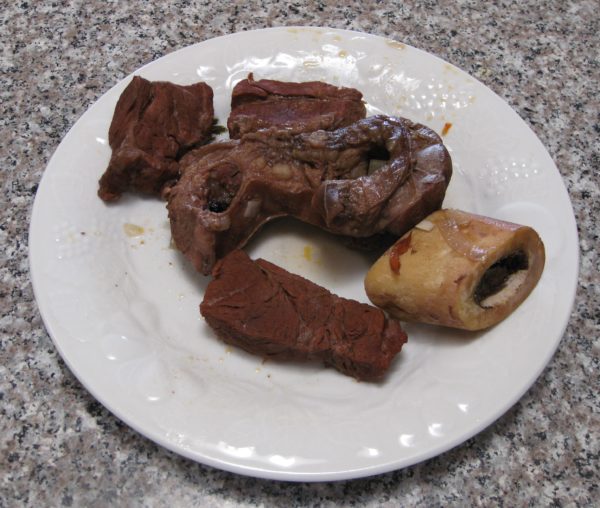
The meat for these “meatballs” (a word I’ll use in deference to my husband and his family of origin) is boiled before being finely chopped.  This presents a perfect opportunity to make a really nice beef broth.  You don’t have to do that, of course, but since you’re going to be boiling the meat anyhow, and since it only takes a few extra minutes to throw some aromatics into the pot, why not!

The broth from the meat for the specific batch of meatballs shown in this blog is sitting in the freezer ready to be turned into Auntie Helen’s Stracciatella, which will be coming up on the blog next month.


If you have a favorite family recipe and a bit of a story to tell, please email me at santafecook@villasentieri.com and we can discuss including it in the blog. I am expanding the scope of my blog to include traditional recipes from around the country and around the world. If you haven’t seen Bertha’s Flan or Melinda’s Drunken Prunes, take a look.  They will give you an idea of what I’m looking for.


Print Recipe
Marisa's Mystical Meatballs
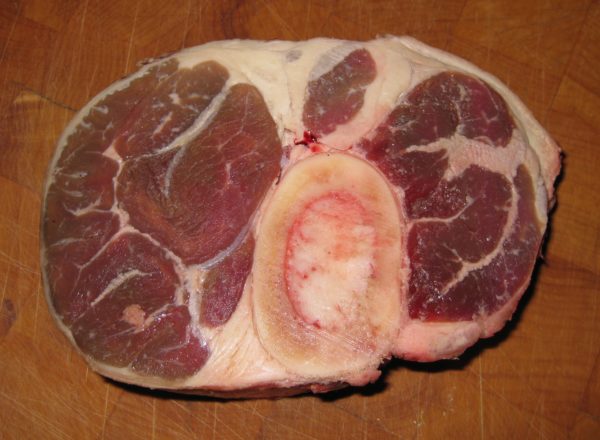
Marisa says she usually uses cross-cut beef shank for the meatballs. When we made them, she also had a piece of beef she bought for soup so we used both. In the end, we got ½ pound of cooked beef, with fat and gristle removed. Adjust the proportion of the other ingredients if you get substantially more or less cooked beef. If you want to use just cross-cut beef shank, I would try about 2 ½-3 lbs. The beef is boiled and then finely chopped to make the meatballs, giving you the opportunity to make a really nice beef broth with just a few minutes more work.
Votes: 0
Rating: 0
You:
Rate this recipe!
Prep Time 30 minutes
Cook Time 6 hours
Servings
meatballs
Ingredients
Beef and Broth
Meatballs
Prep Time 30 minutes
Cook Time 6 hours
Servings
meatballs
Ingredients
Beef and Broth
Meatballs
Votes: 0
Rating: 0
You:
Rate this recipe!
Instructions
Beef and Broth
  1. Cross-cut beef shank.
  2. Put the meat and all other broth ingredients in a large stock pot.
  3. Cover with abundant cold water.
  4. Bring to a boil, reduce heat and simmer, partially covered, for 4-6 hours, until the meat is very tender.
  5. Remove and cool the beef.
  6. Strain the broth and reserve for another use.
Meatballs
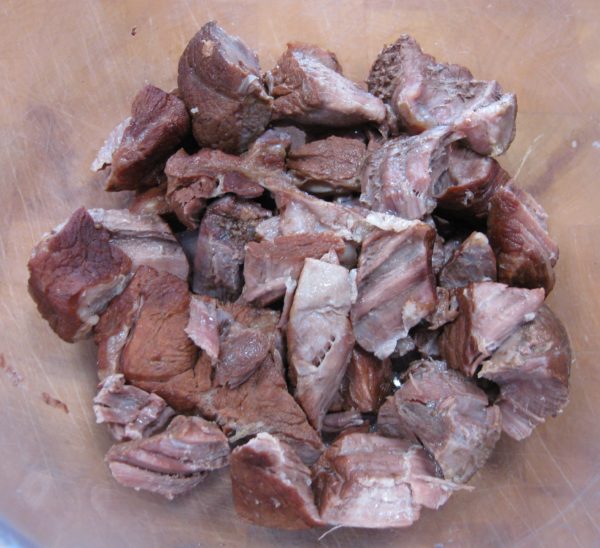
  1. Remove fat, gristle and bone from beef. You should have approximately ½ pound of cooked beef.
  2. Cook the unpeeled potatoes in boiling water until you can easily pierce them with the tines of a long fork or paring knife, 20-25 minutes.
  3. Remove the potatoes from the water and allow to cool for about 10 minutes.
  4. Meanwhile, mince the garlic or grate it on a microplane grater.
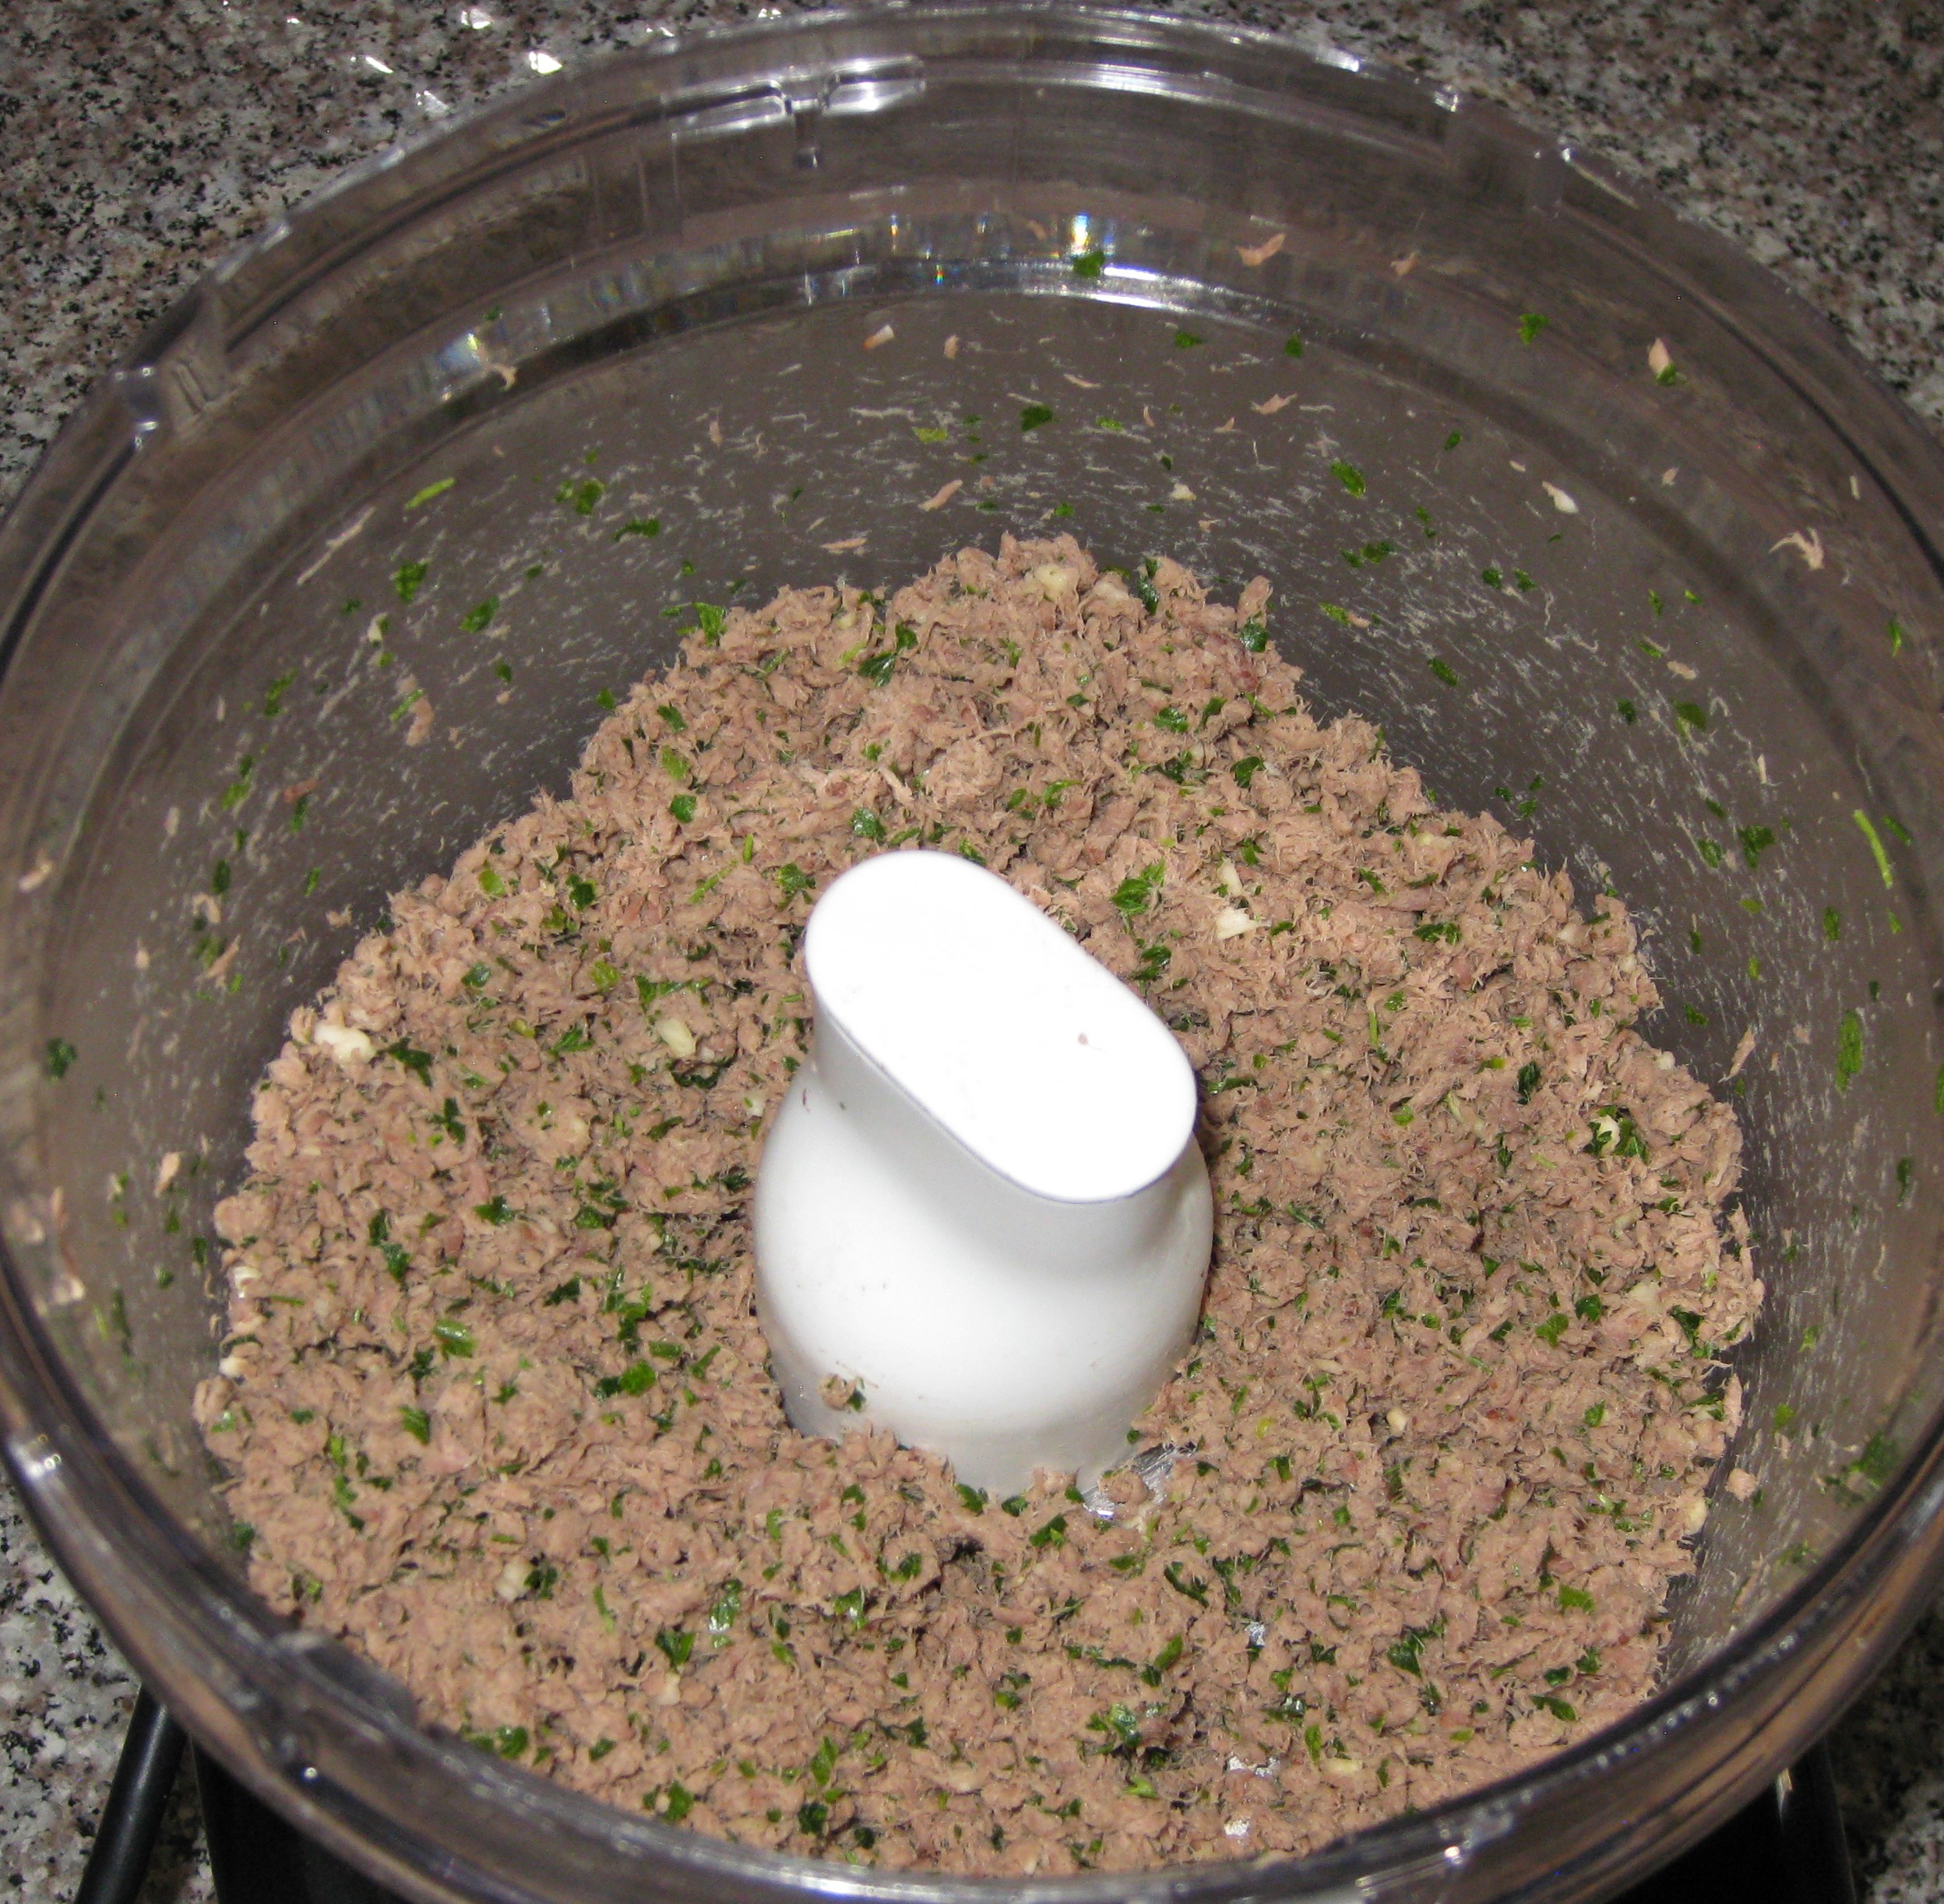
  5. Combine beef, parsley and garlic in a food processor. Process until finely chopped.
  6. Peel the slightly cooled potatoes. If they are too cool it will be difficult to rice them.
  7. Pass the potatoes through a ricer.
  8. Combine the beef mixture with the potatoes, nutmeg, allspice, salt and black pepper.
  9. Mix well with a large spoon or your hands.
  10. Add the lightly beaten eggs.
  11. Mix well using your hands.
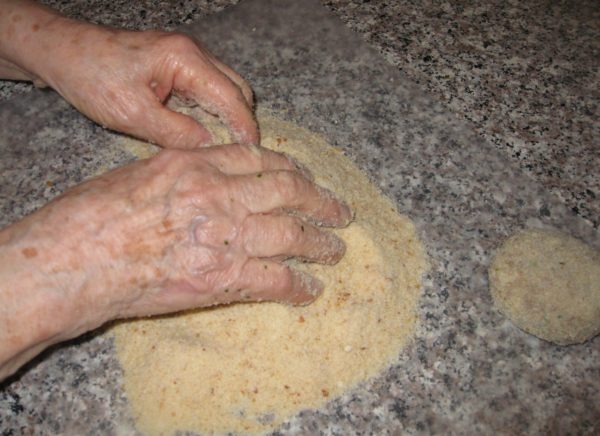
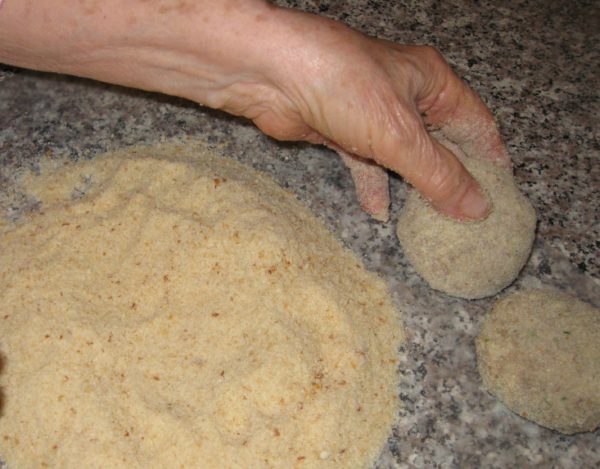
  12. Form the mixture into 16 balls and then flatten them slightly.
  13. Lightly roll the meatballs in fine dry breadcrumbs.
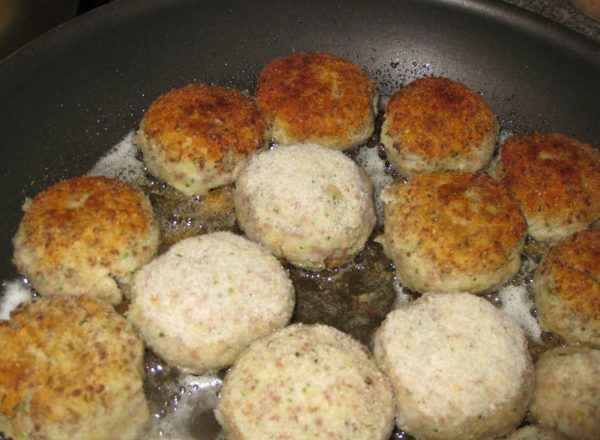
  14. Pour ⅛ inch of oil into a large sauté pan.
  15. Heat the oil on medium-high heat.
  16. Fry the meatballs in two batches, on medium-high, flipping once, until brown.
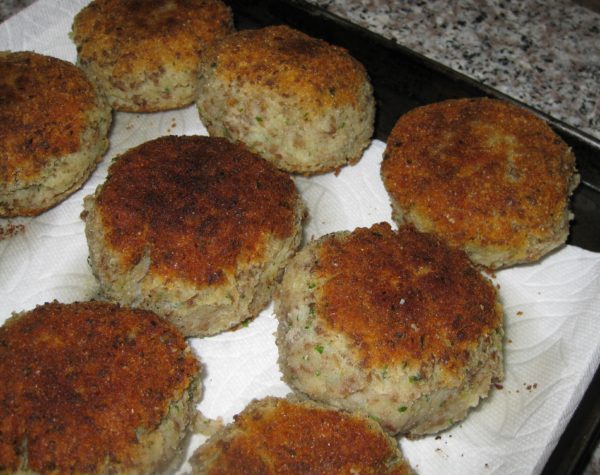
  17. Drain on paper towels.
  18. Serve warm or at room temperature.
Recipe Notes

Copyright © 2018 by VillaSentieri.com. All rights reserved.
Share this Recipe

Roasted Sweet Peppers

October 2, 2017

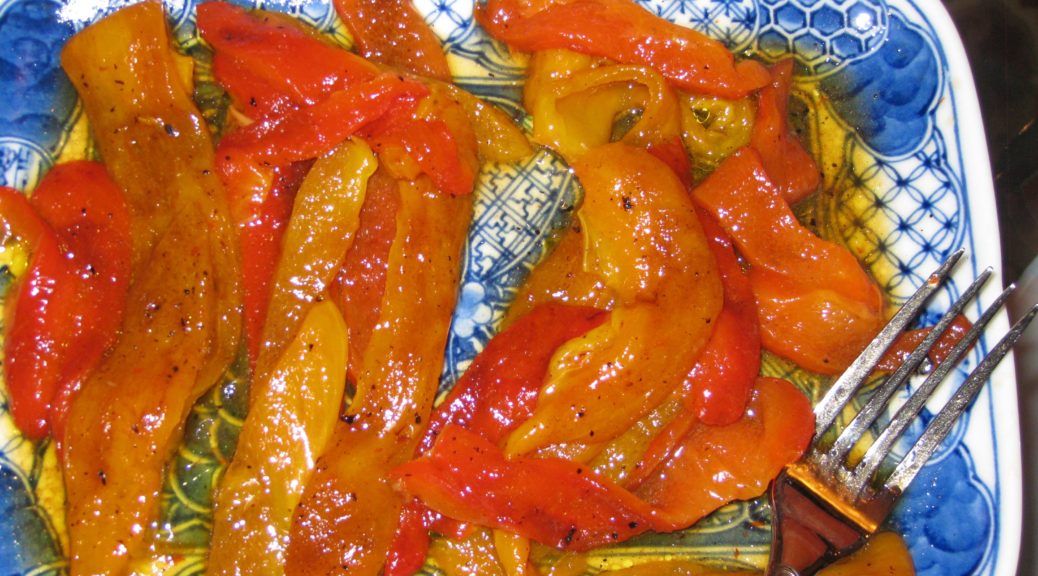
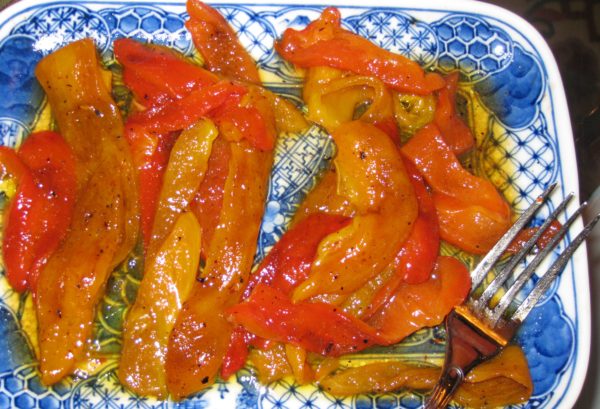
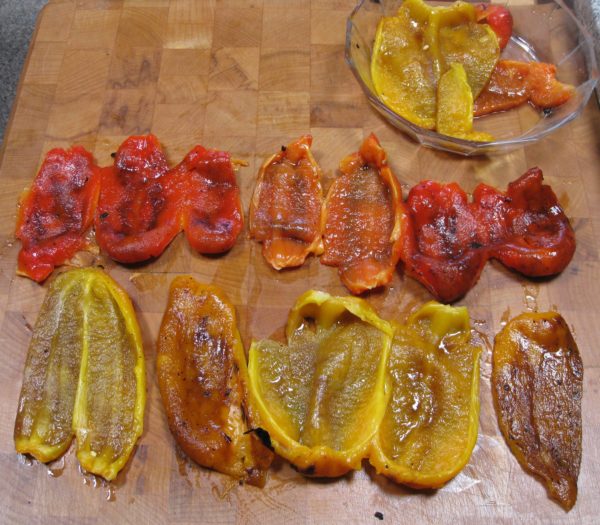
Roasted peppers are a classic of Italian cuisine. They are a perfect example of ingredient-driven cooking. All that is required are good peppers, good olive oil, and a few minutes of scorching heat. There’s no way to hide bad ingredients, since there are only two (not counting salt).

A wonderful presentation is to prepare an array of roasted vegetables such as peppers, onions, zucchini, tomatoes, eggplant, and scallions served artfully arranged on a platter and anointed with extra-virgin olive oil and sea salt.

It’s a “wonderful” presentation because it looks beautiful, it tastes great, it’s easy to prepare, and it can all be done in advance and served at room temperature. It makes an impressive antipasto platter in the winter and an inviting warm-weather side-dish in the summer.

But let’s not get carried away. Peppers are classic and work very well on their own. If you like how they turn out you can experiment with other vegetables.

The first time I got serious about making these was back in the late 1980s when we lived in Chicago. We had a four story townhouse. The top floor was the master suite with a very large deck. We had redwood planters made to encircle the perimeter of the deck. In addition, we added scores of pots and, when things got a little too crowded on our deck, we expanded to Billy and Carla’s deck next door!

We grew an amazing amount of produce on that deck. I can’t begin to remember all of it but it included tomatoes, tomatillos, sweet peppers, hot peppers, eggplant, a fig tree, corn, cucumbers, zucchini, and an abundance of herbs including enough basil to feed a small country. We installed a grape arbor but the grapes didn’t do well.

We bought an upright freezer and put it in the garage so that we could put up food from the garden.

One year I roasted peppers and conserved them under a layer of olive oil in the refrigerator. They were good but I subsequently discovered that the USDA recommends against this technique as the covering of oil creates an environment where anaerobic bacteria, like the one that causes botulism, can grow.

After that first year, I didn’t preserve roasted peppers in olive oil again but I did make flavored olive oils and flavored vinegars every year right up until we moved full-time to Santa Fe. The USDA has the same recommendation regarding putting herbs in oil but, for some reason, I chose to ignore the advice.

These days, when I want roasted peppers, I just buy fresh peppers at the farmers market, farm stand, or supermarket and roast them. Luckily Bell peppers are available year-round.

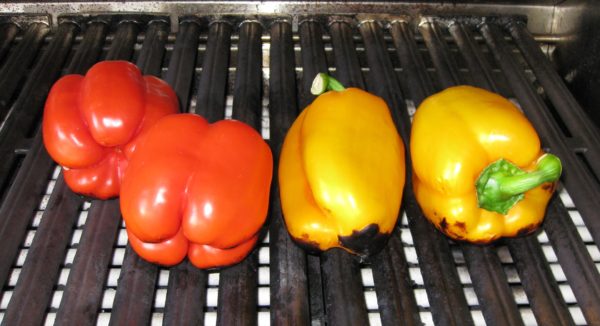
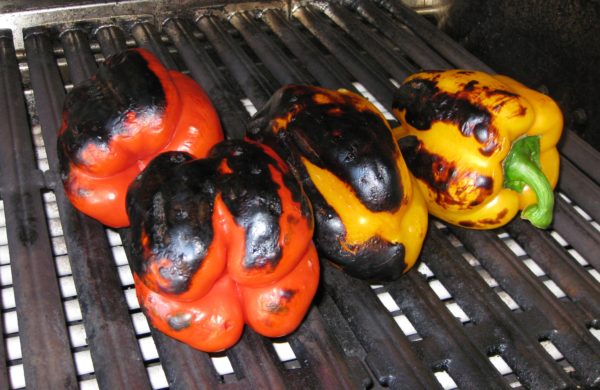
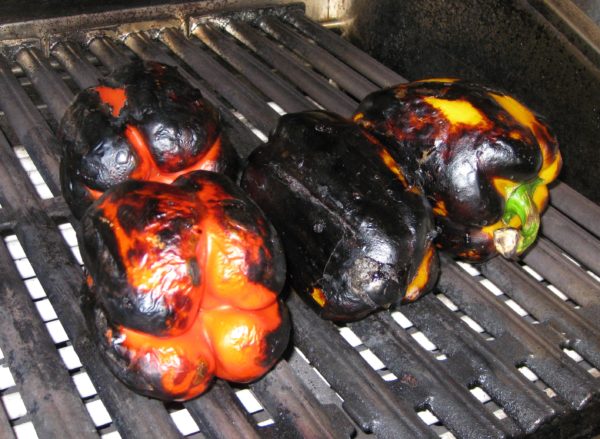
In addition to good-quality ingredients, scorching heat is required. The idea is to blacken and blister the skin quickly. If you do that too slowly the flesh of the pepper cooks too much and becomes mushy. For all practical purposes, you cannot blacken the skin too quickly. The flesh will always cook enough to be good. My usual method, as described here, is to use my gas grill on very high heat. If I only want to roast one or two peppers, I put them directly on the gas flame of my stove. Like I said, you cannot blacken the skin too quickly.

As good as the peppers are on their own, they can be used as ingredients in other dishes. Remember the uncooked tomato sauce I posted a few weeks ago? I said that the dish could be made with roasted peppers when tomatoes aren’t in season. Now that tomato season is coming to an end, consider roasting a few extra peppers and using them to make pasta later in the week.


Follow us


Click HERE to join our mailing list and you’ll never miss a recipe again!

Print Recipe
Roasted Sweet Peppers
Red, yellow, and orange bell peppers are sweeter than green ones because they are fully ripe. I usually use an array of different colored peppers. Many recipes suggest steaming the peppers in a paper bag after roasting. I don’t like using a bag as it absorbs the juice that comes out of the peppers. A heatproof bowl with a tight-fitting lid allows the peppers to steam and preserves the pepper juices.
Votes: 0
Rating: 0
You:
Rate this recipe!
Prep Time 15 minutes
Cook Time 15 minutes
Passive Time 20 minutes
Servings
Ingredients
Prep Time 15 minutes
Cook Time 15 minutes
Passive Time 20 minutes
Servings
Ingredients
Votes: 0
Rating: 0
You:
Rate this recipe!
Instructions
  1. Heat a gas grill on the highest setting for at least 10 minutes.
  2. Put the peppers on the grill. Cover the grill
  3. Keep the heat on high.
  4. Turn the peppers every few minutes until the skin is evenly blackened.
  5. You will probably have to stand the peppers on their bottom end to get that part blackened.
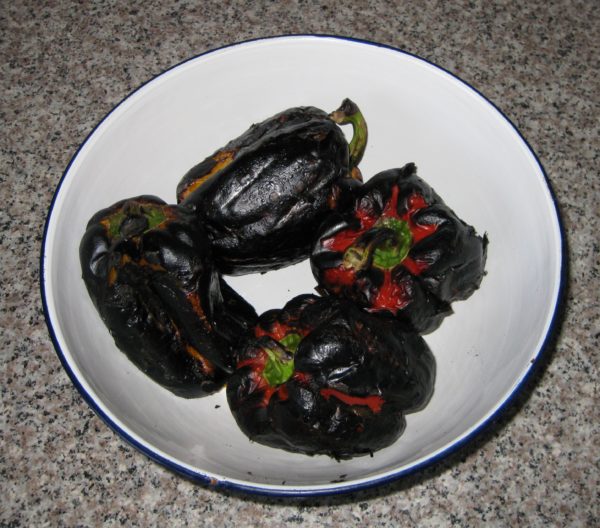
  6. When the skin is black, put the peppers in a heatproof dish with a tight-fitting cover.
  7. Cover and allow the peppers to cool and steam for 10-20 minutes. This will finish cooking the peppers and loosen the skin.
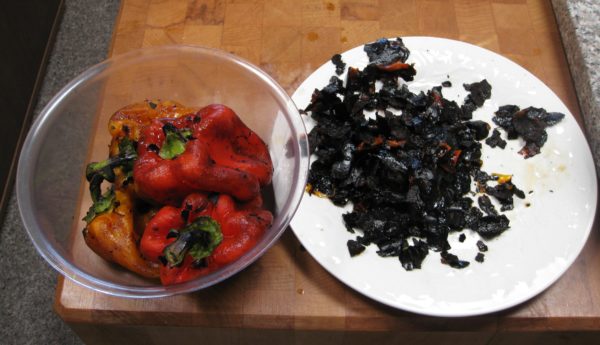
  8. Holding the peppers over the dish to catch any liquid, remove the blistered skin using your fingers. The skin should slip off easily.
  9. Split the peppers in half. Using the tip of a sharp knife, remove the fleshy ribs of the peppers. Remove the seeds.
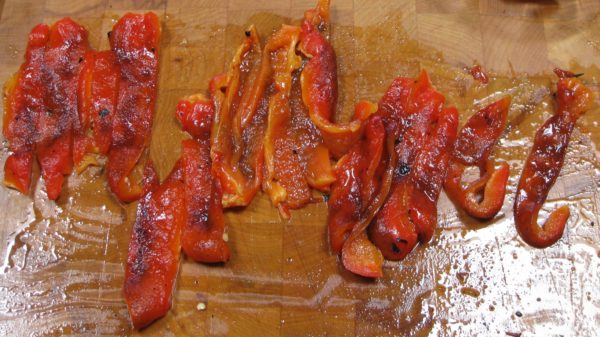
  10. Slice the peppers lengthwise in ½ inch wide strips.
  11. Pour the collected juices over the peppers, straining out seeds and skin.
  12. Sprinkle the peppers with olive oil, approximately 1 tablespoon per pepper. Toss well.
  13. Cover tightly and allow the peppers to sit at room temperature for an hour or two.
  14. When ready to serve, toss again and sprinkle liberally with coarse sea salt.
  15. The peppers can be made a day or two in advance and refrigerated after tossing with olive oil. Allow the peppers to come to room temperature for an hour or two before salting and serving.
Recipe Notes

Copyright © 2017 by VillaSentieri.com. All rights reserved.
Share this Recipe

Fried Zucchini Blossoms (Fiori di Zucca Fritti)

August 2, 2017

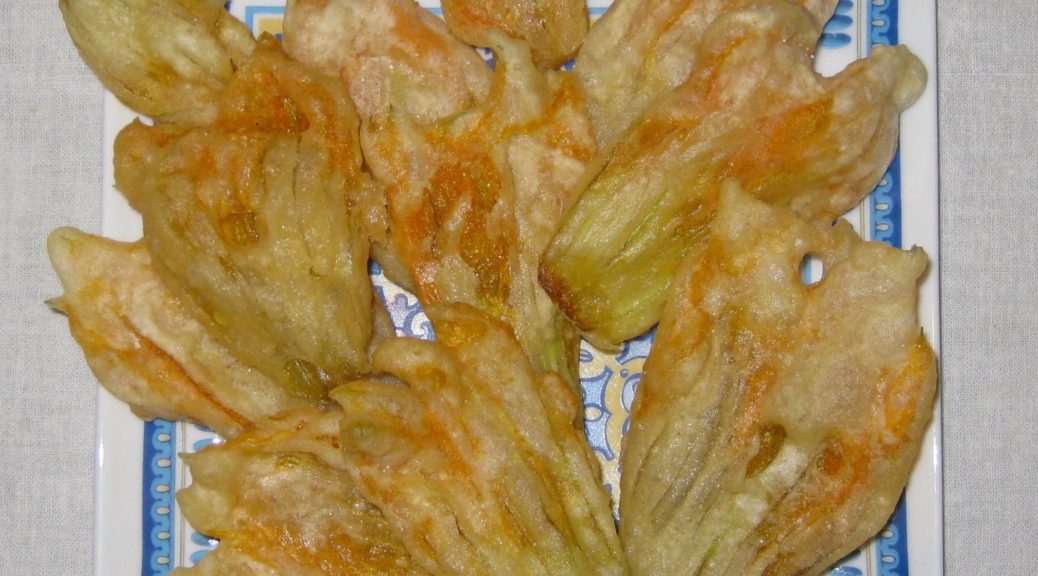
Fried Zucchini Blossoms are one of the joys of summer at our house.

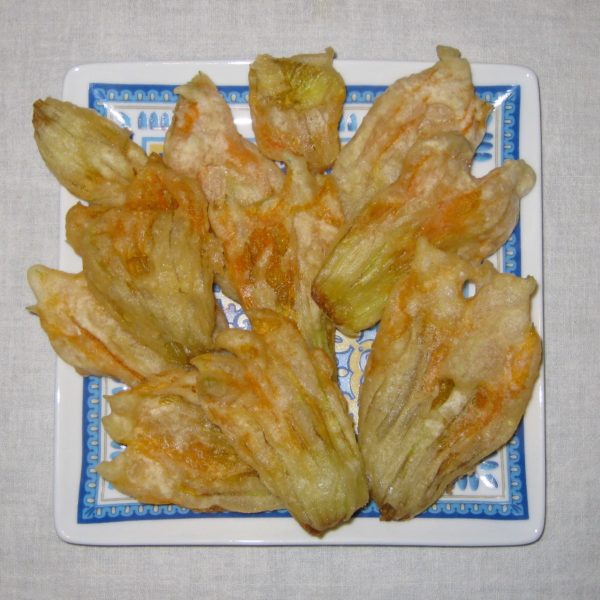
Simple, unadorned flowers, coated with a small amount of an equally simple batter (flour, salt and water), are addictive.

Stuffed zucchini blossoms are common and often quite good but in my estimation the stuffing does not pay homage to the blossom.  One really tastes the stuffing, not the blossom.  This is fine if one has such an overabundance of zucchini blossoms that one can squander them by stuffing them.


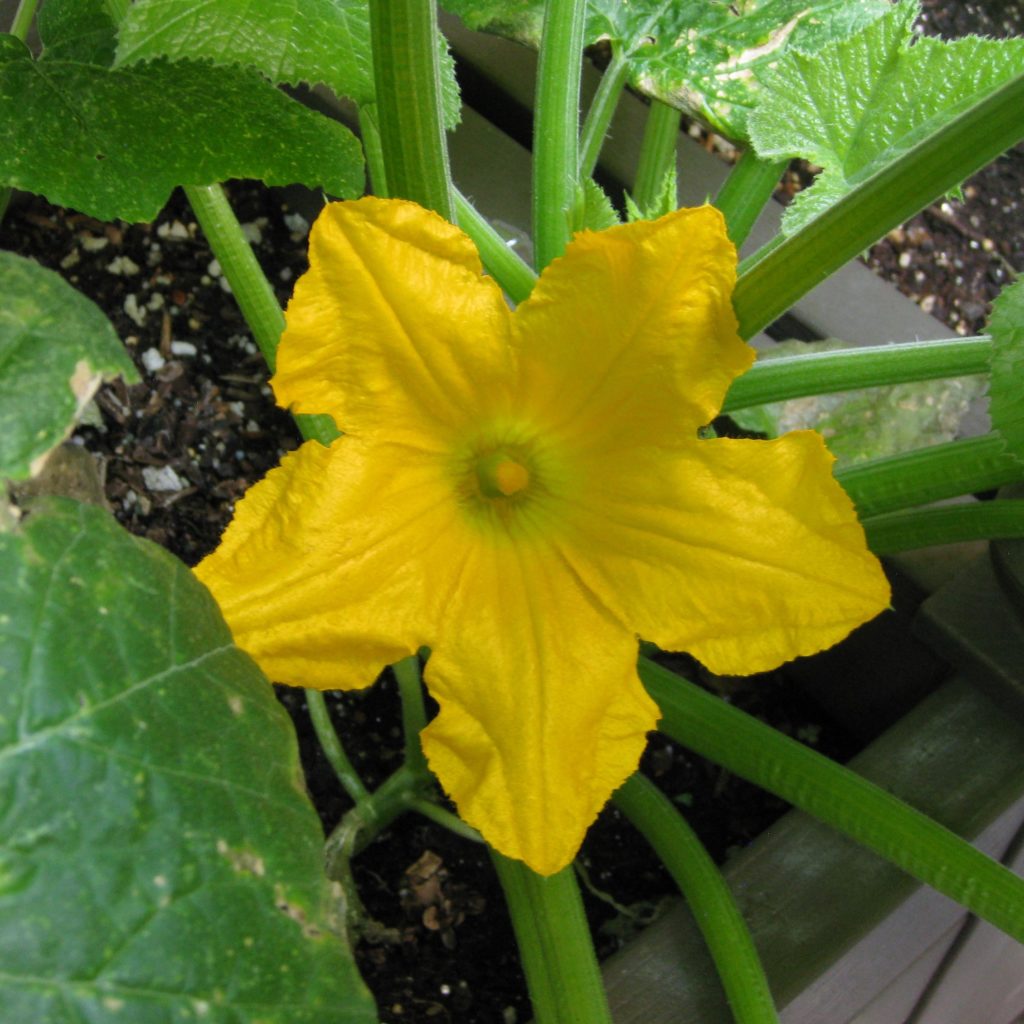
A zucchini blossom in our courtyard container garden.

Don’t get me wrong, I like stuffed zucchini blossoms but I’d much rather nibble my way through the crispy fried flowers with a cocktail.  Bourbon, did someone say bourbon?

On a summer trip to Italy a few years back, one of the pizzas that I kept seeing was topped with zucchini blossoms alternating with anchovies.  It made a striking presentation (which I suppose was the point) but there was no way the taste of the blossoms could stand up to the anchovies.  But taste isn’t everything.  I’ll admit that appearance is equally important.

When I was in college I ate fried food with abandon.  Most of it was fried in lard that I rendered.  My roommate and I would sometimes do an entire meal of fried food in the Italian manner, a frito misto.  These days I rarely eat fried foods except for fried zucchini blossoms and fried sage leaves in the summer.

Over my years of frying I have tried many different batters, with and without eggs (some with whole eggs mixed into the batter and others with the yolk used as part of the liquid and the stiffly beaten white folded in at the last minute to lighten the coating), with and without baking powder, and with club soda or seltzer in place of water or milk, among other variations.  In the end, I settled on the simplest of batters that I had at Great Aunt Fidalma’s house in Tuscany: flour, salt and water.

It works beautifully, turning out a thin crunchy coating.

You can use the batter on most any kind of vegetable though watery vegetables like zucchini and mushrooms are challenging.

My only alternate coating (when I’m cooking in the Italian manner… which is most of the time) is the one my mother used for cauliflower.  She would par-boil the cauliflower, cut it into florets, dip it in egg, and then coat it with fine, dry breadcrumbs.  Because some of the breadcrumbs come off during the frying, the oil has to be strained after every few batches of florets are fried otherwise the loose breadcrumbs start to burn imparting a burnt taste to the cauliflower.  It’s really pretty easy to accomplish as long as you’re prepared for it.

I set up a very fine mesh strainer over an empty pot and use it to strain the oil.  A quick wipe of the pot used for frying and the strained oil can be poured right back in and the pot put back on the heat.  The whole process takes less than 30 seconds.

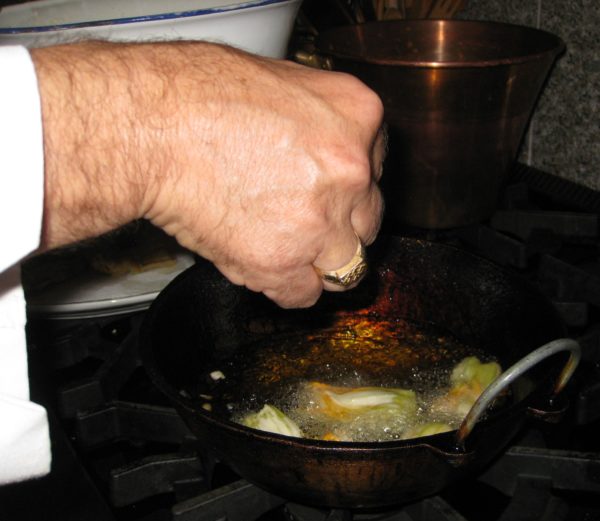
I’ve always fried in a pot on the stove, never in a dedicated deep fryer.  I’ve never even used a thermometer to test the temperature of the oil.  I flick a drop of water on the oil and watch how it skitters across the top to judge when the oil is hot enough.  There’s a lot of trial and error learning involved in this method so I’d recommend you invest in a deep-frying thermometer (or even a dedicated deep fryer) if you’re not already skilled at frying.

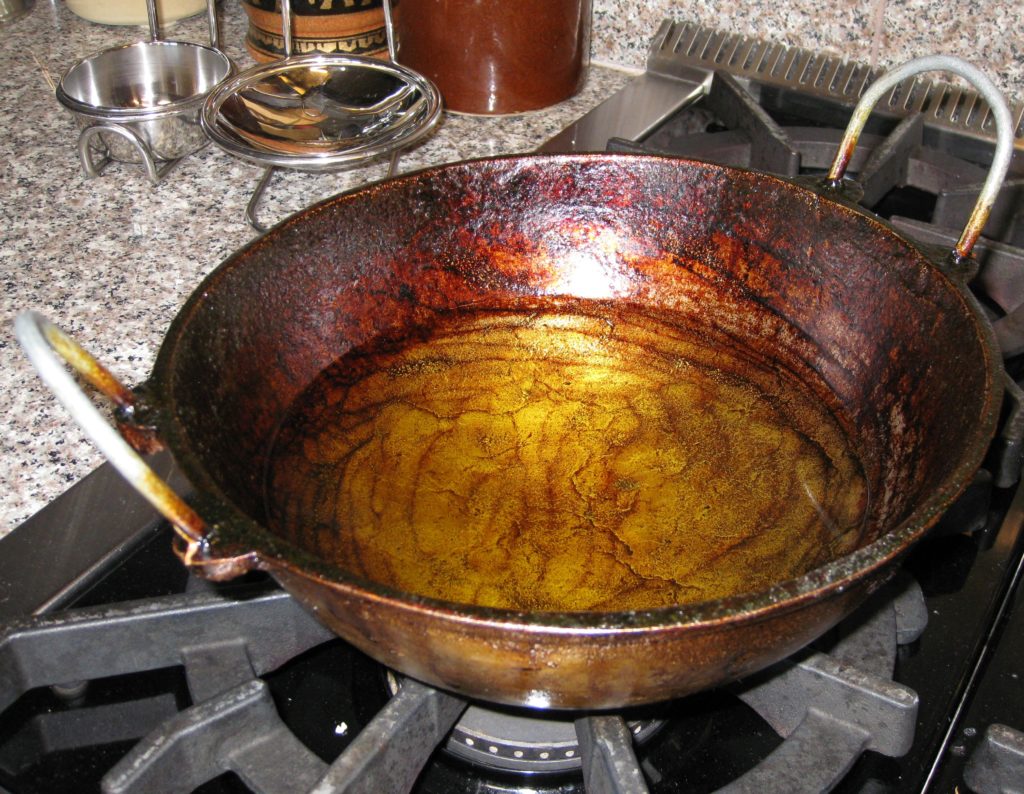
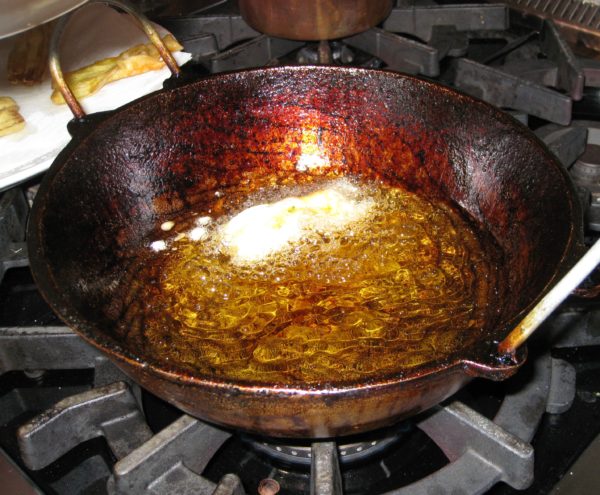
My two favorite pots for deep frying are a Lodge cast iron pot and an Indian-style karahee.  The cast iron is better at holding the temperature steady but the karahee uses less oil because of its curved bottom.  A karahee can only be used on a gas stove, however.

This is the Indian-style Karahee that I brought back from Guyana in the 1970’s.  Fifty-one percent of the population of Guyana trace their ancestry to the Indian subcontinent.

Although I use lard for some baked goods, I don’t deep fry in in on a regular basis any longer.  I use corn oil.  I think it works a little better than other vegetable oils for frying.  Results are even better if one adds a small amount of oil that was previously used for frying to the pot with the fresh oil.

Fried zucchini blossoms are always served informally in our house.  Since they are best right after frying, with just a moment to cool down, everyone gathers in the kitchen, cocktails in hand.  When the first batch comes out of the oil, the flowers are put on absorbent paper while the next batch is battered and put in the oil.  The previous batch is then salted and passed around.  It’s about one minute from the time the flowers come out of the oil until they are being eaten.


Follow us


Click HERE to join our mailing list and you’ll never miss a recipe again.

Print Recipe
Fried Zucchini Blossoms
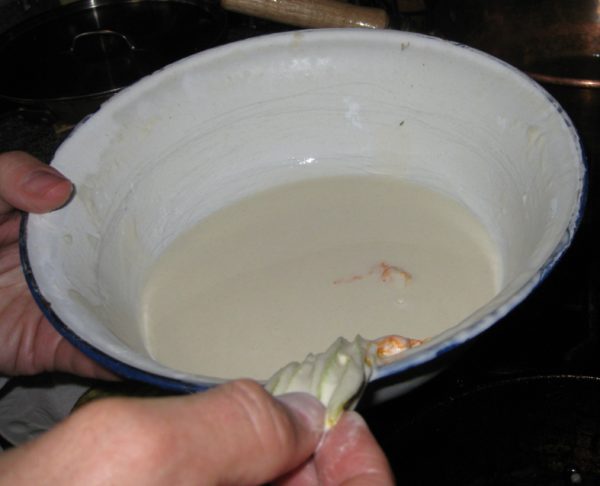
These zucchini flowers are coated with the simplest of batters. The amount of water needed cannot be determined precisely as it will depend on the flour to some extent. Refrigerating the batter allows the flour to fully hydrate, after which it will need to be thinned with a bit more water. Cold batter also sticks to food better than warm batter. Gently scraping the battered flower on the edge of the bowl allows for the amount of batter to be controlled. The flowers should just brown slightly otherwise they can start to taste bitter. Zucchini flowers are very delicate and do not stand up well to rinsing under water so only wash them if absolutely necessary. One cup of flour will make enough batter for at least two dozen flowers.
Votes: 0
Rating: 0
You:
Rate this recipe!
Prep Time 20 minutes
Cook Time 30 minutes
Passive Time 1 hour
Servings
persons
Ingredients
Prep Time 20 minutes
Cook Time 30 minutes
Passive Time 1 hour
Servings
persons
Ingredients
Votes: 0
Rating: 0
You:
Rate this recipe!
Instructions
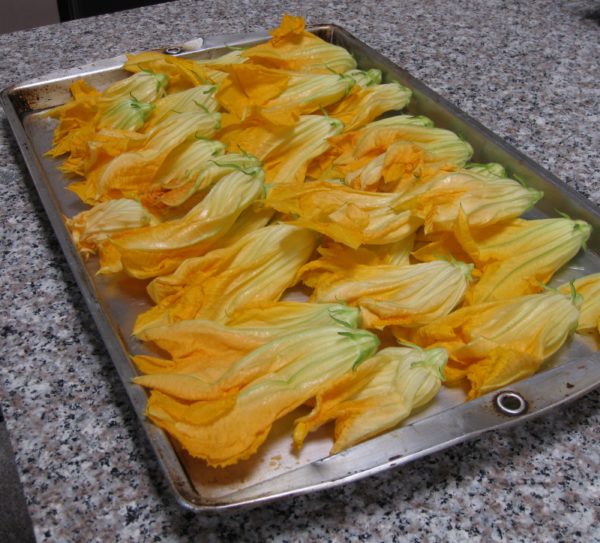
  1. A batch of flowers ready to be cleaned.
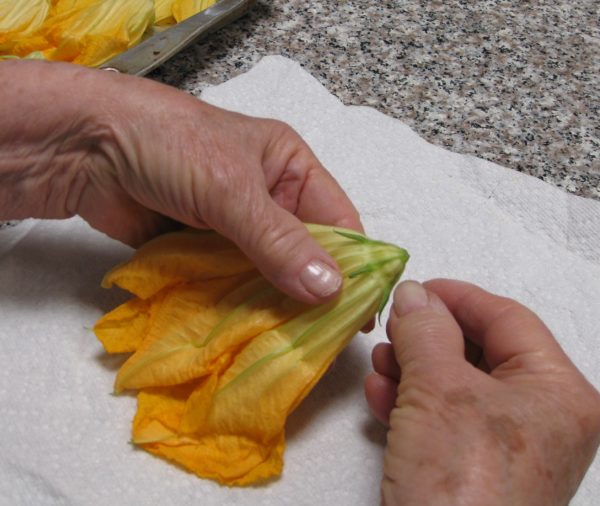
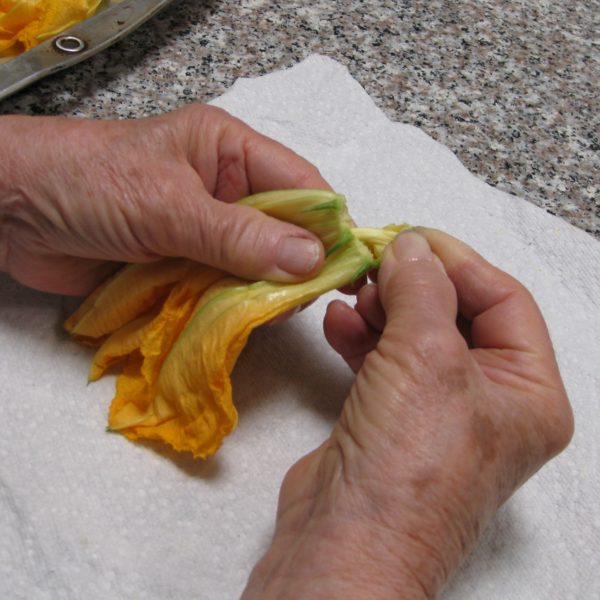
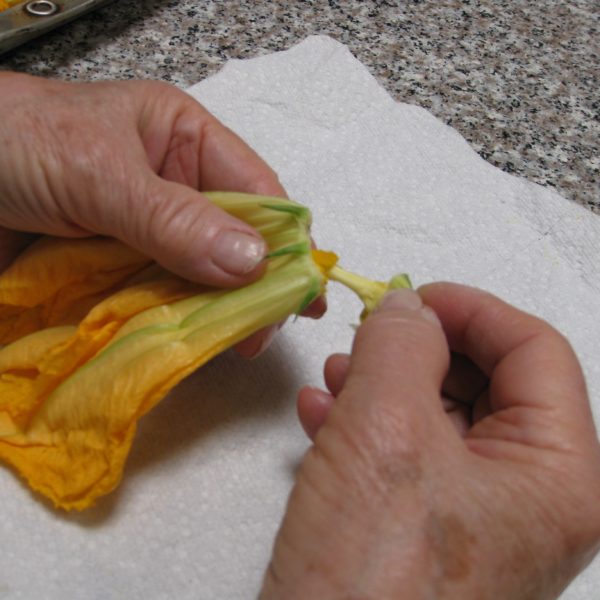
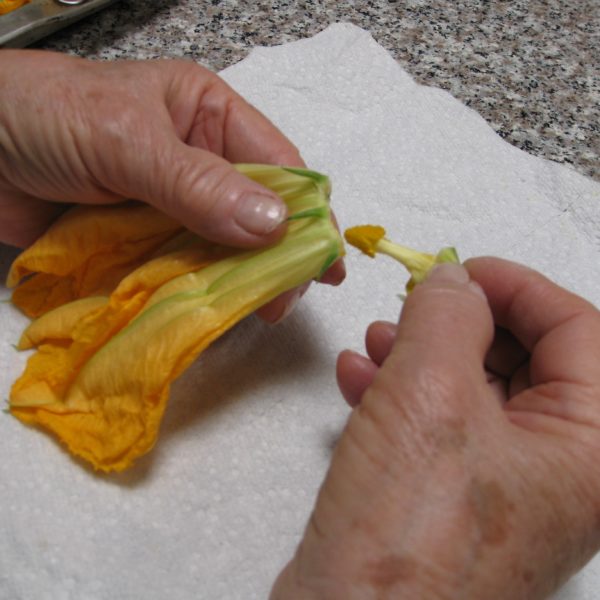
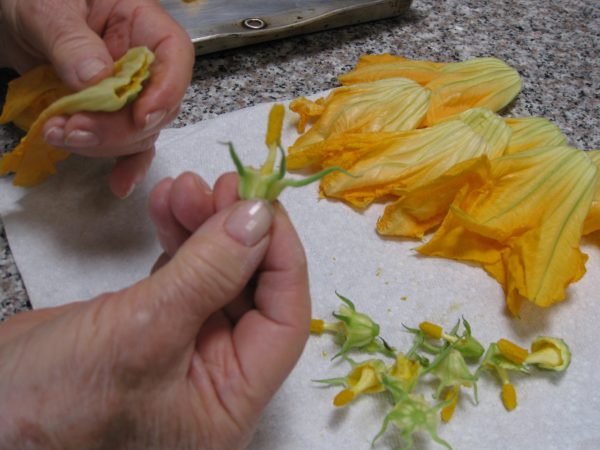
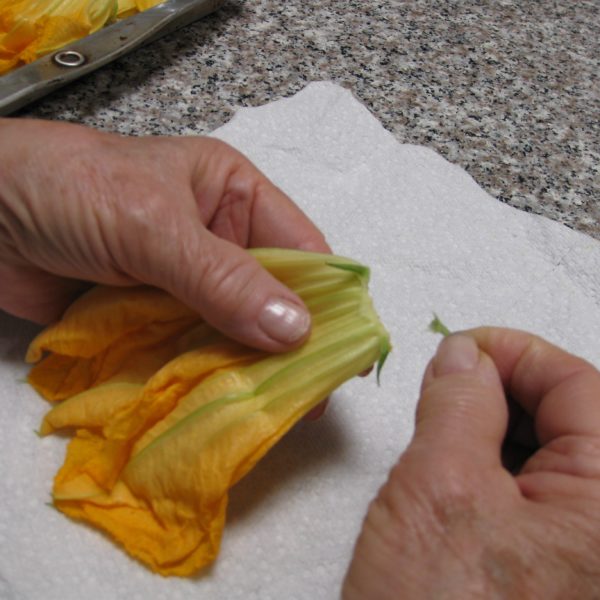
  2. To clean the flowers, remove the stem end by breaking the flower where it creases, about ½ inch above the stem.
  3. Pull out the stamen and stigma.
  4. Remove any green bits (calyx) at the base of the flower.
  5. Lay the flowers on a tray or plate, cover lightly, and refrigerate until ready to use.
  6. Mix the flour and the salt.
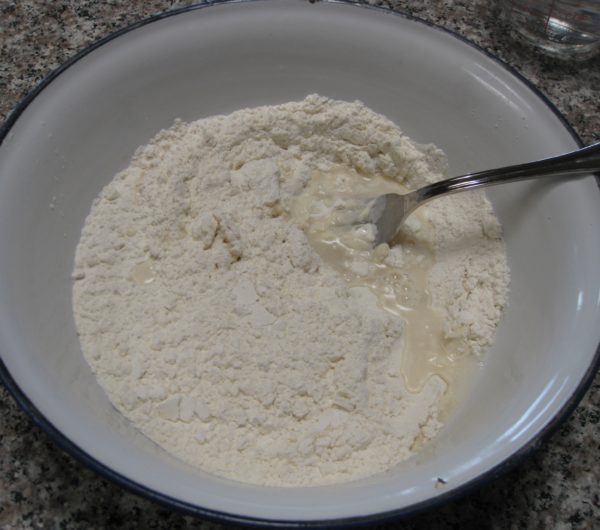
  7. Add the water, a little at a time to the center of the flour, stirring in a circular motion with a fork to incorporate more and more of the flour.
  8. Xxxx
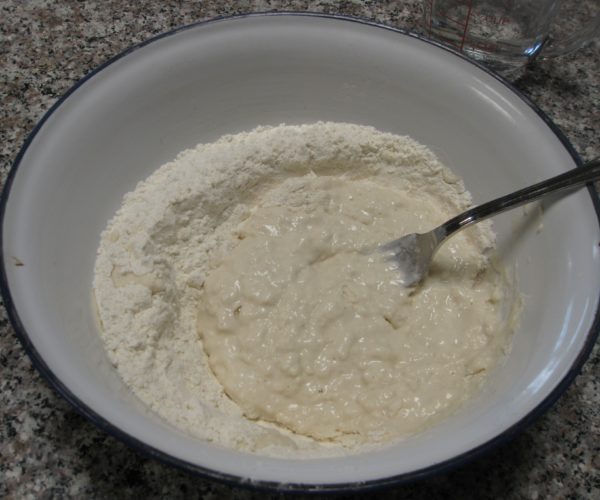
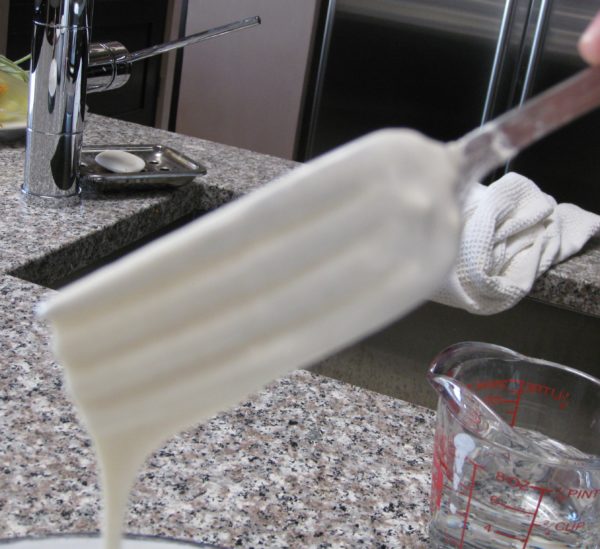
  9. Keep the flour and water mixture thick until all the flour is incorporated. The stiffness of the batter will break up any lumps that might form. You can tell from the ridges in this batter that it is thick. Thinner batter will have a smooth surface.
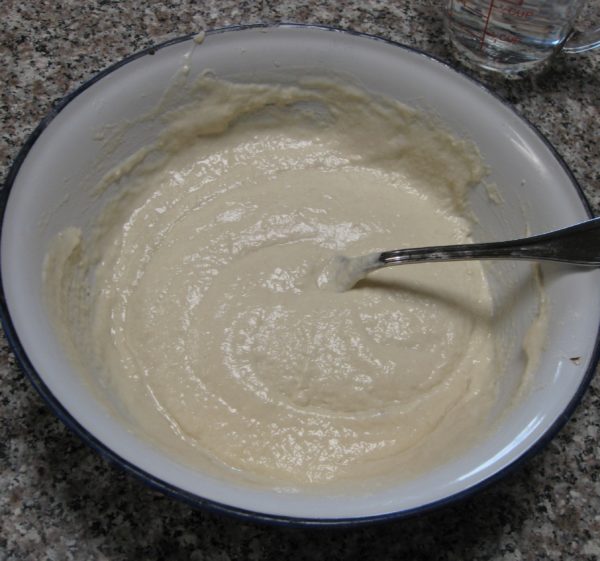
  10. After a thick batter is formed, continue to add water, mixing well after each addition, until the batter thinly coats the fork.
  11. Cover and refrigerate the batter for at least one hour and up to one day.
  12. When ready to use, thin the batter with more water until it once again lightly coats a fork.
  13. Bring oil to frying temperature, approximately 350°F.
  14. Dip a flower into the batter, scraping off excess batter on the edge of the bowl.
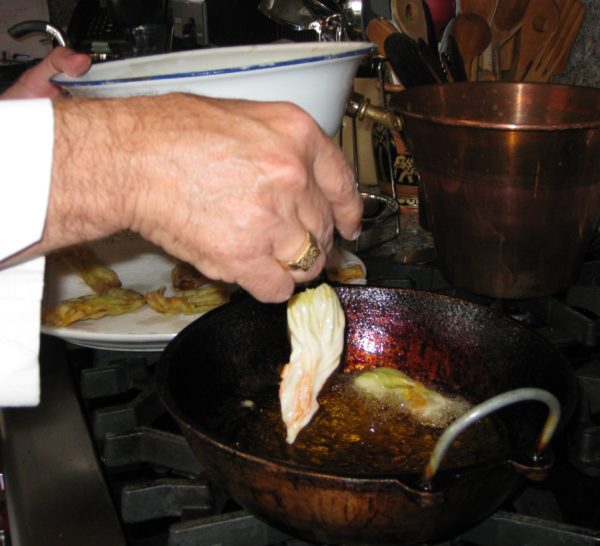
  15. Drop the battered flower into the batter and continue to add flowers, without crowding.
  16. Turn the flowers frequently.
  17. Just as they begin to turn golden, remove the flowers from the oil allowing excess oil to drip into the pan.
  18. Put the flowers on absorbent paper. Batter the next batch and put the flowers in the oil.
  19. Salt the previous batch and serve while still hot.
  20. Repeat!
Recipe Notes

Copyright © 2017 by VillaSentieri.com. All rights reserved.
Share this Recipe