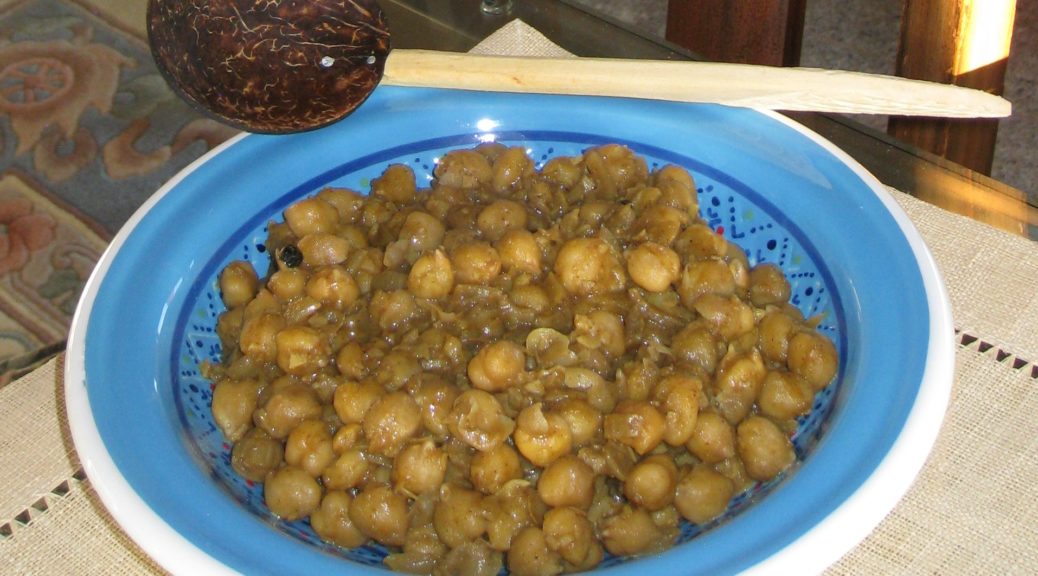
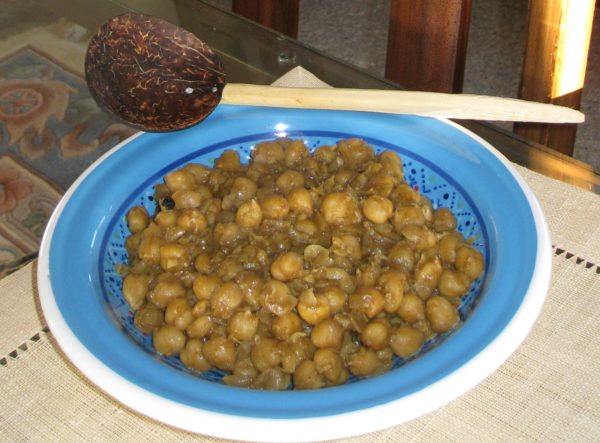
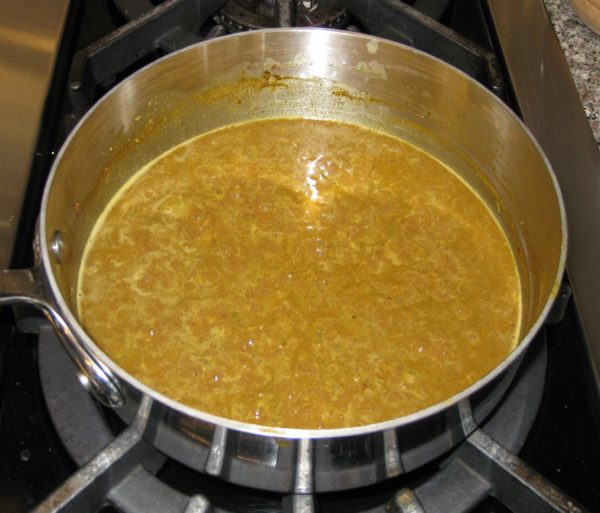
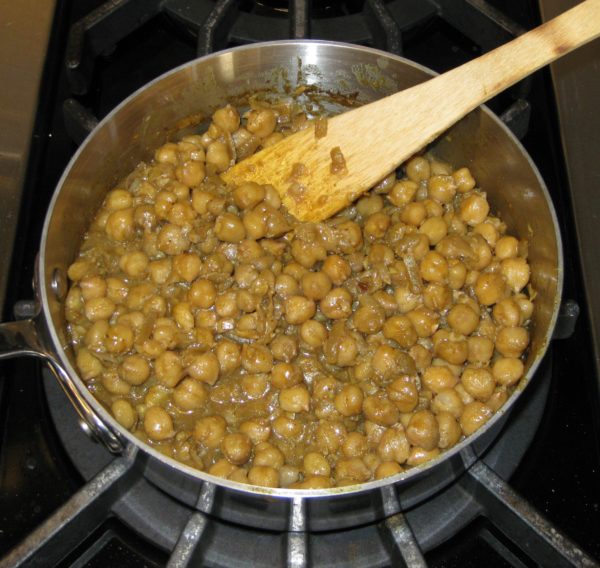
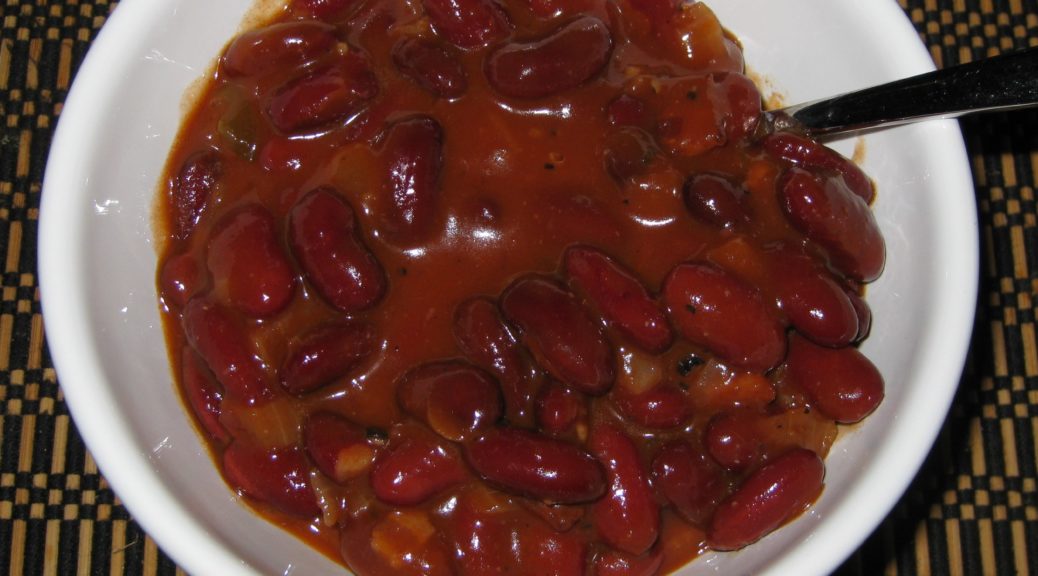
Nanacy Rajapakse’s Sri Lankan Dhal

June 29, 2018

Who knew dhal could be so complicated?

I discovered dhal in college.  This was mostly during my junior year which provided an amazing, non-stop culinary experience as I lived in the International Residence Project at the University of Pennsylvania.

Dhal refers both to the main ingredient and to the preparation.  Let’s deal with the main ingredient for a bit.

I’ve typically thought of dhal as a synonym for the word “pulse” which, in common, everyday American English, we rarely use.  A pulse is the dried seed of a legume.  Think lentil, dried beans, chickpeas, and so forth.

So far so good.


Follow us on your social media platform of choice


Usually, but not always, a dried legume only becomes dhal if it is split.  So, split red lentils (used in this dish) would be dhal but the whole ones would not.  In Indian cookery the word “gram” refers to the whole legume that, if split, would be “dhal.”

According to the Wikipedia entry on legumes, the “term ‘pulse,’ as used by the United Nations’ Food and Agriculture Organization (FAO), is reserved for crops harvested solely for the dry seed.  This excludes green beans and green peas, which are considered vegetable crops.”  Peruse any Indian cookbook however, and you’ll see the term dhal applied to dried split peas just as readily as it is to lentils, which are only harvested to be used dried (unlike peas).  So much for the distinction that the crop only be used for the dry seed.

I suppose one shouldn’t be surprised.  The names of different foods vary from region to region and usage is not necessarily consistent.
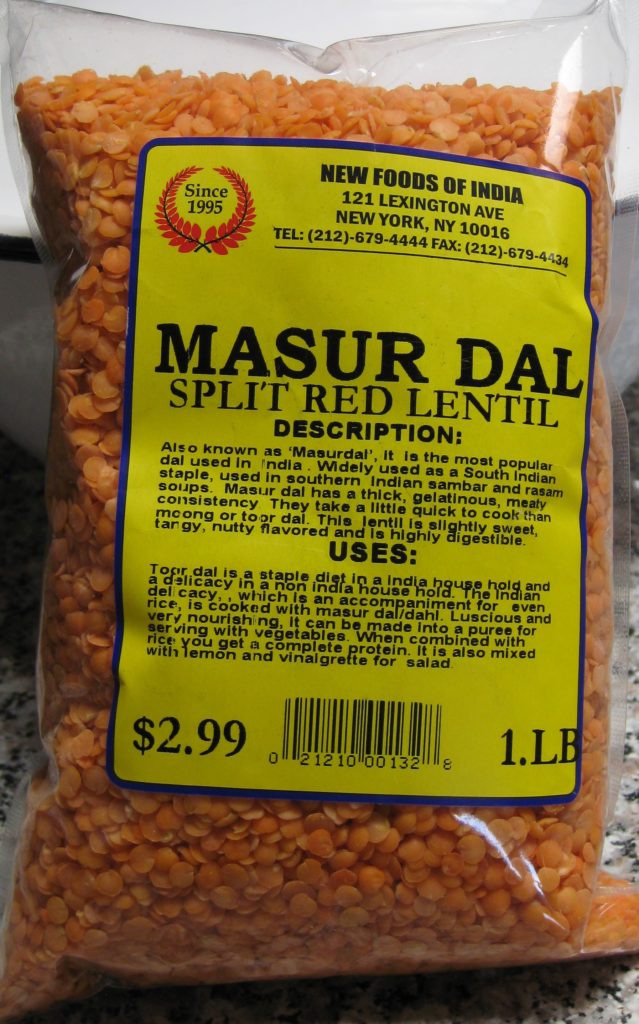
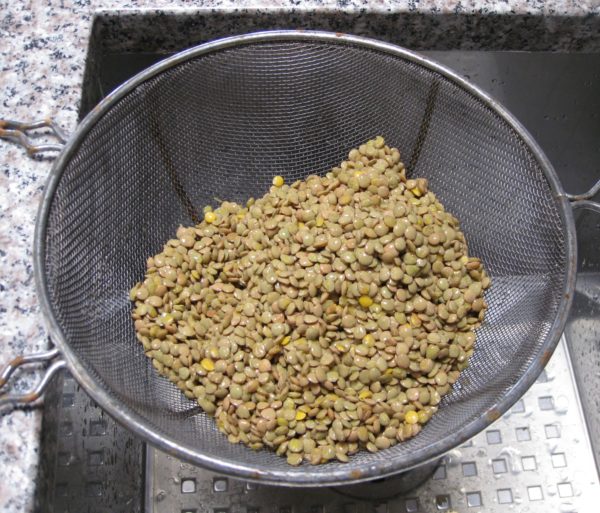
Split red lentils, referred to as Mysore dhal or a variant of the spelling

While there might be disagreements, need I say confusion, about what constitutes dhal, the dried (and maybe split) legume, the preparation of the dish itself is pretty straightforward.

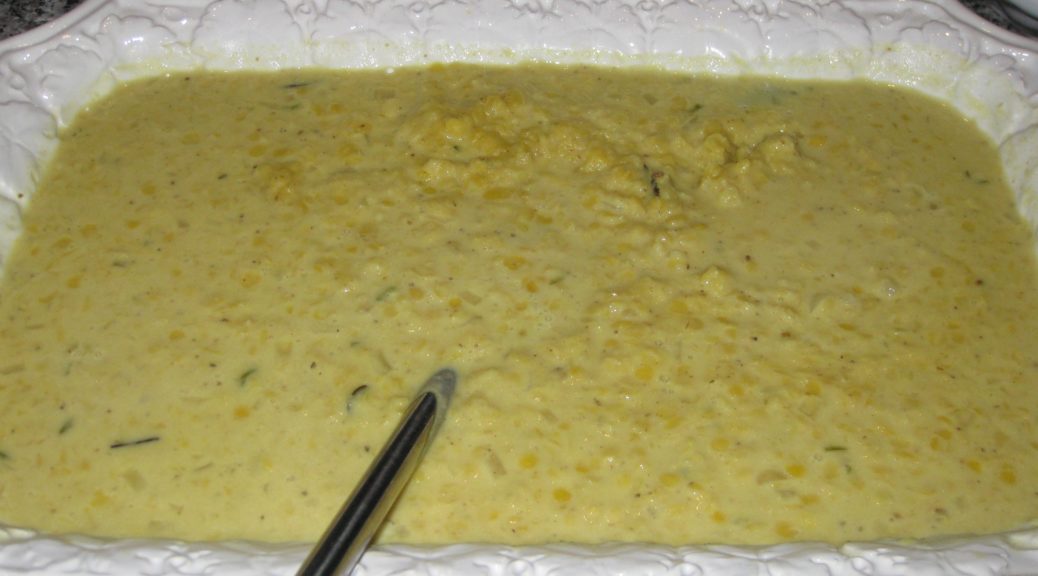
To turn dhal into dhal, you boil it with flavoring ingredients such as aromatics and herbs and spices.  The resultant dish can have the consistency of porridge or soup or anything in between but it is clearly, and unmistakably, dhal.


Join our mailing list and you’ll never miss a recipe again!


My initial introduction to dhal was Indian.  Channa dhal, a smaller relative of the chickpea (called channa in Hindi) looks pretty much like yellow split peas, which, by the way, are a very good substitute for channa dhal.  My introduction to dhal made from channa dhal (I know, it’s confusing) came initially from Maharaja, the first Indian restaurant in Philadelphia (circa 1972).  The restaurant was actually owned by the aunt of someone with whom I now work.  Small world.  Someone who, by the way, actually asked ME for some Indian recipes!!!

The introduction to dhal deepened after I met Ray Hugh at the end of sophomore year when we were introduced as roommates-to-be in the International Residence Project for our junior year at Penn.  We roomed together over the preceding summer.  We both cooked.  Ray is from Guyana and his cooking reflects the country’s ethnic heritage:  Indian, Chinese, African and Amerindian.

Ray made channa dhal.
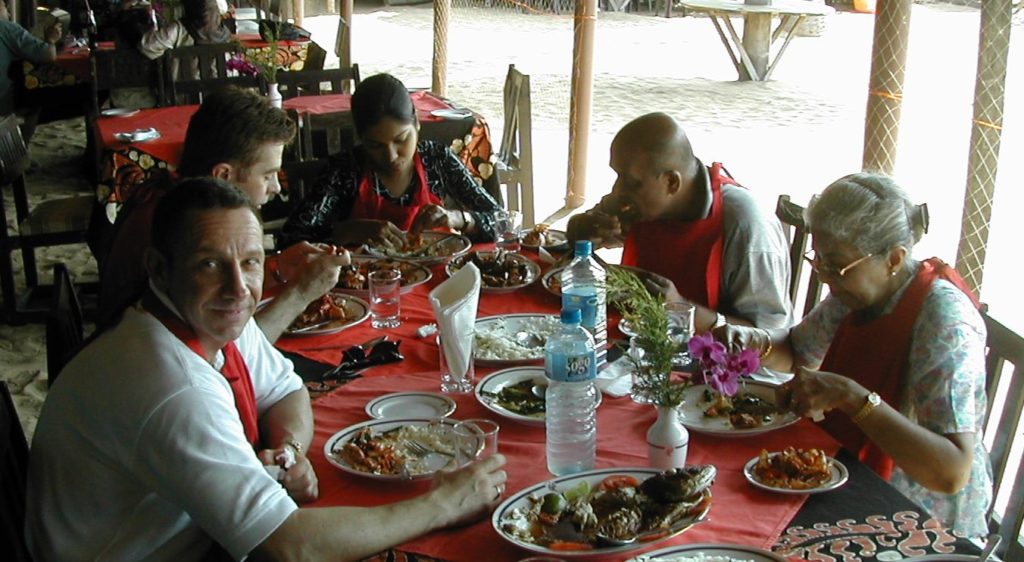
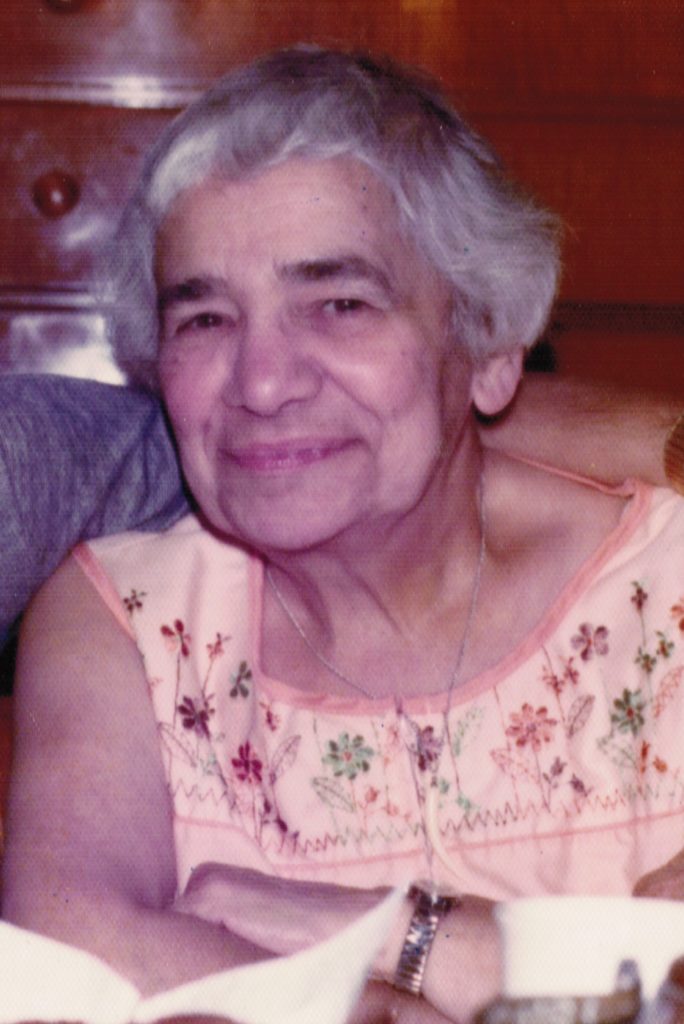
Frank and I having a seafood-based meal with Nanacy Rajapakse (far right) in Sri Lanka, 2004

When I actually got into the International Residence Project at the beginning of junior year and tasted Nanacy Rajapakse’s Sri Lankan cooking, I was hooked.  It’s similar to Indian but actually more aromatic and possibly more delicately spiced, though often quite firey hot (which is a totally different characteristic from the non-chile herbs and spices that go into a dish).  For dhal, Sri Lankans typically use the small split red lentils called Mysore or Masoor dhal.  They cook up quickly.  The final consistency is more like porridge than soup.

Over the coming months, I’m going to post a number of Sri Lankan dishes.  If you’re culturally adventurous you might want to give them a try.  At the end of the series you’ll be able to pull together an entire meal that would satisfy anyone from Sri Lanka!
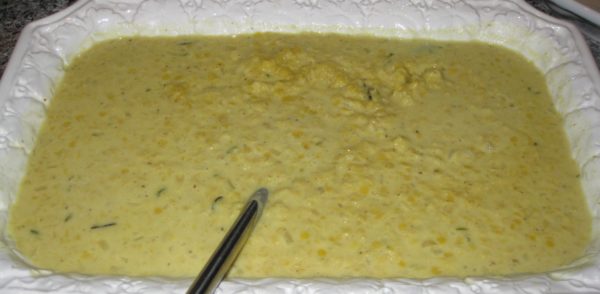
Print Recipe
Nanacy Rajapakes's Sri Lankan Dhal
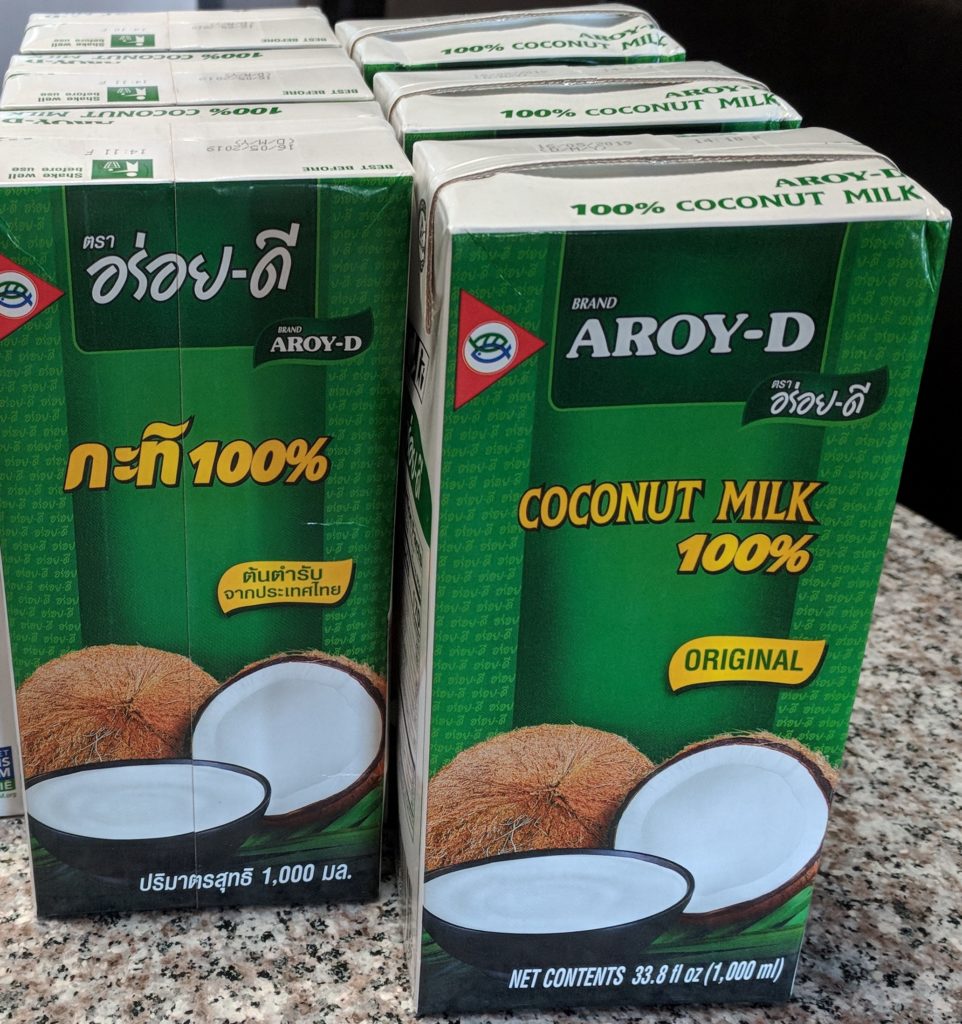
You can use more or less coconut milk to taste. I suggest ½ to 1 cup for this amount of dhal. An alternate way to serve this is to omit the coconut milk but add enough water to make a thick coarse puree. Top with some thinly sliced onions and cracked red pepper that have been fried in a little ghee or oil until crispy. Canned coconut milk varies tremendously in quality. Look for a brand that has few (or no) ingredients other than coconut and water. My go-to brand is Aroy-D. See the Notes section below. Dhal can be made ahead and refrigerated, tightly covered. Reheat gently before serving.
Votes: 0
Rating: 0
You:
Rate this recipe!
Prep Time 10 minutes
Cook Time 30 minutes
Passive Time 3 hours
Servings
people
Ingredients
Prep Time 10 minutes
Cook Time 30 minutes
Passive Time 3 hours
Servings
people
Ingredients
Votes: 0
Rating: 0
You:
Rate this recipe!
Instructions
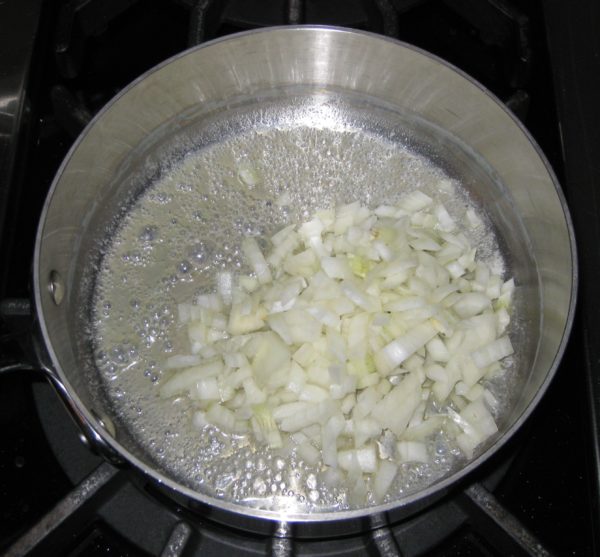
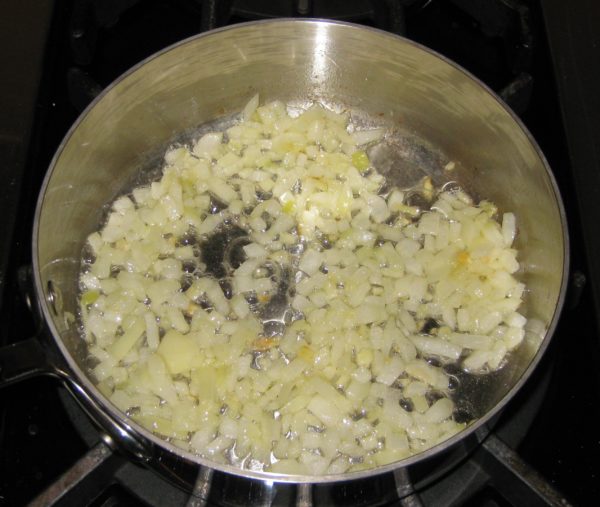
  1. Wash and drain the dhal. Cover with cold water and soak for approximately three hours at room temperature. Refrigerate if it will soak longer.
  2. When ready to cook the dhal, drain and rinse again.
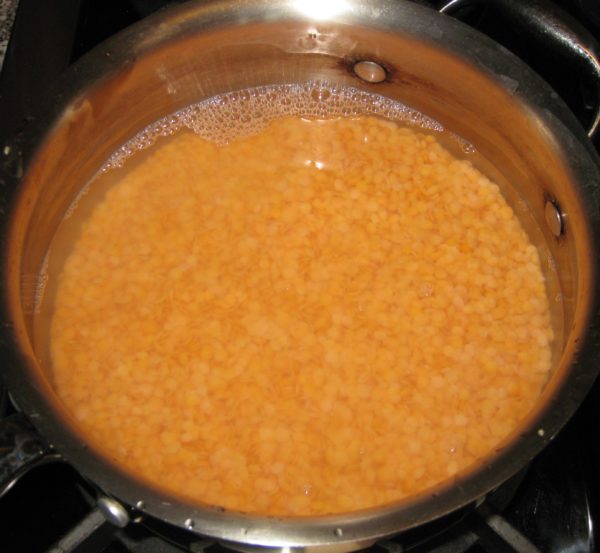
  3. Add fresh water to cover the dhal by approximately ½ inch.
  4. Add all the other ingredients except the coconut milk
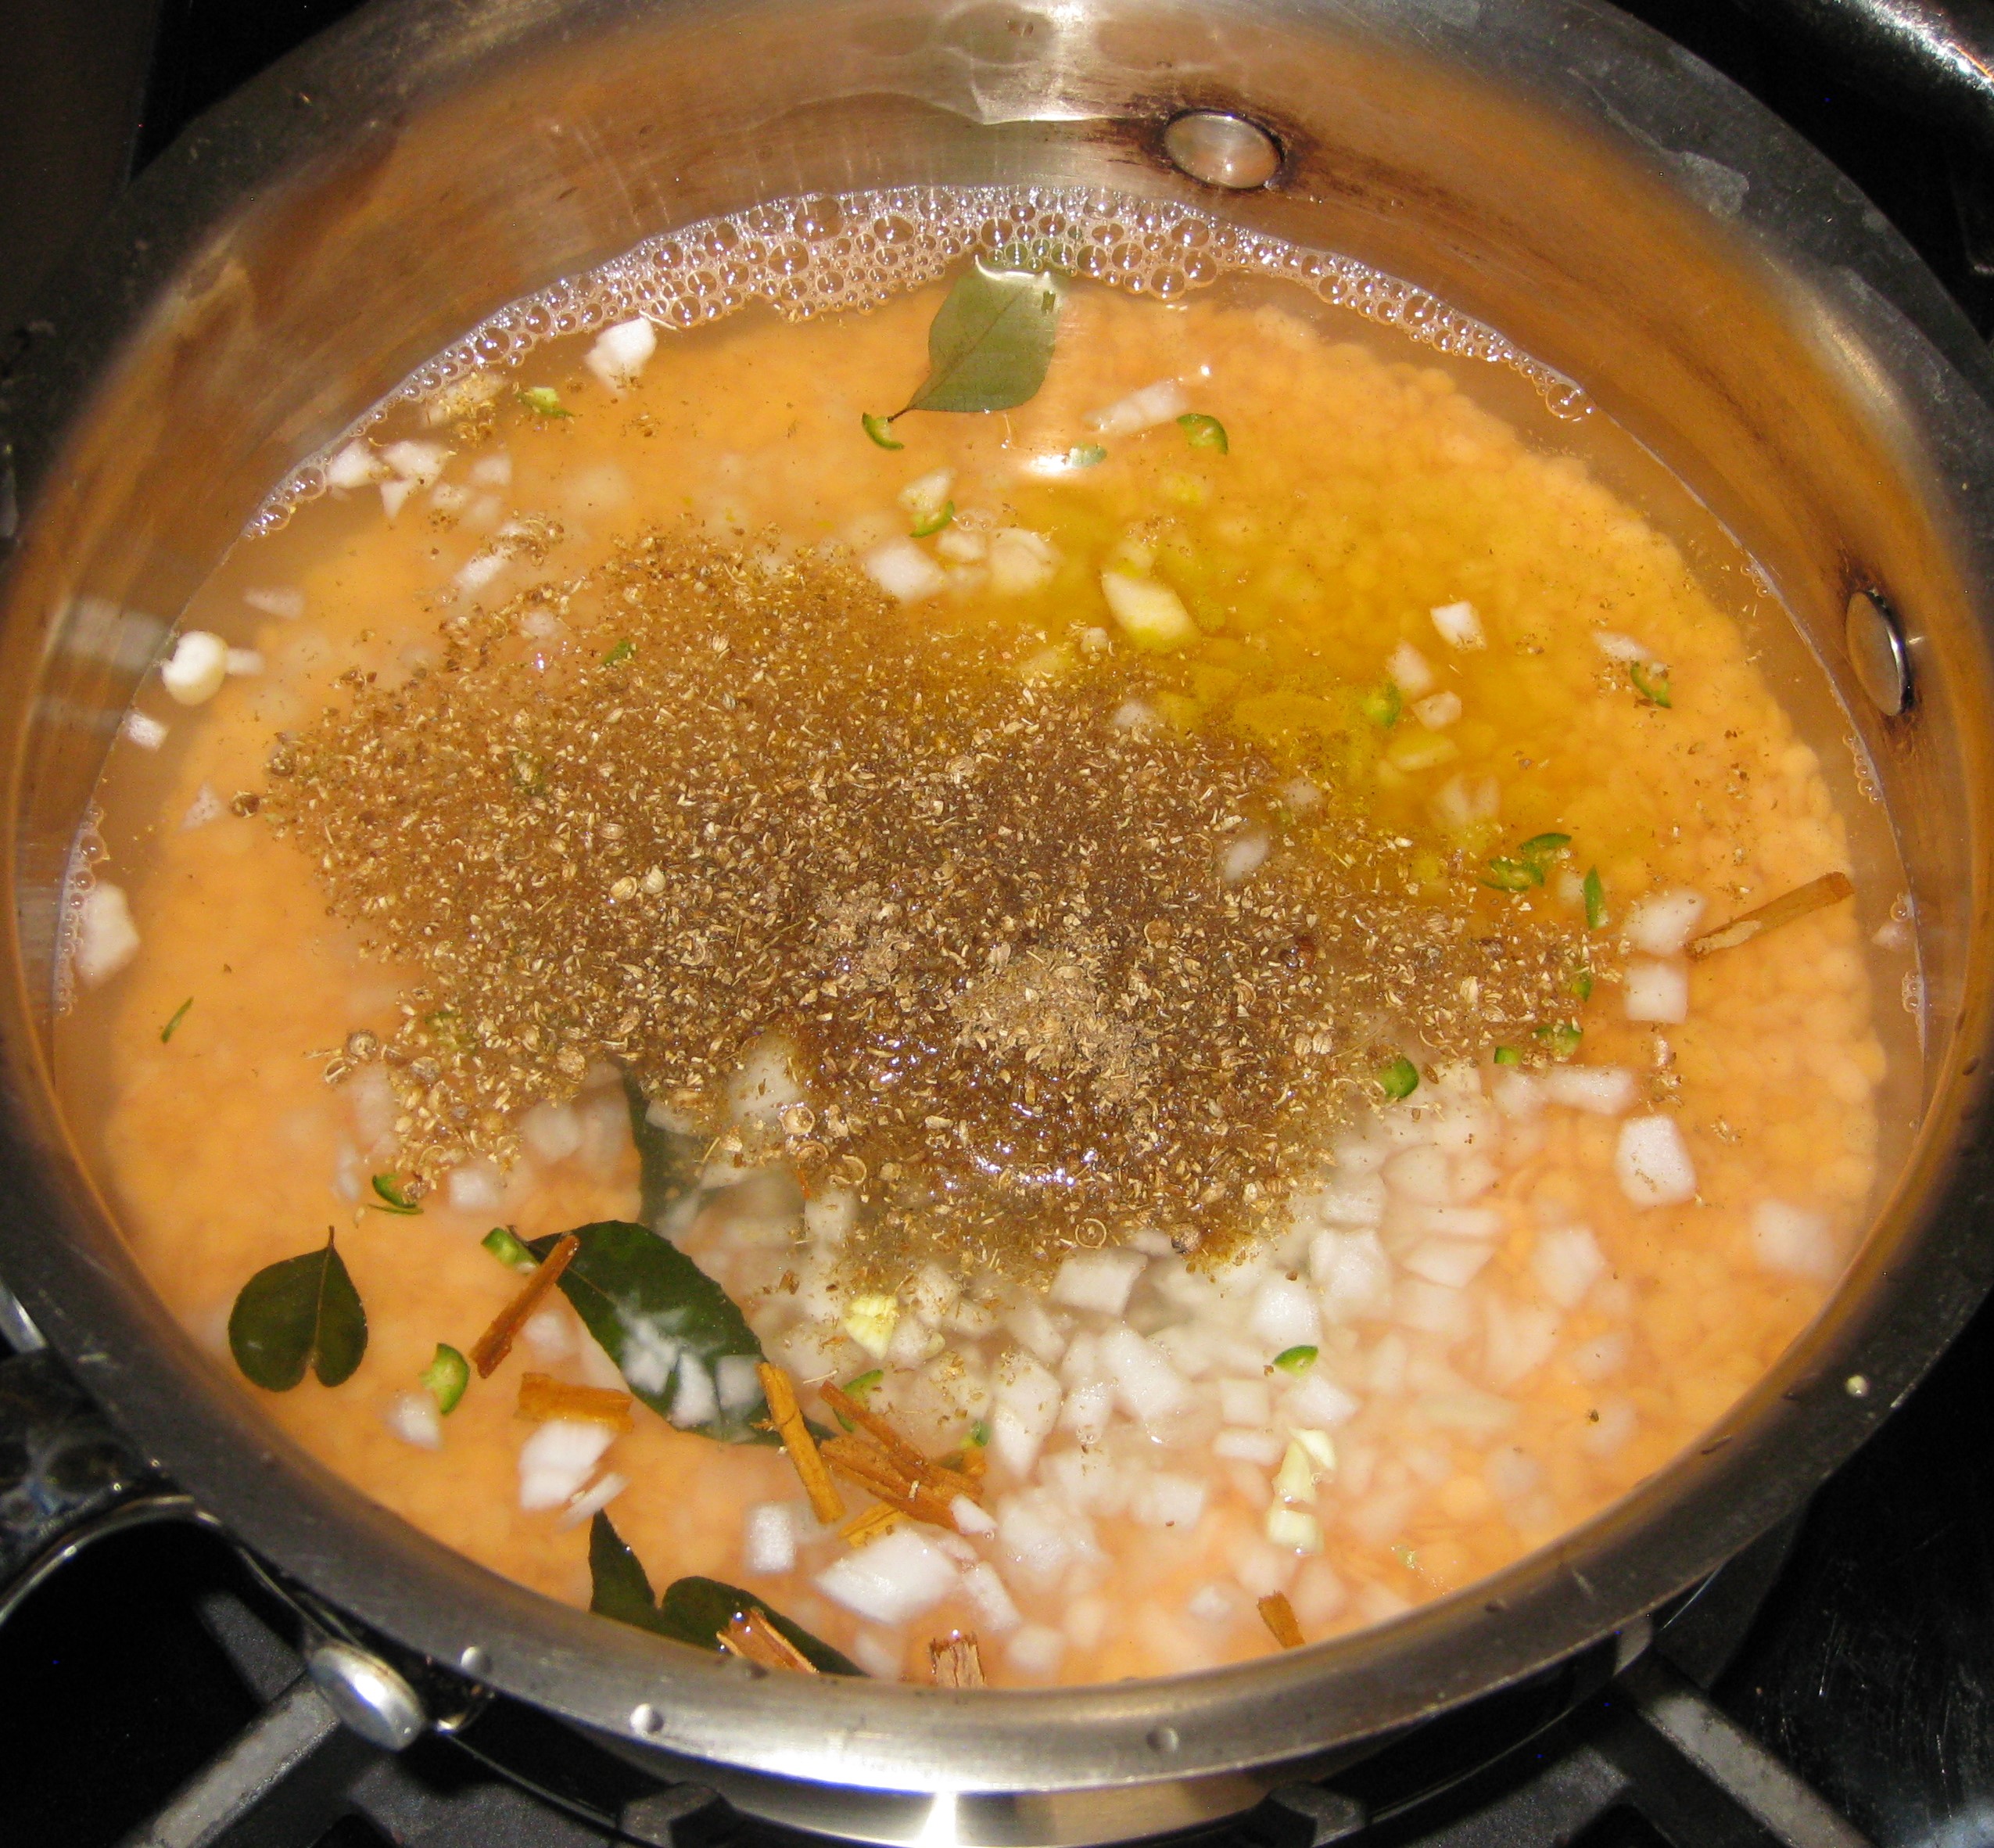
  5. Simmer, partially covered, till soft, approximately 20-30 minutes.
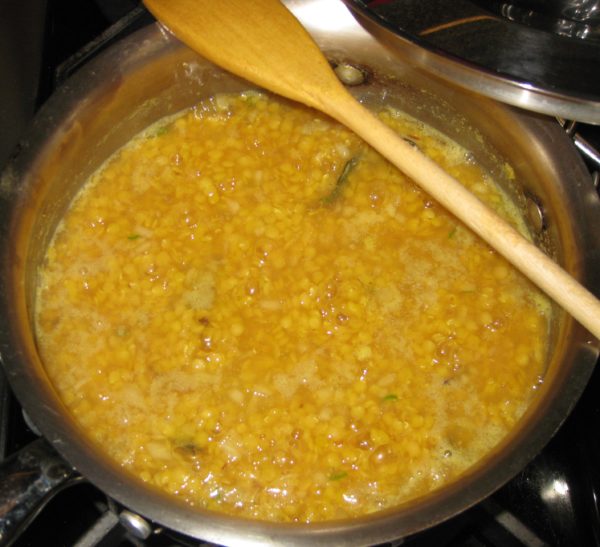
  6. Most of the water should be absorbed by this point. If not, boil quickly uncovered to evaporate the excess.
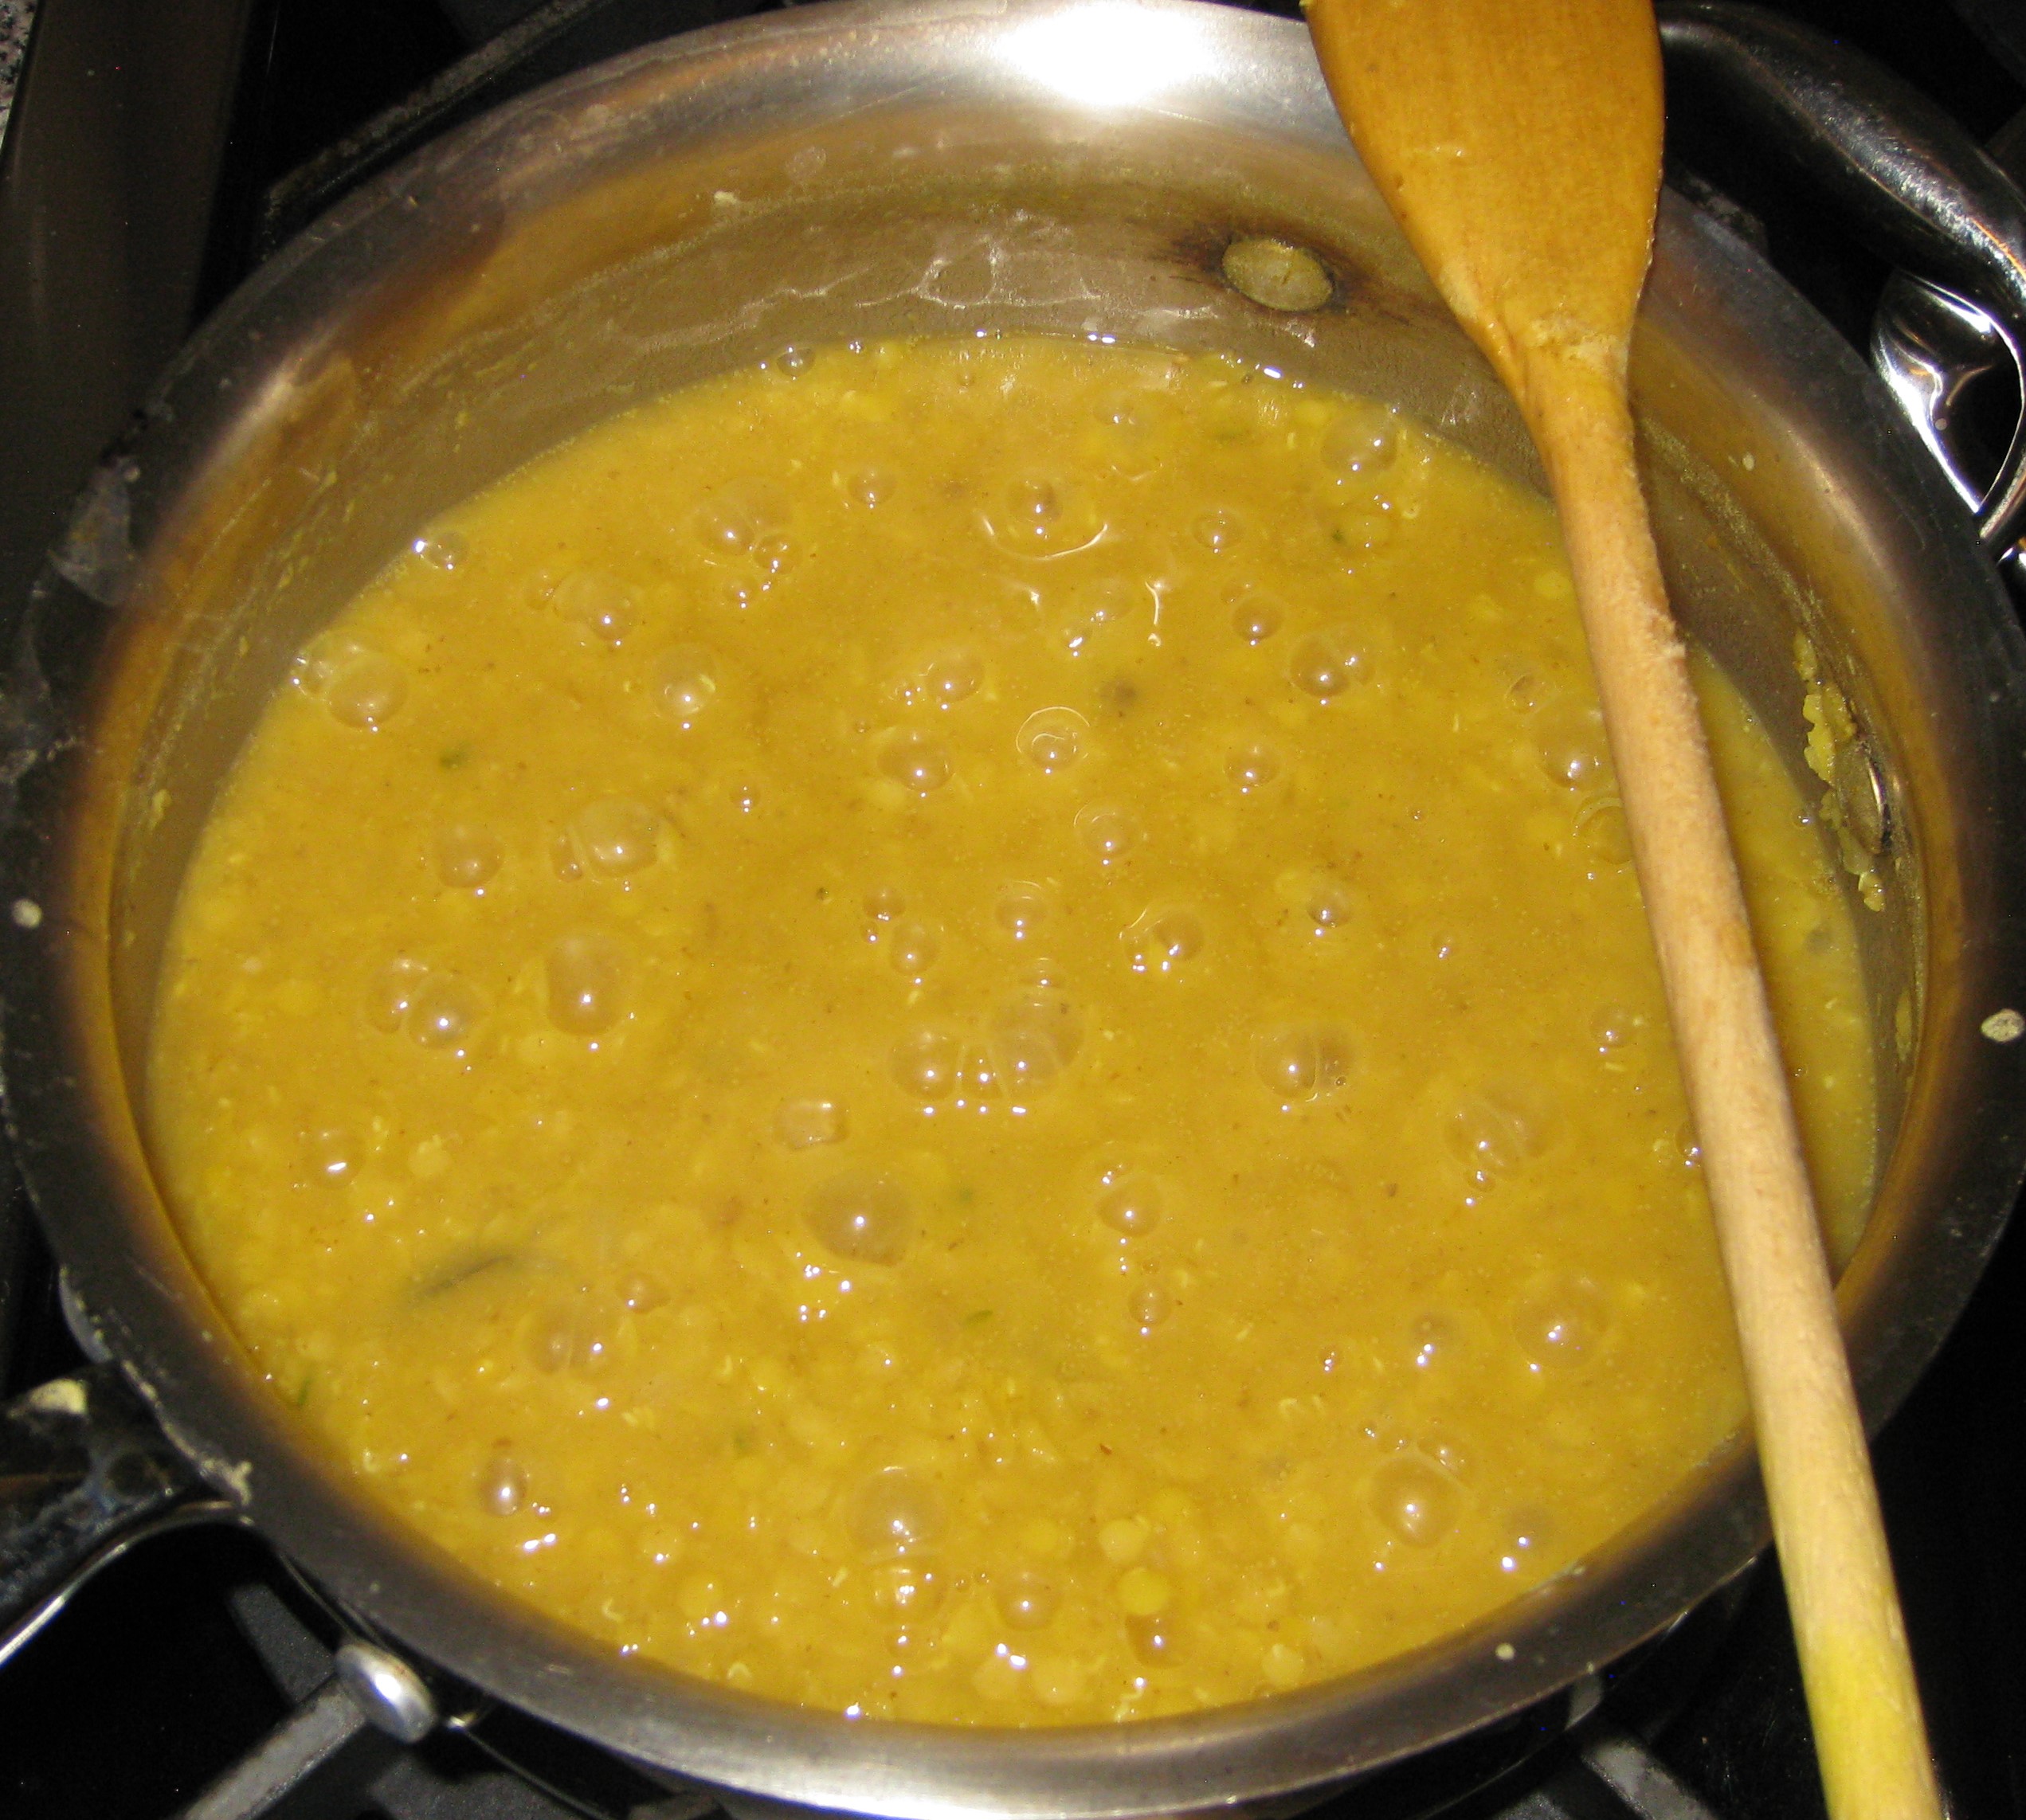
  7. Add coconut milk and salt to taste.
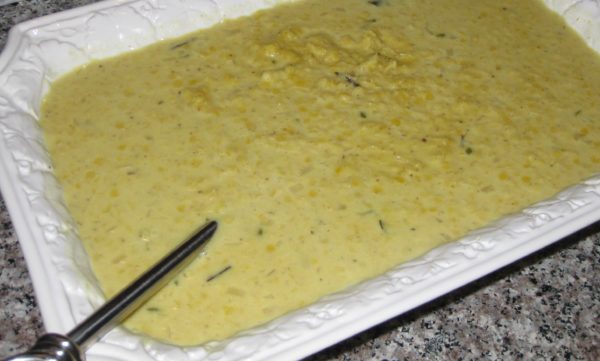
  8. Simmer gently until slightly thickened. Taste and adjust salt.
Recipe Notes

Aroy-D is an excellent choice if you are going to purchase, and not make, coconut milk.
Copyright © 2018 by Villa Sentieri, LLC. All rights reserved.

Share this Recipe

Smoky Baked Beans

June 1, 2018

In my first year of medical school (I know that only because of the apartment that I was living in at the time) my parents and my Aunt Ann came to visit for a weekend.  I’ve talked about Aunt Ann in previous blog posts, like this one that includes her recipe for Pineapple Cream Cheese Pie.  She was married to my father’s brother, Jano.

As often happened with my mother, the conversations frequently veered to food.  On this occasion, for some reason, my Aunt Mary’s baked beans.

Aunt Mary was really my mother’s Aunt Mary by marriage.  She was my Great Aunt Mary.  Actually, by the time I knew her, she wasn’t really my aunt, great or otherwise, because she and my mother’s Uncle Derp had gotten divorced.  Nonetheless, we all still called her Aunt Mary.  Well, really, due to some bizarre twist, we called her Aunt Mary Derp if we were referring to her in a conversation and it wasn’t otherwise clear which of the several Aunt Marys in the family was the one we meant.  Why we appended the name of her ex-husband to hers rather than using her last name, I’ll never know!!


Join our mailing list and you’ll never miss a recipe again!


In any case, my parents both talked about Aunt Mary’s baked beans.  They recalled that she baked them overnight.  My mother came up with a reasonable facsimile of what went into the beans.

We tried to do the initial boiling of the beans in a slow cooker while we went out for the day.  That was a failure.  On the low setting, the beans were still hard after hours and hours of cooking.  That got remedied by a quick boil on the stove.

My smoker has an adjustment for the heat output but not temperature, per se. If the wind or external temperature change, the internal smoker temperature changes, too.

We took the par-boiled beans and mixed them with all the other ingredients and put them in the oven overnight.  That was failure number two, but one we couldn’t recover from.  The long cooking period created a burnt taste in the beans given the high sugar content.  The beans hadn’t actually dried out but they must have gotten hot enough to start caramelizing the sugar.  The road from caramel to burnt isn’t long.  Unless one doesn’t get more than six hours sleep, we discovered that it wasn’t ideal to bake the beans overnight!

Eventually, I figured it out.  The recipe for my version of Aunt Mary’s Baked Beans now sits proudly on the hard drive of my computer along with two recipes of my own development.  I also have this great hack for doctoring canned baked beans that I learned from my cousin Shirley (it always generates requests for the recipe that I artfully dodge) but that isn’t actually written down anywhere.


Follow us on your social media platform of choice


Today, we’re going to focus on my recipe for baked beans cooked in a smoker.  I’ll also share a trick for making these in the oven if you don’t have a smoker.

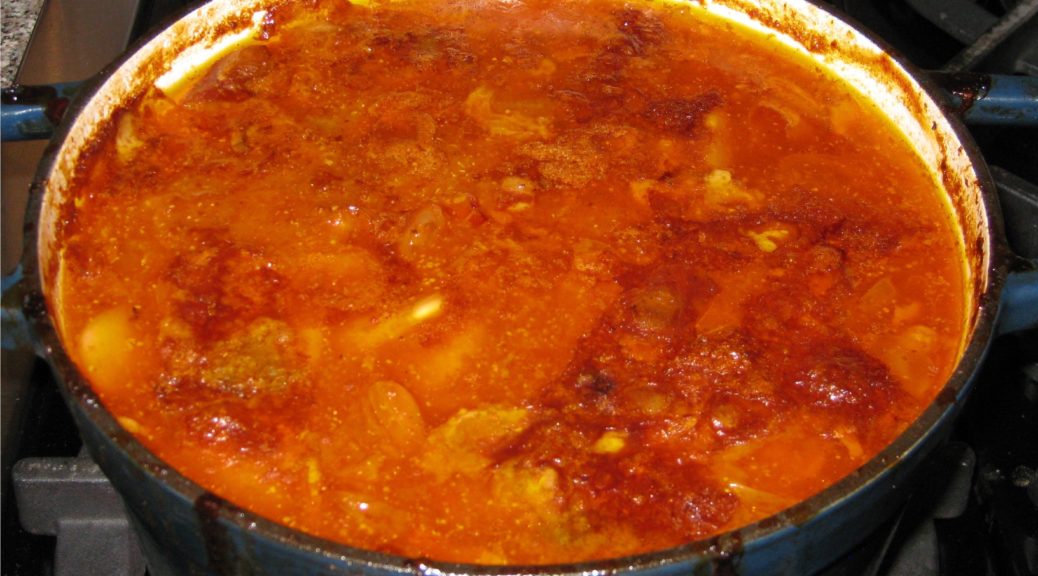
When I make these, I put them on the bottom rack of my smoker, uncovered, with meat on the racks above.  Meat juices drip into the beans making them extra tasty!  The high humidity in the smoker keeps the uncovered beans from drying out.

Print Recipe
Smoky Baked Beans
Adding salt to the bean-soaking liquid is optional. It seasons them and also decreases the cooking time. I find it especially useful where I live as water boils at less than 198°F and beans take much longer to cook. If you don’t have a smoker, add 1 teaspoon of Liquid Smoke seasoning and cook the beans in the oven with a cover. As a reality check, if you’re paying close attention to the photos, you’ll notice that these are “adult” lima beans not baby lima beans. There must have been a run on baby lima beans when I went shopping for the ingredients for this recipe as none of the markets had them.
Votes: 0
Rating: 0
You:
Rate this recipe!
Prep Time 30 minutes
Cook Time 8 hours
Passive Time 12 hours
Servings
people
Ingredients
Prep Time 30 minutes
Cook Time 8 hours
Passive Time 12 hours
Servings
people
Ingredients
Votes: 0
Rating: 0
You:
Rate this recipe!
Instructions
  1. Wash and pick over the beans.
  2. Dissolve 1 ½ tablespoons salt, if using, in 2 quarts of water. Add the beans.
  3. Soak the beans for about 12 hours in the refrigerator.
  4. Drain and rinse the beans.
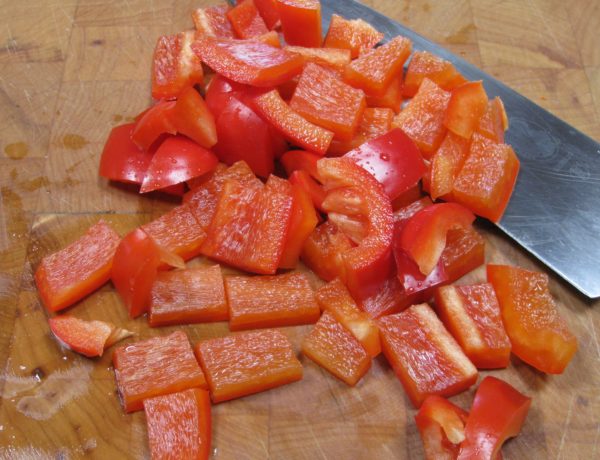
  5. Coarsely chop the red Bell pepper.
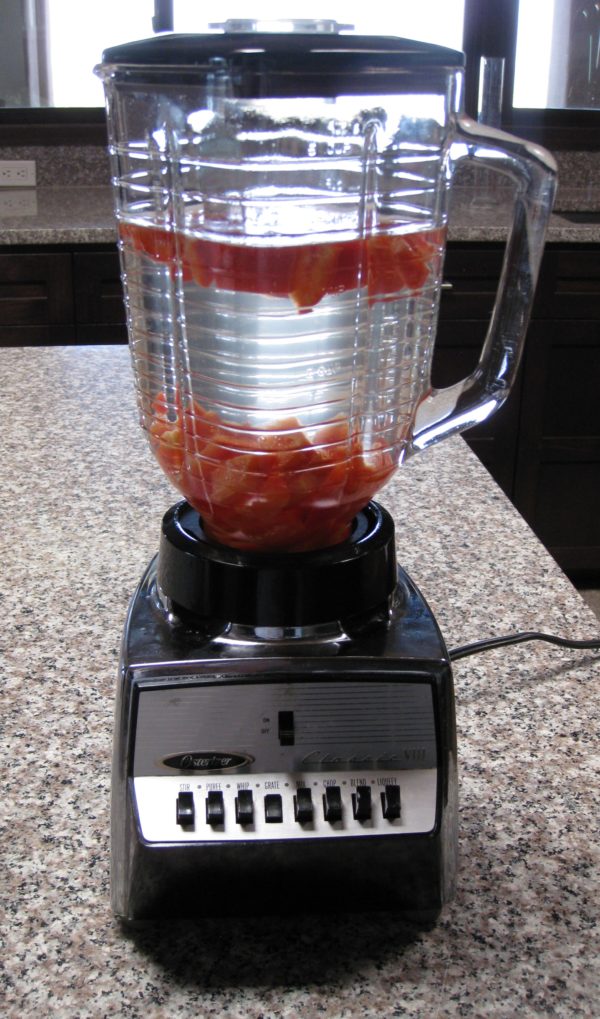
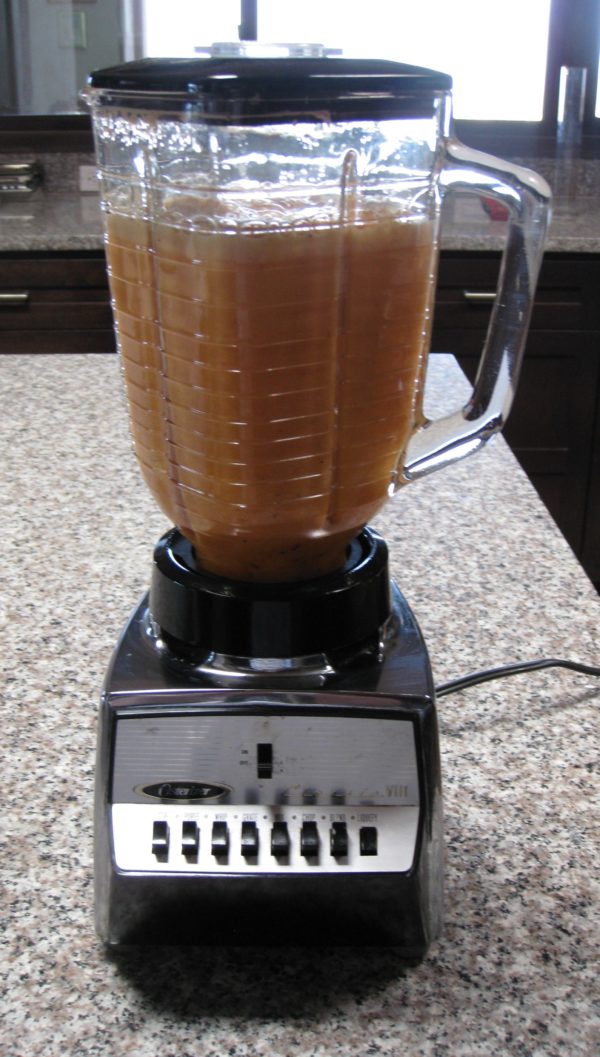
  6. In a blender jar, combine the Bell pepper with some of the 6 cups of water.
  7. Puree the Bell pepper.
  8. Add the chipotle pepper, if using, and puree again. Reserve the pepper puree.
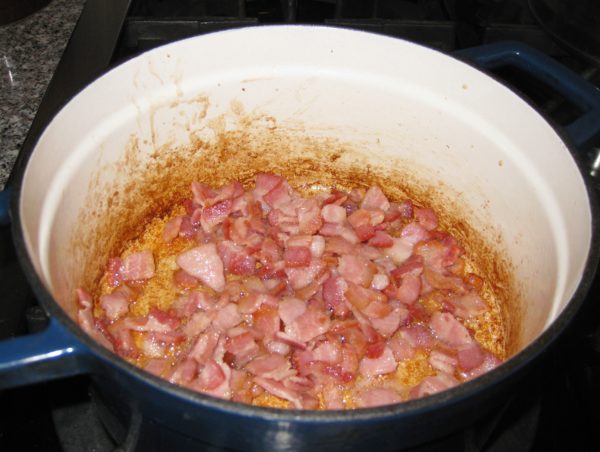
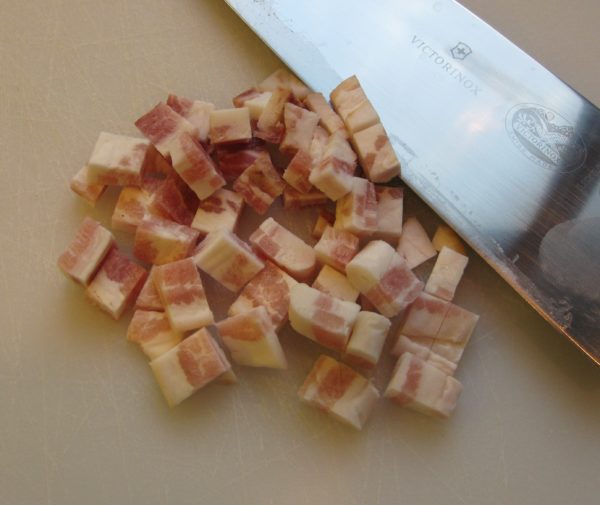
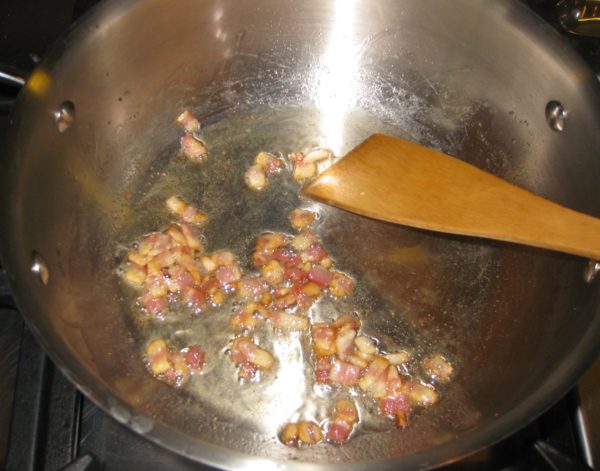
  9. Sauté the bacon until golden.
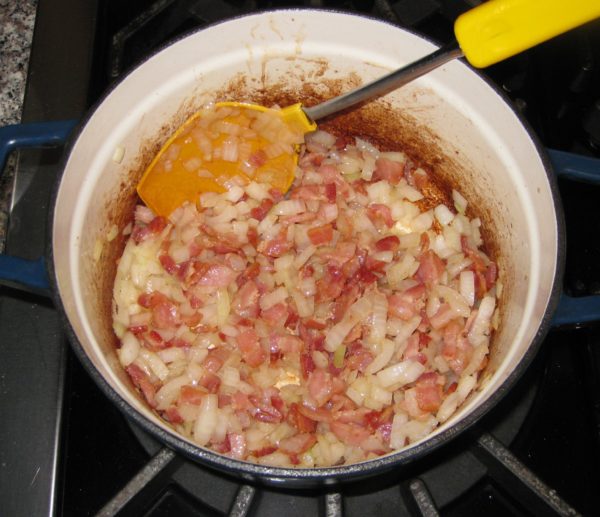
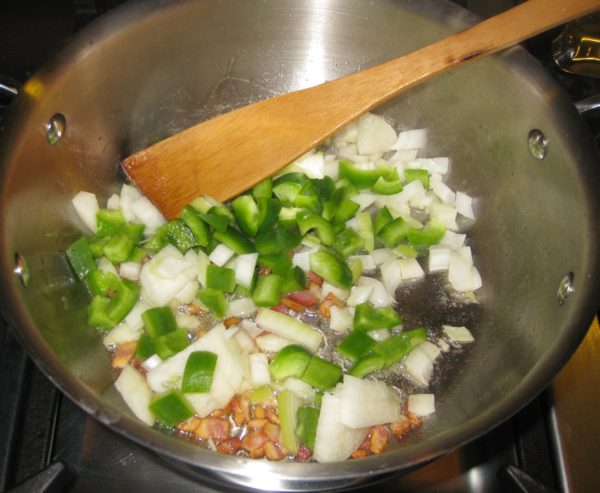
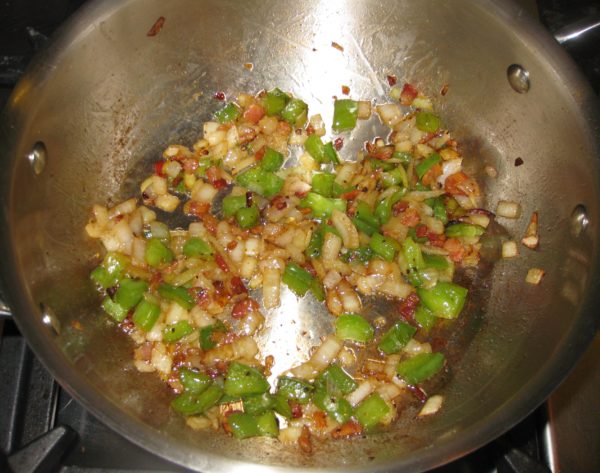
  10. Add the onion and sauté until soft.
  11. Add the garlic and sauté until fragrant.
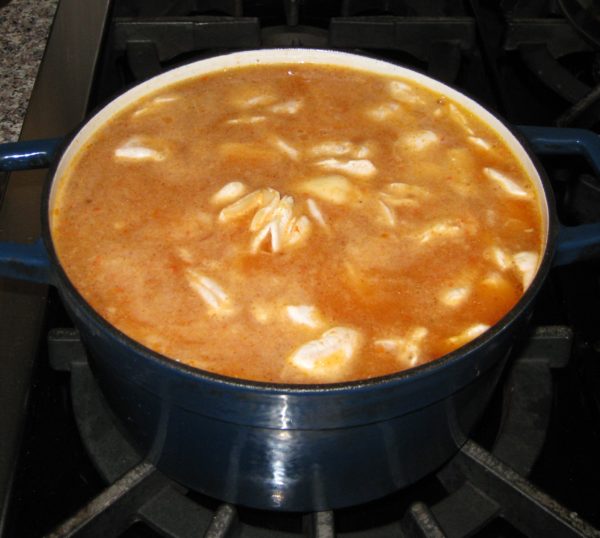
  12. Add the drained beans, pepper puree, remaining water, and bay leaves.
  13. Gently boil, partially covered until almost tender (1 to 2 hours). Add water from time to time if needed. The beans should be just barely covered with liquid at the end.
  14. Combine the ketchup, white wine, brown sugar, Worcestershire sauce, mustard, salt and black pepper.
  15. Stir the ketchup mixture into the cooked beans.
  16. Return to a simmer on the stovetop then bake (uncovered if using a smoker or covered if using the oven) at 225°F for six hours, stirring once or twice.
Recipe Notes

Copyright © 2018 by Villa Sentieri, LLC. All rights reserved.
Share this Recipe

Auntie Helen’s Lentil Salad

May 18, 2018

Auntie Helen had a way with lentils.

In addition to making lentil salad for summer cook-outs, she taught me that cooked lentils, topped with homemade tomato sauce, make a great main (or side) dish for a cold winter’s day.

Auntie Helen liked her scotch.  On the rocks.  And she was not shy about quantity.

Auntie Louise liked gin.  Also on the rocks.  Also not shy about quantity.

It was mostly under their tutelage that I went from drinking Bourbon Manhattans (Old Grand Dad at the time) to Bourbon, also on the rocks.  This was somewhere around the age of 19.

Auntie Helen in 1976

I soon made the jump from Old Grand Dad to Jack Daniels, which remained my tipple of choice for decades.  Now I’ve branched out to a wide array of bourbons but always on the rocks and in respectable quantities.


Follow us on your social media platform of choice


Auntie Helen and Auntie Louise were born, shortly after the turn of the 20th century, in a palazzo in Rome, now part of the American Embassy.  After their parents lost everything for the second time (there was talk that the first time it happened, they were bailed out by one of the Stroganoffs) the family emigrated from Italy to America.  Their father, a Count in Italy, worked delivering bread in Trenton, NJ.

Auntie Helen and Auntie Louise both became schoolteachers.  Neither married.  They lived together their entire lives.

They had a sweet little house on Yardley Road, just steps from the Yardley town line, in Morrisville, New Jersey.  I spent many weekends at their house, a little over an hour from where I lived in Philadelphia.

Auntie Helen did the cooking.  Auntie Louise made drinks and helped to clean up.

Auntie Louise in 1976

Though they came from a background that was more privileged than most immigrants of the time, they had little by the time the family got to the United States.  They did what many immigrants did, they assimilated and became almost “hyper” American.  I never heard either of them speak a word of Italian.  And, while Auntie Helen cooked an array of Roman specialties, she also cooked a lot of American food, including Impossible Pies, more the savory ones than the sweet ones; homemade Pumpkin Chiffon Pie (the only thing she cooked that I didn’t like); and cheese and egg strata for brunch (with lots of bacon on the side!).


Join our mailing list and you’ll never miss a recipe again!


I recently found a series of Impossible Pie recipes that Auntie Helen wrote out for me.  I can’t promise that I’ll make each of them, but I will post the recipes, in her own handwriting.  If nothing else, they’ll be a bit of a time capsule.

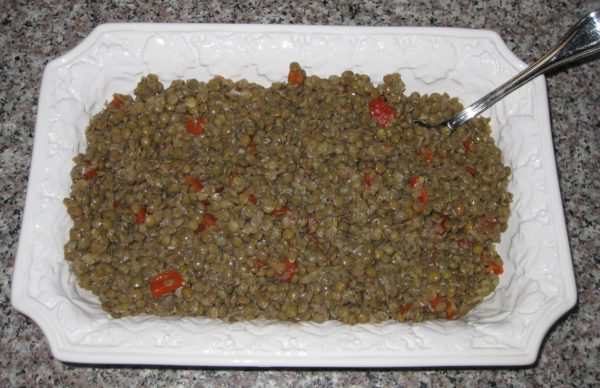
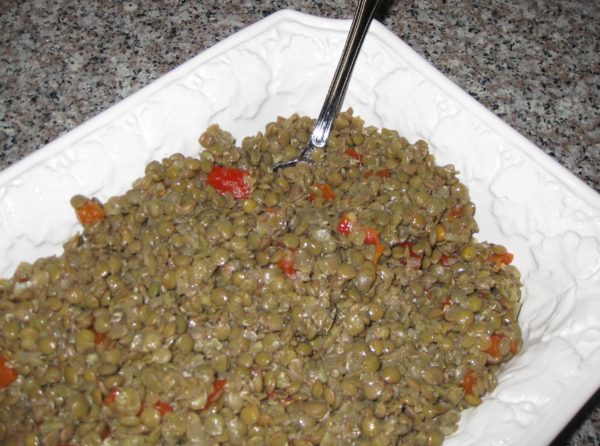
Meanwhile, please enjoy my take on Auntie Helen’s lentil salad.

Print Recipe
Auntie Helen's Lentil Salad
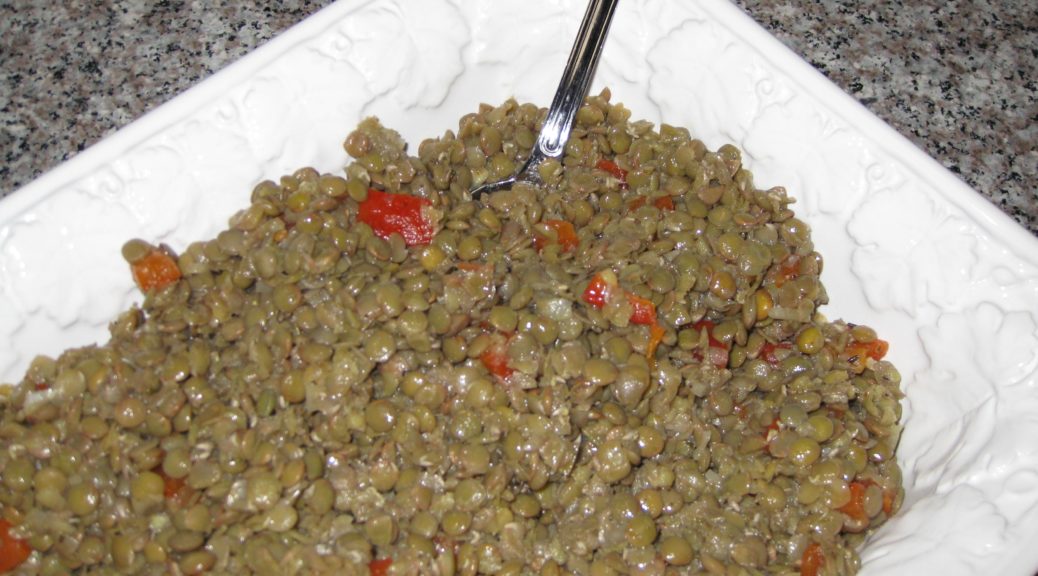
Auntie Helen’s lentil salad was more of a general concept that a definitive recipe. Feel free to add other ingredients to this, like a handful of chopped black oil-cured olives, some sliced scallions, or a sprinkling of dry oregano. You can replace some of the olive oil with the oil from a can of anchovies or add a teaspoon of anchovy paste if you’d like. It will add an umami touch without tasting fishy.
Votes: 0
Rating: 0
You:
Rate this recipe!
Prep Time 30 minutes
Cook Time 30 minutes
Passive Time 8 hours
Servings
people
Ingredients
Prep Time 30 minutes
Cook Time 30 minutes
Passive Time 8 hours
Servings
people
Ingredients
Votes: 0
Rating: 0
You:
Rate this recipe!
Instructions
  1. Wash and pick over the lentils but do not soak them.
  2. Drain the lentils.
  3. Combine the lentils and water.
  4. Bring the lentils to a boil and gently boil until just tender, 10-15 minutes, or maybe a little more based on your elevation.
  5. Drain the lentils.
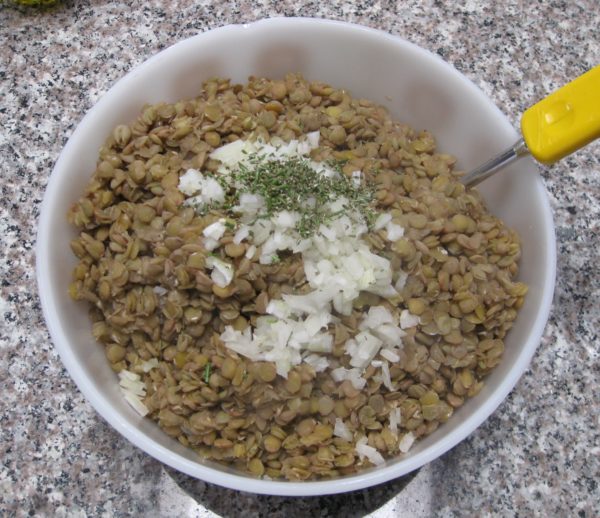
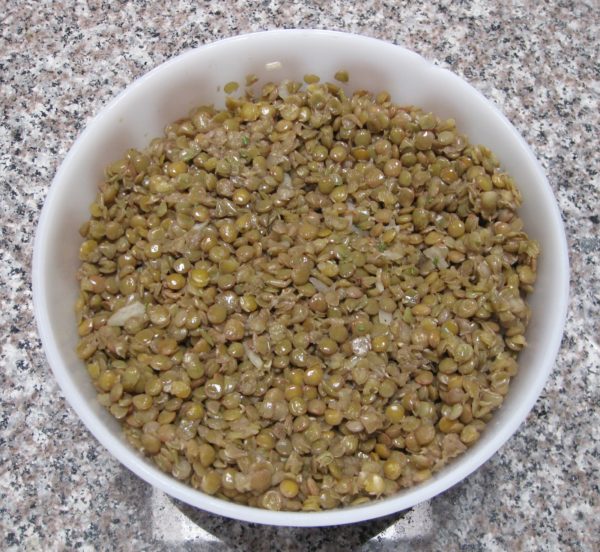
  6. Mix the hot lentils with the diced onion, oil, and rosemary. Stir well.
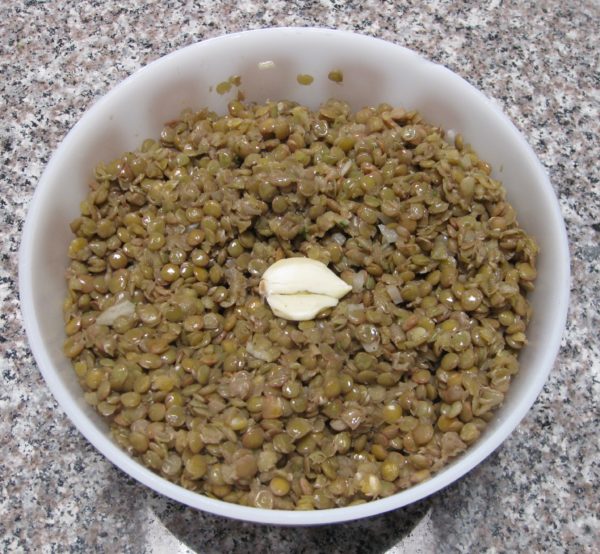
  7. Bury the bruised garlic clove in lentils.
  8. Loosely cover the lentils and cool at room temperature.
  9. When the lentils are cool, they can be refrigerated for up to three days before proceeding.
  10. To finish the lentil salad, remove the garlic clove and discard.
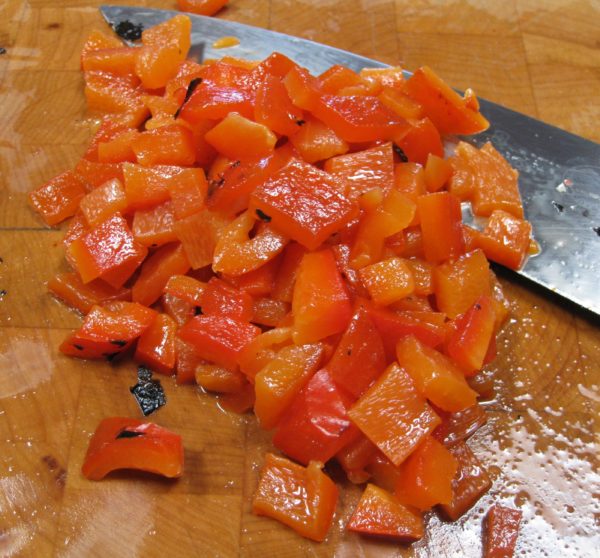
  11. Dice the roasted red pepper.
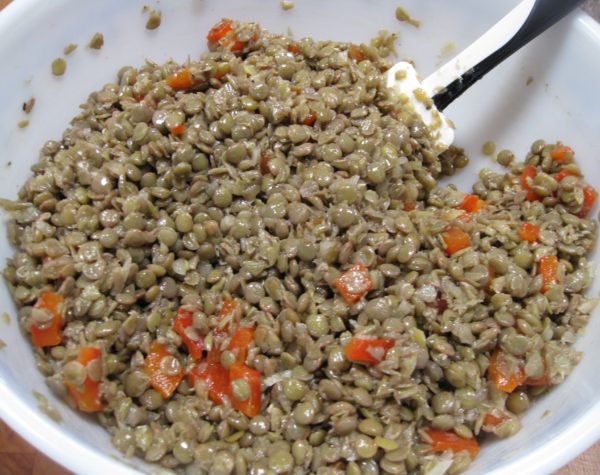
  12. Add the diced roasted red pepper, vinegar, salt and pepper. Mix well and chill thoroughly.
  13. Remove the lentil salad from the refrigerator approximately one hour before serving.
  14. Adjust salt and pepper before serving. Add more olive oil if the lentils seem dry.
Recipe Notes

Copyright © 2018 by VillaSentieri.com. All rights reserved.
Share this Recipe

Guyanese Curried Chickpeas (Channa Masala)

April 30, 2018

The largest ethnic group in Guyana is comprised of those of (East) Indian descent.  When I was there in the 1970s and 1980s, Indians represented just over half of the population.  As of the 2002 census, those of Indian descent represent just over 43 percent of the population.

Other demographic groups in Guyana include those of African, Chinese, Western European, and mixed descent.  Amerindians are now a very small percentage of the population.

The cuisine of Guyana reflects its multicultural population.  Curry is very popular as is roti, Indian-style flatbread.  Chinese-style fried rice is a restaurant staple.  A typical Sunday dish is Portuguese-derived garlic pork.  British-style baked goods are popular, especially black cake around Christmastime.

The Guyana Supreme Court building (CC BY-SA 3.0, https://commons.wikimedia.org/w/index.php?curid=475676)

A quick internet search demonstrated to me that the restaurant scene in Guyana has changed dramatically since my visits there.  In the 70s and 80s, restaurants were, for the most part, very basic affairs.  There were just a few that rose above “basic” but even they were challenged to produce really good food because of the limitation on imported foodstuffs.


Click HERE to join our mailing list and you’ll never miss a recipe again!


Food prepared at home was generally of a better quality, and certainly displayed more variety, than what was available in restaurants “back then.”  And, while in any given household there may be more foods reflective of the particular demographics of that household, popular dishes like curry, fried rice, garlic pork, and black cake are prepared in pretty much every household.  They have really become Guyanese dishes, regardless of their ethnic origins.

My last trip to Guyana was in early 1981.  I finished medical school around the end of January and went to Guyana to work on the psychiatric unit at the public hospital in Georgetown, the capital, before beginning my internship at the Hospital of the University of Pennsylvania in mid-June.  At that time there was one psychiatrist who worked for the government of Guyana and one psychiatrist in private practice.  The government psychiatrist, who lived a significant distance from Georgetown, was also responsible for overseeing the long-term psychiatric unit in Fort Canje, now referred to as the National Psychiatric Hospital.


Follow us on your social media platform of choice


The day I arrived at the public hospital in Georgetown, the psychiatrist was a no-show.  He then made it clear that he had no intention of coming to the hospital for the duration of my stay.  At the age of 26, just having finished medical school and not having done an internship, let alone a residency, I became the de-facto psychiatrist for the public hospital!

The Guyana Parliament Building (CC BY-SA 3.0, https://commons.wikimedia.org/w/index.php?curid=475699)

The psychiatric unit consisted of four rooms (plus two bathrooms) on the upper floor above the morgue.  The psychiatrist’s office (my office) was the entry point to the unit.  Behind the office was a very small nurses’ station.  There were two large wards, one on each side of the nurses’ station.  Each has eleven beds and no privacy.  One ward was for men and one for women.  Though we only had 22 beds, our census was often double that.  There was no option to add beds so patients often slept two to a bed.

In general, male patients were attended to by male nurses and female patients by female nurses.

There was also a very, very busy outpatient clinic staffed by myself and three social workers.

The male nurses started including me in some of their evening social gatherings.  I remember a few held at the home of one of the nurses who was of Indian descent.  We basically sat around talking, drinking rum, and eating.  My love of spicy Indian food was met with amazement.  The fact that I could eat incendiary atchar was sort of beyond belief.

Whenever these gatherings happened, it was just us guys.  Wives and girlfriends stayed away, even the wife of whomever was hosting the party (even though she would have prepared most if not all the food!).

When I was in Guyana, pre-mixed curry powder was the norm in cooking.  This recipe reflects that tendency.  When I made Indian food frequently, I would keep one or two types of homemade curry powders on hand as a quick solution to a weeknight meal.  For this recipe, feel free to use a good quality commercial curry powder.

Print Recipe
Guyanese Curried Chickpeas
Two cans of chickpeas can be used instead of the 3 to 3 ½ cups of home cooked beans but home-cooked are so good, and so much better. If using canned chickpeas, taste the canning liquid to decide whether to use it or discard it and rinse the chickpeas. The curry should be basically dry at the end so do not put in too much liquid at the beginning. Although not strictly Guyanese, adding a tablespoon or so of minced ginger with the garlic is a welcome taste treat.
Votes: 8
Rating: 4.5
You:
Rate this recipe!
Prep Time 10 minutes
Cook Time 30 minutes
Servings
people
Ingredients
Prep Time 10 minutes
Cook Time 30 minutes
Servings
people
Ingredients
Votes: 8
Rating: 4.5
You:
Rate this recipe!
Instructions
  1. Sauté the onion in butter until translucent.
  2. Add the garlic and minced hot pepper.
  3. Continue sautéeing until the onion is golden and the garlic is fragrant.
  4. Add the curry powder.
  5. Sauté 2-3 minutes, stirring frequently, until the raw smell is gone.
  6. Add the liquid.
  7. Bring to a boil and simmer approximately 20 minutes to develop flavor.
  8. Add the chickpeas.
  9. Simmer 10-15 minutes, stirring frequently. The chickpeas should be almost dry by the end.
  10. Adjust salt and pepper while cooking.
  11. Off the heat and stir in the lime juice and serve
Recipe Notes

Copyright © 2018 by VillaSentieri.com. All rights reserved.
Share this Recipe

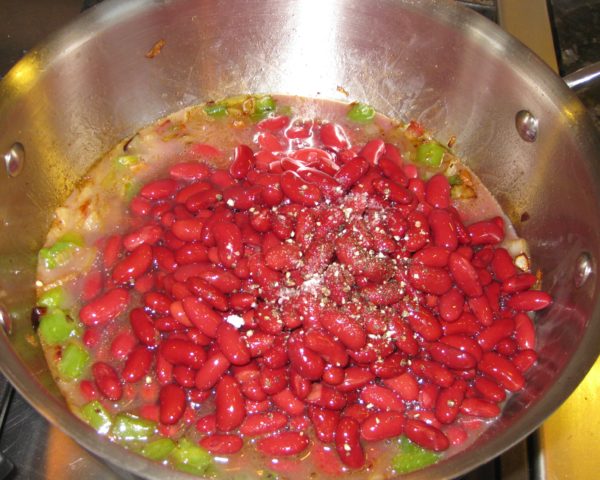
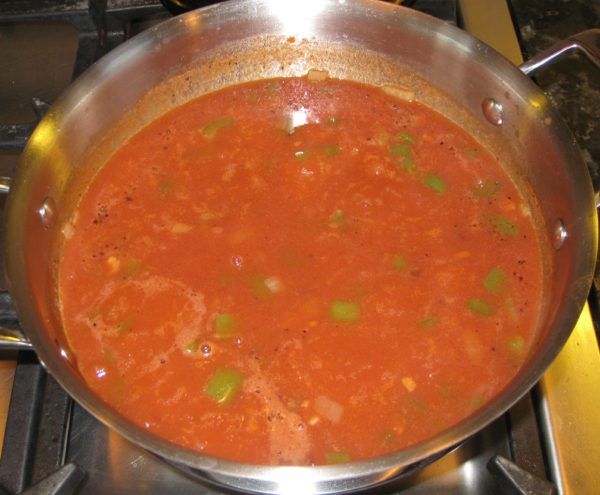
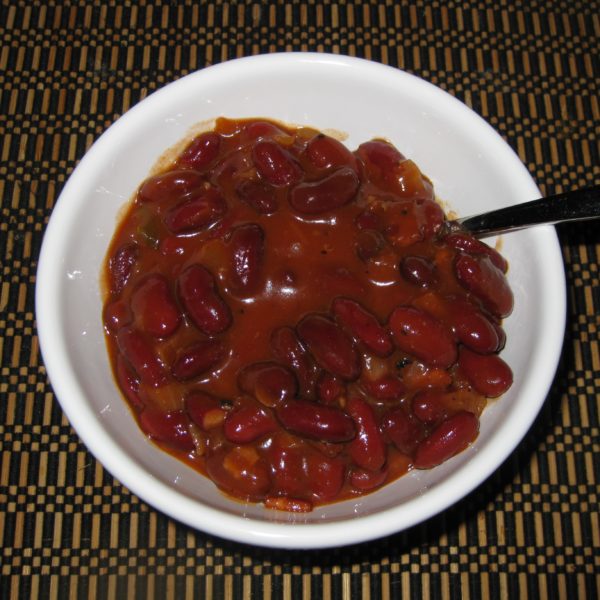
Kidney Beans in Tomato Sauce

February 19, 2018

As you may have figured out by now, we live in a multi-generational household.

My husband’s parents live in our casita in Santa Fe.  Before we moved to Santa Fe, they lived in our coach house in Chicago.

Meals are usually communal affairs and, after many years, I’m learning to make some of my mother-in-law’s dishes that I’ve taken for granted for more than 20 years.

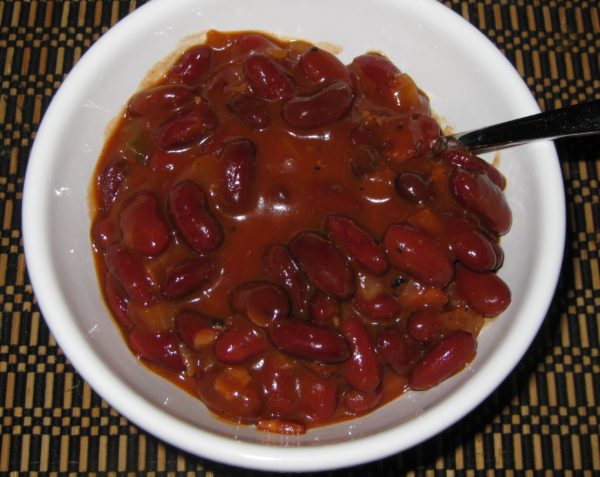
Though these beans could easily be the centerpiece of a vegetarian meal if you leave out the bacon, they usually accompany something more pleasing to carnivores (that would be my husband and my father-in-law).  For this rendition, I went back to the original recipe, with bacon, though usually my mother-in-law leaves it out and simply adds a few tablespoons of olive oil to sauté the onion and bell pepper.

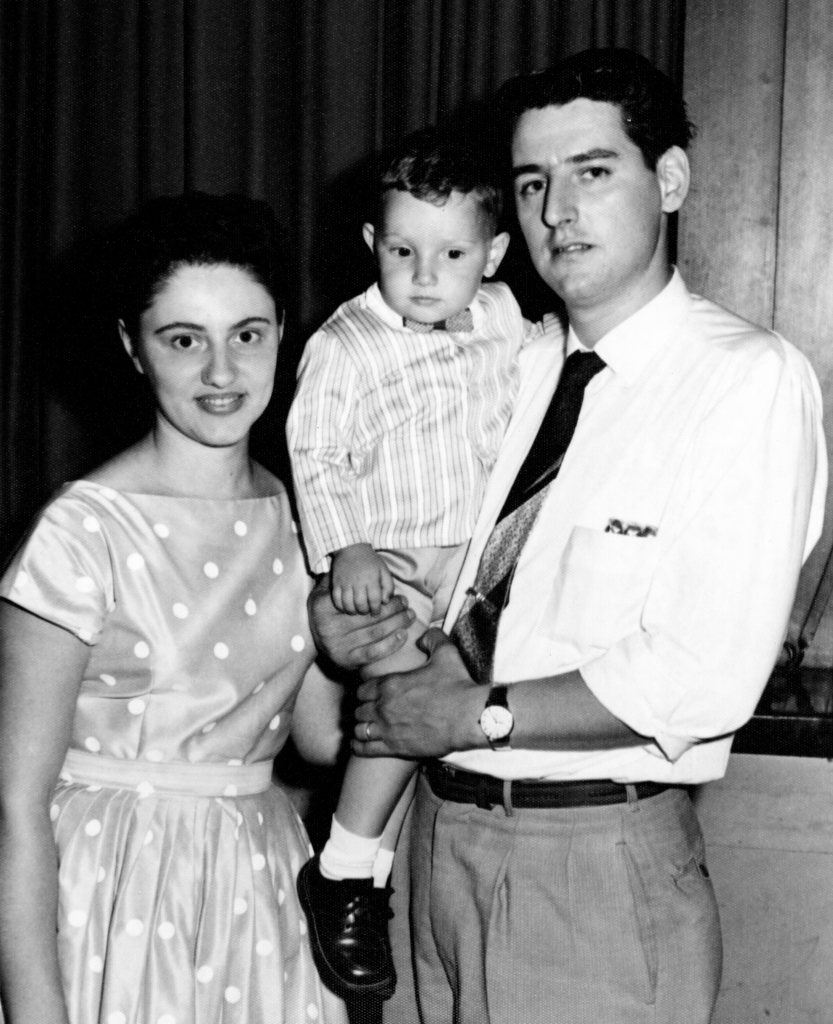
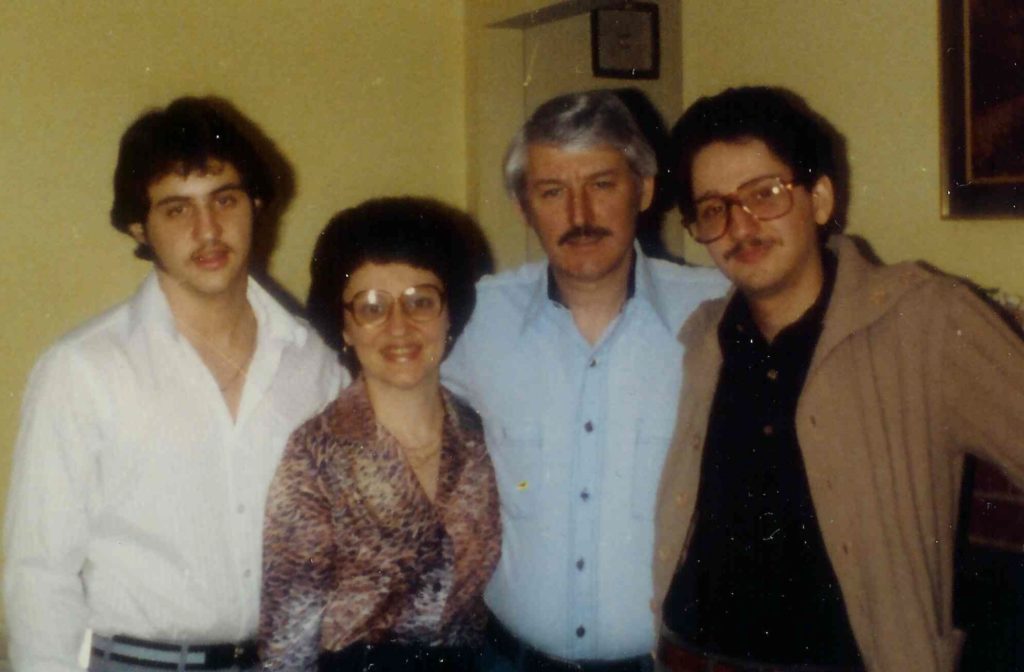
My husband at two years of age with his parents

As I was learning to make these with my mother-in-law, I also learned that the recipe originally came from Lorraine, the wife of my brother-in-law’s godfather, Jack.  Lorraine is of Polish heritage but was married to Jack, a close friend of my father-in-law who moved to the USA from Italy.


Click HERE to join our mailing list and you’ll never miss a recipe again!


I’m totally confused by the heritage of these beans.  My mother-in-law says they’re Polish based on Lorraine.  I always thought of them as Italian because, until recently, I thought the recipe was from my mother-in-law’s family and, also, because the red sauce with bacon is pretty similar to an Italian-American adaptation of a classic Italian method for cooking green beans.  The bacon is a substitute for pancetta which is the same cut of meat as bacon but which is not smoked after it is cured.

I guess I’m going to have to go with my mother-in-law’s assertion that these are Polish though I can’t say I ever had anything like them among the Poles and other Eastern Europeans in my hometown of Johnstown, PA.  Really, though, that’s not definitive.  I’ve never had any potato cakes like my Slovak grandmother’s (unless they were made by one of her daughters-in-law, of which there were seven!).  That doesn’t make those potato cakes any less Slovak, though.

Red beans and tomatoes are a common combination internationally.  There are versions from New Orleans to Haiti to India to South America to Italy to name just a few.  To be sure, the seasonings vary tremendously but the basics, red beans and a tomato-based sauce, remain the same.


Follow us on your social media platform of choice


Fast forward to the 1970’s:  my husband (on the right) and his brother (on the left) with their parents

I’ve decided to keep this recipe in its original form, with canned beans and tomato sauce.  Although I keep an array of canned beans in my pantry for unexpected events I usually prefer to start with dry beans.  Most commercial brands of tomato sauce are made from tomato paste and water, with a bit of onion powder and garlic powder added.  In place of tomato sauce, I typically use tomato paste and water to achieve the same results.


If you have a favorite family recipe and a bit of a story to tell, please email me at santafecook@villasentieri.com and we can discuss including it in the blog. I am expanding the scope of my blog to include traditional recipes from around the country and around the world. If you haven’t seen Bertha’s Flan or Melinda’s Drunken Prunes, take a look.  They will give you an idea of what I’m looking for.


Print Recipe
Kidney Beans in Tomato Sauce
These beans can be made without the bacon, or with less bacon, in which case a few tablespoons of oil will need to be used to sauté the onion and bell pepper. If you want extra sauce just increase the amount of tomato sauce. You can sauté a clove or two of minced garlic with the onion and bell pepper if you would like. The liquid from the canned beans will improve the consistency of the sauce. Before using it, however, taste it to be sure that it does not have a metallic flavor which happens with some brands of beans. If so, drain and rinse the beans and add additional water in place of the liquid in the cans.
Votes: 5
Rating: 1.2
You:
Rate this recipe!
Prep Time 5 minutes
Cook Time 75 minutes
Servings
people
Ingredients
Prep Time 5 minutes
Cook Time 75 minutes
Servings
people
Ingredients
Votes: 5
Rating: 1.2
You:
Rate this recipe!
Instructions
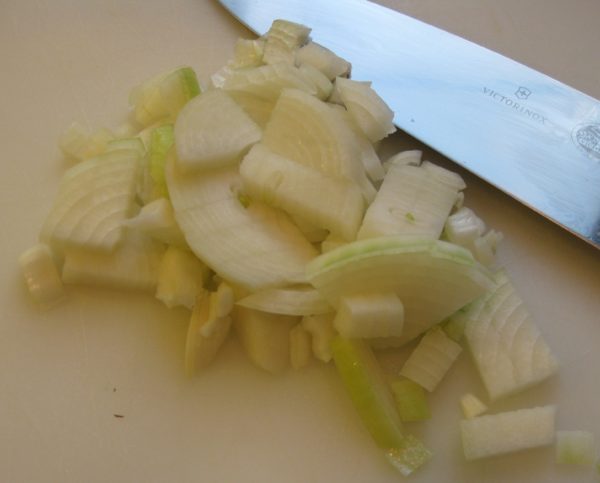
  1. Dice the onion.
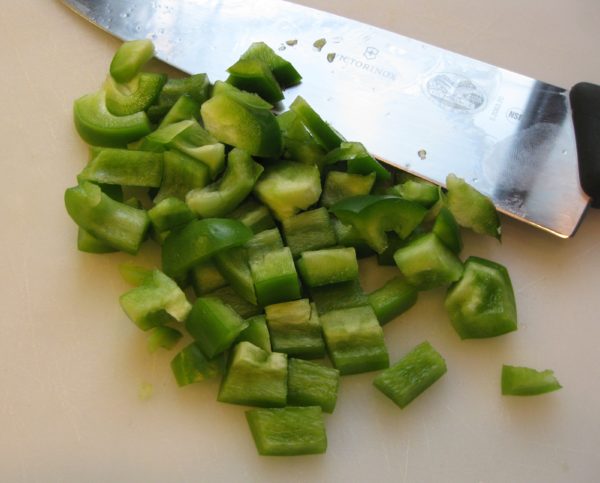
  2. Dice the bell pepper.
  3. Chop the bacon.
  4. Sauté the bacon until it begins to color, adding a small amount of oil if needed to keep it from sticking.
  5. Add the onion and bell pepper to the bacon.
  6. Sauté until the onion just begins to color and the pepper becomes a dull green and starts to soften. It may be necessary to cover the pan and/or add a tiny amount of water if the onion and/or pepper begin to get too brown.
  7. Add the beans and their liquid.
  8. Season with salt and pepper. Bring to a boil.
  9. Add tomato sauce and water.
  10. Simmer, partially covered, for approximately one hour, adding additional water if necessary.
  11. Taste and adjust seasoning while the beans are cooking.
Recipe Notes

Copyright © 2018 by VillaSentieri.com. All rights reserved.
Share this Recipe

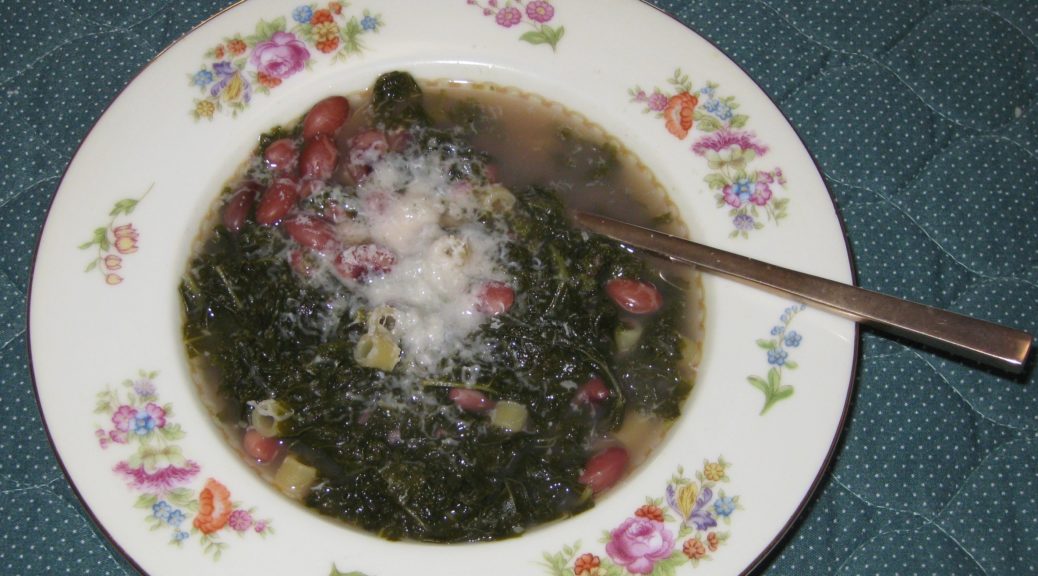
Roman Beans and Kale

January 12, 2018

I don’t remember my mother making Roman Beans and Kale till I was in my late teens.

The first time she made it, I remember her talking about her mother making it.  For something she really liked, she waited an awfully long time to make it.  But then, again, I did the same thing with her pasta è fagioli.

There were some dishes from her childhood that she talked about but never made.  Tiella is the one that I remember most.  It took me multiple tries over many years to recreate it from her description.

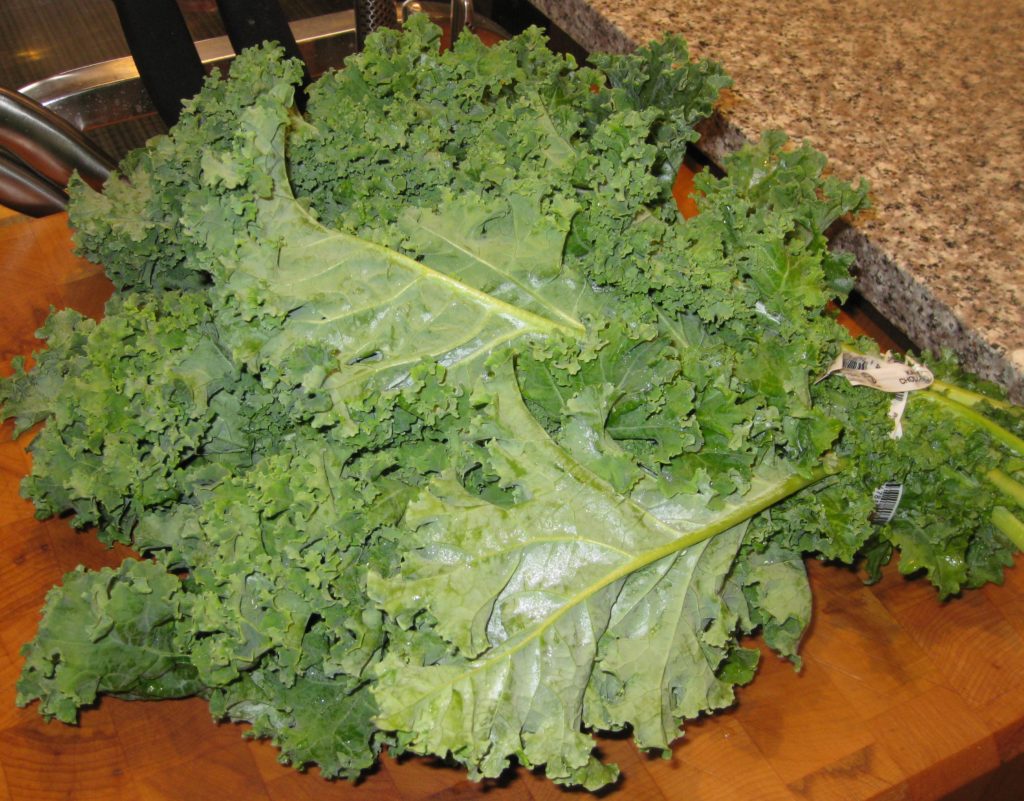
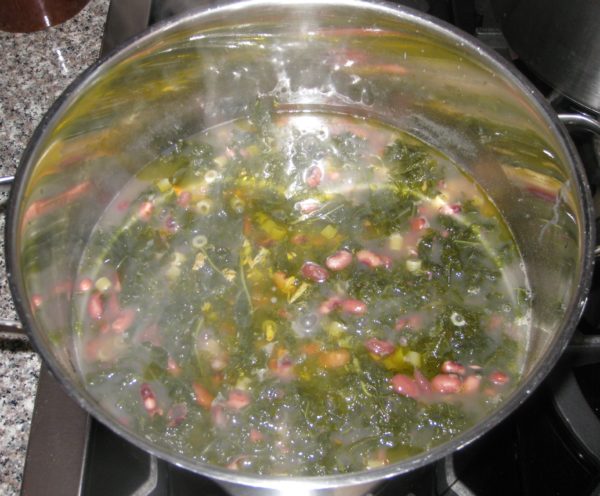
Roman beans and kale might seem a little unusual to many American palates due to the length of time the kale is cooked.  There is a point where it becomes silky but most definitely not mushy.  Southerners, though, would find the kale in this recipe cooked in a familiar way.  It is much like the Southern low-and-slow style of cooking greens of various types, such as collards or mustard greens, until they achieve the requisite tenderness.

A bunch of kale

Follow us on your social media platform of choice


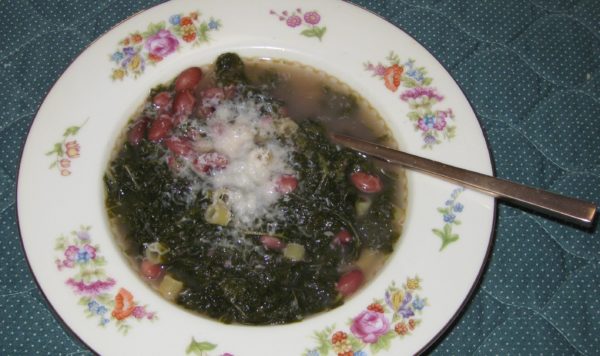
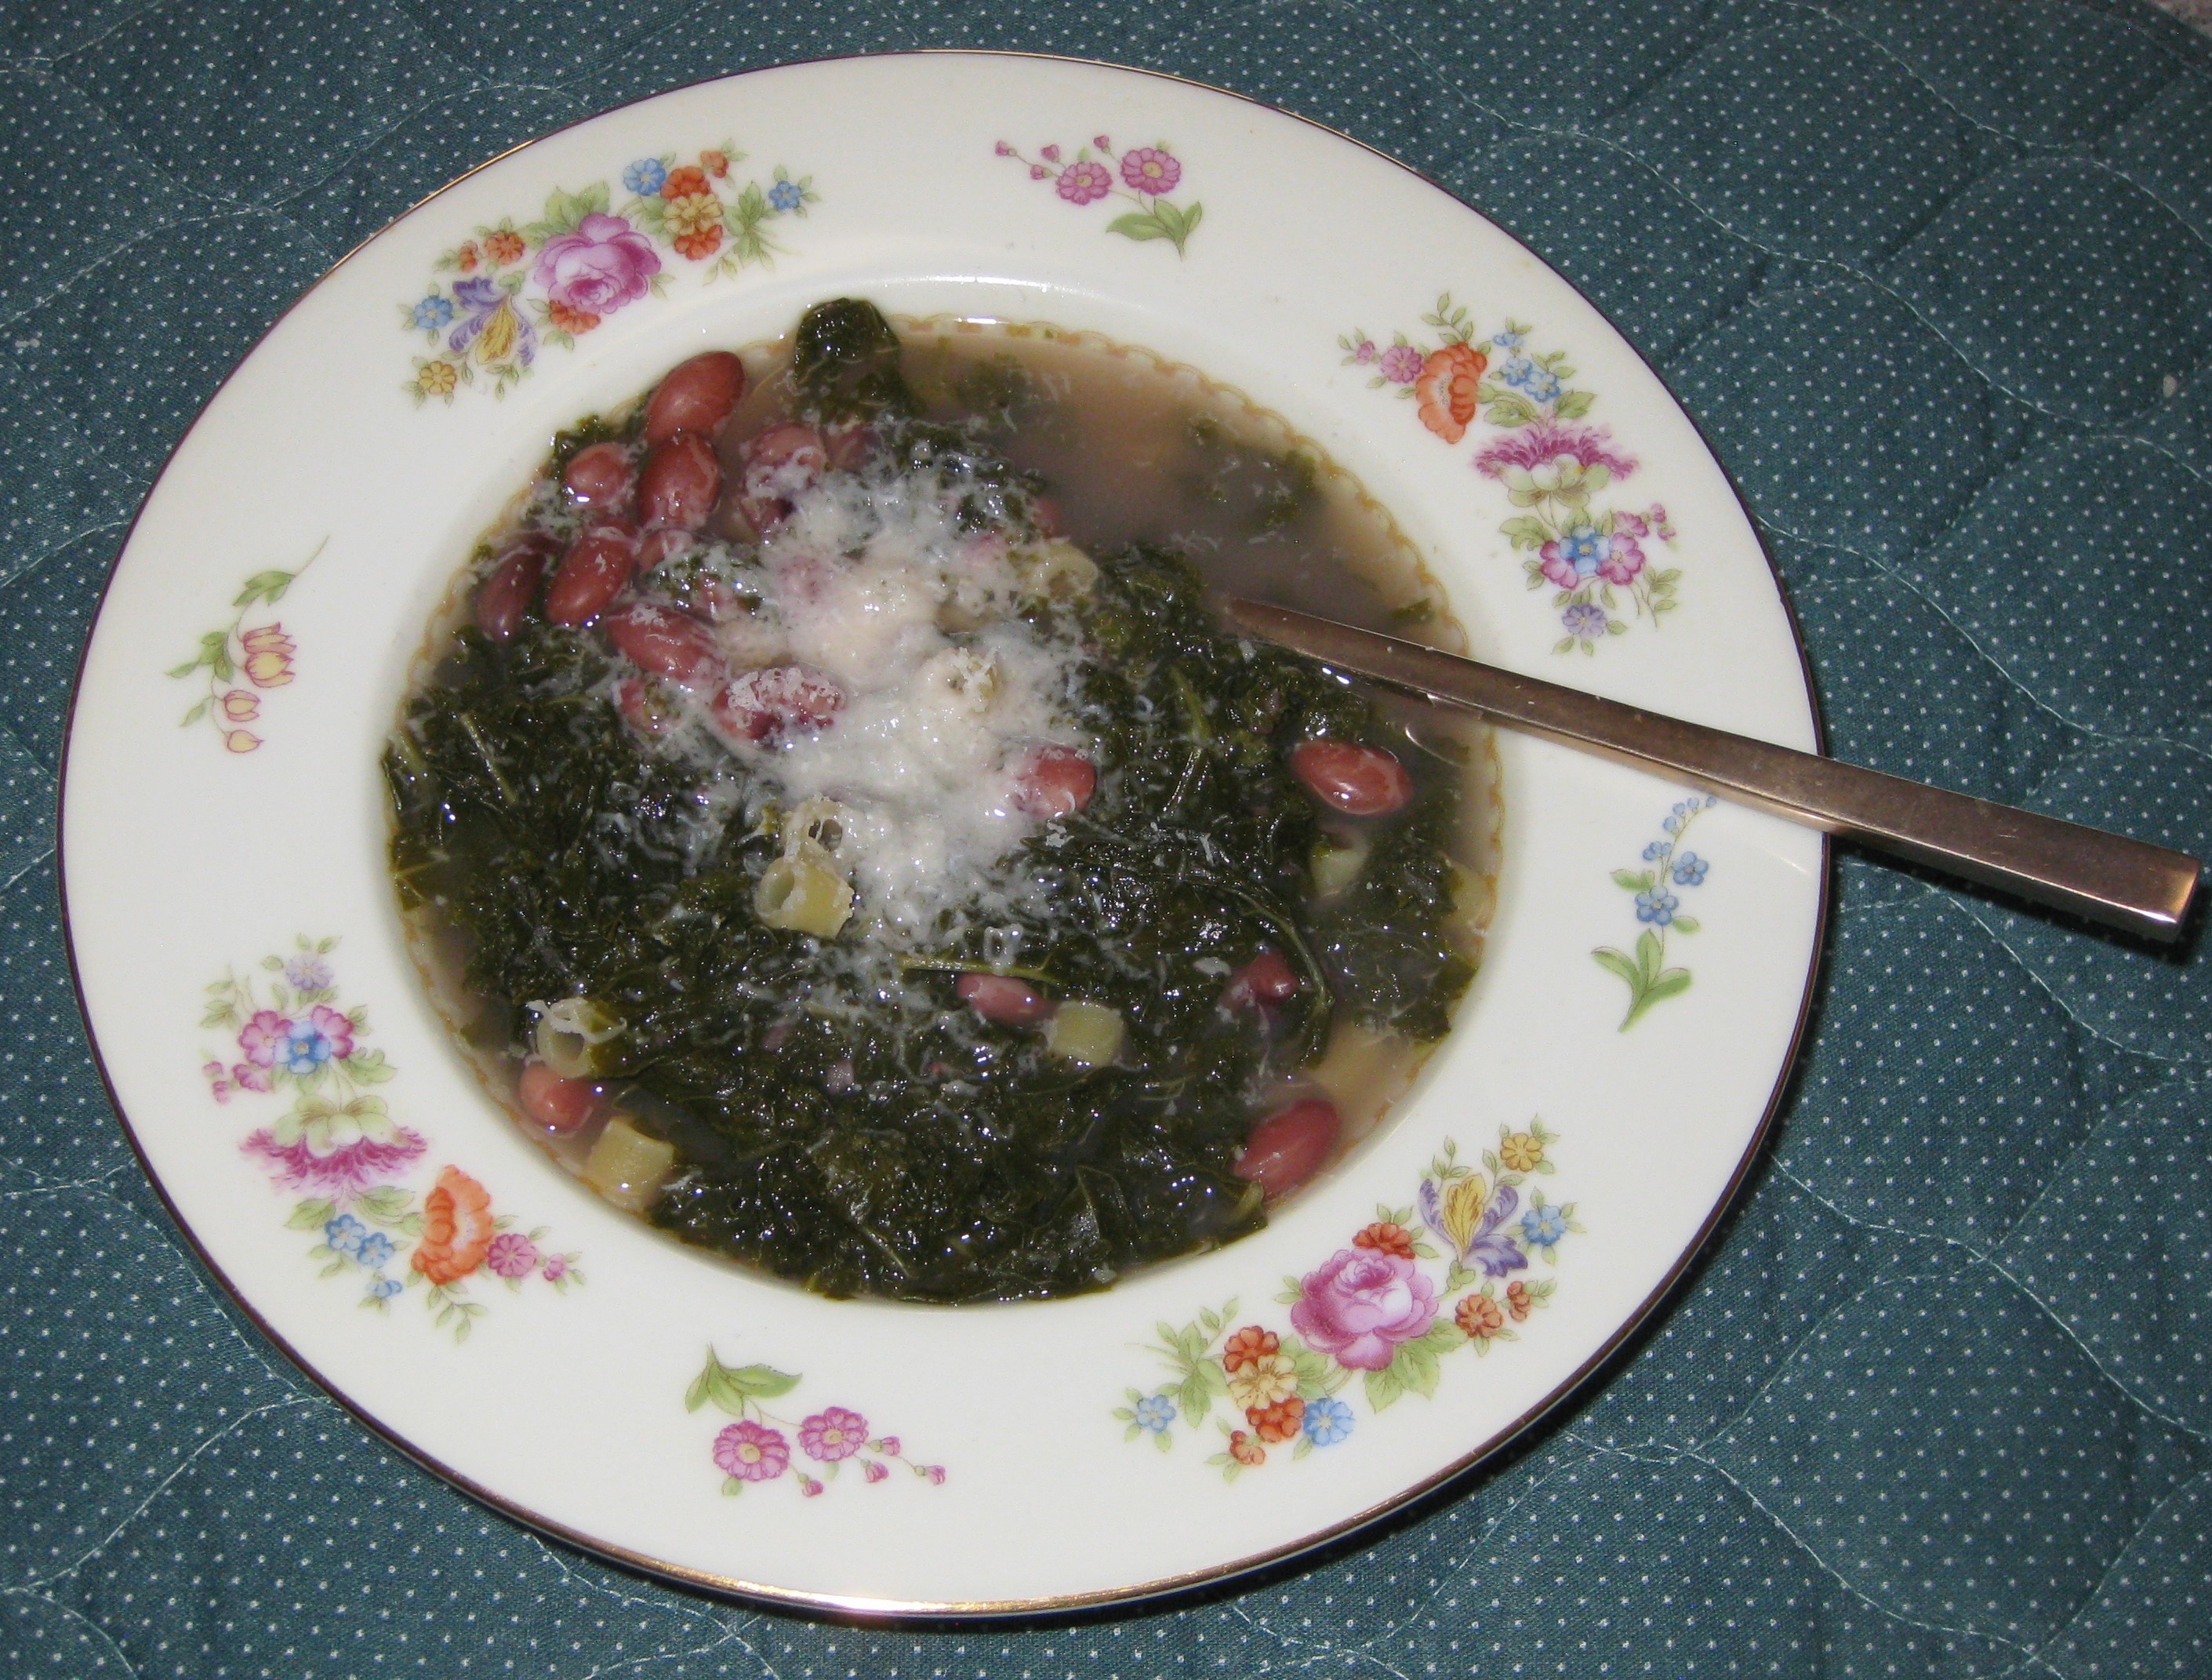
Texture is an important part of this dish. The beans should yield but not be falling apart.  The kale should not provide any resistance the way it would if it were just quickly sautéed.  The pasta, however, should be al dente.

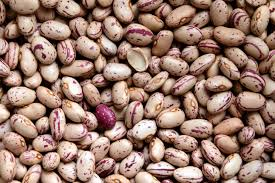
Roman beans

Beans, kale and pasta are all pretty mellow-tasting in my estimation.  The garlic, olive oil, and Parmesan cheese are what give this dish its flavor oomph!  At the table, I add crushed red pepper but it shouldn’t be cooked into the dish.

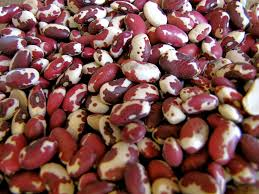
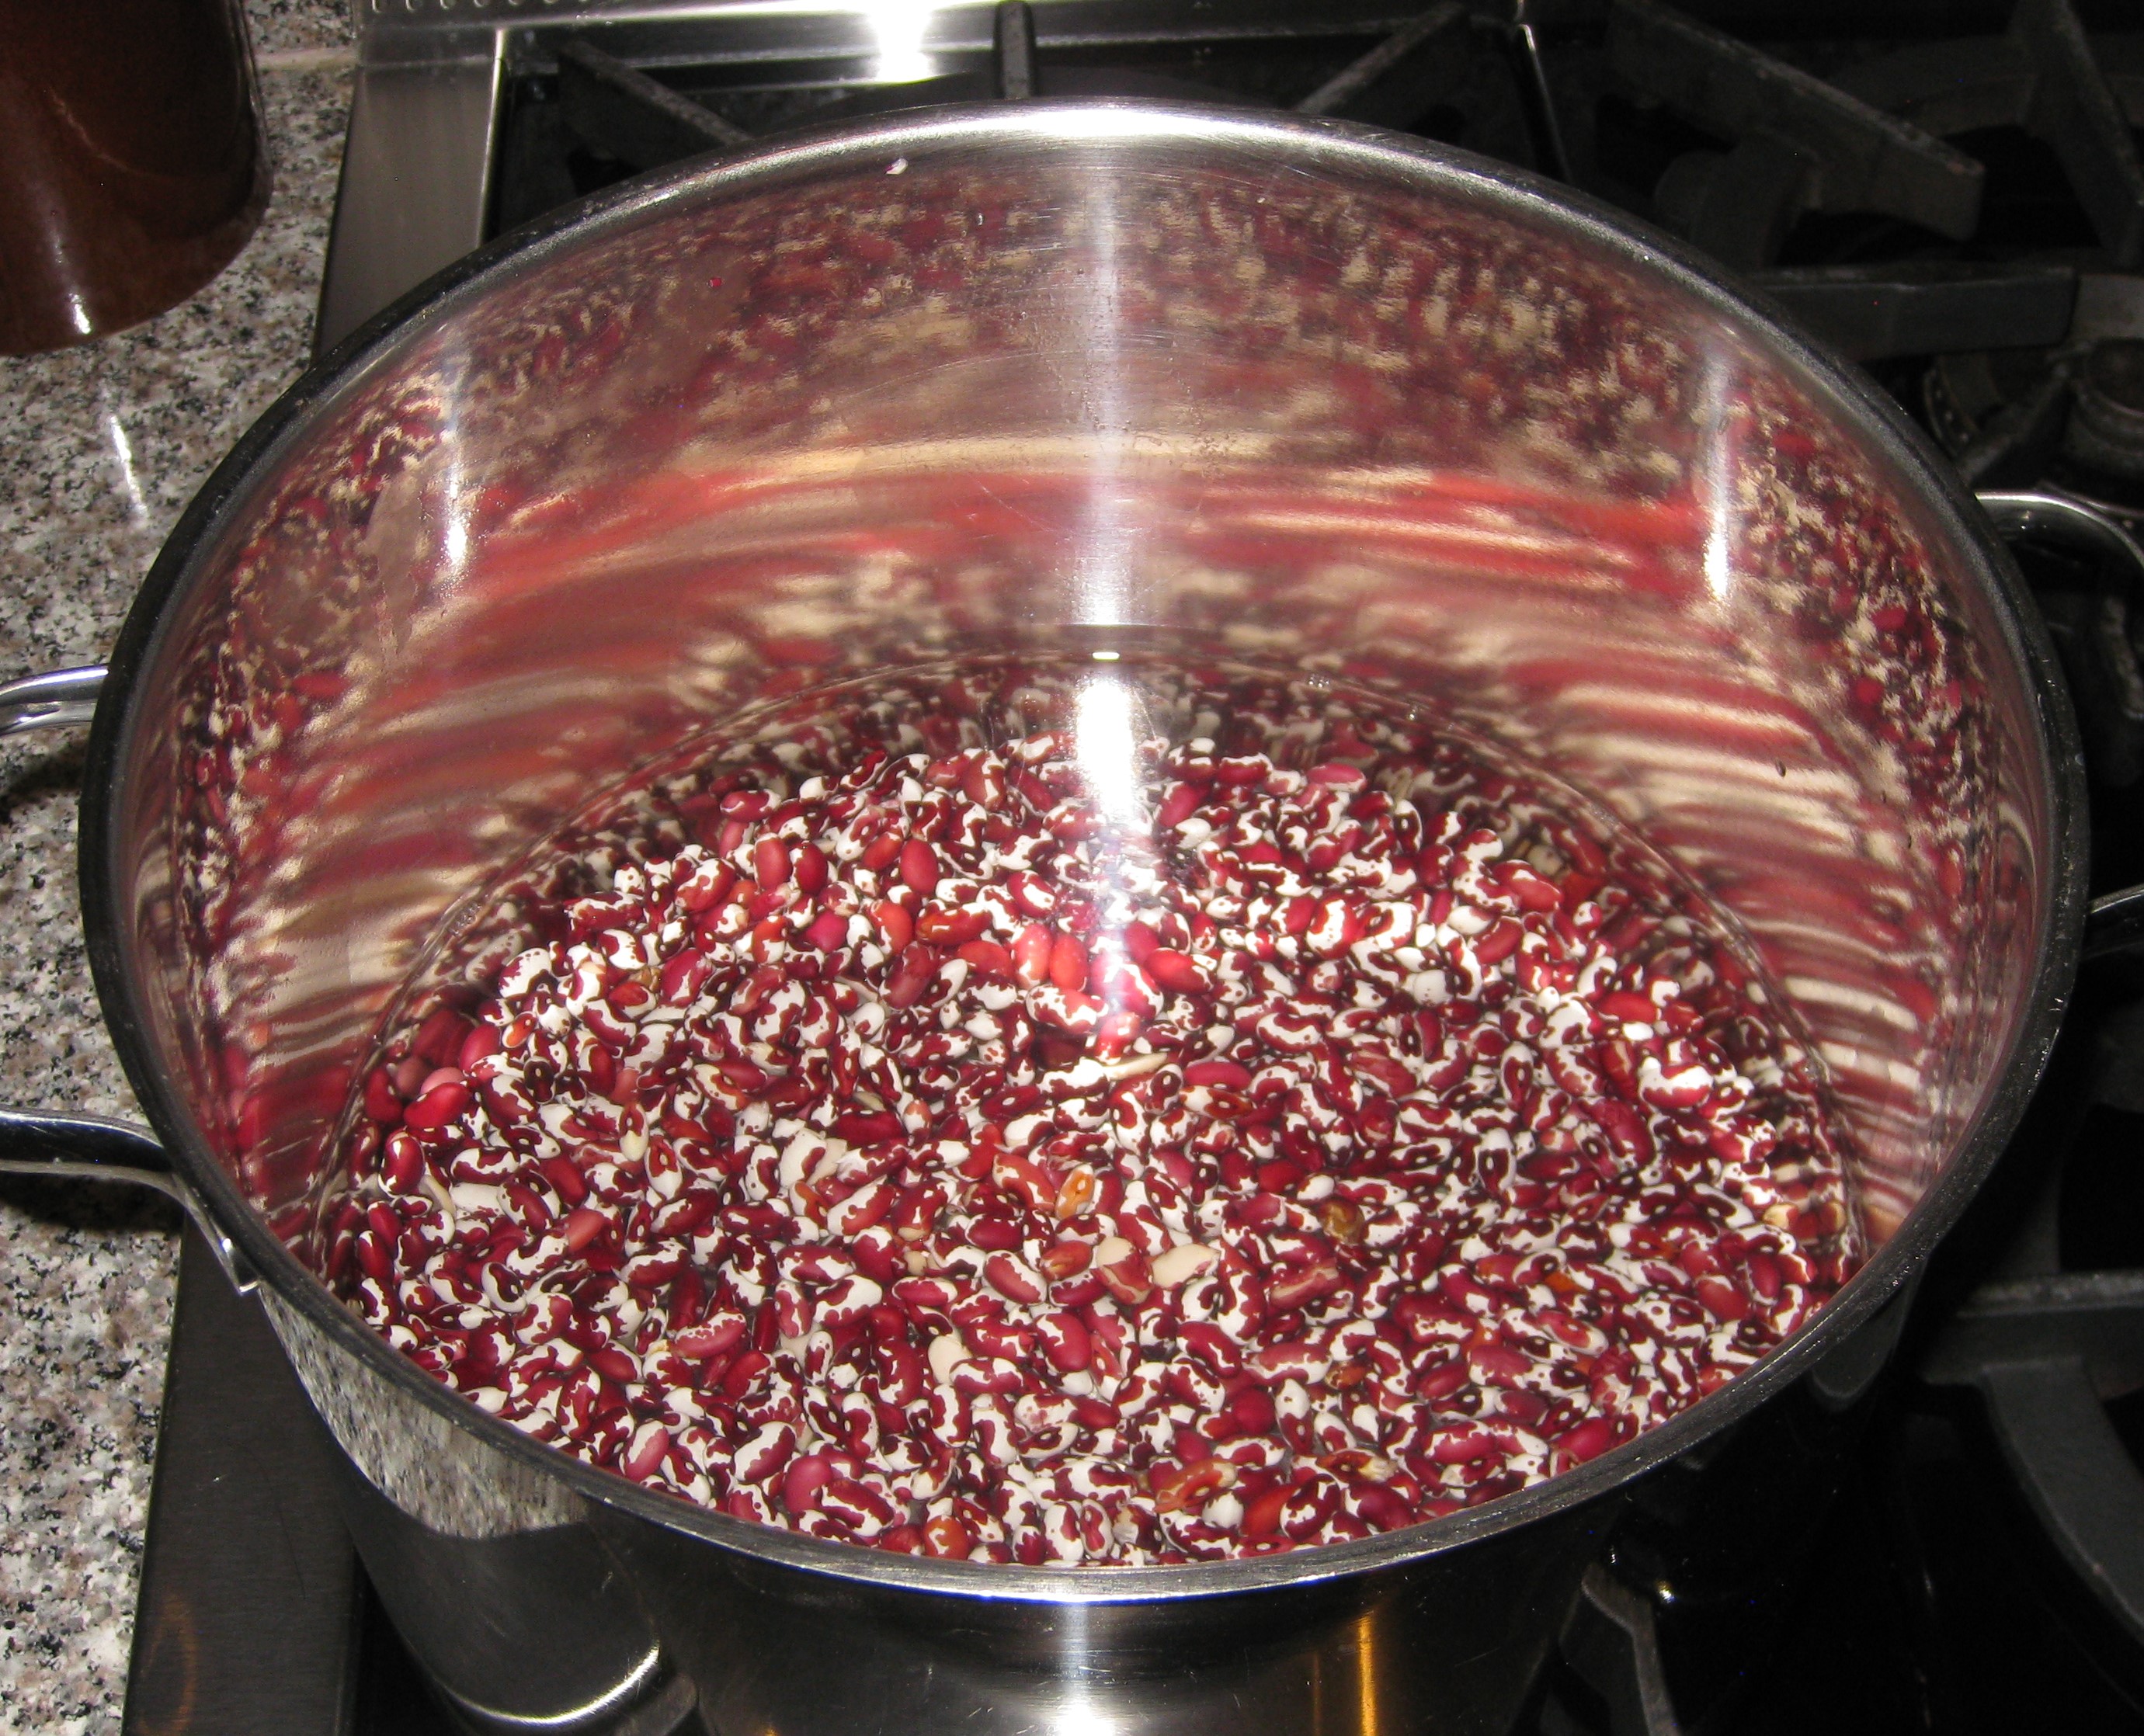
Roman beans are also called Borlotti or Cranberry beans.  Depending on where you live you might have to order them.  In a pinch, though, you could use pinto beans or Anasazi beans.  (If you’re a bean savant, you’ll notice that I used Anasazi beans as I was unable to find Roman beans after searching market shelves in two different cities for a couple of months.  Though I could have gotten them online, I didn’t think the huge price premium was worth it.)

Anasazi beans

My mother’s approach to cooking most foods was definitely low and slow.  It’s classically Italian and so NOT French, which often aims for “high and fast!”  Though culinary education is now more inclusive and not so heavily French, we have a strong cultural bias away from slow, leisurely cooking due to the strong French influence of the past decades.  There are exceptions however, largely based on strong regional traditions, barbecue, for example.  But for the most part, mainstream America, and certainly mainstream American food and cooking publications, just don’t “get” low and slow.


Click HERE to join our mailing list and you’ll never miss a recipe again!


There are some foods that don’t benefit from low and slow, at least when cooked traditionally; steaks for instance.  My mother’s approach to these was that they should be well done, even though that state was achieved quickly.  In our house steaks were most often seasoned with olive oil, garlic, oregano, basil, salt and pepper and broiled.  I think it’s a wonderful flavor combination.  But it wasn’t until my late teens that I developed an appreciation for rare beef.

I remember one meal where my sister and I cooked the steaks for ourselves and our dad.  They were medium rare, as I recall.  Even though our mom didn’t have a hand in cooking them (and cooked her own steak well done) she spent the entire meal feeling like she had served us bad food.  The fact that we liked it didn’t seem to matter.  She had very definite opinions about what constituted good food, and something that was bleeding onto the plate didn’t fit!


If you have a favorite family recipe and a bit of a story to tell, please email me at santafecook@villasentieri.com and we can discuss including it in the blog. I am expanding the scope of my blog to include traditional recipes from around the country and around the world. If you haven’t seen Bertha’s Flan or Melinda’s Drunken Prunes, take a look.  They will give you an idea of what I’m looking for.


Recently I bought sous vide equipment.  I haven’t tried it yet but I’m itching to do so.  Steaks will be first.  The food gets vacuum sealed and then cooked slowly…for hours…in a hot water bath that is maintained at the temperature one wants the food to achieve.  The meat is cooked uniformly throughout…low and slow!  For steaks, one would want to quickly sear the outside before serving but many foods, like fish, poached eggs, and even hollandaise sauce can be used right out of the water bath.

For now, though, let’s try a slow-cooked pot of beans and greens…Italian style!!

Print Recipe
Roman Beans and Kale
The beans should be cooked through but not falling apart. The kale should take on a silky texture but not be mushy. The pasta should still be a bit “toothy." This is even better if made a day or two in advance and refrigerated. If you are doing this, you will want to undercook the pasta so that it is not too soft after the dish is reheated for serving. Alternately, you can omit the pasta when mixing the beans and kale, then add it when reheating. Depending on where you live, you might not be able to find Roman beans. Roman beans are also called Cranberry or Borlotti beans. If you can’t find Roman beans, you can substitute Pinto or Anasazi beans.
Votes: 1
Rating: 5
You:
Rate this recipe!
Prep Time 15 minutes
Cook Time 2 1/2 hours
Servings
people
Ingredients
Prep Time 15 minutes
Cook Time 2 1/2 hours
Servings
people
Ingredients
Votes: 1
Rating: 5
You:
Rate this recipe!
Instructions
  1. Rinse and pick over the beans.
  2. Cover the beans with six cups of water.
  3. Simmer the beans until almost fully cooked, adding 2 teaspoons of salt and black pepper to taste after the beans have cooked for an hour. If necessary, add a bit of boiling water from time to time to keep the beans just submerged. The beans will cook for about 10-15 minutes more after the kale is added so don't overcook them.
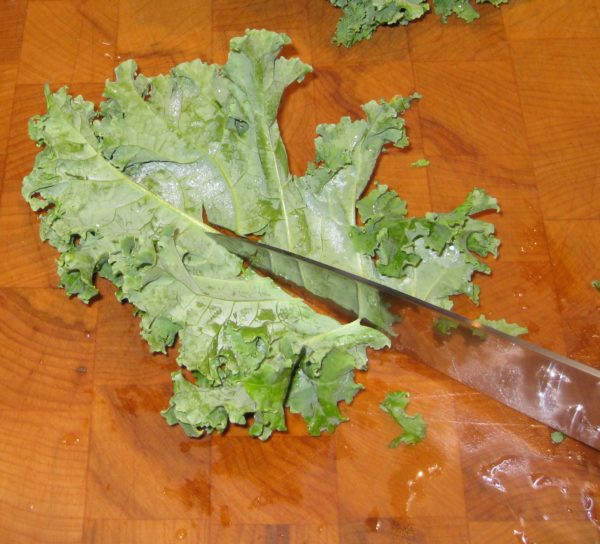
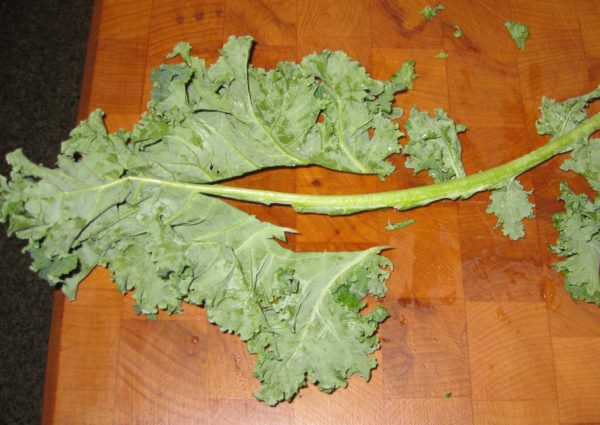
  4. Meanwhile, cut out the center ribs of the kale.
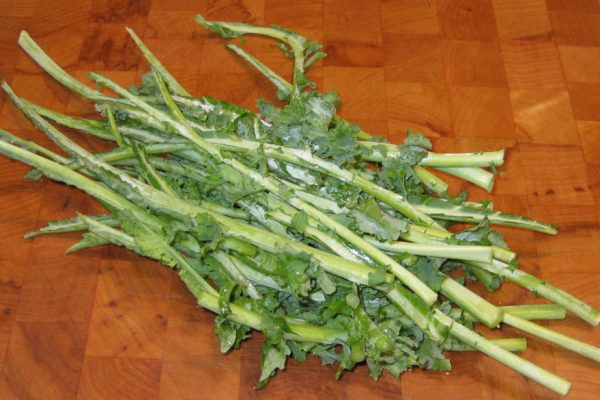
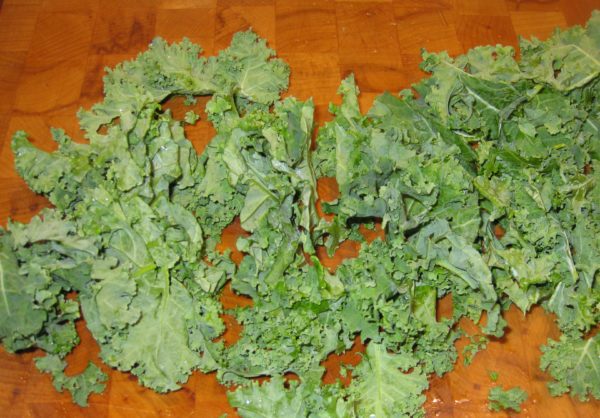
  5. Kale ribs about to be discarded.
  6. Cut the leaves crosswise into large pieces.
  7. Rinse and drain the kale.
  8. Bring a quart of salted water to a boil.
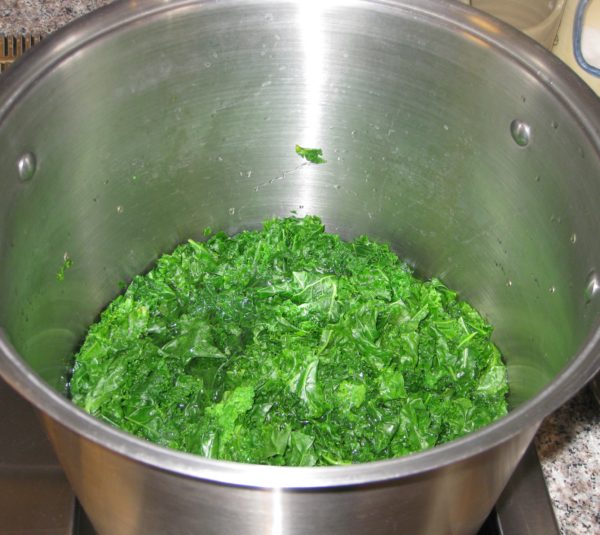
  9. Add the kale. The kale should quickly wilt enough to be covered by water. If not add a bit more water to just cover the kale.
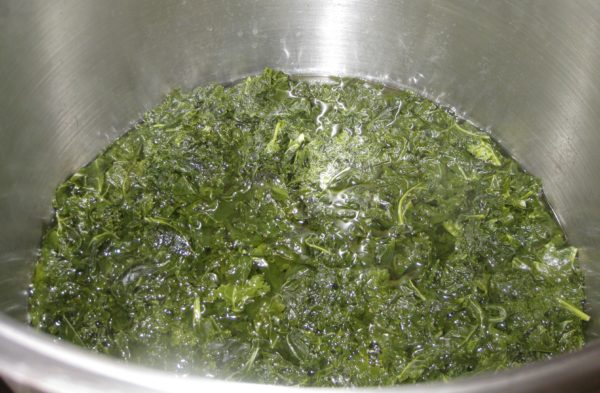
  10. Simmer the kale, covered, stirring occasionally, until cooked to a silky texture, approximately 1 hour.
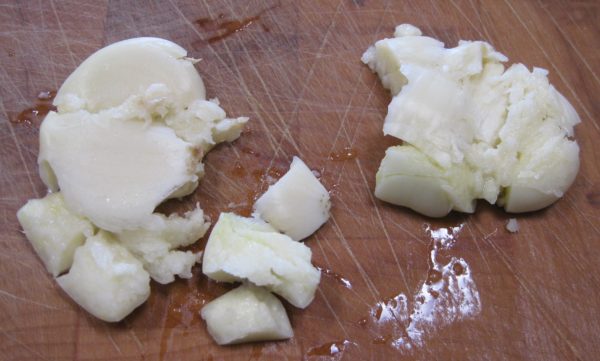
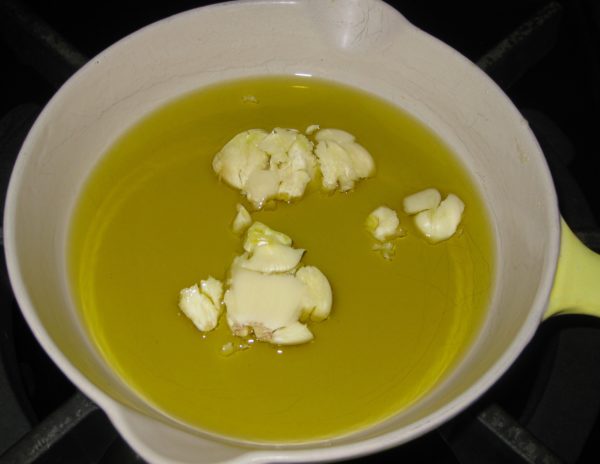
  11. While the kale is cooking, crush the garlic with the side of a chef's knife.
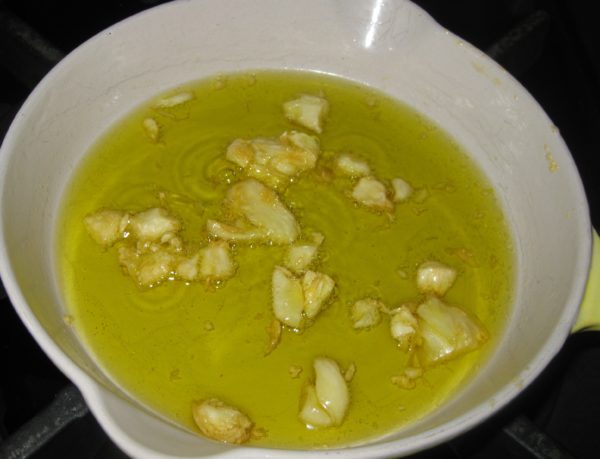
  12. Slowly brown the garlic in the olive oil.
  13. Once the garlic has browned, remove the oil from the heat. Discard the garlic. Reserve the garlic-infused oil.
  14. If using pasta, bring two quarts of water seasoned with 1/4 cup of salt to a rolling boil.
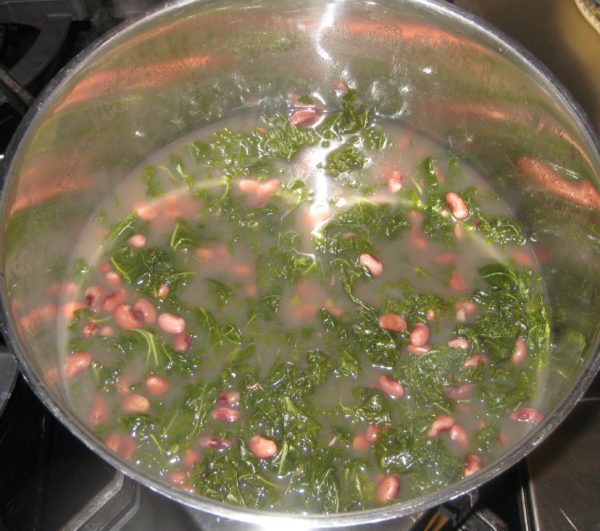
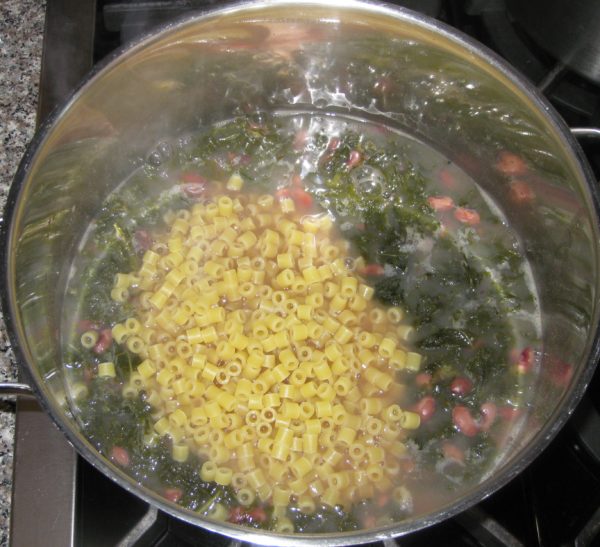
  15. When the pasta-cooking water comes to a boil, add the pasta. At the same time, add the kale and its cooking water to the beans. Keep the beans and kale at a simmer.
  16. Cook the pasta in boiling water until it is still a little crunchy on the inside.
  17. Drain the pasta and add it to the pot with the beans and kale.
  18. Add the garlic-infused oil.
  19. Taste and adjust seasoning.
  20. Cook everything, uncovered, until the pasta is al dente, just a few minutes longer.
  21. Serve with grated Parmigiano Reggiano cheese.
Recipe Notes

Copyright © 2018 by VillaSentieri.com. All rights reserved.
Share this Recipe

Cuban Black Beans

December 1, 2017

Black beans are ubiquitous on tables in Cuba.

Getting beans to the right texture and the liquid to the right thickness is almost an art form.

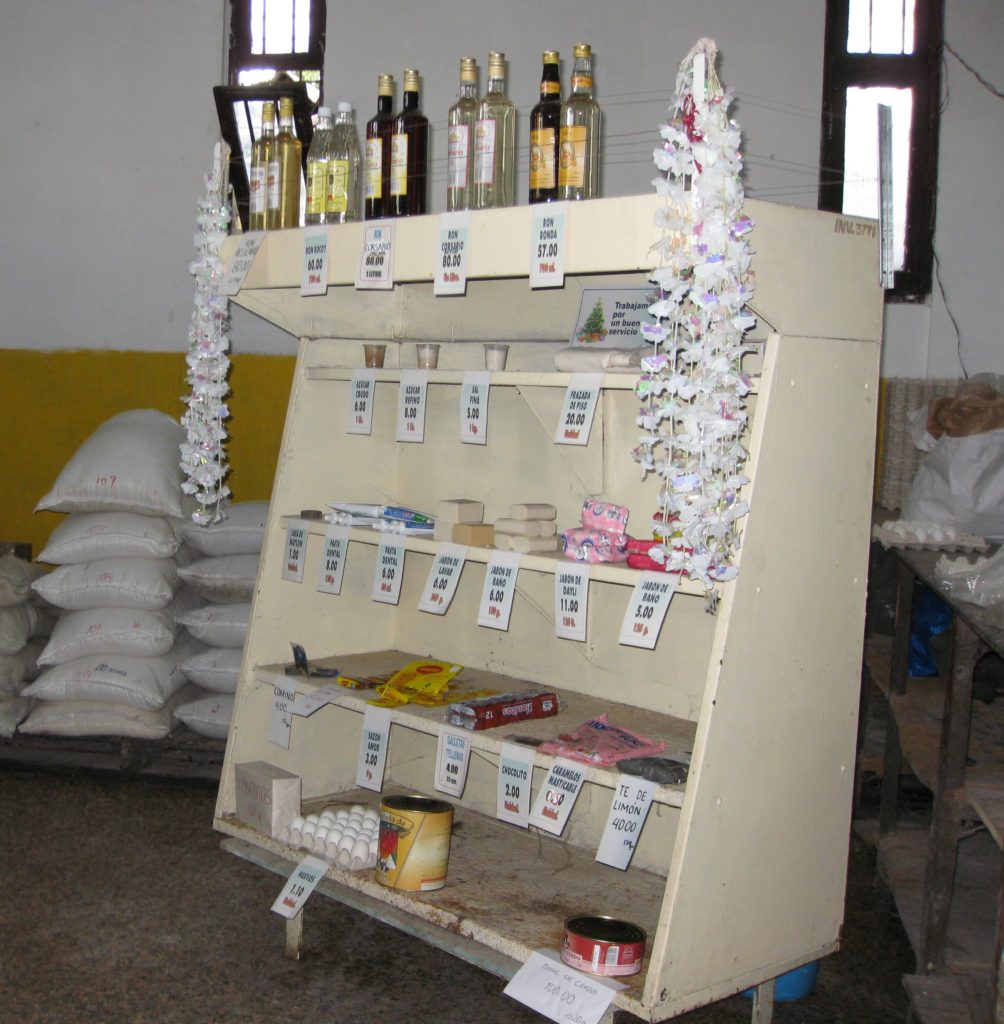
Food is scarce in Cuba…at least if you’re a Cuban paying in Cuban Pesos. Not so much if you’re paying in CUCs (Cuban Convertible Pesos), which is what foreigners use. The CUC is pegged to the US Dollar but if you change Dollars for CUCs you pay a 10% penalty as opposed to exchanging another currency, say the Euro, for CUCs.


Click HERE to follow us on Twitter


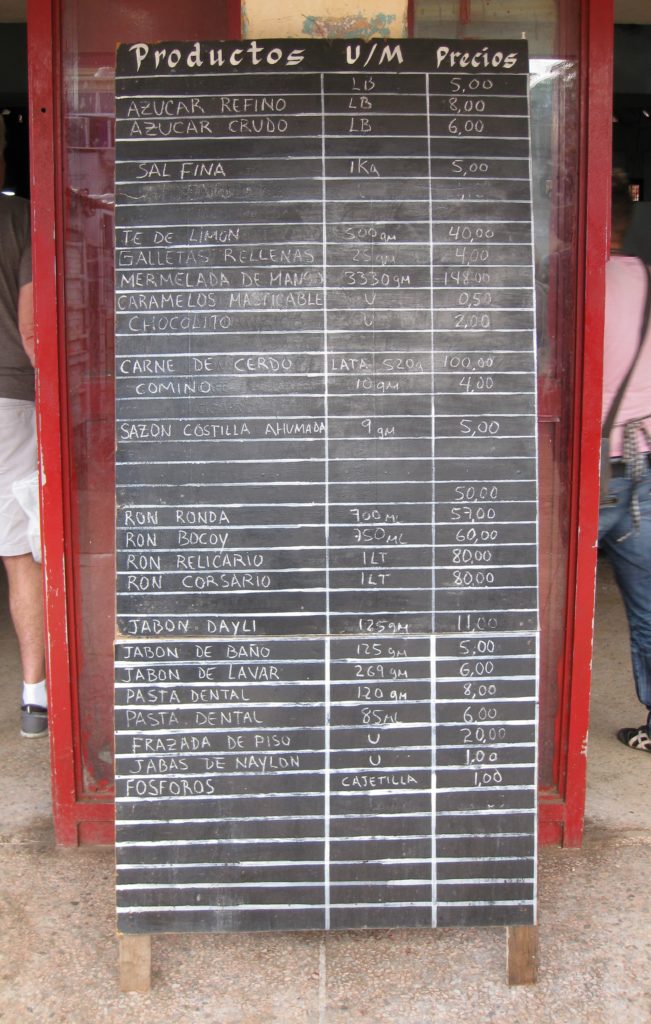
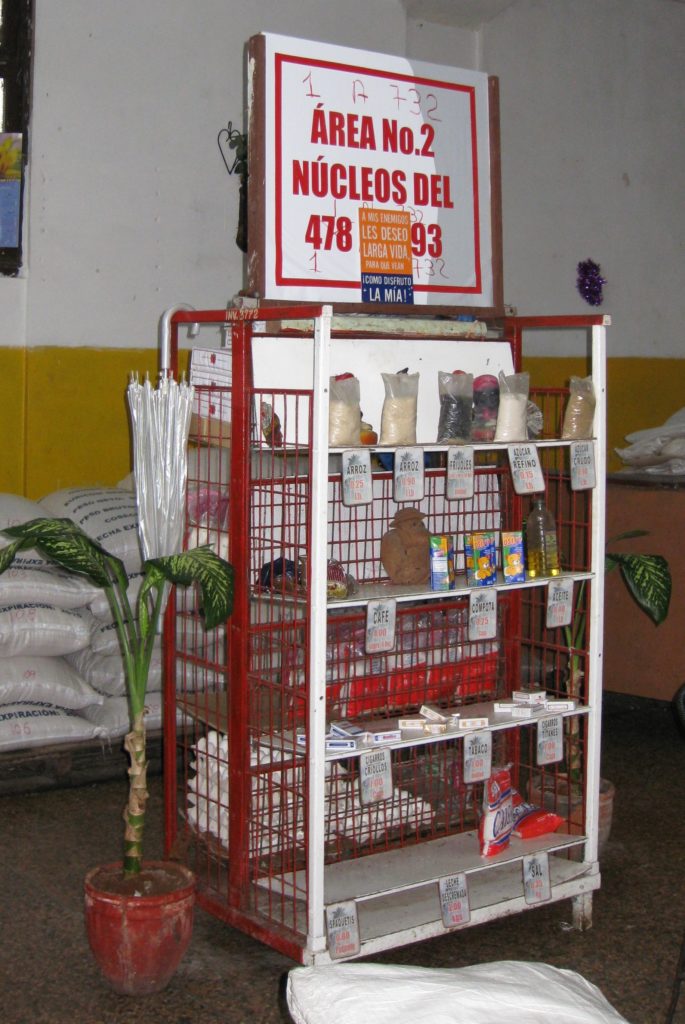
Prices in Cuban Pesos at a locals’ only market

One view of a locals’ only market
Another view of a locals’ only market

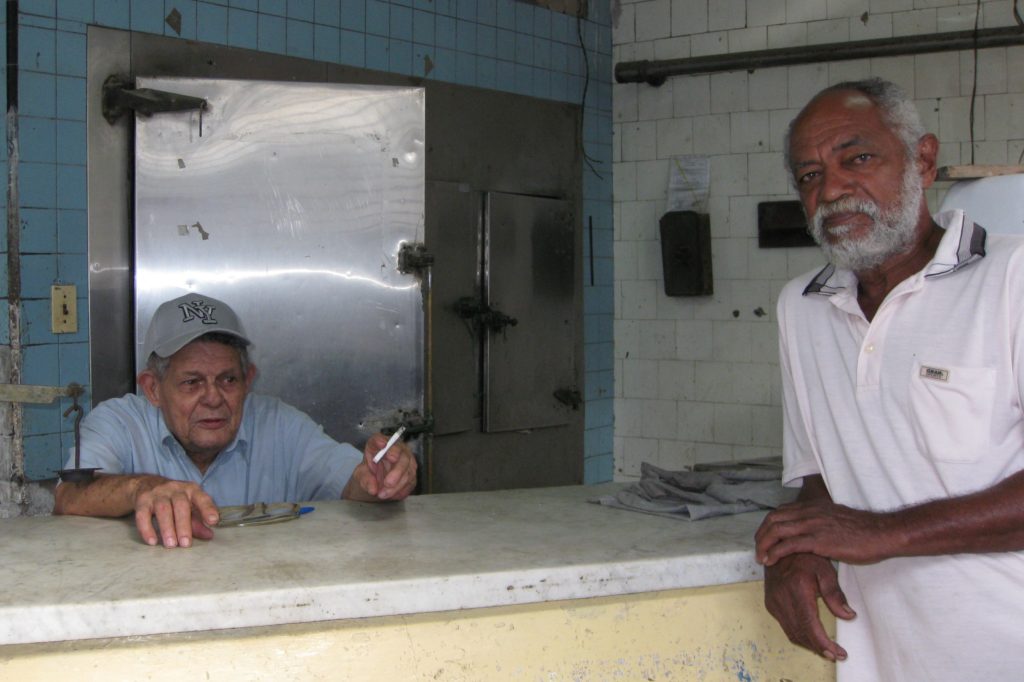
I visited a butcher shop in Havana which pretty much now only sells chicken; when chicken is available, that is. If you notice the door to the cooler is open. That’s because the cooler isn’t on because there’s no inventory.

A butcher shop in Havana

The butcher is just waiting around for chicken to arrive.

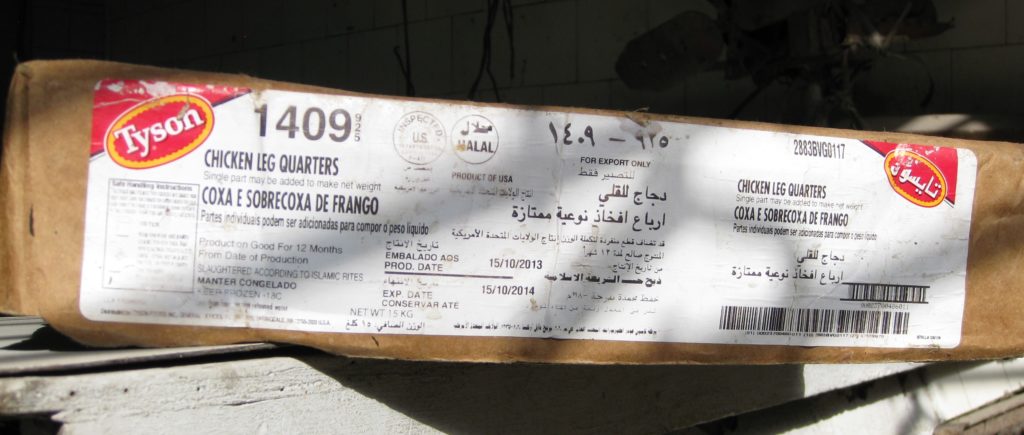
When that chicken does arrive, it will likely be frozen Tyson chicken from the United States. Even though, when this picture was taken, the US embargo of Cuba was in full force.

Most of the chicken in Cuba is frozen Tyson chicken from the United States

The same is true of hot sauce. If one asks for hot sauce at a restaurant in Cuba one is likely to get a bottle of Tabasco shipped in from Avery Island, Louisiana. Clearly there are exceptions to the embargo for some American companies!

If you pay in CUCs, the food available increases dramatically.

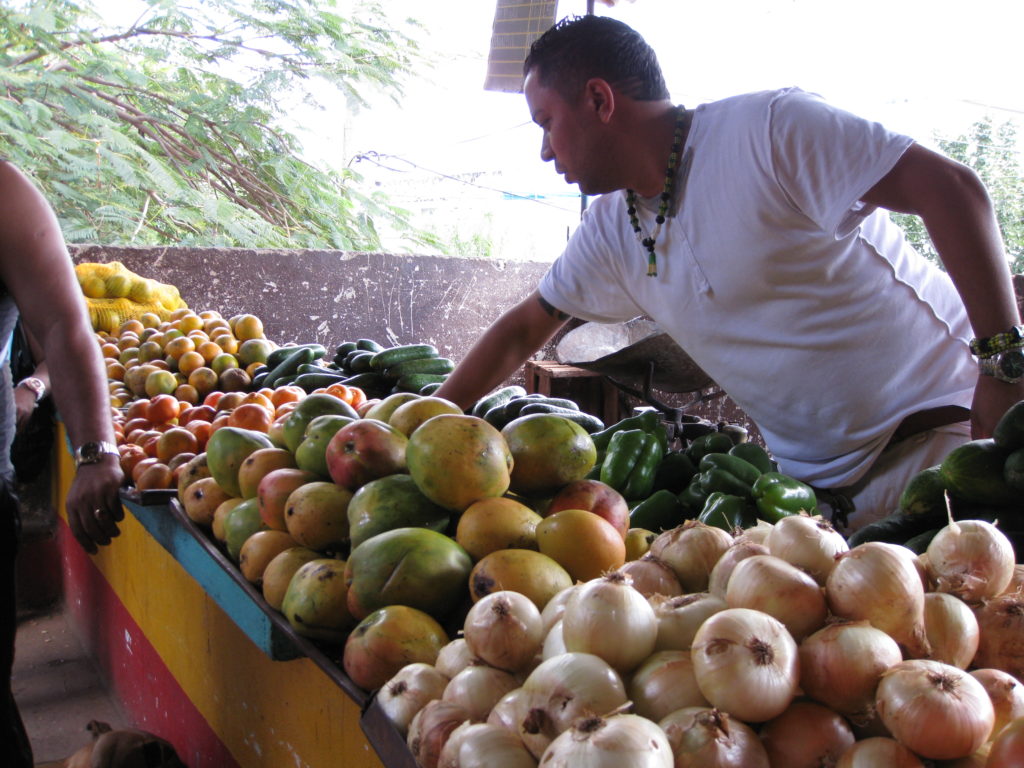
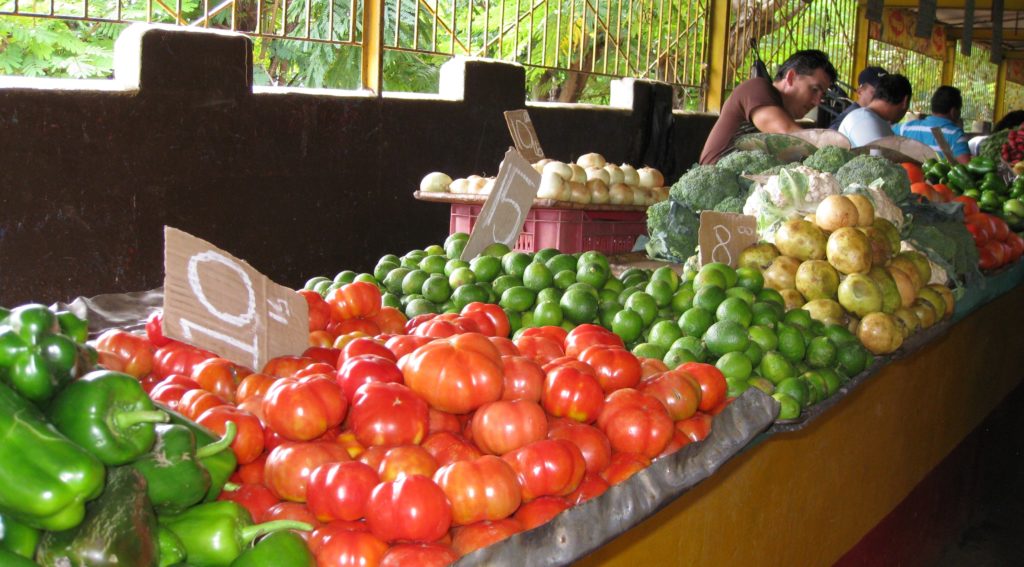
One stall in a multi-vendor market where prices are denominated in CUCs
Another stall in the same market
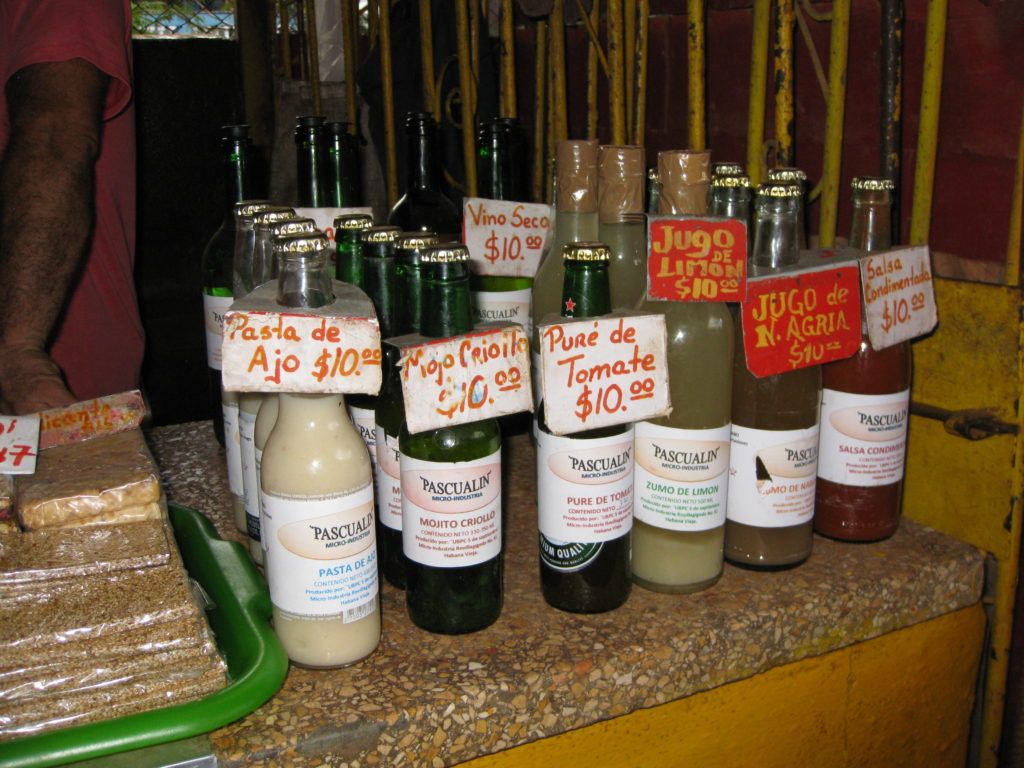
Locally prepared beverages in the CUC-denominated market

The disparity in prices for food purchased with Pesos vs CUCs is so large that average Cubans cannot afford to buy food with CUCs, even if they can get them. It takes 25 Cuban Pesos to buy one CUC. Paying in Pesos limits one to shopping in pretty-much locals’ only stores, with limited inventory where the products, like rice and beans, are sold at subsidized prices.

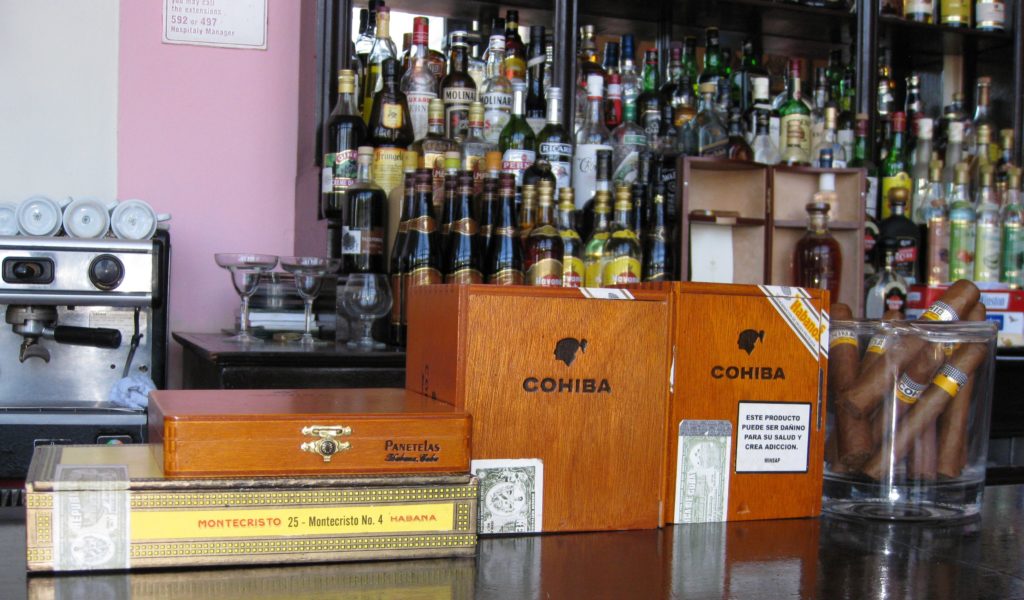
Rum is widely available regardless of the currency.  You’ll pay more if you’re a foreigner, however.

Havana Club is a popular brand of rum in Cuba
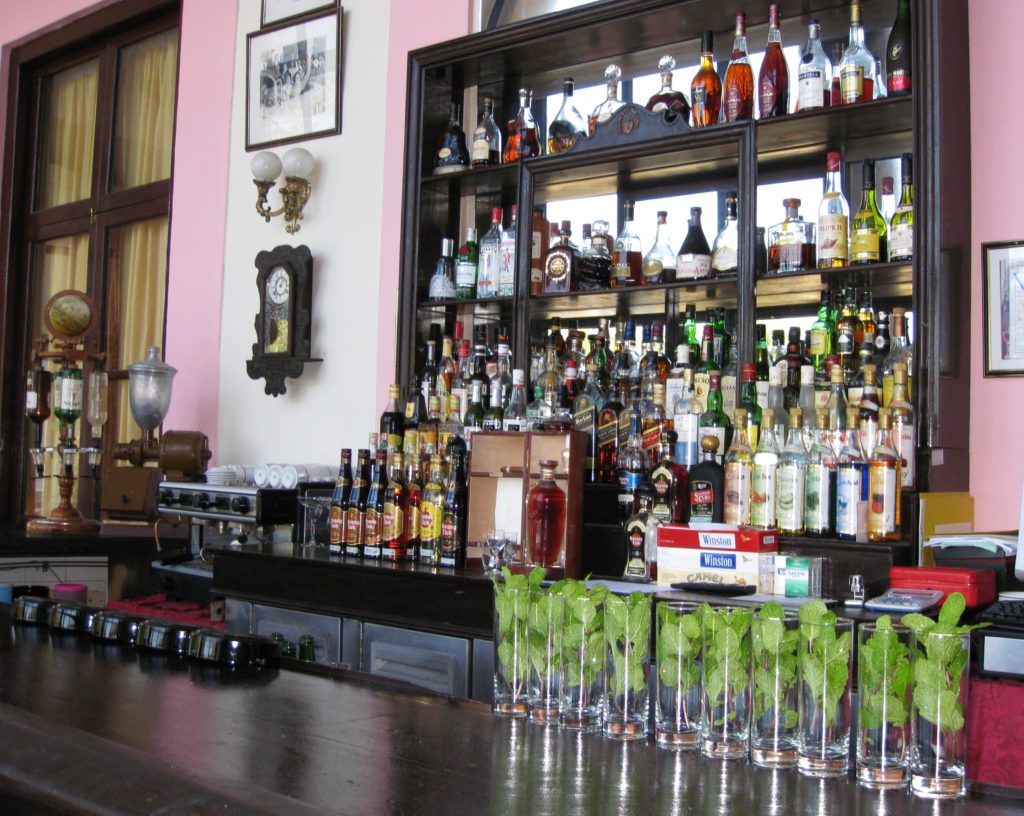
A well-stocked bar ready for the day’s customers
Cuban cigars for sale at the bar

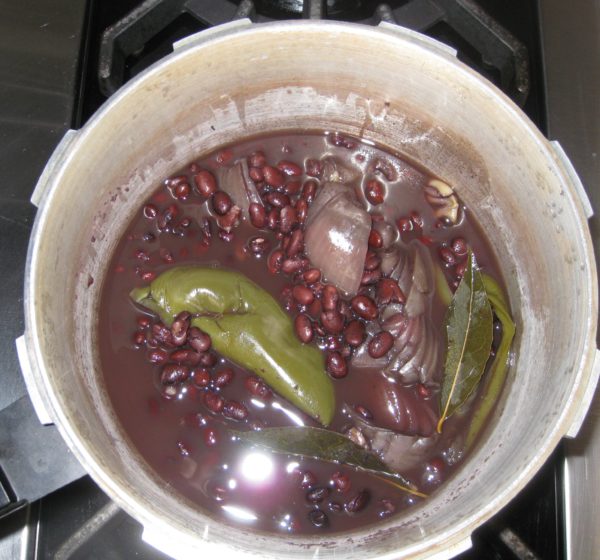
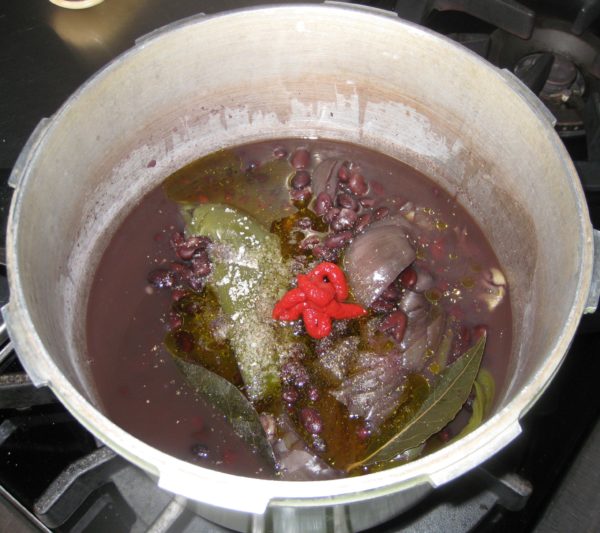
After returning from the trip to Cuba in 2014, I tried but couldn’t get the texture of my “Cuban” black beans right. But then, my mother-in-law got a recipe from Beatriz (Betty) Scannapieco. Betty is from Cuba. She was in the exercise group my in-laws attend. Betty’s recipe, using a pressure cooker as is common in Cuba, works like a dream. It’s really pretty effortless, too. The green pepper, onion, and garlic add tremendous flavor but are removed after cooking leaving just beans and the silky cooking liquid.

I made three changes to Betty’s recipe. She called for 1 teaspoon of white wine. I use 1 tablespoon. Betty didn’t use tomato paste or black pepper but both are common ingredients in many Cuban black bean recipes.


Follow us


Click HERE to join our mailing list and you’ll never miss a recipe again!

Print Recipe
Cuban Black Beans
This recipe came from Beatriz (Betty) Scannapieco in my in-law’s exercise group. Betty is from Cuba. I added the tomato paste and black pepper to Betty’s recipe. I also increased the wine from 1 teaspoon to 1 tablespoon. It can be challenging to get the bell pepper, onion, and garlic out of the beans as they very soft after cooking. If you want to make it easier, you could tie them in cheesecloth.
Votes: 0
Rating: 0
You:
Rate this recipe!
Prep Time 10 minutes
Cook Time 1 1/4 hours
Servings
people
Ingredients
Prep Time 10 minutes
Cook Time 1 1/4 hours
Servings
people
Ingredients
Votes: 0
Rating: 0
You:
Rate this recipe!
Instructions
  1. Wash the beans.
  2. Cover beans with water by a couple of inches and soak overnight in the refrigerator.
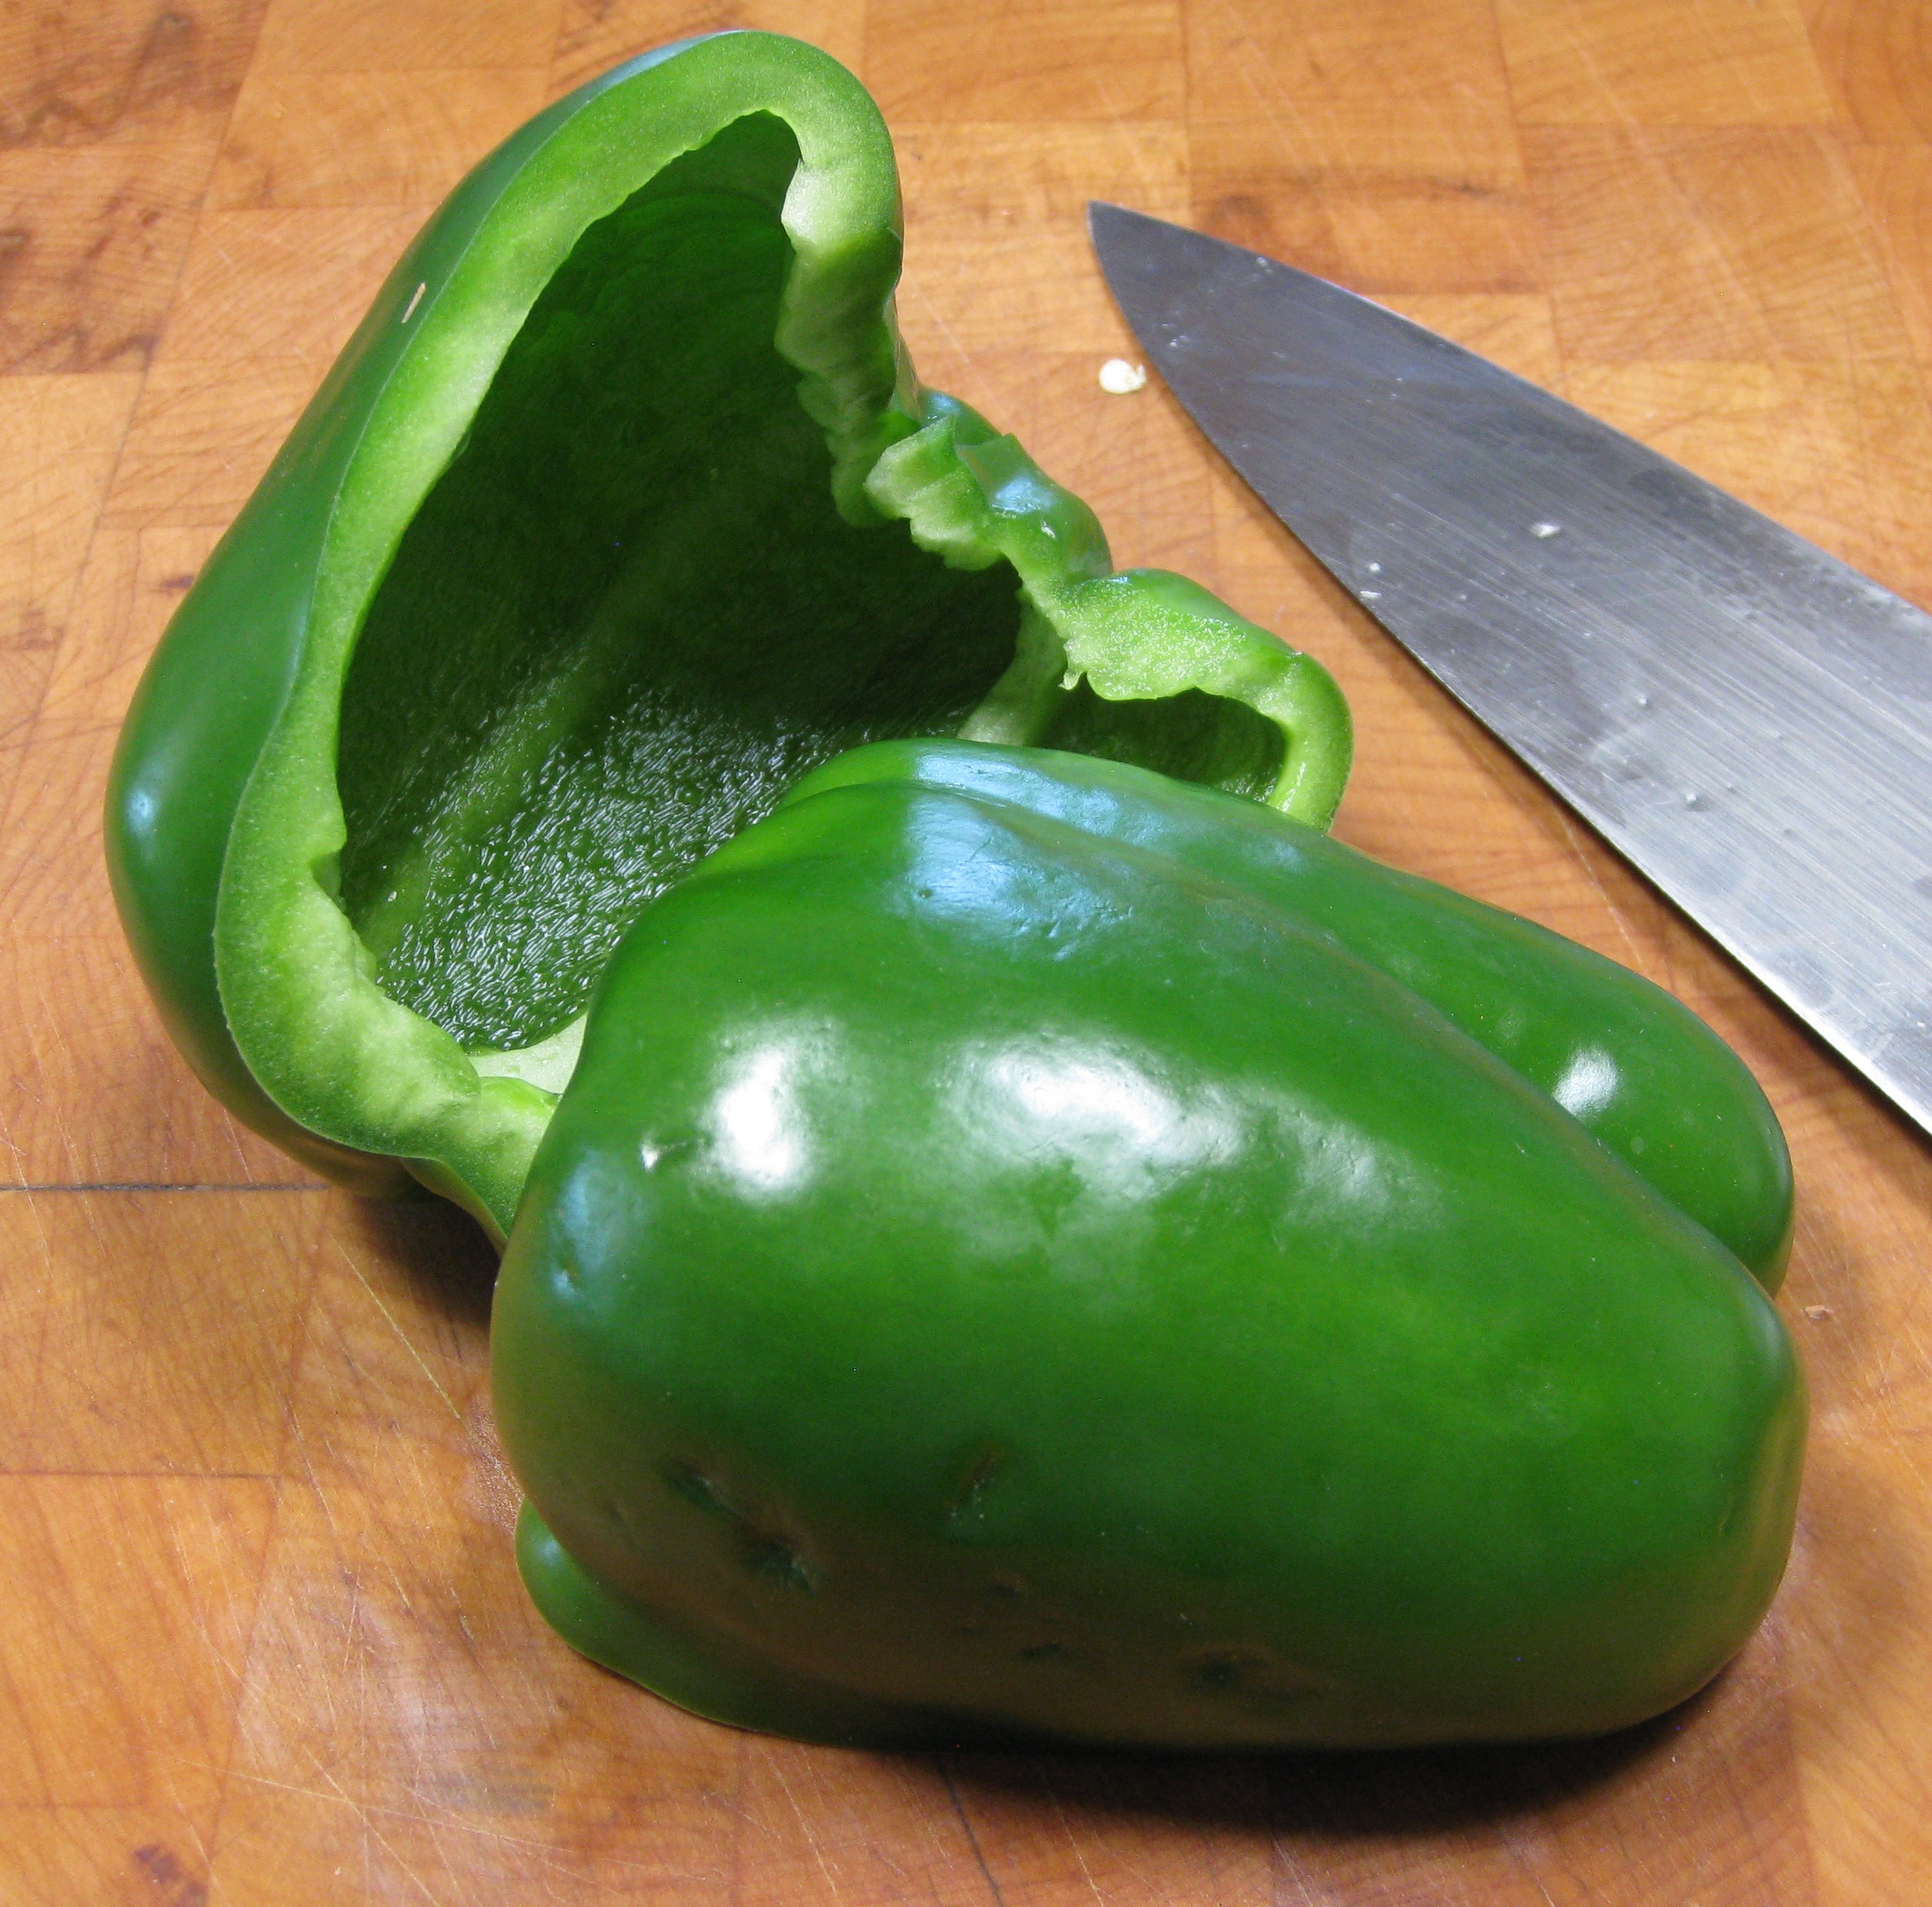
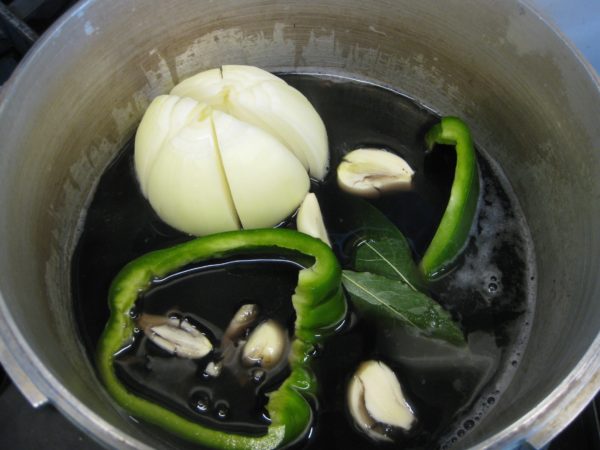
  3. The next day, cut the bell pepper in half and remove ribs and seeds.
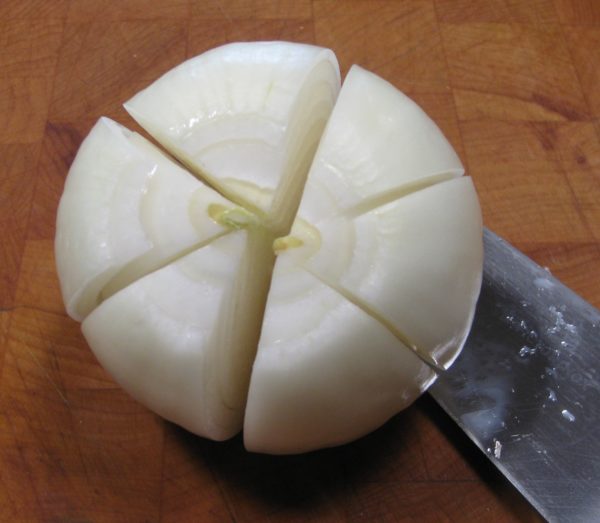
  4. Cut the onion into 4 or 6 wedges, but do not cut the whole way through the root end.
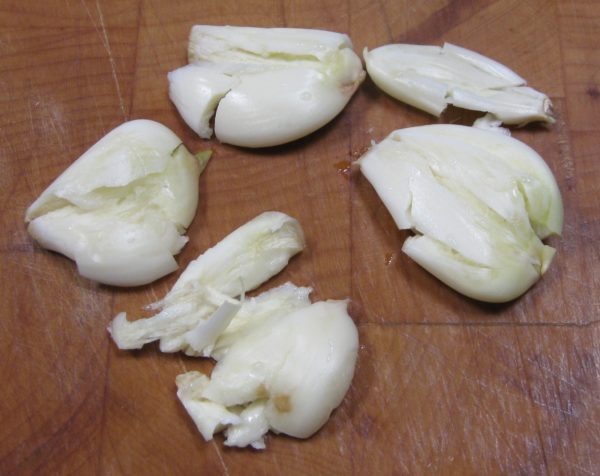
  5. Bruise the garlic by laying the blade of a chef's knife on top and gently pounding the knife blade.
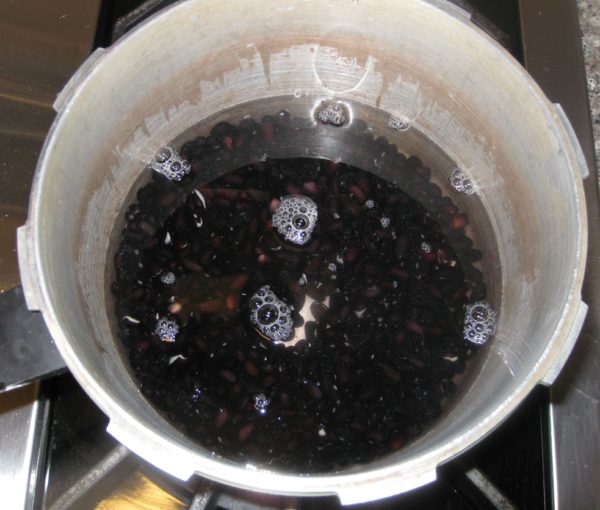
  6. Drain the beans. Put the beans in a pressure cooker along with 3 ¼ cups of fresh water.
  7. Bring the beans to a boil, uncovered.
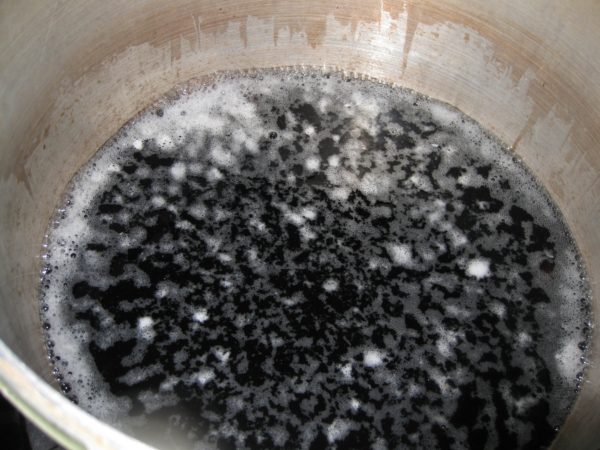
  8. Skim the foam from the beans then remove the pot from heat.
  9. Add the green pepper, onion, garlic and bay leaves to the beans.
  10. Put the lid on the pressure cooker and bring to 10 pounds pressure.
  11. Reduce heat and cook for 30 minutes.
  12. Remove the pressure cooker from heat and allow pressure to dissipate naturally.
  13. Uncover the pressure cooker.
  14. Add the olive oil, tomato paste (if using), wine, vinegar, salt and black pepper (if using).
  15. Bring to a boil uncovered and boil for 5 minutes.
  16. Remove from heat. Cool slightly and remove bell pepper, onion, bay leaves, and garlic.
  17. The beans can be served immediately but are better if refrigerated overnight.
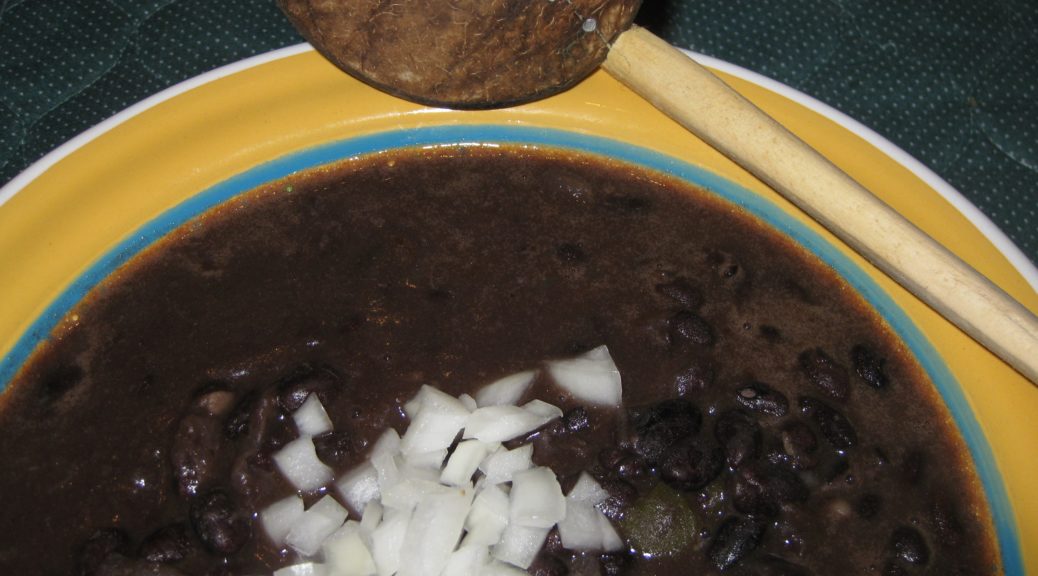
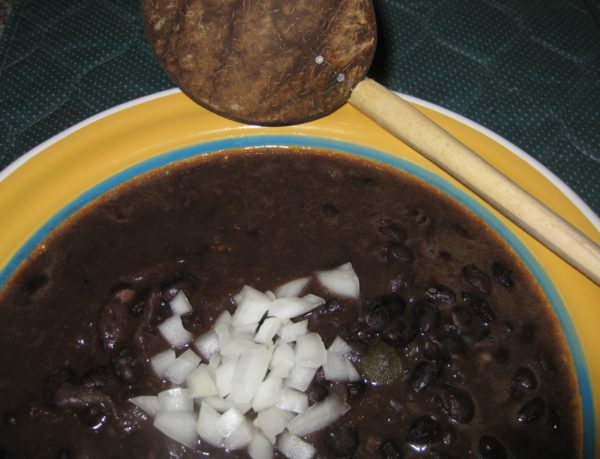
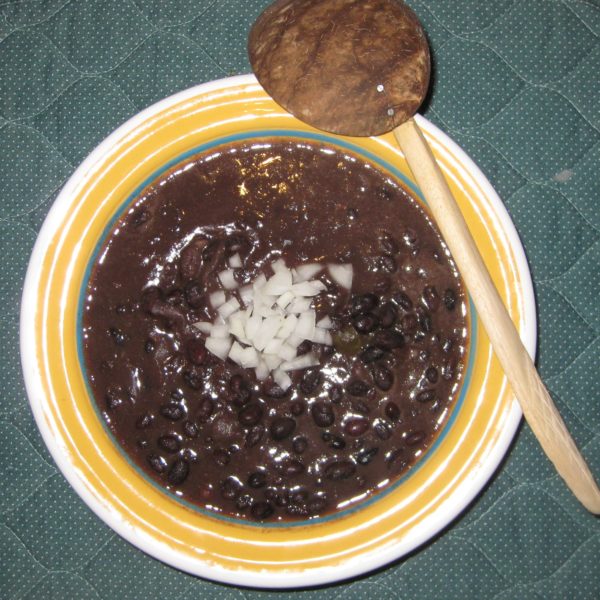
  18. Serve the beans in a shallow bowl with pieces of finely diced raw onion in the center. Black beans are customarily accompanied by white rice.
Recipe Notes

Copyright © 2017 by VillaSentieri.com. All rights reserved.
Share this Recipe