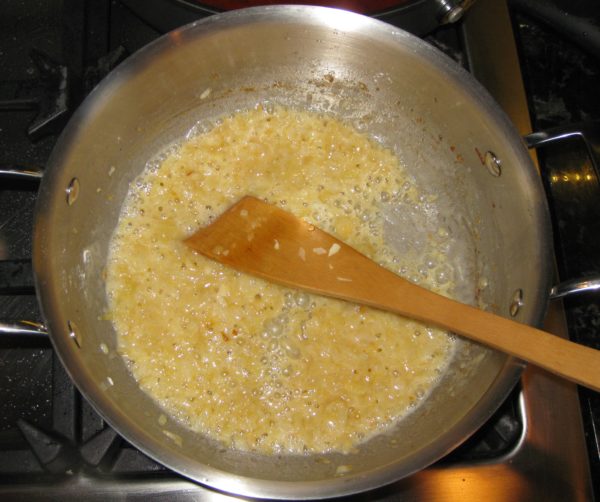
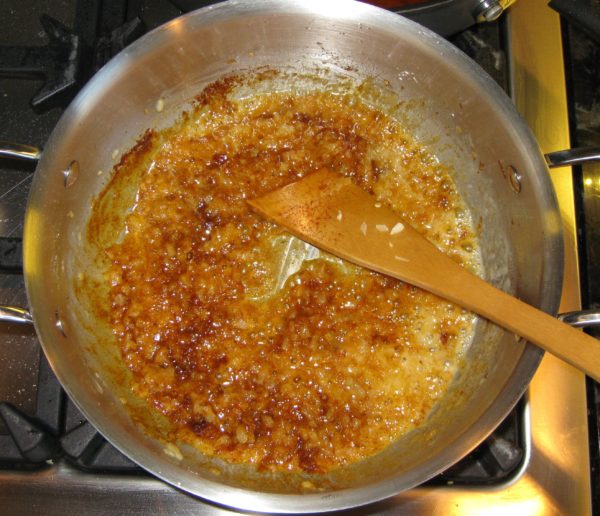
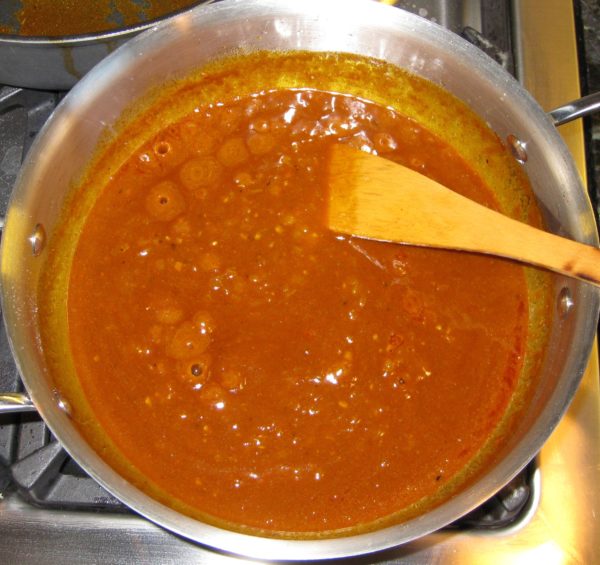
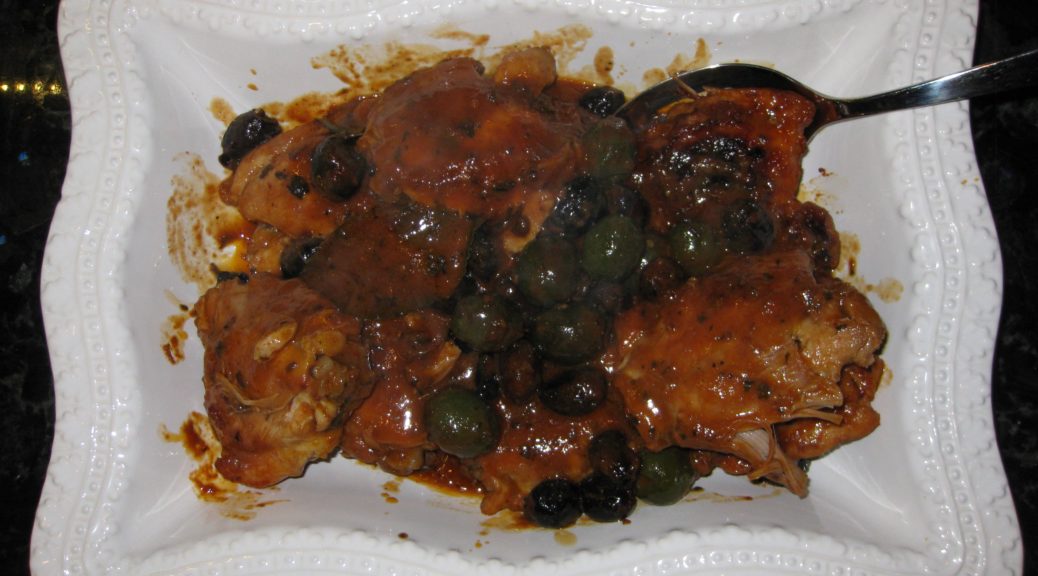
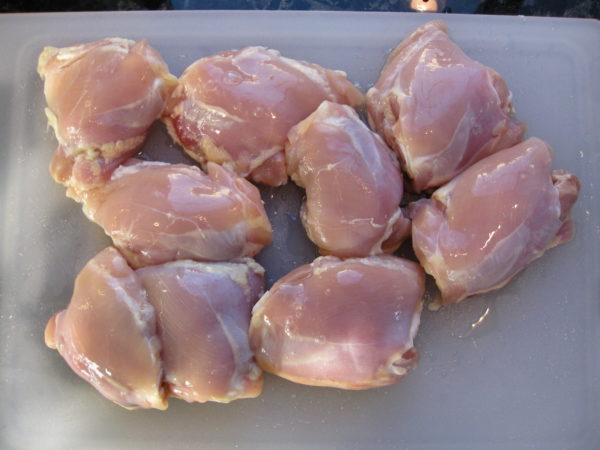
Pollo allo Scarpariello (Chicken Shoemaker Style)

October 8, 2021

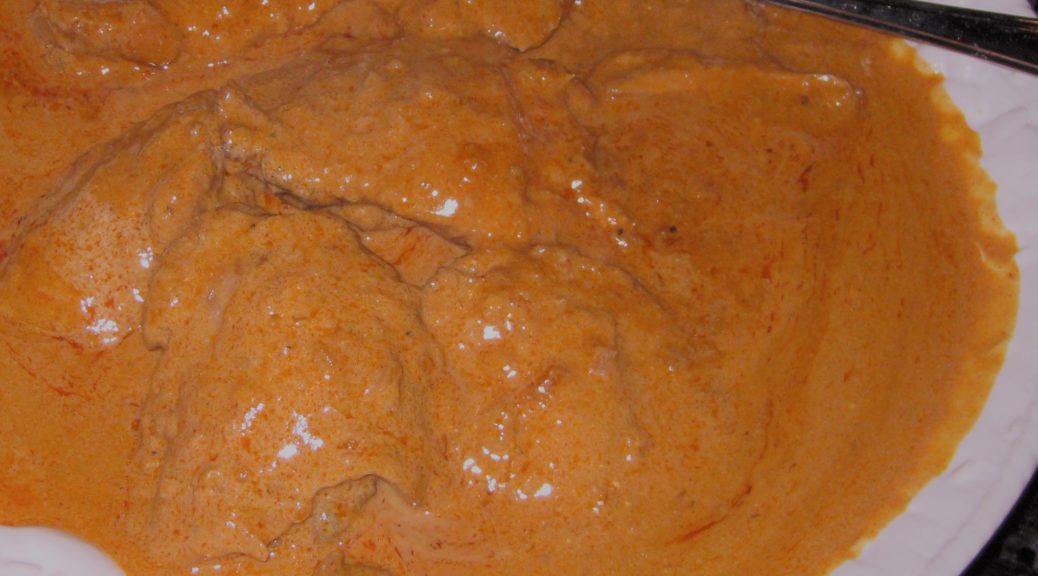
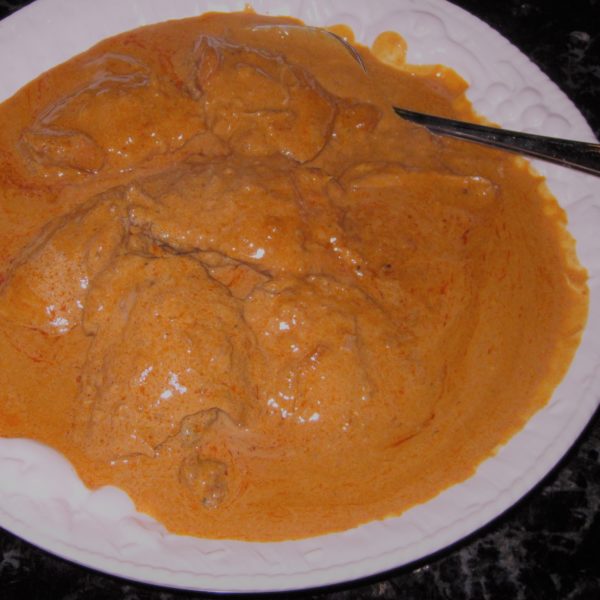
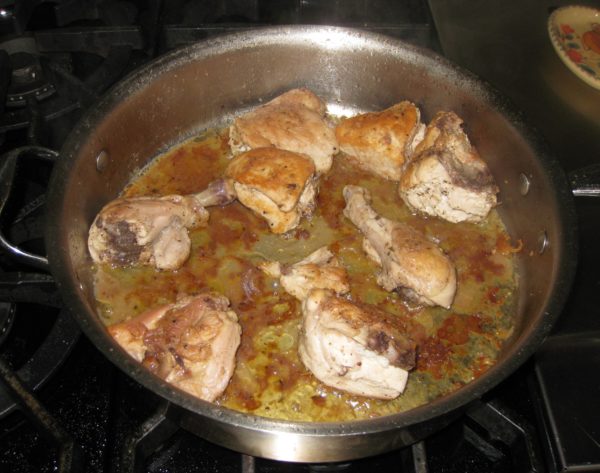
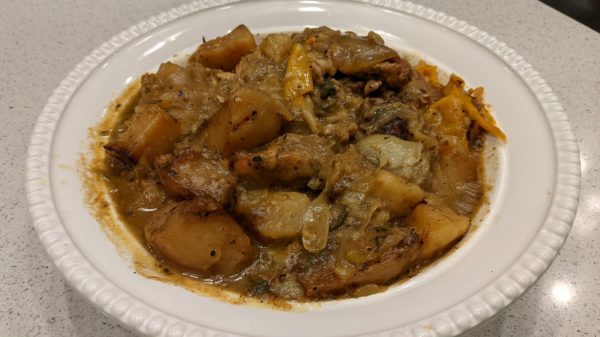
Unappetizing pictures!

Sometimes really delicious food makes unappetizing pictures.

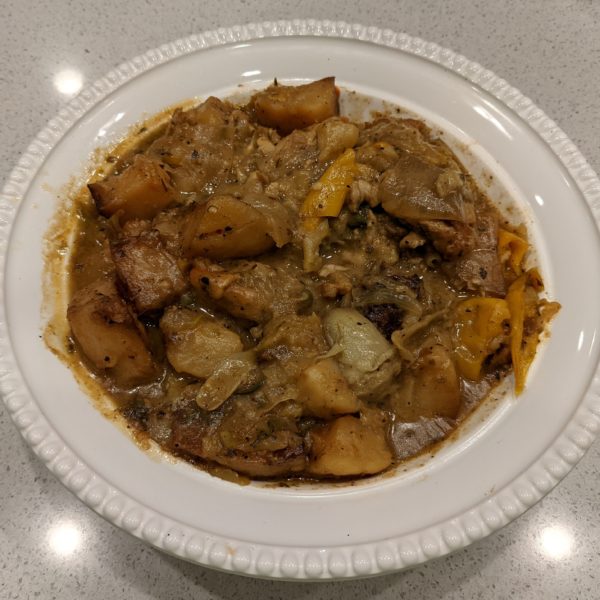
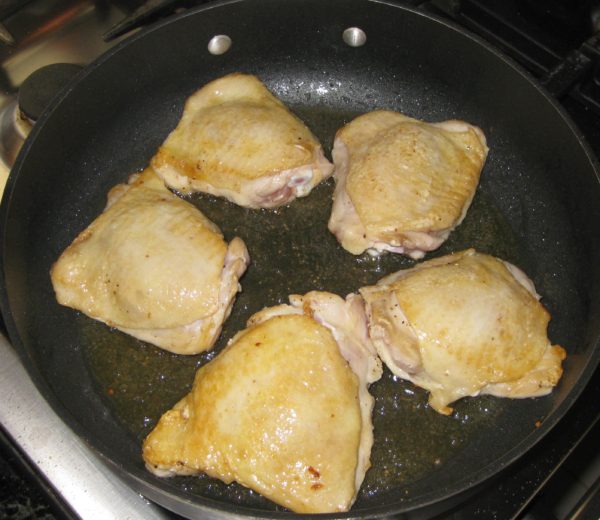
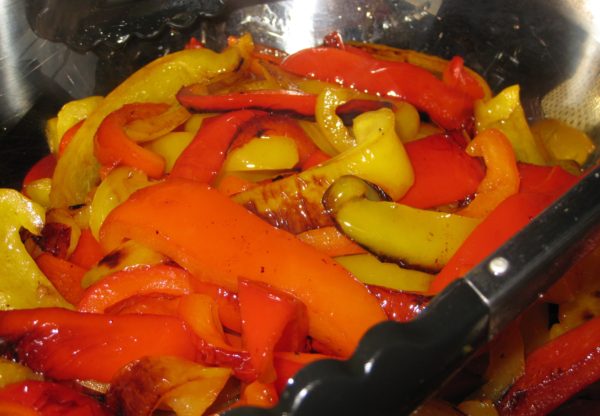
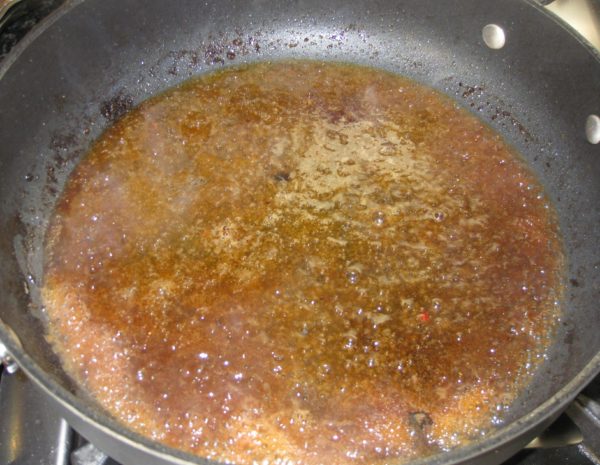
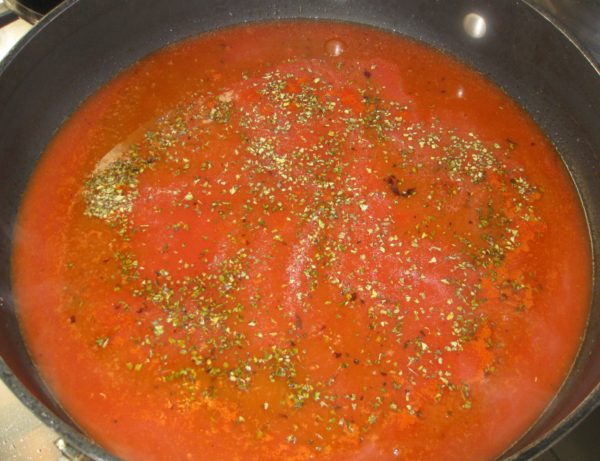
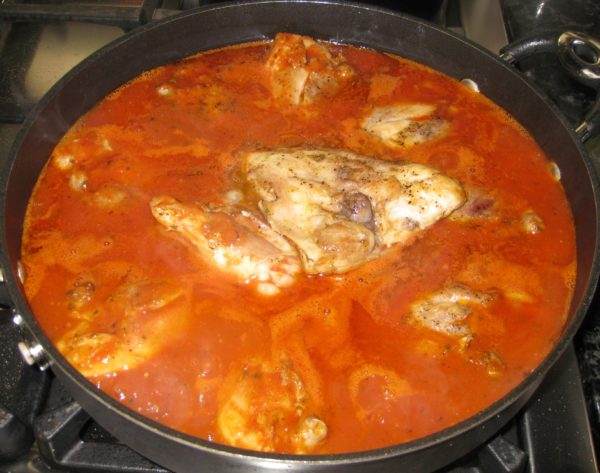
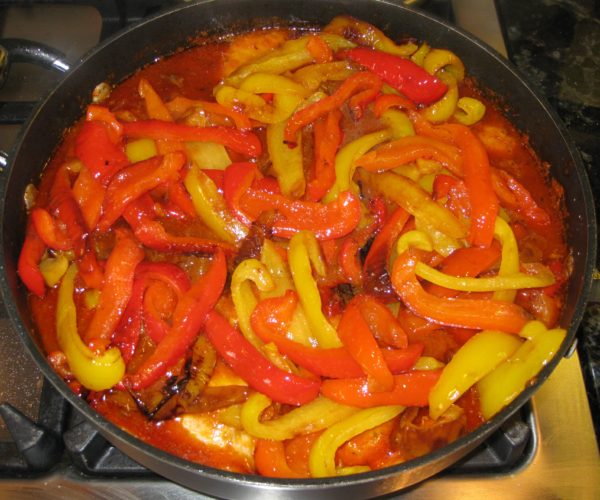
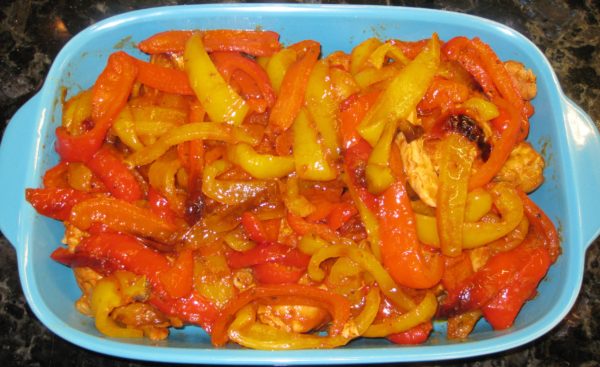
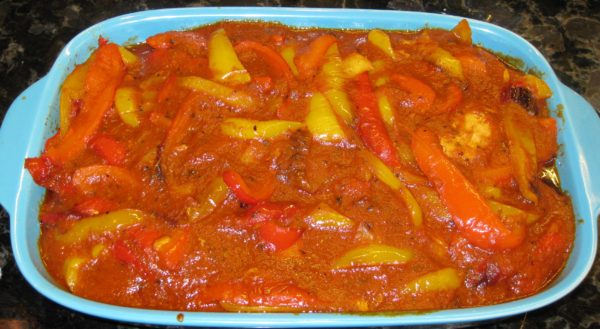
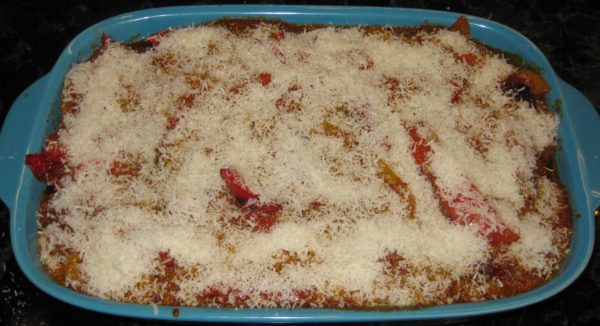
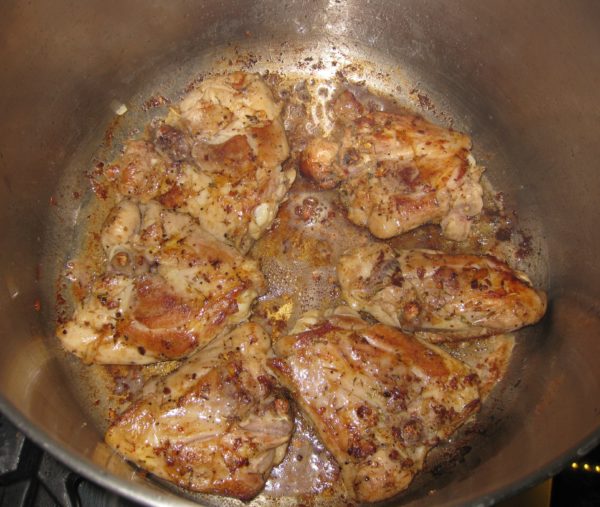
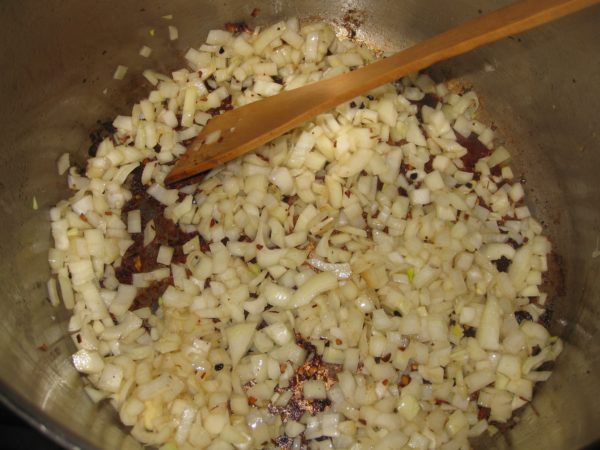
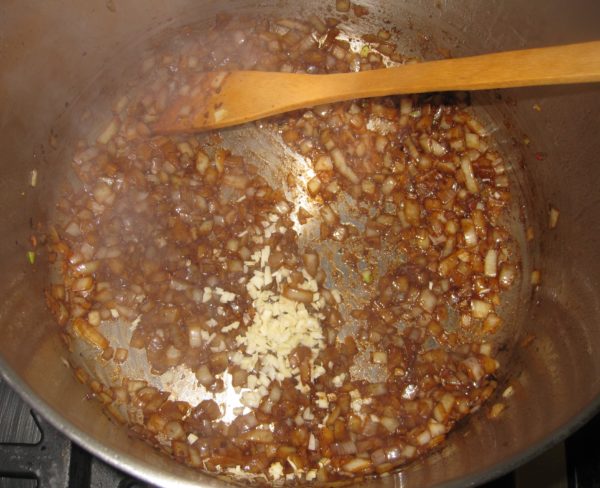
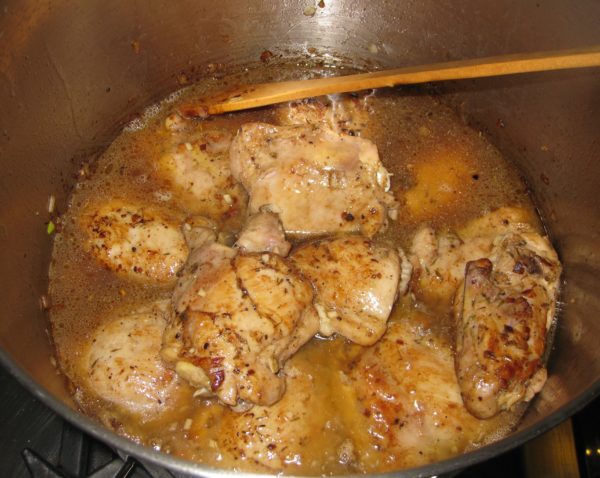
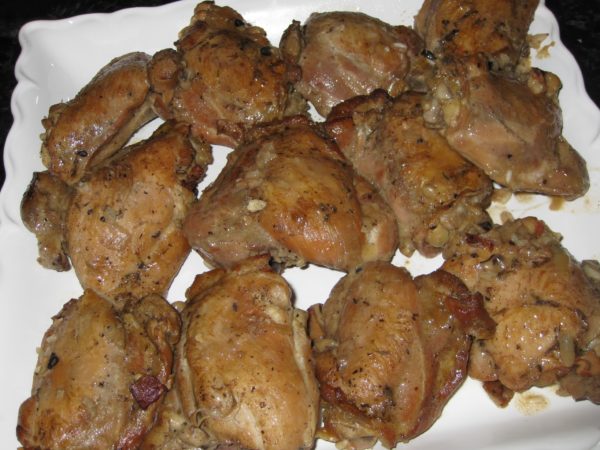
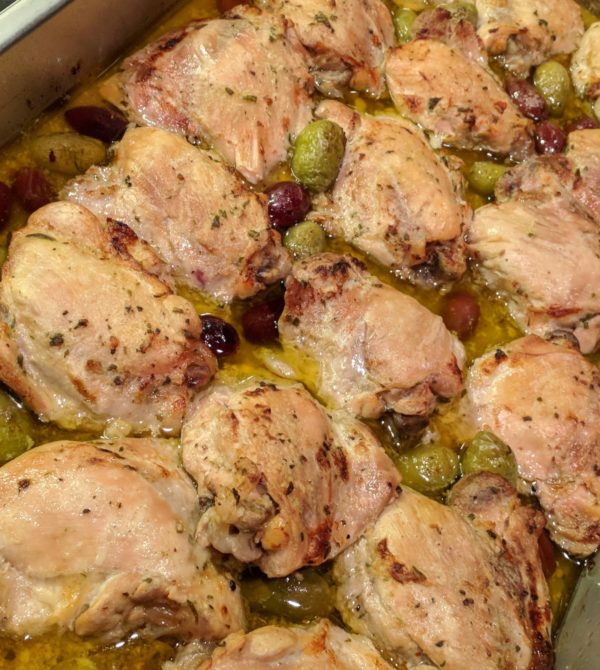
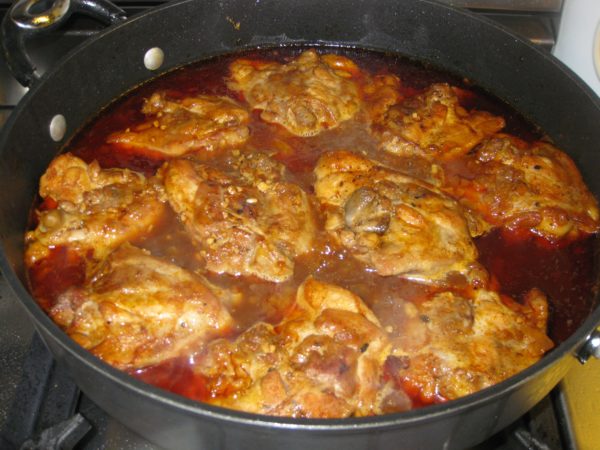
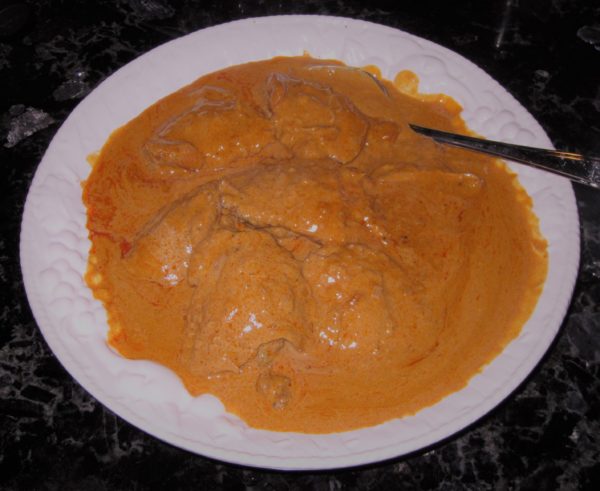
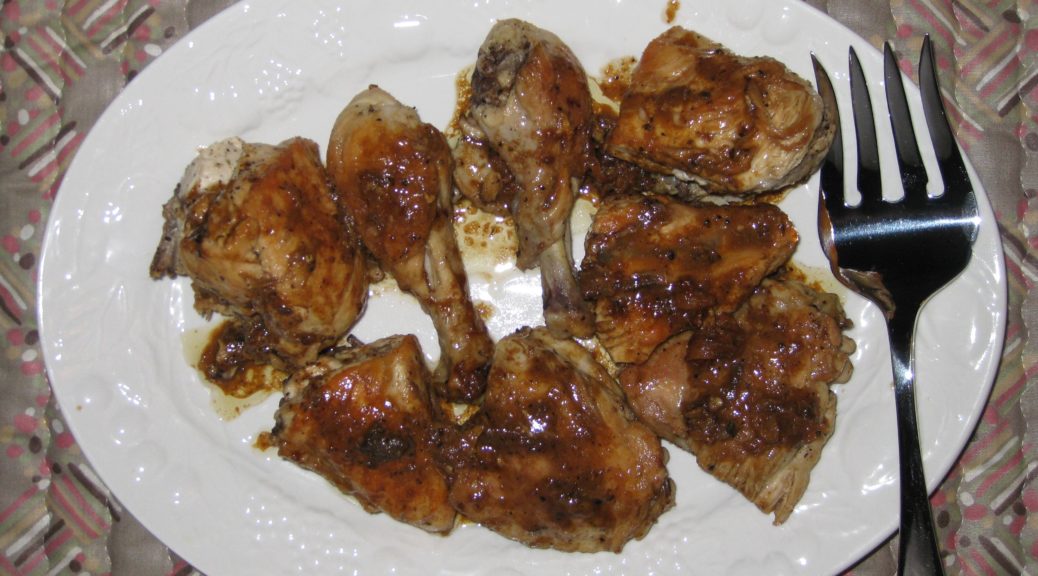
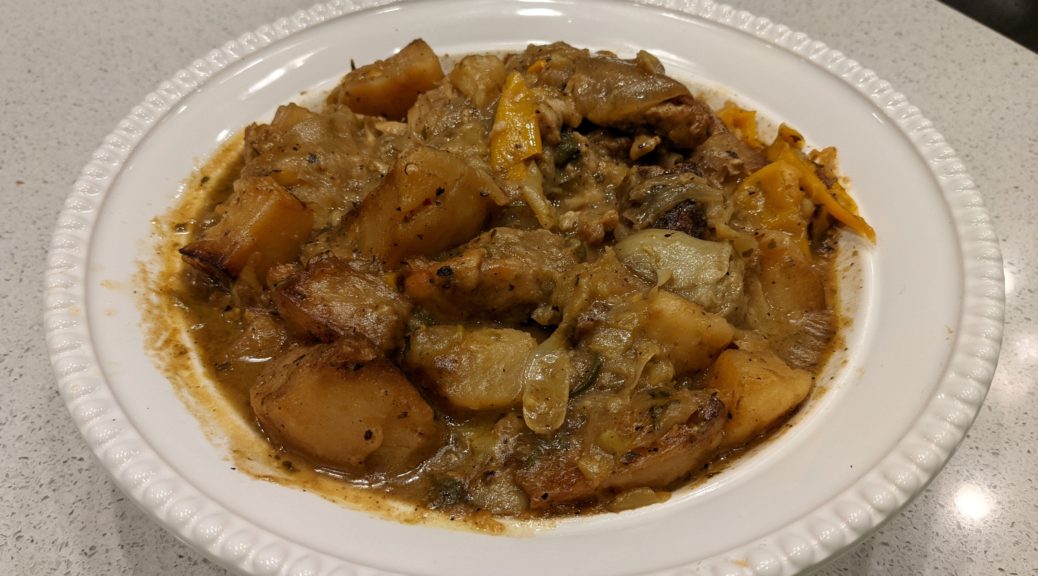
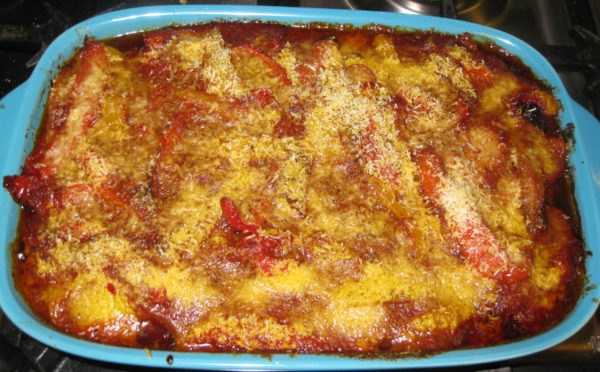
Take Chicken Scarpariello, for example.  By the time the chicken is unctuous, the potatoes creamy, and the sauce tangy the dish is unappetizingly brown (at least in a photograph).  I discovered this when looking at the photographs I had taken for this blog post.

This is really a shame because the taste is superb.
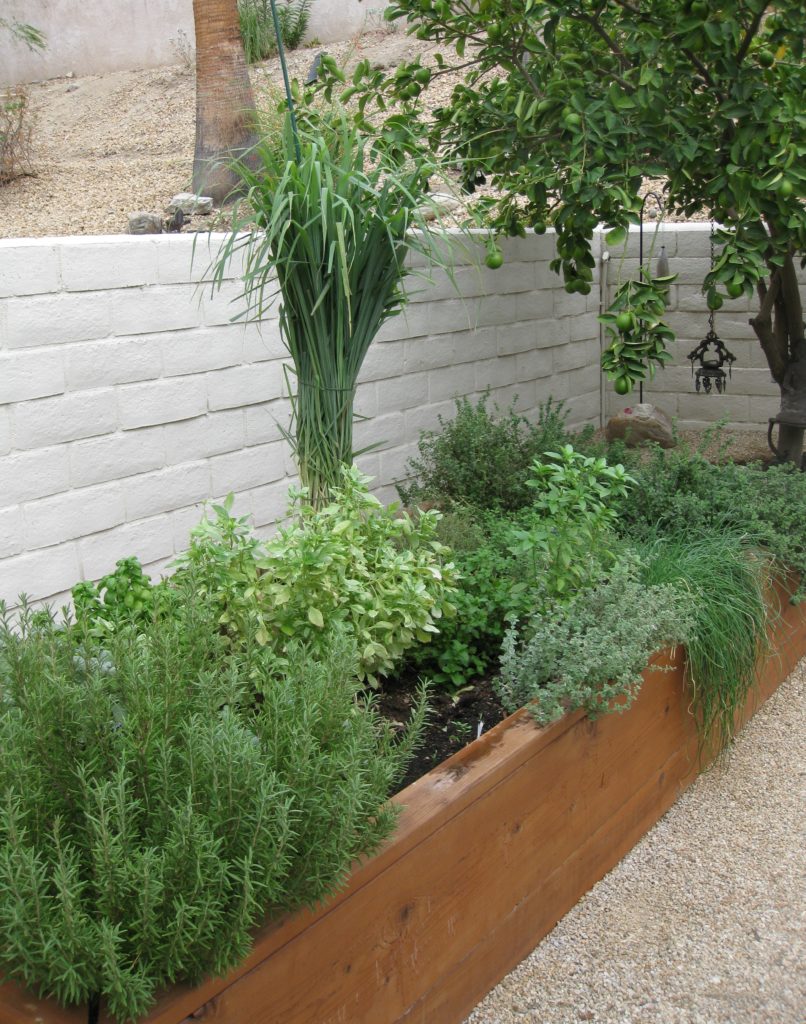
We’re several weeks into planting our new vegetable beds but these herbs have been going strong since March 2021. They were cut back drastically last week to encourage growth.

Brown food can be challenging to photograph, especially brown food in a brown sauce.  Food stylists might solve this problem by using barely cooked potatoes that look pale and peppers that are still yellow and green, not really cooked as required by the dish.  This doesn’t represent reality.  The dish, cooked properly, will never look like the photograph.  This is an approach that I think is inherently unfair.

I’m willing to admit that some of the problem relates to my picture-taking ability.  My photographic ability isn’t great but even that meager ability sometimes suffers because I’m hastily taking photographs as I’m trying to put the food on the table.


Follow us on your social media platform of choice


If I weren’t doing that, I could carefully plate a piece of chicken with the potatoes and peppers artfully arranged off to the side, lots of white space on the plate, and a few colorful garnishes or side dishes.  I could even wipe a little of the sauce off of the potatoes to make them lighter in color.  All this would mitigate the “brown problem” but it just isn’t practical because the food I post on the blog is something that I actually made to eat at the moment it is ready.
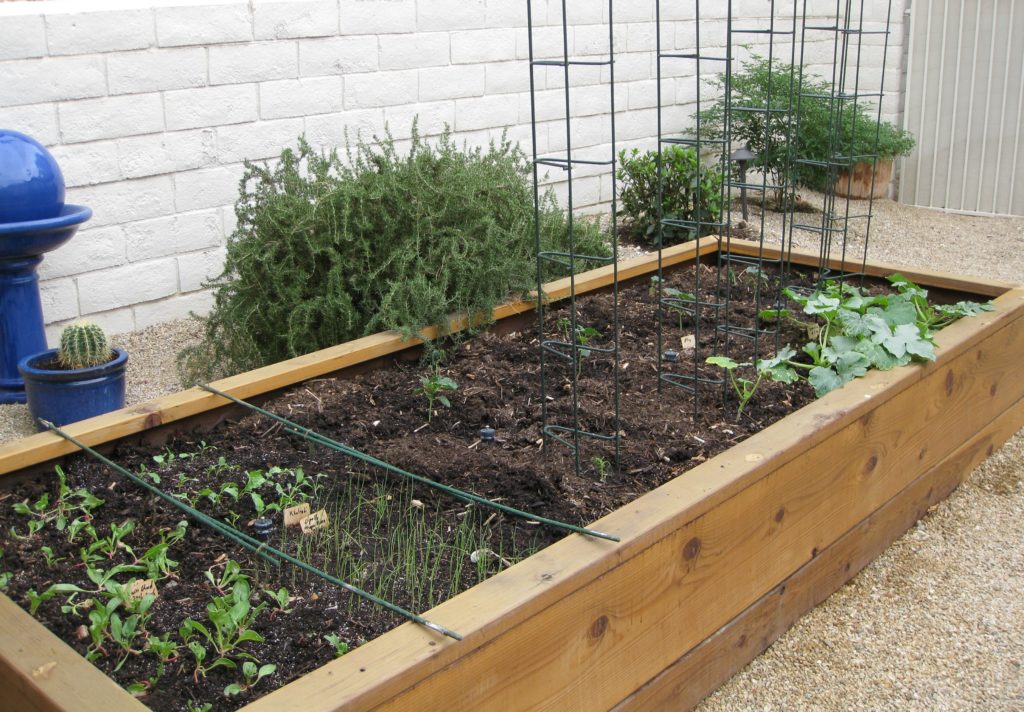
One of three vegetable beds beginning to sprout.  In the back, not in the bed, are four plants: rosemary, bay, chile pepper, and niepita.

I guess I could spend time carefully taking pictures and serve cold food but that approach wouldn’t last long in my household.

I could cook specifically for the blog and not worry about serving the food, at least not the day I cook it.  That would create a major leftover problem.  Besides, many dishes aren’t at their best when reheated.  On the other hand, many foods are better if made in advance.  So, I guess this is a partial solution to the problem that could work on a case-by-case basis depending on what the dish is.


Join our mailing list and you’ll never miss a recipe again!


I can think of other potential solutions but each has its problem.  This could include having a photographer arrange the plate and photograph it (presumably while I’m having dinner with the rest of the household).
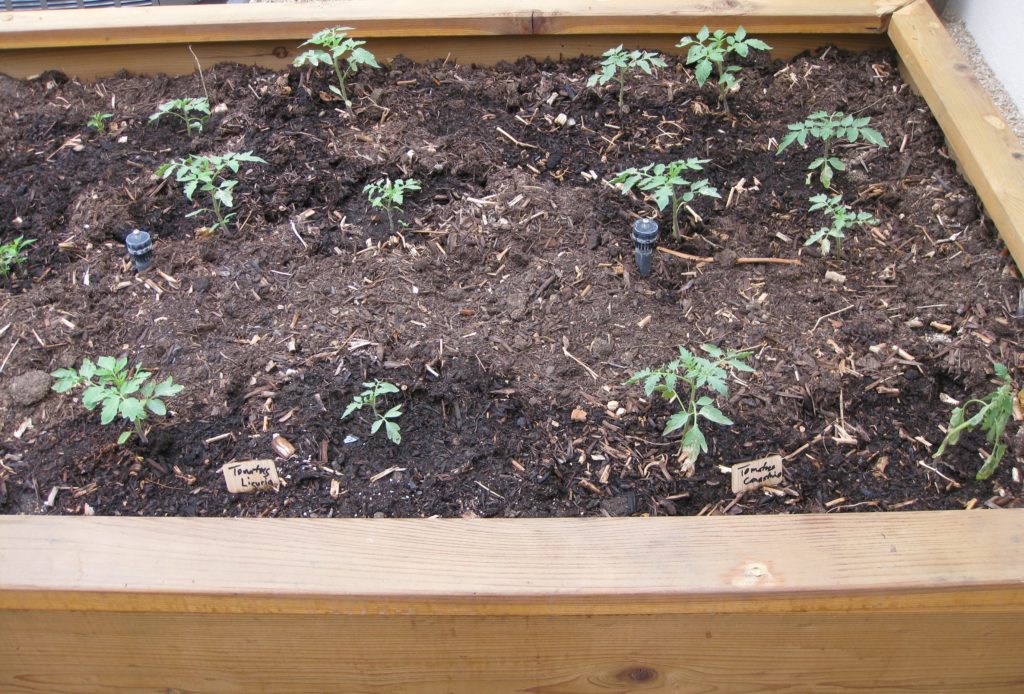
We’re looking forward to a winter crop of tomatoes!

Alternatively, I could serve everyone then spend time arranging a plate to photograph, hoping to join the dinner table before everyone is finished.

I’ll keep working on a fix to the issue but, in the meantime, I encourage you to try this Italian-American dish.  It scales up easily so you can feed a crowd if you need to.  The leftovers are pretty incredible, too!
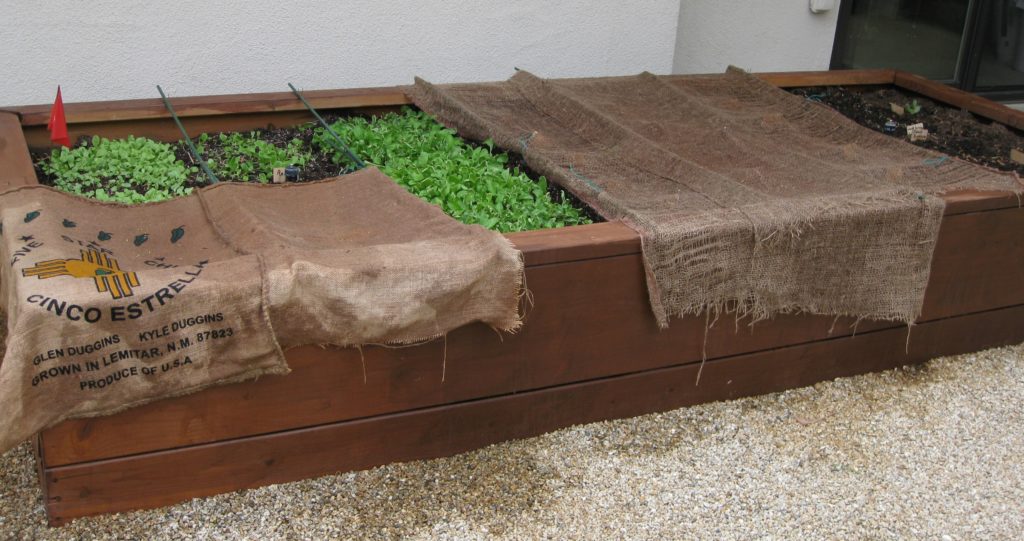
Greens for salad being started directly in the bed.

American websites, including the New York Times, usually say the name of this dish translates as Chicken Shoemaker Style.  However, you won’t find the word “scarpariello” in an Italian dictionary.  To be sure, the word “scarpa” means shoe but the Italian word for shoemaker is “calzolaio.”  Scarpariello, however, is the word for shoemaker in the Neapolitan dialect, which gives a clue as to which immigrant group might have been responsible for creating this Italian-American favorite.
Print Recipe
Pollo allo Scarpariello (Chicken Shoemaker Style)
Scarpariello means shoemaker in the Neapolitan dialect. This may give a clue as to the origins of this Italian-American favorite. The dish builds on a classic combination in the cooking of many regions of Italy: chicken cooked with wine and vinegar. The capers are optional. Use sweet or hot pickled peppers as you prefer or, if you want to spice it up, add some crushed red pepper when sautéing the garlic. If you don't have a stove-to-oven pot large enough to hold all the ingredients, do the browning in a large saute pan then assemble everything in a large baking dish.
Votes: 0
Rating: 0
You:
Rate this recipe!
Course Mains, Poultry
Prep Time 30 minutes
Cook Time 2 1/2 hours
Servings
people
Ingredients
Course Mains, Poultry
Prep Time 30 minutes
Cook Time 2 1/2 hours
Servings
people
Ingredients
Votes: 0
Rating: 0
You:
Rate this recipe!
Instructions
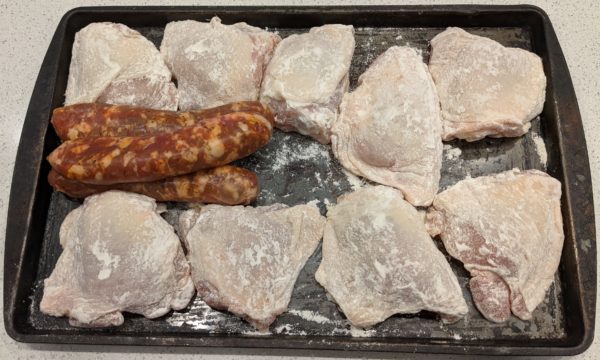
  1. Dredge the chicken in flour. Reserve.
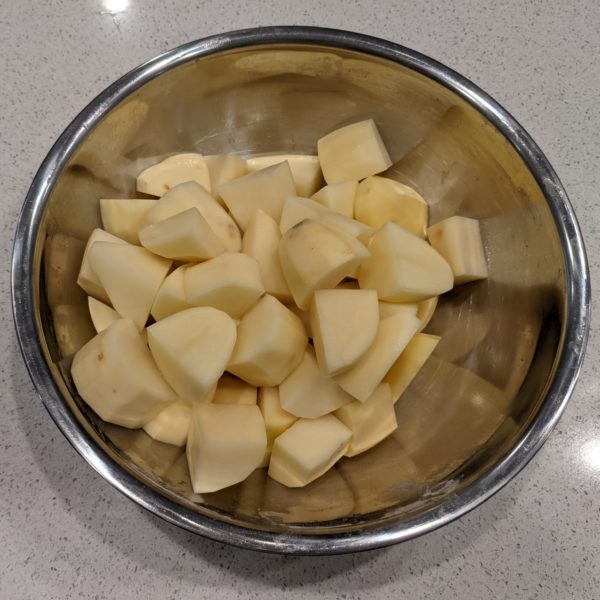
  2. Peel the potaotes and cut in large chunks.
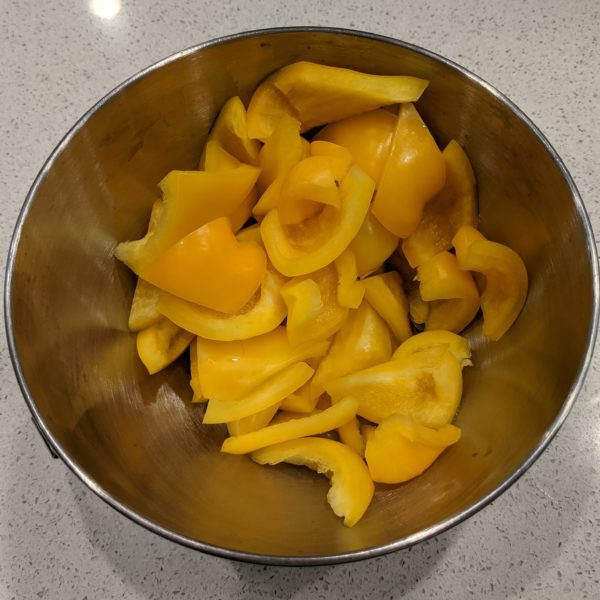
  3. Cut the Bell peppers in triangles
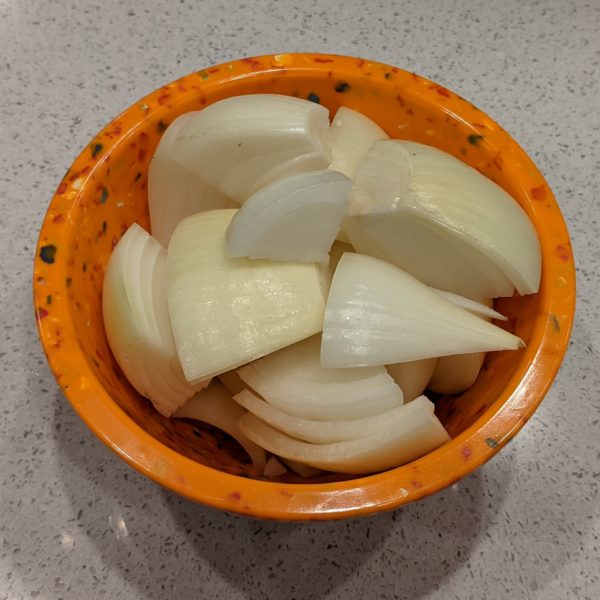
  4. Cut the onions in eighths
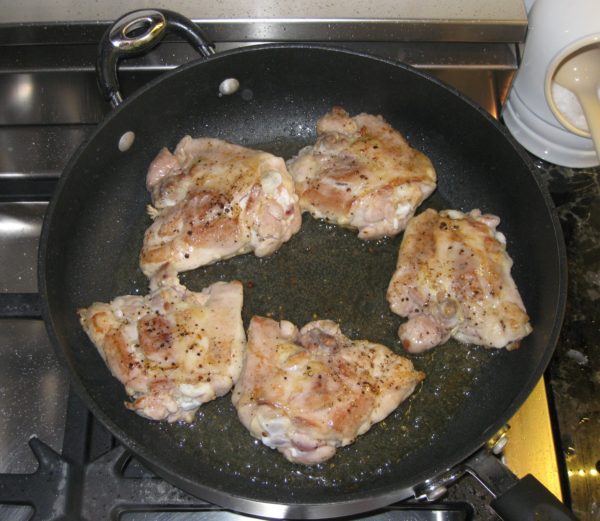
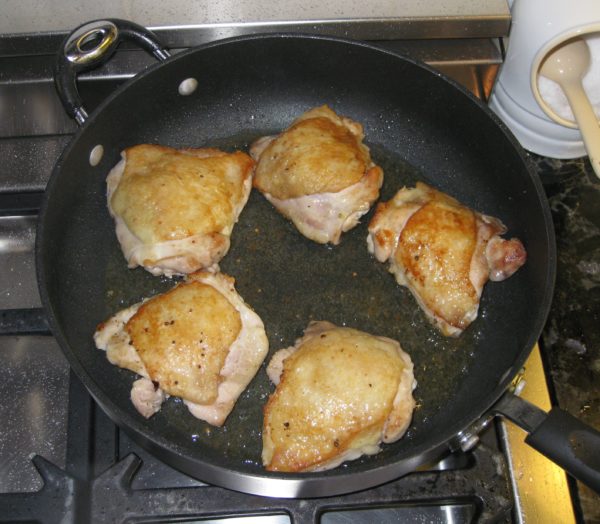
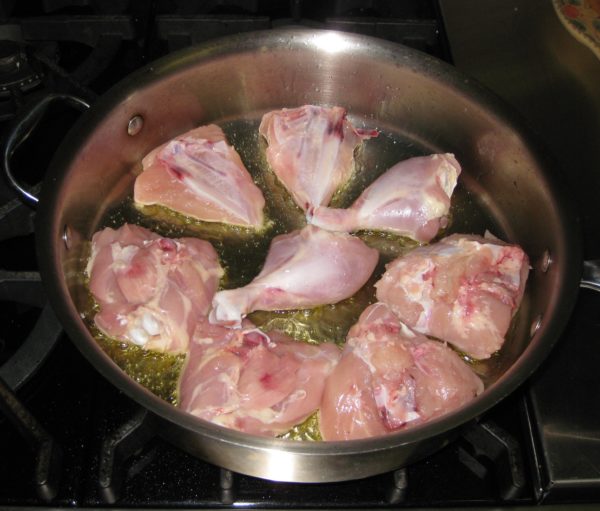
  5. In a large stove-to-oven pot, heat the olive oil. Brown the chicken, sausage, and potatoes. Do this in batches, if necessary.
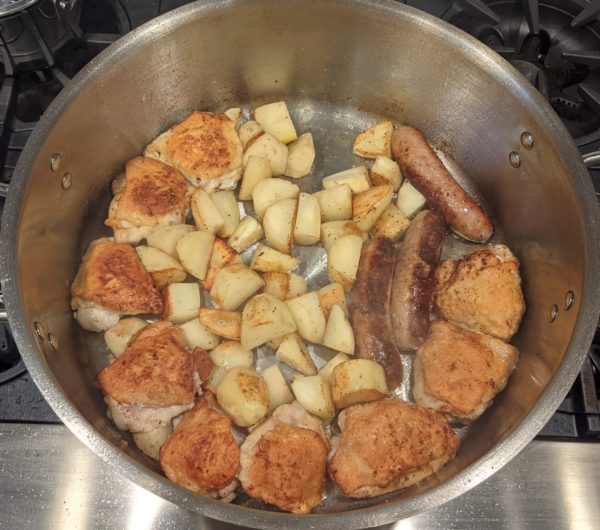
  6. Remove everything from the pot. Cut the cooked sausage into 1 ½ inch long pieces.
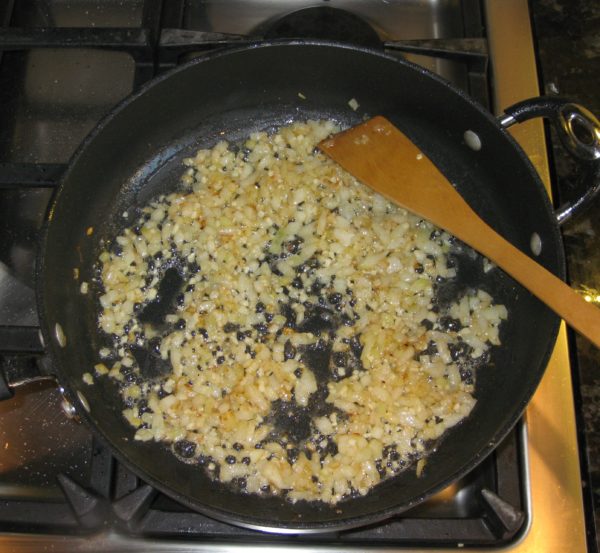
  7. Add the garlic to the oil remaining in the pot and sauté until it is fragrant and golden.
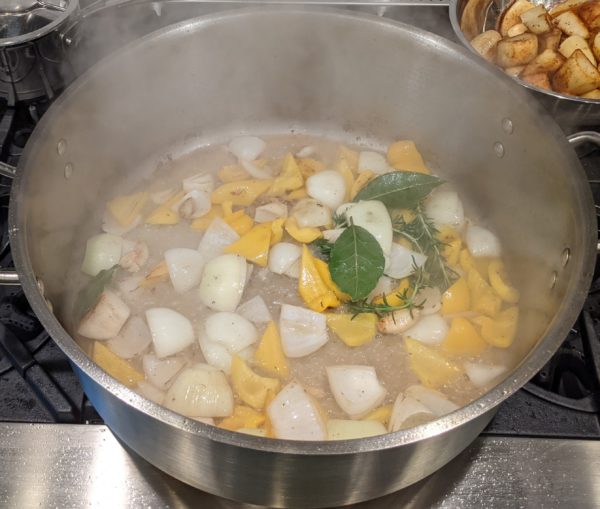
  8. Add the bell pepper and onion, season with salt, and sauté until the onion is beginning to soften and turns gold and brown in spots.
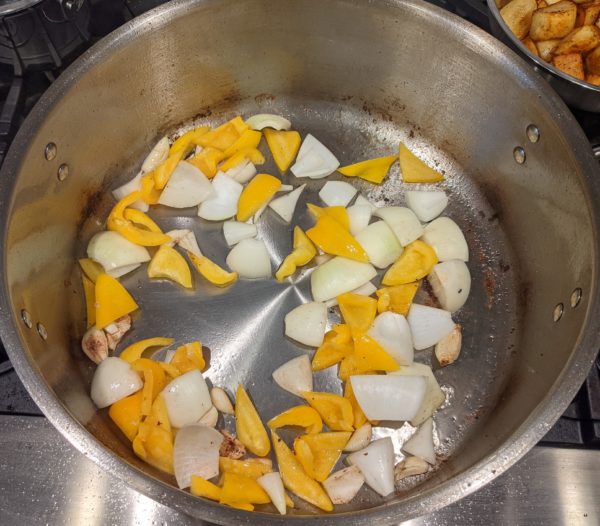
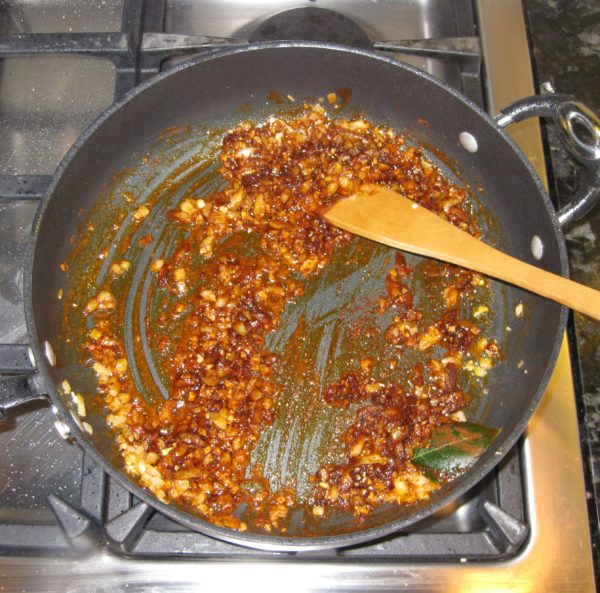
  9. Add the rosemary and bay leaves and sauté briefly.
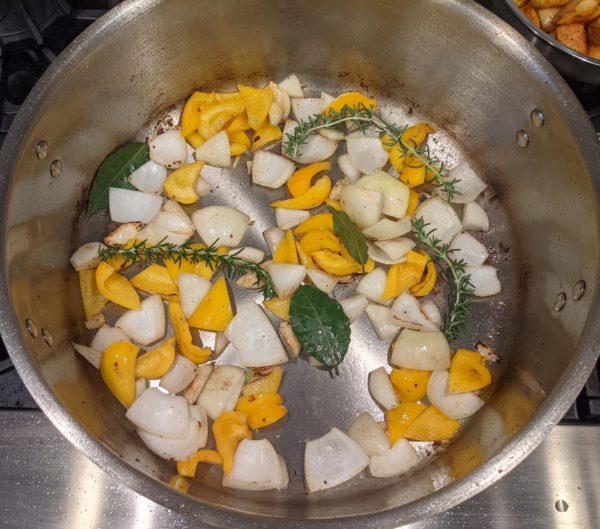
  10. Add the wine and deglaze.
  11. When wine is almost completely evaporated, return chicken, sausage, and potatoes to the pot along with any accumulated juices.
  12. Add about 1 cup of chicken broth and the vinegar along with the pickled peppers. Season well with salt, pepper, and oregano.
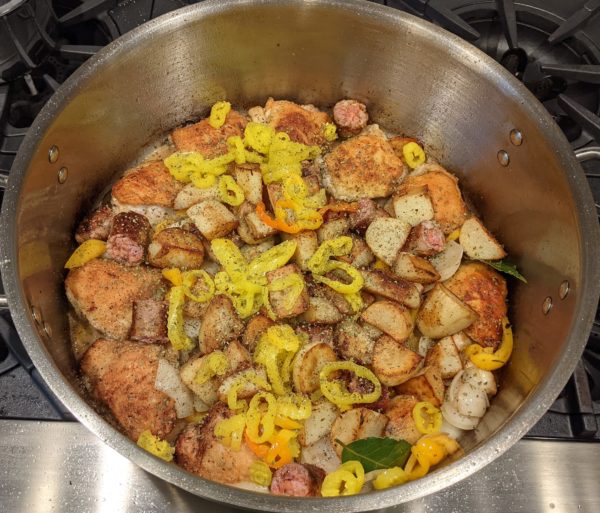
  13. Bring to a boil, cover, and put in the oven at 350°F.
  14. An hour later, stir the contents of the pot. Add the drained artichoke hearts and capers, if using. Add more broth if needed to keep the contents from sticking. Adjust the seasoning.
  15. Cook for another hour until chicken is very tender and potatoes are cooked through.
  16. Stir in parsley and serve.
Recipe Notes

Copyright © 2021 by Villa Sentieri, LLC. All rights reserved.

Share this Recipe

Pollo alla Romana (Chicken with Sweet Peppers)

January 15, 2020

I will forever remember Ferragosto as the day the music died.

Ferragosto is celebrated on the fifteenth of August throughout Italy.  Originating during the Roman Empire, apparently in 18 BCE by Emperor Augustus, Ferragosto was originally held on August 1st.  Ultimately, the Catholic Church moved the date to August 15th to coincide with the Assumption, a “holy day of obligation,” thus imposing a secular holiday on a religious holy day.

Ferragosto is a day to feast.  It is also the day that the late-night revelry in the piazza of Bagni di Lucca comes to an end.


Join our mailing list and you’ll never miss a recipe again!


Those of you who have been following my blog for a while know that I spent the month of August 2019 in Tuscany cooking with Great Aunt Fidalma.

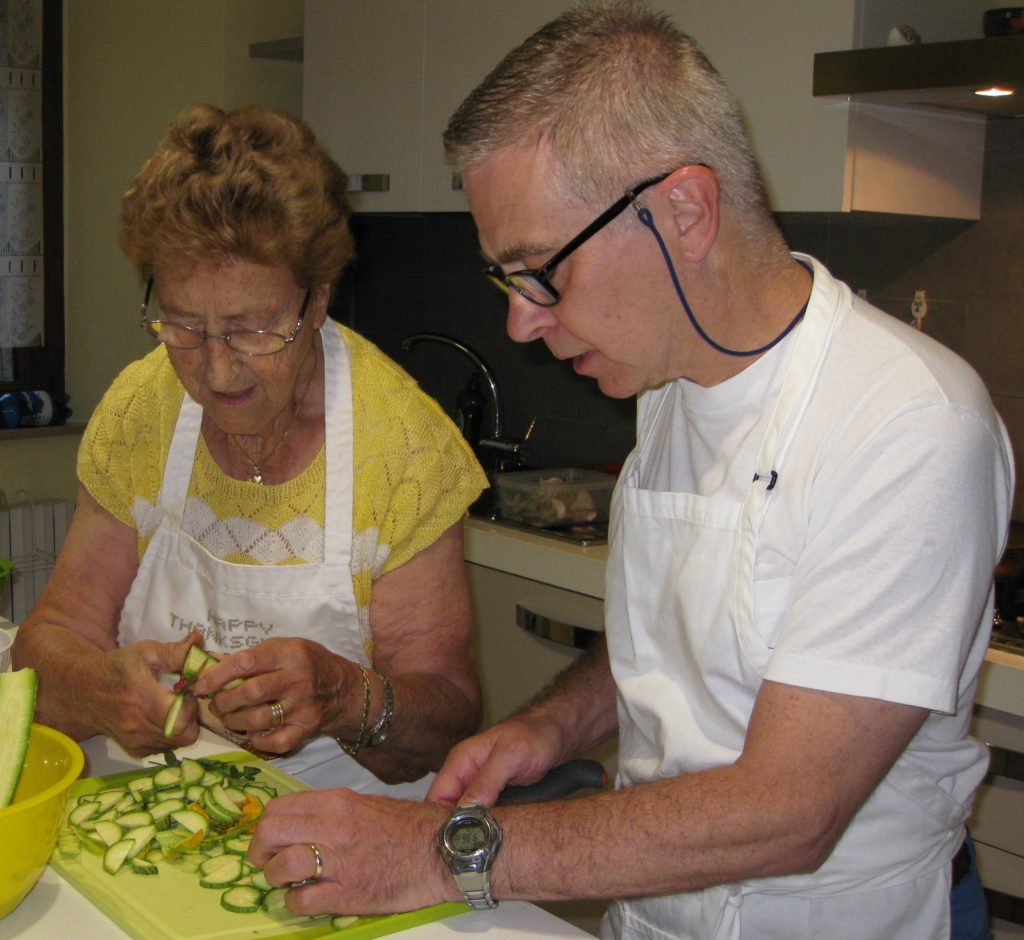
Cutting zucchini with Great Aunt Fidalma in her kitchen in Benabbio.

I rented a charming little apartment overlooking the piazza in Bagni di Lucca, a town near the village of Benabbio where Aunt Fidalma lives.

The piazza becomes the locus of loud music (70’s disco, karaoke, Italian pop) late into the night (or early into the morning depending on your perspective) on the weekends in August as well as during several August festival days.

A view from my terrace of the late-night revelry in the piazza of Bagni di Lucca.

The music precludes sleep.  Even if one could find ear plugs sufficient to drown out the sound, the building, and thus the bed, vibrate to the bass.

Ferragosto, August 15th, is the end of the late-night music.


Follow us on your social media platform of choice


Today, January 15th, marks five months since Ferragosto.  Pollo alla Romana (also known as pollo con i peperoni [chicken with sweet peppers]) is traditionally served on Ferragosto.  Given the five-month anniversary, today seems like an appropriate day to post the recipe.

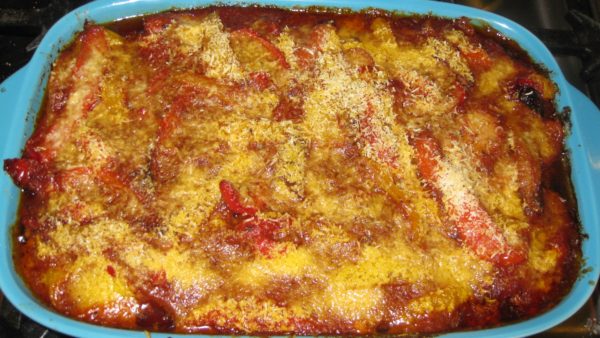
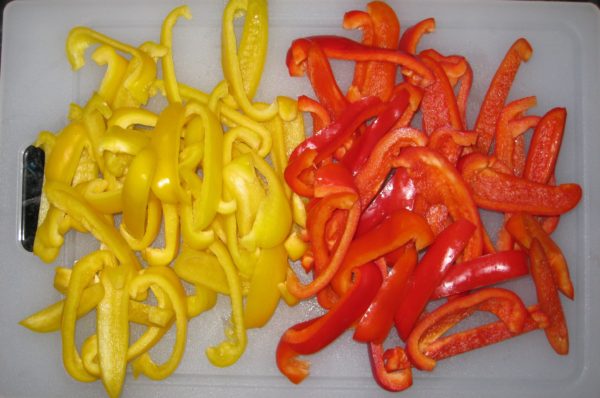
As you might guess from the name, Pollo alla Romana is from the area around Rome.  It is a simple dish made with chicken, sweet peppers (traditionally red and yellow ones) and tomatoes.  It can be cooked in the morning and served at room temperature later in the day making it a perfect summer dish.

It has become one of my go-to dishes for entertaining when I don’t want a lot of last-minute fuss to distract from enjoying cocktails with my guests.  Made earlier in the day, the dish reheats beautifully in the time it takes to drink a bourbon.

Print Recipe
Pollo alla Romana (Chicken with Sweet Peppers)
Traditionally this dish would be made with a cut-up chicken. I prefer to use just thighs as I think they take well to braising, which breasts don’t. You can use cut-up chicken parts if you prefer. When a dish says something should be fall-apart tender, I take that literally. It’s the way I grew up eating chicken cooked by my Italian-American mother. That means, for me, the chicken should braise in the liquid for at least 90 minutes if you’re close to sea level and longer if you're at a higher elevation. You can short-circuit that if you want but I think the texture of the dish will suffer.
Votes: 0
Rating: 0
You:
Rate this recipe!
Course Mains, Poultry
Cuisine Italian
Prep Time 30 minutes
Cook Time 2 1/2 hours
Servings
people
Ingredients
Course Mains, Poultry
Cuisine Italian
Prep Time 30 minutes
Cook Time 2 1/2 hours
Servings
people
Ingredients
Votes: 0
Rating: 0
You:
Rate this recipe!
Instructions
  1. Pass the can of tomatoes through a food mill to remove seeds and hard bits of tomato. Reserve the tomato puree.
  2. Slice the peppers into triangular pieces or thick strips.
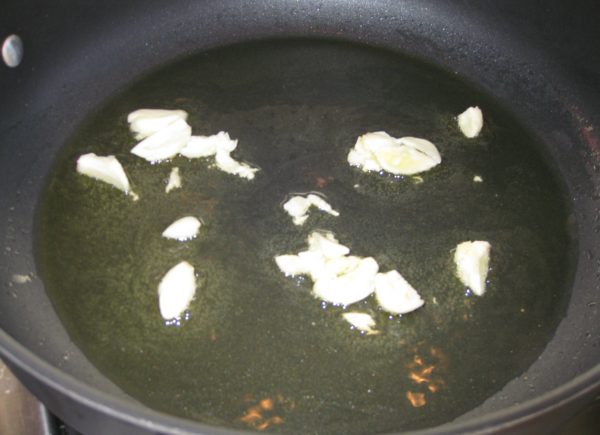
  3. Using a large heavy-bottomed sauté pan, sauté the garlic in the olive oil over medium heat until medium brown. Discard the garlic.
  4. Sauté the chicken in the garlic-flavored oil over high heat, starting skin side down to render additional fat from the skin, flipping twice, until well browned. Remove and reserve chicken.
  5. Add the peppers to the oil and sauté briefly over high heat to put a light char on some of them. Remove and reserve peppers.
  6. Add the wine to the sauté pan, bring to a boil, and scrape up all the brown bits.
  7. After the wine evaporates, add the broth, tomato puree and oregano. Mix well.
  8. Add the chicken, skin side down, along with any accumulated juices. Season with salt and pepper.
  9. Simmer, partially covered, approximately 30 minutes (or, if you live at high altitude as I do, 60 minutes). Turn the chicken over. Remove and discard the skin (the skin adds lots of flavor as well as collagen to the sauce for a great mouth-feel so please use bone-in and skin-on thighs).
  10. Add the peppers and continue to braise, partially covered, for approximately another hour until the chicken is literally fall-apart tender. During cooking, taste and adjust salt, pepper, and oregano.
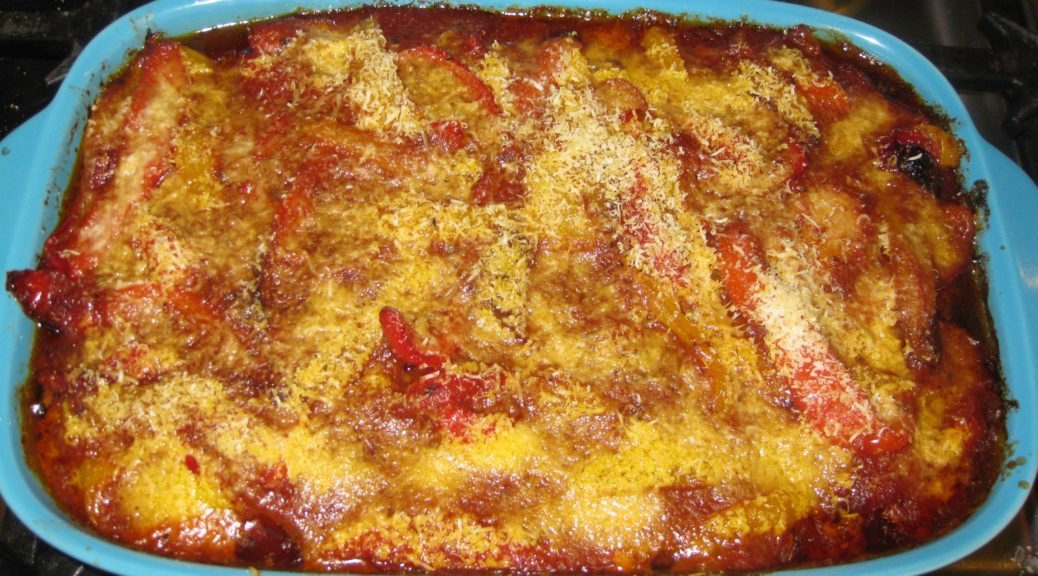
  11. Transfer the chicken and peppers to an oven-proof casserole.
  12. If the sauce is not thick, boil quickly to reduce it. Pour the sauce over the chicken.
  13. Sprinkle the top with Pecorino Romano cheese.
  14. Bake at 350°F to brown the top, approximately 15-20 minutes.
Recipe Notes

Copyright © 2020 by Villa Sentieri, LLC. All rights reserved.
Share this Recipe

Barbecued Chicken Thighs

July 25, 2018

For someone who tries to eat lower on the food chain, I sure love using my smoker.

Granted, I could smoke things like cheese and even some vegetables but meat is where the smoker really shines!

I’ve smoked pork shoulders, ribs, and turkey breasts, and I continue to expand my repertory, but I really enjoy smoking chicken thighs.

Smoking is often an all-day affair.  Sometimes it’s an all-night affair if one is smoking large enough pieces of meat.  So far, I’ve limited myself to smoking things that can go into the smoker at a reasonable time of the day.  I’m not one of those guys who wants to sit beside his smoker through the night with a cooler of beer at his side!

Join our mailing list and you’ll never miss a recipe again!

Chicken thighs cook in a relatively short period of time so they’re great when you want to limit attending to the smoker to just a few hours before dinnertime.

My smoker has an adjustment for the heat output but not temperature, per se. If the wind or external temperature change, the internal smoker temperature changes, too. Some day I’ll get a smoker with an actual thermostat but so far this one has served me well.

If you get a smoker with an automatic thermostat there would be almost no need to attend to the chicken thighs.  While I have a nice smoker, it doesn’t have a thermostat.  It has a control that puts out an adjustable but then constant amount of heat based on the setting similar to the way car heaters used to work before cars had real thermostats.  If the outdoor temperature or wind changes, the temperature inside the smoker will change due to the constant heat output.

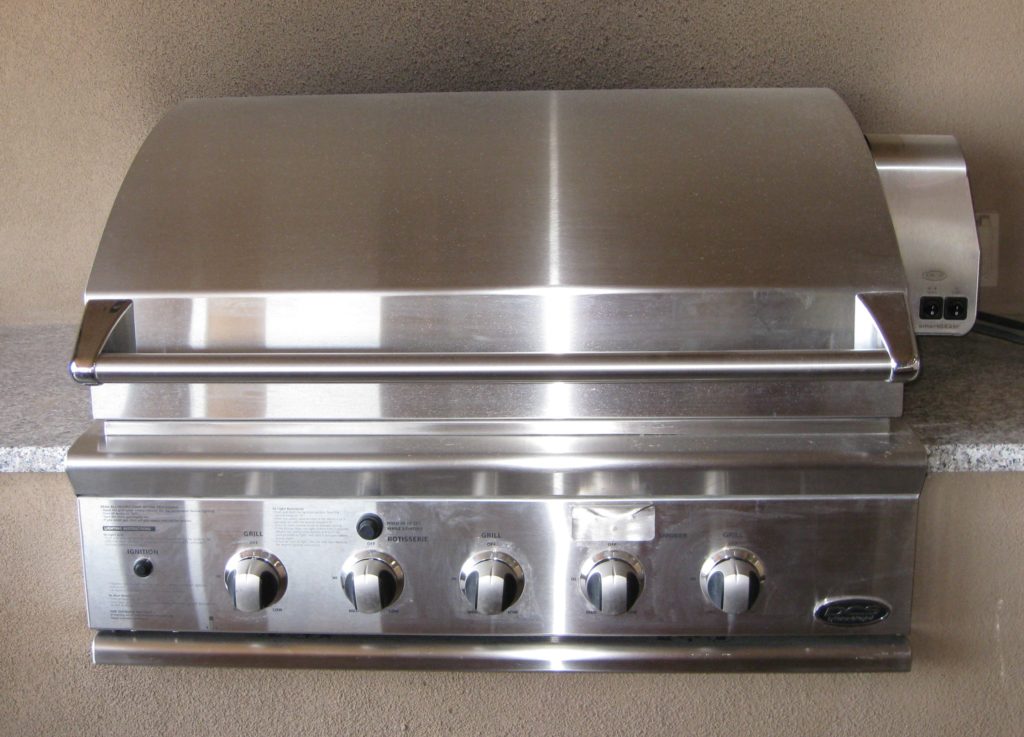
Before I had a smoker, I used my gas grill to smoke.  It has a separate burner just for creating smoke from wood chips.  It has three other burners to actually cook the food plus a rotisserie burner.  Under many circumstances, the burner for the wood chips puts out enough heat to keep the grill at the proper smoking temperature.  When the weather turns cold, like the time I smoked a turkey on Thanksgiving, a little heat from one of the other burners is needed…just not a burner that’s actually under the food.

I sometimes use my gas grill to smoke things, including a whole turkey once.

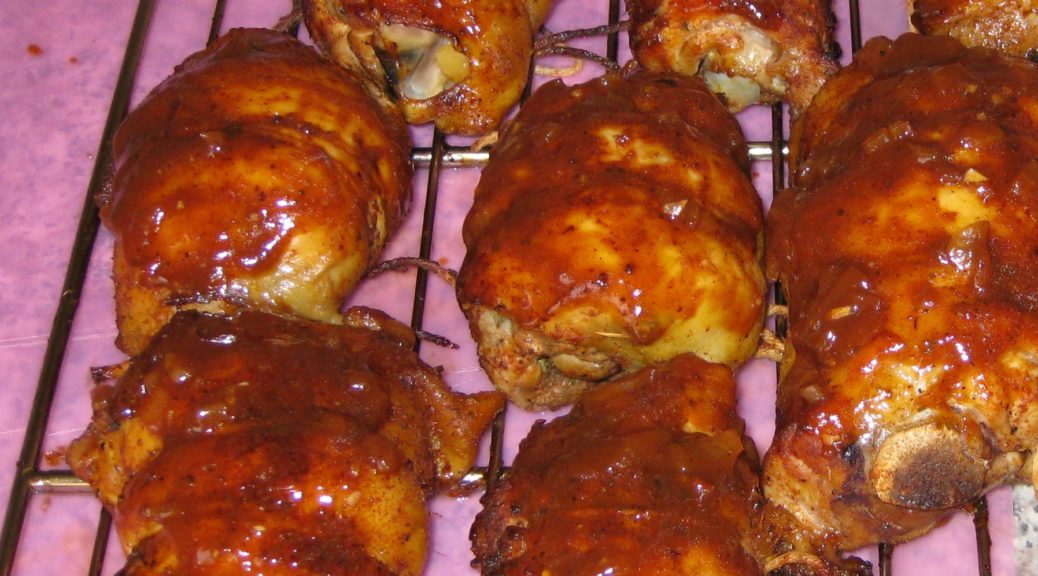
This recipe makes use of two of my previously published recipes, my barbecue rub and my barbecue sauce.

Follow us on your social media platform of choice


If you don’t have a smoker (and I realize that most people don’t) you really can do these on a grill with indirect heat, either gas or charcoal.

Put on oven thermometer on the grate where you intend to put the chicken.  There should not be any heat coming from under that grate.  Heat up the opposite side of the grill using either gas or charcoal.  With a little experimentation, you’ll be able to keep the side of the grill, where the chicken will go, at the proper smoking temperature.  If your grill doesn’t have a separate place for wood chips, add some wood chips, soaked in water for 30 minutes, to the hot part of the grill from time to time.

Happy smoking!!! (Oh, and don’t forget the beer!)

Print Recipe
Barbecued Chicken Thighs
These chicken thighs are moist and fall-apart tender. See the Notes section for links to my recipes for barbecue rub and barbecue sauce. Professional kitchens often weigh liquids, hence the 4000 grams of water. 4000 grams would essentially be the same as 4 liters. The advantage of weighing the water, though, is that you can add ice to cool the brine down while still being exact about the quantity of water. This recipe scales easily.
Votes: 0
Rating: 0
You:
Rate this recipe!
Course Mains, Poultry
Cuisine American
Prep Time 40 minutes
Cook Time 4 hours
Passive Time 2 hours
Servings
people
Ingredients
Course Mains, Poultry
Cuisine American
Prep Time 40 minutes
Cook Time 4 hours
Passive Time 2 hours
Servings
people
Ingredients
Votes: 0
Rating: 0
You:
Rate this recipe!
Instructions
  1. Dissolve the salt in the water.
  2. Refrigerate the brine until cold. If you are weighing the water, you can add ice cubes to cool the brine quickly.
  3. Add the chicken thighs and weigh them down with a plate or a zipper lock bag full of water. Brine for two hours in the refrigerator.
  4. Remove the chicken thighs and pat them dry.
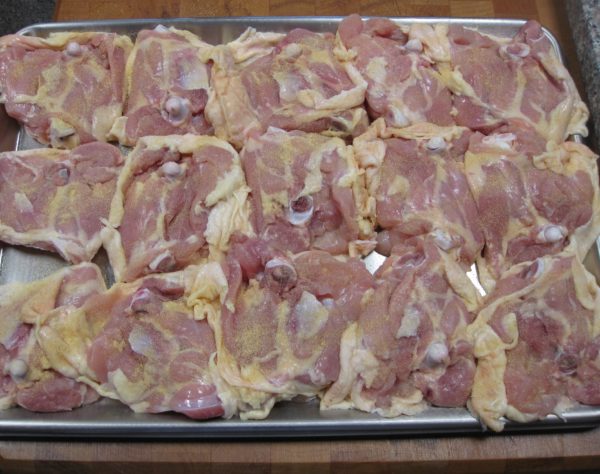
  5. Lay the chicken thighs skin-side down.
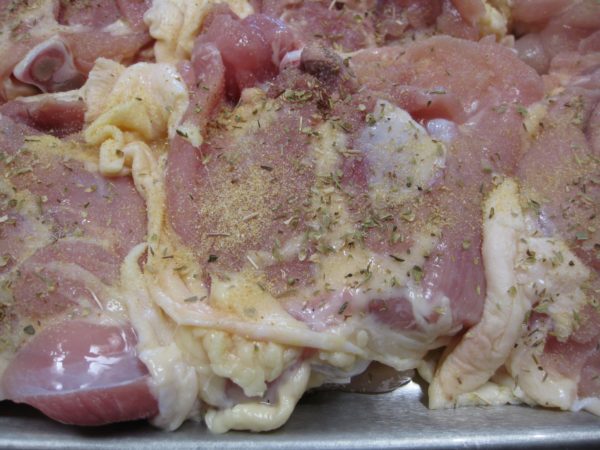
  6. Sprinkle liberally with garlic powder.
  7. Sprinkle with oregano.
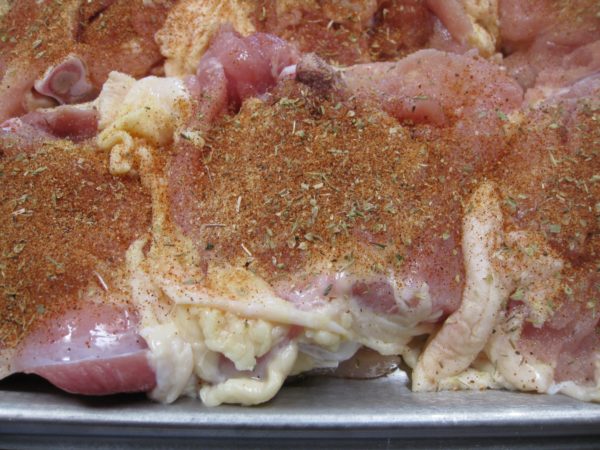
  8. Sprinkle with barbecue rub.
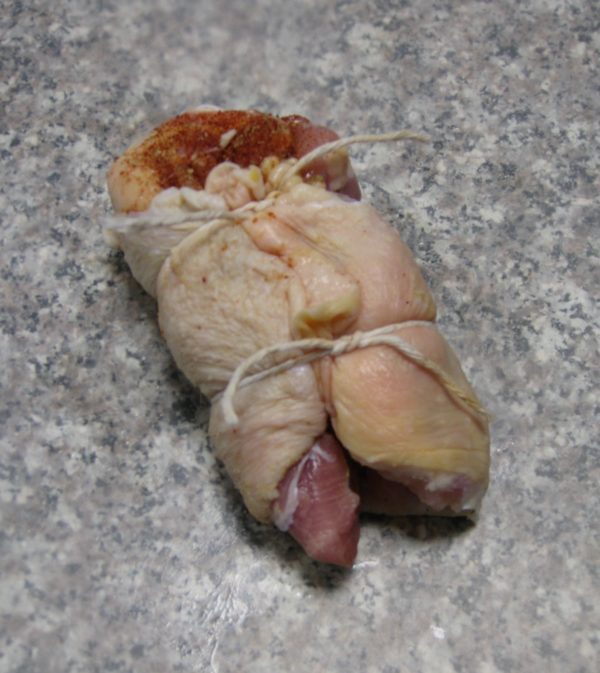
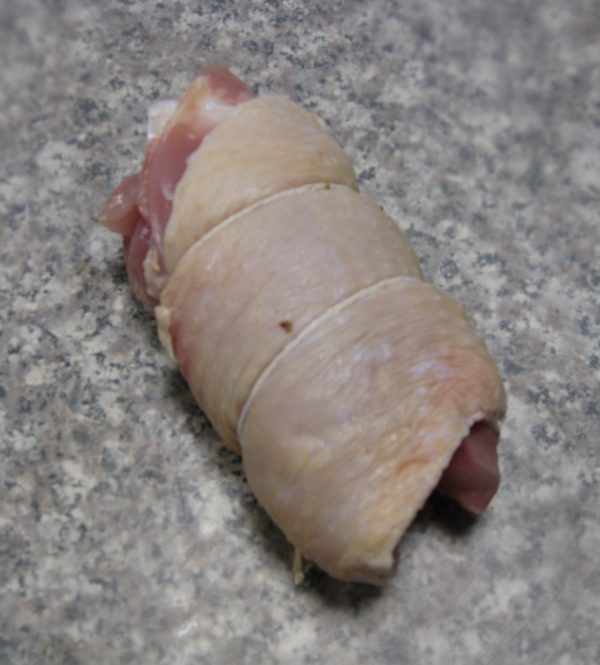
  9. Wrap the skin around thigh, trying to enclose the meat as much as possible. Tie with twine.
  10. Rub the thighs generously with barbecue rub.
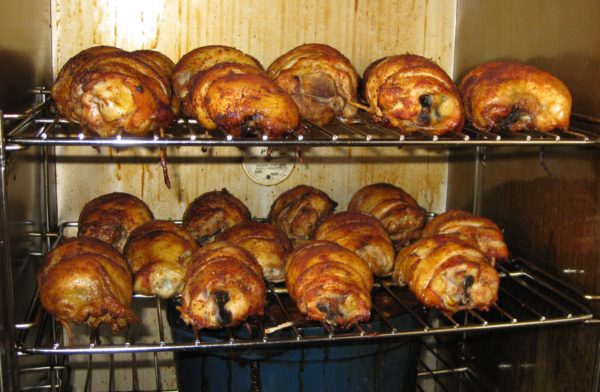
  11. Smoke at 225°F for 4 hours.
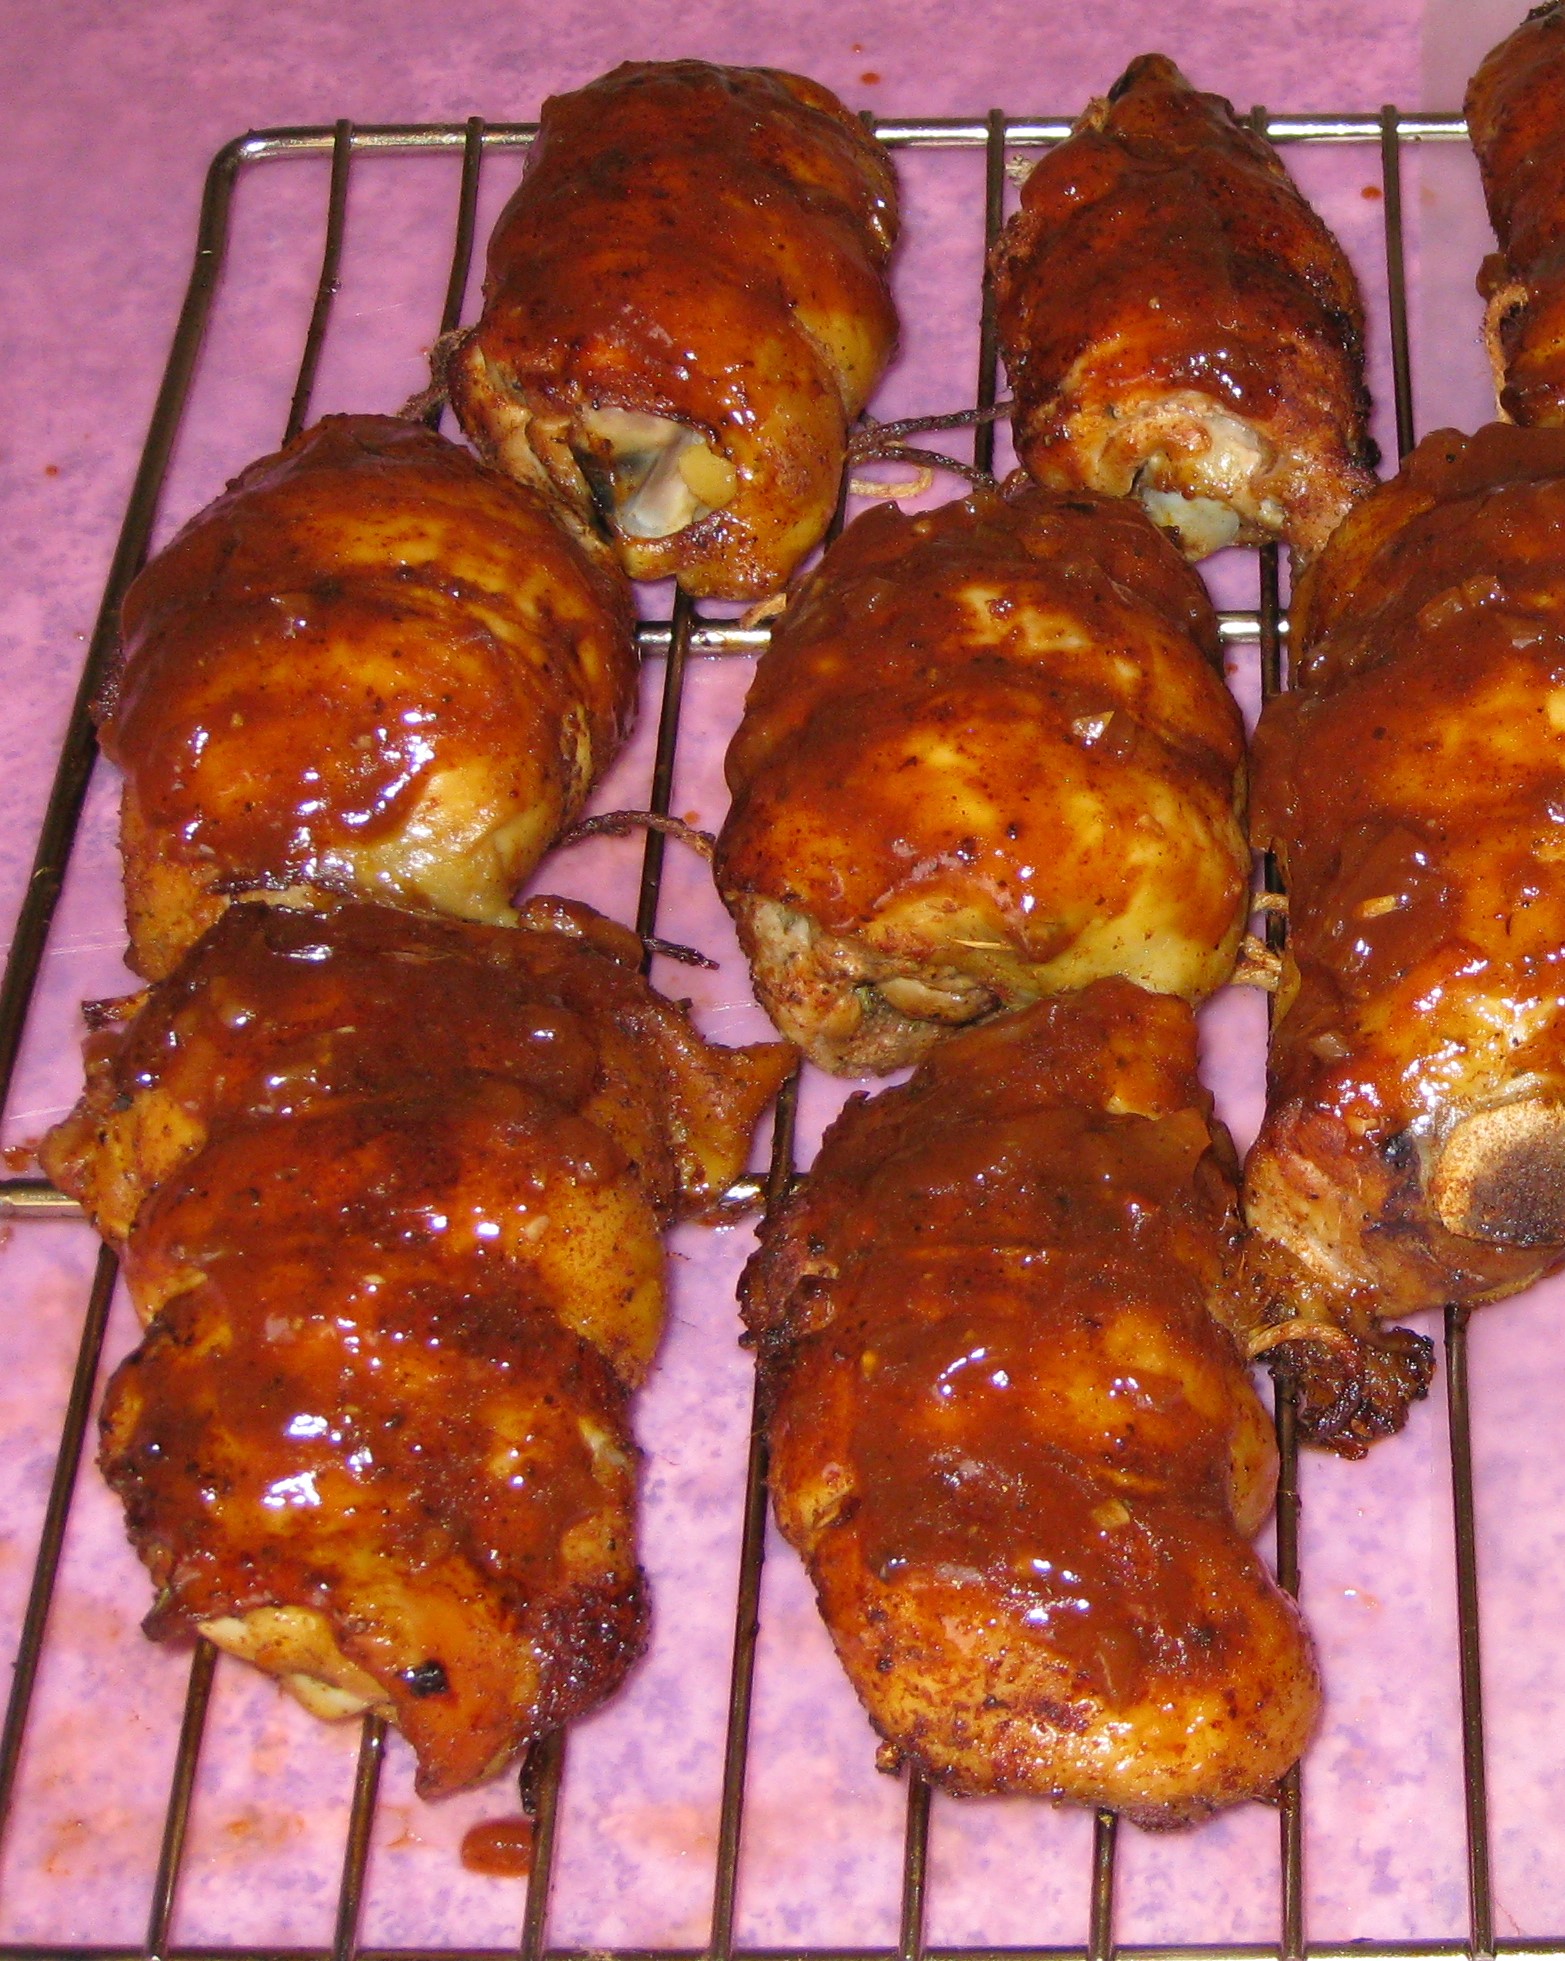
  12. Fifteen minutes before thighs are done, brush with barbecue sauce. Continue cooking for 15 more minutes.
Recipe Notes

Here is where you will find my recipe for barbecue rub and my recipe for barbecue sauce.

Copyright © 2018 by Villa Sentieri, LLC. All rights reserved.
Share this Recipe

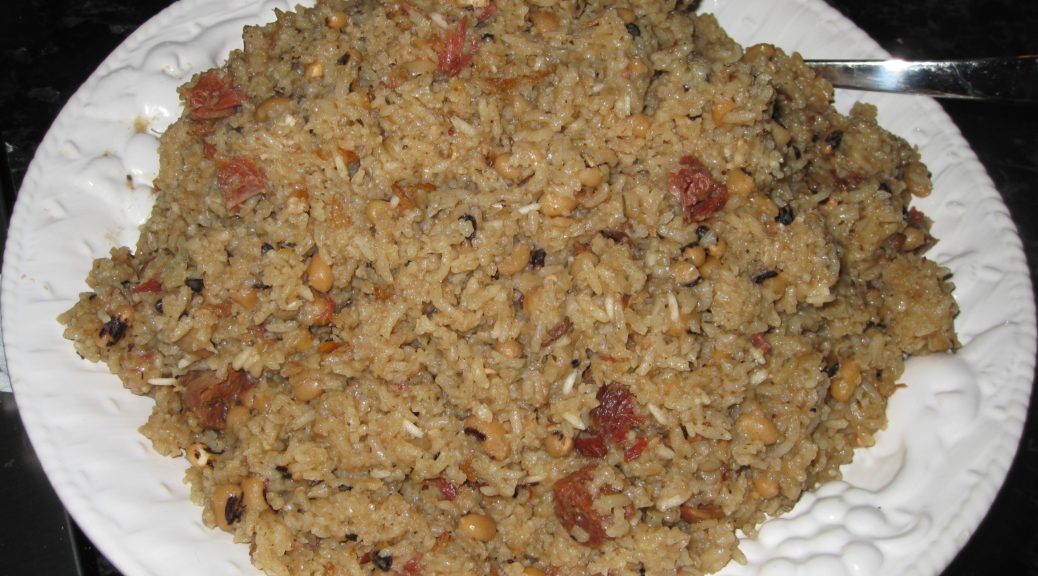
Guyanese “Cook Up” (Rice and Black Eyed Peas Cooked in Coconut Milk)

July 13, 2018

The combination of rice and legumes (peas, beans, lentils) is common throughout much of the world.  Sometimes the beans and rice are cooked together like Cajun Red Beans and Rice, Ecuadorian Gallo Pinto or Italian Risi e Bisi.  Sometimes the beans and rice are cooked separately but served together as with Cuban Black Beans and Rice.  The combination of black beans and rice, mixed into a single dish, is traditionally called Moros y Cristianos, a not very politically correct term that translates as Moors and Christians.

Jamaican Rice and Peas is probably the most well-known version of the combination from the West Indies, a term that is typically applied to the English-speaking parts of the Caribbean.  As I’ve mentioned before, although Guyana is on the South American mainland, it was administered as part of the British West Indies and most definitely has a West Indian culture.

Join our mailing list and you’ll never miss a recipe again!

Jamaican Rice and Peas is typically meatless.  It is most often made with red kidney beans.  Part of the cooking liquid is coconut milk.

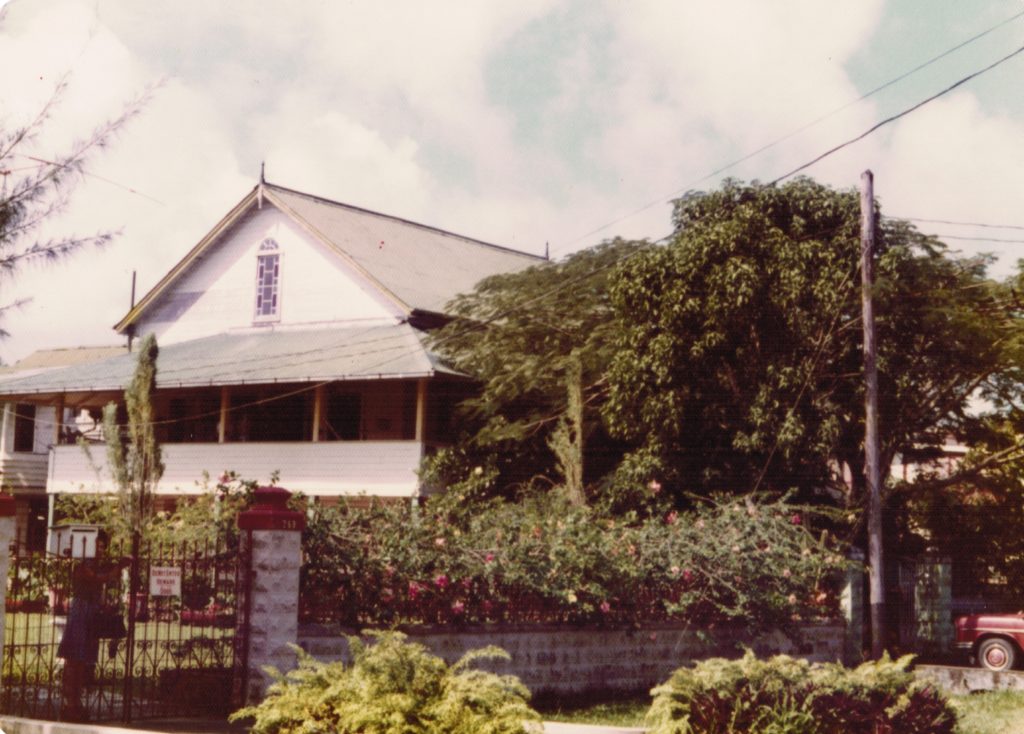
The house where Ray Hugh, my college roommate, grew up and where I stayed on several occasions, Georgetown, Guyana

Cook Up, the Guyanese version of rice and peas, is most definitely not meatless.  In my experience, it is rare to have fewer than two types of meat in Cook Up.  Coconut milk also figures prominently.

I made four trips to Guyana starting just prior to my junior year in college and ending just prior to starting my internship after finishing medical school.  During the first three trips, I stayed with Ray Hugh, my college roommate, at his father’s house.

During the last trip, I was working as a physician at the public hospital in Georgetown, Guyana.  I rented a room in a private house.  That visit was scheduled to last for five months with a brief return to the States for my medical school graduation after about three and a half months.  As graduation approached, and the prospect of working long hours as an intern became more real, I decided that when I flew home for graduation I would stay put and relax for a bit before starting internship.

Follow us on your social media platform of choice


I enjoy going to food markets whenever I travel, be they local convenience stores, supermarkets, open-air markets, or any other variant!  Stabroek Market in Georgetown is a roofed-over open-sided market housed in a sprawling Nineteenth Century building.  Vendors sell food and almost  any other necessity.

Stabroek Market in Georgetown, Guyana (photo: Google, stabroeknews.com)

Although the house where I stayed had a cook, she only cooked lunch, a very substantial lunch I might add!  I sometimes cooked dinner.  Stabroek Market was where I did my shopping.

Thyme figures prominently in Guyanese cooking.  There are three different herbs that are referred to as thyme in Guyana.  The first is what we think of as “regular” thyme, sometimes called French thyme.  The second is referred to as fine-leaf thyme or Guyanese thyme.  The third is called thick-leaf thyme or broad-leaf thyme.

Although there are many varieties of thyme, thick-leaf thyme is not really thyme but a semi-succulent perennial plant that has wide distribution.  Guyanese thyme, which is quite difficult to obtain in the United States may actually be a variety of oregano.  Thyme, oregano, and marjoram are all closely related.

Rather than sweat trying to find different varieties of thyme, I use “regular” (French) thyme and a little oregano and/or marjoram to round out the flavors.  Since no two cooks use the same herbs in the same quantities, and since many Guyanese cooks would just use French thyme, I think the addition of a little oregano and/or marjoram to mimic fine-leaf thyme produces a traditional taste.  However you do it, thyme  should be the predominant flavor.  Since thyme can taste medicinal in large quantities, use it sparingly at first if it’s not an herb you’re accustomed to cooking with.

Print Recipe
Guyanese "Cook Up" (Rice and Peas with Coconut Milk and Meats)
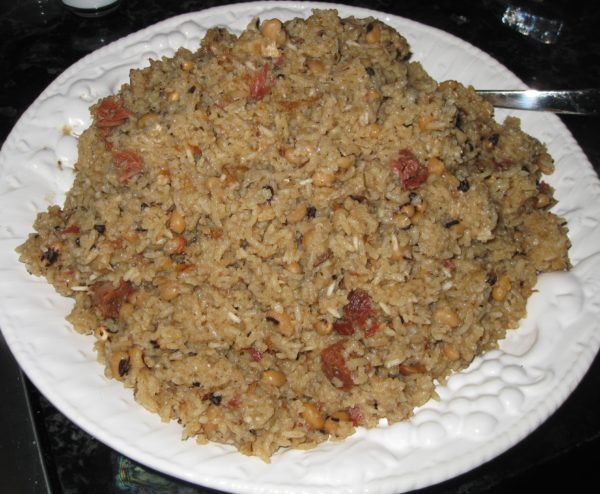
There are more variations of Cook Up than there are Guyanese cooks. Consider this recipe a starting point. You can use more kinds or different meat, such as diced corned beef or pickled pork (essentially made the same was as corned beef but with pork). Typically, in Guyana, the meats and black-eyed peas would be cooked in the same pot, being added when appropriate to finish cooking at the same time. Liquid would be adjusted by sight and the rice and other ingredients added and the cooking finished. When I made this frequently, I had all the timing down and got quite good at estimating the volume of liquid in the pot. These days, I cook the different ingredients in steps, and actually measure the liquid, as described below.
Votes: 8
Rating: 2.38
You:
Rate this recipe!
Course Mains, Meats, Poultry
Cuisine West Indian
Prep Time 15 minutes
Cook Time 3 1/2 hours
Passive Time 1 hour
Servings
people
Ingredients
Seasoned Chicken
Smoked Meat Broth
Final Assembly
Course Mains, Meats, Poultry
Cuisine West Indian
Prep Time 15 minutes
Cook Time 3 1/2 hours
Passive Time 1 hour
Servings
people
Ingredients
Seasoned Chicken
Smoked Meat Broth
Final Assembly
Votes: 8
Rating: 2.38
You:
Rate this recipe!
Instructions
Seasoned Chicken
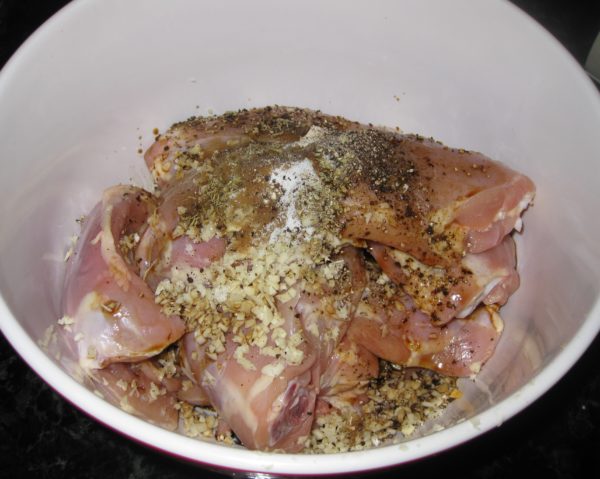
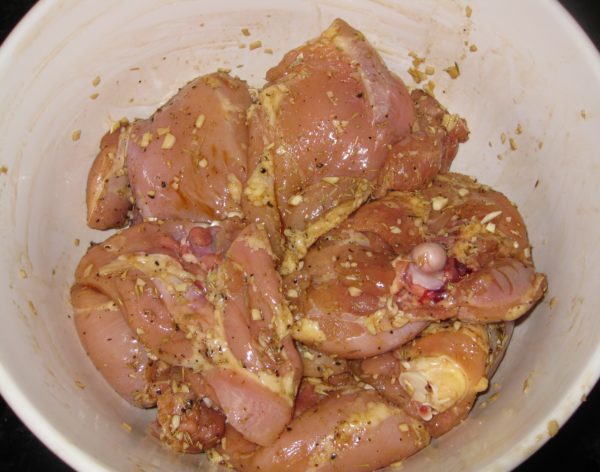
  1. Combine chicken thighs with all chicken seasoning ingredients.
  2. Mix well. Refrigerate several hours or overnight.
Smoked Meat Broth
  1. Make the smoked meat broth using the ham shanks or ham hock and water. You can do this by simmering them, covered, for 4-5 hours; cooking in a pressure cooker or Instant Pot for 60 minutes; or using a slow cooker set on low for 6-8 hours.
  2. When the broth is done, remove and reserve the ham shanks or ham hock. Skim the fat from the broth, add water to make 8 cups, and refrigerate if not using immediately.
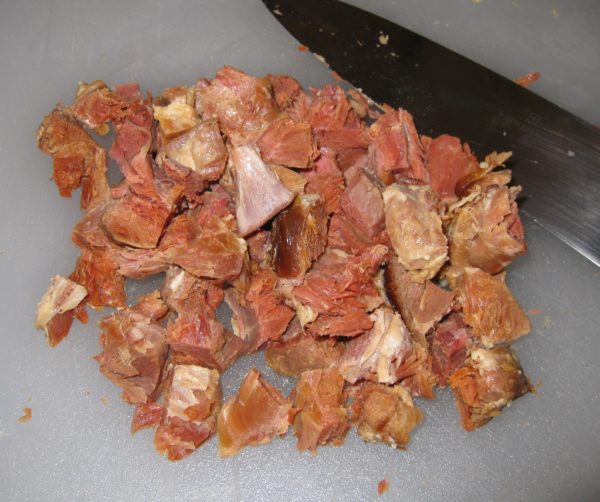
  3. Dice the meat from the ham shanks or ham hock and reserve.
Final Assembly
  1. Dice the bacon.
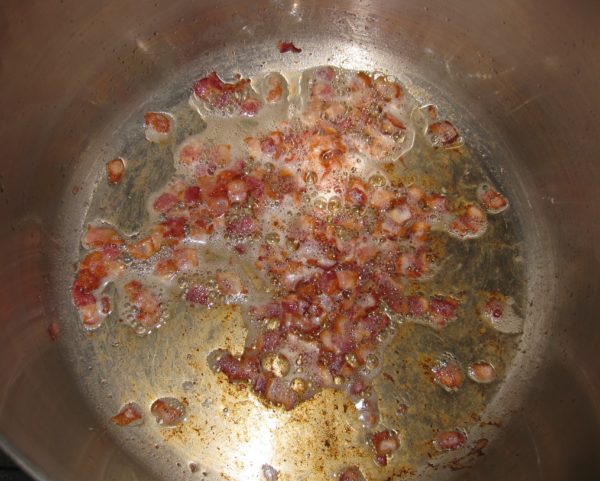
  2. In a large, heavy-bottomed Dutch oven or stockpot with a tight-fitting lid, brown the bacon.
  3. Remove and reserve the bacon.
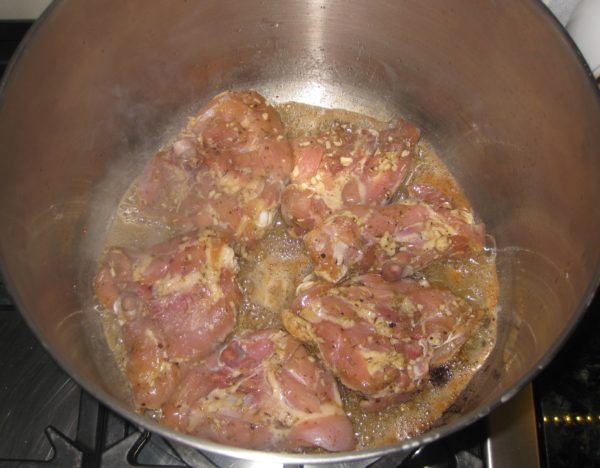
  4. Brown the seasoned chicken pieces well, in batches, in a the bacon fat in the Dutch oven.
  5. As the chicken pieces are browned, remove them to a platter.
  6. After browning and removing all the chicken, add the onions to the Dutch oven and sauté until softened. If the onions do not release enough liquid to loosen the browned bits from the bottom of the pot, add a few tablespoons of broth or water.
  7. After loosening the brown bits, continue to sauté the onions until translucent.
  8. Add the garlic and sauté until fragrant.
  9. Return the chicken to the pot with the onions and garlic. Add any accumulated juices as well as any marinade that might be left in the bowl. Add 4 cups of broth. Cover the pot and simmer approximately one hour, until the chicken is tender.
  10. Remove and reserve the chicken.
  11. Add the black-eyed peas and bacon to the pot in which the chicken was cooked along with the remaining 4 cups of broth. Bring to a gentle boil and cook, partially covered, until the peas are cooked, approximately 30-45 minutes, adding two teaspoons of salt after about 15 minutes of cooking.
  12. When the peas are cooked drain them, reserving the cooking liquid.
  13. Measure the cooking liquid and either add water or boil it down to make four cups.
  14. Return the cooking liquid to the Dutch oven along with the cooked black-eyed peas and bacon, diced pork from the broth, rice, coconut milk and 4 teaspoons of salt. Bring to a boil, stirring a few times. Put the chicken pieces on top of the rice, cover the pot, reduce the heat to low, and cook for 20 minutes without opening the pot.
  15. Remove the rice from the heat and allow it to rest for 15 minutes without removing the lid.
  16. After 15 minutes taste a bit of the rice. It should be cooked, but if not, add a bit more water and cook briefly on low heat, covered, until the rice is fully cooked.
  17. Arrange the chicken on a serving platter.
  18. Stir the rice and put on the platter with the chicken or on a different one. Serve immediately with West Indian hot sauce.
Recipe Notes

Smoked ham shanks are the boney ends of smoked ham. They have a gentle smoke flavor, just like ham. Smoked ham hocks are much more aggressively smoked and one would be sufficient for this quantity of rice.

Copyright © 2018 by Villa Sentieri, LLC. All rights reserved.
Share this Recipe

Chicken Braised with Lemon, Sage and Olives

June 20, 2018

When we’re in Palm Springs in the winter, surrounded by an abundance of citrus trees, I feel like citrus ought to be featured in every meal.

Being able to walk out the door and pick lemons, limes, oranges, grapefruit and tangerines, and NOT doing it, seems like such a grand missed opportunity.  Even if the ingredients for the rest of the meal don’t come from within a few feet of my door, the citrus fruits and herbs can.

With that in mind, and the prospect of cooking a multi-course dinner for 15 people in a kitchen that’s about 8’ x 10’ got me to thinking.  Individually lemons, sage, and olives pair well with chicken so why not all of them together in the same dish?

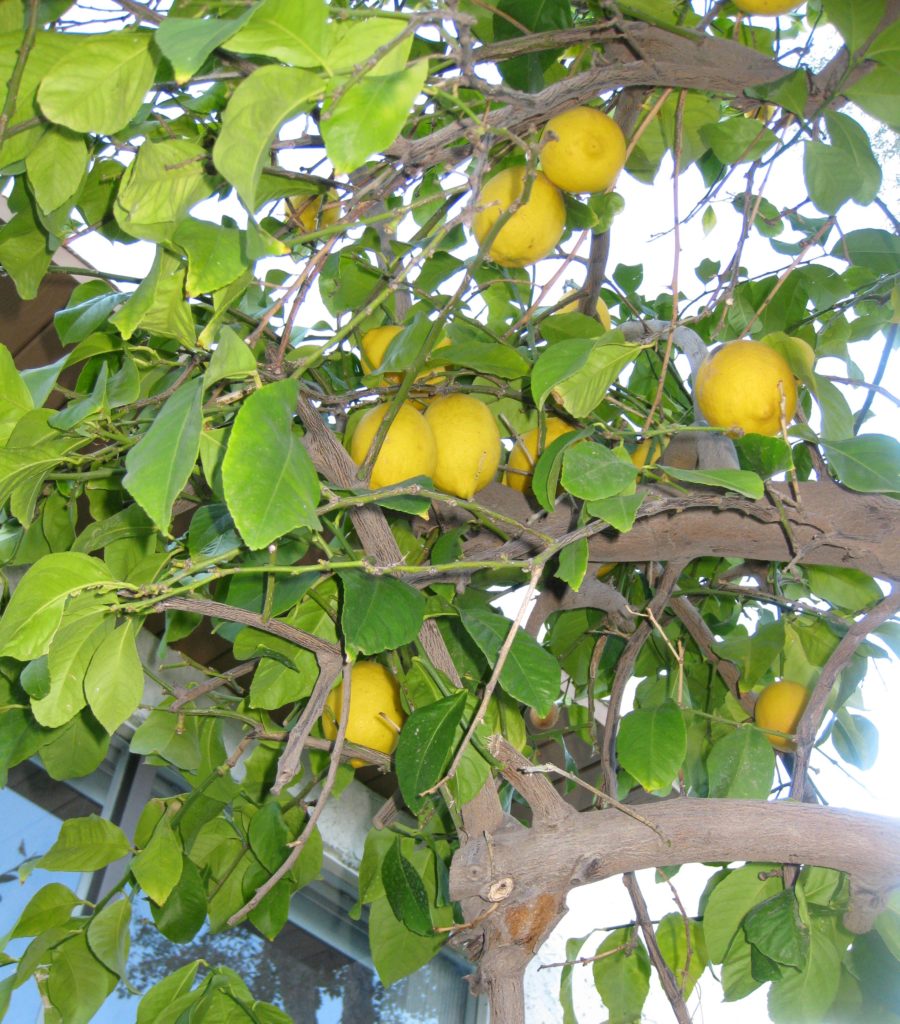
Looking up into a lemon tree in Palm Springs

Next came the method.  With fifteen people I needed at least 15 pieces of chicken.  I was pretty sure that with all the other courses, one piece of chicken per person would be enough.  I added a few more for good measure.


Follow us on your social media platform of choice


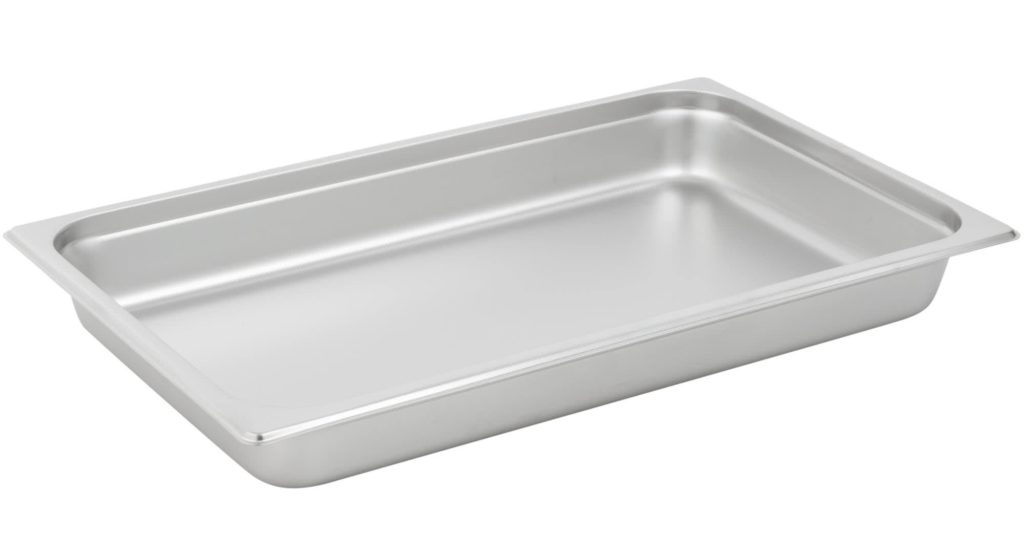
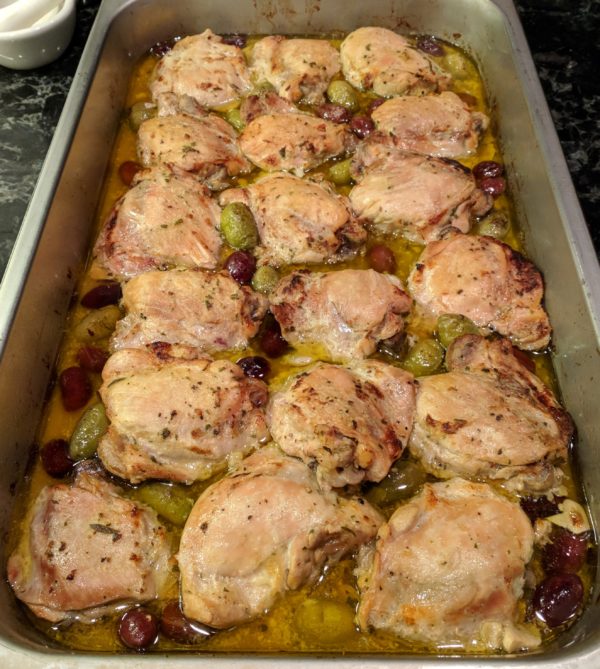
Braising 18 pieces of chicken on the stove top would have consumed a good deal of space so I opted for the oven and a “hotel pan,” sometimes called a steam table tray.  You know, those cafeteria-style rectangular pans.  I have a mess of them in an array of sizes.  Made of stainless steel, they’re non-reactive.  You can cook and store food in them, simplifying the preparation process.  Shallow roasting pans are a good substitute.  Don’t use aluminum pans or other reactive materials due to the lemon juice in this dish.

To keep it simple, I decided not to brown the chicken first, but rather to do it at the end by turning up the oven.  I made a marinade by buzzing the ingredients in a blender, so even that is super-easy.

A hotel pan is a great way to prepare large quantities of food

Which part of the chicken to use was never in question.  I like what happens to chicken thighs with long, slow braising.  Keeping the bone in adds flavor and structure so I suggest avoiding boneless thighs.

If you keep the skin on you’ll have to remove it before browning and serving the chicken because it will be rubbery from the moist heat.  I usually prefer to keep the skin on as it helps keep the meat moist but the combination of low and slow cooking and a tight cover meant the effect of the skin would be marginal.  Removing the skin in the beginning makes the dish even simpler to prepare.  Besides, the skin is a great addition to the stock pot when making chicken stock or broth.


Join our mailing list and you’ll never miss a recipe again!


I keep a zipper lock bag in my freezer into which I put chicken skin and other bits that I trim off chicken then add the contents to the stock pot with backs and wings.  Skin contains a lot of fat but since it will be skimmed off at the end it’s not really a concern.  The collagen in the skin, however, will greatly improve the mouthfeel of the broth.  In the “old days” adding chicken feet to the stock pot served the same purpose but finding chicken feet is challenging.

A Palm Springs orange tree, in the distance, full of ripe oranges

While this dish was created in the Palm Springs winter, it works well year-round thanks to the non-stop availability of lemons.  The next time you’re cooking for a crowd, give it a try and let me know what you think.

Print Recipe
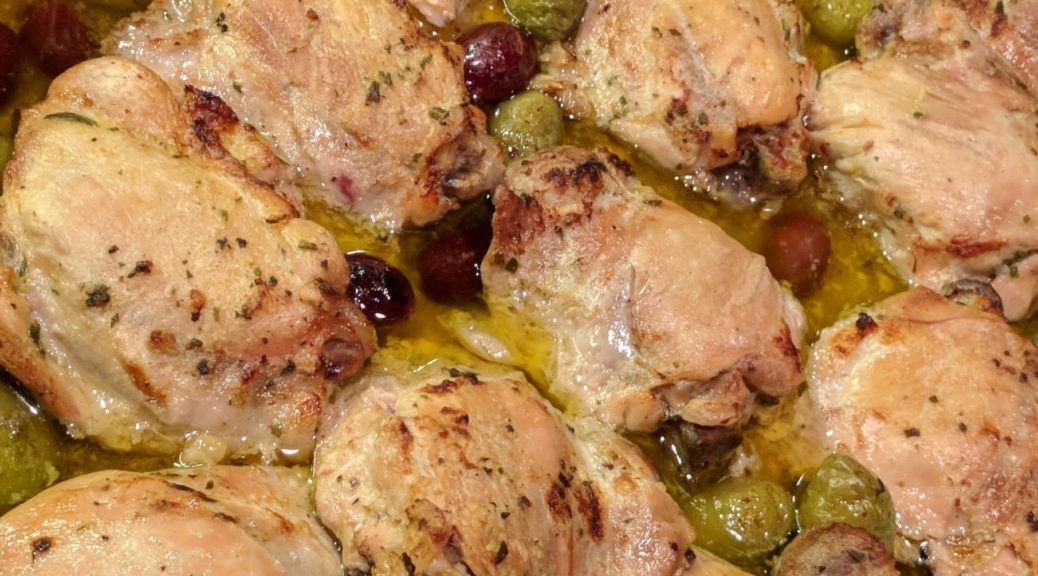
Chicken Braised with Lemon, Sage and Olives
I created this recipe for my father-in-law’s birthday, January 2018. The lemons came from the trees outside of our house in Palm Springs. Though not essential, I prefer to put a sheet of baking parchment over the chicken before covering with aluminum foil to keep the reactive aluminum completely out of contact with the acid in the lemon juice.
Votes: 0
Rating: 0
You:
Rate this recipe!
Course Mains, Poultry
Cuisine Italian
Prep Time 30 minutes
Cook Time 2 hours
Servings
people
Ingredients
Course Mains, Poultry
Cuisine Italian
Prep Time 30 minutes
Cook Time 2 hours
Servings
people
Ingredients
Votes: 0
Rating: 0
You:
Rate this recipe!
Instructions
  1. Make marinade by pureeing the olive oil, lemon juice, 6 cloves garlic, rosemary, salt, and pepper in a blender.
  2. Pour the marinade over the chicken thighs and mix well.
  3. Marinate chicken thighs overnight in the refrigerator.
  4. Lightly oil a non-reactive hotel pan or shallow roasting pan.
  5. Arrange lemon slices on the bottom of the pan.
  6. Put a sage leaf on each lemon slice.
  7. Put a chicken thigh on each sage-topped lemon slice, reserving the marinade.
  8. Scatter olives around the chicken.
  9. Smash the remaining 8 garlic cloves and scatter around the chicken.
  10. Pour the marinade over the chicken. Cover the pan tightly with foil. (If possible, cover the pan with a sheet of parchment before the aluminum foil.)
  11. Put the chicken into a preheated 350°F oven. Cook until the chicken is nearly fall-apart tender, 90-120 minutes.
  12. Using a turkey baster, remove most of the liquid from the pan. Put the liquid into a fat separator.
  13. Turn the heat as high as the oven goes. Put the pan of chicken on the top rack until it takes on some color, approximately 10-15 minutes. You can also use the broiler for this, though many broilers do not have enough heated surface area to brown the contents of a large pan.
  14. While the chicken is browning, skim the fat from the pan juices.
  15. Carefully move the chicken thighs, with lemon slices intact, to a serving platter or individual plates.
  16. Scatter the olives over the chicken.
  17. Pour some of the defatted pan juices over the chicken.
  18. Pass the remaining defatted pan juices at the table.
Recipe Notes

Copyright © 2018 by Villa Sentieri, LLC. All rights reserved.

Share this Recipe

Stir-Fried Chicken with Cashews and Snow Peas

May 9, 2018

This is the year of the Dog.

It may be old news, but Lunar New Year was Friday, February 16, 2018.  We celebrated with close friends and a dinner menu with an extensive array of Asian dishes.  There are many traditional dishes for Lunar New Year depending on the country.  I chose to do a pan-Asian menu rather than focus on strictly traditional recipes from a single country.

Kifune Shrine, Kyoto, Japan (Photo by Avishek Kumar)

We were in Palm Springs for Lunar New Year.  The plan was to escape winter weather in Santa Fe which, as it turned out, was not very wintery after all, unlike what the East Coast experienced.


Follow us on your social media platform of choice


Sourcing Asian ingredients has become a real issue for me now that I don’t live in a major city.  The only Asian grocery store in Santa Fe, Talin Market, closed a few months ago though the original location is still open in Albuquerque.

Palm Springs only has two Asian markets that I can find.  Both are Filipino-owned and, although they stock an array of Asian goods, they really focus on Filipino foods.

Honen-in Temple, Kyoto, Japan (Photo by Avishek Kumar)

Amazon came to the rescue.  While I’d rather stand in the aisles of an Asian market reading and comparing packages of honest-to-goodness product, Amazon was a lifesaver.

There were eight of us for the Lunar New Year dinner.

The kitchen in our Palm Springs house is small, approximately 9 feet by 11 feet.  Turning out a multi-course meal requires a lot of planning and organization.   I divided the main part of the meal into four courses.  Each course included a complementary array of foods and different cooking methods.

We started with hors d’oeuvres and cocktails.  We ended with a simple, non-traditional dessert of gelato and fortune cookies, which I purchased.  I assumed nobody was going to be too into dessert after all the other food.

Fushimi Inari Shrine, Kyoto, Japan (Photo by Avishek Kumar)

Here’s the menu:

Hors d ’Oeuvres
Vegetable Dumplings with Soy-Vinegar Dipping Sauce
Steamed Edamame with Coarse Salt

First Course
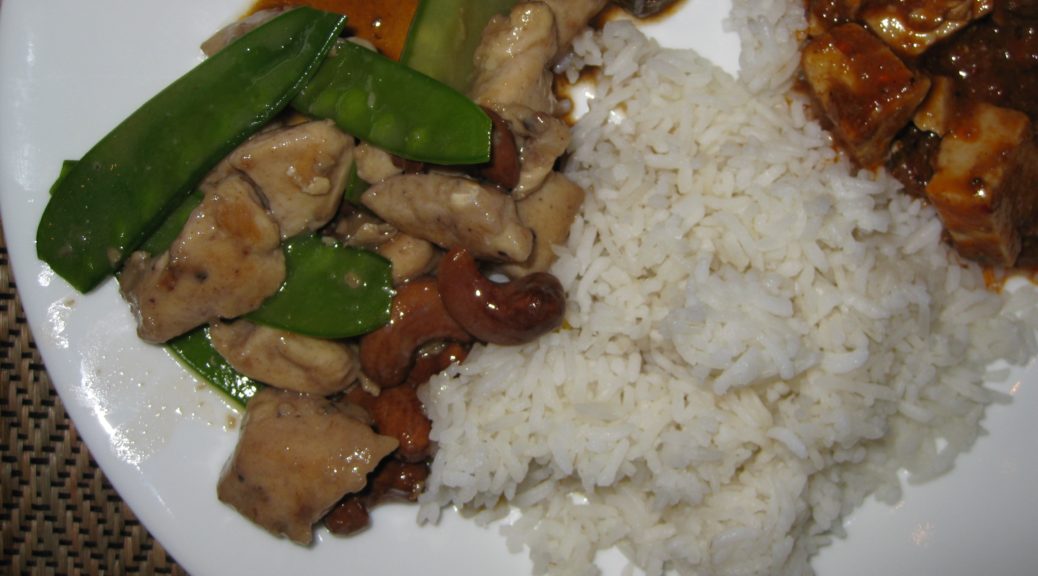
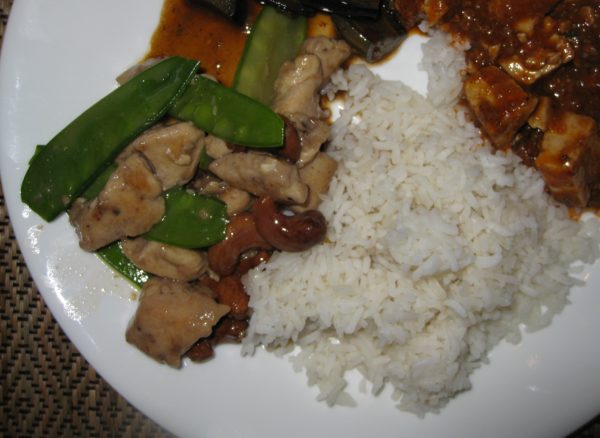
Stir-Fried Chicken with Cashews and Snow Peas
Eggplant Hunan Style
Cambodian Fish with Bean Thread

Second Course
Korean Bulgogi
Indonesian Sweet Corn Patties
Szechuan Garlic Noodles

Third Course
Hot and Sour Soup

Fourth Course
Chinese Roast Pork
Japanese Carrot Salad
Mapo Tofu
Caramelized Tomatoes with Ginger and Vinegar


Join our mailing list and you’ll never miss a recipe again!


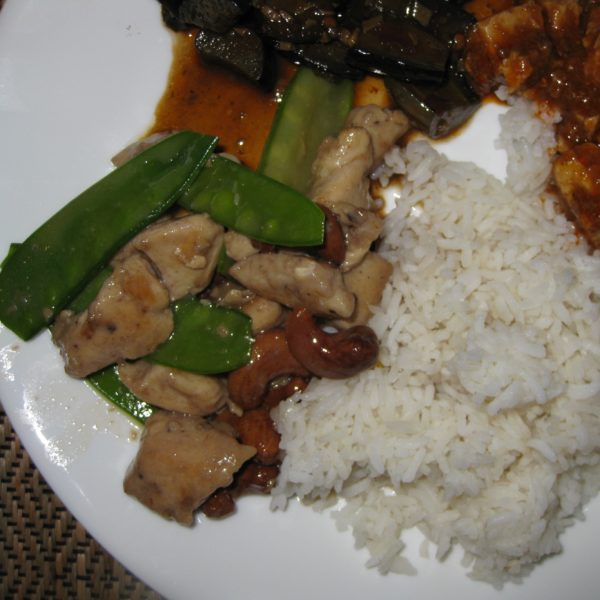
I recently published my recipe for Chinese Roast PorkHot and Sour Soup is coming up in a couple of weeks.  Today, however, we’re focusing on a Cantonese classic, Stir-Fried Chicken with Nuts and Vegetables, specifically cashews and snow peas.

This is a recipe that I started making during junior year in college.  It got tweaked a lot over that year.  By then I was comfortable with the end product and didn’t really do much with it… until this year.

I didn’t really change the recipe, though.  I changed the pan!

Shrine in Gion District, Kyoto, Japan (Photo by Avishek Kumar)

You’ve probably figured out that I’m prone to excess where kitchen equipment comes in.  I have four woks:  two carbon steel ones that date back to college and two that are a decade or so younger, one aluminum and one carbon steel.  Both of these are larger than the ones from my college days.

I always cook my stir-fries in a wok but this particular dish is always a problem due to the “velvet” coating on the chicken.  The coating always sticks to the wok.  I suspect I could eliminate that problem by using enough oil to deep fry the chicken but that wasn’t supposed to be the way to cook it.  So, I always just accepted the “sticking-chicken” problem.

Until now.

I used a large, non-stick skillet.

It worked like a charm!!!

I don’t think I’ll give up my woks any time soon but for this particular dish, non-stick is definitely the way to go.

Afterthought:  This recipe calls for MSG, though, of course, you can leave it out if you wish.  If you’re at all interested in the hype about the health effects of MSG, I suggest you read this article.

Print Recipe
Stir-Fried Chicken with Cashews and Snow Peas
Walnuts and either broccoli or green beans can be used instead of cashews and snow peas. The chicken can be marinated several hours in advance and refrigerated, tightly covered. If you wish, you can reduce or eliminate the MSG.
Votes: 0
Rating: 0
You:
Rate this recipe!
Course Mains, Poultry
Cuisine Chinese
Prep Time 20 minutes
Cook Time 15 minutes
Servings
people as part of a Chinese meal
Ingredients
Velvet Chicken
Sauce
Assembly
Course Mains, Poultry
Cuisine Chinese
Prep Time 20 minutes
Cook Time 15 minutes
Servings
people as part of a Chinese meal
Ingredients
Velvet Chicken
Sauce
Assembly
Votes: 0
Rating: 0
You:
Rate this recipe!
Instructions
Velvet Chicken
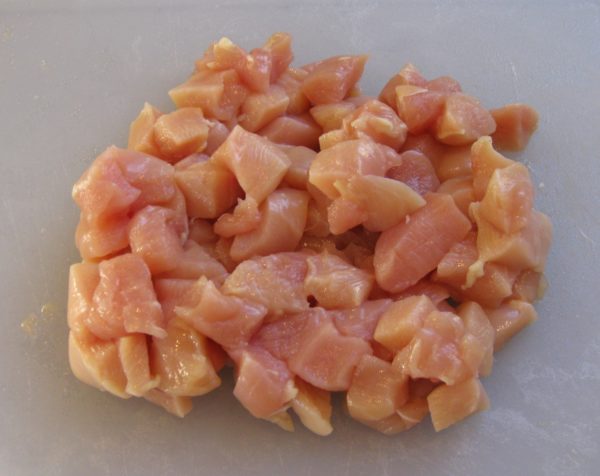
  1. Cut the chicken into ½ inch cubes.
  2. Put the chicken in a non-reactive dish.
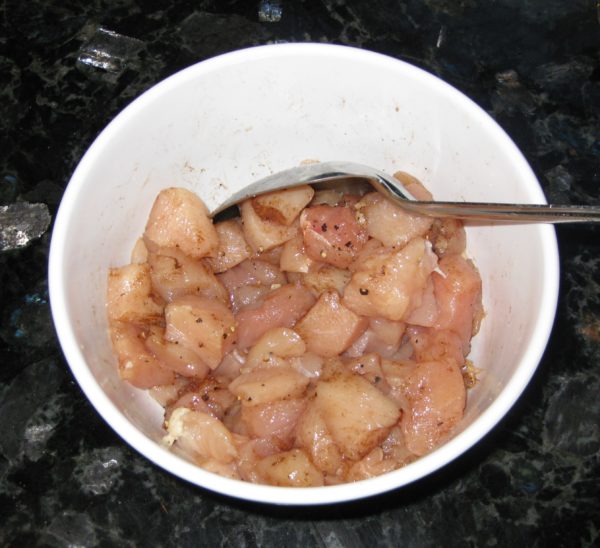
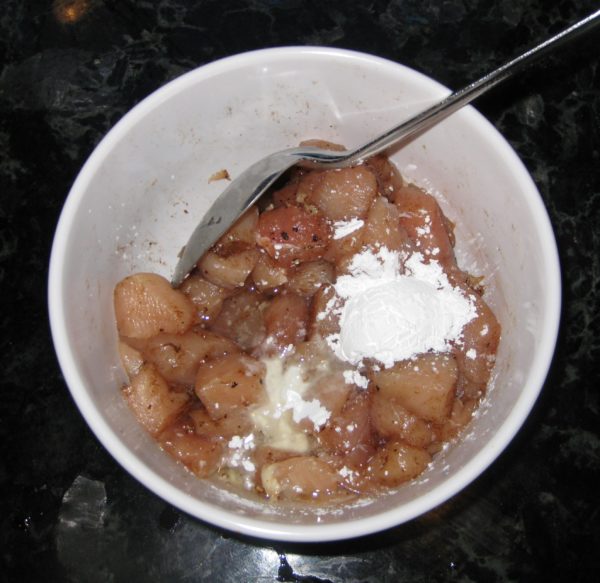
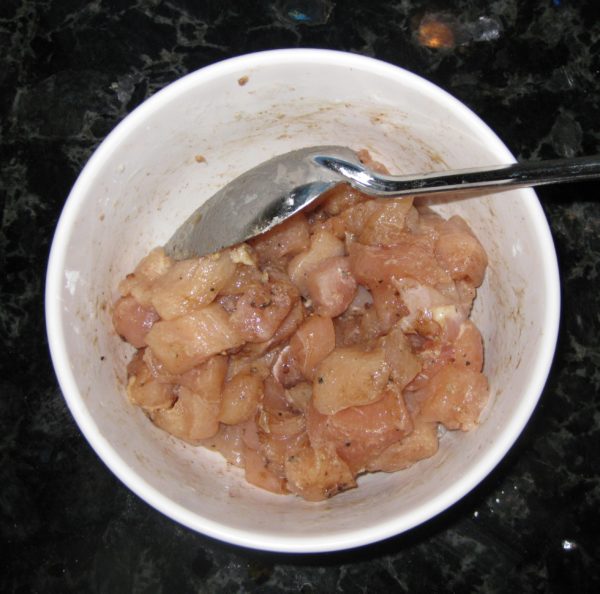
  3. Sprinkle the chicken with salt, pepper, five spice powder and MSG. Mix well then let stand 20 minutes.
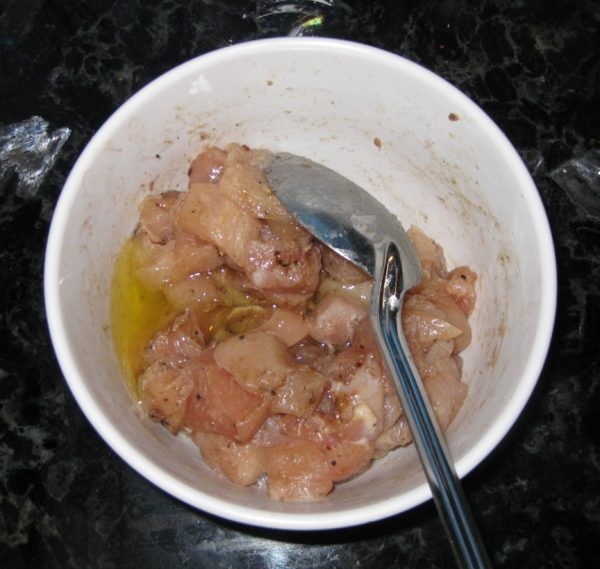
  4. Sprinkle the chicken with cornstarch and 4 teaspoons of oil. Mix well and let stand 20 minutes.
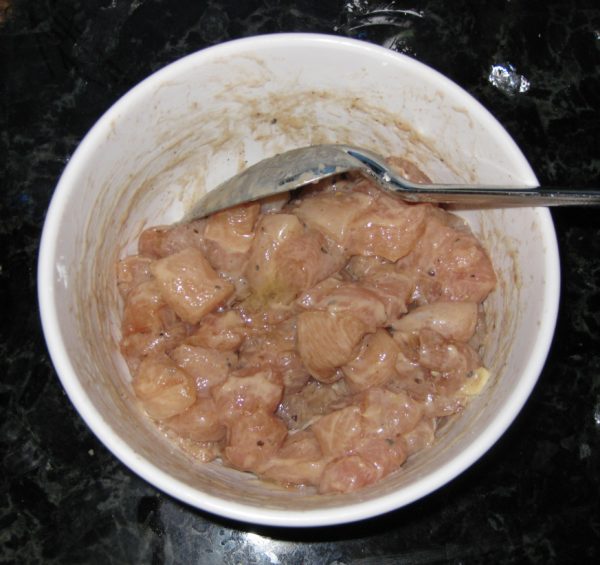
  5. Fold the egg white into the chicken. Let stand 30 minutes. If not using immediately, the chicken can be refrigerated, covered, for several hours at this point.
Sauce
  1. Combine all sauce ingredients, stir well and reserve.
Assembly
  1. Deep fry the nuts until golden. Once they start to color, they will cook rapidly. Careful attention is required to avoid burning them.
  2. When golden, remove the nuts from the oil and spread them on a paper towel to drain.
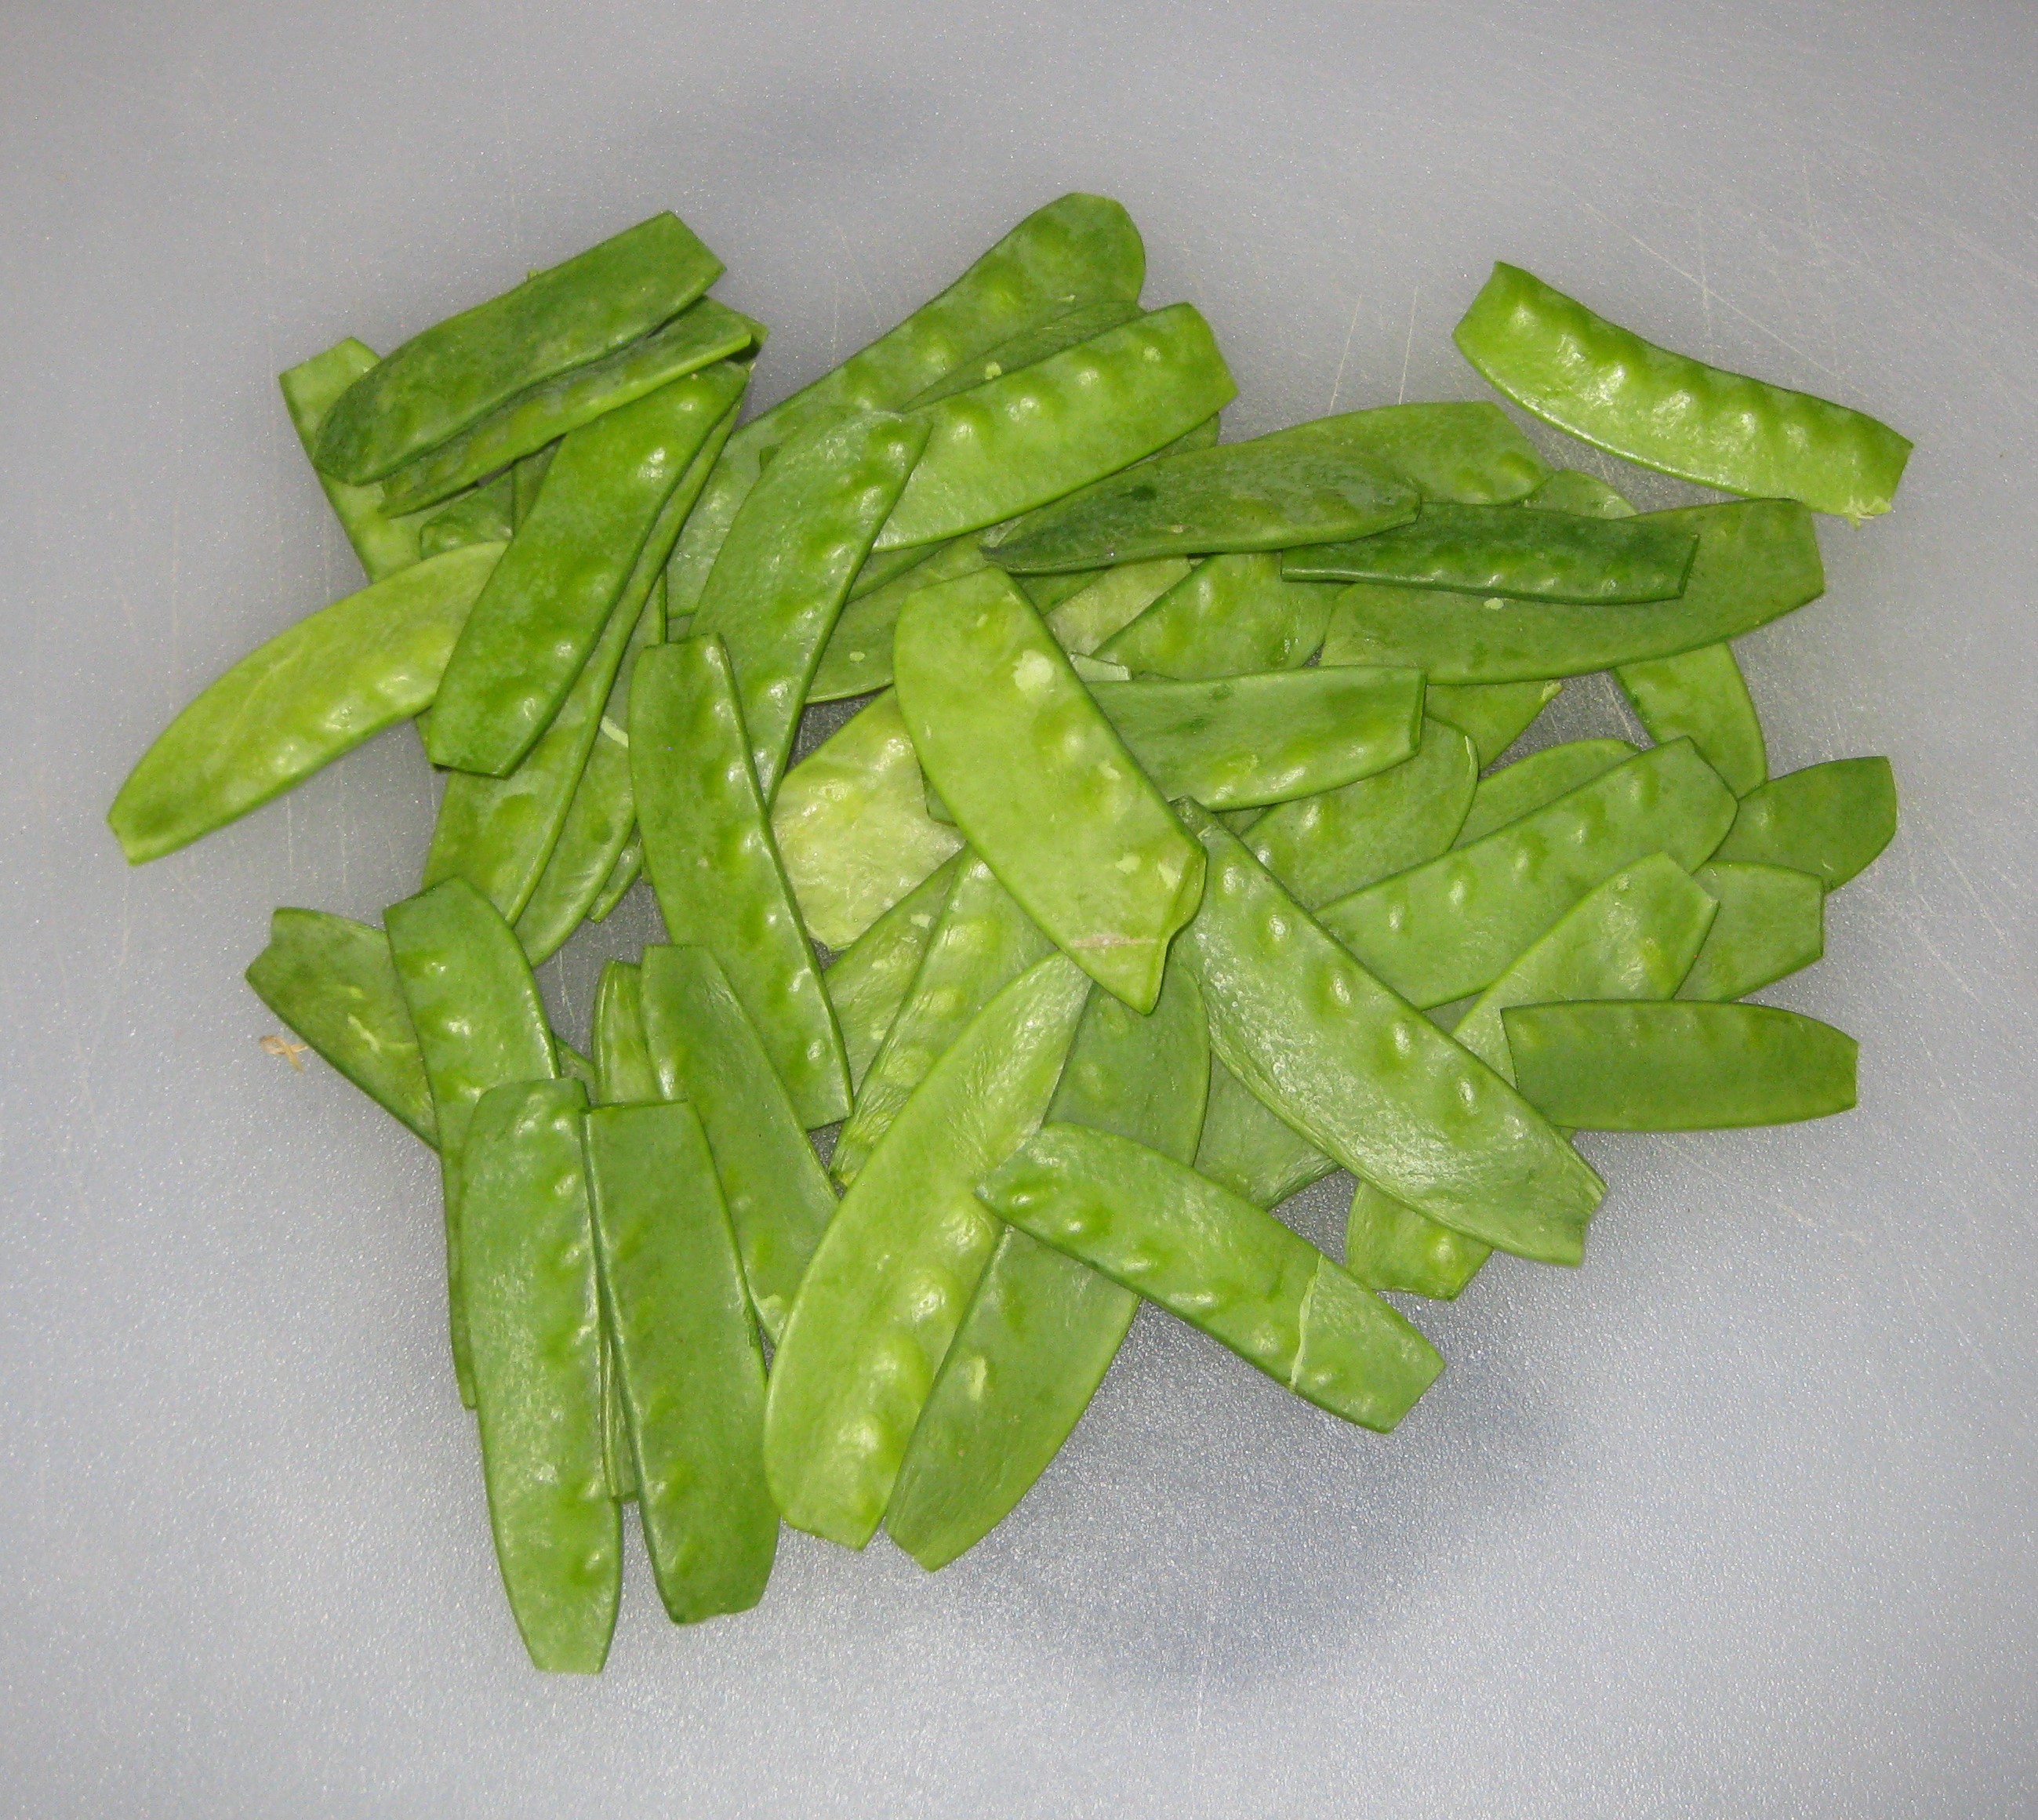
  3. Cut the tips off the snow peas.
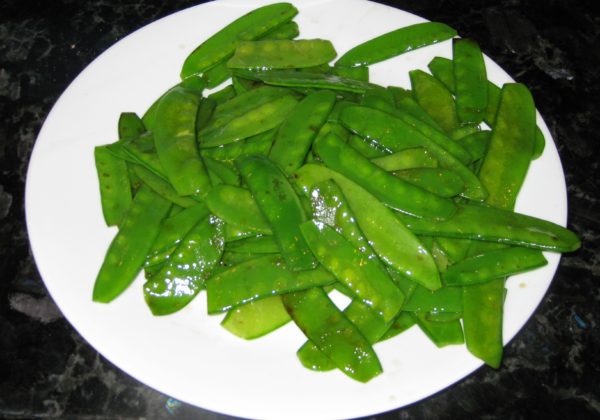
  4. Using a large non-stick skillet, stir-fry the snow peas in 3 tablespoons of vegetable oil over high heat for about 30 seconds, until bright green. (You can use some of the oil used to fry the nuts if you wish.)
  5. Transfer the cooked snow peas to a plate to cool.
  6. In the same non-stick skillet, stir-fry the garlic and ginger over high heat, until fragrant, approximately 30 seconds, adding a few tablespoons more oil if needed.
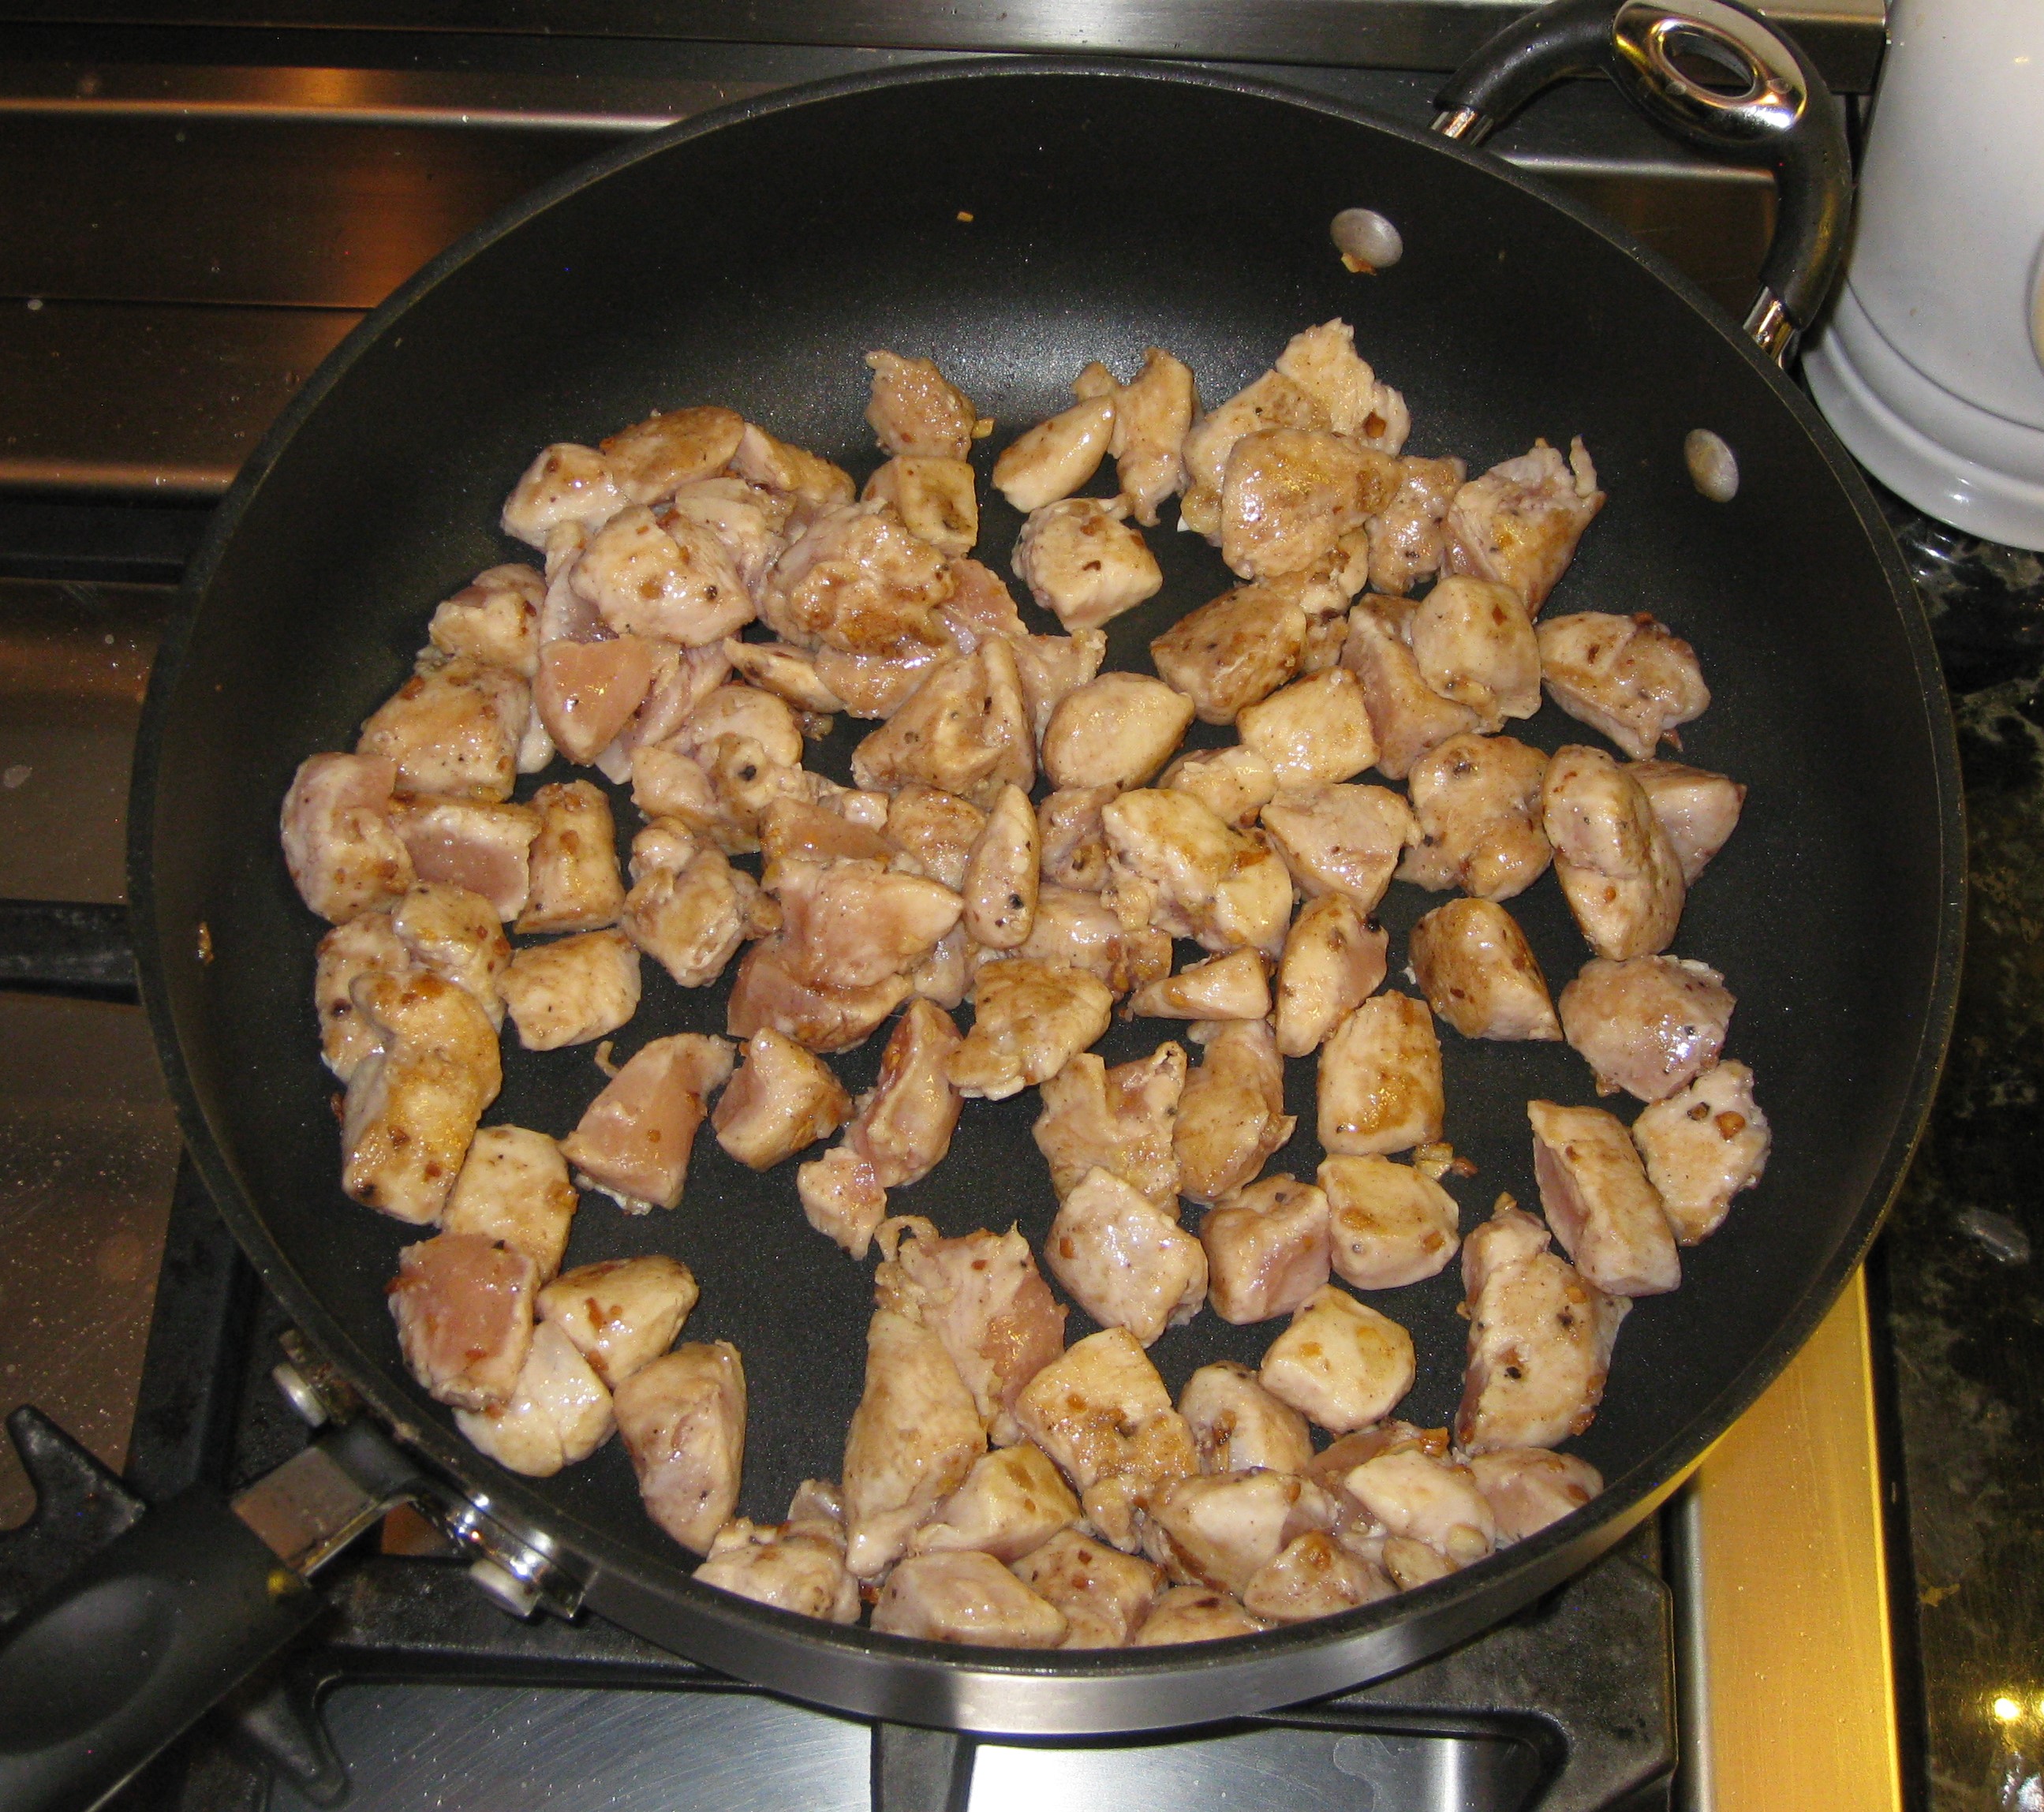
  7. Add the chicken and stir-fry over high heat until just cooked through, approximately 2-3 minutes.
  8. Stir the sauce mixture to combine and add it to the chicken.
  9. Bring to a boil and cook until thickened, stirring constantly, approximately 1 minute.
  10. Stir in the cooked cashews and snow peas.
  11. Remove the pan from the heat and stir in the sesame oil.
  12. Serve immediately with steamed rice.
Recipe Notes

Copyright © 2018 by VillaSentieri.com. All rights reserved.
Share this Recipe

Chicken Paprikash (Chicken with Paprika-Sour Cream Sauce)

November 13, 2017

I really don’t remember my Slovak grandmother doing much cooking. By the time I was old enough to pay attention to who was cooking, she was mostly just making the occasional pot of soup.

My Grandmother

My grandparents owned a semi-detached house and Uncle Frankie and Aunt Mary lived next door. Although they had separate front porches, they shared a back porch. Going back and forth was easy.


Follow us on Facebook:  Click HERE


Aunt Mary kept my grandparents well-supplied with food. My Aunt Ann pitched in from time to time as well.

My Grandfather

My grandparents were really keen on soup. I guess when you’re raising a family of seven sons through the Great Depression and its aftermath, on a steelworker’s income, preparing filling and budget-friendly food becomes a necessity.

After the early 1960s when my Uncle Gusty moved back to the United States from Japan with his wife and their children, all seven of my grandparents’ sons lived in Johnstown with their wives and children. Most of us would visit on Sunday afternoons arriving sometime after lunch and leaving before dinner.

My Grandfather and Father in the late 1960s. I used to wear the tie my dad is wearing to high school. I still have it! My father insisted that I tie a Full Windsor. Now I know where he got his preference!

Very frequently a large pot of soup would appear for anyone who needed a little something to hold him or her over till dinner. Often it would be potato soup or sour mushroom soup (made with dried mushrooms and spiked with a little vinegar). My father talked longingly about a sour cabbage soup called kissel which nobody was making any longer.

Other than soup, baba (sometimes written bubba), and sweets at the holidays, I don’t remember eating much at my grandparents’ house though I do remember my grandfather and my uncles consuming a fair amount of beer, and, on special holidays, shots of whiskey.

Me with my Grandparents in 1976

Most of the Slovak food that I ate was at home or at one of my uncle and aunt’s houses.

Chicken Paprikash is considered a Hungarian dish but it was common on the Slovak side of my family.  My grandfather was born in 1890 in a small town, Nitrianske Sucany, not too far from Bratislava, in what is now Slovakia.  My grandmother was born a few years later.  In 1909 when my grandfather came to America, he left what was then the Austro-Hungarian Empire.  Slovakia did not exist as a country.  Food diffuses with cultural contact (think about the popularity of Spam in both Hawaii and Korea which can be traced to the presence of the US military).  I suspect that’s how Chicken Paprikash became something made by my Slovak grandparents.

My version of Chicken Paprikash is a combination of my mother’s and my Aunt Ann’s. When I went to look up the recipe to make in preparation for this blog I discovered that I had never written it down! Luckily I remembered just how to do it.


Follow us


Click HERE to join our mailing list and you’ll never miss a recipe again!

Print Recipe
Chicken Paprikash
Using bone-in chicken with skin improves the flavor of the final dish. Flabby skin from braised chicken is not appetizing, however, so remove it near the end of cooking before putting the chicken in the finished sauce. Since paprika is the major flavor in this dish be sure to use fresh, high-quality paprika, preferably Hungarian. Sweet paprika was the norm in my family, not hot, and certainly not smoked which would totally change the flavor. You can use whatever chicken parts you prefer but I think the texture of slowly braised thighs is superior. Serve the chicken with buttered noodles or mashed potatoes, both of which go really well with the sour-cream-enhanced sauce.
Votes: 2
Rating: 5
You:
Rate this recipe!
Course Mains, Poultry
Cuisine Slovak
Prep Time 20 minutes
Cook Time 2 1/2 hours
Servings
people
Ingredients
Course Mains, Poultry
Cuisine Slovak
Prep Time 20 minutes
Cook Time 2 1/2 hours
Servings
people
Ingredients
Votes: 2
Rating: 5
You:
Rate this recipe!
Instructions
  1. Pat the chicken dry and season liberally with salt and pepper.
  2. Heat the oil in a large, heavy-bottomed sauté pan.
  3. Sauté the chicken on both sides, starting skin-side-down, until brown on both sides. Do not crowd the chicken. Do this in batches if necessary.
  4. Remove the browned chicken to a platter.
  5. Empty the oil from the pan and wipe clean.
  6. Add two tablespoons of butter. Sauté the diced onion until golden.
  7. Add the garlic and sauté until fragrant, approximately 1 minute.
  8. Add 3 tablespoons of paprika and sauté for approximately 15 seconds (paprika burns very easily).
  9. Add one cup of broth and mix well.
  10. Add the bay leaf, browned chicken pieces and any accumulated juices to the pan. Add additional salt and pepper to taste. Cover and braise on low until very tender, approximately 1 ½ hours being sure to taste for salt occasionally. Add additional broth if needed to keep the pan from drying out.
  11. About 15 minutes before the chicken is done, remove the skin and discard.
  12. When the chicken is fully cooked, remove it to a platter.
  13. Remove the bay leaf.
  14. Pour the cooking liquid, without straining, into a small pot and keep it warm on low heat. You can skim fat from the top of the cooking liquid if you would like.
  15. Wash and dry the pot used to cook the chicken. Melt the remaining 6 tablespoons of butter in that pot.
  16. Add the finely diced onion and sauté until golden.
  17. Add the flour and cook 2-3 minutes, until no longer raw.
  18. Add the remaining 1 tablespoon of paprika and sauté 15 seconds.
  19. With the flour-onion-paprika mixture on medium heat, begin to ladle in the reserved cooking liquid a little at a time, stirring well after each addition to avoid lumps.
  20. When all the cooking liquid has been incorporated, add any remaining chicken broth, if all of the original 2 cups was not used to braise the chicken.
  21. Bring to a boil and cook for one minute. The sauce should be quite thick. It will thin with the addition of sour cream. If the sauce is too thin, boil it longer as you will not be able to boil it once the sour cream has been added.
  22. Stir in the sour cream. Adjust salt and pepper. Add the chicken and heat gently without boiling.
Recipe Notes

Copyright © 2017 by VillaSentieri.com. All rights reserved.
Share this Recipe

Auntie Helen’s Roman Chicken Cacciatore

Pollo alla Cacciatora (Chicken Cacciatore, in English) means Chicken Hunter’s Style and there are as many styles as there are hunters and cooks.

I grew up eating a Southern Italian version in a red sauce with peppers and mushrooms.

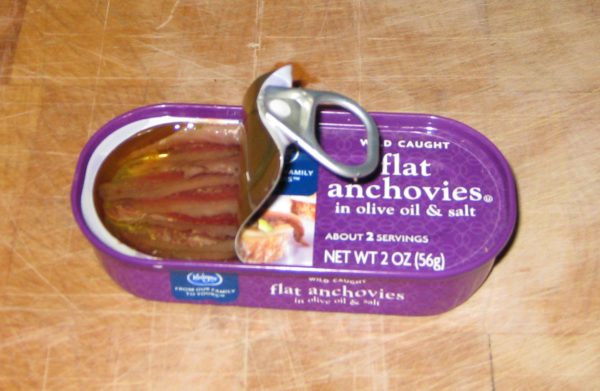
This recipe, using anchovies and no vegetables, is from Rome and goes back to the late 1800’s at least.  I learned it from Auntie Helen.  Auntie Helen was actually the aunt of Eugene (Gene) d’Aquili, my undergraduate advisor at the University of Pennsylvania and the psychiatrist with whom I set up my psychiatric practice in Philadelphia many years later.

Gene’s grandparents left Rome around the turn of the 20th century and moved to Trenton, New Jersey with their four children, Guido, Helen, Louise and a fourth daughter who died shortly after the move.

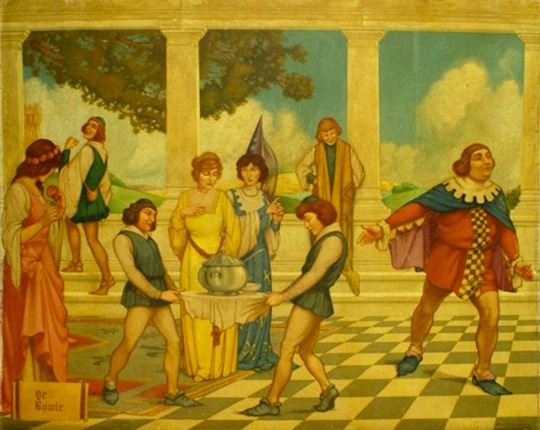
Gene’s father, Guido, was an artist and part of what was sometimes referred to as the New Hope School after a town of the same name in Pennsylvania on the New Jersey border.  He painted a series of Old King Cole murals similar to the ones Maxfield Parrish painted for the St. Regis in New York City.

Those murals ended up on the walls of my dining room in Berwyn, Pennsylvania.  For several years, from early medical school until partway through my internship, I rented the carriage house on the d’Aquili estate in Berwyn.  The murals were installed in the dining room after the d’Aquili family purchased them from the social club in Trenton that had originally commissioned them.

Here are some pictures of the murals.

There is a blog that features the murals and information about them, if you’re interested.

Here is a picture of my parents, standing in front of one of the murals in my dining room.  I believe this was taken in May 1981 when I graduated medical school.

Auntie Helen and Auntie Louise never married.  They both became school teachers and lived in Morrisville, New Jersey until the early 1980’s when they moved into the carriage house on the d’Aquili estate that I vacated after I bought my first house.

Auntie Helen was a wonderful cook.  This recipe for pollo alla cacciatora came from her, and before her, from her mother.  Don’t let the anchovies put you off, even if you don’t like anchovies.  The “fishiness” cooks away leaving a savory, umami flavor.  I will bet you that none of your guests will guess that there are anchovies in this dish.

In addition to her other wonderful Italian specialties, including brodetto, panpeppato, and cheese bread, the last of which unfortunately I do not have a recipe, among others, Auntie Helen made some American dishes that were fashionable at the time including Impossible Tuna Pie!

I want to give a shout out to Julie Paradise for reintroducing me to Impossible Pies.  Julie is the master of the genre and her pecan version is going to end up on my table soon!


Follow us


Click HERE to join our mailing list and you’ll never miss a recipe again!

Print Recipe
Roman Chicken Cacciatore
As an alternative to cutting up a whole chicken, chicken parts can be used. Thighs work particularly well for the long, slow cooking technique. If using chicken parts, use about 3 pounds. This chicken goes well with polenta. I suggest using yellow cornmeal for a color contrast with the dark sauce. A link to my polenta recipe can be found in the Notes section following the recipe.
Votes: 0
Rating: 0
You:
Rate this recipe!
Course Mains, Poultry
Cuisine Italian
Prep Time 15 minutes
Cook Time 2 hours
Servings
people
Ingredients
Course Mains, Poultry
Cuisine Italian
Prep Time 15 minutes
Cook Time 2 hours
Servings
people
Ingredients
Votes: 0
Rating: 0
You:
Rate this recipe!
Instructions
  1. Cut the chicken into pieces, legs, thighs, and breasts. You can cut the breasts in half crosswise if you like. Reserve the back and wings for another use.
  2. Remove the skin from the chicken.
  3. Bruise the garlic with the side of a chef's knife.
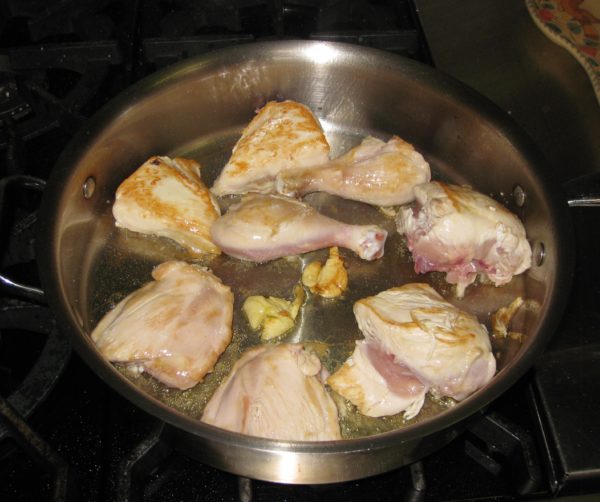
  4. In a skillet large enough to comfortably hold the chicken, and that has a lid, heat the olive oil until it is almost smoking.
  5. Add the chicken. Do not disturb the chicken until it is crusted and releases easily from the pan, 4-5 minutes.
  6. Turn the chicken over. Add the bruised garlic to the pan. Brown the other side of the chicken, adjusting the heat as necessary to prevent the olive oil from smoking.
  7. If the garlic starts getting dark brown, remove it before it burns. Reserve the browned garlic, however.
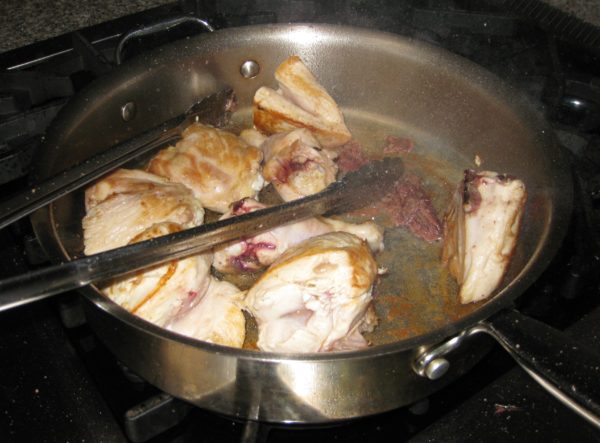
  8. When the chicken is well browned on all sides (legs don’t really have “sides” so you will need to turn them around a bit), add the anchovies and their oil. They will splatter a bit.
  9. Work the anchovies with a spoon so they start to disintegrate.
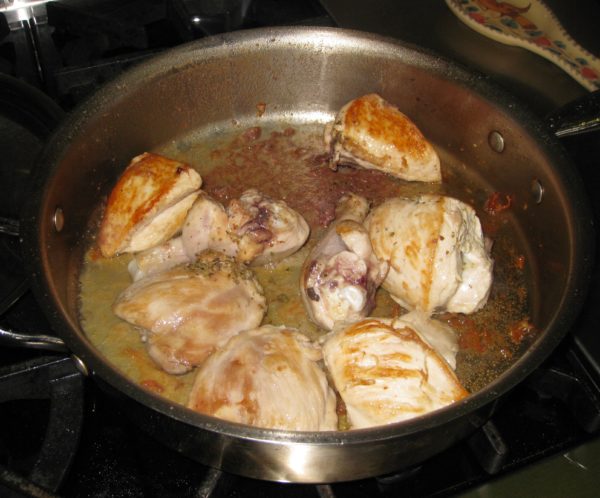
  10. Have the cover ready. Turn the heat to low. Add the water and quickly cover the pan to reduce splattering. Wait 2-3 minutes until the rapid sizzling has slowed down.
  11. Turn the chicken. Add the vinegar and return the browned garlic to the pan if you removed it earlier. If the water has evaporated when you remove the lid to add the vinegar, add another two tablespoons of water along with the vinegar and garlic. Add oregano and season with salt and pepper, to taste.
  12. Braise covered for 1 ½ to 2 hours on gentle heat, turning every 20-30 minutes. Add water, two tablespoons at a time, whenever the liquid in the pan has evaporated.
  13. Add an extra grinding of pepper before removing the chicken from the heat. Adjust salt if necessary.
Recipe Notes

Here is my recipe for Polenta.

Copyright © 2017 by VillaSentieri.com. All rights reserved.

Share this Recipe

Italian Slow-Roasted Chicken or Turkey

April 21, 2017

For two countries that are geographically so close, Italy and France couldn’t be further apart on views of how to roast poultry.

The French typically roast quickly and at high temperature.

Italians are masters of the low and slow approach.

Italian roast chicken (or turkey, for that matter) literally falls apart.  The French version does not.  It’s a matter of style and technique, not quality or skill.

The usual style in the United States leans more toward France than Italy.  It’s the basis of the style of roasting described in most modern cookbooks and cooking magazines; higher temperatures rather than lower temperatures and yanking the bird out of the oven as soon as it reaches the minimum acceptable temperature to be “cooked” and “safe.”  Even when these magazines try to champion the approach of low and slow, they almost always miss the boat.  They miss the boat because they are still focused on the thermometer approach.

You can’t do low and slow if you’re focused on getting the bird out of the oven as soon as it hits the “safe” temperature.  Italian roast chicken is more like “pulled” chicken than the minimally cooked French version.  The whole mouthfeel is different.  So is the taste.

What I didn’t understand growing up is that my mother’s roast chicken and turkey drew from a broader Italian approach.

A few years ago we were in Tuscany having lunch with my husband’s Great Uncle Beppe and his family.

When the roast chicken was served, it was just like my mother’s!  Seasoned with garlic, rosemary, salt and pepper and roasted slowly, till it basically fell apart.

My mother’s mother came to the United States from Calabria around the turn of the 20th century at four years of age.  Here I was, nearly a century later in a province at the other end of the Italian peninsula eating chicken that could have been my mother’s, the way she learned it from her mother, who learned it from her mother.

I think that was a turning point for me in wanting to better understand Italian food traditions throughout the country and even throughout the Italian diaspora around the world.

Another amazing thing, when I think about it, is that my mother brined her chicken for an hour before cooking.  We’re talking the 1960’s here (probably the 1950’s too but I’m too young to remember that) way before brining was ever mentioned in cooking circles.  I can’t tell you why she did it or how it started but when I was learning to cook under her guidance, brining was always the first step for any recipe that included chicken.

Print Recipe
Italian Slow-Roasted Chicken or Turkey
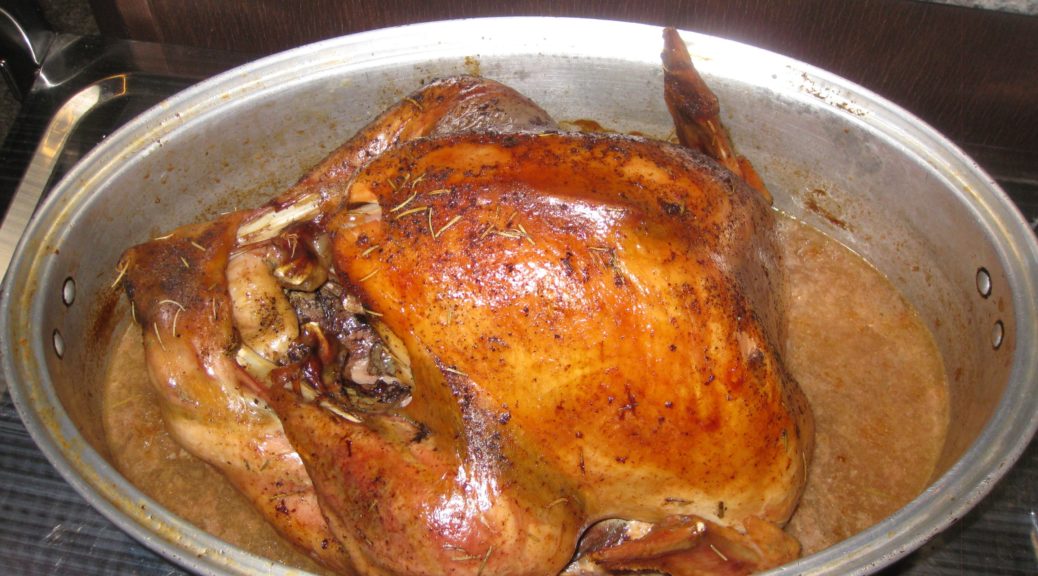
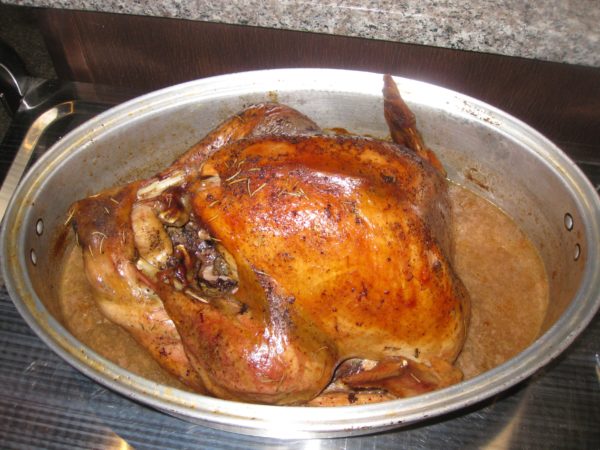
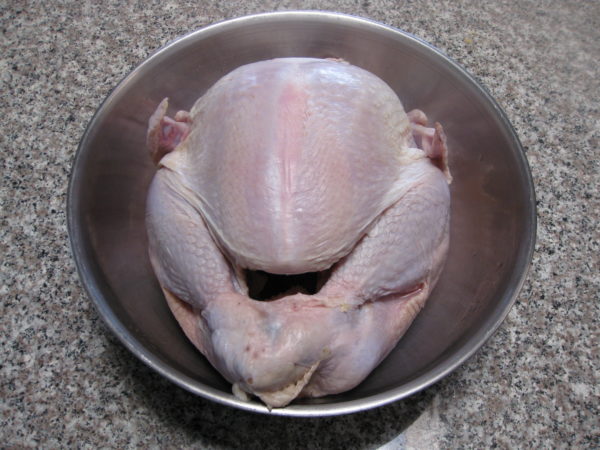
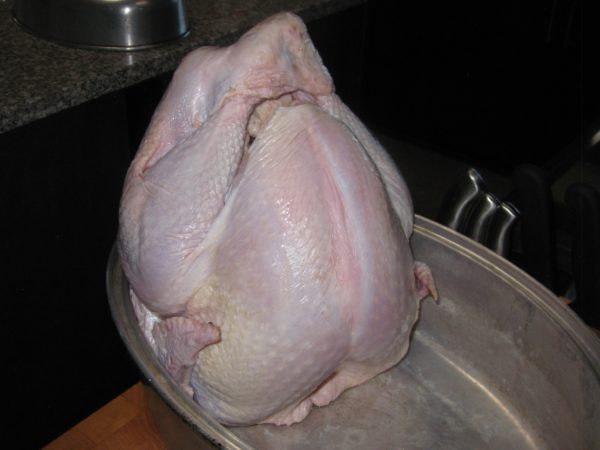
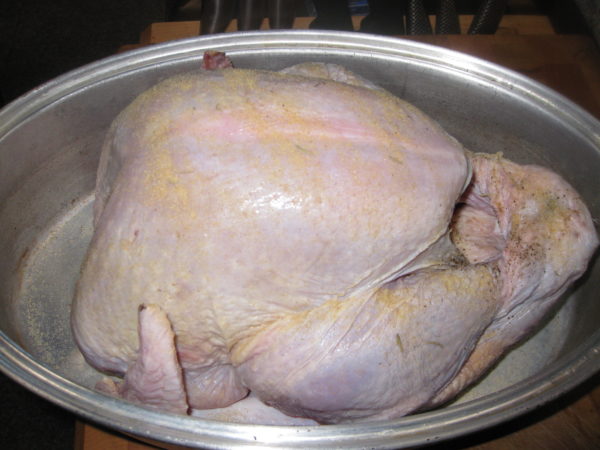
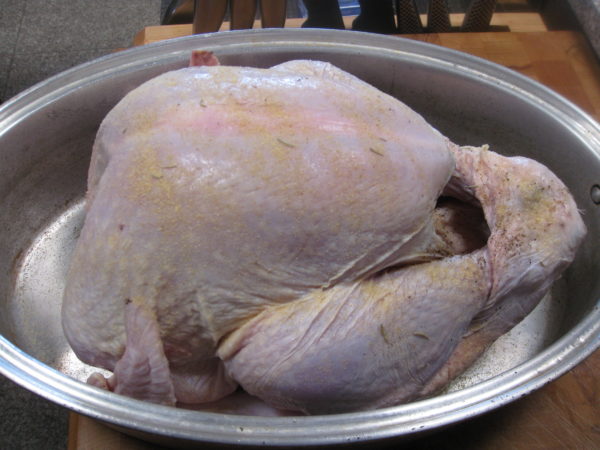
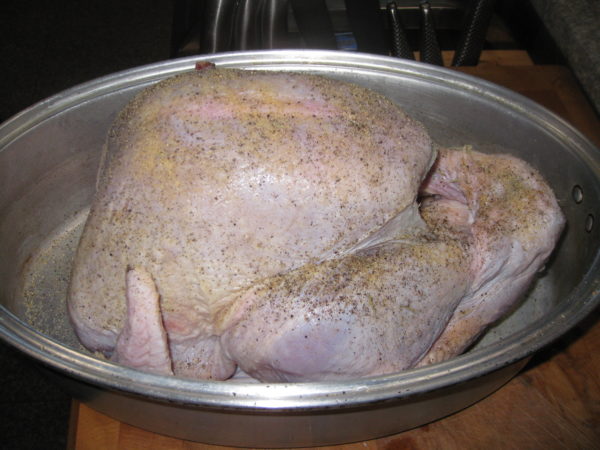
This is a no-recipe recipe. I never measure the seasonings. It’s really pretty hard to use an inappropriate amount. The cooking time is pretty forgiving, too. Until you get the hang of it, I suggest planning on the longer cooking time and the higher temperature. If the chicken or turkey is falling-apart tender before you’re ready for it, just reduce the oven to 150°F to keep the bird warm. My mother would usually brine the bird for about an hour before cooking. Time permitting, I do the same. This basic recipe works for everything from a three pound chicken to an 18 pound turkey. Just for a point of reference, the pictures feature a 12 pound turkey.
Votes: 0
Rating: 0
You:
Rate this recipe!
Course Mains, Poultry
Cuisine Italian
Prep Time 10 minutes
Cook Time 40 minutes per pound
Servings
people
Ingredients
Course Mains, Poultry
Cuisine Italian
Prep Time 10 minutes
Cook Time 40 minutes per pound
Servings
people
Ingredients
Votes: 0
Rating: 0
You:
Rate this recipe!
Instructions
  1. Brine the bird, if you like, for about an hour.
  2. Thoroughly rinse and dry the bird.
  3. Prop the bird with the cavity facing up. Generously season the inside of the bird with garlic powder, rosemary black pepper and salt. As a matter of habit, if I'm using dried rosemary, I always crust it with my fingers before sprinkling it on the bird.
  4. Put the bird in a roasting pan, breast up, preferably one able to hold the bird rather snugly. The roasting pan should have a tight-fitting cover.
  5. Generously season the outside of the bird with garlic powder, rosemary, black pepper and salt.
  6. Add water (or wine) to the bottom of the roasting pan not over the top of the bird. You don't want to displace the seasonings.
  7. Cover and roast at 350°F for 30 minutes. Reduce heat to 275°F to 300°F.
  8. After the first hour, baste the bird with the juices in the roasting pan about every 30-45 minutes. Be sure to tip the bird, or use a basting bulb, to remove the juices from the cavity and add them to the juices in the bottom of the roasting pan.
  9. Roast for a total of 30-40 minutes per pound (including the first half hour). The bird should just about be falling off the bone.
  10. If there is too much liquid in the bottom of the pan or if the bird is not brown enough, uncover the pan for the last 30 minutes or so.
Recipe Notes

Poultry cooked this way will not submit to carving in a photogenic Norman Rockwell manner. It’s just a different style. It would be like trying to cut delicate slices from pulled pork. It’s not going to happen. That said, the joints will usually separate easily and you can cut along the grain rather than against the grain to portion appropriate-sized pieces for serving.

Copyright © 2017 by VillaSentieri.com. All rights reserved.
Share this Recipe

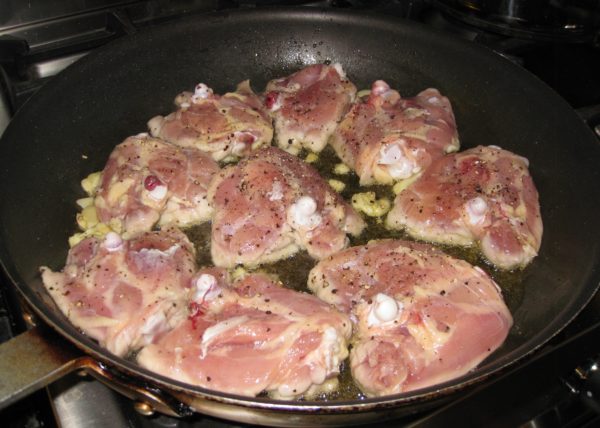
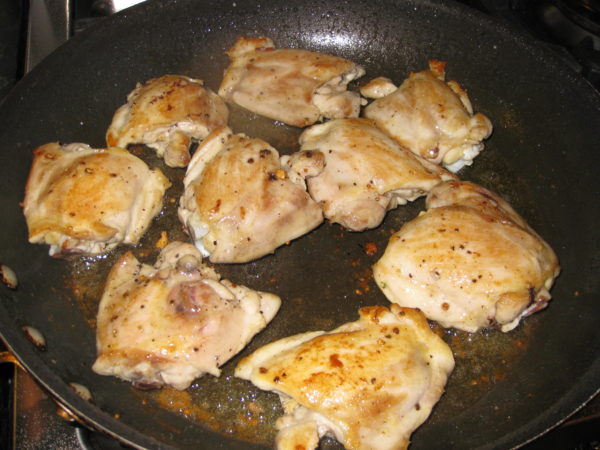
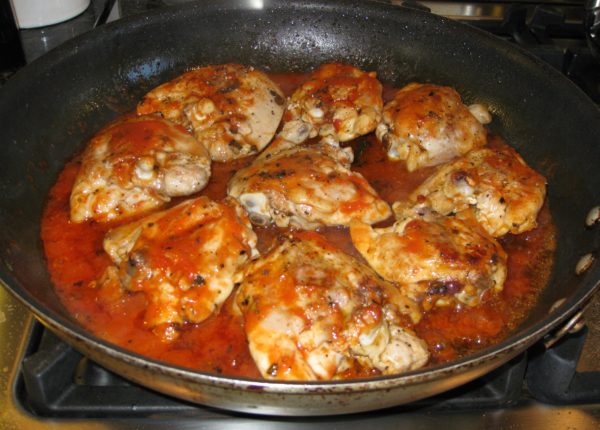
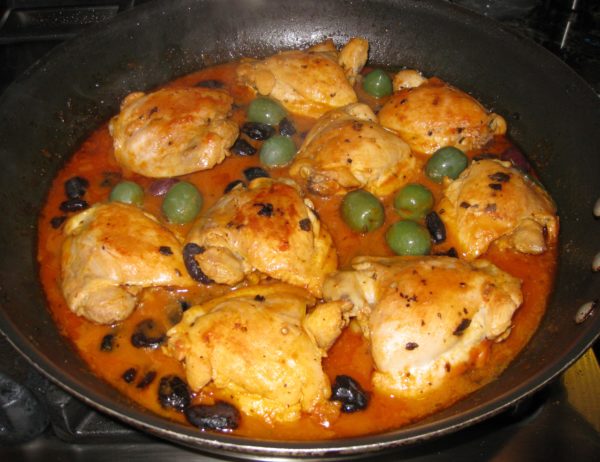
Pollo all’Uccelleto (Chicken Little Bird Style)

January 23, 2017

I first tasted this dish in Tuscany in the little hill town of Benabbio, in September 1996.  My husband’s great Great Aunt Fidalma, Zia Fidalma, made it with little birds, sparrows actually, that her husband, Faliero, had shot.

That was one of my most memorable meals in Italy.  My husband and I had traveled to Italy with his parents.  We stayed in a little hotel in the town of Fornoli where my father-in-law grew up.  We alternated meals at the homes of numerous relatives throughout the area.

It was wonderful sitting in Zia Fidalma’s kitchen watching her put together components of the meal in that seemingly effortless way that happens in homes throughout Italy.  We had sautéed mushroom caps.  Zia Fidalma foraged the mushrooms.  I remember them sitting in a shallow box on the kitchen counter.  She plucked a few out of the box, cleaned them.  They were quickly sautéed and seasoned with salt, pepper, and nepita.

I can’t get a consensus on the spelling of nepita.  I’ve seen it as gnebita, gnepita, and nepeta, among others.  It is a variety of catmint.  Zia Fidalma uses it to season mushrooms.  It is a magical combination.

We smuggled nepita seeds back from Tuscany on that visit, along with heirloom tomato seeds, both from Zio Faliero’s garden.  We’ve grown both ever since.  For 20-plus years we’ve had nepita; first in our garden in Chicago (at the Rohkam House, where we lived starting in January 1996) and then subsequently at Villa Sentieri, in Santa Fe.

The Rohkam House when we lived there.
The Rohkam House shortly after it was built in 1887.

There are only three components of that meal that I remember clearly, the mushrooms, the little birds, and the wedge of Parmigiano Reggiano brought out at the end of the meal for us to eat with fruit.  I know there was a pasta but I can’t remember what it was.  The same is true for the side dishes (contorni, in Italian).

My mother-in-law was in heaven with the little birds.  She was sitting across the table from me. The meal had become languorous by then and it wasn’t, somehow, inappropriate for me to pull out my video camera.  Remember those?  I’m talking about dedicated video cameras with cassettes for recording, not phones or cameras with video capability.

As she was reveling in her little birds (uccelleti, in Italian) I used my video camera to focus in on her.  First on her face, but then ultimately on just her lips.  Her lips filled the screen like the lips in the opening moments of the Rocky Horror Picture Show.  There were those lips, sucking in little bird parts then extruding cleaned bones.  Every now and then there was the occasional bit of bird shot that needed to be eliminated.

To this day, that video footage is a kind of kompromat in our family.  Thanks to President Trump for making that term common knowledge.  My mother-in-law hates that video footage.  I occasionally mention its existence and (vaguely) threaten to allow it to surface…as I did for this post but, in the end, in the interest of domestic harmony, did not.

Print Recipe
Pollo all'Uccelleto (Chicken Little Bird Style)
I first had this dish in Tuscany. It was made, literally, with little birds (blackbirds) bagged by my husband’s Great Uncle Faliero. Since little birds are not easily available in the US, I rendered the dish using chicken after returning from the 1996 trip to Italy. I called it “Chicken Little Bird Style” or “Pollo all’Uccelleto.” Much to my surprise, years later, I discovered that Italians do, in fact, refer to this preparation as “all’Uccelleto,” and use it on things other than little birds (chicken, for example). What simply started out as Uccelleti, “Little Birds,” became for me "Pollo all’Uccelleto," or “Chicken Little Bird Style.” From Great Aunt Fidalma’s kitchen to you is Chicken Little Bird Style. If you actually have little birds, by all means, give them a try. If not, chicken thighs are a great, if less gamey, substitute. Use good quality olives for this dish. If you don’t have access to an Italian market, I suggest using olives from the olive and antipasto bar that is common in many supermarkets these days. I usually use half oil-cured black olives and half green olives, such as castelvetrano. I prefer using olives with pits.
Votes: 0
Rating: 0
You:
Rate this recipe!
Course Poultry
Cuisine Italian
Prep Time 20 minutes
Cook Time 2 1/2 hours
Servings
people
Ingredients
Course Poultry
Cuisine Italian
Prep Time 20 minutes
Cook Time 2 1/2 hours
Servings
people
Ingredients
Votes: 0
Rating: 0
You:
Rate this recipe!
Instructions
  1. Remove the leaves from the rosemary and oregano.
  2. Mince the sage, rosemary, and oregano leaves. Reserve.
  3. Remove the skin from the chicken thighs and any large pieces of fat.
  4. Using the broad side of a chef’s knife, bruise (smash, really) the garlic cloves.
  5. In a heavy skillet large enough to hold the chicken thighs in a single layer, heat the olive oil.
  6. When the oil is hot, add the chicken thighs and garlic. Season the chicken with salt and freshly ground black pepper to taste.
  7. Brown the chicken, turning several times. As the garlic cloves get dark brown, remove and discard them before they burn.
  8. When the chicken is brown, and all garlic has been removed, add the tomato sauce, bay leaves, minced herbs (rosemary, sage, and oregano) and crushed red pepper.
  9. Cover and cook over low heat, stirring occasionally and turning chicken over every 30 minutes or so, for approximately 1 hour.
  10. If the sauce gets too dry add a little white wine (or water) from time to time.
  11. After an hour, add the olives, cover, and continue cooking over low heat, stirring occasionally and turning chicken over every 30 minutes or so, for approximately 1 more hour.
  12. Taste and adjust salt and black pepper during the last half hour of cooking. The olives will be salty, so it's best to wait till they've cooked a while before adding more salt.
  13. When finished, the chicken should truly be “fall-apart” tender and the sauce should be mostly a red colored olive oil with just a tiny bit of tomato sauce.
Recipe Notes

I don’t usually use canned tomato sauce. I prefer to use tomato paste and water. For this dish I use tomato sauce because so little is needed and it’s consistent with what Great Aunt Fidalma did. If you want to use tomato paste, mix 1½ tablespoons of tomato paste with 6 tablespoons of water and use in place of the tomato sauce.

Copyright © 2017 by VillaSentieri.com. All rights reserved.

Share this Recipe