November 3, 2017
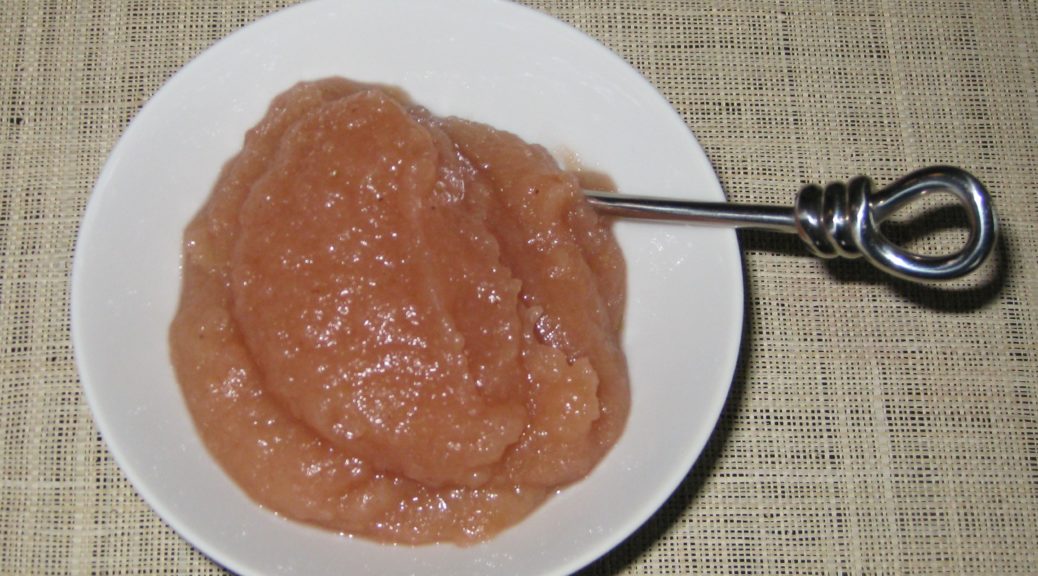
I made applesauce for the first time the summer after my freshman year in college. Don’t ask me how or why I remember making applesauce that summer but the whole process is very clear in my mind. Cooking was still pretty new for me back then. Other than baking cakes, I doubt I cooked more than about four times before my freshman year.
I cooked about once a week throughout freshman year, usually on Sundays. As a freshman, I was required to use the dining service for 10 meals per week, which usually meant lunch and dinner, Monday through Friday. Saturdays I went to restaurants and cooked. It was truly a year of experimenting, not only with cooking but with entirely new cuisines and flavor profiles.
Follow us on Twitter: Click HERE
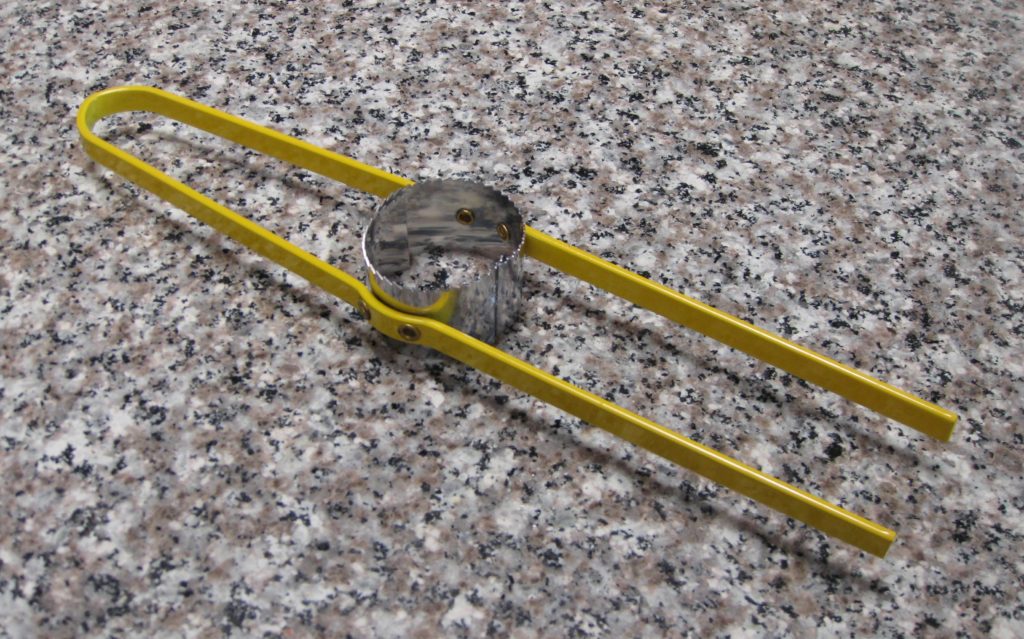
A hand-crank food mill is a pretty unusual piece of equipment for a college student to have. I don’t remember where or when I bought it, possibly I bought it specifically to test out an applesauce recipe that had caught my attention. You can actually see the very same food mill in the pictures below. I still use it
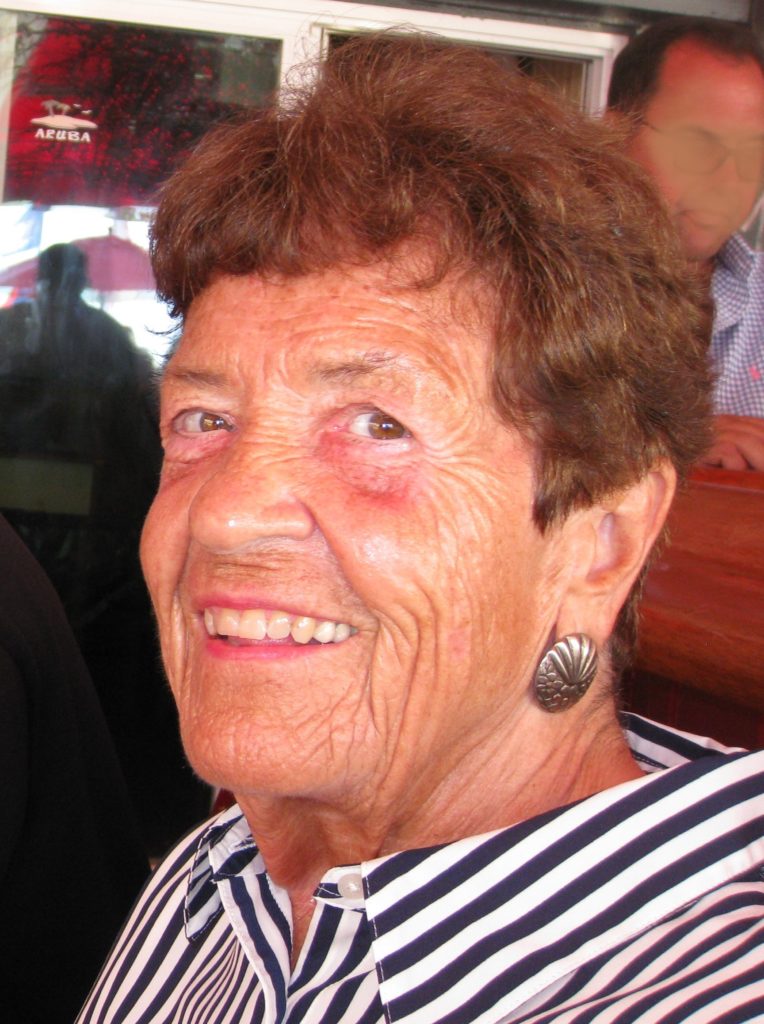
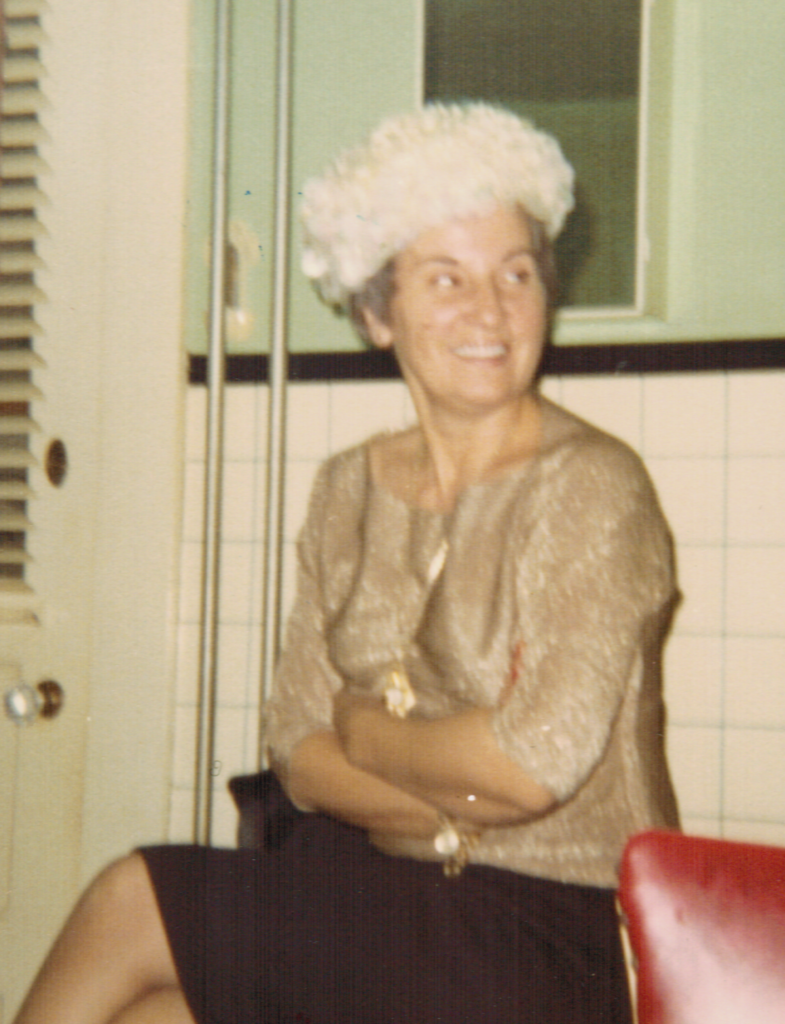
Much to my mother’s dismay I did not go home for the summer after my freshman year. I landed a great summer job in a research lab working for Dr. Mary Catherine Glick (aka Susy), a very well-known researcher. I worked in that lab for the remainder of my undergraduate years.
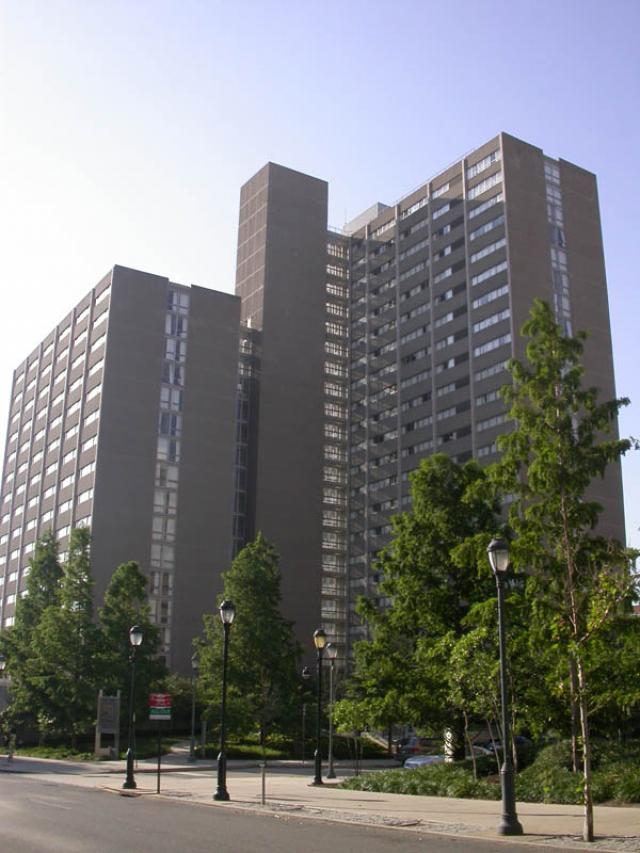
Students could not stay in undergraduate dorms at the University of Pennsylvania during the summer, so staying in Philadelphia meant I had to find a place to sublet. One of the most common choices was to sublet in Graduate Towers. The graduate students who lived in Grad Towers had to rent for a full calendar year, even if they were not going to be in Philadelphia for the summer.
I sublet one bedroom of a two-bedroom apartment in Grad Towers. Other than a bathroom the apartment had a very small Pullman kitchen and a kitchen table with two chairs. There was nothing that resembled living room furniture, nor would there have been any place to put it.
The other occupant of the apartment was a graduate student who used the kitchen to “cook” exactly three things for dinner. One was a can of tuna fish with pickle relish (ok, so no cooking involved). The second was a single chicken breast boiled in unsalted water and doused with pickle relish. The third was boiled hot dogs with, you guessed it, pickle relish. He ate the same three foods for dinner, in strict rotation, for the entire summer as he had done for months (years?) leading up to that summer.
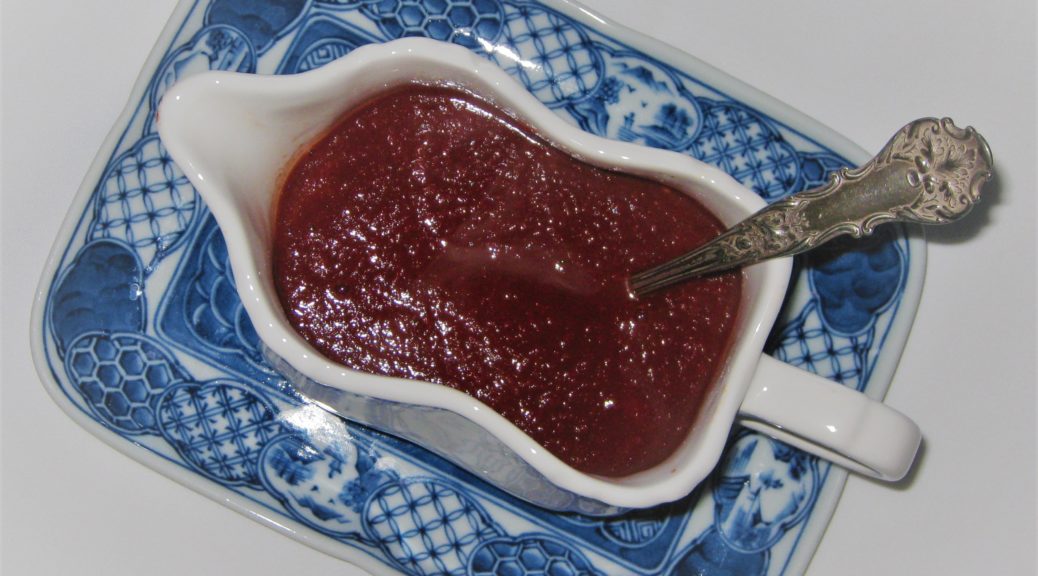
I on the other hand, freed from the obligation to eat at the University food service and with an almost totally unused kitchen, was making my mother’s long-cooked pasta sauce, baking fish, and making applesauce among other things.
Over the next few years I experimented with the applesauce, changing up the sweetener (white sugar, brown sugar, honey) and spices (nutmeg, cinnamon, allspice, cloves). In the end, I decided that simple was best to let the apple flavor shine through: white sugar (not too much) and cinnamon.
Here’s a short video of me making applesauce.
Little did I know, when I left home at the age of 17 to go to college that I would never spend a significant amount of time in the home I grew up in again. I worked for Susy for four summers in a row as well as most of the academic years in between. During my first year in medical school, I received a full scholarship for medical school and graduate school in anthropology, which I attended simultaneously. (Actually, I was awarded two scholarships and was able to return the one that had less-generous terms so that it could be awarded to another student.) The scholarship, however, stipulated that I could not take summers off, so I was in school eleven months per year. (I insisted on taking time for myself each August.)
Knowing I would never have a chance to be at my parents’ house for more than a few days at a time for the indefinite future, I was able to arrange my last 4-week medical school clinical rotation at the hospital in the town where I grew up. It was an anesthesia rotation. As it turns out, the Friday before the Monday I started there, the Anesthesia Department at the hospital held a retirement party for the nurse anesthetist who taught “open drop ether insufflation” to Robert Dunning Dripps. Dr. Dripps was, a physician who subsequently became the first chairman of Anesthesiology at the University of Pennsylvania, where I was a student. Anesthesiology was not a recognized specialty in the 1940s when Dr. Dripps became chair. He was in the vanguard; one of a very small group of physicians who established the medical specialty of Anesthesiology.
I honestly wonder how my life would have been different had I not landed that first summer job with Susy. It’s the reason I stayed in Philadelphia rather than returning to Johnstown for the summer. It started a whole cascade of events that got me integrated in Philadelphia society, a very different scenario from being a transient student.
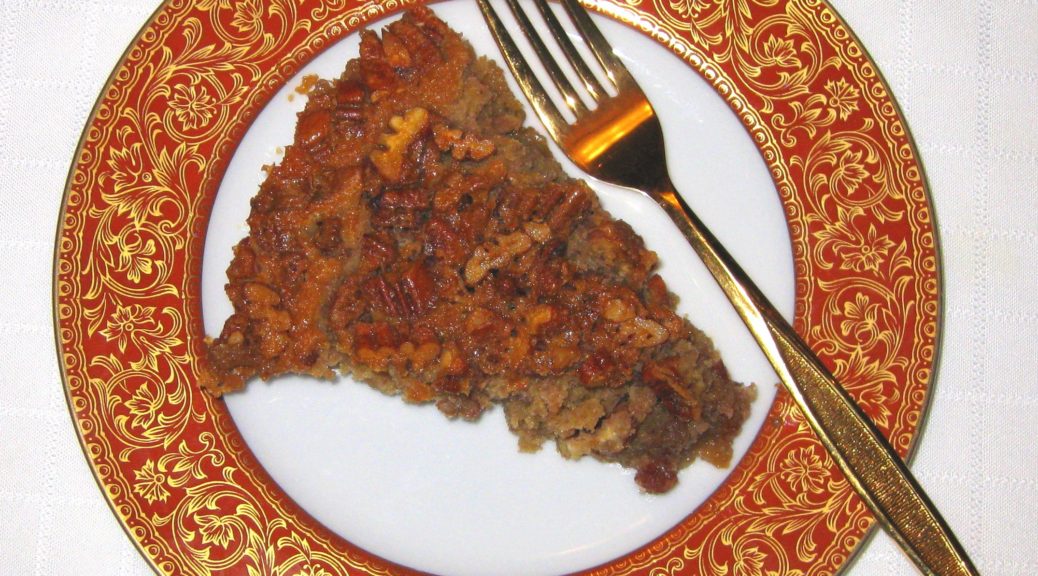
Let’s make some applesauce as we ponder the unknowable.
Follow us
![]()
![]()
![]()
![]()
Click HERE to join our mailing list and you’ll never miss a recipe again!

| Prep Time | 10 minutes |
| Cook Time | 45 minutes |
| Servings |
cups
|
- 3 pounds Rome Beauty apples
- 2 pounds Golden Delicious apples
- 1 cup apple juice or water
- 1/2 cup sugar
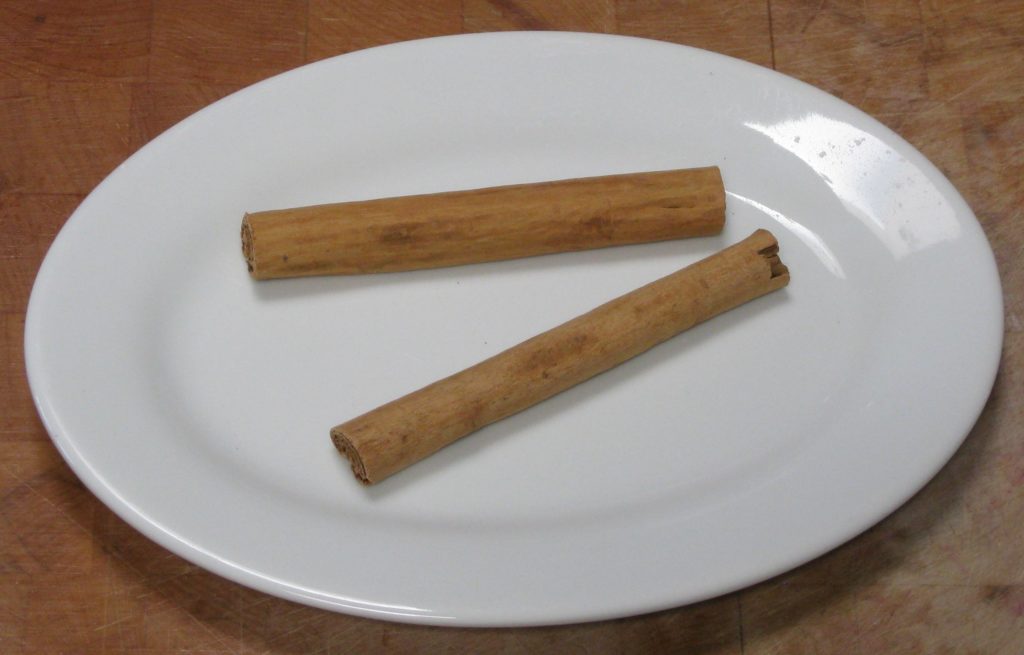
- 1 teaspoon cinnamon preferably Ceylon cinnamon, freshly ground
Ingredients
|
|
- Wash the apples.

- Quarter the apples.


- Remove core and stems but do not peel.


- Cut each quarter into four pieces. The pieces should roughly be about an inch on a side.


- Put apples and apple juice in a heavy-bottomed pot.

- Cover and bring to a boil over high heat.

- Reduce heat to medium-high and continue to cook, stirring periodically, until the apples are soft, 20-40 minutes. Do not overcook the apples or they will begin to lose their flavor.
- There should only be the barest amount of liquid in the pot when the apples are finished cooking.
- Pass apples through a food mill.


- Add sugar and cinnamon to taste while the applesauce is still hot.

- Cool completely and refrigerate or freeze.
If you’re not certain if the apples are cooked enough, try to run a spoonful through the food mill. If they don’t crush easily, return the “test” apples to the pot and continue to cook the batch a little longer.
In the United States, cassia, a spice different from cinnamon, can legally be labeled cinnamon. While cassia is good in its own right, it is much more assertive than true cinnamon. If you can find whole Ceylon cinnamon give it a try.
Copyright © 2017 by VillaSentieri.com. All rights reserved.


")