January 12, 2018
I don’t remember my mother making Roman Beans and Kale till I was in my late teens.
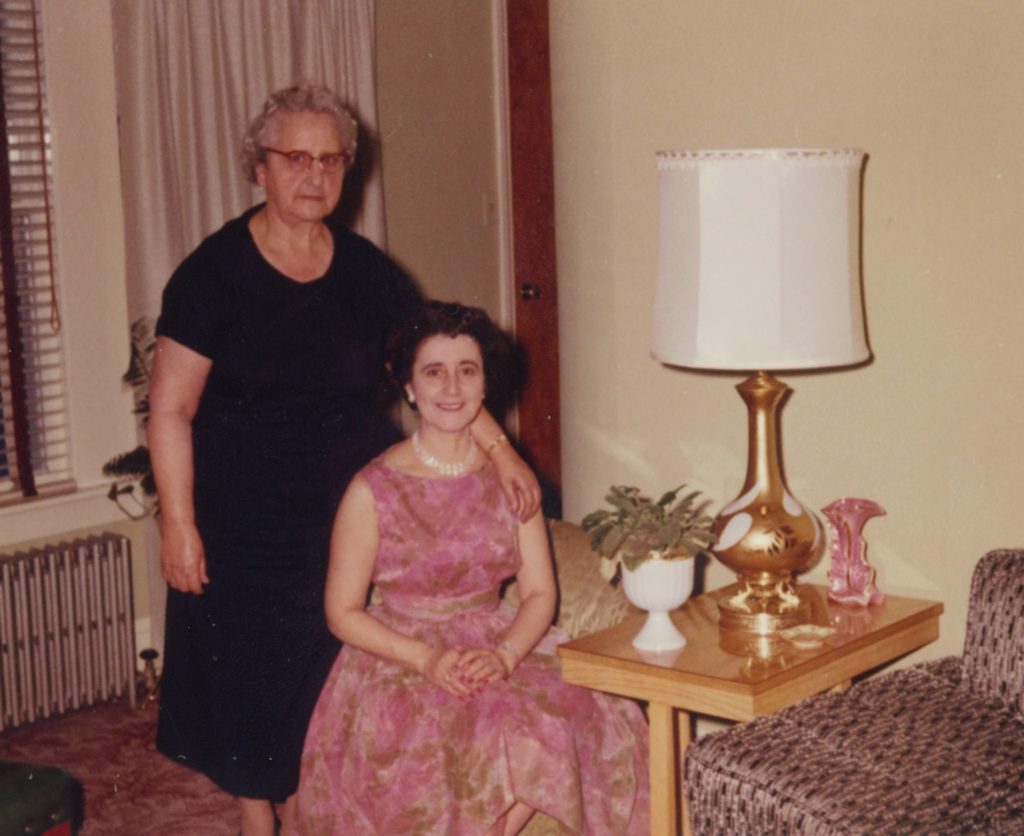
The first time she made it, I remember her talking about her mother making it. For something she really liked, she waited an awfully long time to make it. But then, again, I did the same thing with her pasta è fagioli.
There were some dishes from her childhood that she talked about but never made. Tiella is the one that I remember most. It took me multiple tries over many years to recreate it from her description.
Roman beans and kale might seem a little unusual to many American palates due to the length of time the kale is cooked. There is a point where it becomes silky but most definitely not mushy. Southerners, though, would find the kale in this recipe cooked in a familiar way. It is much like the Southern low-and-slow style of cooking greens of various types, such as collards or mustard greens, until they achieve the requisite tenderness.
Follow us on your social media platform of choice
![]()
![]()
![]()
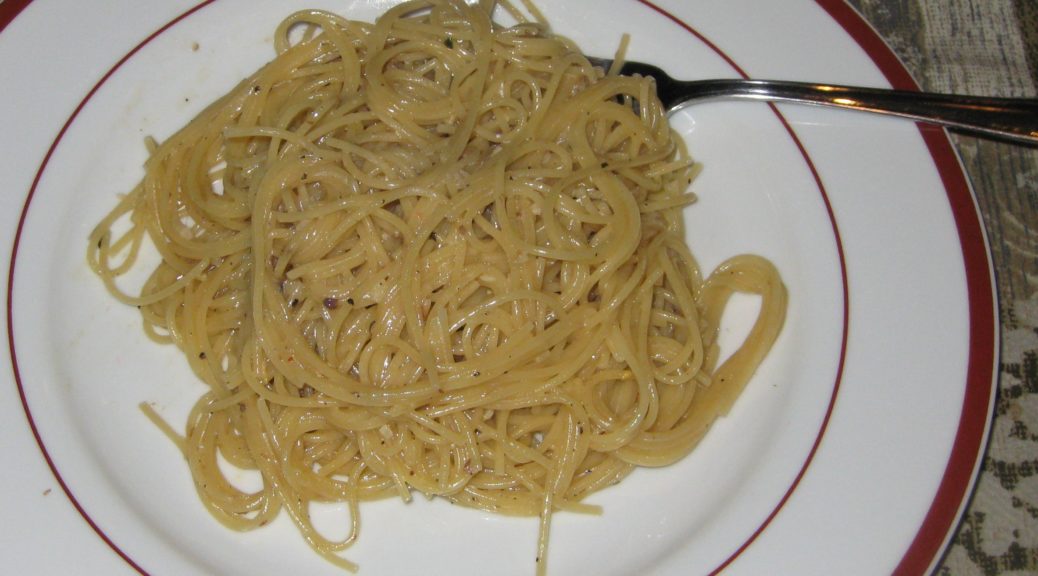
Texture is an important part of this dish. The beans should yield but not be falling apart. The kale should not provide any resistance the way it would if it were just quickly sautéed. The pasta, however, should be al dente.
Beans, kale and pasta are all pretty mellow-tasting in my estimation. The garlic, olive oil, and Parmesan cheese are what give this dish its flavor oomph! At the table, I add crushed red pepper but it shouldn’t be cooked into the dish.
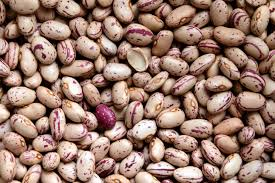
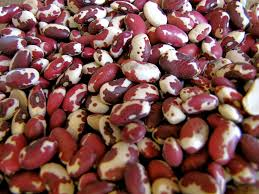
Roman beans are also called Borlotti or Cranberry beans. Depending on where you live you might have to order them. In a pinch, though, you could use pinto beans or Anasazi beans. (If you’re a bean savant, you’ll notice that I used Anasazi beans as I was unable to find Roman beans after searching market shelves in two different cities for a couple of months. Though I could have gotten them online, I didn’t think the huge price premium was worth it.)
My mother’s approach to cooking most foods was definitely low and slow. It’s classically Italian and so NOT French, which often aims for “high and fast!” Though culinary education is now more inclusive and not so heavily French, we have a strong cultural bias away from slow, leisurely cooking due to the strong French influence of the past decades. There are exceptions however, largely based on strong regional traditions, barbecue, for example. But for the most part, mainstream America, and certainly mainstream American food and cooking publications, just don’t “get” low and slow.
Click HERE to join our mailing list and you’ll never miss a recipe again!
There are some foods that don’t benefit from low and slow, at least when cooked traditionally; steaks for instance. My mother’s approach to these was that they should be well done, even though that state was achieved quickly. In our house steaks were most often seasoned with olive oil, garlic, oregano, basil, salt and pepper and broiled. I think it’s a wonderful flavor combination. But it wasn’t until my late teens that I developed an appreciation for rare beef.
I remember one meal where my sister and I cooked the steaks for ourselves and our dad. They were medium rare, as I recall. Even though our mom didn’t have a hand in cooking them (and cooked her own steak well done) she spent the entire meal feeling like she had served us bad food. The fact that we liked it didn’t seem to matter. She had very definite opinions about what constituted good food, and something that was bleeding onto the plate didn’t fit!
If you have a favorite family recipe and a bit of a story to tell, please email me at santafecook@villasentieri.com and we can discuss including it in the blog. I am expanding the scope of my blog to include traditional recipes from around the country and around the world. If you haven’t seen Bertha’s Flan or Melinda’s Drunken Prunes, take a look. They will give you an idea of what I’m looking for.
Recently I bought sous vide equipment. I haven’t tried it yet but I’m itching to do so. Steaks will be first. The food gets vacuum sealed and then cooked slowly…for hours…in a hot water bath that is maintained at the temperature one wants the food to achieve. The meat is cooked uniformly throughout…low and slow! For steaks, one would want to quickly sear the outside before serving but many foods, like fish, poached eggs, and even hollandaise sauce can be used right out of the water bath.
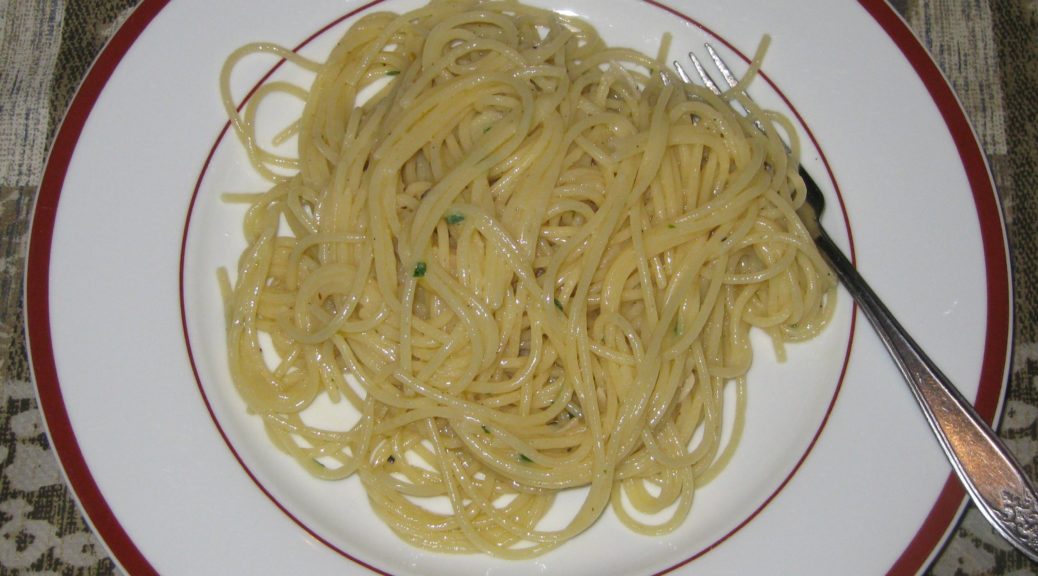
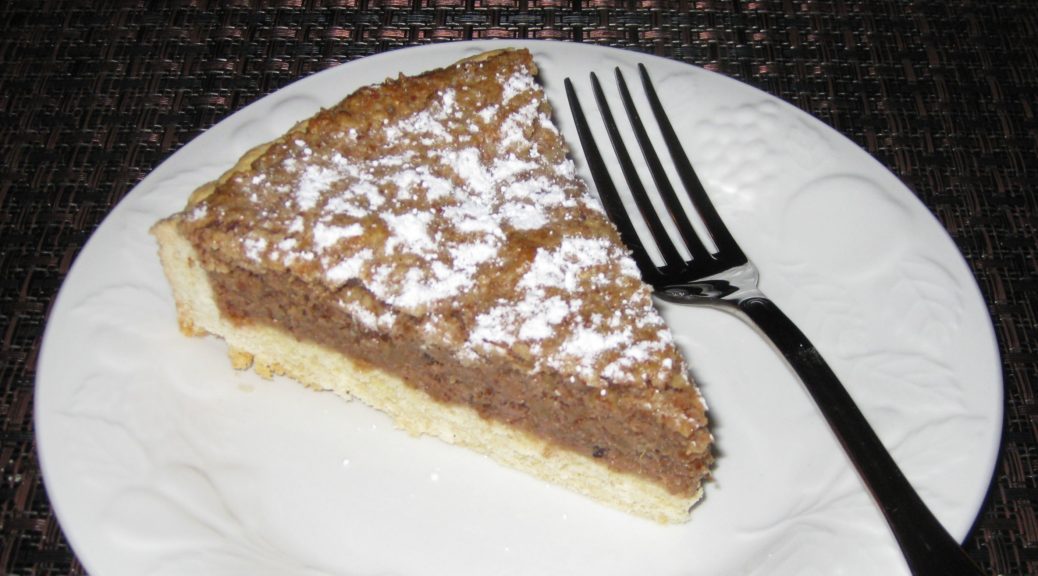
For now, though, let’s try a slow-cooked pot of beans and greens…Italian style!!

| Prep Time | 15 minutes |
| Cook Time | 2 1/2 hours |
| Servings |
people
|
- 1 pound dried Roman beans
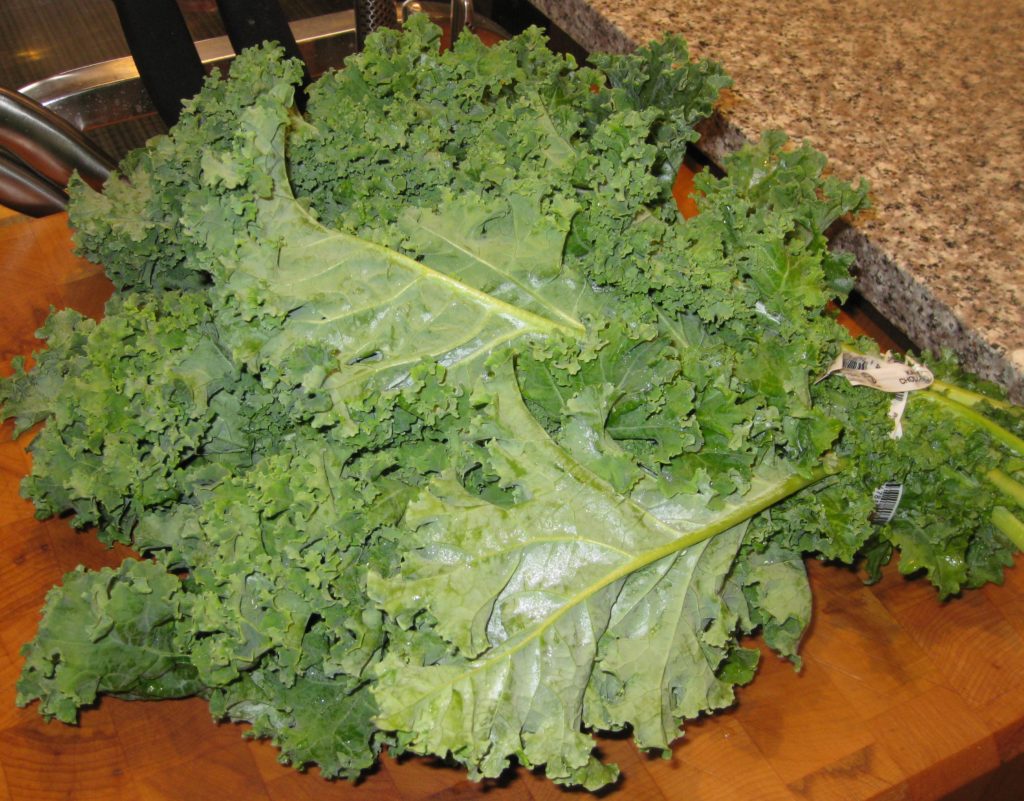
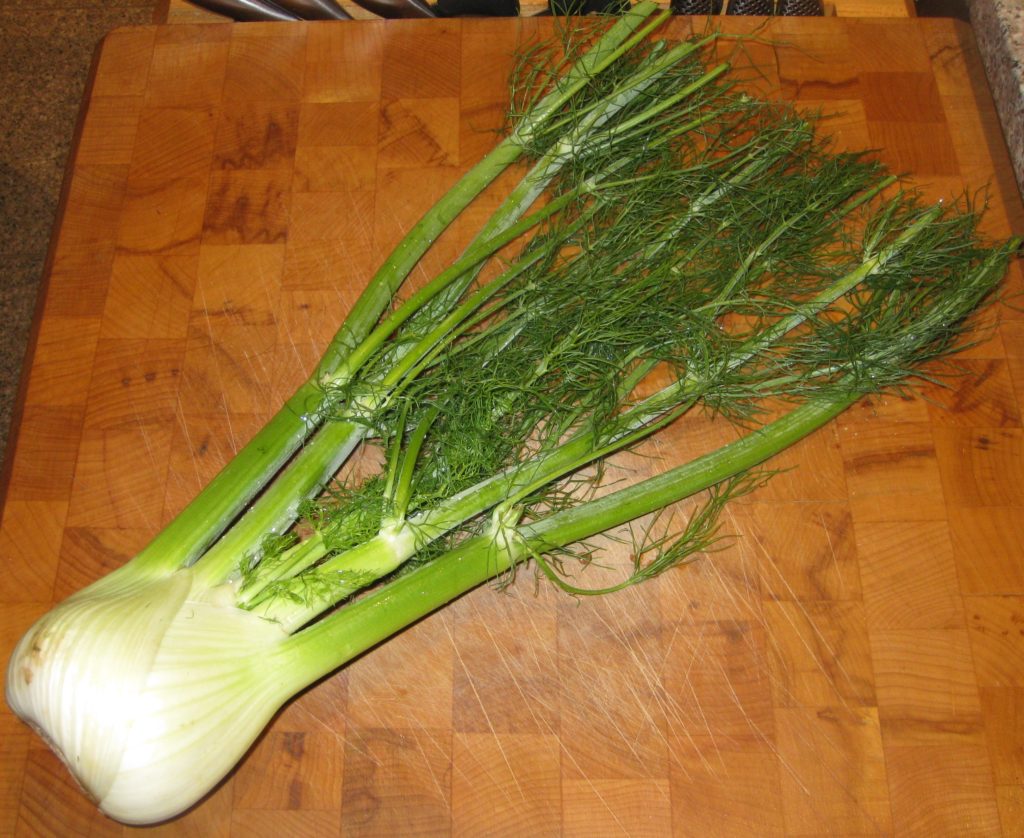
- 2 bunches kale
- 2 cloves garlic
- 1/3 cup extra virgin olive oil
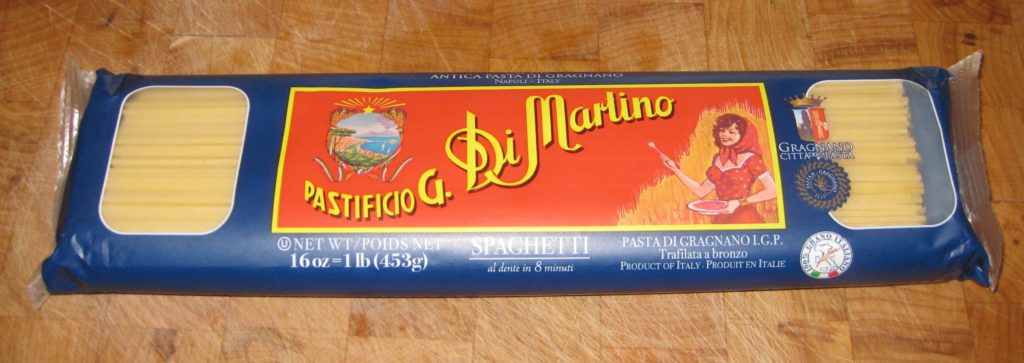
- 2 cups small dry pasta such as ditalini, optional
- salt to taste
- black pepper freshly ground to taste
- Parmigiano Reggiano cheese grated, for serving
Ingredients
|
|
- Rinse and pick over the beans.
- Cover the beans with six cups of water.
")
- Simmer the beans until almost fully cooked, adding 2 teaspoons of salt and black pepper to taste after the beans have cooked for an hour. If necessary, add a bit of boiling water from time to time to keep the beans just submerged. The beans will cook for about 10-15 minutes more after the kale is added so don't overcook them.
- Meanwhile, cut out the center ribs of the kale.
")
")
- Kale ribs about to be discarded.
")
- Cut the leaves crosswise into large pieces.
")
- Rinse and drain the kale.
- Bring a quart of salted water to a boil.
- Add the kale. The kale should quickly wilt enough to be covered by water. If not add a bit more water to just cover the kale.
")
- Simmer the kale, covered, stirring occasionally, until cooked to a silky texture, approximately 1 hour.
")
- While the kale is cooking, crush the garlic with the side of a chef's knife.
")
- Slowly brown the garlic in the olive oil.
")
- Once the garlic has browned, remove the oil from the heat. Discard the garlic. Reserve the garlic-infused oil.
")
- If using pasta, bring two quarts of water seasoned with 1/4 cup of salt to a rolling boil.
- When the pasta-cooking water comes to a boil, add the pasta. At the same time, add the kale and its cooking water to the beans. Keep the beans and kale at a simmer.
")
- Cook the pasta in boiling water until it is still a little crunchy on the inside.
- Drain the pasta and add it to the pot with the beans and kale.
")
- Add the garlic-infused oil.
- Taste and adjust seasoning.
- Cook everything, uncovered, until the pasta is al dente, just a few minutes longer.
")
- Serve with grated Parmigiano Reggiano cheese.
")
Copyright © 2018 by VillaSentieri.com. All rights reserved.
")
")
")
")
")
")
")
")
")
")
")
")
")

")
")
")
")
")
")
")
")
")
")
")


")
")
")
")
")
")
")
")
")
")
")
")
")
")
")
")
")


")
")
")
")
")
")
")
")
")
")
")
")
")
")
")
")
")

")
")