Pasta con Salsa Cruda (Pasta with Uncooked Tomato Sauce)

September 8, 2017

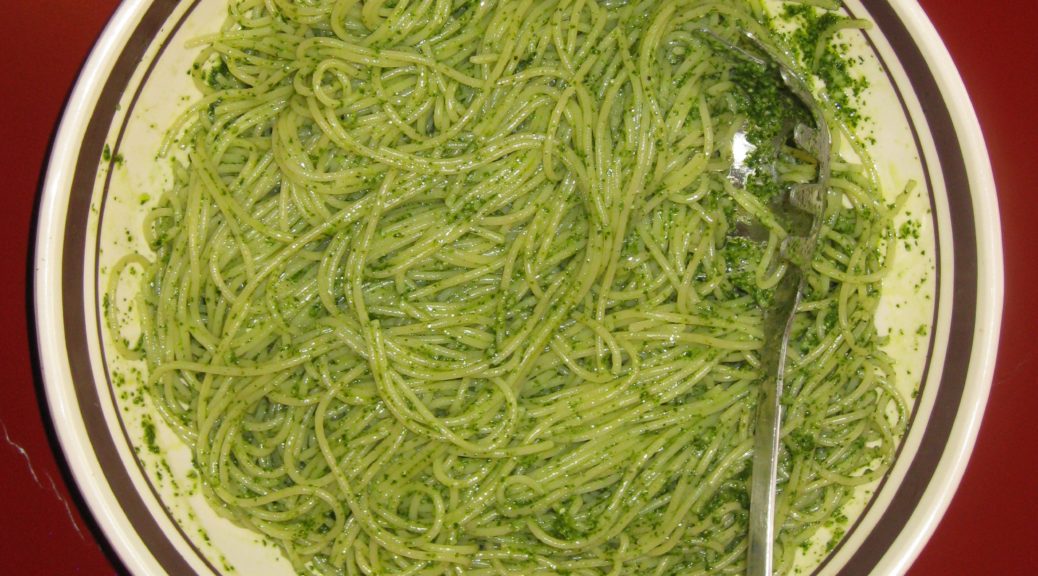
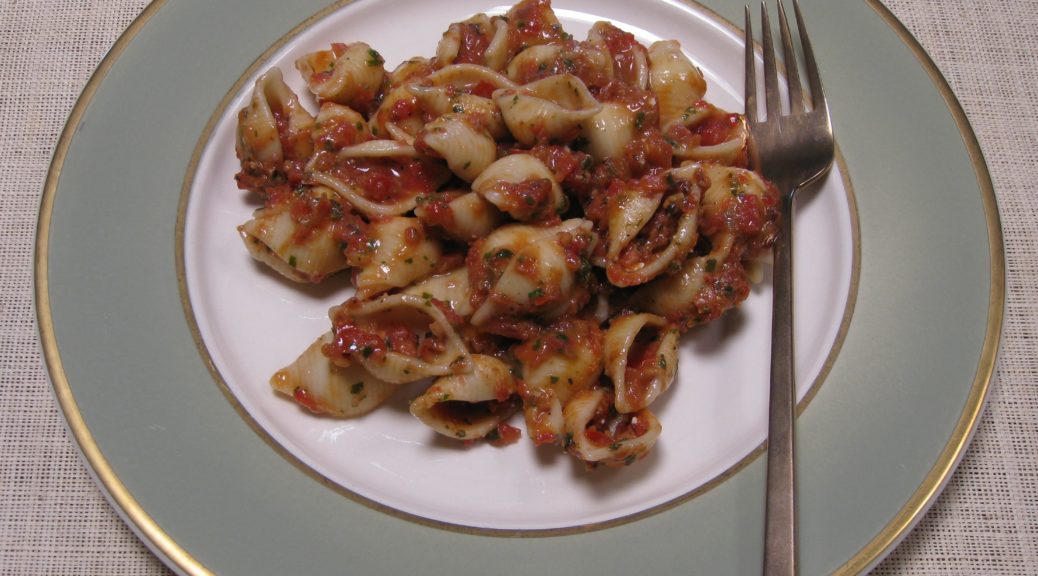
Pasta with a sauce of uncooked tomatoes, herbs and aromatics is one of the delights of late summer. While this is very easy to make, and only a few tomatoes are needed, the tomatoes must be vine-ripened.

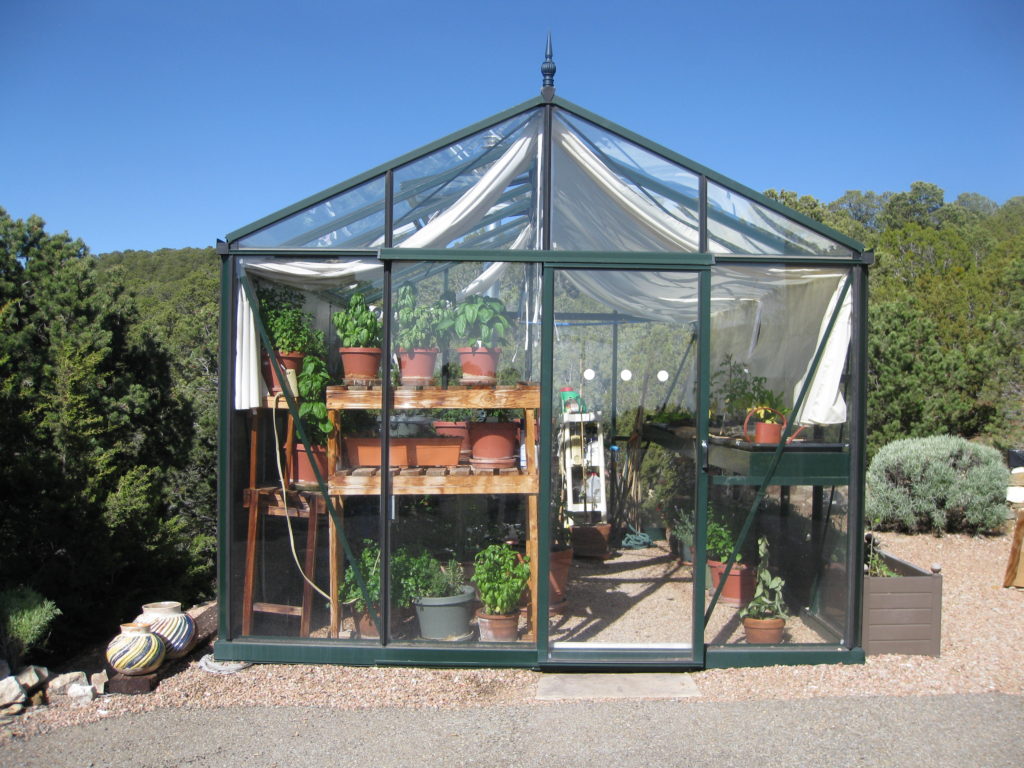
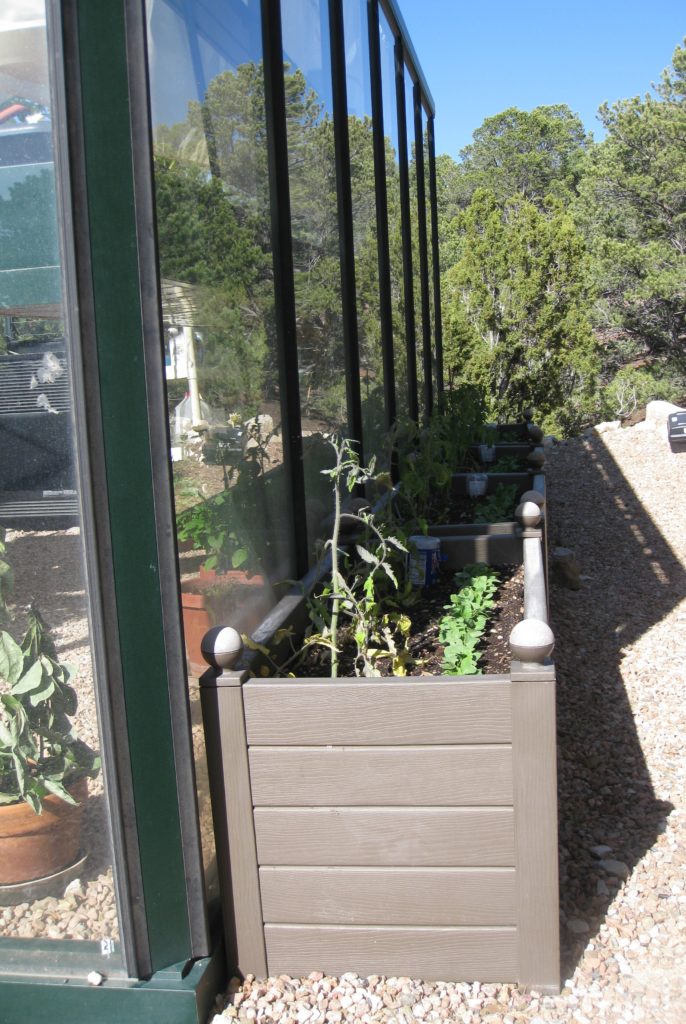
If you have just one tomato plant you’ll probably have enough tomatoes to make a batch of Salsa Cruda. Farmers Market tomatoes are a good option this time of year, too.

Some of our tomato plants in front of the greenhouse and behind mesh to protect them from deer

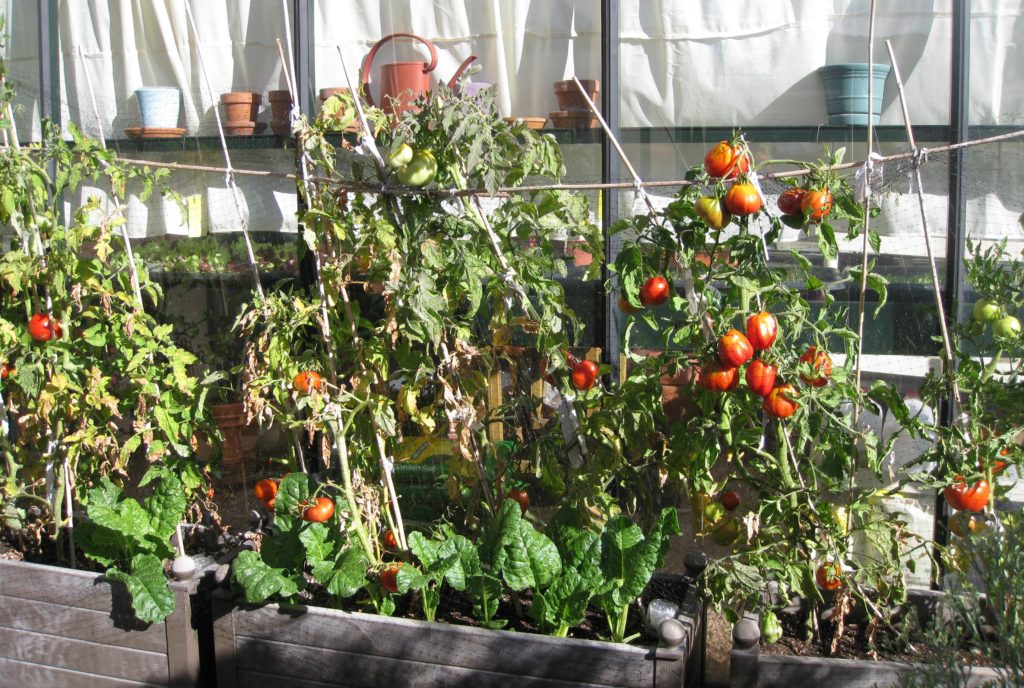
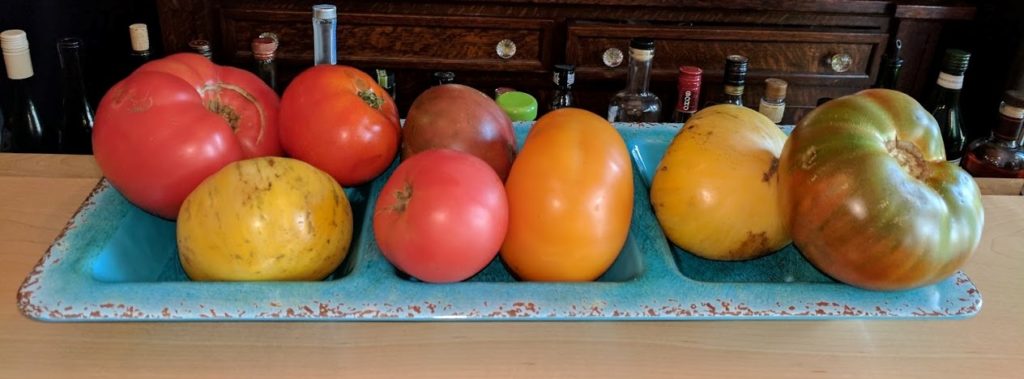
I make this with our home-grown tomatoes which are always red but using some of the amazing heirloom tomatoes in colors of yellow, green, or purple available in farmers markets would make a dramatic sauce.

Colorful heirloom tomatoes on the bar at The Kirby Hotel in Douglas, Michigan: @thekirbyhotel

If you can’t get vine-ripe tomatoes, or you want to make a similar sauce at a time other than late summer, you can use two or three roasted red peppers in place of the tomatoes. I’ll be posting a recipe for roasted peppers next month, after tomato season is over. In a pinch, you can buy a jar of good-quality roasted peppers.

Although this recipe is not a traditional “family of origin” recipe it is one that I have been making for almost 30 years. I consider it to be one of my traditions.

While you can still get vine-ripened tomatoes, give this easy and delicious recipe a try.


Follow us


Click HERE to join our mailing list and you’ll never miss a recipe again!

Print Recipe
Pasta con Salsa Cruda (Pasta with Uncooked Tomato Sauce)
This makes enough sauce for one pound of pasta. Use pasta with a shape that will hold the sauce, such a small shells or fusilli. Although you can make the sauce in the time it takes the pasta water to come to a boil, it is better if the sauce is allowed to sit at room temperature for about an hour to allow the flavors to meld. Since the sauce is not hot, it is important to warm the serving bowl with boiling water just before using. I usually put some of the pasta-cooking water to warm the bowl. The optional aromatics (hot peppers, kalamata olives, and blue cheese) are really optional but definitely help to round out the flavor.
Votes: 0
Rating: 0
You:
Rate this recipe!
Prep Time 15 minutes
Cook Time 15 minutes
Passive Time 1 hour
Servings
people
Ingredients
Prep Time 15 minutes
Cook Time 15 minutes
Passive Time 1 hour
Servings
people
Ingredients
Votes: 0
Rating: 0
You:
Rate this recipe!
Instructions
  1. Coarsely chop the hot pepper.
  2. Coarsely chop the garlic.
  3. Combine olive oil, garlic, and hot peppers, if using, in the food processor.
  4. Process until finely chopped.
  5. Add basil, parsley, Parmesan cheese and Kalamata olives, if using.
  6. Pulse a few times to chop.
  7. Add tomatoes, blue cheese, if using, salt, and black pepper and pulse until finely chopped, but not pureed.
  8. There should definitely be some texture to the sauce.
  9. Bring three quarts of water to a rolling boil.
  10. Season the water with 1/3 cup of salt.
  11. Add the pasta and cook until al dente.
  12. When the pasta is done, reserve about ½ cup of the pasta-cooking liquid to thin the sauce if needed.
  13. Drain the pasta.
  14. Drain the hot water from the serving bowl. Add the pasta and sauce to the warmed bowl. Toss well.
  15. If needed, thin the sauce with some of the reserved pasta water. This will likely not be the case but it is always a good idea to have some pasta-cooking water available just in case.
Recipe Notes

Copyright © 2017 by VillaSentieri.com. All rights reserved.

Share this Recipe

Pasta al Pesto

May 15, 2017

Gardening at 8000 feet is challenging.  Even more so when you consider that we are sitting on almost solid rock.

There’s not much soil to begin with, just the barest of covering on a rocky foundation.  The piñon and juniper that surround us work their roots through little crevices in the rock that sits just inches below the surface.

What little soil there was in the area immediately surrounding our house was removed to level the building site.  The excavation was almost exclusively rock, one hundred truck loads were taken away.  Some rock was kept on site to create retaining walls around the property.

The corollary, however, is that there’s no dirt around the house to dig into to plant much of anything.  The landscaping that was done was exclusively within rock retaining walls or our front enclosed courtyard, where topsoil was brought in.  The first load of topsoil for the courtyard arrived April 2007, before we were ready to plant anything.  April is a windy month in New Mexico.  The winds started up one day and before evening every last speck of topsoil was blown to West Texas!

We could consider raised bed gardening but that would just invite the rabbits and deer to munch their way through our garden.  As it is, we’ve offered up several stands of ornamental grasses on the periphery of our landscaped area to the critters.  We seem to have reached a truce of some sort.  We let them eat the ones around the edges and, for the most part, they let the others alone.

We installed a greenhouse that allows us to extend the growing season by many months.  It also allows us to winter over a number of plants that would not survive in this climate.  The greenhouse also allows us to grow fig trees in large pots.  The first year we grew figs, they didn’t ripen.  It turns out that even though summer days are warm, the nights are cool enough that the fruit doesn’t ripen.  The following year we left the fig trees in the greenhouse throughout the summer, convinced that it would be too warm for them to thrive even with the automatic ventilation system.

Luckily, we were wrong.  The fig trees loved the heat.  Picking a ripe fig off of the tree and eating it immediately is amazing.  The only fresh fruit experience that would be superior, in my estimation, is a fresh-picked mango…and those trees won’t fit in our greenhouse!

We have one row of planter boxes outside the greenhouse.  We use these for plants, like tomatoes, that are not very attractive to deer and rabbits.  Salad greens, such as arugula, radicchio, and leaf lettuce grows in shallow trays on a raised shelf in the greenhouse.  Many pots of herbs also remain in the greenhouse year-round.  Everything else is planted in our interior courtyard, either in pots or in another row of planter boxes.

Depending on the type of plants, we start planting seeds in February.  Seedlings are transplanted once the risk of frost is minimal.

This year, we started too much basil from seed.  It needed to be thinned.  This created the opportunity for us to have pesto much earlier than would otherwise have been the case.  Usually it’s June before the basil plants have grown large enough that we can harvest leaves for pesto.

We had this pesto on April 30th, a day that measured more than 8 inches of snow at Villa Sentieri.  It was winter’s last hurrah and fresh pesto was a perfect way to welcome spring and say good-bye to winter.


Print Recipe
Pasta al Pesto
The classic basil-based pesto is Pesto alla Genovese. However, because the recipe and ingredients for Pesto alla Genovese are tightly regulated (for example, the basil must be grown in Genoa, Italy), I’ll refrain from calling this Pesto alla Genovese since it can’t meet those strict regulations. Try to use young, small basil leaves. If you must use larger ones, tear them into smaller pieces so they measure approximately the same way. Using olive oil from Liguria, where Pesto alla Genovese originated, is another of those difficult-to-meet requirements. Nonetheless, try to use a sweet, fruity olive oil rather than one that is spicy and pungent. Make the pesto as close to serving time as possible. I like to have all the ingredients measured, making the pesto after the pasta starts to a boil. If you’re wondering about the use of a food processor, that would not be permitted either but I doubt there are many of us that would make pesto if we had to use the traditional marble mortar and wooden pestle!
Votes: 0
Rating: 0
You:
Rate this recipe!
Prep Time 30 minutes
Cook Time 15 minutes
Passive Time 30 minutes
Servings
people
Ingredients
For the pesto
For the pasta
Prep Time 30 minutes
Cook Time 15 minutes
Passive Time 30 minutes
Servings
people
Ingredients
For the pesto
For the pasta
Votes: 0
Rating: 0
You:
Rate this recipe!
Instructions
  1. Pluck the basil leaves from the stems and measure 2 cups, lightly packed.
  2. Measure all the other ingredients. Pine nuts.
  3. Garlic.
  4. Parmigiano Reggiano and Pecorino Romano cheeses.
  5. Don't forget the extra-virgin olive oil and salt.
  6. Bring three quarts of water and 1/3 cup of salt to a rolling boil.
  7. While water comes to a boil and the pasta cooks, heat the serving bowl by placing it in a 150°F oven or partially filling it with boiling water.
  8. When the water comes to a boil, add the pasta. Return to a boil, stirring frequently.
  9. As the pasta boils, put the basil leaves, olive oil, pine nuts, garlic, and salt in a food processor. Puree the basil mixture, scraping down the sides of the bowl occasionally.
  10. When the pasta is almost al dente, pour the basil puree into the warmed serving bowl.
  11. Add the Parmigiano and Romano cheeses. Stir to combine.
  12. Remove ¼ of the boiling pasta-cooking water from the pot and stir into the pesto to loosen it.
  13. When the pasta is al dente, remove and reserve a cup of pasta cooking water.
  14. Drain the pasta. Do not rinse. Add the pasta to the serving bowl and toss to coat each strand.
  15. If the pesto seems a little thick, add a tablespoon or two of the reserved pasta-cooking water.
  16. Taste and adjust salt if necessary.
  17. The finished dish.
Recipe Notes

Copyright © 2017 by VillaSentieri.com. All rights reserved.

Share this Recipe