
June 6, 2018
In a prior blog post, I talked about Jamaican New Sugar, also known as Wet Sugar. New Sugar is difficult to obtain outside of Jamaica and even in Jamaica it is becoming harder to get.
Just as New Sugar relates to Jamaica, Demerara Brown sugar relates to Guyana. Demerara Brown sugar is much easier to find, however.
The typical brown sugars available in the United States are made from refined white sugar with the addition of molasses.
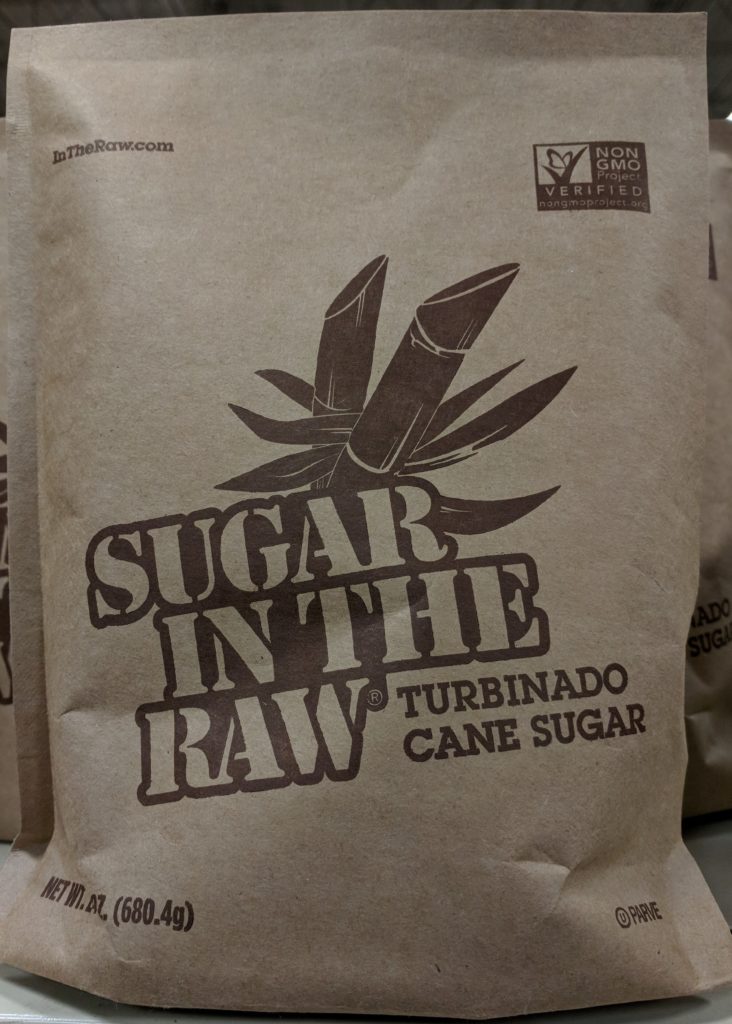
New sugar, Demerara Brown sugar, and Turbinado sugar all represent stages in sugar refining. Rather than adding molasses back into white sugar, it hasn’t been completely refined out of any of these sugars.
Follow us on your social media platform of choice
![]()
![]()
![]()
Of all of these, the one that I’ve used the most is Demerara Brown. Even within this very distinct category, there are differences in refinement and moisture content. Some Demerara Brown sugars are darker than others, though I’ve never seen a “grade” attached to these differences. The Demerara Brown sugar that I used to buy in Guyana always seemed to have more moisture in it than that which is available in American markets.
I’ve found several sugars that are good substitutes for Demerara Brown sugar. One came from Ecuador and, admittedly, isn’t much easier to source than Demerara Brown sugar.
The other is a brown sugar made for the Korean market that I found in an Asian grocery store.
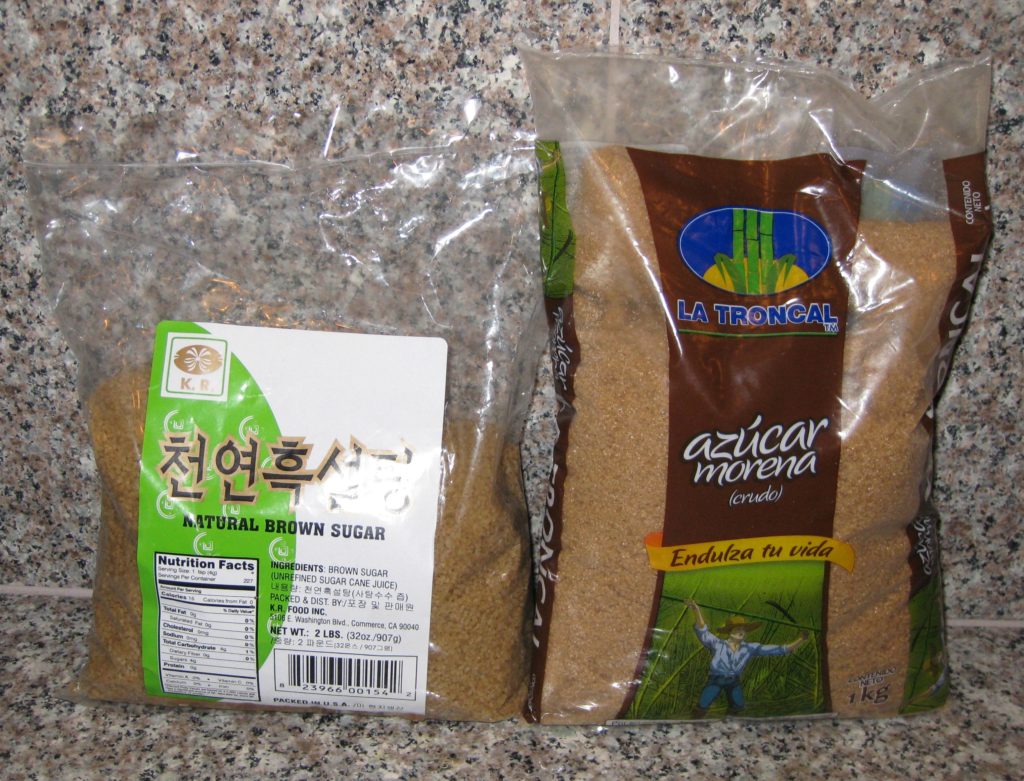
I prefer both of them over Turbinado sugar as substitutes for Demerara Brown sugar as they are both less refined than Turbinado and have more of the flavor of true Demerara Brown. For this barbecue sauce, however, since sugar is not a big component (as it might be in baked goods, for example) the ordinary American style brown sugar from the supermarket would work just fine.
Join our mailing list and you’ll never miss a recipe again!
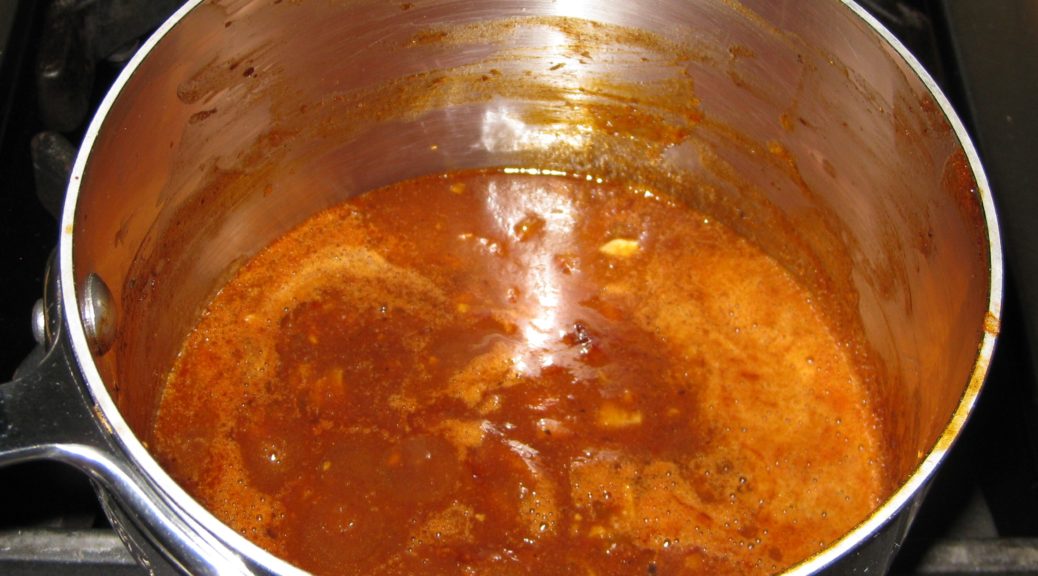
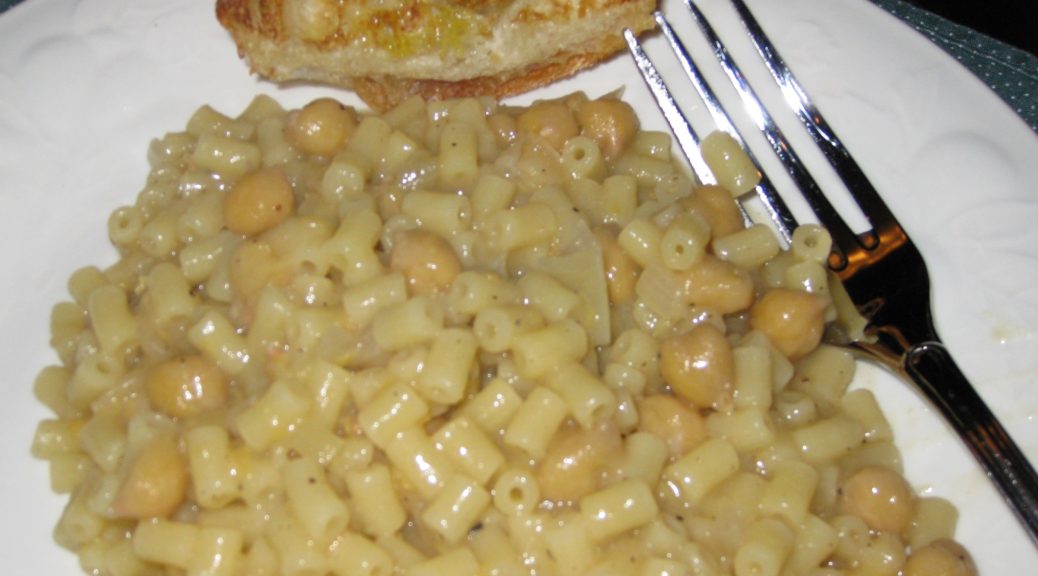
I’ve been making this barbecue sauce since I was in college when I purchased a cookbook on a trip to Guyana. (I might have mentioned this before, but I have thousands upon thousands of cookbooks. I’ve actually run out of shelf space for them and have them stacked in boxes which is far from ideal. I’m trying to figure out where to install additional library shelving so I can get the books out of the boxes and make them accessible.)
What’s Cooking in Guyana is representative of a style of cookbook published decades ago in countries around the world, well at least in Anglophone countries with which I am most familiar! It is based on recipes from Home Economics professionals and contains traditional recipes, some (modified) international recipes as well as a quantity of what I call “made up” recipes. That is, recipes with no particular cultural history to them that were developed by professional cooks. Admittedly, some of these recipes enter the cannon of locally prepared dishes and, if they survive long enough, can become “traditional.”
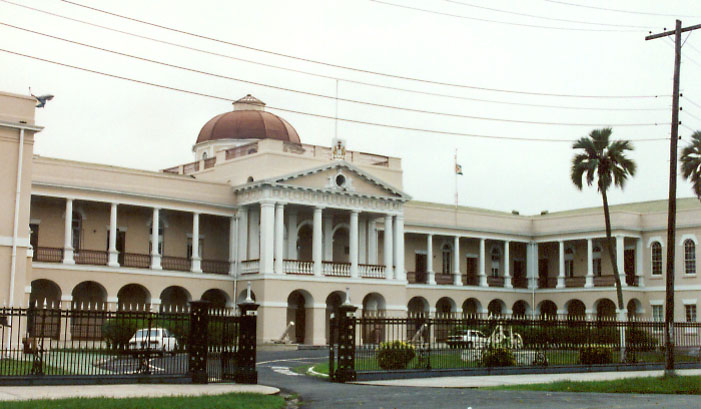
Never once in all my time in Guyana was I served anything that contained barbecue sauce. Barbecue, and anything resembling barbecue, just wasn’t part of the country’s culinary heritage. So, the presence of barbecue sauce in this Guyanese cookbook is curious. If you look at the ingredients, you’ll notice a resemblance to the ketchup-based barbecue sauces of the United States but a closer look at the ingredients will demonstrate the use of a number of specifically West Indian ingredients.

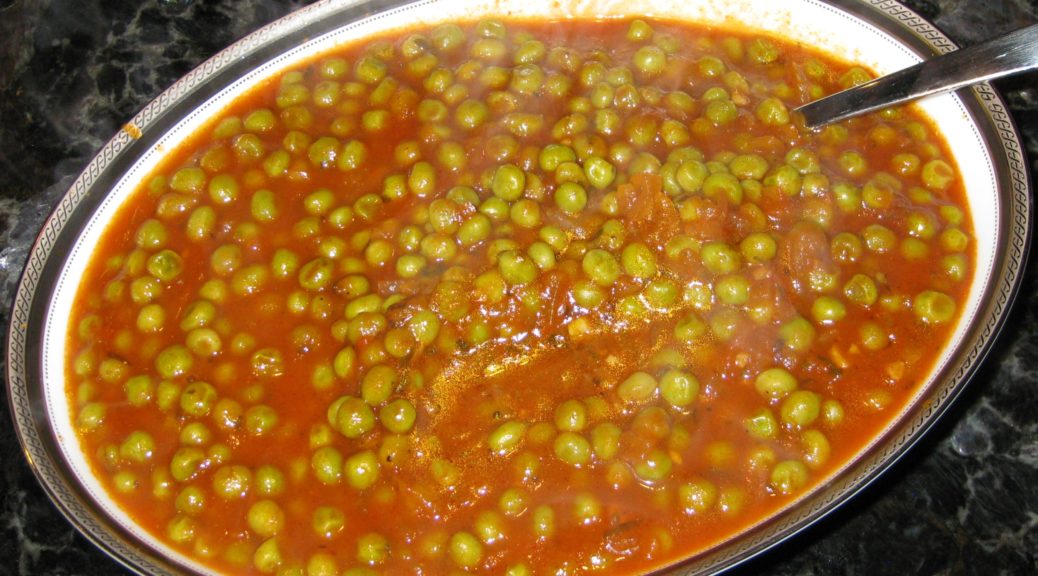
I classify this recipe as a “made up” one. And a very good one at that! It is my go-to barbecue sauce (when I’m not being lazy and reaching for a bottle of the purchased stuff, which, admittedly, I do from time to time.) Many years ago, I changed the proportions of ingredients in this barbecue sauce to suit my taste. I feel that it is now truly mine.
In the coming weeks, I’m going to post my recipe for barbecue rub and then after that my recipe for smoked chicken thighs that makes use of both the rub and the barbecue sauce. Stay tuned!

| Prep Time | 15 minutes |
| Cook Time | 15 minutes |
| Servings |
cups
|
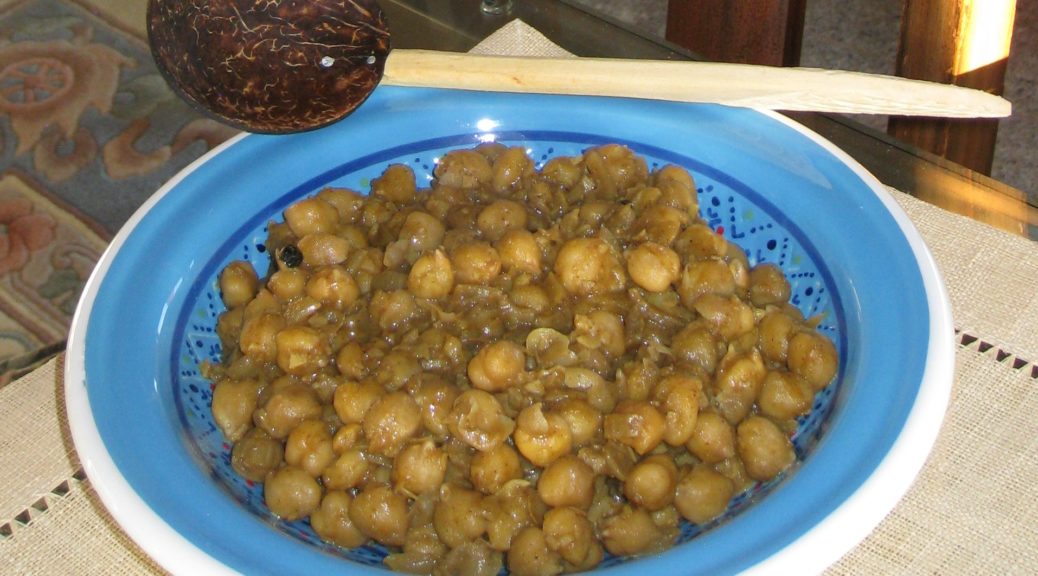
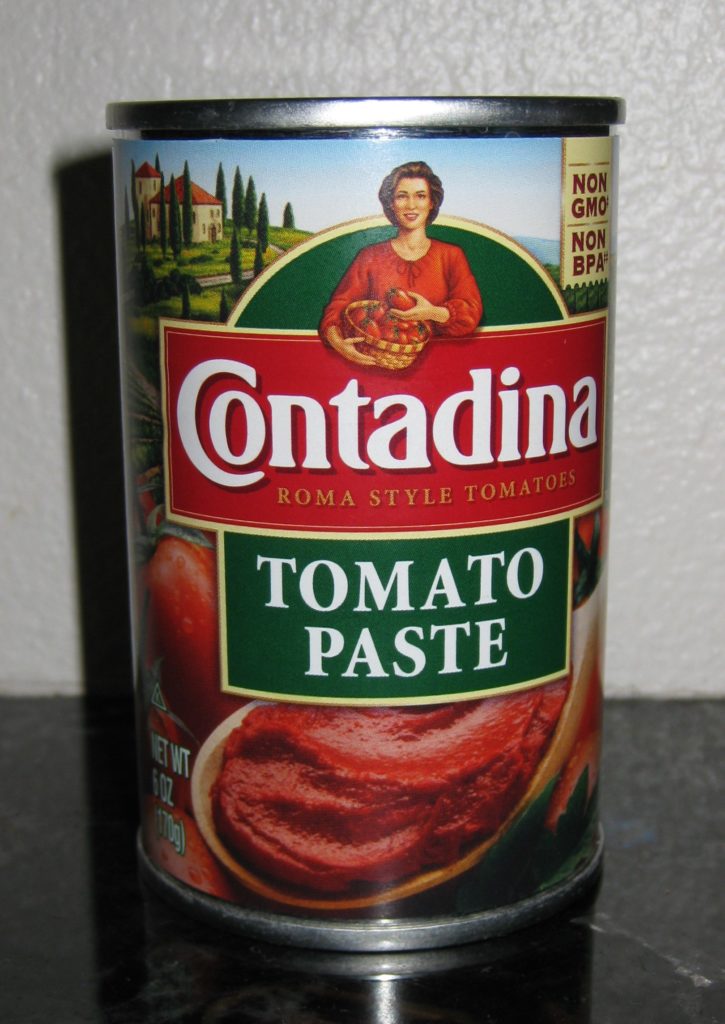
- 2/3 cup ketchup
- 1/2 small onion finely chopped
- 2 1/2 tablespoons lime juice preferably from Mexican or Key Limes
- 2 1/2 tablespoons Demerara Brown Sugar or substitute (see above)
- 1/2 teaspoon allspice preferably freshly ground
- 1/2 teaspoon black pepper preferably freshly ground
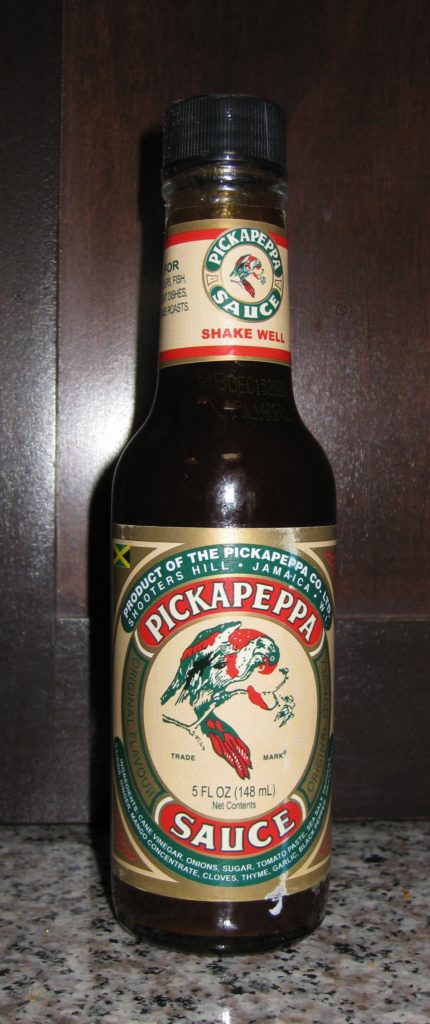
- 2 1/2 tablespoons Jamaican Pickapeppa Sauce or substitute (see above)
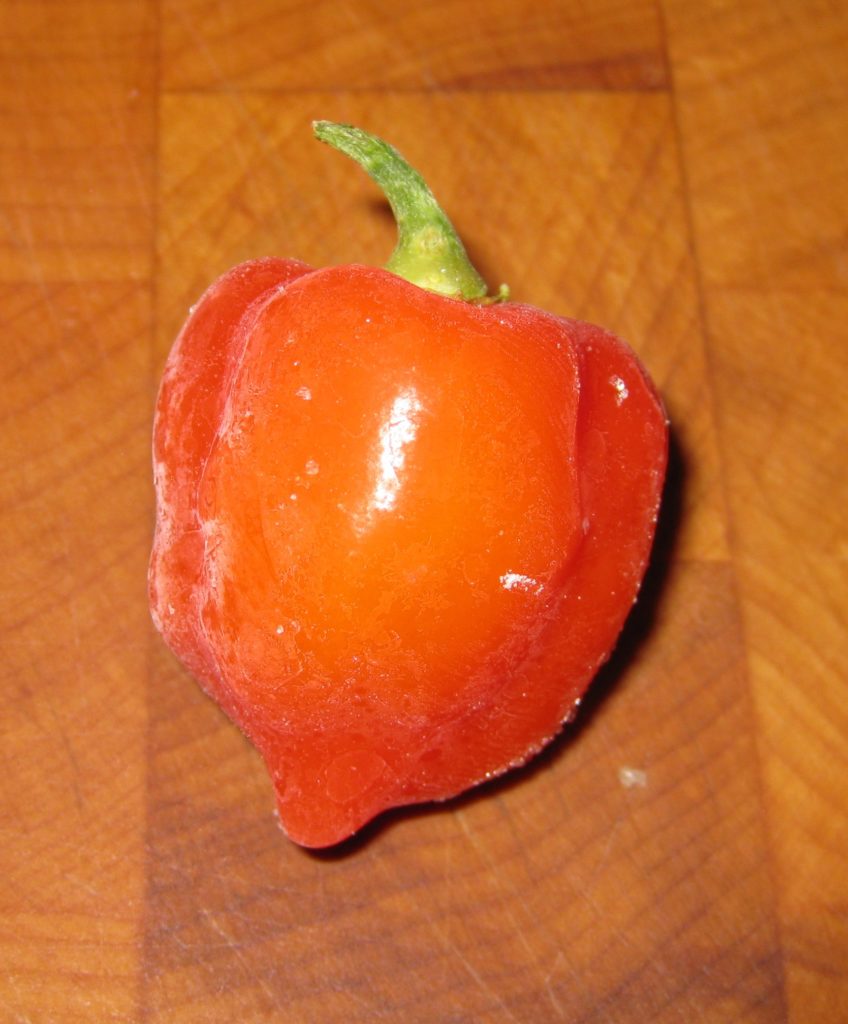
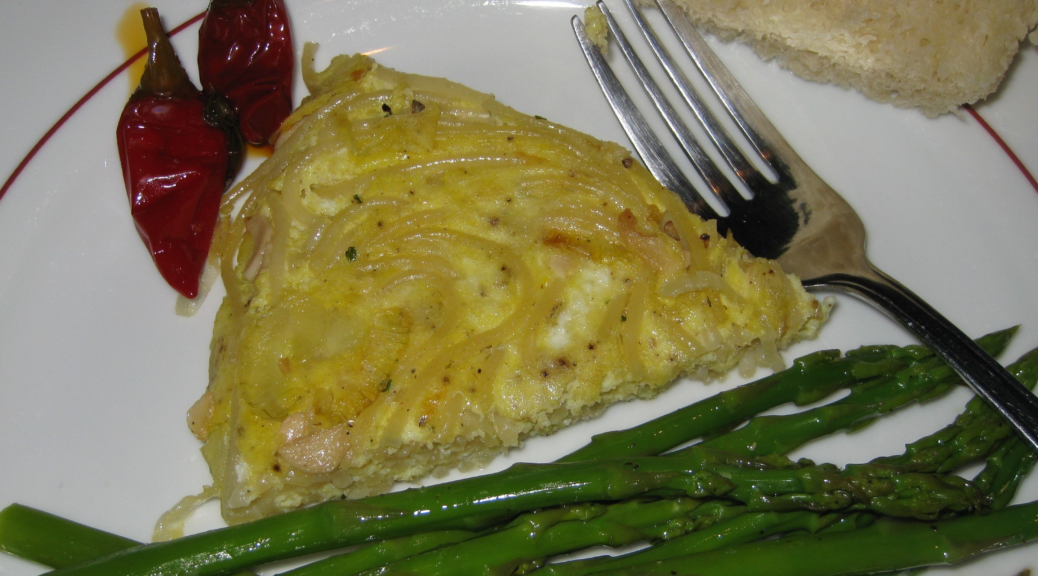
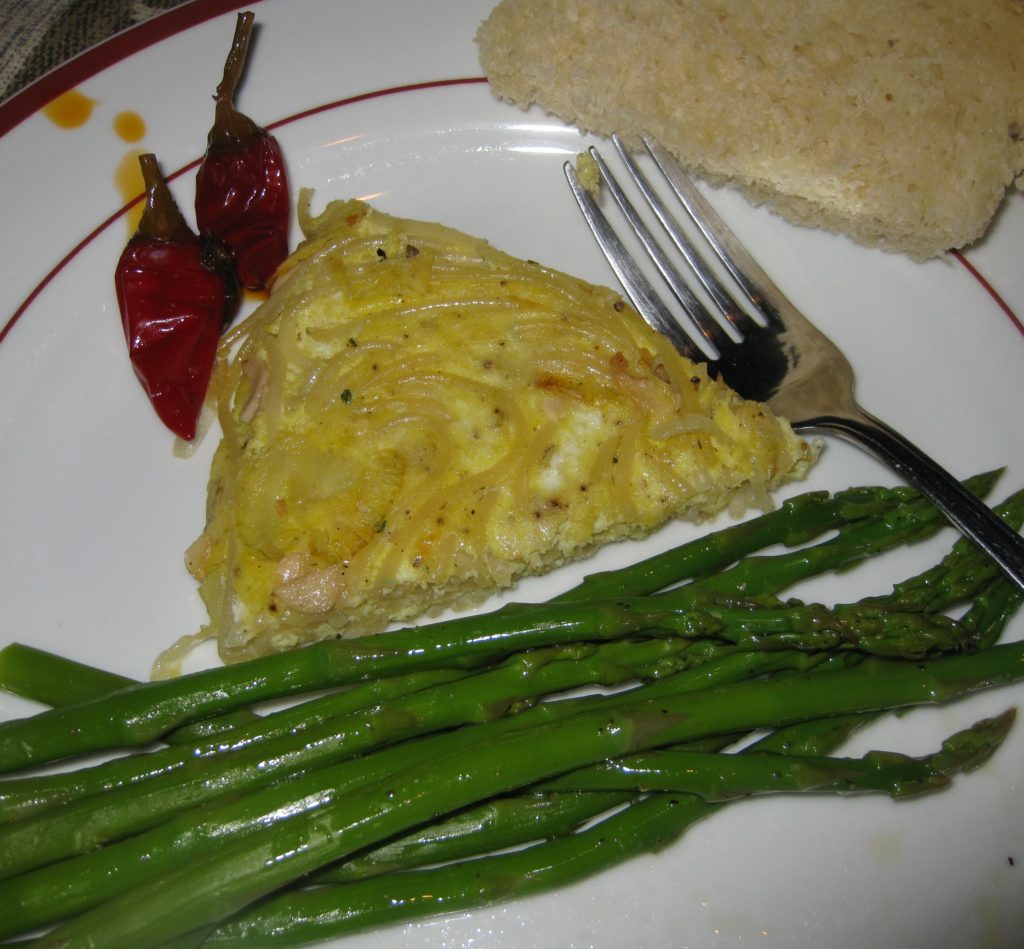
- 1 teaspoon wiri wiri peppers finely minced, or Habanero or Scotch Bonnet peppers
- 1 small clove garlic minced
- 2 1/2 tablespoons vinegar
- 4 tablespoons butter
Ingredients
|
|
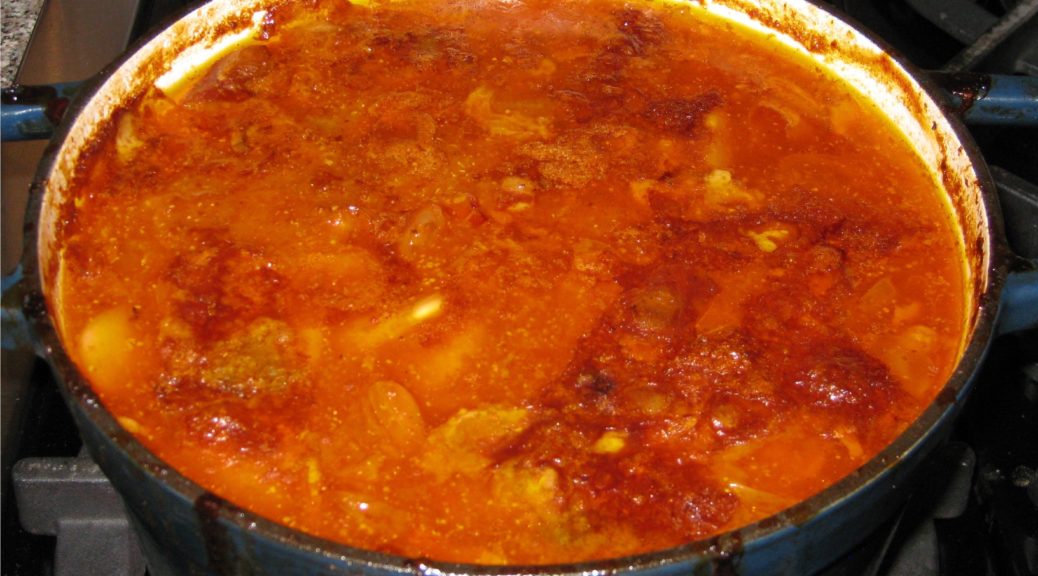
- Combine all ingredients in a small non-reactive saucepan.

- Bring to a boil over medium heat.
- Reduce heat and simmer 10 minutes, stirring frequently.
- Thin with a few tablespoons of water, if necessary.
- The sauce may be refrigerated for up to one week.
Despite its name, Pickapeppa sauce is not spicy. It is very similar to a good steak sauce, such as A-1
Wiri wiri peppers are almost impossible to obtain, and the small amount needed does not justify a strenuous search. Habanero or Scotch Bonnet peppers, to taste, can be substituted.
Copyright © 2018 by Villa Sentieri, LLC. All rights reserved.


")
")
")
")
")
")
")
")
")
")


")
")


")
")
")
")
")
")
")
")
")


")
")
")
")
")
")
")

")
")
")
")
")
")
")
")
")


")
")
")
")
")
")
")
")
")
")


")
")
")
")
")
")
")
")
")
")
")
")
")
")
")
")

")
")
")
")
")
")
")
")
")
")
")
")
")
")
")
")