As summer approaches, my thoughts of cooking turn to the outside. Luckily, at 8000 feet, it’s not a problem to use the stove or the oven inside, even for extended periods of time, as the outdoor temperature is usually quite moderate and the house doesn’t really heat up.
Even so, summer instigates a more leisurely style of cooking for me.
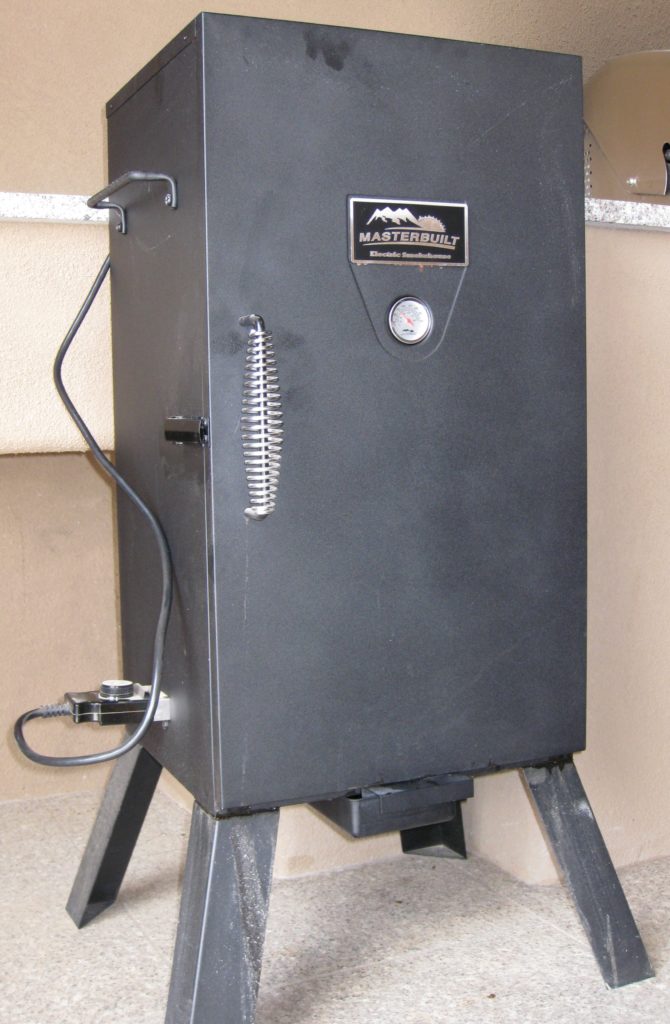
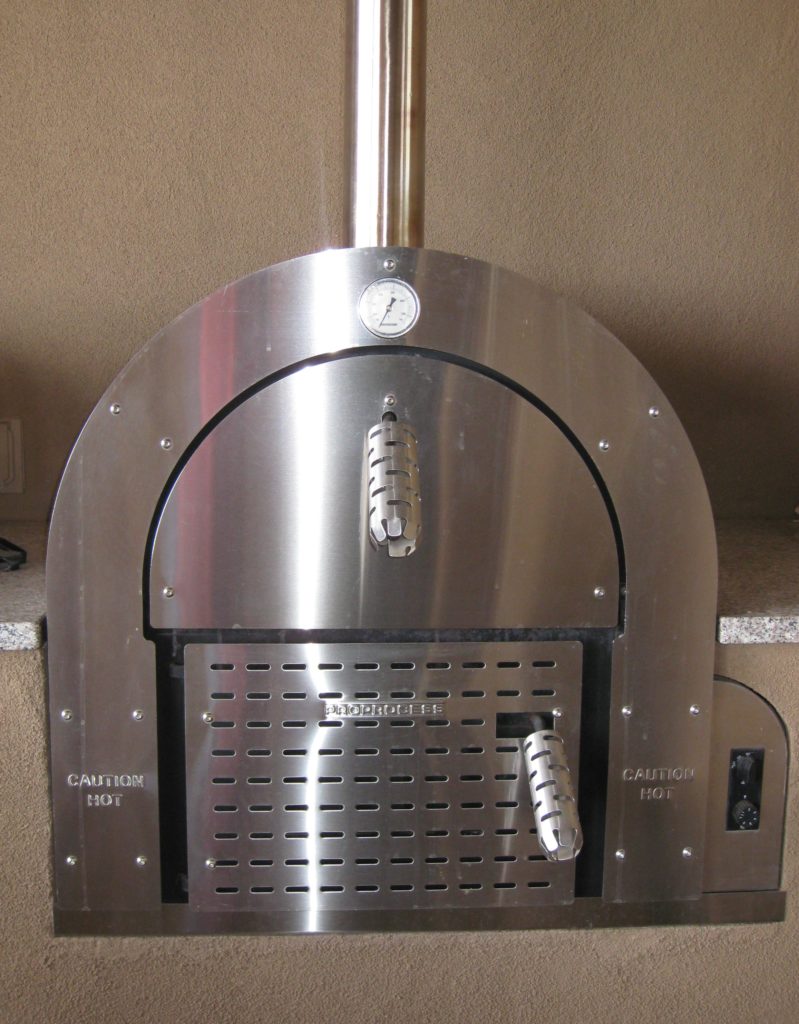
I like using my smoker, or grill, or wood-burning oven.
My smoker has an adjustment for the heat output but not temperature, per se. If the wind or external temperature change, the internal smoker temperature changes, too.
There is no doubt that I have more of an Italian palate: more savory, less sweet. In contrast, an American palate generally accepts much more sweetness in an array of foods.
Join our mailing list and you’ll never miss a recipe again!
Once, when my husband’s Great Uncle Duilio (born and raised in Italy but then residing in Argentina) was visiting, we made an American breakfast of pancakes and bacon. He totally got into using maple syrup on the pancakes, and loved the bacon, but couldn’t understand the concept of allowing the sweet syrup to touch his bacon. It just wasn’t right.
By European standards, American barbecue is sweet. Even when we, as Americans, think it isn’t.
My wood-burning oven can also run on natural gas. It is great for pizza.
I guess I’ve developed an appreciation for a sweeter, more American approach to certain foods…barbecue, baked beans, bacon with maple syrup, and so forth. Definitely, though, I still prefer foods less sweet than many of my friends would find acceptable.
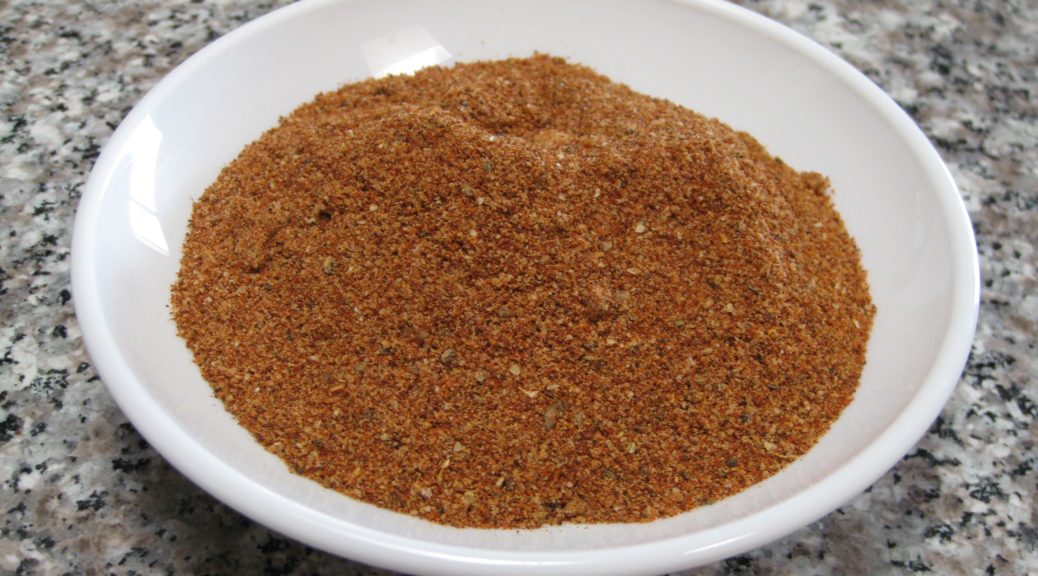
Today’s recipe is quite simple. It’s a barbecue rub. I developed it and have successfully used it on chicken, turkey, pork and beef.
In an upcoming post, I will describe my method for preparing skin-on, bone-in chicken thighs with both barbecue rub and barbecue sauce.
Follow us on your social media platform of choice
My DCS grill has a wood chip container with its own flame for precisely controlled smoking, whether low temperature or high temperature
If you’re at all interested and, like me, want to be able to replicate you cooking over and over again, you need to develop your own barbecue rub rather than relying on a pre-mixed, store-bought version. This recipe is as good a starting point as I can think of. Honestly, it only takes a few minutes to mix enough for a summer of barbecuing!
Print Recipe
Gary's Barbecue Rub
If you can’t find dried New Mexican chile molido, substitute a mixture of cayenne and paprika, half and half or to taste. Chile molido is pure ground dried red chile. There are no additional herbs or spices. It is NOT chili powder!! There aren’t really any pictures for this recipe. All they would show is measuring out dry ingredients. Enjoy the simplicity.
I didn’t grow up with a tradition of curing meats at home. There was a long tradition of homemade hot Italian sausage headed up by Uncle Joe Medile but no meat curing.
I started curing meats in medical school. These were wet-cured products, corned beef and pickled pork. I used them primarily to make West Indian food which was a significant part of my repertory at the time.
I bought myself a container of salt peter (sodium nitrate) and mixed my cures from old recipes. The use of salt peter is no longer permitted commercially for wet cures and only as a minor addition to a cure containing sodium nitrite for meats that require a long, dry cure. Wet cures are now made with sodium nitrite only.
Follow us on your social media platform of choice
During a long, dry cure, the sodium nitrate breaks down into sodium nitrite, acting like a time-release curing agent.
I frequently had two large containers of wet cure in my kitchen, one for beef and one for pork. Refrigeration wasn’t necessary, which was a good thing, because I didn’t have lots of extra refrigerator space as a medical student.
Because of the small quantities of nitrates and nitrites used to cure meat, it is much easier to buy curing salt that consists mostly of table salt with appropriate amounts of curing salt mixed in. Prague Powder #1 is a mixture of salt and sodium nitrite. It is used for wet curing and for dry curing that doesn’t extend for weeks. Prague Powder #2 is salt with both sodium nitrite and sodium nitrate. It is used for dry curing. Prague Powders are always colored pink to differentiate them from ordinary salt.
After my first year of medical school my meat curing came to an end as I was involved in much more demanding clinical rotations and then ultimately internship and residency.
Click HERE to join our mailing list and you’ll never miss a recipe again!
Though I occasionally made Italian sausage, I didn’t start curing meats again until around 2000 when we had a temperature and humidity controlled wine cellar at The Henry Rohkam House, our home in Chicago.
The Rohkam House in Chicago when we lived there
It actually started innocently enough. When she heard about our wine cellar, Aunt Margie (my mother’s sister and Uncle Joe’s wife) asked me if I was going to make salami. I hadn’t thought about it until that point but it seemed clear to me that she had memories of “the old Italian guys,” perhaps even her father, making salami and curing it in their wine cellars.
There was a temperature and humidity controlled wine cellar in the basement of the Coach House that was perfect for curing salumi of various types
For several years, I made different types of cured salumi including Calabrese salami and pepperoni.
It was fun, and really pretty easy. It was also rewarding to slice up one’s own homemade salami for an antipasto platter when company arrived.
The drawing room at Villa Sentieri
Although we have a temperature and humidity controlled wine cellar at Villa Sentieri in Santa Fe, I haven’t made salami since moving there full time in 2012. I have, however, made pancetta. In fact, for a number of years now the only pancetta that I’ve used has been my own home-cured version.
The wine cellar at Villa Sentieri. We’ve been trying to drink down our collection, hence the bare look!
It’s even easier than making salami. You just weigh out the ingredients, rub them on a slab of pork belly and refrigerate it. There is no grinding of meat and stuffing of casings. Although it takes several months to turn pork belly into pancetta, the actual active time can’t amount to more than 30 minutes over the entire time period, and most of that is the initial step of weighing out the ingredients and rubbing them on the meat.
Although I now buy about an eight-pound piece of pork belly when making pancetta, I started making pancetta with one-pound pieces from my butcher. If you’re at all inclined to try home curing meat, a small quantity of pancetta is a great place to start.
If you have a favorite family recipe and a bit of a story to tell, please email me at santafecook@villasentieri.com and we can discuss including it in the blog. I am expanding the scope of my blog to include traditional recipes from around the country and around the world. If you haven’t seen Bertha’s Flan or Melinda’s Drunken Prunes, take a look. They will give you an idea of what I’m looking for.
Print Recipe
Pancetta
The amounts below are for 450 grams of pork belly, approximately one pound. You will need to increase the ingredients proportionately if the pork belly is larger. Measurements are critical with the salt and Prague Powder. If you are making a larger quantity, a small electric coffee mill can be used to grind the spices. Just be certain they are finely powdered before mixing with the salt.
Weigh out the ingredients, increasing the amount in proportion to the weight of the pork belly.
Finely grind the juniper berries, peppercorns, allspice, and cloves in a mortar or small electric coffee grinder.
Juniper berries
Black peppercorns
Allspice berries
Cloves
Combine the ground spices with the nutmeg, shredded bay leaf, garlic, salt and Prague Powder #2.
Bay leaf
Garlic
Canning and pickling salt
Prague Powder #2
Mix well.
Place the pork belly in a non-reactive container with a tight-fitting cover.
Rub the cure over the meat, massaging it in.
Refrigerate the pork belly, tightly covered, turning every 2-3 days for 7-10 days, until it is of a uniform firmness. Some liquid will leach out of the pork.
Rinse the cured pork belly to remove excess cure.
Pat the cured pork belly dry.
Season the pancetta with a generous amount of coarsely ground black peppercorns.
Weigh the cured pork belly and write down the weight and the date.
Put the cured pork belly fat side up on a non-reactive rack over a shallow tray and refrigerate, uncovered, until it loses 20-25% of its weight, approximately 4 weeks.
Wrap it tightly in plastic wrap and refrigerate approximately one week to allow it to evenly hydrate. Even so, the edges will be drier than the middle.
If you are not using the pancetta within a few weeks, cut it into pieces and freeze, tightly wrapped.
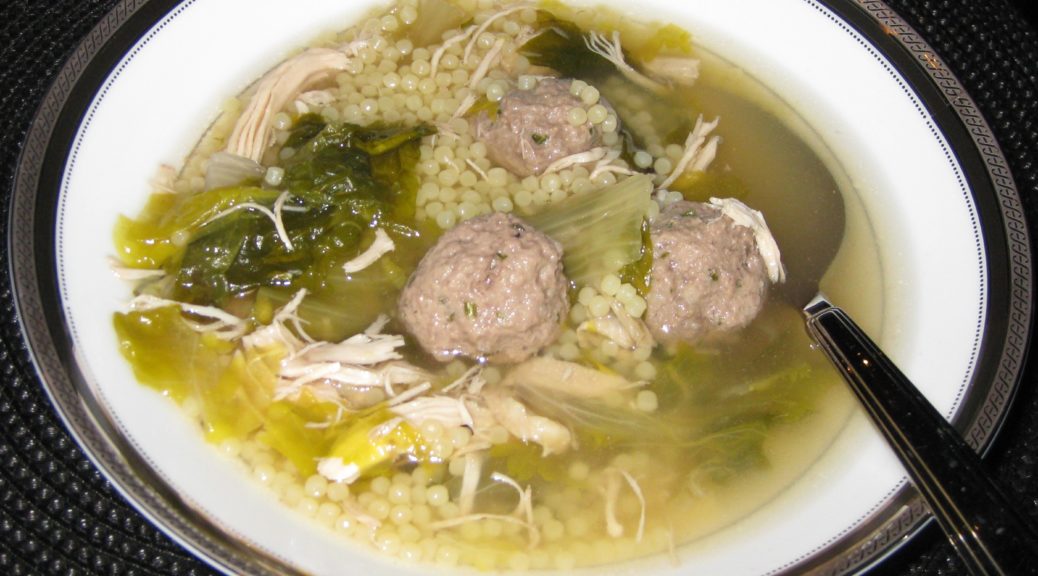
Growing up I never really understood why this was called Wedding Soup. It was NEVER served at weddings.
It was mostly served at home, unceremoniously.
The fact that it was unceremonious is a shame. It is a wonderful soup and, being honest, takes a bit of work to pull together. Both the soup, and the soup-maker, in my estimation, deserve a bit of attention.
Although it takes some work, it doesn’t require much in the way of heard-earned skills like frosting a cake or making pie crust. It’s just a bit of slogging through a series of steps.
This is a beloved soup among Americans of Italian descent. Interestingly, my in-laws who are actually from Italy had never heard of it until I made it for this blog!
Click HERE to join our mailing list and you’ll never miss a recipe again!
But back to the “wedding” part. I did a bit of internet research (thanks Google!). Actually, I hesitate to call it “research.” I’m old school. I remember when doing research meant hours upon hours spent in libraries looking at actual hardcopy materials. It almost doesn’t seem fair to sit on my sofa with my laptop and read materials served up by Google based on natural language questions and call it research.
The “natural language” part is interesting too. In the “old” days, if you found an article that was relevant to the research topic, you would look at the articles referenced by the author and find, potentially, other relevant articles. But they would all be older than the first article. This is where the “Science Citation Index” came into play.
The Index was a series of periodically published volumes that listed all the articles that cited a particular article in their bibliography. With the Science Citation Index, you could start with a relevant article and then work forwards finding all the newer articles that had cited that article.
Now I just tell Google what I’m interested in and I get a bunch of (almost always) relevant “hits!” Google is even nice enough to tell me how many hits there are and what fraction of a second it took Google to identify them.
Even when I’m researching a biomedical topic I sit on my sofa with my laptop and search the National Library of Medicine. The search language is a bit more arcane than the natural language used by Google but it still feels like cheating compared to slogging around a library. I can even have the full article delivered to my laptop so I don’t have to figure out what library has the publication I need.
Follow us on your social media platform of choice
So, what did I learn from my Google search?
It appears (at least it’s a plausible theory) that Wedding Soup is an inaccurate translation of Minestra Maritata or Married Soup; apparently so-named because of the way the different ingredients marry together so well.
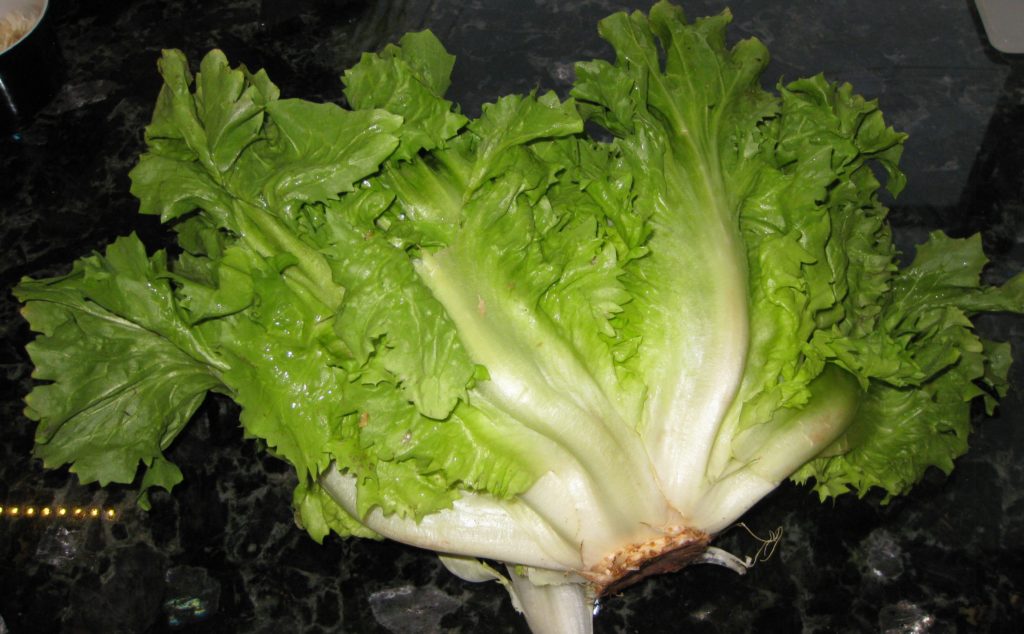
I’m guessing that many Americans with no affiliation to Italy have never had escarole.
Interestingly, my husband’s Tuscan grandmother would use up small amounts of different types of dried pasta, perhaps putting them into a soup or serving them with a simple sauce. She referred to this as Pasta Maritata because she was marrying the different types of pasta to create a dish.
If this theory is correct, I am perplexed by the inaccurate translation but, be that as it may, the soup is wonderful. I urge you to give it a try.
I like breaking up the work over two days, especially since I like to make a long-simmered broth as the base of the soup. My mother didn’t do this. Once the chicken was cooked, it was removed and shredded and the broth was used without additional simmering to make the soup. It shaves about 3 hours off of the prep time. But, since making broth is mostly hands off, and the improvement in flavor is dramatic, I simmer everything a bit longer before straining and discarding the solids.
If you have a favorite family recipe and a bit of a story to tell, please email me at santafecook@villasentieri.com and we can discuss including it in the blog. I am expanding the scope of my blog to include traditional recipes from around the country and around the world. If you haven’t seen Bertha’s Flan or Melinda’s Drunken Prunes, take a look. They will give you an idea of what I’m looking for.
Print Recipe
Italian Wedding Soup
If you don’t want to use the white center of the escarole, start with two heads and just use the dark green parts. The pale inner portion can be served in a salad or cooked in a number of ways. I like to divide up the work over two days, making the broth on the first day and the remainder on the second day. It’s perfectly feasible to do it all on the same day, however. I always keep a stash of rinds from Parmigiano Reggiano and Pecorino cheeses in the freezer. They add great flavor to broths, beans, and an array of other dishes.
Cut the chicken into breast halves, legs, thighs, and wings. Cut the back into 2 or three pieces. Reserve the liver for another use but chop the remaining giblets.
Slice the onions. There's really no need to peel them first.
Same with the garlic, no need to peel. It all gets strained out in the end.
Combine all ingredients in a large stock pot. Cover and bring to a boil. Reduce heat, and simmer, partially covered for two hours.
After two hours, remove the breasts, legs, and thighs. Continue to simmer the broth.
Remove the meat from the bones. Return the chicken bones and skin to the broth.
Continue to simmer the broth for another two hours, adjusting seasoning as needed.
Meanwhile, shred the breast meat and refrigerate.
Reserve the leg and thigh meat for another use.
After the broth has finished cooking, cool it for several hours. Strain and discard the solids. Allow the broth to come to room temperature and refrigerate.
Alternatively, immediately strain and discard the solids and proceed as below.
Meatballs
Put all the ingredients except the bread into a mixing bowl.
Cut the crusts from the bread.
Cover the bread with warm water for 3-4 minutes.
Squeeze some of the water from the bread.
Add the bread to the mixing bowl.
Mix with your hands, until thoroughly combined and no streaks of white from the bread remain visible.
As you are mixing add a bit of the bread soaking water from time to time (about a quarter cup or so total) to keep the mixture moist but not wet.
The mixture should become tacky from the effects of the water and the mixing on the proteins in the meat. The tackiness will help the meatballs hold together for the same reason that sausage doesn’t fall apart when the casing is removed.
With damp hands, roll the mixture into approximately 50 meatballs. Keeping your hands moist will enable you to create a smooth surface on the meatballs. If there are visible cracks, the meatballs will split when cooking.
Final assembly
Skim the fat from the broth. Add water to make 6 quarts of broth. Bring the broth to a boil.
Meanwhile, coarsely chop the escarole.
As the broth comes to a boil, adjust the salt and pepper.
Add the chopped escarole. Return to a boil and cook at a moderate boil for approximately 5 minutes.
Add the meatballs. Return to a boil and boil gently, so the meatballs don’t break, for 10-12 minutes.
Add the shredded white meat chicken and return to a gentle boil.
Adjust salt and pepper. At this point, slightly over-salt the soup as the dry pasta will reduce the saltiness of the soup. The soup can be made ahead to this point. Return to a boil and add the pasta just before serving.
Add the pasta and boil gently until pasta is cooked, approximately 10 minutes.
Adjust salt and pepper.
Serve with freshly grated Parmigiano Reggiano cheese.


")
")
")
")
")
")
")
")
")
")
")
")
")
")
")
")

")
")
")
")
")
")
")

")
")
")
")
")
")
")
")
")
")
")
")
")
")