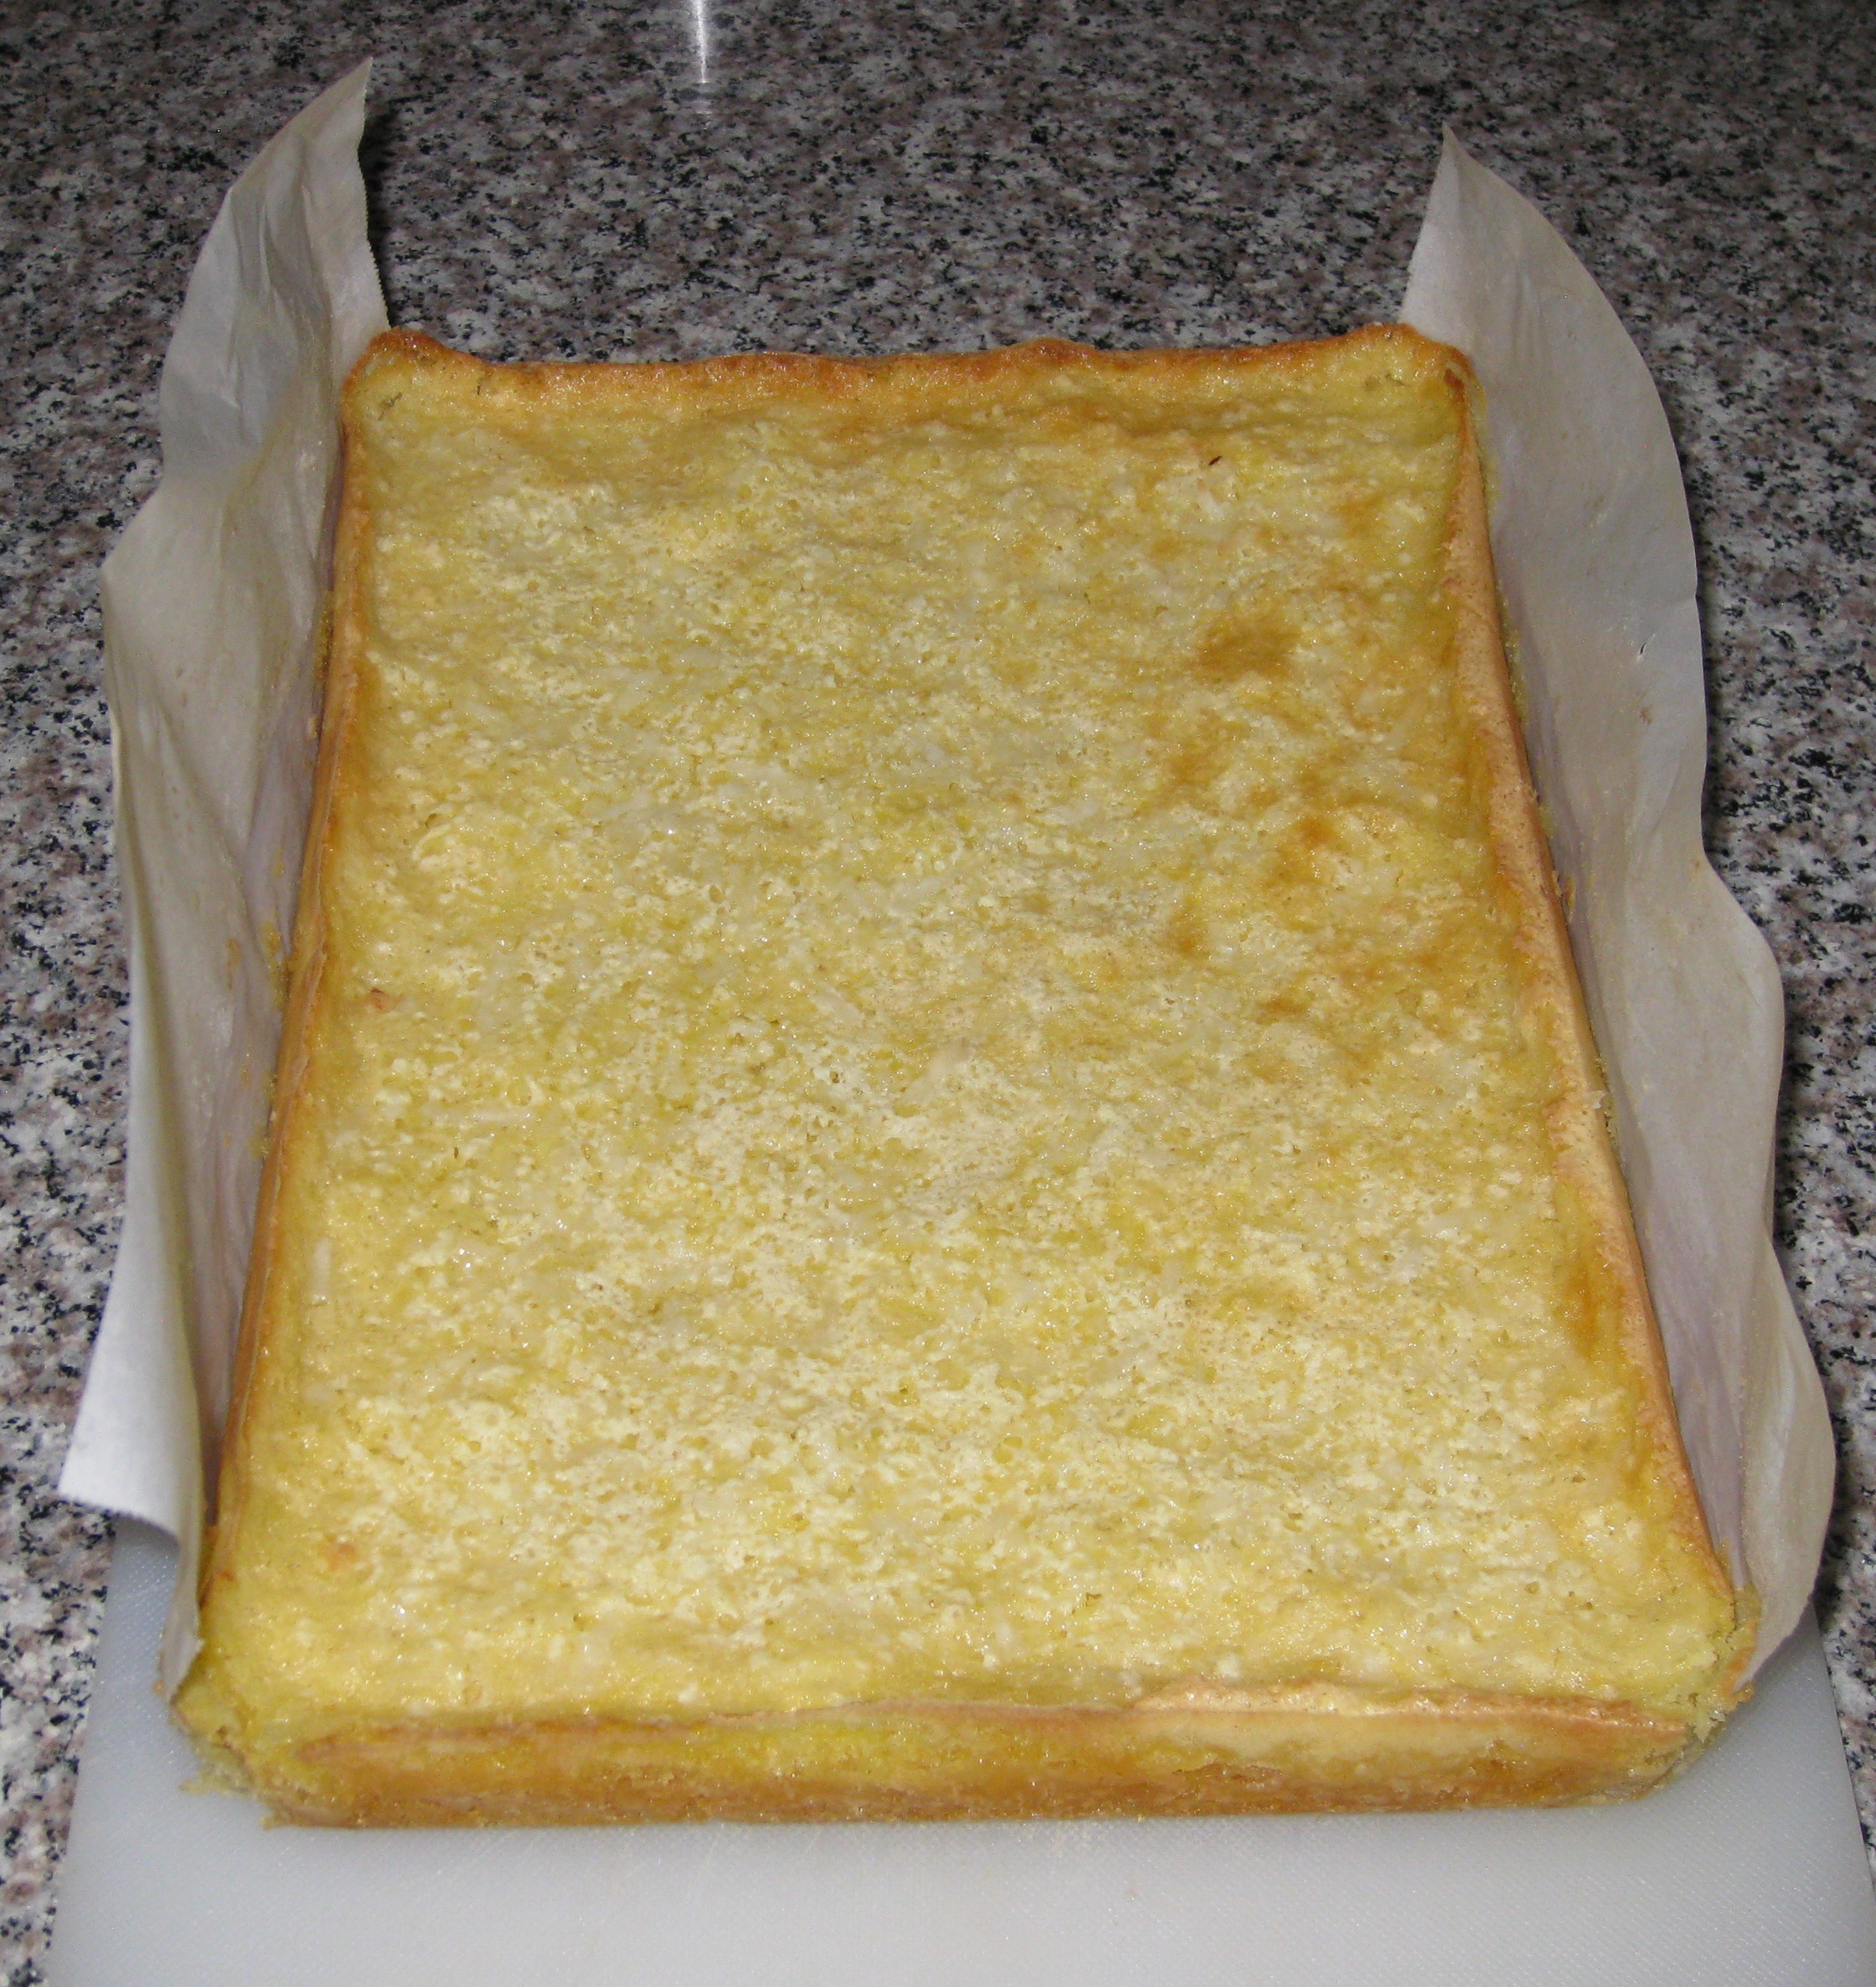
Funghi Ripieni (Stuffed Mushrooms)

September 29, 2021

“Your grams are killing me!”

That’s what a friend told me recently regarding some of the recipes on my blog.

His comment came as he was considering how much pasta to cook for dinner.  I repeated what Great Aunt Fidalma told me:  80 grams per person.

Making the change to the metric system (International System or SI) of measurement isn’t easy and we don’t do much as a country to catalyze the change.  In some areas, though, we’ve made the transition.
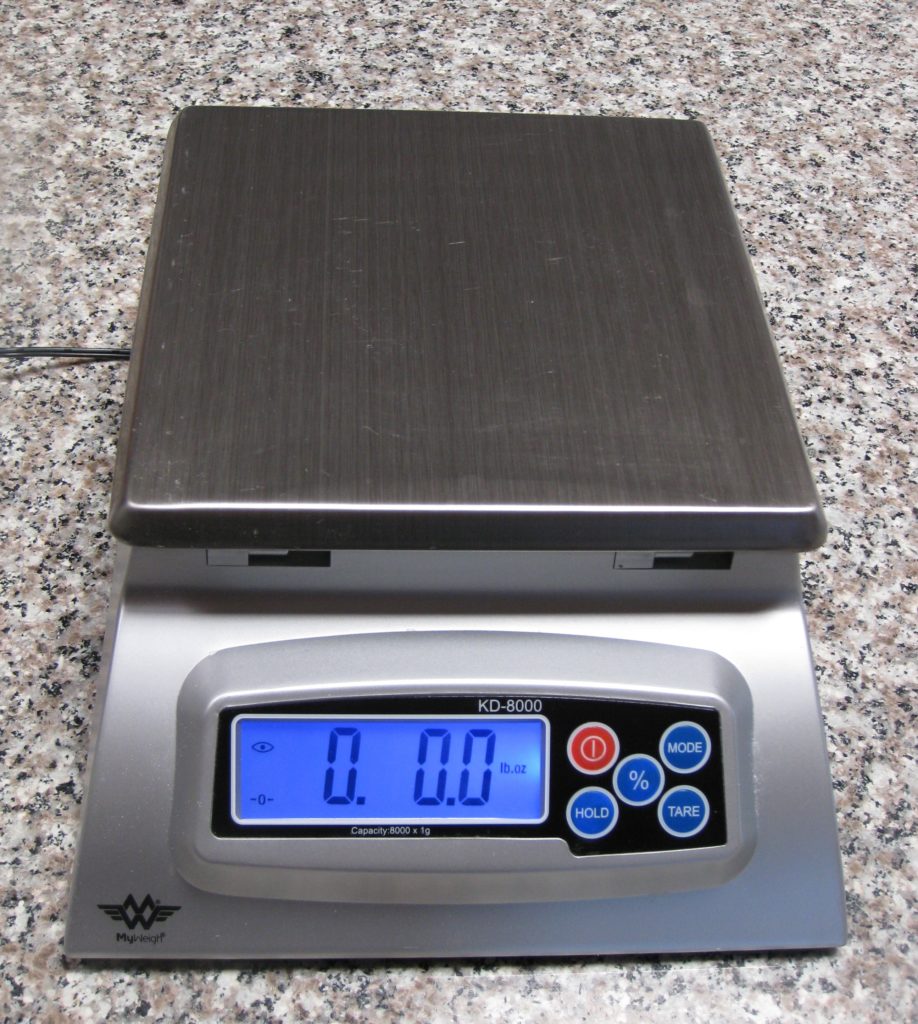
The digital scale I use on a daily basis. I also have two battery powered scales that are just as accurate that cost $20 each.

Have you looked carefully at a wine or liquor bottle recently?  The contents are specified in the metric system even as we continue to refer to a bottle of liquor as a “fifth.”  Until January 1979, a liquor bottle, indeed, held one-fifth of a US gallon, approximately 757 ml.  Standard liquor bottles now contain 750 ml, just a smidge less.


Join our mailing list and you’ll never miss a recipe again!


Cooking, and especially baking, is much easier with the metric system.  And that doesn’t even take into account the ease of weighing ingredients rather than trying to measure cups and fractions of cups.

I find that I am frequently scaling recipes up and down, but usually up.  If the recipe calls for 3/4 cup of water, and I’m upscaling by 20%, I end up with the unwieldy amount of 9/10 cup of water.  If I were using metric measures, I’d be starting with something like 180 ml and increasing by 20% to get to 216 ml which is much easier to measure out than 9/10 of a cup.
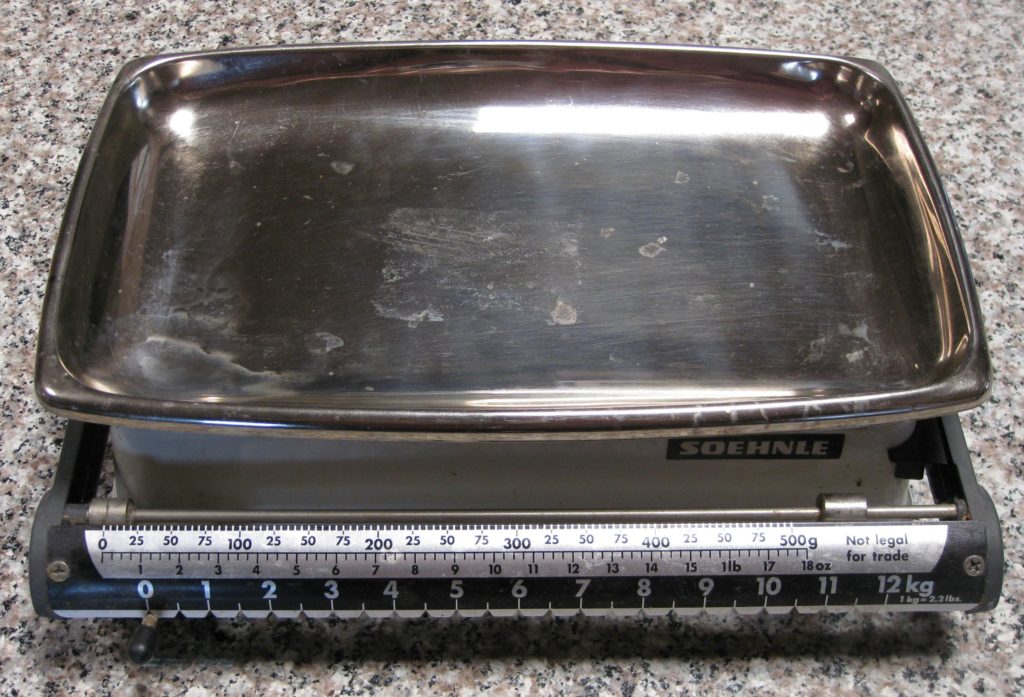
The manual scale that I used for many years. It has since been mothballed.

Let’s face it, how do you measure 9/10 cup.  You first start by determining what 1/10 cup is, which is 1.6 tablespoons.  Multiplying that by 9 gets you 14.4 tablespoons.  But since you’re not going to measure out that many tablespoons one by one (and you’re likely to get pretty inaccurate after a few tablespoons, if you do) you work backwards to figure out what standard measure comes close.  That gets you back to the 3/4 cup (12 tablespoons) you started with plus 2.4 tablespoons.

For most purposes, you can treat 2.4 tablespoons as if it were 2.5 tablespoons since the difference is likely within the margin of error for measuring with kitchen equipment.  But unless you have a set of measuring spoons that contains a 1/2 tablespoon measure, you’ll be measuring out 2 tablespoons plus 1 teaspoon plus 1/2 teaspoon… if you can remember how many teaspoons are in a tablespoon.

So rather than just pouring 215 ml into a measuring cup (a reasonable approximation for 216 ml and one that can be found marked on some metric measuring “cups”) you’d be measuring out ¾ cup plus 2 tablespoons plus 1 teaspoon plus 1/2 teaspoon.  In my book, that’s crazy!


Follow us on your social media platform of choice


It gets even easier if you give up the notion of measuring by volume and measure everything by weight, even liquids, as is typically done in professional kitchens.  You can get a very accurate scale for less than $20.  With that, you could weigh out the 216 grams of water (equivalent to 216 ml of water) and call it a day:  no guessing, no eyeballing, no complex calculations needed.

For weighing small quantities this little scale can’t be beat for accuracy.

So really, what’s holding you back from giving the Metric System a go?

It’s time for me to get off my soapbox (for now) and actually cook something.  How about stuffed mushrooms?  I’ll even write the recipe in American measures!!
Print Recipe
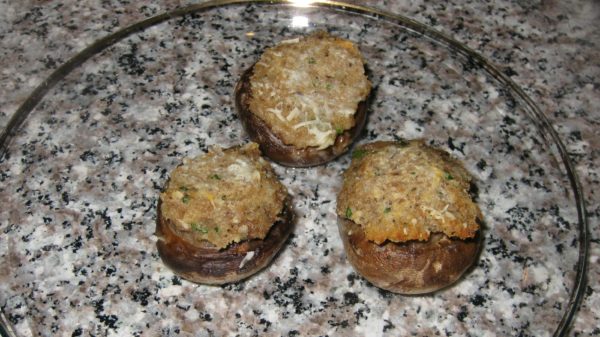
Funghi Ripieni (Stuffed Mushrooms)
These stuffed mushrooms come together quickly and can be made early in the day and refrigerated until it’s time to pop them in the oven.
Votes: 0
Rating: 0
You:
Rate this recipe!
Prep Time 20 minutes
Cook Time 35 minutes
Servings
people
Ingredients
Prep Time 20 minutes
Cook Time 35 minutes
Servings
people
Ingredients
Votes: 0
Rating: 0
You:
Rate this recipe!
Instructions
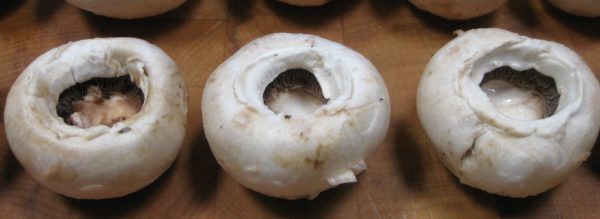
  1. Wipe the mushrooms with a damp cloth.
  2. Remove the stems.
  3. Finely grind the stems in a food processor.
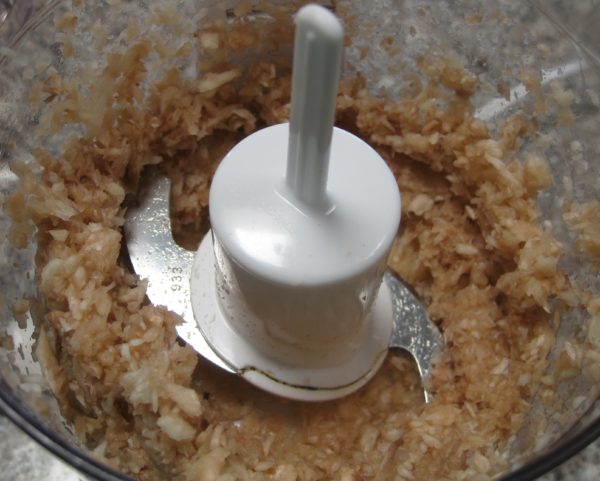
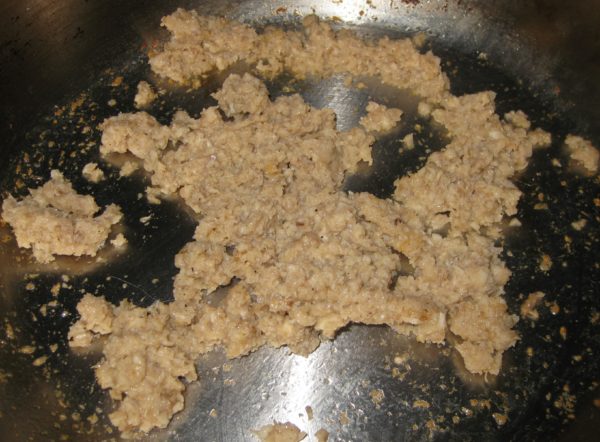
  4. Sauté the ground stems in the butter with a pinch of salt until the liquid is drawn out and then completely evaporated.
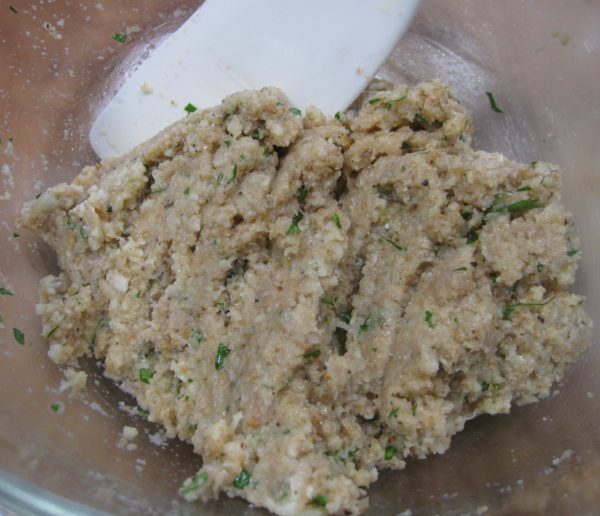
  5. Mix the cooked stems with the breadcrumbs, eggs, parsley, garlic, oregano, and salt and pepper to taste.
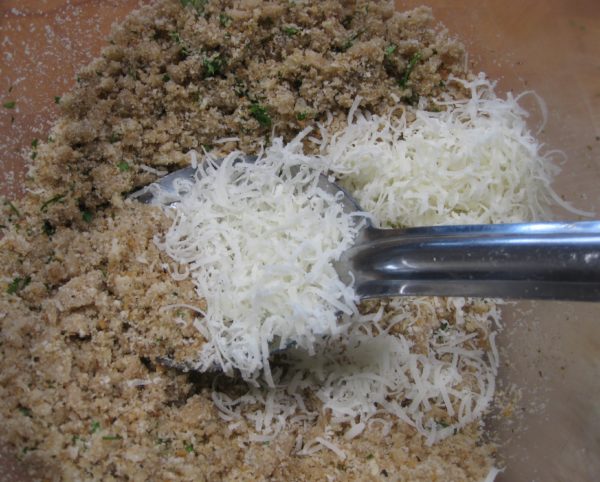
  6. Cool slightly and add 3 tablespoons Parmesan cheese.
  7. Butter a baking dish large enough to hold the mushroom caps in a single layer, snugly.
  8. Fill each mushroom cap with some of the stuffing mixture.
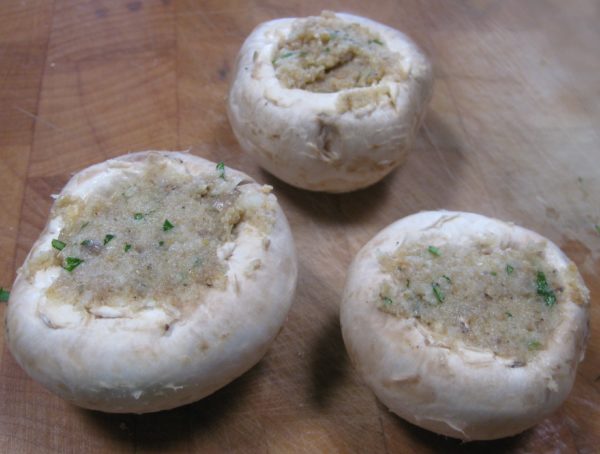
  9. Arrange the stuffed mushroom caps in the buttered dish.
  10. Sprinkle with additional Parmesan cheese, dot with butter and add a small amount of broth or water to the bottom of the dish to keep the mushrooms from sticking.
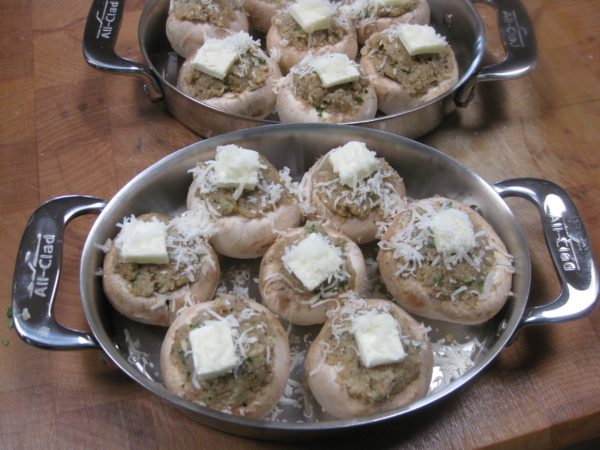
  11. Bake at 375°F for 20 minutes, until golden brown on top.
  12. Baste occasionally with the liquid in the pan during baking.
Recipe Notes

Copyright © 2021 by Villa Sentieri, LLC. All rights reserved.

Share this Recipe

Sformato di Zucchini (Italian Zucchini Bake)

September 15, 2021

A lot has happened in the seven months since my last blog post.  I’m sure you’ll understand why I haven’t posted in a while.

We’re no longer in Santa Fe!

That’s right, we’ve moved full time to Palm Springs, California.

An aerial view of the “new” Villa Sentieri, foreground, with the hiking trail just beyond, that prompted the name of the Villa.

It was, and remains, exceedingly difficult to have left all our close friends in Santa Fe but Palm Springs called to us.


Join our mailing list and you’ll never miss a recipe again!


We get two growing seasons each year.  Since we’re just a few hundred feet above sea level, I don’t need to be concerned about testing recipes at high altitude.  The weather is pretty darn great, too!

The variety of what we can grow here is amazing.  We have ten citrus trees, three fig trees and an apricot tree.  We’re considering adding a pomegranate tree.  We have table grapes trellised up a side wall.  There are four raised beds for herbs and vegetables.

Frank grew the most awesome tomatoes this year.  I have quite a stash of homemade passata (tomato puree) in the freezer.

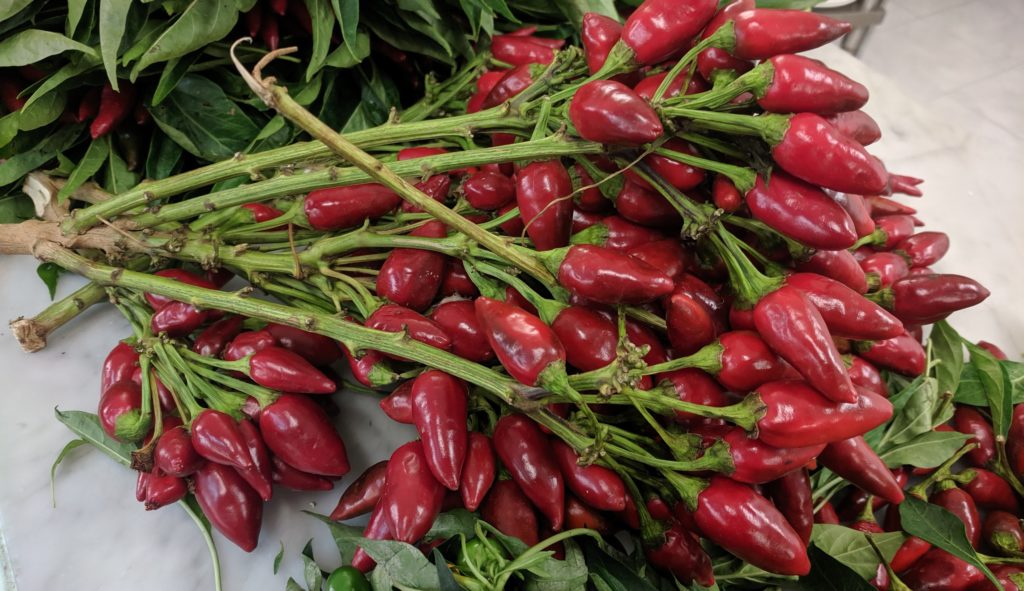
Naso di Cane (Nose of the Dog) peppers from Calabria. Seeds I brought back in 2019 just got planted in our garden in Palm Springs. I’m hoping to make “Olio Santo” (Holy Oil, aka Hot Chile Oil) in a few months.

The timing of our seasons takes a bit of getting used to.  Our first season pretty much ended in June.  That’s probably the time that most of you were just getting started with your gardens.  Though the herbs have continued to grow through the summer heat, all the vegetables were done by the end of June.


Follow us on your social media platform of choice


Right now we have an abundance of fresh limes.  The other citrus trees have fruit but it won’t be ripe for a few more months.

The vegetable beds sat fallow for the summer.  Just a few days ago, Frank planted them with seeds for what will be our second harvest of the year.  That will take place in November and December.

The “new” Villa Sentieri has an interior atrium with a koi pond filled with 17 koi.

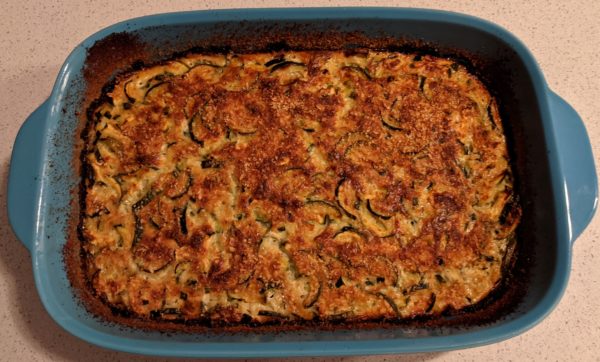
Though we’re not harvesting vegetables at the moment, this is the perfect time for zucchini in most of the country.  When there’s an abundance of zucchini, sformato is the answer.

Print Recipe
Sformato di Zucchini (Italian Zucchini Bake)
This was the first item that I cooked with Zia Fidalma at her home in Tuscany in August 2019. Green beans, cut in small pieces, can be prepared the same way except the beans are boiled and not sautéed. A combo of beans and zucchini is also possible. Zia does not usually add herbs to her sformato but since she had some niepita she added it. Though you’re not likely to have niepita (aka mentuccia romana), unless you grow your own, adding a small amount of marjoram or oregano is a welcome addition. If you don’t have fresh herbs, use a light sprinkling of dry herbs. In any case, herbs are totally optional.
Votes: 0
Rating: 0
You:
Rate this recipe!
Cuisine Italian
Prep Time 20 minutes
Cook Time 2 hours
Servings
people
Ingredients
Cuisine Italian
Prep Time 20 minutes
Cook Time 2 hours
Servings
people
Ingredients
Votes: 0
Rating: 0
You:
Rate this recipe!
Instructions
Besciamella
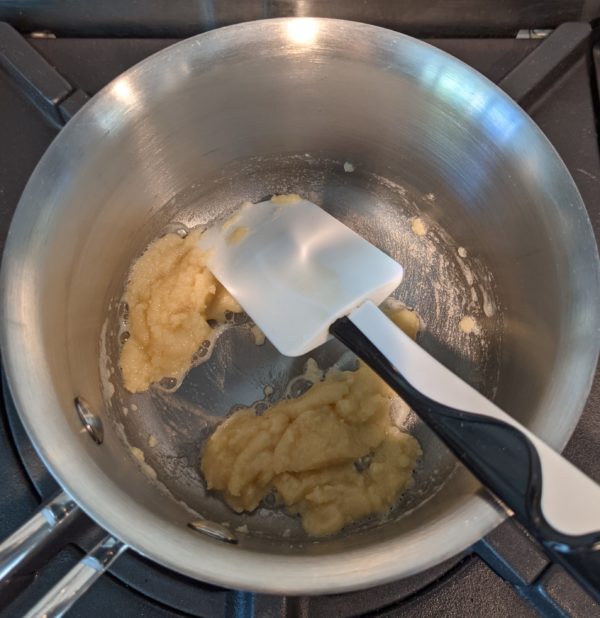
  1. In a small heavy-bottomed saucepan, melt the butter.
  2. Add the flour and sauté briefly until the raw smell is gone. Do not brown the flour.
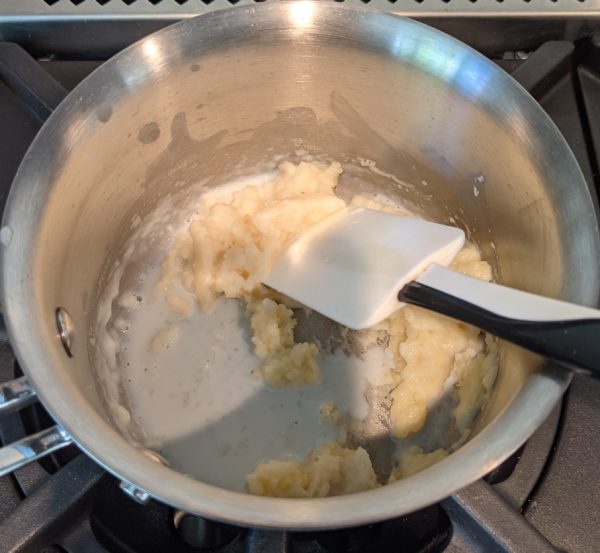
  3. Add the milk a little at a time, stirring well after each addition to avoid lumps.
  4. After all the milk has been added, bring the mixture to a boil, stirring constantly and scraping the bottom of the pan. Boil for one minute.
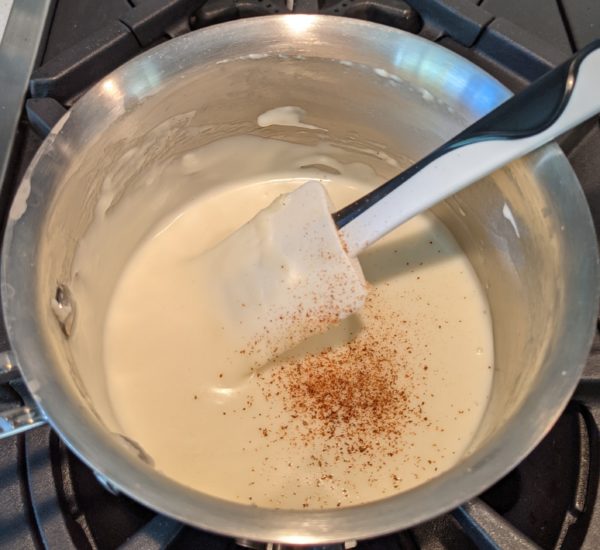
  5. Remove from the heat and stir in the nutmeg.
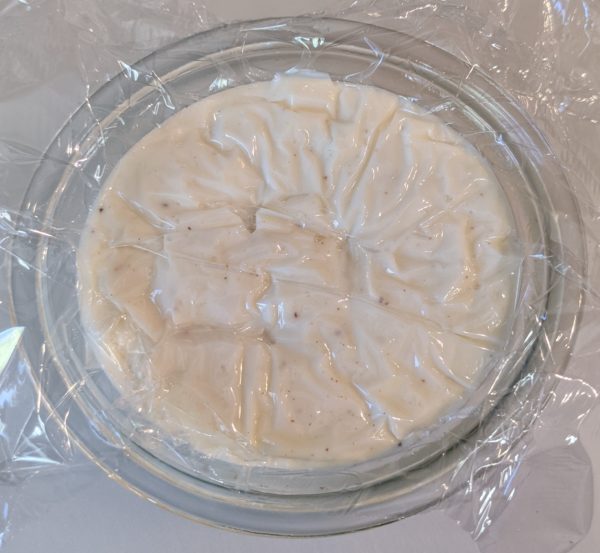
  6. If not using immediately, pour the besciamella into a heat-proof bowl and cover with plastic wrap touching the surface to avoid the formation of a skin.
  7. Refrigerate if the besciamella will not be used within an hour or two.
Sformato
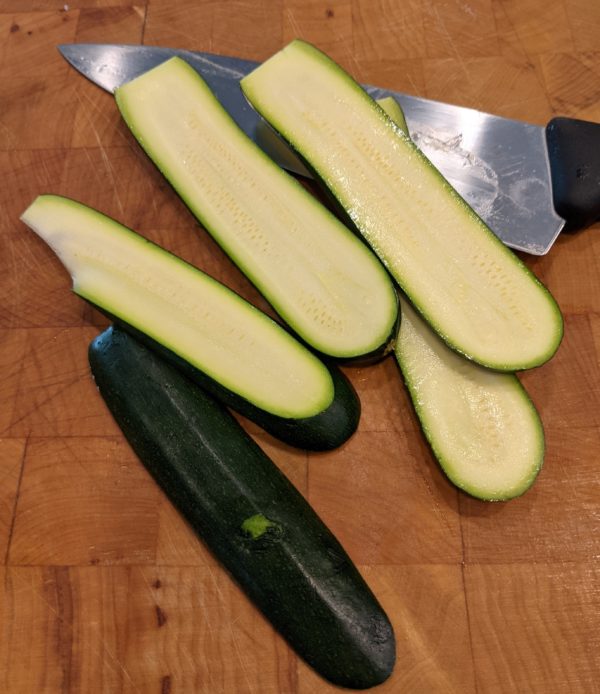
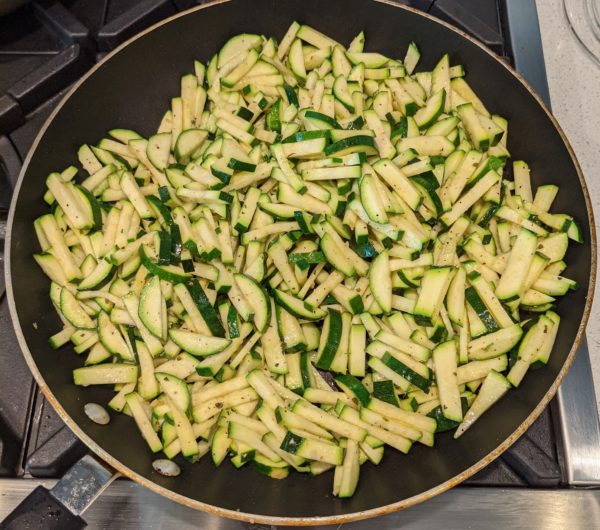
  1. Do not peel the zucchini. Cut off the stem ends and slice the zucchini lengthwise about 3/16 inch thick then crosswise the same thickness to make thick matchsticks.
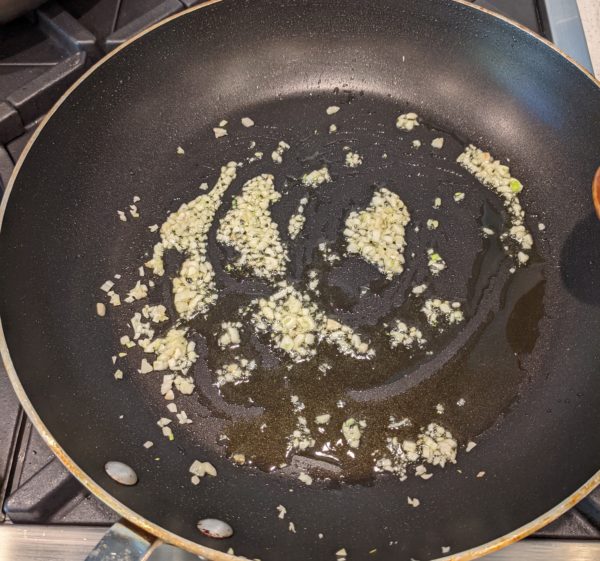
  2. Sauté the garlic in the olive oil until fragrant.
  3. Add the cut zucchini, chopped flowers and minced niepita if using. Season with salt and pepper and sauté briskly until just barely tender.
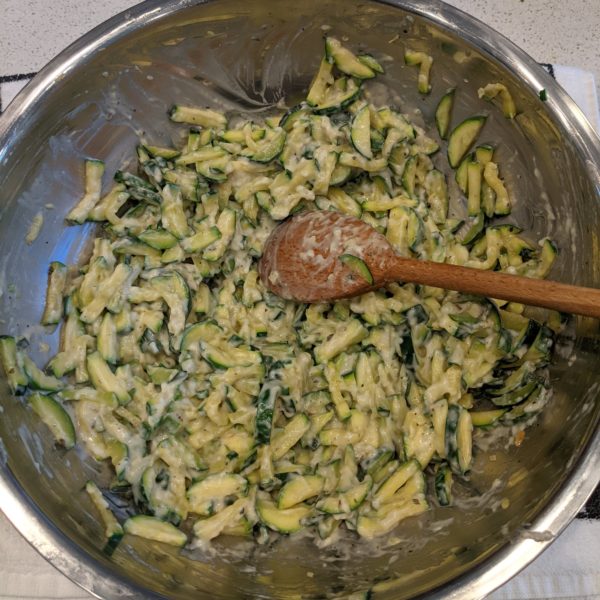
  4. Mix the cooked zucchini with the besciamella, nutmeg, and Parmigiano.
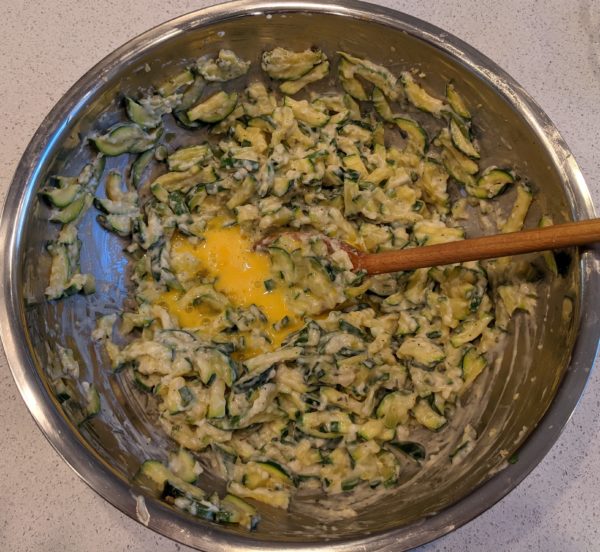
  5. Stir in the eggs after the mixture is cool enough to not cook the eggs.
  6. Taste and adjust salt and black pepper.
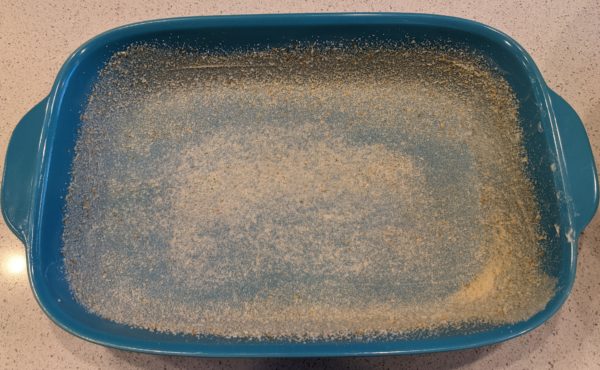
  7. Butter a baking dish, approximately 7 ½” x 11”.
  8. Sprinkle the buttered dish with fine dry breadcrumbs.
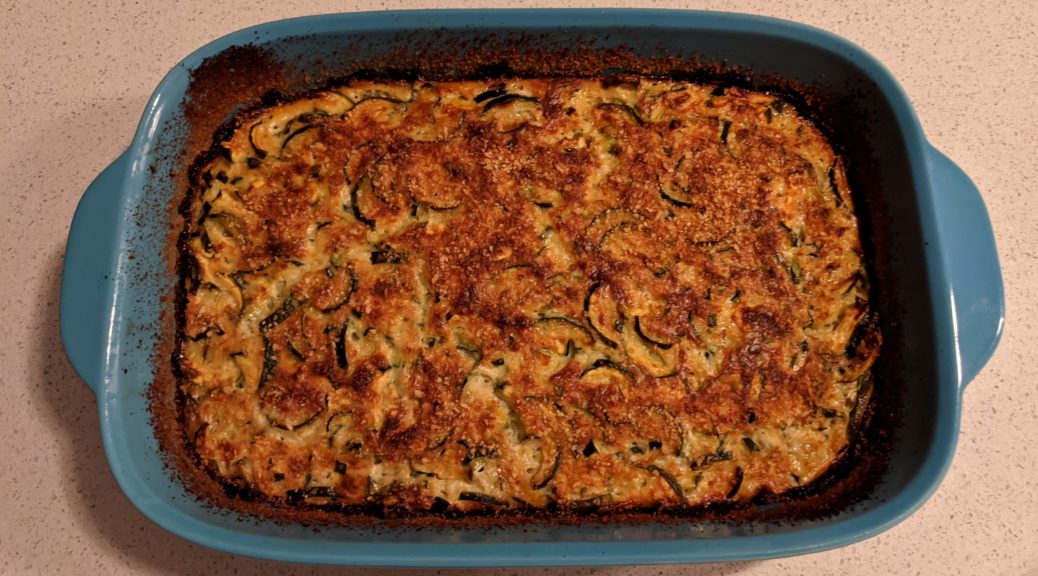
  9. Pour the zucchini mixture into the prepared baking dish. It should be about ¾ inch thick.
  10. Bake at 400°F till very brown on top, approximately 90 minutes. Cool 10 minutes before cutting.
  11. Serve warm or at room temperature.
Recipe Notes

Copyright © 2021 by Villa Sentieri, LLC. All rights reserved.
Share this Recipe

Crostata di Amaretti (Amaretti Tart)

July 21, 2020

You can keep the chocolate!

It’s not that I don’t like chocolate.  It’s just that I’m not one of those people who thinks chocolate is the absolute best flavor for sweets.

My favorite flavors are almond and coconut.  Preferably together.

I remember a cake I ate when I was 12 years old.  It was an absurdly moist yellow cake that tasted of almond and coconut.

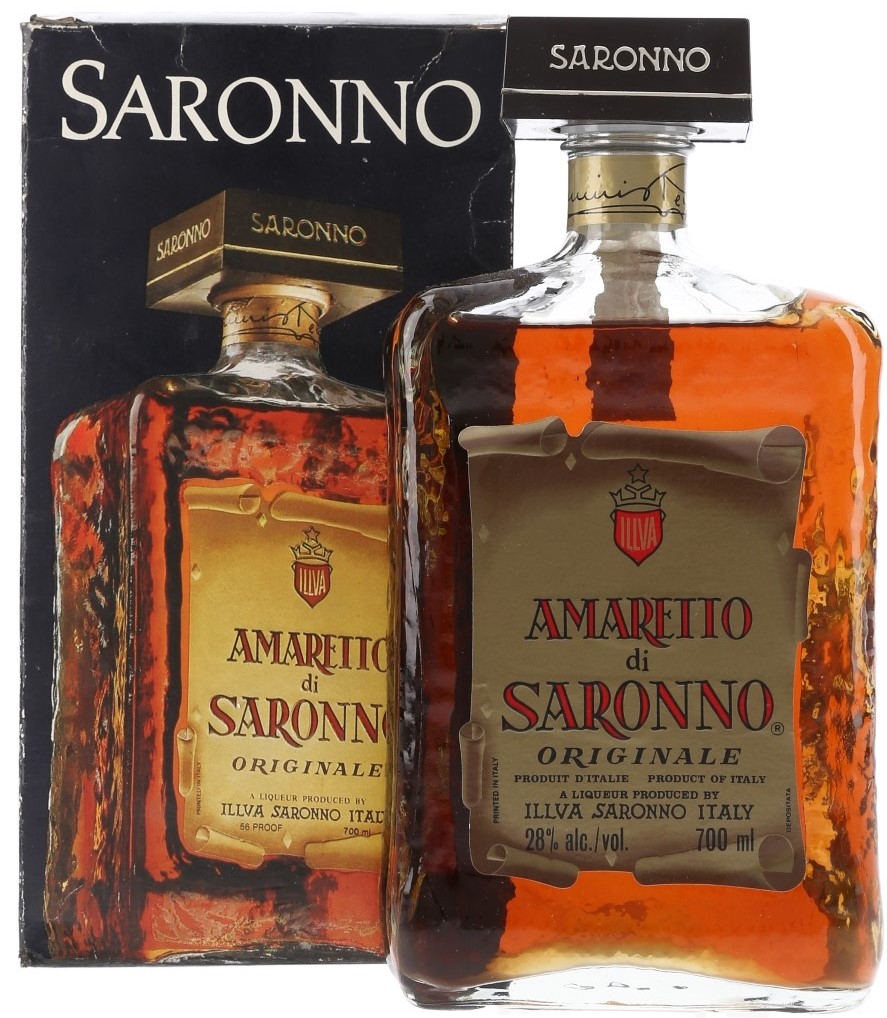
A bottle of Amaretto di Saronno before it was rebranded.

In memory of that cake, which I had only once, I have an entire stash of coconut-almond cake recipes.  I’m building up to the day when I head to my kitchen in Palm Springs (so I can bake without contending with the nearly 8000-foot elevation of Villa Sentieri) and bake coconut-almond cakes every day till I create one that tastes the way I remember it.


Follow us on your social media platform of choice


In the meantime, I make lots of coconut- and almond-based desserts including almond gelato, maraschino cherry cake with almond filling (from the first edition Betty Crocker Picture Cookbook), raspberry bars with almond crust, coconut pistachio crumb cake, Brazilian coconut pudding, coconut pie, Marcona almond blondies, and wattalappam (a coconut custard from Sri Lanka) among many, many others.

Zia Fidalma selecting produce at a supermarket.

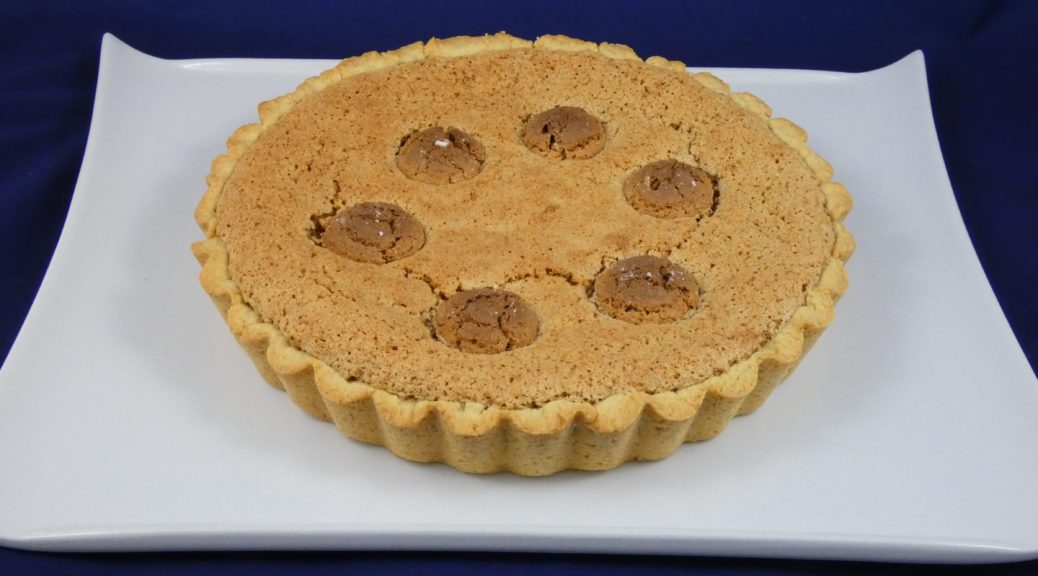
One of my favorites, is an improbable recipe I got from Great Aunt Fidalma in Tuscany nearly 20 years ago for a crostata (tart) with a filling of crushed amaretti cookies and amaretto liqueur.

I know, I know, amaretti and amaretto only pretend to be almond.  They’re really made from apricot pits.  At least the commercial versions are made from apricot pits.

You knew that, right?


Join our mailing list and you’ll never miss a recipe again!


The brand of amaretti I typically buy is Lazzaroni.  It’s the one that comes in the red tin.  Until recently, the brand of liqueur I bought was Amaretto di Saronno.  In 2001 Amaretto di Saronno was rebranded to Disaronno Originale.

Amaretto di Saronno after it was rebranded Disaronno in 2001.

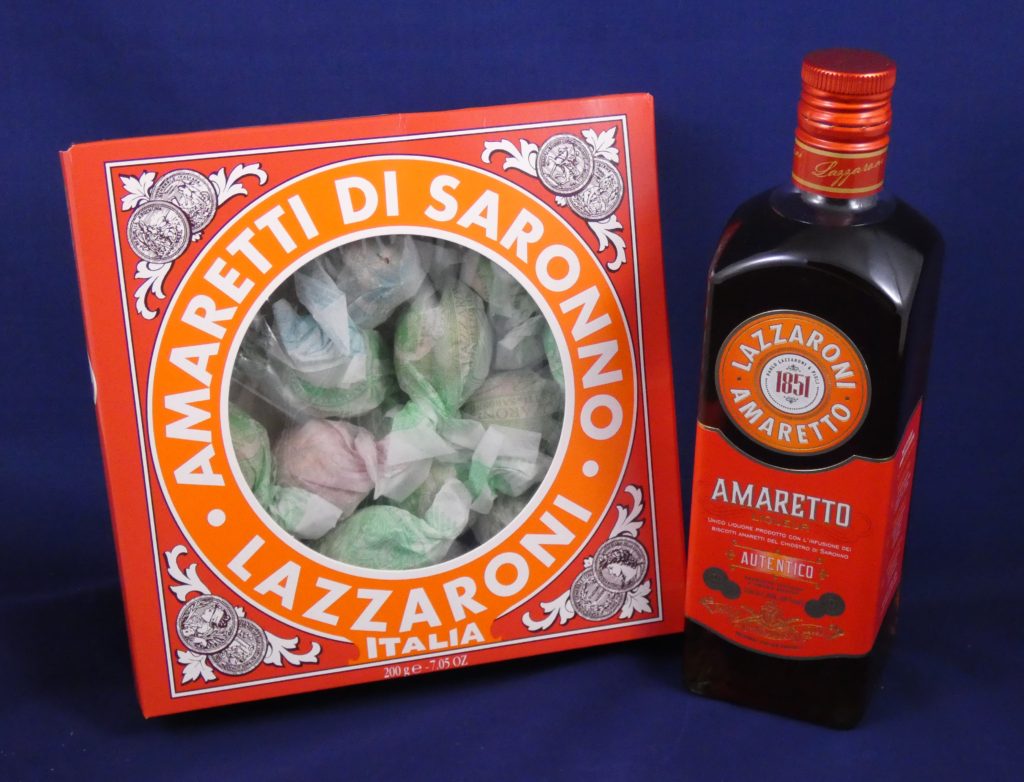
When I went to buy the Amaretto to make this crostata, I found an unfamiliar one from the makers of the cookies, Lazzaroni Amaretto.

While Amaretto di Saronno is made from infusing apricot pits, the good folks at Lazzaroni say that they infuse their famous cookies (which, of course, contain apricot pits).

Lazzaroni amaretti and an amaretto liqueur by the same company.

Since the flavor of this crostata is entirely dependent on the amaretti and the amaretto, I suggest you buy good quality ones.

Print Recipe
Crostata di Amaretti (Amaretti Tart)
Use very good quality amaretti cookies and amaretto liqueur as the taste of the crostata is completely dependent on them. You can buy amaretti in packages of 200 grams, if you buy a larger quantity, weight out 200 grams or 7 ounces. Most home cooks in Italy buy little envelopes of powered (artificial) vanilla flavoring. These are not common in the United States, so I’ve substituted vanilla extract. You can use one envelope of Italian vanilla flavor instead of one teaspoon of vanilla extract.
Votes: 0
Rating: 0
You:
Rate this recipe!
Cuisine Italian
Prep Time 1 hour
Cook Time 30 minutes
Servings
people
Ingredients
Pasta Frolla
Cuisine Italian
Prep Time 1 hour
Cook Time 30 minutes
Servings
people
Ingredients
Pasta Frolla
Votes: 0
Rating: 0
You:
Rate this recipe!
Instructions
Pasta Frolla
  1. Blend the flour, sugar, baking powder, vanilla powder, if using, salt and lemon zest in a food processor until combined.
  2. Add the butter, cut in pieces, and vanilla extract, if using, then blend till well combined.
  3. Add the eggs and blend till the pastry almost forms a ball.
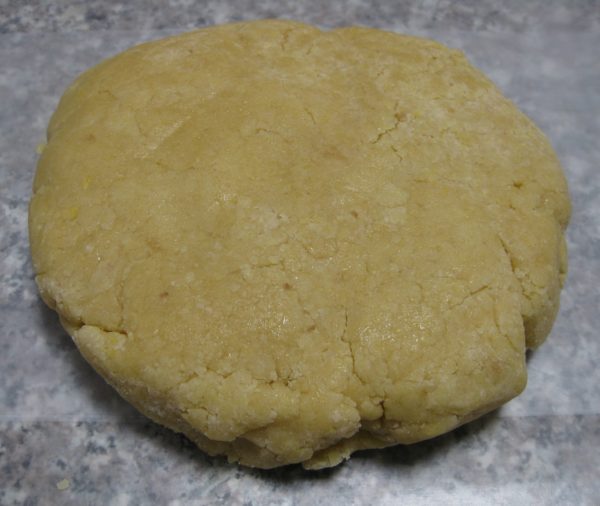
  4. Remove the pastry from the food processor and use your hands to press everything into a single ball.
  5. Wrap the pastry in waxed paper and refrigerate for an hour before using.
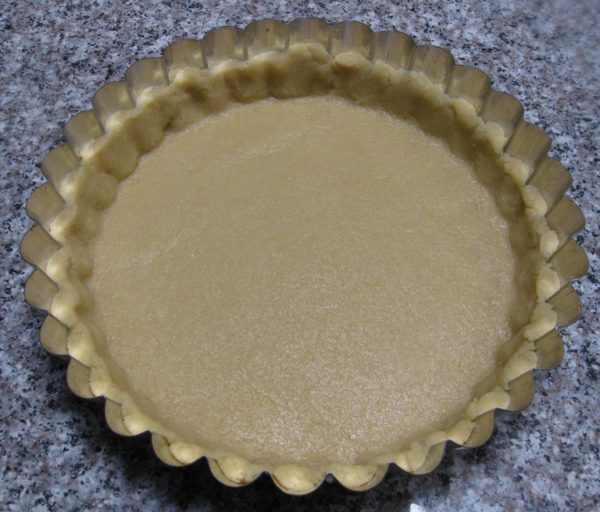
  6. Roll the pasta frolla into a 13-inch circle.
  7. Line a greased 10" deep dish tart pan with a removable bottom with Pasta Frolla going about 1 inch up the sides. Trim the excess and use it to patch the crust if necessary.
Filling and Assembly
  1. Reserve six amaretti for garnish.
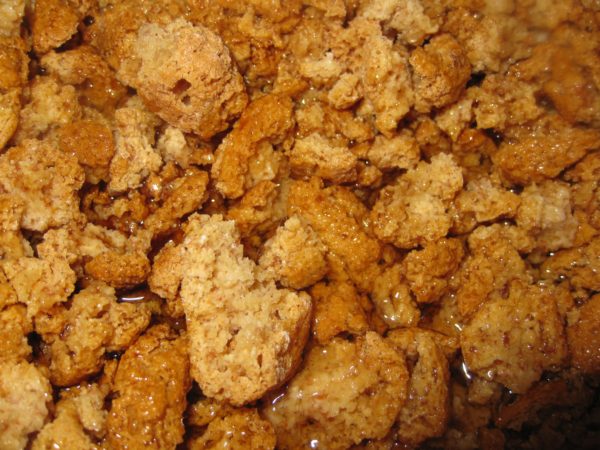
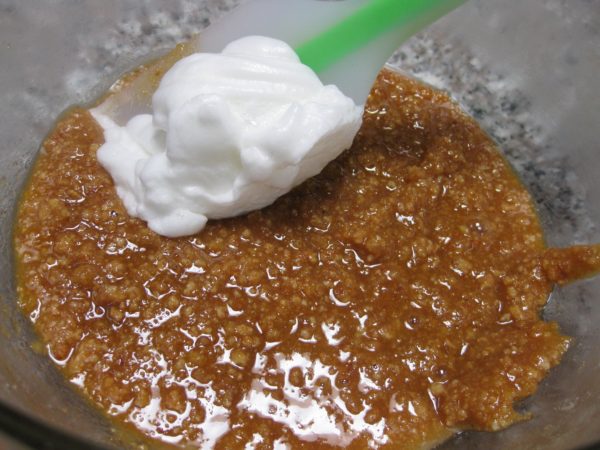
  2. Crush the remaining amaretti and combine with liqueur, and vanilla extract, if using.
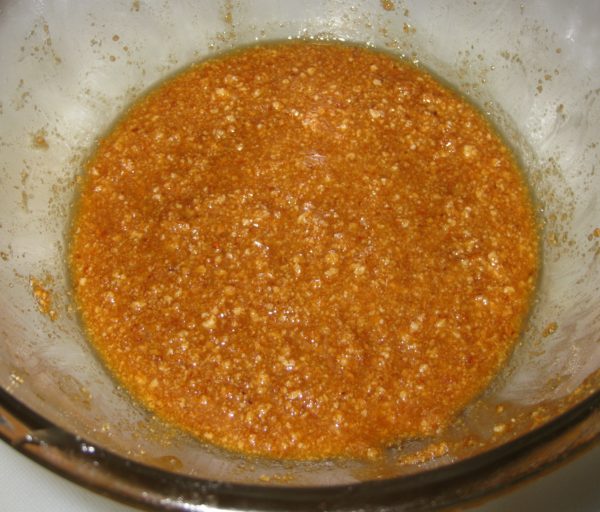
  3. Soak, occasionally crushing the amaretti further, until thick and batter-like.
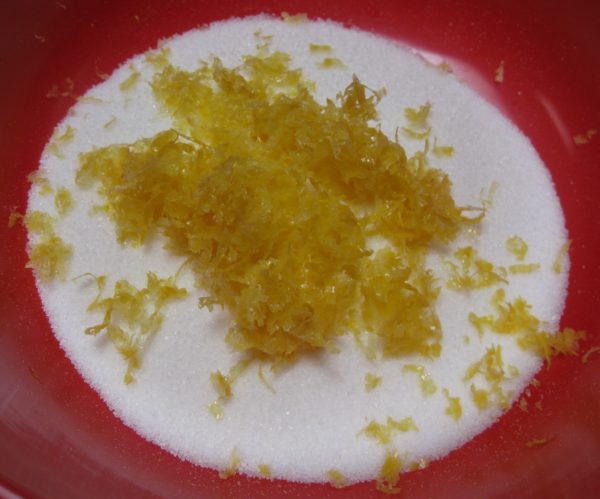
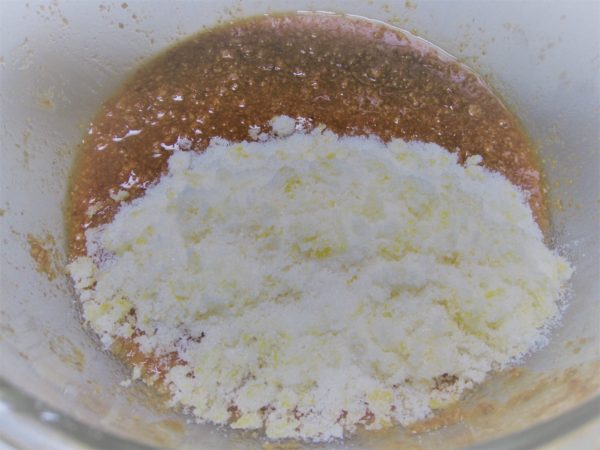
  4. Combine sugar, lemon zest and vanilla powder, if using.
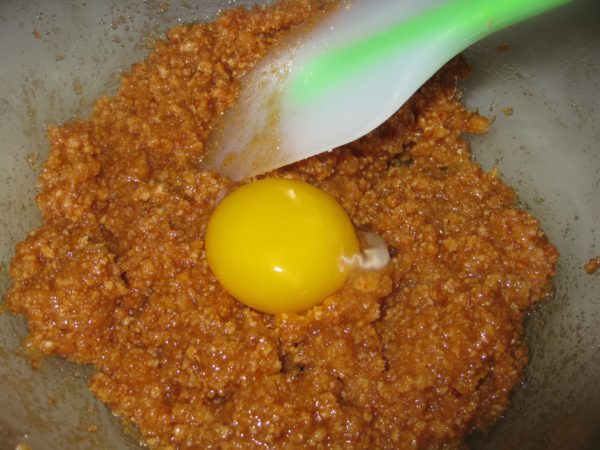
  5. Combine the egg yolk and the sugar mixture with the amaretti mixture. Mix well.
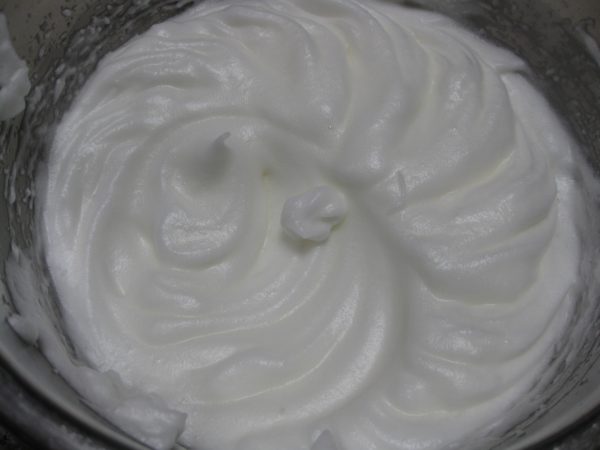
  6. Beat the three egg whites and cream of tartar until stiff.
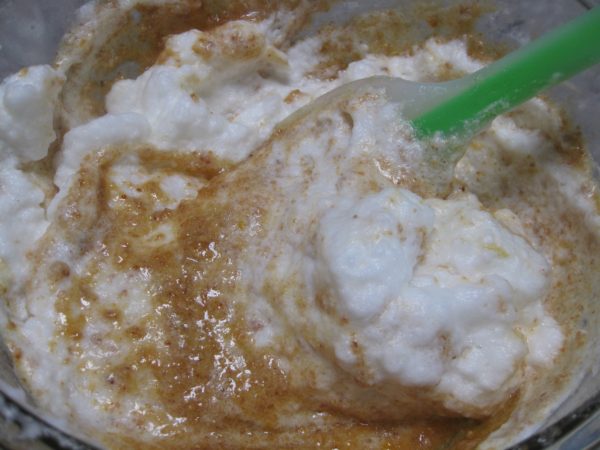
  7. Fold a spoonful of the egg whites into the amaretti mixture to lighten it.
  8. Gently fold in the remainder of the whites, in two portions.
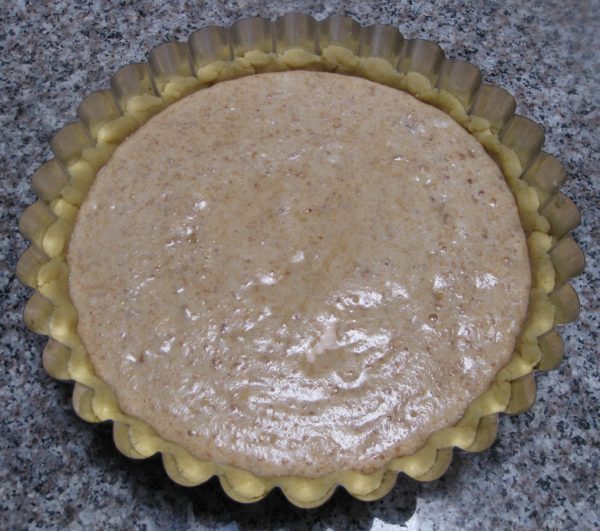
  9. Pour the filling into the tart pan lined with pasta frolla.
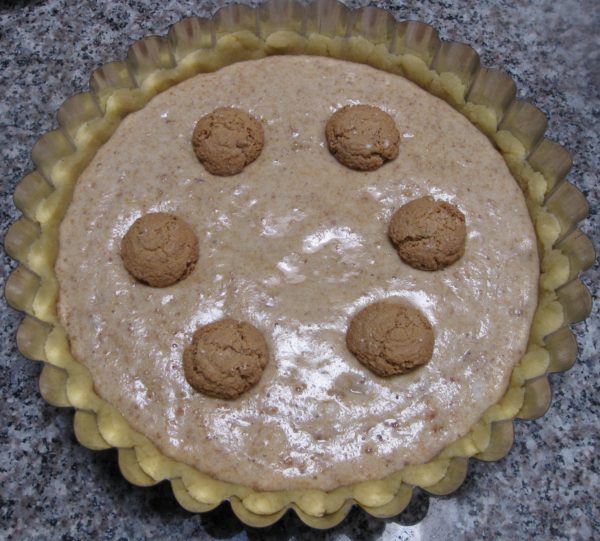
  10. Garnish the top with the reserved whole amaretti.
  11. Bake at 350°F approximately 30 minutes, until golden brown.
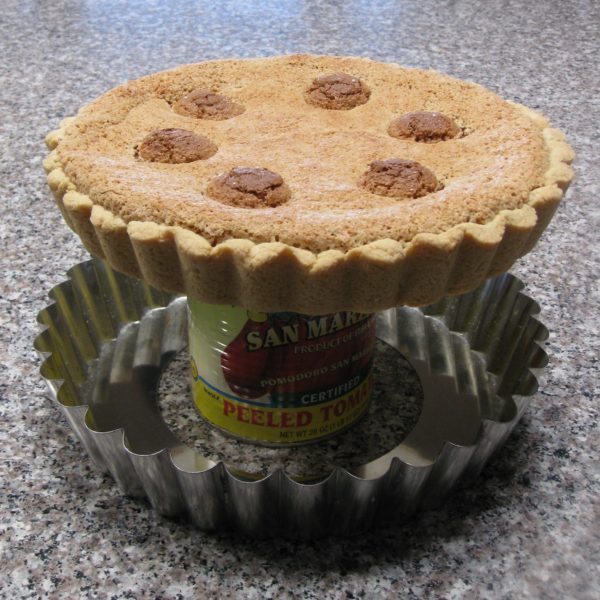
  12. Cool in pan for about 10 minutes then gently remove the sides of the pan. (I like to do this by setting the pan on a large can then gently jiggling the pan apart.)
  13. Cool thoroughly on a rack.
  14. The crostata should be stable enough to slide off the bottom of the tart pan and onto a serving platter.
  15. Serve with whipped cream, if desired.
Recipe Notes

Copyright © 2020 by Villa Sentieri, LLC. All rights reserved.
Share this Recipe

Sformato di Patate (Italian Potato “Cake”)

July 13, 2020

I published a photo for this dish on my Facebook feed last week and got so much attention that I decided to actually post the recipe.

Sformato di Spinaci (spinach sformato or, if you must, spinach casserole) is a dish that garners great reverence in my husband’s family.  A while ago, I published my adaptation of the family recipe.

I make sformati out of lots of different vegetables besides spinach, including Swiss chard, zucchini, and cauliflower, among others.

Sometimes I swap out the ground beef in my husband’s grandmother’s recipe for sausage or Calabrese salame, or mushrooms.  This is a heretical act in his family but everyone still eats the sformato.  This is compounded  by the blasphemy of adding besciamella to the mix.


Join our mailing list and you’ll never miss a recipe again!


Although I make several versions of potato “cakes” I never thought of them as sformati until I stumbled upon the genre while perusing Italian-language food websites.

Although I had mixed meat, such as salame or prosciutto, and cheese into the potato mixture before baking it, I had never made a layer of filling in the middle.  Doing so changes the whole character of the dish.  It really feels like a main course (or what would be a secondo in an Italian meal) rather than gussied up potatoes that should be served as a side dish (contorno)!


Follow us on your social media platform of choice


When serving sformato di patate, I often start with soup and end with a salad… unless it’s a meal for which I developed a new gelato flavor to try! (This happens once, if not twice, per week… the gelato, not the sformato!)

This recipe calls for prosciutto cotto (cooked ham).  This is not the cured ham that we simply call “prosciutto” in English.  It really is just a cooked ham.  Typically, it would not be smoked.  I have successfully made this with good quality ham from the deli counter as well a fully-cooked lightly-smoked ham from the meat counter.

Since the cheese is smoked, I find that smoked ham works as well as un-smoked ham though the former is more traditional.

Print Recipe
Sformato di Patate (Italian Potato "Cake")
Italian prosciutto cotto is not smoked so the most traditional ham would be unsmoked but since the cheese is smoky, I’ve occasionally used a lightly smoked ham and gotten fantastic results. If the ham is not sliced very, very thinly, cut it into batons about the size of wooden matchsticks. I’ve chosen to keep this recipe in the metric measures that I use. You can click the button below to change to American measures. Feel free to round the quantities up or down a bit.
Votes: 0
Rating: 0
You:
Rate this recipe!
Course Meats
Cuisine Italian
Prep Time 30 minutes
Cook Time 90 minutes
Passive Time 15 minutes
Servings
people
Ingredients
Course Meats
Cuisine Italian
Prep Time 30 minutes
Cook Time 90 minutes
Passive Time 15 minutes
Servings
people
Ingredients
Votes: 0
Rating: 0
You:
Rate this recipe!
Instructions
  1. Peel the potatoes. Dice and cook in salted water until they can be easily pierced with a fork but are not falling apart.
  2. While still hot, pass the potatoes through a ricer and allow to cool until they are comfortable to touch.
  3. Combine potatoes with eggs, Parmigiano and milk. Mix well. Add salt and pepper to taste.
  4. Butter a 22 cm springform pan and coat with fine dry breadcrumbs.
  5. Press about 60% of the potato mixture onto the bottom and up the sides of the pan.
  6. Layer the prosciutto and scamorza inside, making two alternating layers of each.
  7. Top with the remaining potato mixture and smooth the top.
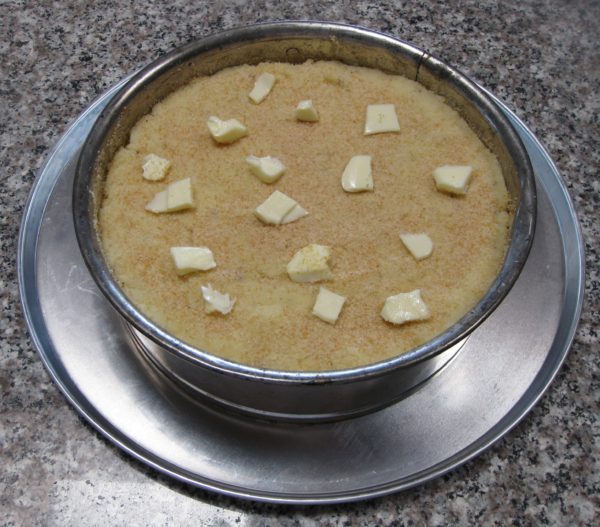
  8. Sprinkle the top with breadcrumbs and dot generously with butter.
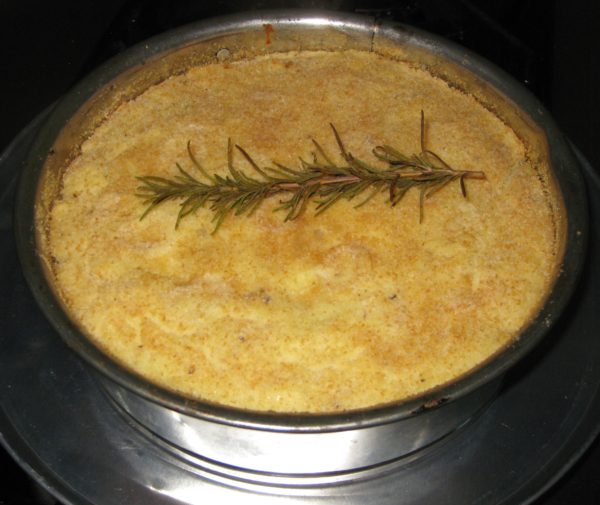
  9. Bake at 350°F for approximately one hour, until golden, adding the rosemary sprig to the top of the sformato after about 20 minutes of baking.
  10. After an hour, the internal temperature should be close enough to 165°F that it will reach that temperature while it rests.
  11. Remove from the oven and allow to cool approximately 15 minutes before removing the sides of the pan and serving.
Recipe Notes

Copyright © 2020 by Villa Sentieri, LLC. All rights reserved.

Share this Recipe

Ragù alla Bolognese

March 11, 2020

I grew up eating exactly one type of tomato sauce for pasta: my mother’s long-simmered, Italian-American-but-based-on-Southern-Italian (Calabrese, to be exact) ragù.

OK, OK, I sometimes ate Aunt Margie’s or Aunt Mamie’s version of the same sauce but we’re talking very minor variations on a theme.

My mother made pasta other ways than with ragù, most commonly with beans as in pasta e fagioli.  But if we were going to eat pasta for pasta’s sake, not mixed with beans or in soup, it was ALWAYS served with her ragù.

My recipe for Lasagna Bolognese will be posted in a few weeks. Get ready by making Ragù alla Bolognese and putting it in the freezer!

When I went away to university at the age of 17 this is one of the first things that I learned to cook.  Well, sort of.  There’s a bit of a learning curve but even my first attempt was respectable.


Join our mailing list and you’ll never miss a recipe again!


I now make scores of tomato-based sauces on a regular basis but I keep going back to three of them over and over:

  1.   My mother’s ragù.
  2.   Ragù alla Bolognese.
  3.  Ragù del macellaio (the butcher’s ragù).

There are so many childhood memories attached to my mother’s ragù that I can’t imagine a time when it wouldn’t be my favorite.

As far as I’m concerned, Ragù alla Bolognese is the gold standard for those tomato-based pasta sauces made with ground meat.  (My mother’s ragù, on the other hand, is made with large pieces of pork.  Other meats can be added but the pork is always there.)

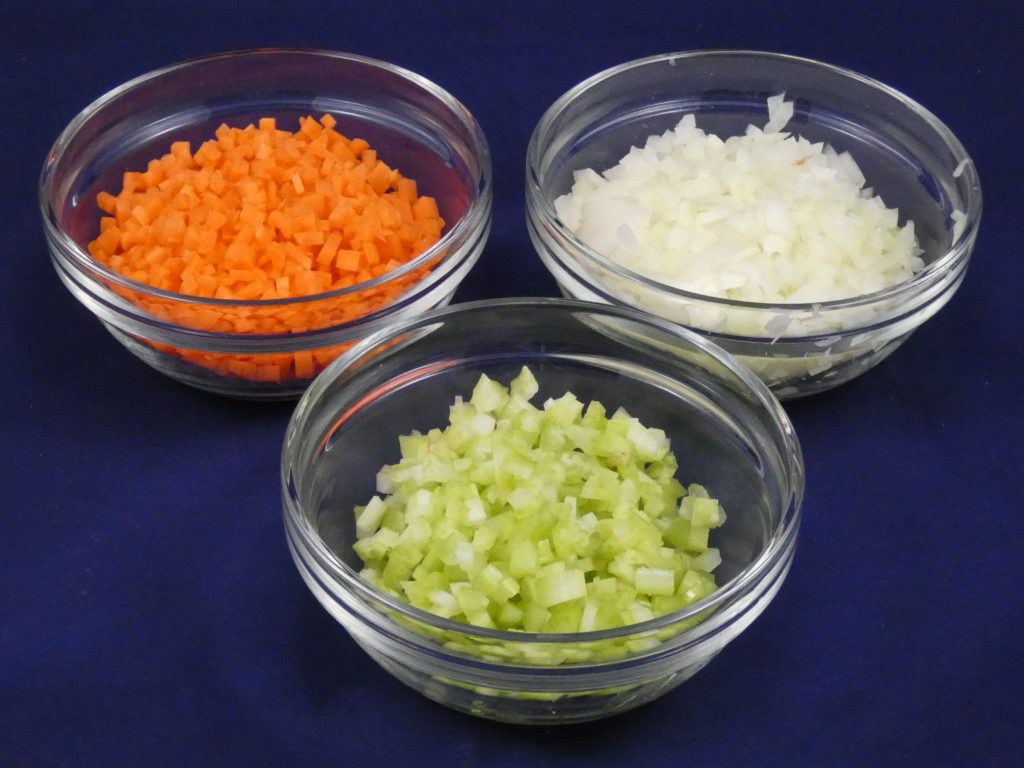
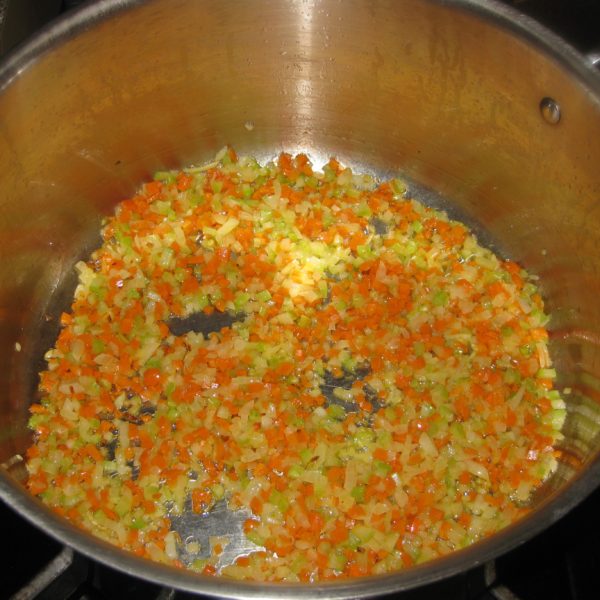
It is really important that the vegetables for Ragù alla Bolognese be cut in tiny dice, 1/8 on a side, often called brunoise.

Ragù del macellaio is very good but, as you might expect for a sauce linked to a butcher, it is made with an array of meats—pretty much anything you have.  I always end up with odds and ends of meat in my freezer, a bit of beef, a bit of pork, some sausage, a piece of chicken, some pancetta, and so forth.  I grind them all up and make the sauce.  The fact that it cooks, unattended, in a slow-cooker all day is an added bonus.

Just as there is an official Pesto alla Genovese recipe, there is an official Ragù alla Bolognese recipe that was codified in the 1980’s.  The ingredients go something like this:

  • 300 grams ground beef, preferably thin flank aka skirt (finta cartella in Italian)
  • 150 grams pancetta, minced
  • 50 grams carrot, minced
  • 50 grams celery, minced
  • 50 grams onion, minced
  • 30 grams triple-concentrated tomato paste
  • 1/2 glass red or white wine
  • 180 ml milk
  • olive oil
  • salt and pepper

Every family in Bologna probably has a slightly different version.


Follow us on your social media platform of choice


Some aspects of the recipe are notable.  There is no garlic.  There are no herbs.  The amount of tomato is quite modest.  Probably the biggest differences I see in credible recipes for Ragù alla Bolognese is whether or not to add milk or cream.  The official version clearly includes it but many otherwise solid recipes do not.

This is not a “tomatoey” sauce.  It’s really ground meat held together with a bit of tomato “binder.”

The version that I make most often varies somewhat from the official one.  I add a hint of garlic and more tomato.  I don’t typically use pancetta though it’s a great addition.  I never add milk or cream.

So, I’ve done it, I’ve laid down a gauntlet.  I’m advocating a recipe that’s not the official one.  I can tell you, however, that it’s darn good.

Give it a try and let me know what you think.

Print Recipe
Ragù alla Bolognese
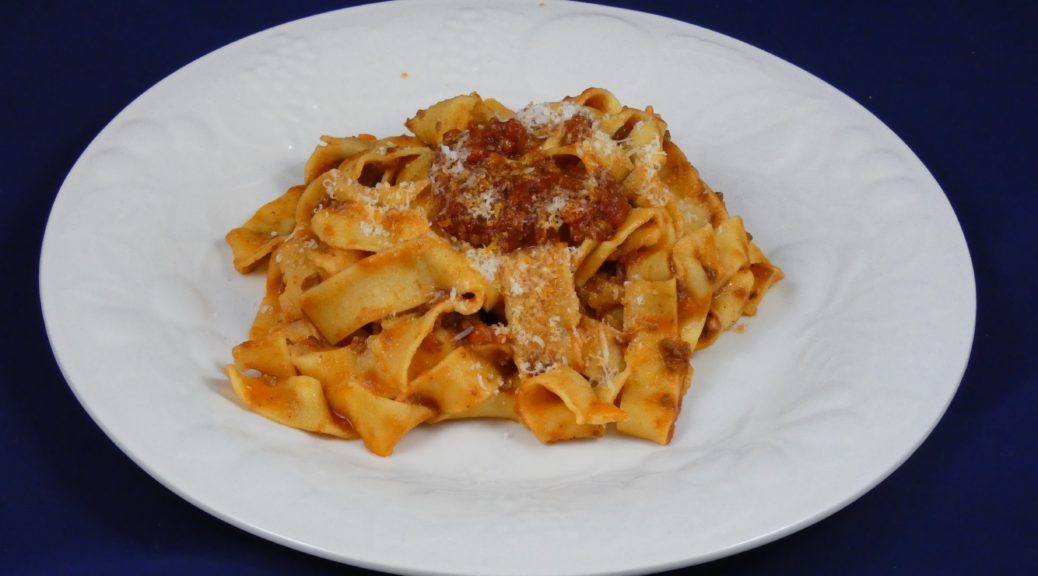
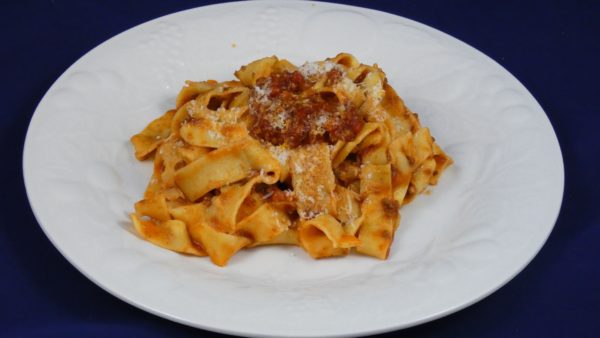
I make garlic oil and keep it in a squeeze bottle by the stove. It comes in really handy for cooking and for flavoring finished dishes. You can use plain extra-virgin olive oil if you wish. In fact, that would be more traditional than garlic. For added flavor, sauté 150 grams of minced pancetta in the olive oil until the fat is rendered. Remove the cooked pancetta. Brown the meat in the oil. Add the cooked pancetta to the meat just before adding the wine. Ragù alla Bolognese should be served with a wide long pasta such as mafalde or linguine.
Votes: 0
Rating: 0
You:
Rate this recipe!
Prep Time 30 minutes
Cook Time 5 hours, mostly unattended
Servings
liters
Ingredients
Prep Time 30 minutes
Cook Time 5 hours, mostly unattended
Servings
liters
Ingredients
Votes: 0
Rating: 0
You:
Rate this recipe!
Instructions
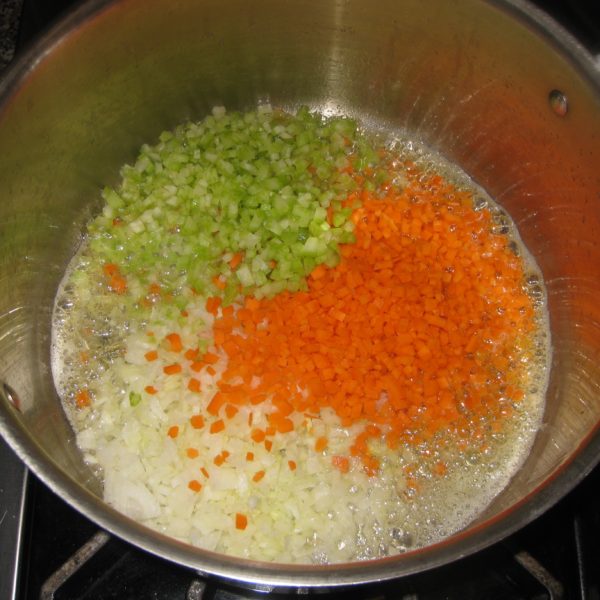
  1. Heat the butter in a heavy-bottomed sauté pan. Add the celery, carrot, and onion.
  2. Sauté the celery, carrot, and onion in the butter until soft without browning. Reserve.
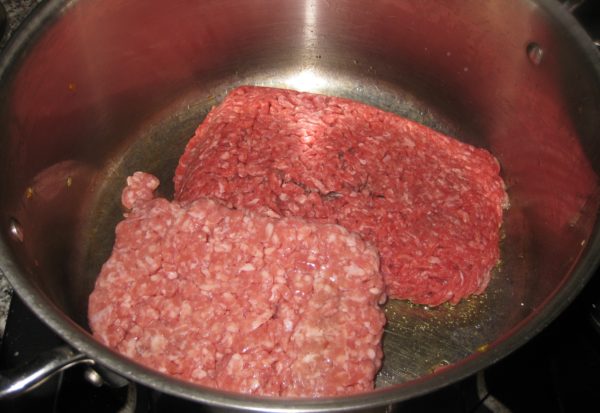
  3. Heat the garlic oil, or extra-virgin olive oil, in a heavy-bottomed sauce pan. Add the beef and pork, if using.
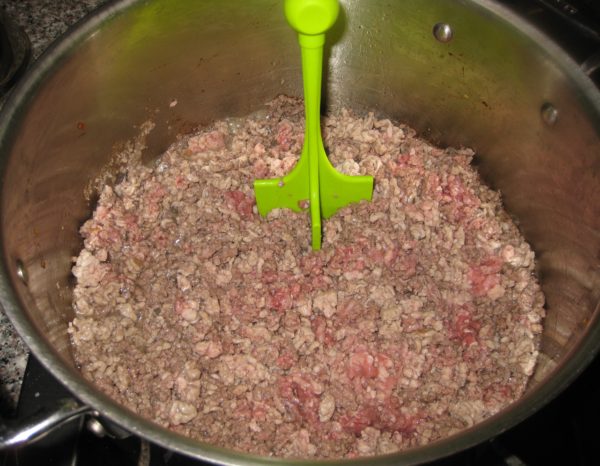
  4. While the meat is cooking, break it up into small bits.
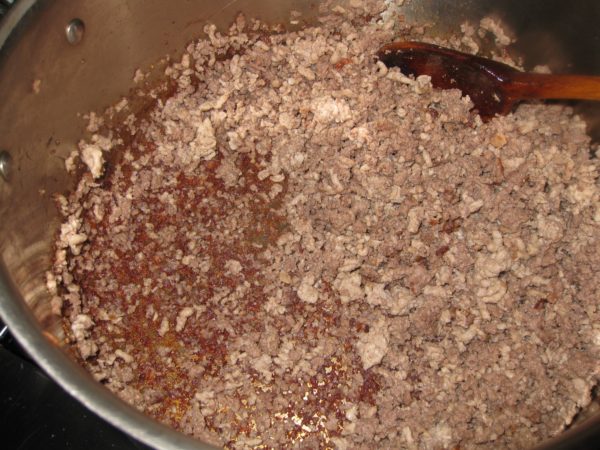
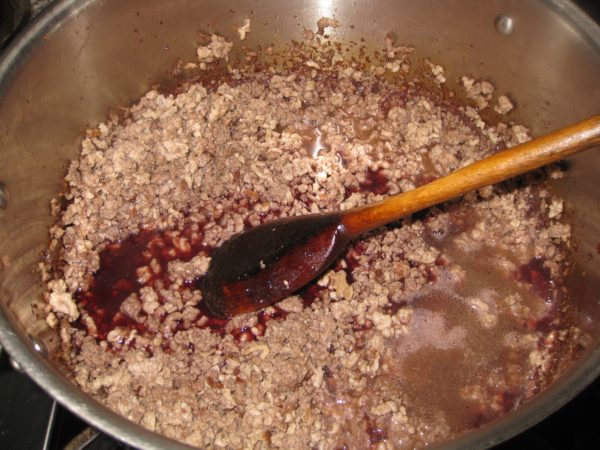
  5. Sauté the beef and pork, if using, in the garlic oil until a lot of fond develops.
  6. Add the wine and boil it all away, loosening the fond from the bottom of the pan.
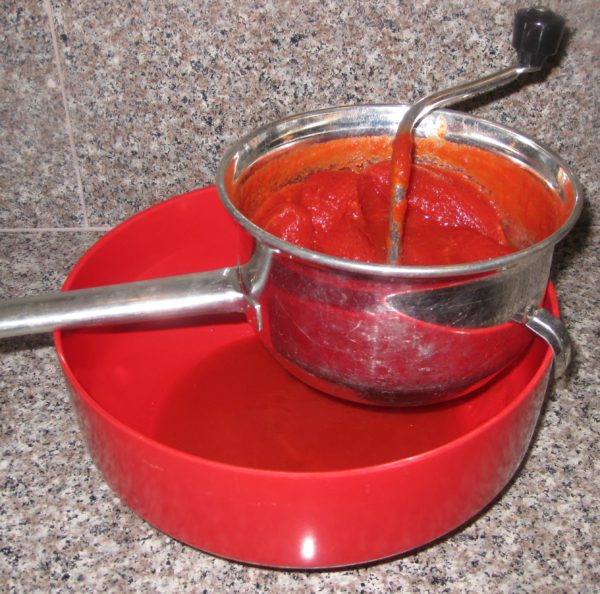
  7. Pass the canned tomatoes through a food mill.
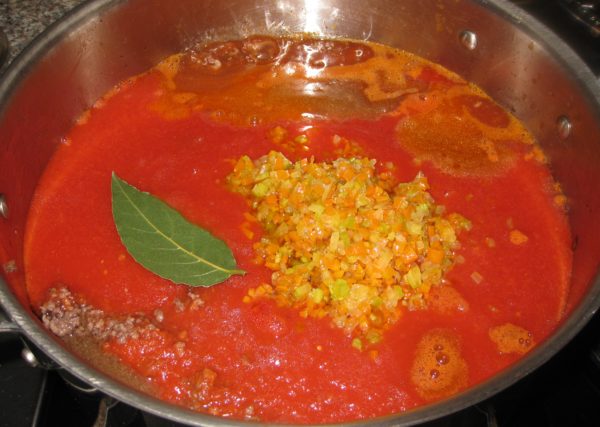
  8. Add the sautéed vegetables, the tomatoes that have been passed through a food mill, and bay leaf, if using.
  9. Season with salt and pepper.
  10. Simmer 3 to 4 hours partially covered, stirring frequently, until reduced by 50%.
Recipe Notes

Copyright © 2020 by Villa Sentieri, LLC. All rights reserved.
Share this Recipe

Bread Pudding

July 3, 2019

It’s a Sunday morning in June.  I’m on the East Coast; Fire Island, New York to be exact.  I’m one-third of the way through a three-week stay on this slip of land south of Long Island.  To the north of Fire Island is the Great South Bay, which separates it from Long Island.  To the south is the Atlantic Ocean.

The Cherry Grove dock. It’s about 4 1/2 miles across the Great South Bay to Sayville on Long Island.

Whenever I’m here, I seem to channel my childhood as far as cooking goes.  I find myself turning (though not exclusively, mind you) to the foods I grew up eating and loving.  A few days ago for dinner I made Italian (OK, Italian-American) sausage with peppers and onions.

A view of downtown Cherry Grove.

Today I’m making my mother’s long-simmered Southern Italian Ragu (or Sugo or Tomato Sauce…or, because I’m in New York, Sunday Gravy).  Growing up, we NEVER called Tomato Sauce of any sort “Gravy!”  It was usually just “Sauce,” which we all knew meant mom’s or Aunt Margie’s or Aunt Mamie’s or some other Italian-American woman’s slow-cooked meat-and-tomato-based sauce for pasta.  And we NEVER EVER used the word “Sunday” as a modifier for “Sauce!”

A tortoise greeted me on a walk from Cherry Grove to The Pines one morning.

Join our mailing list and you’ll never miss a recipe again!

Sauce was Sauce, it was sacrosanct.  It wasn’t better or different or more elaborate because it was being made on Sunday.  If by some chance it were to be made on Thursday (which it usually wasn’t) it would still be made the same way.  To be sure, there was some variability in the meats that were used.  In my family’s version there were always big pieces of pork, preferably bone-in.  There could also be sausage (preferably hot), meatballs, and occasionally (and just for the cook) one chicken thigh (to “sweeten the sauce” as my mother would say).  Other than that, and the occasional appearance (or not) of an additional aromatic, like a small amount of minced onion or a hot pepper, the rest of the process was invariable.

Though there are some larger houses, many of the houses in Cherry Grove are small cottages.

I’m making Sauce today because, well, it’s Sunday and I’m on the East Coast, and because I LOVE it.  If I could, I’d find an AM radio and tune it to a station playing Polkas (Is that even possible?).  Aunt Mamie always did that on Sunday (despite being of Italian descent).  It’s one of those experiences from childhood that has had an outsized impact on me for some reason.  The memory is quite simple:  summertime, doors open , Aunt Mamie cooking, and her big green box radio sitting on a white enamel-topped free-standing kitchen cabinet near the door to her porch blaring out polka tunes.

The Tiki Bar can be a happening place during 2-4-1 happy hour!

Many of my fondest memories are in the summer with the doors open, what can I say?  It’s not like Aunt Mamie didn’t tune to polkas in the winter but that’s not what comes to mind!

One of the many boardwalks that make navigating Cherry Grove possible.

I’m also making Bread Pudding today.  One of those comfort-food desserts that I really enjoy.  I know I’ve mentioned this a time or three, but all of my favorite foods are carbohydrates.  All of my favorite desserts are based on moderately complex carbohydrates (flour and rice, usually) without lots of extra fat (like butter) and without being overly sweet.  Bread Pudding and Rice Pudding are near the top of the list.

Getting ready for the Fourth of July, a “house cat” is decked out with patriotic sunglasses.

Follow us on your social media platform of choice
         

Neither would be considered fit for company but I’m foisting the bread pudding on our dinner guests today with the option of some heavy cream poured on top.  I can always do a run to the store for gelato if I have a last-minute change of heart.  And, it would be a “run.”  There are no cars on this part of the island.  There are some motorized carts that ply the boardwalks that crisscross the community, providing the only means of navigating the town.  The carts are mostly used by contractors, businesses, trash pickup, the fire department, and the EMS.  Although a few residents use small carts or electric scooters to get around, the rest of us walk and use wagons to cart things that are too heavy to carry.

Looking south toward the Atlantic Ocean with deer in the distance.

It’s a pretty idyllic place to spend part of the summer.

A view toward the dock and Great South Bay from the Tiki Bar.

It can also be an exciting and unpredictable place.  Sunday afternoon an intense storm hit Long Island and Fire Island.  Trees and power lines were downed.  The storm put an end to internet service for more than forty-eight hours.  That’s the reason that this blog is getting posted a few days later than planned.

Part of the Cherry Grove Fire Department, an all-volunteer force.

Meanwhile, I’m eagerly anticipating the arrival of the next urge to cook something from my childhood!

Print Recipe
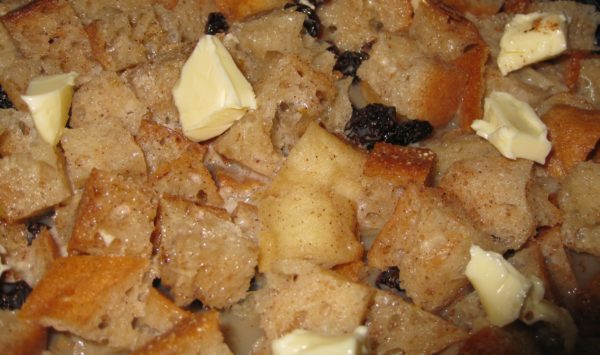
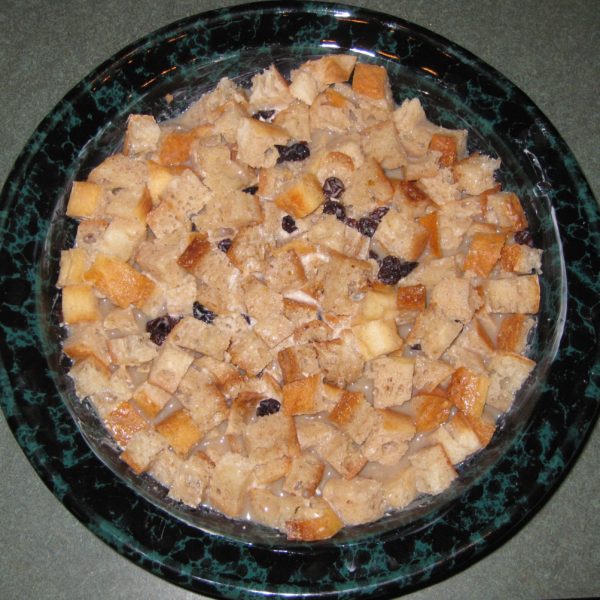
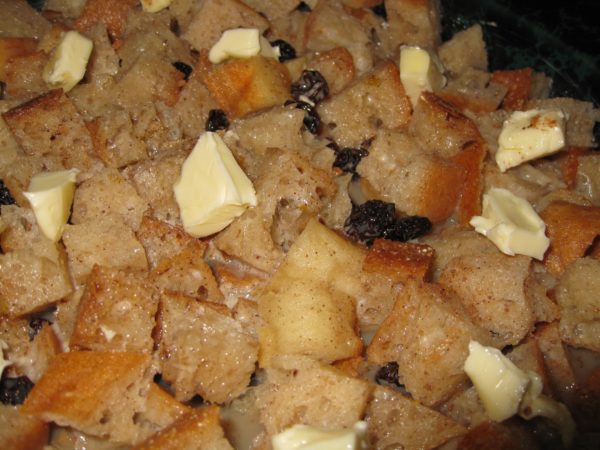
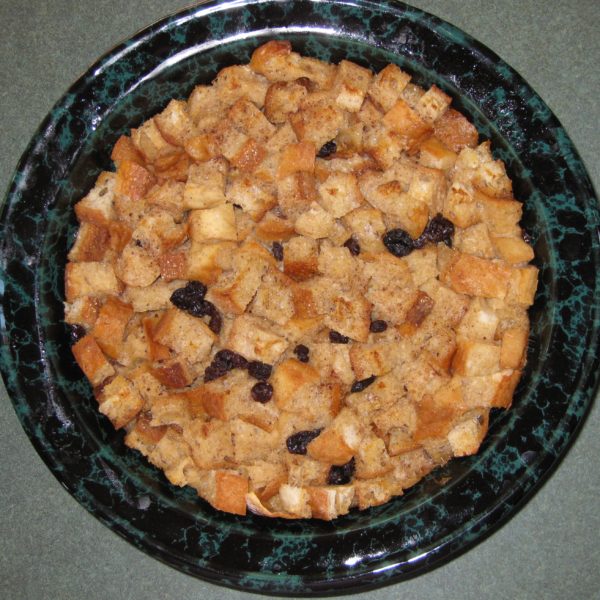
Bread Pudding
If the raisins or currants are not absolutely fresh and soft, cover them with hot water to plump up before adding them to the mixture. It is best if the bread is a few days old so that it has lost some of its moisture.
Votes: 0
Rating: 0
You:
Rate this recipe!
Cuisine American
Prep Time 15 minutes
Cook Time 80 minutes
Passive Time 60 minutes
Servings
people
Ingredients
Cuisine American
Prep Time 15 minutes
Cook Time 80 minutes
Passive Time 60 minutes
Servings
people
Ingredients
Votes: 0
Rating: 0
You:
Rate this recipe!
Instructions
  1. Beat eggs, sugar, vanilla, and cinnamon.
  2. Add milk and rum to the egg mixture and whisk to combine.
  3. Butter a three-quart ovenproof covered dish.
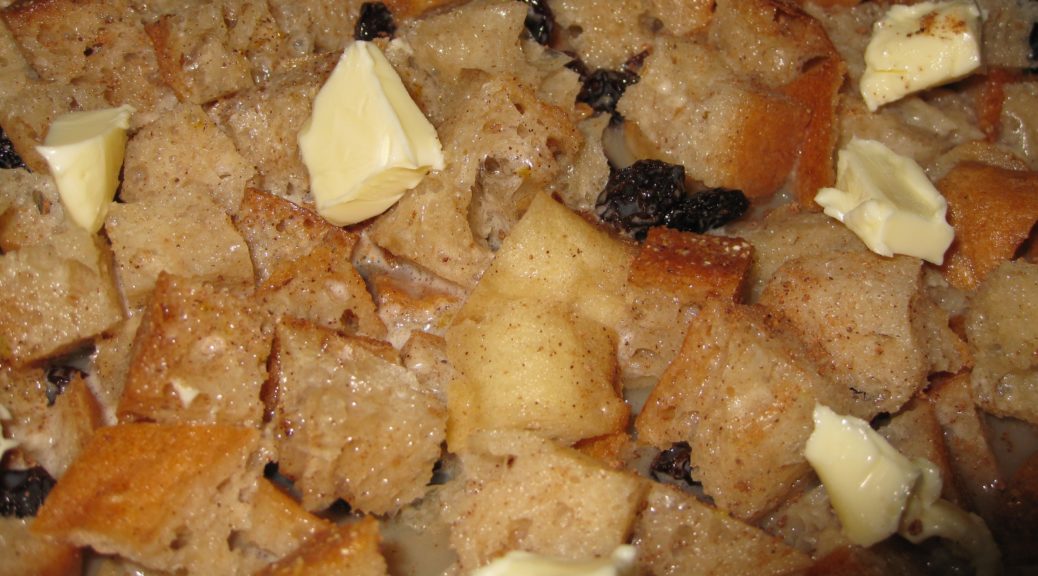
  4. Toss the bread cubes and raisins if using. Put the bread into the buttered dish. Pour milk and egg mixture on top.
  5. Grate nutmeg over the top. Dot lightly with butter.
  6. Cover and allow to sit at room temperature 30-60 minutes.
  7. Bake at 350°F, covered, for approximately 60 minutes. Uncover and bake an additional 20 minutes, or until brown on top.
  8. Serve warm or at room temperature. Pour a little heavy cream on top if desired.
Recipe Notes

Copyright © 2019 by Villa Sentieri, LLC. All rights reserved.

Share this Recipe

Lupara

May 29, 2019

A Lupara is an 8mm sawn-off shotgun favored by La Cosa Nostra.

It’s also the name of a pasta dish.

Lupara, the shotgun not the pasta. [Licensed from Bluedog, without changes].
Interestingly, if you search for lupara recipes online you’ll only find a few and you’ll be hard-pressed to discover much commonality among the recipes.  Some are spicy.  Some are not.  Some have sweet peppers.  Some do not.  Some have tomatoes.  Some do not.  And most of them will be made with spaghetti.

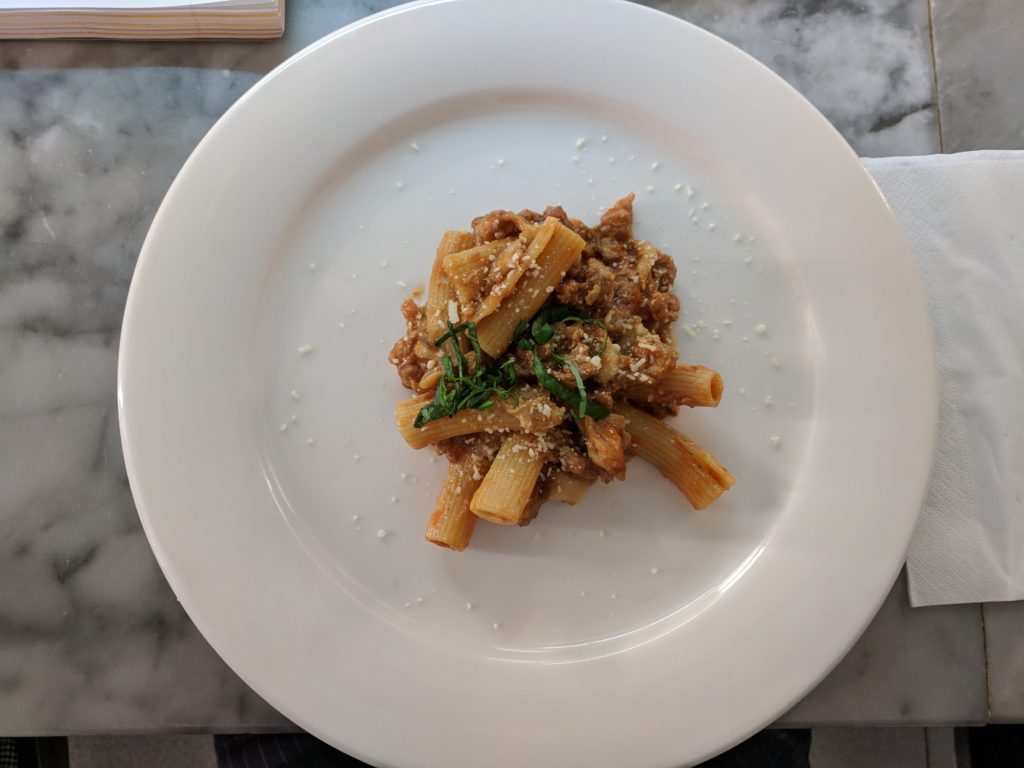
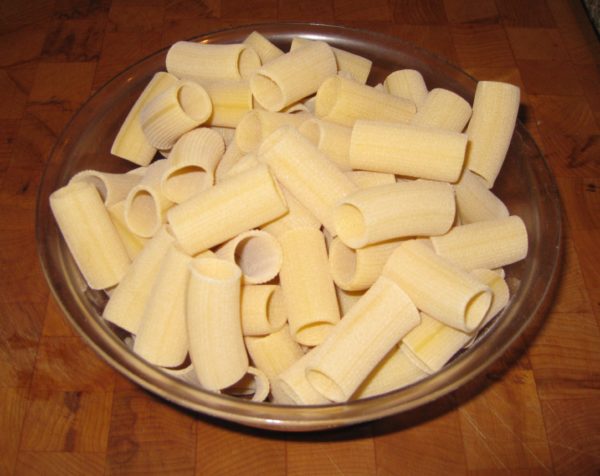
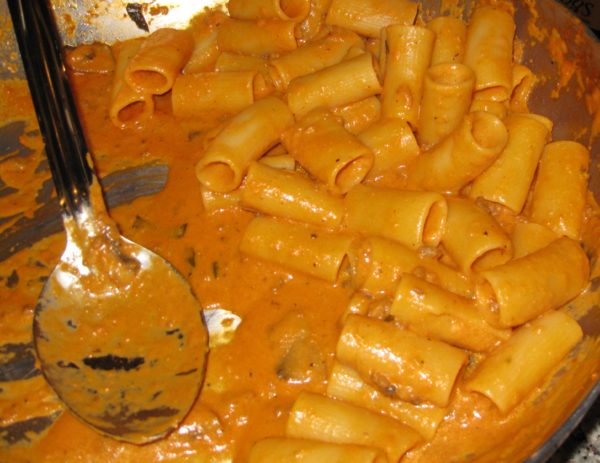
I learned to make lupara at the Italian Culinary Institute.  It was among the first pasta dishes demonstrated during the early days of the three-month course.  Made with short, cut pasta, like rigatoni, this rendition pays tribute to the shotgun for which it is named.

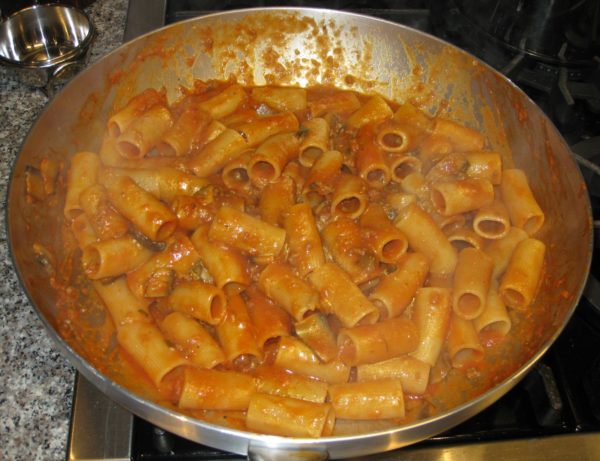
Lupara, the pasta not the shotgun, as prepared at the Italian Culinary Institute.

Join our mailing list and you’ll never miss a recipe again!

This dish makes use of a Basic Tomato Sauce, just tomatoes and a few aromatics cooked briefly.  You can make the tomato sauce in large batches and freeze it or you can make it as needed.  Although the sauce can be used on its own in some dishes, it is deliberately not aggressively seasoned.  This allows it to be used in a variety of preparations, with some final additional flavoring, without the sense that the same sauce is being used over and over.

I know this seems a little out of order, but I will publish the recipe for the Basic Tomato Sauce next week  For my first blog post since returning from Italy, I wanted to feature a dish that grabbed my attention.  This one did.  It’s got a great story and a great flavor.  Basic Tomato Sauce is good but it isn’t captivating (unlike a pasta dish named after the “Mob’s” favorite weapon!).  Basic Tomato Sause is meant to play a supporting role in most situations and that’s just not the type of recipe that I wanted to start with.

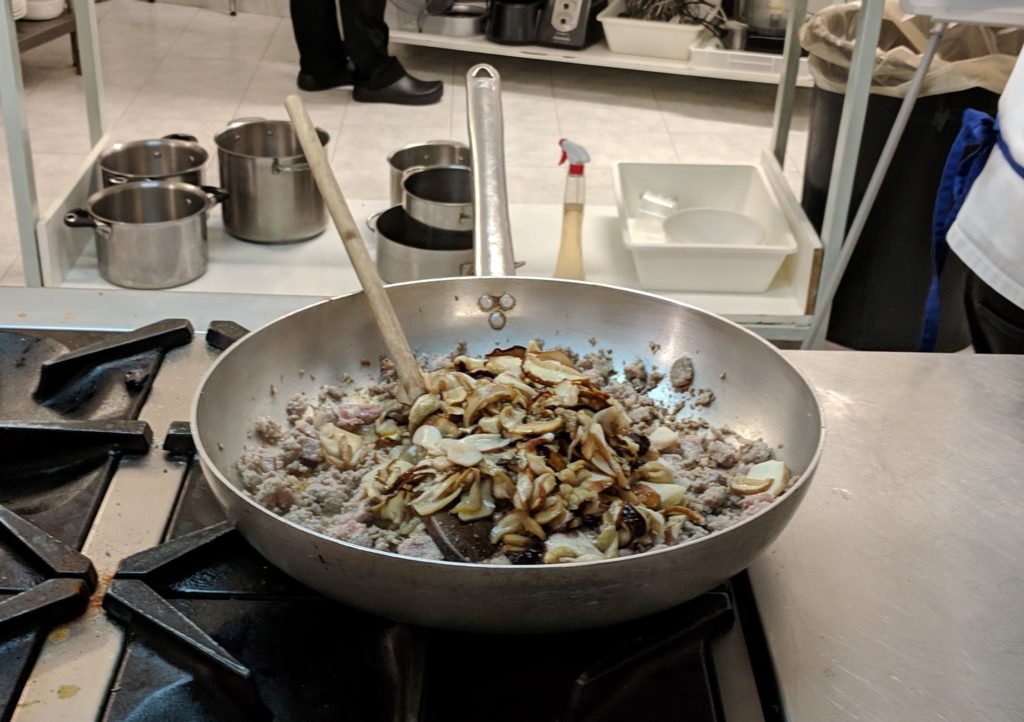
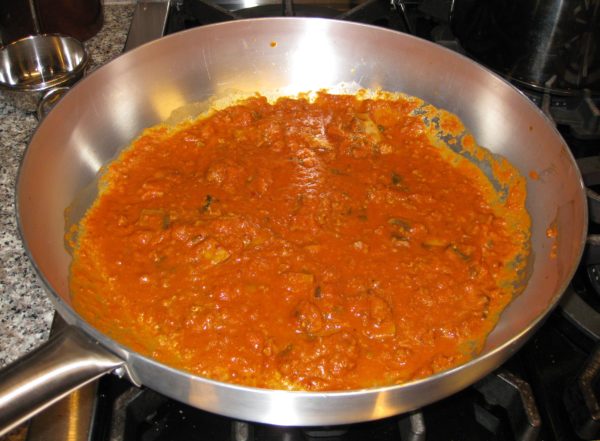
Lupara on the stove at the Italian Culinary Institute.

This version of Lupara is intended to be spicy but spicy means different things to different people.  There are two ways to build spice into this pasta.  You can use one or both of them.  The first method is to add dried, ground red pepper (peperoncino piccante in polvere, in Italian) during the final assembly of the pasta.  The other is to add thinly sliced fresh hot pepper (peperoncino fresco) when sautéing the sausage.  Getting authentic Italian peperoncino, powdered or fresh, is difficult in the States.  You can substitute Cayenne pepper for the ground one and a variety of long, red (always red!) chile, such as Thai or Cayenne, for the fresh.

Follow us on your social media platform of choice
         

This recipe also calls for fresh porcini mushrooms.  These can be a challenge to find.  Feel free to substitute thinly sliced portobello mushrooms.  Though the flavor won’t be exactly the same, the dish will still be yummy!  If you are lucky enough to find fresh porcini, I suggest buying a heap, thinly slicing them, and freezing them.  They can be used in all sorts of cooked dishes, especially Trifulata which will hit the blog in the near future…as soon as I can find fresh porcini!! (You might notice portobello mushrooms in the pictures.)

This recipe requires a small amount of sausage.  It’s not a major player though it does add a nice meaty background note to the sauce.  Pick a good quality Italian-style sausage, sweet or hot.  I think that sausage with fennel seed adds a nice flavor but that’s a matter of personal taste.

Buon appetito!!

Print Recipe
Lupara
A lupara is an 8-gauge sawn-off shotgun associated with La Cosa Nostra (the “Mob”). Rigatoni resemble the barrel of a lupara. Adjust heat level to your taste. If you can’t find Italian powdered peperoncino piccante, substitute Cayenne pepper. For a different type of heat, add some thinly-sliced hot red chile when sautéing the sausage, instead of, or in addition to, the powered chile. If you can’t find fresh porcini, substitute portobello mushrooms. It is really important to use a very good quality Italian rigatoni, preferably an artisanal variety that is thicker than the usual boxed rigatoni to get the most benefit out of sautéing the pasta. If you want to make half as much pasta, freeze half the sauce. The recipe for Basic Tomato Sauce will be posted next week.
Votes: 0
Rating: 0
You:
Rate this recipe!
Prep Time 30 minutes
Cook Time 30 minutes
Servings
people
Ingredients
Sauce
Assembly
For serving
Prep Time 30 minutes
Cook Time 30 minutes
Servings
people
Ingredients
Sauce
Assembly
For serving
Votes: 0
Rating: 0
You:
Rate this recipe!
Instructions
Sauce
  1. Using a heavy-bottomed pot, sauté the sausage in the olive oil until colored.
  2. Add the porcini, butter, and fresh peperoncini, if desired, and sauté 5-7 minutes. During this time, the sausage should brown much more and the mushrooms should give up much of their liquid and take on some color.
  3. Add the wine and evaporate completely over high heat.
  4. Add the broth, partially cover, and simmer until completely evaporated.
  5. Add the Basic Tomato Sauce, basil, and salt and pepper to taste. Simmer about 10 minutes. Reserve.
Assembly
  1. Bring three quarts of heavily salted water (according to the Italians, it should taste like the sea) to a boil.
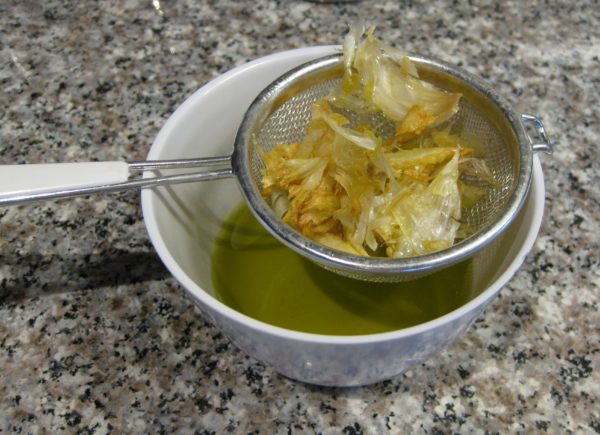
  2. Meanwhile, sauté the garlic in the extra-virgin olive oil until light brown. Drain and reserve the oil.
  3. Cook the rigatoni just until it no longer has a crunch in the center but is still far from done.
  4. While the pasta is cooking, put the sauce in a large sauté pan and bring to a simmer along with peperoncino piccate to taste.
  5. Drain the rigatoni, saving at least one quart of the pasta-cooking liquid.
  6. Add the rigatoni to the sauce and increase the heat to medium to medium-high. Add pasta-cooking liquid, a ladle at a time, stirring the pasta frequently to finish cooking.
  7. After adding a ladle or two of the pasta-cooking liquid, add the cream. Continue adding pasta-cooking liquid as needed until the pasta is just al dente and coated with a thick sauce.
  8. Off the heat, mix in the Parmigiano Reggiano cheese, cream, and the reserved garlic oil. You may need to thin with a little more pasta-cooking liquid as the cheese will thicken and emulsify the sauce.
  9. Divide the pasta among serving bowls. Garnish each with a drizzle of extra-virgin olive oil and sprinklings of Pecorino Romano cheese and fresh basil chiffonade.
Recipe Notes

Here's my recipe for Basic Tomato Sauce.

Copyright © 2019 by Villa Sentieri, LLC. All rights reserved.
Share this Recipe

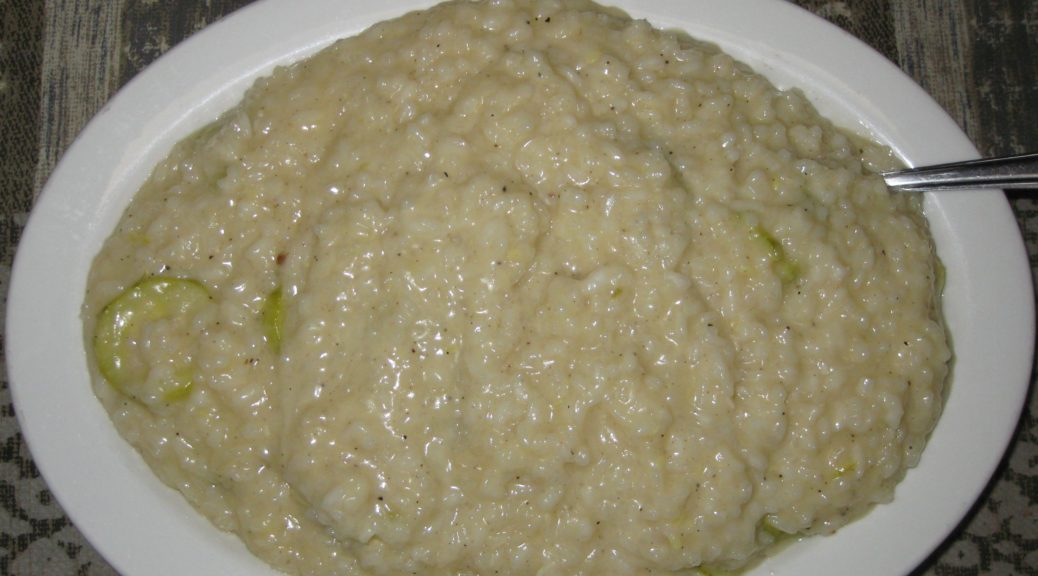
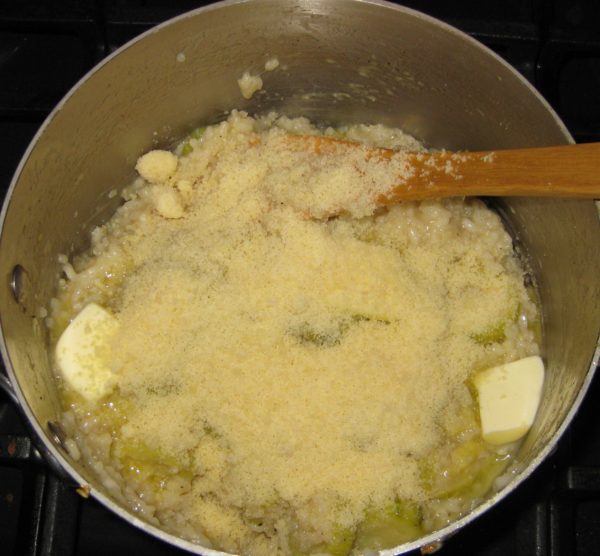
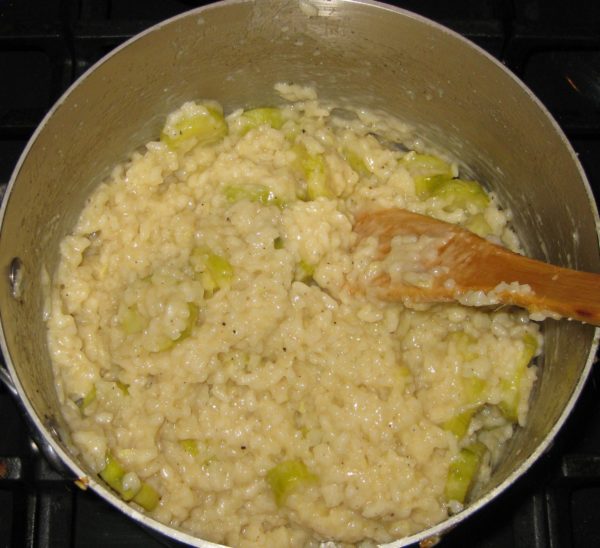
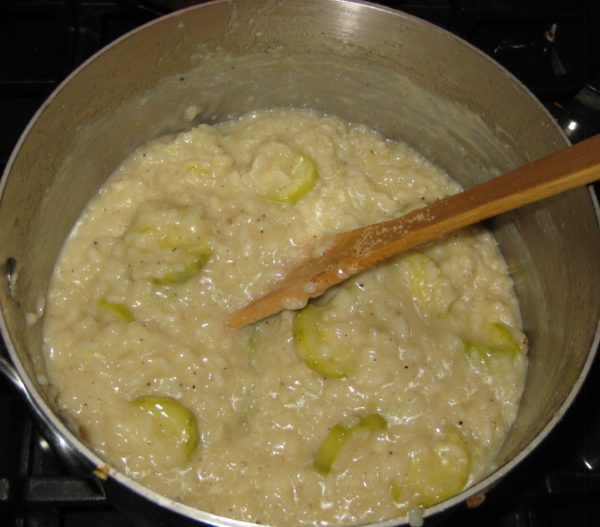
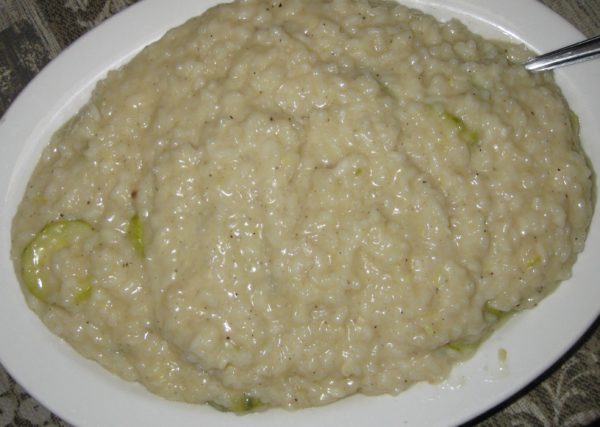
Risotto with Zucchini

August 15, 2018

One of the glories of summer produce is zucchini.

We eat our fill of fried zucchini blossoms but also zucchini itself in many ways, among them sautéed in olive oil with aromatics and herbs, made into a frittata, boiled and dressed with olive oil, stuffed with ricotta and mint, cooked in a light tomato sauce, made into calabacitas, and most definitely, used in risotto.

Join our mailing list and you’ll never miss a recipe again!

Although there are exceptions, such as Risotto Friulano and Risotto alla Milanese, most risotti that I make contain vegetables.  As far as actually cooking the rice goes, the technique doesn’t vary.

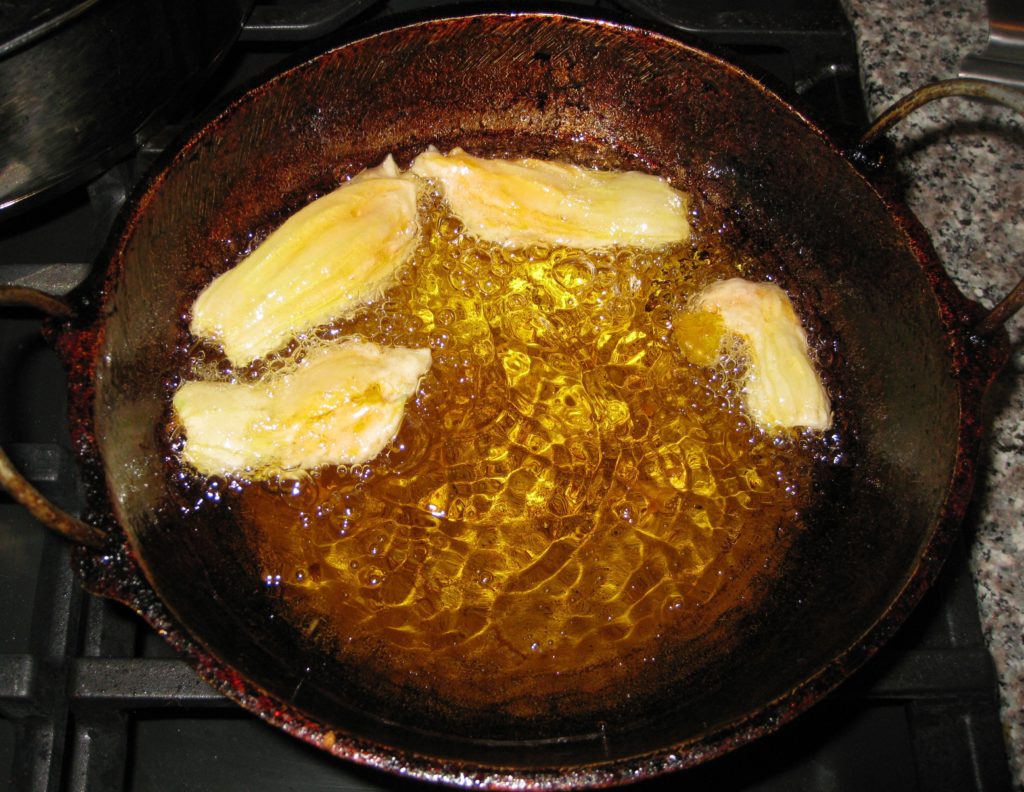
Fried zucchini blossoms are a much-loved summertime treat in our house

Aromatics (shallot, onion and/or garlic, depending on the risotto) are sautéed in olive oil.  The rice is added and cooked slightly.  A bit of wine is added and cooked away then the liquid (almost always broth but I make a killer champagne risotto and I also have a risotto recipe that uses carrot juice) is added in small amounts and cooked off before more is added.  Cheese and a bit of butter are stirred in at the end.

What varies for me is how the vegetables are prepared and when they are added.

Some vegetables are cooked in advance then added to the rice when it is nearly done.  I do this, for example with the mushrooms for Risotto ai Funghi (Mushroom Risotto).  Other vegetables are put in at the very end and cooked briefly.  This method works best for vegetables that don’t really require cooking to be edible.  Believe it or not, really good summer corn fits into this category as do frozen peas.  The third method is to sauté the vegetable in the olive oil before the rice is added.  This is the method I use for Butternut Squash Risotto.

Follow us on your social media platform of choice


It is also possible to add the vegetables part-way through cooking the rice though I rarely use this method because it is not possible to guarantee the vegetables will be cooked properly when the rice is done.

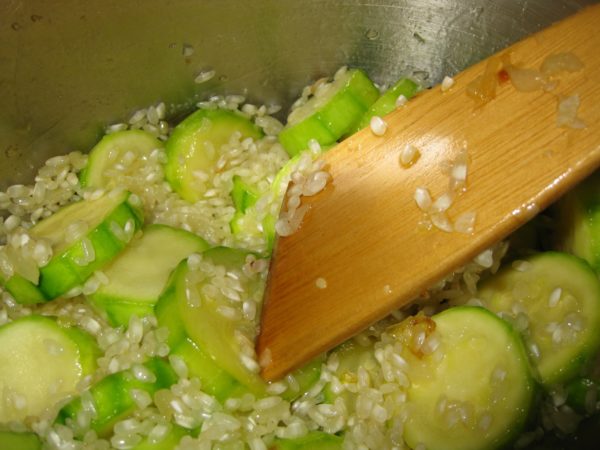
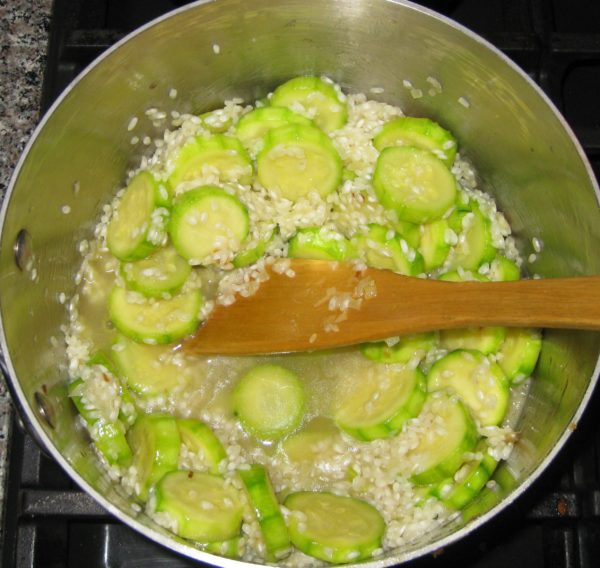
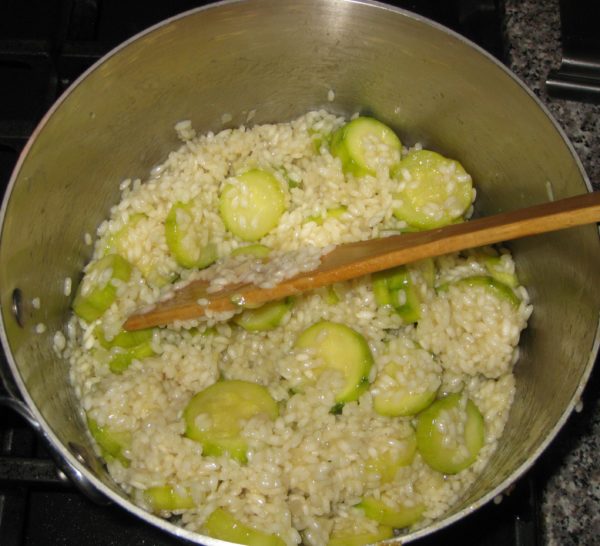
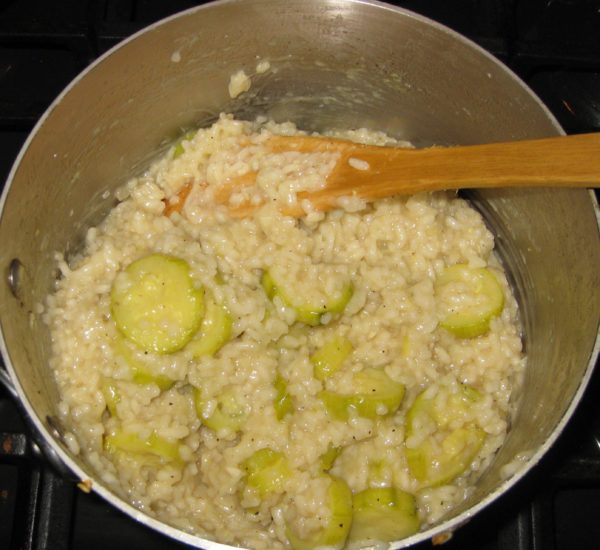
Despite the difference in texture, zucchini can be added at the beginning as with butternut squash.  The final texture is different, with the butternut squash being cooked but still holding its shape completely while the zucchini will soften much more but will still be recognizable.

Once you get the hang of cooking the rice for risotto, you can turn any vegetable into a risotto by just considering which of the cooking techniques to use.

Print Recipe
Risotto with Zucchini
Broth for risotto should be light in flavor, not a heavy stock. The broth should add the barest amount of background flavor but allow the other ingredients in the risotto to shine. Risotto uses a lot of broth. It is important that the broth have minimal salt so as not become overly salty. I never salt my homemade broth for this reason. If it seems that you will run out of broth before the risotto has finished cooking, put some water on to heat. It is important that all liquid added to the risotto, other than the initial addition of wine, be at a simmer.
Votes: 0
Rating: 0
You:
Rate this recipe!
Prep Time 15 minutes
Cook Time 45 minutes
Servings
people
Ingredients
Prep Time 15 minutes
Cook Time 45 minutes
Servings
people
Ingredients
Votes: 0
Rating: 0
You:
Rate this recipe!
Instructions
  1. Bring the broth to a bare simmer.
  2. Meanwhile, peel the zucchini then slice into ½-inch thick rounds.
  3. In a heavy-bottomed three-to-four-quart saucepan, heat the oil over medium to medium-high heat.
  4. Sauté the onion and garlic in the oil, stirring frequently, until the onion becomes translucent.
  5. Increase the heat to medium-high. Add the zucchini and ½ teaspoon of salt.
  6. Sauté the zucchini until the greenish color changes to a slightly less vibrant shade and the edges of the zucchini rounds become just a little less sharp, approximately 5-7 minutes.
  7. Add a few grindings of black pepper.
  8. Add the rice and stir until coated with oil.
  9. Sauté several minutes until the outer edges of the rice grains become translucent while the center remains white, approximately 5 minutes.
  10. Add the wine. Stir frequently, but not constantly, until the wine has totally evaporated. You will begin to see some starch leaching out of the rice. More and more of the starch will leach out as you cook the rice. This is what will make a creamy sauce, not a large quantity of butter, cheese or cream.
  11. When the wine has evaporated, add 1/2 cup of the simmering broth. Stir thoroughly, paying particular attention to loosening any spots where the starch seems to be sticking to the bottom of the pan. You don’t want to brown (or worse yet, burn) the starch.
  12. Stir frequently, but not constantly, until the broth has evaporated.
  13. If the broth is unsalted, as I recommend, add 1 ½ teaspoons of salt to the rice as you begin to add the broth. If the broth contains salt, do not add salt until the end.
  14. Keep repeating the process with ½ cup of simmering broth each time: cooking, stirring, and loosening any spots that are sticking until each addition of broth evaporates. The heat should stay as close as possible to medium high. The moderate boiling of the liquid will coax starch out of the rice to create the creaminess that is the hallmark of a good risotto.
  15. Begin tasting for doneness after approximately 3 cups of simmering broth have been added. When the rice is al dente, firm but not crunchy in the center, add another ½ cup of simmering broth, stir, and remove the rice from the heat.
  16. Off the heat, stir in the Parmesan cheese, butter, parsley, if using, and freshly ground black pepper to taste. Taste and adjust salt.
  17. In two or three small additions, add as much of the broth as the risotto will absorb without becoming watery. Stir thoroughly.
  18. Serve immediately.
Recipe Notes

With risotto, the goal is to have rice grains that are still al dente (but not crunchy) in the middle surrounded by a creamy liquid. An Italian risotto should be creamy from the starch in the rice, augmented with a very modest amount of butter and cheese. Risotto served in America is often overly rich from butter, cheese, and sometimes cream.

Risotto rice is a short grain rice that cooks slowly, making it much easier to achieve an al dente texture because it takes a while to actually overcook it. The three types of rice for risotto are Arborio, Carnaroli, and Vialone Nano. Arborio is the easiest one to find though the other two are more forgiving than Arborio when it comes to overcooking.

I recommend buying good quality rice imported from Italy. It really isn’t priced that differently from domestic. Do not wash the rice.

Copyright © 2018 by Villa Sentieri, LLC. All rights reserved.
Share this Recipe

Maraschino Cherry Cake

July 18, 2018

In  September 2012, at a wine paring dinner at The Compound Restaurant in Santa Fe during the holy days of Santa Fe Wine and Chile Fiesta, a group of us hatched an idea to start a dinner group.

After a lot of discussion and email exchanges, we decided to name the group Santa Fe Ate, both for what we do and for the (play on the words regarding the) number of people in the group.

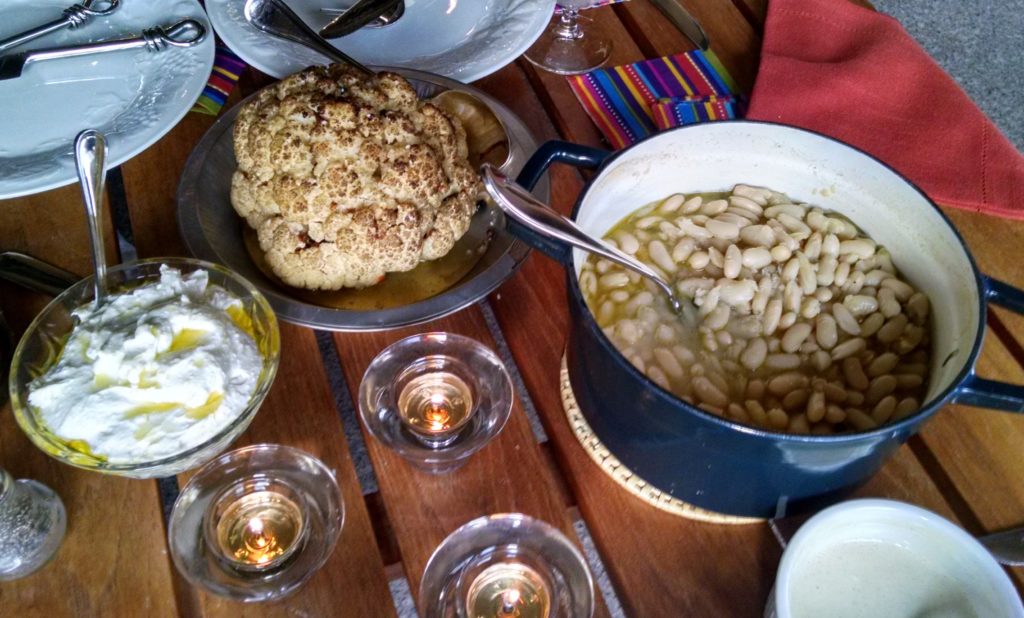
From the “Things You Can Cook in a Wood-Burning Oven” dinner: Roasted Cauliflower with whipped Goat Cheese, Ricotta, and Olive Oil Dip and Cannellini alla Toscana

We had our first dinner in January 2013 and we’ve been going strong ever since.  We meet about once every three months, rotating houses.  At each dinner we decide the theme for the next dinner.  This may not be the best time to make such a consequential decision given the amount of alcohol typically consumed.  For example, one of our themes was French Indo-China 1920s to 1930s!

Join our mailing list and you’ll never miss a recipe again!

Frank and Doug don’t really cook so their group assignment is always to come up with a signature cocktail and appropriate wine pairings for each course.  They have leeway to be creative in finding or creating a cocktail, which they have to do for even for cultures where drinking alcohol is not really common.  If the theme of the dinner relates to a wine producing region, the wines are generally from that region to the extent feasible.

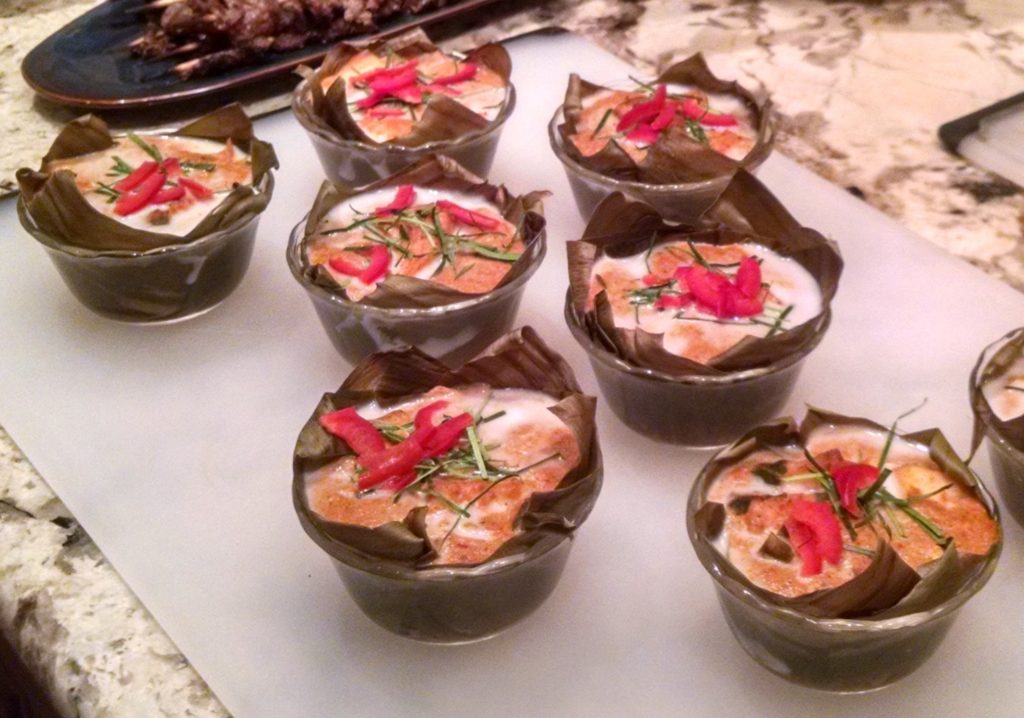
From the French Indo-China 1920s to 1930s dinner: Cambodian Fish Amok (Fish and Coconut Milk Curry Baked in Banana Leaves)

The other six of us do successive rounds of emails refining the list of dishes to be prepared and organizing them into courses.  Our task is to be as authentic to the theme as possible.

French Indo-China 1920s to 1930s was probably our most narrow theme.  Others have included, for example, Summer in Provence, Winter in Friuli, Along the Silk Road, Persia (not Iran but Persia), Comfort Food, and Things You Can Cook in a Wood-Burning Oven (for which the entire meal was cooked in our outdoor wood-burning oven).

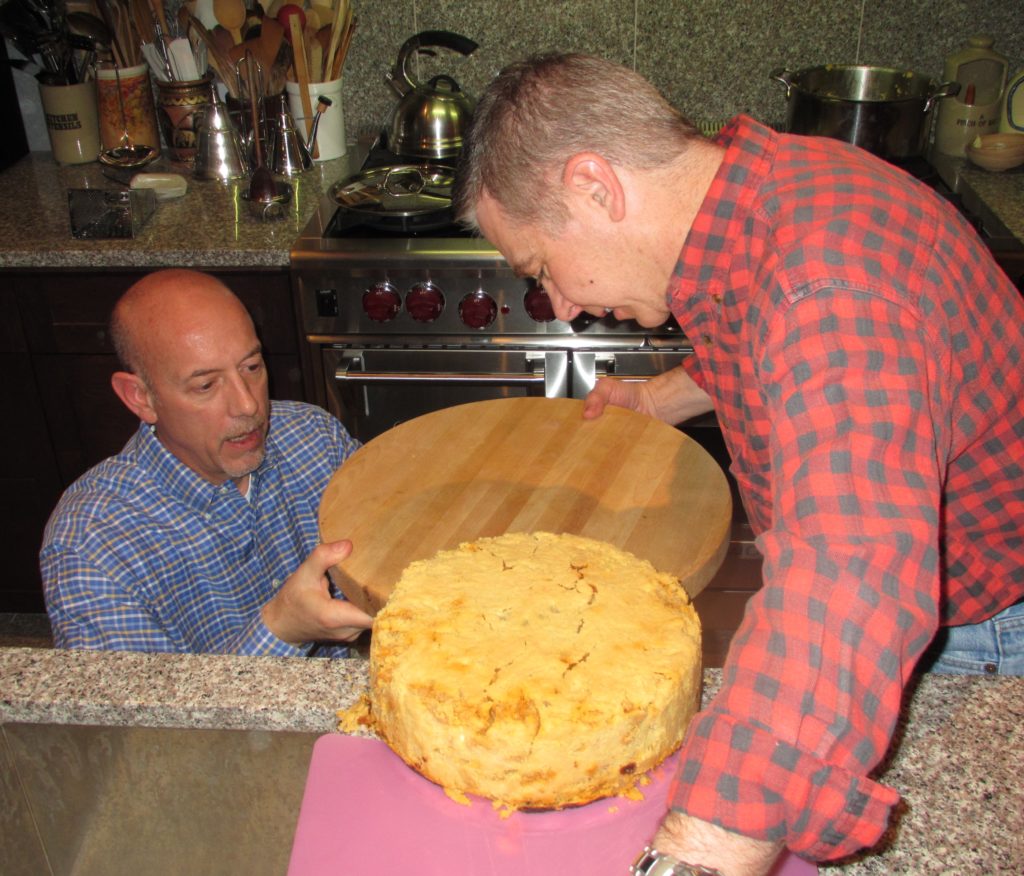
The only meal we’ve had which strayed from the basic plan was Timballo.  Timballo is a (typically large) pastry-encased and baked dish of layered pasta, hardboiled eggs, cheese, meatballs, and other meats, all moistened with tomato sauce.  Each of the cooks was assigned one or more components of the timballo to make at home.  We got together to assemble and bake the final dish.  This was a multi-hour process, even with all the prep work done in advance.

Unmolding the timballo

To help pass the time, Frank and Doug devised a blind wine-tasting in which we had to try to identify the varietal and provenance of each wine.  I believe the eight of us tasted six bottles of wine.  After we finished those, we opened some more.  This was the dinner at which we decided the theme of French Indo-China 1920s to 1930s.  You may notice a correlation between alcohol intake and unusual dinner themes!

Follow us on your social media platform of choice


Earlier this year, our theme was Betty Crocker’s Picture Cook Book, first edition, published in 1950.  Every dish had to come from the cookbook with no changes, substitutions or updating unless absolutely necessary.  One of the appetizers was anchovies rolled around cornichons!

Betty Crocker’s Picture Cook Book, 1950, First Edition

The food was actually surprisingly good.  I suspect part of that was related to how each of us selected our dish or dishes (Becky, who did appetizers selected three!).  The wines were, undoubtedly, fabulous.  In the United States, if you were drinking wine in the 1950s you were likely drinking French wine, and good French wine, at that!  On that night, so were we!

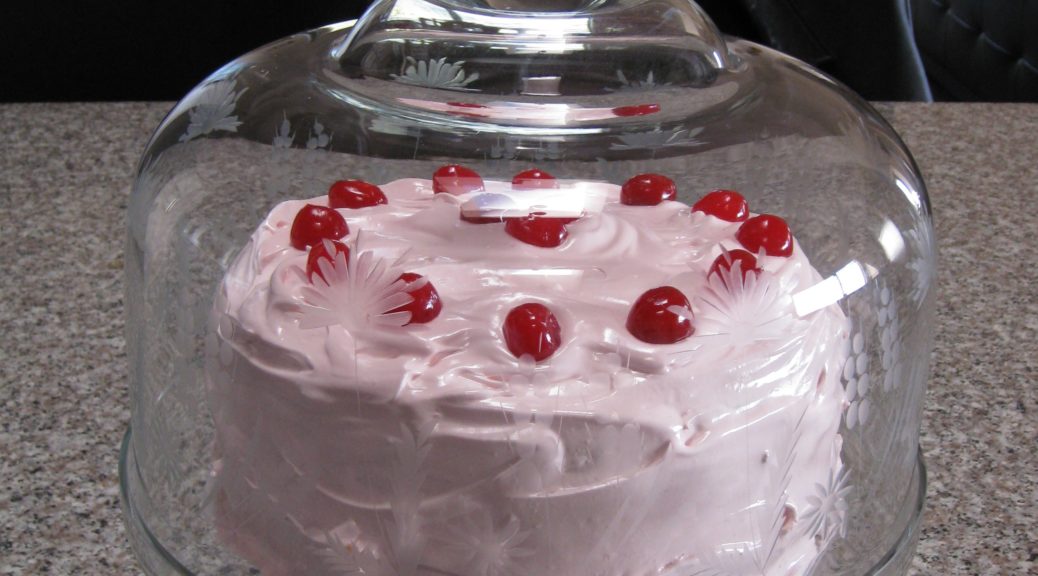
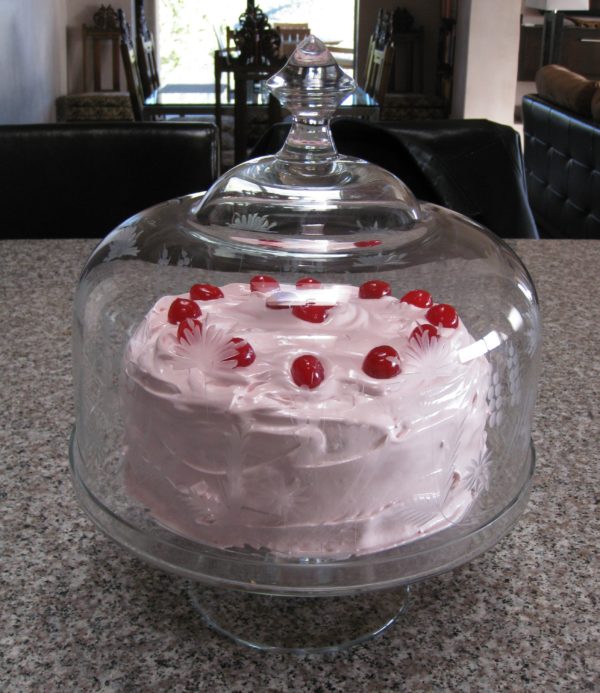
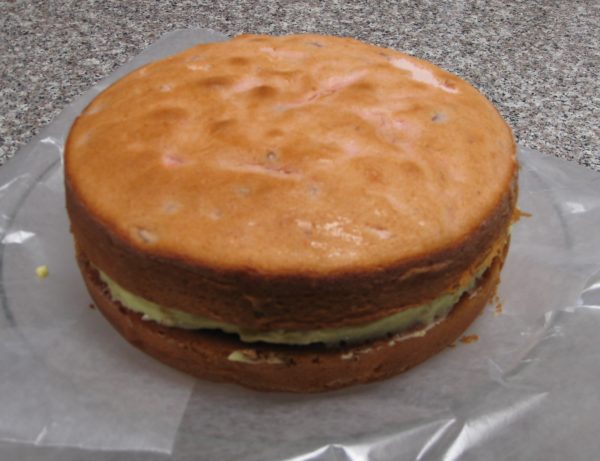
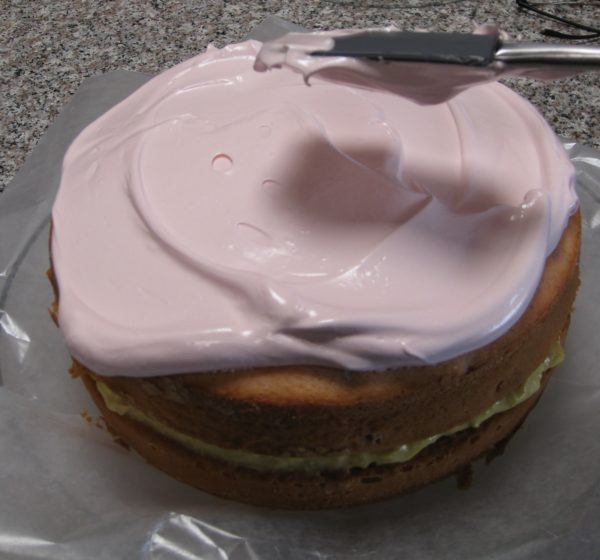
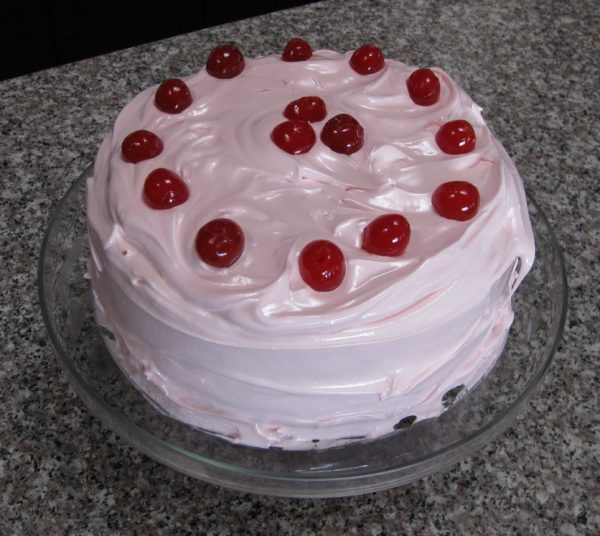
I made a Maraschino Cherry Cake with Almond Crème Filling and Maraschino Boiled Frosting.  Though if I were making the cake again, I would probably substitute my recipe for Italian Pastry Cream for Betty’s Crème Filling, I really wouldn’t make any other changes.

Here’s the recipe directly from the first edition of the Betty Crocker Picture Cookbook with a few minor adaptions of the technique by me.  For you bakers out there, I’m providing the original sea-level measurements as published in the cookbook.  Since I baked this at nearly 8000 feet in elevation, I followed Betty’s recommendations for adjusting for high altitude.

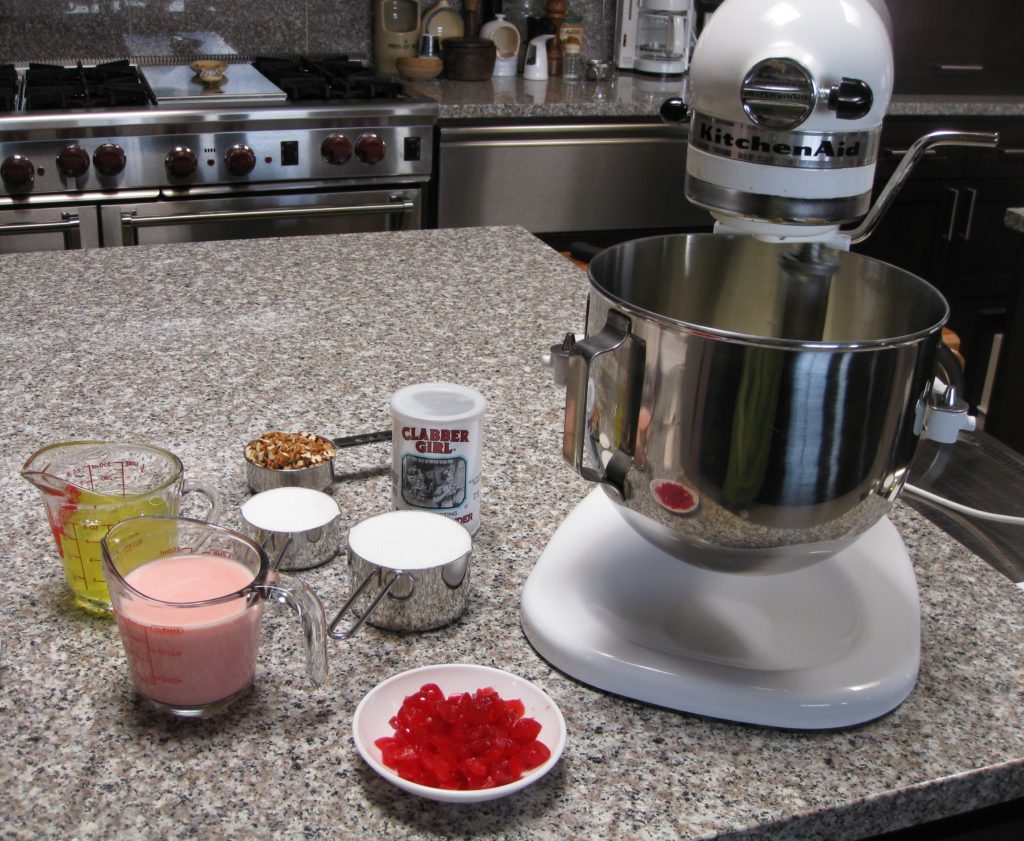
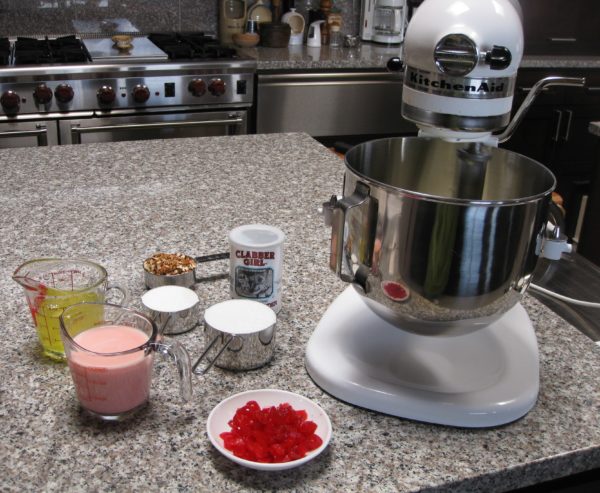
Getting ready to make Maraschino Cherry Cake
Print Recipe
Maraschino Cherry Cake
You can divide the work for this cake over several days. The filling can be made up to three days in advance and refrigerated, tightly covered. Stir in the toasted almonds just before using. The cake layers can be made a day in advance, wrapped tightly and refrigerated. The frosting should be made when you’re ready to frost the cake. The original recipe called for “rich milk” in the almond crème filling. Remember, this recipe was published before the advent of homogenized milk. Half-and-half is a good substitute. Except in professional recipes, it is rare to see egg whites measured in volume but it is a very good idea as the white, much more than the yolk, varies with the size of the egg.
Votes: 0
Rating: 0
You:
Rate this recipe!
Prep Time 1 hour
Cook Time 1 1/2 hours
Passive Time 6 hours
Servings
people
Ingredients
Maraschino Cherry Cake
Almond Crème Filling
Maraschino Cherry Cooked Frosting
Prep Time 1 hour
Cook Time 1 1/2 hours
Passive Time 6 hours
Servings
people
Ingredients
Maraschino Cherry Cake
Almond Crème Filling
Maraschino Cherry Cooked Frosting
Votes: 0
Rating: 0
You:
Rate this recipe!
Instructions
Maraschino Cherry Cake
  1. Sift together the flour, baking powder and salt. Reserve.
  2. Combine milk and Maraschino cherry liquid. Reserve.
  3. Cream butter.
  4. Cream in sugar until fluffy.
  5. Add dry ingredients in four additions, alternating with milk-juice mixture in three additions. Mix lightly, but well, after each addition.
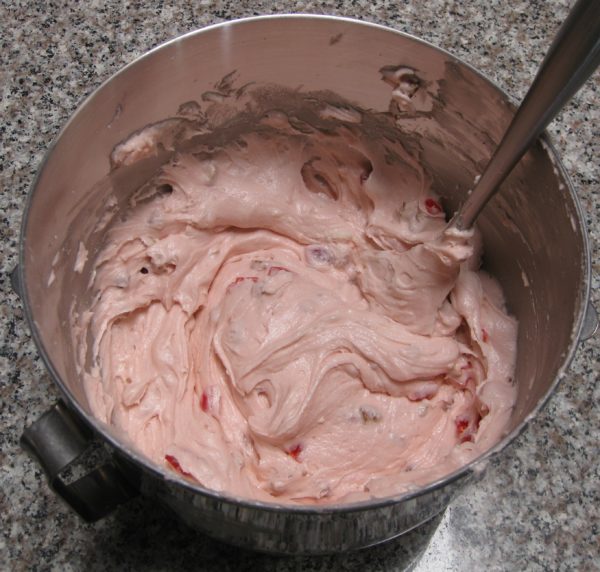
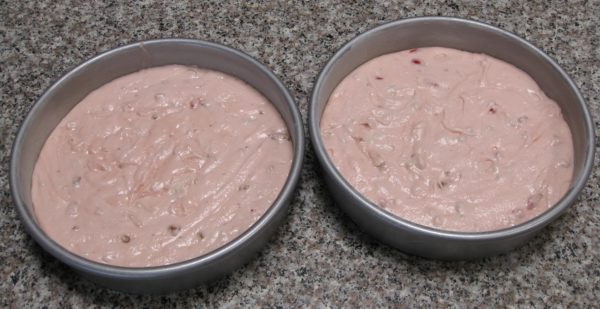
  6. Stir in nuts and Maraschino cherries.
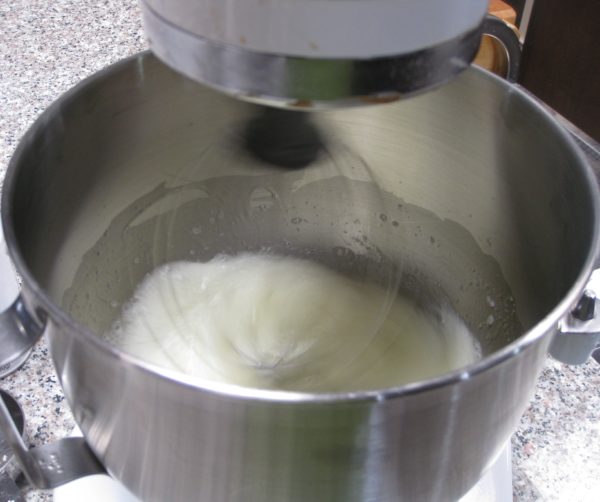
  7. In a separate bowl, beat egg whites until stiff.
  8. Fold beaten egg whites into batter, using about ¼ of the egg whites first to loosen the batter.
  9. Pour into two greased and floured 9” cake pans.
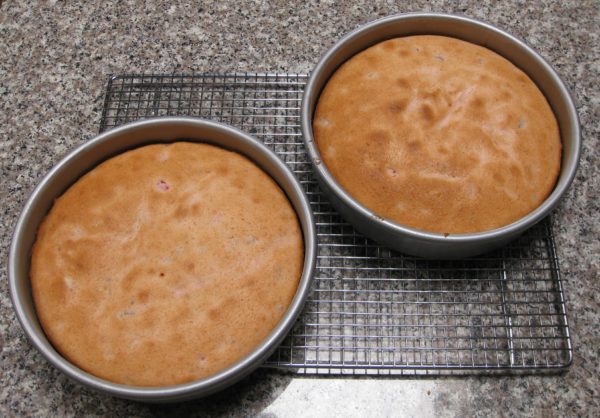
  10. Bake 350°F approximately 30-35 minutes, until a tester inserted in the center comes out clean.
  11. Cool the pans on a rack approximately 10 minutes.
  12. Remove layers from pans and cool completely.
Almond Crème Filling
  1. Combine the sugar, cornstarch, salt and half-and-half in a heavy-bottomed saucepan.
  2. Bring to a boil, stirring constantly.
  3. Slowly pour about half of the boiling half-and-half mixture into the egg yolks, whisking constantly, to temper the yolks.
  4. Put the saucepan with the remaining half-and-half mixture back on the heat.
  5. Pour the tempered yolks back into the saucepan, whisking constantly.
  6. Bring the mixture to a boil. Boil 1 minute, stirring constantly.
  7. Remove from the heat and stir in the almond and vanilla extracts.
  8. Pour the pastry cream into a bowl. Cover with plastic wrap, putting the wrap directly on the pastry cream to avoid a skin.
  9. Refrigerate until cold.
  10. Stir in chopped almonds just before using.
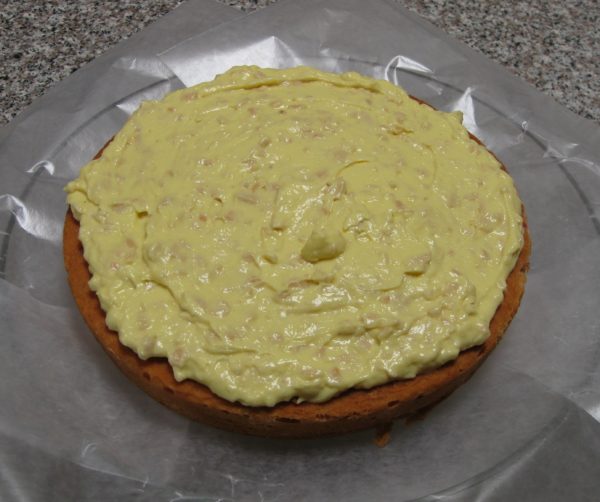
  11. Just before making the frosting, put one cake layer on a serving platter. Top with Almond Crème Filling.
  12. Top with second layer.
Maraschino Cherry Cooked Frosting
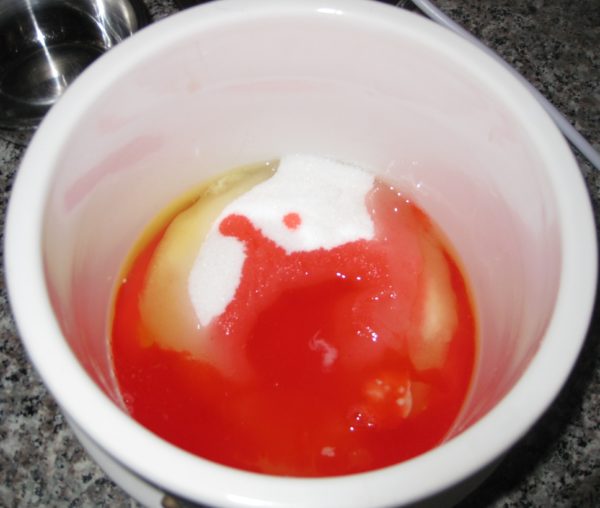
  1. Combine the egg whites, sugar, cream of tartar and Maraschino cherry liquid in a double boiler.
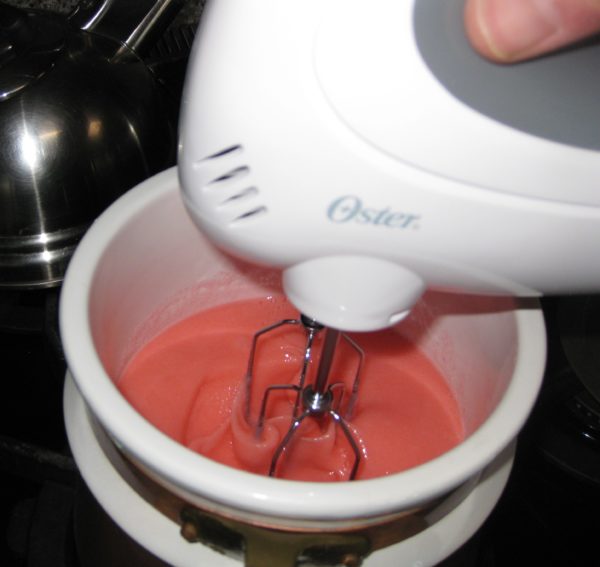
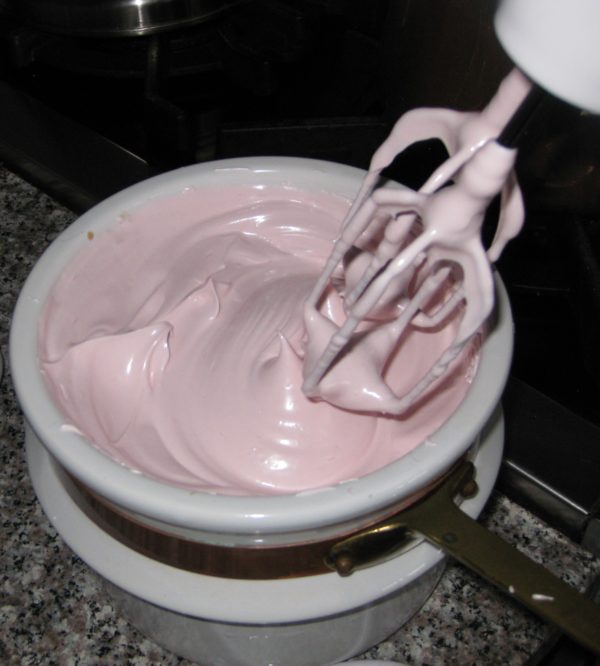
  2. Cook over boiling water, beating constantly with an electric mixer until a spreadable consistency, approximately 5-7 minutes. The top of the double boiler should not touch the boiling water in the bottom.
  3. Beat in the vanilla and almond extracts.
  4. Immediately frost sides and top of cake.
  5. Decorate the top with whole Maraschino cherries
Recipe Notes

Copyright © 2018 by Villa Sentieri, LLC. All rights reserved.
Share this Recipe

Zia Ida’s Lemon Bars

July 4, 2018

Happy Fourth of July!!!

I’m posting this recipe today because it is one of the three desserts that I typically serve on the Fourth of July.  The other two are Dulce de Leche Cheesecake Bars and Nick Maglieri’s Supernatural Brownies.

Our front gate ready for the Fourth of July, 2017

The first year that these three became our traditional dessert course, one of our guests, after tasting them, commandeered the platter and started serving the other guests.  He introduced the dessert as “Sex on a platter!”

That was the moment when I knew I could not make changes to the dessert course without proof that the changes would actually be an improvement rather than just different.


Join our mailing list and you’ll never miss a recipe again!


The three desserts make a winning combination.

Guests arriving by van from the parking area

This year, we are not throwing our usual Fourth of July party.  Instead, we are spending two weeks on Fire Island.

For the last five and a half years, my husband, Frank, has been working in Alamogordo, New Mexico, a four-hour drive from our home in Santa Fe.  With rare exceptions, we’ve only seen each other on weekends during this time.  The trip to Fire Island is a celebration of his last day of work in Alamogordo which was this past Friday.

Fourth of July guests

Even when not part of the Fourth of July dessert trifecta, these lemon bars get great reviews but I have to apologize a bit to Zia Ida.

Zia Ida is my husband’s Aunt Ida.  Zia is the Italian word for aunt.

Zia Ida, far left, my father-in-law, and their aunt, Zia Fidalma, from Tuscany

I still consider these to be her lemon bars even though I’ve tweaked her recipe.  I added the lemon zest as her original recipe only called for the juice.  I think the zest adds layers of lemon flavor as the essential oils are way more lemony than the juice.  I also like to add coconut, though it wasn’t part of the original recipe and can certainly be left out.  Since I like my lemon bars tart, I increased the lemon juice from the original 5 tablespoons.

These lemon bars are not fussy to make.  I’ve seen fussy recipes that include steps like precooking the filling and diddling with the crust.  I don’t think either of those steps would improve the flavor and they’d definitely increase the work involved.

More Fourth of July guests

If you have a favorite recipe for some sort of dessert bar, I’d love to see it.  In the meantime, I hope you enjoy Zia Ida’s Lemon Bars.

Print Recipe
Zia Ida's Lemon Bars
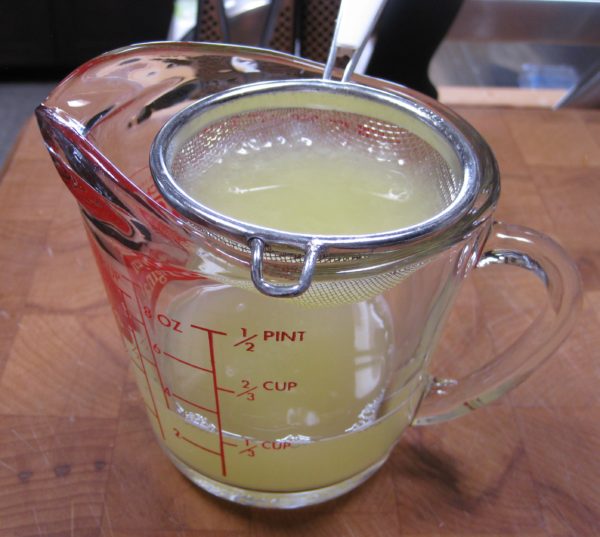
The coconut is optional. If you like your lemon bars less tart, use 5 tablespoons of lemon juice. After zesting the lemons for the crust and the lemon topping, squeeze the juice and strain well. You may need juice from an additional lemon.
Votes: 0
Rating: 0
You:
Rate this recipe!
Cuisine American
Prep Time 25 minutes
Cook Time 30 minutes
Passive Time 12 hours
Servings
bars
Ingredients
Crust
Topping
Cuisine American
Prep Time 25 minutes
Cook Time 30 minutes
Passive Time 12 hours
Servings
bars
Ingredients
Crust
Topping
Votes: 0
Rating: 0
You:
Rate this recipe!
Instructions
Crust
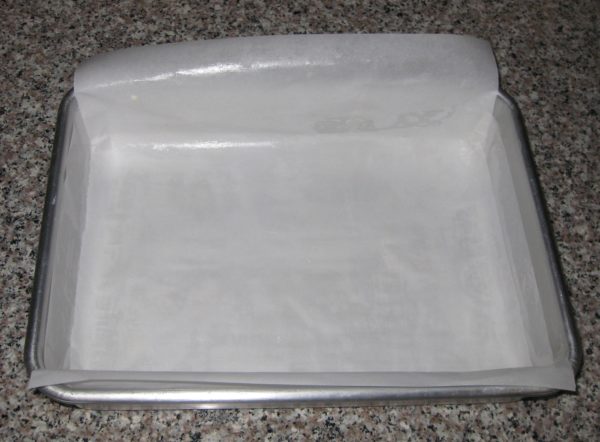
  1. Butter a 9" x 13" pan.
  2. Line the buttered pan with buttered parchment, allowing the parchment to overhang the sides of the pan a few inches in all directions.
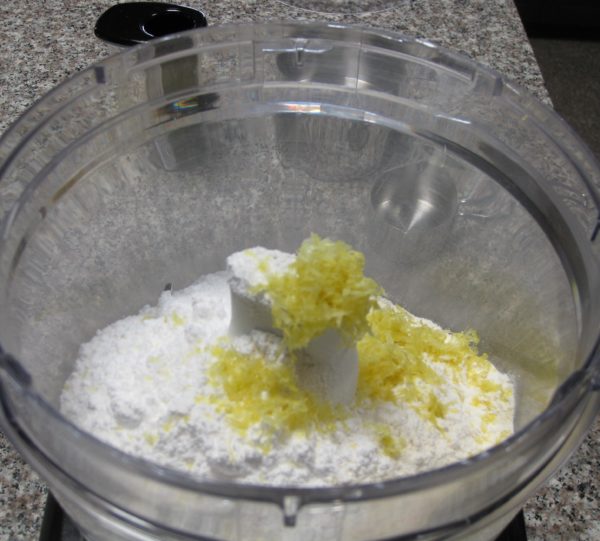
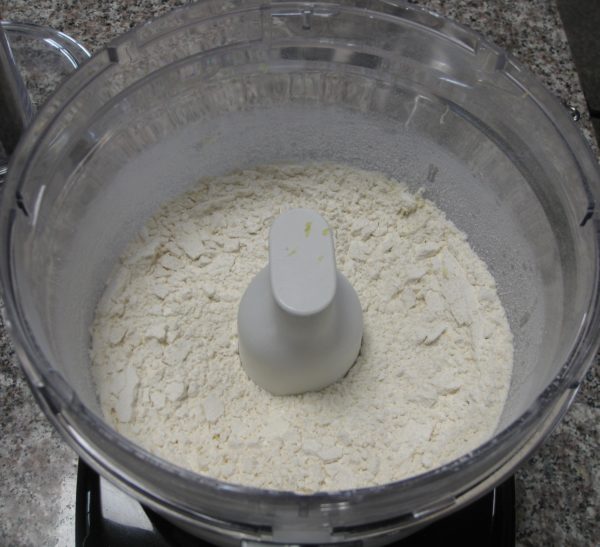
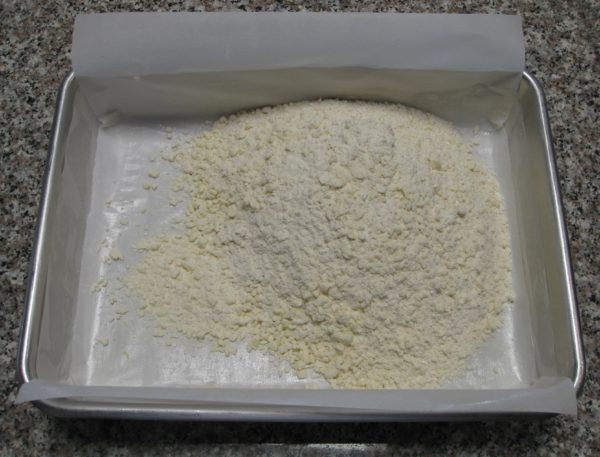
  3. Pulse flour, sugar and zest in food processor until combined.
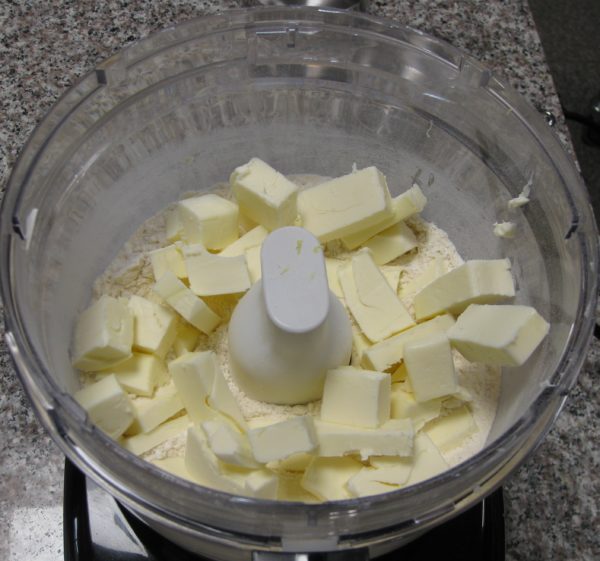
  4. Add cold butter, cut in small cubes. Briefly pulse until mixture forms coarse crumbs.
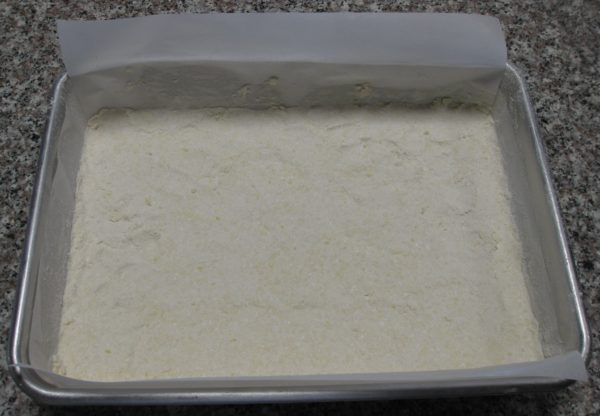
  5. Press the crust mixture into the prepared pan.
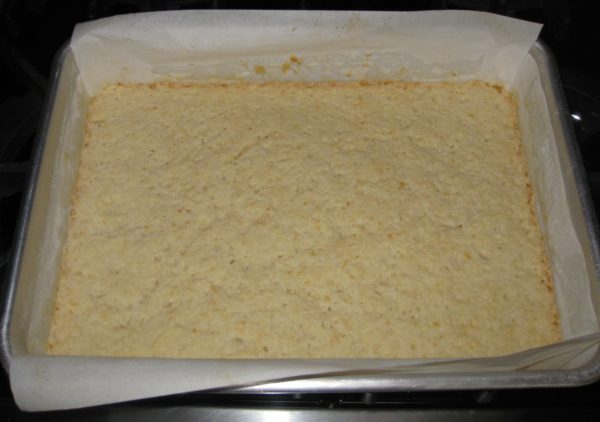
  6. Bake at 350°F for 20 minutes until lightly brown.
Topping
  1. As soon as the crust is out of the oven, make the topping.
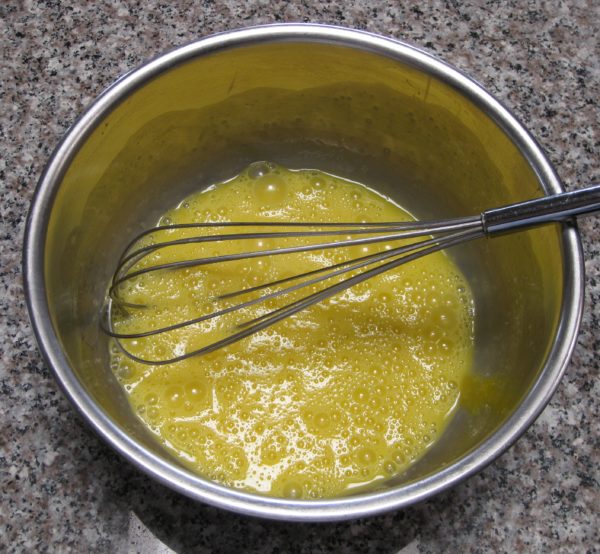
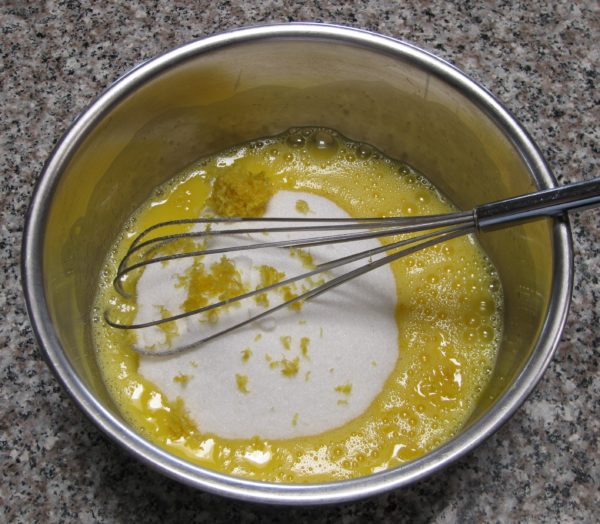
  2. Whisk the eggs to combine.
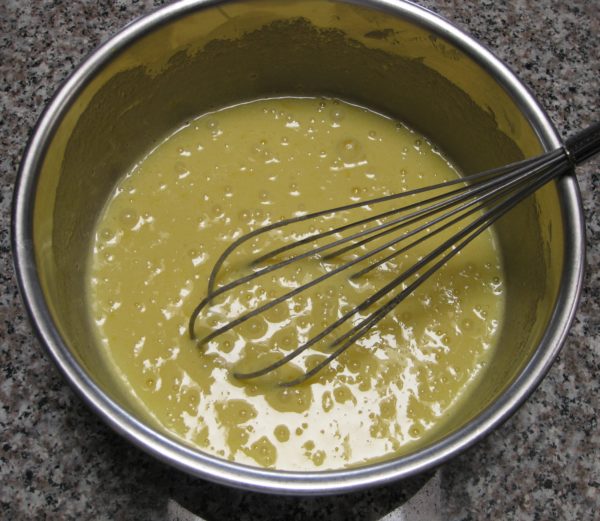
  3. Whisk in sugar, salt and lemon zest until light yellow.
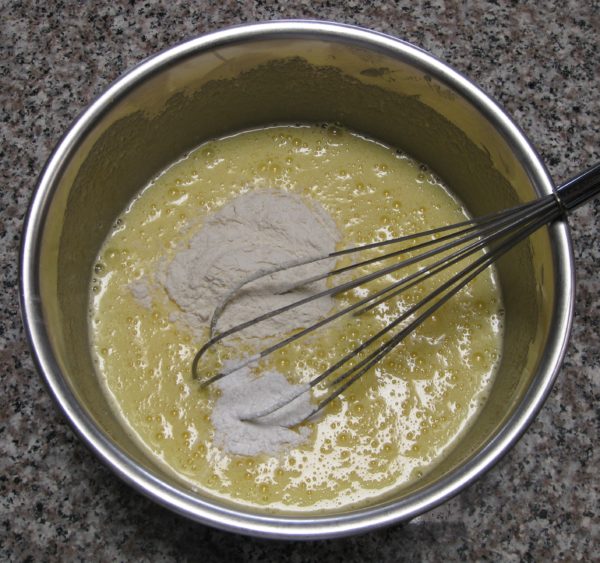
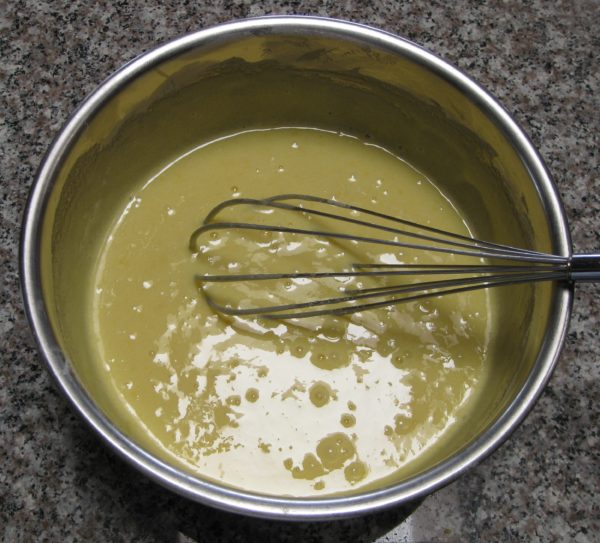
  4. Whisk in flour and baking powder.
  5. Add strained lemon juice and mix well.
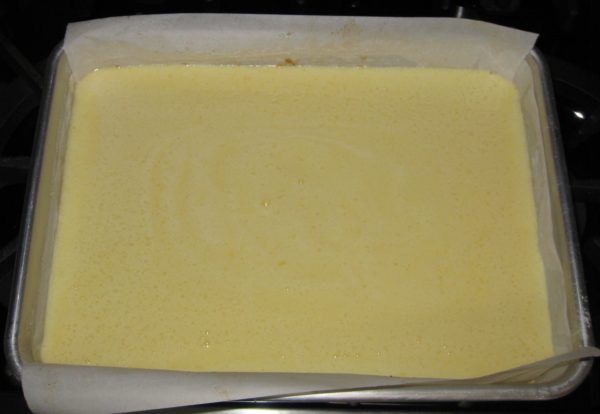
  6. Pour over the warm crust.
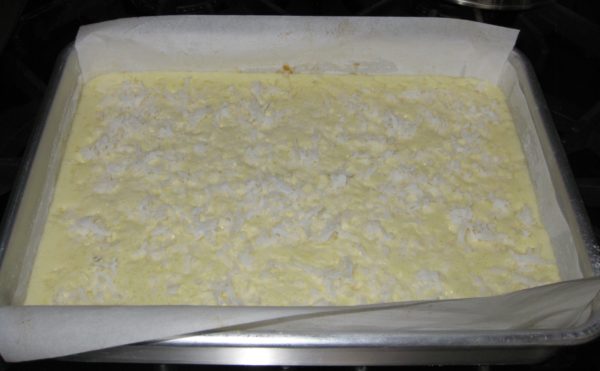
  7. Sprinkle with coconut, if using.
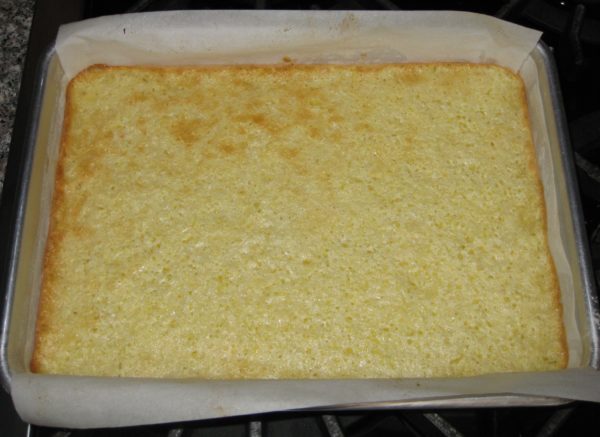
  8. Bake at 350°F for 20-25 minutes, until golden brown.
  9. Cool on a rack to room temperature.
  10. Cover the baking pan and refrigerate overnight or until cold and firm.
  11. Using the edges of the parchment, remove the cooled pastry from the pan.
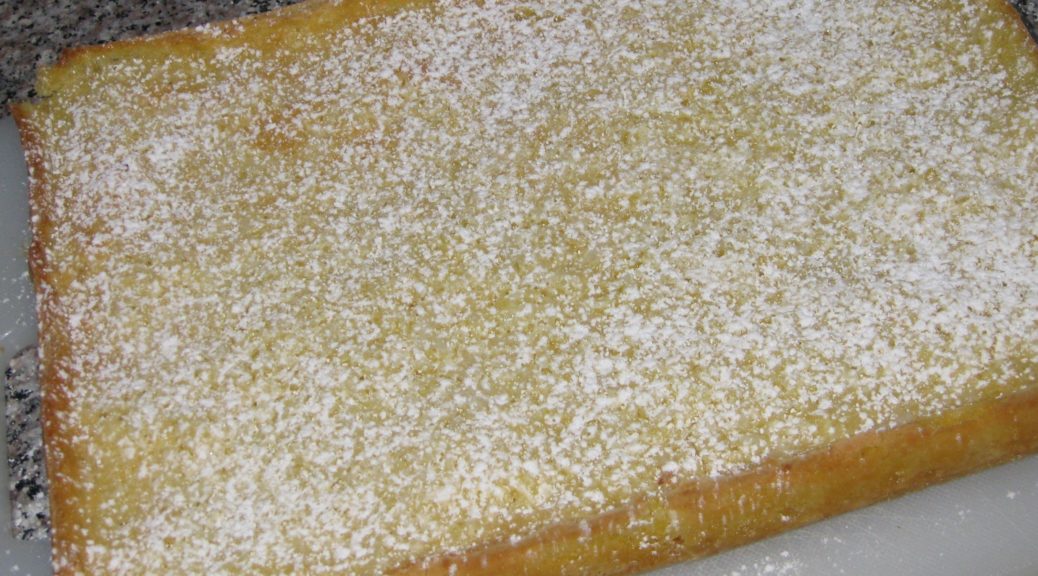
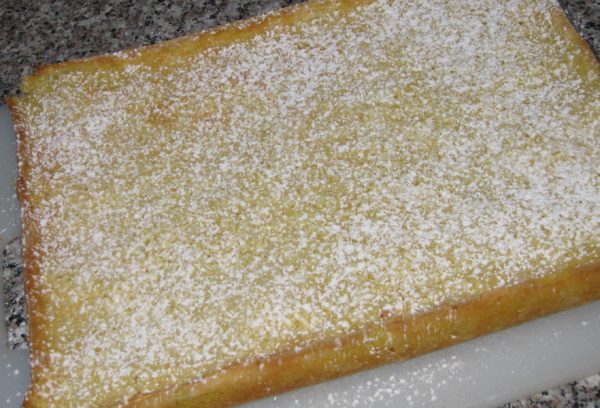
  12. Cut into squares. Dust with powdered sugar just before serving.
Recipe Notes

Copyright © 2018 by Villa Sentieri, LLC. All rights reserved.
Share this Recipe