Guyanese Barbecue Sauce

June 6, 2018

In a prior blog post, I talked about Jamaican New Sugar, also known as Wet Sugar.  New Sugar is difficult to obtain outside of Jamaica and even in Jamaica it is becoming harder to get.

Just as New Sugar relates to Jamaica, Demerara Brown sugar relates to Guyana.  Demerara Brown sugar is much easier to find, however.

The typical brown sugars available in the United States are made from refined white sugar with the addition of molasses.

New sugar, Demerara Brown sugar, and Turbinado sugar all represent stages in sugar refining.  Rather than adding molasses back into white sugar, it hasn’t been completely refined out of any of these sugars.


Follow us on your social media platform of choice


Of all of these, the one that I’ve used the most is Demerara Brown.  Even within this very distinct category, there are differences in refinement and moisture content.  Some Demerara Brown sugars are darker than others, though I’ve never seen a “grade” attached to these differences.  The Demerara Brown sugar that I used to buy in Guyana always seemed to have more moisture in it than that which is available in American markets.

I’ve found several sugars that are good substitutes for Demerara Brown sugar.  One came from Ecuador and, admittedly, isn’t much easier to source than Demerara Brown sugar.

The other is a brown sugar made for the Korean market that I found in an Asian grocery store.
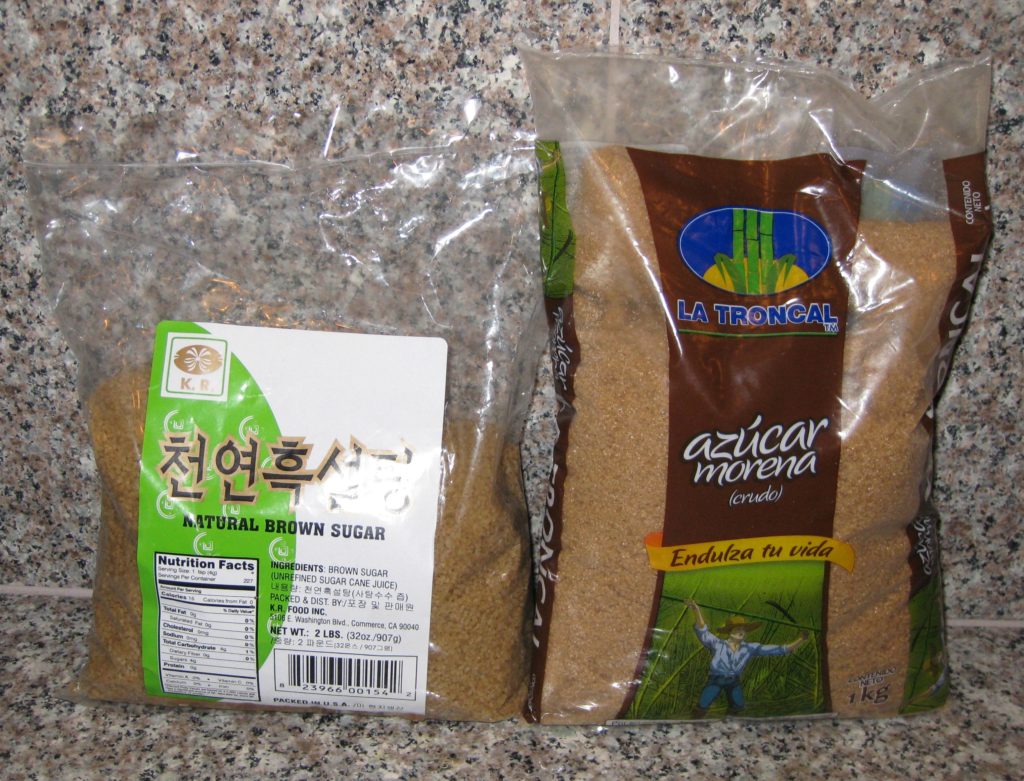
Korean and Ecuadorean brown sugars are good substitutes for Demerara Brown Sugar

I prefer both of them over Turbinado sugar as substitutes for Demerara Brown sugar as they are both less refined than Turbinado and have more of the flavor of true Demerara Brown.  For this barbecue sauce, however, since sugar is not a big component (as it might be in baked goods, for example) the ordinary American style brown sugar from the supermarket would work just fine.


Join our mailing list and you’ll never miss a recipe again!


I’ve been making this barbecue sauce since I was in college when I purchased a cookbook on a trip to Guyana.  (I might have mentioned this before, but I have thousands upon thousands of cookbooks.  I’ve actually run out of shelf space for them and have them stacked in boxes which is far from ideal.  I’m trying to figure out where to install additional library shelving so I can get the books out of the boxes and make them accessible.)
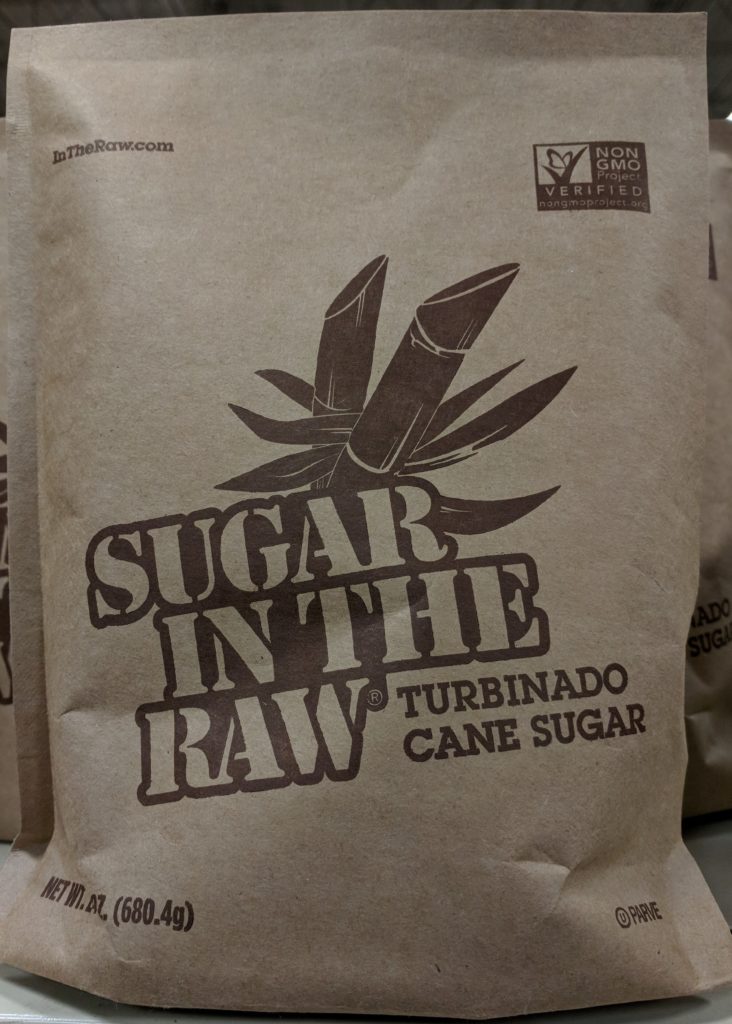
Turbinado sugar, which is lighter in color than Demerara Brown sugar, is not a good substitute for the flavor

What’s Cooking in Guyana is representative of a style of cookbook published decades ago in countries around the world, well at least in Anglophone countries with which I am most familiar!  It is based on recipes from Home Economics professionals and contains traditional recipes, some (modified) international recipes as well as a quantity of what I call “made up” recipes.  That is, recipes with no particular cultural history to them that were developed by professional cooks.  Admittedly, some of these recipes enter the cannon of locally prepared dishes and, if they survive long enough, can become “traditional.”

Never once in all my time in Guyana was I served anything that contained barbecue sauce.  Barbecue, and anything resembling barbecue, just wasn’t part of the country’s culinary heritage.  So, the presence of barbecue sauce in this Guyanese cookbook is curious.  If you look at the ingredients, you’ll notice a resemblance to the ketchup-based barbecue sauces of the United States but a closer look at the ingredients will demonstrate the use of a number of specifically West Indian ingredients.
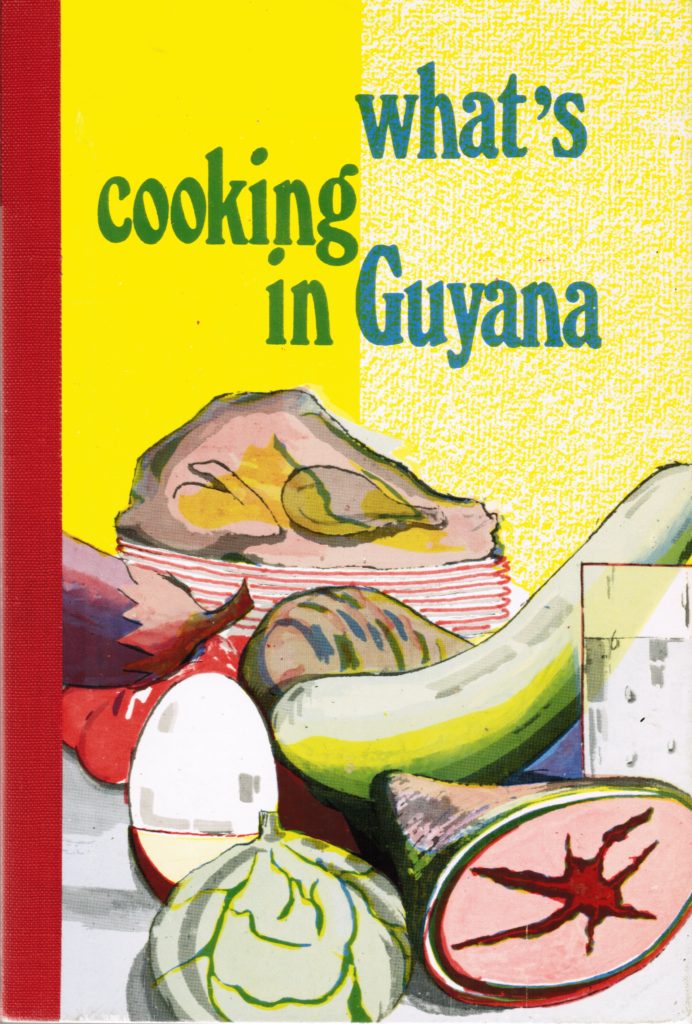
The first Guyanese cookbook I ever purchased

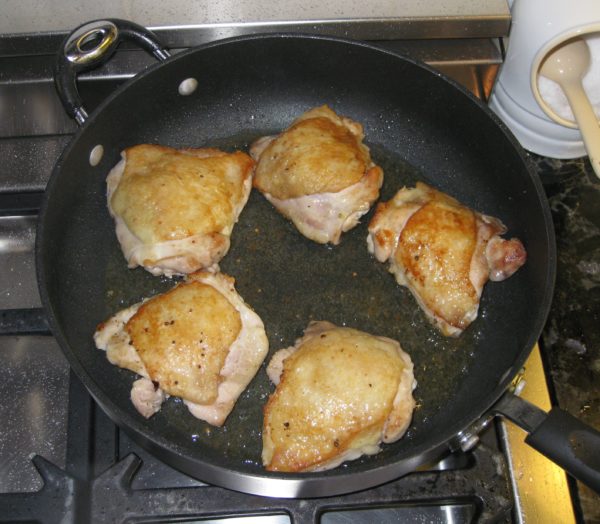
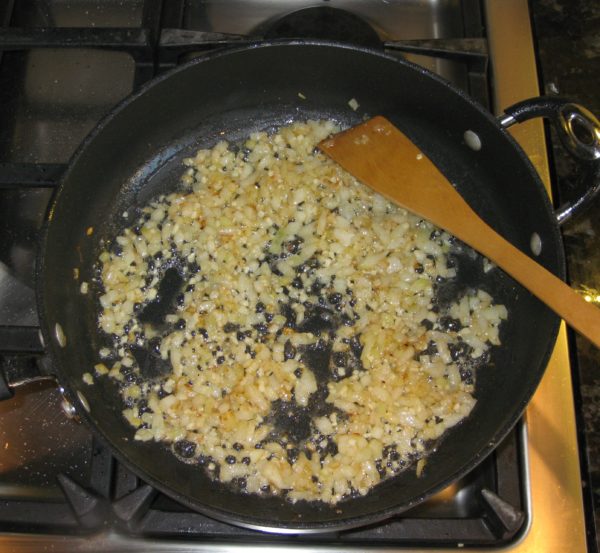
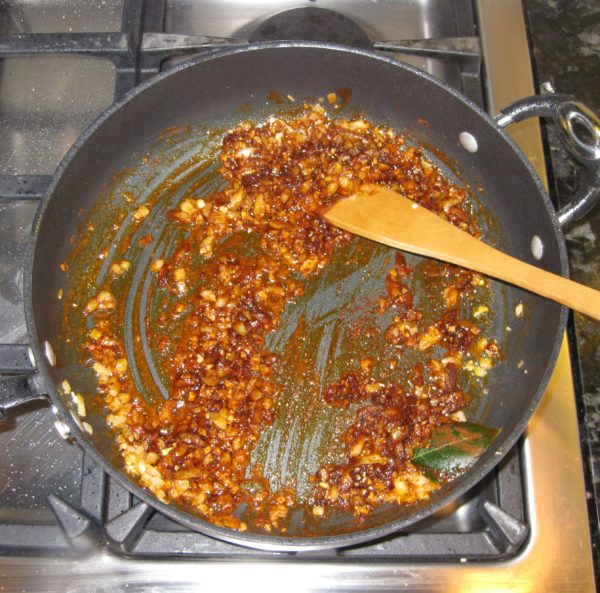
I classify this recipe as a “made up” one.  And a very good one at that!  It is my go-to barbecue sauce (when I’m not being lazy and reaching for a bottle of the purchased stuff, which, admittedly, I do from time to time.)  Many years ago, I  changed the proportions of ingredients in this barbecue sauce to suit my taste.  I feel that it is now truly mine.

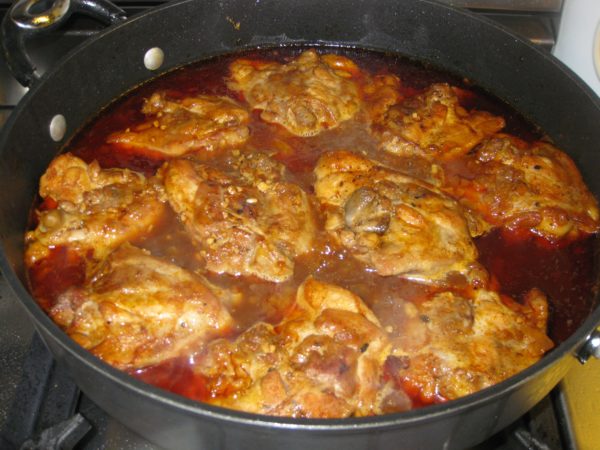
In the coming weeks, I’m going to post my recipe for barbecue rub and then after that my recipe for smoked chicken thighs that makes use of both the rub and the barbecue sauce.  Stay tuned!
Print Recipe
Guyanese Barbecue Sauce
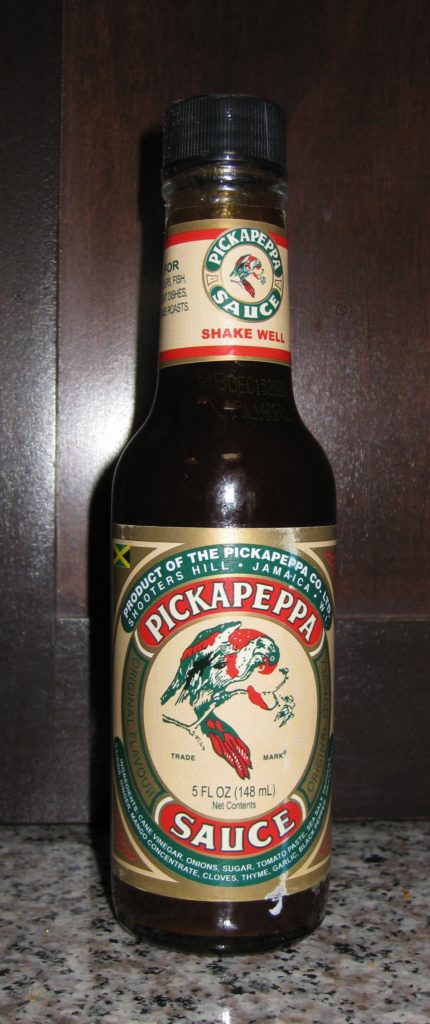
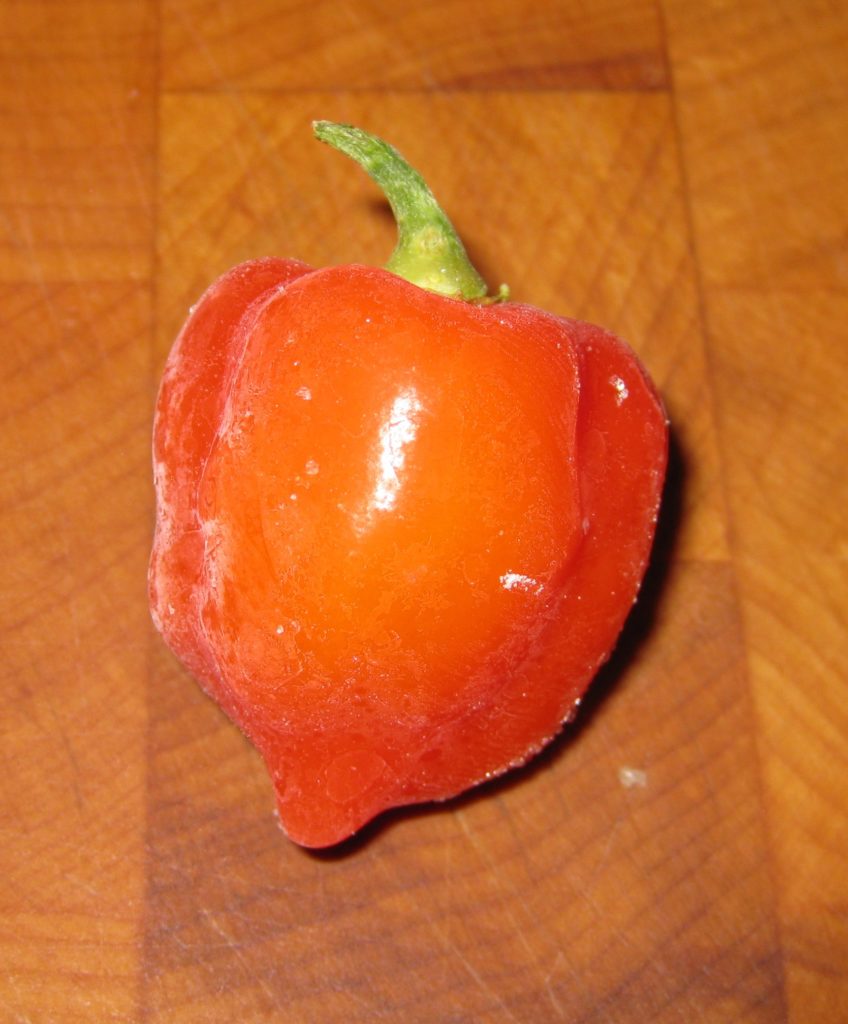
Wiri wiri peppers are nearly impossible to obtain outside of Guyana. Habanero or Scotch Bonnet peppers can be substituted. Demerara brown sugar can be difficult to find. Any coarse grained brown sugar can be used, such as Turbinado. Regular American-style brown sugar would work too. Lea and Perrins Steak Sauce can be substituted for the Pickapeppa Sauce. This recipe is modified from “what’s cooking in Guyana” published in 1973 by the Guyanese Ministry of National Development & Agriculture and the Carnegie School of Home Economics.
Votes: 0
Rating: 0
You:
Rate this recipe!
Prep Time 15 minutes
Cook Time 15 minutes
Servings
cups
Ingredients
Prep Time 15 minutes
Cook Time 15 minutes
Servings
cups
Ingredients
Votes: 0
Rating: 0
You:
Rate this recipe!
Instructions
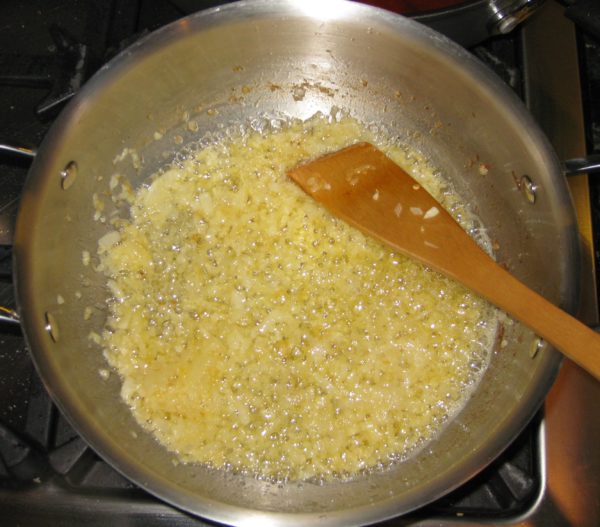
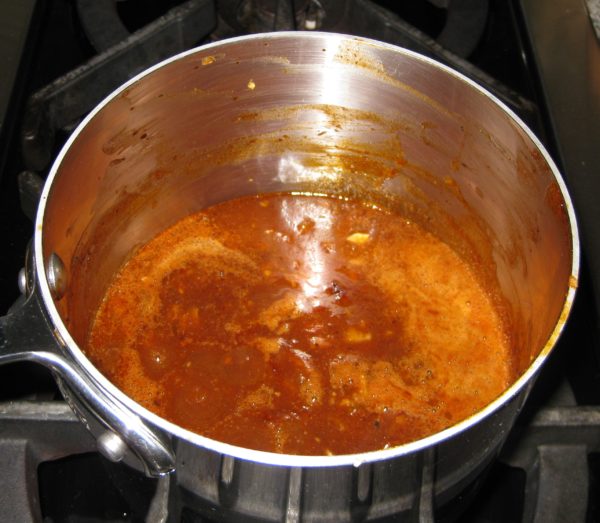
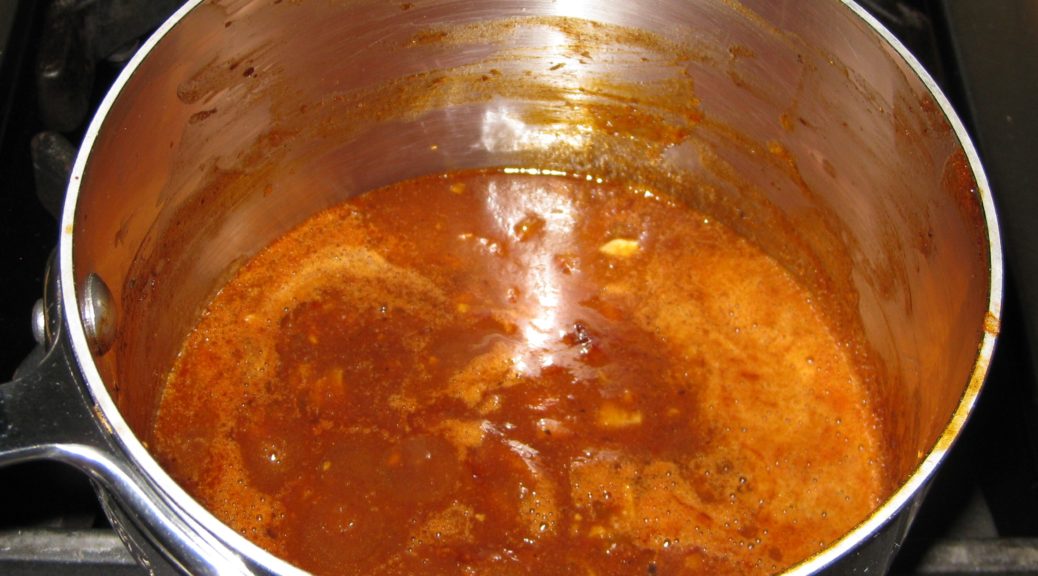
  1. Combine all ingredients in a small non-reactive saucepan.
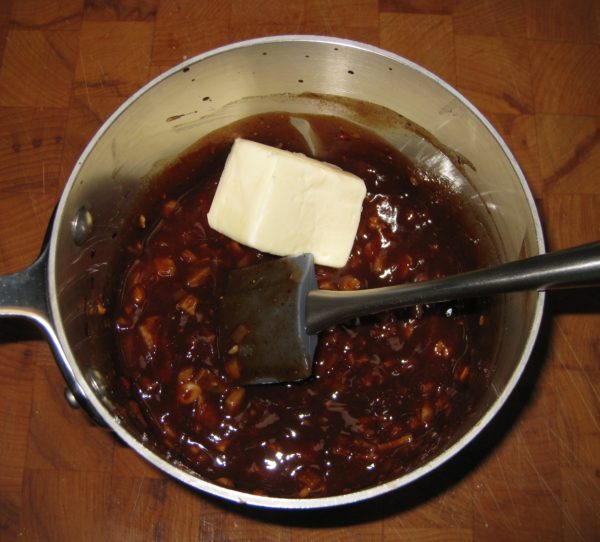
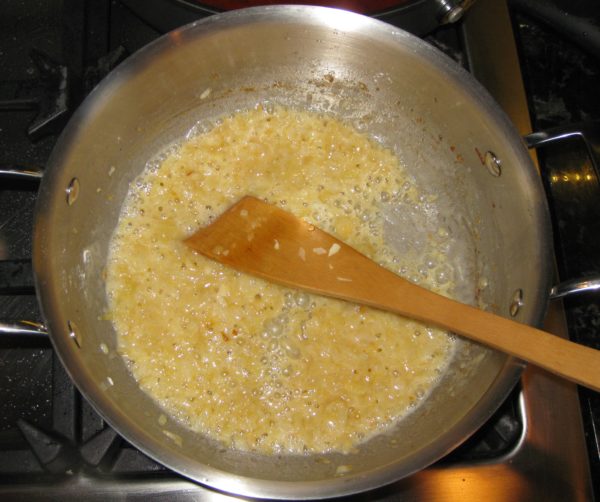
  2. Bring to a boil over medium heat.
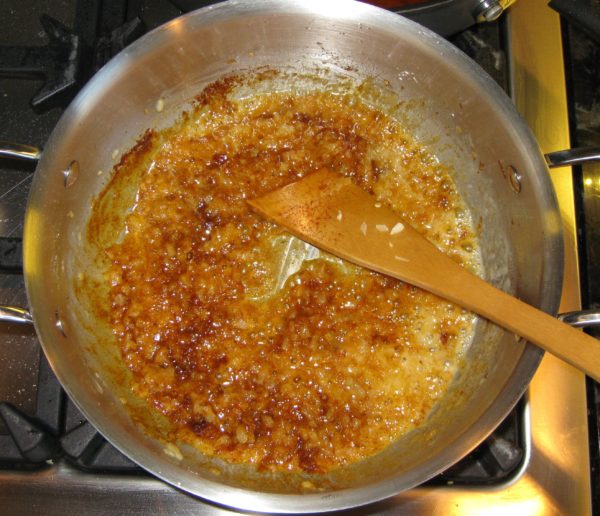
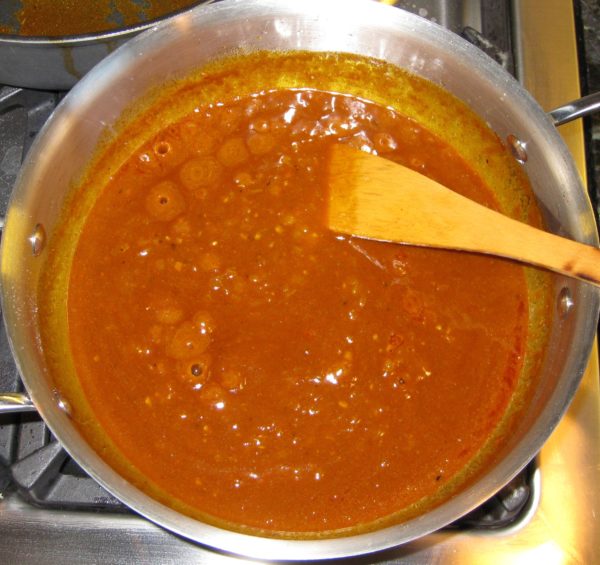
  3. Reduce heat and simmer 10 minutes, stirring frequently.
  4. Thin with a few tablespoons of water, if necessary.
  5. The sauce may be refrigerated for up to one week.
Recipe Notes

Despite its name, Pickapeppa sauce is not spicy.  It is very similar to a good steak sauce, such as A-1
Wiri wiri peppers are almost impossible to obtain, and the small amount needed does not justify a strenuous search.  Habanero or Scotch Bonnet peppers, to taste, can be substituted.
Copyright © 2018 by Villa Sentieri, LLC. All rights reserved.

Share this Recipe

Penne with Roasted Garlic Cream Sauce

May 14, 2018

I apologize!

In my inaugural messages, I clearly stated that I would publish traditional recipes, many (though not all) of them Italian, but with the emphasis on traditional.

I get really stoked by the idea of preserving traditional recipes in written form (even if it’s a bunch of zeroes and ones on a cloud server somewhere)!

I also truly appreciate new and innovative dishes…especially cakes, for some reason.  But my very strong preference if I’m going to work on perfecting and publishing a recipe is to focus on traditional recipes.  (I’m happy to eat good food of any type, traditional or not, that someone wants to serve me, however.)


Follow us on your social media platform of choice


My editorial calendar for this blog, including what I’ve published and what I currently have planned to publish, numbers 212 recipes.  The number keeps growing.  Most of these recipes are ones I listed (off the top of my head, so to speak) when I was planning the launch of the blog in late 2016.  The list came from simply thinking about my favorite recipes.  As I trawl through my recipe archive periodically, looking for recipes for particular events, or even just dinner, I usually come upon at least a few more recipes that get added to the list.

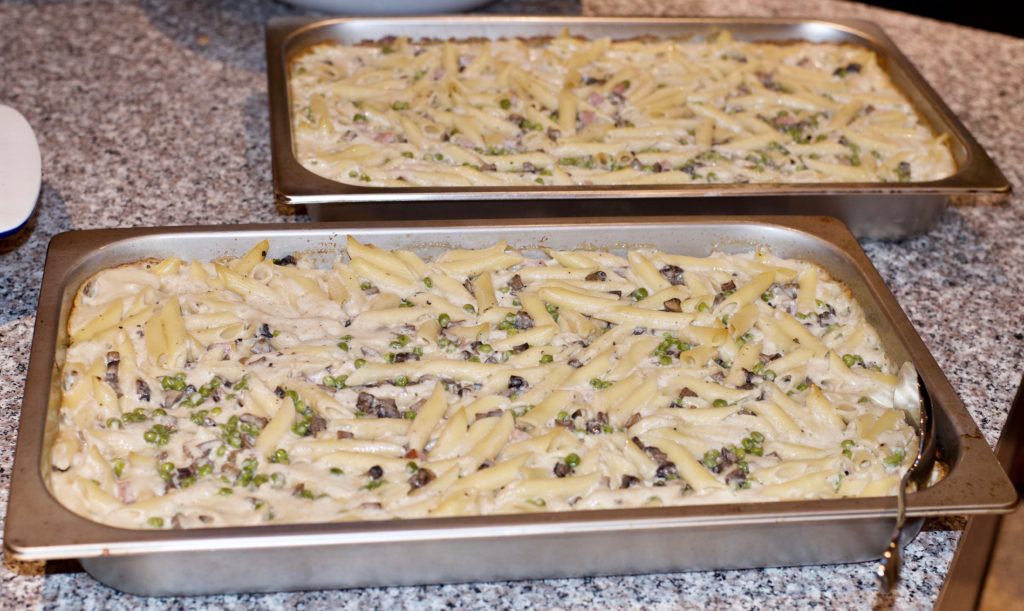
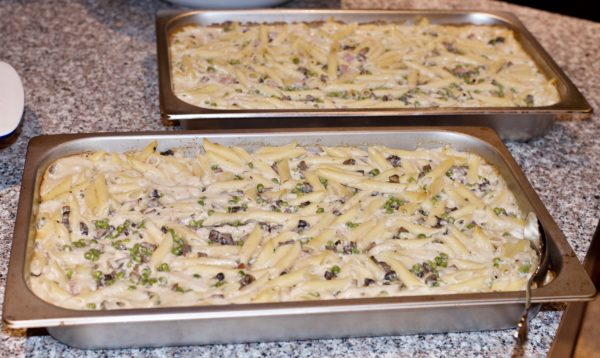
Two hotel pans hold a double batch, 4 pounds of penne, for a summer dinner party for the family from Tuscany

Windows says I have 4133 recipes saved in my recipe directory.  That does not count the hundreds of hand-written ones that I’ve not scanned in yet.

But I have to admit, not EVERYTHING I make is traditional.  I have this killer salmon recipe that I got from the New York Times that is now a regular on our table.  Almost any vegetable recipe by David Tanis is a winner in my book, well really ANY recipe by David Tanis, but he has a way with vegetables.  He has many make-ahead-and-heat-up-in-the-oven options that remove a lot of last minute work when putting dinner on the table, whether it be for 2 or 20!

In my defense, these are recipes that I think will become classics in a few decades just as many of the recipes that I started cooking 45 years ago in college have become classics for me.  I think if a recipe still tastes good after half a century it can be considered a classic…which is getting pretty close to traditional.

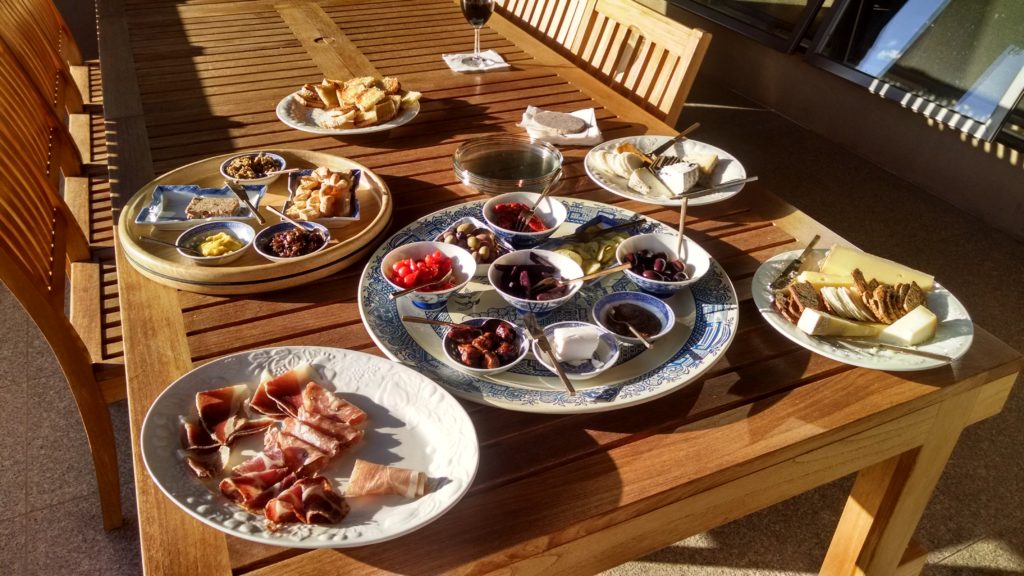
This is just a portion of the antipasto for the dinner for our Tuscan relatives

Think about all the things you ate 50 years ago that you don’t make any more, like fried bologna simmered in ketchup!  That actually is something that my very traditional mother put on the table in the 1960s!  Granted, it was a main course (and I use the term lightly) that could be whipped up in under half an hour after a day’s work.  The truth is, I actually liked it at the time.

I differentiate the fried bologna category of foods that I don’t make any more from the fried salami category of foods that I still love but that just have fallen off my rotation.  Have you ever had a sandwich of pan-fried salami?  If not, give it a try.  (Thinly slice the salami.  Make a cut from the middle to one edge, like the first cut of a pie, to reduce puckering.  Cook in a skillet over medium heat till lightly browned on each side.  No oil needed.  Pile on bread.  Enjoy…dripping fat and all!)


Join our mailing list and you’ll never miss a recipe again!


So why the apologia?

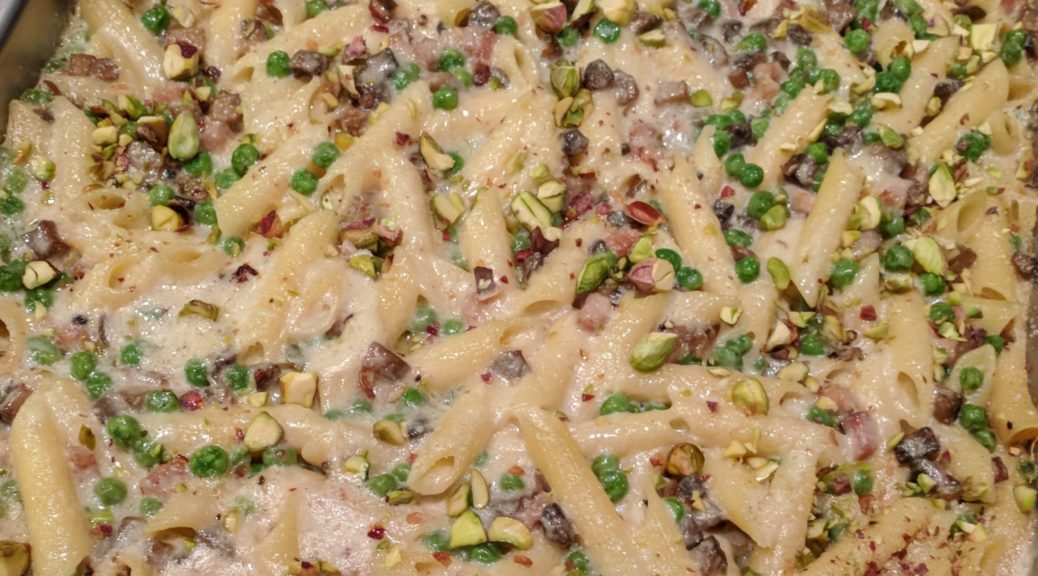
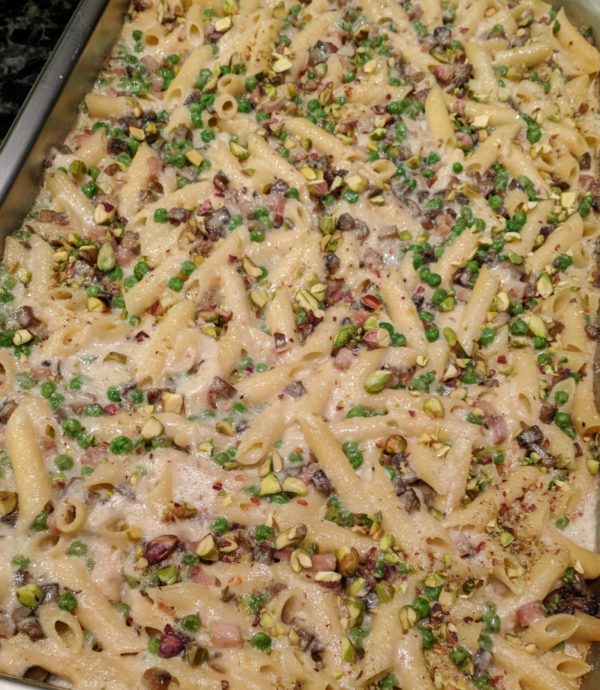
Today’s recipe isn’t traditional.  I developed it about four years ago for dinner for a large group of people.  It was such a hit, that I kept making it.  I even made it last summer for a dinner party for the family from Tuscany!  So, while it’s not really traditional (which I take to mean something with a cultural history, something that individuals from a particular culture and location make or made on a regular basis), it has a very traditional FLAVOR.

I made this penne for my father-in-law’s birthday party this past January. Everyone had clean plates!

In my mind it’s not a REAL (i.e. traditional) dish because I made it up.  On the other hand, the flavor profile makes it fit into an established canon of northern Italian food.  Italians would recognize it as Italian food, just not traditional Italian food.

Because it isn’t traditional, I hadn’t planned on publishing it.  I got a number of requests for the recipe after I mentioned it in one of my emails and decided that I should reconsider my initial decision.  There aren’t many photographs but the steps are not really complicated.  I know you can do it without all the usual photos.

Who knows, maybe in another 45 years it’ll become a classic!

Print Recipe
Penne with Roasted Garlic Cream Sauce
This takes some time to put together but once it’s assembled you can spend time with your guests while it cooks. The sauce has a luxurious amount of butter, about twice what would typically be used based on the amount of flour. This improves the flavor and mouth-feel of the sauce. Because I originally created this dish for an event in Alamogordo, New Mexico, I topped it with pistachios which are grown there. Chopped walnuts or whole pine nuts could be substituted. If you want to prepare the dish in advance, be sure to cool the pasta in a bowl of ice water. Mix the cooled pasta with cold white sauce and the other ingredients. Pour into a baking dish, cover tightly, and refrigerate. Allow the covered dish to sit at room temperature 60-90 minutes before baking.
Votes: 0
Rating: 0
You:
Rate this recipe!
Prep Time 2 hours
Cook Time 2 hours
Passive Time 2 hours
Servings
people
Ingredients
Balsamella (White Sauce)
Final Assembly
Prep Time 2 hours
Cook Time 2 hours
Passive Time 2 hours
Servings
people
Ingredients
Balsamella (White Sauce)
Final Assembly
Votes: 0
Rating: 0
You:
Rate this recipe!
Instructions
Balsamella (White Sauce)
  1. Put the garlic in a single layer in a small oven-proof dish with a tight-fitting lid. Alternatively, put the garlic on a sheet of heavy-duty aluminum foil.
  2. Sprinkle the garlic with olive oil.
  3. Put the lid on the dish, or fold up and seal the aluminum foil.
  4. Roast the garlic at 300°F until soft and golden brown, approximately 45 minutes, stirring occasionally.
  5. Put the garlic and any olive oil you can scrape out of the dish into a blender jar.
  6. Add 1 cup of the milk.
  7. Puree the garlic and milk. Reserve.
  8. Warm the remaining milk in a heavy-bottomed saucepan.
  9. Melt the butter in another heavy-bottomed saucepan over medium heat. Stir the flour into the butter.
  10. Cook for a few minutes on medium heat but do not allow flour to color.
  11. Stir in the warm milk, one ladleful at a time, incorporating well after each addition to avoid lumps.
  12. After about half the warm milk has been incorporated, add the pureed garlic mixture.
  13. Use some of the warm milk to rinse out the blender jar and add it to the pot. Stir well.
  14. Add the remaining milk to the pot along with the bay leaves, rosemary sprigs, and lemon zest.
  15. Bring to a boil over medium high heat stirring (nearly) constantly and cook until the sauce reaches the thickness of heavy cream, approximately 5 minutes.
  16. Strain the white sauce through a fine-mesh sieve.
  17. If not using the sauce immediately, cover it with plastic wrap, putting the plastic directly on the surface to prevent the formation of a skin, and refrigerate. [If you are going to prepare the casserole in advance, make sure the balsamella is cold before combining with the other ingredients.]
Final Assembly
  1. Put the frozen peas in a large sieve. Rinse with cool water to thaw the peas. Allow the peas to drain and completely thaw while proceeding with the recipe.
  2. Heat the olive oil in a large sauté pan over high heat.
  3. When the oil is hot, but not smoking, add the diced mushroom caps. Toss well.
  4. When the mushrooms have absorbed the oil, add 1 teaspoon of fine salt. Mix well.
  5. Turn the heat to medium low until the mushrooms begin to sweat.
  6. Turn the heat to high and continue sautéing until the liquid evaporates.
  7. Continue to cook until the mushroom pieces are browned in places.
  8. Season with black pepper. Add ham and cook 2-3 minutes.
  9. Remove from the heat and reserve.
  10. Bring a large pot of heavily salted water to a rolling boil. Add the pasta.
  11. Boil until the pasta is partially cooked. It should still be a little crunchy on the inside.
  12. If you are going to cook the casserole immediately, drain the pasta but do not rinse. If you are going to assemble the casserole in advance, drain the pasta and chill it in a bowl of ice water. When cold, drain well.
  13. Combine pasta, peas, mushroom and ham mixture, and balsamella. Mix well.
  14. Pour into a large buttered casserole. For this quantity, I use a full-size steam-table tray, also called a “hotel pan.”
  15. Put a sheet of parchment on top then cover the pan tightly with heavy-duty aluminum foil. You can skip the parchment if you are going to cook the casserole immediately. Food should not stay in extended contact with aluminum, hence the parchment paper if the dish is being assembled in advance.
  16. Either refrigerate or bake at 350°F until bubbly. Baking time will depend on whether the ingredients are hot or previously refrigerated and brought to room temperature, 1 ½ to 2 hours.
  17. Remove the foil and parchment. Sprinkle the top with Parmesan cheese and nuts.
  18. Place under the broiler, or on the top rack of an oven heated to 500°F, until the top is golden brown.
  19. Allow the casserole to rest at least 15 minutes before serving.
Recipe Notes

Copyright © 2018 by VillaSentieri.com. All rights reserved.
Share this Recipe

Guyanese Curried Chickpeas (Channa Masala)

April 30, 2018

The largest ethnic group in Guyana is comprised of those of (East) Indian descent.  When I was there in the 1970s and 1980s, Indians represented just over half of the population.  As of the 2002 census, those of Indian descent represent just over 43 percent of the population.

Other demographic groups in Guyana include those of African, Chinese, Western European, and mixed descent.  Amerindians are now a very small percentage of the population.

The cuisine of Guyana reflects its multicultural population.  Curry is very popular as is roti, Indian-style flatbread.  Chinese-style fried rice is a restaurant staple.  A typical Sunday dish is Portuguese-derived garlic pork.  British-style baked goods are popular, especially black cake around Christmastime.

The Guyana Supreme Court building (CC BY-SA 3.0, https://commons.wikimedia.org/w/index.php?curid=475676)

A quick internet search demonstrated to me that the restaurant scene in Guyana has changed dramatically since my visits there.  In the 70s and 80s, restaurants were, for the most part, very basic affairs.  There were just a few that rose above “basic” but even they were challenged to produce really good food because of the limitation on imported foodstuffs.


Click HERE to join our mailing list and you’ll never miss a recipe again!


Food prepared at home was generally of a better quality, and certainly displayed more variety, than what was available in restaurants “back then.”  And, while in any given household there may be more foods reflective of the particular demographics of that household, popular dishes like curry, fried rice, garlic pork, and black cake are prepared in pretty much every household.  They have really become Guyanese dishes, regardless of their ethnic origins.

My last trip to Guyana was in early 1981.  I finished medical school around the end of January and went to Guyana to work on the psychiatric unit at the public hospital in Georgetown, the capital, before beginning my internship at the Hospital of the University of Pennsylvania in mid-June.  At that time there was one psychiatrist who worked for the government of Guyana and one psychiatrist in private practice.  The government psychiatrist, who lived a significant distance from Georgetown, was also responsible for overseeing the long-term psychiatric unit in Fort Canje, now referred to as the National Psychiatric Hospital.


Follow us on your social media platform of choice


The day I arrived at the public hospital in Georgetown, the psychiatrist was a no-show.  He then made it clear that he had no intention of coming to the hospital for the duration of my stay.  At the age of 26, just having finished medical school and not having done an internship, let alone a residency, I became the de-facto psychiatrist for the public hospital!

The Guyana Parliament Building (CC BY-SA 3.0, https://commons.wikimedia.org/w/index.php?curid=475699)

The psychiatric unit consisted of four rooms (plus two bathrooms) on the upper floor above the morgue.  The psychiatrist’s office (my office) was the entry point to the unit.  Behind the office was a very small nurses’ station.  There were two large wards, one on each side of the nurses’ station.  Each has eleven beds and no privacy.  One ward was for men and one for women.  Though we only had 22 beds, our census was often double that.  There was no option to add beds so patients often slept two to a bed.

In general, male patients were attended to by male nurses and female patients by female nurses.

There was also a very, very busy outpatient clinic staffed by myself and three social workers.

The male nurses started including me in some of their evening social gatherings.  I remember a few held at the home of one of the nurses who was of Indian descent.  We basically sat around talking, drinking rum, and eating.  My love of spicy Indian food was met with amazement.  The fact that I could eat incendiary atchar was sort of beyond belief.

Whenever these gatherings happened, it was just us guys.  Wives and girlfriends stayed away, even the wife of whomever was hosting the party (even though she would have prepared most if not all the food!).

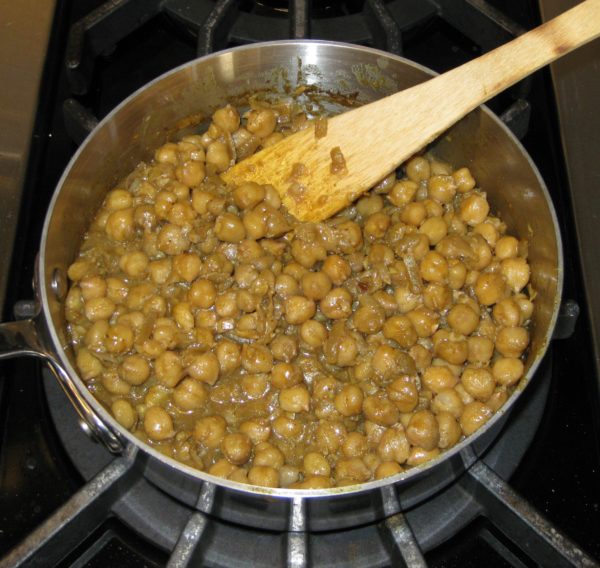
When I was in Guyana, pre-mixed curry powder was the norm in cooking.  This recipe reflects that tendency.  When I made Indian food frequently, I would keep one or two types of homemade curry powders on hand as a quick solution to a weeknight meal.  For this recipe, feel free to use a good quality commercial curry powder.

Print Recipe
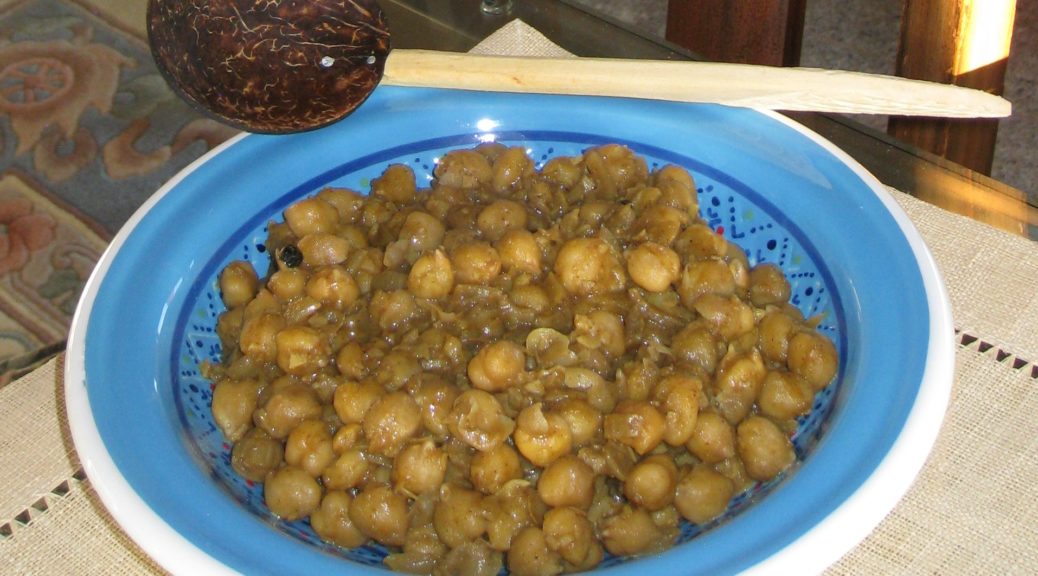
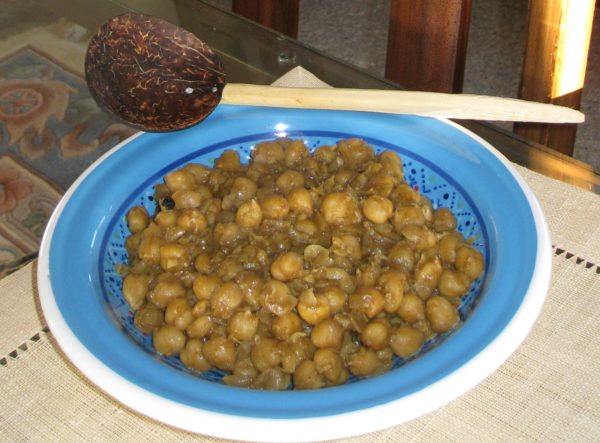
Guyanese Curried Chickpeas
Two cans of chickpeas can be used instead of the 3 to 3 ½ cups of home cooked beans but home-cooked are so good, and so much better. If using canned chickpeas, taste the canning liquid to decide whether to use it or discard it and rinse the chickpeas. The curry should be basically dry at the end so do not put in too much liquid at the beginning. Although not strictly Guyanese, adding a tablespoon or so of minced ginger with the garlic is a welcome taste treat.
Votes: 8
Rating: 4.5
You:
Rate this recipe!
Prep Time 10 minutes
Cook Time 30 minutes
Servings
people
Ingredients
Prep Time 10 minutes
Cook Time 30 minutes
Servings
people
Ingredients
Votes: 8
Rating: 4.5
You:
Rate this recipe!
Instructions
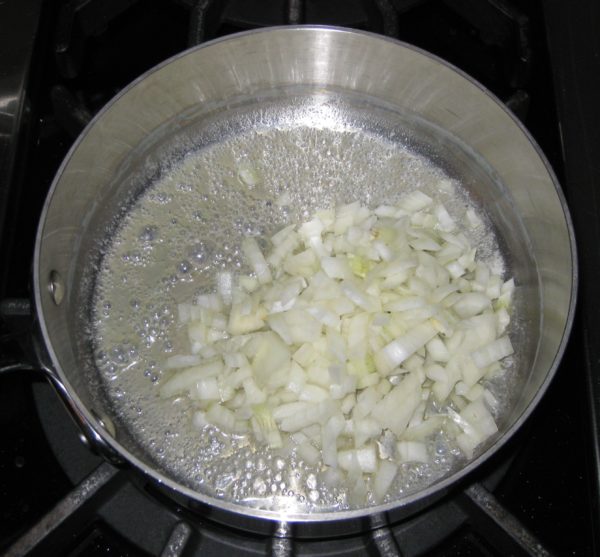
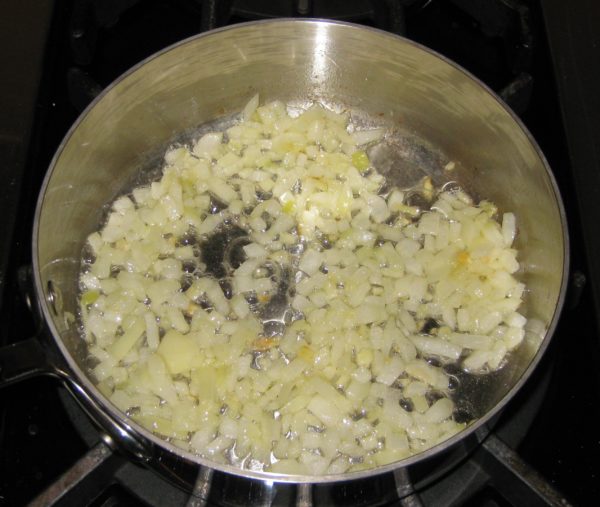
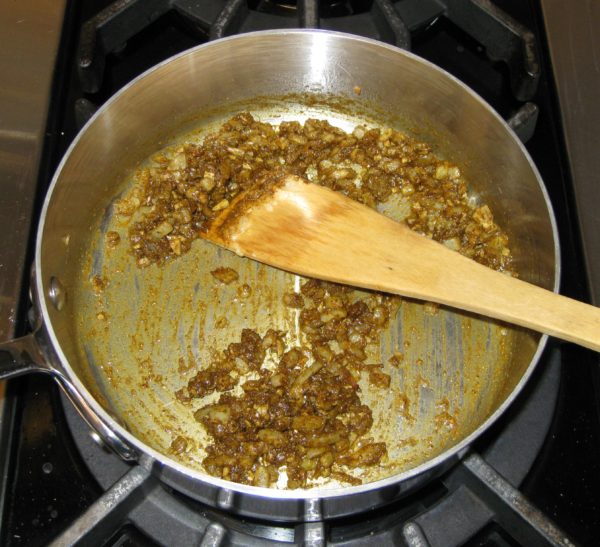
  1. Sauté the onion in butter until translucent.
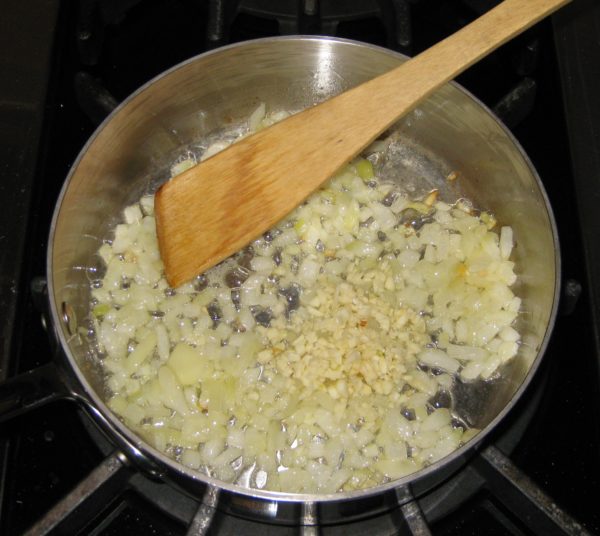
  2. Add the garlic and minced hot pepper.
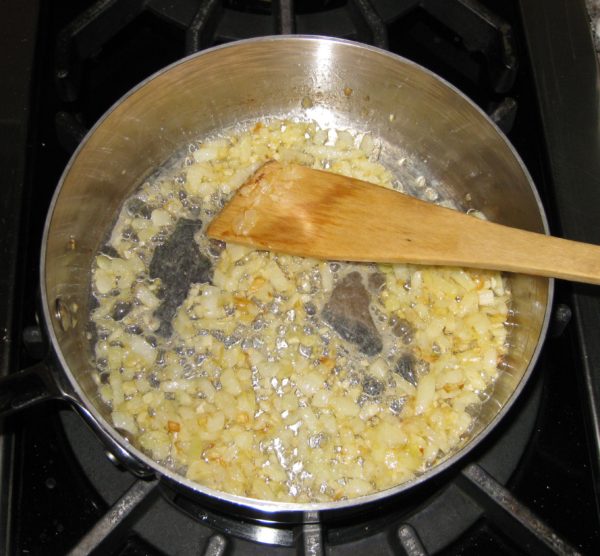
  3. Continue sautéeing until the onion is golden and the garlic is fragrant.
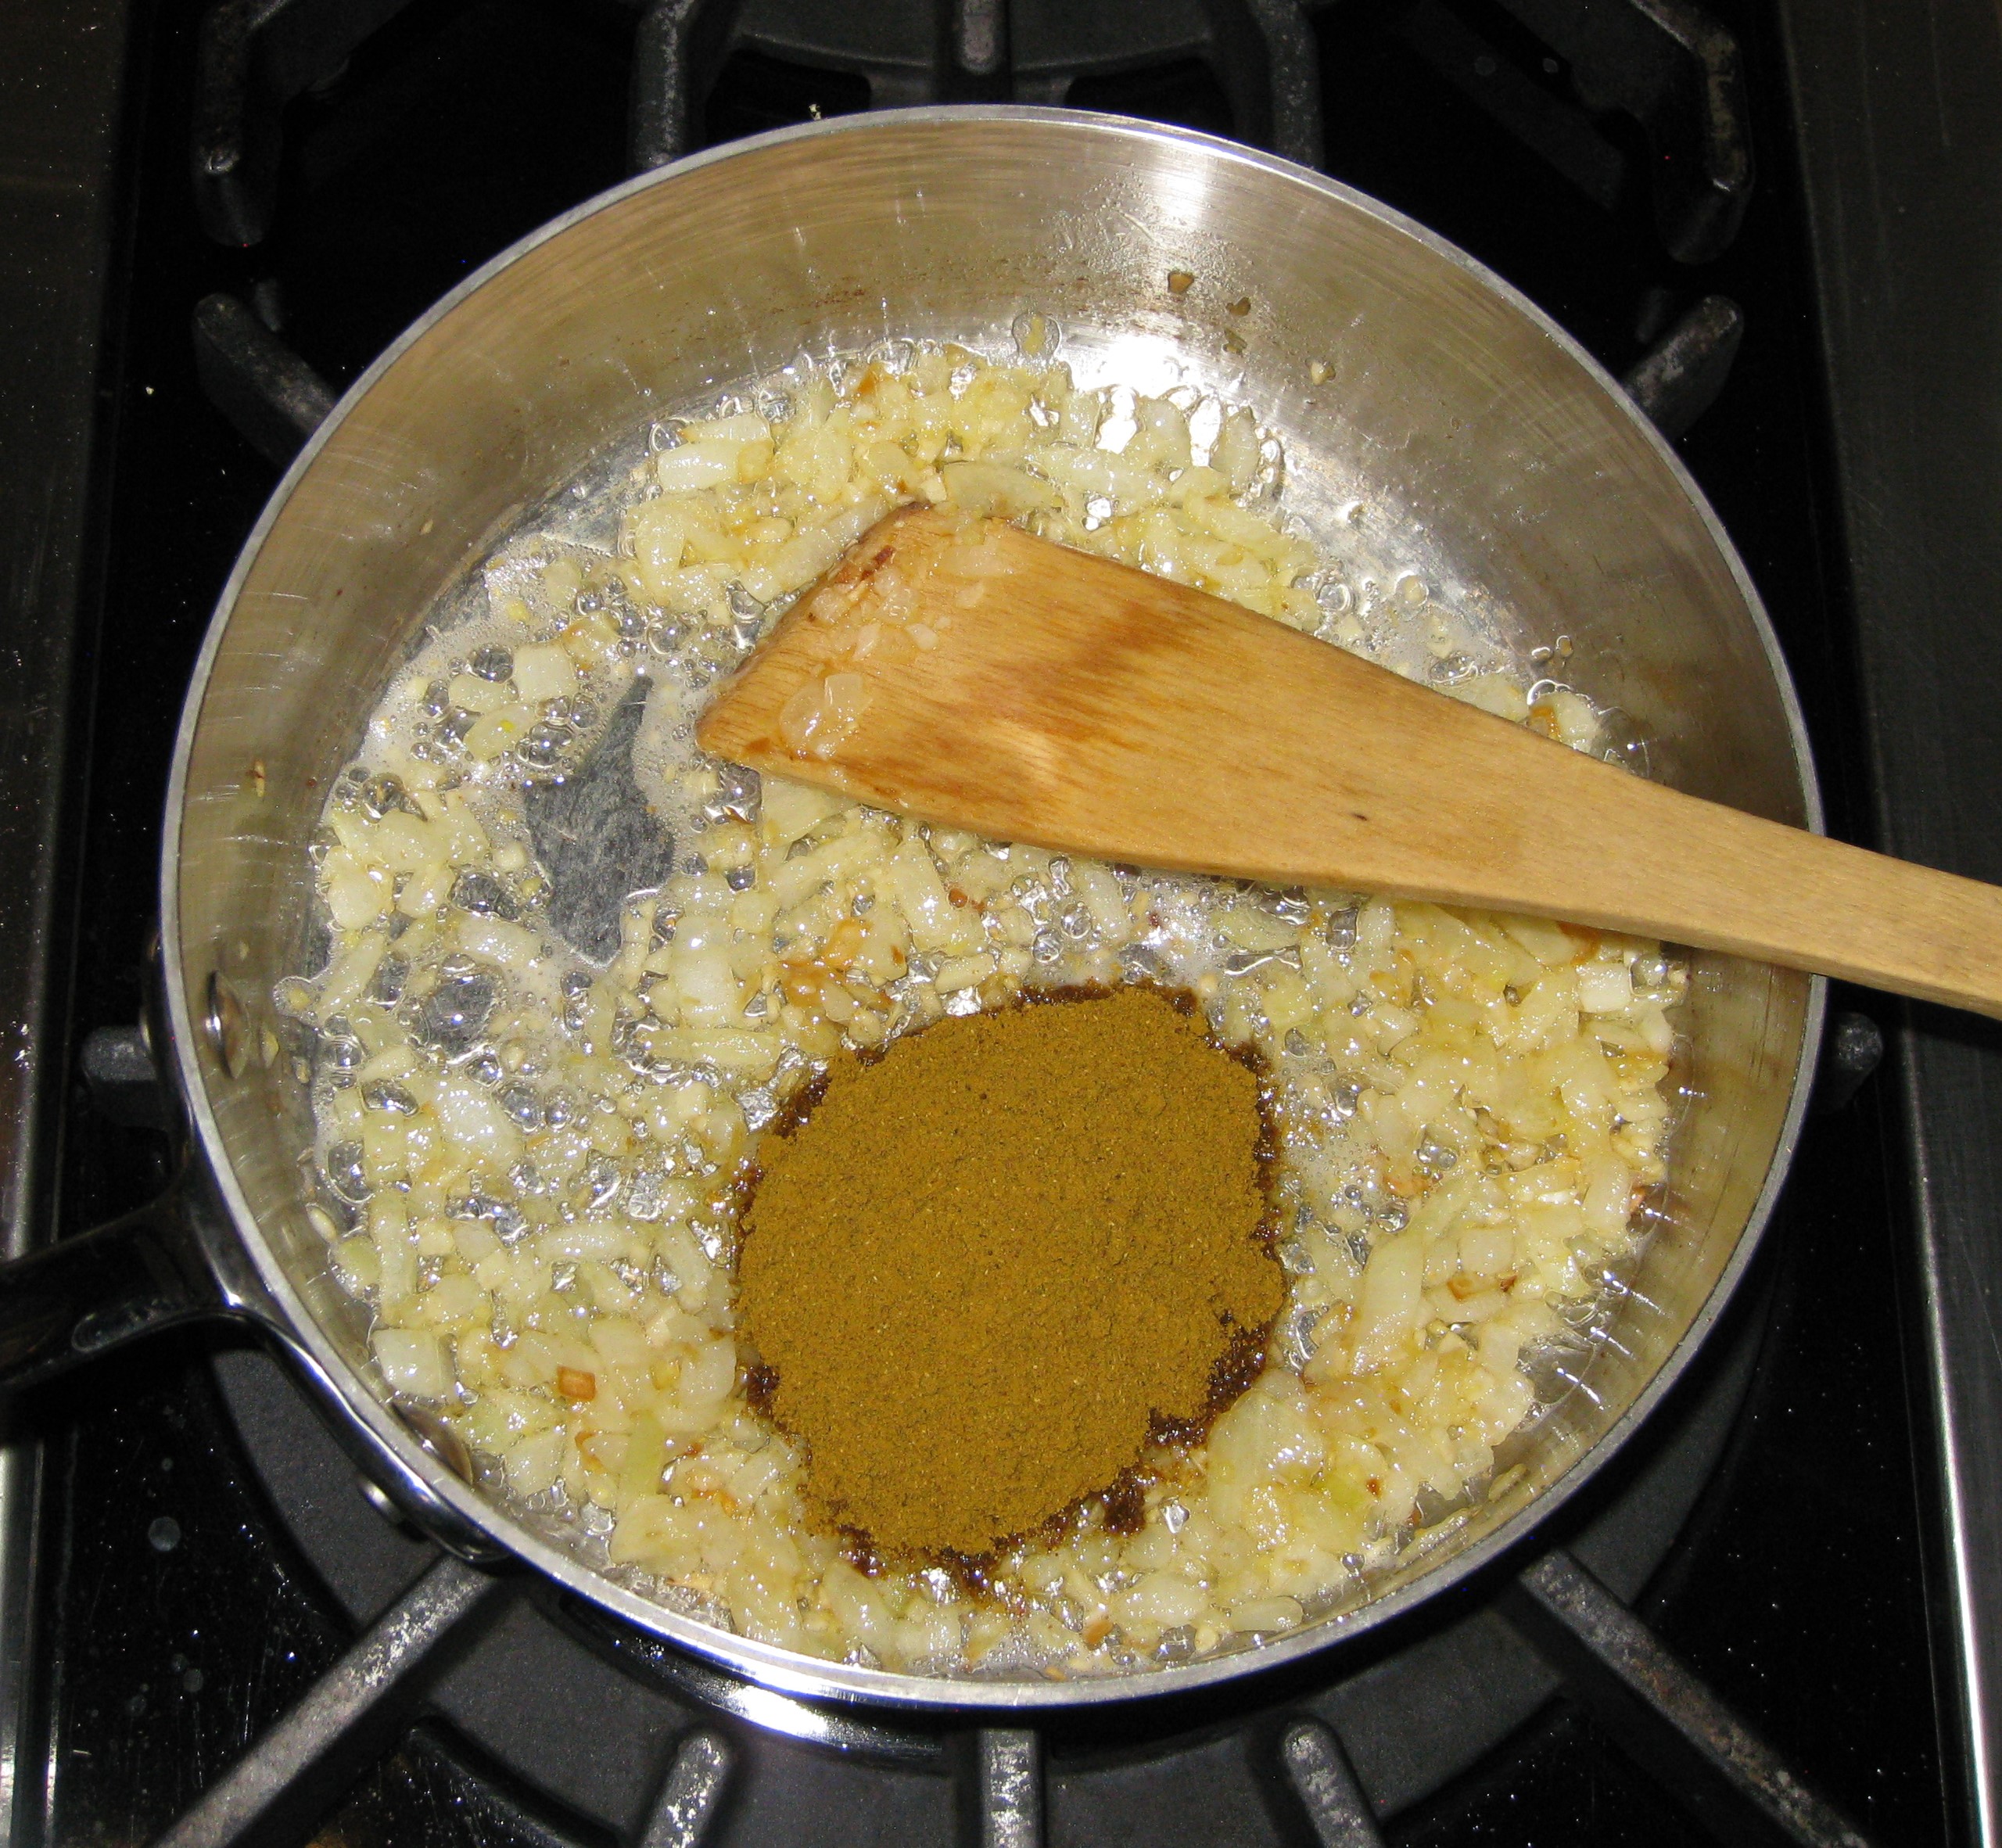
  4. Add the curry powder.
  5. Sauté 2-3 minutes, stirring frequently, until the raw smell is gone.
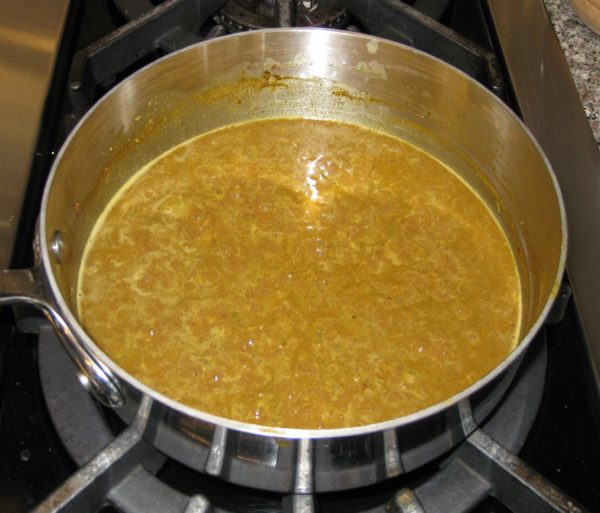
  6. Add the liquid.
  7. Bring to a boil and simmer approximately 20 minutes to develop flavor.
  8. Add the chickpeas.
  9. Simmer 10-15 minutes, stirring frequently. The chickpeas should be almost dry by the end.
  10. Adjust salt and pepper while cooking.
  11. Off the heat and stir in the lime juice and serve
Recipe Notes

Copyright © 2018 by VillaSentieri.com. All rights reserved.
Share this Recipe

Jamaican Easter Bread (Bun)

March 23, 2018

Google and Wikipedia and Bing have all let me down!

Often when I’m writing a blog, I’ll do a search or two to shore up some facts.

In this instance, I was trying to find a picture of a product and to confirm my understanding of exactly what it is.  That product is New Sugar.

My searches turned up nothing.

Back in college, I would buy new sugar on trips to the West Indies.  The stuff I bought was sold in cans.  It was dark brown, partially crystalized and partially a thick liquid.  It was not as dark or as thick as molasses.  My recollection is that new sugar is basically sugar cane juice boiled down until it thickens and some of the sugar crystallizes.

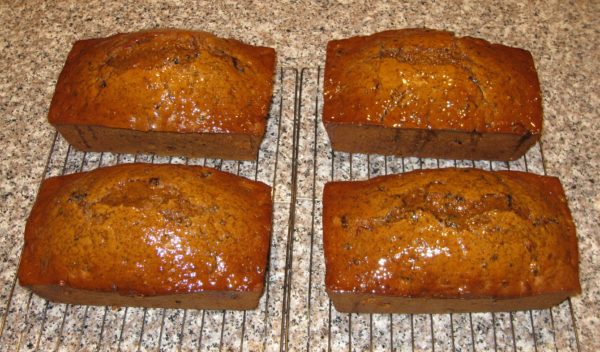
It’s what my recipe for Jamaican Easter Bread (aka “Bun”) calls for.


Click HERE to join our mailing list and you’ll never miss a recipe again!


Long ago, when my meager supplies of new sugar were exhausted and I was no longer going to the West Indies on a regular basis, I created a substitute for new sugar that fooled even my Jamaican friends.  (Hint, it’s in the recipe below.)

If my recipes contain a substitute for a difficult-to-find ingredient, I like to make the substitution clear and to provide directions on how to use the original ingredient if available.

In my blog entries, I try to provide some sort of personal or cultural or social context for each recipe.  In this instance, I wanted to highlight new sugar.

I was about to give up when I tried different search terms.  I had only known it as New Sugar, but, finally, searching on “Wet Sugar” got me one website that had what I was looking for.

The website confirmed my understanding of what new sugar, aka wet sugar, is:  boiled sugar cane juice.  It also confirmed that it is much more difficult to find than it was 30-50 years ago.  I hate to admit it, but I was buying new sugar more than 40 years ago!

My recipe for Bun (that’s really what it’s called in Jamaica…just Bun) came from Valrie Tracey a Jamaican friend from college.  Valrie and I and my roommate, Ray Hugh from Guyana, were close friends in college.  Though I’ve lost touch with Valrie, Ray and I are still in touch via Facebook.  And, yes, her name is spelled Valrie, apparently due to an error on her birth certificate as her parents intended for her name to be Valerie!


Follow us on your social media platform of choice


In addition to new sugar, Valrie’s recipe called for “Mixed Spice,” a commonly used mixture in the cooking of Britain and many former British colonies.  I don’t like using spice combinations that I haven’t made myself, like pumpkin pie spice or curry powder.  If the brand goes out of existence or changes its formula one can’t recreate the dish exactly the same way again.  For that reason, starting in college, I worked out my own formulas for spice mixtures that I used on a regular basis.

Valrie Tracey in 1975

Rather than have you make a batch of Mixed Spice before making a batch of Bun, I added the individual spices, in the correct amounts, to the recipe.

After resurrecting this recipe from one of my two 5 x 7 metal index card boxes of recipes that I started back in college and sharing the Bun with a number of friends, I began to seriously wonder why I hadn’t made it in over 40 years!

I can assure you, I won’t wait long to make it again.

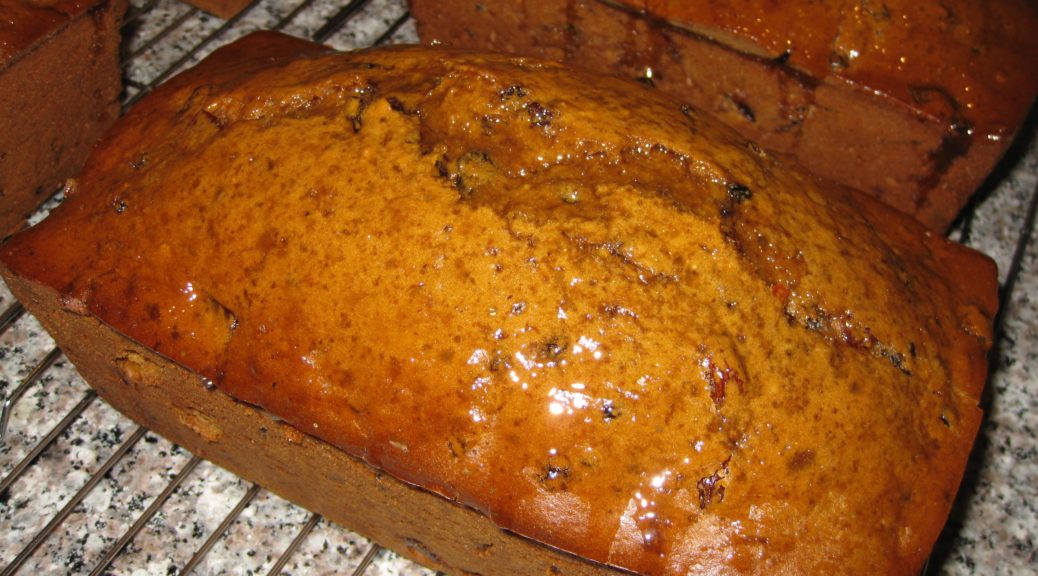
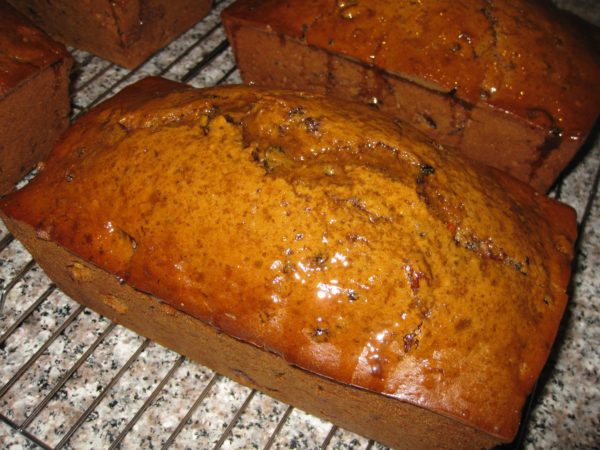
I like to toast the Bun and add some butter and jam but in Jamaica it would often be served with a wedge of cheese.  However you serve it, I’m certain you’ll enjoy it.


If you have a favorite family recipe and a bit of a story to tell, please email me at santafecook@villasentieri.com and we can discuss including it in the blog. I am expanding the scope of my blog to include traditional recipes from around the country and around the world. If you haven’t seen Bertha’s Flan or Melinda’s Drunken Prunes, take a look.  They will give you an idea of what I’m looking for.


Print Recipe
Jamaican Easter Bread (Bun)
If you can find new sugar (also known as wet sugar) you can use 2 ½ cups of new sugar in place of the brown sugar and molasses. The dough for this version of Bun is quite wet, more like cake batter than bread dough. When I was making this back in college days and had to mix it by hand, I added enough flour to make a dough that could be kneaded. With a stand mixer, I allow the mixture to be wet. You might want to try both variations and see which you prefer.
Votes: 0
Rating: 0
You:
Rate this recipe!
Course Sweet Breads
Cuisine West Indian
Prep Time 30 minutes
Cook Time 90 minutes
Passive Time 2 hours
Servings
loaves
Ingredients
Bread
Glaze
Course Sweet Breads
Cuisine West Indian
Prep Time 30 minutes
Cook Time 90 minutes
Passive Time 2 hours
Servings
loaves
Ingredients
Bread
Glaze
Votes: 0
Rating: 0
You:
Rate this recipe!
Instructions
Bread
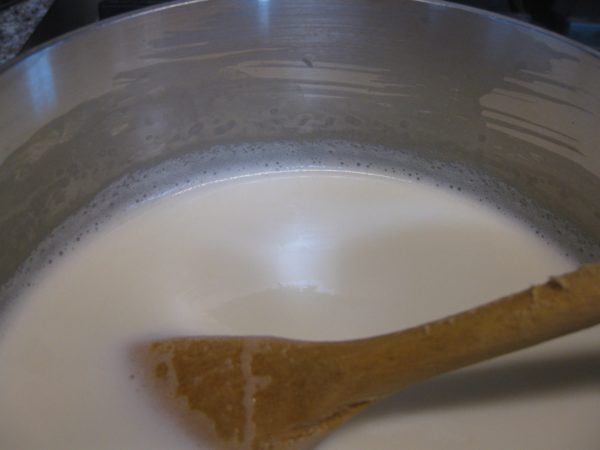
  1. Scald the milk by heating over medium high heat, stirring frequently to prevent a skin from forming, until bubbles begin to foam up around the side.
  2. Allow the milk to become lukewarm (approximately 110°F).
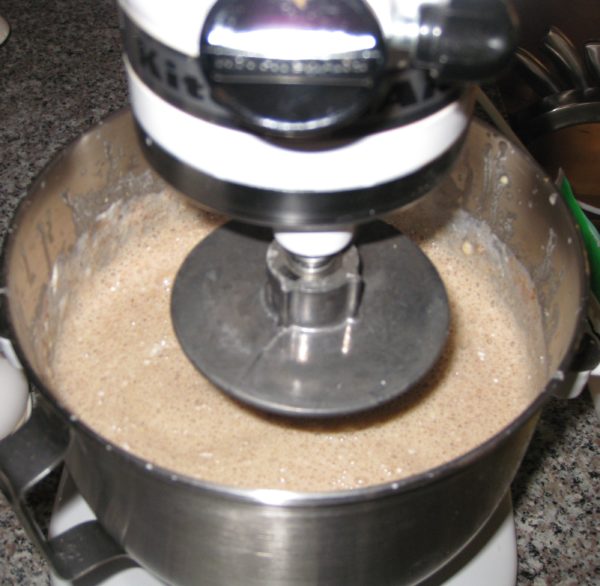
  3. Combine lukewarm milk, yeast, 1 teaspoon of sugar from the amount above, and 1 pound of flour in the bowl of a mixer.
  4. Using the paddle, mix well then allow the sponge to sit, covered, until it doubles in bulk.
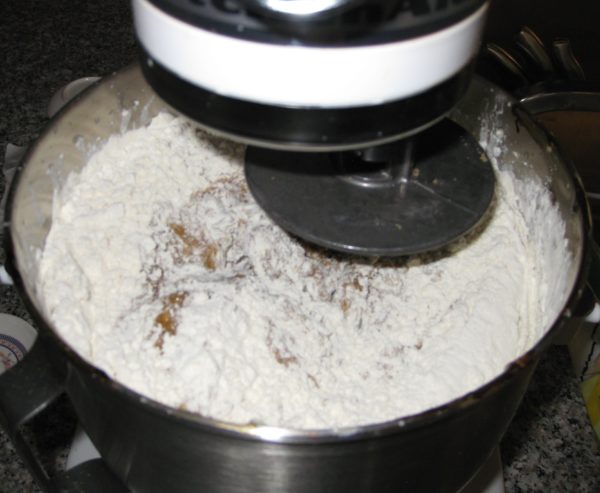
  5. After the sponge has doubled, mix in 1/3 of the remaining flour and 1/3 of the remaining sugar.
  6. When combined, add the butter, molasses and all the spices and flavorings. Mix well.
  7. Add ½ of the remaining flour and ½ of the remaining sugar. Mix well.
  8. Add the eggs and mix well.
  9. Add the remaining flour and sugar. Mix for about 10 minutes on medium speed.
  10. Mix in the fruit.
  11. Divide the batter into 4 well-buttered 8” x 4” bread pans. Cover and sit at room temperature for about an hour. The batter will not really rise but the yeast is the only leavening so it needs to have time to make air bubbles that can expand and leaven the bread.
  12. Bake at 300°F for approximately 90 minutes, until a tester comes out clean.
Glaze
  1. When the bread is nearing completion, make the glaze by bringing the sugar and water to a boil and simmering a few minutes until syrupy.
  2. As soon as the bun comes out of the oven, brush some of the glaze on top. Allow to cool 10 minutes in the pans.
  3. Remove the bun from the pans and brush with more glaze. Allow to cool another 10 minutes.
  4. Brush with remaining glaze and cool completely.
Recipe Notes

Copyright © 2018 by VillaSentieri.com. All rights reserved.
Share this Recipe

Torta di Riso (Italian Rice Tart)

January 31, 2018

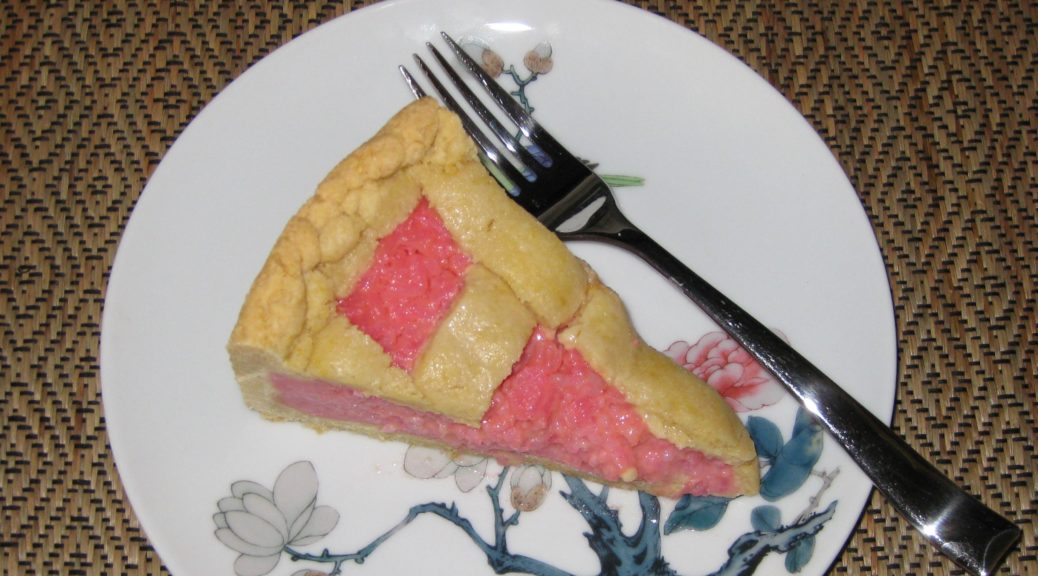
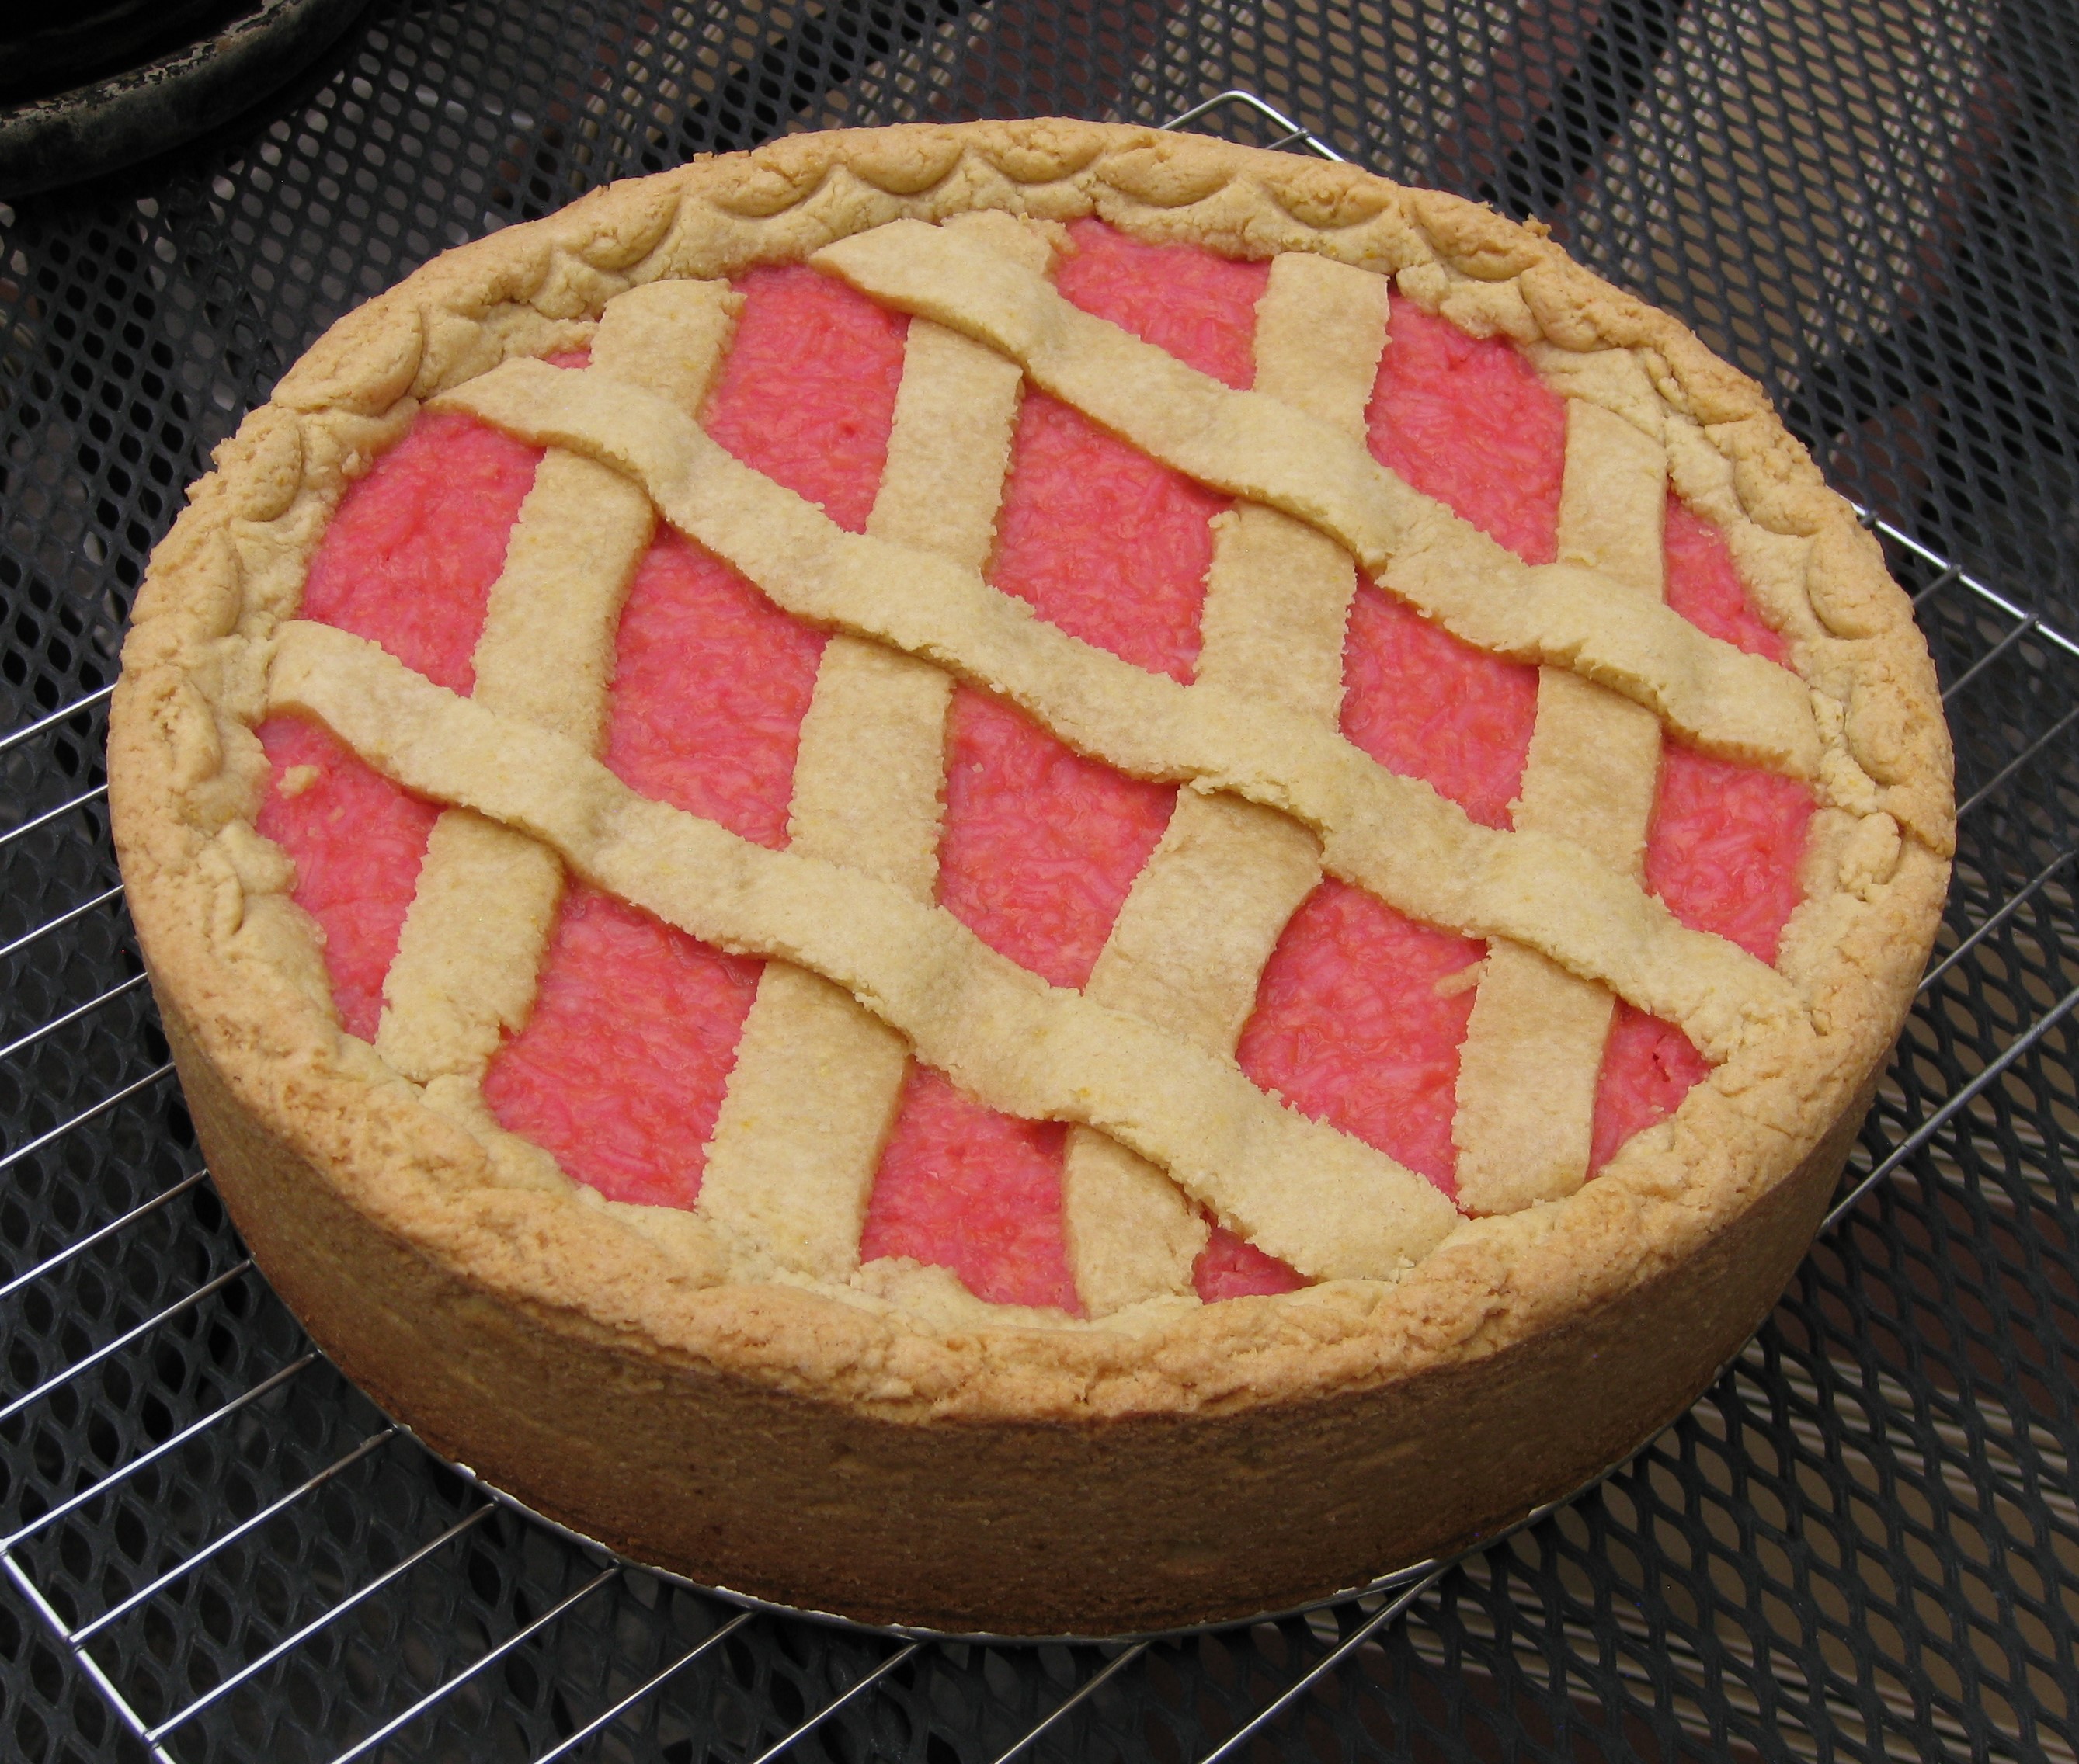
Torta di Riso is an Italian specialty.  It is basically a rice pudding baked inside of a pastry crust; a Rice Tart, so to speak.

I first had Torta di Riso more than 20 years ago while visiting Italy with my husband and his parents.

We ate meals at the homes of many relatives.  I often arrived with a spiral-bound notebook to jot down the inevitable recipes that would be discussed around the table or the recipes I begged for after being served something wonderful.  That notebook is a mashup of American and Metric measures and English and Italian words for ingredients.  It became a bible of sorts for recreating many of the dishes I ate on that trip.


Click HERE to join our mailing list and you’ll never miss a recipe again!


My father-in-law’s Zia (Aunt) Mery made the first Torta di Riso that I ever tasted.  Her recipe is below (adapted for American measures).

After having it at Zio (Uncle) Beppe and Zia Mery’s house, I started noticing Torta di Riso in many places in Tuscany.

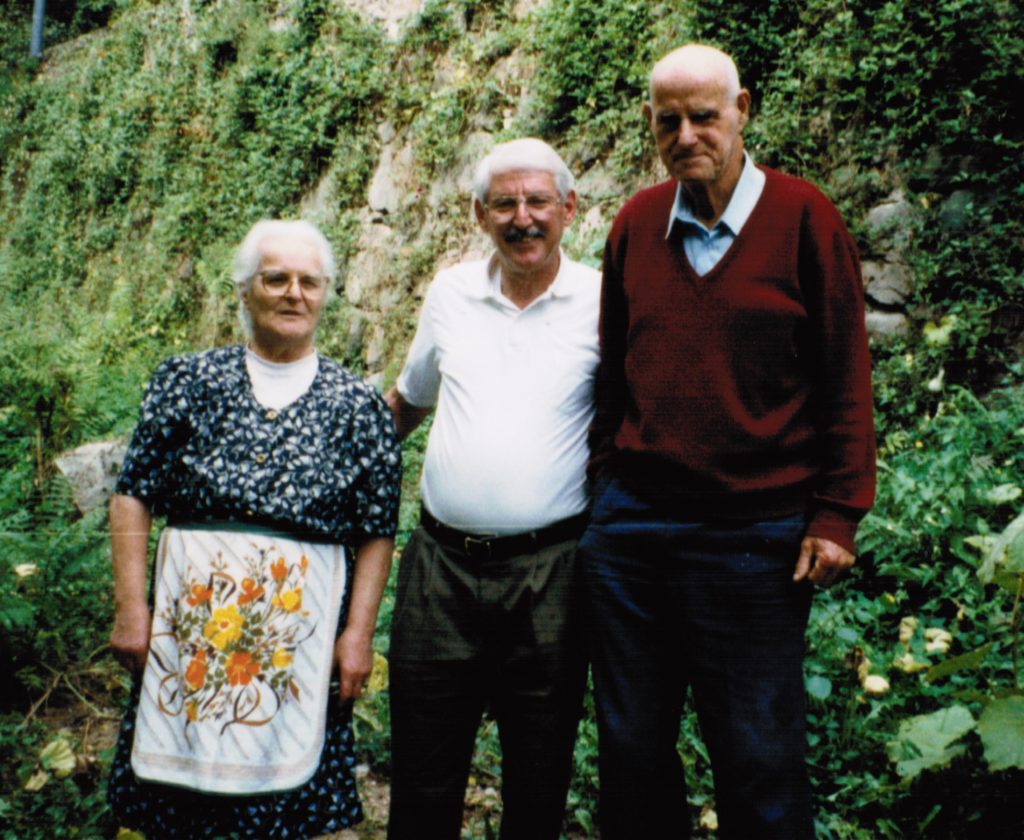
My father-in-law with his Uncle Beppe and Aunt Mery, from whom this recipe for Torta di Riso originated in their garden in Tuscany, 1994.

Alkermes liqueur originated in Tuscany so it is particularly appropriate to use it as the liqueur in Torta di Riso.  Alkermes is nearly impossible to find in the United States, however.  One can make a perfectly traditional Torta di Riso using rum in place of Alkermes but the resulting confection won’t be pink.

According to CooksInfo, “Alchermes was invented in the Frati Convent at Santa Maria Novella in Florence. Its making was kept secret, but the recipe was reputedly stolen by spies from the nearby city of Siena, which Florence was often at war with.”


Follow us on your social media platform of choice


Recipes for alkermes (also spelled alchermes) are closely guarded but the process basically involves infusing alcohol with spices and flavorings like cinnamon, cloves, vanilla, nutmeg, mace, cardamom, star anise, rosewater, and orange zest.  The red color comes from cochineal, an insect that is the foundation for natural red food coloring.  The resulting infused alcohol is sweetened and diluted with water.

The pastry crust is pasta frolla, a slightly sweetened pastry, leavened with baking powder, and often flavored with vanilla and lemon zest.  This is Mery’s recipe for pasta frolla but I also have one from Zia Fidalma that makes about half the quantity.

Torta di Riso was a big hit at my father-in-law’s birthday dinner last week. So were the cocktails, wine, and champagne!

If you don’t have access to Alkermes, you can use rum.  In fact, torta di riso is not always pink.  Many that I saw in Italy were white.

If you want to try to make your own Alkermes you can find a recipe here.  Amazon even sells the dried cochineal insects that provide the traditional scarlet color.


If you have a favorite family recipe and a bit of a story to tell, please email me at santafecook@villasentieri.com and we can discuss including it in the blog. I am expanding the scope of my blog to include traditional recipes from around the country and around the world. If you haven’t seen Bertha’s Flan or Melinda’s Drunken Prunes, take a look.  They will give you an idea of what I’m looking for.


Print Recipe
Torta di Riso (Italian Rice Tart)
This classic Italian dessert is basically a rice pudding baked inside of a pastry crust. Alkermes is a traditional Tuscan liqueur used in a number of sweets, including torta di riso, for its color and spice-like flavor. If you don’t have Alkermes, use rum. Not all versions of torta di riso are brightly colored. Vanilla powder is a natural vanilla product, not artificial. Use vanilla extract if vanilla powder is not available.
Votes: 0
Rating: 0
You:
Rate this recipe!
Cuisine Italian
Prep Time 30 minutes
Cook Time 75 minutes
Passive Time 30 minutes
Servings
people
Ingredients
Pasta Frolla
Rice
Cuisine Italian
Prep Time 30 minutes
Cook Time 75 minutes
Passive Time 30 minutes
Servings
people
Ingredients
Pasta Frolla
Rice
Votes: 0
Rating: 0
You:
Rate this recipe!
Instructions
Pasta Frolla
  1. Blend the flour, sugar, baking powder, vanilla powder, salt and lemon zest in a food processor until combined.
  2. Add the butter, cut in pieces, and blend till well combined.
  3. Add the eggs and blend till the pastry almost forms a ball.
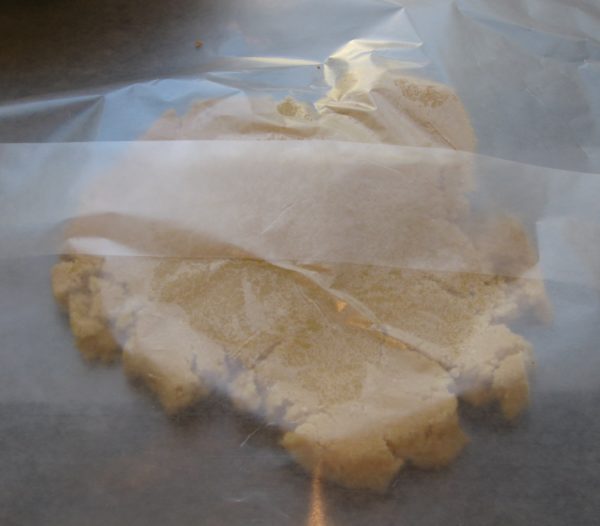
  4. Remove the pastry from the food processor and use your hands to press everything into a single ball.
  5. Wrap the pastry in waxed paper and refrigerate for an hour before using.
Rice
  1. Wash and drain the rice.
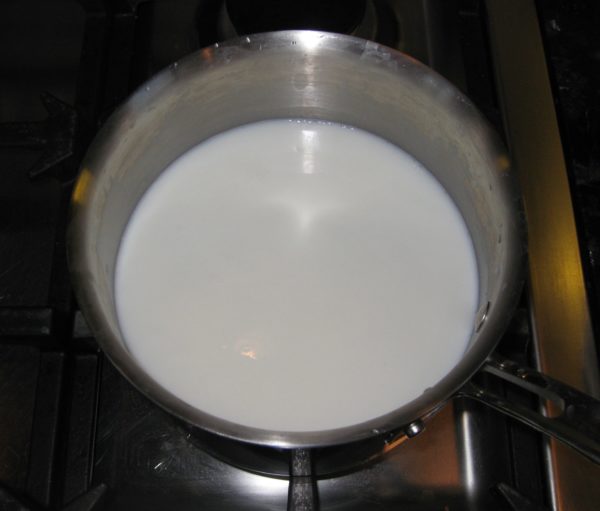
  2. Combine the rice, water and milk in a heavy-bottomed sauce pan.
  3. Bring the rice to a boil.
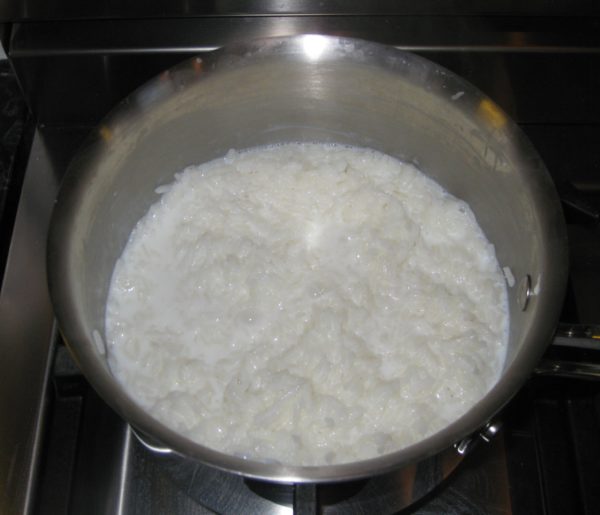
  4. Cover the rice and simmer, stirring frequently, until cooked and the liquid is almost completely absorbed. If the rice does not have the consistency of thick oatmeal, add a bit more milk at the end to make it creamy.
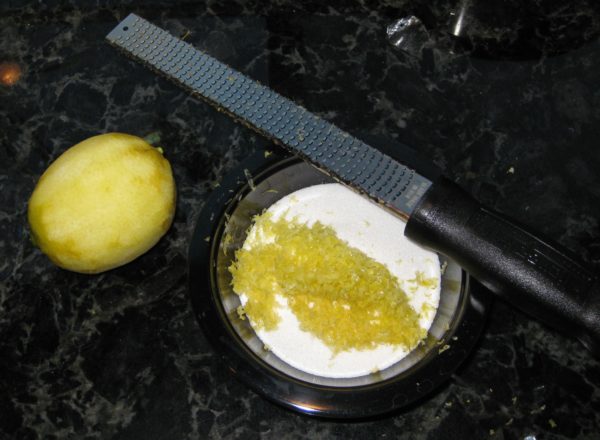
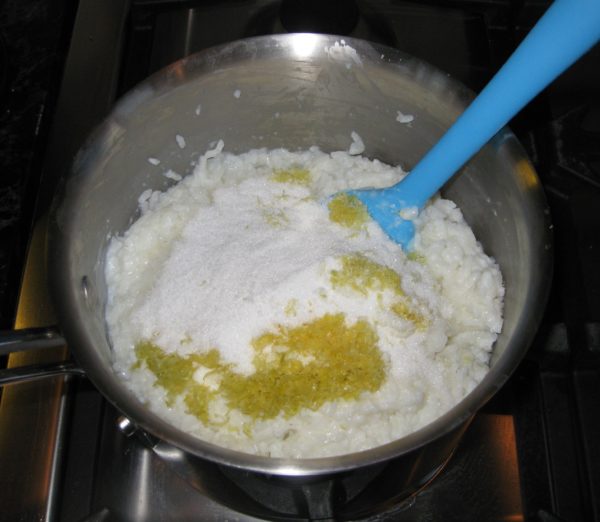
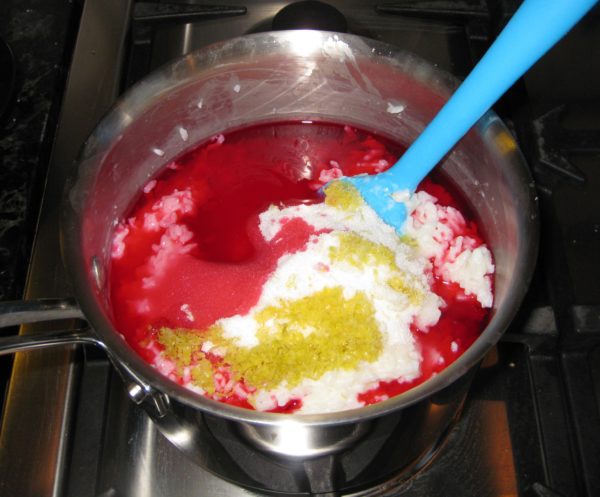
  5. Mix the sugar, lemon zest, and Alkermes and/or rum into the rice.
  6. Pour the rice into a bowl and cool, uncovered, stirring occasionally.
Assembly and Baking
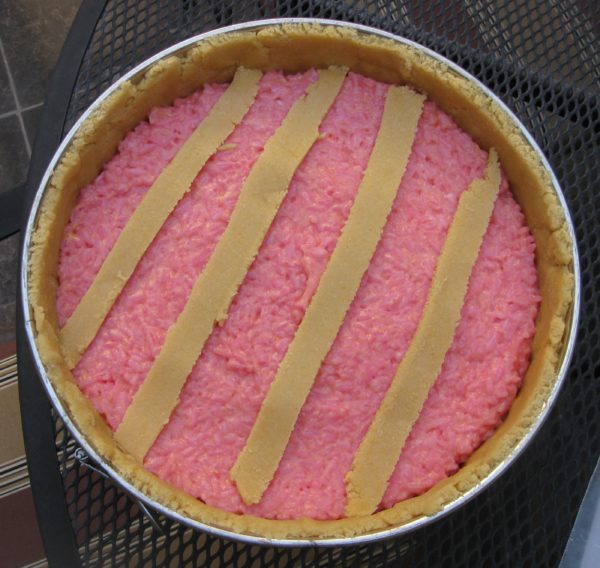
  1. Cut off a small piece of the pastry to make a lattice top and refrigerate.
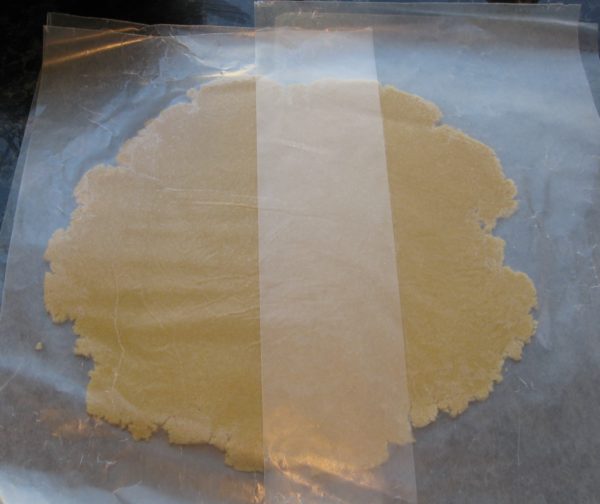
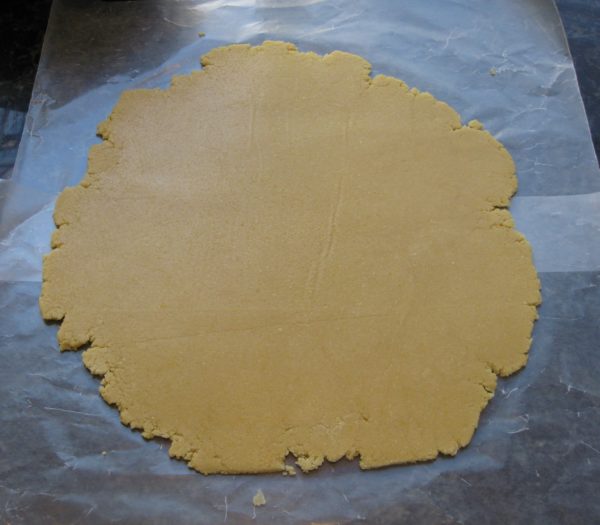
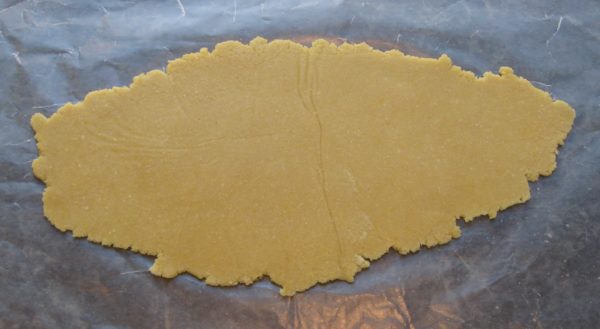
  2. Roll the remaining pastry between waxed paper, turning often, until it is large enough to cover the bottom and sides of a 10 inch springform pan.
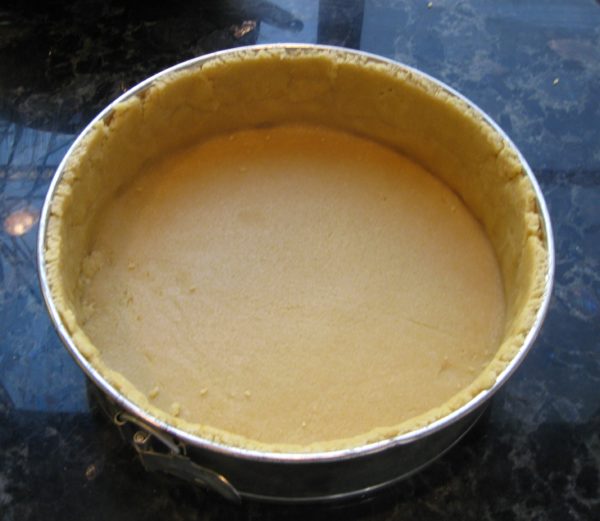
  3. Line a 10" springform pan with the pasta frolla.
  4. Cut the pastry even with the top of the pan. Add the scraps to the pastry you have reserved for the lattice.
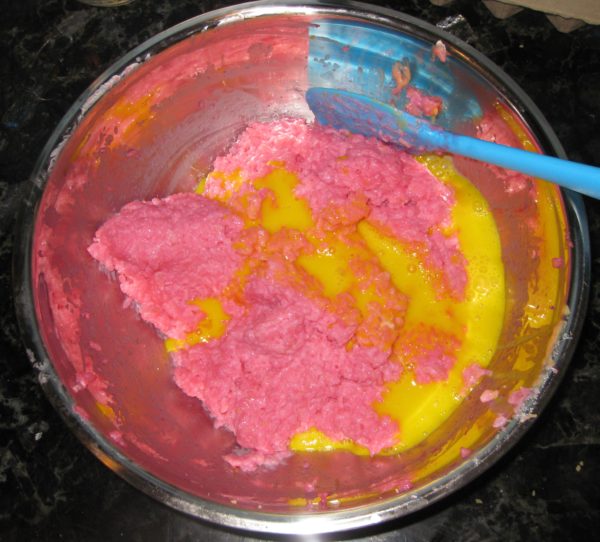
  5. Beat the egg and egg yolks to combine.
  6. Stir the beaten eggs into the cooled rice.
  7. Pour the rice into the pastry lined pan.
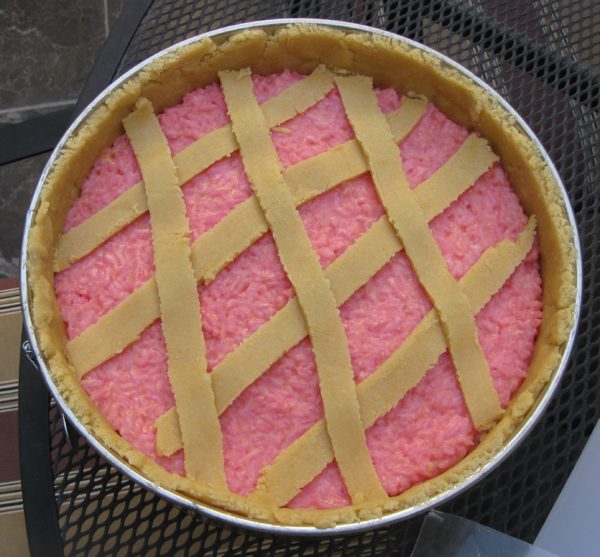
  8. Roll out the pastry reserved for the lattice.
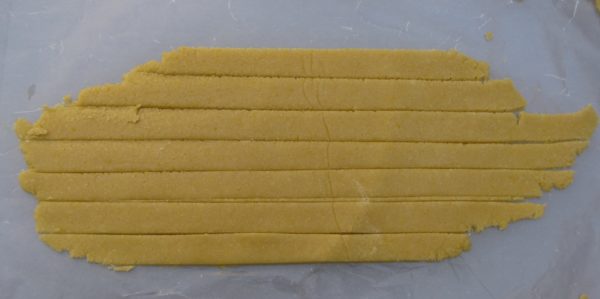
  9. Cut seven or eight strips, approximately 1/2 inch wide.
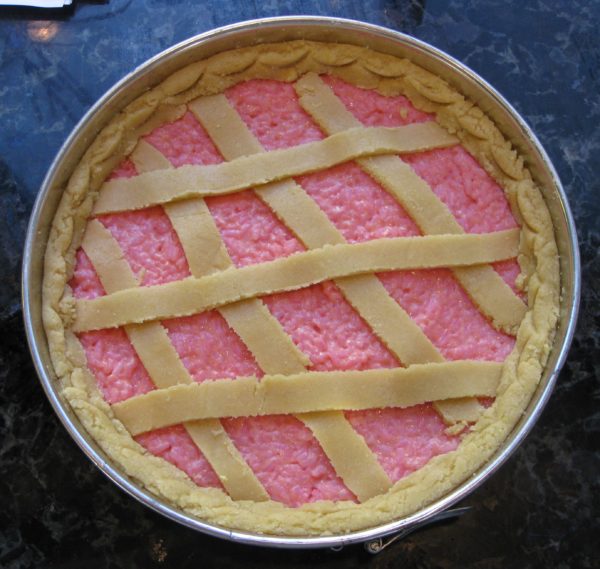
  10. Arrange the strips into a lattice on top of the rice. Cut off the excess.
  11. Roll the pastry lining the sides of the pan down to the top of the rice and form a decorative edge.
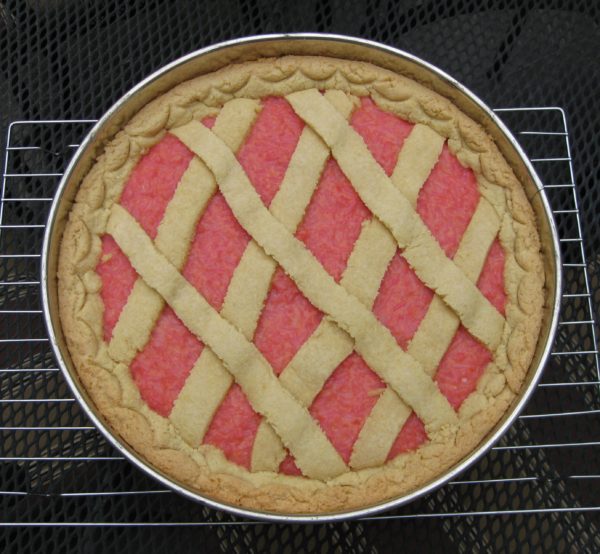
  12. Bake at 350°F until the crust is lightly browned and the rice is barely jiggley in the center, approximately 30-45 minutes.
  13. Cool on a rack for approximately 20 minutes.
  14. Remove the side of the pan and cool completely.
Recipe Notes

Copyright © 2018 by VillaSentieri.com. All rights reserved.
Share this Recipe

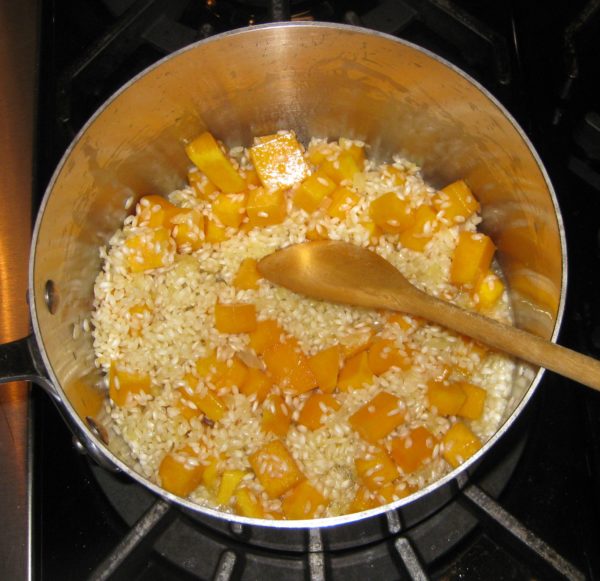
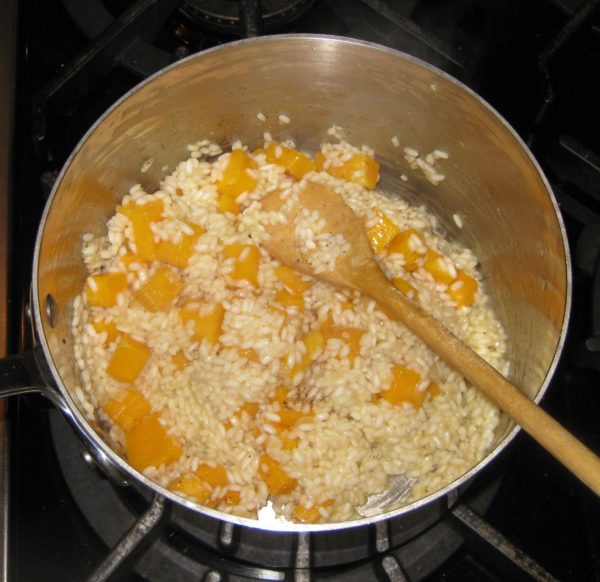
Risotto with Butternut Squash

February 22, 2018

Risotto isn’t really a recipe.  It’s a technique.

Yes, there are a few quintessentially classic risotti for which precise instructions are needed (like Risotto alla Milanese) but, in general, you can adapt the technique to use an array of vegetables and other ingredients.

Risotto with Asparagus is a good example of a risotto where the vegetables are pre-cooked and added near the end.  The same can be done with both peas and mushrooms, for example.

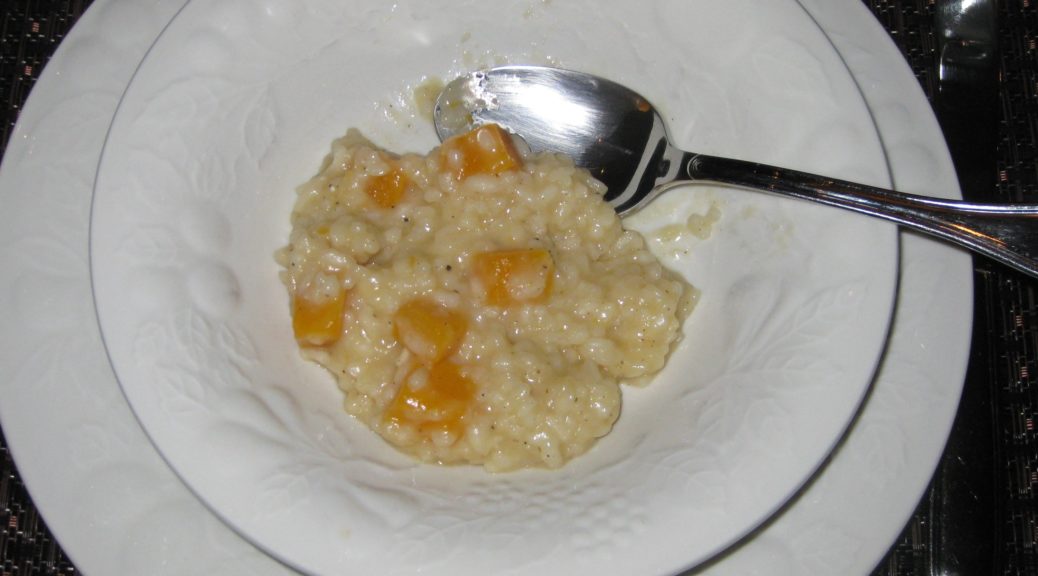
Risotto with Butternut Squash is an example of a risotto where the vegetables are added at the beginning and complete their cooking as the rice cooks.  Though you wouldn’t think it would work, Risotto with Zucchini works the same way, as long as the zucchini are cut into thick slices.


Click HERE to join our mailing list and you’ll never miss a recipe again!


In a traditional Italian meal, risotto, pasta, and soup are all considered the same course:  the first course (Il Primo Piatto).  The first course follows the antipasto (which means, literally, before the pasta).  Il Primo Piatto is followed by the second course (Il Secondo Piatto), consisting of fish, meat, or poultry and accompanied by several side dishes (contorni).  The first and second courses have almost equal weight in an Italian meal; very different from an American meal.

While restaurants often par-cook a risotto so that it can be quickly finished for service, I find that cooking a risotto at home is best done “in the moment.”  That means I only make risotto for a small group when everyone can hang out in the kitchen during the 45 minutes, or so, that it takes to cook.  That pretty much consumes the cocktail hour.  Because of this, for me, risotto is a dish for family or very close friends.


Follow us on your social media platform of choice


Risotto isn’t something I grew up eating.  It is traditionally a Northern Italian dish.  I also don’t remember Auntie Helen, who was from Rome, making risotto either.

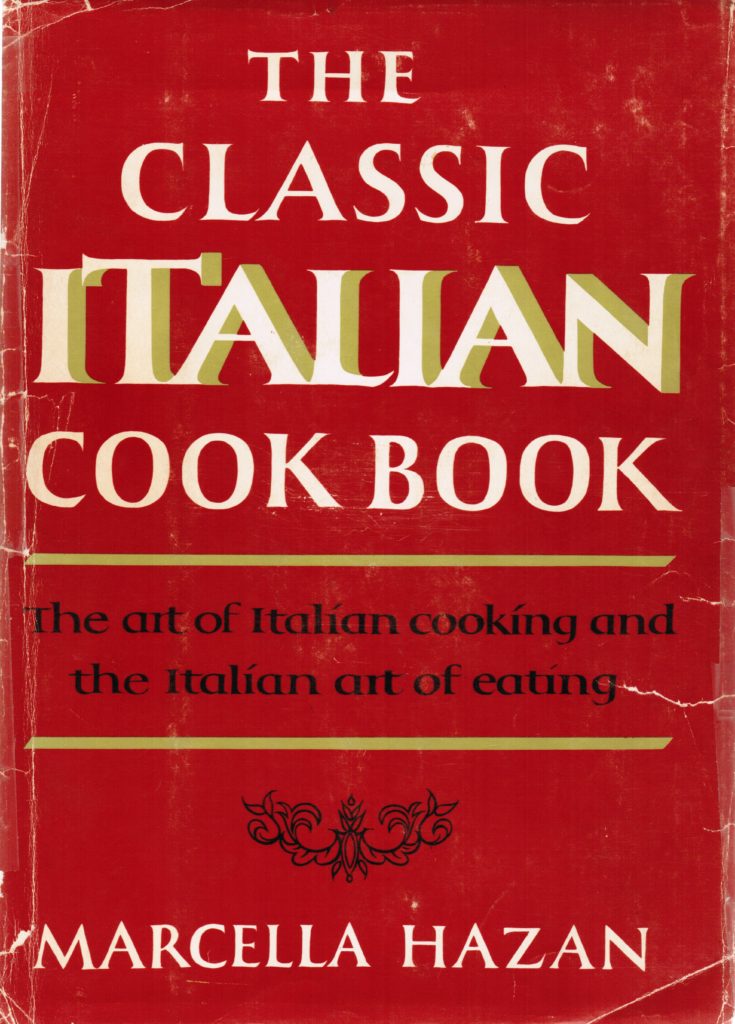
As with much of Northern Italian cooking, my first introduction was through Marcella Hazan’s The Classic Italian Cookbook.  Beyond that, my Italian repertoire grew based on trips to Italy, cooking with Italian friends, and ultimately, marrying into my husband’s very Northern Italian family.

Risotto with butternut squash is a wonderful dish for late fall and winter.


If you have a favorite family recipe and a bit of a story to tell, please email me at santafecook@villasentieri.com and we can discuss including it in the blog. I am expanding the scope of my blog to include traditional recipes from around the country and around the world. If you haven’t seen Bertha’s Flan or Melinda’s Drunken Prunes, take a look.  They will give you an idea of what I’m looking for.


It is important to use what the Italians would call “riso per risotto” (rice for risotto).  The rice used for risotto is short-grained.  It can absorb a lot of liquid, turning creamy in the process while still maintaining the ideal “al dente,” (toothy) quality at the very core.  The most commonly available types of rice for risotto are Arborio, Carnaroli, and Vialone Nano.   Far and away, Arborio is the most common.

Since creaminess is the goal, rice used for risotto shouldn’t be washed.  The little extra starch on the grains will improve the texture.

A well-made risotto gets almost all of its creamy texture from the cooking method, not from the addition of butter, cheese, or cream.  To be sure, a bit of butter and Parmigiano Reggiano cheese are almost always added at the end but this should be for flavor, not to compensate for poor technique.

My most common quibble with risotto made in the United States is that it is overly rich with butter and cheese and (heaven forbid) sometimes cream.

To coax creaminess out of the rice, broth is added in small amounts and completely cooked off before the next bit is added.  In general, the amount of broth I add each time is no more than 1/3 the quantity of rice I start with.  For example, if I’m using one cup of rice, I add no more than 1/3 cup of broth each time liquid is needed.  The rice should be stirred frequently, but not constantly.

Print Recipe
Risotto with Butternut Squash
Broth for risotto should be light in flavor, not a heavy stock. The broth should add the barest amount of background flavor but allow the other ingredients in the risotto to shine. Risotto uses a lot of broth. It is important that the broth have minimal salt so as not to result in an overly salty dish. I never salt my homemade broth for this reason. If it seems that you will run out of broth before the risotto has finished cooking, put some water on to heat. It is important that all liquid added to the risotto be at a simmer.
Votes: 0
Rating: 0
You:
Rate this recipe!
Prep Time 15 minutes
Cook Time 45 minutes
Servings
people
Ingredients
Prep Time 15 minutes
Cook Time 45 minutes
Servings
people
Ingredients
Votes: 0
Rating: 0
You:
Rate this recipe!
Instructions
  1. Bring the broth to a simmer.
  2. Meanwhile, heat a three or four quart heavy-bottomed saucepan over medium high heat. Add the olive oil.
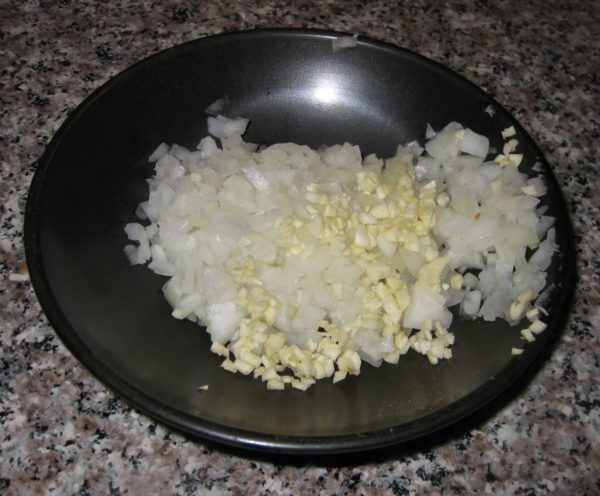
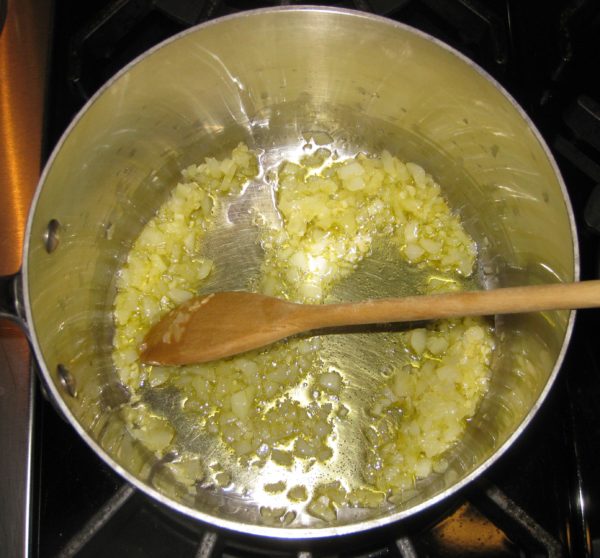
  3. When the oil is hot, add the onion and garlic.
  4. Sauté, stirring frequently until the onion softens and turns translucent. Do not brown the onion. You may need to reduce the heat.
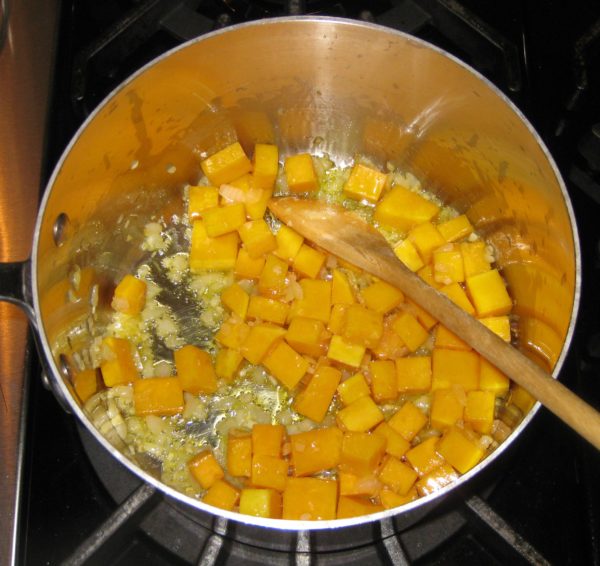
  5. When the onion is soft, return the heat to medium high and add the butternut squash.
  6. Sauté, stirring often, until the squash starts to soften, about five minutes. Be careful not to brown the onion or garlic.
  7. Add 1/3 cup of wine and immediately cover the pot. Cook another five minutes, stirring occasionally.
  8. Remove the cover and cook off any remaining wine.
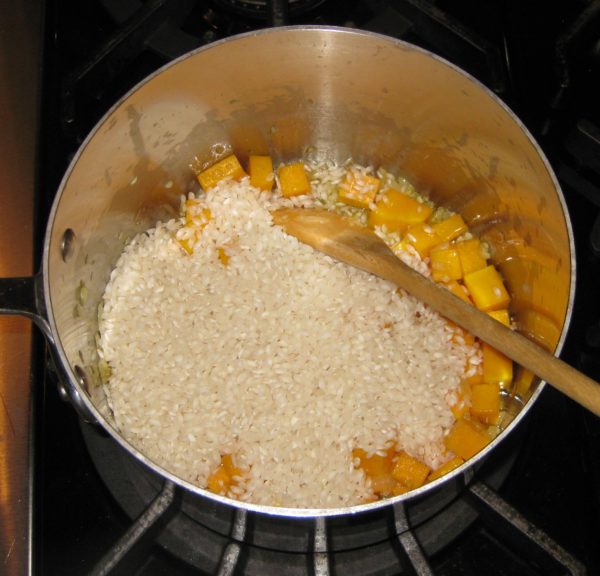
  9. With the heat still on medium high, add the rice.
  10. Continue cooking, stirring frequently, until the outer portion of the rice becomes translucent while the inside remains opaque white.
  11. Add the remaining 2/3 cup of wine. Stir frequently, but not constantly, until the wine has totally evaporated. You will begin to see some starch leaching out of the rice. More and more of the starch will leach out as you cook the rice. This is what will make a creamy sauce, not a large quantity of butter, cheese, or cream.
  12. When the wine has evaporated, add a scant ½ cup of simmering broth. Stir thoroughly paying particular attention to loosening any spots where the starch seems to be sticking to the bottom of the pan. You don’t want to brown (or worse yet, burn) the starch.
  13. Stir frequently, but not constantly, until the broth has evaporated.
  14. If the broth is unsalted, as I recommend, you can add a teaspoon of salt to the rice as you begin to add broth. If the broth contains salt, I recommend not adding salt until the end.
  15. Keep repeating the process with a scant ½ cup of broth, cooking, stirring, and loosening any spots that are sticking until each addition of broth evaporates. The heat should stay as close as possible to medium high. The moderate boiling of the liquid will coax starch out of the rice to create the creaminess that is the hallmark of a good risotto.
  16. Add the sage after about 20 minutes of cooking.
  17. Begin tasting the rice for doneness at the same time. It will probably still be quite crunchy at the very core. Until you get the hang of it, I suggest testing a rice grain each time you add more broth so you develop a sense of how quickly the texture changes.
  18. Continue cooking, adding simmering broth or water as needed, until the rice is al dente. Once the rice is cooked, add another 1/2 cup of simmering broth, stir, and then immediately remove the rice from the heat.
  19. Off the heat, stir in the butter and Parmesan cheese.
  20. Stir in enough additional simmering broth or water to create a creamy “sauce.” The starch that you have coaxed out of the rice, plus the modest amount of butter and cheese, should allow you to add at least another ½ cup of liquid, possibly more.
  21. Taste and add salt and freshly ground black pepper to taste.
Recipe Notes

Check out the introduction to my recipe for Risotto with Asparagus for more information on making risotto.

Copyright © 2018 by VillaSentieri.com. All rights reserved.

Share this Recipe

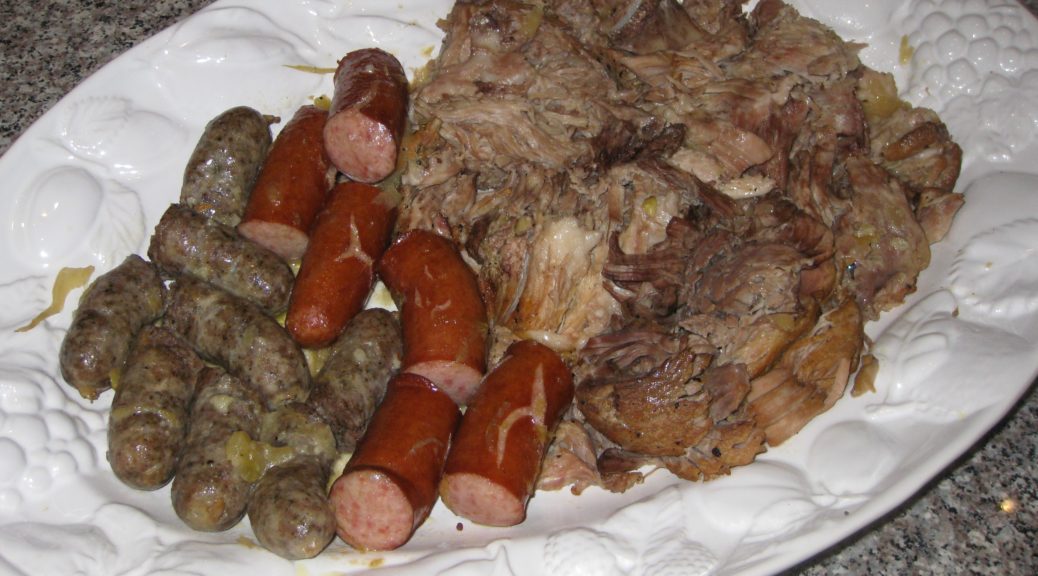
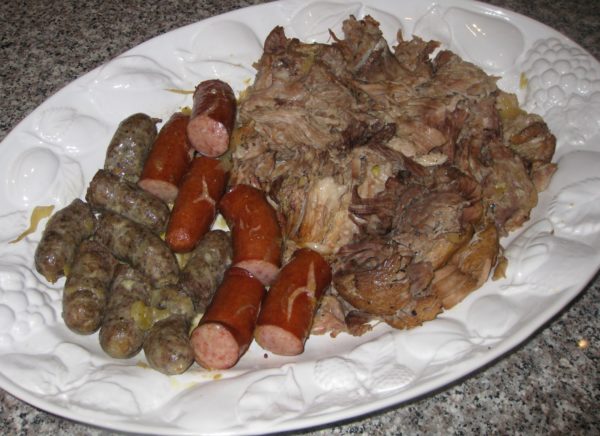
Slow-Cooked Pork Roast with Sauerkraut and Sausage

December 29, 2017

I grew up in Johnstown, PA. The town was founded by a Swiss German immigrant, Joseph Schantz in 1800. Over the years, in various documents, recorders anglicized his last name, most commonly rendering it “Johns,” a name the family ultimately adopted. The name of the town was ultimately changed from Schantzstadt to Johnstown.

Johnstown Panorama (Photo by Greg Hume)

I can’t say there was much of a noticeable German influence when I was growing up in the 1950s to 1970s, except for one: New Year’s Day dinner.

Regardless of one’s ethnic background, the most common dinner on New Year’s Day was “Pork and Sauerkraut.” It was commonly acknowledged that this was a nod to Johnstown’s German heritage. And, much like black-eyed peas in the South, was viewed as a way to bring good luck to the coming year.

As you might expect, recipes for pork and sauerkraut vary. Sauerkraut and a large cut of pork are, obviously, essential. Sausages of some sort are common, as are dumplings.


Click HERE to join our mailing list and you’ll never miss a recipe again!


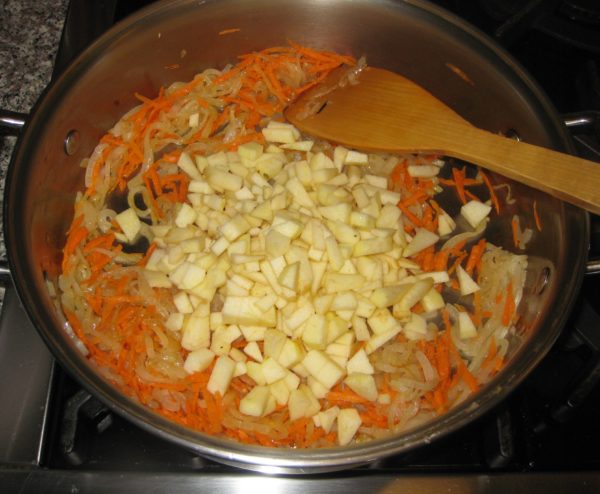
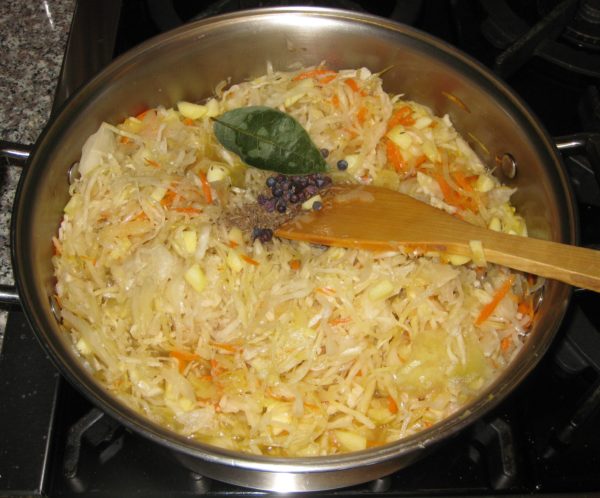
The recipe that I use is close to what my mother made except that I enhance the seasonings in the sauerkraut along more Germanic lines, with onion, carrot, apple, and juniper berries. My mother’s was more basic and similar to the way the Slovak side of my family prepared sauerkraut. My cousin Angie, of Italian heritage, added a brown gravy to hers, which also has Germanic roots.

The Inclined Plane goes from downtown Johnstown to the suburb of Westmont (Photo by Greg Hume)

Long and slow cooking is essential as much for pull-apart-tender pork as it is to mellow out the sauerkraut. Among Central and Eastern Europeans, sauerkraut tends to be cooked for several hours to tenderize it and tame its sour bite.

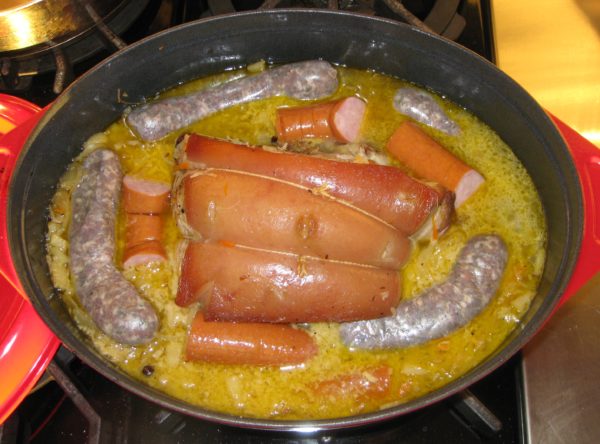
Kielbasa was a favorite sausage in our house and was always included in pork and sauerkraut. It was always locally made and never procured from large national meatpackers. Often times, other sausages, such as bockwurst or bratwurst, would also be added. But kielbasa was king in pork and sauerkraut and, in the sausage pantheon, second only to hot Italian sausage in our house.


Follow us on your social media platform of choice


The kielbasa that we ate on a regular basis was made from pork, or pork and beef, but venison kielbasa was common too. The first day of deer-hunting season was a public school holiday. You can imagine the importance of venison.

Some of the hunters would have their venison (or some of it, at least) turned into kielbasa, flavored with garlic and smoked. I remember on several occasions going with my father to have work done on the car in late December. The service station had a big platter of meats, cheeses, and pickles laid out for customers to nibble on. Among the offerings was venison kielbasa made from a deer that the owner of the service station had shot.

One of my resolutions for the new year is to find a small, artisanal purveyor of kielbasa that’s as good as what I remember from childhood.


If you have a favorite family recipe and a bit of a story to tell, please email me at santafecook@villasentieri.com and we can discuss including it in the blog. I am expanding the scope of my blog to include traditional recipes from around the country and around the world. If you haven’t seen the post on Melinda’s Drunken Prunes, it will give you an idea of what I’m looking for.


Print Recipe
Slow-Cooked Pork Roast with Sauerkraut and Sausage
Saueraut from the refrigerated section of the market is usually of better quality than canned, especially if the sauerkraut is from an artisinal producer. Draining the sauerkraut and rinsing it well under cool water will produce a more mellow taste. If you want dumplings with this (and who wouldn't?), remove the meat from the pan and keep warm while cooking dumplings on top of the sauerkraut on the stovetop. See the notes section below for my recipe for dumplings.
Votes: 0
Rating: 0
You:
Rate this recipe!
Course Mains, Meats
Cuisine German
Prep Time 20 m
Cook Time 6 1/2 hours
Servings
people
Ingredients
Course Mains, Meats
Cuisine German
Prep Time 20 m
Cook Time 6 1/2 hours
Servings
people
Ingredients
Votes: 0
Rating: 0
You:
Rate this recipe!
Instructions
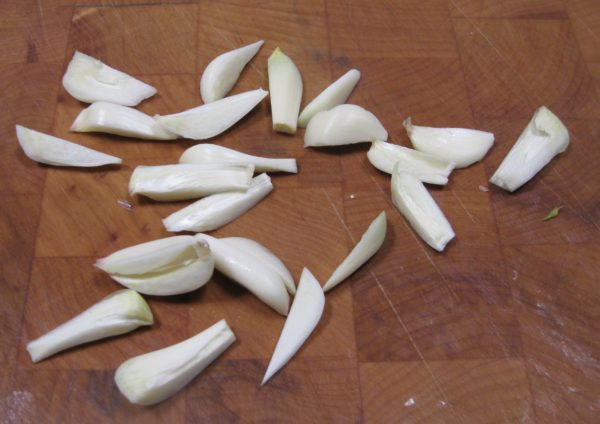
  1. Cut the cloves of garlic, top to bottom, into approximately 4-6 slivers each.
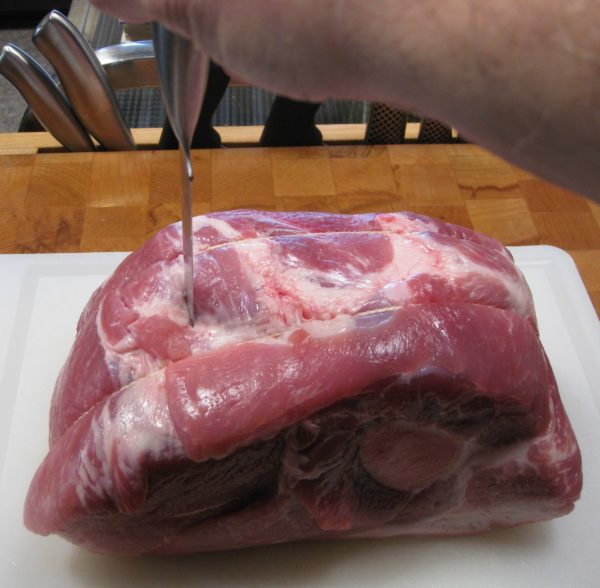
  2. Pierce the pork around the outside about 1 inch deep with the tip of a sharp knife.
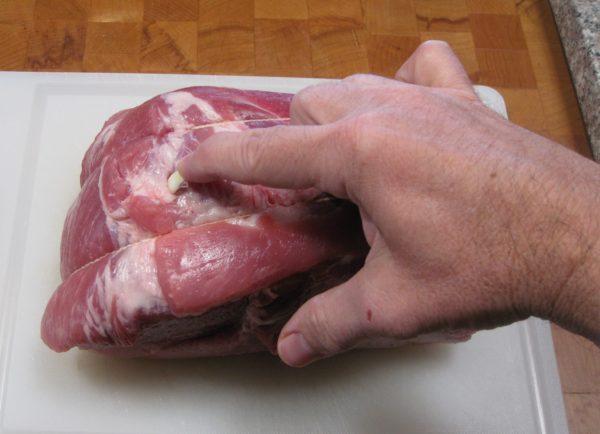
  3. Insert slivers of garlic into the slits
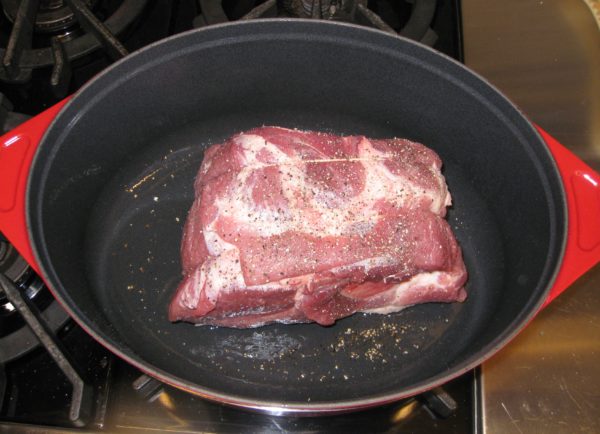
  4. Season the pork generously with salt and pepper.
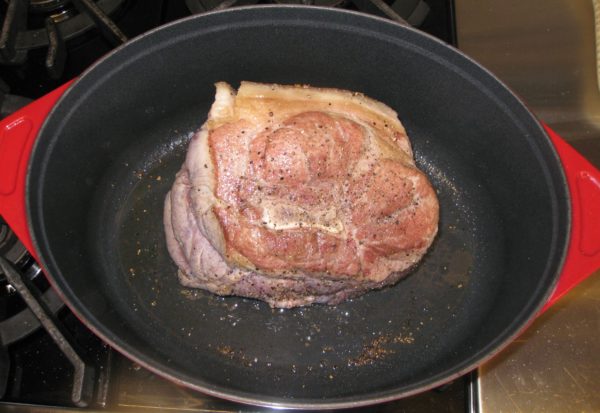
  5. Brown the pork in a heavy Dutch oven using the oil.
  6. Add white wine, cover tightly, and transfer to oven at 350°F.
  7. After one hour, reduce heat to 225°F.
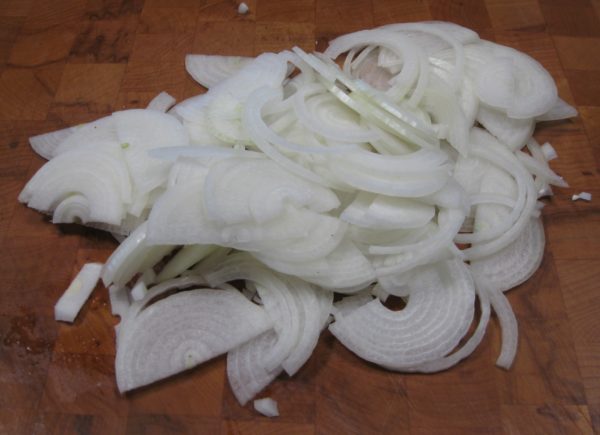
  8. Slice the onions in half top-to-bottom then cut crosswise into thin slices.
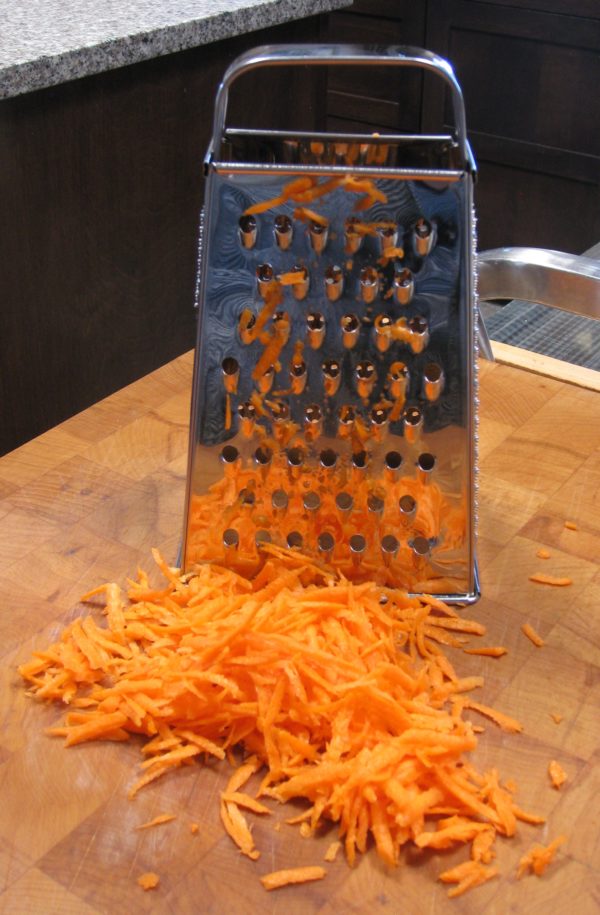
  9. Shred the carrot on the tear-drop side of a box grater.
  10. Cut the apple into small dice.
  11. After the pork has been cooking for a total of about 3 hours, drain and rinse the sauerkraut.
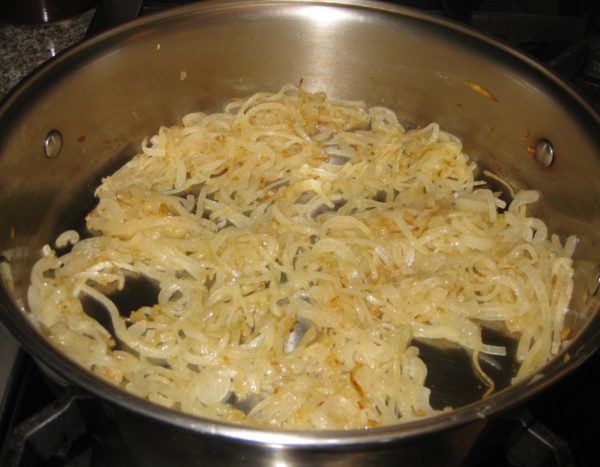
  12. Slowly sauté the onion in the butter or bacon fat until caramelized, approximately 20 minutes.
  13. Add the shredded carrot and diced apple and sauté until heated through.
  14. Add sauerkraut, juniper berries, caraway seeds, bay leaf, and black pepper to taste.
  15. Add water and bring to a boil.
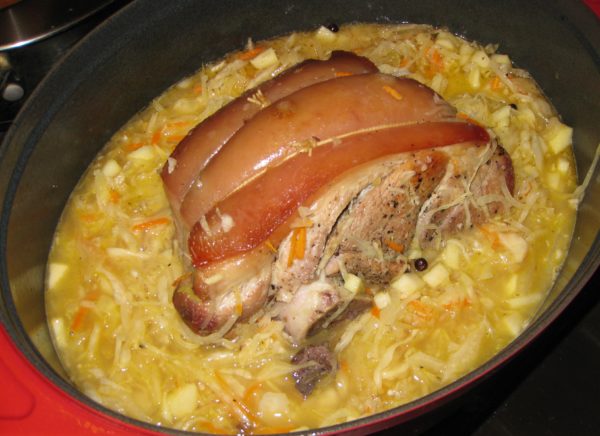
  16. Add the boiling sauerkraut to the pork after the pork has cooked for a total of four hours (1 hour at 350°F plus 3 hours at 225°F).
  17. An hour later nestle the kielbasa and other sausage into the sauerkraut.
  18. Continue to cook, covered, until the pork is fall-off-the-bone tender. Approximately 1-2 more hours.
  19. Remove the pork and sausages.
  20. Skim fat from the top of the sauerkraut.
  21. Put the Dutch oven on the stove and cook dumplings on top of the sauerkraut if desired.
  22. Meanwhile, pull the pork into big chunks. Keep the pork and sausages warm.
  23. Serve the sauerkraut in a separate bowl, or use it to surround the pork and sausages.
Recipe Notes

This is where you can find my recipe for dumplings.

Copyright © 2017 by VillaSentieri.com. All rights reserved.
Share this Recipe

Cabbage and Noodles (Halushki)

November 27, 2017

One of the interesting consequences of working on this blog is that it is getting me to cook more Slovak food.

We ate way more Italian food than Slovak food when I was growing up but, nonetheless, Slovak food was a significant presence on our table.

Things that only lived in my memory, like the Chicken Paprikash that I posted a few weeks ago, and my Grandma Mihalik’s Butter Cookies that are coming up in a week or two, are now real. And it’s not only the Slovak food. The Chinese Five-Spice Roast Pork from last week hasn’t been on my table in more than 40 years!


Click HERE to follow us on Instagram


Part of the reason is that, as much as I enjoy cooking, I hadn’t devoted as much time to planning what I was going to cook as I did when I was younger.  That is, until I got deep into this blog (and the restaurant cookbook I’ve been asked to write).

In Junior and Senior years of college there was a plan for dinner for every day of every week. Sometimes there was a plan for lunch, too!

Good provisions weren’t conveniently located to the University of Pennsylvania campus except for some specialty items from the ethnic markets near campus or the occasional very basic item from one of two nearby (in-super) supermarkets. Grocery shopping was done weekly and involved a trip to Ninth Street (sometimes called the Italian Market), and to the Pathmark supermarket in Broomall, PA.

Every meal got planned and a shopping list was created.

The planning was usually done in the evenings when I needed a break from studying (which I know some of you think I never did!). I would sit down with a cookbook or two, or my box of recipes handwritten on 3” x 5” index cards, or the typewritten recipes from Mrs. Hugh, my roommate’s mother and, over the course of the week, generate a list of what my roommate and I were going to have for dinner each night. Some were favorites but many were new, like the whole poached fish I made from Marcella Hazan’s first cookbook or Mrs. Hugh’s Crispy Duck (see the photo embedded in this blog post).

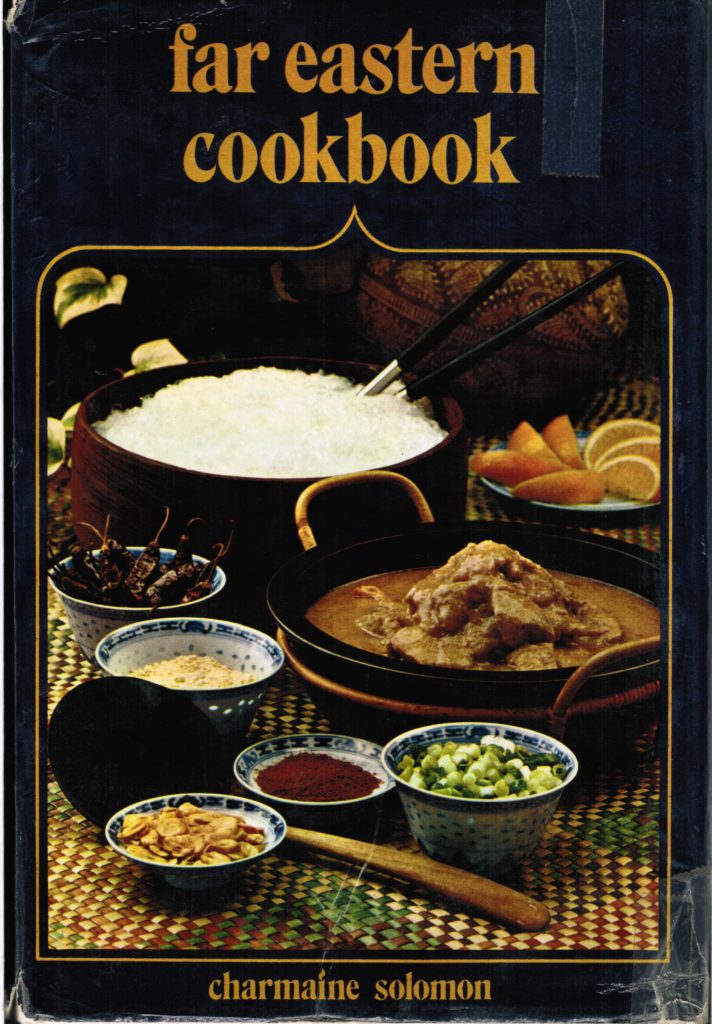
One of my favorite books was a slim volume by Charmaine Solomon. Charmaine was from Sri Lanka and two of the resident advisors in my college house, Reggie and Nanacy Rajapakse, were also from Sri Lanka and knew Charmaine. Charmaine’s Far Eastern Cookbook was copyrighted in 1972 (the year I started college). The edition I have was printed in 1973 so it was quite new when I bought it in 1974 shortly after entering the International Residence Project. I read that book cover to cover, like a novel, many times. I could sit for hours and pore over Charmaine’s recipes.

My dog-eared and much beloved copy of Charmaine Solomon’s Far Eastern Cookbook

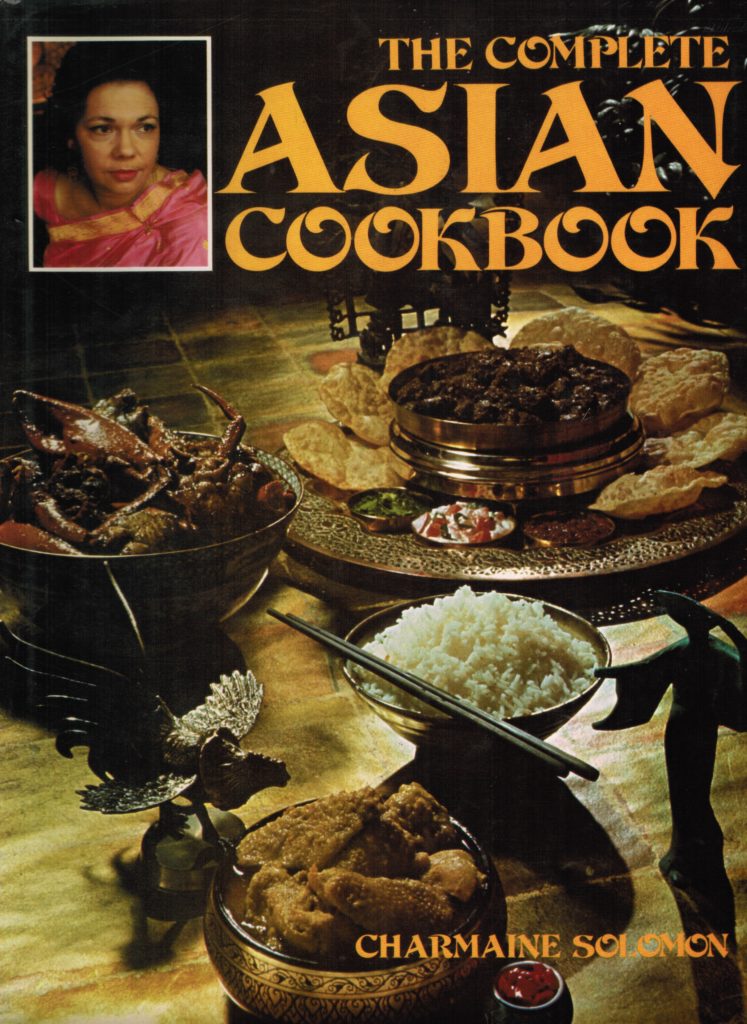
In 1976, when I graduated college, Reggie and Nanacy bought me another of Charmaine’s cookbooks as a present, The Complete Asian Cookbook.

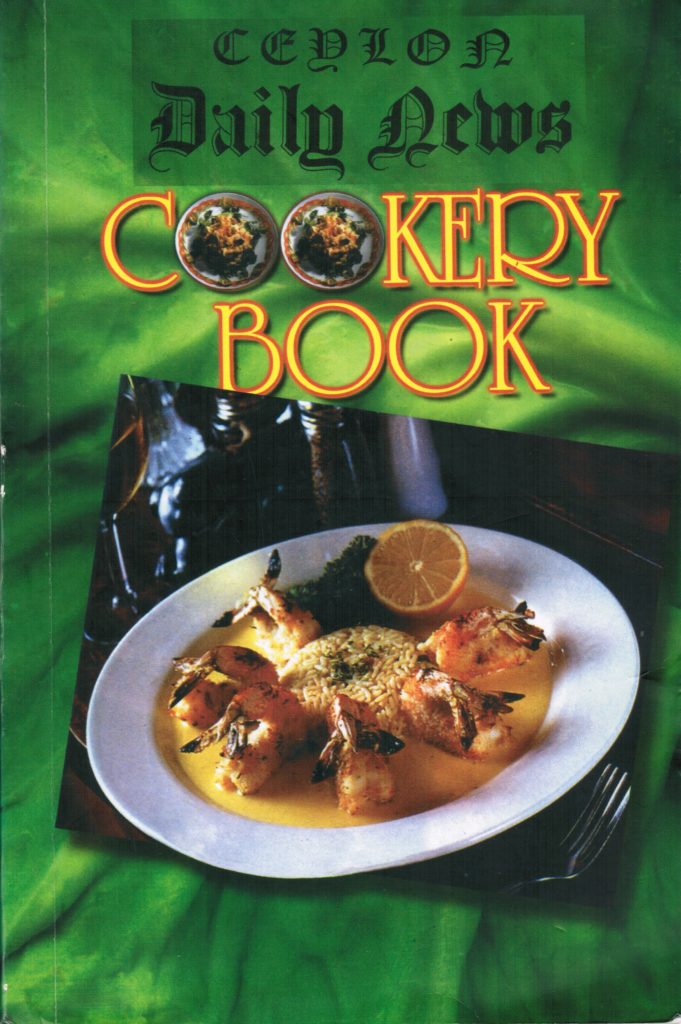
Another favorite cookbook was the [Ceylon] Daily News Cookery Book which was in the collection of the Van Pelt library at the University of Pennsylvania. I would check it out, keep it as long as I could, return it, and then check it out again. It was a hardcover book with a red cloth cover. It was simply titled the Daily News Cookery Book.  Reference to Ceylon was nowhere to be found in the title.  Many years later, on a trip to Sri Lanka, I was able to get a reprint of the book (with the word Ceylon added to the title).

My point, though, is that my cooking repertoire expanded because I worked at it. Ray and I planned every meal, we went grocery shopping, we cooked, and we most certainly ate. I was still able to keep up a good cooking pace through medical school but after that, as I got busier and busier, it became harder and harder.

While I can put food on the table any given night without much thought, recreating past favorites or trying out new recipes requires more planning. I now have a calendar specifically devoted to cooking. Dishes get planned out weeks, if not months, in advance. It’s a lot of work, yes, but it’s tremendously rewarding to prepare my favorite foods, many of which I haven’t had in many years, and introduce them to others.

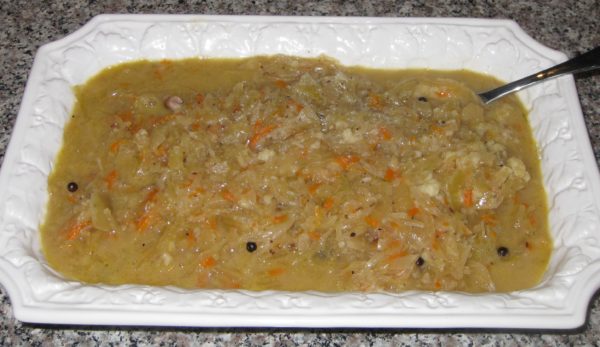
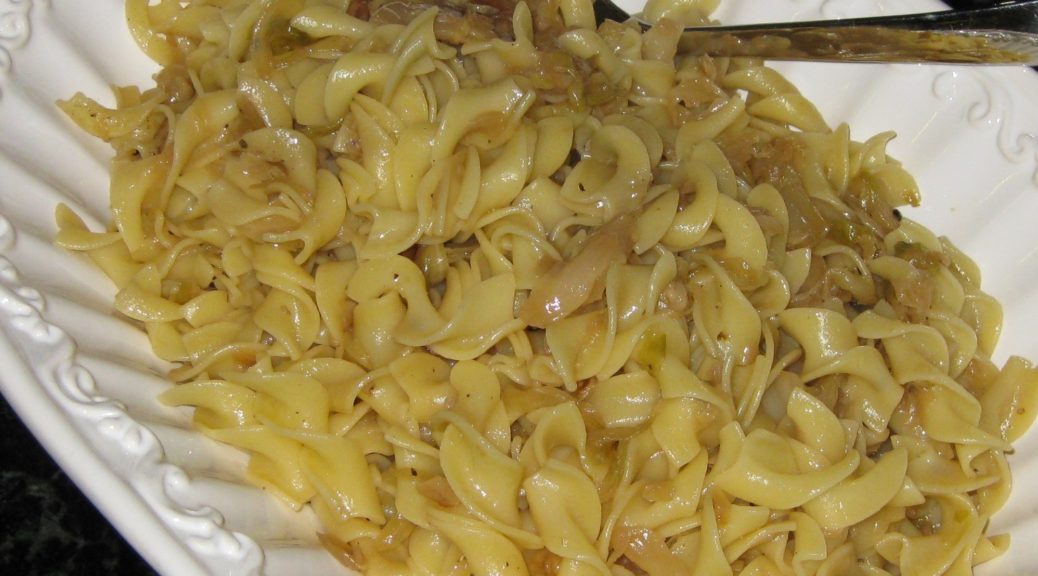
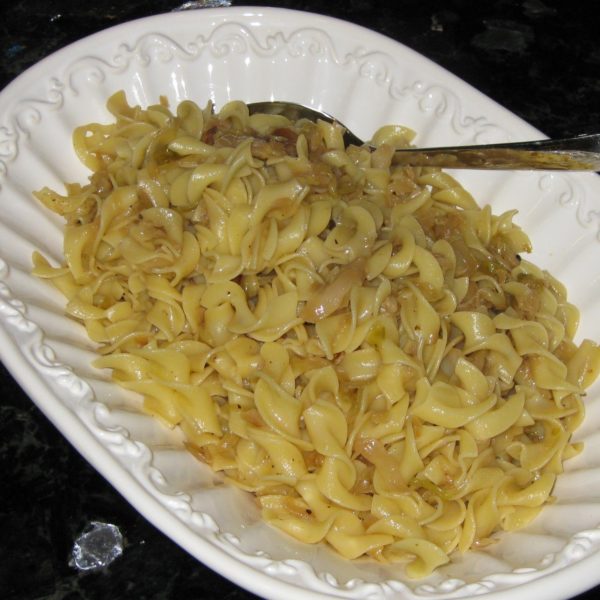
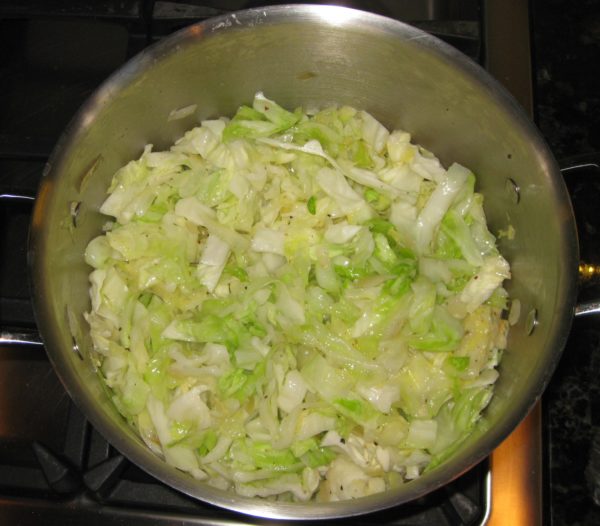
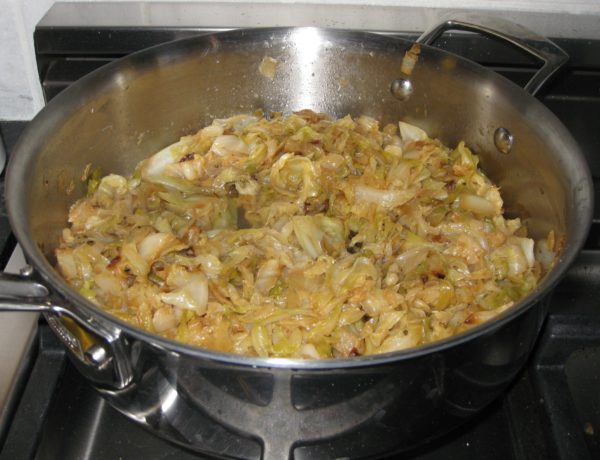
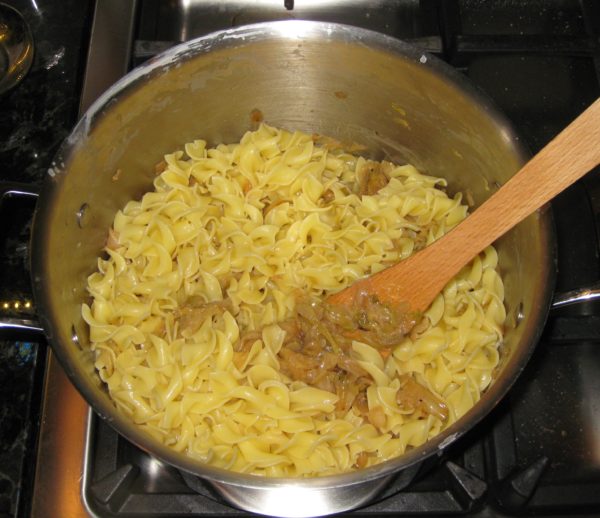
Cabbage and Noodles, sometimes called Halushki, was frequently on our table. I remember it particularly being served with Salmon Patties, one of my favorite Friday meals when we didn’t eat meat. We had it other times, too, but the association of Cabbage and Noodles with Salmon Patties is very strong.


Follow us


Click HERE to join our mailing list and you’ll never miss a recipe again!

Print Recipe
Cabbage and Noodles (Halushki)
Although three pounds of cabbage sounds like a lot, it cooks down a tremendous amount. If you wish, you can add a teaspoon or two of caraway seed to the cabbage during the last 20 minutes of cooking. Though my family did not do that, it is not unusual to do so.
Votes: 0
Rating: 0
You:
Rate this recipe!
Prep Time 15 minutes
Cook Time 2 hours
Servings
people
Ingredients
Prep Time 15 minutes
Cook Time 2 hours
Servings
people
Ingredients
Votes: 0
Rating: 0
You:
Rate this recipe!
Instructions
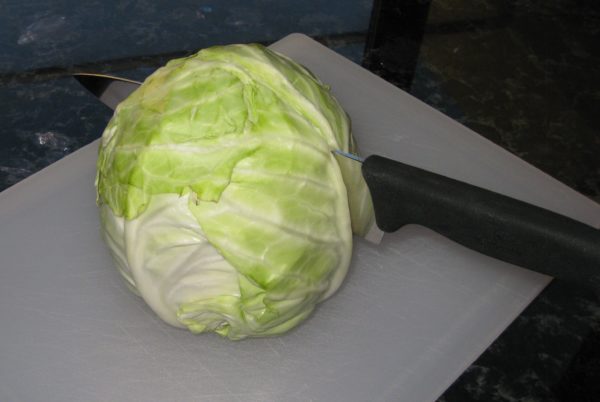
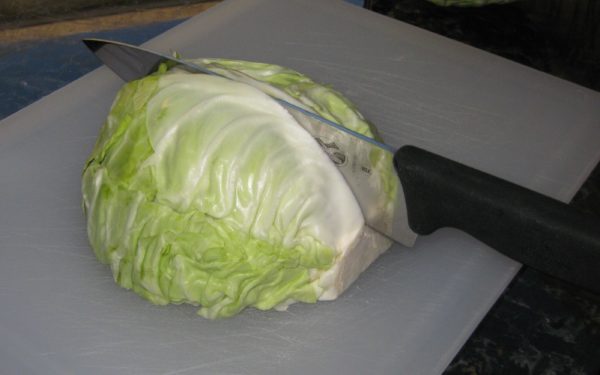
  1. Quarter and core the cabbage.
  2. Slice each quarter crosswise into ½ inch wide ribbons.
  3. In a heavy-bottomed pot large enough to hold the cabbage comfortably melt four tablespoons of the butter.
  4. Sauté the onion in the butter until golden.
  5. Add the cabbage. Season generously with salt and pepper.
  6. Sauté on medium heat, stirring often, until the cabbage wilts.
  7. Reduce the heat if the cabbage starts to stick to the pot.
  8. Continue to cook on medium low, partially covered and stirring often, until the cabbage is silky, golden, and sweet. This will take 1 ½ to 2 hours total from start to finish.
  9. The cabbage can be cooked several hours in advance to this point. Warm the cabbage before proceeding.
  10. Bring 3 quarts of water to a rolling boil. Add 1/3 cup of salt.
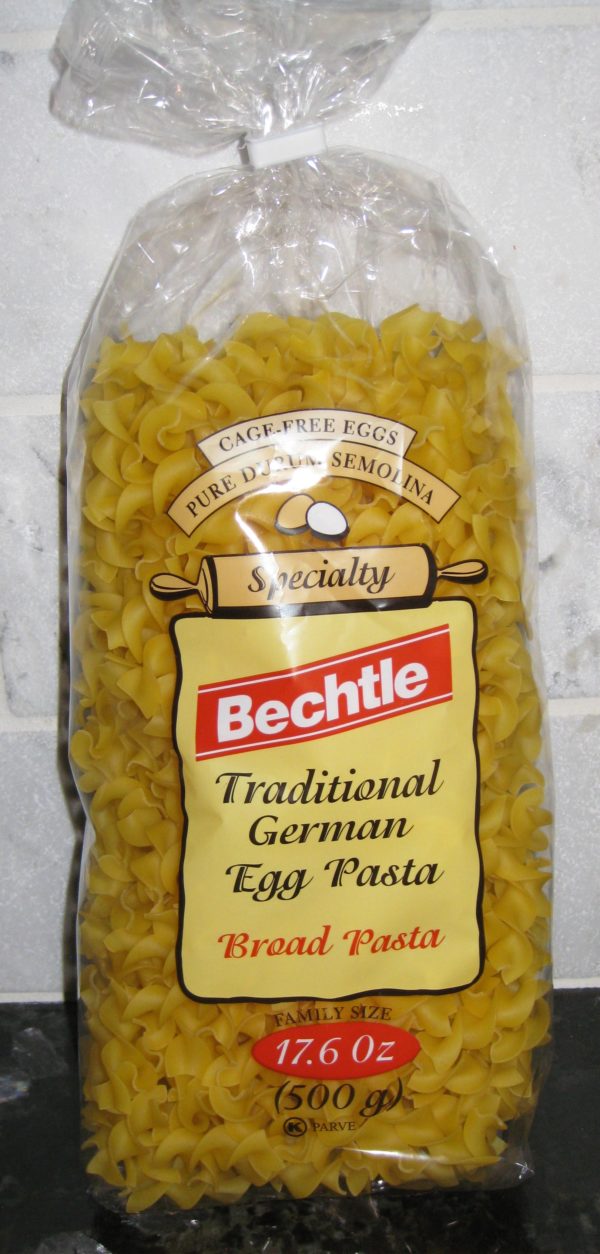
  11. Cook the egg noodles in the salted water until just done. They should be slightly toothy and definitely not mushy.
  12. Drain the noodles.
  13. Add the noodles to the cooked cabbage along with the remaining 2 tablespoons of butter. Toss well.
  14. Taste and adjust salt and pepper.
Recipe Notes

Copyright © 2017 by VillaSentieri.com. All rights reserved.
Share this Recipe

Chicken Paprikash (Chicken with Paprika-Sour Cream Sauce)

November 13, 2017

I really don’t remember my Slovak grandmother doing much cooking. By the time I was old enough to pay attention to who was cooking, she was mostly just making the occasional pot of soup.

My Grandmother

My grandparents owned a semi-detached house and Uncle Frankie and Aunt Mary lived next door. Although they had separate front porches, they shared a back porch. Going back and forth was easy.


Follow us on Facebook:  Click HERE


Aunt Mary kept my grandparents well-supplied with food. My Aunt Ann pitched in from time to time as well.

My Grandfather

My grandparents were really keen on soup. I guess when you’re raising a family of seven sons through the Great Depression and its aftermath, on a steelworker’s income, preparing filling and budget-friendly food becomes a necessity.

After the early 1960s when my Uncle Gusty moved back to the United States from Japan with his wife and their children, all seven of my grandparents’ sons lived in Johnstown with their wives and children. Most of us would visit on Sunday afternoons arriving sometime after lunch and leaving before dinner.

My Grandfather and Father in the late 1960s. I used to wear the tie my dad is wearing to high school. I still have it! My father insisted that I tie a Full Windsor. Now I know where he got his preference!

Very frequently a large pot of soup would appear for anyone who needed a little something to hold him or her over till dinner. Often it would be potato soup or sour mushroom soup (made with dried mushrooms and spiked with a little vinegar). My father talked longingly about a sour cabbage soup called kissel which nobody was making any longer.

Other than soup, baba (sometimes written bubba), and sweets at the holidays, I don’t remember eating much at my grandparents’ house though I do remember my grandfather and my uncles consuming a fair amount of beer, and, on special holidays, shots of whiskey.

Me with my Grandparents in 1976

Most of the Slovak food that I ate was at home or at one of my uncle and aunt’s houses.

Chicken Paprikash is considered a Hungarian dish but it was common on the Slovak side of my family.  My grandfather was born in 1890 in a small town, Nitrianske Sucany, not too far from Bratislava, in what is now Slovakia.  My grandmother was born a few years later.  In 1909 when my grandfather came to America, he left what was then the Austro-Hungarian Empire.  Slovakia did not exist as a country.  Food diffuses with cultural contact (think about the popularity of Spam in both Hawaii and Korea which can be traced to the presence of the US military).  I suspect that’s how Chicken Paprikash became something made by my Slovak grandparents.

My version of Chicken Paprikash is a combination of my mother’s and my Aunt Ann’s. When I went to look up the recipe to make in preparation for this blog I discovered that I had never written it down! Luckily I remembered just how to do it.


Follow us


Click HERE to join our mailing list and you’ll never miss a recipe again!

Print Recipe
Chicken Paprikash
Using bone-in chicken with skin improves the flavor of the final dish. Flabby skin from braised chicken is not appetizing, however, so remove it near the end of cooking before putting the chicken in the finished sauce. Since paprika is the major flavor in this dish be sure to use fresh, high-quality paprika, preferably Hungarian. Sweet paprika was the norm in my family, not hot, and certainly not smoked which would totally change the flavor. You can use whatever chicken parts you prefer but I think the texture of slowly braised thighs is superior. Serve the chicken with buttered noodles or mashed potatoes, both of which go really well with the sour-cream-enhanced sauce.
Votes: 2
Rating: 5
You:
Rate this recipe!
Course Mains, Poultry
Cuisine Slovak
Prep Time 20 minutes
Cook Time 2 1/2 hours
Servings
people
Ingredients
Course Mains, Poultry
Cuisine Slovak
Prep Time 20 minutes
Cook Time 2 1/2 hours
Servings
people
Ingredients
Votes: 2
Rating: 5
You:
Rate this recipe!
Instructions
  1. Pat the chicken dry and season liberally with salt and pepper.
  2. Heat the oil in a large, heavy-bottomed sauté pan.
  3. Sauté the chicken on both sides, starting skin-side-down, until brown on both sides. Do not crowd the chicken. Do this in batches if necessary.
  4. Remove the browned chicken to a platter.
  5. Empty the oil from the pan and wipe clean.
  6. Add two tablespoons of butter. Sauté the diced onion until golden.
  7. Add the garlic and sauté until fragrant, approximately 1 minute.
  8. Add 3 tablespoons of paprika and sauté for approximately 15 seconds (paprika burns very easily).
  9. Add one cup of broth and mix well.
  10. Add the bay leaf, browned chicken pieces and any accumulated juices to the pan. Add additional salt and pepper to taste. Cover and braise on low until very tender, approximately 1 ½ hours being sure to taste for salt occasionally. Add additional broth if needed to keep the pan from drying out.
  11. About 15 minutes before the chicken is done, remove the skin and discard.
  12. When the chicken is fully cooked, remove it to a platter.
  13. Remove the bay leaf.
  14. Pour the cooking liquid, without straining, into a small pot and keep it warm on low heat. You can skim fat from the top of the cooking liquid if you would like.
  15. Wash and dry the pot used to cook the chicken. Melt the remaining 6 tablespoons of butter in that pot.
  16. Add the finely diced onion and sauté until golden.
  17. Add the flour and cook 2-3 minutes, until no longer raw.
  18. Add the remaining 1 tablespoon of paprika and sauté 15 seconds.
  19. With the flour-onion-paprika mixture on medium heat, begin to ladle in the reserved cooking liquid a little at a time, stirring well after each addition to avoid lumps.
  20. When all the cooking liquid has been incorporated, add any remaining chicken broth, if all of the original 2 cups was not used to braise the chicken.
  21. Bring to a boil and cook for one minute. The sauce should be quite thick. It will thin with the addition of sour cream. If the sauce is too thin, boil it longer as you will not be able to boil it once the sour cream has been added.
  22. Stir in the sour cream. Adjust salt and pepper. Add the chicken and heat gently without boiling.
Recipe Notes

Copyright © 2017 by VillaSentieri.com. All rights reserved.
Share this Recipe

Jim’s Hawaiian Guava Cake

October 25, 2017

“Aloha Mr. Van Sant.”

So began a 2003 email from Simon Rusconi, the Hotel Manager of the Sheraton Moana Surfrider Resort on Oahu.

Mr. Van Sant, Jim to the rest of us, had complimented the resort on its guava cake and Mr. Rusconi was writing to share the recipe.

Jim printed out the email and affixed it to an index card and put it in his recipe box. Late in 2016, the subject of the guava cake came up somehow at a dinner party at Jim and Bill’s house. Jim offered to share the recipe with me if I was interested.

I was, and I said that I’d make it for him. Shortly thereafter, the original recipe arrived in the mail still affixed to the index card. Not wanting to keep his original, I scanned it into my recipe database and returned the hardcopy.

Since Jim and Bill rent a home in Palm Springs just steps from our house, and since baking cakes at nearly 8000 feet where I live in New Mexico is an iffy proposition, at best, I said I’d bake the cake in Palm Springs. Every winter they rent the Oscar Mayer House. Yes, that Oscar Mayer!

We had a delightful luncheon at tables set up around their pool with guava cake for dessert.

The back of the Oscar Mayer house in Palm Springs, California
Inside the Oscar Mayer House
The front of the Oscar Mayer House

But that’s jumping ahead.

Receiving the recipe from Jim was merely the beginning. I became fascinated by guava cake without having even made one. Almost any recipe with the degree of cultural significance that guava cake seemed to garner grabs my attention. I did internet searches and combed through my Hawaiian cookbooks (of which I have a goodly number).

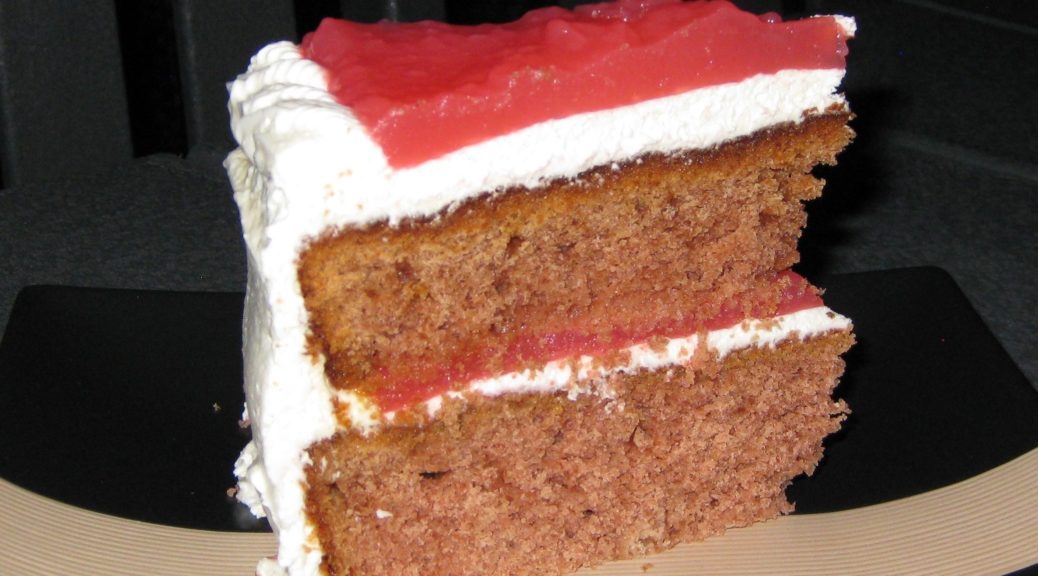
It appears that there are basically three variations of guava cake in Hawaii: Guava Chiffon Cake, Guava Spice Cake, and (plain old) Guava Cake. Recipes for the last often start with a box of cake mix and use Cool Whip in the cream cheese frosting.

From what my research has revealed, the original was a Guava Chiffon Cake invented by Herbert Matsuba, owner of the Dee Lite Bakery, in the early 1960s.

The popularity of the cake no doubt led to multiple copycat recipes, including those using a box of cake mix and Cool Whip aimed at the home cook.

The recipe from the Moana Surfrider was a Guava Spice Cake. I followed the recipe closely the first time except that I needed to find a substitute for frozen concentrated guava nectar which I was unable to find after scouring 10 grocery stores in Palm Springs and nearby desert towns.

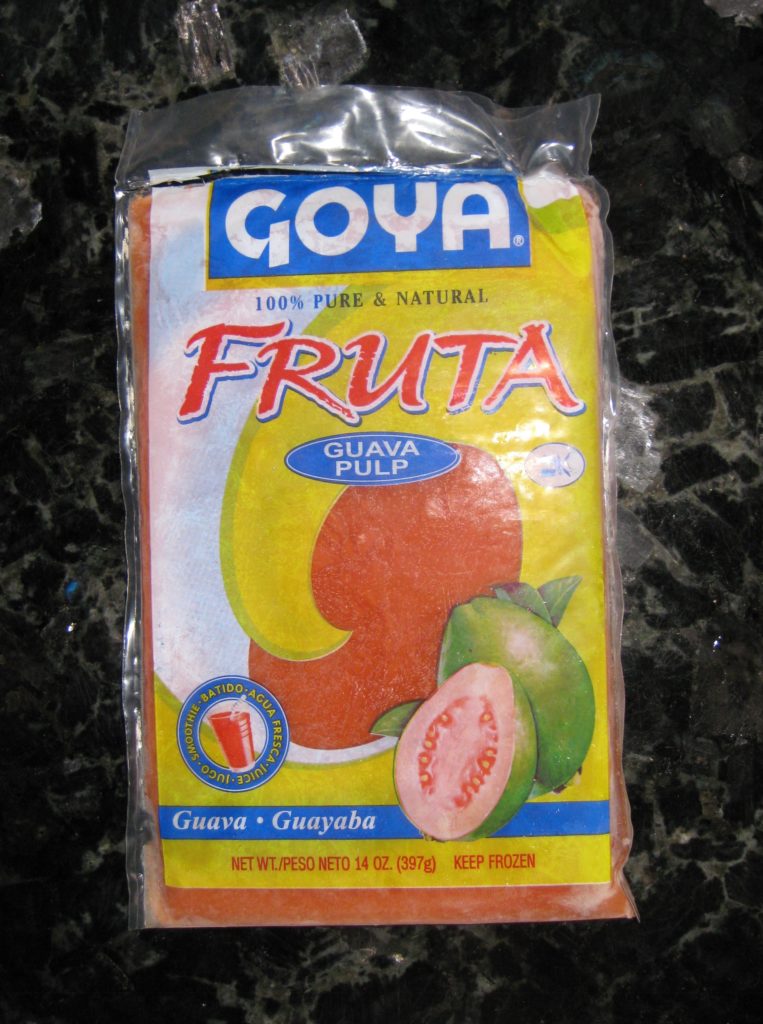
I ultimately was able to source pure guava puree at a market catering to Hispanic shoppers. It had no sweeteners so I thought I might need to add sugar to the batter in a subsequent trial but for the first round I used the guava puree as a direct substitute for concentrated guava nectar.

Frozen Guava Puree, a much easier to find substitute for frozen concentrated guava nectar

The cake was good but everyone who tasted it failed to taste any guava. It really just tasted like a spice cake. Certainly it was not worth hours of searching for guava concentrate only to have the flavor masked by spices.

Other than guava chiffon cake, which was definitely not the same genre as the cake that Jim had at the Moana Surfrider, I could not find a recipe for plain guava cake that did not start with a box of cake mix. I decided to make the original recipe without the spices.

That did it! The guava flavor came through but something told me that Herbert, a professional baker, might have used something to amp up the guava flavor.

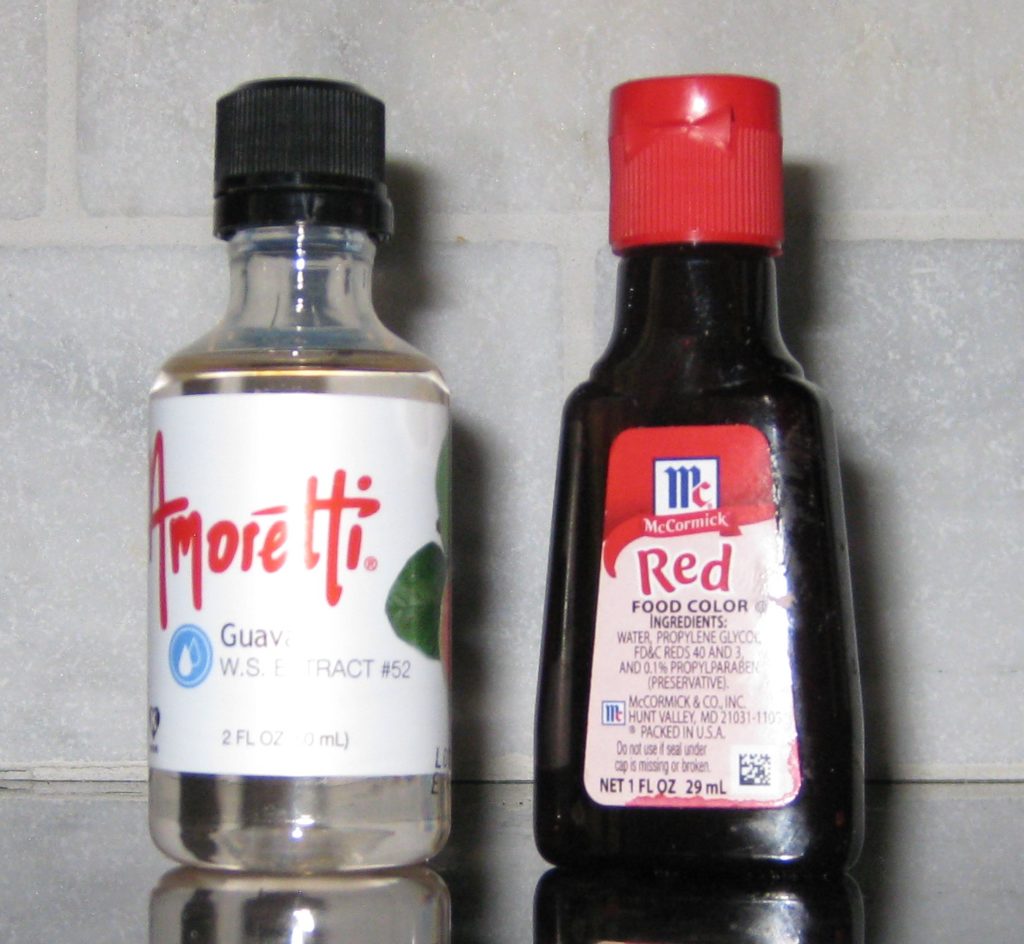
That started me on a search for natural guava extract. I found a wonderful extract made by Amoretti.

You can do without the Amoretti Guava Extract but not the red food coloring.

The next time I made the cake, I added a tiny bit of guava extract to the batter. I believe it enhanced the flavor but if one is not going to make a lot of guava cakes I would consider omitting the guava extract as it is expensive and very concentrated so a little bottle will last a long, long time.

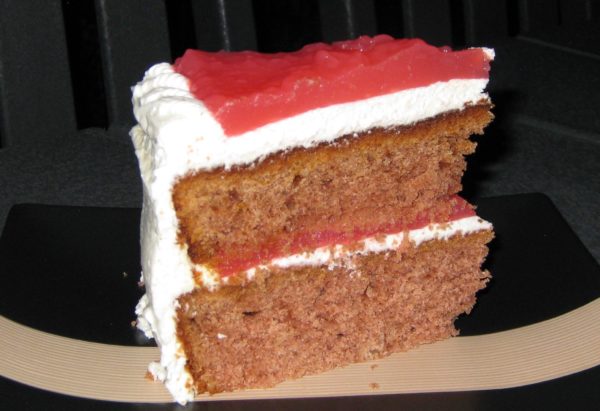
For an everyday cake, I suggest baking it in a 9” x 13” x 2” rectangular pan. For a more special presentation, make a layer cake by dividing the batter between two 9” round pans. If you are doing the latter, make a double batch of cream cheese frosting. You’ll have a little left over but a single batch will not be enough. You could always whip up half a batch of batter and make guava cupcakes to use the extra frosting!

In honor of Oscar Mayer, in whose house we all came together over Jim’s Hawaiian Guava Cake, I recommend the following tribute. Who knew there were so many variations on the Oscar Mayer Wiener theme?


Follow us


Click HERE to join our mailing list and you’ll never miss a recipe again!

Print Recipe
Jim's Hawaiian Guava Cake
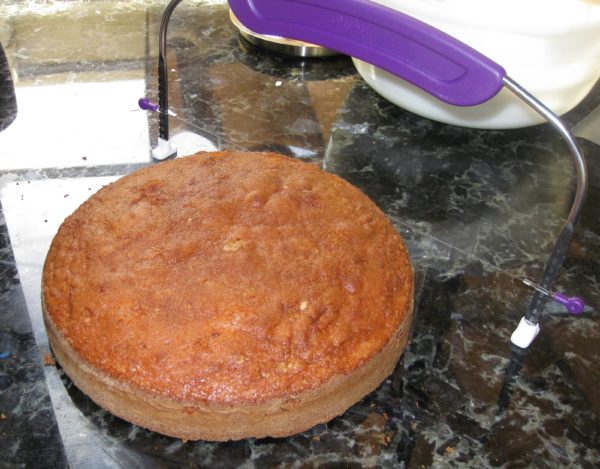
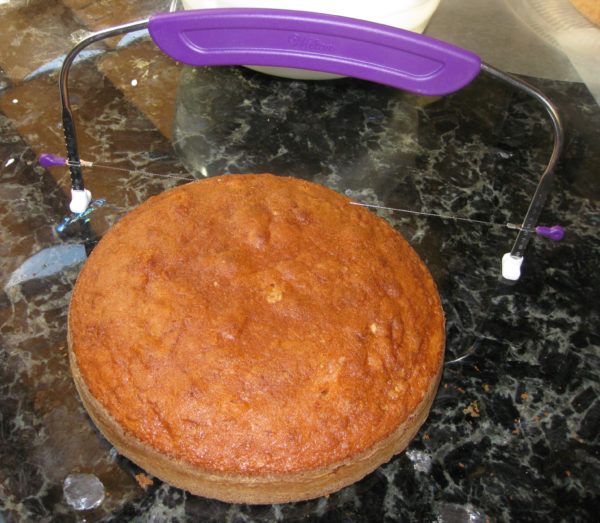
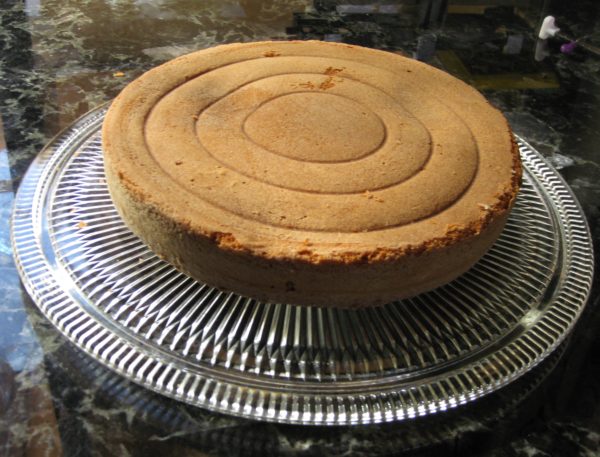
Because frozen, concentrated guava nectar is not readily available except in Hawaii, I standardized this recipe using frozen guava pulp which should be easy to find in large supermarkets or in markets catering to customers from Mexico, Central America, and the Caribbean. It is important that the cream cheese frosting be level so that the guava gel forms an even layer. If you are making a rectangular cake this means there will be a bit more frosting at the edges than in the middle. If you are making a round two-layer cake, I suggest cutting off the tops of the cakes to achieve a perfectly level appearance. Put the cakes cut side down to avoid having lots of crumbs working their way into the cream cheese frosting. Guava nectar can be purchased in cans or refrigerated. Guava pulp is frozen.
Votes: 0
Rating: 0
You:
Rate this recipe!
Prep Time 2 hours
Cook Time 1 hour
Passive Time 3 hours
Servings
people
Ingredients
Cake
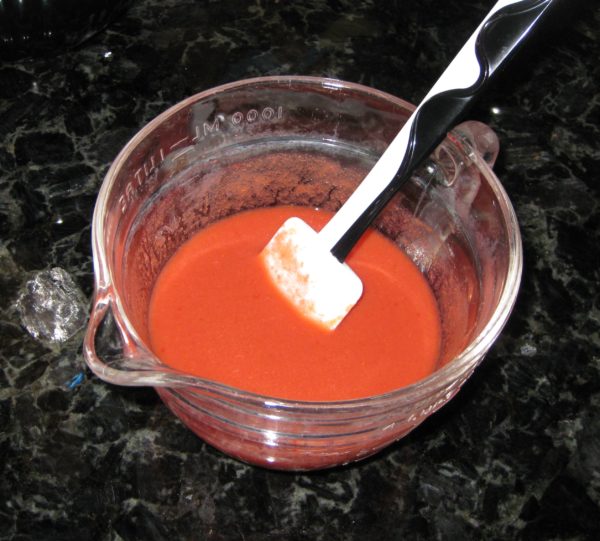
Guava Gel
Cream Cheese Frosting (make a double batch for the round cake)
Prep Time 2 hours
Cook Time 1 hour
Passive Time 3 hours
Servings
people
Ingredients
Cake
Guava Gel
Cream Cheese Frosting (make a double batch for the round cake)
Votes: 0
Rating: 0
You:
Rate this recipe!
Instructions
Cake
  1. Butter and flour a 9 x 13 x 2 inch metal cake pan or two 9 inch round cake pans.
  2. Combine flour and baking soda. Reserve.
  3. Combine guava puree, guava nectar, guava extract and red food coloring. Reserve.
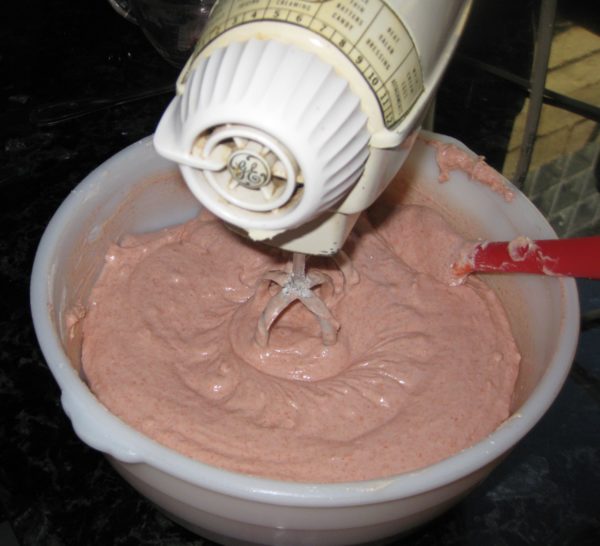
  4. Cream butter until light. Add sugar and cream until light and fluffy.
  5. Beat in eggs, one at a time, creaming well after each addition.
  6. On low, add dry ingredients alternating with wet ingredients, starting and ending with dry ingredients.
  7. For the rectangular pan: pour the batter into the prepared pan. Smooth the top. Rap the pan on the counter to release any air bubbles.
  8. Bake 350°F 40-45 minutes or until a tester comes out clean.
  9. Cool the cake in the pan then refrigerate.
  10. Frost with cream cheese frosting being careful to make the top of the frosting level. Refrigerate several hours to firm up the frosting.
  11. Top with guava gel and smooth out to the edges. Refrigerate several hours to set the frosting and gel.
  12. Bring the cake to room temperature before serving.
  13. For the round pans: Pour the batter into the prepared pans. Smooth the tops. Rap the pans on the counter to release any air bubbles.
  14. Bake 350°F 30-35 minutes or until a tester comes out clean.
  15. Cool the cakes in the pans for 10 minutes. Remove and cool completely on a wire rack.
  16. Wrap the cakes and refrigerate until cold, or up to one day.
  17. Slice the rounded tops of the cakes off to make them level.
  18. x
  19. Put one layer, cut-side-down on a platter.
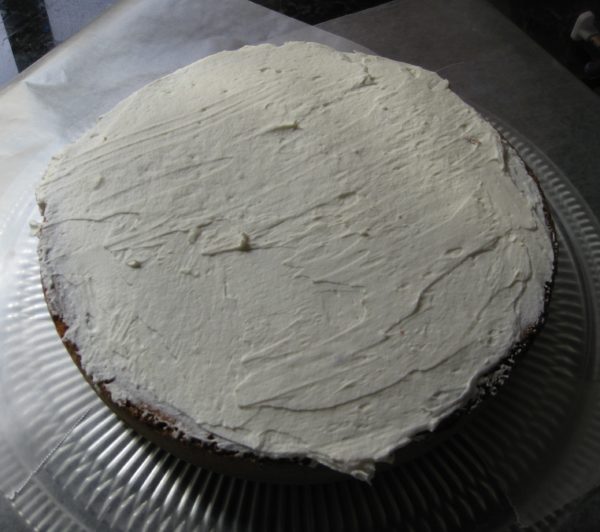
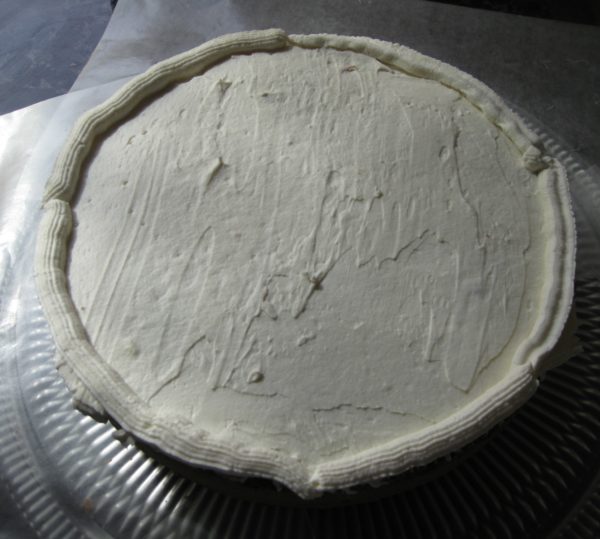
  20. Put a layer of cream cheese frosting on the top of this layer.
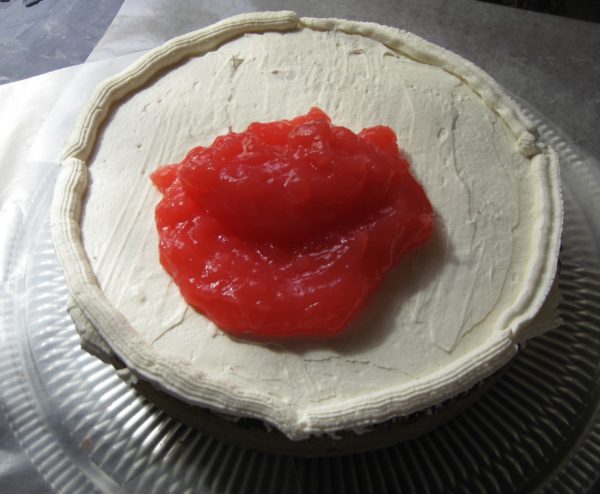
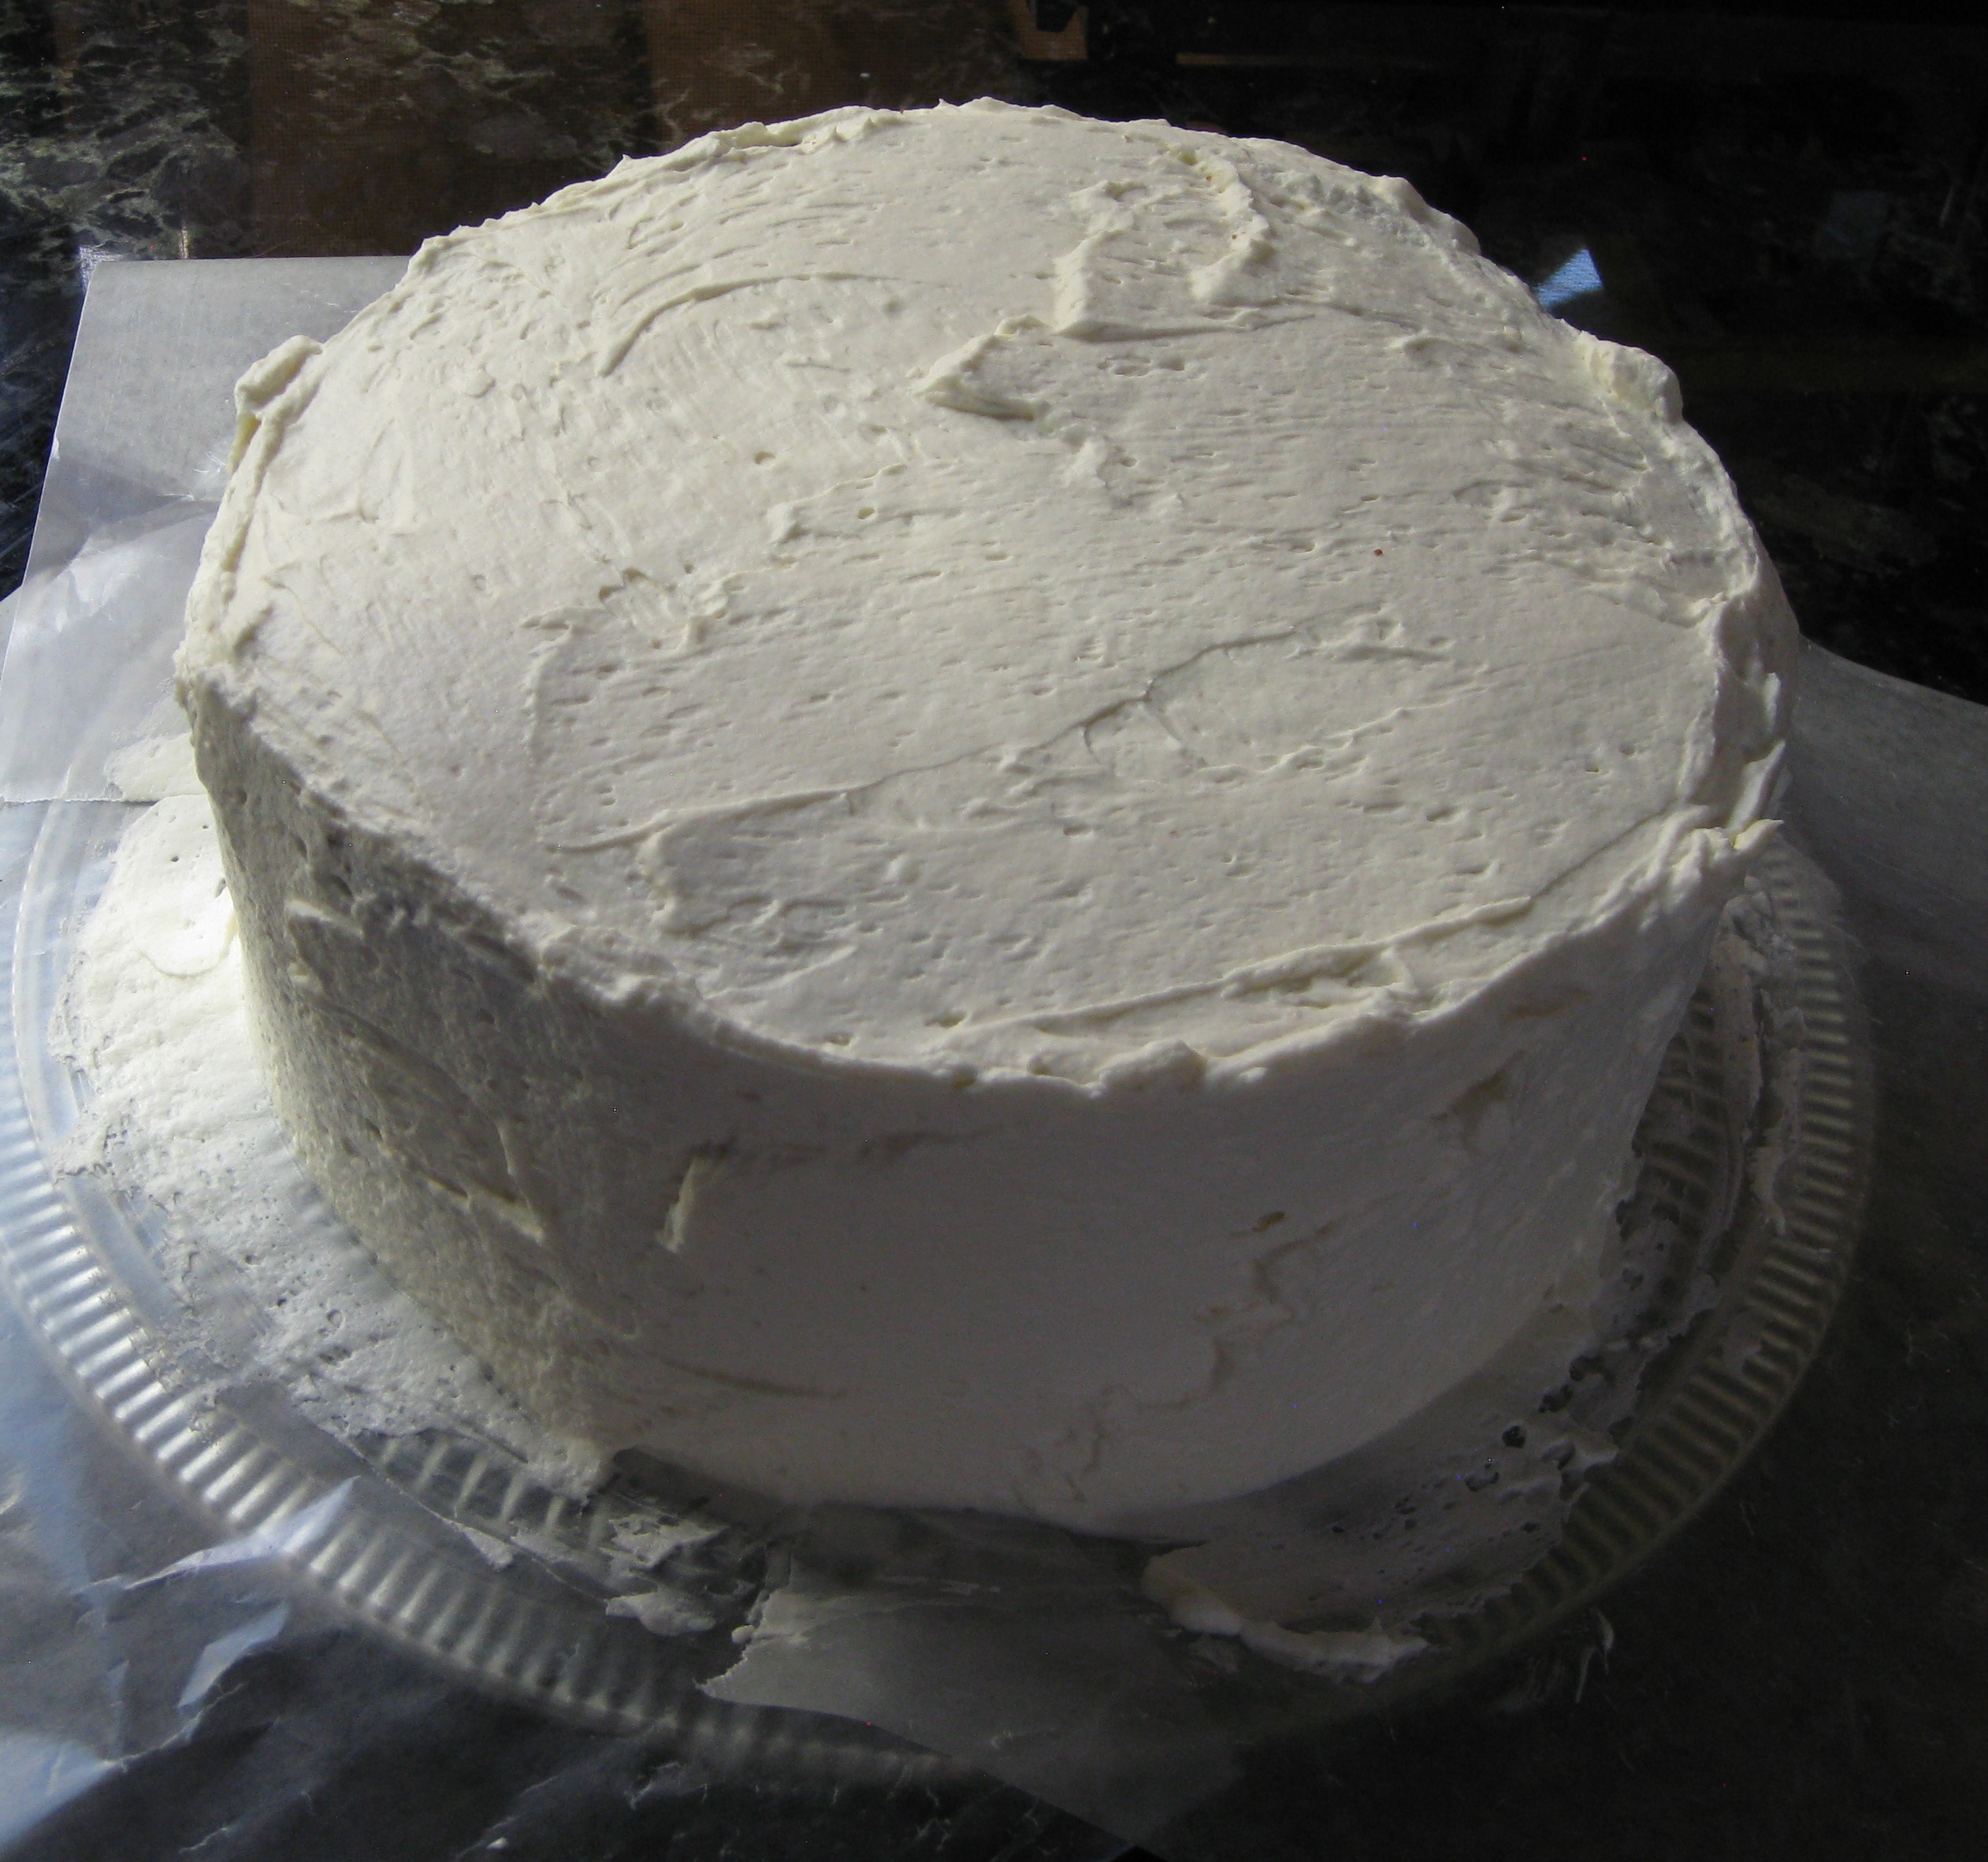
  21. Pipe a rim of frosting around the edge to hold the guava gel. This does not need to be fancy as it will be smoothed out.
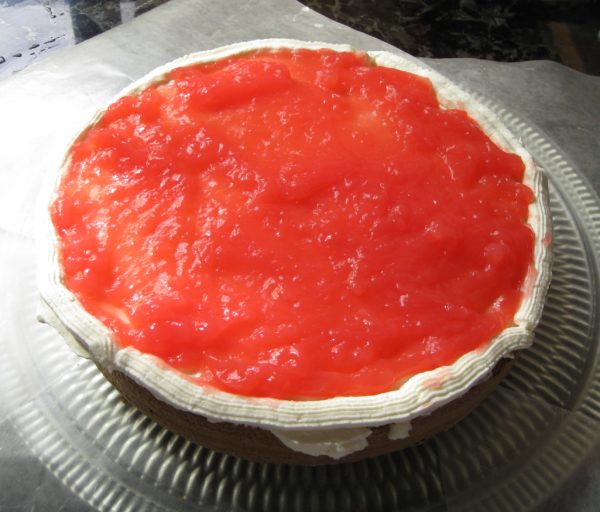
  22. Put just under ½ of the guava gel on top of the frosted bottom layer.
  23. Smooth the gel out to the piped edge.
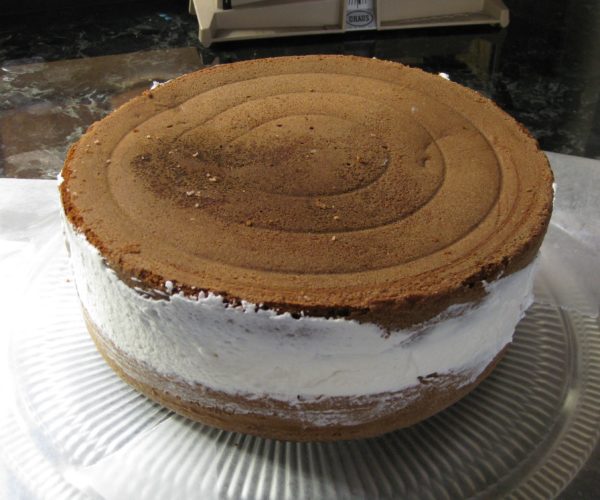
  24. Top with the remaining cake, cut side down.
  25. Generously frost sides and top of the cake with cream cheese frosting.
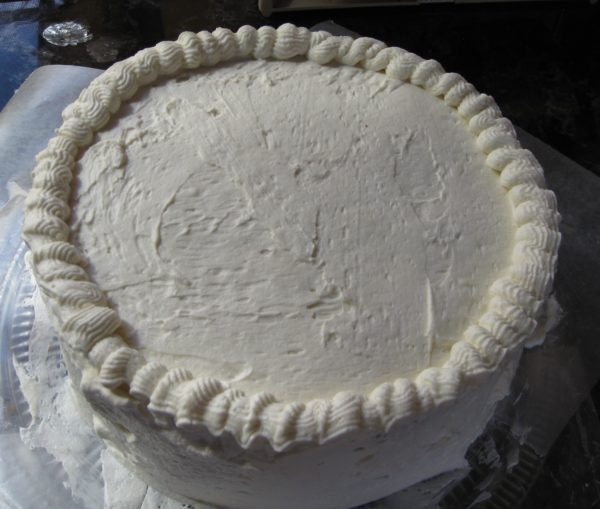
  26. Pipe a decorative border around the edge of the top layer.
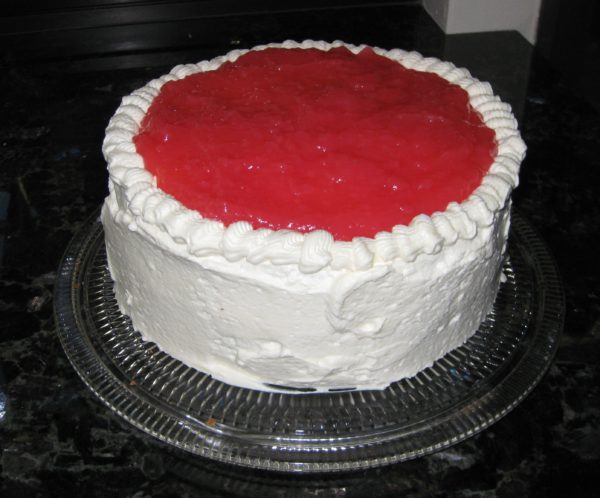
  27. Pour the remaining guava gel on top and smooth out to the edges.
  28. Refrigerate several hours to set the frosting and gel.
  29. Bring to room temperature before serving.
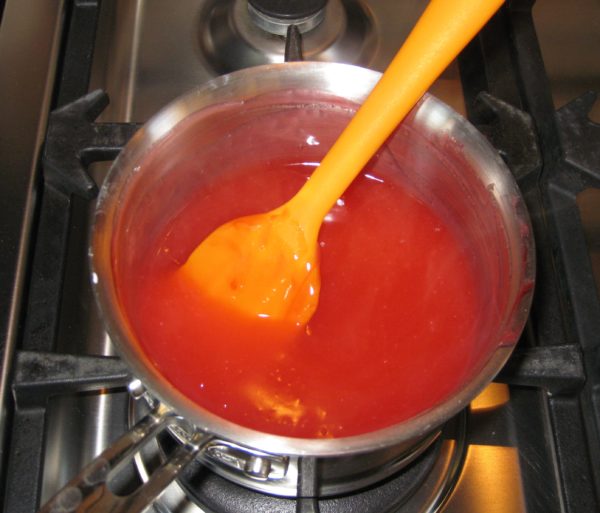
Guava Gel
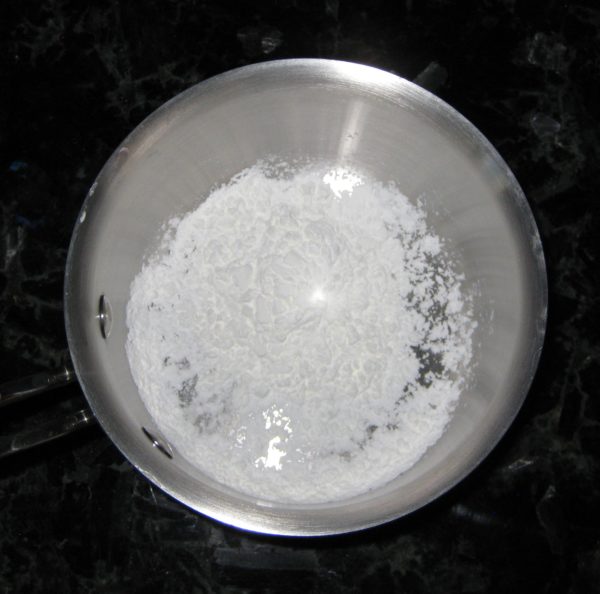
  1. Put the cornstarch in a small heavy-bottomed sauce pan.
  2. Stir in the guava nectar, a little at a time, to dissolve the cornstarch without forming lumps.
  3. When dissolved, add the remaining guava nectar and sugar.
  4. Cook over medium heat, stirring constantly, until it comes to a full boil.
  5. Remove from heat and stir in red food coloring.
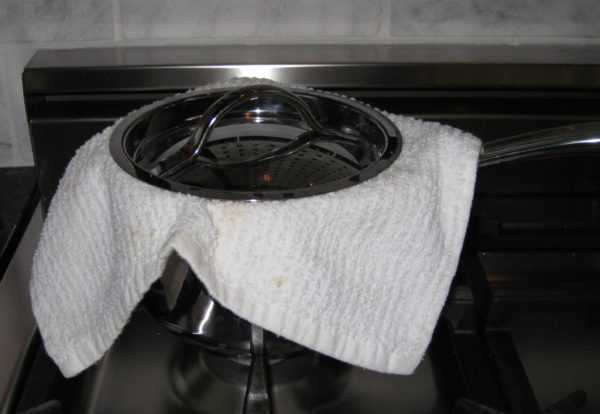
  6. Put a cloth on top of pan before putting cover back on to keep moisture from dripping back into the gel.
  7. After the gel reaches room temperature, refrigerate until cold.
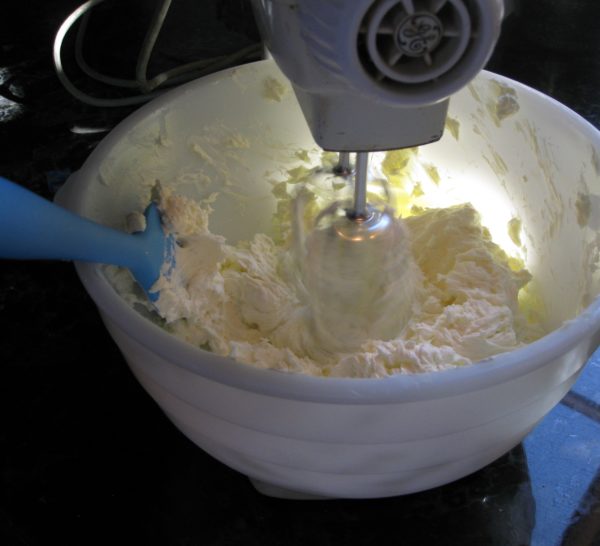
Cream Cheese Frosting (make a double batch for the round cake)
  1. Chill the bowl and beaters for the whipped cream.
  2. Cream the cream cheese until light.
  3. Sprinkle in 1/3 cup of sugar and beat until light and fluffy.
  4. Mix in vanilla.
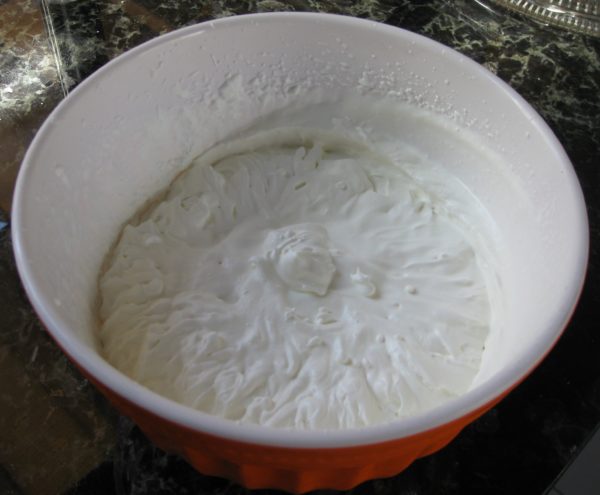
  5. In chilled bowl, beat the whipping cream until thick.
  6. Add 2 tablespoons of sugar and beat until the cream forms stiff peaks.
  7. Fold 1/3 of the whipped cream into the cream cheese to lighten it.
  8. Carefully, but thoroughly fold in the remainder of the whipped cream.
Recipe Notes

Copyright © 2017 by VillaSentieri.com. All rights reserved.
Share this Recipe