Pancetta

March 19, 2018

I didn’t grow up with a tradition of curing meats at home.  There was a long tradition of homemade hot Italian sausage headed up by Uncle Joe Medile but no meat curing.

I started curing meats in medical school.  These were wet-cured products, corned beef and pickled pork.  I used them primarily to make West Indian food which was a significant part of my repertory at the time.

I bought myself a container of salt peter (sodium nitrate) and mixed my cures from old recipes.  The use of salt peter is no longer permitted commercially for wet cures and only as a minor addition to a cure containing sodium nitrite for meats that require a long, dry cure.  Wet cures are now made with sodium nitrite only.


Follow us on your social media platform of choice


During a long, dry cure, the sodium nitrate breaks down into sodium nitrite, acting like a time-release curing agent.

I frequently had two large containers of wet cure in my kitchen, one for beef and one for pork.  Refrigeration wasn’t necessary, which was a good thing, because I didn’t have lots of extra refrigerator space as a medical student.

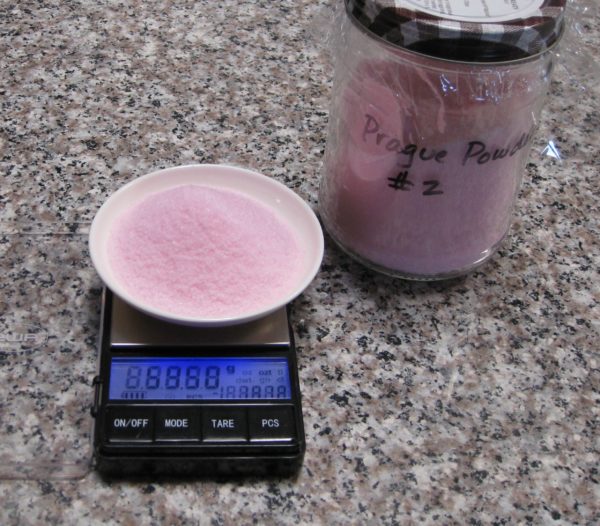
Because of the small quantities of nitrates and nitrites used to cure meat, it is much easier to buy curing salt that consists mostly of table salt with appropriate amounts of curing salt mixed in.  Prague Powder #1 is a mixture of salt and sodium nitrite.  It is used for wet curing and for dry curing that doesn’t extend for weeks.  Prague Powder #2 is salt with both sodium nitrite and sodium nitrate.  It is used for dry curing.  Prague Powders are always colored pink to differentiate them from ordinary salt.

After my first year of medical school my meat curing came to an end as I was involved in much more demanding clinical rotations and then ultimately internship and residency.


Click HERE to join our mailing list and you’ll never miss a recipe again!


Though I occasionally made Italian sausage, I didn’t start curing meats again until around 2000 when we had a temperature and humidity controlled wine cellar at The Henry Rohkam House, our home in Chicago.

The Rohkam House in Chicago when we lived there

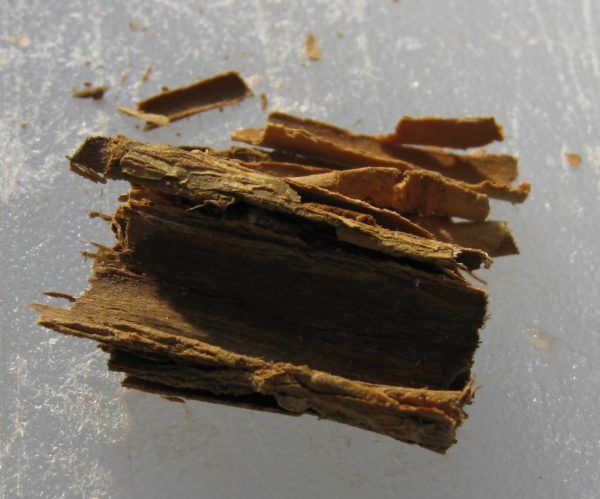
It actually started innocently enough.  When she heard about our wine cellar, Aunt Margie (my mother’s sister and Uncle Joe’s wife) asked me if I was going to make salami.  I hadn’t thought about it until that point but it seemed clear to me that she had memories of “the old Italian guys,” perhaps even her father, making salami and curing it in their wine cellars.
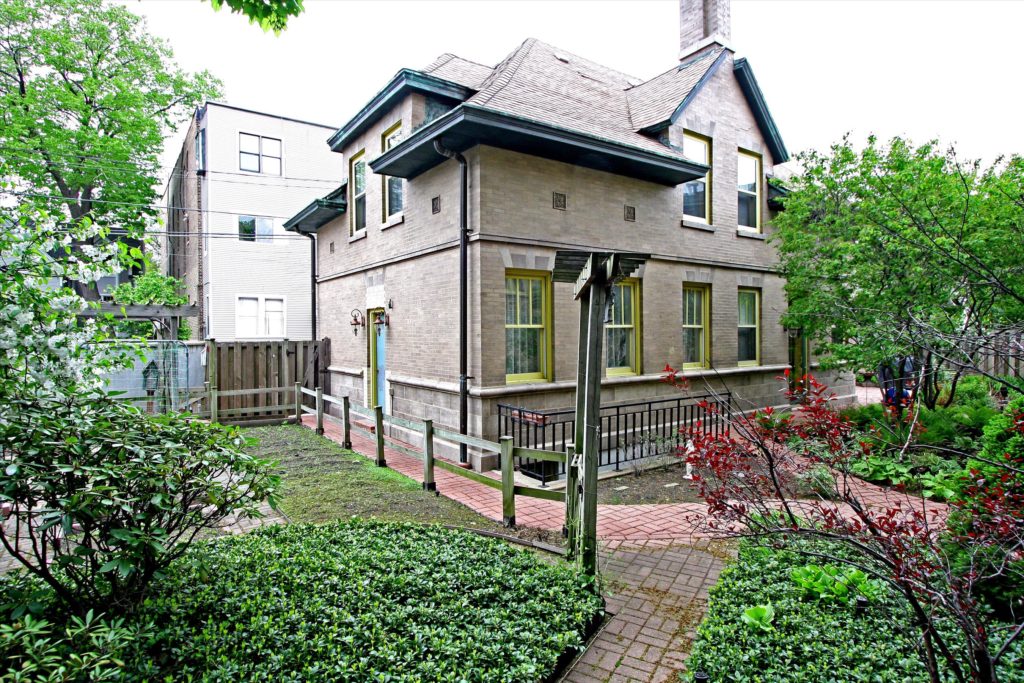
There was a temperature and humidity controlled wine cellar in the basement of the Coach House that was perfect for curing salumi of various types

For several years, I made different types of cured salumi including Calabrese salami and pepperoni.

It was fun, and really pretty easy.  It was also rewarding to slice up one’s own homemade salami for an antipasto platter when company arrived.

The drawing room at Villa Sentieri

Although we have a temperature and humidity controlled wine cellar at Villa Sentieri in Santa Fe, I haven’t made salami since moving there full time in 2012.  I have, however, made pancetta.  In fact, for a number of years now the only pancetta that I’ve used has been my own home-cured version.

The wine cellar at Villa Sentieri. We’ve been trying to drink down our collection, hence the bare look!

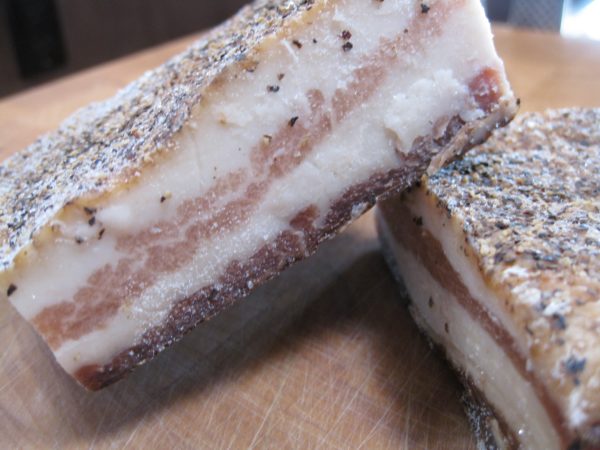
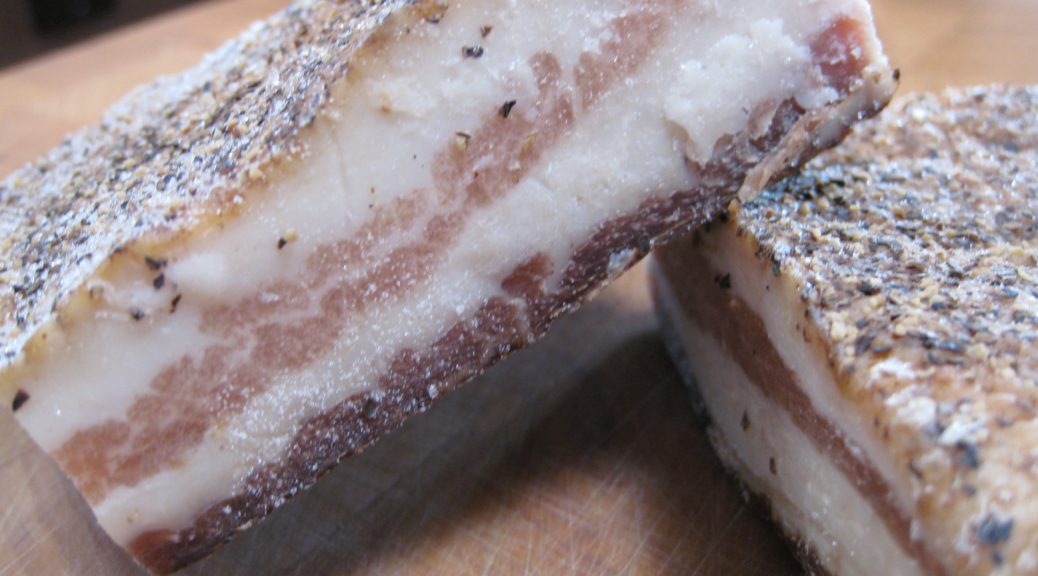
It’s even easier than making salami.  You just weigh out the ingredients, rub them on a slab of pork belly and refrigerate it.  There is no grinding of meat and stuffing of casings.  Although it takes several months to turn pork belly into pancetta, the actual active time can’t amount to more than 30 minutes over the entire time period, and most of that is the initial step of weighing out the ingredients and rubbing them on the meat.

Although I now buy about an eight-pound piece of pork belly when making pancetta, I started making pancetta with one-pound pieces from my butcher.  If you’re at all inclined to try home curing meat, a small quantity of pancetta is a great place to start.


If you have a favorite family recipe and a bit of a story to tell, please email me at santafecook@villasentieri.com and we can discuss including it in the blog. I am expanding the scope of my blog to include traditional recipes from around the country and around the world. If you haven’t seen Bertha’s Flan or Melinda’s Drunken Prunes, take a look.  They will give you an idea of what I’m looking for.


Print Recipe
Pancetta
The amounts below are for 450 grams of pork belly, approximately one pound. You will need to increase the ingredients proportionately if the pork belly is larger. Measurements are critical with the salt and Prague Powder. If you are making a larger quantity, a small electric coffee mill can be used to grind the spices. Just be certain they are finely powdered before mixing with the salt.
Votes: 0
Rating: 0
You:
Rate this recipe!
Prep Time 30 minutes
Passive Time 5 weeks
Servings
variable
Ingredients
Prep Time 30 minutes
Passive Time 5 weeks
Servings
variable
Ingredients
Votes: 0
Rating: 0
You:
Rate this recipe!
Instructions
  1. Weigh out the ingredients, increasing the amount in proportion to the weight of the pork belly.
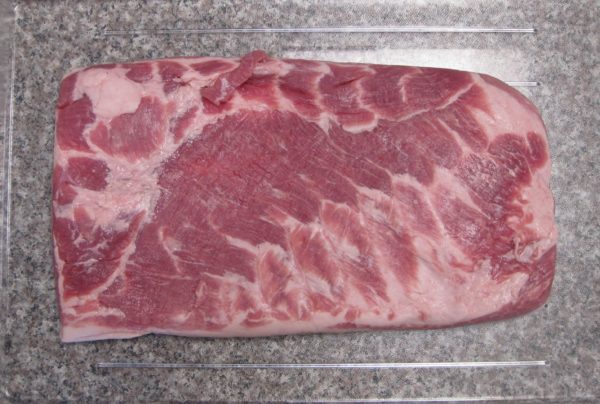
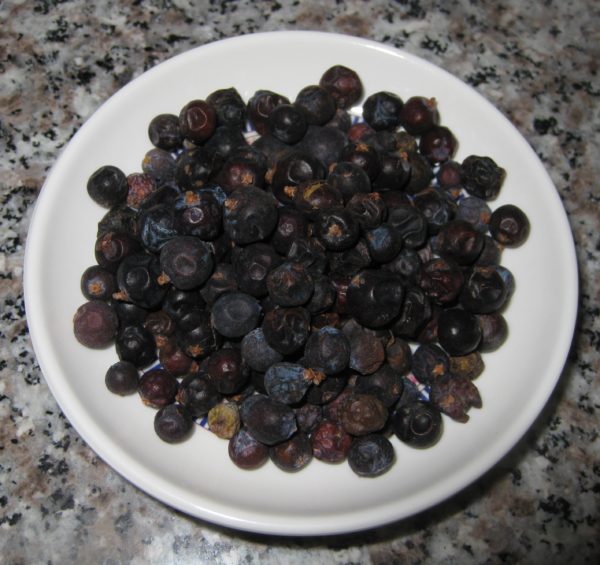
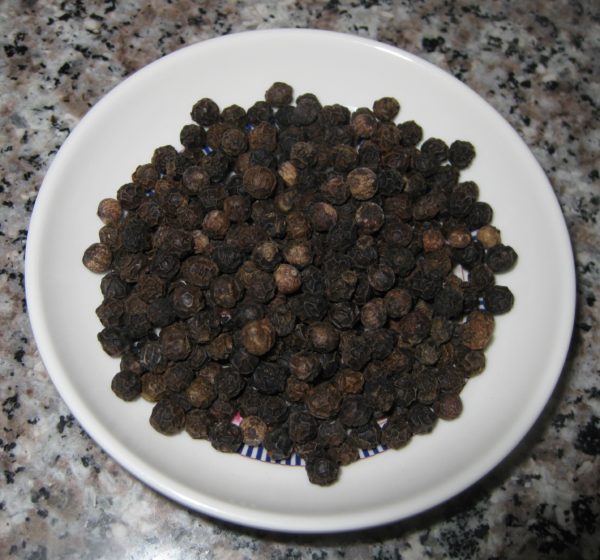
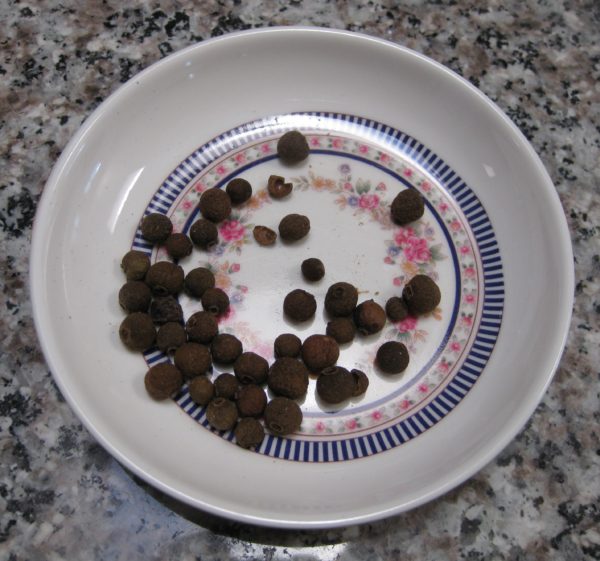
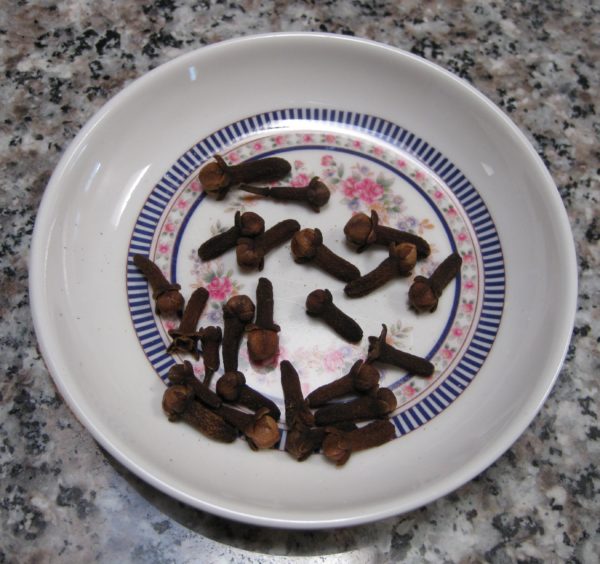
  2. Finely grind the juniper berries, peppercorns, allspice, and cloves in a mortar or small electric coffee grinder.
  3. Juniper berries
  4. Black peppercorns
  5. Allspice berries
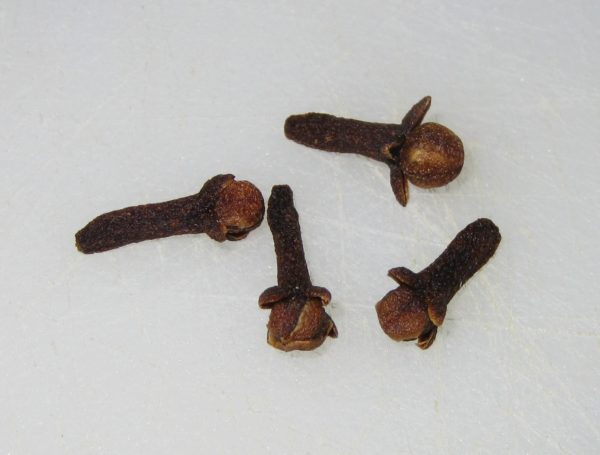
  6. Cloves
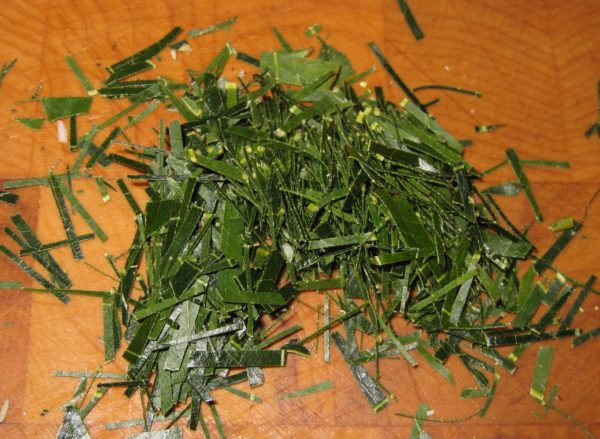
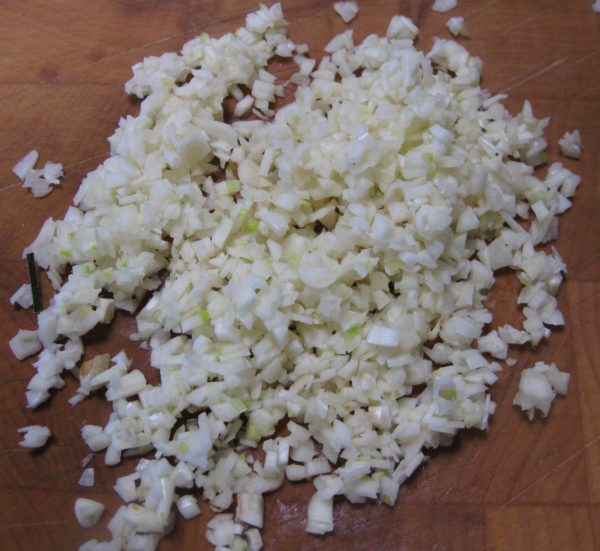
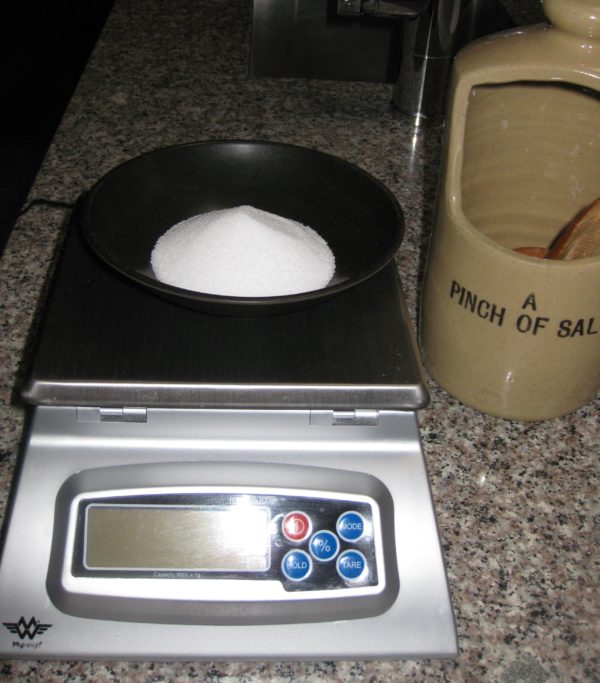
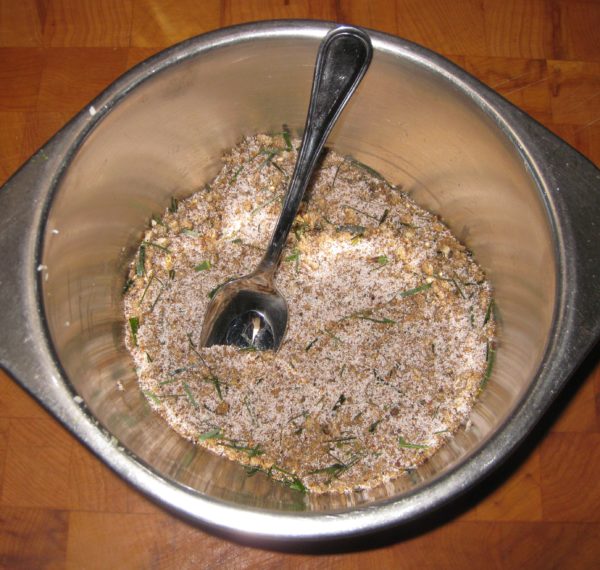
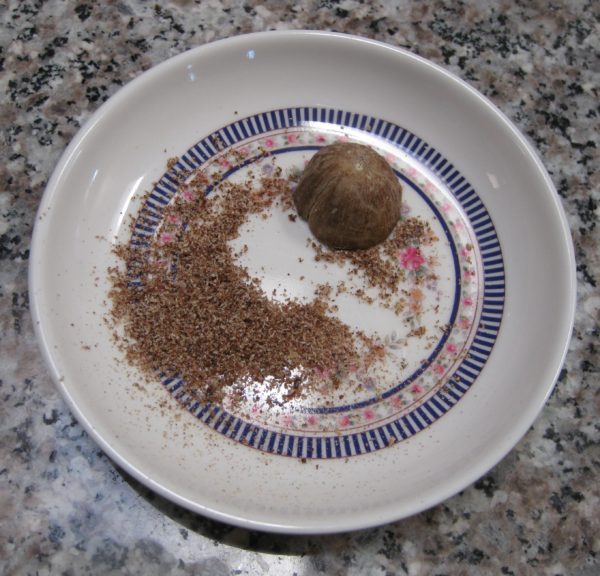
  7. Combine the ground spices with the nutmeg, shredded bay leaf, garlic, salt and Prague Powder #2.
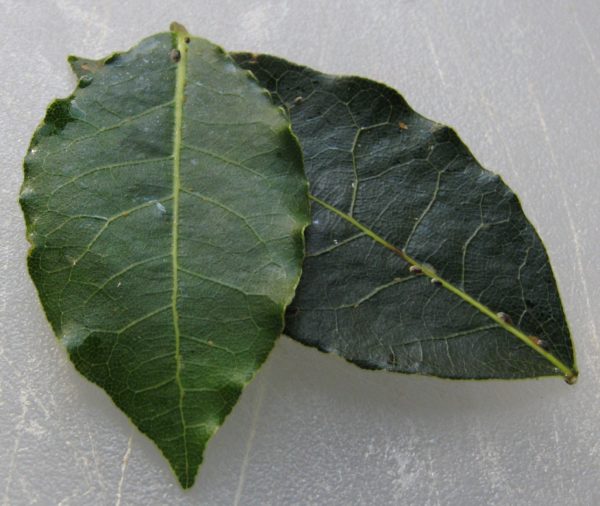
  8. Bay leaf
  9. Garlic
  10. Canning and pickling salt
  11. Prague Powder #2
  12. Mix well.
  13. Place the pork belly in a non-reactive container with a tight-fitting cover.
  14. Rub the cure over the meat, massaging it in.
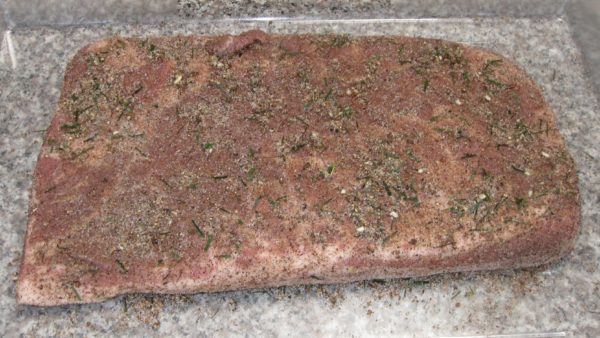
  15. Refrigerate the pork belly, tightly covered, turning every 2-3 days for 7-10 days, until it is of a uniform firmness. Some liquid will leach out of the pork.
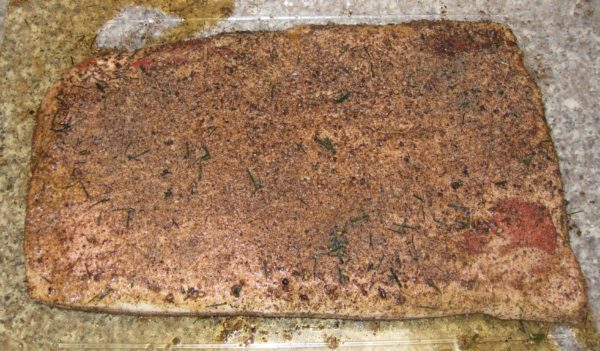
  16. Rinse the cured pork belly to remove excess cure.
  17. Pat the cured pork belly dry.
  18. Season the pancetta with a generous amount of coarsely ground black peppercorns.
  19. Weigh the cured pork belly and write down the weight and the date.
  20. Put the cured pork belly fat side up on a non-reactive rack over a shallow tray and refrigerate, uncovered, until it loses 20-25% of its weight, approximately 4 weeks.
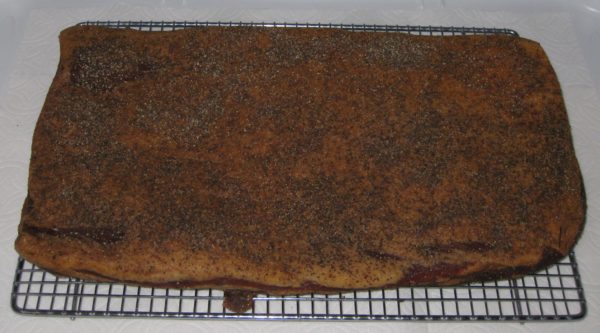
  21. Wrap it tightly in plastic wrap and refrigerate approximately one week to allow it to evenly hydrate. Even so, the edges will be drier than the middle.
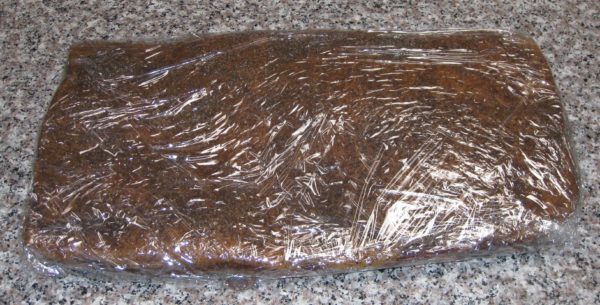
  22. If you are not using the pancetta within a few weeks, cut it into pieces and freeze, tightly wrapped.
Recipe Notes

Copyright © 2018 by VillaSentieri.com. All rights reserved.

Share this Recipe

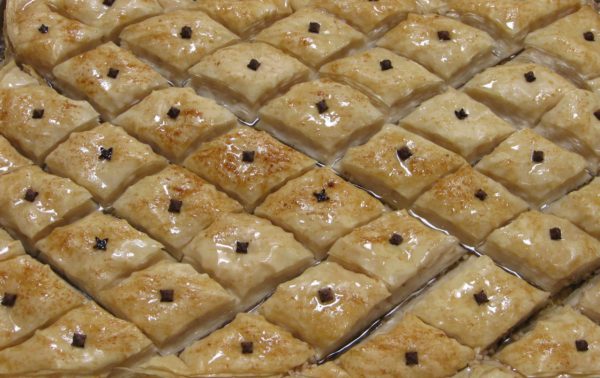
Baklava with Walnuts and Almonds

February 23, 2018

Syrup desserts are popular from the Eastern Mediterranean through the Arabian Peninsula.  Among syrup desserts, baklava is one of my favorites.

I rarely make baklava but the first time I did was junior year in college.  That same recipe is the one that I still make.

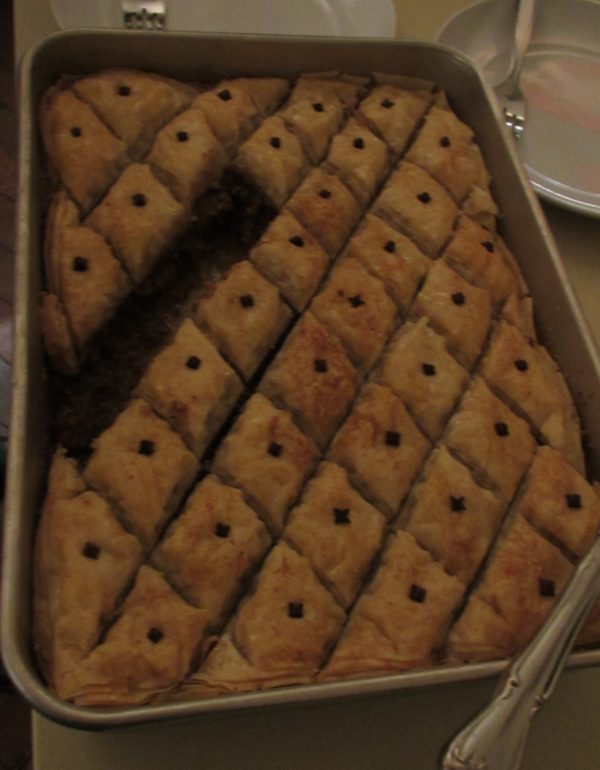
Styles of baklava vary.  More nuts.  Less nuts.  More syrup.  Less syrup.  Different aromatics.  While I like them all, I tend towards the more Arabic preparations which, in my experience, include more nuts and syrup than their more restrained Greek counterparts.

Perhaps that’s why a friend, of Greek heritage, said that my baklava didn’t look like anything a Greek ever made!  Admittedly, however, the recipe came from a Greek and I think I have been true to the recipe but, hey, I’m not Greek so who am I to say what could have come out of a Greek kitchen.


Click HERE to join our mailing list and you’ll never miss a recipe again!


I spent much of 2010 living in Dubai.  The consulting company that I started in the mid 1990’s landed a contract with the United Arab Emirates Ministry of Health in late 2009.  In January 2010 I moved to Dubai.

A view of one part of the kitchen in my Dubai apartment

Shopping for food in Dubai is just amazing.  The sheer number of expats (at the time it was estimated that 95% of the people living in Dubai were expats!) means that the supermarkets are truly multinational affairs, even the relatively small ones.

It was rare that I could not find brands with which I was familiar.  I’m sure expats from almost every country had the same experience.  The supermarkets were stocked with brands from around the world.  It truly was the most amazing grocery shopping I have ever experienced outside of the food halls at Harrods and KaDeWe.  But remember, Harrods and KaDeWe are most decidedly upscale affairs.  In Dubai I was just going to the (plain, ordinary) supermarket!

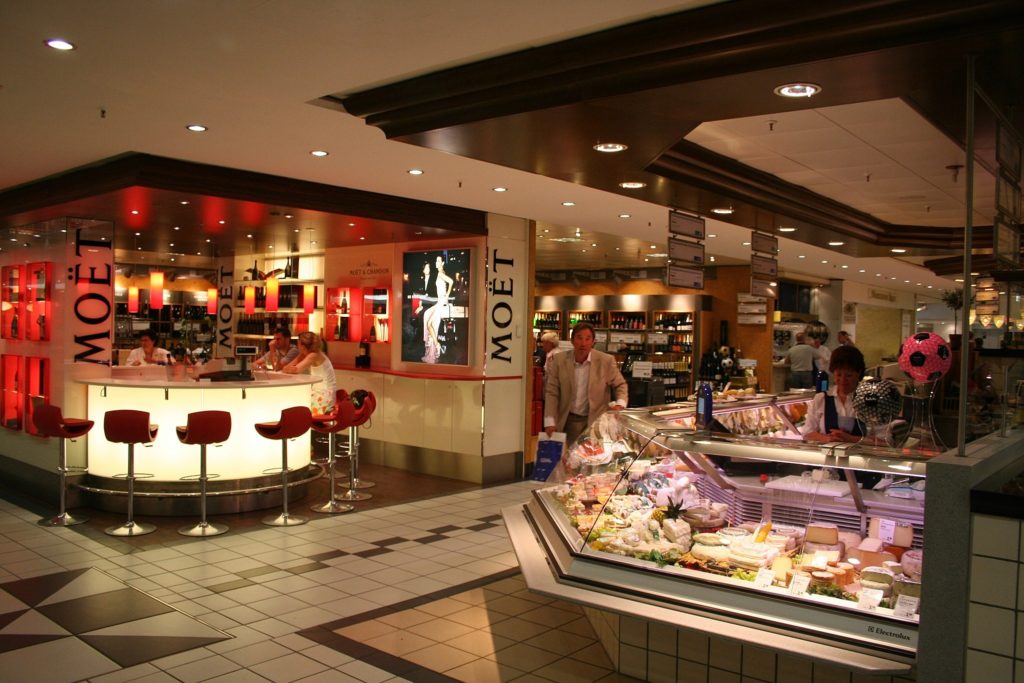
A small section of the food hall at KaDeWe in Berlin (By Blorg (Own work) [GFDL (http://www.gnu.org/copyleft/fdl.html), CC-BY-SA-3.0 (http://creativecommons.org/licenses/by-sa/3.0/)], via Wikimedia Commons)
I spend a week in Germany during the summer of 2010, right in the middle of my Dubai experience.  I found shopping in German supermarkets to be a much more “foreign” affair than shopping in the supermarkets in Dubai.  Rarely was there a brand I recognized in Germany.  Shopping involved intense reading of labels because I was not familiar with the products and their contents…or their quality.

A view of the Arabian Gulf and the man-made Palm Jumeriah Island in the distance from my apartment

Produce in Dubai could be hit or miss due to the distance most of it traveled.  Although there was a nascent horticultural industry in Dubai, I could never find truly local produce.  On several occasions I tried to find a store that purported to sell local produce but my driver could never locate it, even with the address!


Follow us on your social media platform of choice


The closest we had to “local” produce was from Iran, the source of Romaine lettuce and cauliflower, as I recall, among other produce.  Considering that Iran and the United Arab Emirates are only 90 miles away at their closest point, and considering how far produce can travel in North America from fields in California to the Northeast, 90 miles really counts as local, even if there is an international border among two not-so-friendly countries involved!

Another view from the apartment looking at Dubai Marina

In the supermarkets, prepared food counters overflowed with Middle Eastern items and my fridge was always stocked with hummus, pita with zatar, olives, and other meze.

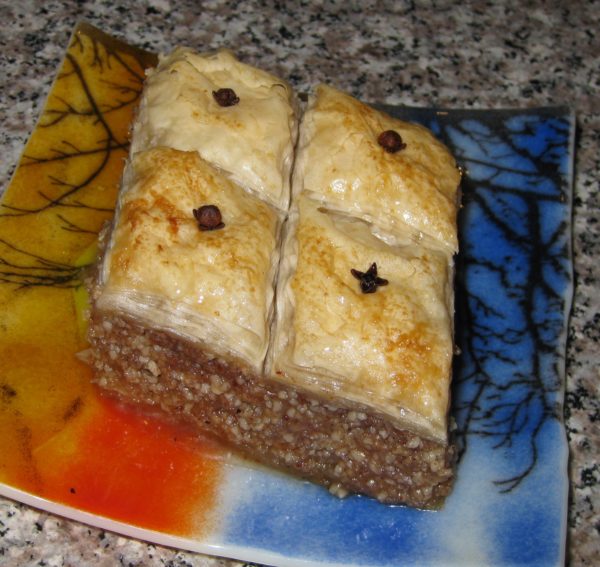
I also had access to world-class syrup desserts, including baklava!!!

Another fascinating aspect of most of larger supermarkets in Dubai was the existence of a room at the back that was usually labeled with something like “Pork for Non-Muslims.”  In this space once could find the most amazing cured pork products from Italy, Spain, and Europe in general!

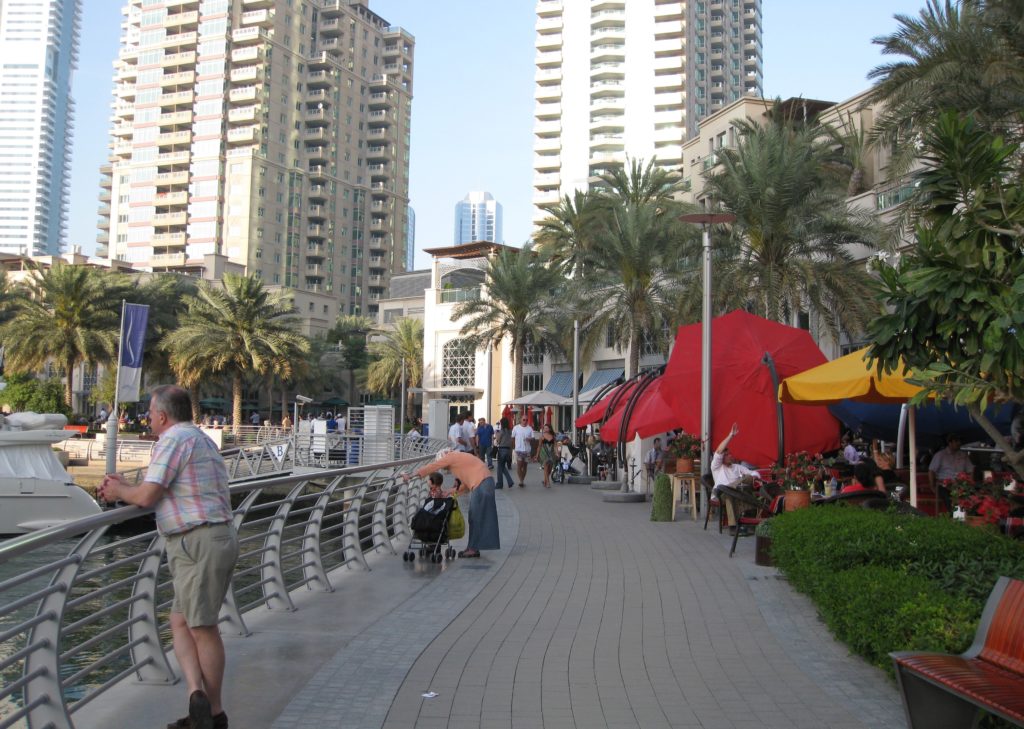
Dubai Marina at ground level

Alas, items containing alcohol were difficult to obtain.  This included vanilla extract.  The available non-alcohol-based “extract” was just not the same.  Luckily vinegar was just as good, even if it was labeled “Grape Vinegar” rather than “Wine Vinegar!”

I hope you enjoy this baklava.  Just don’t make it for a Greek friend!


If you have a favorite family recipe and a bit of a story to tell, please email me at santafecook@villasentieri.com and we can discuss including it in the blog. I am expanding the scope of my blog to include traditional recipes from around the country and around the world. If you haven’t seen Bertha’s Flan or Melinda’s Drunken Prunes, take a look.  They will give you an idea of what I’m looking for.


Print Recipe
Baklava with Walnuts and Almonds
Try to find phyllo that is either 9” x 13” or 18” x 13”. If it’s the latter, cut the stack of sheets in half to make them all 9” x 13”. I have found that covering the stack of phyllo with a damp towel, as some authors recommend, after you remove every sheet isn’t necessary if you move quickly. However, before you start, moisten a dish towel and keep it handy in case there are any breaks in the action, in which case you should definitely cover the stack of unused phyllo. While it is not essential to clarify the butter, removing the milk solids will prevent uneven browning of the top of the baklava.
Votes: 0
Rating: 0
You:
Rate this recipe!
Prep Time 1 hour
Cook Time 1 1/2 hours
Passive Time 24 hours
Servings
pieces
Ingredients
Bakalva
Syrup
Prep Time 1 hour
Cook Time 1 1/2 hours
Passive Time 24 hours
Servings
pieces
Ingredients
Bakalva
Syrup
Votes: 0
Rating: 0
You:
Rate this recipe!
Instructions
Baklava
  1. Clarify the butter.
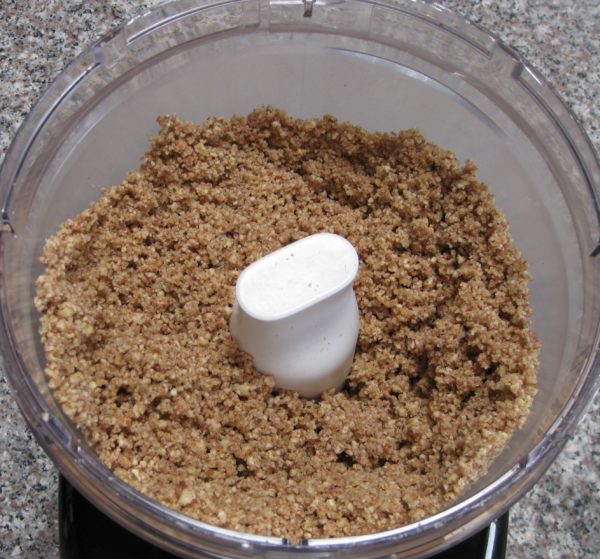
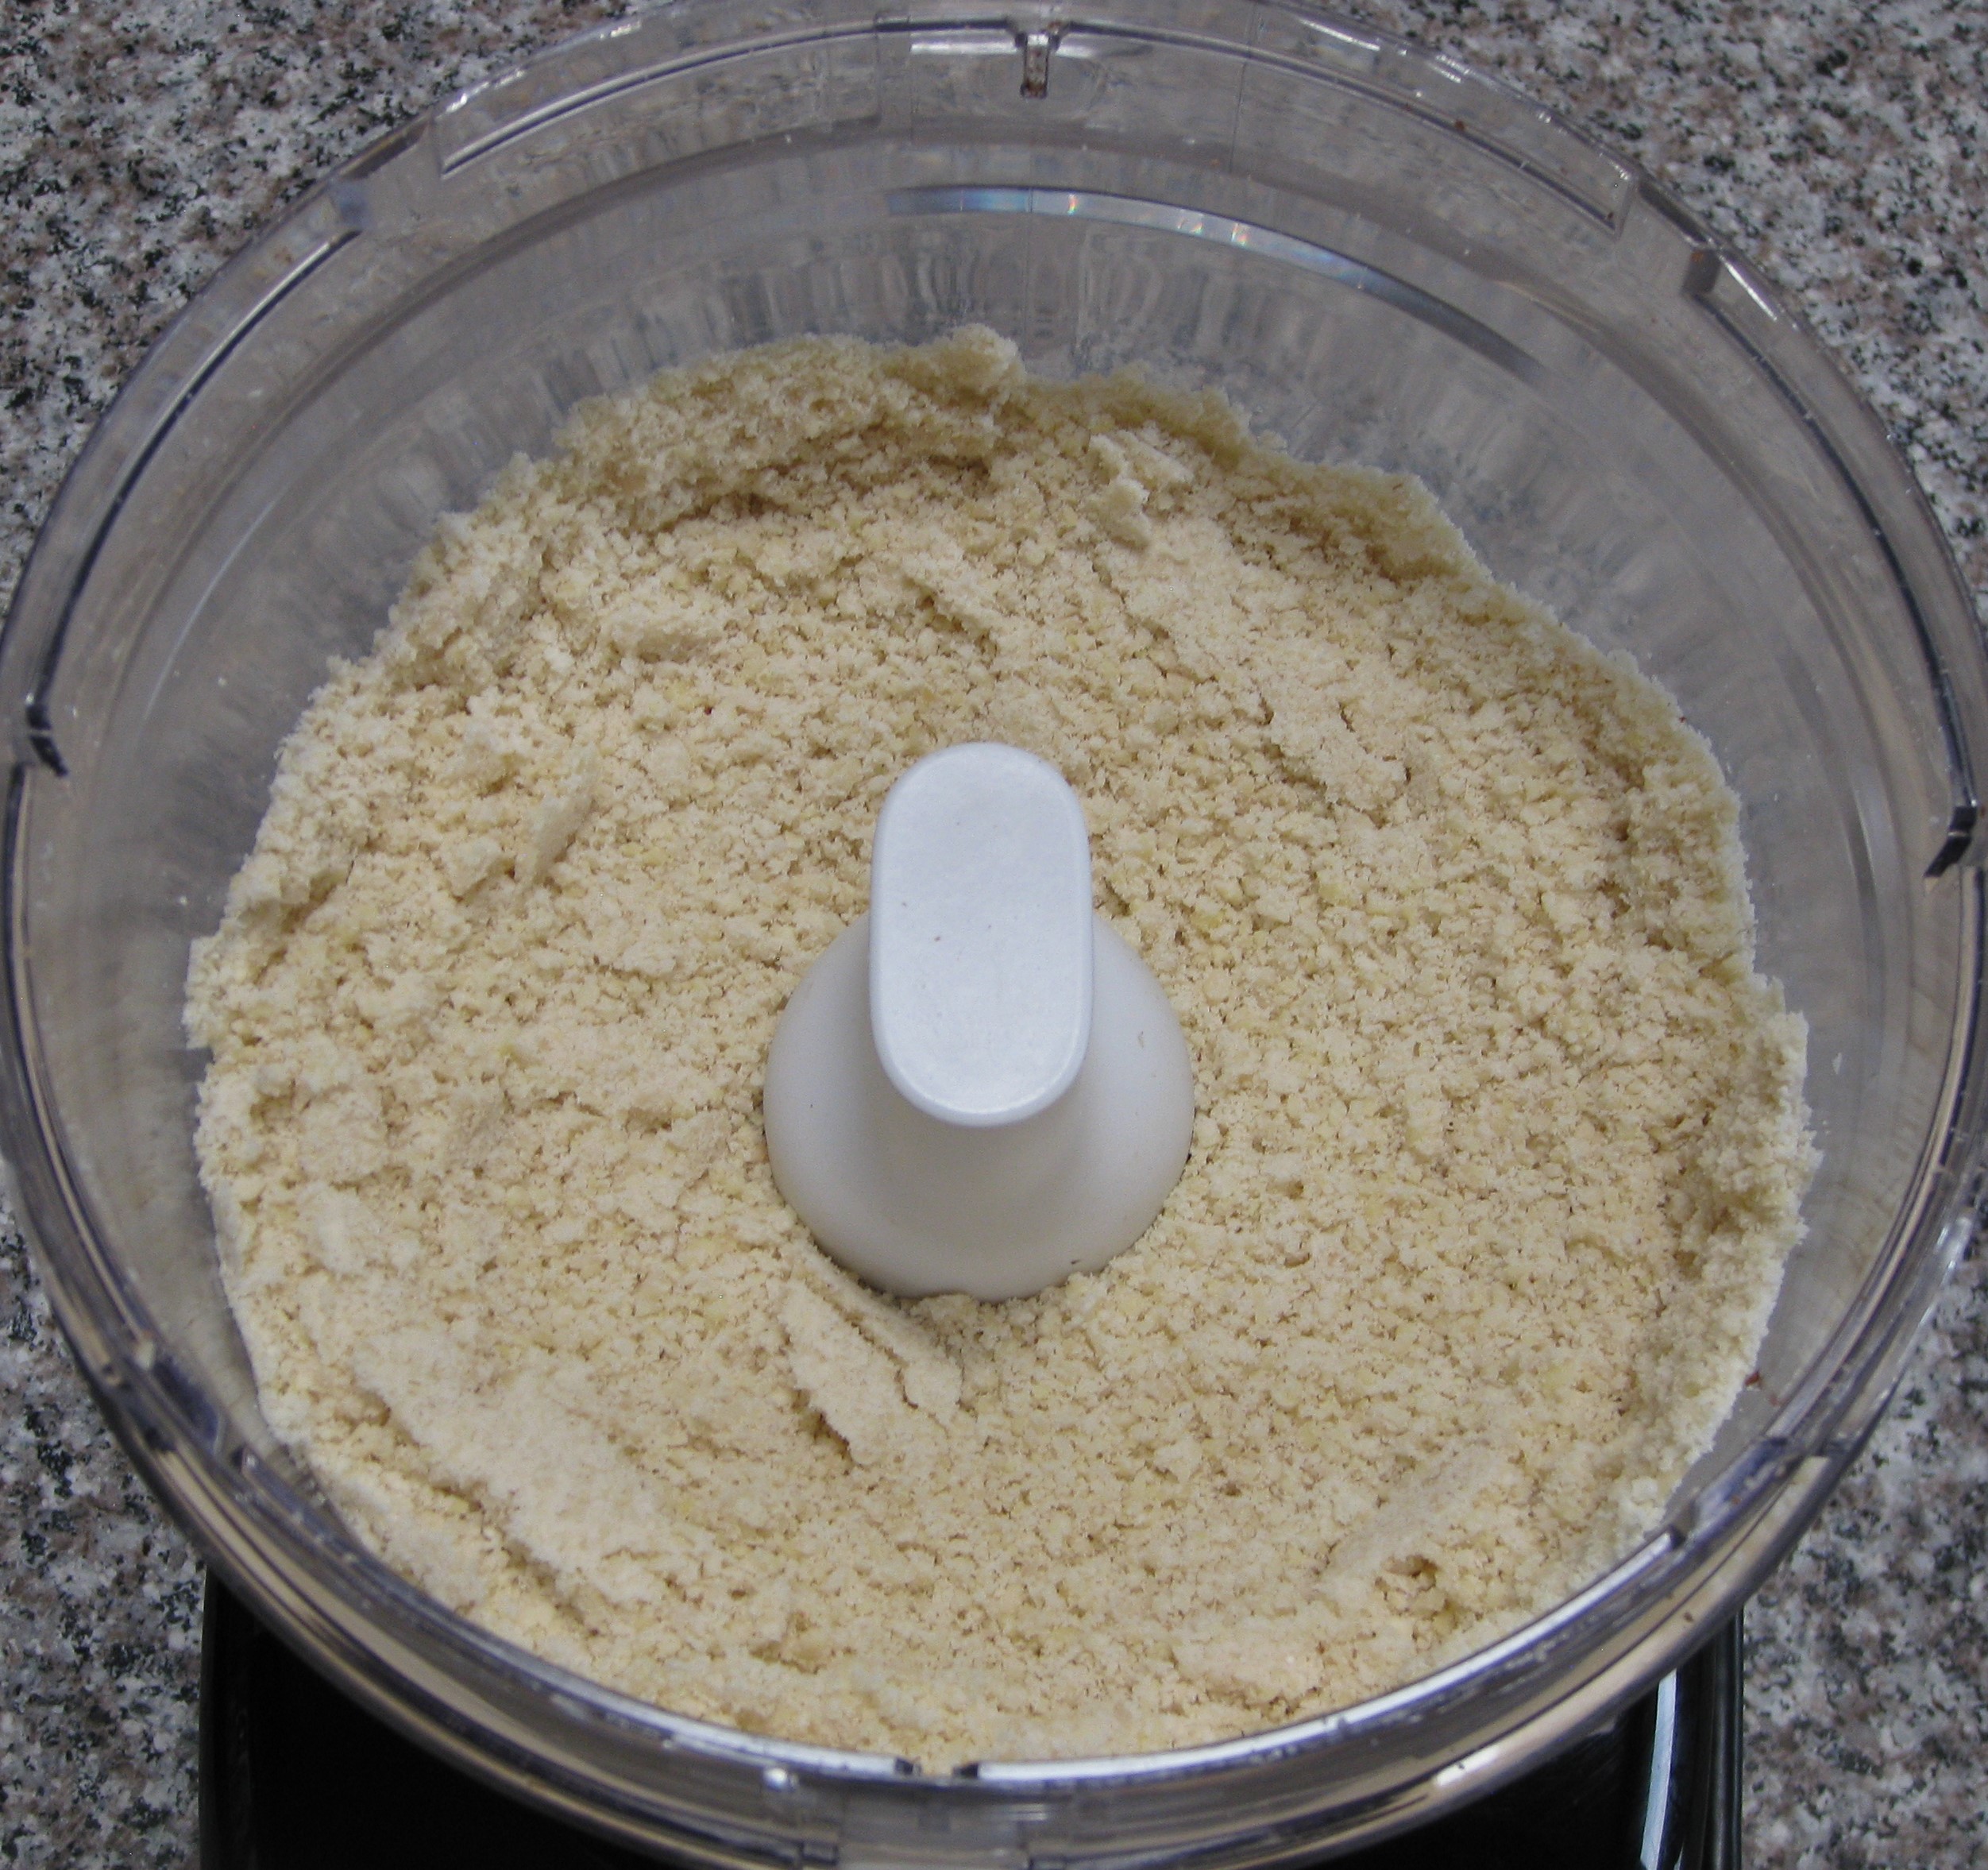
  2. Finely grind the almonds and walnuts.
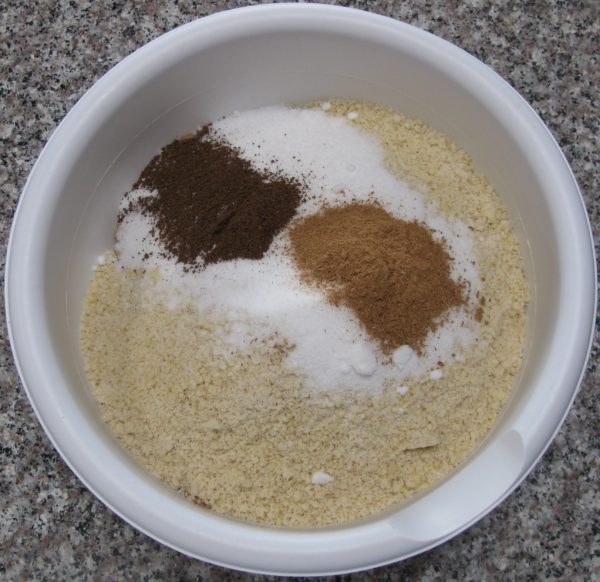
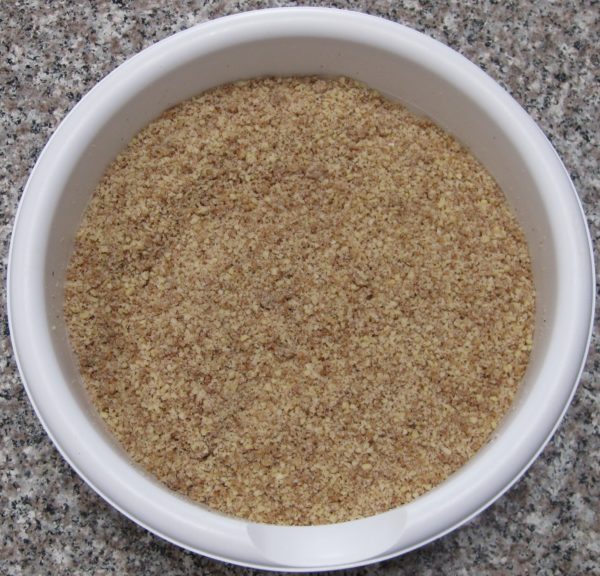
  3. Mix nuts, cinnamon, allspice and sugar.
  4. Brush a 9-inch b 13-inch baking pan with butter.
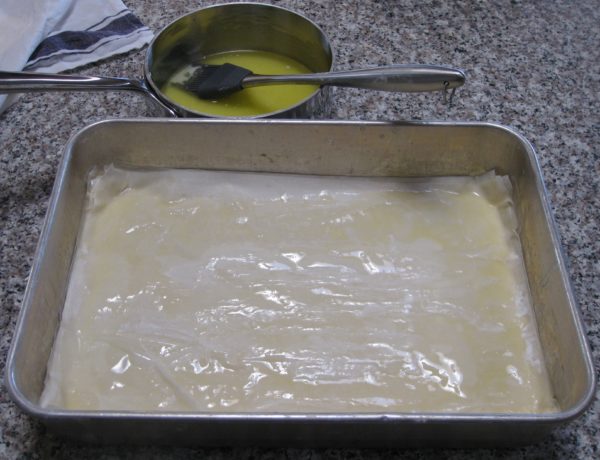
  5. Lay a sheet of phyllo and brush it with butter.
  6. Repeat until 12 sheets have been used.
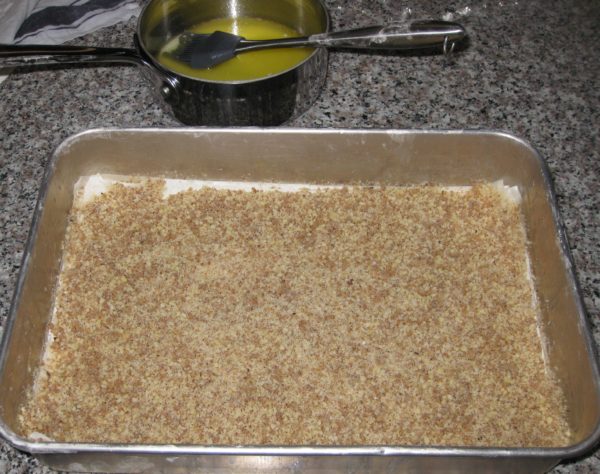
  7. Spread a layer of nuts, approximately 1 cup, on top of the phyllo.
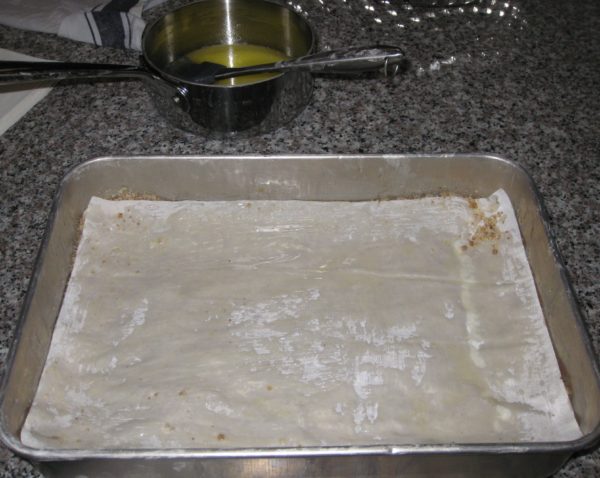
  8. Cover with a sheet of phyllo, brushing it with butter.
  9. Repeat 1 cup of nuts covered with one sheet of phyllo until all the nuts have been used up.
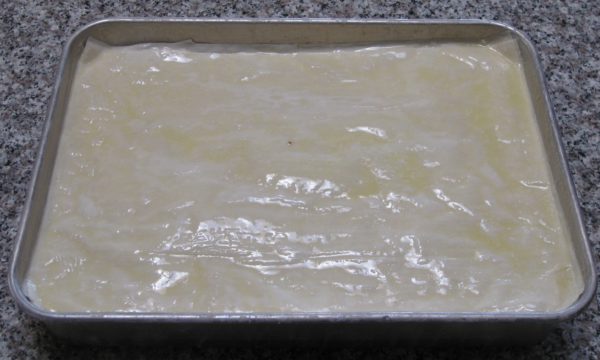
  10. Top with all the remaining sheets of phyllo individually adding them and brushing each sheet with butter.
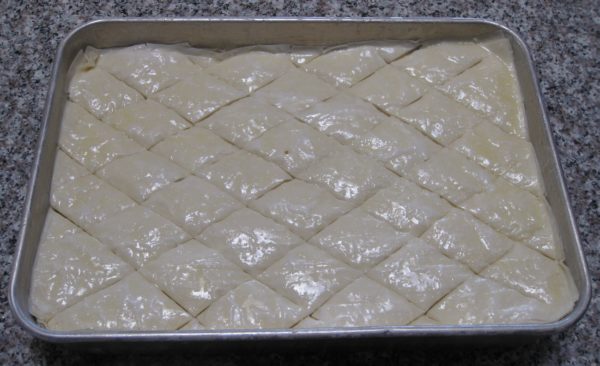
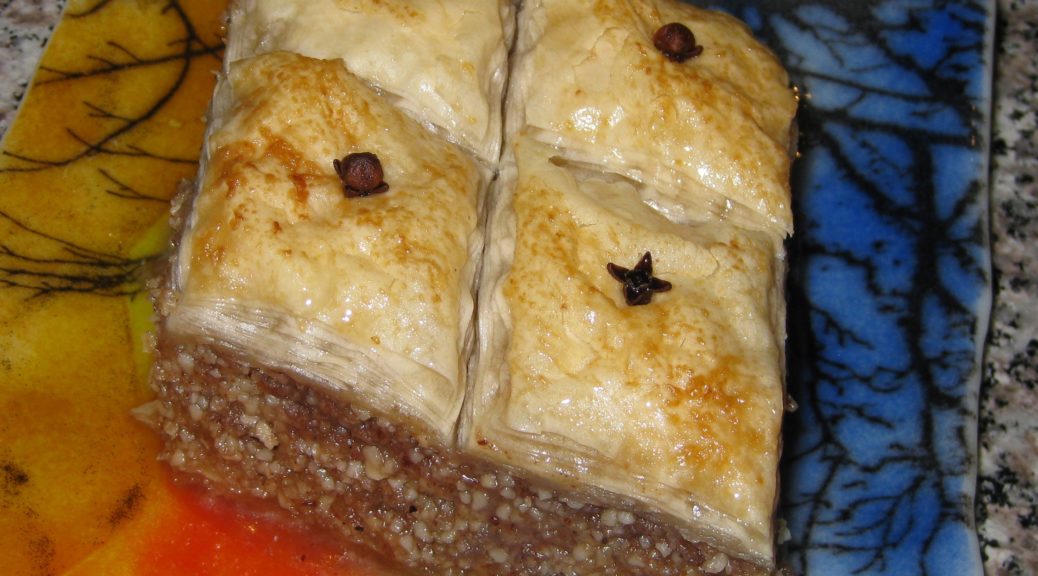
  11. Score the top few sheets of phyllo in a diamond pattern. Cut from one corner to the opposite corner.
  12. Make three more rows of cuts, evenly spaced, in each direction parallel to the first cut for a total of 7 cuts.
  13. Repeat in the opposite direction.
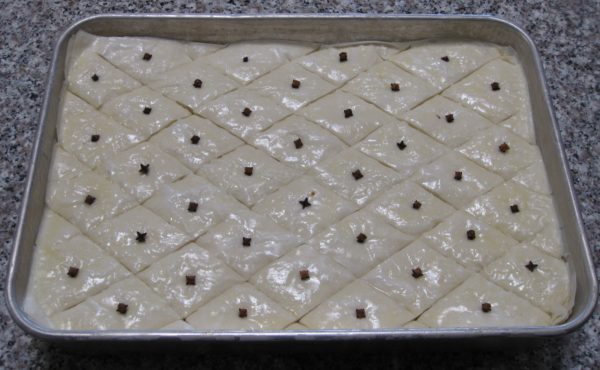
  14. Put a clove in the center of each diamond.
  15. Sprinkle the top lightly with water to reduce curling while baking.
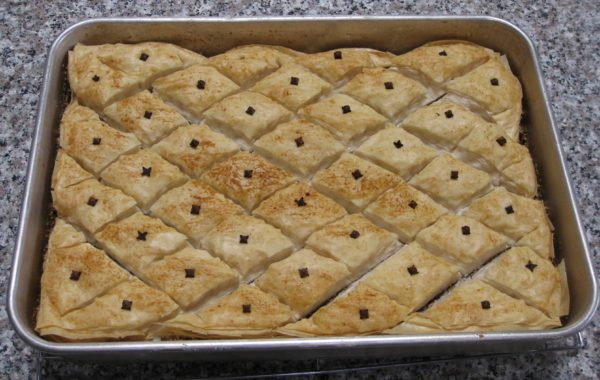
  16. Bake 350°F for 1½ hours, until golden.
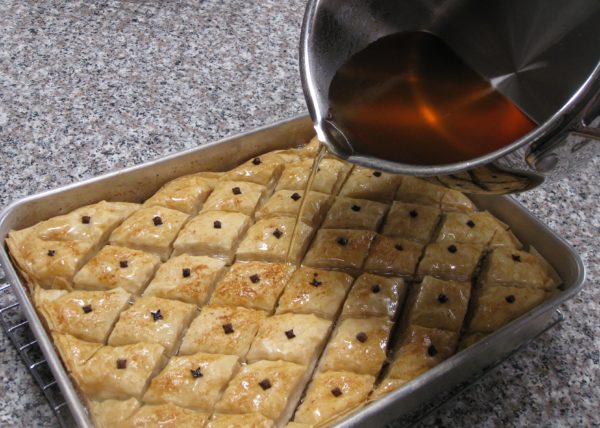
  17. Pour hot honey syrup over the hot baklava as it comes from the oven.
  18. The baklava is best if allowed to sit at room temperature, uncovered for about a day before serving.
Syrup
  1. As the baklava is nearing completion, make the syrup.
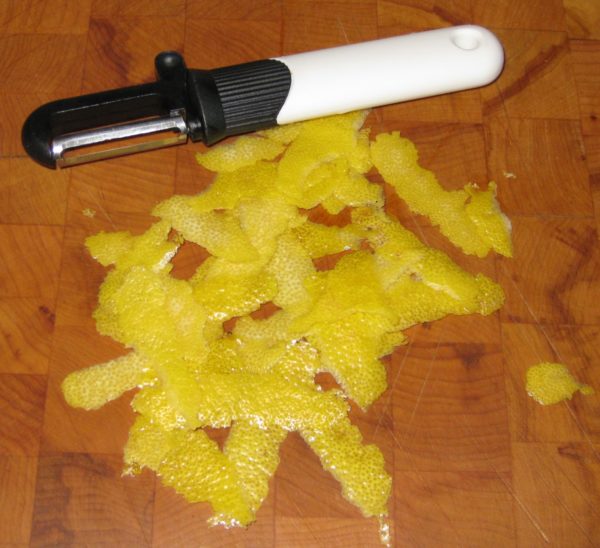
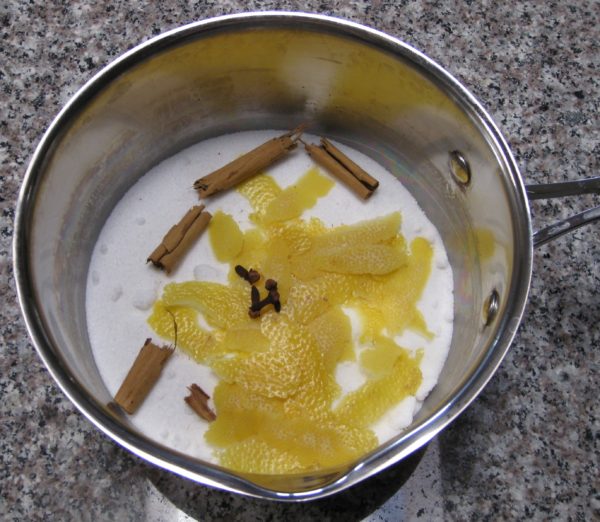
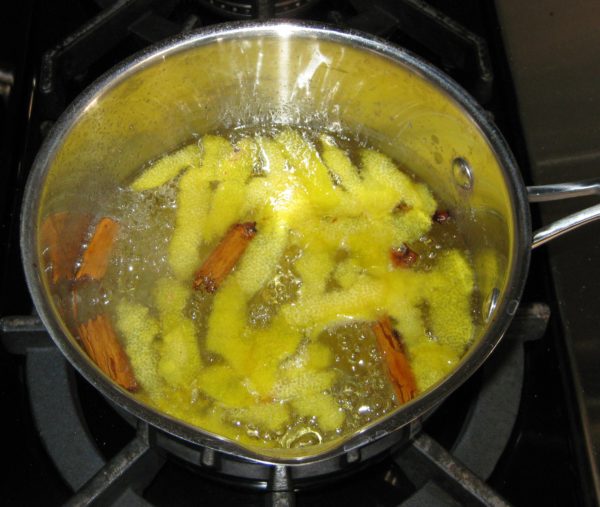
  2. Combine lemon zest, sugar, water, cinnamon, and cloves in a heavy-bottomed sauce pan.
  3. Bring to a boil, lower heat and continue cooking without stirring until syrupy, approximately 15 minutes. (218°F to 220°F if you want to measure using a candy thermometer.)
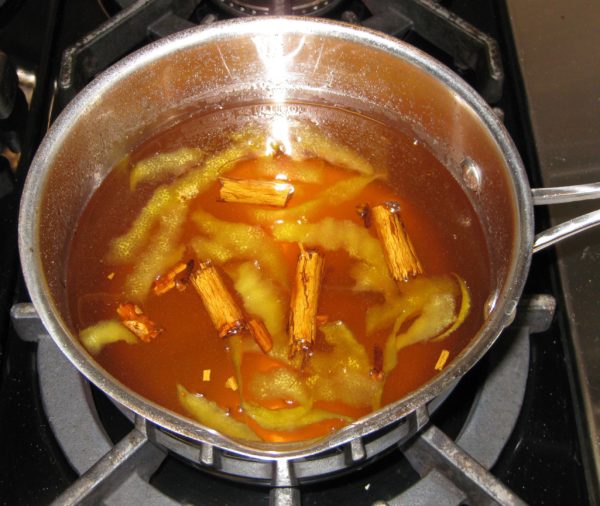
  4. Stir honey into hot syrup.
  5. Remove from the heat.
  6. Using a small strainer, remove the solids.
  7. Reheat the syrup immediately before removing the baklava from the oven.
  8. Stir in lemon juice and rum or brandy.
Recipe Notes

Copyright © 2018 by VillaSentieri.com. All rights reserved.
Share this Recipe

Salsa Friulana d’Ivana (Ivana’s Friulan Tomato Sauce)

November 17, 2017

My mother-in-law grew up in the town of Treppo Grande in the Italian province of Friuli. Friuli is in northeastern Italy. It is the major portion of the region of Friuli-Venezia Giulia.

Her father and two uncles lived with their families in three houses that wrapped around a courtyard. Her grandmother lived in the same complex. The extended family included numerous cousins.

Another uncle moved to the United States with his wife and their son early on.  Two more children were born to them in the US.


Follow us on Twitter:  click HERE


At the age of 12, shortly after the end of World War II my mother-in-law, her brother (our Uncle Ray), and mother came to the States. Her father had been in the US working with the intention of bringing over the family but then the war broke out and the family could not be reunited until it ended.

One set of cousins stayed in Treppo Grande.  Another set of cousins moved to France.

In 1990 the “cousins,” as the US contingent called themselves, hatched a plan to organize a group trip to their hometown of Treppo Grande and to Digoin, France where the other set of “courtyard cousins” lived.

Naturally, planning for the trip required many “meetings” among the cousins; meetings that were fueled with copious amounts of food and alcohol interspersed with a little “business!”

The trip happened in August 1991. My husband and I went along with the “cousins” and their spouses.

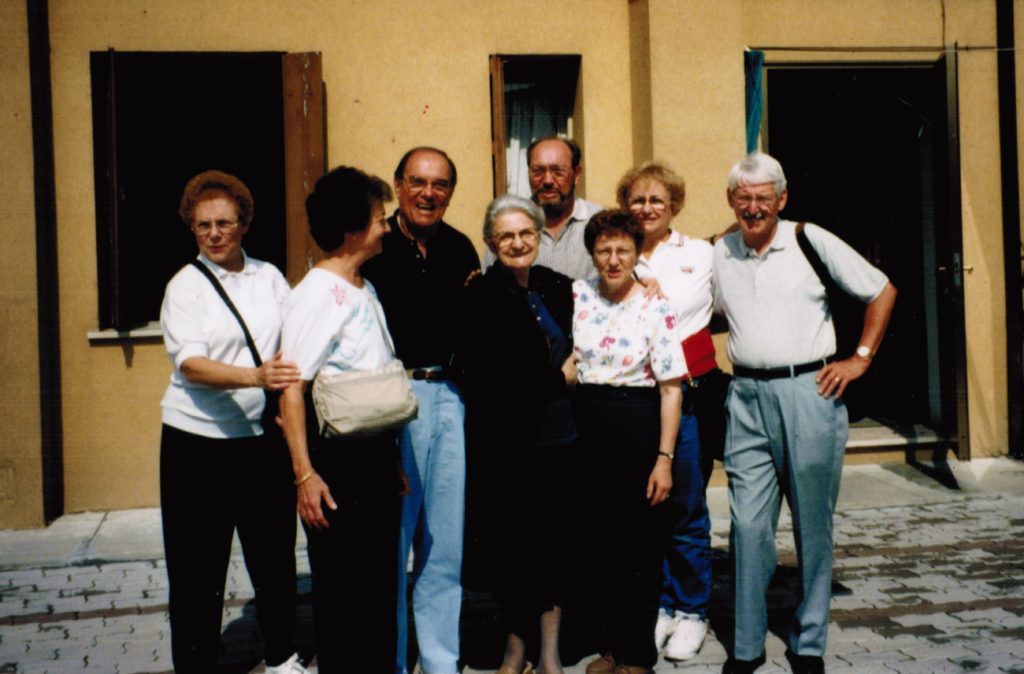
The “United States” cousins and three of four spouses in Treppo Grande along with Carolina Fabbro, a friend of my mother-in-law’s mother.  She died a few years ago at more than 100 years of age.

We first met up in Paris for a day or two and did some sightseeing.

Afterwards, we were picked up in a small bus that had been arranged by Olvino, one of the original “courtyard cousins” who lived in Digoin. As I recall, the driver only spoke French. Among us we spoke English, Italian, Friulan (the language of Friuli), and a smattering of Spanish and German, but no French. Thankfully the driver knew where he was going and, for all other needs, we managed to communicate in some rudimentary, but effective, manner.

Interesting to me was that the vehicle had graph paper that kept a running record of the bus’s speed. Apparently the driver could be asked to produce the graph paper by the police and could be fined if it showed that he had exceeded the speed limit. Can you imagine that happening in the United States???

I was also fascinated when we stopped for lunch. The driver had a glass of wine. I will repeat that.  This professional bus driver had a glass of wine with lunch then got behind the wheel. Apparently, he was legally permitted to have one, just one, glass of wine and still drive.

Admittedly, one glass of wine is not going to get anyone’s blood alcohol level close to a level that produces intoxication but it pointed out that 1) the French are highly (overly?) regulated and 2) Europeans have a more relaxed approach to alcohol (probably to life in general, actually!).

I had a similar experience in 1994 when I did several consulting gigs in Europe. I frequently had lunch with physicians from the hospitals where I was consulting. Everyone (yes, everyone) had a glass of wine or beer with lunch and then went back to the hospital to work.

But I digress.

We spent several fun days in Digoin, where the local cousins had rented out a small hall, with a kitchen, because none of them had a house big enough to host all of us, and all of them, for meals.

There must have been six banquet tables shaped into a “U” around which we all sat. The crowd included not only those of us from the States, but the cousins who lived in Digoin along with their significant others, their children, and their children’s significant others.

Conversations frequently included four languages. The “cousins” typically spoke Friulan with each other. From there, the conversation would get translated into Italian, English, and French so that everyone could understand anything of interest to the group.

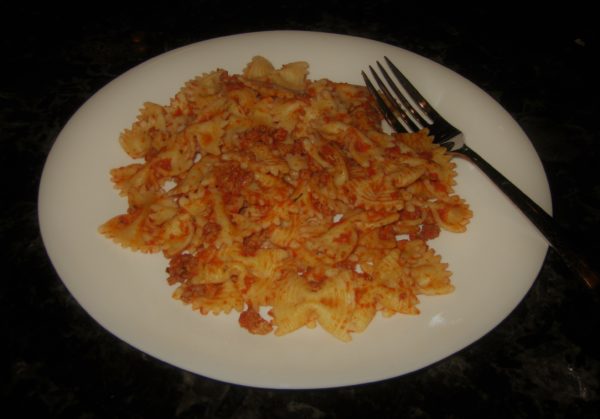
I don’t remember what we ate for dinner the first night except for the pasta which was sauced with a red sauce made by Ivana, Olvino’s wife.

I was transported by that sauce.

Tomato sauces in Friuli are different from the rest of Italy in that they have noticeable amounts of “warm” spices such as cinnamon, cloves, and nutmeg.  My mother-in-law makes a sauce similar to the one that Ivana makes but there are differences. For example, hers includes only beef. Today’s recipe, however, is a tribute to Ivana.

This is my interpretation of Ivana’s recipe. Since the original recipe contained a list of ingredients but no quantities, I had to figure out what worked.


Follow us


Click HERE to join our mailing list and you’ll never miss a recipe again!

Print Recipe
Salsa Friulana d'Ivana (Ivana's Friulan Tomato Sauce)
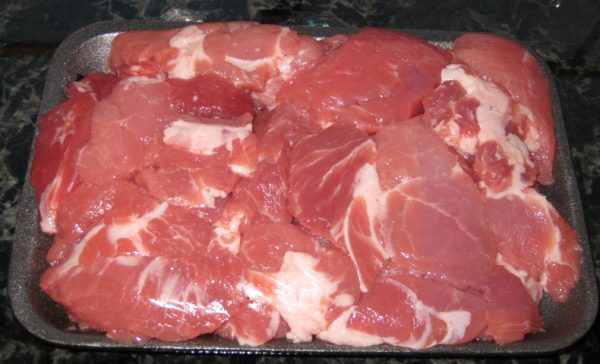
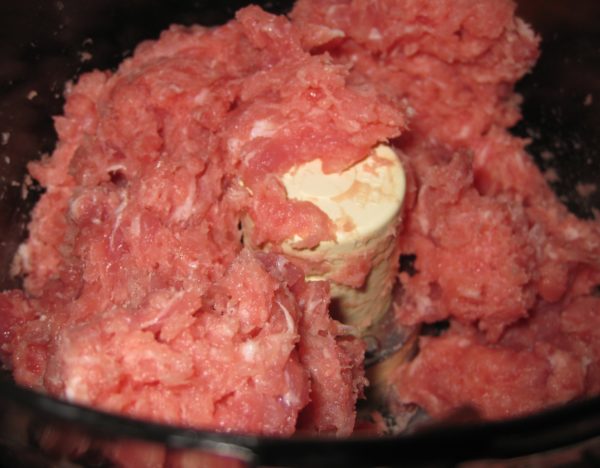
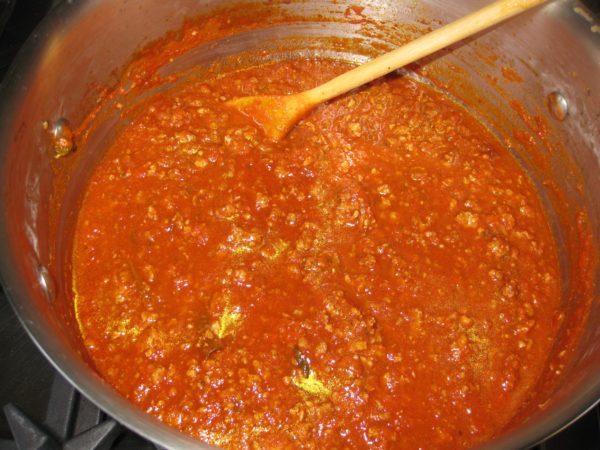
There should be a little bit of red-tinged oil floating on top of the sauce to improve the mouthfeel of the pasta—just a little. If you cannot find lean ground pork, you may want to grind your own. An actual meat grinder will work better than a food processor but if you’re using a food processor be careful not to grind the meat too finely. For the beef, I suggest using 93% lean. This recipe makes enough sauce for approximately 4 pounds of pasta. Extra sauce freezes well.
Votes: 0
Rating: 0
You:
Rate this recipe!
Prep Time 30 minutes
Cook Time 3 hours
Servings
cups
Ingredients
Prep Time 30 minutes
Cook Time 3 hours
Servings
cups
Ingredients
Votes: 0
Rating: 0
You:
Rate this recipe!
Instructions
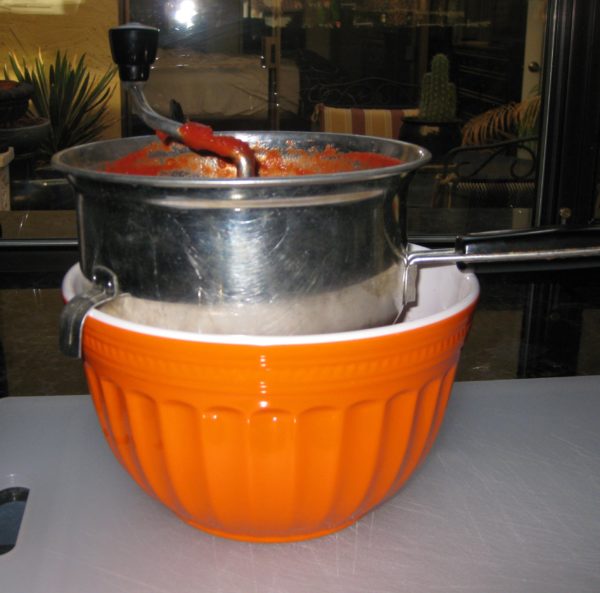
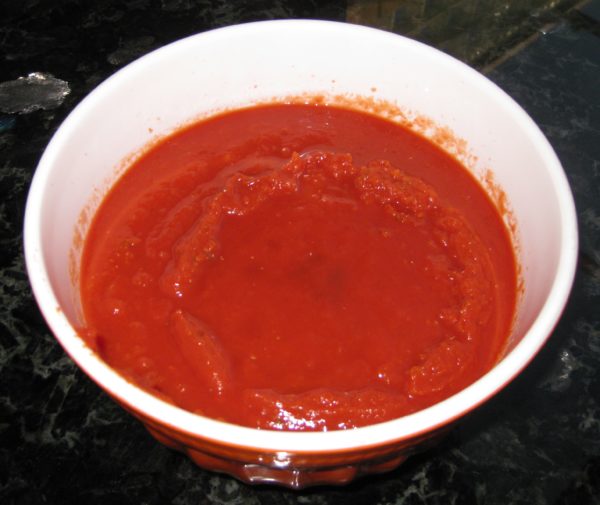
  1. If using canned tomatoes rather than crushed tomatoes or tomato puree, pass the tomatoes through a food mill and reserve.
  2. Grind the pork if you cannot get ground pork in your market.
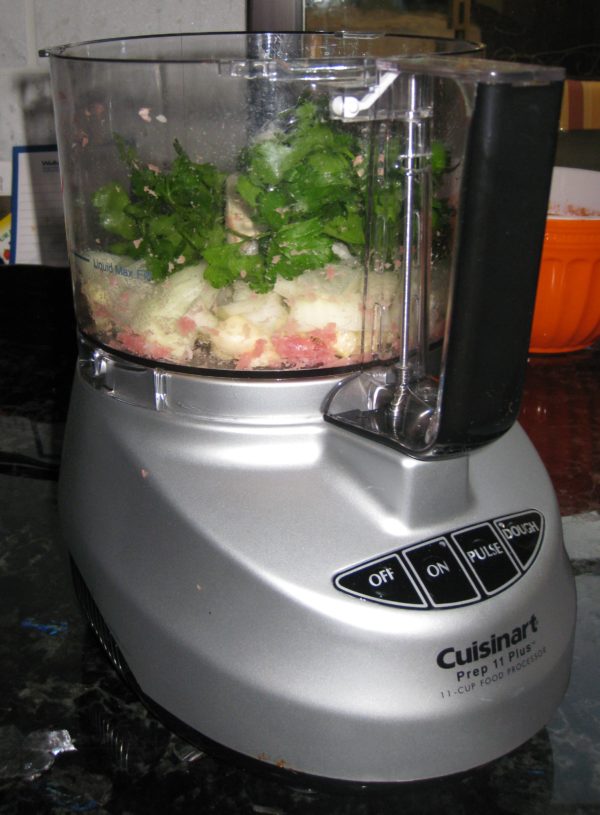
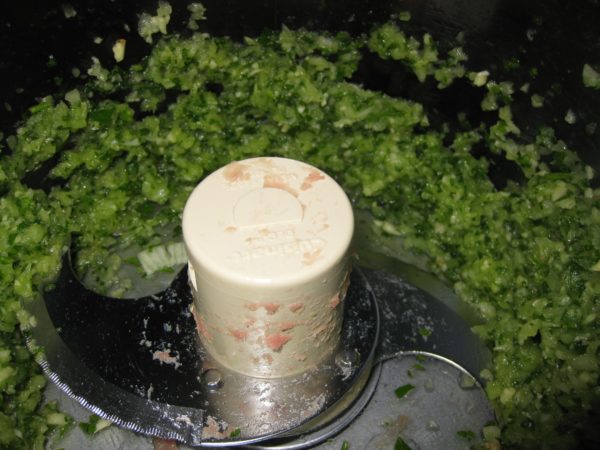
  3. Grind the garlic, onion, and parsley in a food processor. If you used a food processor for the pork, there is no need to clean it. Alternatively, chop them very, very finely by hand.
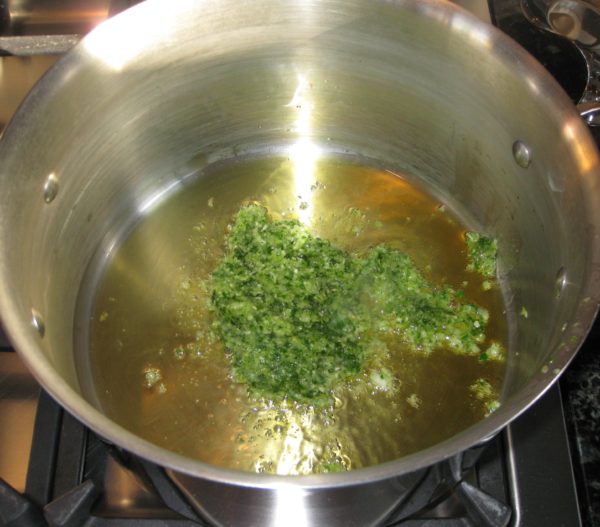
  4. Heat the olive oil in a heavy bottomed Dutch oven.
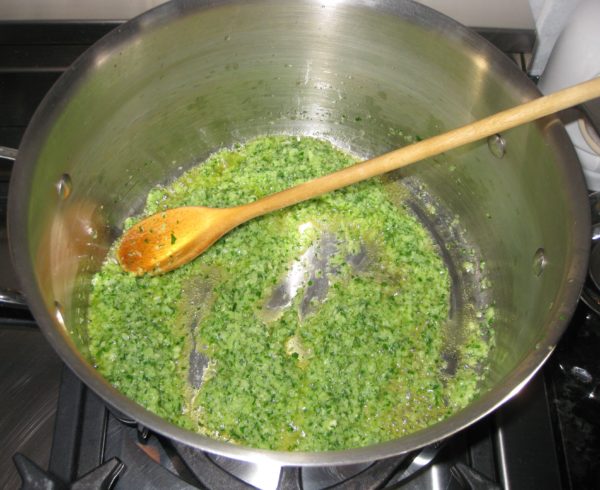
  5. Add the garlic-onion-parsley mixture. Sauté until the raw smell is gone.
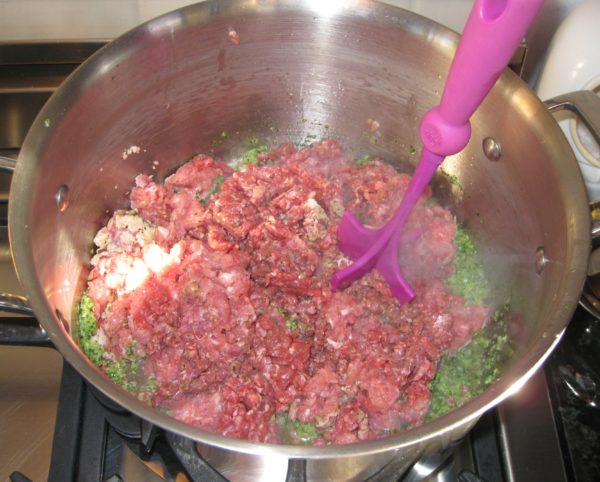
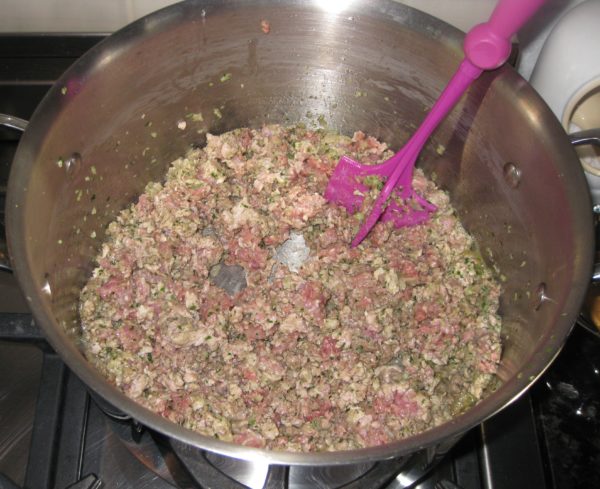
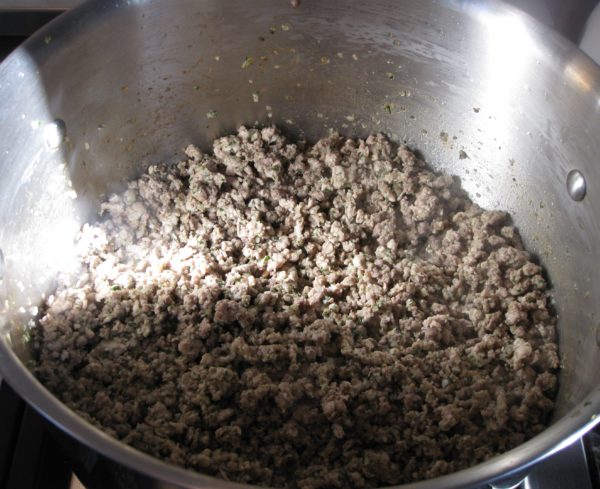
  6. Add the ground beef and pork and sauté on high heat until the meat is browned.
  7. Add the tomato puree or crushed tomatoes.
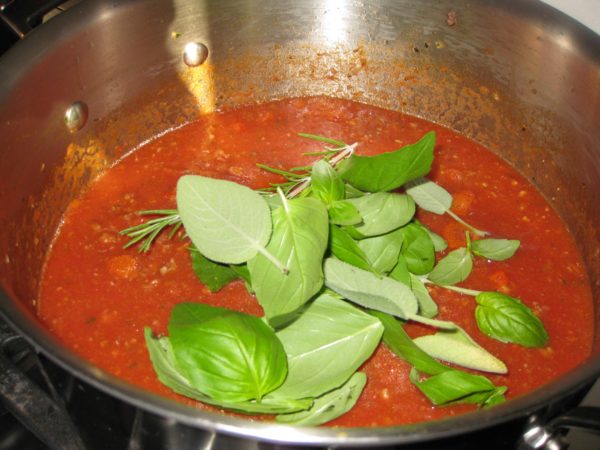
  8. Add all remaining ingredients.
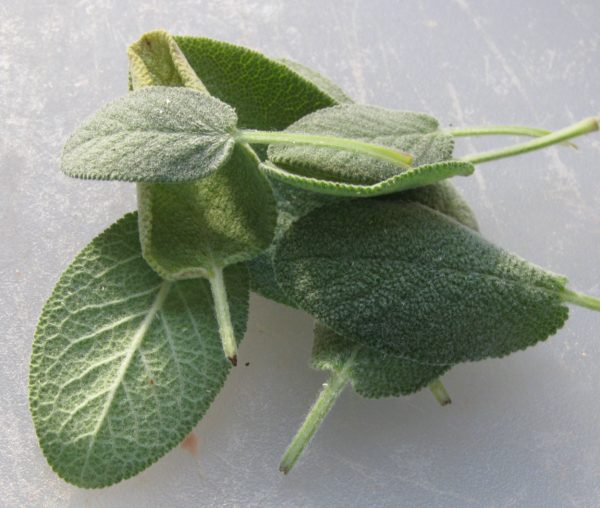
  9. Sage
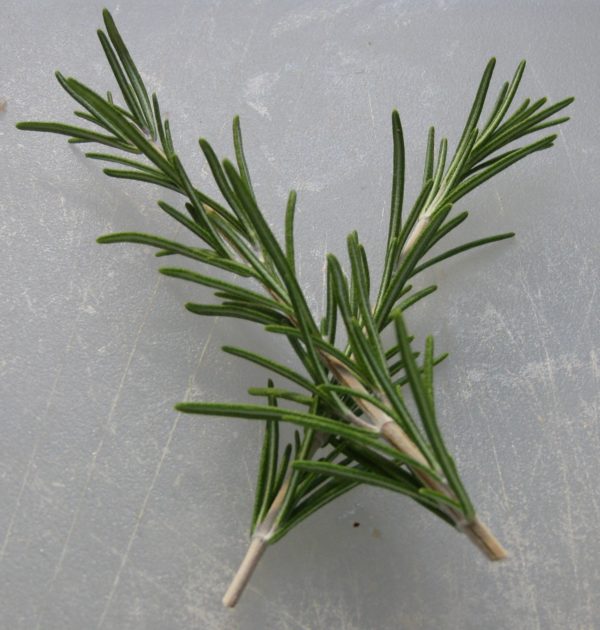
  10. Rosemary
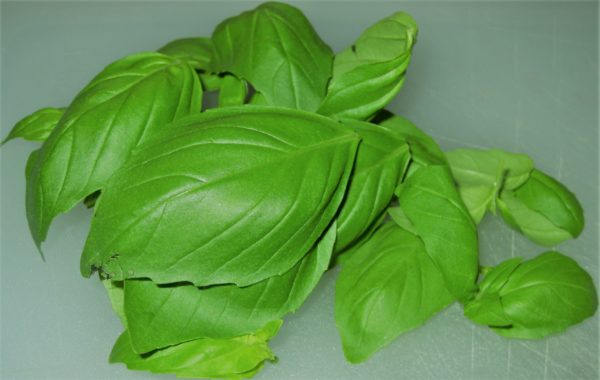
  11. Basil
  12. Bay leaves
  13. Cinnamon
  14. Cloves
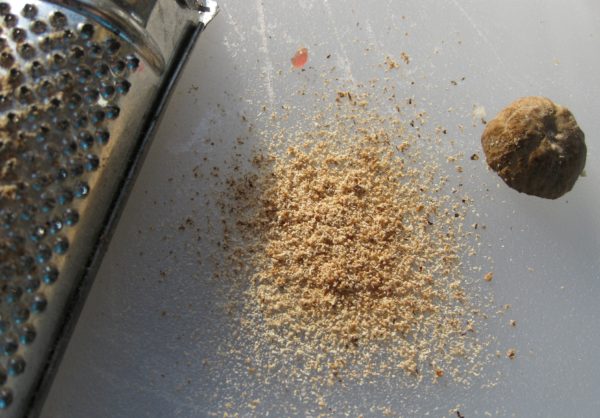
  15. Nutmeg
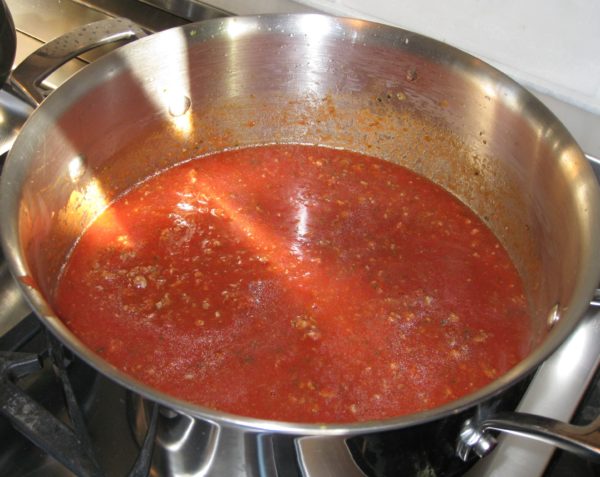
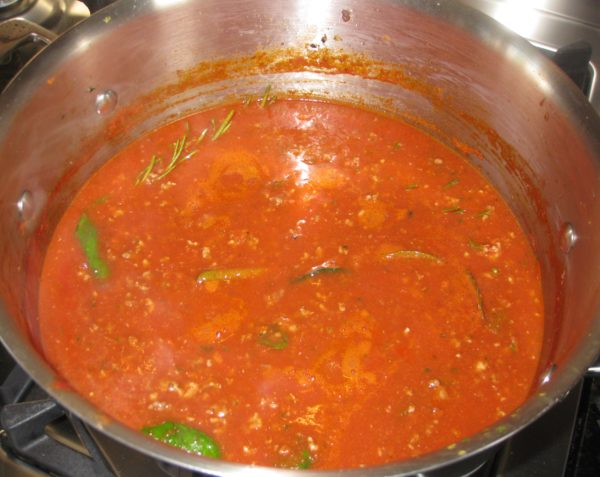
  16. Simmer gently, partially covered, stirring frequently for approximately 2 ½ hours.
  17. Adjust salt and pepper during cooking.
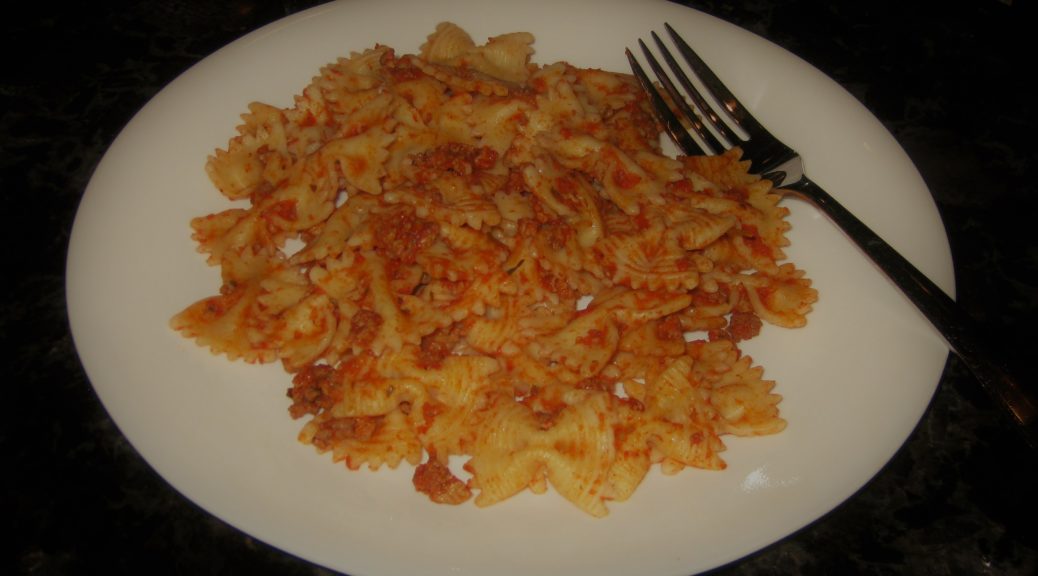
  18. Toss approximately 1/4 of the sauce with one pound of cooked pasta.
Recipe Notes

Copyright © 2017 by VillaSentieri.com. All rights reserved.
Share this Recipe