
August 2, 2017
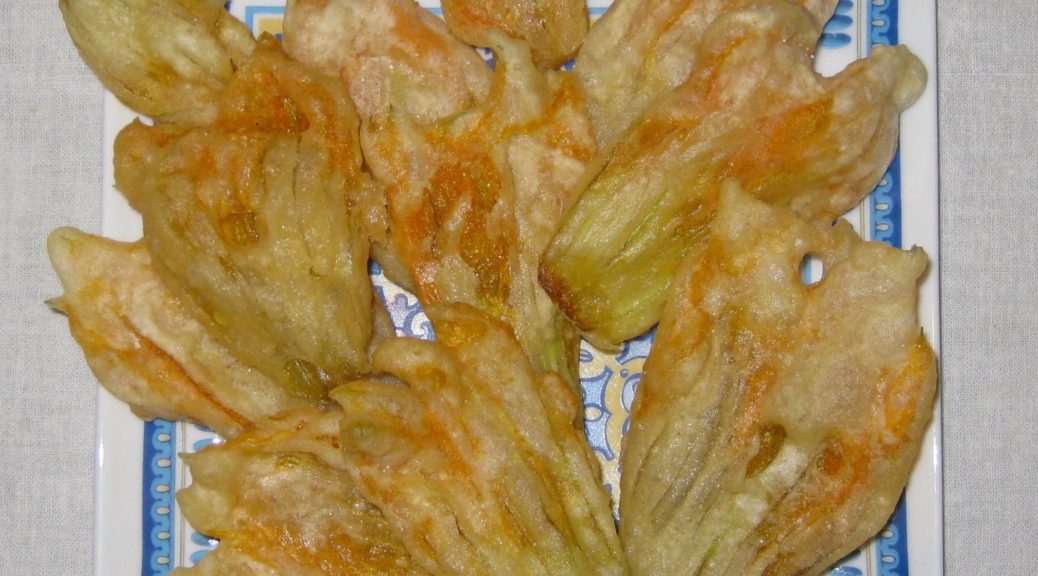
Fried Zucchini Blossoms are one of the joys of summer at our house.
Simple, unadorned flowers, coated with a small amount of an equally simple batter (flour, salt and water), are addictive.
Stuffed zucchini blossoms are common and often quite good but in my estimation the stuffing does not pay homage to the blossom. One really tastes the stuffing, not the blossom. This is fine if one has such an overabundance of zucchini blossoms that one can squander them by stuffing them.
Don’t get me wrong, I like stuffed zucchini blossoms but I’d much rather nibble my way through the crispy fried flowers with a cocktail. Bourbon, did someone say bourbon?
On a summer trip to Italy a few years back, one of the pizzas that I kept seeing was topped with zucchini blossoms alternating with anchovies. It made a striking presentation (which I suppose was the point) but there was no way the taste of the blossoms could stand up to the anchovies. But taste isn’t everything. I’ll admit that appearance is equally important.
When I was in college I ate fried food with abandon. Most of it was fried in lard that I rendered. My roommate and I would sometimes do an entire meal of fried food in the Italian manner, a frito misto. These days I rarely eat fried foods except for fried zucchini blossoms and fried sage leaves in the summer.
Over my years of frying I have tried many different batters, with and without eggs (some with whole eggs mixed into the batter and others with the yolk used as part of the liquid and the stiffly beaten white folded in at the last minute to lighten the coating), with and without baking powder, and with club soda or seltzer in place of water or milk, among other variations. In the end, I settled on the simplest of batters that I had at Great Aunt Fidalma’s house in Tuscany: flour, salt and water.
It works beautifully, turning out a thin crunchy coating.
You can use the batter on most any kind of vegetable though watery vegetables like zucchini and mushrooms are challenging.
My only alternate coating (when I’m cooking in the Italian manner… which is most of the time) is the one my mother used for cauliflower. She would par-boil the cauliflower, cut it into florets, dip it in egg, and then coat it with fine, dry breadcrumbs. Because some of the breadcrumbs come off during the frying, the oil has to be strained after every few batches of florets are fried otherwise the loose breadcrumbs start to burn imparting a burnt taste to the cauliflower. It’s really pretty easy to accomplish as long as you’re prepared for it.
I set up a very fine mesh strainer over an empty pot and use it to strain the oil. A quick wipe of the pot used for frying and the strained oil can be poured right back in and the pot put back on the heat. The whole process takes less than 30 seconds.
I’ve always fried in a pot on the stove, never in a dedicated deep fryer. I’ve never even used a thermometer to test the temperature of the oil. I flick a drop of water on the oil and watch how it skitters across the top to judge when the oil is hot enough. There’s a lot of trial and error learning involved in this method so I’d recommend you invest in a deep-frying thermometer (or even a dedicated deep fryer) if you’re not already skilled at frying.
My two favorite pots for deep frying are a Lodge cast iron pot and an Indian-style karahee. The cast iron is better at holding the temperature steady but the karahee uses less oil because of its curved bottom. A karahee can only be used on a gas stove, however.
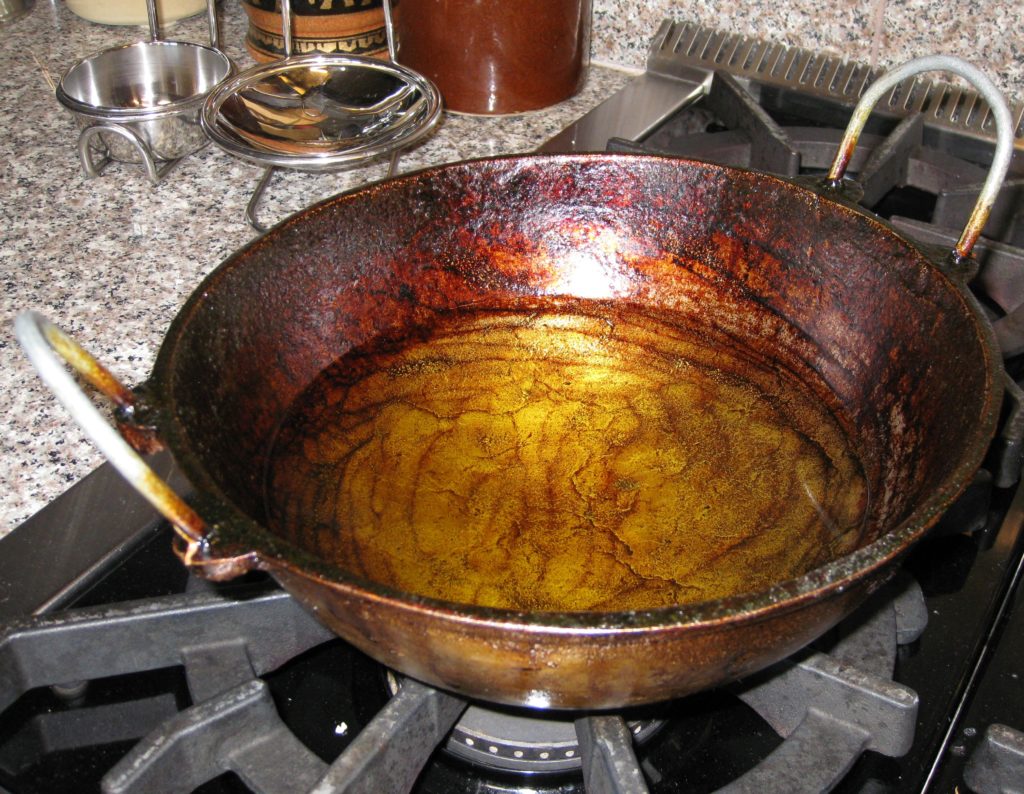
Although I use lard for some baked goods, I don’t deep fry in in on a regular basis any longer. I use corn oil. I think it works a little better than other vegetable oils for frying. Results are even better if one adds a small amount of oil that was previously used for frying to the pot with the fresh oil.
Fried zucchini blossoms are always served informally in our house. Since they are best right after frying, with just a moment to cool down, everyone gathers in the kitchen, cocktails in hand. When the first batch comes out of the oil, the flowers are put on absorbent paper while the next batch is battered and put in the oil. The previous batch is then salted and passed around. It’s about one minute from the time the flowers come out of the oil until they are being eaten.
Follow us
![]()
![]()
![]()
![]()
Click HERE to join our mailing list and you’ll never miss a recipe again.

| Prep Time | 20 minutes |
| Cook Time | 30 minutes |
| Passive Time | 1 hour |
| Servings |
persons
|
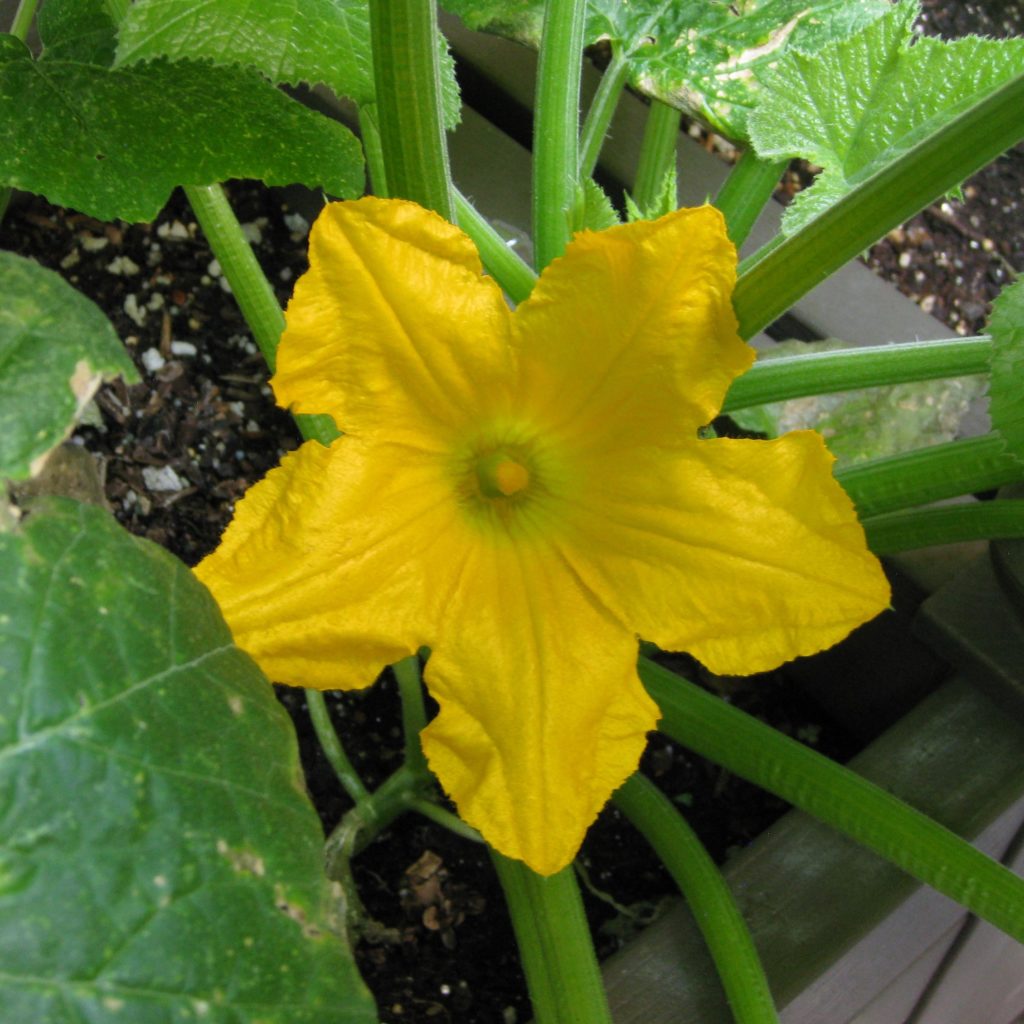
- 24 zucchini flowers
- 1 cup all purpose flour
- 1 teaspoon salt
- 3/4 cup water approximately
- corn oil for frying
Ingredients
|
|
- A batch of flowers ready to be cleaned.

- To clean the flowers, remove the stem end by breaking the flower where it creases, about ½ inch above the stem.

- Pull out the stamen and stigma.


- Remove any green bits (calyx) at the base of the flower.

- Lay the flowers on a tray or plate, cover lightly, and refrigerate until ready to use.
- Mix the flour and the salt.
- Add the water, a little at a time to the center of the flour, stirring in a circular motion with a fork to incorporate more and more of the flour.

- Xxxx

- Keep the flour and water mixture thick until all the flour is incorporated. The stiffness of the batter will break up any lumps that might form. You can tell from the ridges in this batter that it is thick. Thinner batter will have a smooth surface.

- After a thick batter is formed, continue to add water, mixing well after each addition, until the batter thinly coats the fork.

- Cover and refrigerate the batter for at least one hour and up to one day.
- When ready to use, thin the batter with more water until it once again lightly coats a fork.
- Bring oil to frying temperature, approximately 350°F.
- Dip a flower into the batter, scraping off excess batter on the edge of the bowl.

- Drop the battered flower into the batter and continue to add flowers, without crowding.


- Turn the flowers frequently.
- Just as they begin to turn golden, remove the flowers from the oil allowing excess oil to drip into the pan.
- Put the flowers on absorbent paper. Batter the next batch and put the flowers in the oil.
- Salt the previous batch and serve while still hot.
- Repeat!
Copyright © 2017 by VillaSentieri.com. All rights reserved.