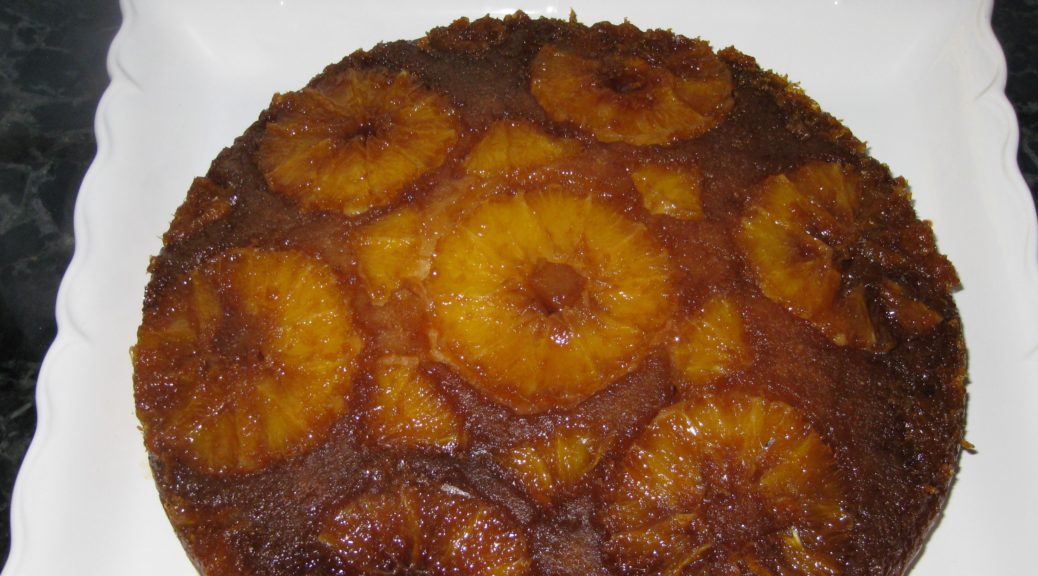
Torta all’Arancia (Orange Polenta Upside-Down Cake)

March 4, 2020

Italy is lavished with citrus, more so in Southern Italy than Northern Italy.  Even in Tuscany, though, families traditionally use a limonaia to winter-over lemon trees grown in pots.
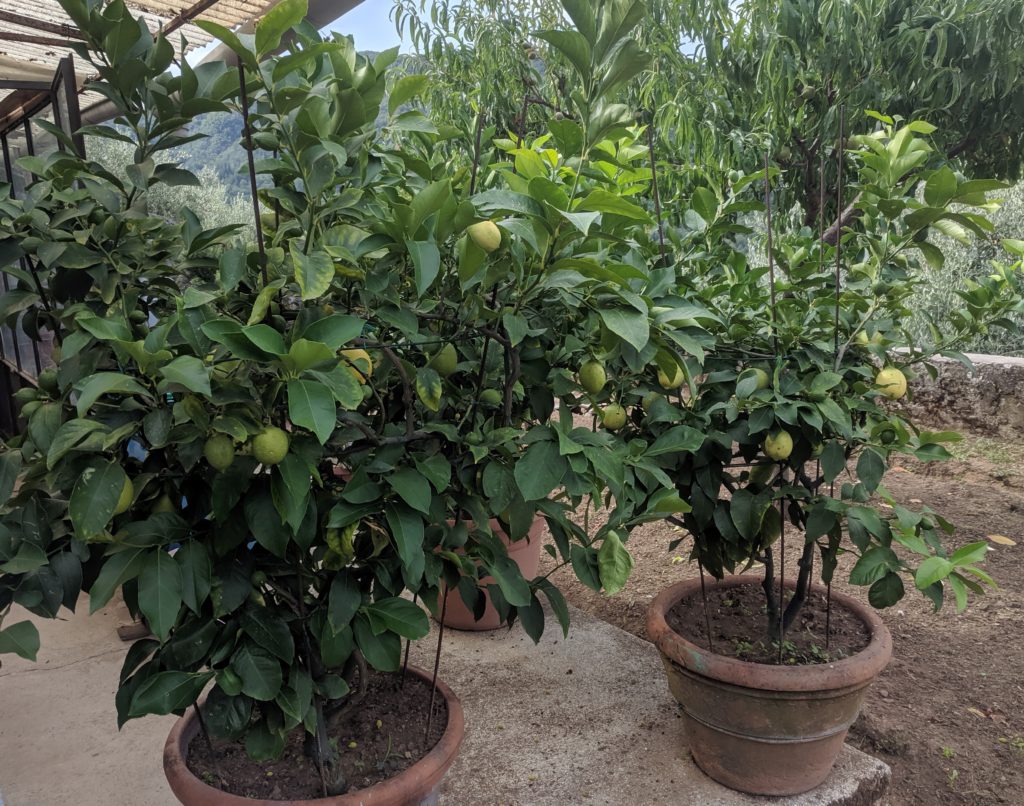
Potted lemon trees at a house in the village of Benabbio in Tuscany.

Citrus fruits feature prominently in Italian cuisine, especially in Southern Italy.  Calabria is responsible for about 25% of the citrus fruit produced in Italy.


Join our mailing list and you’ll never miss a recipe again!


A very short list of Italian foods that contain, or are made from citrus includes the famous limoncello liqueur and its orange-based cousin, arancello; panettone that is traditionally made with candied citron; lemon sorbetto (sorbet); an array of marmalades and jams; candied citrus peels of various types eaten as sweetmeats, sometimes coated in chocolate, as well as diced and incorporated into cakes; citrus salads, including an amazing Sicilian salad of oranges, fennel, onions and black olives; and the endless dishes where lemon juice is the basis of a pan sauce or salad dressing or, in lesser quantities, perks up other flavors without making itself known.
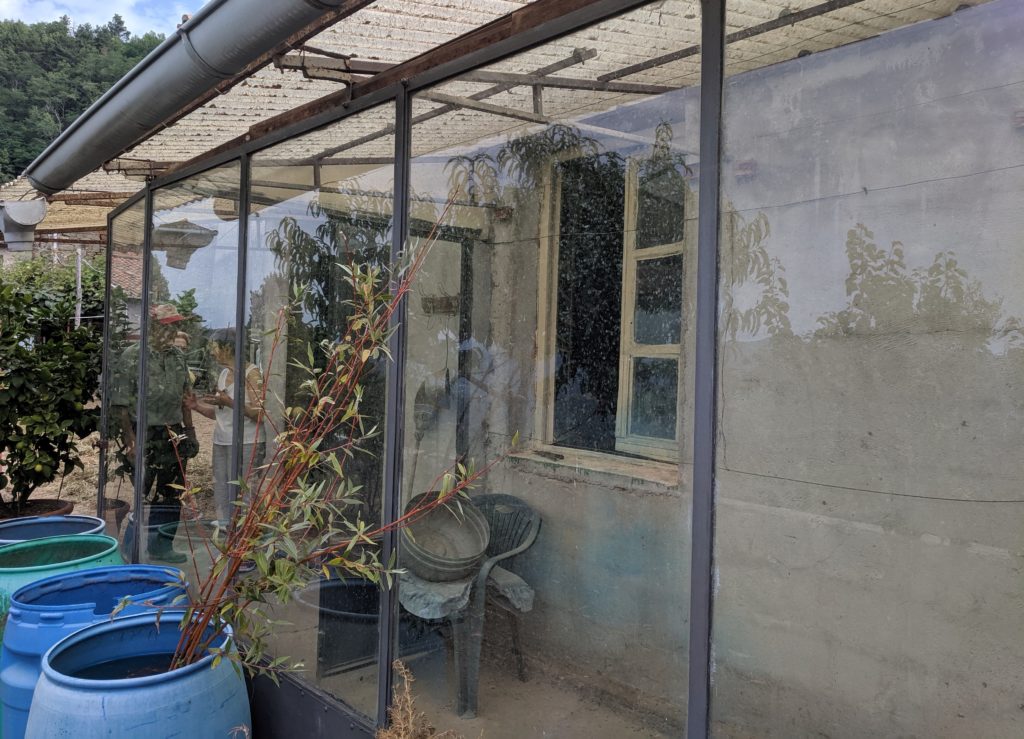
A rustic limonaia at a home in the village of Benabbio in Tuscany. It may be simple but it works beautifully.

Bergamot, most of which (and certainly the highest quality) comes from Calabria, is the defining flavor of Earl Grey Tea.  It is also used in an array of cosmetics and fragrances.
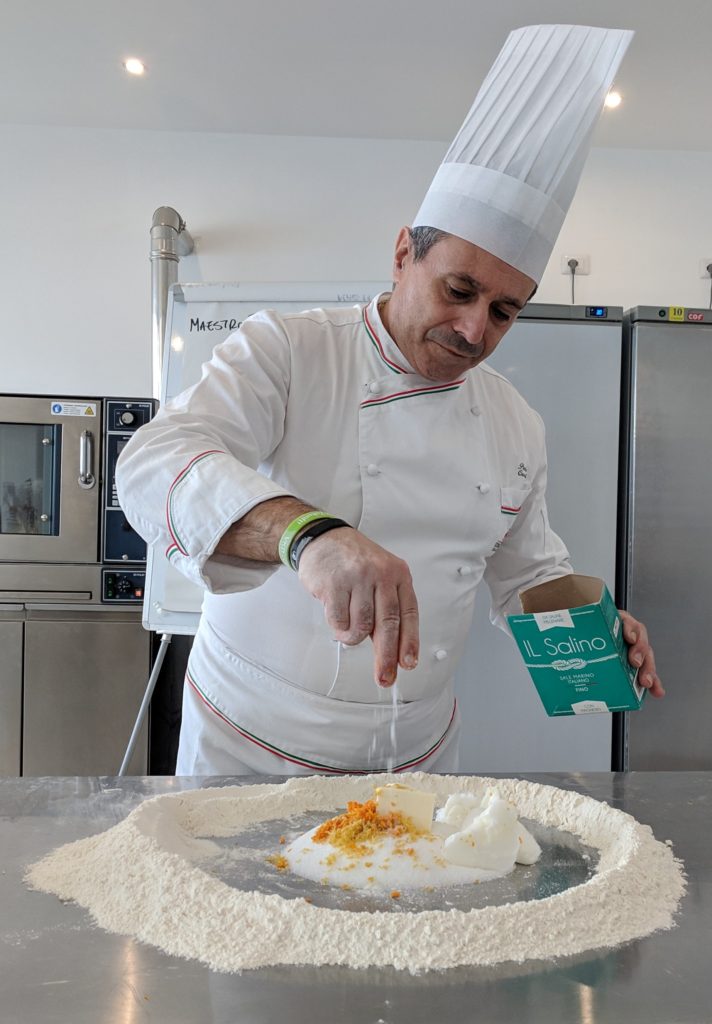
Maestro Paolo Caridi teaching a class at the Italian Culinary Institute.

Bergamot is also one of several citrus fruits used by Maestro Paolo Caridi to concoct the scrumptious citrus flavoring he uses in some of his pastries.  I’m itching to find a source of bergamot, which I understand grows in Palm Springs, California, to make a batch, having gotten his formula when I studied at the Italian Culinary Institute.


Follow us on your social media platform of choice


Being surrounded with citrus at our home in Palm Springs, I try to find ways to use the bounty.  It took me a while to come up with an orange cake (torta alle arance) that was everything I though an orange cake should be: a moist, not to sweet cake with a sturdy crumb and a distinct orange flavor.
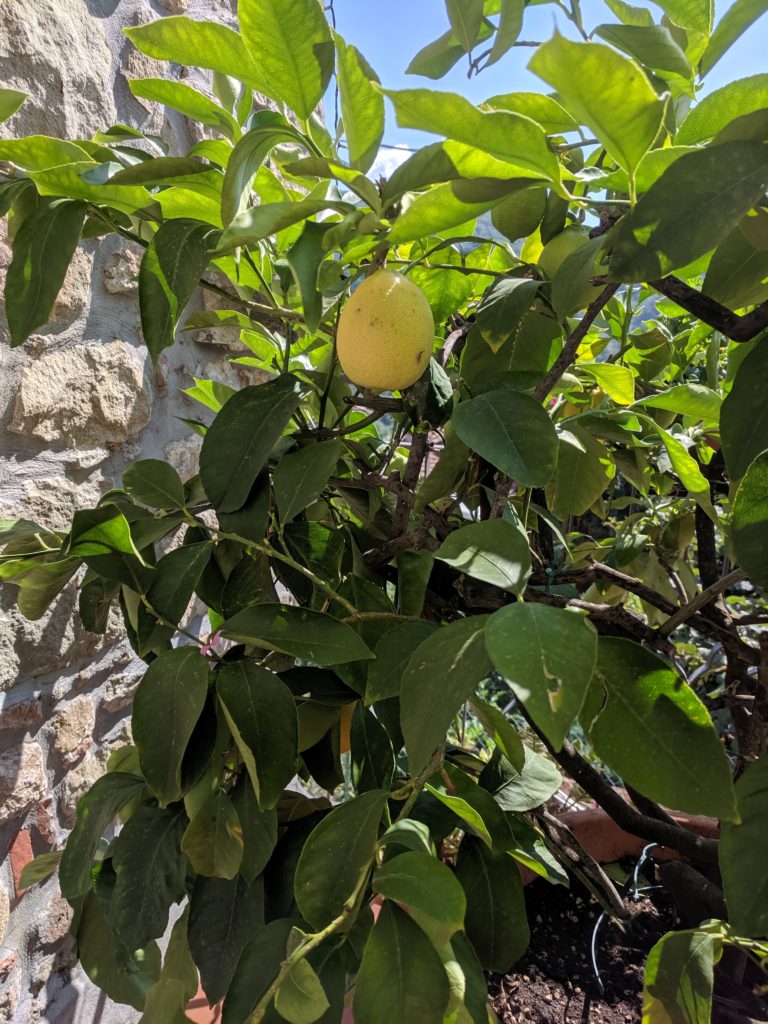
A potted lemon tree on Great Aunt Fidalma’s terrace in Tuscany.

Print Recipe
Torta all'Arancia (Orange Polenta Upside-Down Cake)
Instead of cutting the oranges in slices, you can supreme them if you prefer the look of sections rather than slices. If possible, use the metric measures for the best results.
Votes: 0
Rating: 0
You:
Rate this recipe!
Cuisine Italian
Prep Time 45 minutes
Cook Time 1 hour
Passive Time 1 hour
Servings
people
Ingredients
Topping
Cake and Assembly
Cuisine Italian
Prep Time 45 minutes
Cook Time 1 hour
Passive Time 1 hour
Servings
people
Ingredients
Topping
Cake and Assembly
Votes: 0
Rating: 0
You:
Rate this recipe!
Instructions
Topping
  1. Grease a 10-inch x 2-inch circular cake pan with butter.
  2. Finely grate the zest of the three oranges without any of the white pith. A microplane grater work well. Reserve the zest and oranges separately.
  3. Combine brown sugar, butter, white sugar, and orange juice in a small pan. Heat, stirring frequently till butter is melted and sugar is dissolved. Raise heat and boil for 2 minutes, without stirring, until slightly thickened.
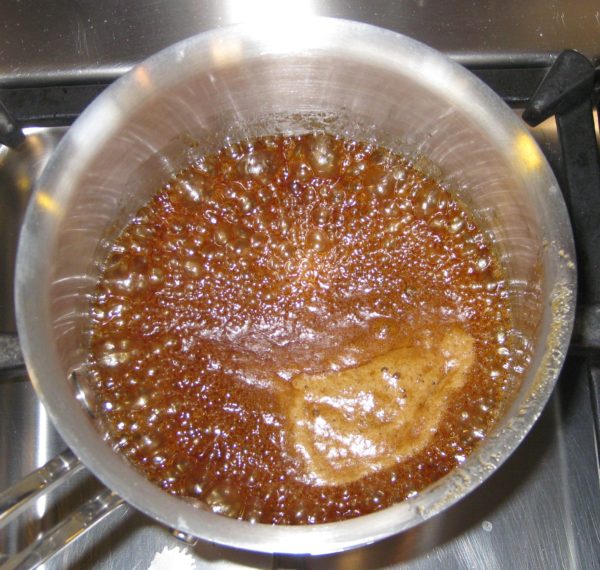
  4. Remove caramel syrup from the heat. Stir in the zest of three oranges. Pour the caramel on the bottom of the prepared pan. Allow to set for approximately 5 minutes, until cool.
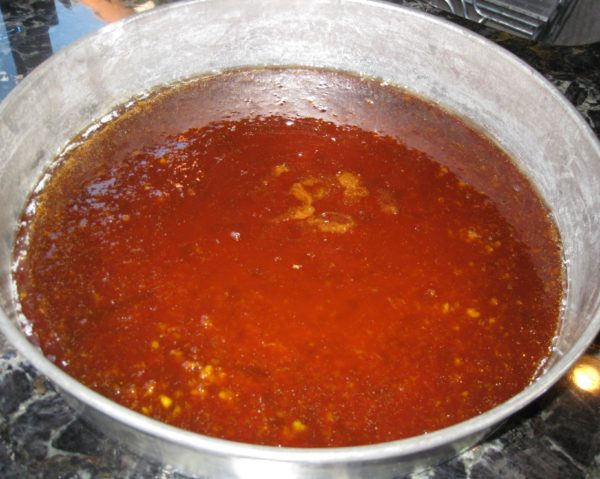
  5. Meanwhile, slice the oranges approximately ¼ inch thick. Cut off all pith and rind. Remove the tough core from any slices that have it. Scissors work well for doing this.
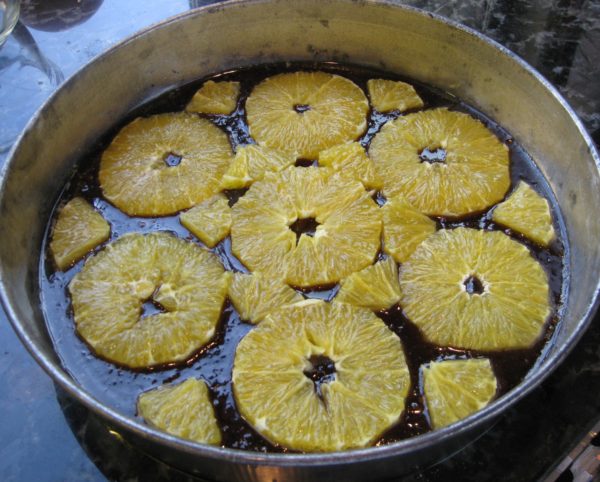
  6. After the caramel has cooled for about 5 minutes, arrange orange slices over the caramel without overlapping. Cut slices as needed to fill in the larger gaps between the full slices.
Cake and Assembly
  1. Stir together the flour, cornmeal, baking powder and salt. Reserve.
  2. Beat the butter in an electric mixer until lightly creamed.
  3. Add the white sugar, then beat at high speed until light and fluffy, approximately 4 minutes.
  4. Add eggs, one at a time, beating on medium after each addition until the egg is combined.
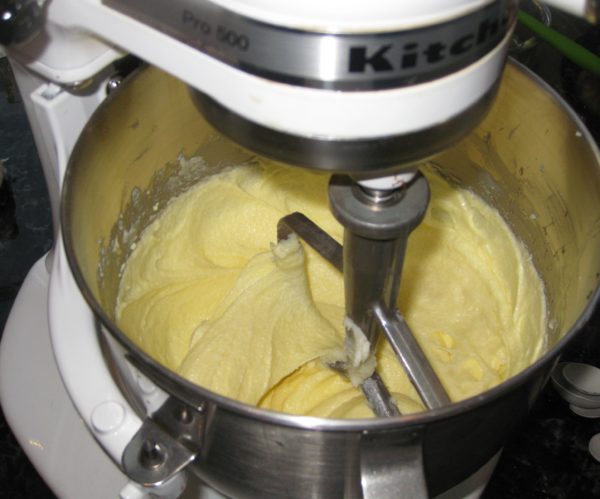
  5. Mix in sour cream then vanilla and orange zest.
  6. With the mixer on low, add the flour mixture a little at a time and mix until almost combined. Finish mixing by hand.
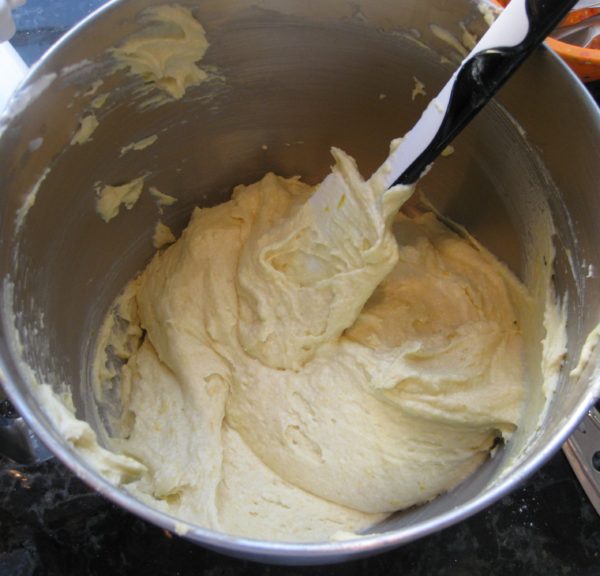
  7. Spoon the batter over the orange slices in the prepared pa. Spread the batter and tap the pan to remove air bubbles.
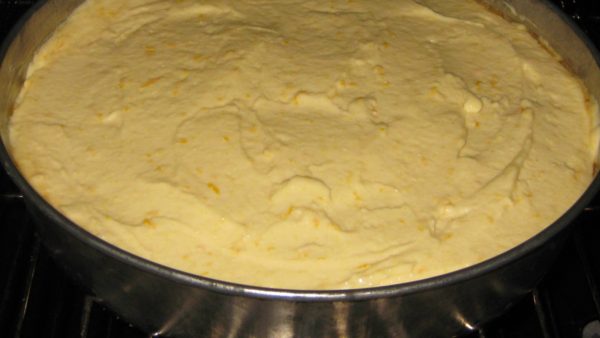
  8. Bake at 350°F until a cake tester comes out clean, 50-55 minutes. Cool for 10 minutes in the pan.
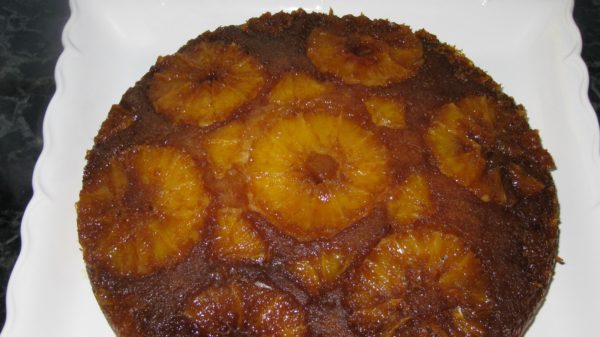
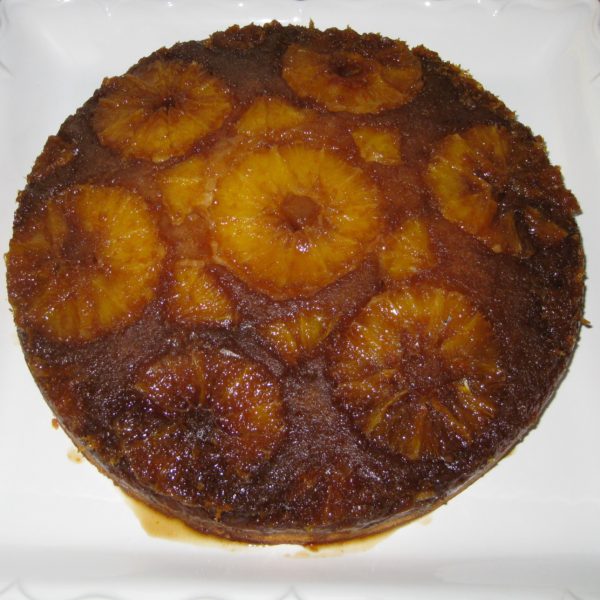
  9. Using a knife, loosen the cake from the sides of the pan. Invert onto a serving dish. Cool completely.
Recipe Notes

Copyright © 2020 by Villa Sentieri, LLC. All rights reserved.

Share this Recipe

Polenta

July 24, 2017

Polenta isn’t traditionally a Southern Italian food.  It is a staple of Italy’s northern provinces, however.

I didn’t eat polenta until I was in college; the time of my greatest food exploration and experimentation.

Granted, Northern Italian food isn’t as far afield from the Southern Italian food I grew up with as are the Sri Lankan, Chinese, Bangladeshi, Filipino, and West Indian food that were a large part of my food exploration in college.

Even when I stayed within the bounds of European food, I could move close to the edge.

For example, my roommate worked in an anesthesia research lab.  Rabbit blood was used for experiments, so rabbit ended up on our menu regularly (as it did on the menus of other lab workers).  Those rabbits became the impetus for learning to make Hasenpfeffer the traditional way.

Read any Hasenpfeffer recipe now, and you will be instructed to marinate the rabbit in an acidic marinade in the refrigerator.  But refrigeration is a recent invention in the history of Hasenpfeffer.

My culinary endeavors at that point operated out of a six-foot-wide Pullman kitchen with an under-counter refrigerator in a dormitory apartment.  My roommate and I turned out major meals every day of the week.  We had two shopping days, one to the open-air Ninth Street market in Philadelphia (aka the “Italian Market”) and one to the Pathmark Supermarket in Broomall, PA.  The supermarkets around the University did not have the best selection or quality at that time.

Our little refrigerator was always packed like a jigsaw puzzle.  (Just ask my husband about my ability to pack a suitcase and it will give you some idea of how I packed that little fridge!)

That meant, however, that there was never any room to refrigerate a marinating rabbit.  I turned to the age-old method and marinated it at room temperature for two days before cooking it.  By the end of that year of college I turned out a pretty decent Hasenpfeffer.

Then there was the Guyanese version of an originally Portuguese dish, called Garlic Pork in Guyana.  Versions of the dish can still be found in Portugal and in former Portuguese-controlled areas like Goa in India.  In Guyanese Garlic Pork, cubes of pork are marinated in vinegar seasoned with lots of Scotch Bonnet peppers and thyme.  As you can imagine, given our refrigerator situation, the marinating took place at room temperature.

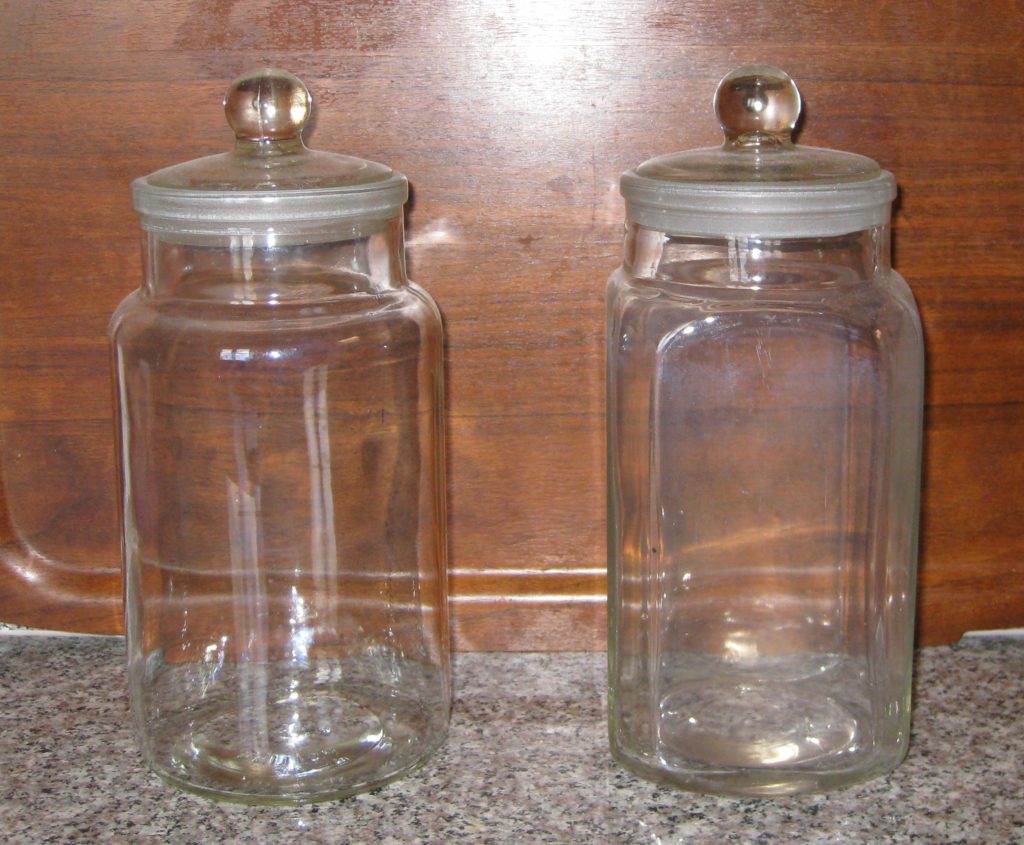
All this marinating happened in what were then (in the 1970’s) vintage British apothecary jars that I brought back from Guyana.  Every household in Guyana had one or more of these jars and they were the standard vessel for marinating Garlic Pork.  They also work well for Hasenpfeffer!

I still have these jars and really prize them.

Vintage British Apothecary Jars

Meat marinating in a jar can be pretty unobtrusive.  Not so a duck, head and feet intact, strung up from an eye hook in the ceiling!

My roommate’s mother, of Chinese heritage, sent us a sheaf of her recipes that she neatly typed out on onion skin paper.  (I still have them.)  One of the recipes was for a home-style version of Peking Duck.  The duck had to hang at room temperature for a day, being periodically lacquered with a mixture of soy sauce and other ingredients before roasting.  The duck, hung right inside the door, greeted visitors to our dormitory apartment for the better part of a day.

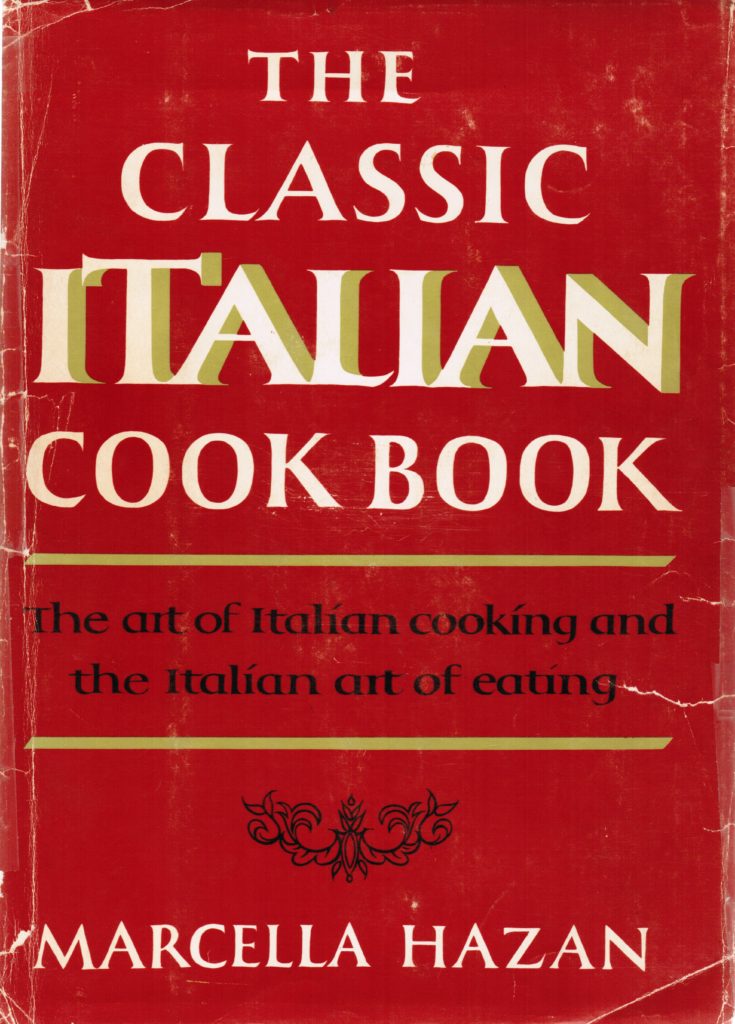
By comparison, learning to make Northern Italian food was pretty tame.  Enter Marcella Hazan (via her first cookbook) to teach me the basics.  She was demanding when it came to making polenta, insisting that it be stirred non-stop for 45 minutes.

Honestly, I did it that way until sometime in 1996 when my mother-in-law convinced me that constant stirring was not needed.  It’s much easier to make polenta if one just stirs periodically.  And the best thing is, it WORKS!

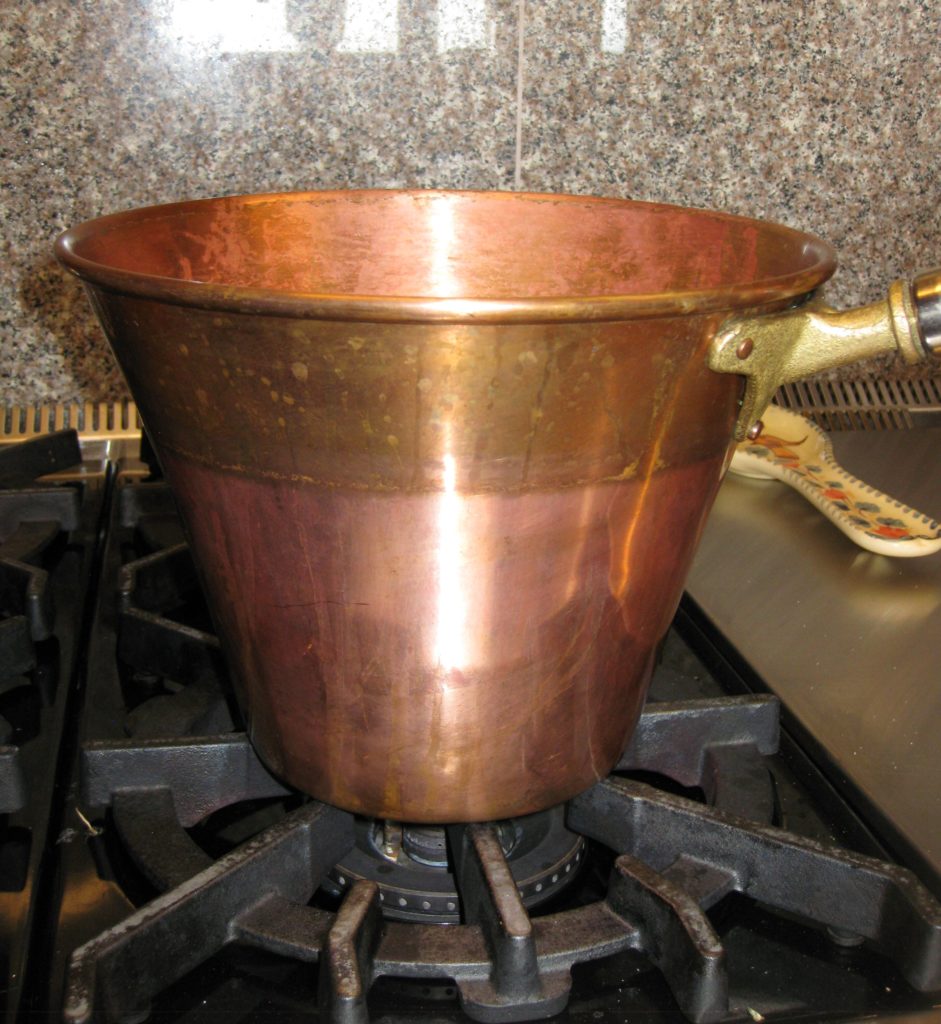
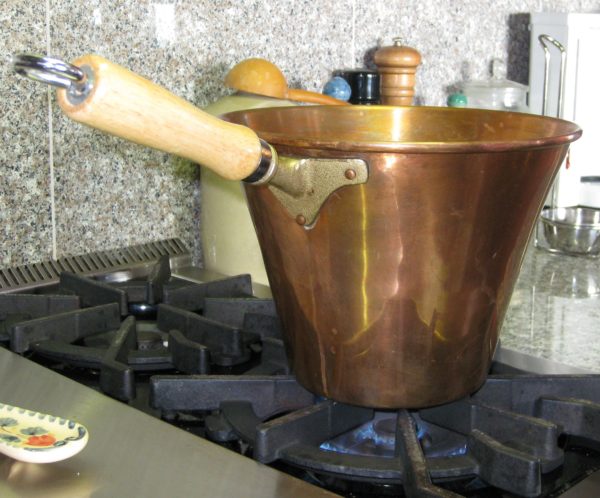
On a trip to Italy with my in-laws I bought a traditional unlined copper polenta pot.  I don’t know if it makes better polenta than an ordinary pot but I love using it.

My Unlined Copper Polenta Pot

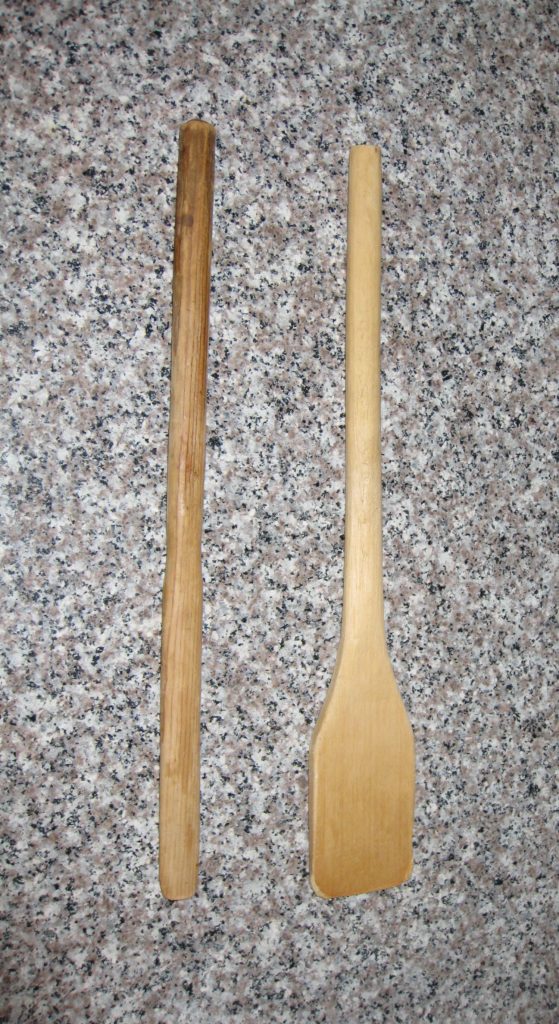
The traditional implement for stirring polenta is a round wooden paddle.  On the left, below, is the one my mother-in-law’s father made for her.  On the right is a paddle I picked up at the Otovalo market in Ecuador more than 20 years ago.  I prefer it to the stick as it provides more “action” in the pot.  (Truth be told, my mother-in-law prefers it too!)

Implements for Stirring Polenta

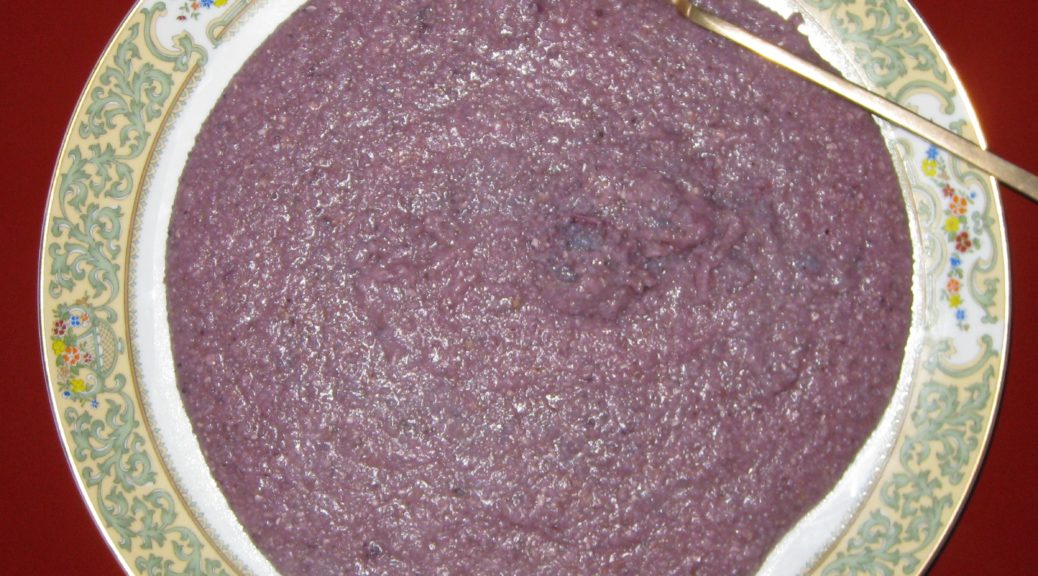
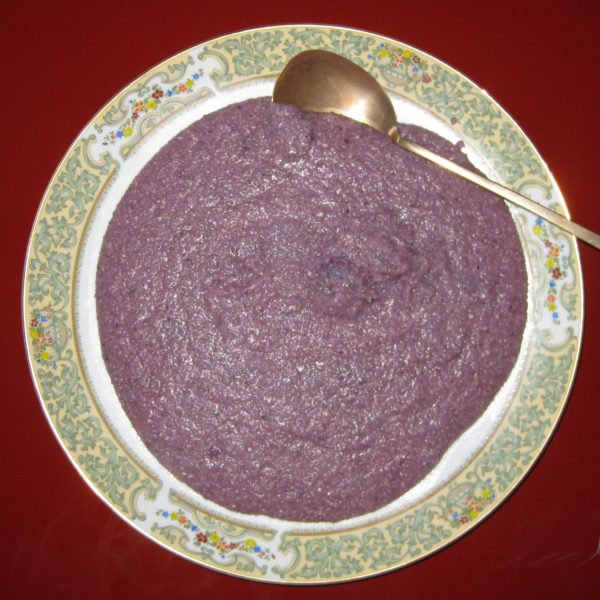
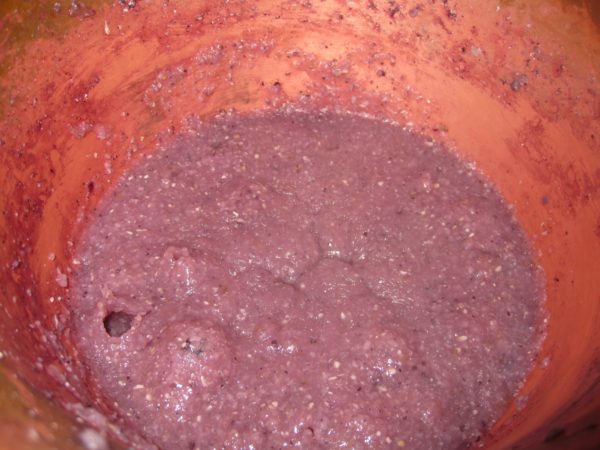
While yellow and white cornmeal are traditional, in New Mexico I can get blue cornmeal which I like to use for its dramatic color.

Cornmeal should be gently showered into the boiling water while stirring.  Fine cornmeal tends to develop lumps more easily than coarse cornmeal.  In this video, I am using coarse cornmeal and can therefore add it more quickly.


Follow us


Click HERE to join our mailing list and you’ll never miss a recipe again!

Print Recipe
Polenta
In Italy, cornmeal used for polenta is either white or yellow. In New Mexico I have access to blue cornmeal. The blue cornmeal turns purple when cooked in unlined copper. It provides a nice contrast on the plate. There really are not many purple foods! I find that it takes more water to cook polenta at high altitude. I use 5 cups of water for every cup of cornmeal. At sea level 4 ½ cups would work fine. Coarse cornmeal takes a bit more water than fine cornmeal. Both are traditional. It is a matter of personal preference which to use. Polenta is traditionally accompanied by a dish that has a sauce. Sausage with Cardoons is a good choice. See the Notes section for a link to the recipe.
Votes: 0
Rating: 0
You:
Rate this recipe!
Prep Time 5 minutes
Cook Time 50 minutes
Passive Time 15 minutes
Servings
people
Ingredients
  • 1 cup cornmeal coarse or fine, preferably artisanal
  • 4 1/2 to 5 cups water
  • 1 1/2 teaspoons salt
Prep Time 5 minutes
Cook Time 50 minutes
Passive Time 15 minutes
Servings
people
Ingredients
  • 1 cup cornmeal coarse or fine, preferably artisanal
  • 4 1/2 to 5 cups water
  • 1 1/2 teaspoons salt
Votes: 0
Rating: 0
You:
Rate this recipe!
Instructions
  1. Bring water and salt to a boil in a saucepan that will give you plenty of room to stir.
  2. Slowly shower in the cornmeal, stirring all the while. You should basically be able to see the individual grains as you add the cornmeal. This will help to avoid lumps. If you notice a lump, stop adding cornmeal and stir vigorously to break up the lump. Using a wire whisk to vigorously stir the water while adding the cornmeal also helps to avoid lumps. After all the cornmeal is added, change to a sturdy wooden spoon.
  3. After all the cornmeal is added, cook at a moderately low boil for 45-60 minutes stirring often. Coarse cornmeal takes longer to cook than fine cornmeal. That said, 45 minutes should be the minimum cooking time. The flavor changes with extended cooking so don’t be tempted to treat polenta like grits and cook it briefly.
  4. If you find that the polenta is getting too stiff before the cooking time is up, add a little bit of BOILING water and stir well.
  5. When cooked, the polenta should be thick but pourable and definitely not runny.
  6. Pour into a shallow serving bowl or rimmed platter and serve immediately.
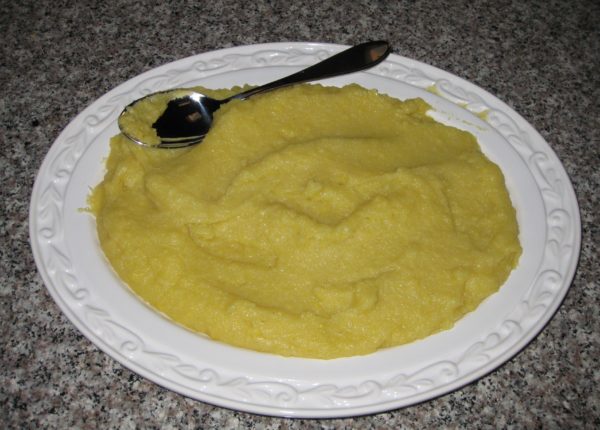
  7. A bowl of more traditional yellow polenta.
Recipe Notes

Click here for the recipe for Sausage with Cardoons.

Copyright © 2017 by VillaSentieri.com. All rights reserved.

Share this Recipe