November 8, 2017
How many Italian pasta sauces can you think of that do not include olive oil and garlic?
Precious few, I would guess!
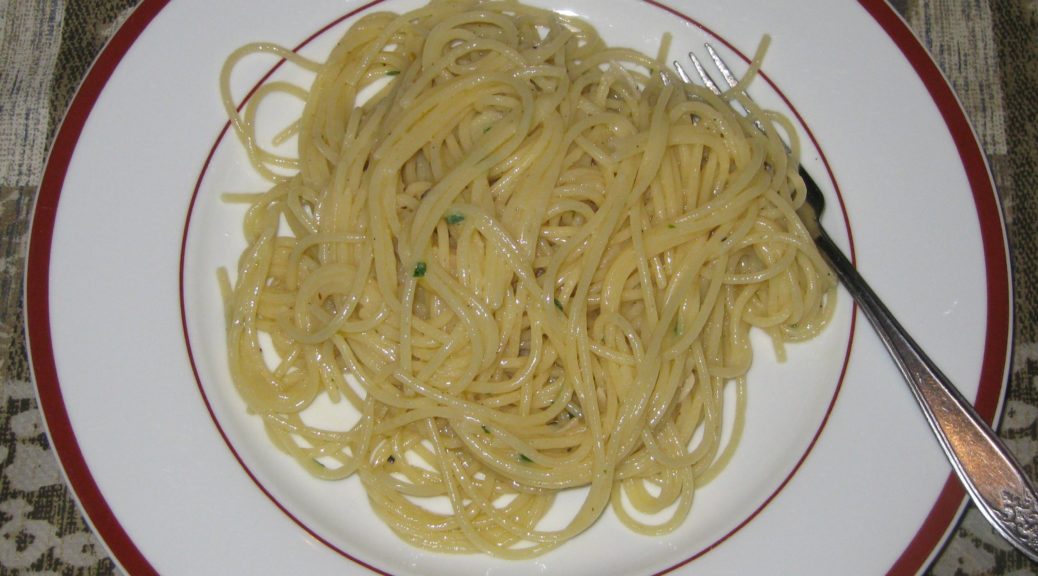
This dish, classically Roman, elevates those two ingredients to center stage. You cannot hide bad olive oil or poorly cooked garlic in this dish. There are very few other flavors.
But simplicity has its virtues. It’s really hard to go wrong with this dish unless you use bad olive oil or not-so-stellar cheese or you burn the garlic.
Follow us on Facebook: Click HERE
You can make a case for cooking the garlic for a whole range of times, from mere seconds up until it is dark brown. For many years I even cooked three different batches of garlic, one until brown, one until golden, and one until just fragrant. There is an interesting depth of flavor from doing so but it’s not the classic technique.
My point is, unless you burn the garlic and make it bitter, you won’t ruin the dish. You may prefer the flavor of the garlic when it is more or less brown but that’s just a preference not an absolute.

My recipe diverges from the classic Roman recipe in two places.
While making dinner, I’m usually chatting…with my in-laws (on most nights), with my husband (when he’s not away on business), or with guests. While I know I can time everything to be ready at exactly the right moment, I ask, why stress about it? So, yes, I can time the sautéing of the garlic to be just right when the pasta is ready but there’s an easier way.
I get the garlic to exactly the spot I want and then stop the cooking by taking the pan off the heat and adding a splash of wine (or water, if you must). That’s not classically Roman but it sure makes it much easier to have a conversation and a cocktail or three while making dinner. As soon as I plan on draining the pasta, I turn the heat on under the garlic oil and boil away the liquid I’ve added. Let’s face it, how often do we get to stop time with no consequences?
The second divergence from classic technique is that I add cheese to the pasta while mixing it with the garlic oil rather than just adding it at the table. In my mind there is no doubt that this pasta needs cheese. Adding it at the final stage of preparation allows me to create a glossy sauce where there would otherwise only be garlic oil. Not that that is bad, but I’ve made a bit of a reputation for myself by turning out glossy sauces where there would often only be oil.
It’s not hard. It just takes a bit of practice and some understanding (minimal) of the chemistry involved. And let’s face it, if the sauce isn’t glossy, you’re the only one who’s going to know. Again, there’s no penalty involved!
In Italy this pasta is often prepared and eaten after a night of over-indulging in alcohol. At least that’s the reputation it has. However, this was a common dish put on the dinner table when I was growing up. It’s easy, quick, filling, and darn good. Oh, and for an entirely different flavor, try butter in place of the olive oil!
Follow us
![]()
![]()
![]()
![]()
Click HERE to join our mailing list and you’ll never miss a recipe again!

| Prep Time | 15 minutes |
| Cook Time | 20 minutes |
| Servings |
people
|
- 1/3 cup extra virgin olive oil
- 5 cloves garlic
- 1 teaspoon cracked red pepper more or less, to taste
- 1 teaspoon coarsely ground black pepper
- 2 tablespoons white wine
- 1 tablespoon minced fresh parsley
- 3 ounces Parmigiano Reggiano cheese grated
- 3 tablespoons extra virgin olive oil for finishing
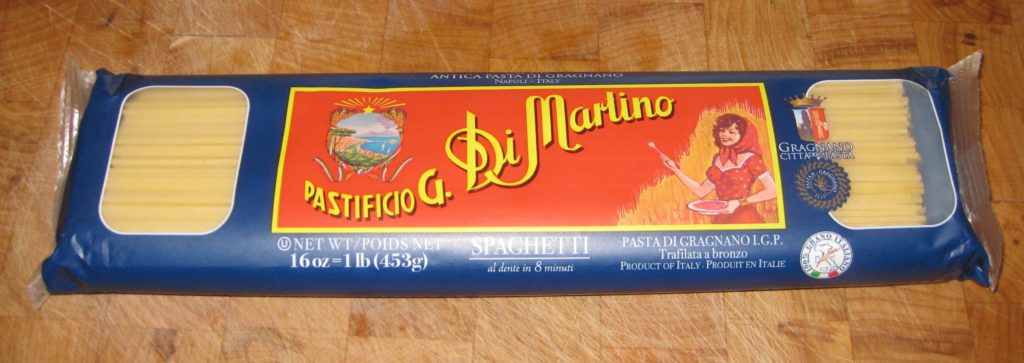
- 1 pound spaghetti
Ingredients
|
|
- Slice off the hard base of each garlic clove.


- Cut the cloves in half top to bottom.


- Cut each half-clove of garlic crosswise into very thin slivers.

- In a sauté pan large enough to hold all the cooked spaghetti comfortably heat 1/3 cup of olive oil over gentle heat.

- Add the slivered garlic and sauté slowly and gently until golden brown. This should take 10-15 minutes if the heat is low enough.


- Add the red pepper and black pepper and sauté for another minute.

- Add the wine to stop cooking and remove the pan from the heat.

- Bring 2 ½ quarts of water to a boil. Season with ¼ cup of salt.
- Boil the spaghetti about two minutes less than the package indicates is needed for al dente.


- As the pasta is nearing completion, reheat the garlic oil.
- Just before removing the pasta from the boiling water, add 1 cup of pasta-cooking liquid to the garlic oil and turn the heat to medium high.
- Reserve another cup of pasta-cooking liquid then drain the pasta.
- Add the drained pasta to the pan with the garlic oil.

- Cook over medium to medium-high heat, stirring frequently, until the pasta is al dente. Add some of the reserved pasta-cooking liquid from time to time as needed.
- When the pasta is al dente, remove the pan from the heat. Sprinkle the parmesan cheese and parsley on top.

- Mix well to create a sauce by melting the cheese and emulsifying the oil and water. Add more of the pasta-cooking water, if needed, to coat the pasta.

- Stir in the 3 tablespoons of fruity or peppery extra-virgin olive oil for finishing.
- Serve immediately with extra Parmesan cheese.

Since olive oil loses much of its distinctive flavor from heating, adding some at the end, when the dish is off the heat, improves the flavor. Usually I keep several types of olive oil that I just use for finishing in this way. They tend to have different flavor profiles. Usually I have a peppery one and a buttery one on hand. These oils are used in small quantities so their higher price tag is worth the flavor they add.
Copyright © 2017 by VillaSentieri.com. All rights reserved.