Olive Oil Cake (Torta all’Olio d’Oliva)

January 27, 2021

“Can’t you come up with another name?”

That was my husband’s response when I said I was going to post a recipe for olive oil cake.

I suggested the Italian, Torta all’Olio d’Oliva.  He wasn’t amused.

I guess he thinks the idea of olive oil in cake isn’t appetizing.

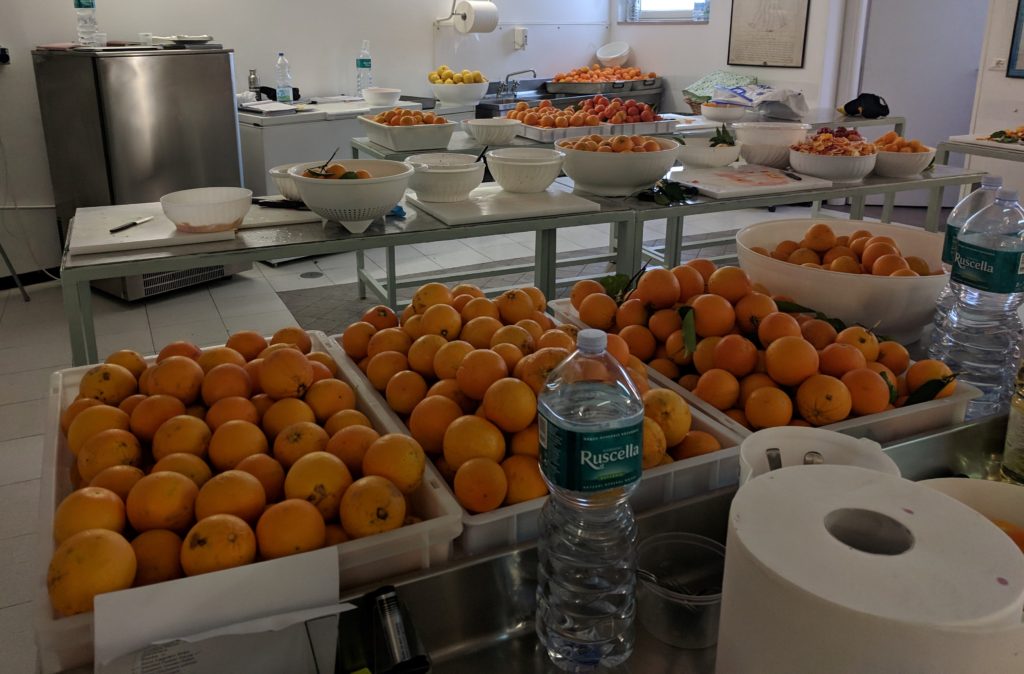
Nonetheless, the cake is a staple in regions surrounding the Mediterranean Sea.  And a delicious one, at that!

Oranges at a biodynamic citrus grove in Calabria near the Italian Culinary Institute

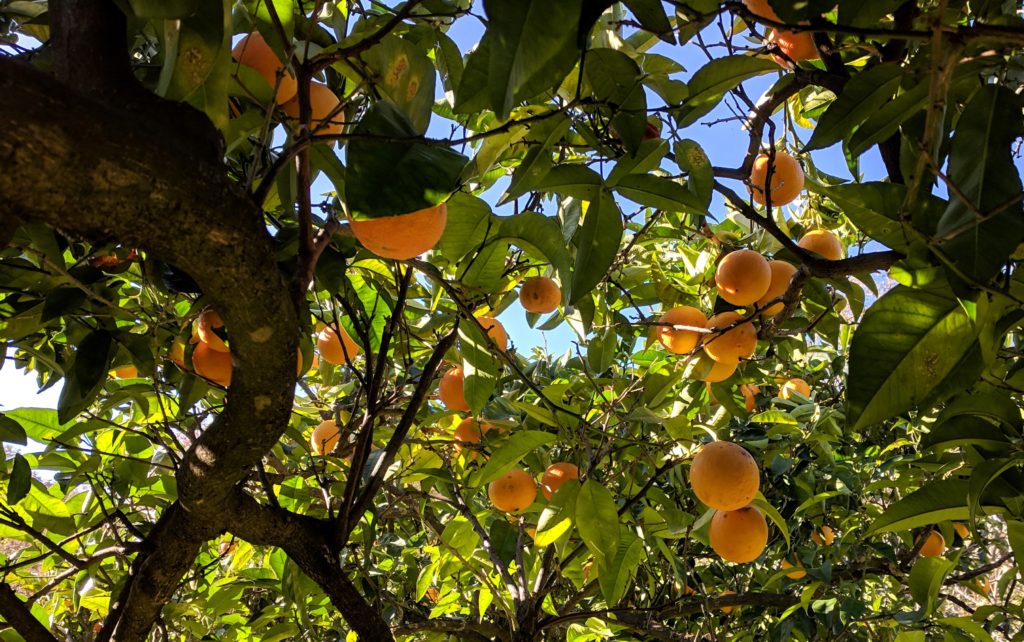
There are endless variations.  Some are thin, barely an inch tall.  Some are savory-sweet.  Some barely reveal the presence of olive oil.  Others proclaim the flavor of olive oil loudly.  Some are good for snacking (with tea or coffee).  And a few are actually good enough to serve for dessert with no embellishment.


Join our mailing list and you’ll never miss a recipe again!


Then there’s the olive oil to consider.  Even among really good extra-virgin olive oils, and I do suggest you use really good extra-virgin olive oil, there is a range of flavor profiles.  Words like grassy, bitter, peppery, fruity, and buttery come to mind.

Which you use will influence the flavor of the cake.  All will be good but some may be more to your liking than others.

Freshly grated orange zest is key to the flavor of this olive oil cake

Honestly, though, does the world need another recipe for Torta all’Olio d’Oliva?

That’s a rhetorical question, right?

I mean, really, we wouldn’t ask if the world needed another recipe for chocolate cake.  We’d just lean into it and make it happen.

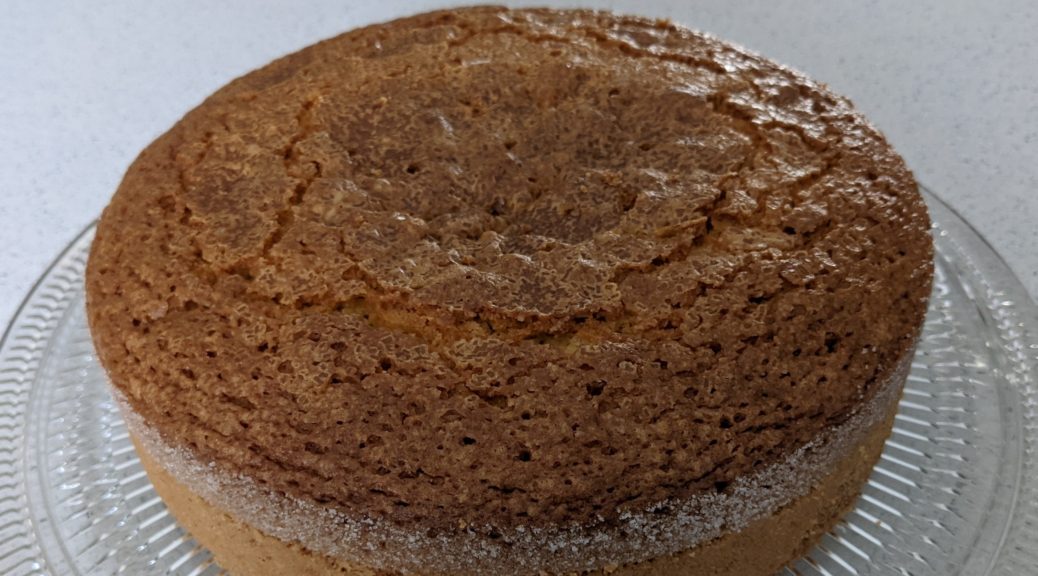
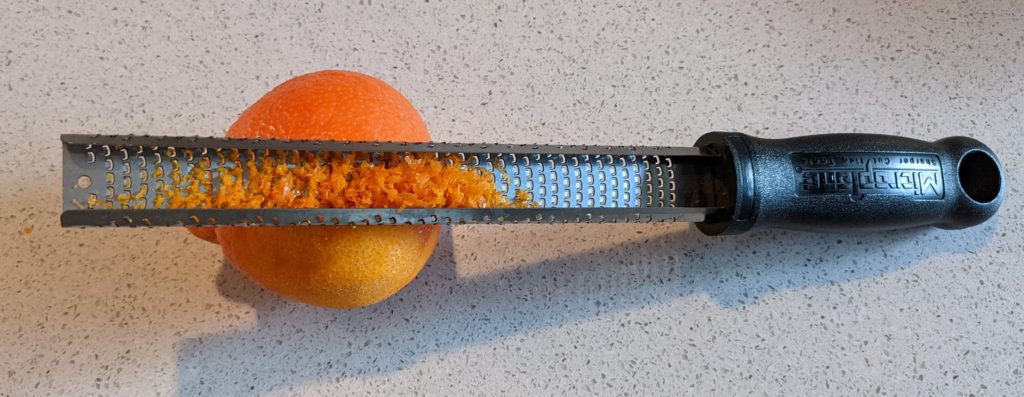
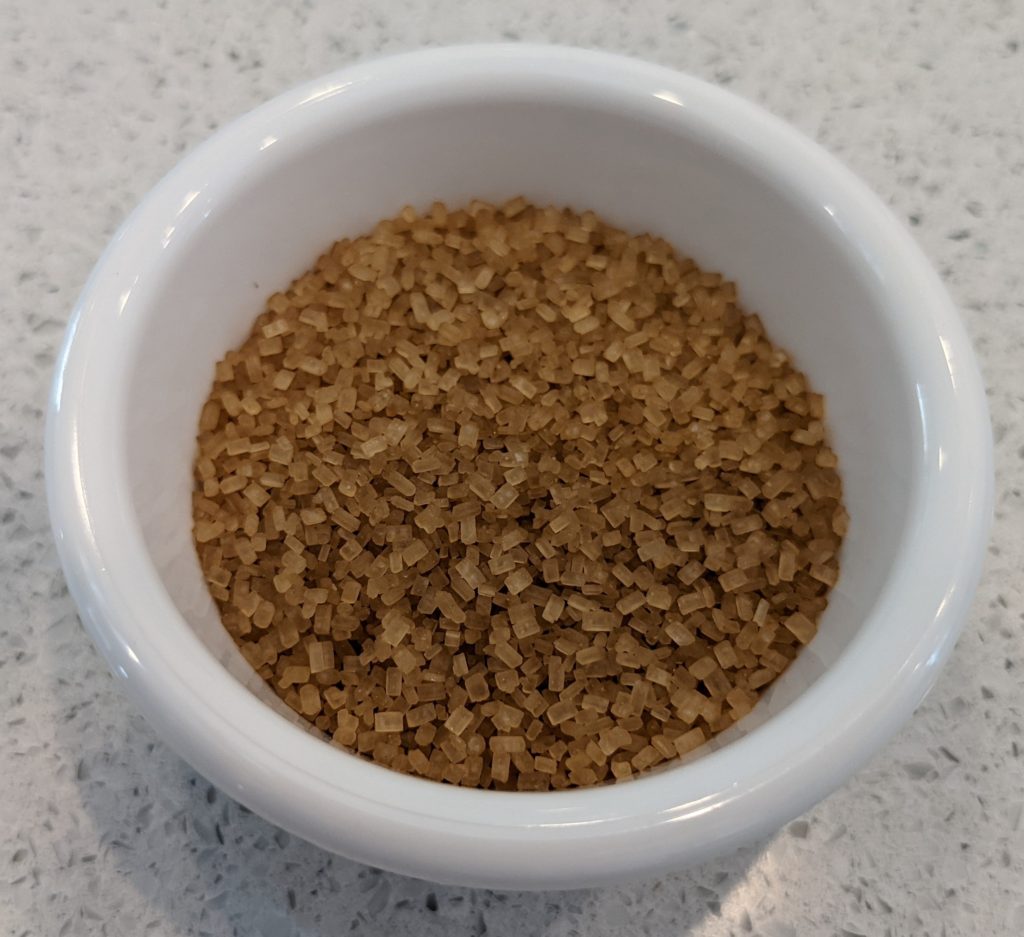
If you’ve never had olive oil cake, and if you like to bake, I suggest giving this version a try.  It has a moist crumb, crunchy top (from brown sugar), and a hint of orange from orange zest and orange liqueur.


Follow us on your social media platform of choice


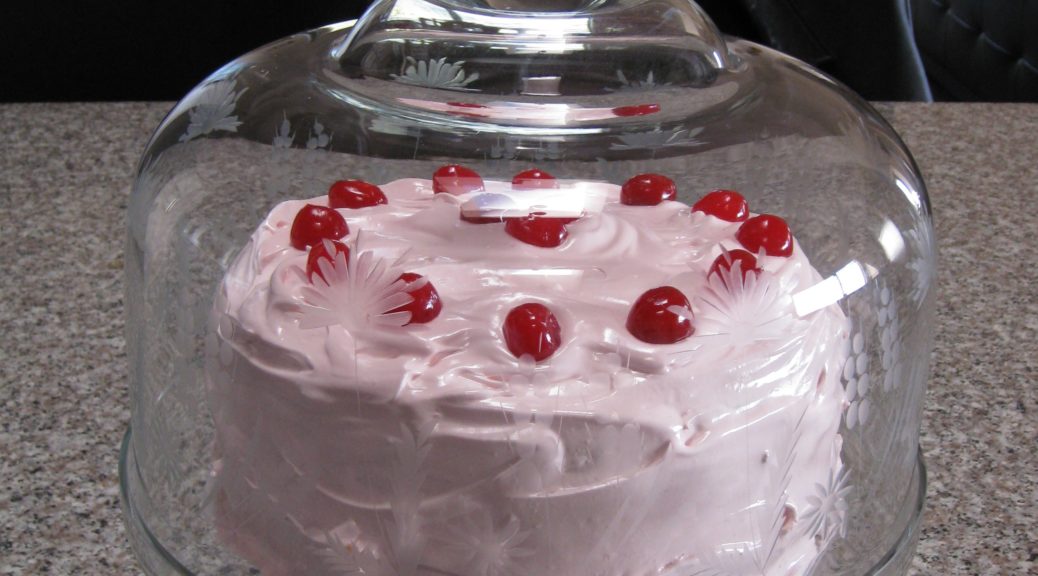
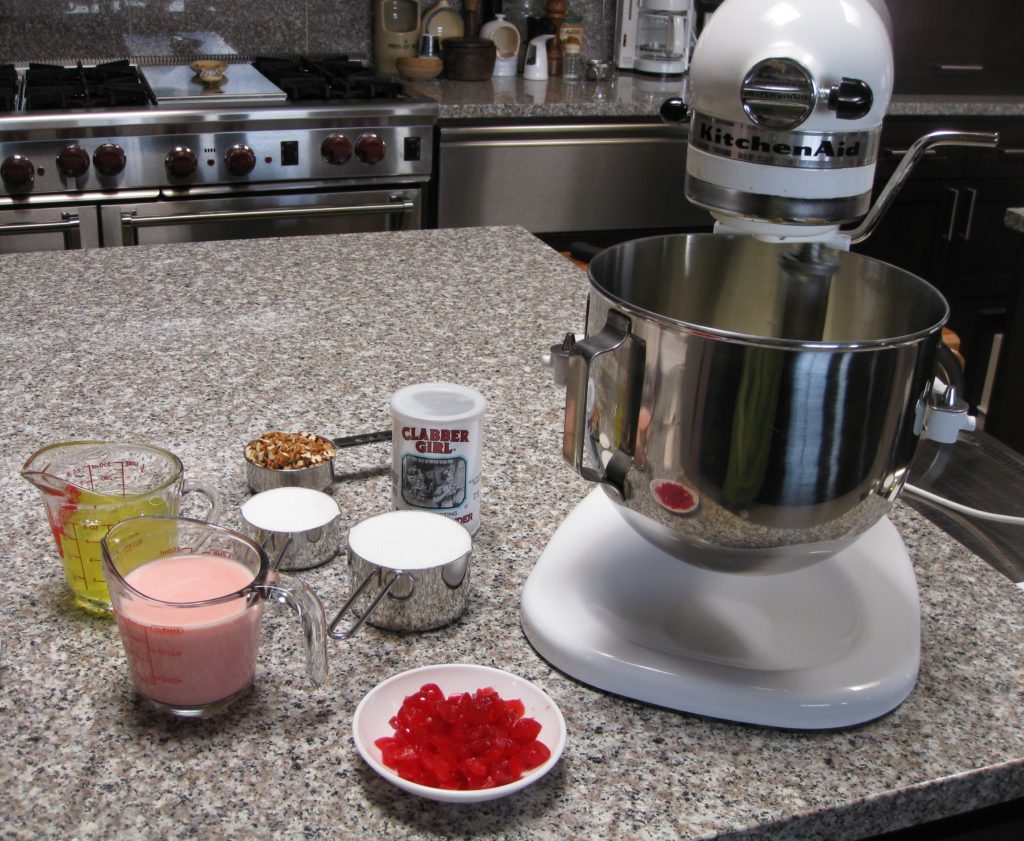
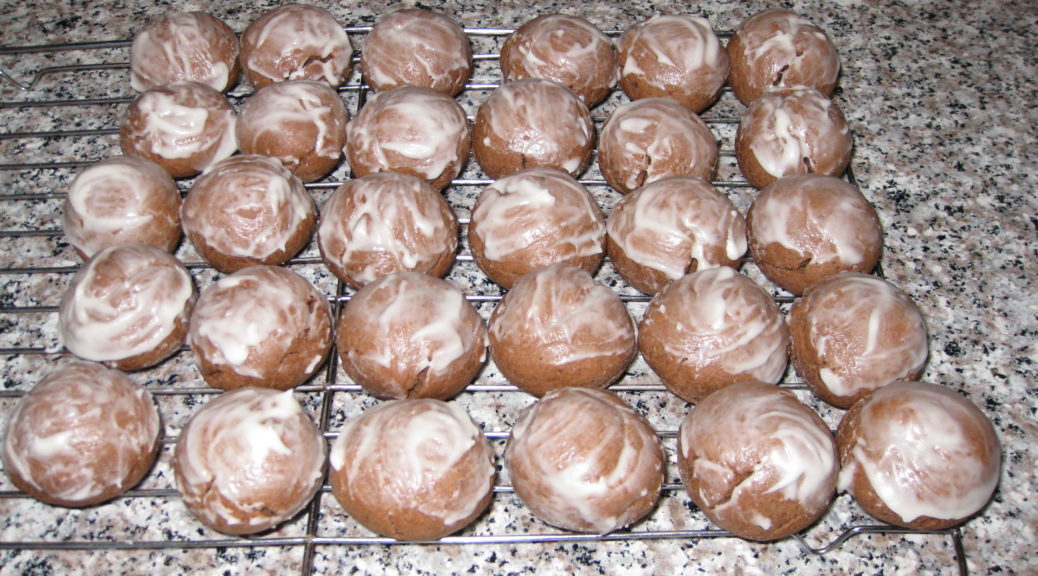
This cake is suitable as dessert, not just snacking.  It’s not going to be a spectacle of a dessert, like the Maraschino Cherry Cake I made from the first edition Betty Crocker Picture Cookbook, but I believe it will surprise many of your guests with just how good it is.

Large crystals of brown sugar, such as Turbinado or Zucchero di Canna add crunch to the top of the cake

Now for the apology:  I prefer to cook, and I DEFINITELY prefer to bake, using the metric system.  It’s just so much easier to scale recipes up and down.  Also, among professional bakers, most ingredients are weighed, even liquids.  Without a scale that measures in fractions of a gram, however, it is not practical to weigh small amounts of ingredients like baking powder and salt.  For these, I stick to teaspoons and tablespoons when I publish recipes though I often weigh these ingredients, too.  Remember, though, that a standard teaspoon is now treated as if it were 5 ml, and a tablespoon 15 ml, even though both are just a smidge less, at least in America.

We picked a few oranges for a course on preserves at the Italian Culinary Institute

Although the recipe app will convert metric measures to non-metric, I’ll be happy to supply anyone with ingredient quantities in the typical volume-based American system upon request.

Print Recipe
Olive Oil Cake (Torta all’Olio d’Oliva)
This is a cake which definitely benefits from sitting, tightly covered, at room temperature for two days before serving. The flavors mellow and the olive oil diffuses throughout the cake. For the topping, use a brown sugar that is not soft and moist but rather granular. Use a good quality orange liqueur such as Arancello (sometimes called orangecello in the United States) or Grand Marnier.
Votes: 0
Rating: 0
You:
Rate this recipe!
Cuisine Italian
Prep Time 20 minutes
Cook Time 60 minutes
Passive Time 2 hours
Servings
people
Ingredients
Cuisine Italian
Prep Time 20 minutes
Cook Time 60 minutes
Passive Time 2 hours
Servings
people
Ingredients
Votes: 0
Rating: 0
You:
Rate this recipe!
Instructions
  1. Oil a 9” springform pan with olive oil.
  2. Cover the bottom with parchment and oil the parchment.
  3. Sprinkle the pan with sugar and dump out the excess. Even if you spread out the oil precisely it will tend to bead up, unlike butter, so there will be some sugar clumps. Don't be concerned.
  4. Combine the flour, cornmeal, baking powder, baking soda and salt. Mix well and reserve.
  5. Combine the liqueur, lemon juice and vanilla. Reserve.
  6. In a planetary mixer, using the whisk, beat the sugar, eggs and orange zest on high speed until thick and ribbon-like, approximately 3-4 minutes.
  7. Still on high speed, slowly drizzle in the olive oil and beat until fully incorporated.
  8. The batter should get thicker.
  9. On low speed, add the flour mixture, in three additions, alternating with the liquid mixture, in two additions, starting and ending with flour. Scrape the bowl once or twice to ensure an even mix.
  10. Pour into the prepared springform pan.
  11. Sprinkle the top with brown sugar.
  12. Bake at 350°F until brown, firm on top, and a cake tester comes out clean; approximately 60 minutes. Do not underbake the cake or it will fall as it cools.
  13. Cool the cake for 15 minutes in the pan then poke the top all over with a skewer.
  14. Drizzle 2 tablespoons of olive oil on the cake and allow it to absorb.
  15. Remove the side of the pan and cool completely.
  16. When the cake is cool, remove it from the base of the springform pan. Wrap it in plastic and allow to rest at room temperature for at least one day, preferably two, before serving.
Recipe Notes

Copyright © 2021 by Villa Sentieri, LLC. All rights reserved.

Share this Recipe

Maraschino Cherry Cake

July 18, 2018

In  September 2012, at a wine paring dinner at The Compound Restaurant in Santa Fe during the holy days of Santa Fe Wine and Chile Fiesta, a group of us hatched an idea to start a dinner group.

After a lot of discussion and email exchanges, we decided to name the group Santa Fe Ate, both for what we do and for the (play on the words regarding the) number of people in the group.

From the “Things You Can Cook in a Wood-Burning Oven” dinner: Roasted Cauliflower with whipped Goat Cheese, Ricotta, and Olive Oil Dip and Cannellini alla Toscana

We had our first dinner in January 2013 and we’ve been going strong ever since.  We meet about once every three months, rotating houses.  At each dinner we decide the theme for the next dinner.  This may not be the best time to make such a consequential decision given the amount of alcohol typically consumed.  For example, one of our themes was French Indo-China 1920s to 1930s!

Join our mailing list and you’ll never miss a recipe again!

Frank and Doug don’t really cook so their group assignment is always to come up with a signature cocktail and appropriate wine pairings for each course.  They have leeway to be creative in finding or creating a cocktail, which they have to do for even for cultures where drinking alcohol is not really common.  If the theme of the dinner relates to a wine producing region, the wines are generally from that region to the extent feasible.

From the French Indo-China 1920s to 1930s dinner: Cambodian Fish Amok (Fish and Coconut Milk Curry Baked in Banana Leaves)

The other six of us do successive rounds of emails refining the list of dishes to be prepared and organizing them into courses.  Our task is to be as authentic to the theme as possible.

French Indo-China 1920s to 1930s was probably our most narrow theme.  Others have included, for example, Summer in Provence, Winter in Friuli, Along the Silk Road, Persia (not Iran but Persia), Comfort Food, and Things You Can Cook in a Wood-Burning Oven (for which the entire meal was cooked in our outdoor wood-burning oven).

The only meal we’ve had which strayed from the basic plan was Timballo.  Timballo is a (typically large) pastry-encased and baked dish of layered pasta, hardboiled eggs, cheese, meatballs, and other meats, all moistened with tomato sauce.  Each of the cooks was assigned one or more components of the timballo to make at home.  We got together to assemble and bake the final dish.  This was a multi-hour process, even with all the prep work done in advance.

Unmolding the timballo

To help pass the time, Frank and Doug devised a blind wine-tasting in which we had to try to identify the varietal and provenance of each wine.  I believe the eight of us tasted six bottles of wine.  After we finished those, we opened some more.  This was the dinner at which we decided the theme of French Indo-China 1920s to 1930s.  You may notice a correlation between alcohol intake and unusual dinner themes!

Follow us on your social media platform of choice


Earlier this year, our theme was Betty Crocker’s Picture Cook Book, first edition, published in 1950.  Every dish had to come from the cookbook with no changes, substitutions or updating unless absolutely necessary.  One of the appetizers was anchovies rolled around cornichons!

Betty Crocker’s Picture Cook Book, 1950, First Edition

The food was actually surprisingly good.  I suspect part of that was related to how each of us selected our dish or dishes (Becky, who did appetizers selected three!).  The wines were, undoubtedly, fabulous.  In the United States, if you were drinking wine in the 1950s you were likely drinking French wine, and good French wine, at that!  On that night, so were we!

I made a Maraschino Cherry Cake with Almond Crème Filling and Maraschino Boiled Frosting.  Though if I were making the cake again, I would probably substitute my recipe for Italian Pastry Cream for Betty’s Crème Filling, I really wouldn’t make any other changes.

Here’s the recipe directly from the first edition of the Betty Crocker Picture Cookbook with a few minor adaptions of the technique by me.  For you bakers out there, I’m providing the original sea-level measurements as published in the cookbook.  Since I baked this at nearly 8000 feet in elevation, I followed Betty’s recommendations for adjusting for high altitude.

Getting ready to make Maraschino Cherry Cake
Print Recipe
Maraschino Cherry Cake
You can divide the work for this cake over several days. The filling can be made up to three days in advance and refrigerated, tightly covered. Stir in the toasted almonds just before using. The cake layers can be made a day in advance, wrapped tightly and refrigerated. The frosting should be made when you’re ready to frost the cake. The original recipe called for “rich milk” in the almond crème filling. Remember, this recipe was published before the advent of homogenized milk. Half-and-half is a good substitute. Except in professional recipes, it is rare to see egg whites measured in volume but it is a very good idea as the white, much more than the yolk, varies with the size of the egg.
Votes: 0
Rating: 0
You:
Rate this recipe!
Prep Time 1 hour
Cook Time 1 1/2 hours
Passive Time 6 hours
Servings
people
Ingredients
Maraschino Cherry Cake
Almond Crème Filling
Maraschino Cherry Cooked Frosting
Prep Time 1 hour
Cook Time 1 1/2 hours
Passive Time 6 hours
Servings
people
Ingredients
Maraschino Cherry Cake
Almond Crème Filling
Maraschino Cherry Cooked Frosting
Votes: 0
Rating: 0
You:
Rate this recipe!
Instructions
Maraschino Cherry Cake
  1. Sift together the flour, baking powder and salt. Reserve.
  2. Combine milk and Maraschino cherry liquid. Reserve.
  3. Cream butter.
  4. Cream in sugar until fluffy.
  5. Add dry ingredients in four additions, alternating with milk-juice mixture in three additions. Mix lightly, but well, after each addition.
  6. Stir in nuts and Maraschino cherries.
  7. In a separate bowl, beat egg whites until stiff.
  8. Fold beaten egg whites into batter, using about ¼ of the egg whites first to loosen the batter.
  9. Pour into two greased and floured 9” cake pans.
  10. Bake 350°F approximately 30-35 minutes, until a tester inserted in the center comes out clean.
  11. Cool the pans on a rack approximately 10 minutes.
  12. Remove layers from pans and cool completely.
Almond Crème Filling
  1. Combine the sugar, cornstarch, salt and half-and-half in a heavy-bottomed saucepan.
  2. Bring to a boil, stirring constantly.
  3. Slowly pour about half of the boiling half-and-half mixture into the egg yolks, whisking constantly, to temper the yolks.
  4. Put the saucepan with the remaining half-and-half mixture back on the heat.
  5. Pour the tempered yolks back into the saucepan, whisking constantly.
  6. Bring the mixture to a boil. Boil 1 minute, stirring constantly.
  7. Remove from the heat and stir in the almond and vanilla extracts.
  8. Pour the pastry cream into a bowl. Cover with plastic wrap, putting the wrap directly on the pastry cream to avoid a skin.
  9. Refrigerate until cold.
  10. Stir in chopped almonds just before using.
  11. Just before making the frosting, put one cake layer on a serving platter. Top with Almond Crème Filling.
  12. Top with second layer.
Maraschino Cherry Cooked Frosting
  1. Combine the egg whites, sugar, cream of tartar and Maraschino cherry liquid in a double boiler.
  2. Cook over boiling water, beating constantly with an electric mixer until a spreadable consistency, approximately 5-7 minutes. The top of the double boiler should not touch the boiling water in the bottom.
  3. Beat in the vanilla and almond extracts.
  4. Immediately frost sides and top of cake.
  5. Decorate the top with whole Maraschino cherries
Recipe Notes

Copyright © 2018 by Villa Sentieri, LLC. All rights reserved.

Share this Recipe

Totos (Italian Chocolate Spice Cookies)

December 21, 2016

Homemade cookies and pastries were staples of my childhood.  Trays of cookies showed up for holidays, celebrations, weddings, funerals, and, sometimes, for no apparent reason.

My mother along with relatives and friends set up a cookie-making operation that went on every night for weeks leading up to my sister’s wedding.  The overseer was Annie Castagnola, a family friend.  She had a thin spiral-bound 3-inch-by-5-inch notebook of cookie recipes.  The notebook was the kind we used in grade school to write down our homework assignments.  Annie’s recipes were a curated collection gathered from a host of “old Italian women,” my grandmother included.

The little notebook was coveted by more than a few cooks.  Annie, however, did not share her recipes, even when those recipes came from relatives of the very people who were asking for them.  I know, my mother was one of those people who wanted some of her mother’s recipes.  Annie wouldn’t budge.  The situation got resolved, however, during the cookie-baking marathon for my sister’s wedding.  One night, Annie left her little notebook at our house overnight.  Nobody’s confessing, but there are a few cookie recipes in my mother’s recipe box (sitting on my bookcase) written in my twelve-year-old hand.

Annie died a while back.  Her little notebook is most likely gone forever and along with it the baking secrets of a whole group of “old Italian women.”

Of all the cookies that showed up throughout the year, my favorites were the various kinds of cakey cookies, my mom’s Genets, Aunt Margie’s aptly named “Colored Cookies,” and my cousin Angie Catanese’s Sesame Seed Cookies, to name a few.  These cakey cookies, which were not very sweet by American standards, were usually little balls but not always.  Genets are lemon flavored knots.  Colored Cookies are vanilla flavored balls, each made with four or five pinches of dough of different colors rolled together.  Sesame cookies are little logs, perfect for dunking into some Vin Santo.  For me, though, the best of these cakey cookies are Totos, little chocolate spice balls.

Print Recipe
Totos (Italian Chocolate Spice Cookies)
These little chocolate balls are intended to have a good kick from an array of spices. Lard is the traditional shortening to use. I render my own. If you need these to be vegetarian, or you just don't want to use lard, you can use solid vegetable shortening. Heck, you can even use clarified butter but that is way off the traditional scale!
Votes: 18
Rating: 3.83
You:
Rate this recipe!
Cuisine Italian
Prep Time 45 minutes
Cook Time 2 hours
Servings
dozen cookies
Ingredients
Cookies
Icing
Cuisine Italian
Prep Time 45 minutes
Cook Time 2 hours
Servings
dozen cookies
Ingredients
Cookies
Icing
Votes: 18
Rating: 3.83
You:
Rate this recipe!
Instructions
Cookies
  1. In a small saucepan, melt the lard over low heat. When just melted, remove the lard from the heat and allow to cool slightly.
  2. Meanwhile, combine the flour, cocoa, baking powder, baking soda, salt, cloves, cinnamon, allspice, and nutmeg together. Reserve.
  3. Make the icing and reserve.
  4. Put the sugar into a large mixing bowl. Add the cooled but still liquid lard and mix well until thoroughly combined. The mixture will be gritty. I recommend doing this by hand with a mixing spoon but you could use a portable electric mixer.
  5. Add the eggs one at a time to the sugar and lard mixture, mixing well after each addition. The sugar should dissolve as the eggs are added.
  6. Add the milk, honey, vanilla extract and lemon extract to the egg mixture. Mix until well combined.
  7. Add the reserved dry ingredients. At this point there really is no better option than to reach into the mixture with your hand and get everything well combined. The dough will be somewhat sticky. Be certain that all the dry bits are scraped off the bottom and sides of the bowl and combined into the dough.
  8. Roll the dough into walnut-sized balls. If you want to weigh the first few to get the size correct, they should be between 21 and 22 grams.
  9. Space the cookies several inches apart on ungreased cookie sheets. Bake at 375°F for 8-10 minutes until the cookies are very slightly browned on the bottom but still soft when touched. They have a tendency to crack as they bake. This is normal. You can bake two trays at a time, one in the lower third of the oven and one in the upper third. Be sure to switch the top and bottom cookie sheets after five minutes and also turn them front to back.
  10. As soon as you remove the cookies from the oven, carefully put them on cooling racks.
  11. Ice them immediately by holding a cookie with one hand and using the tip of your finger to spread a dollop of icing on the top half of each cookie. The icing should be a glaze, not a thick coating. Put the iced cookies on cooling racks to cool completely.
  12. Well wrapped, the cookies can be refrigerated for several weeks or frozen for several months.
Icing
  1. Melt the butter. Add the sugar, vanilla (or lemon) extract and 2 tablespoons of milk. Mix well. Add more milk, a teaspoon at a time, if needed, to make a thick icing that will hold its shape and spread well.
  2. It may be necessary to add a bit of milk from time to time if the icing stiffens up over the course of icing each batch of cookies as they come out of the oven.
Recipe Notes

Check out my method for rendering lard.

I prefer to grind my own spices using a small electric coffee grinder, except for the nutmeg, of course, for which I use a small grater. It is best to pass the ground spices through a small strainer to get out any small bits. If you don’t grind your own spices be sure to buy really fresh ground ones so the flavor is vibrant.

This recipe doesn’t involve any strenuous beating so the first few steps can easily be completed by hand with a sturdy mixing spoon rather than with a mixer. Similarly, after adding the dry ingredients, the dough only needs to be mixed enough to come together. This is easily (and traditionally) done with your hand though I suppose a dough hook would work, too.

Copyright © 2016 by VillaSentieri.com. All rights reserved.

Share this Recipe