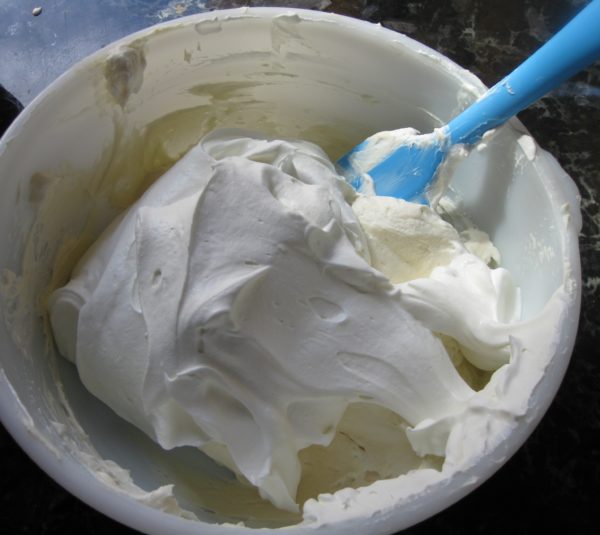
Ricotta Fatta in Casa (Home-Made Ricotta)

March 25, 2020

I’ve been at home now for more than two weeks with just a weekly shopping trip to take me “off the mountain” as we say in our house.

This has given me ample time to catch up on some projects and start others.  It certainly gives me a lot more leeway to plan out a lot of cooking adventures.

Three days ago, I made 19 pounds of ‘ndjua.  It was a great project for a Sunday.  Well, these days, almost every day is like Sunday.

‘Nduja hanging in our wine room to age.

Making the ‘nduja, which is roughly 25% red pepper, wiped me out of the supply of peperoncino piccante in polvere (ground hot red pepper) that I brought back from Calabria in September.  In fact, I had to supplement with red pepper from India that I bought at an international food store in Las Vegas, NV a couple of months ago for just such an eventuality.


Join our mailing list and you’ll never miss a recipe again!


I’ve used up half of my supply of nero di seppia (cuttlefish ink… what, in America, we call squid ink except that it’s not from squid…it’s from cuttlefish), also brought back from Calabria.

The same is true for my lievito madre, powdered mother yeast.  It’s a combination of commercial yeast and “natural” yeast.  It’s sort of like a sourdough starter except that it’s not sour and you don’t keep the culture going.  You just use the powdered stuff as needed.

These are all common supermarket or open-air market items in Italy.
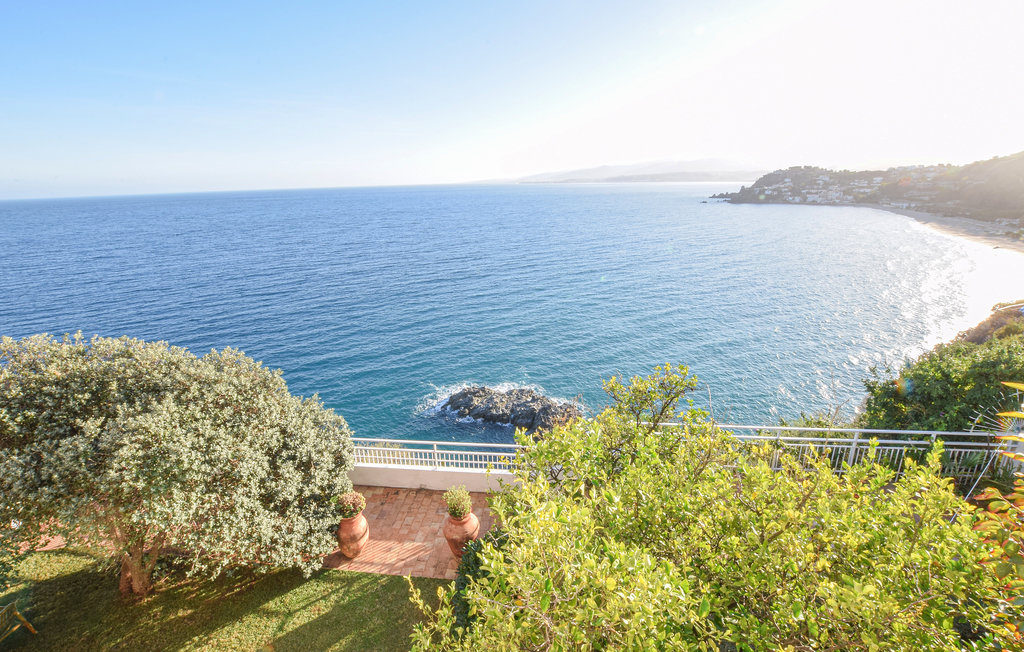
A view from the villa where we hope to spend the month of September.

We have plans to spend a month in a villa in Calabria this fall.  I have been honing my shopping list for months but I’m now concerned that the trip might not happen as planned.  It’s still a bit too early to know for sure but I’m getting myself mentally prepared for cancellation.

Meanwhile, I do what I love.  I cook.  Even if it means that I might use up precious supplies with the prospect that there may be no reasonable means of restocking in the near future.


Follow us on your social media platform of choice


Two days ago, I made stuffed and rolled flank steak.  One day last week I made a batch of black pasta (with, ahem, cuttlefish ink) that I tossed with fresh scallops and mushrooms. I made a killer sous vide rib eye roast on Sunday.  It bobbed along, all seasoned up, in a vacuum sealed bag with my sous vide doing all the hard work while I made ‘nduja.

The ‘nduja was done, and hung, in time for me to pour a bourbon, take the roast out of the bag and sear it, and cook some veggies.
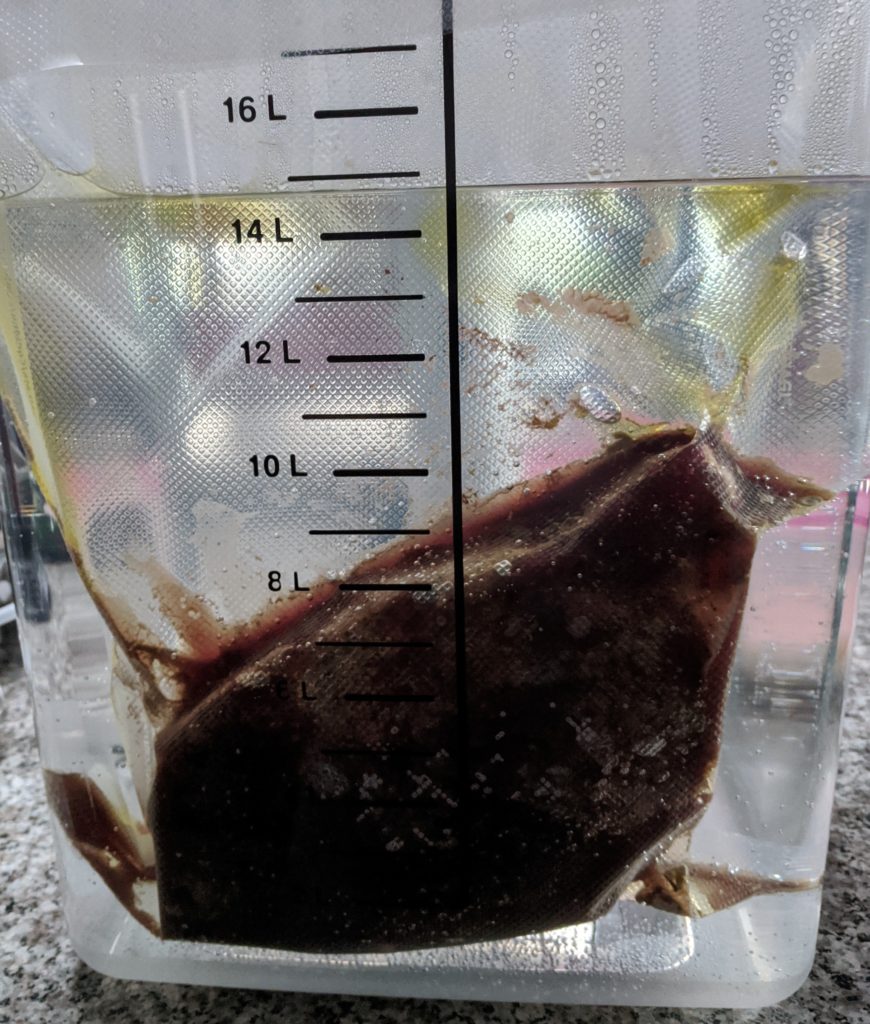
Rib eye cooked unattended sous vide while I made ‘nduja.

I’m comforted to know that in about two months there’ll be lots of ‘ndjua to enjoy.

If you’re stuck at home, why not consider making something new—like ricotta.  All you need is milk, vinegar and salt (and, if you wish, a little cream).  Once you’ve made ricotta, you can drizzle it with honey and serve it for dessert or turn it into Sancarlin and serve it with some garlicky crostini.
Print Recipe
Ricotta Fatta in Casa (Home-made Ricotta)
You can replace the cream with an equal amount of whole milk but using cream improves the yield. Because the boiling point of water (and thus milk) is much lower where I live in Santa Fe, I target a temperature between 192°F and 195°F. At sea level, you can go up to 203°F. What you don’t want to do is to have bubbles break the surface of the milk, though there will be some foaming around the edges.
Votes: 0
Rating: 0
You:
Rate this recipe!
Cuisine Italian
Prep Time 15 minutes
Cook Time 20 minutes
Passive Time 30 minutes
Servings
pounds
Ingredients
Cuisine Italian
Prep Time 15 minutes
Cook Time 20 minutes
Passive Time 30 minutes
Servings
pounds
Ingredients
Votes: 0
Rating: 0
You:
Rate this recipe!
Instructions
  1. Warm the milk, cream, and salt in a heavy bottomed pan over medium heat.
  2. Stir occasionally until it reaches 170°F. Stir more frequently after that, and almost constantly once it reaches 185°F until the targt temperature is reached, 192°F or higher as described in the headnote.
  3. When it reaches the target temperature, add the vinegar and stir well. Turn off the heat and move the pot off the heating element. Even if you’re using a gas stove the grate will remain hot and can increase the temperature of the milk too much.
  4. Allow the milk to sit undisturbed. Curds should form a raft floating on top in 10 minutes. If curds do not form, add 1 tablespoon more vinegar, stir well, and wait 5-10 minutes more.
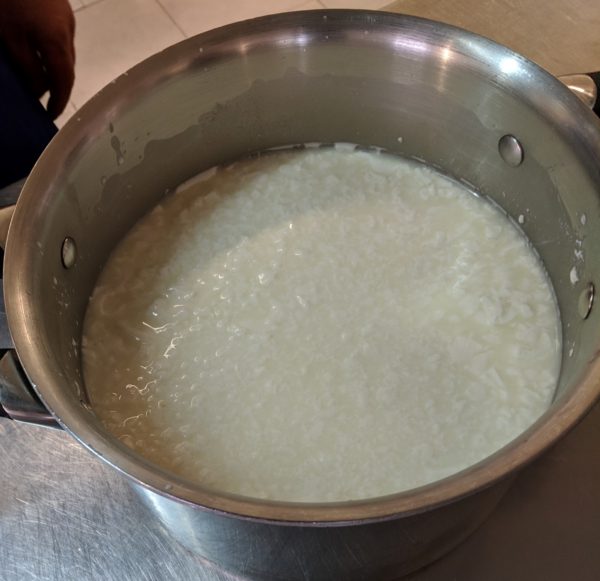
  5. Cut the curds into one-inch cubes with a knife.
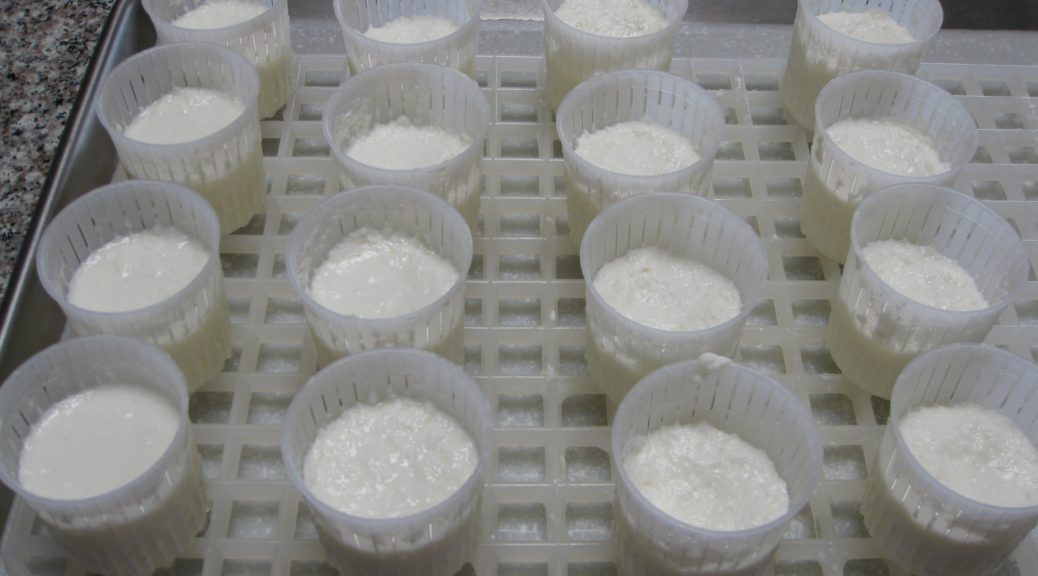
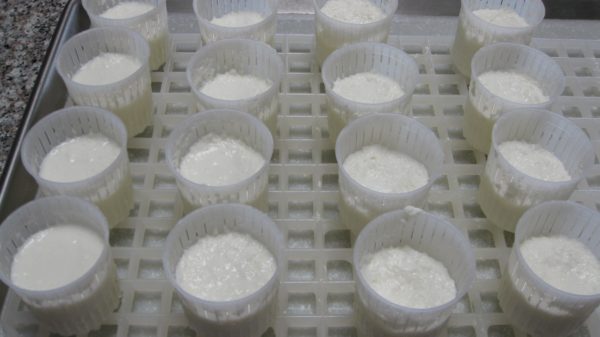
  6. Lift the curds into cheese molds set on a grate to drain.
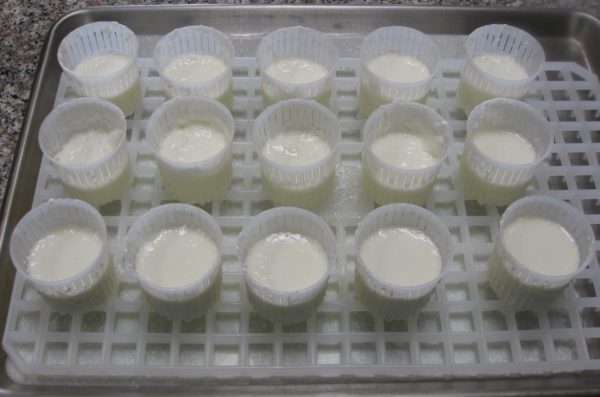
  7. Alternatively put the curds into a strainer lined with a double thickness of cheesecloth.
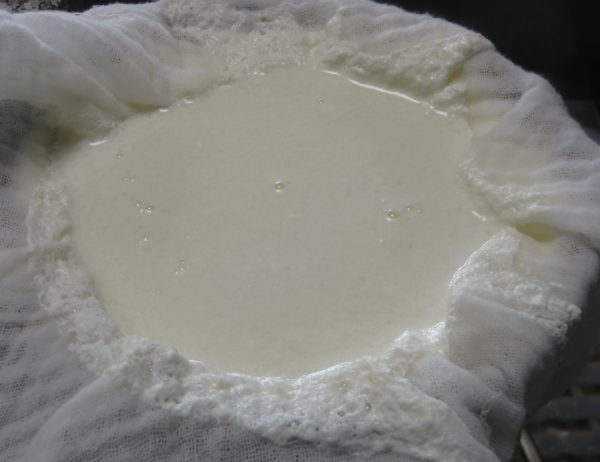
  8. Drain until the ricotta is as dry as desired based on how you plan to use it. The ricotta will be slightly stiffer once it is chilled so do not drain it too much.
  9. Once drained, the ricotta can be stored with the bottom sitting in a little of the whey to keep it moist. It will not reabsorb liquid once it has drained out.
Recipe Notes

Copyright © 2020 by Villa Sentieri, LLC. All rights reserved.

Share this Recipe

Jim’s Hawaiian Guava Cake

October 25, 2017

“Aloha Mr. Van Sant.”

So began a 2003 email from Simon Rusconi, the Hotel Manager of the Sheraton Moana Surfrider Resort on Oahu.

Mr. Van Sant, Jim to the rest of us, had complimented the resort on its guava cake and Mr. Rusconi was writing to share the recipe.

Jim printed out the email and affixed it to an index card and put it in his recipe box. Late in 2016, the subject of the guava cake came up somehow at a dinner party at Jim and Bill’s house. Jim offered to share the recipe with me if I was interested.

I was, and I said that I’d make it for him. Shortly thereafter, the original recipe arrived in the mail still affixed to the index card. Not wanting to keep his original, I scanned it into my recipe database and returned the hardcopy.

Since Jim and Bill rent a home in Palm Springs just steps from our house, and since baking cakes at nearly 8000 feet where I live in New Mexico is an iffy proposition, at best, I said I’d bake the cake in Palm Springs. Every winter they rent the Oscar Mayer House. Yes, that Oscar Mayer!

We had a delightful luncheon at tables set up around their pool with guava cake for dessert.

The back of the Oscar Mayer house in Palm Springs, California
Inside the Oscar Mayer House
The front of the Oscar Mayer House

But that’s jumping ahead.

Receiving the recipe from Jim was merely the beginning. I became fascinated by guava cake without having even made one. Almost any recipe with the degree of cultural significance that guava cake seemed to garner grabs my attention. I did internet searches and combed through my Hawaiian cookbooks (of which I have a goodly number).

It appears that there are basically three variations of guava cake in Hawaii: Guava Chiffon Cake, Guava Spice Cake, and (plain old) Guava Cake. Recipes for the last often start with a box of cake mix and use Cool Whip in the cream cheese frosting.

From what my research has revealed, the original was a Guava Chiffon Cake invented by Herbert Matsuba, owner of the Dee Lite Bakery, in the early 1960s.

The popularity of the cake no doubt led to multiple copycat recipes, including those using a box of cake mix and Cool Whip aimed at the home cook.

The recipe from the Moana Surfrider was a Guava Spice Cake. I followed the recipe closely the first time except that I needed to find a substitute for frozen concentrated guava nectar which I was unable to find after scouring 10 grocery stores in Palm Springs and nearby desert towns.

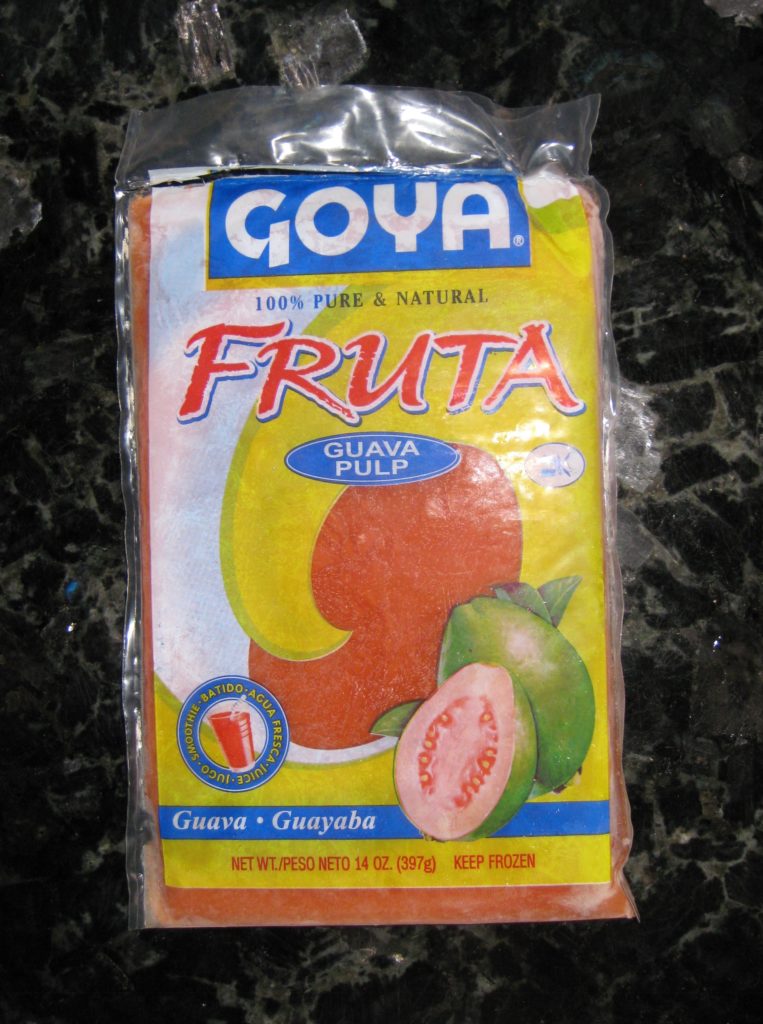
I ultimately was able to source pure guava puree at a market catering to Hispanic shoppers. It had no sweeteners so I thought I might need to add sugar to the batter in a subsequent trial but for the first round I used the guava puree as a direct substitute for concentrated guava nectar.

Frozen Guava Puree, a much easier to find substitute for frozen concentrated guava nectar

The cake was good but everyone who tasted it failed to taste any guava. It really just tasted like a spice cake. Certainly it was not worth hours of searching for guava concentrate only to have the flavor masked by spices.

Other than guava chiffon cake, which was definitely not the same genre as the cake that Jim had at the Moana Surfrider, I could not find a recipe for plain guava cake that did not start with a box of cake mix. I decided to make the original recipe without the spices.

That did it! The guava flavor came through but something told me that Herbert, a professional baker, might have used something to amp up the guava flavor.

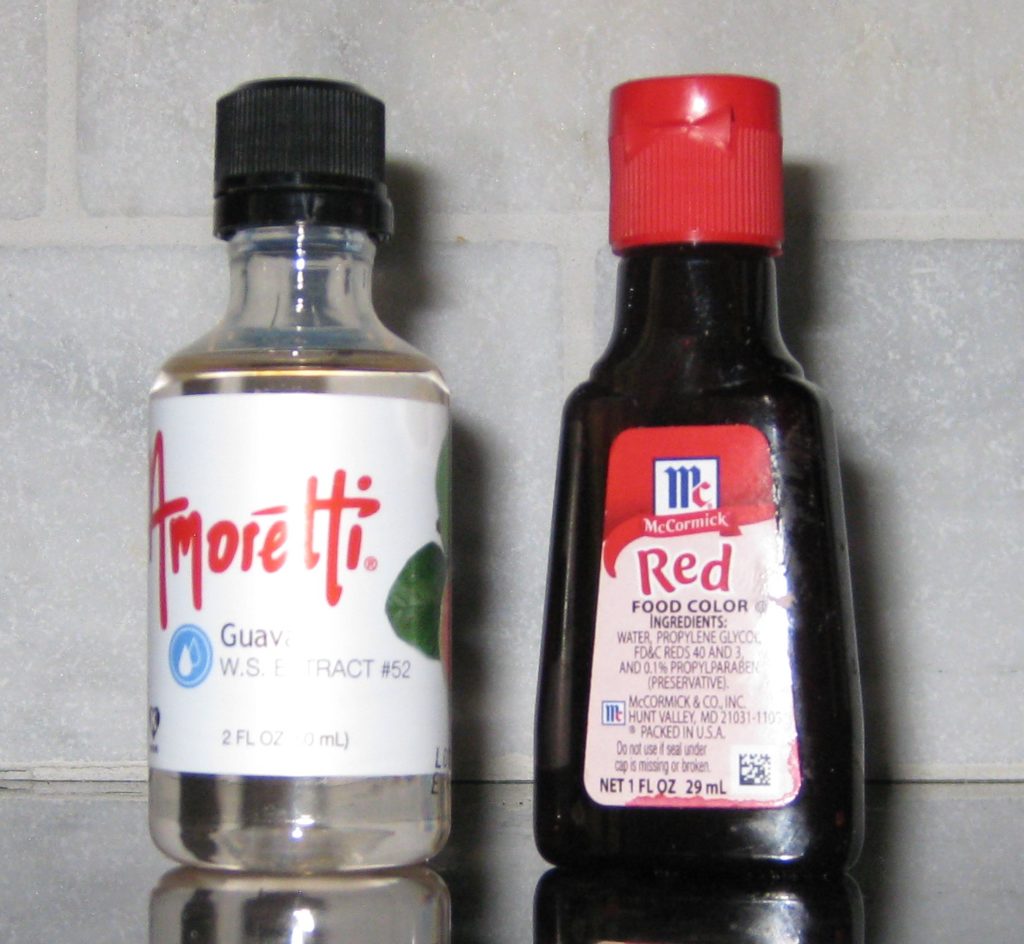
That started me on a search for natural guava extract. I found a wonderful extract made by Amoretti.

You can do without the Amoretti Guava Extract but not the red food coloring.

The next time I made the cake, I added a tiny bit of guava extract to the batter. I believe it enhanced the flavor but if one is not going to make a lot of guava cakes I would consider omitting the guava extract as it is expensive and very concentrated so a little bottle will last a long, long time.

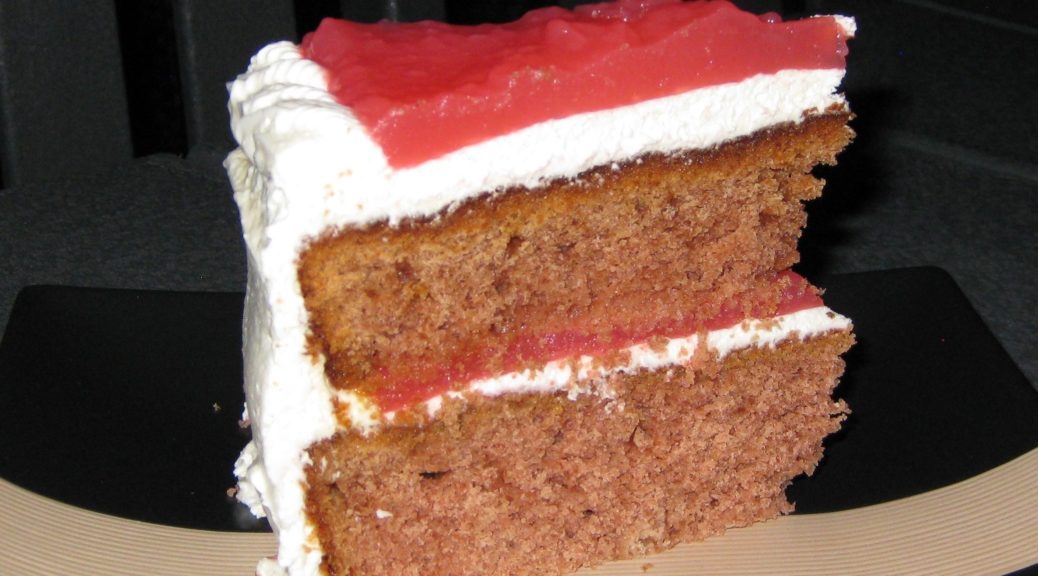
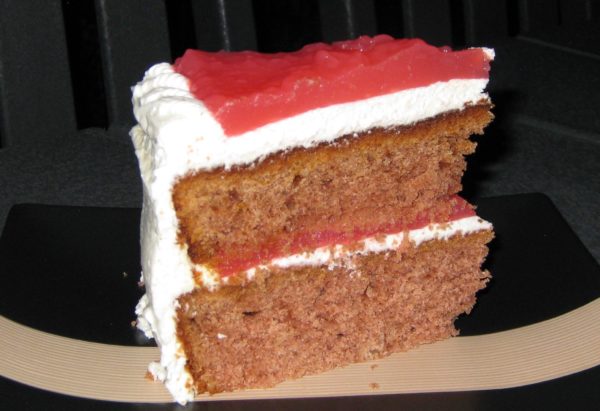
For an everyday cake, I suggest baking it in a 9” x 13” x 2” rectangular pan. For a more special presentation, make a layer cake by dividing the batter between two 9” round pans. If you are doing the latter, make a double batch of cream cheese frosting. You’ll have a little left over but a single batch will not be enough. You could always whip up half a batch of batter and make guava cupcakes to use the extra frosting!

In honor of Oscar Mayer, in whose house we all came together over Jim’s Hawaiian Guava Cake, I recommend the following tribute. Who knew there were so many variations on the Oscar Mayer Wiener theme?


Follow us


Click HERE to join our mailing list and you’ll never miss a recipe again!

Print Recipe
Jim's Hawaiian Guava Cake
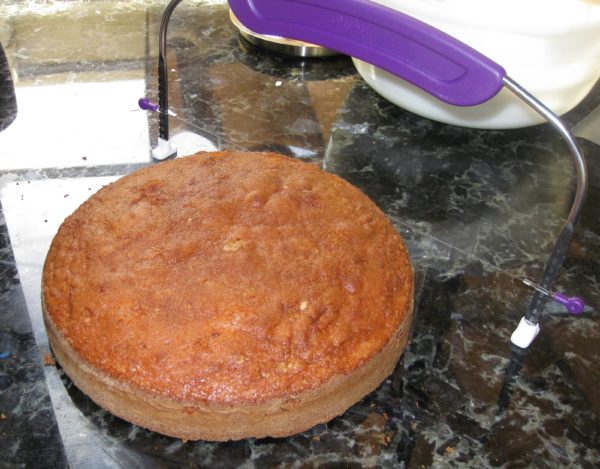
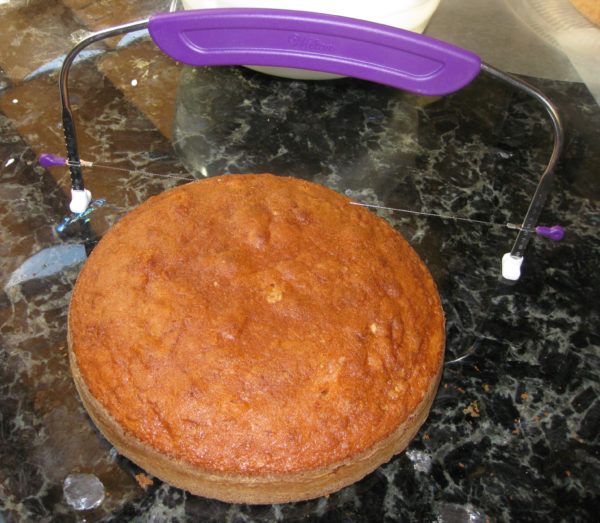
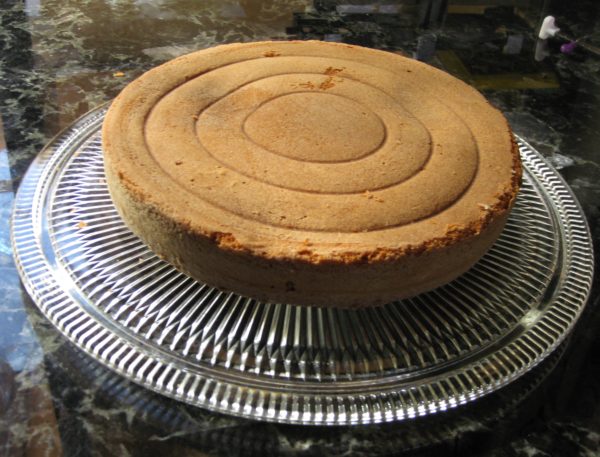
Because frozen, concentrated guava nectar is not readily available except in Hawaii, I standardized this recipe using frozen guava pulp which should be easy to find in large supermarkets or in markets catering to customers from Mexico, Central America, and the Caribbean. It is important that the cream cheese frosting be level so that the guava gel forms an even layer. If you are making a rectangular cake this means there will be a bit more frosting at the edges than in the middle. If you are making a round two-layer cake, I suggest cutting off the tops of the cakes to achieve a perfectly level appearance. Put the cakes cut side down to avoid having lots of crumbs working their way into the cream cheese frosting. Guava nectar can be purchased in cans or refrigerated. Guava pulp is frozen.
Votes: 0
Rating: 0
You:
Rate this recipe!
Prep Time 2 hours
Cook Time 1 hour
Passive Time 3 hours
Servings
people
Ingredients
Cake
Guava Gel
Cream Cheese Frosting (make a double batch for the round cake)
Prep Time 2 hours
Cook Time 1 hour
Passive Time 3 hours
Servings
people
Ingredients
Cake
Guava Gel
Cream Cheese Frosting (make a double batch for the round cake)
Votes: 0
Rating: 0
You:
Rate this recipe!
Instructions
Cake
  1. Butter and flour a 9 x 13 x 2 inch metal cake pan or two 9 inch round cake pans.
  2. Combine flour and baking soda. Reserve.
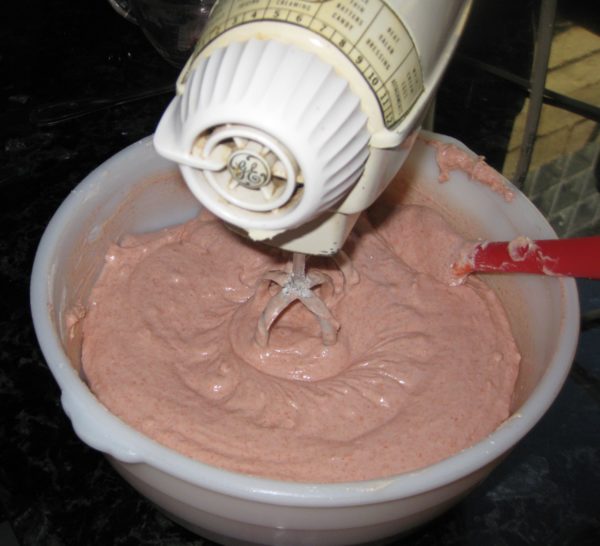
  3. Combine guava puree, guava nectar, guava extract and red food coloring. Reserve.
  4. Cream butter until light. Add sugar and cream until light and fluffy.
  5. Beat in eggs, one at a time, creaming well after each addition.
  6. On low, add dry ingredients alternating with wet ingredients, starting and ending with dry ingredients.
  7. For the rectangular pan: pour the batter into the prepared pan. Smooth the top. Rap the pan on the counter to release any air bubbles.
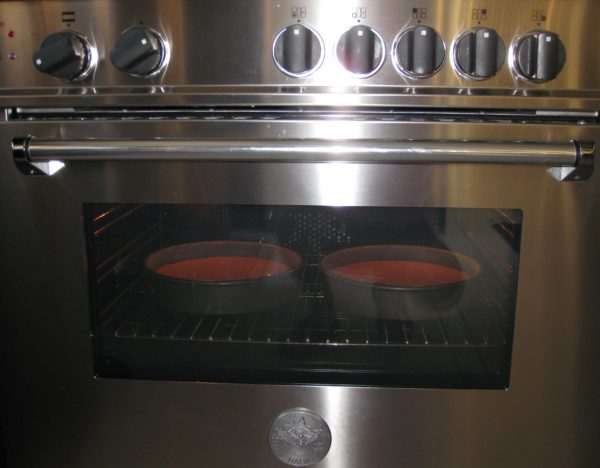
  8. Bake 350°F 40-45 minutes or until a tester comes out clean.
  9. Cool the cake in the pan then refrigerate.
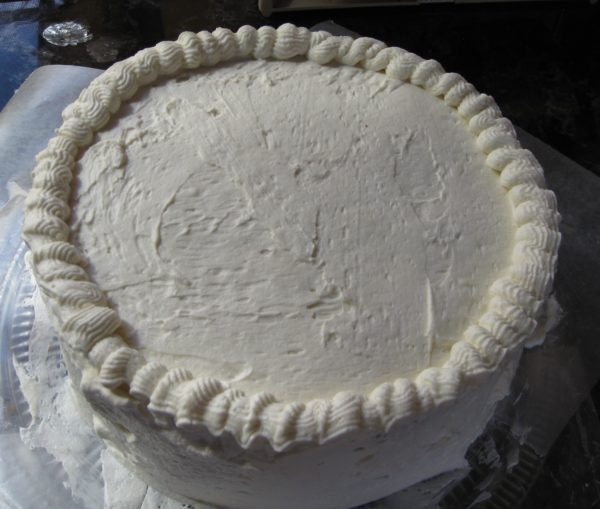
  10. Frost with cream cheese frosting being careful to make the top of the frosting level. Refrigerate several hours to firm up the frosting.
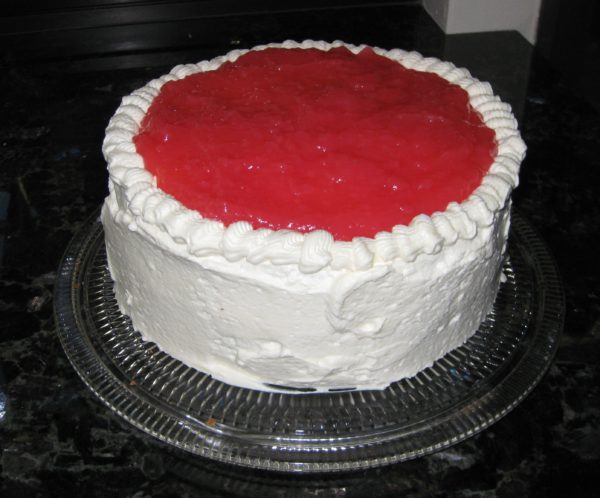
  11. Top with guava gel and smooth out to the edges. Refrigerate several hours to set the frosting and gel.
  12. Bring the cake to room temperature before serving.
  13. For the round pans: Pour the batter into the prepared pans. Smooth the tops. Rap the pans on the counter to release any air bubbles.
  14. Bake 350°F 30-35 minutes or until a tester comes out clean.
  15. Cool the cakes in the pans for 10 minutes. Remove and cool completely on a wire rack.
  16. Wrap the cakes and refrigerate until cold, or up to one day.
  17. Slice the rounded tops of the cakes off to make them level.
  18. x
  19. Put one layer, cut-side-down on a platter.
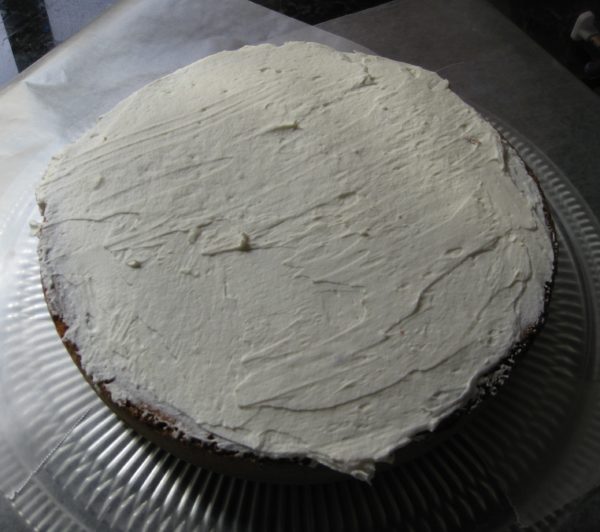
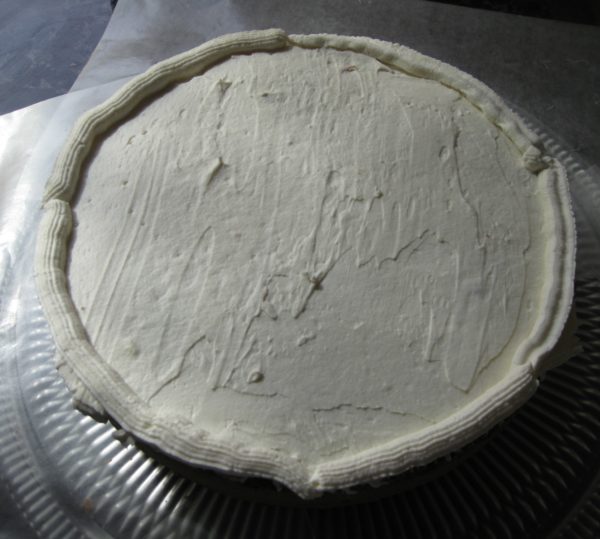
  20. Put a layer of cream cheese frosting on the top of this layer.
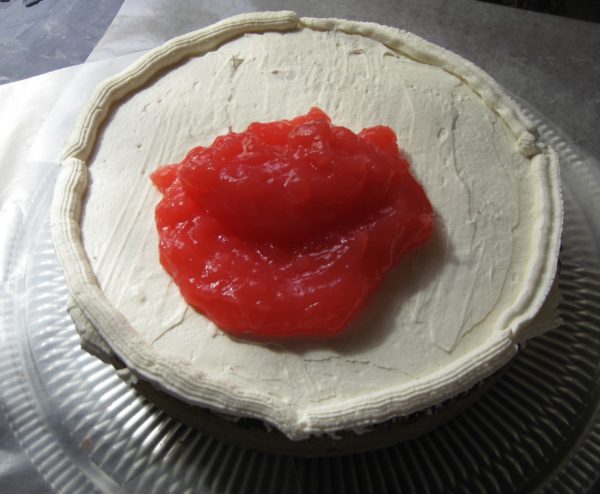
  21. Pipe a rim of frosting around the edge to hold the guava gel. This does not need to be fancy as it will be smoothed out.
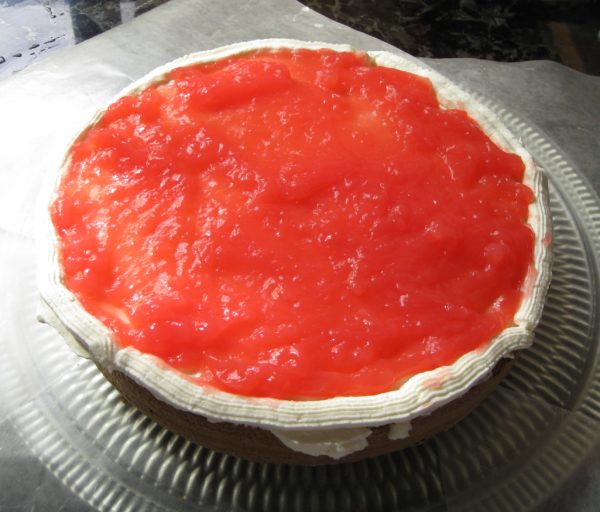
  22. Put just under ½ of the guava gel on top of the frosted bottom layer.
  23. Smooth the gel out to the piped edge.
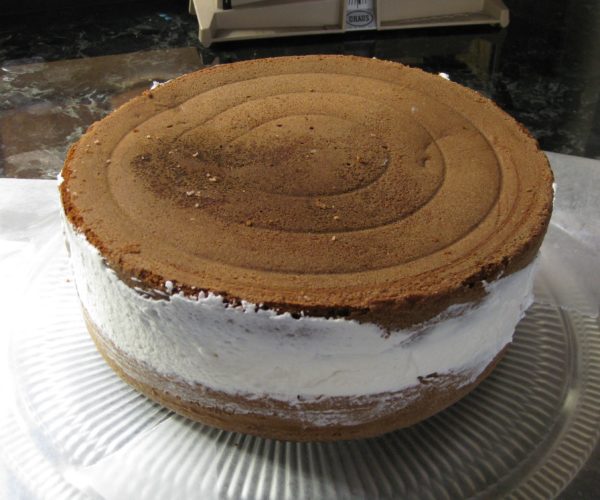
  24. Top with the remaining cake, cut side down.
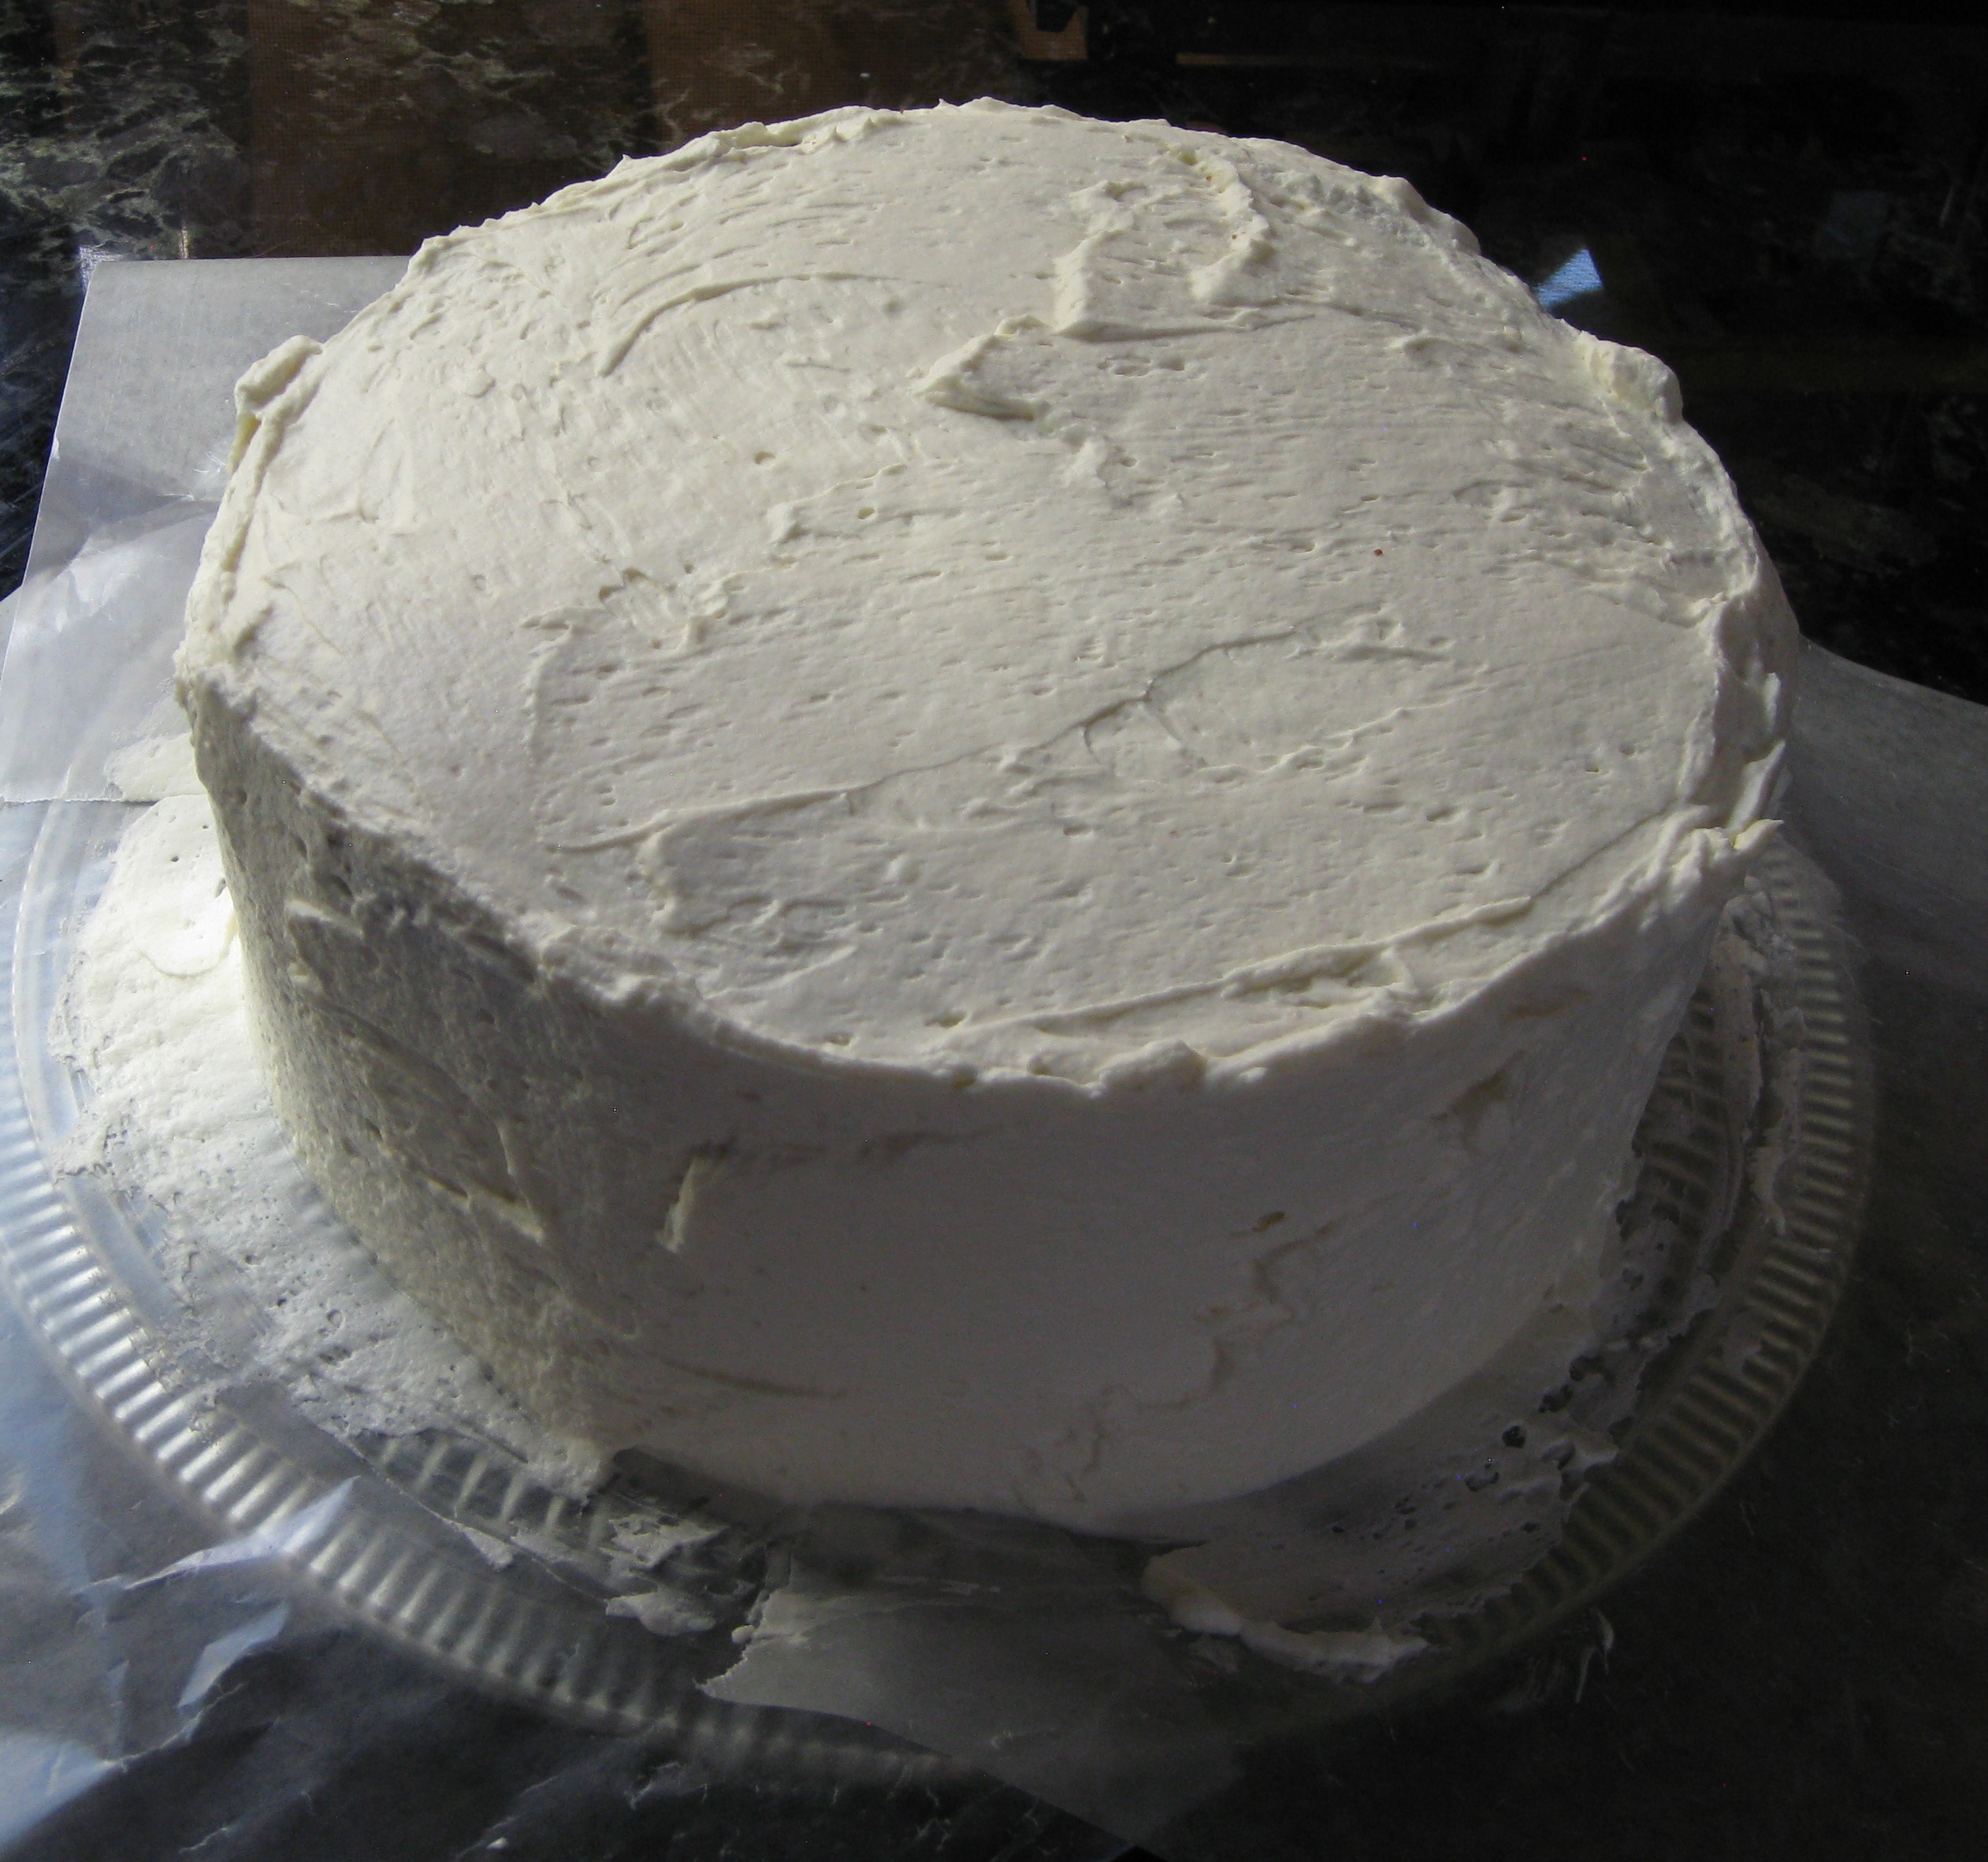
  25. Generously frost sides and top of the cake with cream cheese frosting.
  26. Pipe a decorative border around the edge of the top layer.
  27. Pour the remaining guava gel on top and smooth out to the edges.
  28. Refrigerate several hours to set the frosting and gel.
  29. Bring to room temperature before serving.
Guava Gel
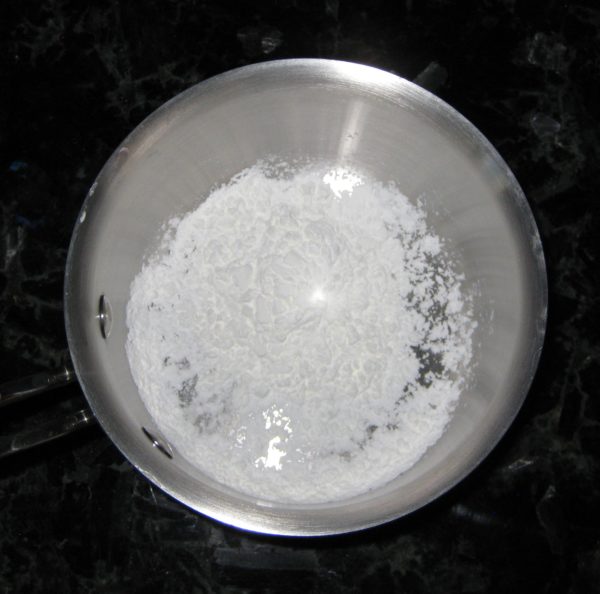
  1. Put the cornstarch in a small heavy-bottomed sauce pan.
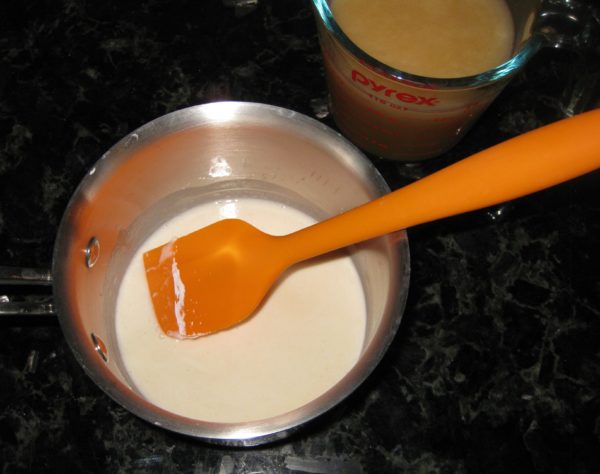
  2. Stir in the guava nectar, a little at a time, to dissolve the cornstarch without forming lumps.
  3. When dissolved, add the remaining guava nectar and sugar.
  4. Cook over medium heat, stirring constantly, until it comes to a full boil.
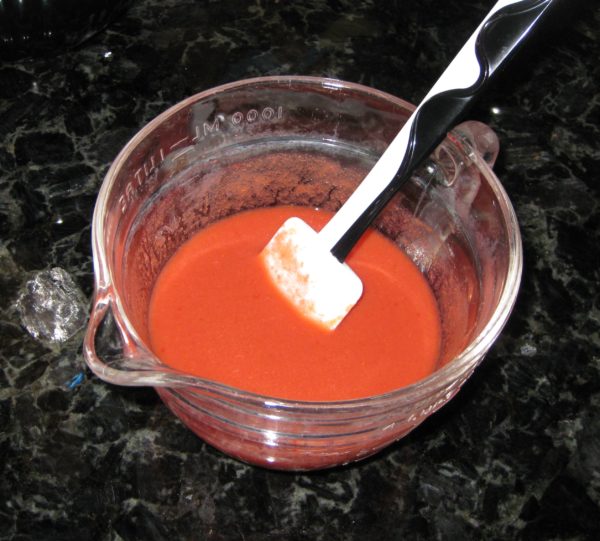
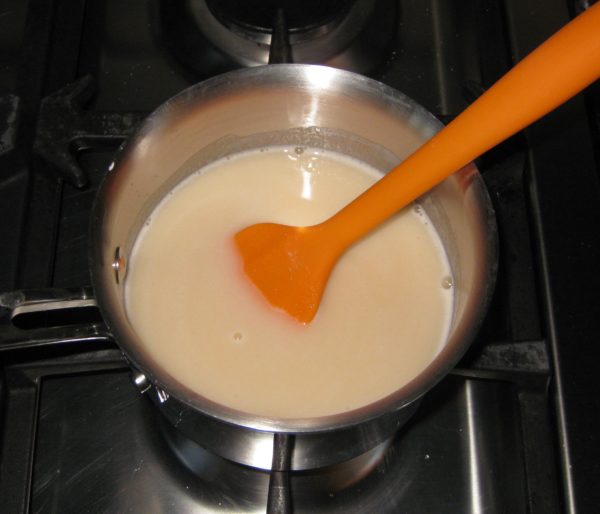
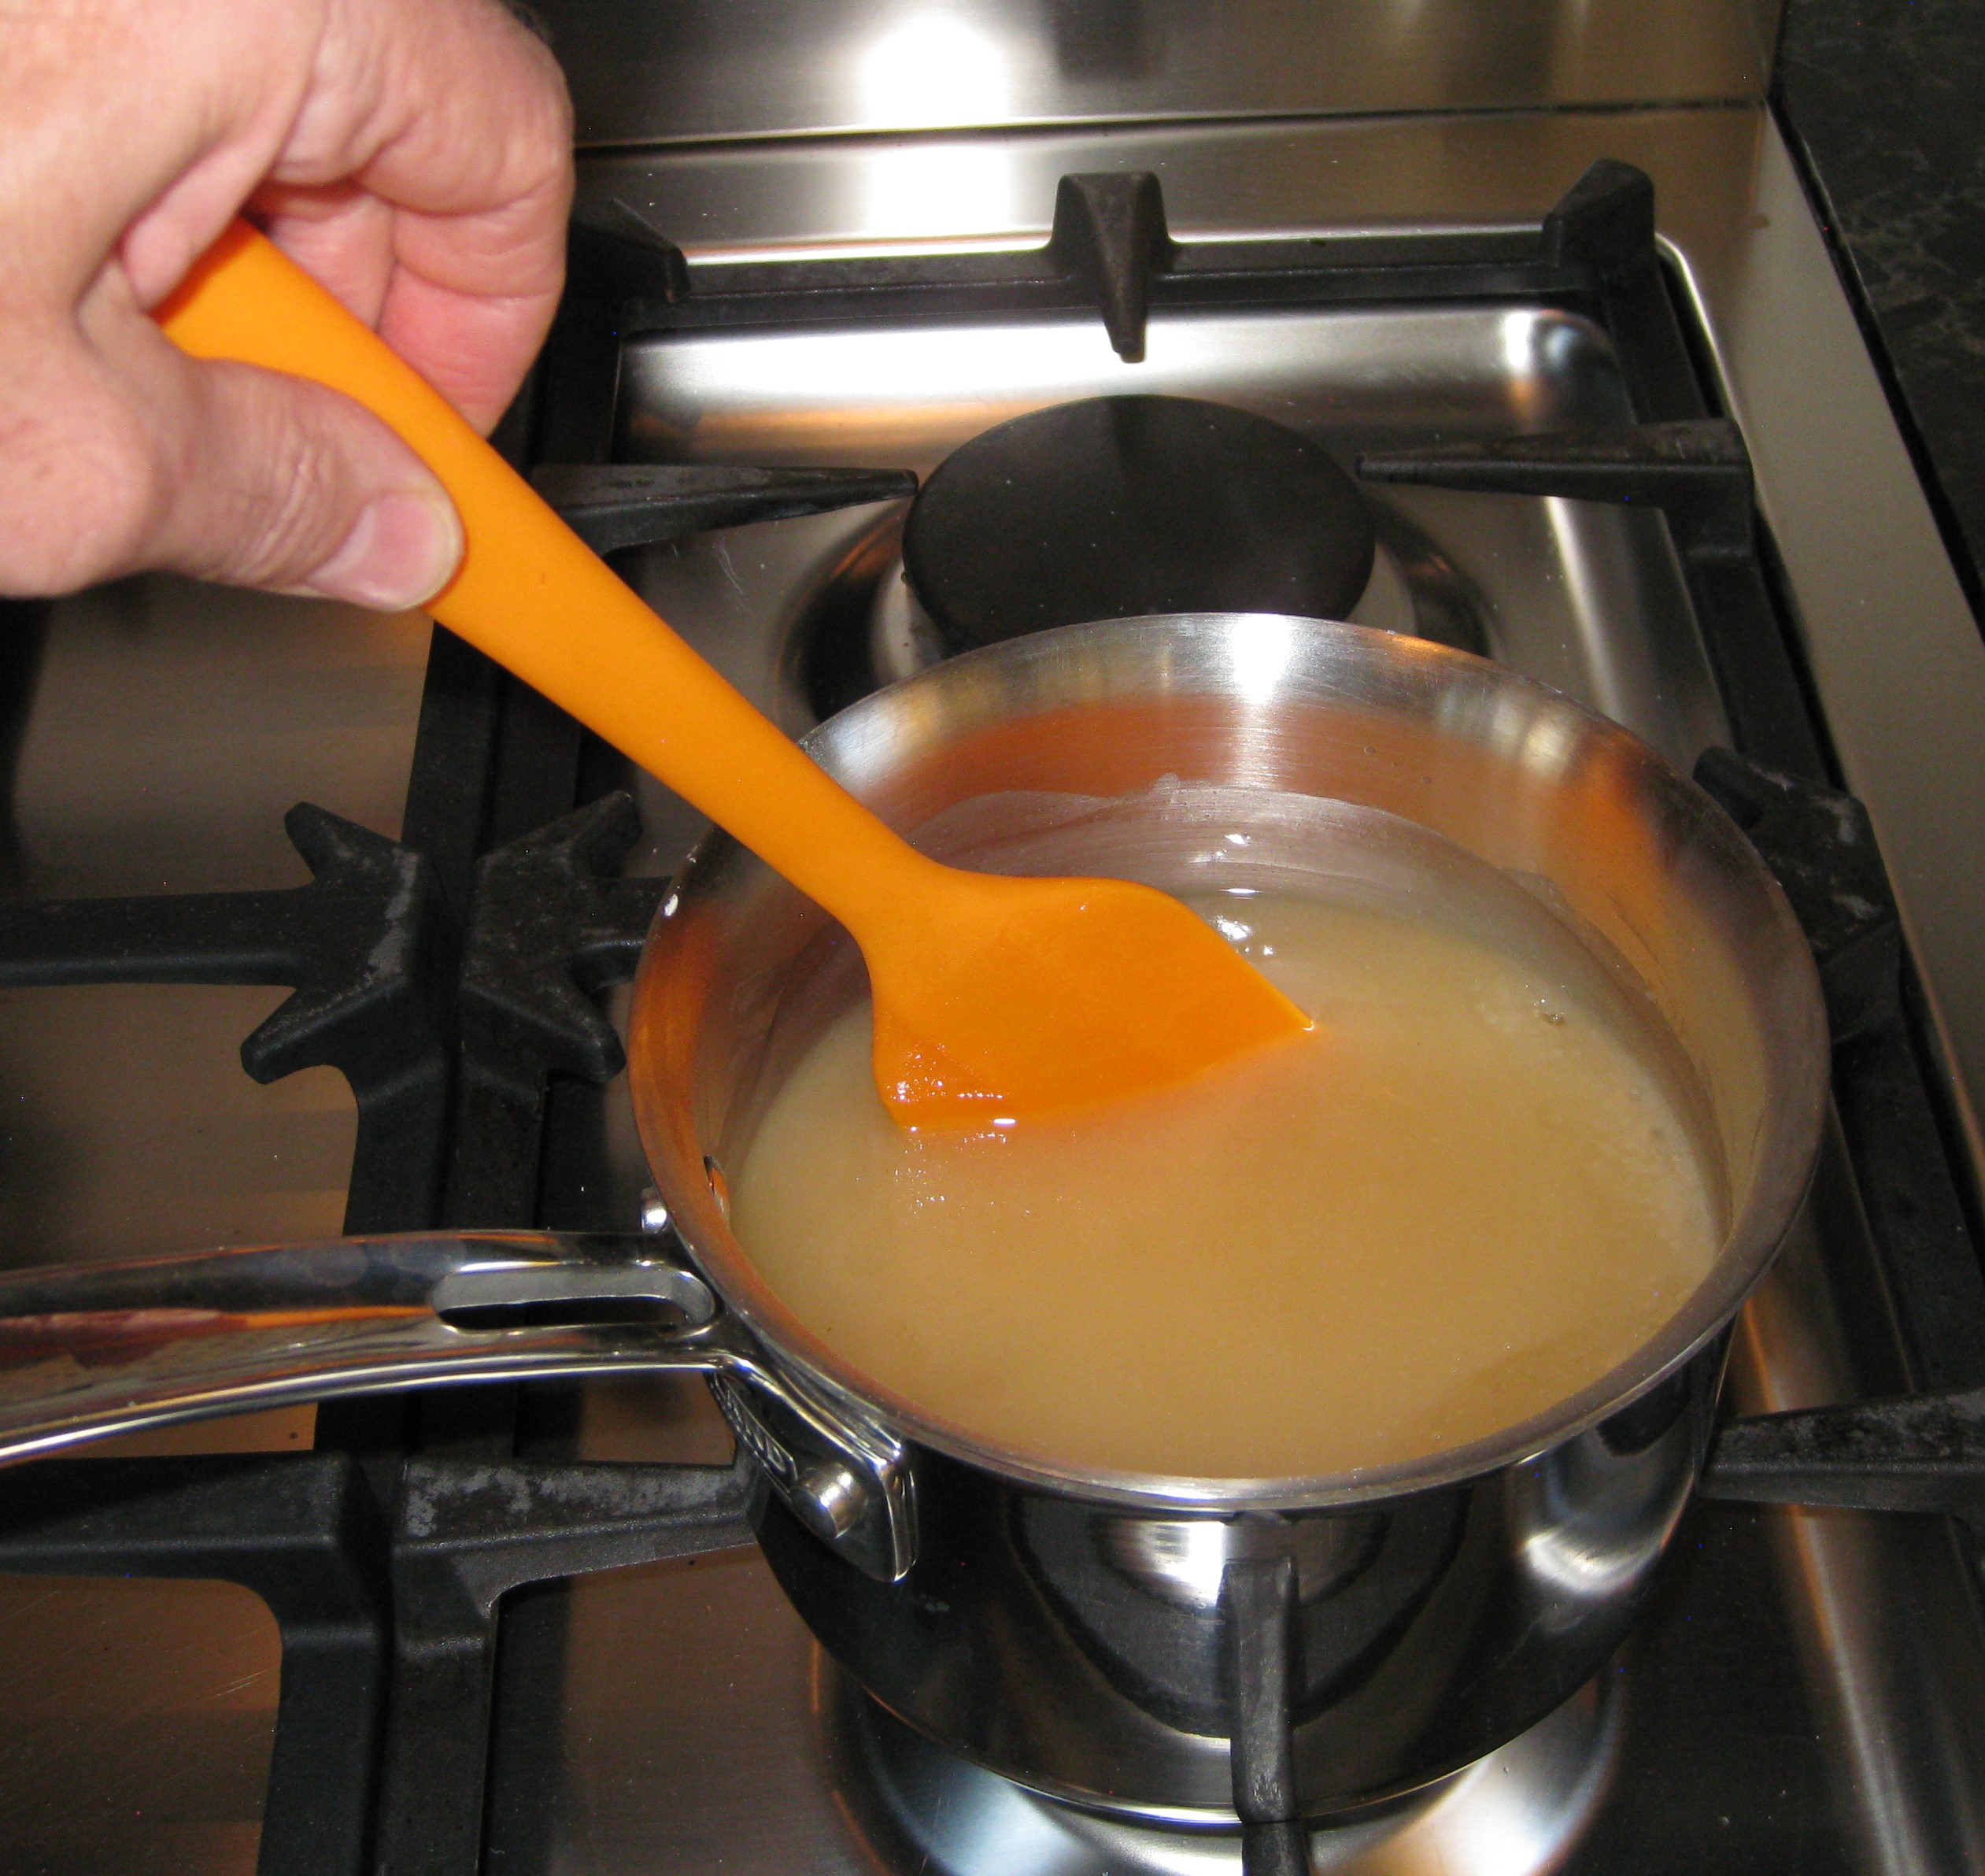
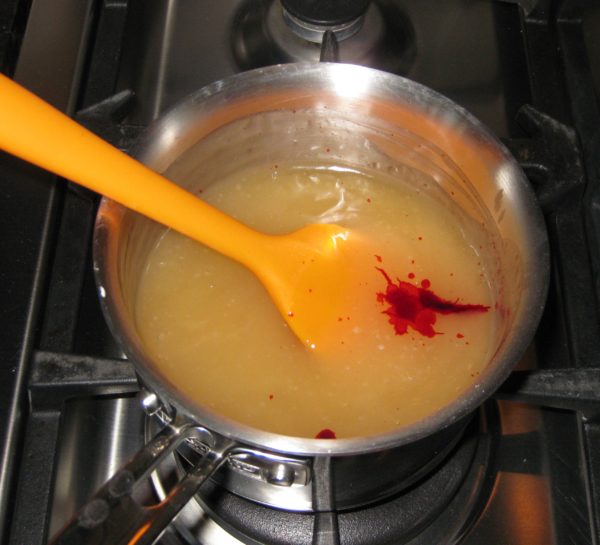
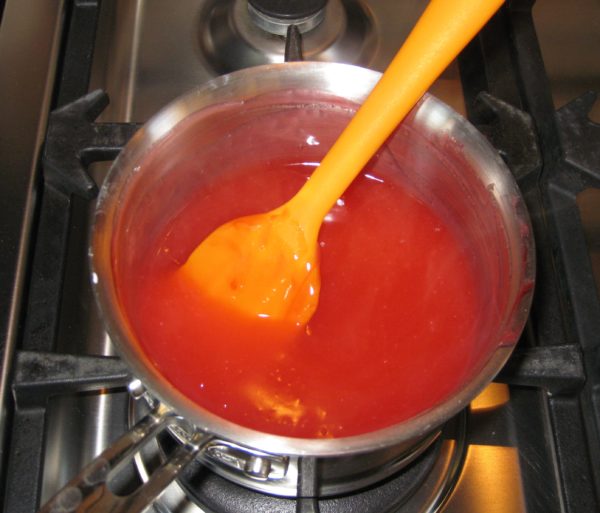
  5. Remove from heat and stir in red food coloring.
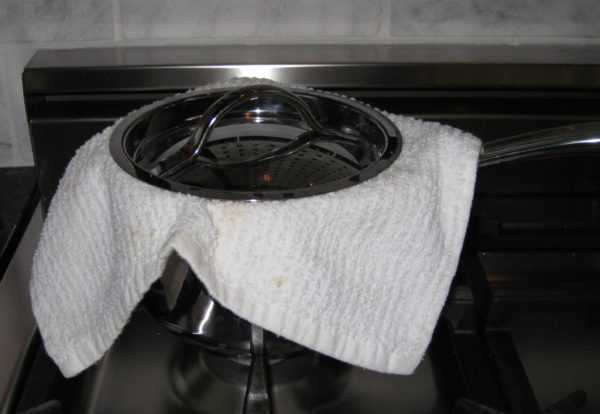
  6. Put a cloth on top of pan before putting cover back on to keep moisture from dripping back into the gel.
  7. After the gel reaches room temperature, refrigerate until cold.
Cream Cheese Frosting (make a double batch for the round cake)
  1. Chill the bowl and beaters for the whipped cream.
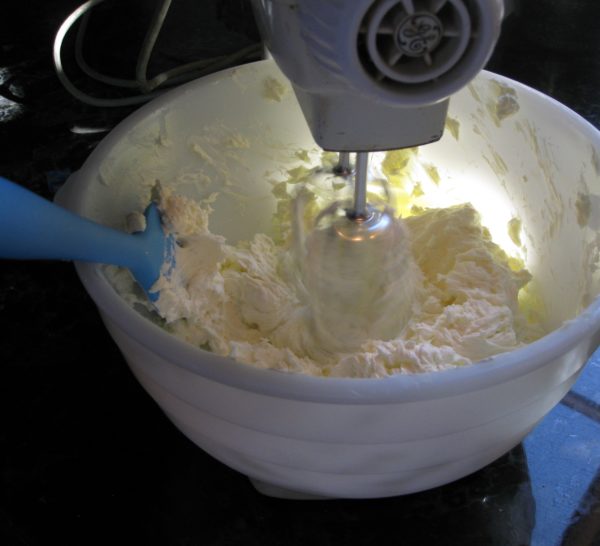
  2. Cream the cream cheese until light.
  3. Sprinkle in 1/3 cup of sugar and beat until light and fluffy.
  4. Mix in vanilla.
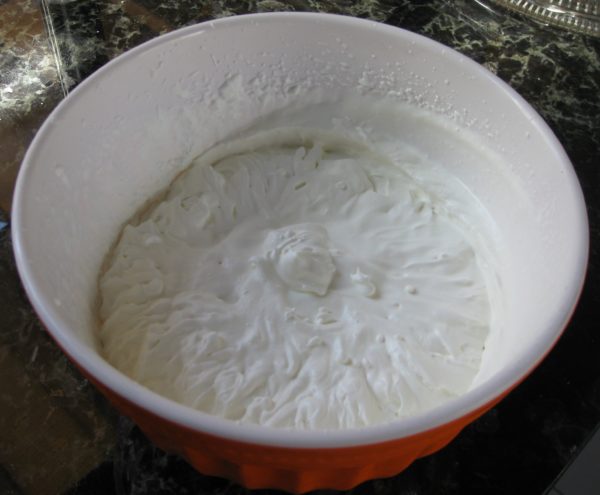
  5. In chilled bowl, beat the whipping cream until thick.
  6. Add 2 tablespoons of sugar and beat until the cream forms stiff peaks.
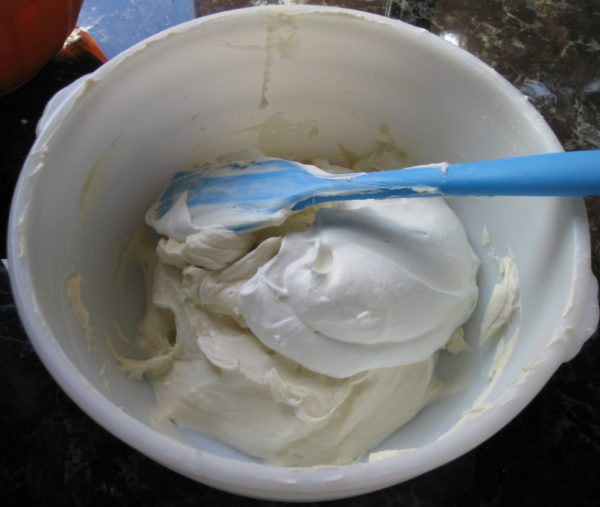
  7. Fold 1/3 of the whipped cream into the cream cheese to lighten it.
  8. Carefully, but thoroughly fold in the remainder of the whipped cream.
Recipe Notes

Copyright © 2017 by VillaSentieri.com. All rights reserved.
Share this Recipe