Funghi Ripieni (Stuffed Mushrooms)

September 29, 2021

“Your grams are killing me!”

That’s what a friend told me recently regarding some of the recipes on my blog.

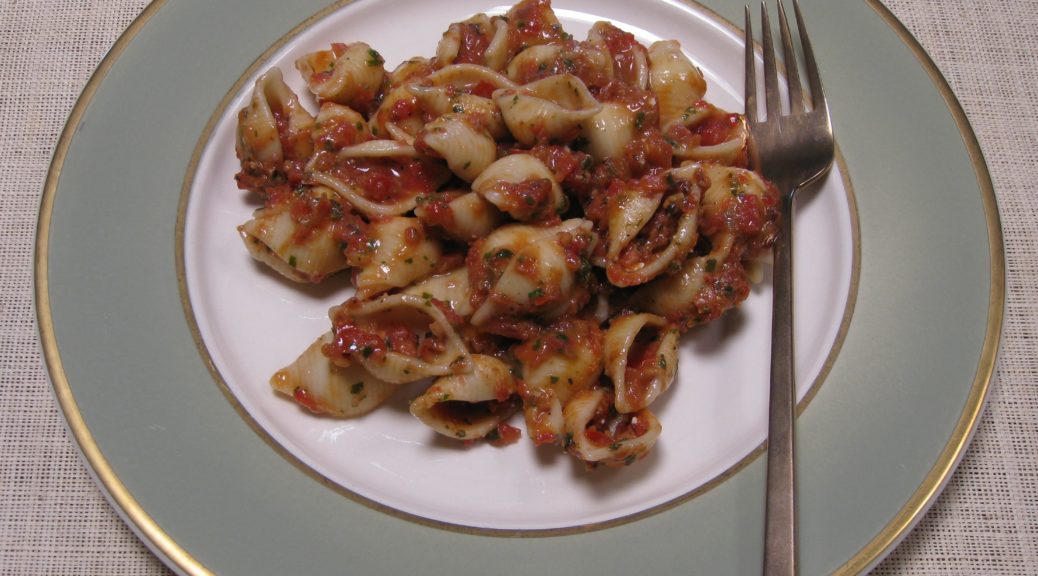
His comment came as he was considering how much pasta to cook for dinner.  I repeated what Great Aunt Fidalma told me:  80 grams per person.

Making the change to the metric system (International System or SI) of measurement isn’t easy and we don’t do much as a country to catalyze the change.  In some areas, though, we’ve made the transition.

The digital scale I use on a daily basis. I also have two battery powered scales that are just as accurate that cost $20 each.

Have you looked carefully at a wine or liquor bottle recently?  The contents are specified in the metric system even as we continue to refer to a bottle of liquor as a “fifth.”  Until January 1979, a liquor bottle, indeed, held one-fifth of a US gallon, approximately 757 ml.  Standard liquor bottles now contain 750 ml, just a smidge less.


Join our mailing list and you’ll never miss a recipe again!


Cooking, and especially baking, is much easier with the metric system.  And that doesn’t even take into account the ease of weighing ingredients rather than trying to measure cups and fractions of cups.

I find that I am frequently scaling recipes up and down, but usually up.  If the recipe calls for 3/4 cup of water, and I’m upscaling by 20%, I end up with the unwieldy amount of 9/10 cup of water.  If I were using metric measures, I’d be starting with something like 180 ml and increasing by 20% to get to 216 ml which is much easier to measure out than 9/10 of a cup.

The manual scale that I used for many years. It has since been mothballed.

Let’s face it, how do you measure 9/10 cup.  You first start by determining what 1/10 cup is, which is 1.6 tablespoons.  Multiplying that by 9 gets you 14.4 tablespoons.  But since you’re not going to measure out that many tablespoons one by one (and you’re likely to get pretty inaccurate after a few tablespoons, if you do) you work backwards to figure out what standard measure comes close.  That gets you back to the 3/4 cup (12 tablespoons) you started with plus 2.4 tablespoons.

For most purposes, you can treat 2.4 tablespoons as if it were 2.5 tablespoons since the difference is likely within the margin of error for measuring with kitchen equipment.  But unless you have a set of measuring spoons that contains a 1/2 tablespoon measure, you’ll be measuring out 2 tablespoons plus 1 teaspoon plus 1/2 teaspoon… if you can remember how many teaspoons are in a tablespoon.

So rather than just pouring 215 ml into a measuring cup (a reasonable approximation for 216 ml and one that can be found marked on some metric measuring “cups”) you’d be measuring out ¾ cup plus 2 tablespoons plus 1 teaspoon plus 1/2 teaspoon.  In my book, that’s crazy!


Follow us on your social media platform of choice


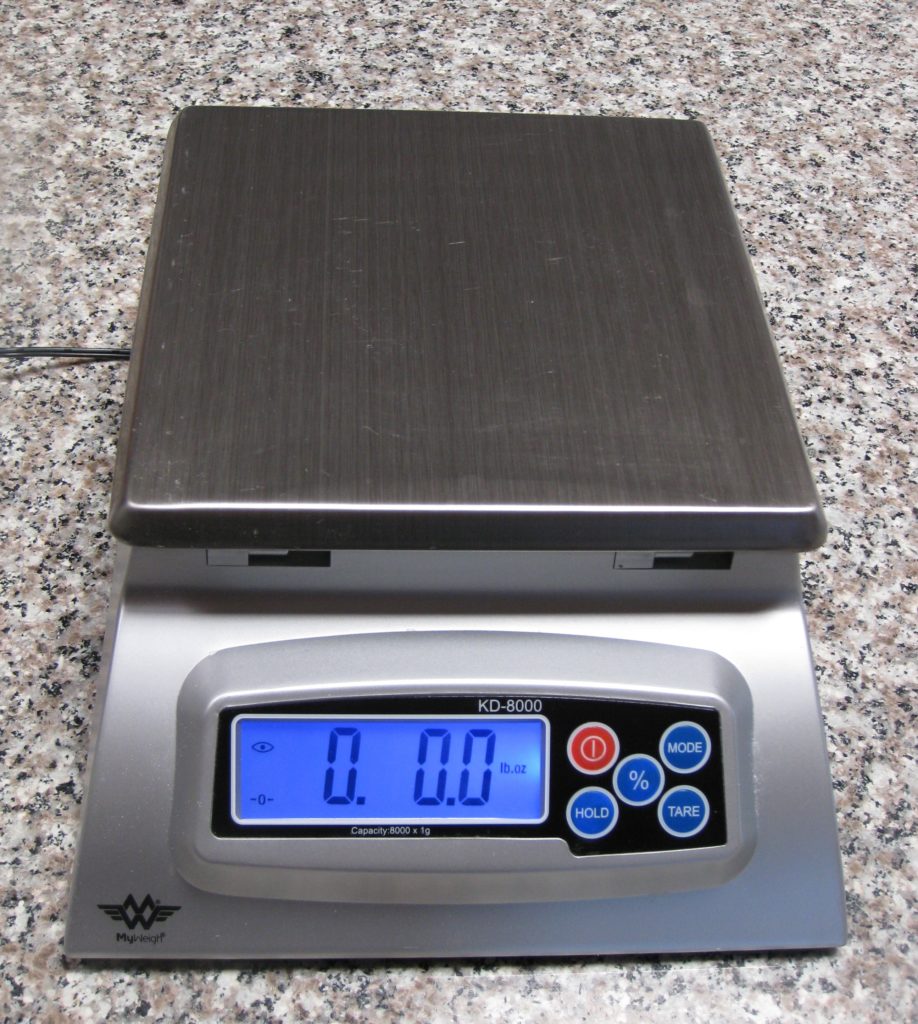
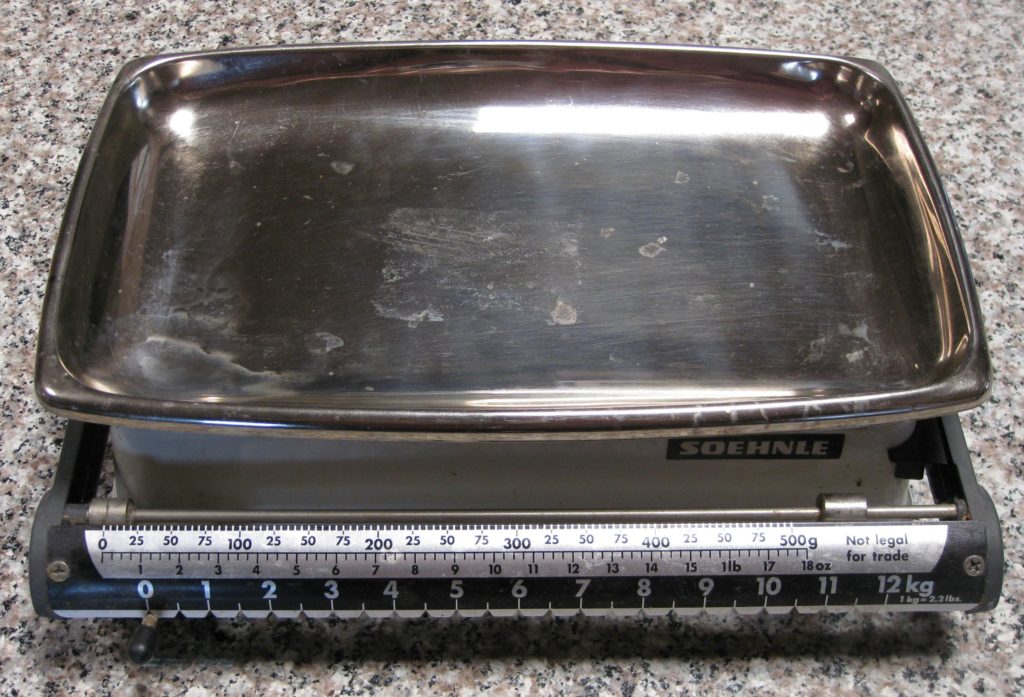
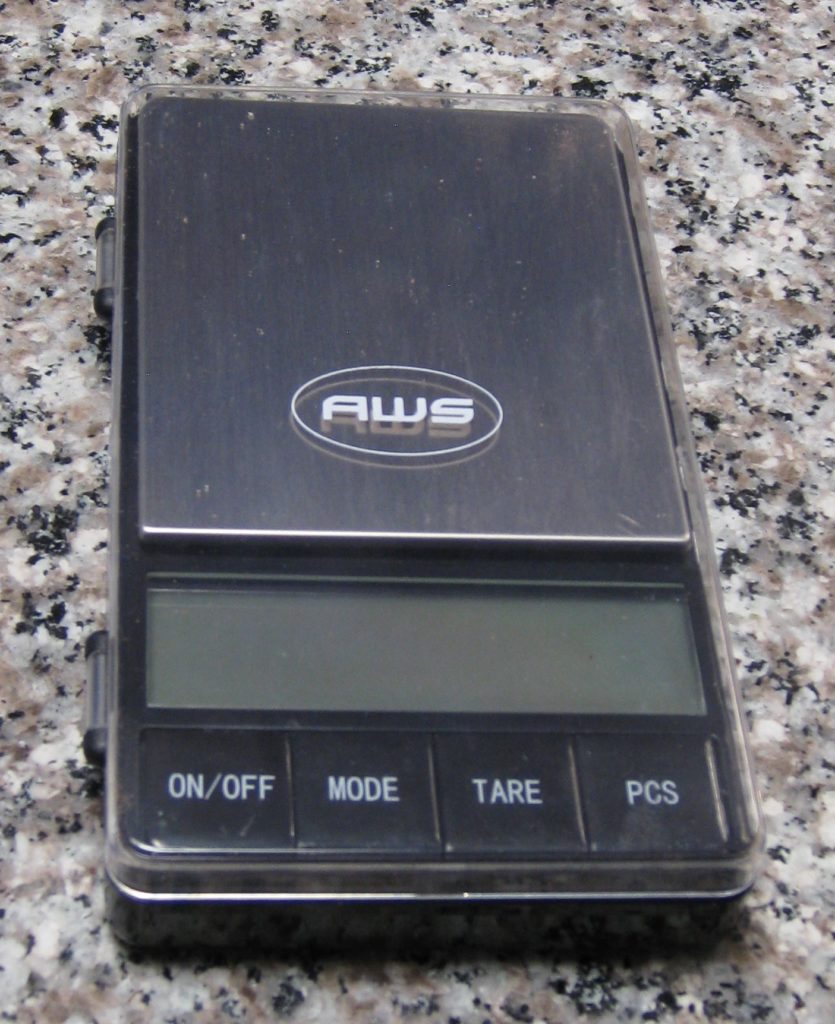
It gets even easier if you give up the notion of measuring by volume and measure everything by weight, even liquids, as is typically done in professional kitchens.  You can get a very accurate scale for less than $20.  With that, you could weigh out the 216 grams of water (equivalent to 216 ml of water) and call it a day:  no guessing, no eyeballing, no complex calculations needed.

For weighing small quantities this little scale can’t be beat for accuracy.

So really, what’s holding you back from giving the Metric System a go?

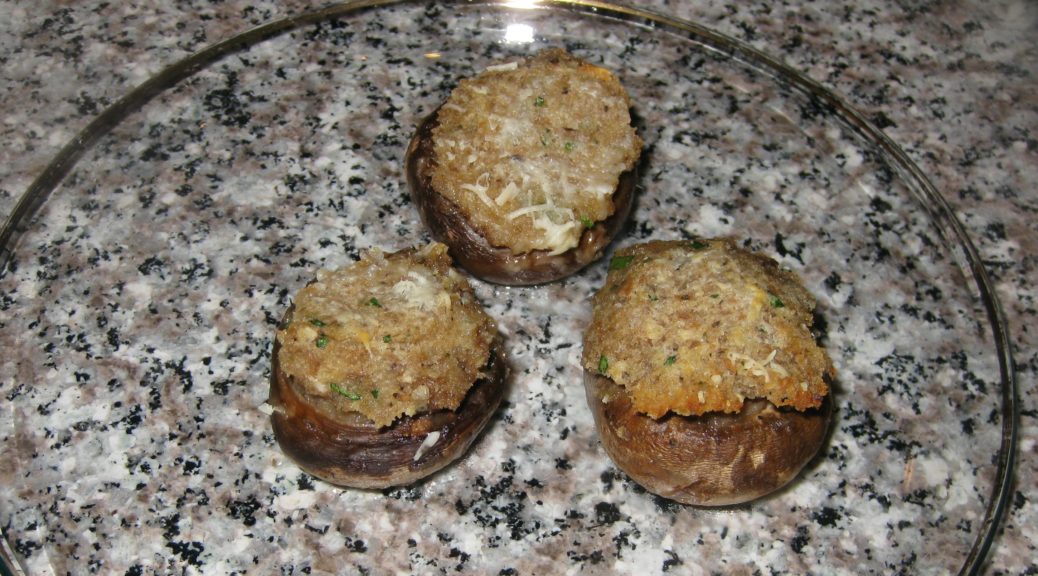
It’s time for me to get off my soapbox (for now) and actually cook something.  How about stuffed mushrooms?  I’ll even write the recipe in American measures!!

Print Recipe
Funghi Ripieni (Stuffed Mushrooms)
These stuffed mushrooms come together quickly and can be made early in the day and refrigerated until it’s time to pop them in the oven.
Votes: 0
Rating: 0
You:
Rate this recipe!
Prep Time 20 minutes
Cook Time 35 minutes
Servings
people
Ingredients
Prep Time 20 minutes
Cook Time 35 minutes
Servings
people
Ingredients
Votes: 0
Rating: 0
You:
Rate this recipe!
Instructions
  1. Wipe the mushrooms with a damp cloth.
  2. Remove the stems.
  3. Finely grind the stems in a food processor.
  4. Sauté the ground stems in the butter with a pinch of salt until the liquid is drawn out and then completely evaporated.
  5. Mix the cooked stems with the breadcrumbs, eggs, parsley, garlic, oregano, and salt and pepper to taste.
  6. Cool slightly and add 3 tablespoons Parmesan cheese.
  7. Butter a baking dish large enough to hold the mushroom caps in a single layer, snugly.
  8. Fill each mushroom cap with some of the stuffing mixture.
  9. Arrange the stuffed mushroom caps in the buttered dish.
  10. Sprinkle with additional Parmesan cheese, dot with butter and add a small amount of broth or water to the bottom of the dish to keep the mushrooms from sticking.
  11. Bake at 375°F for 20 minutes, until golden brown on top.
  12. Baste occasionally with the liquid in the pan during baking.
Recipe Notes

Copyright © 2021 by Villa Sentieri, LLC. All rights reserved.

Share this Recipe

Risotto Friulano (Friuli-Style Risotto)

June 25, 2018

If you do an internet search on Risotto Friulano you will turn up more entries for risotto con lo sclopit than any other.

Sclopit (bladder campion in English) is native to large parts of Europe and beyond.  It is not native to the United States but grows abundantly from coast to coast. Its botanical name is Silene vulgaris.

The leaves of Silene vulgaris (sclopit in Friulan; bladder campion in English) are used in risotto (photo by D. Gordon E. Robertson [CC BY-SA 3.0 (https://creativecommons.org/licenses/by-sa/3.0) or GFDL (http://www.gnu.org/copyleft/fdl.html)], from Wikimedia Commons)
In my husband’s family, however, Risotto Friulano refers to risotto that is made with Salsa Friulano, a traditional tomato sauce made with ground meat, herbs and spices.  I’ve published two recipes for Salsa Friulano.  One is my mother-in-law’s and the other is Ivana’s, the wife of my mother-in-law’s cousin Olvino.  (By the way, I asked my mother-in-law about sclopit.  She’s never heard of it!)


Follow us on your social media platform of choice


My mother-in-law uses homemade chicken broth, and her Friulan tomato sauce for her Risotto Friulano.  Uncle Ray, her brother, uses canned beef broth instead of chicken broth.  Neither uses risotto rice, opting for long-grain rice, and neither really follows the common risotto technique of adding liquid slowly and allowing it to evaporate before the next addition.

We have long discussions about these differences.  While I don’t have a good explanation for the differences in technique other than cooking differences within their family, it’s my belief that the use of long-grain rice rather than short-grain “risotto” rice is a consequence of what was readily available when the family immigrated to the United States.

Sclopit leaves

I have a number of cookbooks from Friuli and all the recipes for risotto use what the Italians would call “riso per risotto,” rice for risotto.  It’s possible that this is a recent change in cooking habits in Friuli but I am more inclined to believe that the switch from risotto rice to long-grain rice happened in the United States, at least for my mother-in-law’s family.

Both my mother-in-law and Uncle Ray add enough liquid to their respective recipes for Risotto Friulano to make the final product pourable, like a traditional risotto.  Without the more starchy riso per risotto and the risotto technique, however, the result is not as creamy but still very good…and very traditional within the family.  Just ask my father-in-law, who is from Tuscany and not Friuli, whose Risotto Friulano he prefers!  (Hint, he’ll tell you mine tastes good, but…)


Join our mailing list and you’ll never miss a recipe again!


The most common types of rice for risotto are Arborio, Carnaroli, and Vialone Nano.  Arborio is the easiest to find and it is what I use most of the time.  Carnaroli and Vialone Nano are even more forgiving than Arborio as they are harder to overcook.  They are more difficult to source in American markets, however.

Arborio Rice is generally the easiest “riso per risotto” (risotto rice) to find in the United States

When I make Risotto Friulano, I follow standard risotto technique and use short-grain Italian rice.  I hope you enjoy it!

Print Recipe
Risotto Friulano (Friuli-Style Risotto)
My mother-in-law’s version of this is much simpler. She sautés long-grain rice in olive oil without any aromatics. She adds the sauce and then the broth. Broth is not added in small amounts but most of it is put in at once. Additional broth is added near the end If the rice can absorb it. Uncle Ray’s version is similar but with canned beef broth. Parmigiano is added at the end. If you’re going to make Marisa’s Mystical Meatballs, this is a wonderful use of the beef broth that will be created. See the Notes below for a link to the meatball recipe. If you are not using unsalted homemade broth, do not add salt as directed. Wait until the end and add salt to taste.
Votes: 0
Rating: 0
You:
Rate this recipe!
Prep Time 10 minutes
Cook Time 45 minutes
Servings
people
Ingredients
Prep Time 10 minutes
Cook Time 45 minutes
Servings
people
Ingredients
Votes: 0
Rating: 0
You:
Rate this recipe!
Instructions
  1. Bring the broth and the Salsa Friulana to a bare simmer in separate pots.
  2. Heat a two or three quart heavy-bottomed saucepan over medium-high heat. Add the olive oil.
  3. Briefly sauté the onion in the oil. As the liquid from the onion evaporates and the onion just begins to turn translucent, reduce the heat to medium add the garlic.
  4. x
  5. Sauté on medium until the onion is translucent. Do not brown the onion or garlic. You may need to reduce the heat.
  6. When the onion is translucent, return the heat to medium high and add the rice.
  7. Sauté for 3-5 minutes, until the rice grains are partially translucent. Do not brown the rice.
  8. The outer portion of the rice grains will get translucent while the inside will stay opaque white.
  9. Add the wine.
  10. Stir frequently, but not constantly, until the wine has totally evaporated. You will begin to see some starch leaching out of the rice. More and more of the starch will leach out as you cook the rice. This is what will make a creamy sauce.
  11. When the wine has evaporated, add one ladle of simmering broth, approximately 1/3 cup, and the salt. Stir thoroughly paying particular attention to loosening any spots where the starch seems to be sticking to the bottom of the pan. You don’t want to brown (or worse yet, burn) the starch.
  12. Cook, stirring frequently but not constantly, until the broth has evaporated.
  13. Keep repeating the process with 1/3 cup of broth, cooking, stirring, loosening any spots that are sticking, and allowing the liquid to evaporate, until you have used approximately 5 cups of the broth. The heat should stay as close as possible to medium high. The moderate boiling of the liquid will coax starch out of the rice to create the creaminess that is the hallmark of a good risotto.
  14. Add 1 ½ cups of Salsa Friulana and cook until some of the liquid has evaporated. It will not be possible to cook the rice until dry once the sauce is added.
  15. Season with black pepper to taste.
  16. Continue adding broth, one ladle at a time, until the rice is cooked and creamy but still al dente at the very center.
  17. Remove the rice from the heat. Stir in the Parmesan cheese then the remaining ½ cup of Salsa Friulana.
  18. Still off the heat, add hot broth, a little at a time, to create a creamy, pourable risotto, adding only as much as the starchy liquid in the risotto will absorb.
  19. Taste and adjust seasoning.
  20. Serve immediately. Pass additional Parmesan cheese at the table.
Recipe Notes

This is where you’ll find the recipe for Marisa’s Mystical Meatballs.

You can find my mother-in-law’s recipe for Salsa Friulana here and Ivana’s recipe here.

Copyright © 2018 by Villa Sentieri, LLC. All rights reserved.

Share this Recipe

Penne with Roasted Garlic Cream Sauce

May 14, 2018

I apologize!

In my inaugural messages, I clearly stated that I would publish traditional recipes, many (though not all) of them Italian, but with the emphasis on traditional.

I get really stoked by the idea of preserving traditional recipes in written form (even if it’s a bunch of zeroes and ones on a cloud server somewhere)!

I also truly appreciate new and innovative dishes…especially cakes, for some reason.  But my very strong preference if I’m going to work on perfecting and publishing a recipe is to focus on traditional recipes.  (I’m happy to eat good food of any type, traditional or not, that someone wants to serve me, however.)


Follow us on your social media platform of choice


My editorial calendar for this blog, including what I’ve published and what I currently have planned to publish, numbers 212 recipes.  The number keeps growing.  Most of these recipes are ones I listed (off the top of my head, so to speak) when I was planning the launch of the blog in late 2016.  The list came from simply thinking about my favorite recipes.  As I trawl through my recipe archive periodically, looking for recipes for particular events, or even just dinner, I usually come upon at least a few more recipes that get added to the list.

Two hotel pans hold a double batch, 4 pounds of penne, for a summer dinner party for the family from Tuscany

Windows says I have 4133 recipes saved in my recipe directory.  That does not count the hundreds of hand-written ones that I’ve not scanned in yet.

But I have to admit, not EVERYTHING I make is traditional.  I have this killer salmon recipe that I got from the New York Times that is now a regular on our table.  Almost any vegetable recipe by David Tanis is a winner in my book, well really ANY recipe by David Tanis, but he has a way with vegetables.  He has many make-ahead-and-heat-up-in-the-oven options that remove a lot of last minute work when putting dinner on the table, whether it be for 2 or 20!

In my defense, these are recipes that I think will become classics in a few decades just as many of the recipes that I started cooking 45 years ago in college have become classics for me.  I think if a recipe still tastes good after half a century it can be considered a classic…which is getting pretty close to traditional.

This is just a portion of the antipasto for the dinner for our Tuscan relatives

Think about all the things you ate 50 years ago that you don’t make any more, like fried bologna simmered in ketchup!  That actually is something that my very traditional mother put on the table in the 1960s!  Granted, it was a main course (and I use the term lightly) that could be whipped up in under half an hour after a day’s work.  The truth is, I actually liked it at the time.

I differentiate the fried bologna category of foods that I don’t make any more from the fried salami category of foods that I still love but that just have fallen off my rotation.  Have you ever had a sandwich of pan-fried salami?  If not, give it a try.  (Thinly slice the salami.  Make a cut from the middle to one edge, like the first cut of a pie, to reduce puckering.  Cook in a skillet over medium heat till lightly browned on each side.  No oil needed.  Pile on bread.  Enjoy…dripping fat and all!)


Join our mailing list and you’ll never miss a recipe again!


So why the apologia?

Today’s recipe isn’t traditional.  I developed it about four years ago for dinner for a large group of people.  It was such a hit, that I kept making it.  I even made it last summer for a dinner party for the family from Tuscany!  So, while it’s not really traditional (which I take to mean something with a cultural history, something that individuals from a particular culture and location make or made on a regular basis), it has a very traditional FLAVOR.

I made this penne for my father-in-law’s birthday party this past January. Everyone had clean plates!

In my mind it’s not a REAL (i.e. traditional) dish because I made it up.  On the other hand, the flavor profile makes it fit into an established canon of northern Italian food.  Italians would recognize it as Italian food, just not traditional Italian food.

Because it isn’t traditional, I hadn’t planned on publishing it.  I got a number of requests for the recipe after I mentioned it in one of my emails and decided that I should reconsider my initial decision.  There aren’t many photographs but the steps are not really complicated.  I know you can do it without all the usual photos.

Who knows, maybe in another 45 years it’ll become a classic!

Print Recipe
Penne with Roasted Garlic Cream Sauce
This takes some time to put together but once it’s assembled you can spend time with your guests while it cooks. The sauce has a luxurious amount of butter, about twice what would typically be used based on the amount of flour. This improves the flavor and mouth-feel of the sauce. Because I originally created this dish for an event in Alamogordo, New Mexico, I topped it with pistachios which are grown there. Chopped walnuts or whole pine nuts could be substituted. If you want to prepare the dish in advance, be sure to cool the pasta in a bowl of ice water. Mix the cooled pasta with cold white sauce and the other ingredients. Pour into a baking dish, cover tightly, and refrigerate. Allow the covered dish to sit at room temperature 60-90 minutes before baking.
Votes: 0
Rating: 0
You:
Rate this recipe!
Prep Time 2 hours
Cook Time 2 hours
Passive Time 2 hours
Servings
people
Ingredients
Balsamella (White Sauce)
Final Assembly
Prep Time 2 hours
Cook Time 2 hours
Passive Time 2 hours
Servings
people
Ingredients
Balsamella (White Sauce)
Final Assembly
Votes: 0
Rating: 0
You:
Rate this recipe!
Instructions
Balsamella (White Sauce)
  1. Put the garlic in a single layer in a small oven-proof dish with a tight-fitting lid. Alternatively, put the garlic on a sheet of heavy-duty aluminum foil.
  2. Sprinkle the garlic with olive oil.
  3. Put the lid on the dish, or fold up and seal the aluminum foil.
  4. Roast the garlic at 300°F until soft and golden brown, approximately 45 minutes, stirring occasionally.
  5. Put the garlic and any olive oil you can scrape out of the dish into a blender jar.
  6. Add 1 cup of the milk.
  7. Puree the garlic and milk. Reserve.
  8. Warm the remaining milk in a heavy-bottomed saucepan.
  9. Melt the butter in another heavy-bottomed saucepan over medium heat. Stir the flour into the butter.
  10. Cook for a few minutes on medium heat but do not allow flour to color.
  11. Stir in the warm milk, one ladleful at a time, incorporating well after each addition to avoid lumps.
  12. After about half the warm milk has been incorporated, add the pureed garlic mixture.
  13. Use some of the warm milk to rinse out the blender jar and add it to the pot. Stir well.
  14. Add the remaining milk to the pot along with the bay leaves, rosemary sprigs, and lemon zest.
  15. Bring to a boil over medium high heat stirring (nearly) constantly and cook until the sauce reaches the thickness of heavy cream, approximately 5 minutes.
  16. Strain the white sauce through a fine-mesh sieve.
  17. If not using the sauce immediately, cover it with plastic wrap, putting the plastic directly on the surface to prevent the formation of a skin, and refrigerate. [If you are going to prepare the casserole in advance, make sure the balsamella is cold before combining with the other ingredients.]
Final Assembly
  1. Put the frozen peas in a large sieve. Rinse with cool water to thaw the peas. Allow the peas to drain and completely thaw while proceeding with the recipe.
  2. Heat the olive oil in a large sauté pan over high heat.
  3. When the oil is hot, but not smoking, add the diced mushroom caps. Toss well.
  4. When the mushrooms have absorbed the oil, add 1 teaspoon of fine salt. Mix well.
  5. Turn the heat to medium low until the mushrooms begin to sweat.
  6. Turn the heat to high and continue sautéing until the liquid evaporates.
  7. Continue to cook until the mushroom pieces are browned in places.
  8. Season with black pepper. Add ham and cook 2-3 minutes.
  9. Remove from the heat and reserve.
  10. Bring a large pot of heavily salted water to a rolling boil. Add the pasta.
  11. Boil until the pasta is partially cooked. It should still be a little crunchy on the inside.
  12. If you are going to cook the casserole immediately, drain the pasta but do not rinse. If you are going to assemble the casserole in advance, drain the pasta and chill it in a bowl of ice water. When cold, drain well.
  13. Combine pasta, peas, mushroom and ham mixture, and balsamella. Mix well.
  14. Pour into a large buttered casserole. For this quantity, I use a full-size steam-table tray, also called a “hotel pan.”
  15. Put a sheet of parchment on top then cover the pan tightly with heavy-duty aluminum foil. You can skip the parchment if you are going to cook the casserole immediately. Food should not stay in extended contact with aluminum, hence the parchment paper if the dish is being assembled in advance.
  16. Either refrigerate or bake at 350°F until bubbly. Baking time will depend on whether the ingredients are hot or previously refrigerated and brought to room temperature, 1 ½ to 2 hours.
  17. Remove the foil and parchment. Sprinkle the top with Parmesan cheese and nuts.
  18. Place under the broiler, or on the top rack of an oven heated to 500°F, until the top is golden brown.
  19. Allow the casserole to rest at least 15 minutes before serving.
Recipe Notes

Copyright © 2018 by VillaSentieri.com. All rights reserved.

Share this Recipe

Pasta con Salsa Cruda (Pasta with Uncooked Tomato Sauce)

September 8, 2017

Pasta with a sauce of uncooked tomatoes, herbs and aromatics is one of the delights of late summer. While this is very easy to make, and only a few tomatoes are needed, the tomatoes must be vine-ripened.

If you have just one tomato plant you’ll probably have enough tomatoes to make a batch of Salsa Cruda. Farmers Market tomatoes are a good option this time of year, too.

Some of our tomato plants in front of the greenhouse and behind mesh to protect them from deer

I make this with our home-grown tomatoes which are always red but using some of the amazing heirloom tomatoes in colors of yellow, green, or purple available in farmers markets would make a dramatic sauce.

Colorful heirloom tomatoes on the bar at The Kirby Hotel in Douglas, Michigan: @thekirbyhotel

If you can’t get vine-ripe tomatoes, or you want to make a similar sauce at a time other than late summer, you can use two or three roasted red peppers in place of the tomatoes. I’ll be posting a recipe for roasted peppers next month, after tomato season is over. In a pinch, you can buy a jar of good-quality roasted peppers.

Although this recipe is not a traditional “family of origin” recipe it is one that I have been making for almost 30 years. I consider it to be one of my traditions.

While you can still get vine-ripened tomatoes, give this easy and delicious recipe a try.


Follow us


Click HERE to join our mailing list and you’ll never miss a recipe again!

Print Recipe
Pasta con Salsa Cruda (Pasta with Uncooked Tomato Sauce)
This makes enough sauce for one pound of pasta. Use pasta with a shape that will hold the sauce, such a small shells or fusilli. Although you can make the sauce in the time it takes the pasta water to come to a boil, it is better if the sauce is allowed to sit at room temperature for about an hour to allow the flavors to meld. Since the sauce is not hot, it is important to warm the serving bowl with boiling water just before using. I usually put some of the pasta-cooking water to warm the bowl. The optional aromatics (hot peppers, kalamata olives, and blue cheese) are really optional but definitely help to round out the flavor.
Votes: 0
Rating: 0
You:
Rate this recipe!
Prep Time 15 minutes
Cook Time 15 minutes
Passive Time 1 hour
Servings
people
Ingredients
Prep Time 15 minutes
Cook Time 15 minutes
Passive Time 1 hour
Servings
people
Ingredients
Votes: 0
Rating: 0
You:
Rate this recipe!
Instructions
  1. Coarsely chop the hot pepper.
  2. Coarsely chop the garlic.
  3. Combine olive oil, garlic, and hot peppers, if using, in the food processor.
  4. Process until finely chopped.
  5. Add basil, parsley, Parmesan cheese and Kalamata olives, if using.
  6. Pulse a few times to chop.
  7. Add tomatoes, blue cheese, if using, salt, and black pepper and pulse until finely chopped, but not pureed.
  8. There should definitely be some texture to the sauce.
  9. Bring three quarts of water to a rolling boil.
  10. Season the water with 1/3 cup of salt.
  11. Add the pasta and cook until al dente.
  12. When the pasta is done, reserve about ½ cup of the pasta-cooking liquid to thin the sauce if needed.
  13. Drain the pasta.
  14. Drain the hot water from the serving bowl. Add the pasta and sauce to the warmed bowl. Toss well.
  15. If needed, thin the sauce with some of the reserved pasta water. This will likely not be the case but it is always a good idea to have some pasta-cooking water available just in case.
Recipe Notes

Copyright © 2017 by VillaSentieri.com. All rights reserved.

Share this Recipe