January 22, 2020
The origins of both caponata and its name are unknown but that doesn’t keep some “authorities” from making definitive statements about both its origins and its name. Other authors are more cautious about how they approach the topic. There are many theories. There are perhaps more theories about the origins of the dish and its name than there are versions of caponata itself, and that’s saying a lot.
What we do know is that caponata, as we now know it, is Sicilian though there are traditional Neapolitan versions as well.
Join our mailing list and you’ll never miss a recipe again!
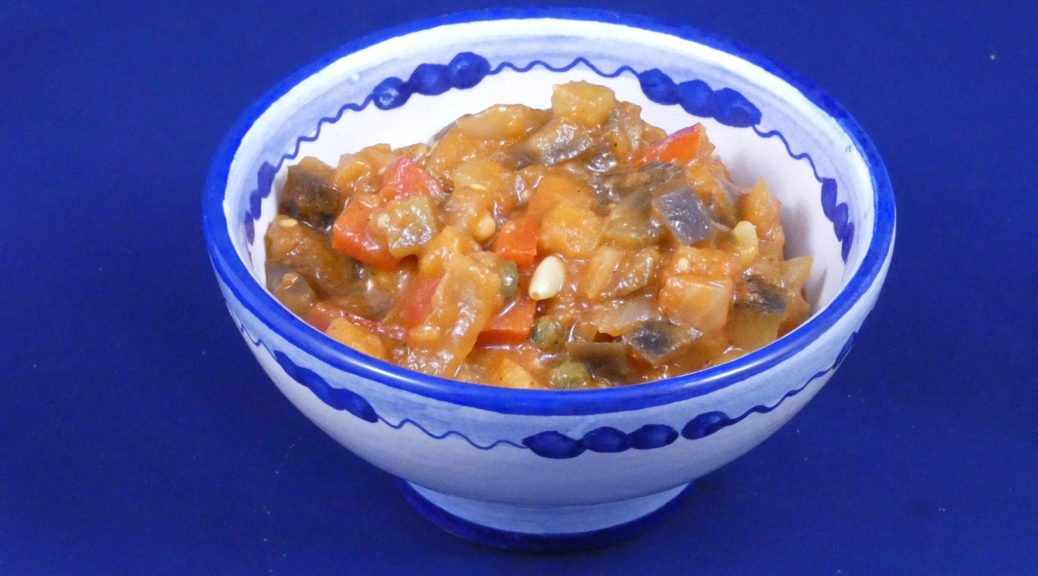
At its most basic caponata is a vegetable dish (though some versions include fish) with eggplant typically being the predominant ingredient (though there are other versions, such as one with artichokes) in a lightly sweet and sour sauce that usually contains some tomato product (fresh tomatoes or tomato sauce of some sort) and capers.
Beyond the basics, caponata has numerous traditional regional variations from different areas of Sicily. There are also the endless variations introduced by individual cooks.
One could add or subtract celery, sweet peppers, zucchini, olives, pine nuts, almonds, and raisins (to name a few).
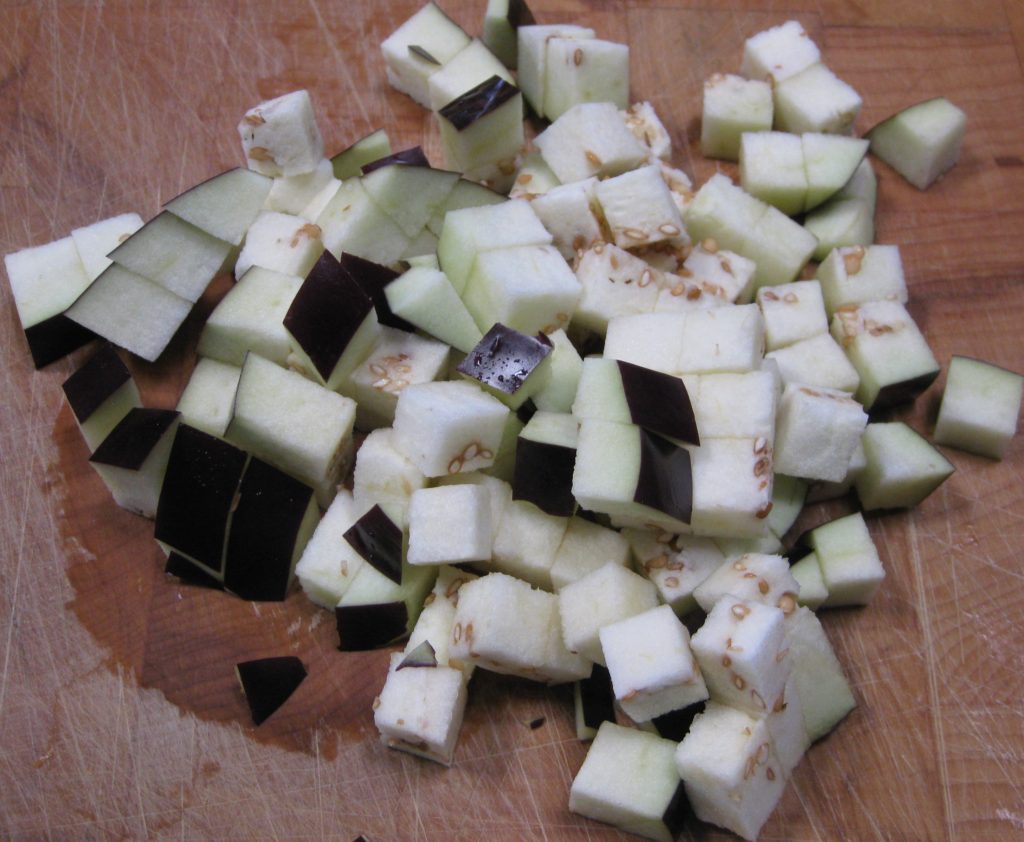
The eggplant can be fried, sautéed, or steamed (but almost always with the skin on).
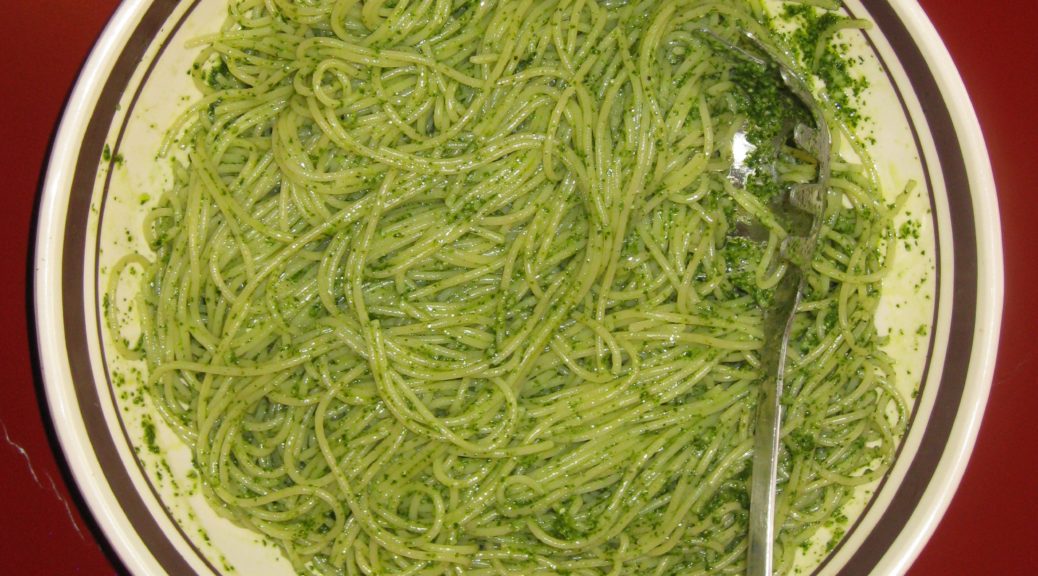
Caponata can be served on a slice of toasted bread (crostino), as (part of) an antipasto, as a side dish (contorno), or as a main dish (secondo). Though not traditional, I like tossing it with pasta.
I prefer caponata that is neither aggressively sweet nor sour and, while the vegetables should not be mushy, I don’t want to hear a crunch when I bite down.
Follow us on your social media platform of choice
![]()
![]()
![]()
If I were drowning in home-grown tomatoes during harvest season, I’d probably work on perfecting a version that uses fresh tomatoes. Since that’s not the case, my version uses tomato sauce. The advantage is that I can make it year-round as the necessary vegetables are always available and of good quality.
Though it should not be frozen, caponata can be canned. In fact, one of the demonstrations that I did for students at the Italian Culinary Institute this past September was how to can caponata.
Unlike Italy, where the best eggplants and peppers are available only “in season” that’s not true in the United States. Rather than canning a large batch of caponata, I just make it whenever I want some.
I hope you enjoy this version of caponata.
If you want to get more into the fray about the origins of caponata or its name, or the different versions, you can look here, here, here, here, here, or here.

| Prep Time | 30 minutes |
| Cook Time | 45 minutes |
| Servings |
cups
|
- 350 g unpeeled eggplant cut in 1 cm (1/2 inch) cubes
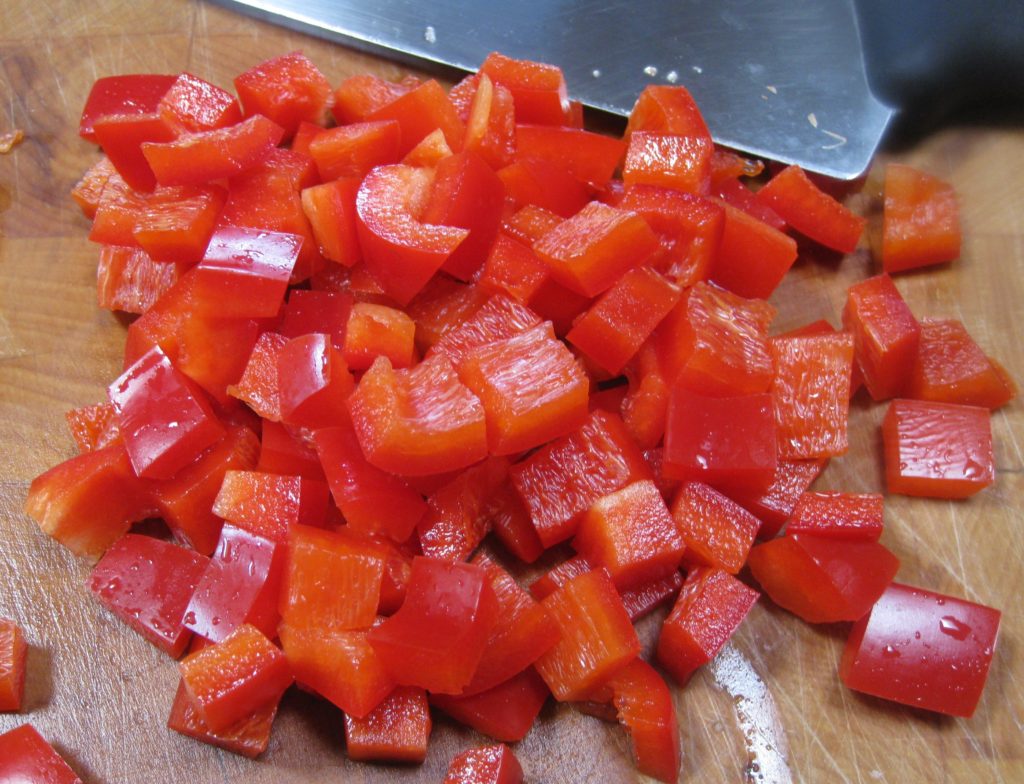
- 90 g red bell pepper diced
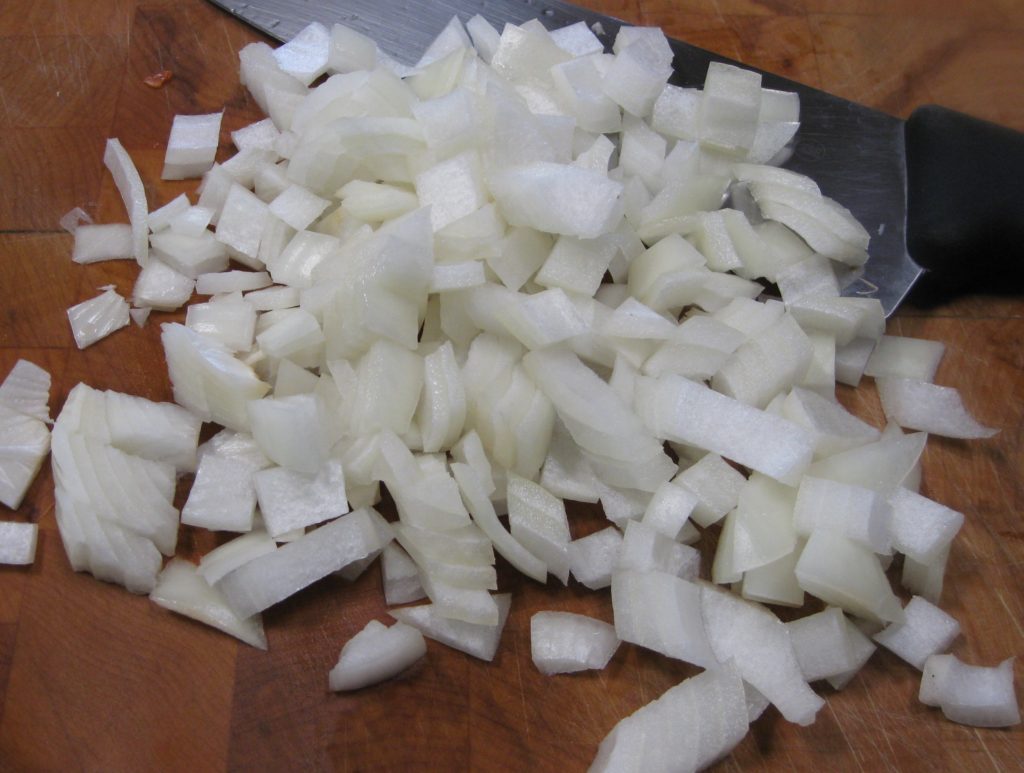
- 90 g onion diced
- 80 ml extra virgin olive oil
- 180 ml vegetable broth
- salt to taste
- black pepper freshly ground to taste
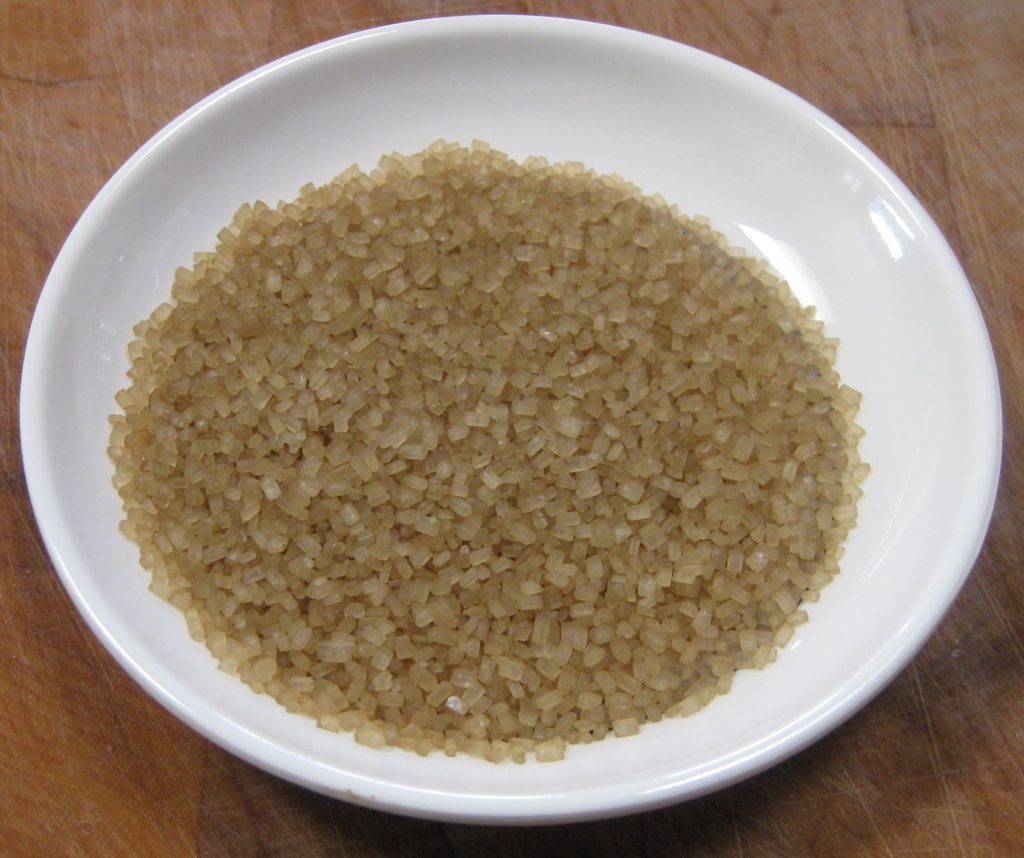
- 4 teaspoons sugar preferably Turbinado or Demerara
- 1 tablespoon white wine vinegar
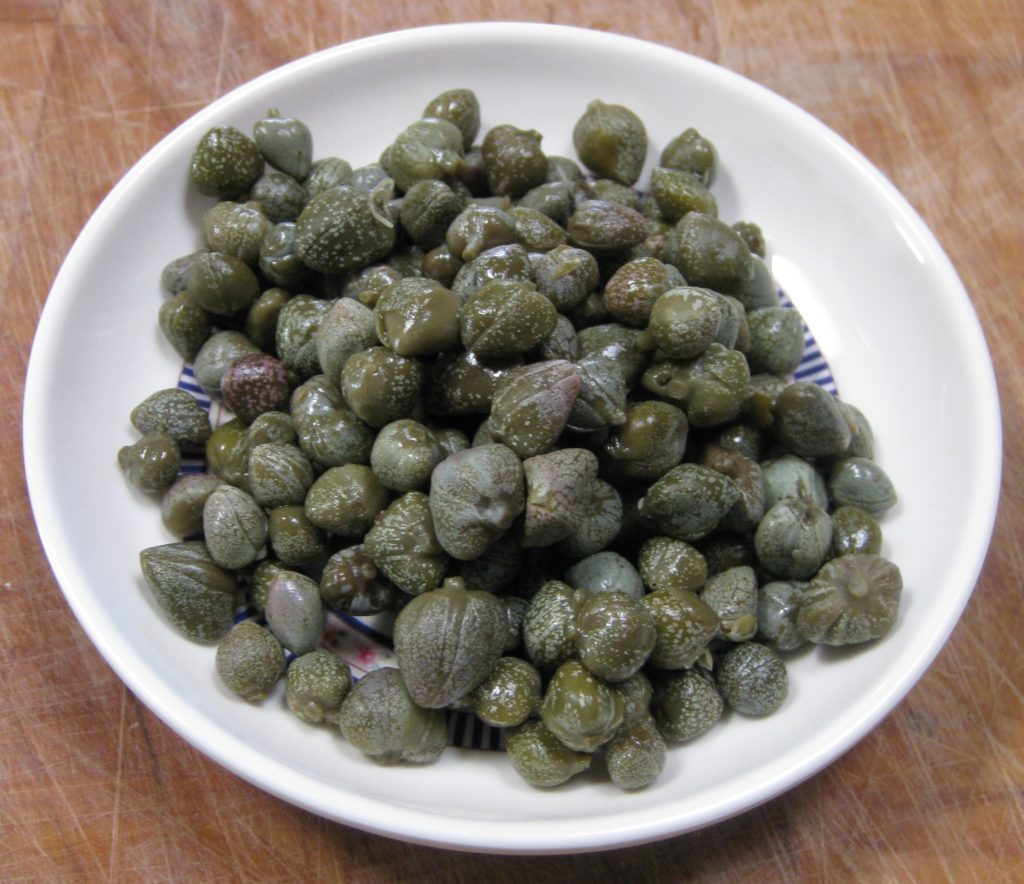
- 2 tablespoons capers rinsed
- 1 1/2 tablespoons pine nuts
- 180 ml Basic Tomato Sauce
Ingredients
|
|
- Sauté the peppers and onions in olive oil with a pinch of salt until the onions become translucent.

- Add the eggplant and sauté until most, but not all, of the eggplant has become translucent.

- Add the vegetable stock and salt and pepper to taste. Cover and cook until just tender, 5-10 minutes.
- Remove cover. Quickly evaporate any remaining liquid.

- Add sugar and vinegar. Cook over moderately high heat until almost dry.
- Add the capers and pine nuts.

- Add the tomato sauce. Simmer briefly to blend flavors, 5-10 minutes.

- Adjust salt and pepper while cooking.

- Refrigerate.
- Bring to room temperature for serving.
The recipe for Basic Tomato Sauce can be found here.
Copyright © 2020 by Villa Sentieri, LLC. All rights reserved.