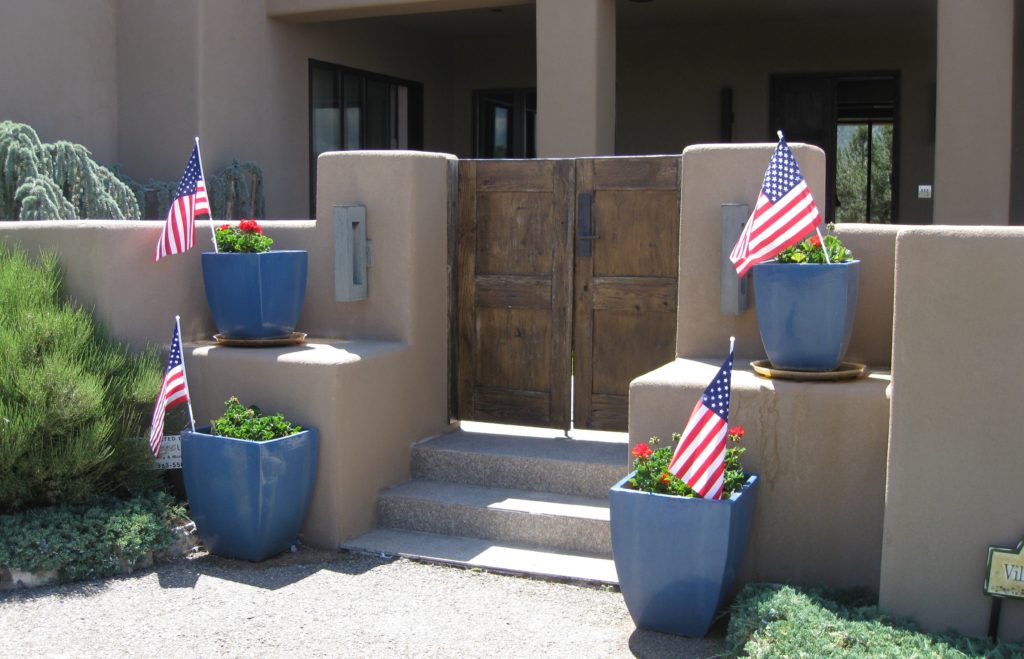
Zia Ida’s Lemon Bars

July 4, 2018

Happy Fourth of July!!!

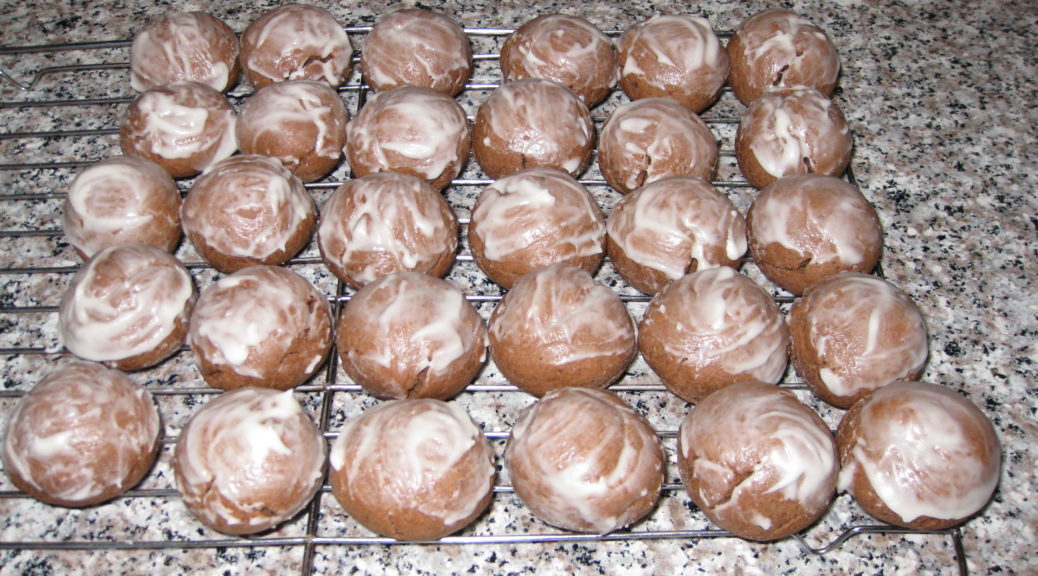
I’m posting this recipe today because it is one of the three desserts that I typically serve on the Fourth of July.  The other two are Dulce de Leche Cheesecake Bars and Nick Maglieri’s Supernatural Brownies.

Our front gate ready for the Fourth of July, 2017

The first year that these three became our traditional dessert course, one of our guests, after tasting them, commandeered the platter and started serving the other guests.  He introduced the dessert as “Sex on a platter!”

That was the moment when I knew I could not make changes to the dessert course without proof that the changes would actually be an improvement rather than just different.


Join our mailing list and you’ll never miss a recipe again!


The three desserts make a winning combination.

Guests arriving by van from the parking area

This year, we are not throwing our usual Fourth of July party.  Instead, we are spending two weeks on Fire Island.

For the last five and a half years, my husband, Frank, has been working in Alamogordo, New Mexico, a four-hour drive from our home in Santa Fe.  With rare exceptions, we’ve only seen each other on weekends during this time.  The trip to Fire Island is a celebration of his last day of work in Alamogordo which was this past Friday.

Fourth of July guests

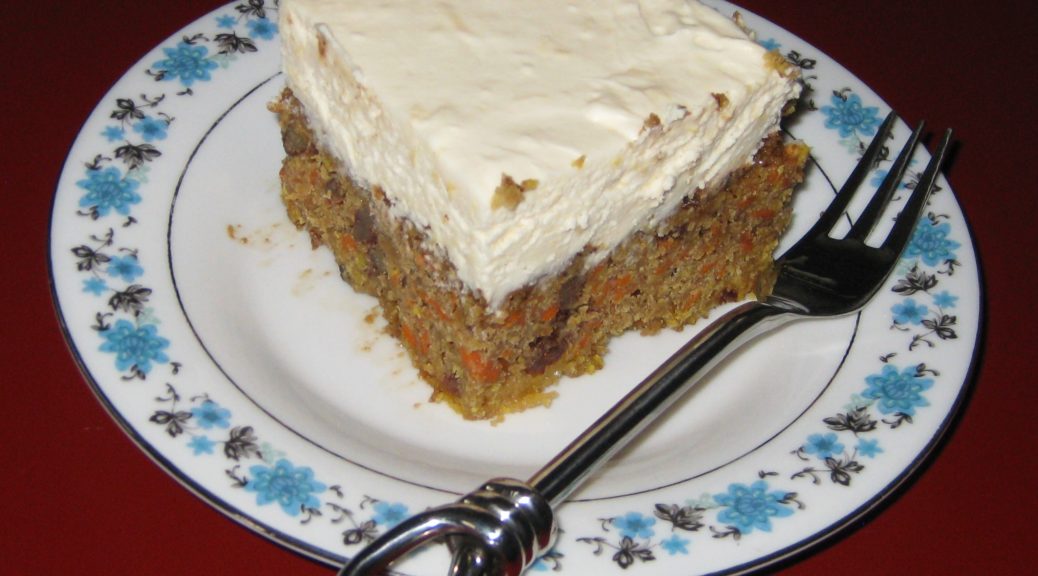
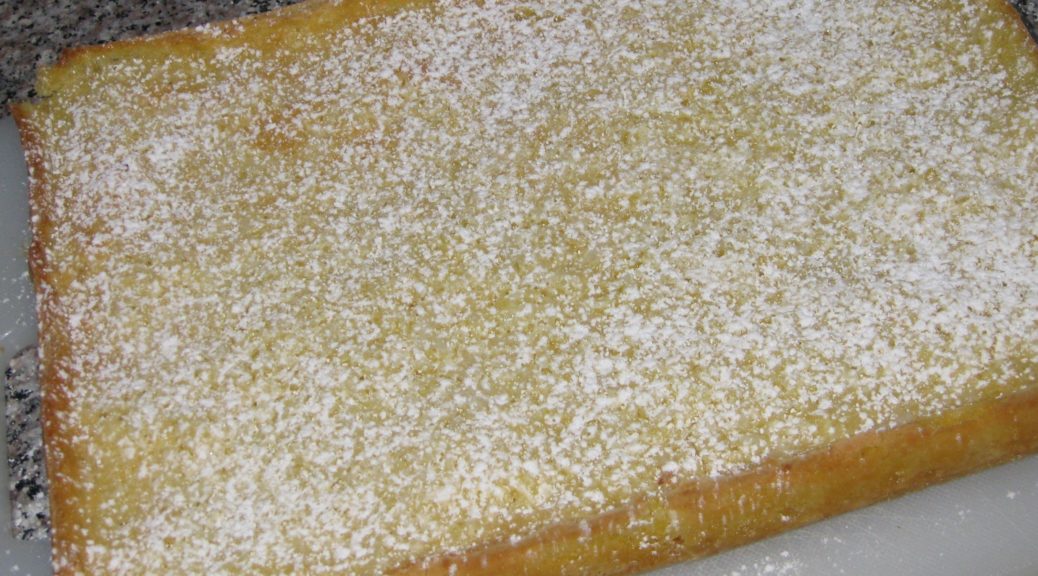
Even when not part of the Fourth of July dessert trifecta, these lemon bars get great reviews but I have to apologize a bit to Zia Ida.

Zia Ida is my husband’s Aunt Ida.  Zia is the Italian word for aunt.

Zia Ida, far left, my father-in-law, and their aunt, Zia Fidalma, from Tuscany

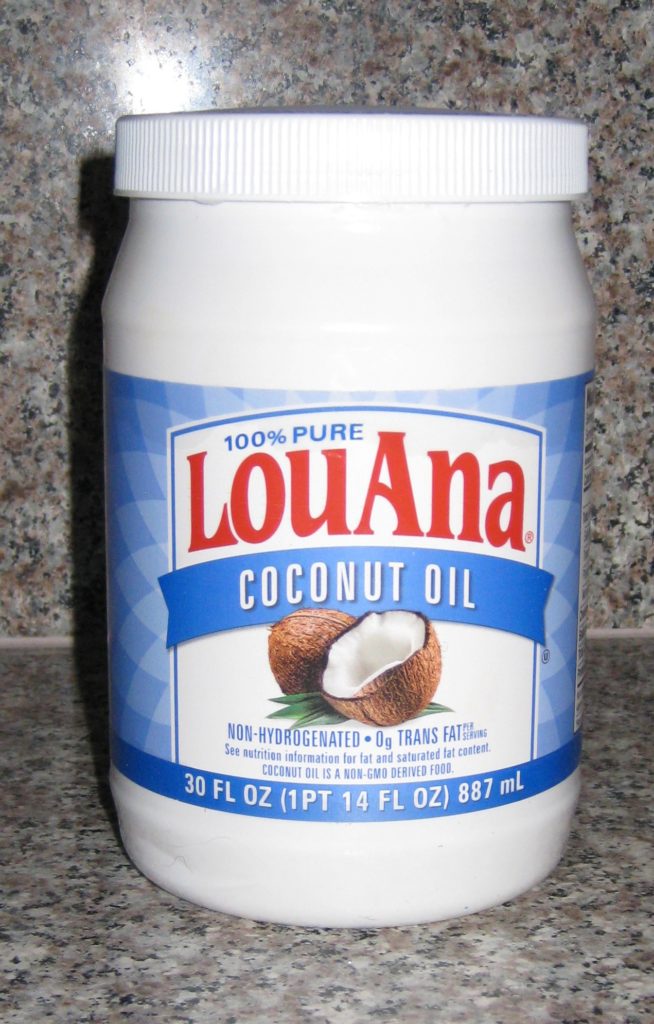
I still consider these to be her lemon bars even though I’ve tweaked her recipe.  I added the lemon zest as her original recipe only called for the juice.  I think the zest adds layers of lemon flavor as the essential oils are way more lemony than the juice.  I also like to add coconut, though it wasn’t part of the original recipe and can certainly be left out.  Since I like my lemon bars tart, I increased the lemon juice from the original 5 tablespoons.

These lemon bars are not fussy to make.  I’ve seen fussy recipes that include steps like precooking the filling and diddling with the crust.  I don’t think either of those steps would improve the flavor and they’d definitely increase the work involved.

More Fourth of July guests

If you have a favorite recipe for some sort of dessert bar, I’d love to see it.  In the meantime, I hope you enjoy Zia Ida’s Lemon Bars.

Print Recipe
Zia Ida's Lemon Bars
The coconut is optional. If you like your lemon bars less tart, use 5 tablespoons of lemon juice. After zesting the lemons for the crust and the lemon topping, squeeze the juice and strain well. You may need juice from an additional lemon.
Votes: 0
Rating: 0
You:
Rate this recipe!
Cuisine American
Prep Time 25 minutes
Cook Time 30 minutes
Passive Time 12 hours
Servings
bars
Ingredients
Crust
Topping
Cuisine American
Prep Time 25 minutes
Cook Time 30 minutes
Passive Time 12 hours
Servings
bars
Ingredients
Crust
Topping
Votes: 0
Rating: 0
You:
Rate this recipe!
Instructions
Crust
  1. Butter a 9" x 13" pan.
  2. Line the buttered pan with buttered parchment, allowing the parchment to overhang the sides of the pan a few inches in all directions.
  3. Pulse flour, sugar and zest in food processor until combined.
  4. Add cold butter, cut in small cubes. Briefly pulse until mixture forms coarse crumbs.
  5. Press the crust mixture into the prepared pan.
  6. Bake at 350°F for 20 minutes until lightly brown.
Topping
  1. As soon as the crust is out of the oven, make the topping.
  2. Whisk the eggs to combine.
  3. Whisk in sugar, salt and lemon zest until light yellow.
  4. Whisk in flour and baking powder.
  5. Add strained lemon juice and mix well.
  6. Pour over the warm crust.
  7. Sprinkle with coconut, if using.
  8. Bake at 350°F for 20-25 minutes, until golden brown.
  9. Cool on a rack to room temperature.
  10. Cover the baking pan and refrigerate overnight or until cold and firm.
  11. Using the edges of the parchment, remove the cooled pastry from the pan.
  12. Cut into squares. Dust with powdered sugar just before serving.
Recipe Notes

Copyright © 2018 by Villa Sentieri, LLC. All rights reserved.

Share this Recipe

Aunt Margie’s Colored Cookies

December 15, 2017

We called them “Colored Cookies.”

I’ve never seen them anywhere but in my hometown of Johnstown, Pennsylvania though I can’t believe they are unique to there.

Truth be told, I don’t think I’ve ever had them made by anyone besides Aunt Margie until I made them from her recipe.

Aunt Margie in 2004 with me on an architectural tour of Chicago by boat

Many of the Italian and Italian-American cookies that I grew up with were cake-like. A stiff batter of flour, sugar, eggs, and fat (lard and butter were the most common), leavened with baking powder, flavored in some way (vanilla, lemon, chocolate and spice, sesame, and so forth), rolled or shaped and baked, and usually iced with a thin powdered sugar-milk icing that would harden to a glaze.


Follow us on your social media platform of choice


Totos are a perfect example of the chocolate and spice variety.

Anginetti (Genets, as we called them in Italian-American-dialect-slang) also referred to as Lemon Knots, are lemon flavored. Although I’m devoting most of December to posting Italian-American pastry recipes, Anginetti won’t appear until next year.

Sesame Seed Cookies (which certain members of my family like to dip in wine) have no flavoring other than the sesame seeds they are rolled in before baking. These are coming next December, too.


Click HERE to join our mailing list and you’ll never miss a recipe again!


Colored Cookies are flavored with vanilla despite the riot of color that might suggest otherwise. There was a brief period of time, however, when Aunt Margie got creative (read iconoclastic) and used coconut extract instead of vanilla. Coconut and almond are my two favorite flavors when it comes to sweets, leagues beyond chocolate and vanilla as far as I’m concerned, but coconut-flavored colored cookies strayed too far from tradition for my taste. It didn’t keep me from eating them, however!

Colored Cookies

This is Aunt Margie’s original recipe. And if you flavor them with anything other than vanilla, please don’t tell me…just kidding!


If you have a favorite family recipe and a bit of a story to tell, please email me at santafecook@villasentieri.com and we can discuss it. I am expanding the scope of my blog to include traditional recipes from around the country and around the world. If you haven’t seen Bertha’s Flan, it will give you an idea of what I’m looking for.


I don’t use a lot of food coloring.  The only other exception in recent memory (other than these cookies) was Jim’s Hawaiian Guava Cake.  Take a look at my box of food coloring.  The number 39 is the price:  39 cents!  I’ve had it a long time, though I used up the red making the Guava Cake.


Print Recipe
Aunt Margie's Colored Cookies
Use a very good quality vanilla extract, not artificial vanilla flavoring, as that is the predominant flavor. The best way to mix these is using your hand. If you don’t start there, you’ll end up there so just use your hand from the beginning. Although Aunt Margie’s original instructions were to ice the cookies while still warm, that is very difficult to accomplish without assistance. You can ice them after you have baked all of them with no noticeable difference. It is best to use medium-weight shiny aluminum cookie sheets. Dark metal makes the bottoms too dark before the cookies have completely cooked. You can divide the dough into five parts and color the last one yellow. If you do so, you will need to use slightly less of each dough to make a cookie.
Votes: 0
Rating: 0
You:
Rate this recipe!
Cuisine Italian
Prep Time 1 hour
Cook Time 2 hours
Servings
dozen
Ingredients
Cookies
Icing
Cuisine Italian
Prep Time 1 hour
Cook Time 2 hours
Servings
dozen
Ingredients
Cookies
Icing
Votes: 0
Rating: 0
You:
Rate this recipe!
Instructions
Cookies
  1. Measure all the ingredients.
  2. Combine butter and sugar.
  3. Mix well using your hands.
  4. Add eggs one at a time mixing after each.
  5. Mix in salt and baking powder then add milk and vanilla.
  6. Combine well.
  7. Add flour and mix until a dough forms.
  8. Divide dough into four parts.
  9. Leave one part of dough white.
  10. Color the others pink, blue, and green.
  11. Take approximately 1 teaspoon of each dough and roll into a ball the “size of a walnut” according to Aunt Margie’s recipe. You will need to apply a bit of pressure, without smashing the colors together, to be sure that the different colored doughs have joined into one cookie. If not, the cookies will split during baking.
  12. Bake 350°F for 17-20 minutes until very light brown on the bottom and the top does not depress when touched lightly.
  13. Remove cookies from cookie sheet and put on a cooling rack.
  14. Using your finger, ice with powdered sugar icing while still warm.
Icing
  1. Combine powdered sugar, vanilla and milk. Stir to combine.
  2. Stir to combine.
  3. Thin with a small amount of milk if needed. The icing should be of a spreading consistency.
Recipe Notes

Copyright © 2017 by VillaSentieri.com. All rights reserved.

Share this Recipe

Mike’s (Justifiably Famous) Carrot Cake

August 25, 2017

Mike Abramson says his carrot cake is the best ever.

Janet Carlson doesn’t necessarily agree.

For now, the controversy will need to simmer as I only have Mike’s (Justifiably Famous) Carrot Cake recipe, though I have suggested to Janet that she and Mike have a carrot cake bake-off.

Mike makes no apologies for having stolen the recipe from Tom Grier, originally of Grier, Georgia.

The story goes something like this…

In the 1970’s a group of four friends from San Francisco bought a weekend house, they named Aros, near Sebastopol, California. The four owners rotated use of the house, each getting it for a week at a time but also sometimes showing up there together to host parties as in the photo below.

Mike Abramson, second row far right

Over the years, ownership of the house shifted as some individuals sold their interest and others bought in.

At one point, Tom Grier was the youngest owner.

The group met on a quarterly basis in San Francisco to discuss maintenance issues related to the house. As with use of the house, these meetings were held in rotation at the owners’ homes in San Francisco.

Whenever Tom hosted the meeting, he served carrot cake, which Mike believes originated as a Grier family recipe. Tom shared the recipe with Mike and the rest is history. Mike’s (Justifiably Famous) Carrot Cake was born.

But for Janet’s assertion that Mike’s might not be the best carrot cake in the world, well, we’ll just have to wait for the bake-off.

From left to right: Janet Carlson, Richard Valantasis, and Gino Barcone

Follow us


Click HERE to join our mailing list and you’ll never miss a recipe again!

Print Recipe
Mike's (Justifiably Famous) Carrot Cake
This is almost a cross between a spice cake and a carrot cake. The frosting is generous and could easily be reduced by one-third. This recipe is for sea level. If there is interest in adjustments for high altitude, let me know and I’ll post them.
Votes: 0
Rating: 0
You:
Rate this recipe!
Cuisine American
Prep Time 1 hour
Cook Time 40 minutes
Passive Time 2 hours
Servings
people
Ingredients
Cake
Frosting
Cuisine American
Prep Time 1 hour
Cook Time 40 minutes
Passive Time 2 hours
Servings
people
Ingredients
Cake
Frosting
Votes: 0
Rating: 0
You:
Rate this recipe!
Instructions
Cake
  1. Butter and flour a 9” x 13” baking pan.
  2. Grate the carrots on the tear-drop holes of a box grater.
  3. Coarsely chop the nuts.
  4. Combine the flour, baking powder, baking soda, salt, cinnamon, cloves, allspice, nutmeg, and brown sugar in the bowl of a stand mixer. Mix with the paddle.
  5. Add the oil and eggs to the flour mixture. Blend until combined.
  6. Add the carrots and crushed pineapple with the juice. Mix thoroughly.
  7. Add the walnuts and raisins. Stir to combine.
  8. Pour into the prepared pan. Bake at 350°F for 35-40 minutes or until the center springs back when lightly touched.
  9. Cool completely in the pan before frosting.
Frosting
  1. Beat cream cheese and butter until light using the paddle of a stand mixer.
  2. Beat in all other ingredients.
  3. Frost cake when cool.
Recipe Notes

For recipes that call for solid vegetable shortening, such as Crisco, I use coconut oil is due to concerns about the negative health effects of hydrogenated fats.

Copyright © 2017 by VillaSentieri.com. All rights reserved.

Share this Recipe

Totos (Italian Chocolate Spice Cookies)

December 21, 2016

Homemade cookies and pastries were staples of my childhood.  Trays of cookies showed up for holidays, celebrations, weddings, funerals, and, sometimes, for no apparent reason.

My mother along with relatives and friends set up a cookie-making operation that went on every night for weeks leading up to my sister’s wedding.  The overseer was Annie Castagnola, a family friend.  She had a thin spiral-bound 3-inch-by-5-inch notebook of cookie recipes.  The notebook was the kind we used in grade school to write down our homework assignments.  Annie’s recipes were a curated collection gathered from a host of “old Italian women,” my grandmother included.

The little notebook was coveted by more than a few cooks.  Annie, however, did not share her recipes, even when those recipes came from relatives of the very people who were asking for them.  I know, my mother was one of those people who wanted some of her mother’s recipes.  Annie wouldn’t budge.  The situation got resolved, however, during the cookie-baking marathon for my sister’s wedding.  One night, Annie left her little notebook at our house overnight.  Nobody’s confessing, but there are a few cookie recipes in my mother’s recipe box (sitting on my bookcase) written in my twelve-year-old hand.

Annie died a while back.  Her little notebook is most likely gone forever and along with it the baking secrets of a whole group of “old Italian women.”

Of all the cookies that showed up throughout the year, my favorites were the various kinds of cakey cookies, my mom’s Genets, Aunt Margie’s aptly named “Colored Cookies,” and my cousin Angie Catanese’s Sesame Seed Cookies, to name a few.  These cakey cookies, which were not very sweet by American standards, were usually little balls but not always.  Genets are lemon flavored knots.  Colored Cookies are vanilla flavored balls, each made with four or five pinches of dough of different colors rolled together.  Sesame cookies are little logs, perfect for dunking into some Vin Santo.  For me, though, the best of these cakey cookies are Totos, little chocolate spice balls.

Print Recipe
Totos (Italian Chocolate Spice Cookies)
These little chocolate balls are intended to have a good kick from an array of spices. Lard is the traditional shortening to use. I render my own. If you need these to be vegetarian, or you just don't want to use lard, you can use solid vegetable shortening. Heck, you can even use clarified butter but that is way off the traditional scale!
Votes: 18
Rating: 3.83
You:
Rate this recipe!
Cuisine Italian
Prep Time 45 minutes
Cook Time 2 hours
Servings
dozen cookies
Ingredients
Cookies
Icing
Cuisine Italian
Prep Time 45 minutes
Cook Time 2 hours
Servings
dozen cookies
Ingredients
Cookies
Icing
Votes: 18
Rating: 3.83
You:
Rate this recipe!
Instructions
Cookies
  1. In a small saucepan, melt the lard over low heat. When just melted, remove the lard from the heat and allow to cool slightly.
  2. Meanwhile, combine the flour, cocoa, baking powder, baking soda, salt, cloves, cinnamon, allspice, and nutmeg together. Reserve.
  3. Make the icing and reserve.
  4. Put the sugar into a large mixing bowl. Add the cooled but still liquid lard and mix well until thoroughly combined. The mixture will be gritty. I recommend doing this by hand with a mixing spoon but you could use a portable electric mixer.
  5. Add the eggs one at a time to the sugar and lard mixture, mixing well after each addition. The sugar should dissolve as the eggs are added.
  6. Add the milk, honey, vanilla extract and lemon extract to the egg mixture. Mix until well combined.
  7. Add the reserved dry ingredients. At this point there really is no better option than to reach into the mixture with your hand and get everything well combined. The dough will be somewhat sticky. Be certain that all the dry bits are scraped off the bottom and sides of the bowl and combined into the dough.
  8. Roll the dough into walnut-sized balls. If you want to weigh the first few to get the size correct, they should be between 21 and 22 grams.
  9. Space the cookies several inches apart on ungreased cookie sheets. Bake at 375°F for 8-10 minutes until the cookies are very slightly browned on the bottom but still soft when touched. They have a tendency to crack as they bake. This is normal. You can bake two trays at a time, one in the lower third of the oven and one in the upper third. Be sure to switch the top and bottom cookie sheets after five minutes and also turn them front to back.
  10. As soon as you remove the cookies from the oven, carefully put them on cooling racks.
  11. Ice them immediately by holding a cookie with one hand and using the tip of your finger to spread a dollop of icing on the top half of each cookie. The icing should be a glaze, not a thick coating. Put the iced cookies on cooling racks to cool completely.
  12. Well wrapped, the cookies can be refrigerated for several weeks or frozen for several months.
Icing
  1. Melt the butter. Add the sugar, vanilla (or lemon) extract and 2 tablespoons of milk. Mix well. Add more milk, a teaspoon at a time, if needed, to make a thick icing that will hold its shape and spread well.
  2. It may be necessary to add a bit of milk from time to time if the icing stiffens up over the course of icing each batch of cookies as they come out of the oven.
Recipe Notes

Check out my method for rendering lard.

I prefer to grind my own spices using a small electric coffee grinder, except for the nutmeg, of course, for which I use a small grater. It is best to pass the ground spices through a small strainer to get out any small bits. If you don’t grind your own spices be sure to buy really fresh ground ones so the flavor is vibrant.

This recipe doesn’t involve any strenuous beating so the first few steps can easily be completed by hand with a sturdy mixing spoon rather than with a mixer. Similarly, after adding the dry ingredients, the dough only needs to be mixed enough to come together. This is easily (and traditionally) done with your hand though I suppose a dough hook would work, too.

Copyright © 2016 by VillaSentieri.com. All rights reserved.

Share this Recipe