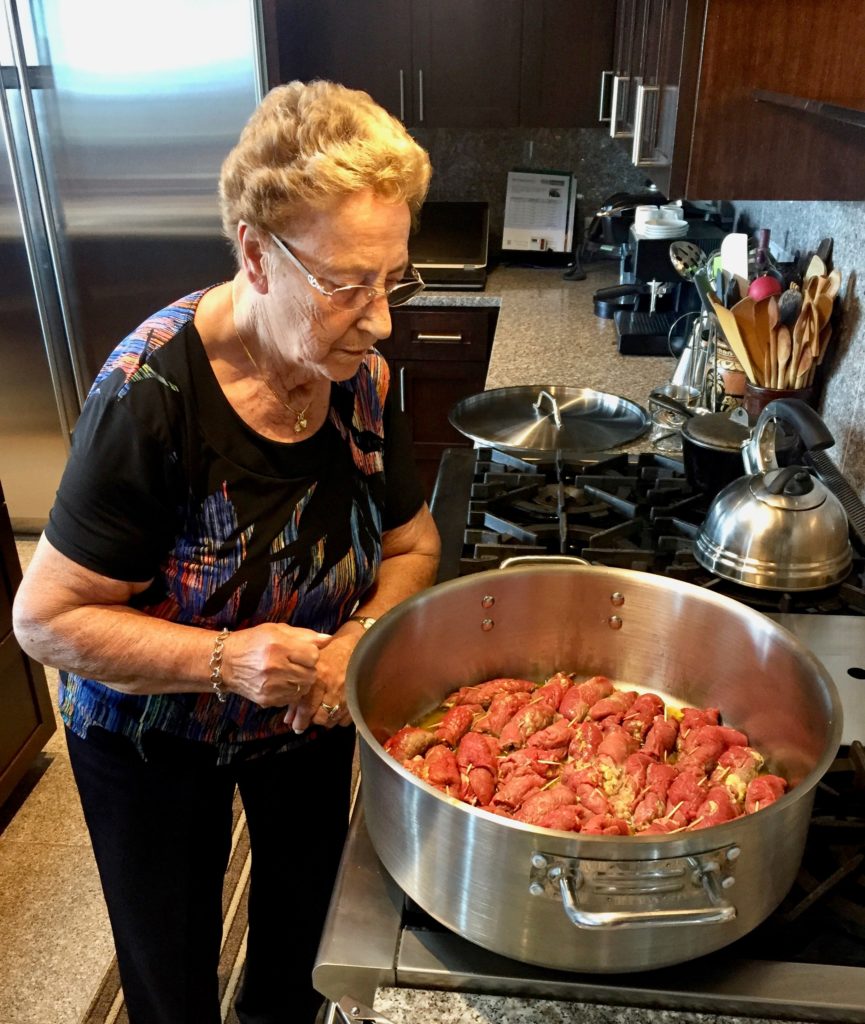
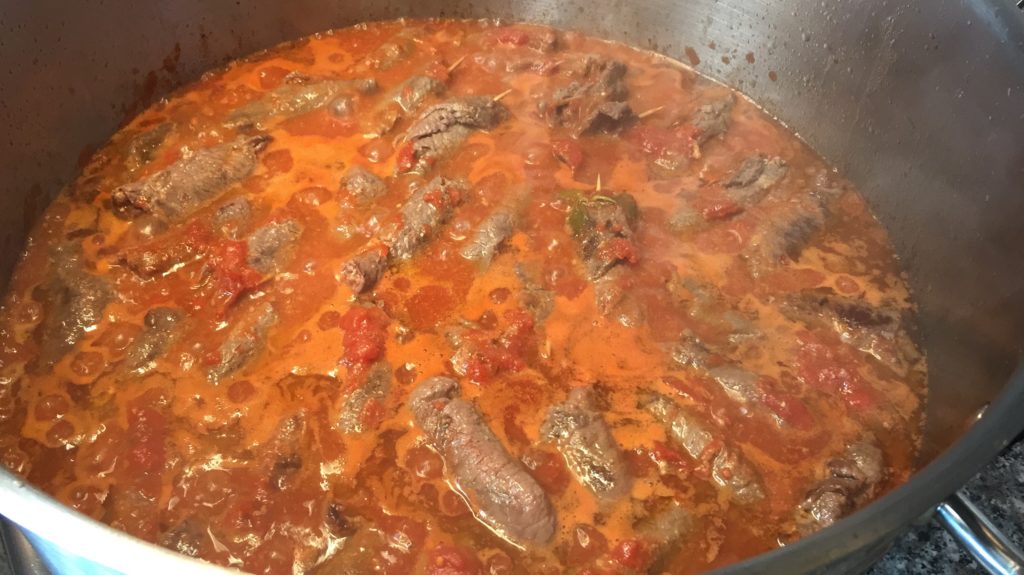
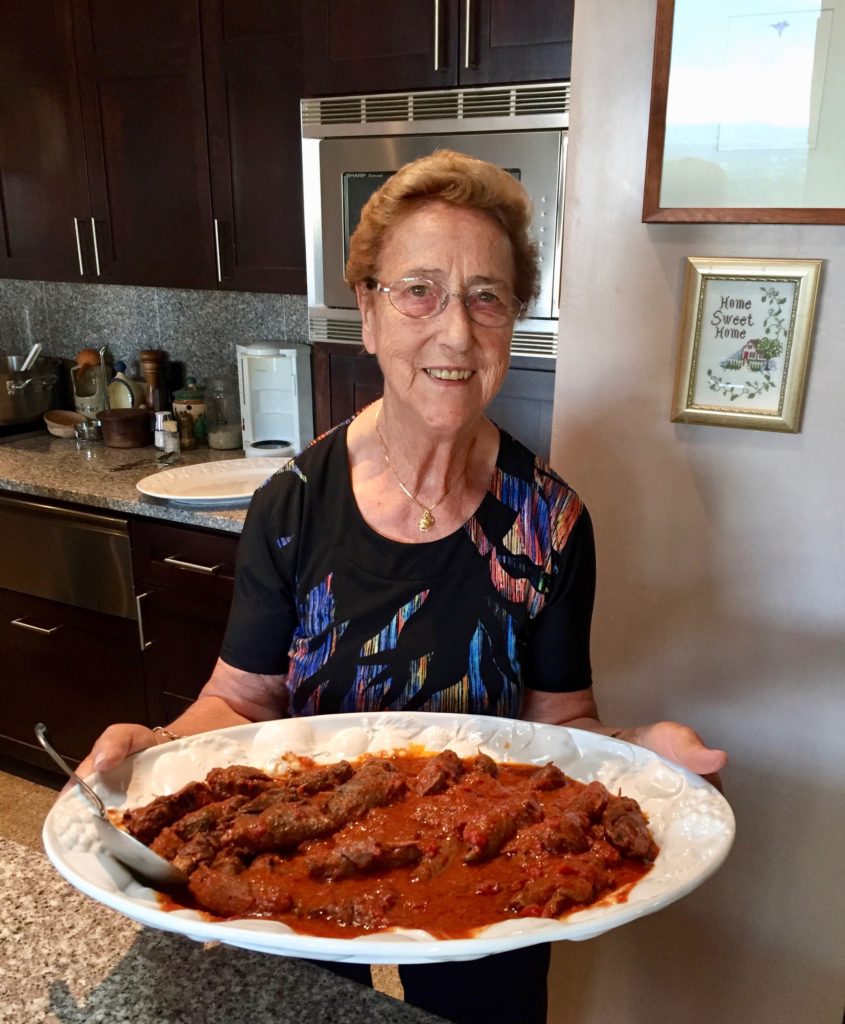
Brasato al Barolo (Beef Braised in Red Wine)

January 21, 2021

Pre-pandemic my husband randomly chose a region of Italy.  Most of our meals for the month were traditional foods of that region.

In response to the pandemic, I reduced my marketing, with rare exception, to one supermarket trip once a week.  Obtaining the ingredients to create very specific regional Italian cuisine became difficult with such a shopping regimen.  Meal planning, though still Italian, reverted to dishes for which I could obtain the necessary ingredients at the supermarket supplemented by deliveries from Amazon.
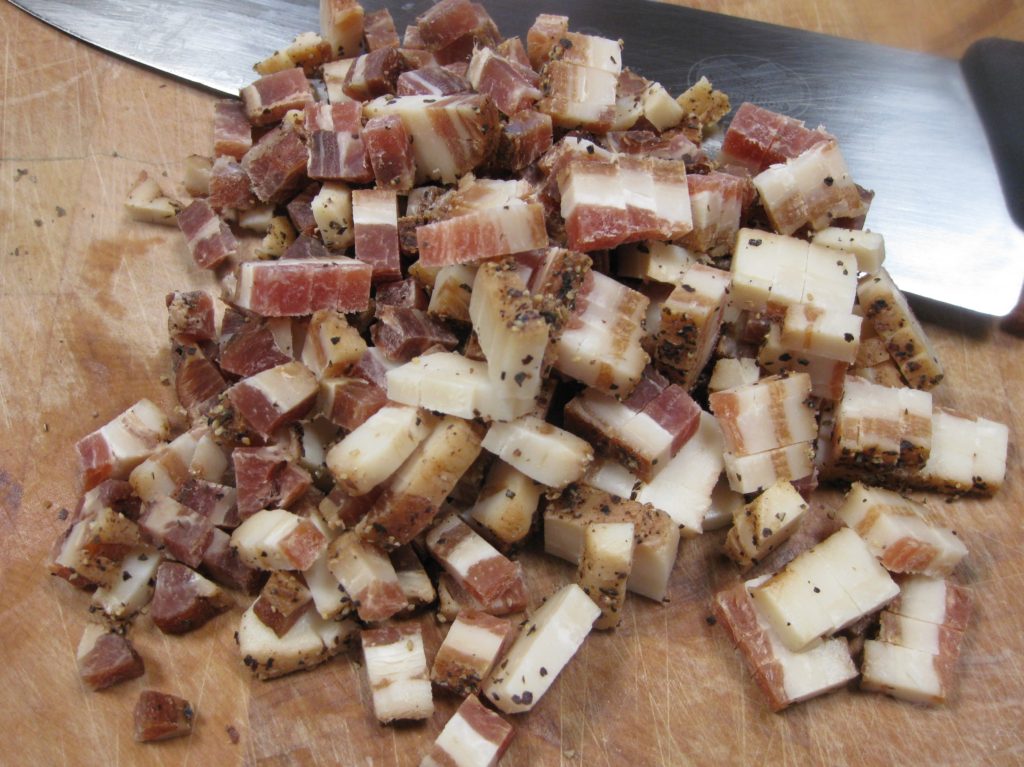
Home-cured pancetta diced and ready to be cooked. Good quality pancetta can be purchased. Be sure to have it sliced thickly.

Amazon is my source for Italian flour, several types of which I use for making pasta, bread, pizza and cake.  Carnaroli rice can be difficult to obtain under the best of circumstances but is available on Amazon.  Some of the ingredients for gelato are impossible to find in retail shops making Amazon the go-to source.

Other items, like specific types of cheeses or cured meats or olives, can only reasonably come from local retail markets.  The same is true for produce and an array of other ingredients.  One marketing trip a week to a general supermarket made it impossible to gather many of the required ingredients so the one-region-a-month-cooking-and-eating regimen fell victim to the pandemic, at least temporarily.


Follow us on your social media platform of choice


I made food from Piemonte (Piedmont) while our region-a-month plan was still active.  Piemonte has cows, so beef and dairy figure prominently in the cuisine.  Piemonte is also home to Barolo, among other wonderful wines.

Piemontese food does not shy away from calories or flavor!

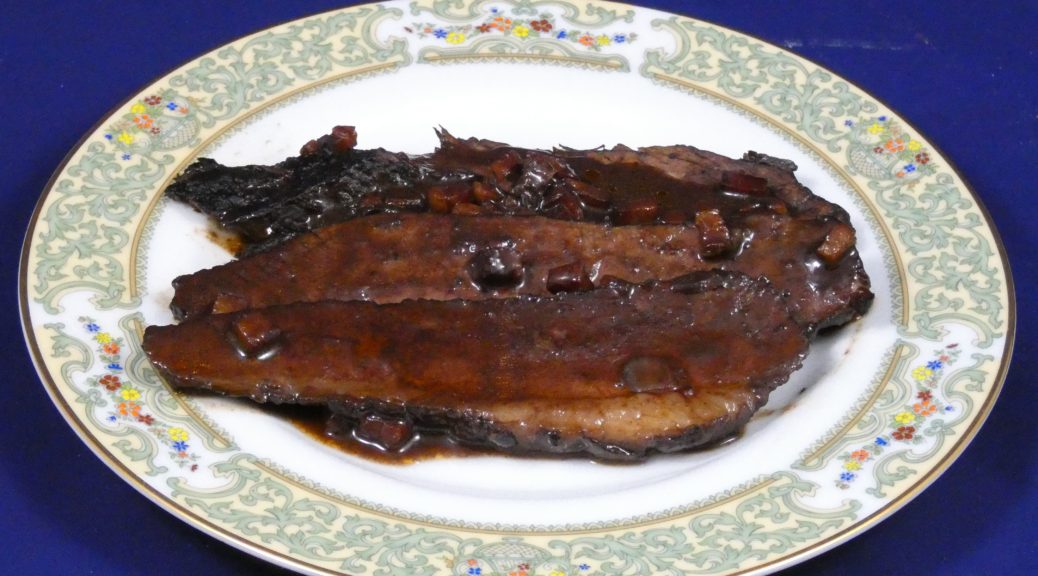
This dish makes use of two of the stars of Piemontese cuisine, beef and wine.  The most traditional recipes call for a whole filet.  The wine is traditionally Barolo.
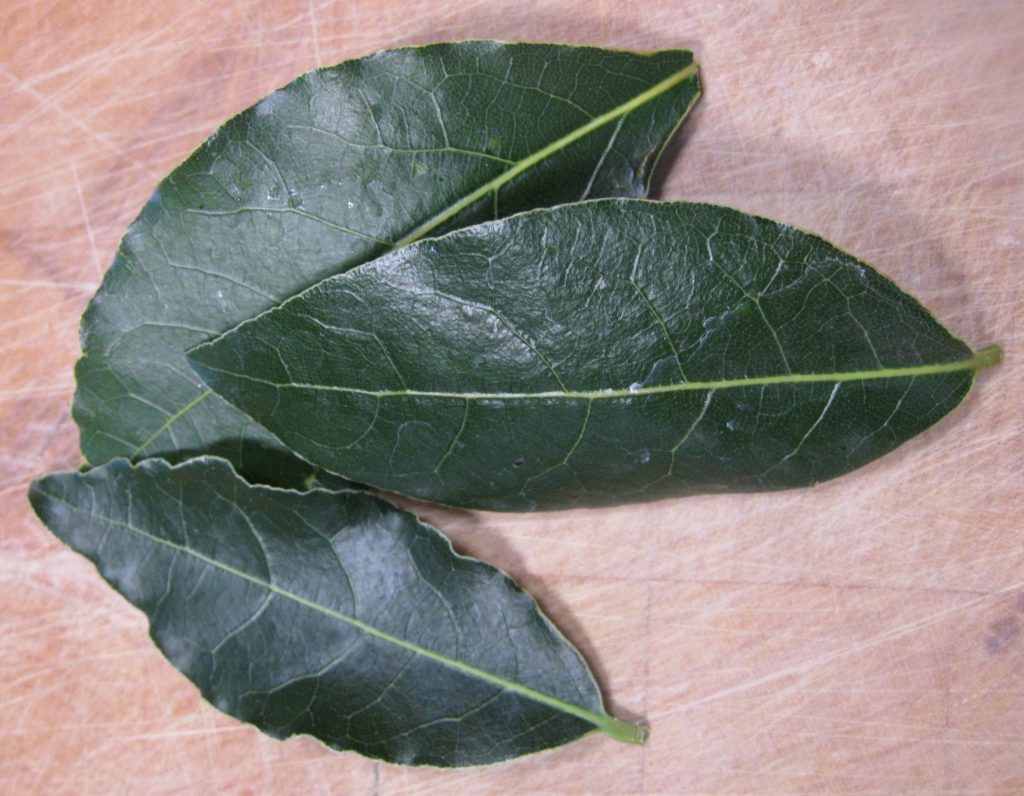
Fresh bay leaves have tremendously more aroma than dried ones.

There was a time when Barolo was affordable.  It is no longer a budget-friendly wine and certainly not one that I would use to braise beef in, even if it’s filet.  If you’re interested in how Barolo became so well-known, watch the movie Barolo Boys.

It’s rare to find a modern recipe that simply specifies Barolo as the red wine.  Even when the traditional name of the dish, Brasato al Barolo, is used, the wine is rarely Barolo.  Calling this Brasato al Vino would be more accurate but that name doesn’t really convey the historic context of the dish.


Join our mailing list and you’ll never miss a recipe again!


I’ve made this with filet that I dutifully larded with my home-cured pancetta.  While the taste was good, the texture of filet after braising was not good, even with the larding.

After that first attempt, I decided to use a cut more commonly used for long, slow, moist cooking even if it was not as high-brow as filet.  Once I made that decision, I started doing recipe research that stretched beyond my several very traditional multi-volume sets of Italian regional cuisine published in Italy in Italian.  I discovered that other (iconoclastic English-speaing) cooks had made the same shift to “lesser” cuts of meat.

I particularly like brisket that’s been braised though a nicely marbled chuck roast would work too.
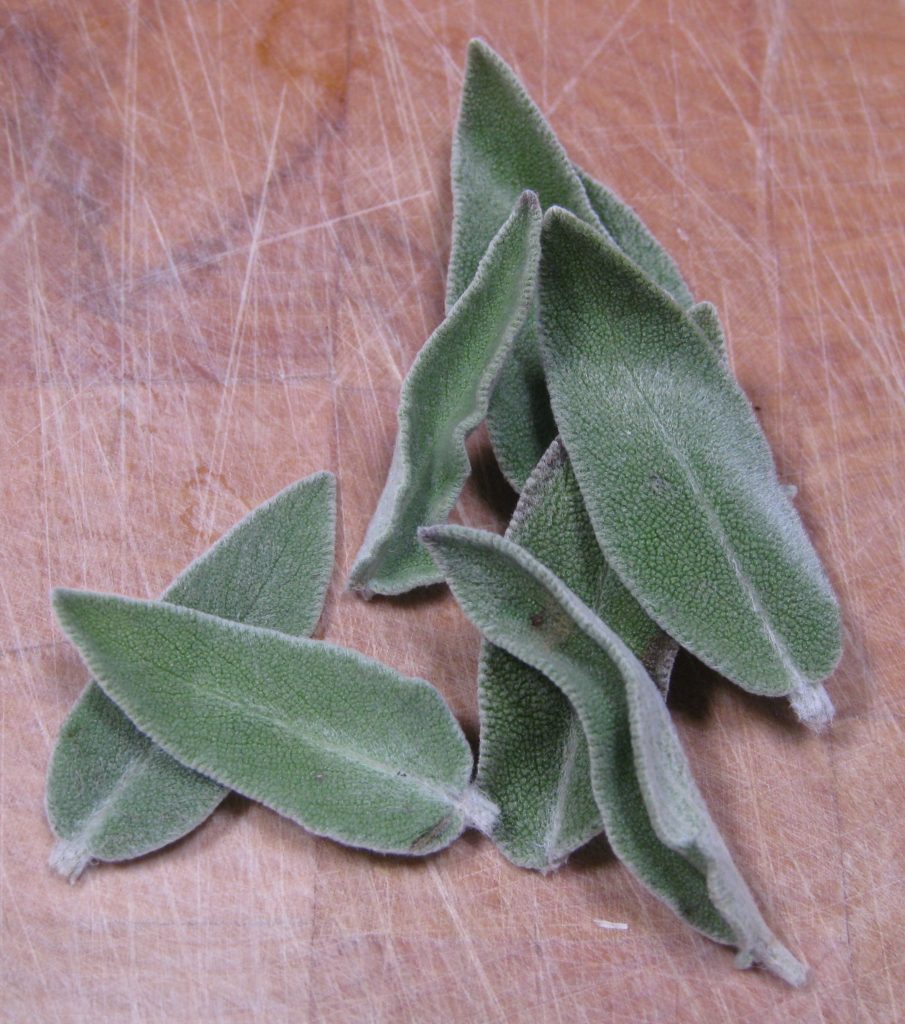
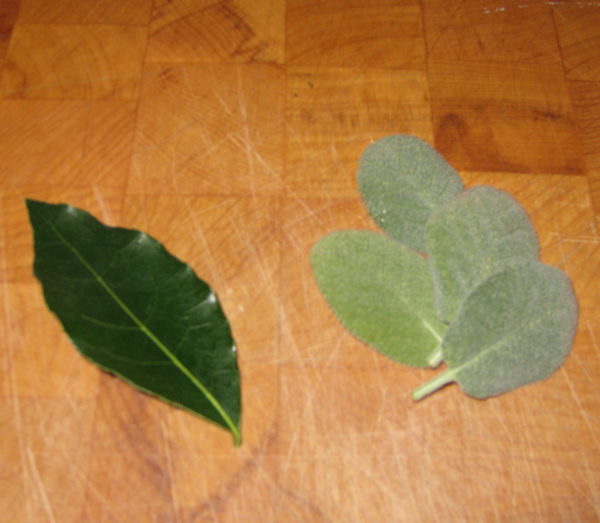
Fresh sage leaves are better than dried when it comes to flavor.

The dish was a hit when made with brisket.  Truth be told, the family didn’t care to ever have it again when I made it with filet.  With the textural change from the brisket it’s become part of our standard menu rotation.

This is a perfect dish for winter.  It’s great for entertaining as it is actually better if made the day before and reheated just before serving.

Oh, and if you actually make it with Barolo, please invite me to dinner!
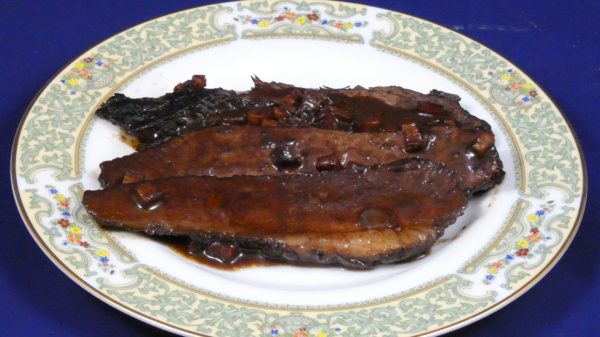
Print Recipe
Brasato al Barolo (Beef Braised in Red Wine)
Since Barolo is so expensive, most contemporary recipes call for another full-bodied red wine. I have used Zinfandel as well as an Argentine wine that was 60% Merlot and 40% Syrah with great success. The meat can be served without refrigerating first but refrigeration makes it easier to get neat slices. If not refrigerating, pour the hot sauce on the sliced meat and serve immediately. If you don’t have a stash of garlic oil on hand, smash two cloves of garlic and sauté in the olive oil until golden then remove the garlic.
Votes: 0
Rating: 0
You:
Rate this recipe!
Course Mains, Meats
Cuisine Italian
Prep Time 30 minutes
Cook Time 4 hours
Passive Time 24 hours
Servings
people
Ingredients
Course Mains, Meats
Cuisine Italian
Prep Time 30 minutes
Cook Time 4 hours
Passive Time 24 hours
Servings
people
Ingredients
Votes: 0
Rating: 0
You:
Rate this recipe!
Instructions
  1. Combine beef with the onion, carrot, celery, garlic, and wine. Cover and refrigerate overnight.
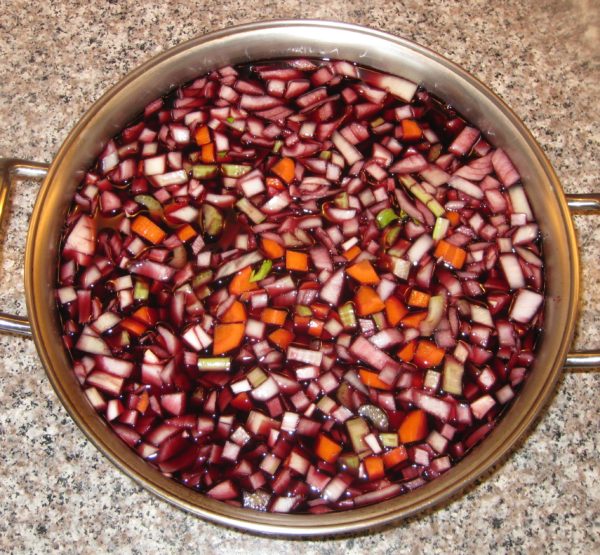
  2. The next day, remove the beef and wipe dry.
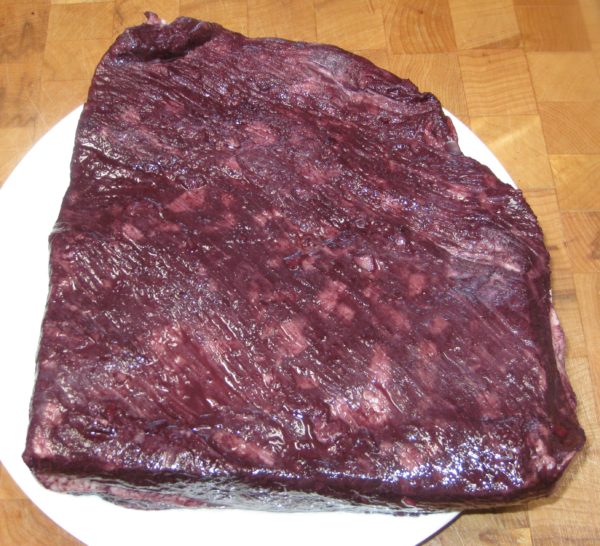
  3. Strain the marinade. Reserve the solids and liquid separately.
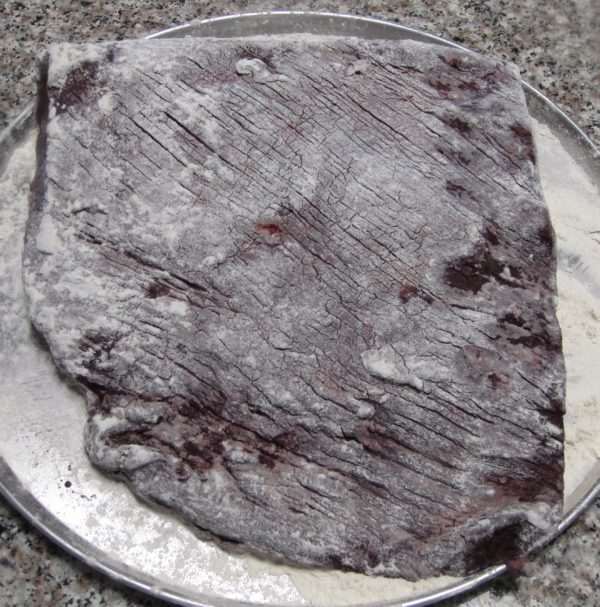
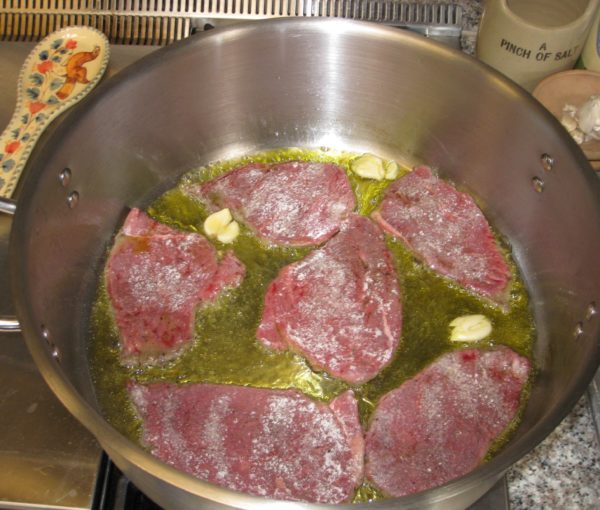
  4. Dredge the beef in flour.
  5. Sauté pancetta in garlic oil over low heat until it renders its fat and browns. Remove pancetta and reserve.
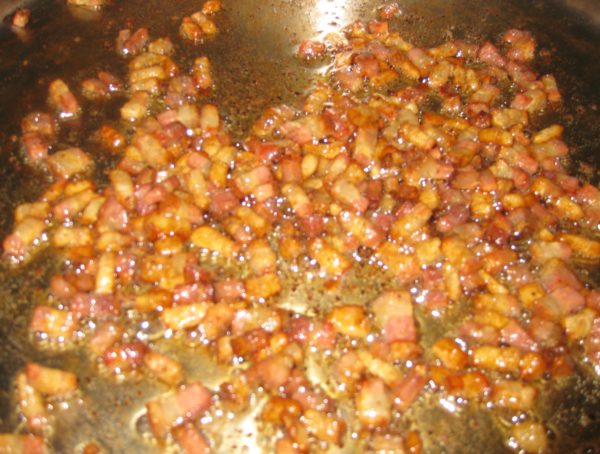
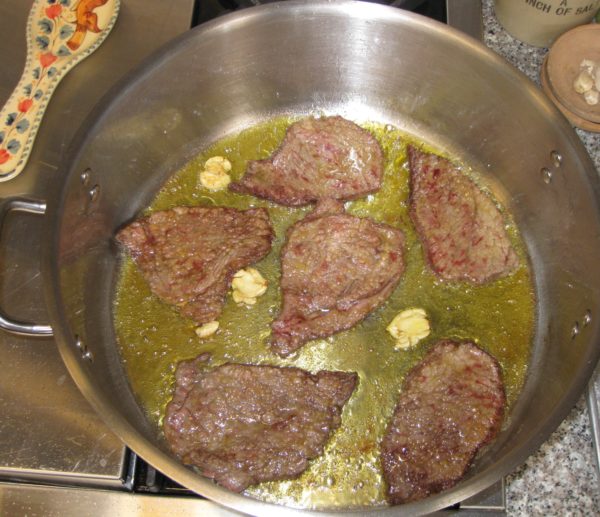
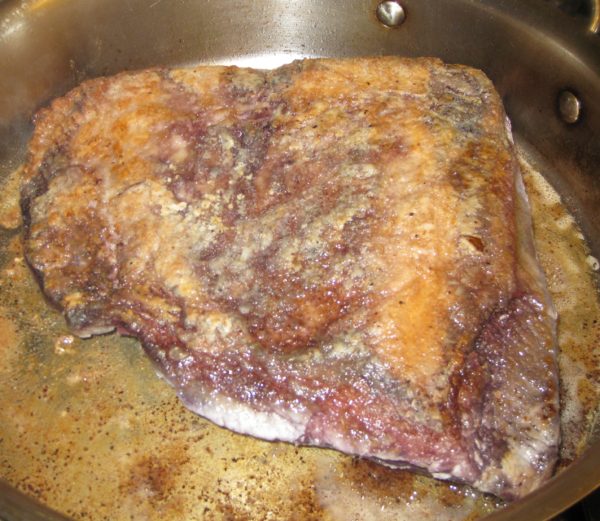
  6. Brown the beef in the rendered fat. Remove the beef.
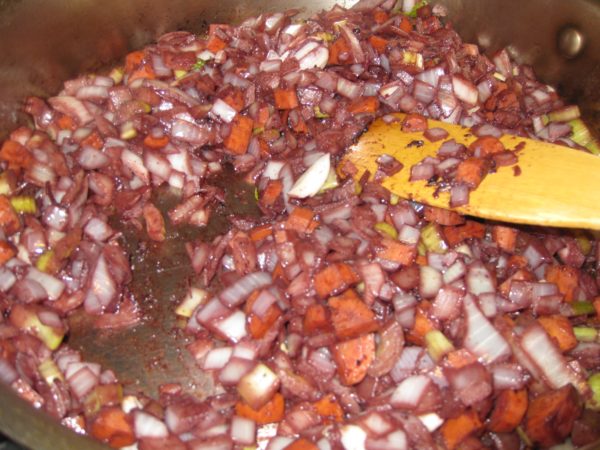
  7. Add the vegetables to the pan and sauté until softened and the onions are translucent.
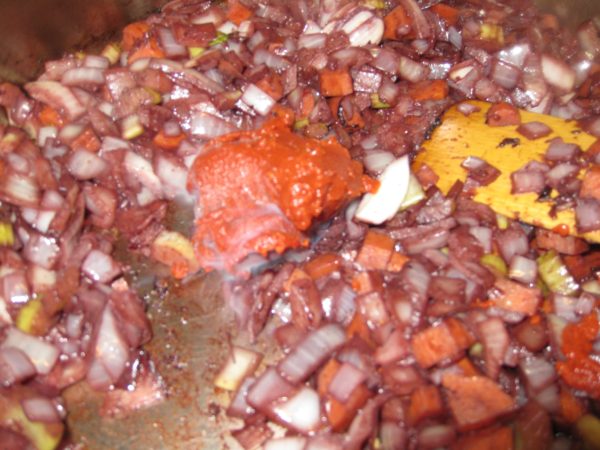
  8. Add the tomato paste. Sauté the tomato paste briefly to darken and sweeten it.
  9. Add the reserved marinade to the pan along with the bay leaves, cloves, rosemary, sage leaves, cinnamon, juniper berries and peppercorns. Bring to a boil, scraping up any browned bits.
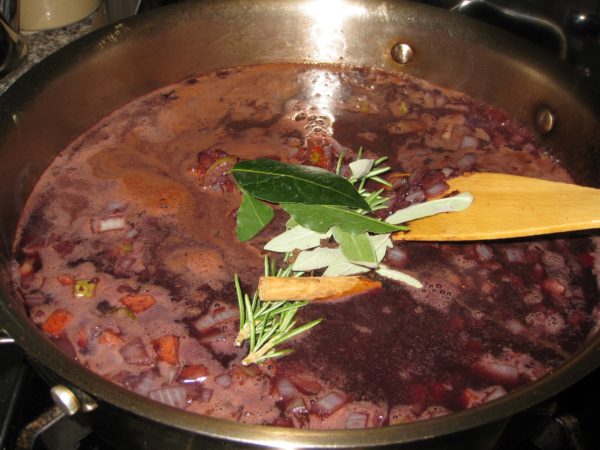
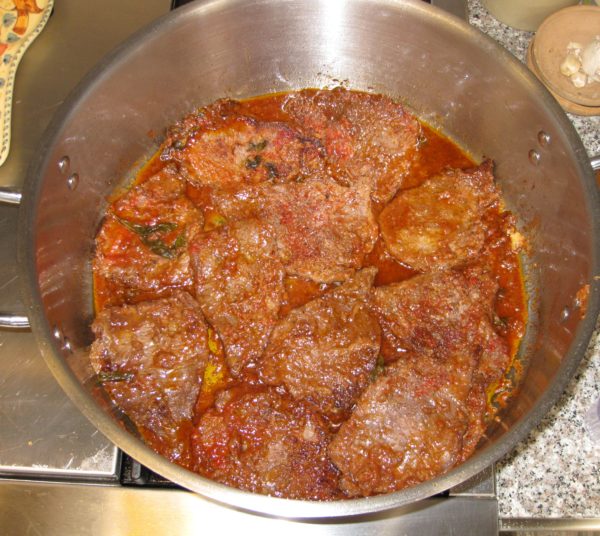
  10. Add the beef. Season with salt. Braise till tender, partially covered, approximately 3 hours.
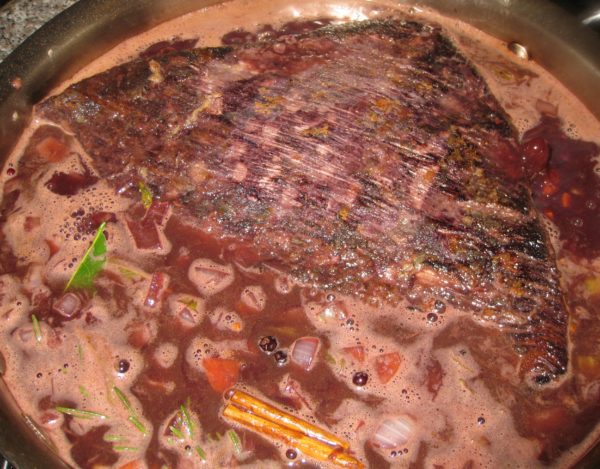
  11. Remove the beef and refrigerate, tightly covered.
  12. Strain the braising liquid. Discard the solids and refrigerate the liquid.
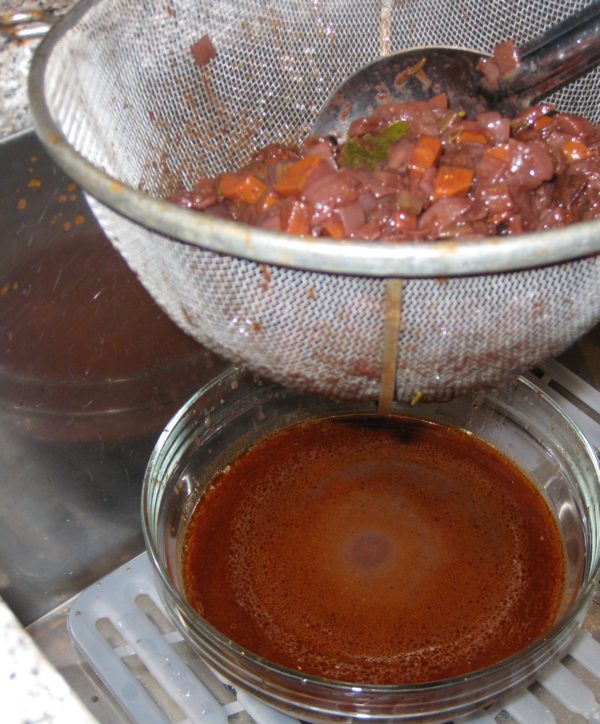
  13. When the beef is cold, slice it against the grain and put in an ovenproof pan or casserole.
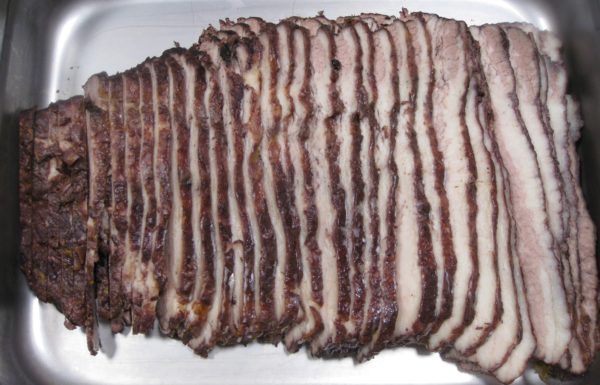
  14. Skim the chilled braising liquid.
  15. Heat the de-fatted braising liquid with the reserved fried pancetta.
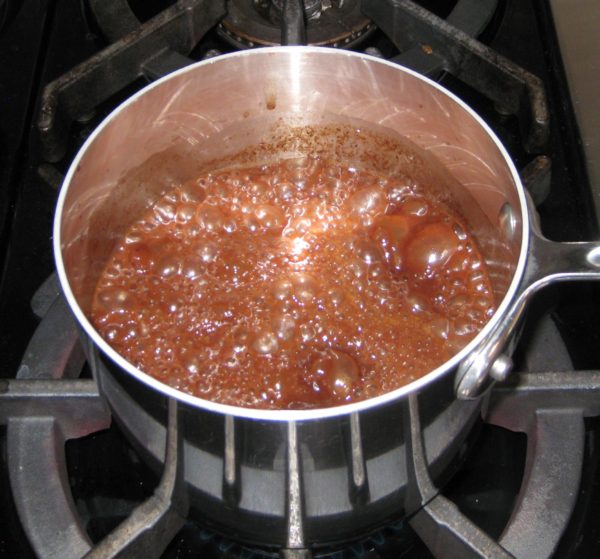
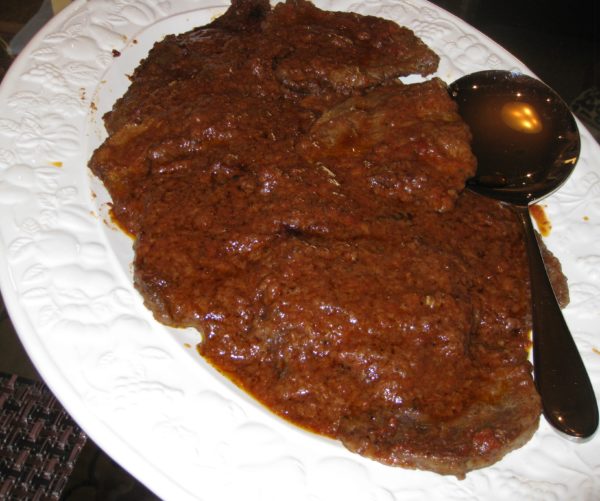
  16. When the braising liquid comes to a boil, remove from heat and add the Marsala. Pour the liquid over the beef, cover the pan, and heat at 350°F for approximately 1 hour.
Recipe Notes

Copyright © 2021 by Villa Sentieri, LLC. All rights reserved.

Share this Recipe

Chicken Braised with Lemon, Sage and Olives

June 20, 2018

When we’re in Palm Springs in the winter, surrounded by an abundance of citrus trees, I feel like citrus ought to be featured in every meal.

Being able to walk out the door and pick lemons, limes, oranges, grapefruit and tangerines, and NOT doing it, seems like such a grand missed opportunity.  Even if the ingredients for the rest of the meal don’t come from within a few feet of my door, the citrus fruits and herbs can.

With that in mind, and the prospect of cooking a multi-course dinner for 15 people in a kitchen that’s about 8’ x 10’ got me to thinking.  Individually lemons, sage, and olives pair well with chicken so why not all of them together in the same dish?

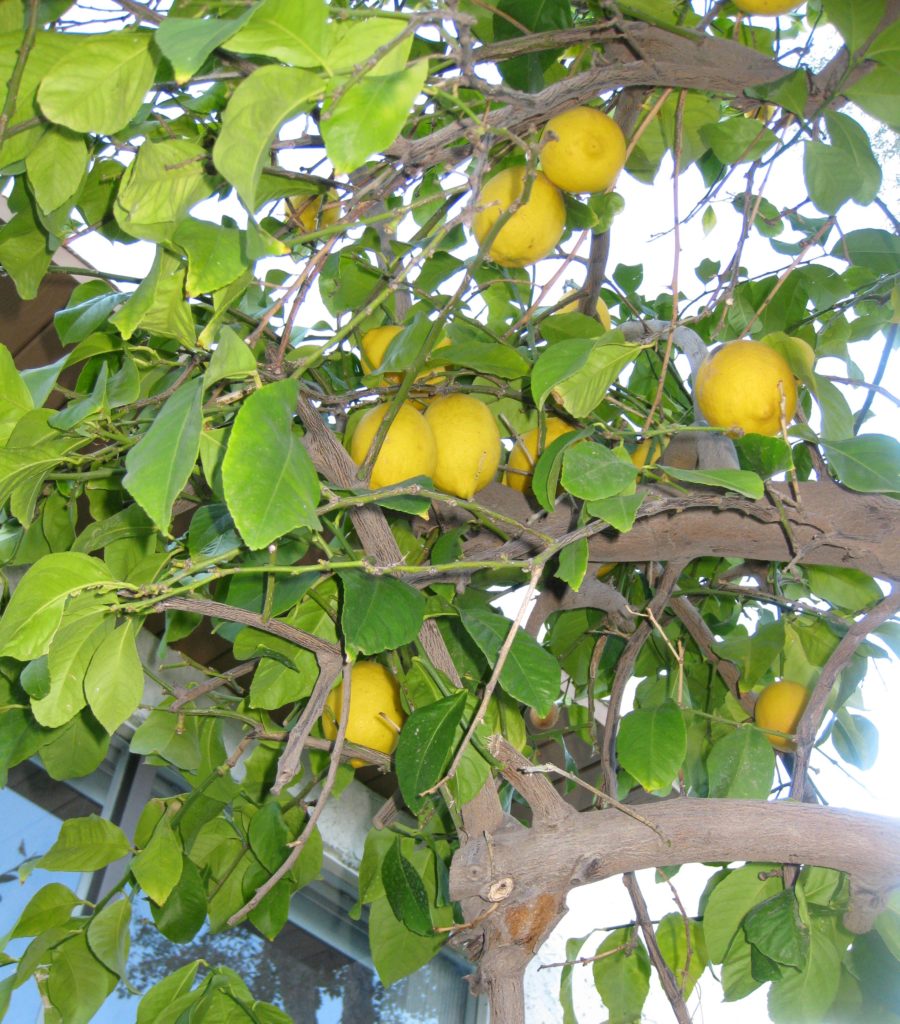
Looking up into a lemon tree in Palm Springs

Next came the method.  With fifteen people I needed at least 15 pieces of chicken.  I was pretty sure that with all the other courses, one piece of chicken per person would be enough.  I added a few more for good measure.


Follow us on your social media platform of choice


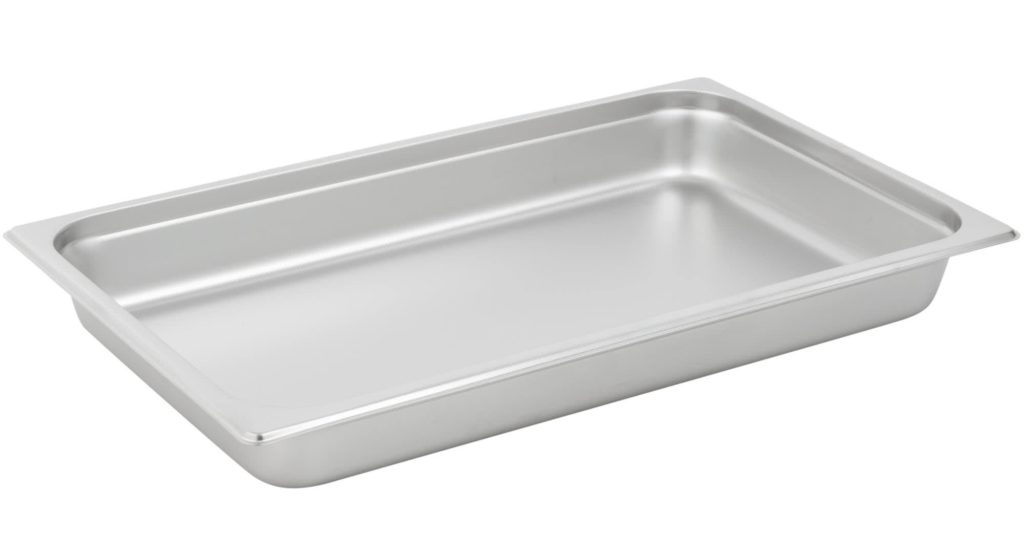
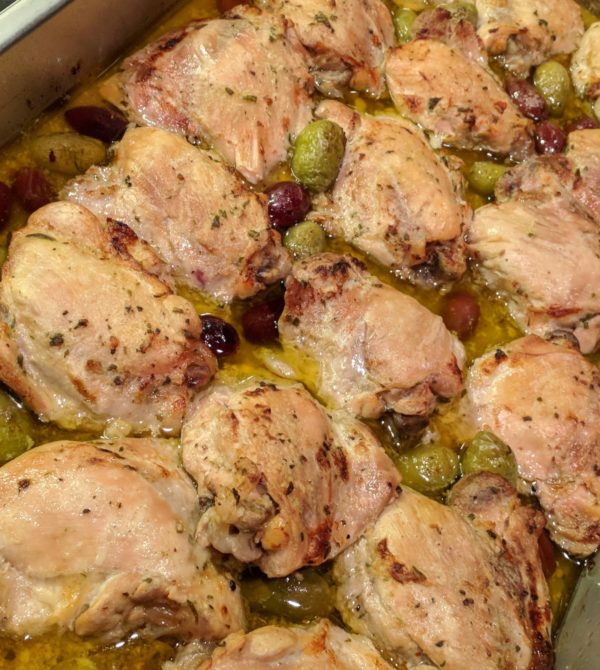
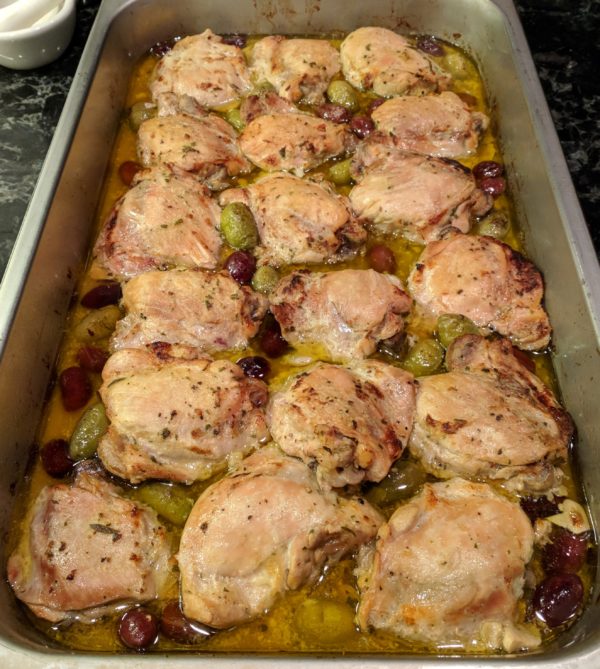
Braising 18 pieces of chicken on the stove top would have consumed a good deal of space so I opted for the oven and a “hotel pan,” sometimes called a steam table tray.  You know, those cafeteria-style rectangular pans.  I have a mess of them in an array of sizes.  Made of stainless steel, they’re non-reactive.  You can cook and store food in them, simplifying the preparation process.  Shallow roasting pans are a good substitute.  Don’t use aluminum pans or other reactive materials due to the lemon juice in this dish.

To keep it simple, I decided not to brown the chicken first, but rather to do it at the end by turning up the oven.  I made a marinade by buzzing the ingredients in a blender, so even that is super-easy.

A hotel pan is a great way to prepare large quantities of food

Which part of the chicken to use was never in question.  I like what happens to chicken thighs with long, slow braising.  Keeping the bone in adds flavor and structure so I suggest avoiding boneless thighs.

If you keep the skin on you’ll have to remove it before browning and serving the chicken because it will be rubbery from the moist heat.  I usually prefer to keep the skin on as it helps keep the meat moist but the combination of low and slow cooking and a tight cover meant the effect of the skin would be marginal.  Removing the skin in the beginning makes the dish even simpler to prepare.  Besides, the skin is a great addition to the stock pot when making chicken stock or broth.


Join our mailing list and you’ll never miss a recipe again!


I keep a zipper lock bag in my freezer into which I put chicken skin and other bits that I trim off chicken then add the contents to the stock pot with backs and wings.  Skin contains a lot of fat but since it will be skimmed off at the end it’s not really a concern.  The collagen in the skin, however, will greatly improve the mouthfeel of the broth.  In the “old days” adding chicken feet to the stock pot served the same purpose but finding chicken feet is challenging.

A Palm Springs orange tree, in the distance, full of ripe oranges

While this dish was created in the Palm Springs winter, it works well year-round thanks to the non-stop availability of lemons.  The next time you’re cooking for a crowd, give it a try and let me know what you think.

Print Recipe
Chicken Braised with Lemon, Sage and Olives
I created this recipe for my father-in-law’s birthday, January 2018. The lemons came from the trees outside of our house in Palm Springs. Though not essential, I prefer to put a sheet of baking parchment over the chicken before covering with aluminum foil to keep the reactive aluminum completely out of contact with the acid in the lemon juice.
Votes: 0
Rating: 0
You:
Rate this recipe!
Course Mains, Poultry
Cuisine Italian
Prep Time 30 minutes
Cook Time 2 hours
Servings
people
Ingredients
Course Mains, Poultry
Cuisine Italian
Prep Time 30 minutes
Cook Time 2 hours
Servings
people
Ingredients
Votes: 0
Rating: 0
You:
Rate this recipe!
Instructions
  1. Make marinade by pureeing the olive oil, lemon juice, 6 cloves garlic, rosemary, salt, and pepper in a blender.
  2. Pour the marinade over the chicken thighs and mix well.
  3. Marinate chicken thighs overnight in the refrigerator.
  4. Lightly oil a non-reactive hotel pan or shallow roasting pan.
  5. Arrange lemon slices on the bottom of the pan.
  6. Put a sage leaf on each lemon slice.
  7. Put a chicken thigh on each sage-topped lemon slice, reserving the marinade.
  8. Scatter olives around the chicken.
  9. Smash the remaining 8 garlic cloves and scatter around the chicken.
  10. Pour the marinade over the chicken. Cover the pan tightly with foil. (If possible, cover the pan with a sheet of parchment before the aluminum foil.)
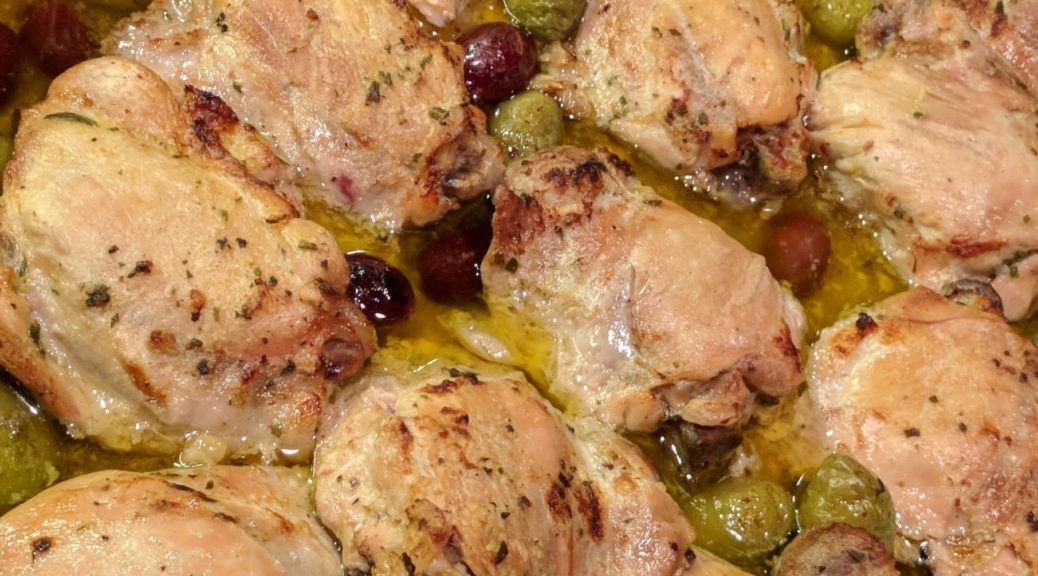
  11. Put the chicken into a preheated 350°F oven. Cook until the chicken is nearly fall-apart tender, 90-120 minutes.
  12. Using a turkey baster, remove most of the liquid from the pan. Put the liquid into a fat separator.
  13. Turn the heat as high as the oven goes. Put the pan of chicken on the top rack until it takes on some color, approximately 10-15 minutes. You can also use the broiler for this, though many broilers do not have enough heated surface area to brown the contents of a large pan.
  14. While the chicken is browning, skim the fat from the pan juices.
  15. Carefully move the chicken thighs, with lemon slices intact, to a serving platter or individual plates.
  16. Scatter the olives over the chicken.
  17. Pour some of the defatted pan juices over the chicken.
  18. Pass the remaining defatted pan juices at the table.
Recipe Notes

Copyright © 2018 by Villa Sentieri, LLC. All rights reserved.
Share this Recipe

Piselli in Umido (Peas in Tomato Sauce)

April 11, 2018

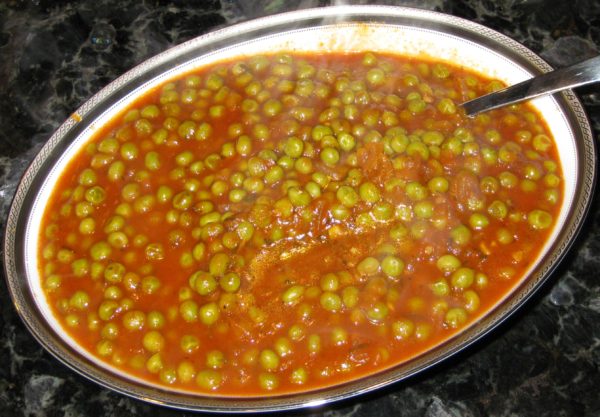
Italians have knack for combining a modest array of vegetables into an almost endless cannon of dishes, each of which is distinctive, even if the interrelationships of the various parts are obvious.

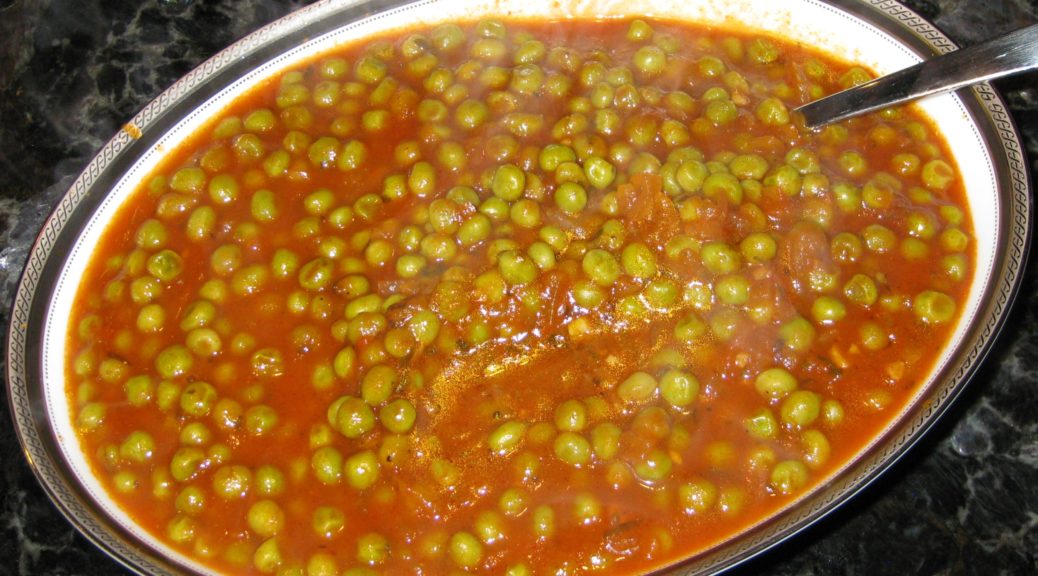
This dish of peas cooked in tomato sauce is from my husband’s paternal grandmother, Amerina Pieri.

I learned to make this from my mother-in-law, Marisa, Amerina’s daughter-in-law.


Follow us on your social media platform of choice


Everyone who makes it adds his or her own signature.  Mine is not exactly like my mother-in-law’s and I’m sure hers is not just like Zia (Aunt) Ida’s, Amerina’s daughter.

Interestingly, Nonni (as we all called her) used canned peas.  In talking with my father-in-law (who grew up eating this) and my mother-in-law, they were pretty sure Nonni would not have used canned peas in Italy unless she possibly canned them herself.  Somehow canned peas became the norm in America.

Amerina Pieri (aka Nonni or Nonni’merina) Christmas 2005

And, while canned peas produce a pretty good dish, I prefer something a little fresher.  Because really good fresh peas are available for only a few weeks a year at the Farmers Market in Santa Fe, I usually use frozen peas.

If the frozen peas haven’t been in your freezer so long that they start to dry out and freeze into a block they are superior to “fresh” peas except during the few weeks a year when they are really locally-grown and truly fresh.


Click HERE to join our mailing list and you’ll never miss a recipe again!


My mother-in-law usually uses canned tomato sauce when making this, as did Nonni (at least when she made it on this side of the Atlantic Ocean!).

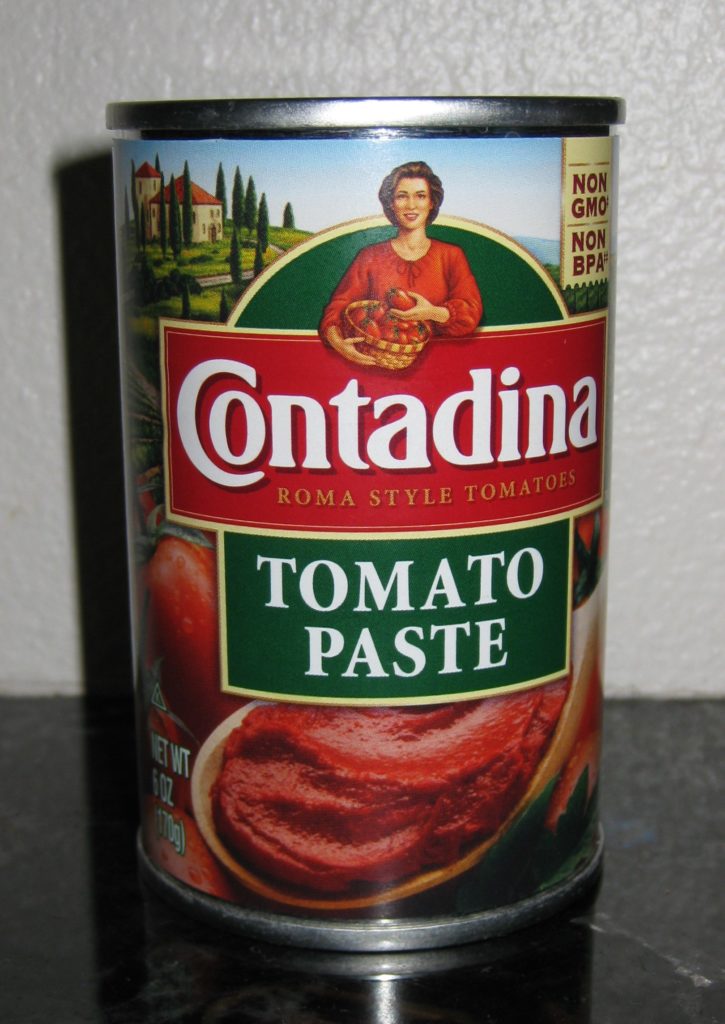
I use tomato paste and water.  If you read the ingredient lists on cans of tomato sauce that you can buy in the United States, you will find that most are made from tomato paste and water, so why not just do it yourself?  Those few brands of tomato sauce that are not made from diluted tomato paste are a little too sour for my taste.  I would opt for a good-quality tomato puree instead.

My favorite brand of domestically produced tomato paste

Tomato paste has a richer flavor than tomato sauce or tomato puree.  I attribute this to the extra cooking that is needed to concentrate the tomatoes.  Those little cans provide the foundation of a taste that could otherwise only be achieved with hours of simmering.

Homemade tomato puree would be another good option if you want a fresher, more summery taste.  Here’s where you can find my recipe.


If you have a favorite family recipe and a bit of a story to tell, please email me at santafecook@villasentieri.com and we can discuss including it in the blog. I am expanding the scope of my blog to include traditional recipes from around the country and around the world. If you haven’t seen Bertha’s Flan or Melinda’s Drunken Prunes, take a look.  They will give you an idea of what I’m looking for.


Print Recipe
Piselli in Umido (Peas in Tomato Sauce)
Fresh or canned peas can be used in place of frozen. Fresh peas will take longer to cook. The canned peas should be cooked briefly to avoid overcooking. I like to rinse off frozen vegetables to remove any ice crystals on the exterior. I find the ice crystals can carry a “freezer” taste.
Votes: 0
Rating: 0
You:
Rate this recipe!
Course Sides, Vegetables
Cuisine Italian
Prep Time 10 minutes
Cook Time 75 minutes
Servings
people
Ingredients
Course Sides, Vegetables
Cuisine Italian
Prep Time 10 minutes
Cook Time 75 minutes
Servings
people
Ingredients
Votes: 0
Rating: 0
You:
Rate this recipe!
Instructions
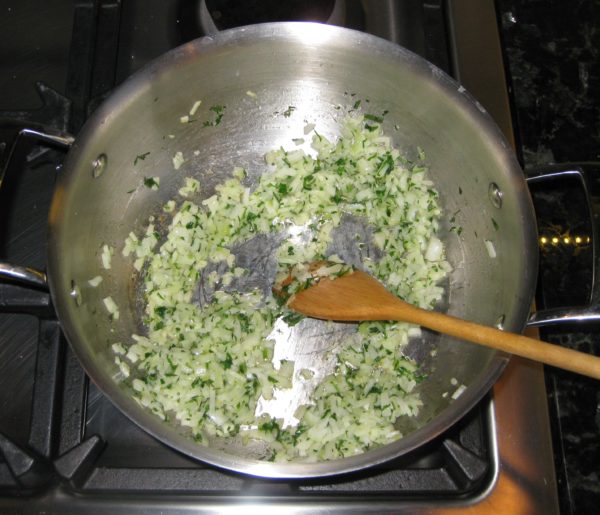
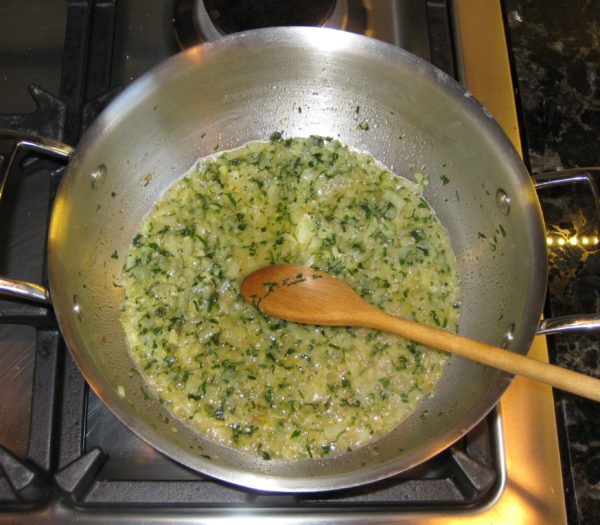
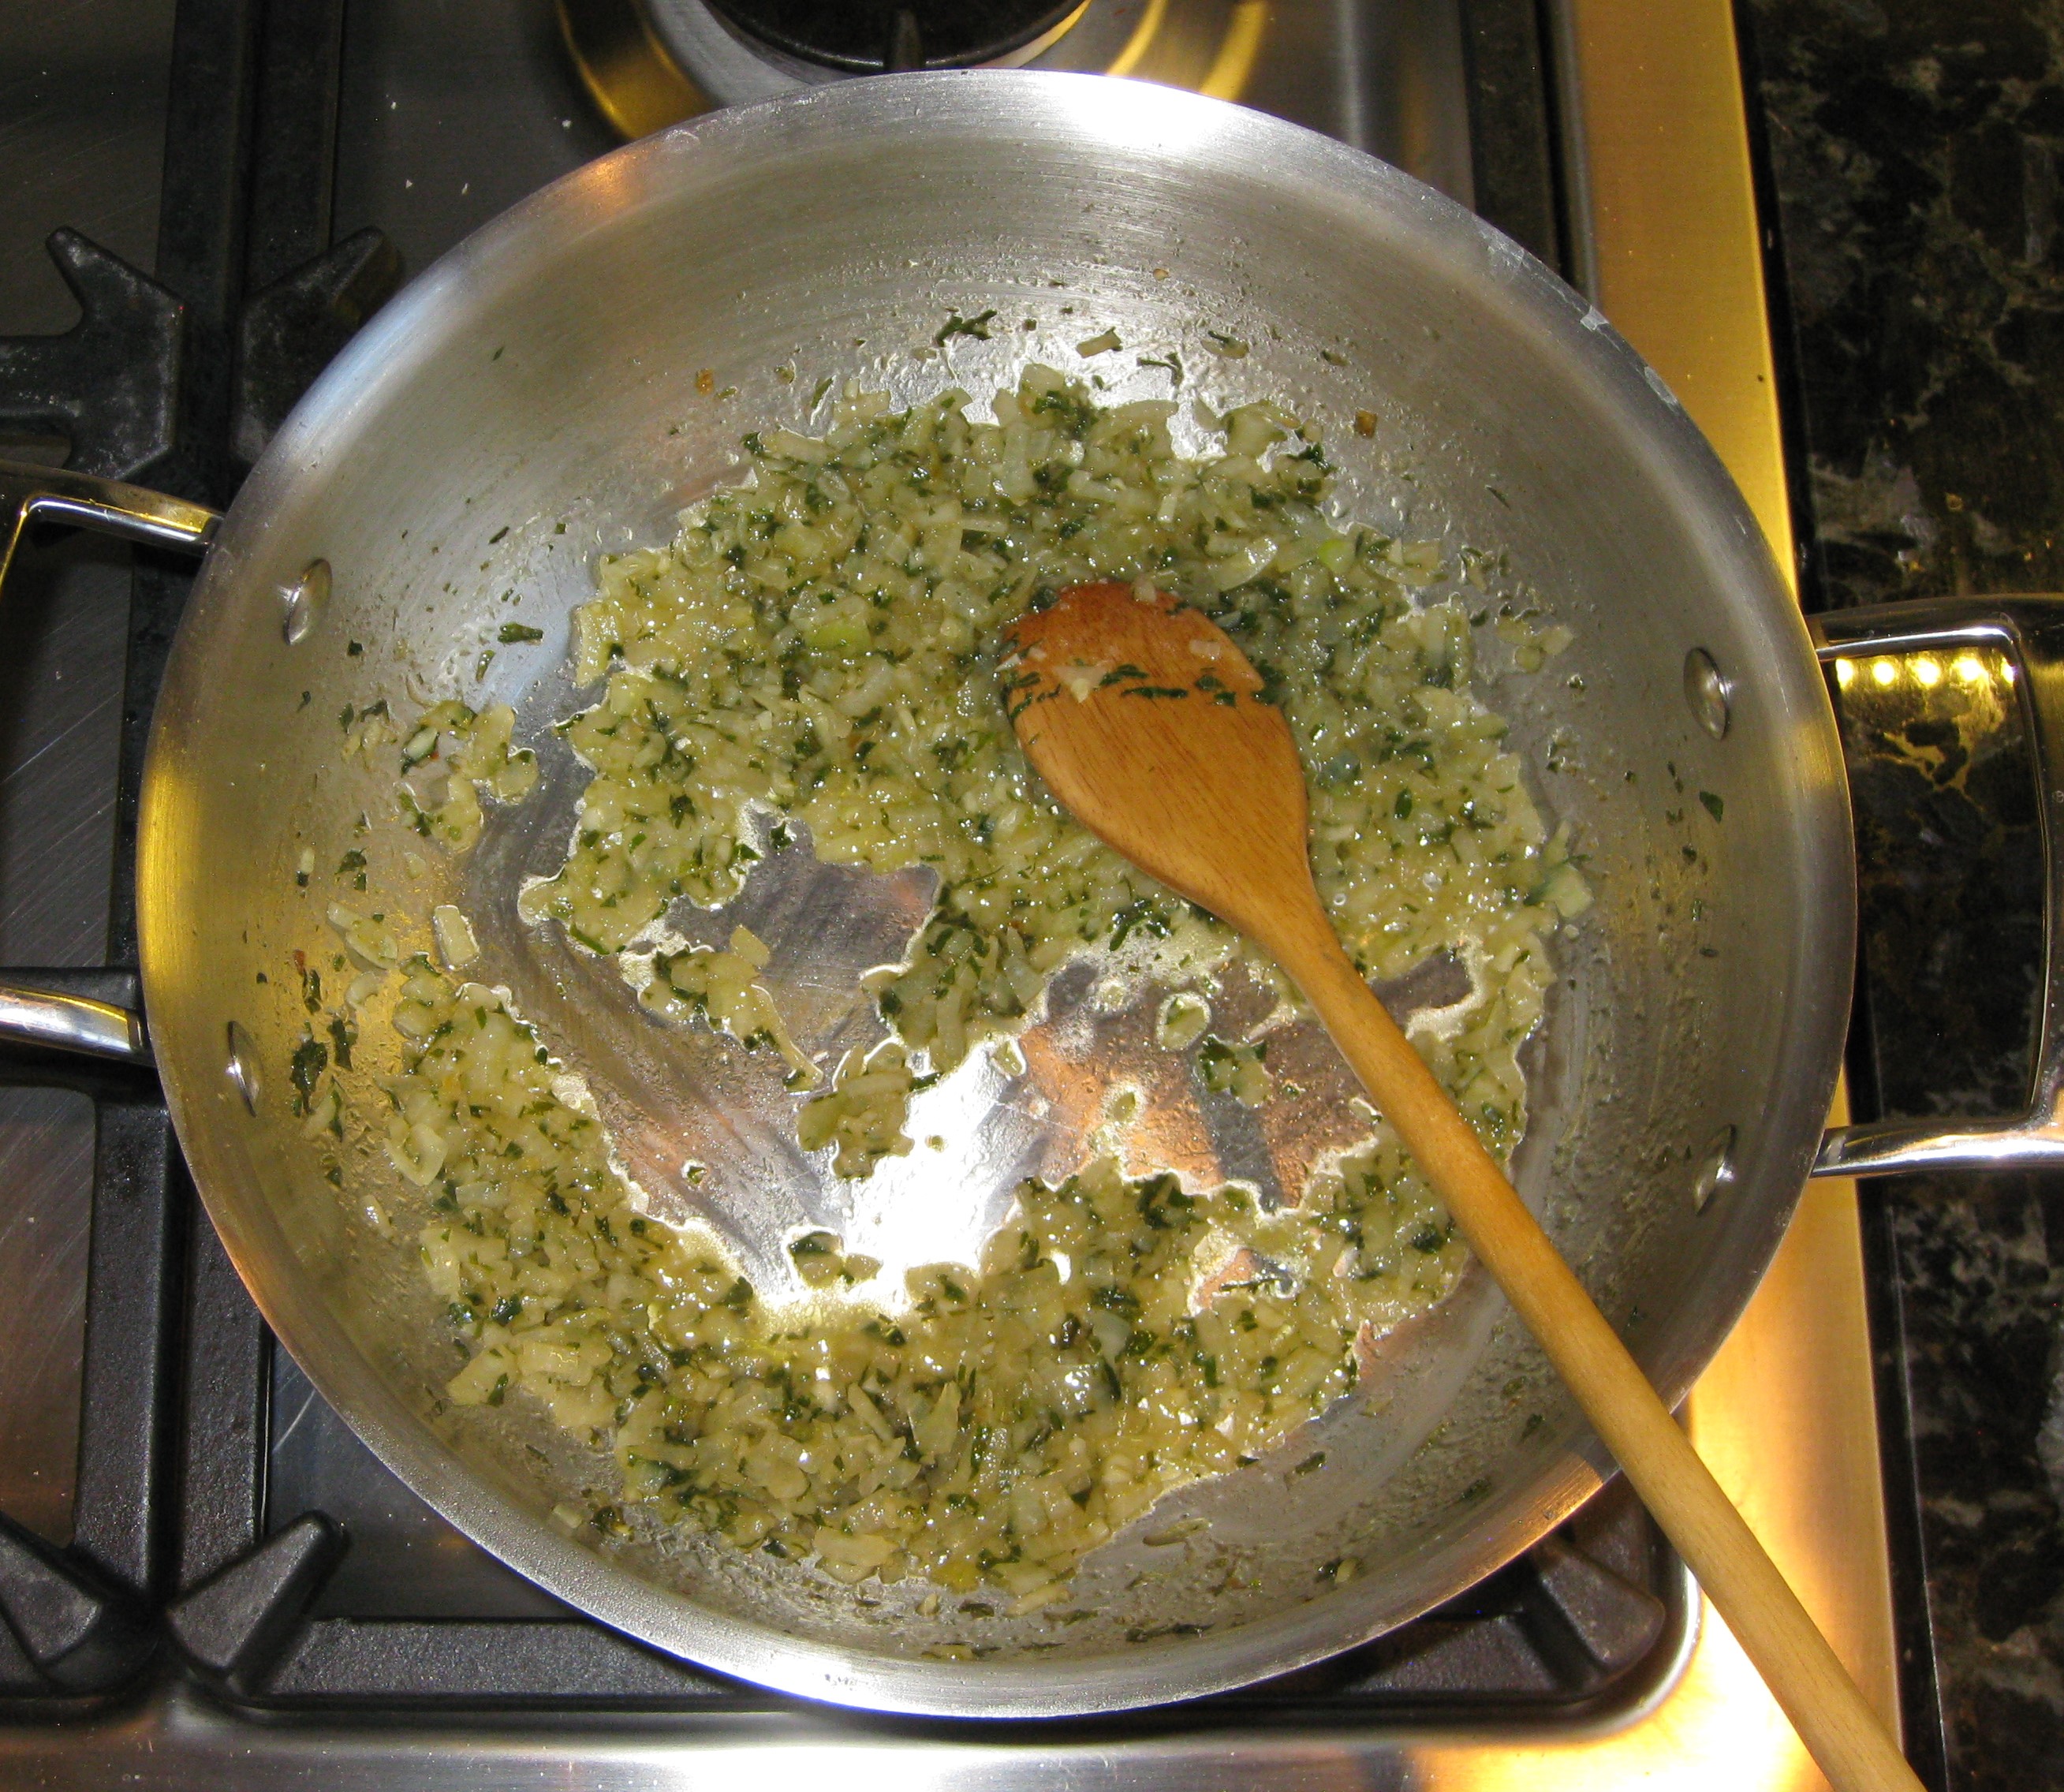
  1. Sauté the onion, garlic, sage, parsley and ½ teaspoon of salt in the olive oil in a heavy-bottomed saucepan till the onion is translucent.
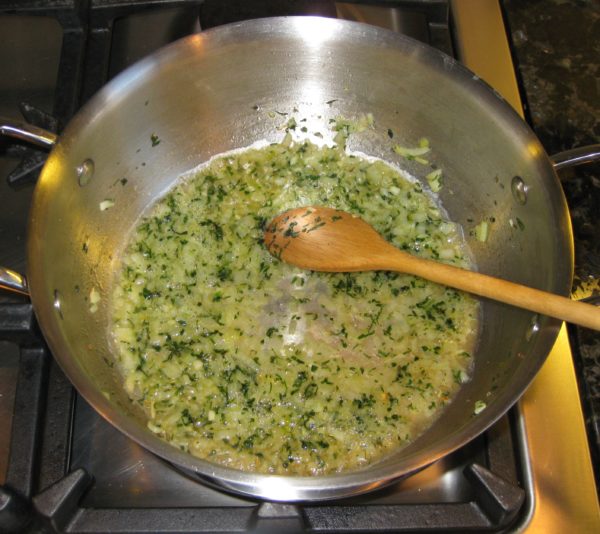
  2. Add the wine and cook, stirring frequently, until it evaporates.
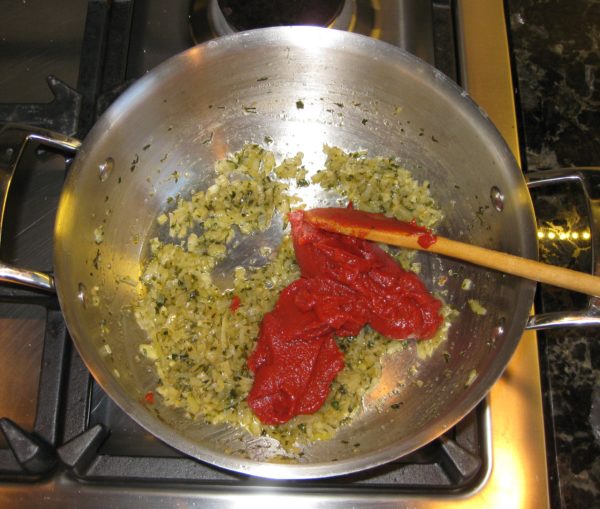
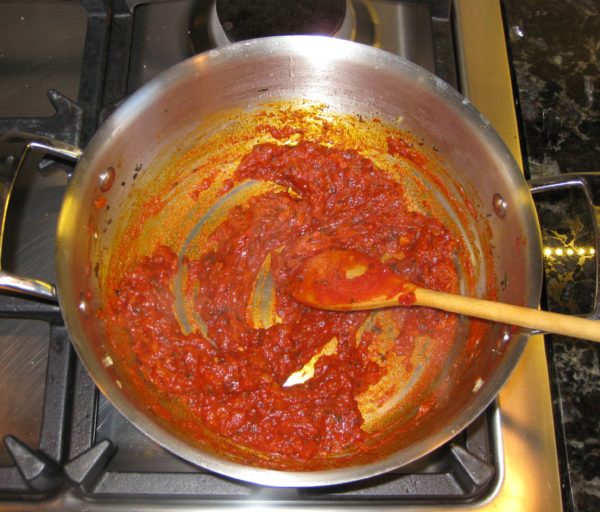
  3. Add the tomato paste and sauté until it becomes slightly darker, 3-4 minutes.
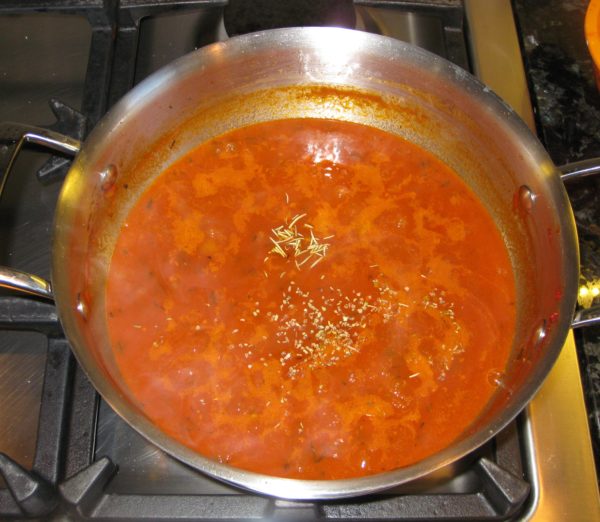
  4. Add the water, sugar, bay leaf, rosemary, oregano, and salt and pepper to taste.
  5. Simmer, partially covered, until thickened, approximately 45 minutes.
  6. Adjust seasoning.
  7. Rinse the frozen peas under cool water to remove any ice crystals.
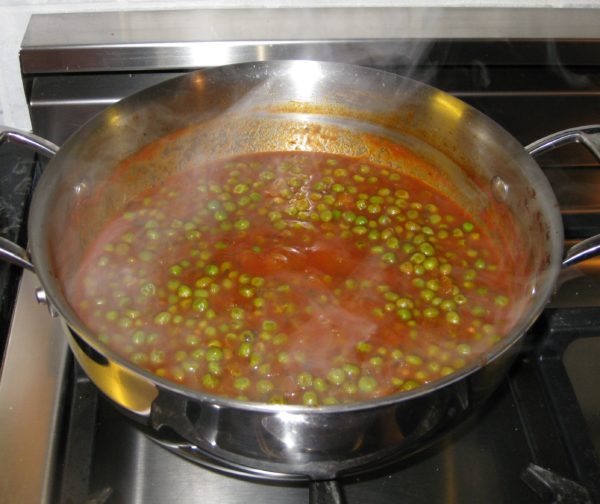
  8. Add the frozen peas to the sauce.
  9. Simmer approximately 15 minutes, adjusting seasoning once again, if needed.
Recipe Notes

Copyright © 2018 by VillaSentieri.com. All rights reserved.
Share this Recipe

Carne di Manzo in Umido (Thinly Sliced Beef in Tomato Caper Sauce)

August 30, 2017

As I am writing this, my husband’s Great Aunt Fidalma and cousin Massimo are visiting us from Tuscany. We’ve had quite a week of eating and drinking.  Every night, actually, was something like a party. At the lowest head count we were 6, but more often 9, and once 20!

From left to right: Massimo, me (holding Abby), my father-in-law, Zia Fidalma, Zia Ida, my mother-in-law.

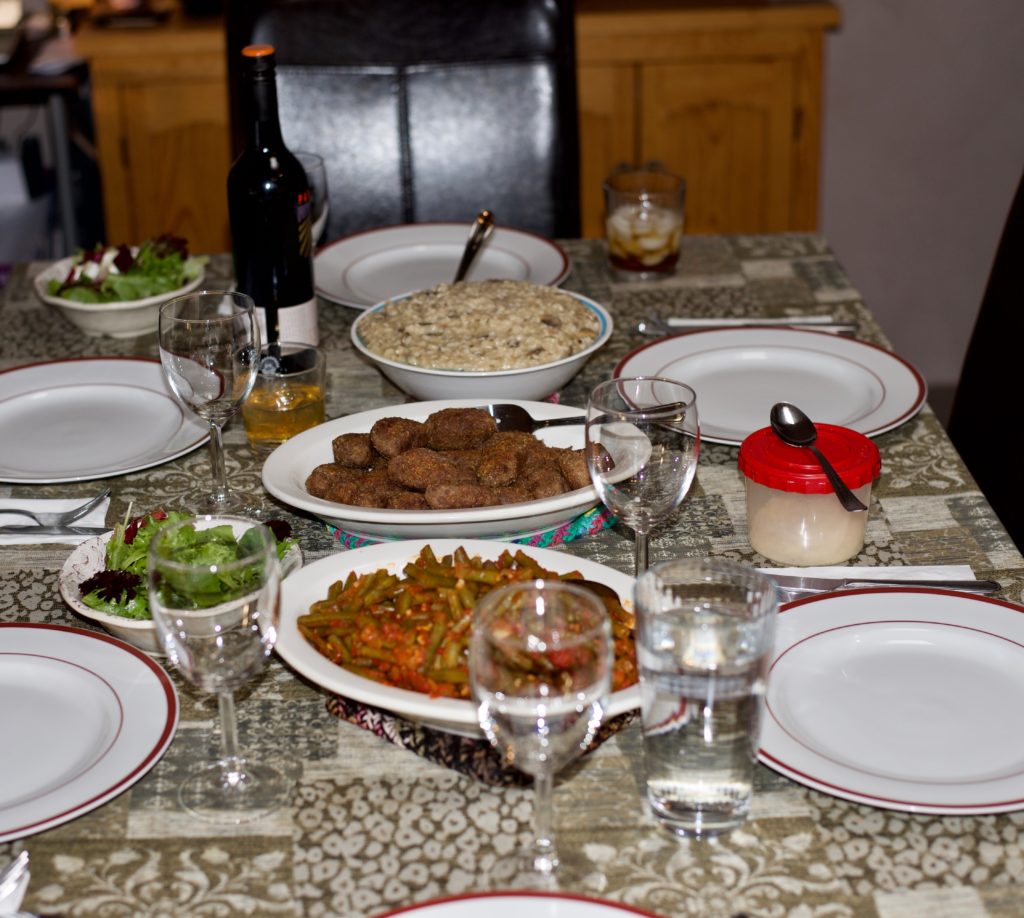
Last night I fried a bunch of zucchini flowers to accompany cocktails. Zia Fidalma made little elongated meatballs (polpette) with ground beef and mortadella seasoned with onions, garlic, and herbs. I made risotto with mushrooms and my mother-in-law made long-simmered green beans in tomato sauce, something like my green beans in tomato sauce with bacon.

Risotto with Mushrooms, Meatballs, Green Beans in Tomato Sauce

While we were sitting at the table after dinner doing what Italians do (talking about growing food, talking about preparing food, talking about food we’ve eaten, and talking about the next meal) Zia Fidalma started to describe a dish of thinly sliced beef cooked in tomato sauce with capers.

“Carne di Manzo in Umido!” I said.  She concurred.

I told her that Carne di Manzo in Umido was, in fact, the long-planned blog post for Wednesday.

It is a dish I had at her home in Tuscany about 20 years ago. I wrote down the recipe in a combination of English and Italian and American and Metric measures sitting at her kitchen table. It took me a while to get it right but I think I’ve nailed it.

Here’s a quick rundown of the food we’ve had over the past week:

August 23rd: Pasta with Zucchini, Chicken Thighs braised in Red Wine and Balsamic Vinegar, Salad, Cherries in Brandy, Homemade Limoncello, and Homemade Bay Leaf Liqueur (being posted in October).

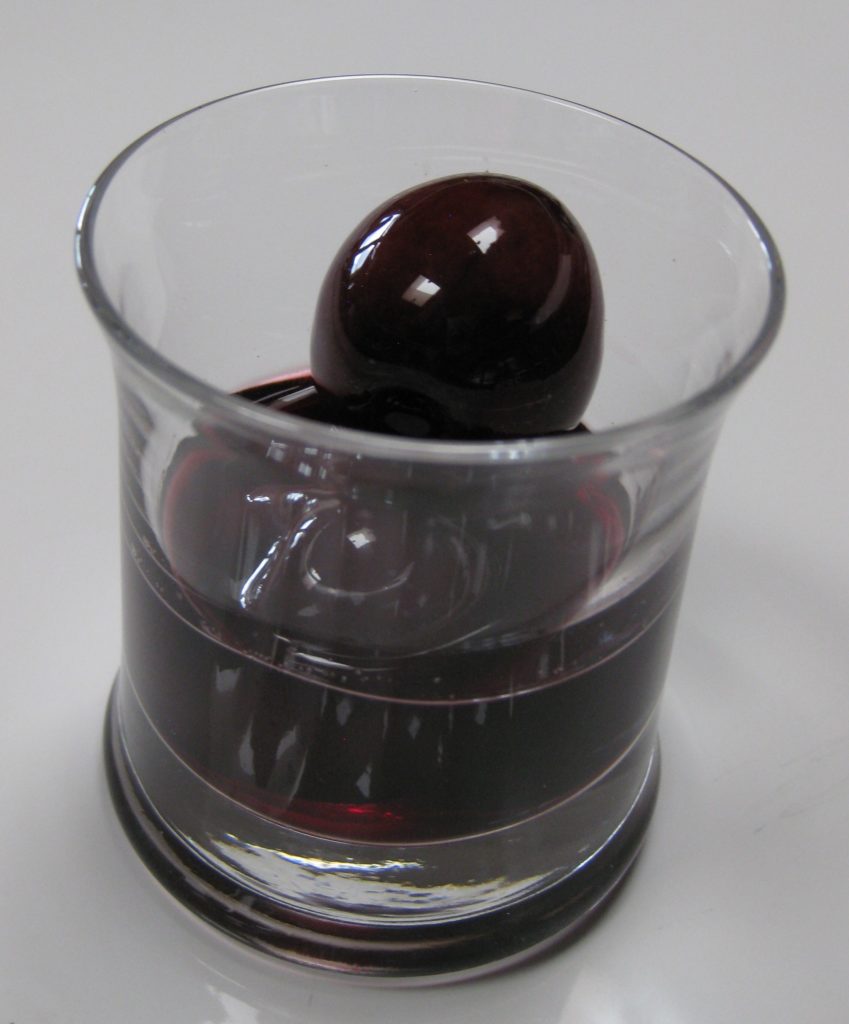
Cherries in Brandy
Homemade Limoncello

August 24th: Tiella (being posted in September), Grilled Hot and Sweet Italian Sausage, Grilled Broccolini drizzled with Olive Oil, and more Cherries in Brandy, Homemade Limoncello, and Homemade Bay Leaf Liqueur.

August 25th: Zia Fidalma’s Rouladen (German, I know, but Zia Fidalma lived in Germany for many years), Mashed Potatoes, Corn on the Cob and, you guessed it, more Cherries in Brandy, Homemade Limoncello, and Homemade Bay Leaf Liqueur.

Zia Fidalma making the filling for her rouladen
A watchful eye on the cooking rouladen
Rouladen bubbling away
Zia Fidalma and a platter of rouladen
Me making mashed potatoes (with a side of bourbon)

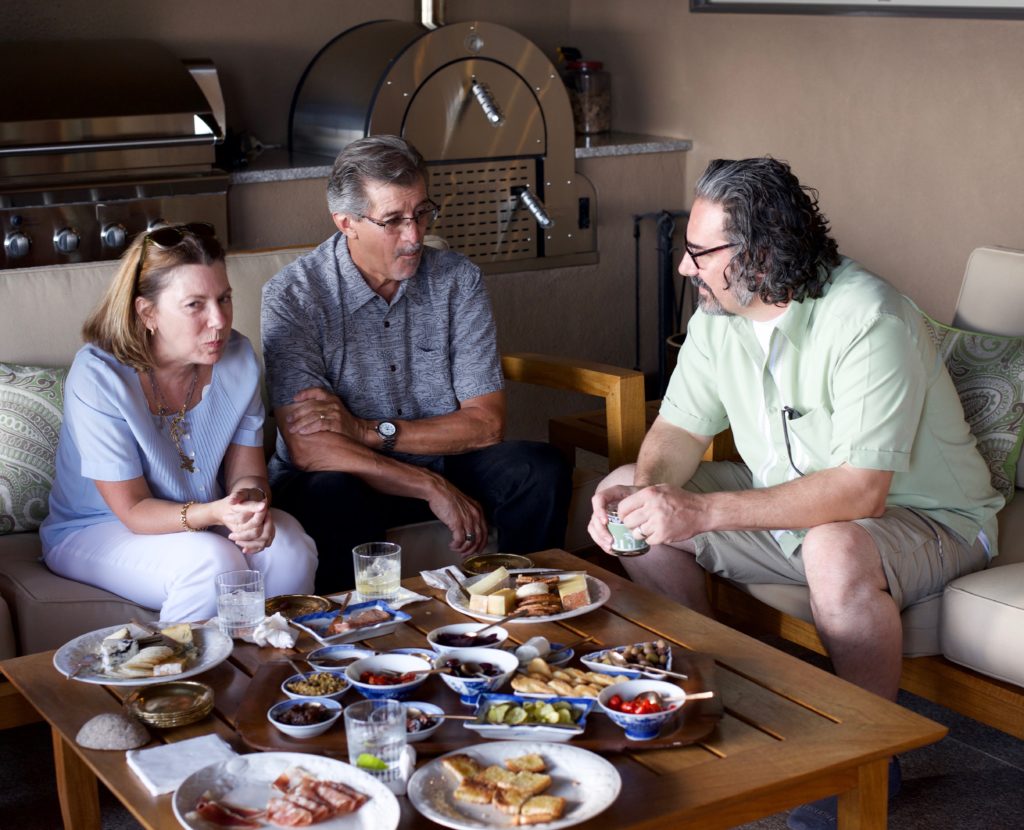
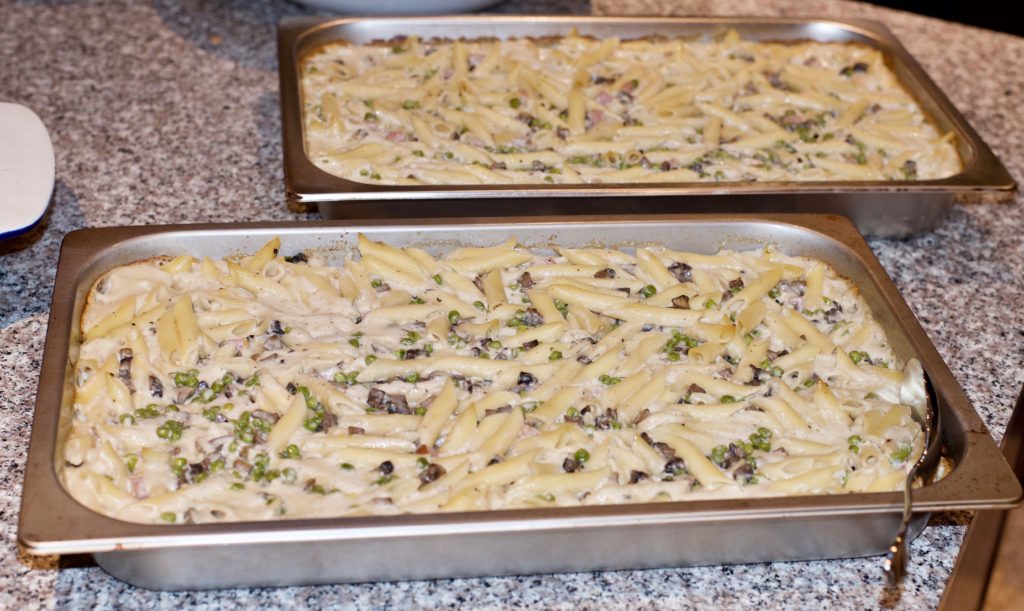
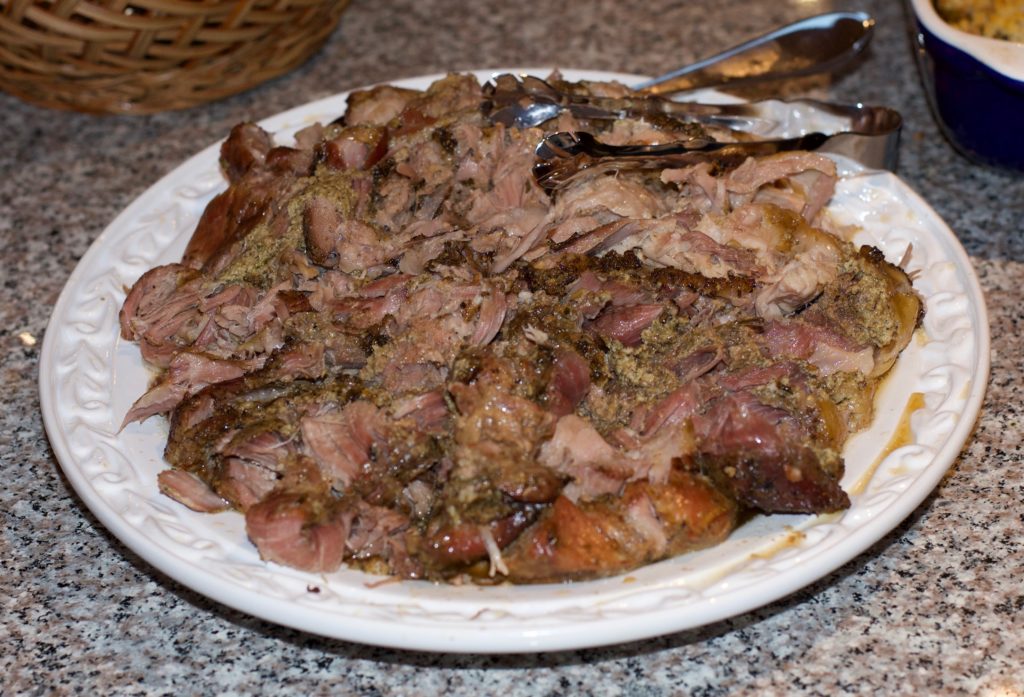
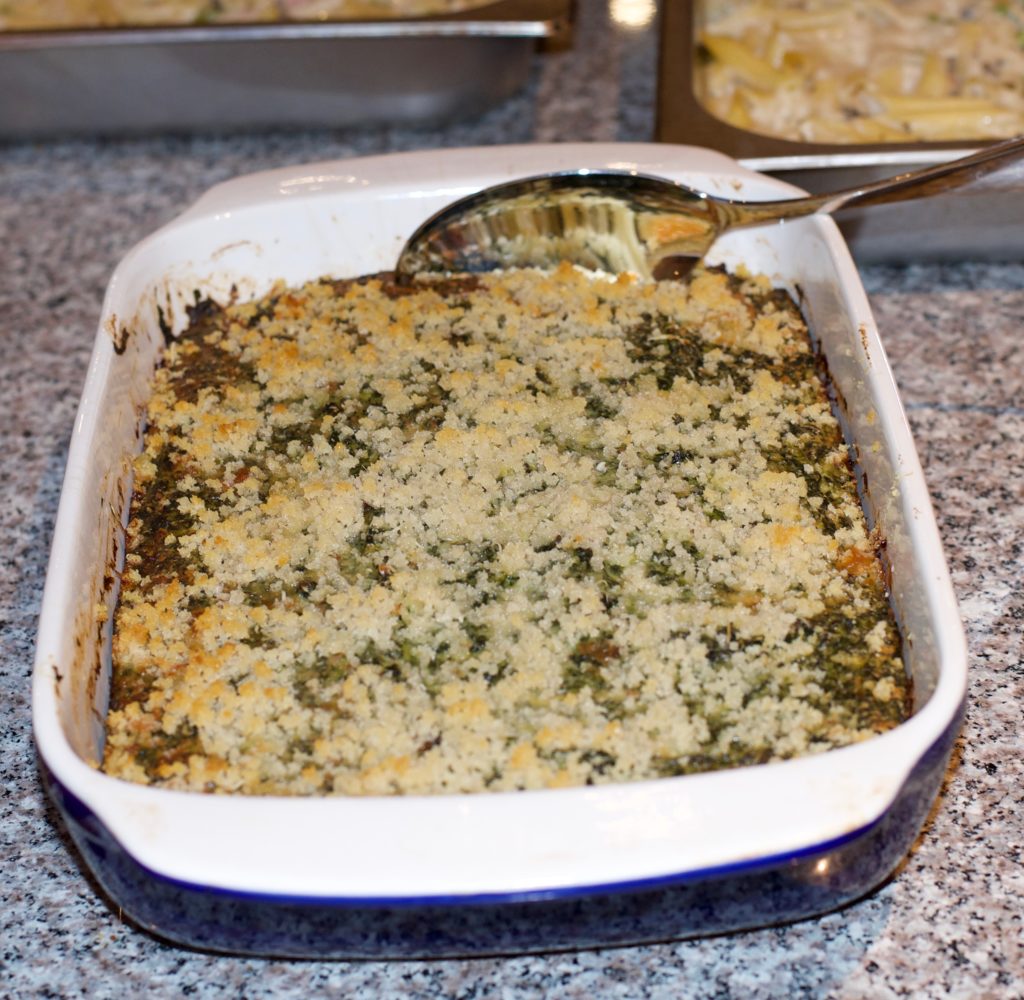
August 26th (for 20 people): A Massive Antipasto Platter thanks to cousins Paul and Kim Phillips (and a shopping spree at Cheesemongers of Santa Fe), Baked Penne with Ham, Peas, Mushrooms and Roasted Garlic Besciamella, Porchetta, Corn Sautéed in Butter, Sformato di Spinaci, and Italian Almond Torta with Raspberries and Plum Crostata (thanks to Rich DePippo). Then there were those ever-present Cherries in Brandy, Homemade Limoncello, and Homemade Bay Leaf Liqueur.

Kim and Paul fortify themselves at the Santa Fe Farmers Market before heading off to a marathon shopping session at Cheesemongers of Santa Fe
Antipasto
A bit more antipasto
Baked Penne with Ham, Peas, Mushrooms and Roasted Garlic Besciamella
Porchetta
Sformato di Spinaci
Almond Torta with Raspberries and Plum Crostata

August 27th brought some sanity as we had leftovers from the 26th. (We could still feed a small army with the remains of Paul and Kim’s Antipasto Shopping Spree.)

August 28th: As described above, meatballs, risotto, and green beans.

I neglected to mention that we went through cases of wine and then there was a dark chocolate cake from Chocolate Maven Bakery in Santa Fe that kept making its appearance most nights right before we broke out those cherries.

Dark Chocolate Cake from Chocolate Maven Bakery

Eating will slow down a bit now that the relatives have left. As I finish writing this the house is perfumed from a large pot of chicken broth that will get portioned and frozen ready to be pulled out of the freezer in the coming weeks for wave after wave of risotto made with the freshest vegetables the market has to offer.


Follow us


Click HERE to join our mailing list and you’ll never miss a recipe again!

Print Recipe
Carne di Manzo in Umido
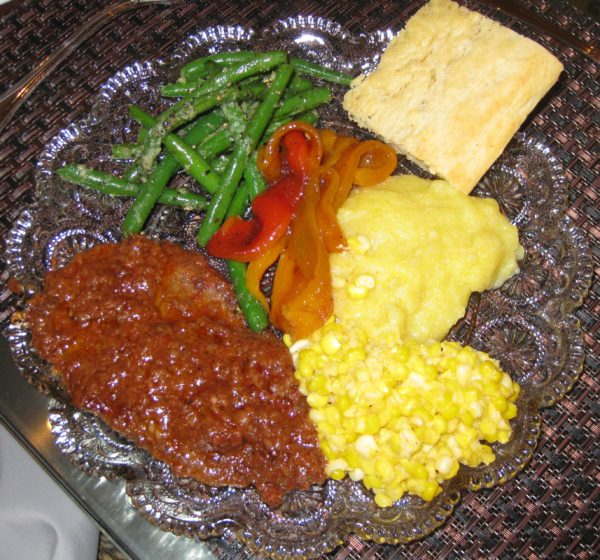
Thinly sliced beef is browned and then simmered in the barest amount of tomato sauce with an array of herbs. A bit of capers round out the flavors.
Votes: 0
Rating: 0
You:
Rate this recipe!
Course Mains, Meats
Cuisine Italian
Prep Time 20 minutes
Cook Time 2 hours
Passive Time 1 hour
Servings
people
Ingredients
Course Mains, Meats
Cuisine Italian
Prep Time 20 minutes
Cook Time 2 hours
Passive Time 1 hour
Servings
people
Ingredients
Votes: 0
Rating: 0
You:
Rate this recipe!
Instructions
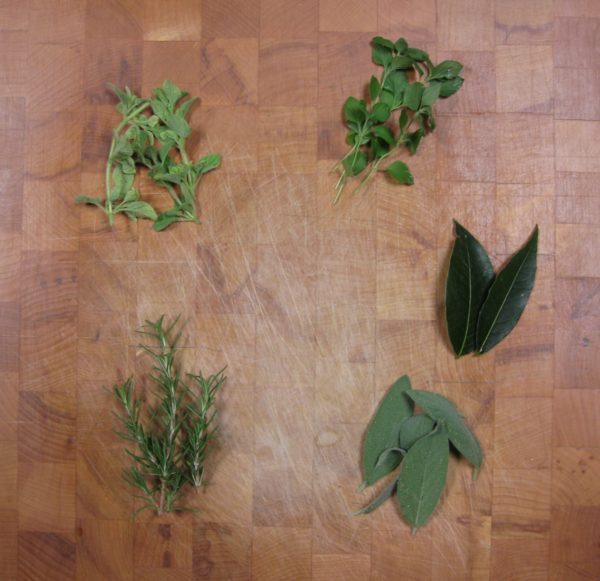
  1. Herbs, clockwise from top right: nepita, bay leaf, sage, rosemary, oregano.
  2. Combine the flour and 1 ½ teaspoons of salt. Mix well.
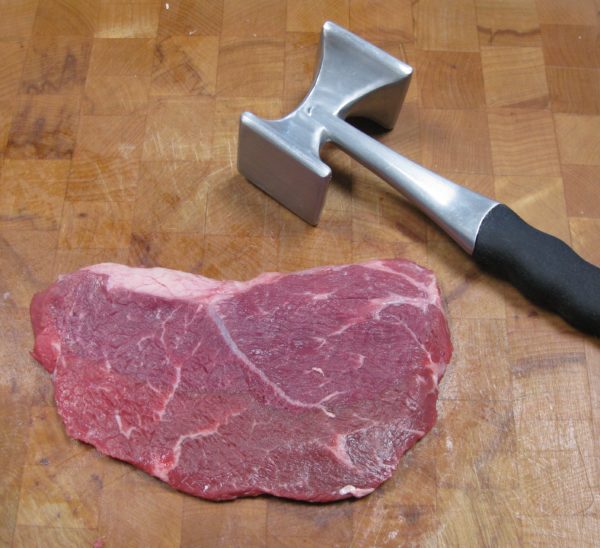
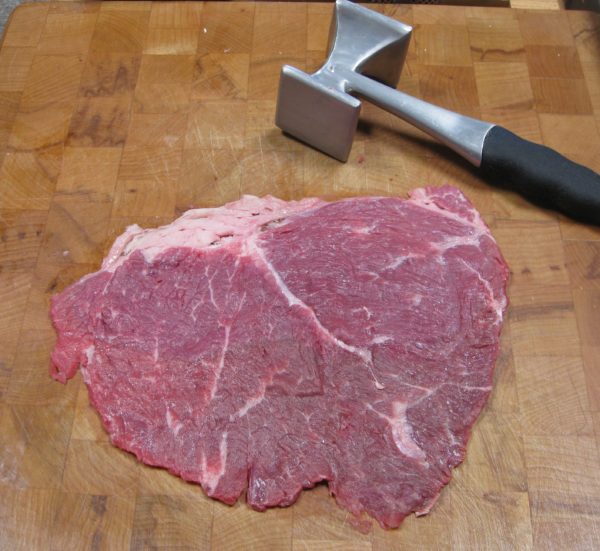
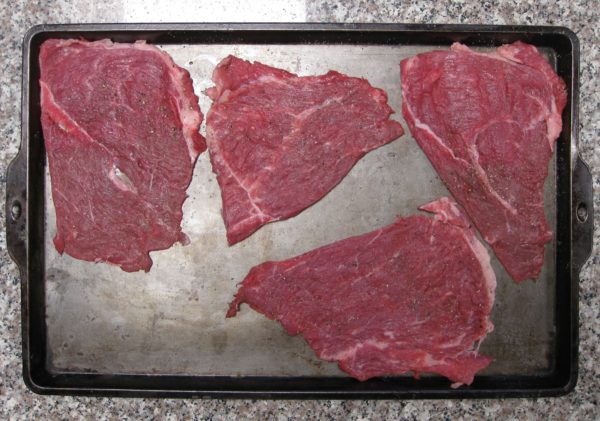
  3. Pound the steak lightly with a mallet.
  4. Season the steak with salt and pepper. Cut the pieces in half if they are too large after pounding.
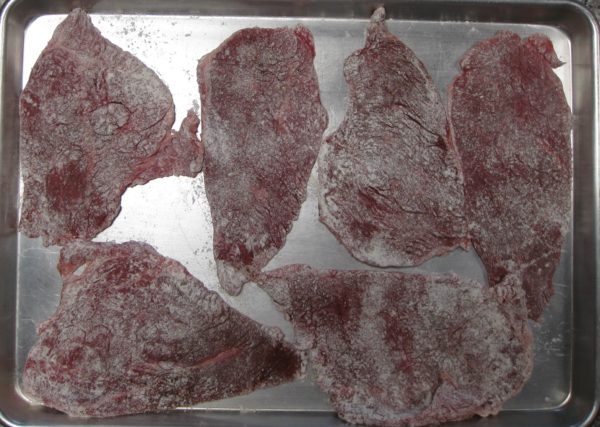
  5. Dredge the steak in the seasoned flour and reserve. It is best to do this about an hour in advance as the flour will adhere to the meat better.
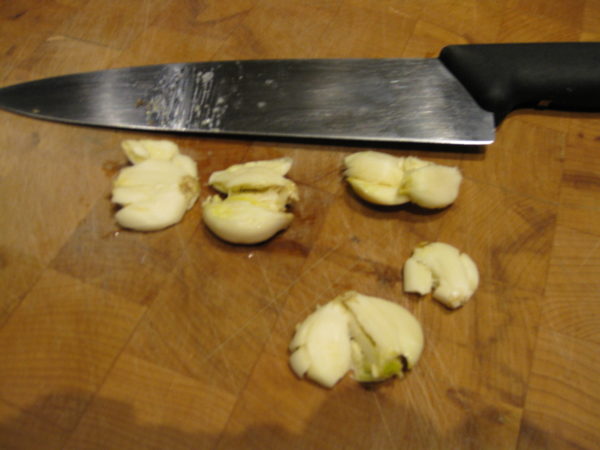
  6. Bruise the garlic with the side of a large chef’s knife.
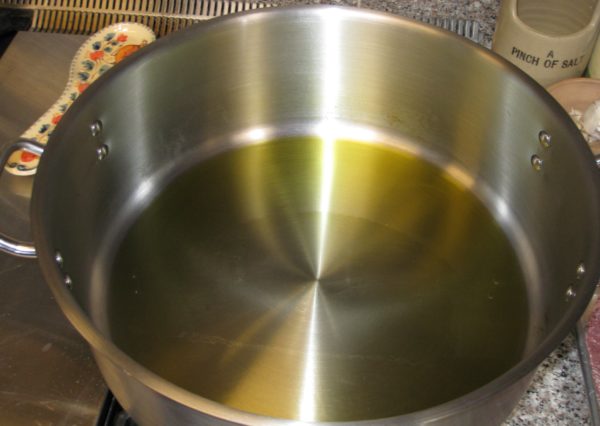
  7. Put a thin film of olive oil on the bottom of a very large sauté pan. Heat over medium high heat.
  8. When hot, add as much of the beef as will fit without crowding in a single layer. Add half the garlic.
  9. Sauté the meat and garlic until the meat is browned on both sides.
  10. Remove the browned meat to a platter. Repeat with the remaining meat and garlic, in however many batches are needed.
  11. If the garlic starts to turn dark brown, remove it or it will become bitter.
  12. When all the meat is browned return it to the pan with any accumulated juices. Leave the cooking oil in the pan.
  13. Try to arrange the meat so that the pieces overlap rather than putting one piece of meat directly on top of another.
  14. Add all the other ingredients except the capers.
  15. Cover and simmer gently until meat is tender flipping the meat every 20 minutes or so. It will take at about one and one-half to two hours to get the meat tender depending on the cut and your elevation.
  16. Add water from time to time if the sauce boils away.
  17. Rinse the salt off the capers and add them during last five minutes of cooking. Taste and adjust salt and pepper.
  18. There should be a very small amount of sauce along with oil that is red from the tomato. Do not remove the oil, it adds significantly to the mouthfeel of the sauce.
Recipe Notes

Copyright © 2017 by VillaSentieri.com. All rights reserved.
Share this Recipe

Pollo all’Uccelleto (Chicken Little Bird Style)

January 23, 2017

I first tasted this dish in Tuscany in the little hill town of Benabbio, in September 1996.  My husband’s great Great Aunt Fidalma, Zia Fidalma, made it with little birds, sparrows actually, that her husband, Faliero, had shot.

That was one of my most memorable meals in Italy.  My husband and I had traveled to Italy with his parents.  We stayed in a little hotel in the town of Fornoli where my father-in-law grew up.  We alternated meals at the homes of numerous relatives throughout the area.

It was wonderful sitting in Zia Fidalma’s kitchen watching her put together components of the meal in that seemingly effortless way that happens in homes throughout Italy.  We had sautéed mushroom caps.  Zia Fidalma foraged the mushrooms.  I remember them sitting in a shallow box on the kitchen counter.  She plucked a few out of the box, cleaned them.  They were quickly sautéed and seasoned with salt, pepper, and nepita.

I can’t get a consensus on the spelling of nepita.  I’ve seen it as gnebita, gnepita, and nepeta, among others.  It is a variety of catmint.  Zia Fidalma uses it to season mushrooms.  It is a magical combination.

We smuggled nepita seeds back from Tuscany on that visit, along with heirloom tomato seeds, both from Zio Faliero’s garden.  We’ve grown both ever since.  For 20-plus years we’ve had nepita; first in our garden in Chicago (at the Rohkam House, where we lived starting in January 1996) and then subsequently at Villa Sentieri, in Santa Fe.

The Rohkam House when we lived there.
The Rohkam House shortly after it was built in 1887.

There are only three components of that meal that I remember clearly, the mushrooms, the little birds, and the wedge of Parmigiano Reggiano brought out at the end of the meal for us to eat with fruit.  I know there was a pasta but I can’t remember what it was.  The same is true for the side dishes (contorni, in Italian).

My mother-in-law was in heaven with the little birds.  She was sitting across the table from me. The meal had become languorous by then and it wasn’t, somehow, inappropriate for me to pull out my video camera.  Remember those?  I’m talking about dedicated video cameras with cassettes for recording, not phones or cameras with video capability.

As she was reveling in her little birds (uccelleti, in Italian) I used my video camera to focus in on her.  First on her face, but then ultimately on just her lips.  Her lips filled the screen like the lips in the opening moments of the Rocky Horror Picture Show.  There were those lips, sucking in little bird parts then extruding cleaned bones.  Every now and then there was the occasional bit of bird shot that needed to be eliminated.

To this day, that video footage is a kind of kompromat in our family.  Thanks to President Trump for making that term common knowledge.  My mother-in-law hates that video footage.  I occasionally mention its existence and (vaguely) threaten to allow it to surface…as I did for this post but, in the end, in the interest of domestic harmony, did not.

Print Recipe
Pollo all'Uccelleto (Chicken Little Bird Style)
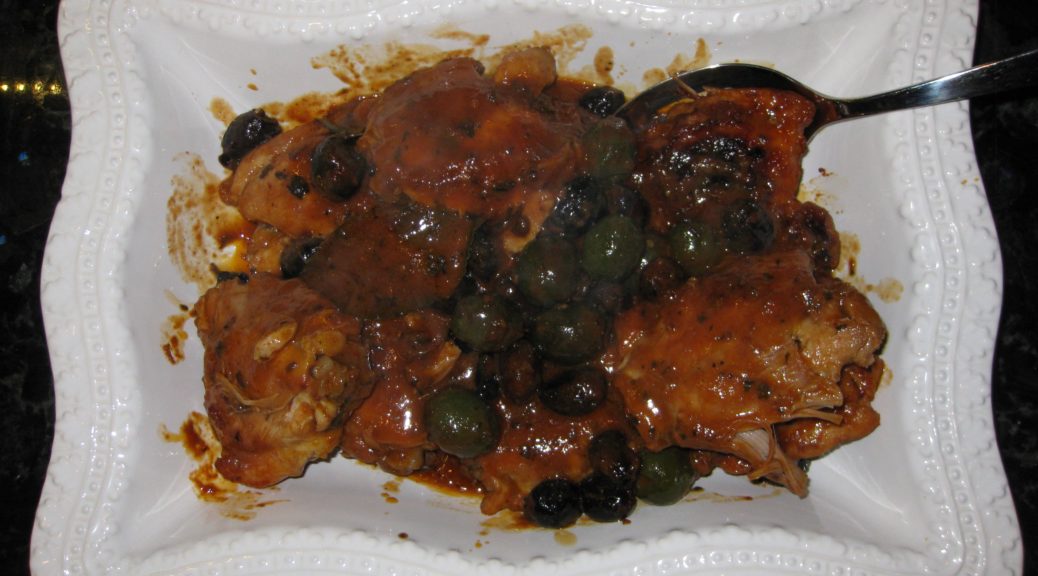
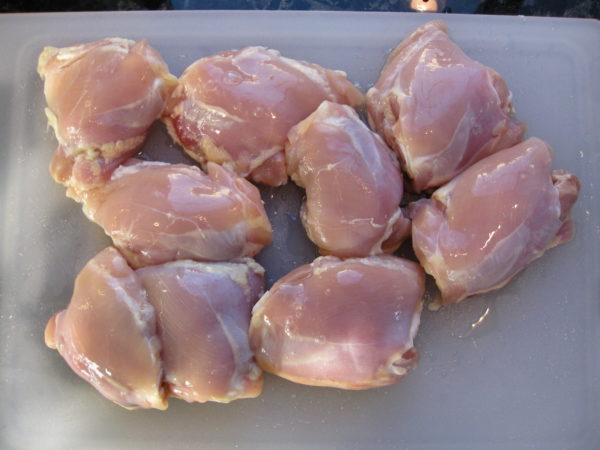
I first had this dish in Tuscany. It was made, literally, with little birds (blackbirds) bagged by my husband’s Great Uncle Faliero. Since little birds are not easily available in the US, I rendered the dish using chicken after returning from the 1996 trip to Italy. I called it “Chicken Little Bird Style” or “Pollo all’Uccelleto.” Much to my surprise, years later, I discovered that Italians do, in fact, refer to this preparation as “all’Uccelleto,” and use it on things other than little birds (chicken, for example). What simply started out as Uccelleti, “Little Birds,” became for me "Pollo all’Uccelleto," or “Chicken Little Bird Style.” From Great Aunt Fidalma’s kitchen to you is Chicken Little Bird Style. If you actually have little birds, by all means, give them a try. If not, chicken thighs are a great, if less gamey, substitute. Use good quality olives for this dish. If you don’t have access to an Italian market, I suggest using olives from the olive and antipasto bar that is common in many supermarkets these days. I usually use half oil-cured black olives and half green olives, such as castelvetrano. I prefer using olives with pits.
Votes: 0
Rating: 0
You:
Rate this recipe!
Course Poultry
Cuisine Italian
Prep Time 20 minutes
Cook Time 2 1/2 hours
Servings
people
Ingredients
Course Poultry
Cuisine Italian
Prep Time 20 minutes
Cook Time 2 1/2 hours
Servings
people
Ingredients
Votes: 0
Rating: 0
You:
Rate this recipe!
Instructions
  1. Remove the leaves from the rosemary and oregano.
  2. Mince the sage, rosemary, and oregano leaves. Reserve.
  3. Remove the skin from the chicken thighs and any large pieces of fat.
  4. Using the broad side of a chef’s knife, bruise (smash, really) the garlic cloves.
  5. In a heavy skillet large enough to hold the chicken thighs in a single layer, heat the olive oil.
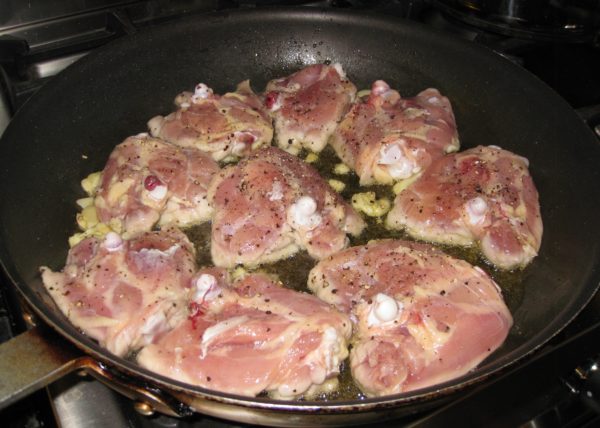
  6. When the oil is hot, add the chicken thighs and garlic. Season the chicken with salt and freshly ground black pepper to taste.
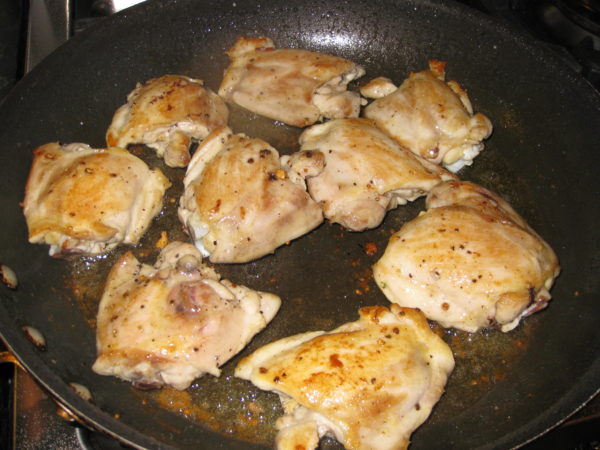
  7. Brown the chicken, turning several times. As the garlic cloves get dark brown, remove and discard them before they burn.
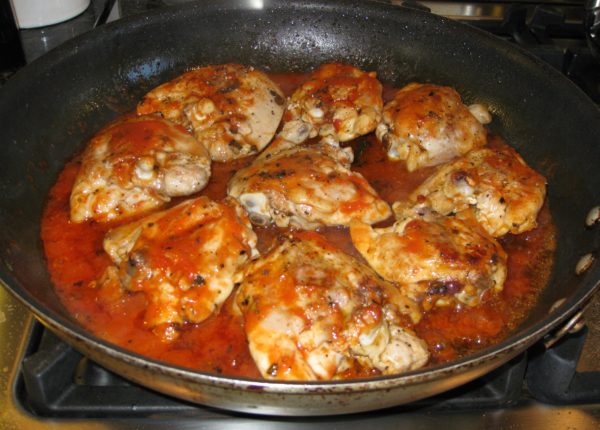
  8. When the chicken is brown, and all garlic has been removed, add the tomato sauce, bay leaves, minced herbs (rosemary, sage, and oregano) and crushed red pepper.
  9. Cover and cook over low heat, stirring occasionally and turning chicken over every 30 minutes or so, for approximately 1 hour.
  10. If the sauce gets too dry add a little white wine (or water) from time to time.
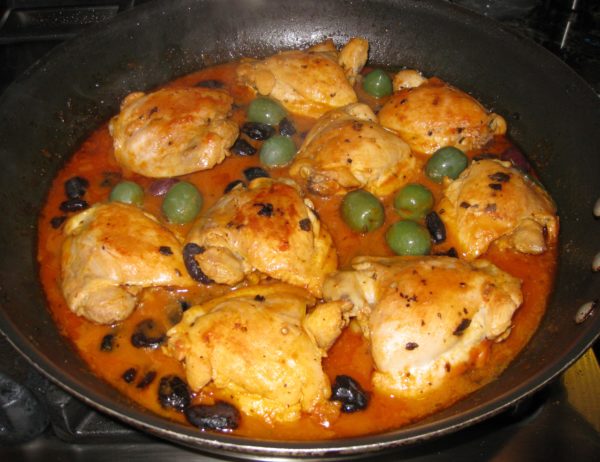
  11. After an hour, add the olives, cover, and continue cooking over low heat, stirring occasionally and turning chicken over every 30 minutes or so, for approximately 1 more hour.
  12. Taste and adjust salt and black pepper during the last half hour of cooking. The olives will be salty, so it's best to wait till they've cooked a while before adding more salt.
  13. When finished, the chicken should truly be “fall-apart” tender and the sauce should be mostly a red colored olive oil with just a tiny bit of tomato sauce.
Recipe Notes

I don’t usually use canned tomato sauce. I prefer to use tomato paste and water. For this dish I use tomato sauce because so little is needed and it’s consistent with what Great Aunt Fidalma did. If you want to use tomato paste, mix 1½ tablespoons of tomato paste with 6 tablespoons of water and use in place of the tomato sauce.

Copyright © 2017 by VillaSentieri.com. All rights reserved.
Share this Recipe

Cannellini alla Toscana (Tuscan-Style White Kidney Beans)

December 16, 2016

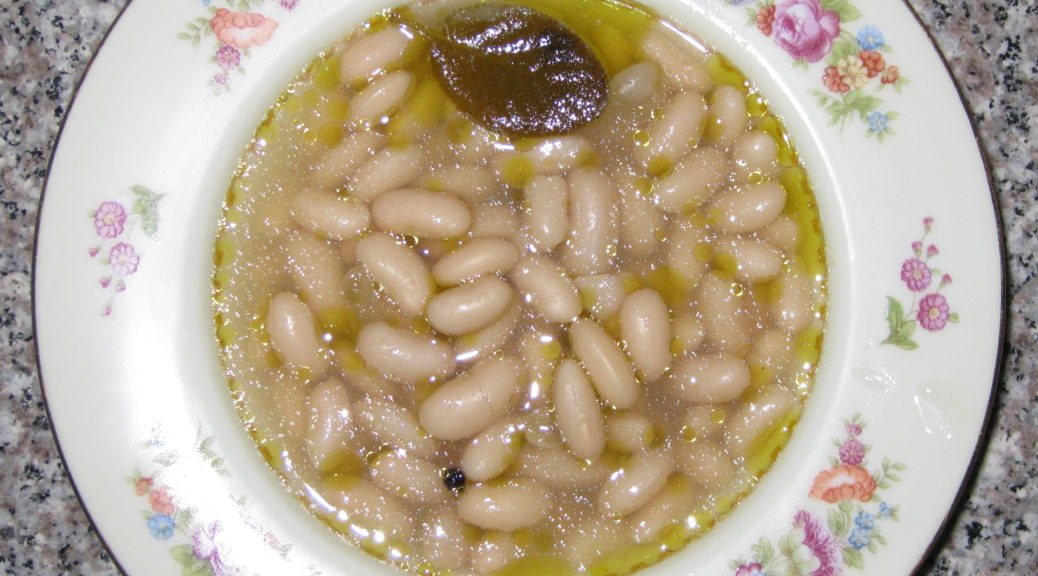
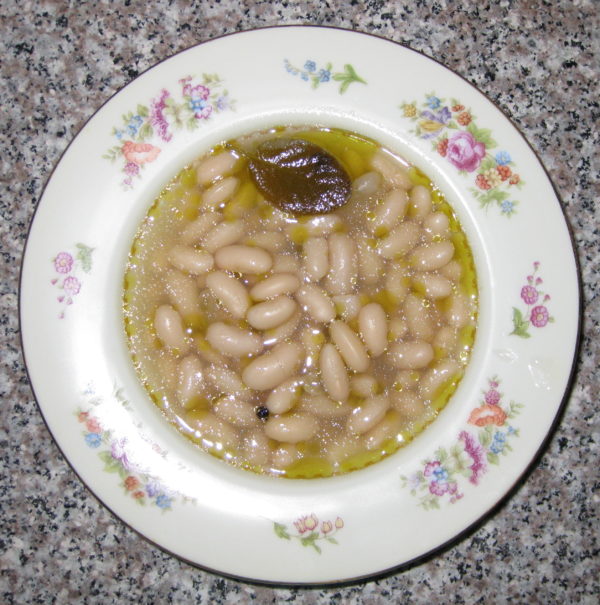
These Tuscan-style white kidney beans are deceptively simple.  A lot of flavor is coaxed out of a few ingredients.  They are great on their own as a side dish or a vegetarian main dish.  They make wonderful pasta e fagioli (pasta and beans).  They freeze well so you can always have them on hand.  The flavor is so good, you won’t resort to canned beans again!

Quite typically, these beans would have been made in the fading embers of a fire, often left to cook overnight.  Although the contemporary version uses a standard kitchen oven, I made them in our wood-burning oven a while back.  It was a challenge to keep the temperature at 250-275ºF but in the end it was worth it.  There was a very subtle smoky flavor to the beans.

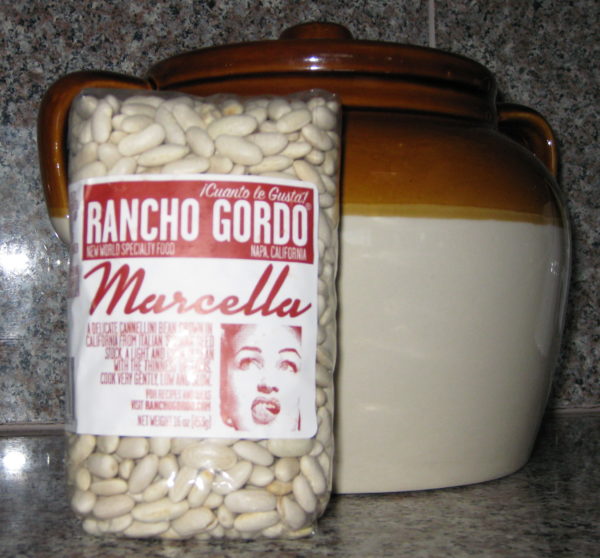
Buy the best quality and freshest dried cannellini beans you can find.  If the beans are old they may never completely tenderize.  I particularly like the Marcella Beans from Rancho Gordo.

Print Recipe
Cannellini alla Toscana
Votes: 0
Rating: 0
You:
Rate this recipe!
Cuisine Italian
Prep Time 15 minutes
Cook Time 3-5 hours
Passive Time 12 hours
Servings
people
Ingredients
Cuisine Italian
Prep Time 15 minutes
Cook Time 3-5 hours
Passive Time 12 hours
Servings
people
Ingredients
Votes: 0
Rating: 0
You:
Rate this recipe!
Instructions
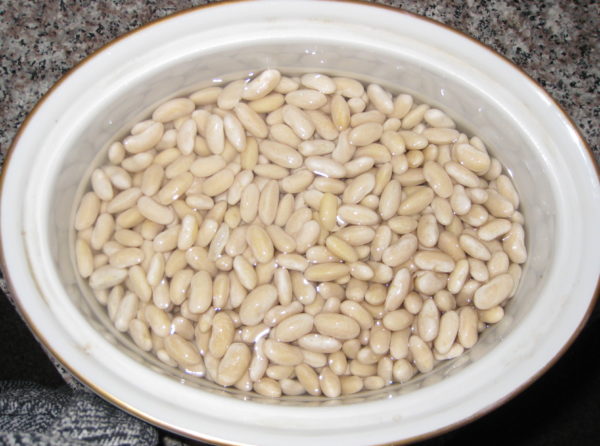
  1. Pick over and wash the cannellini beans. Soak them in abundant water to cover, under refrigeration, for 6-8 hours or overnight.
  2. Drain the beans and put them in an earthenware bean pot or ovenproof casserole with a lid. Add water to just reach top of beans then add another 2 cups of water.
  3. Using the side of chef's knife, bruise the garlic.
  4. Add garlic, sage, bay leaf, peppercorns and olive oil to the beans. Cover and bake at 250ºF for 2 hours.
  5. Add the salt and stir well. Cover and cook the beans, stirring every 30-45 minutes, until they are creamy and not at all chalky. Do not overcook the beans or they will blow apart. This could take another one to three hours depending on the beans and your elevation.
Recipe Notes

The beans are best made a day or two in advance.  If not serving immediately, cool the beans to room temperature and refrigerate or freeze.  When ready to serve, warm the beans in a 250ºF oven.

Copyright © 2016 by VillaSentieri.com.  All rights reserved.
Share this Recipe