
May 23, 2018
It is amazing how the culinary landscape of America has changed since I started cooking. That was brought home to me in a very real way when I was getting ready to cook a multi-course Asian meal for Lunar New Year a few months ago.
In the early 1970s supermarkets carried only the barest minimum of “ethnic” ingredients. I was attending the University of Pennsylvania and lived in West Philadelphia at the time.
For most Asian ingredients I would go to Philadelphia’s Chinatown.
For Japanese ingredients, I would go to a small Japanese-owned market in West Philly, a few blocks from the western edge of the main University campus. I don’t remember a specific source for Indian or South Asian ingredients but I was able to cobble together what I needed from an array of stores.
Follow us on your social media platform of choice
![]()
![]()
![]()
There were also a few Asian stores in the Ninth Street Market. Ninth Street is/was often referred to as the “Italian Market,” a name that was not in favor with locals at the time. There was one store run by a Korean couple on Ninth Street where I could source an array of Asian ingredients. It’s also where I went when I once needed a large quantity of fresh ginger root to make West Indian Ginger Beer. After a few shopping trips where I bought enough ginger to supply a Chinese Restaurant for a week, one of the owners asked me, every time I went to the store, if I needed ginger!
When I got serious about cooking, starting junior year in college, I made weekly trips to Ninth Street and to the Pathmark Supermarket in suburban Broomall, PA. Shopping in West Philly was an experience. Except for the University, West Philadelphia, at the time, was an impoverished area.
I learned quickly how supermarkets adjust what they stock to the clientele. Many items that I could easily find in a suburban supermarket were not readily available in West Philadelphia. What was stocked was often of lesser quality, too. Meat is a good example. Some cuts were simply not available in the inner city and the quality of what was available was often inferior.
On the other hand, I could easily find some items in West Philly that were hard to come by in suburban markets in the 1970s. Smoked ham hocks, pig tails, and turkey necks are good examples.
Join our mailing list and you’ll never miss a recipe again!
A background flavor note in many West Indian dishes is smoked meat; and I cooked a lot of West Indian food in college. Most often I would use ham hocks, but some recipes specify other cuts. I remember a peanut soup that I made that called for smoked pig tail. Sourcing it was a breeze in West Philly.
Mainstream supermarkets now carry a much larger variety of “ethnic” ingredients, including fresh produce, than was the case in the 1970s. I can even find smoked ham hocks and turkey necks in supermarkets in Santa Fe, though smoked pig tails are still hard to come by. But if a whole pig’s head is needed, say, for example, to make head cheese, it is readily available in Hispanic markets.
While the array of food stuffs has improved dramatically since I started cooking. Some things have deteriorated.
I had an incredible butcher on Ninth Street. I’ve never been able to replace the personal service, quality, and variety of what I could get there. I was just 19 when I started going to Ninth Street regularly. When I needed goat for Jamaican Curried Goat, the butcher not only had the goat but cubed it to my specifications while I watched.
Down the block was a shop that sold poultry. I once needed a Guinea Hen for dinner. I selected the one I wanted from the pen. She was taken in the back, and came back cleaned and wrapped in butcher paper.
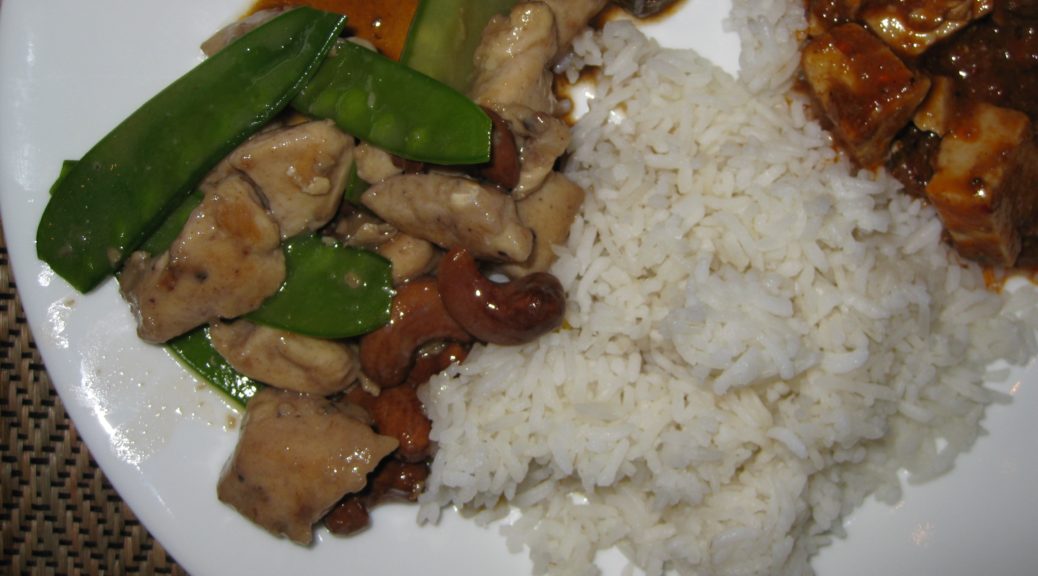
Shopping for this year’s Lunar New Year Dinner was an education. While I could get many basic ingredients in the supermarket, unlike the situation in the 1970s, I was unable to shop in a major city. This put me at a distinct disadvantage for more esoteric ingredients. Nonetheless, one can now make a respectable Chinese meal from ingredients available in the supermarket. This is an amazing change from 45 years ago!
")
| Prep Time | 20 minutes |
| Cook Time | 20 minutes |
| Servings |
people
|
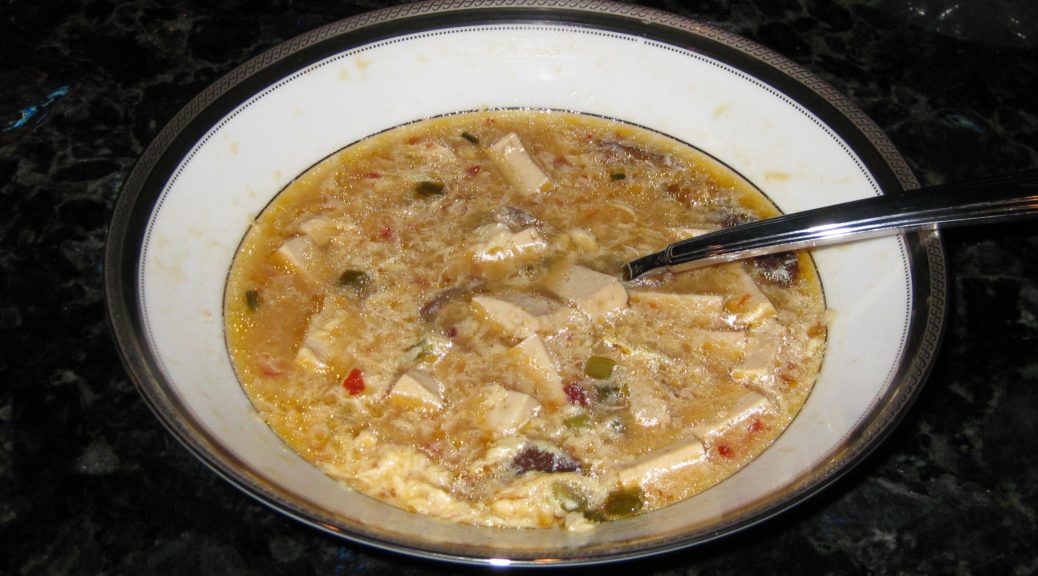
- 3-4 dried Chinese black mushrooms
- 2 1/2 cups rich chicken stock or chicken-pork stock
- 4 tablespoons rice wine vinegar or distilled vinegar
- 2 tablespoons soy sauce
- 1 tablespoon sugar
- 1 tablespoon hot sauce such as sambal oelek, or to taste
- salt to taste
- 1 tablespoon corn starch
- 2 tablespoons water
- 1 tablespoon sesame oil
- 2 eggs
- 3-4 scallions finely sliced
- 8 ounces bean curd cut in ½ inch dice
Ingredients
|
|
- Cover the mushrooms with hot water.
- Allow to soak for approximately 15 minutes, until soft.
- Meanwhile, bring the stock to a boil.
- When the mushrooms are softened, squeeze out excess water and remove the tough stem. Slice the mushroom caps into strips ¼ inch wide.
- Combine the vinegar, soy sauce, sugar and hot sauce.
- Add the vinegar mixture to the boiling stock. Boil 1 minute.
- Add salt to taste.
- Combine cornstarch and water. Mix thoroughly.
- Add cornstarch mixture to the boiling soup.
- After boiling 1 minute, add scallions, bean curd and mushrooms.
")
- Reduce heat and simmer 1-2 minutes.
- Add sesame oil.
- Gently beat the eggs with salt to taste.
- Slowly pour in the beaten eggs into the simmering soup while stirring gently.
- Serve immediately.
Copyright © 2018 by VillaSentieri.com. All rights reserved.


")
")
")
")
")
")
")
")
")


")
")
")
")
")
")
")
")
")
")
")
")
")
")
")


")
")
")
")
")
")
")
")
")
")

")
")
")
")
")
")
")
")
")
")
")
")
")
")
")
")
")
")
")
")
")
")
")


")
")
")
")
")
")
")
")

")
")
")
")
")
")
")
")
")
")
")
")
")
")
")
")
")
")


")
")
")
")
")
")
")
")
")
")
")
")
")
")
")
")
")
")
")


")
")
")
")
")
")
")
")
")
")
")
")
")
")
")
")
")


")
")
")
")
")
")
")
")
")
")
")
")
")
")