July 13, 2018
The combination of rice and legumes (peas, beans, lentils) is common throughout much of the world. Sometimes the beans and rice are cooked together like Cajun Red Beans and Rice, Ecuadorian Gallo Pinto or Italian Risi e Bisi. Sometimes the beans and rice are cooked separately but served together as with Cuban Black Beans and Rice. The combination of black beans and rice, mixed into a single dish, is traditionally called Moros y Cristianos, a not very politically correct term that translates as Moors and Christians.
Jamaican Rice and Peas is probably the most well-known version of the combination from the West Indies, a term that is typically applied to the English-speaking parts of the Caribbean. As I’ve mentioned before, although Guyana is on the South American mainland, it was administered as part of the British West Indies and most definitely has a West Indian culture.
Join our mailing list and you’ll never miss a recipe again!
Jamaican Rice and Peas is typically meatless. It is most often made with red kidney beans. Part of the cooking liquid is coconut milk.
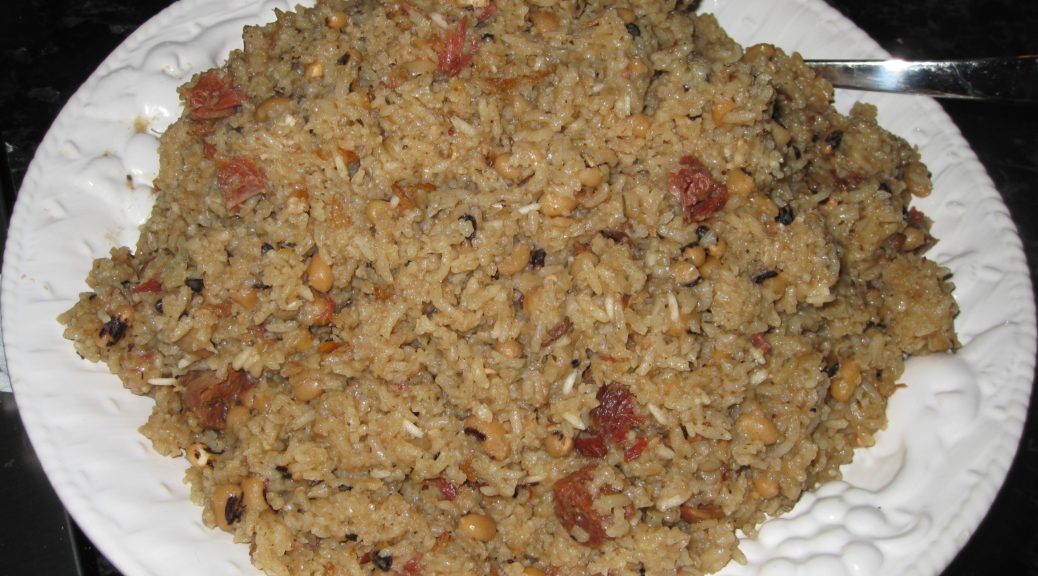
Cook Up, the Guyanese version of rice and peas, is most definitely not meatless. In my experience, it is rare to have fewer than two types of meat in Cook Up. Coconut milk also figures prominently.
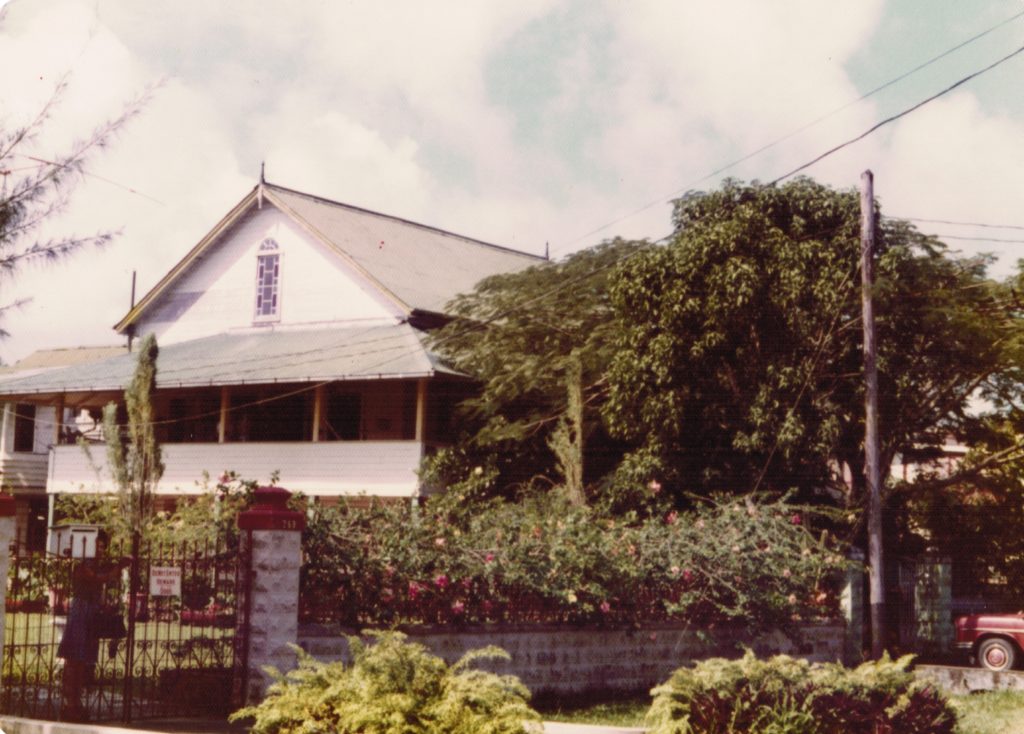
I made four trips to Guyana starting just prior to my junior year in college and ending just prior to starting my internship after finishing medical school. During the first three trips, I stayed with Ray Hugh, my college roommate, at his father’s house.
During the last trip, I was working as a physician at the public hospital in Georgetown, Guyana. I rented a room in a private house. That visit was scheduled to last for five months with a brief return to the States for my medical school graduation after about three and a half months. As graduation approached, and the prospect of working long hours as an intern became more real, I decided that when I flew home for graduation I would stay put and relax for a bit before starting internship.
Follow us on your social media platform of choice
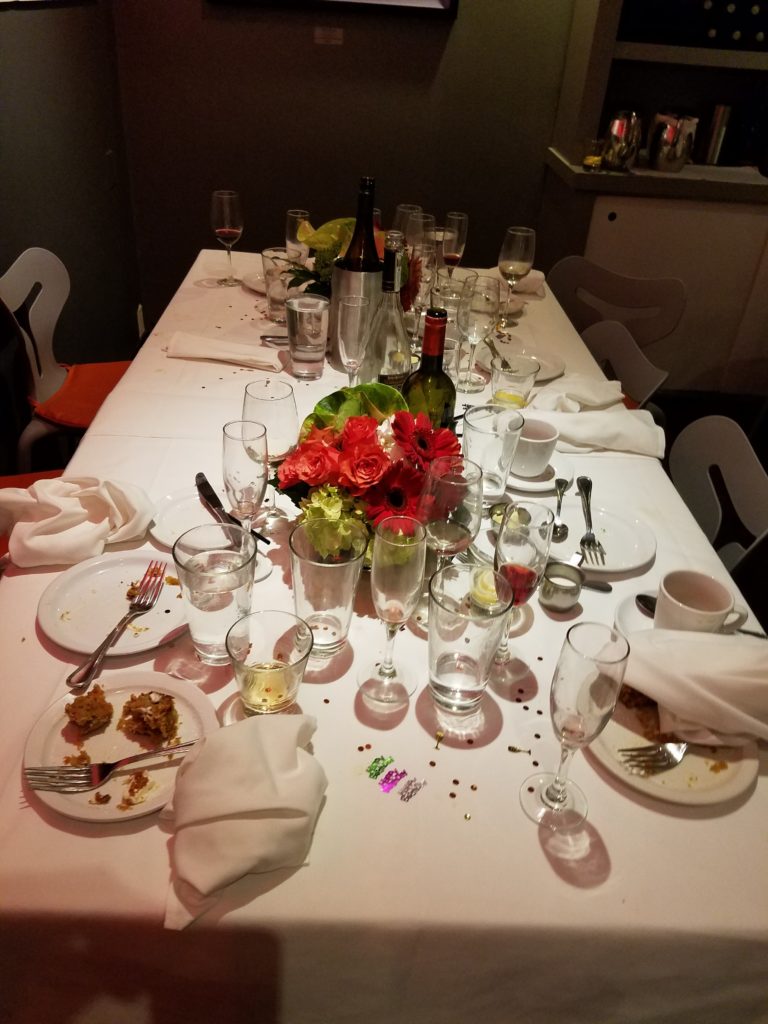
![]()
![]()
![]()
I enjoy going to food markets whenever I travel, be they local convenience stores, supermarkets, open-air markets, or any other variant! Stabroek Market in Georgetown is a roofed-over open-sided market housed in a sprawling Nineteenth Century building. Vendors sell food and almost any other necessity.

Although the house where I stayed had a cook, she only cooked lunch, a very substantial lunch I might add! I sometimes cooked dinner. Stabroek Market was where I did my shopping.
Thyme figures prominently in Guyanese cooking. There are three different herbs that are referred to as thyme in Guyana. The first is what we think of as “regular” thyme, sometimes called French thyme. The second is referred to as fine-leaf thyme or Guyanese thyme. The third is called thick-leaf thyme or broad-leaf thyme.
Although there are many varieties of thyme, thick-leaf thyme is not really thyme but a semi-succulent perennial plant that has wide distribution. Guyanese thyme, which is quite difficult to obtain in the United States may actually be a variety of oregano. Thyme, oregano, and marjoram are all closely related.
Rather than sweat trying to find different varieties of thyme, I use “regular” (French) thyme and a little oregano and/or marjoram to round out the flavors. Since no two cooks use the same herbs in the same quantities, and since many Guyanese cooks would just use French thyme, I think the addition of a little oregano and/or marjoram to mimic fine-leaf thyme produces a traditional taste. However you do it, thyme should be the predominant flavor. Since thyme can taste medicinal in large quantities, use it sparingly at first if it’s not an herb you’re accustomed to cooking with.

| Prep Time | 15 minutes |
| Cook Time | 3 1/2 hours |
| Passive Time | 1 hour |
| Servings |
people
|
- 12 bone-in chicken thighs approximately 6 pounds, skin removed
- 2 tablespoons Worcestershire sauce
- 1 tablespoon soy sauce
- 1 1/2 teaspoons thyme
- 1/2 teaspoon oregano
- 4 teaspoons salt
- 2 teaspoons black pepper freshly ground
- 4-5 cloves garlic minced
- Minced fresh hot pepper to taste (optional but traditional)
- 2 1/4 pounds smoked ham shanks or 1 smoked ham hock, see Notes below
- 8 cups water
- 1/3 pound bacon
- 2 medium onions diced
- 3 cloves garlic minced
- 2 cups black eyed peas
- 6 teaspoons salt divided
- 4 cups long-grain white rice
- 3 cups coconut milk canned is fine, preferably Aroy-D brand
Ingredients
Seasoned Chicken
Smoked Meat Broth
Final Assembly
|
|
- Combine chicken thighs with all chicken seasoning ingredients.

- Mix well. Refrigerate several hours or overnight.

- Make the smoked meat broth using the ham shanks or ham hock and water. You can do this by simmering them, covered, for 4-5 hours; cooking in a pressure cooker or Instant Pot for 60 minutes; or using a slow cooker set on low for 6-8 hours.
- When the broth is done, remove and reserve the ham shanks or ham hock. Skim the fat from the broth, add water to make 8 cups, and refrigerate if not using immediately.
- Dice the meat from the ham shanks or ham hock and reserve.

- Dice the bacon.
- In a large, heavy-bottomed Dutch oven or stockpot with a tight-fitting lid, brown the bacon.

- Remove and reserve the bacon.
- Brown the seasoned chicken pieces well, in batches, in a the bacon fat in the Dutch oven.


- As the chicken pieces are browned, remove them to a platter.
- After browning and removing all the chicken, add the onions to the Dutch oven and sauté until softened. If the onions do not release enough liquid to loosen the browned bits from the bottom of the pot, add a few tablespoons of broth or water.

- After loosening the brown bits, continue to sauté the onions until translucent.
- Add the garlic and sauté until fragrant.

- Return the chicken to the pot with the onions and garlic. Add any accumulated juices as well as any marinade that might be left in the bowl. Add 4 cups of broth. Cover the pot and simmer approximately one hour, until the chicken is tender.

- Remove and reserve the chicken.
- Add the black-eyed peas and bacon to the pot in which the chicken was cooked along with the remaining 4 cups of broth. Bring to a gentle boil and cook, partially covered, until the peas are cooked, approximately 30-45 minutes, adding two teaspoons of salt after about 15 minutes of cooking.


- When the peas are cooked drain them, reserving the cooking liquid.

- Measure the cooking liquid and either add water or boil it down to make four cups.
- Return the cooking liquid to the Dutch oven along with the cooked black-eyed peas and bacon, diced pork from the broth, rice, coconut milk and 4 teaspoons of salt. Bring to a boil, stirring a few times. Put the chicken pieces on top of the rice, cover the pot, reduce the heat to low, and cook for 20 minutes without opening the pot.

- Remove the rice from the heat and allow it to rest for 15 minutes without removing the lid.
- After 15 minutes taste a bit of the rice. It should be cooked, but if not, add a bit more water and cook briefly on low heat, covered, until the rice is fully cooked.
- Arrange the chicken on a serving platter.

- Stir the rice and put on the platter with the chicken or on a different one. Serve immediately with West Indian hot sauce.

Smoked ham shanks are the boney ends of smoked ham. They have a gentle smoke flavor, just like ham. Smoked ham hocks are much more aggressively smoked and one would be sufficient for this quantity of rice.
Copyright © 2018 by Villa Sentieri, LLC. All rights reserved.