Rabbi Goldie’s Jewish Apple Cake

September 5, 2018

In September 1972, at the age of 17, I went from the small town of Johnstown, Pennsylvania to Philadelphia to attend the University of Pennsylvania.

Little did I know how much my life was going to change, nor how sheltered I had been growing up in Johnstown.  There were a few trips to Florida and California by car, and a portion of every summer spent in Atlantic City, but other than that my life mostly revolved around the family and happenings within a few hours’ drive of Johnstown.

A few weeks before I left for college, I got a note from Jon Rikoon who was to be one of my roommates.  Jon lived on Long Island.  I don’t think I’d ever been to New York at that point.

Harnwell House, the dorm (now a college house) I lived in during freshman year

Another of my roommates (we had a three-bedroom, four-bed dorm “apartment”) was Chip Fleischmann, as in Fleischmann’s yeast.  The fourth roommate only lasted the first semester and I simply can’t remember his name.  (He kept to himself mostly.)

Join our mailing list and you’ll never miss a recipe again!

Early in freshman year, Jon started dating Gail Milgram.  Gail spent a lot of time in our apartment and she and I became very good friends.

Gail’s relationship with Jon didn’t last beyond freshman year but our friendship did.  We saw a lot of each other throughout our undergraduate years and for a few years thereafter while I was in medical school.

Our friendship remained strong.  In fact, at one point early in medical school Gail and I had to temporarily stop spending time together as her boyfriend at the time was jealous of our relationship.  Needless to say, he didn’t last!

Gail and I were in infrequent contact after my first couple of years in medical school.  In fact, years could go by without contact but, somehow, we always managed to reconnect.

As the years did, in fact, go by, Gail officially changed her name to Goldie.  She also became a rabbi.

A few months ago, out of the blue, just after I decided to post a recipe for the Jewish Apple Cake that (the then) Gail taught me how to make in college, I received an email from her.

Follow us on your social media platform of choice


She was in Europe for the summer and we set up a time to chat by video conference but her internet connection did not cooperate and we were unsuccessful in our attempts to chat.  We’re planning another attempt at video conferencing when both of us are in the States later this fall.  I’m looking forward to catching up with her.

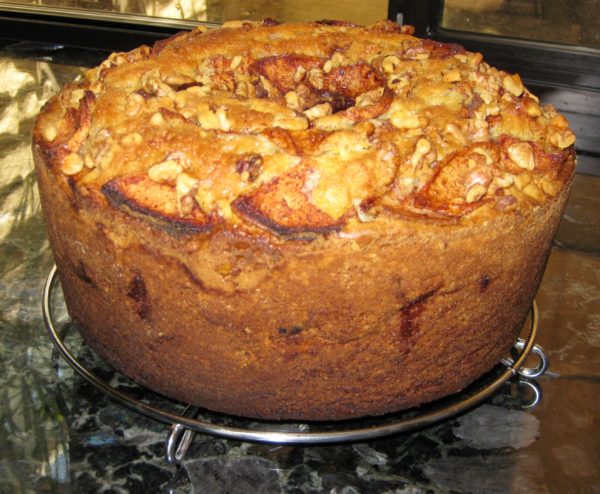
In the meantime, I hope you enjoy what is now, officially, Rabbi Goldie’s Jewish Apple Cake!
Print Recipe
Rabbi Goldie's Jewish Apple Cake
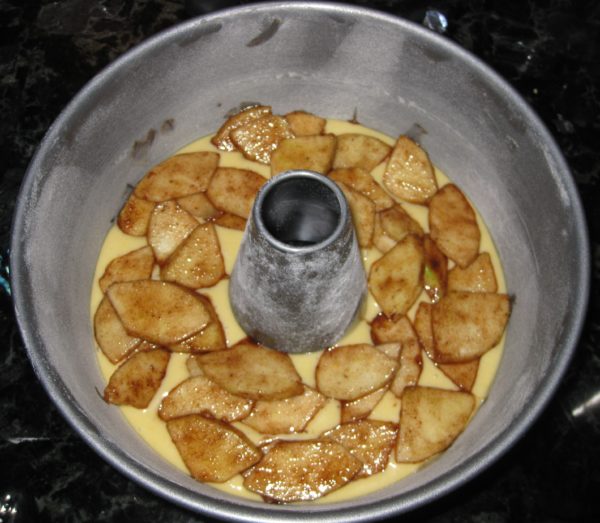
It is best to bake this cake in a plain, shiny aluminum pan. A dark pan will overcook the outside before the center is done. Don't add the sugar to the apples before you are ready to pour the batter into the pan or it will pull a lot of liquid out of the apples.
Votes: 4
Rating: 4
You:
Rate this recipe!
Cuisine Jewish
Prep Time 30 minutes
Cook Time 90 minutes
Passive Time 1 hour
Servings
people
Ingredients
Cuisine Jewish
Prep Time 30 minutes
Cook Time 90 minutes
Passive Time 1 hour
Servings
people
Ingredients
Votes: 4
Rating: 4
You:
Rate this recipe!
Instructions
  1. Grease and flour a 10" tube pan with a removable bottom.
  2. Sift together the flour and baking powder.
  3. Peel the apples, cut them in quarters and remove the core.
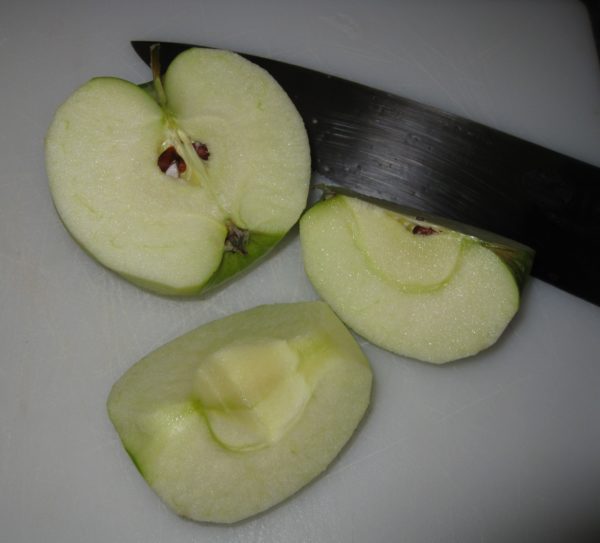
  4. Slice the apples crosswise into 1/8 inch thick slices.
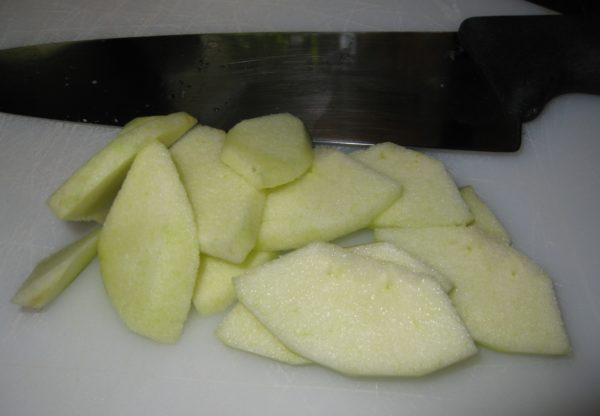
  5. Mix the apples and cinnamon and set aside.
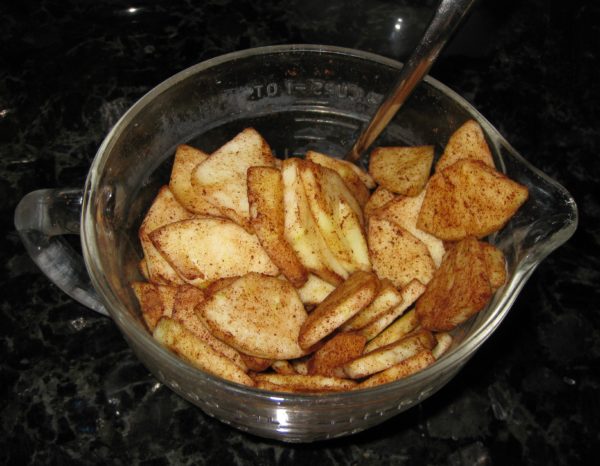
  6. In the bowl of an electric mixer cream oil and 2 cups plus 3 tablespoons sugar.
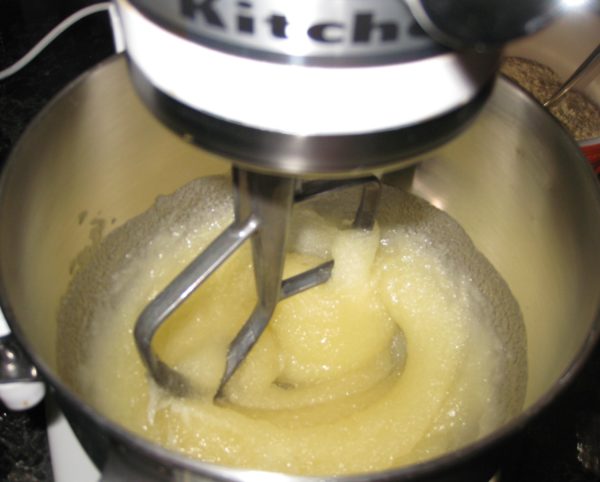
  7. Add eggs one at a time beating after each addition.
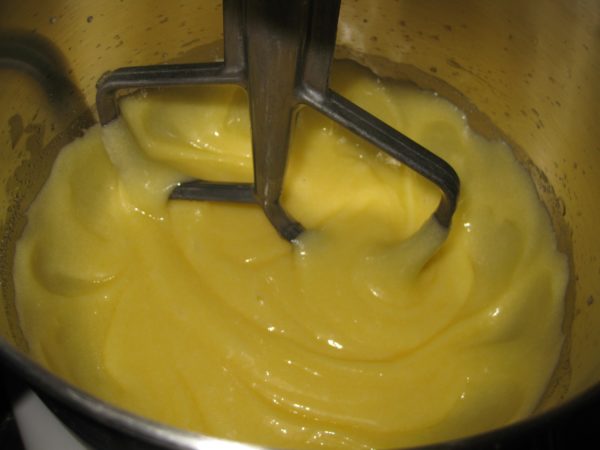
  8. Add 1/3 cup plus 1 tablespoon orange juice and vanilla. Mix well.
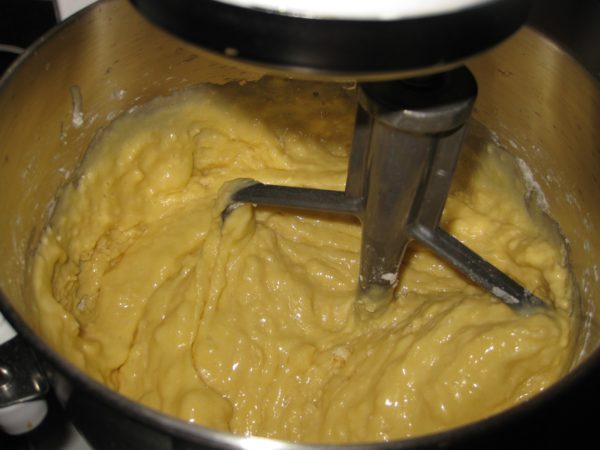
  9. Add flour and baking powder mixture and mix well.
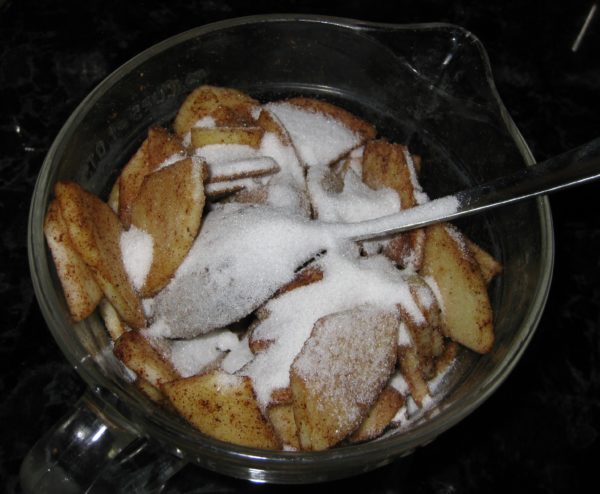
  10. Add 5 tablespoons of sugar to the apples and mix well.
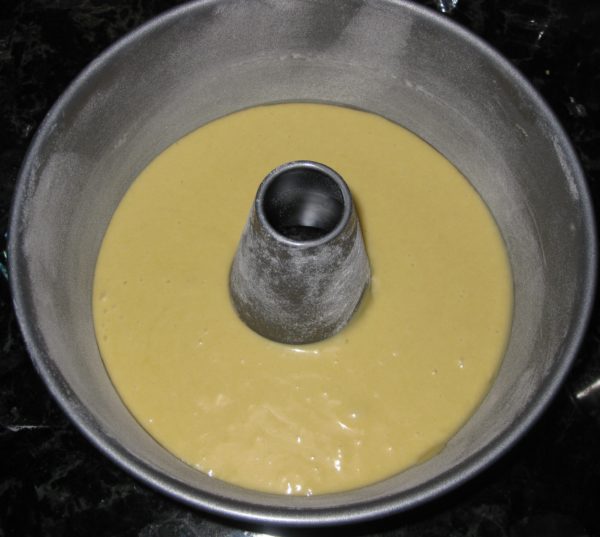
  11. Pour half the batter into the prepared pan.
  12. Top the batter with half the apples.
  13. Top the apples with half the walnuts, if using.
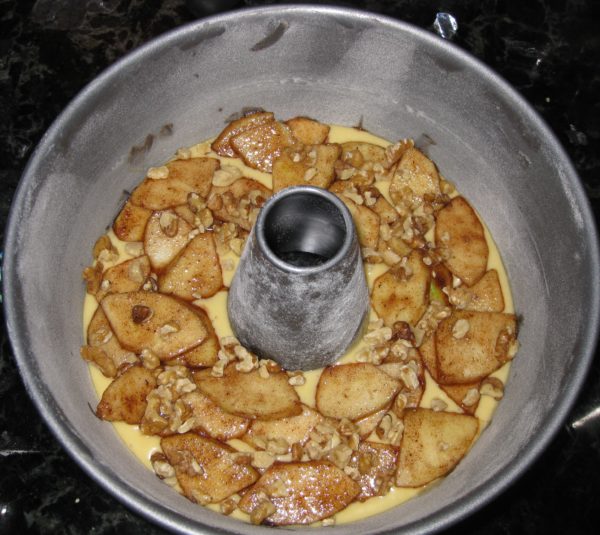
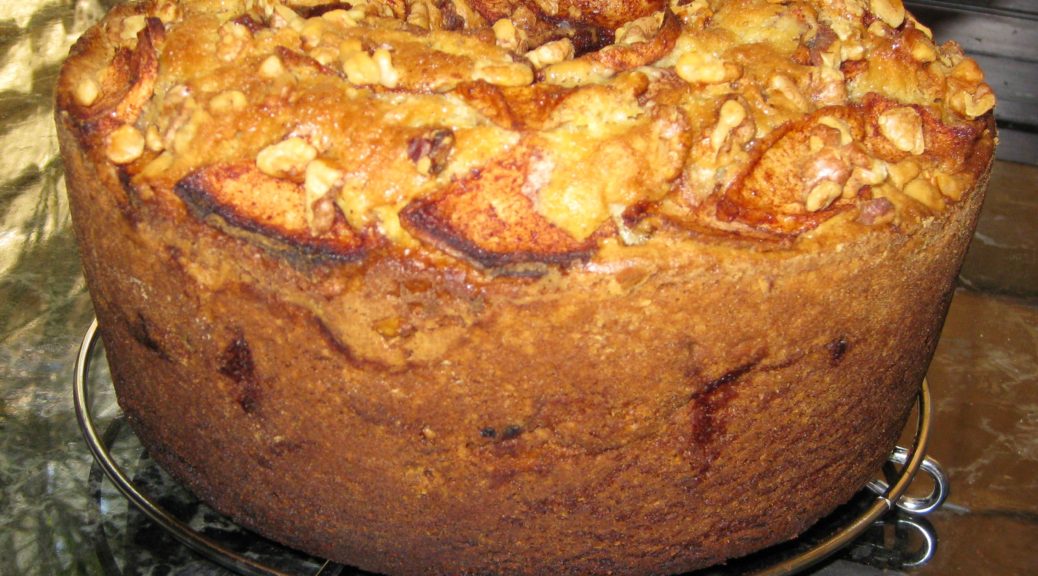
  14. Add the remaining batter and top with the remaining apples and walnuts, if using.
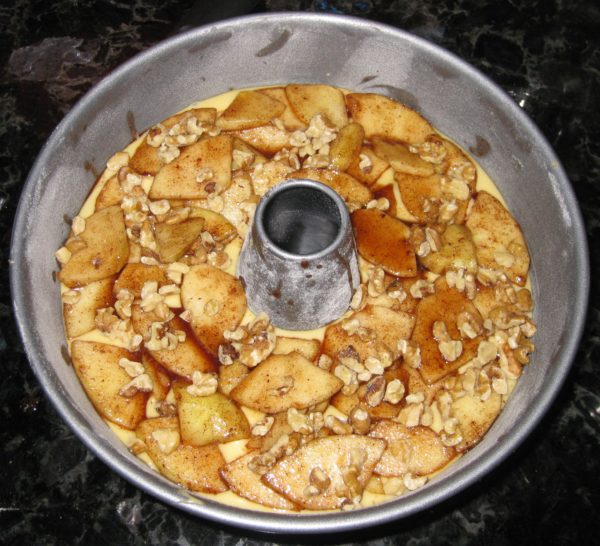
  15. Bake at 350°F for approximately 1 hour 40 minutes, until a tester inserted in the center comes out clean.
  16. Cool for 10 minutes on a rack. Remove from pan and cool completely.
Recipe Notes

Copyright © 2018 by Villa Sentieri, LLC. All rights reserved.

Share this Recipe

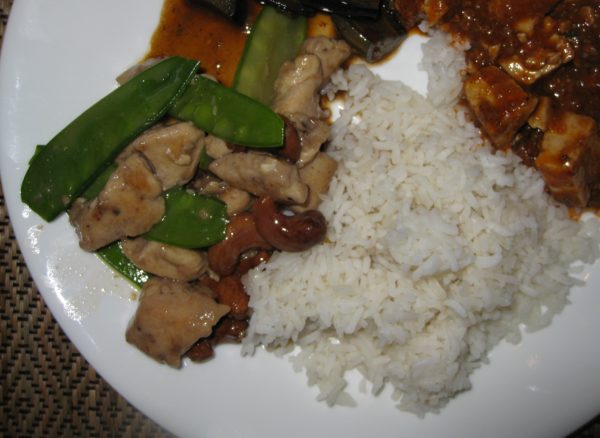
Stir-Fried Chicken with Cashews and Snow Peas

May 9, 2018

This is the year of the Dog.

It may be old news, but Lunar New Year was Friday, February 16, 2018.  We celebrated with close friends and a dinner menu with an extensive array of Asian dishes.  There are many traditional dishes for Lunar New Year depending on the country.  I chose to do a pan-Asian menu rather than focus on strictly traditional recipes from a single country.

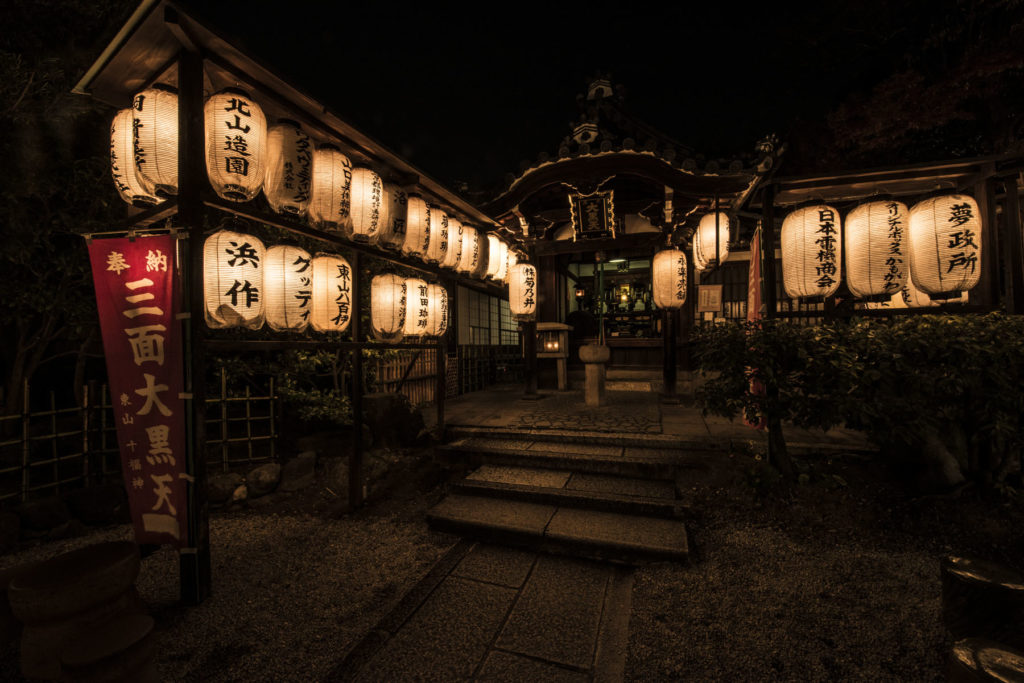
Kifune Shrine, Kyoto, Japan (Photo by Avishek Kumar)

We were in Palm Springs for Lunar New Year.  The plan was to escape winter weather in Santa Fe which, as it turned out, was not very wintery after all, unlike what the East Coast experienced.


Follow us on your social media platform of choice


Sourcing Asian ingredients has become a real issue for me now that I don’t live in a major city.  The only Asian grocery store in Santa Fe, Talin Market, closed a few months ago though the original location is still open in Albuquerque.

Palm Springs only has two Asian markets that I can find.  Both are Filipino-owned and, although they stock an array of Asian goods, they really focus on Filipino foods.

Honen-in Temple, Kyoto, Japan (Photo by Avishek Kumar)

Amazon came to the rescue.  While I’d rather stand in the aisles of an Asian market reading and comparing packages of honest-to-goodness product, Amazon was a lifesaver.

There were eight of us for the Lunar New Year dinner.

The kitchen in our Palm Springs house is small, approximately 9 feet by 11 feet.  Turning out a multi-course meal requires a lot of planning and organization.   I divided the main part of the meal into four courses.  Each course included a complementary array of foods and different cooking methods.

We started with hors d’oeuvres and cocktails.  We ended with a simple, non-traditional dessert of gelato and fortune cookies, which I purchased.  I assumed nobody was going to be too into dessert after all the other food.

Fushimi Inari Shrine, Kyoto, Japan (Photo by Avishek Kumar)

Here’s the menu:

Hors d ’Oeuvres
Vegetable Dumplings with Soy-Vinegar Dipping Sauce
Steamed Edamame with Coarse Salt

First Course
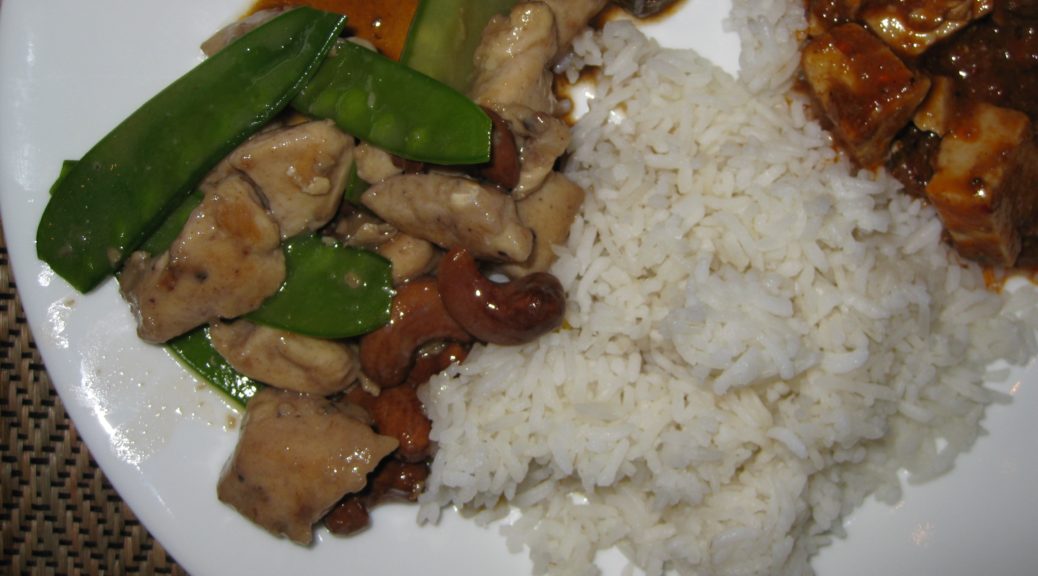
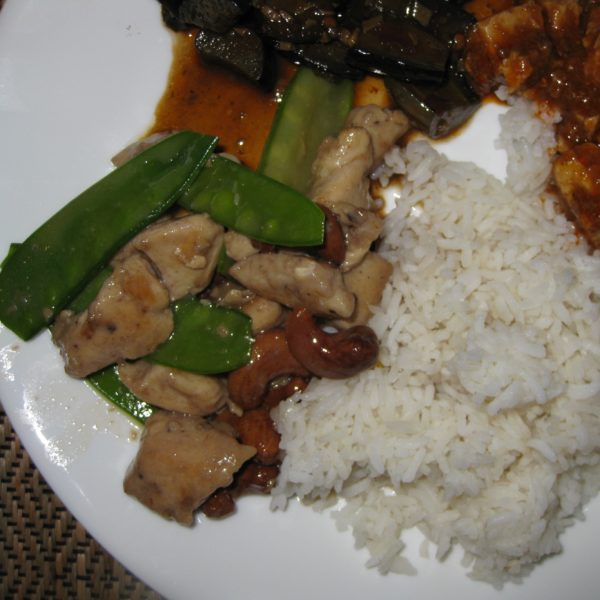
Stir-Fried Chicken with Cashews and Snow Peas
Eggplant Hunan Style
Cambodian Fish with Bean Thread

Second Course
Korean Bulgogi
Indonesian Sweet Corn Patties
Szechuan Garlic Noodles

Third Course
Hot and Sour Soup

Fourth Course
Chinese Roast Pork
Japanese Carrot Salad
Mapo Tofu
Caramelized Tomatoes with Ginger and Vinegar


Join our mailing list and you’ll never miss a recipe again!


I recently published my recipe for Chinese Roast PorkHot and Sour Soup is coming up in a couple of weeks.  Today, however, we’re focusing on a Cantonese classic, Stir-Fried Chicken with Nuts and Vegetables, specifically cashews and snow peas.

This is a recipe that I started making during junior year in college.  It got tweaked a lot over that year.  By then I was comfortable with the end product and didn’t really do much with it… until this year.

I didn’t really change the recipe, though.  I changed the pan!

Shrine in Gion District, Kyoto, Japan (Photo by Avishek Kumar)

You’ve probably figured out that I’m prone to excess where kitchen equipment comes in.  I have four woks:  two carbon steel ones that date back to college and two that are a decade or so younger, one aluminum and one carbon steel.  Both of these are larger than the ones from my college days.

I always cook my stir-fries in a wok but this particular dish is always a problem due to the “velvet” coating on the chicken.  The coating always sticks to the wok.  I suspect I could eliminate that problem by using enough oil to deep fry the chicken but that wasn’t supposed to be the way to cook it.  So, I always just accepted the “sticking-chicken” problem.

Until now.

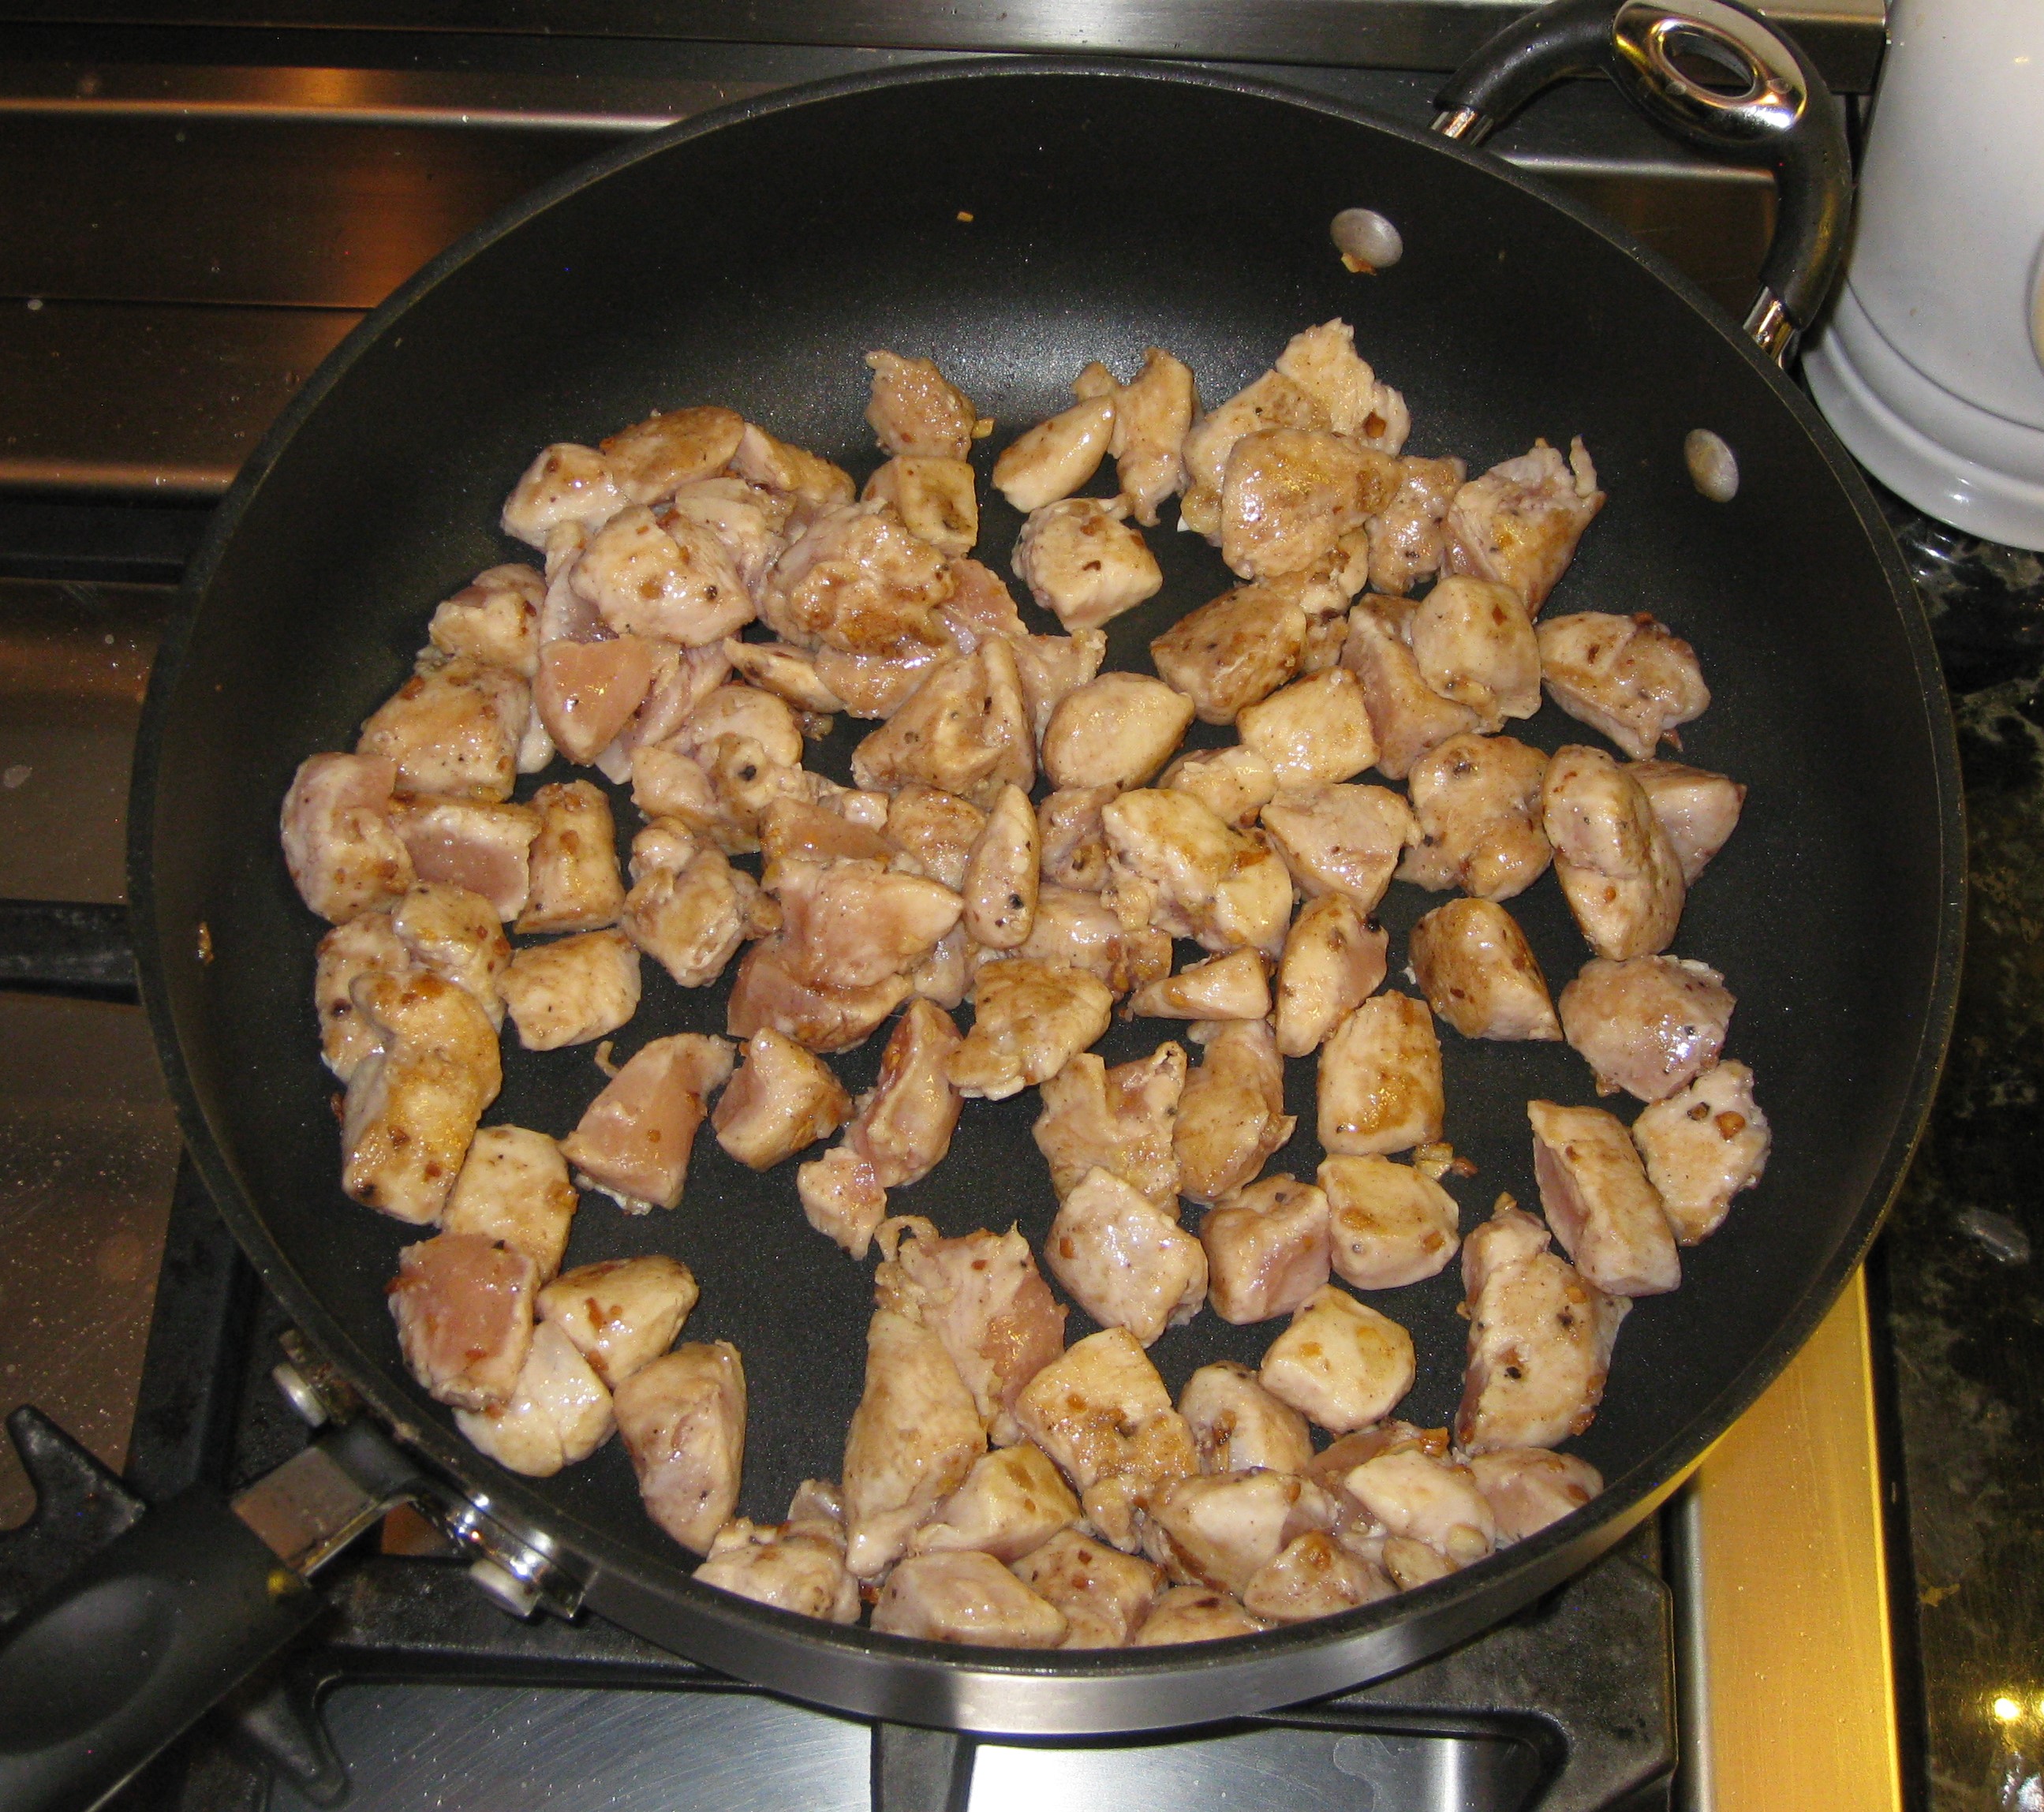
I used a large, non-stick skillet.

It worked like a charm!!!

I don’t think I’ll give up my woks any time soon but for this particular dish, non-stick is definitely the way to go.

Afterthought:  This recipe calls for MSG, though, of course, you can leave it out if you wish.  If you’re at all interested in the hype about the health effects of MSG, I suggest you read this article.

Print Recipe
Stir-Fried Chicken with Cashews and Snow Peas
Walnuts and either broccoli or green beans can be used instead of cashews and snow peas. The chicken can be marinated several hours in advance and refrigerated, tightly covered. If you wish, you can reduce or eliminate the MSG.
Votes: 0
Rating: 0
You:
Rate this recipe!
Course Mains, Poultry
Cuisine Chinese
Prep Time 20 minutes
Cook Time 15 minutes
Servings
people as part of a Chinese meal
Ingredients
Velvet Chicken
Sauce
Assembly
Course Mains, Poultry
Cuisine Chinese
Prep Time 20 minutes
Cook Time 15 minutes
Servings
people as part of a Chinese meal
Ingredients
Velvet Chicken
Sauce
Assembly
Votes: 0
Rating: 0
You:
Rate this recipe!
Instructions
Velvet Chicken
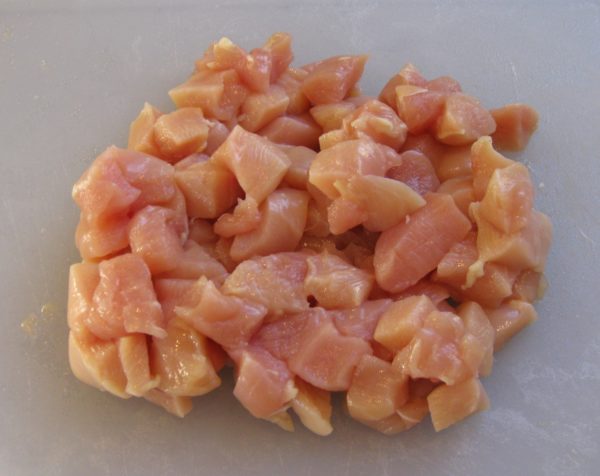
  1. Cut the chicken into ½ inch cubes.
  2. Put the chicken in a non-reactive dish.
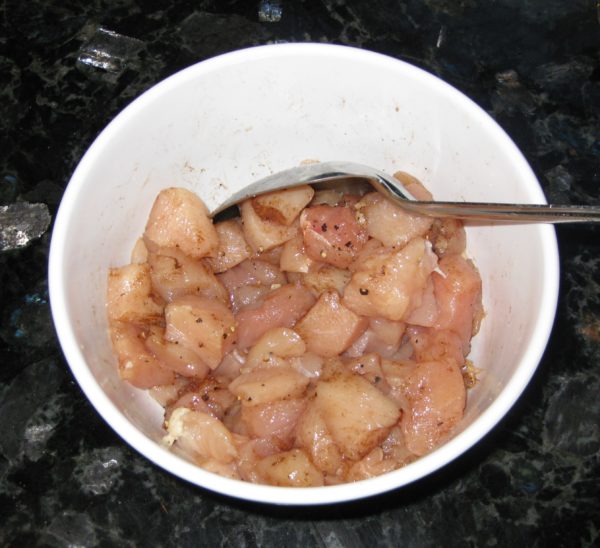
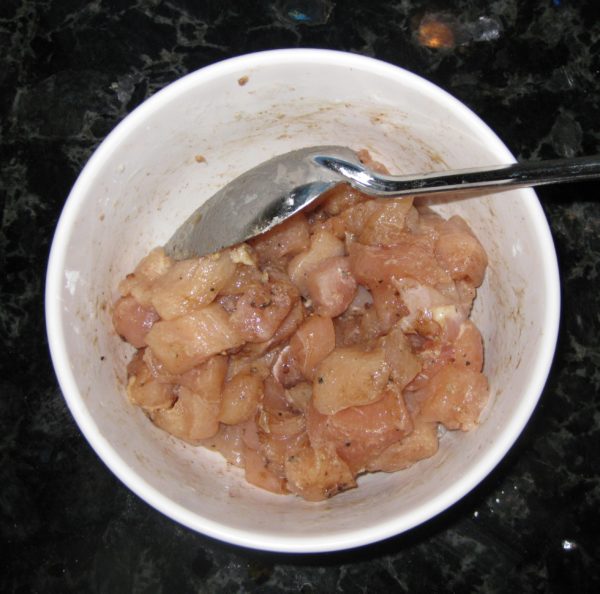
  3. Sprinkle the chicken with salt, pepper, five spice powder and MSG. Mix well then let stand 20 minutes.
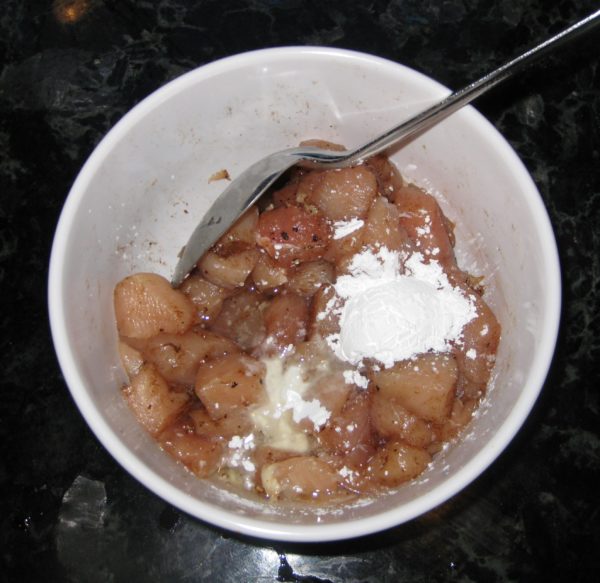
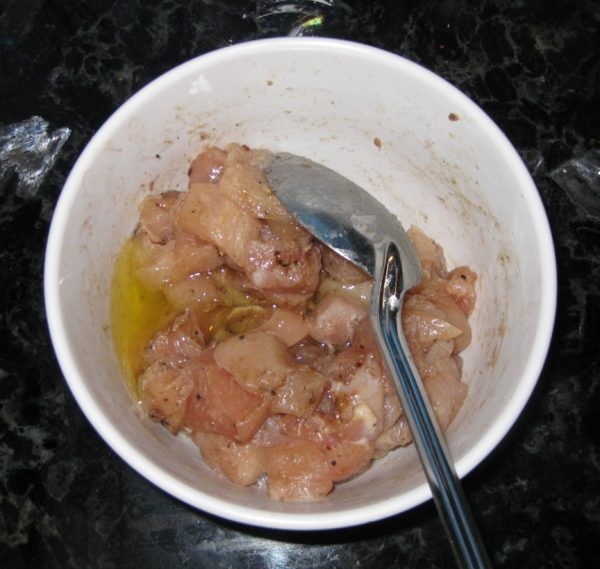
  4. Sprinkle the chicken with cornstarch and 4 teaspoons of oil. Mix well and let stand 20 minutes.
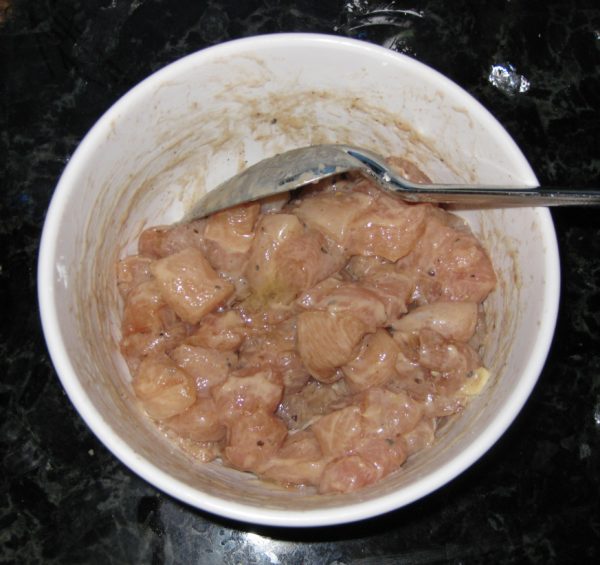
  5. Fold the egg white into the chicken. Let stand 30 minutes. If not using immediately, the chicken can be refrigerated, covered, for several hours at this point.
Sauce
  1. Combine all sauce ingredients, stir well and reserve.
Assembly
  1. Deep fry the nuts until golden. Once they start to color, they will cook rapidly. Careful attention is required to avoid burning them.
  2. When golden, remove the nuts from the oil and spread them on a paper towel to drain.
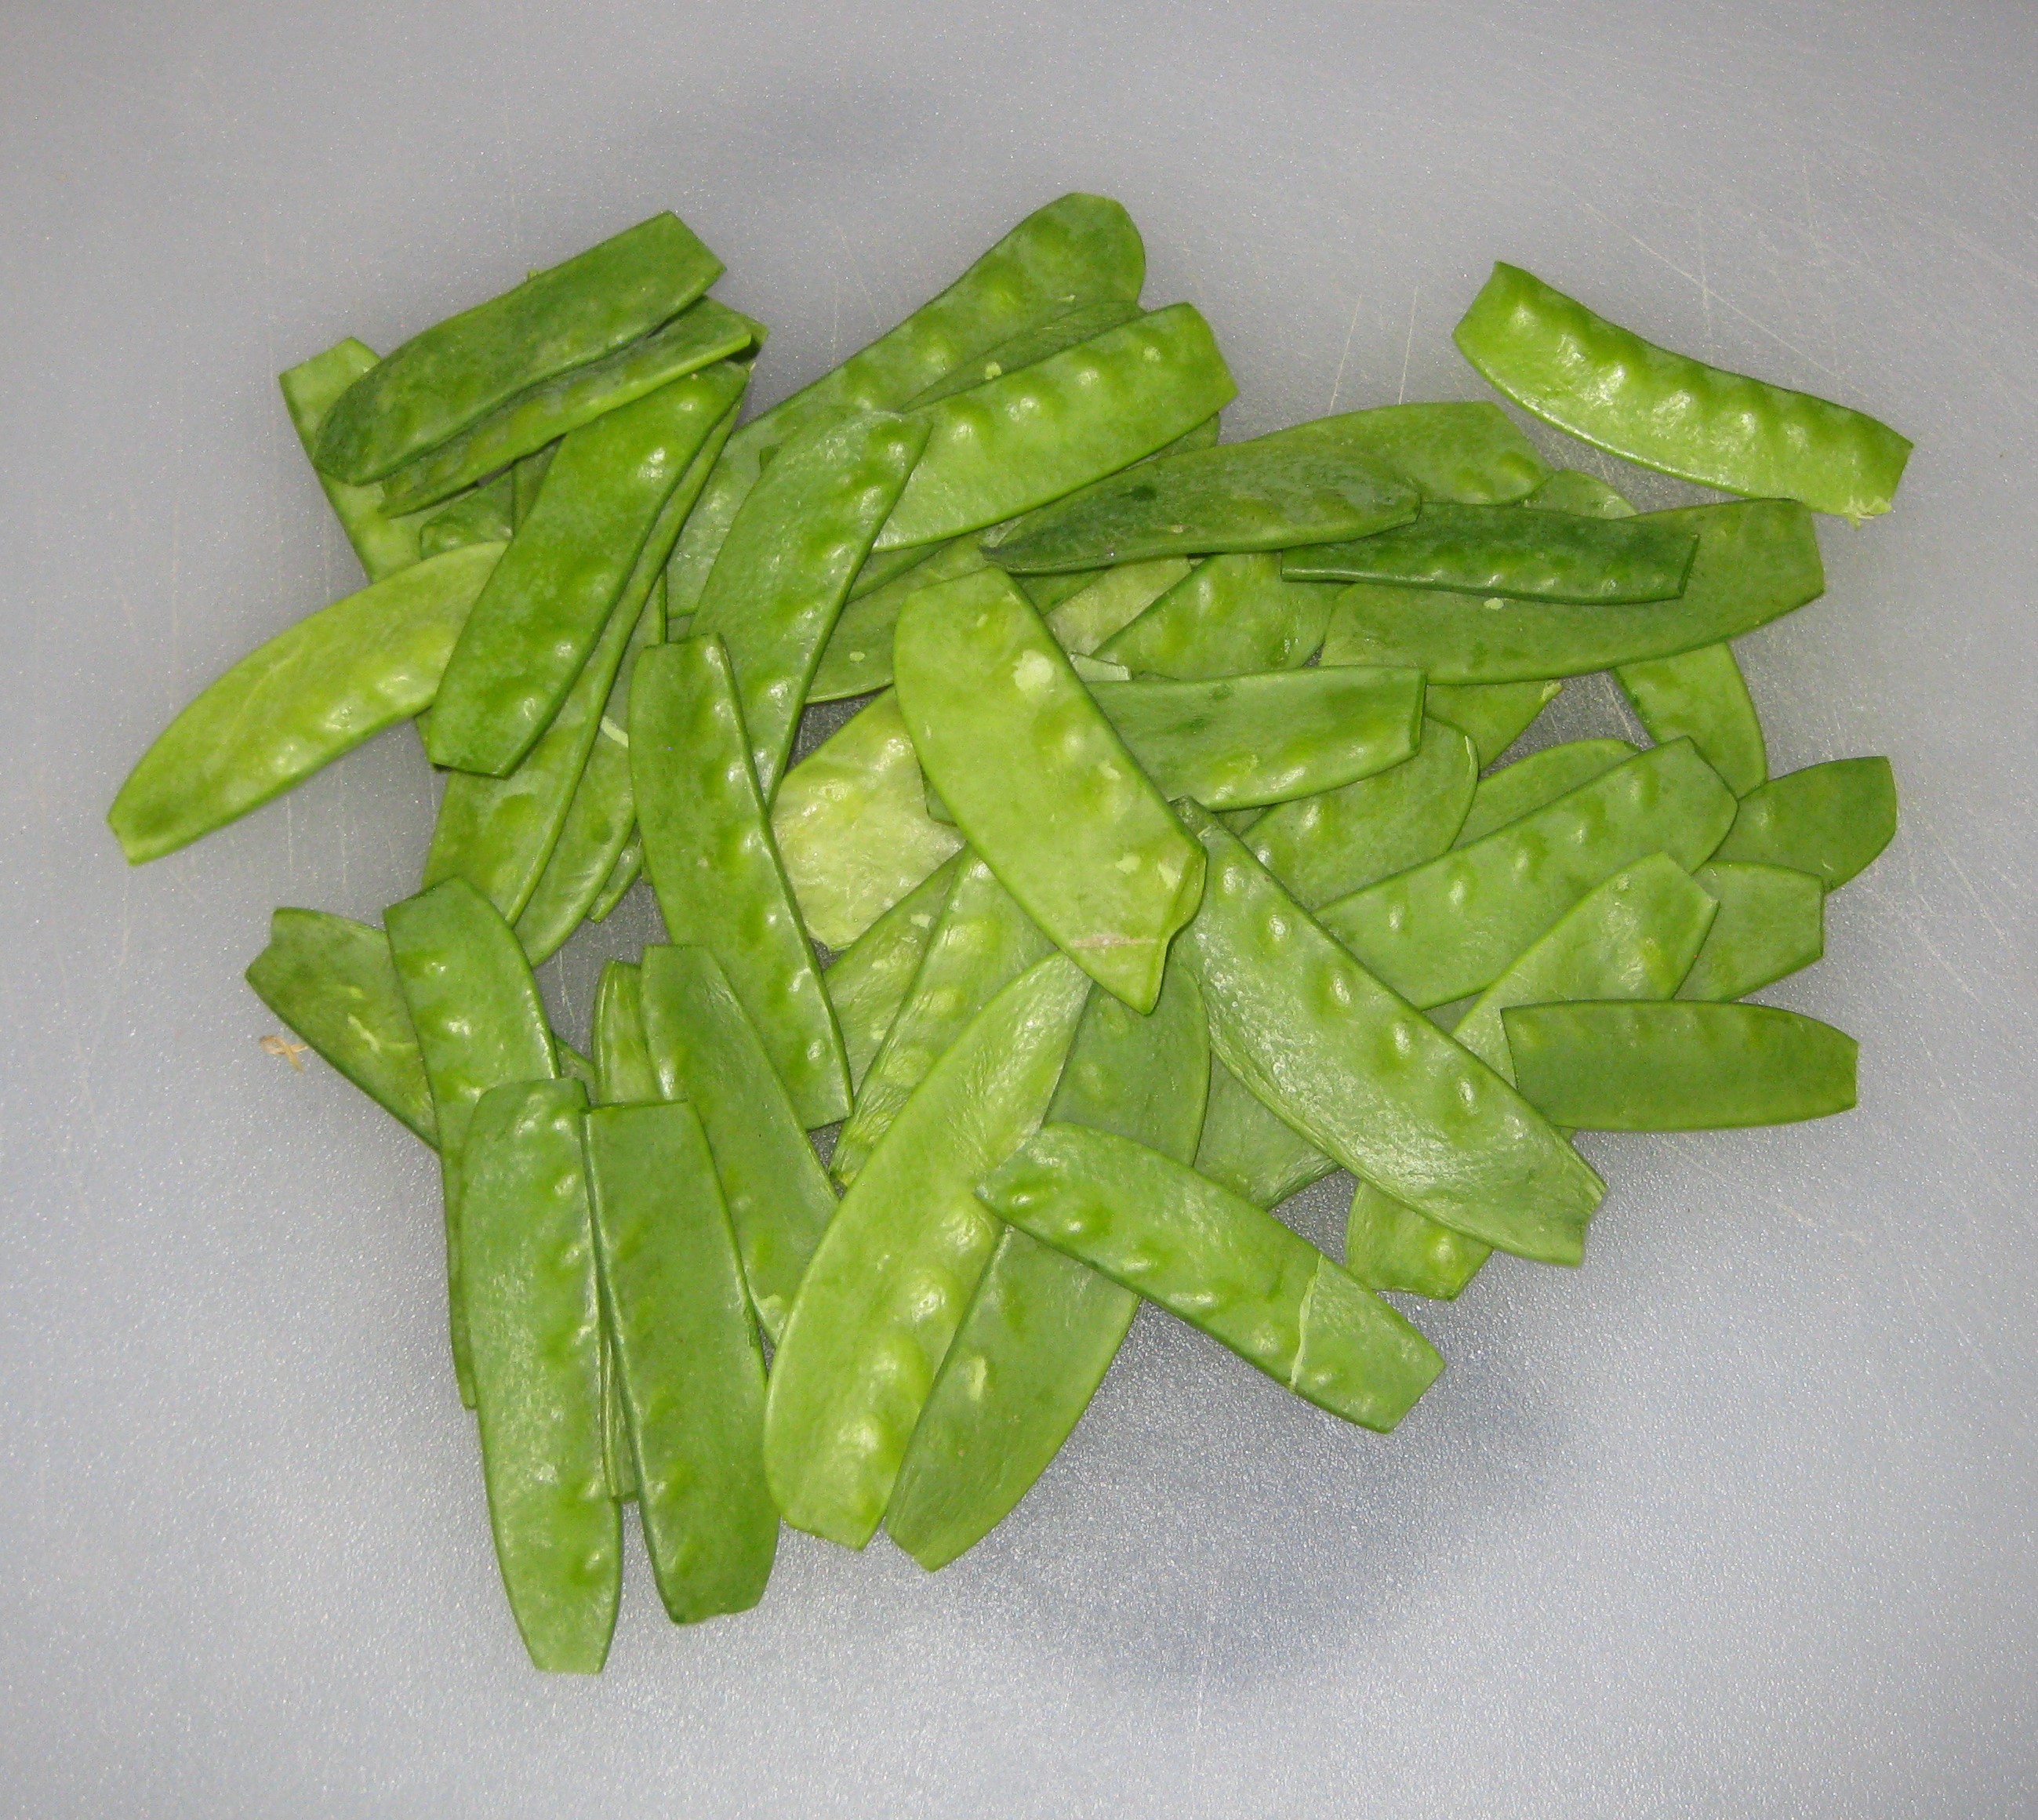
  3. Cut the tips off the snow peas.
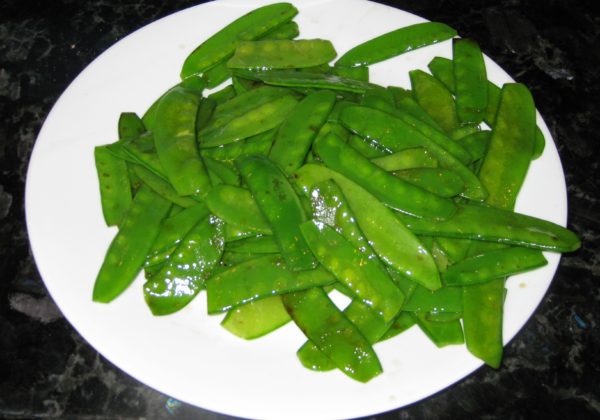
  4. Using a large non-stick skillet, stir-fry the snow peas in 3 tablespoons of vegetable oil over high heat for about 30 seconds, until bright green. (You can use some of the oil used to fry the nuts if you wish.)
  5. Transfer the cooked snow peas to a plate to cool.
  6. In the same non-stick skillet, stir-fry the garlic and ginger over high heat, until fragrant, approximately 30 seconds, adding a few tablespoons more oil if needed.
  7. Add the chicken and stir-fry over high heat until just cooked through, approximately 2-3 minutes.
  8. Stir the sauce mixture to combine and add it to the chicken.
  9. Bring to a boil and cook until thickened, stirring constantly, approximately 1 minute.
  10. Stir in the cooked cashews and snow peas.
  11. Remove the pan from the heat and stir in the sesame oil.
  12. Serve immediately with steamed rice.
Recipe Notes

Copyright © 2018 by VillaSentieri.com. All rights reserved.
Share this Recipe

Mom’s Biscotti (aka Anise Toasts or Slice Cookies)

April 20, 2018

Growing up biscotti were not ubiquitous the way they are now.

Remember, this was before the coffee shop craze swept the country and when Italian food was viewed as “foreign.”

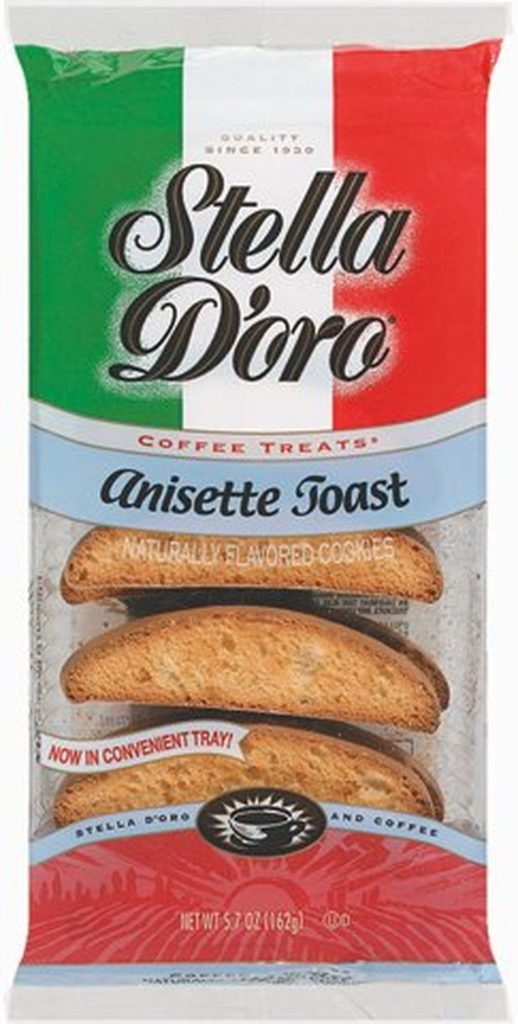
Sure, one could get biscotti in Italian specialty stores.  There was even a marginally passable supermarket version from Stella d’Oro.  (It still exists though the company has been sold many times.)

Stella d’Oro Biscotti (I just can’t bring myself to spell it incorrectly with an uppercase “D” and a lowercase “o”)

But mostly, biscotti were homemade.


Follow us on your social media platform of choice


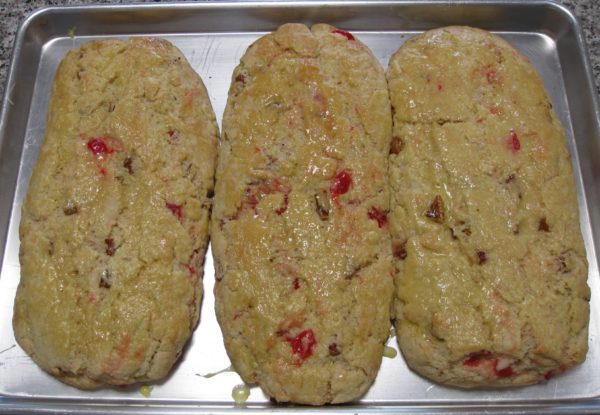
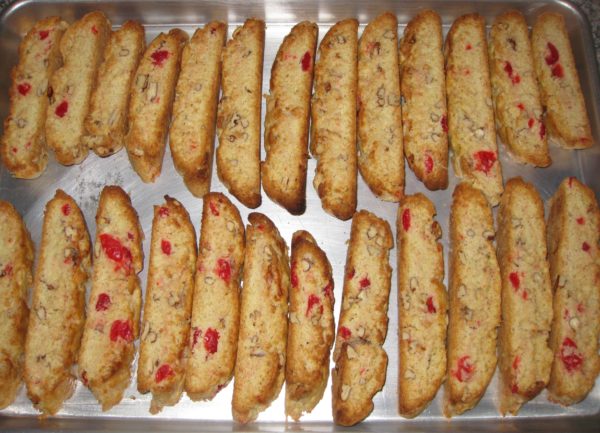
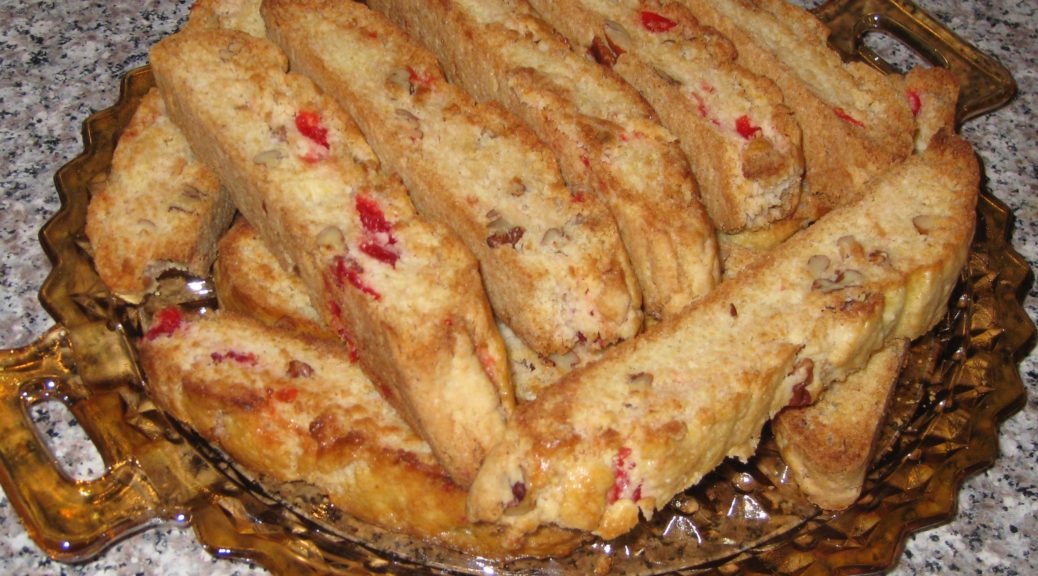
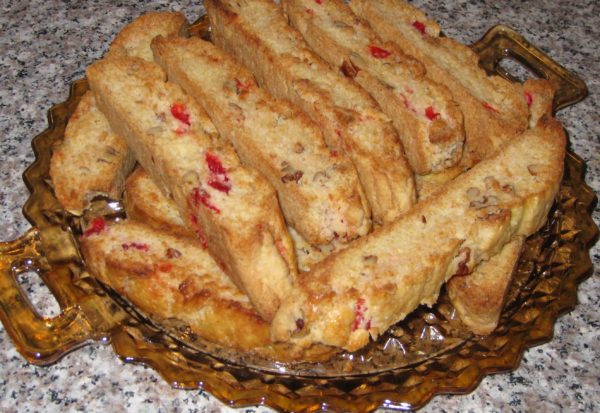
My mother’s biscotti are a little softer on the inside than the standard biscotti today, which seem to have a crunch the whole way through.  She also made them much smaller than is now common, maybe three inches or so in length as opposed to six or eight.

The interesting ingredient in these biscotti is maraschino cherries.  The maraschino cherry as we Americans know it was a product of food science from the 1920’s and 30’s.  “Real” maraschino cherries, Marasca cherries from the Dalmatian coast of Croatia, pickled in salt water and preserved in Maraschino liqueur, are actually quite rare.  There are many versions of cherries preserved in liquor from throughout Europe, some clearly developed as substitutes for authentic maraschino cherries.

I remember eating these biscotti in the 1960’s so the recipe is at least that old, probably older.  It is unlikely, however, that these biscotti ever saw real maraschino cherries due to their rarity.

If this recipe dates to pre-prohibition, in which case it would have been from my grandmother or someone in her generation, it’s possible that some sort of cherry preserved in alcohol (on the order of a real maraschino cherry) was originally used.  I have no idea if the recipe is that old.

Since liquor-soaked cherries were outlawed during prohibition they would have been eliminated from this recipe even if it is that old.  Which brings us to a dichotomy in thinking about recipes that I often consider:  the difference between authentic and traditional.


Click HERE to join our mailing list and you’ll never miss a recipe again!


Is food authentically Italian if it’s prepared in Italy by an Italian but does not follow any traditional recipe?

If cioppino is made following a longstanding traditional Italian regional recipe but the cook substitutes seafood available in the United States for that available in Italy, is it authentic?

There is no doubt that these biscotti are traditional in my family, having been made for more than 50 years.  But what would make them authentic?  And for that matter, would it be authentically Italian or authentically Italian-American?

I suggest you mull that over while dunking biscotti in your morning caffe latte.

Print Recipe
Biscotti
In my family, these biscotti are traditionally made much shorter (after being cut crosswise) that is commonly the case now. For longer biscotti, form 6 logs approximately 9 ½ to 10 inches long before baking. For shorter biscotti, form 10-12 logs of the same length. The recipe is easily cut in half (which is what I did when making this batch).
Votes: 0
Rating: 0
You:
Rate this recipe!
Prep Time 45 minutes
Cook Time 2 hours
Passive Time 30 minutes
Servings
dozen large biscotti
Ingredients
Prep Time 45 minutes
Cook Time 2 hours
Passive Time 30 minutes
Servings
dozen large biscotti
Ingredients
Votes: 0
Rating: 0
You:
Rate this recipe!
Instructions
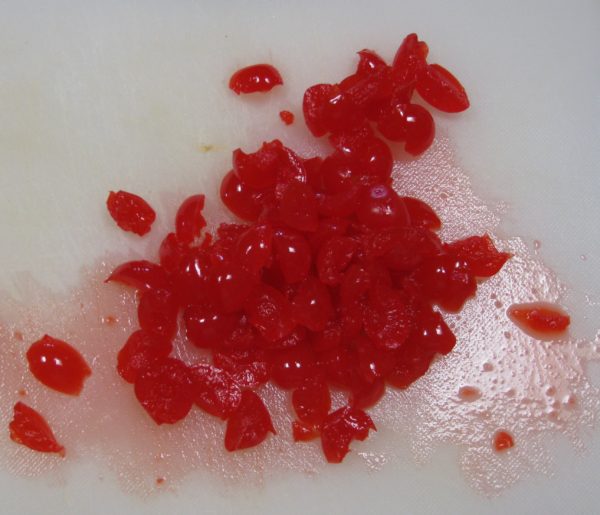
  1. Drain the cherries.
  2. Cut the cherries in quarters.
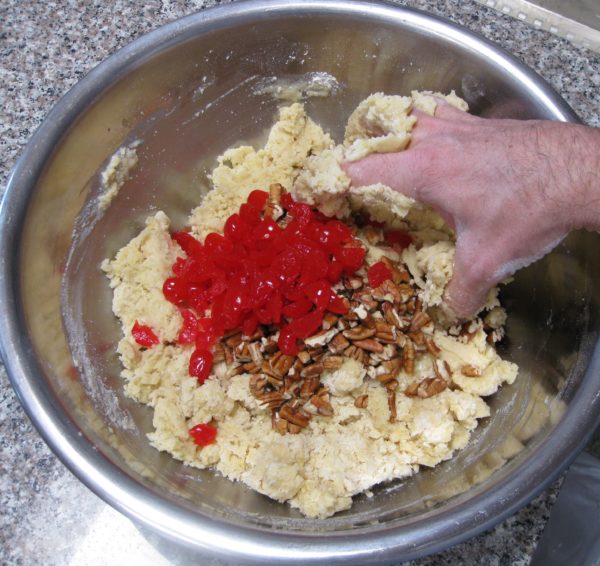
  3. Squeeze out excess liquid by gently pressing a small handful of cut cherries between your flat palms. Do not make a fist and do not smash the cherries. Reserve the cherries.
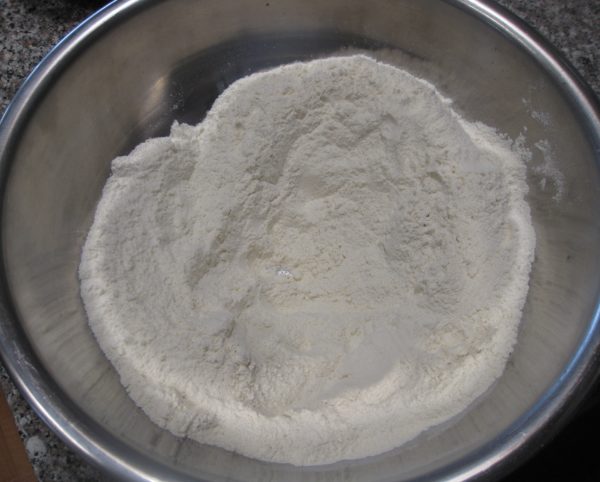
  4. In a very large bowl, mix flour, sugar, and baking powder using your hands.
  5. Make a well in the center.
  6. Add the eggs.
  7. Begin to incorporate some of the flour into the eggs working in a circular motion using your hands.
  8. Add the oil and butter and continue mixing.
  9. Add the milk and anise extract. Mix thoroughly.
  10. Add the cherries and nuts, if using.
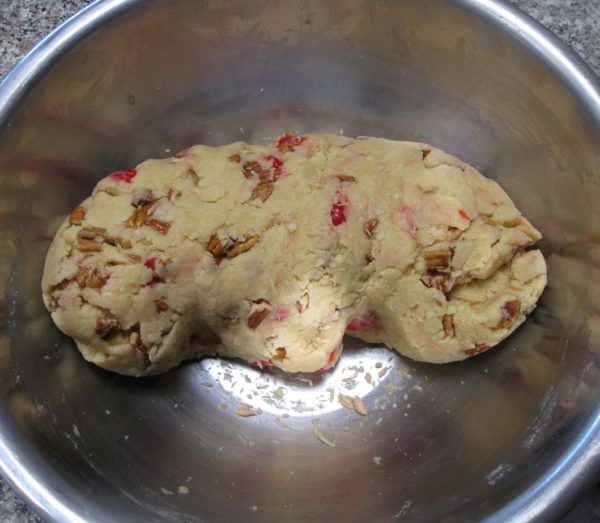
  11. Fully incorporate the cherries and nuts.
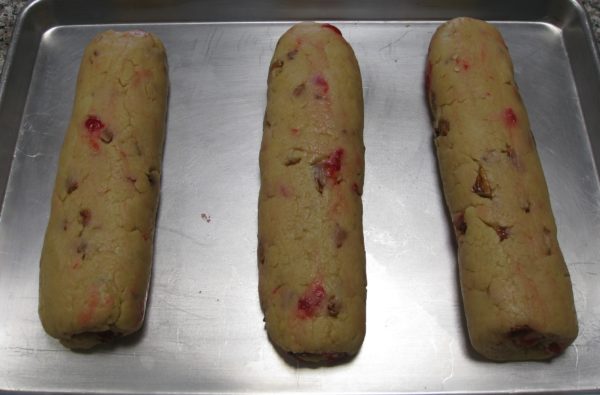
  12. Form into six or twelve cylinders approximately 9 ½ inches long. Six cylinders will make biscotti that are quite long once cut crosswise. Twelve cylinders will make shorter biscotti.
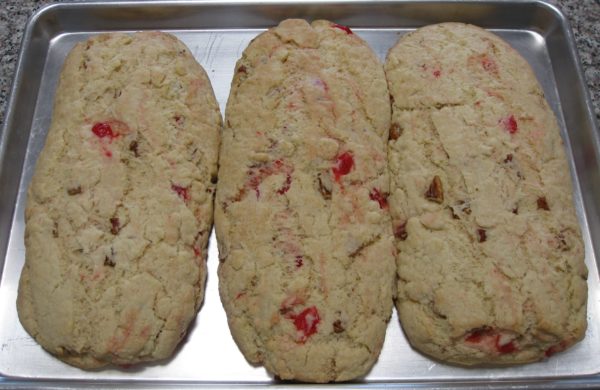
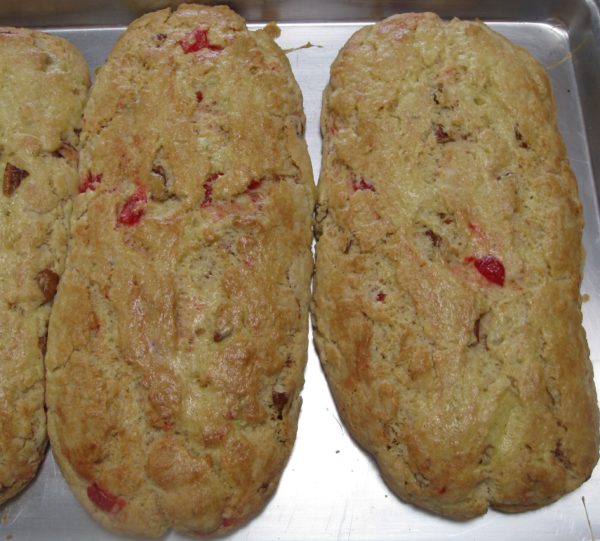
  13. Bake the cylinders for 30 minutes at 350°F. You can line the sheet pan with parchment if you prefer.
  14. Brush the tops with beaten egg.
  15. Bake 5 to 10 minutes longer, until golden brown and the cylinders are cooked through. Larger cylinders will take longer to bake.
  16. Cool the baked cylinders on the baking pan on a cooling rack for approximately 10 minutes.
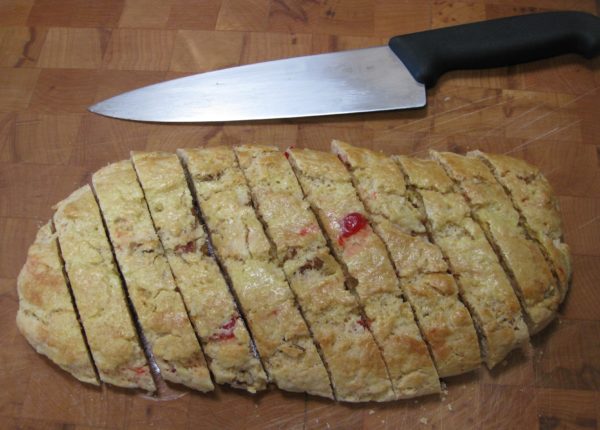
  17. Cut the baked cylinders crosswise on the diagonal into slices approximately 1 inch thick.
  18. Cool the slices completely.
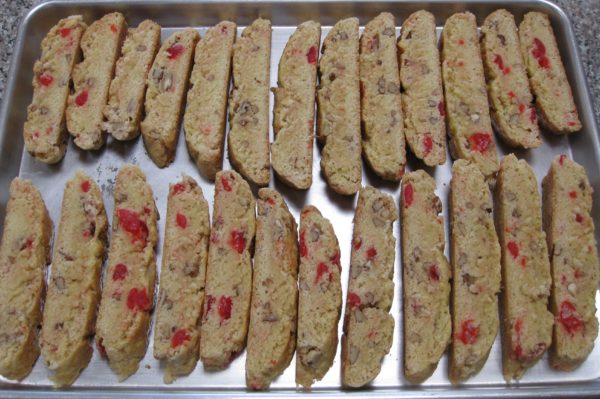
  19. Lay the slices cut side down on a baking pan.
  20. Toast in the top rack of the oven at 450°F.
  21. Turn and toast the other side.
  22. Remove biscotti to a rack to cool.
Recipe Notes

Copyright © 2018 by VillaSentieri.com. All rights reserved.
Share this Recipe

Angie’s Pickled Hot Peppers

September 13, 2017

With one set of grandparents and many relatives hailing from Southern Italy, hot peppers and foods containing hot peppers were staple features of the cuisine I grew up eating.

Hot sausage, with fennel seed, was frequently on our table and, since it was often homemade by Uncle Joe Medile, it could be as hot as we wanted. When it wasn’t Uncle Joe’s sausage, it would typically have been from Lopresti’s Market in Geistown, a suburb of Johnstown, PA.

Spicy foods more often showed up at lunch, though. There was spicy salumi, including Calabrese salami, capocollo (of which there are several types but in our house it was always the spicy one), and sopressata, among others.

There were hot banana peppers fried until tender, usually with onions. The fried peppers could be a condiment or they could be used as the filling for a sandwich. Fried hot pepper sandwiches are still one of my favorite lunchtime treats!

There were various pickled, spicy vegetables like giardineria and pickled peppers of various types. These were usually store-bought except for my cousin Angie’s pickled hot peppers.

Angie is the daughter of my mother’s oldest sister. Angie, however, was born six months before my mother. It’s kind of interesting to think about the fact that my grandmother was pregnant with my mother at the same time that my grandmother’s daughter was pregnant with Angie.

Despite their inverted ages, Angie always called my mother Aunt Theresa.

Angie’s mom, my Aunt Rosie, died at a young age. I never knew her. Aunt Rosie’s husband, Uncle Dominic lived with their other daughter, Marie.

Uncle Dominic grew vegetables, including hot peppers, in the back yard. He’s the one who taught me about fried hot pepper sandwiches for which I am eternally grateful!

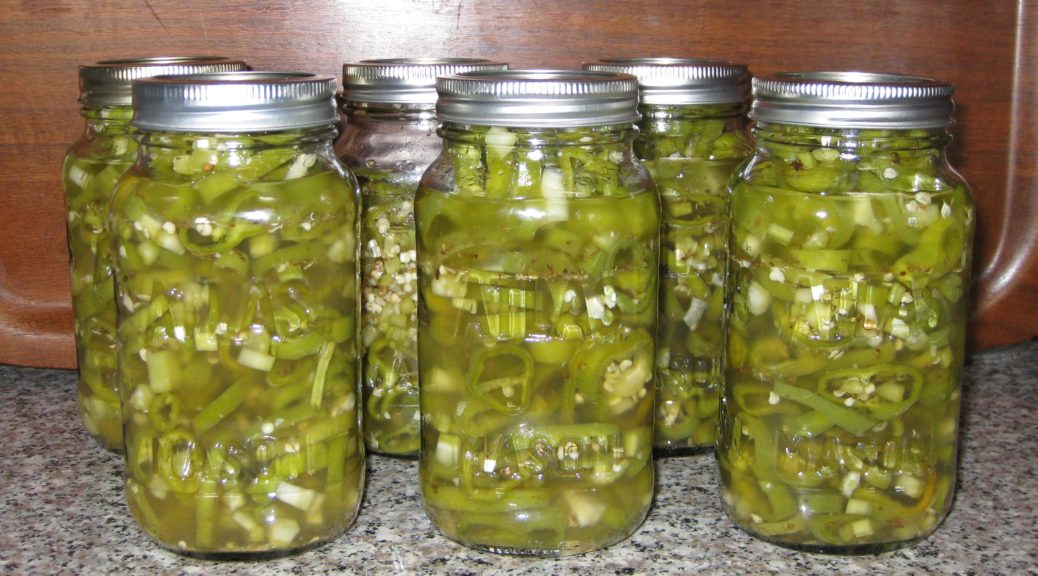
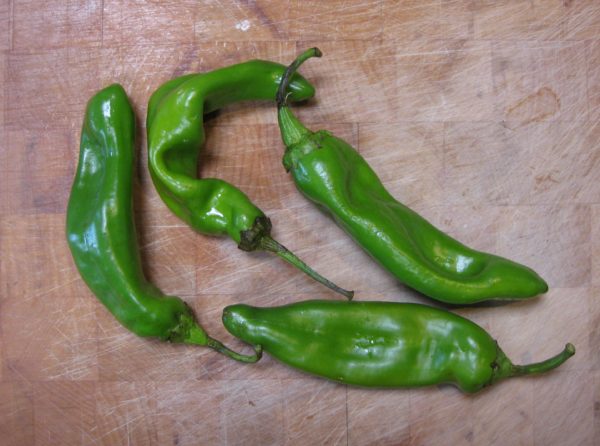
Usually I would make Angie’s Pickled Hot Peppers with Italian Banana Peppers but fresh New Mexico Green Chile is far more abundant in Santa Fe than Banana Peppers and the substitution works just fine. Years past, when we lived in Chicago and grew lots of peppers, I would even make these with jalapeno peppers.

These peppers are a breeze to make, just some slicing and dicing and pulling together a quick pickle. No actual canning or processing is required. They will keep for months and months in the refrigerator.

The recipe calls for a peck of peppers. A peck is an interesting measure. It is eight dry quarts. A dry quart, however, is not the same as a liquid quart (unless you use the British Imperial system in which case a dry quart and a liquid quart are the same volume but not the same volume as any quart used in America).

Confused? Oh how I wish we used the metric system!!!

A dry quart is slightly larger than a liquid quart. Eight dry quarts equals 9 1/3 liquid quarts. If you go to a farmers market, chances are you’ve seen produce displayed in baskets that are one peck in size. Not to worry, though. First off, the measurements aren’t that critical for this recipe, so plus or minus a quart (dry or liquid) isn’t a big deal. Second, if you have any type of large container, pot, or bucket marked in liquid measure, just fill it up a little beyond the 9 (liquid) quart mark and you’ll be good to go.

If you’re buying peppers in the supermarket and don’t want to carry a bucket to measure a peck, I suggest buying approximately four pounds of banana peppers. I found that amount of New Mexico Green Chile came very close to a peck when I measured it out.


Follow us


Click HERE to join our mailing list and you’ll never miss a recipe again!

Print Recipe
Angie's Pickled Hot Peppers
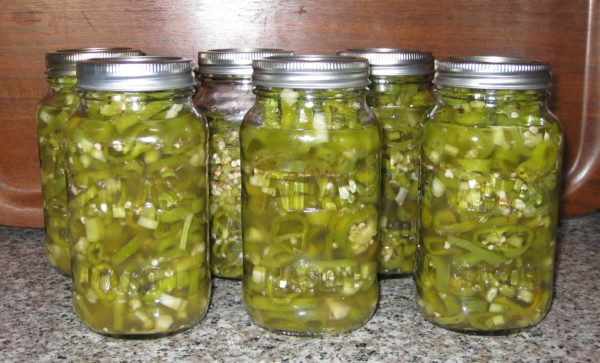
Though usually made with hot Italian Banana Peppers, I made this batch with hot New Mexico Green Chile which is far easier to source in Santa Fe than are large quantities of Banana Peppers. Four pounds of peppers should come pretty close to a peck. A peck is 8 dry quarts which is the equivalent of 9 1/3 liquid quarts. If there isn’t enough pickling liquid to fully submerge the peppers, make a little extra following the proportions in the recipe. These peppers will keep well in the refrigerator for many months. Try to let them mellow at least a couple of days before eating them…if you can!
Votes: 0
Rating: 0
You:
Rate this recipe!
Prep Time 75 minutes
Passive Time 8 hours
Servings
quarts
Ingredients
Prep Time 75 minutes
Passive Time 8 hours
Servings
quarts
Ingredients
Votes: 0
Rating: 0
You:
Rate this recipe!
Instructions
  1. Wash and dry the peppers.
  2. Cut off the stem ends.
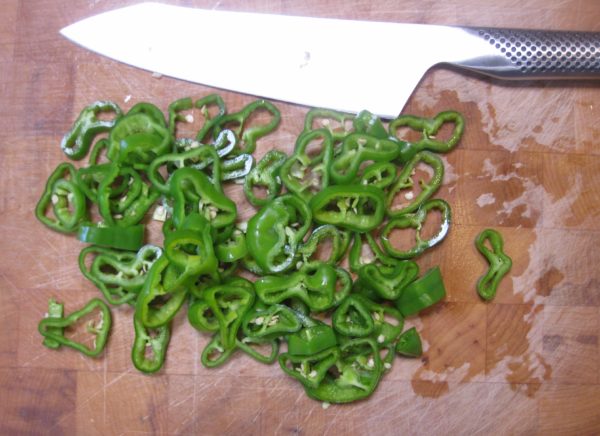
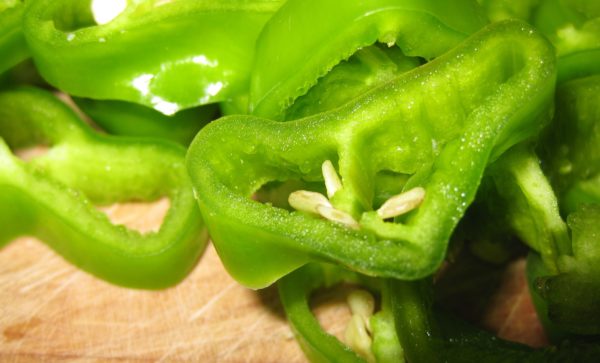
  3. Cut the peppers crosswise into rings a little more than 1/8 inch thick.
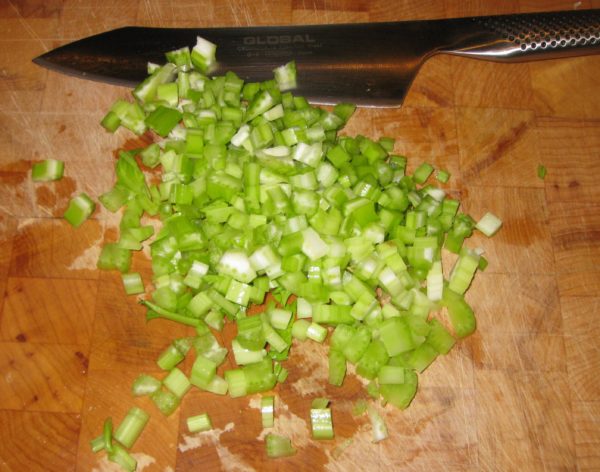
  4. Cut the celery into ¼ inch dice.
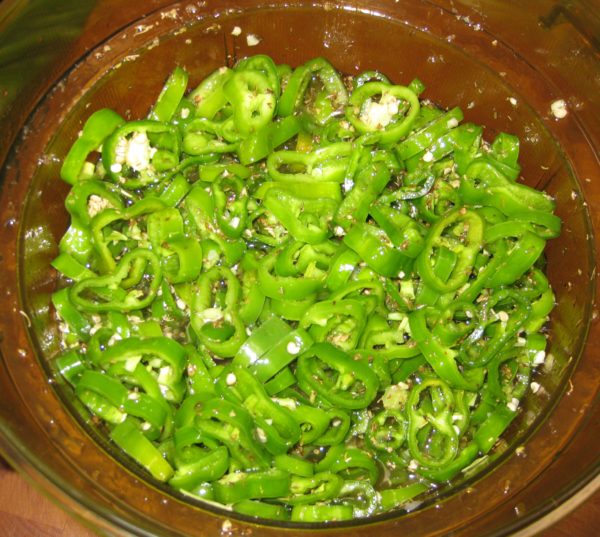
  5. In a non-reactive container large enough to hold all the ingredients, combine the vinegar, water, oil, garlic, salt, and oregano. Mix well.
  6. Add the sliced peppers and diced celery.
  7. Mix thoroughly. Cover and allow to sit at room temperature for 8 hours or overnight.
  8. Using a slotted spoon, ladle the peppers and celery into clean jars.
  9. Once the jars are filled, ladle the pickling liquid into the jars. Mix the liquid well with each ladleful so that you get the right proportions of vinegar/water and oil.
  10. If there is not quite enough liquid to cover the peppers make a small amount more using the same proportions.
  11. Cover and refrigerate until ready to use.
Recipe Notes

Copyright © 2017 by VillaSentieri.com. All rights reserved.
Share this Recipe

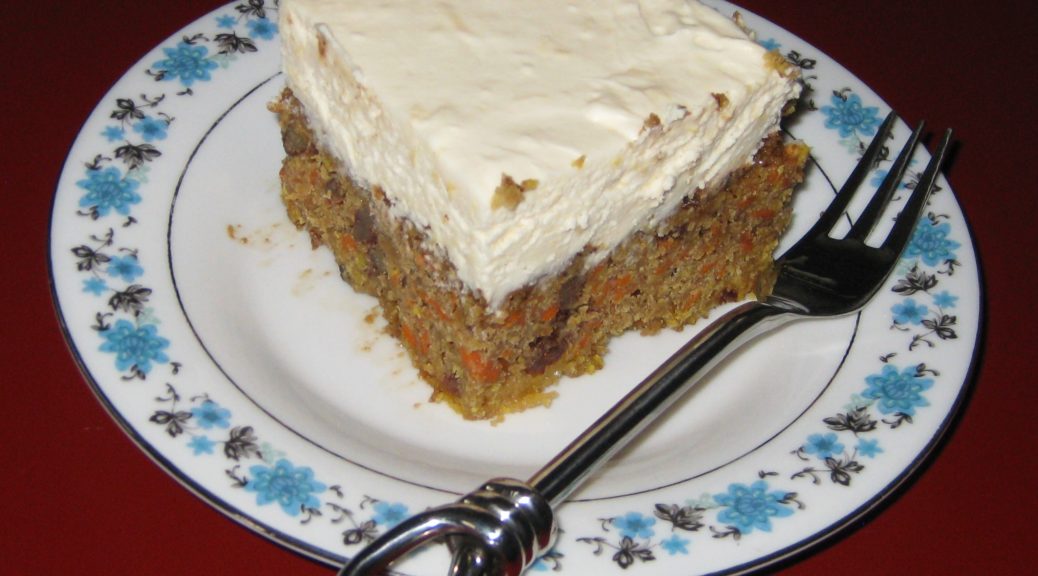
Mike’s (Justifiably Famous) Carrot Cake

August 25, 2017

Mike Abramson says his carrot cake is the best ever.

Janet Carlson doesn’t necessarily agree.

For now, the controversy will need to simmer as I only have Mike’s (Justifiably Famous) Carrot Cake recipe, though I have suggested to Janet that she and Mike have a carrot cake bake-off.

Mike makes no apologies for having stolen the recipe from Tom Grier, originally of Grier, Georgia.

The story goes something like this…

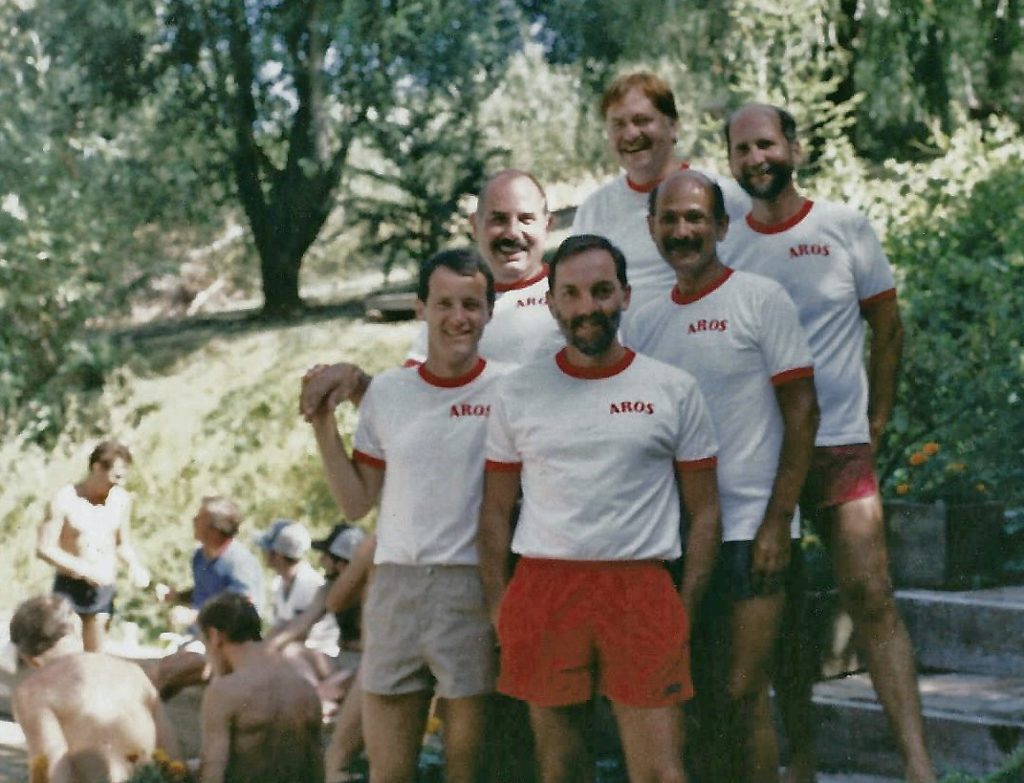
In the 1970’s a group of four friends from San Francisco bought a weekend house, they named Aros, near Sebastopol, California. The four owners rotated use of the house, each getting it for a week at a time but also sometimes showing up there together to host parties as in the photo below.

Mike Abramson, second row far right

Over the years, ownership of the house shifted as some individuals sold their interest and others bought in.

At one point, Tom Grier was the youngest owner.

The group met on a quarterly basis in San Francisco to discuss maintenance issues related to the house. As with use of the house, these meetings were held in rotation at the owners’ homes in San Francisco.

Whenever Tom hosted the meeting, he served carrot cake, which Mike believes originated as a Grier family recipe. Tom shared the recipe with Mike and the rest is history. Mike’s (Justifiably Famous) Carrot Cake was born.

But for Janet’s assertion that Mike’s might not be the best carrot cake in the world, well, we’ll just have to wait for the bake-off.

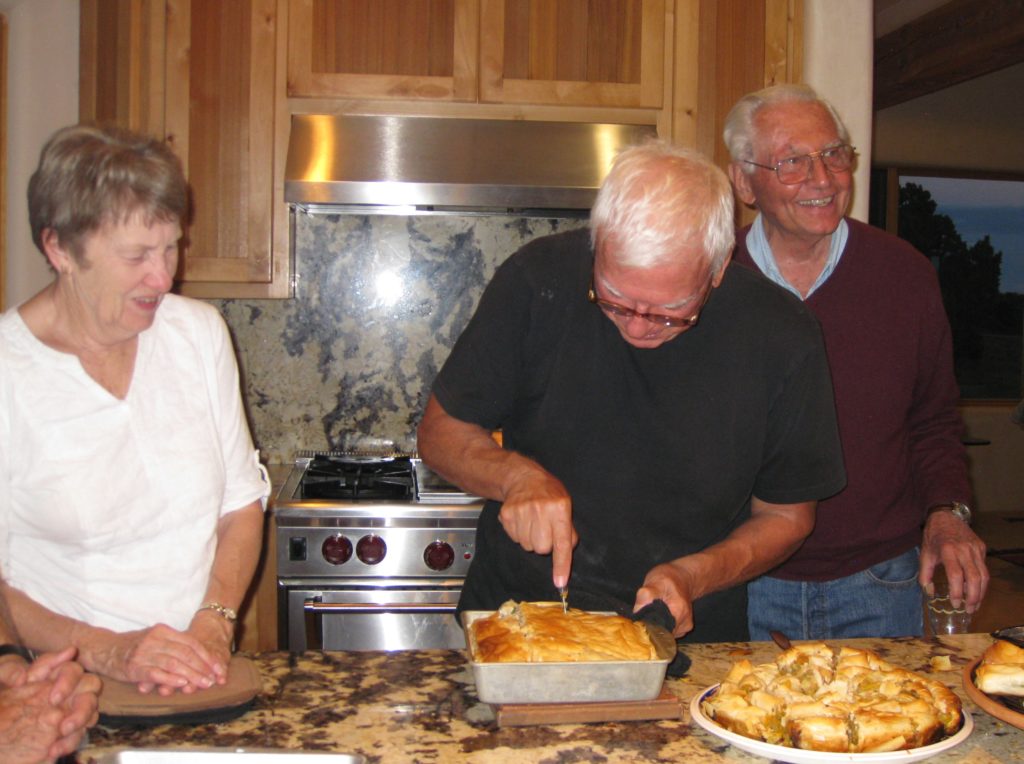
From left to right: Janet Carlson, Richard Valantasis, and Gino Barcone

Follow us


Click HERE to join our mailing list and you’ll never miss a recipe again!

Print Recipe
Mike's (Justifiably Famous) Carrot Cake
This is almost a cross between a spice cake and a carrot cake. The frosting is generous and could easily be reduced by one-third. This recipe is for sea level. If there is interest in adjustments for high altitude, let me know and I’ll post them.
Votes: 0
Rating: 0
You:
Rate this recipe!
Cuisine American
Prep Time 1 hour
Cook Time 40 minutes
Passive Time 2 hours
Servings
people
Ingredients
Cake
Frosting
Cuisine American
Prep Time 1 hour
Cook Time 40 minutes
Passive Time 2 hours
Servings
people
Ingredients
Cake
Frosting
Votes: 0
Rating: 0
You:
Rate this recipe!
Instructions
Cake
  1. Butter and flour a 9” x 13” baking pan.
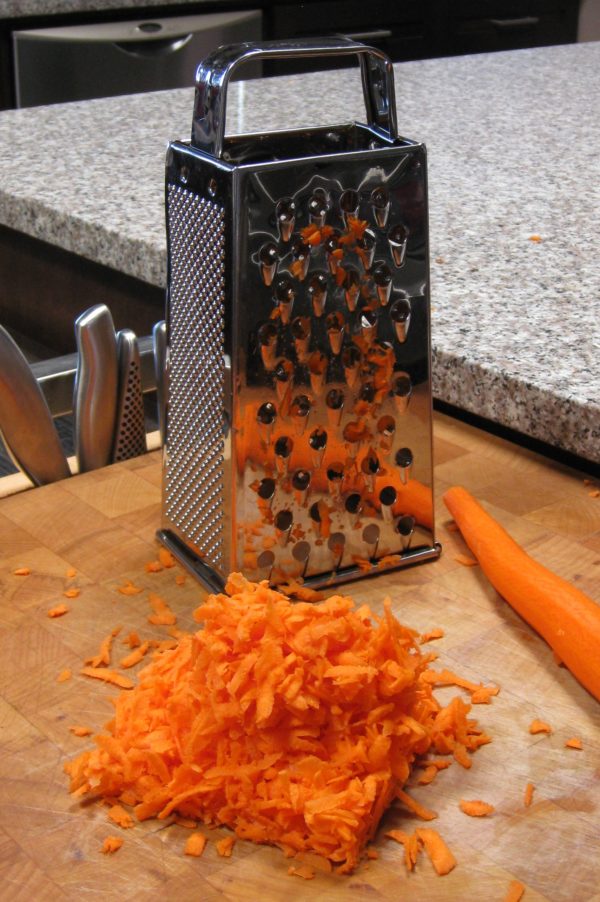
  2. Grate the carrots on the tear-drop holes of a box grater.
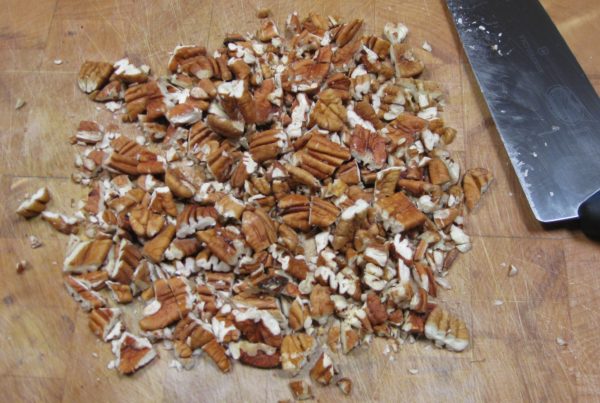
  3. Coarsely chop the nuts.
  4. Combine the flour, baking powder, baking soda, salt, cinnamon, cloves, allspice, nutmeg, and brown sugar in the bowl of a stand mixer. Mix with the paddle.
  5. Add the oil and eggs to the flour mixture. Blend until combined.
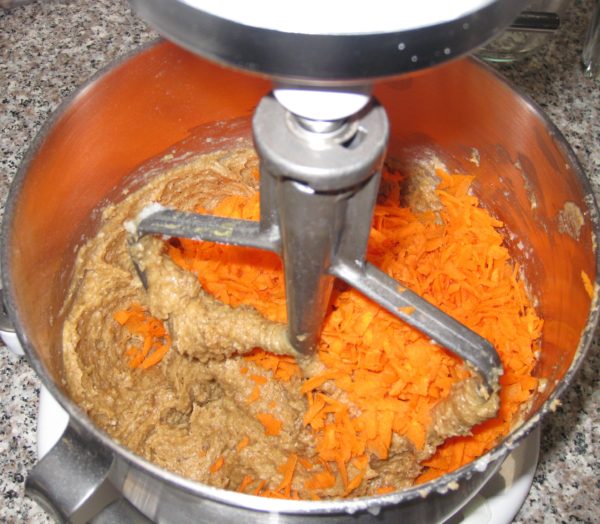
  6. Add the carrots and crushed pineapple with the juice. Mix thoroughly.
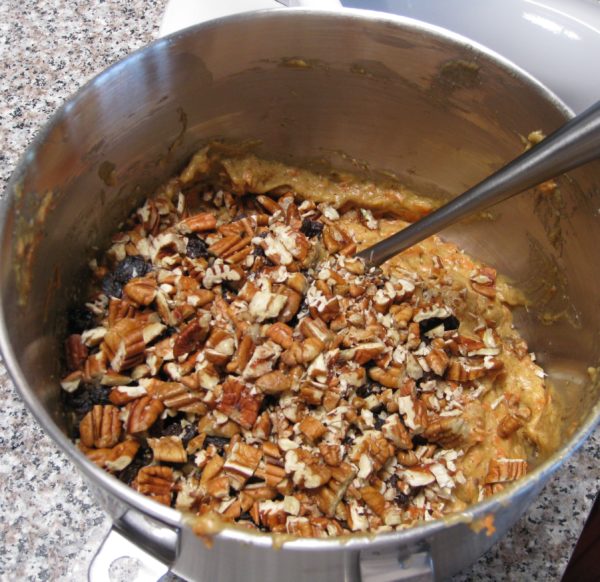
  7. Add the walnuts and raisins. Stir to combine.
  8. Pour into the prepared pan. Bake at 350°F for 35-40 minutes or until the center springs back when lightly touched.
  9. Cool completely in the pan before frosting.
Frosting
  1. Beat cream cheese and butter until light using the paddle of a stand mixer.
  2. Beat in all other ingredients.
  3. Frost cake when cool.
Recipe Notes

For recipes that call for solid vegetable shortening, such as Crisco, I use coconut oil is due to concerns about the negative health effects of hydrogenated fats.

Copyright © 2017 by VillaSentieri.com. All rights reserved.
Share this Recipe