Torta all’Arancia (Orange Polenta Upside-Down Cake)

March 4, 2020

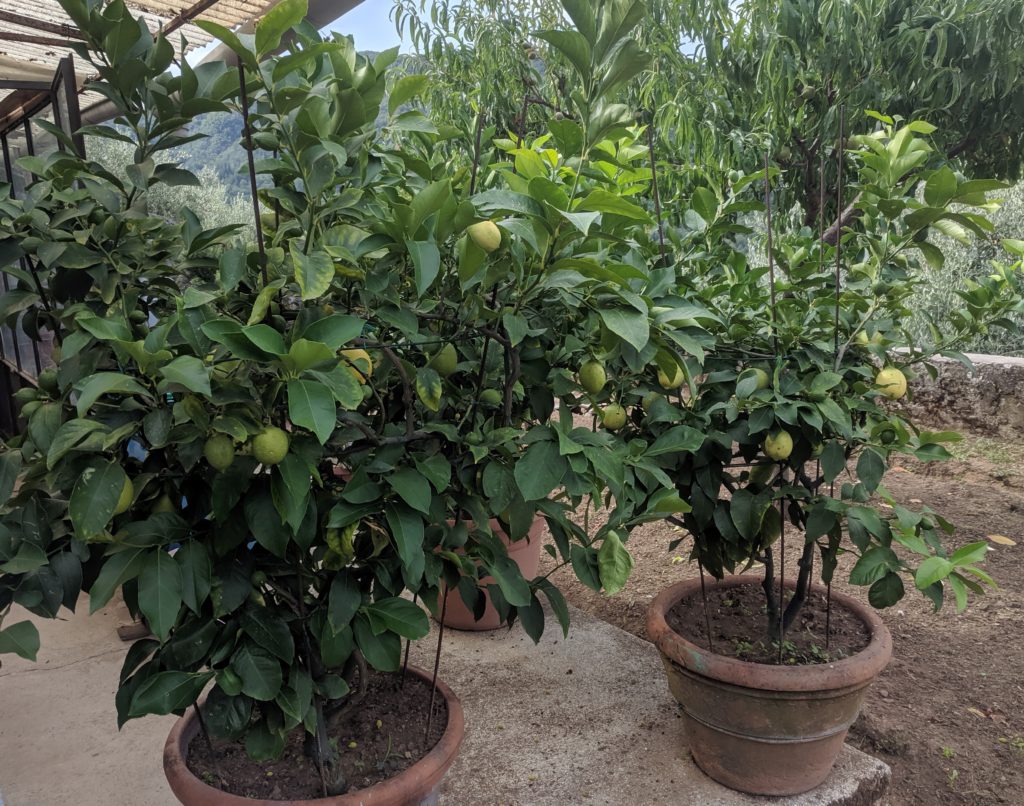
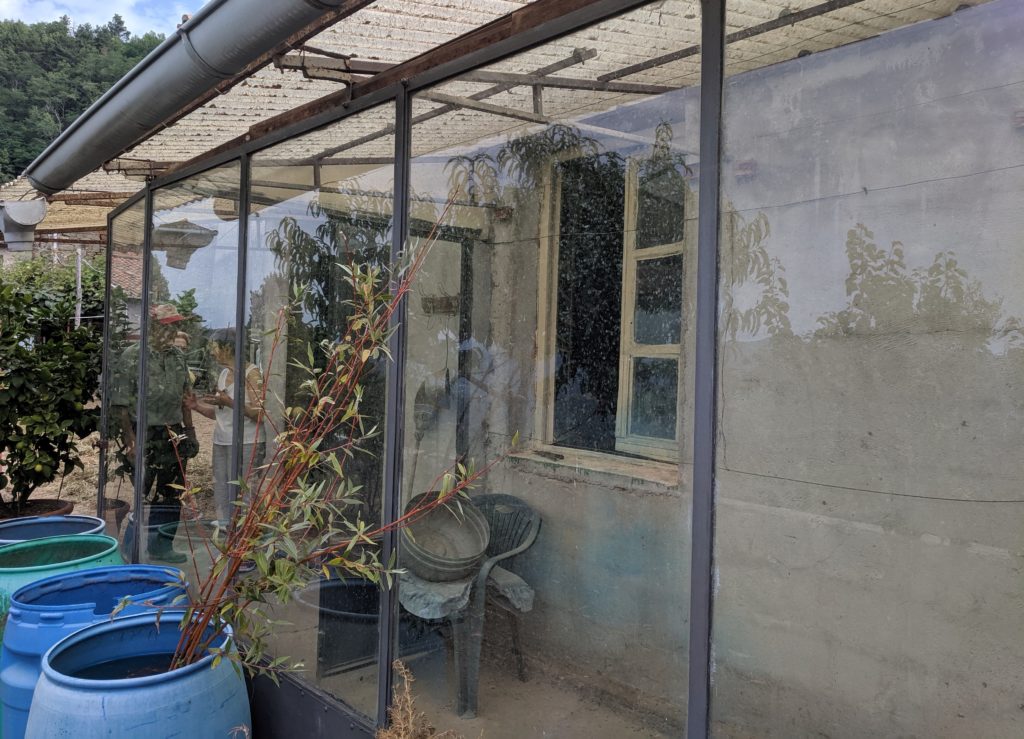
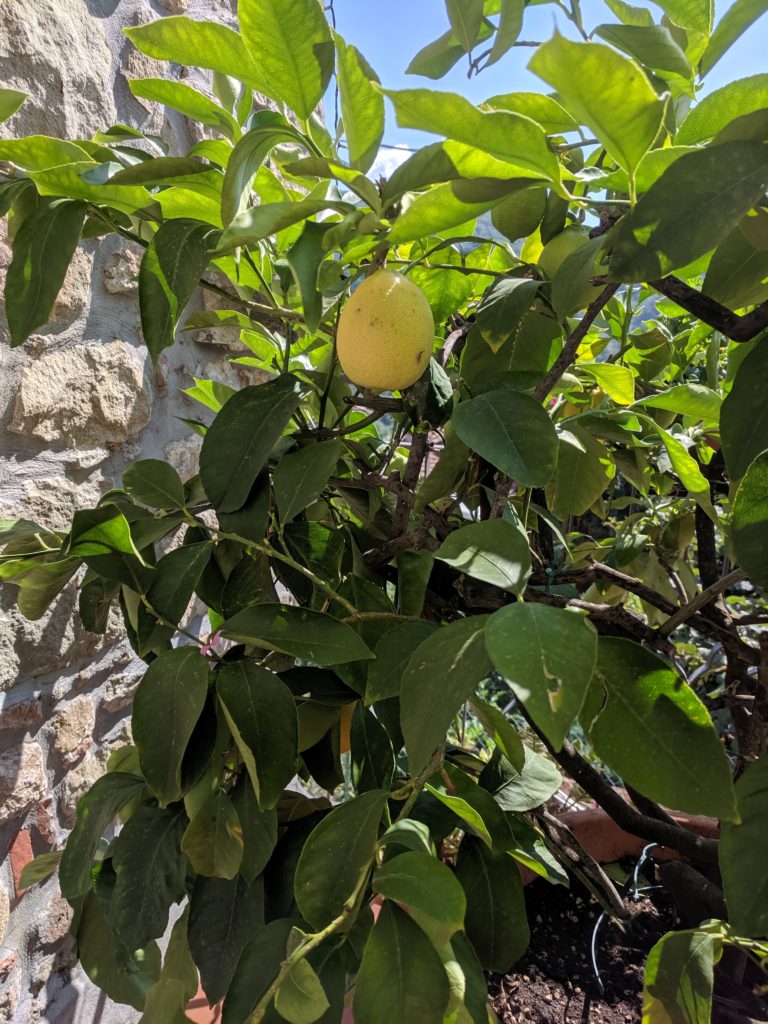
Italy is lavished with citrus, more so in Southern Italy than Northern Italy.  Even in Tuscany, though, families traditionally use a limonaia to winter-over lemon trees grown in pots.

Potted lemon trees at a house in the village of Benabbio in Tuscany.

Citrus fruits feature prominently in Italian cuisine, especially in Southern Italy.  Calabria is responsible for about 25% of the citrus fruit produced in Italy.


Join our mailing list and you’ll never miss a recipe again!


A very short list of Italian foods that contain, or are made from citrus includes the famous limoncello liqueur and its orange-based cousin, arancello; panettone that is traditionally made with candied citron; lemon sorbetto (sorbet); an array of marmalades and jams; candied citrus peels of various types eaten as sweetmeats, sometimes coated in chocolate, as well as diced and incorporated into cakes; citrus salads, including an amazing Sicilian salad of oranges, fennel, onions and black olives; and the endless dishes where lemon juice is the basis of a pan sauce or salad dressing or, in lesser quantities, perks up other flavors without making itself known.

A rustic limonaia at a home in the village of Benabbio in Tuscany. It may be simple but it works beautifully.

Bergamot, most of which (and certainly the highest quality) comes from Calabria, is the defining flavor of Earl Grey Tea.  It is also used in an array of cosmetics and fragrances.

Maestro Paolo Caridi teaching a class at the Italian Culinary Institute.

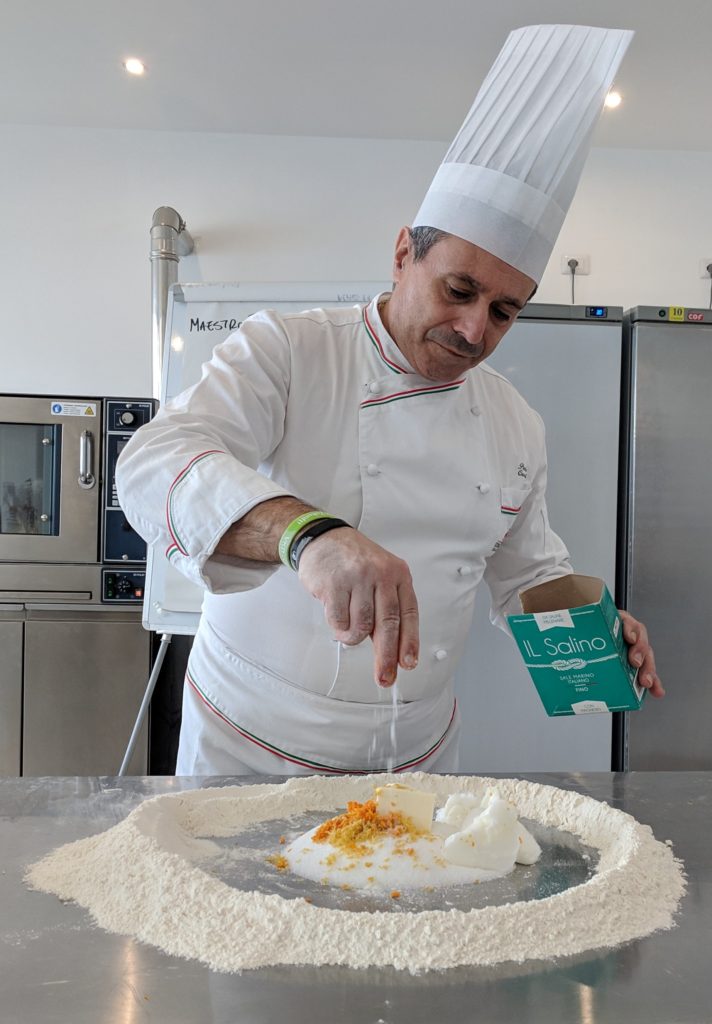
Bergamot is also one of several citrus fruits used by Maestro Paolo Caridi to concoct the scrumptious citrus flavoring he uses in some of his pastries.  I’m itching to find a source of bergamot, which I understand grows in Palm Springs, California, to make a batch, having gotten his formula when I studied at the Italian Culinary Institute.


Follow us on your social media platform of choice


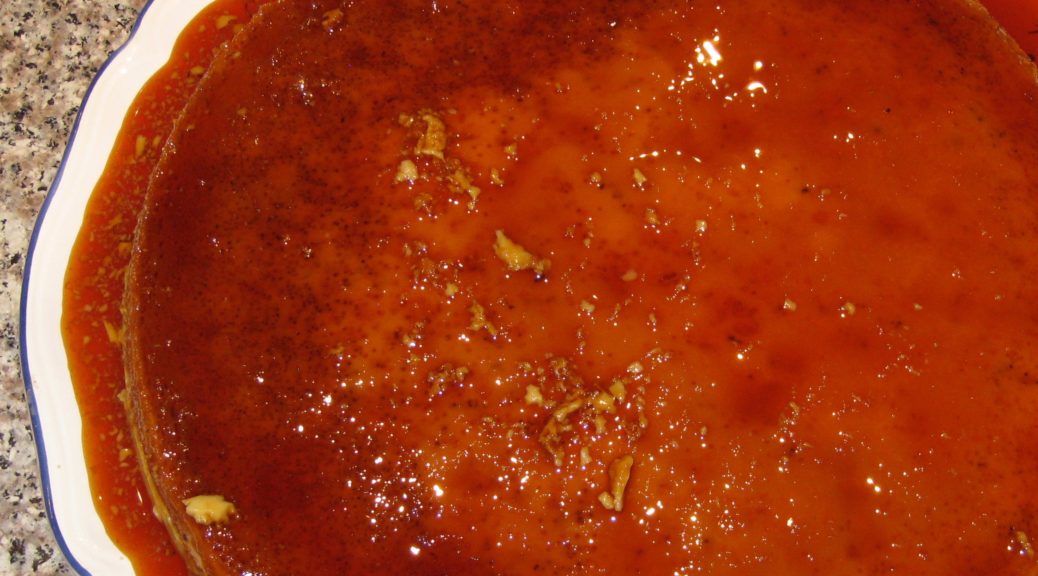
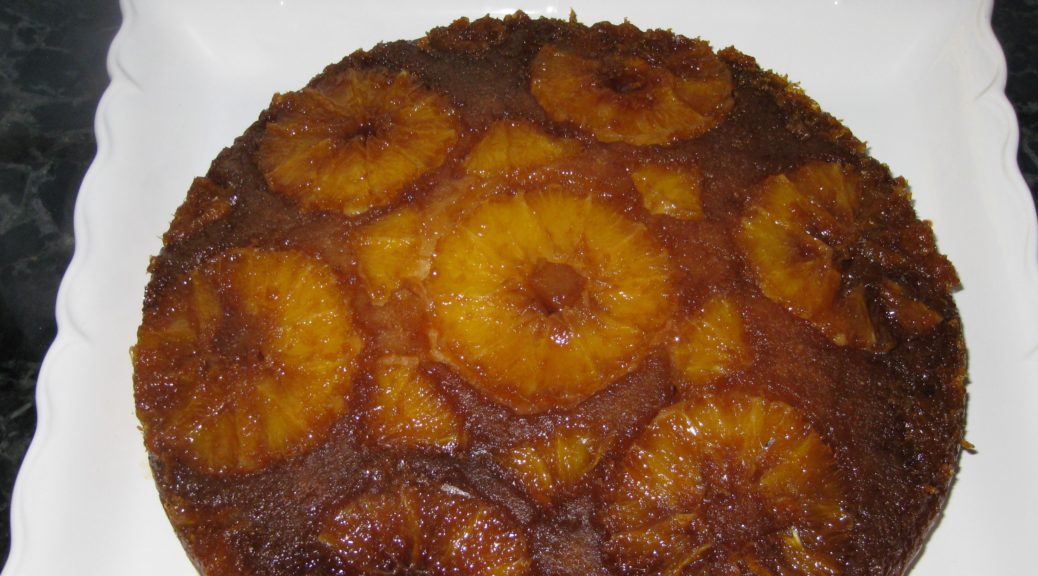
Being surrounded with citrus at our home in Palm Springs, I try to find ways to use the bounty.  It took me a while to come up with an orange cake (torta alle arance) that was everything I though an orange cake should be: a moist, not to sweet cake with a sturdy crumb and a distinct orange flavor.

A potted lemon tree on Great Aunt Fidalma’s terrace in Tuscany.

Print Recipe
Torta all'Arancia (Orange Polenta Upside-Down Cake)
Instead of cutting the oranges in slices, you can supreme them if you prefer the look of sections rather than slices. If possible, use the metric measures for the best results.
Votes: 0
Rating: 0
You:
Rate this recipe!
Cuisine Italian
Prep Time 45 minutes
Cook Time 1 hour
Passive Time 1 hour
Servings
people
Ingredients
Topping
Cake and Assembly
Cuisine Italian
Prep Time 45 minutes
Cook Time 1 hour
Passive Time 1 hour
Servings
people
Ingredients
Topping
Cake and Assembly
Votes: 0
Rating: 0
You:
Rate this recipe!
Instructions
Topping
  1. Grease a 10-inch x 2-inch circular cake pan with butter.
  2. Finely grate the zest of the three oranges without any of the white pith. A microplane grater work well. Reserve the zest and oranges separately.
  3. Combine brown sugar, butter, white sugar, and orange juice in a small pan. Heat, stirring frequently till butter is melted and sugar is dissolved. Raise heat and boil for 2 minutes, without stirring, until slightly thickened.
  4. Remove caramel syrup from the heat. Stir in the zest of three oranges. Pour the caramel on the bottom of the prepared pan. Allow to set for approximately 5 minutes, until cool.
  5. Meanwhile, slice the oranges approximately ¼ inch thick. Cut off all pith and rind. Remove the tough core from any slices that have it. Scissors work well for doing this.
  6. After the caramel has cooled for about 5 minutes, arrange orange slices over the caramel without overlapping. Cut slices as needed to fill in the larger gaps between the full slices.
Cake and Assembly
  1. Stir together the flour, cornmeal, baking powder and salt. Reserve.
  2. Beat the butter in an electric mixer until lightly creamed.
  3. Add the white sugar, then beat at high speed until light and fluffy, approximately 4 minutes.
  4. Add eggs, one at a time, beating on medium after each addition until the egg is combined.
  5. Mix in sour cream then vanilla and orange zest.
  6. With the mixer on low, add the flour mixture a little at a time and mix until almost combined. Finish mixing by hand.
  7. Spoon the batter over the orange slices in the prepared pa. Spread the batter and tap the pan to remove air bubbles.
  8. Bake at 350°F until a cake tester comes out clean, 50-55 minutes. Cool for 10 minutes in the pan.
  9. Using a knife, loosen the cake from the sides of the pan. Invert onto a serving dish. Cool completely.
Recipe Notes

Copyright © 2020 by Villa Sentieri, LLC. All rights reserved.

Share this Recipe

Bertha’s Flan

October 11, 2017

Bertha Kravicas left Lithuania in 1927 with her family. They were hoping to get to America but when the quota was full they went to the closest place they could.

They thought their sojourn in Cuba would be brief but as the months turned into years, Bertha made a trip back to the Old Country where she met Victor Ashman in Latvia.

They married and returned to live in Cuba in 1931. Over the years, they became Cubans in the way that immigrants to the United States become Americans no matter their background.

Bertha in Matanzas, Cuba in the 1940s

Victor even decided to run for public office. Because his name was not Cuban enough he officially changed it to Victor A. Larriga, in honor of his birthplace, Riga, Latvia.

One of the ways that Bertha adapted to her new country was through cooking.

Flan is made throughout the Spanish-speaking world but is especially popular in Cuba where it is the most common dessert. Flan is a source of family pride with each family believing that its flan is the best. (This sounds very familiar to me coming from a Southern Italian background where the same belief attaches to tomato sauce).

Flan recipes are passed down from generation to generation and fall into two general categories, those that contain canned milk and those that do not. Cubans smile approvingly when hearing that flan contains canned milk. After all, that’s how it should be!

Bertha’s flan is made entirely from canned milk; two kinds actually. That, and the generous amount of egg, makes a substantial flan.

After the Cuban Revolution Bertha and Victor took advantage of President Eisenhower’s offer for Cubans to immigrate to the United States. They arrived in late 1960 along with their son, Stuart.

Bertha and Victor on their Harley in the 1940s

Stuart is now the Executive Director of the Center for Contemporary Arts in Santa Fe. It was at a CCA event earlier this summer that I tasted this remarkable flan made by Stuart’s wife Peggy Gaustad. Peggy is now the flan maker in the family, having taken over from Stuart. For the CCA event, Peggy made flan for 100 people but she recalls once making it for 150!

Stuart remembers that as a child, when his mother would make flan, he would be given the empty can of condensed milk and a chopped up banana to sop up the last bit of sweetness!

This recipe is actually double Bertha’s original. It’s the way Peggy makes it because there never seems to be enough from the original.


Follow us


Click HERE to join our mailing list and you’ll never miss a recipe again!

Print Recipe
Bertha's Flan
Before caramelizing the sugar in the pan you’re going to use for the flan, put the empty pan inside of the larger one that you’re going to use for the water bath then add water to the large pan to come at least one inch up the side of the pan that will hold the flan. Remove the pan that you’ll use for the flan.
Votes: 0
Rating: 0
You:
Rate this recipe!
Cuisine Cuban
Prep Time 10 minutes
Cook Time 1 1/2 hours
Passive Time 30 minutes
Servings
people
Ingredients
Cuisine Cuban
Prep Time 10 minutes
Cook Time 1 1/2 hours
Passive Time 30 minutes
Servings
people
Ingredients
Votes: 0
Rating: 0
You:
Rate this recipe!
Instructions
  1. For the flan, choose a 12-inch diameter pan with straight sides that can be heated on the stove and put in the oven.
  2. Put enough water into a pan large enough to hold the pan with the flan so that the water comes one-inch up the sides of the pan with the flan.
  3. Put the sugar into the pan selected for the flan.
  4. Heat the pan with the sugar on medium heat until the sugar melts and turns dark brown. (A series of pictures follows showing the progression of the caramelization.)
  5. Do not stir the sugar or caramel. Simply swirl the pan from time to time to mix the caramel. Rotate the pan on the heat occasionally to reduce hot-spots.
  6. If the pan has a very heavy bottom, the retained heat will continue to brown the sugar off the heat. Stop caramelizing the sugar a little before you think it’s done otherwise it might burn. If it turns out that the caramel is not quite dark enough, you can heat the pan again briefly.
  7. Remove the pan from the heat and allow it to cool during which time the caramelized sugar will harden on the bottom.
  8. While the caramel is cooling, bring the water in the water bath to a simmer on the stovetop then put the pan into a 350°F oven.
  9. Meanwhile, combine the condensed milk, evaporated milk, eggs, vanilla extract, and salt. Mix well.
  10. When the caramel is hardened, pour the milk-egg mixture on top.
  11. Cover the pan tightly, either with foil or with a lid.
  12. Put the pan into the water bath in the 350°F oven.
  13. Bake for 1 hour 15 minutes at 350°F.
  14. A knife inserted in the center of the flan should come out clean. If not, cook a few minutes longer.
  15. Remove the flan from the oven and cool to room temperature.
  16. Refrigerate at least 8 hours. Overnight is best.
  17. When ready to serve, run a knife around the edge of the flan.
  18. Put a large platter upside down on top of the pan with the flan. Quickly flip the entire set-up over. The flan should come out of the pan in one piece. Pour any remaining caramel syrup onto the flan.
  19. Serve very cold.
Recipe Notes

Copyright © 2017 by VillaSentieri.com. All rights reserved.

Share this Recipe

Liquore al Lauro (Italian Bay Laurel Liqueur)

October 6, 2017

Making liqueurs at home is a time-honored Italian tradition. Limoncello is probably the most well-known but there are many others.

Many years ago at a now-shuttered artisanal Italian restaurant in the Andersonville neighborhood of Chicago I tasted house-made Liquore al Lauro, also referred to as Liquore Alloro.

I was hooked.

Every time I went to the restaurant, my meal ended with Liquore al Lauro.

Then the restaurant closed.

The Liquore al Lauro ended.

And I vowed to make it one day.

That day happened in late 2009 when our bay laurel plant was trimmed back for the winter. There was a pile of bay leaves on the kitchen counter. After I put a stash of them in the freezer for easy access during the winter (far, far better than dried!) I still had a pile that I couldn’t bear to discard.

Out came a book I bought on a previous trip to Italy with my in-laws. I think it’s the same trip where we brought back a copper polenta pot (which you can see in my Polenta post), a grape press, and a super-fancy (and super-heavy) brass faucet that is a gargoyle head with a sea-creature coming out of its mouth out of which the water comes, among other things.

The faucet was ultimately to be incorporated into a garden fountain. That hasn’t yet happened but I’m not giving up.

The book “How to Make Liqueurs at Home” (see the photo below) had a recipe for Liquore al Lauro.

It was an ill-fated first attempt, however. I was using California bay leaves instead of Mediterranean bay leaves. When cooking, recipes often specify using half the quantity of California bay as Mediterranean bay as they are more aromatic. I was prepared to dilute the liquore to determine the correct quantity of California bay leaves so that wasn’t the major issue.

The real issue is that after I put up three large batches of bay leaves to macerate in alcohol, one plain, one with cinnamon, and one with coffee beans, my company landed a consulting contract in the United Arab Emirates.

Late fall into winter 2009 became a whirlwind of activity culminating with my moving to Dubai in January 2010 for much of the year.

A view from my apartment looking out at the Arabian Gulf and the man-made Palm Jumeriah island with the Atlantis hotel in the distance
Another view from the apartment looking at part of Dubai Marina, a 7 kilometer long man-made waterway
An evening view from the apartment

Dubai Marina is a paradise for walkersThe bay leaves macerated for months upon months. When I finally got around to trying to finish the Liquore al Lauro the mixture had turned bitter from over-extraction.

I had to discard gallons of bay-infused alcohol.

A few years went by before I decided it was worth trying again.
This time, I reduced the bay leaves by half right up front and shortened the maceration to four days to avoid any chance of bitterness. I made plain and cinnamon-infused but have not, to date, gone back to the coffee bean experiment.

Because I want my recipes to be reproducible, I do my best to eliminate unnecessary variation. To that end, I weigh and measure ingredients precisely. For this recipe, I use a small metric scale that measures in hundredths of a gram (for the bay leaves and cinnamon), a large metric scale that measures in increments of one gram (for the sugar), and a graduated cylinder (for the water and alcohol). I can assure you that this does not happen in the average Italian household, nor does it need to happen in yours. The recipe app will convert the metric measures to US measures at the click of a button and I’ve provided an approximate count of bay leaves and inches of cinnamon stick that will work well.

The small scale that I use for precise weights

Follow us


Click HERE to join our mailing list and you’ll never miss a recipe again!

Print Recipe
Liquore al Lauro (Bay Leaf Liqueur)
Don’t be put off by the use of Everclear (or equivalent) the high proof is needed to extract the volatile oils in a reliable manner. The final liqueur ends up being about 63 proof, equivalent to most commercially produced liqueurs.
Votes: 1
Rating: 5
You:
Rate this recipe!
Course Beverages
Cuisine Italian
Prep Time 15 minutes
Passive Time 5 days
Servings
liters
Ingredients
Course Beverages
Cuisine Italian
Prep Time 15 minutes
Passive Time 5 days
Servings
liters
Ingredients
Votes: 1
Rating: 5
You:
Rate this recipe!
Instructions
  1. Wash the leaves in cool water and dry gently.
  2. In a jar with a tight-fitting lid that holds at least 2 quarts, combine the bay leaves, cinnamon (if using) and alcohol.
  3. Cover the jar and swirl.
  4. Put the jar in a cool spot out of direct sunlight for four days.
  5. Swirl the contents once or twice daily.
  6. On the third day, combine the sugar and water in a one-gallon jar (or other non-reactive container) with a tight-fitting lid.
  7. Swirl the sugar and water mixture every few hours throughout the day, until the sugar has dissolved. It can take up to 24 hours for the sugar to fully dissolve.
  8. On the fourth day, strain the bay-leaf-infused alcohol into the jar with the sugar water. The liquid may become cloudy but will become clear in about 24 hours with the occasional swirl.
  9. After 24 hours, ladle the liqueur into smaller bottles, such as empty liquor bottles.
  10. Seal tightly and store in a cool, dark place for one month before drinking.
  11. Serve chilled or over ice or at room temperature based on your preference.
Recipe Notes

Copyright © 2017 by VillaSentieri.com. All rights reserved.

Share this Recipe