
June 1, 2018
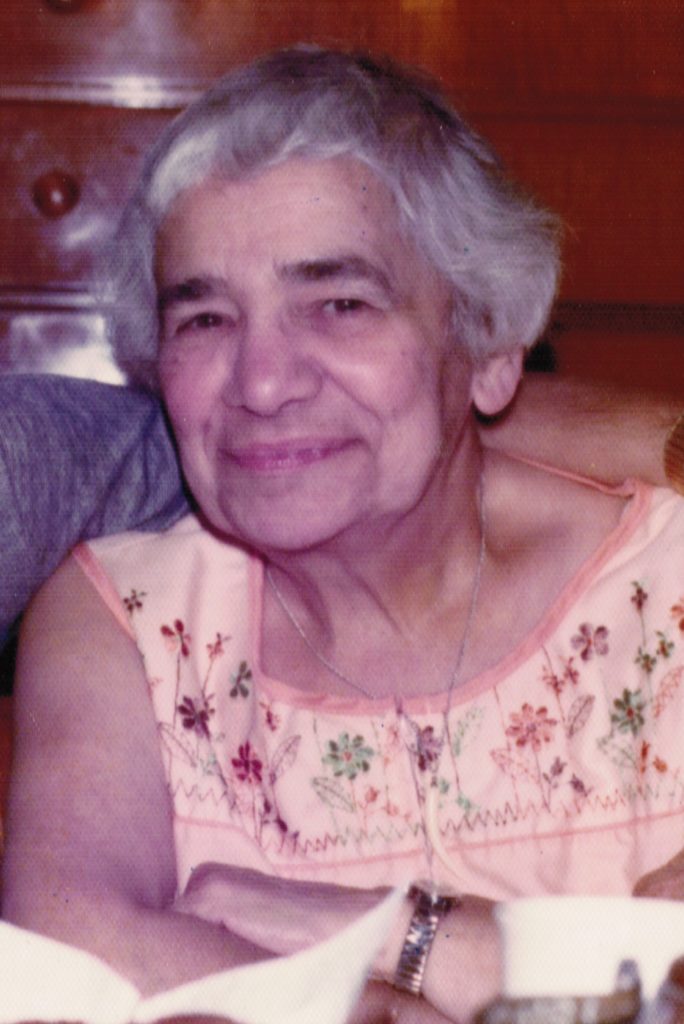
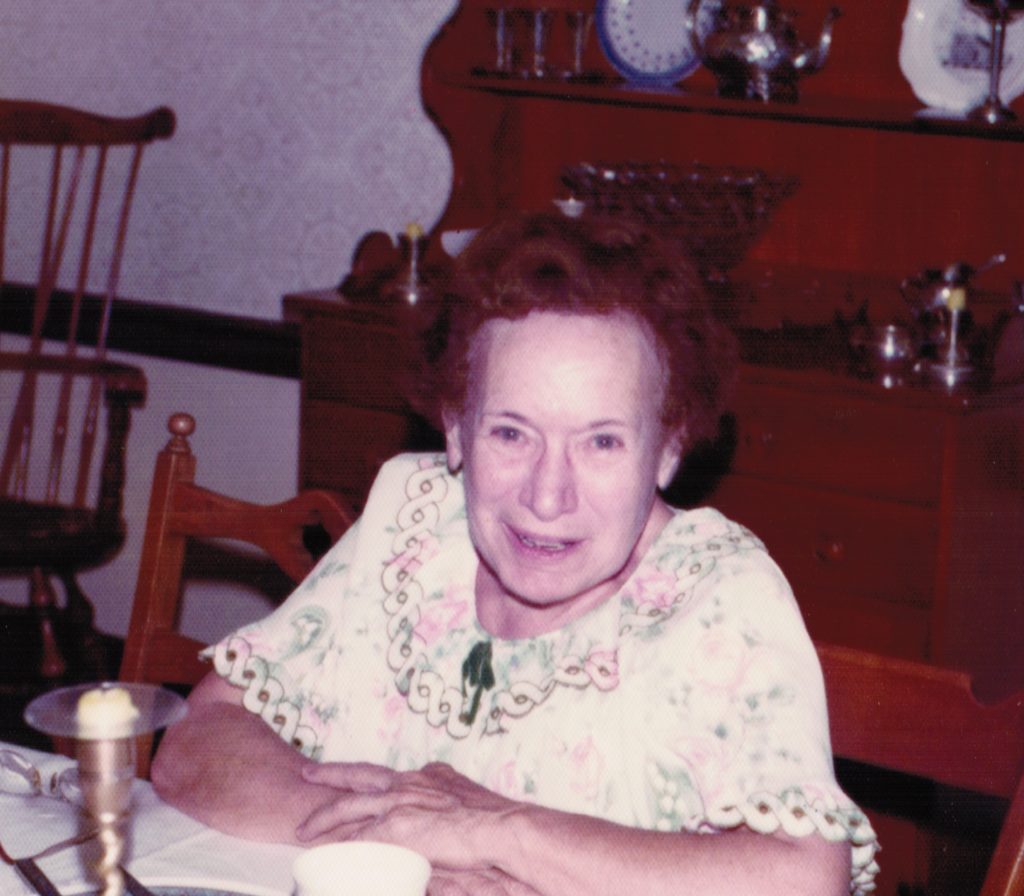
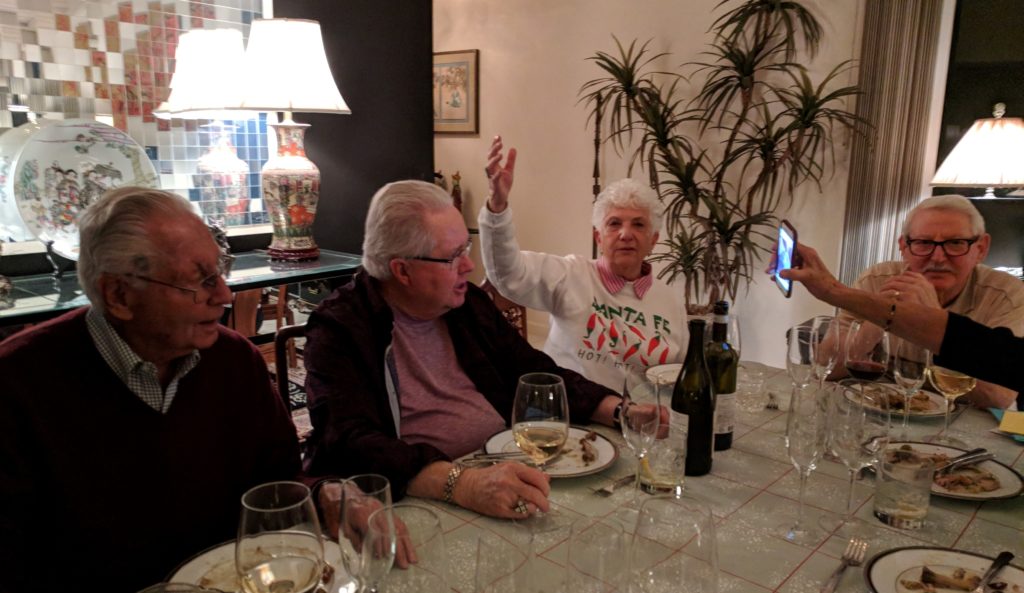
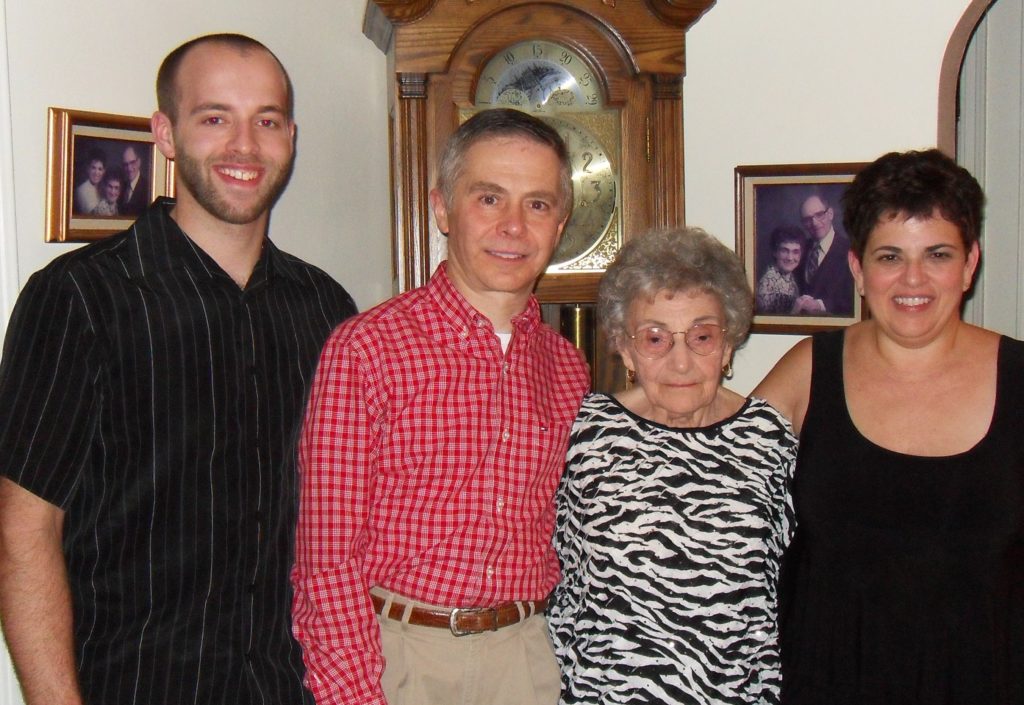
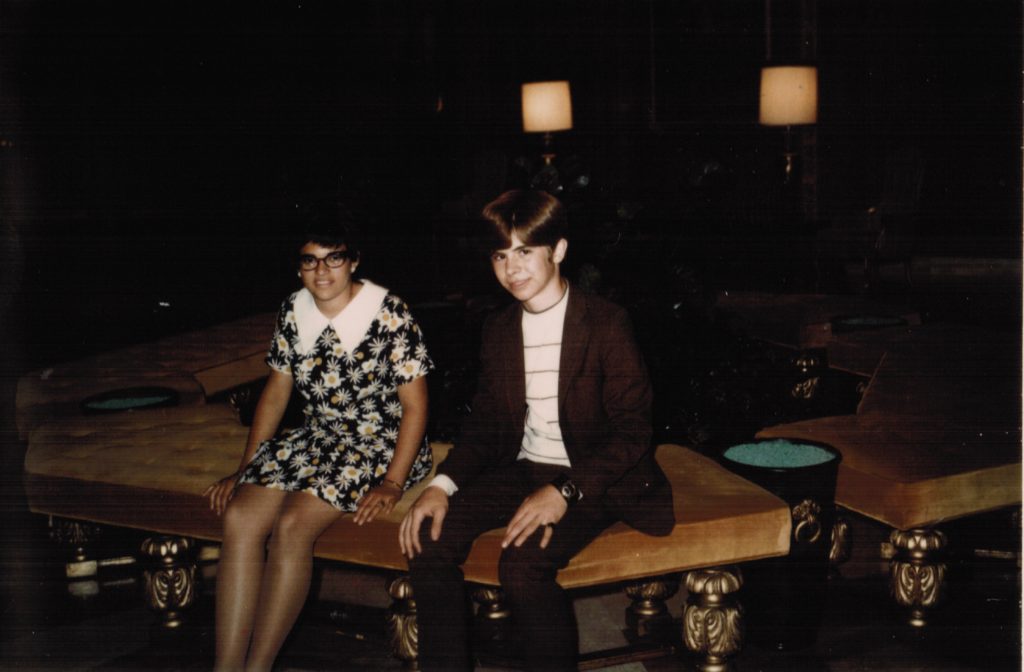
In my first year of medical school (I know that only because of the apartment that I was living in at the time) my parents and my Aunt Ann came to visit for a weekend. I’ve talked about Aunt Ann in previous blog posts, like this one that includes her recipe for Pineapple Cream Cheese Pie. She was married to my father’s brother, Jano.
As often happened with my mother, the conversations frequently veered to food. On this occasion, for some reason, my Aunt Mary’s baked beans.
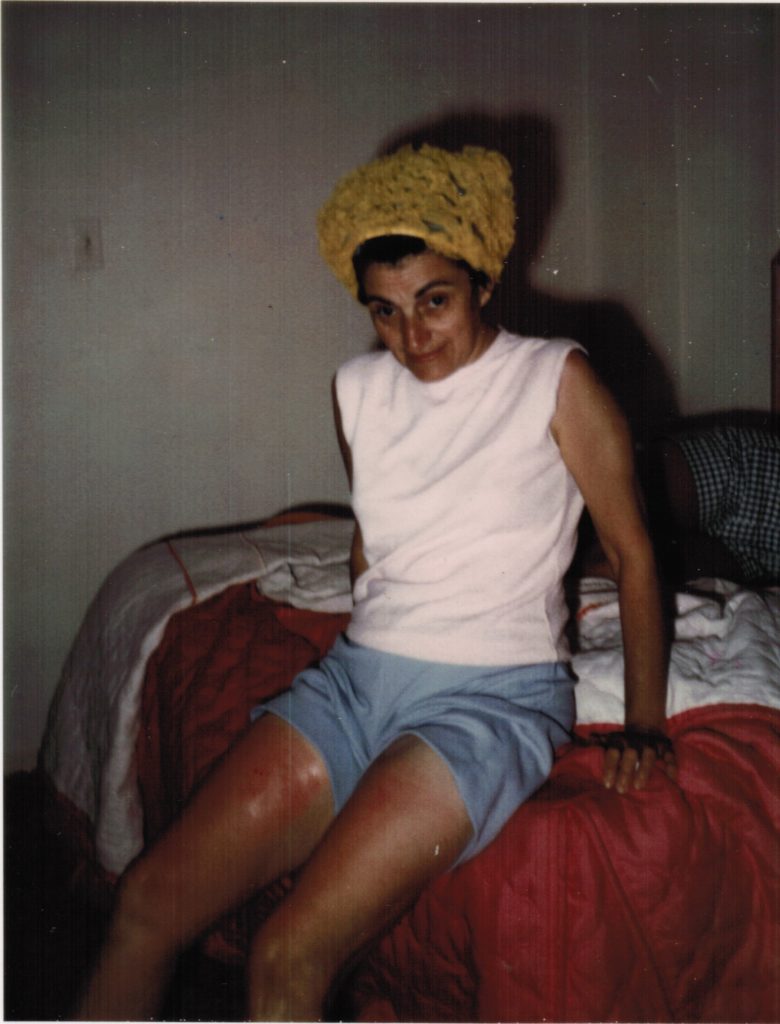
Aunt Mary was really my mother’s Aunt Mary by marriage. She was my Great Aunt Mary. Actually, by the time I knew her, she wasn’t really my aunt, great or otherwise, because she and my mother’s Uncle Derp had gotten divorced. Nonetheless, we all still called her Aunt Mary. Well, really, due to some bizarre twist, we called her Aunt Mary Derp if we were referring to her in a conversation and it wasn’t otherwise clear which of the several Aunt Marys in the family was the one we meant. Why we appended the name of her ex-husband to hers rather than using her last name, I’ll never know!!
Join our mailing list and you’ll never miss a recipe again!
In any case, my parents both talked about Aunt Mary’s baked beans. They recalled that she baked them overnight. My mother came up with a reasonable facsimile of what went into the beans.
We tried to do the initial boiling of the beans in a slow cooker while we went out for the day. That was a failure. On the low setting, the beans were still hard after hours and hours of cooking. That got remedied by a quick boil on the stove.
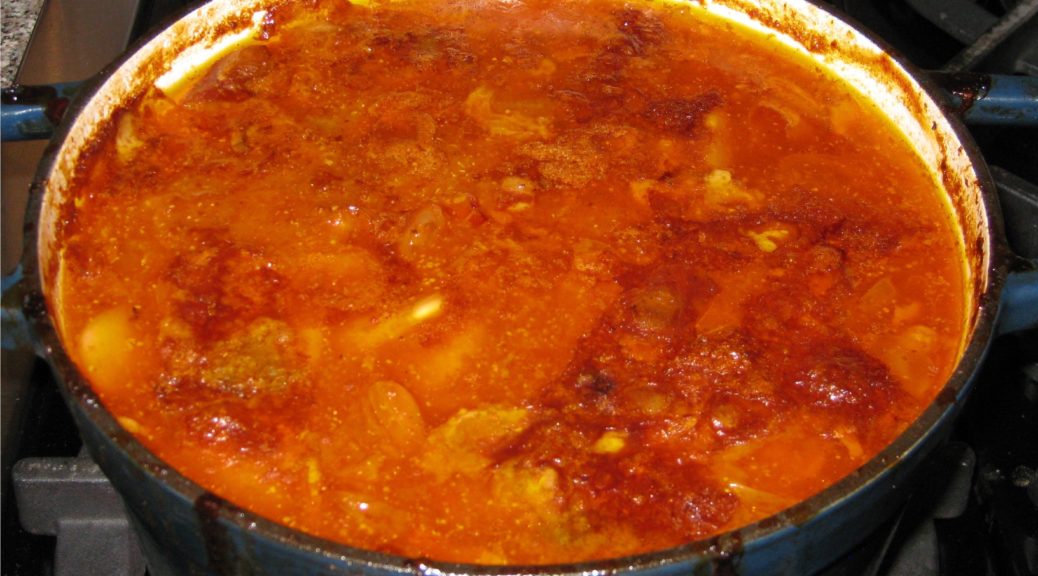
We took the par-boiled beans and mixed them with all the other ingredients and put them in the oven overnight. That was failure number two, but one we couldn’t recover from. The long cooking period created a burnt taste in the beans given the high sugar content. The beans hadn’t actually dried out but they must have gotten hot enough to start caramelizing the sugar. The road from caramel to burnt isn’t long. Unless one doesn’t get more than six hours sleep, we discovered that it wasn’t ideal to bake the beans overnight!
Eventually, I figured it out. The recipe for my version of Aunt Mary’s Baked Beans now sits proudly on the hard drive of my computer along with two recipes of my own development. I also have this great hack for doctoring canned baked beans that I learned from my cousin Shirley (it always generates requests for the recipe that I artfully dodge) but that isn’t actually written down anywhere.
Follow us on your social media platform of choice
![]()
![]()
![]()
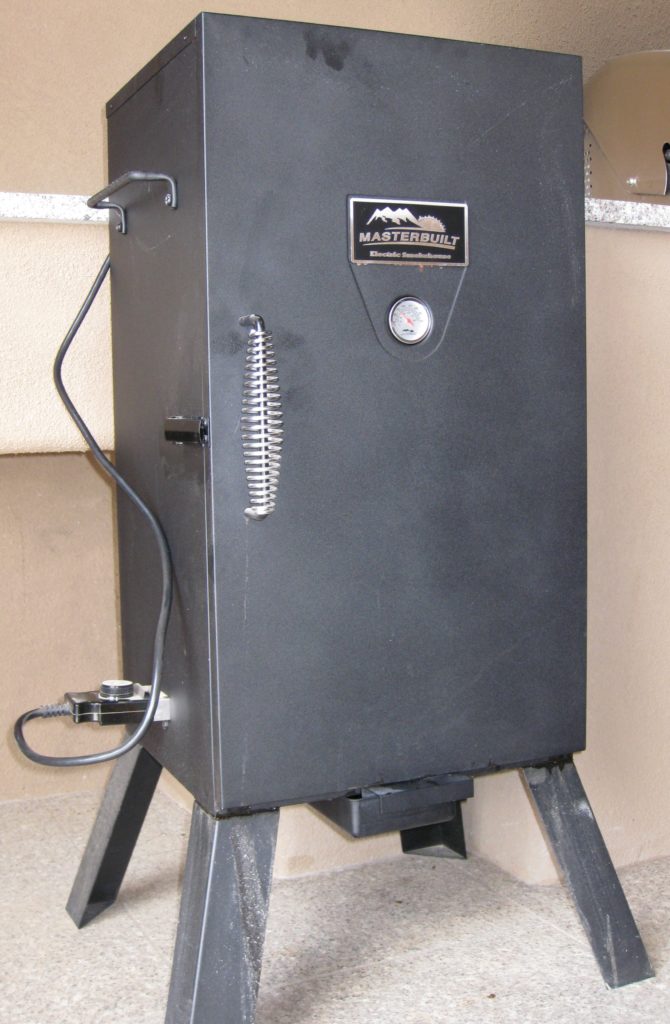
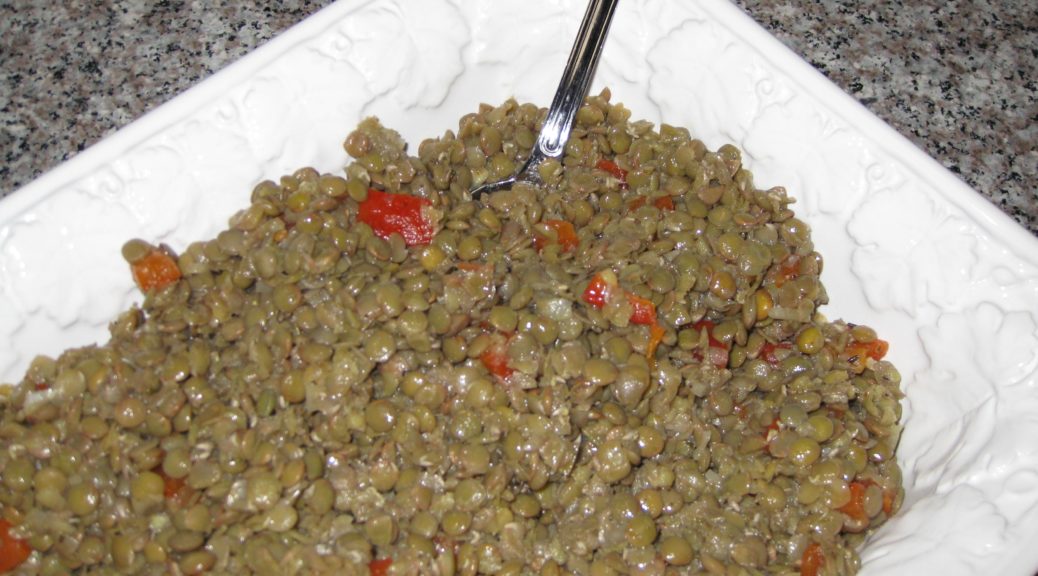
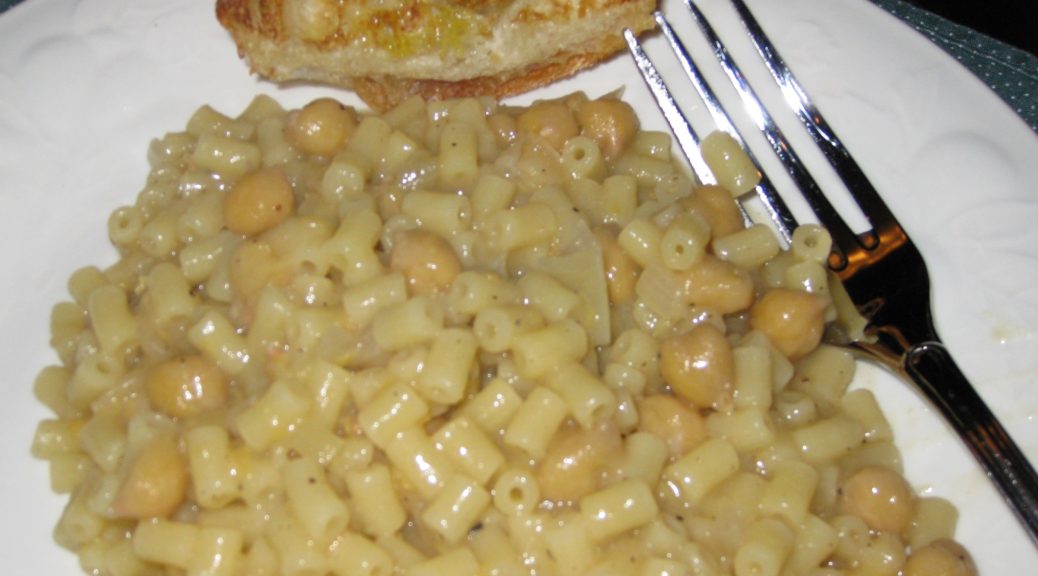
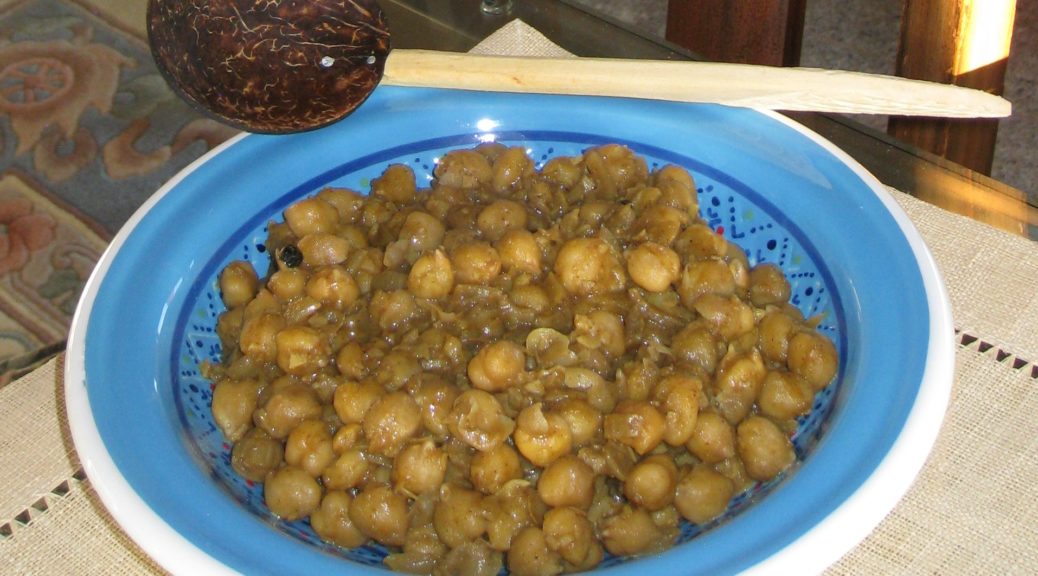
Today, we’re going to focus on my recipe for baked beans cooked in a smoker. I’ll also share a trick for making these in the oven if you don’t have a smoker.
When I make these, I put them on the bottom rack of my smoker, uncovered, with meat on the racks above. Meat juices drip into the beans making them extra tasty! The high humidity in the smoker keeps the uncovered beans from drying out.

| Prep Time | 30 minutes |
| Cook Time | 8 hours |
| Passive Time | 12 hours |
| Servings |
people
|
- 1 pound dried baby lima beans
- 1 1/2 tablespoons fine salt optional
- 2 quarts water for soaking the beans
- 1/2 pound bacon chopped
- 1 medium onion finely diced
- 4 cloves garlic minced
- 6 cups water for cooking the beans
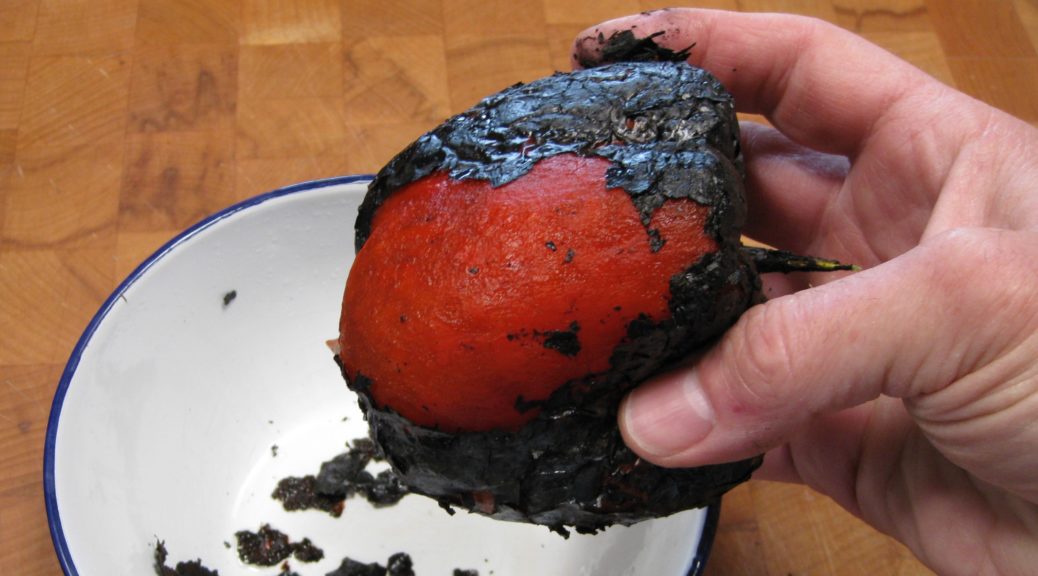
- 1 small red Bell pepper
- 1 dried chipotle pepper optional
- 2 bay leaves preferably fresh
- 2/3 cup ketchup
- 1/2 cup white wine
- 1/4 cup ¼brown sugar
- 1 teaspoon Worcestershire sauce
- 2 teaspoons prepared mustard such as Gulden's brown mustard
- 2 teaspoons salt
- 2 teaspoons black pepper
Ingredients
|
|
- Wash and pick over the beans.
- Dissolve 1 ½ tablespoons salt, if using, in 2 quarts of water. Add the beans.
- Soak the beans for about 12 hours in the refrigerator.
- Drain and rinse the beans.
- Coarsely chop the red Bell pepper.

- In a blender jar, combine the Bell pepper with some of the 6 cups of water.

- Puree the Bell pepper.

- Add the chipotle pepper, if using, and puree again. Reserve the pepper puree.
- Sauté the bacon until golden.

- Add the onion and sauté until soft.

- Add the garlic and sauté until fragrant.
- Add the drained beans, pepper puree, remaining water, and bay leaves.

- Gently boil, partially covered until almost tender (1 to 2 hours). Add water from time to time if needed. The beans should be just barely covered with liquid at the end.
- Combine the ketchup, white wine, brown sugar, Worcestershire sauce, mustard, salt and black pepper.

- Stir the ketchup mixture into the cooked beans.

- Return to a simmer on the stovetop then bake (uncovered if using a smoker or covered if using the oven) at 225°F for six hours, stirring once or twice.

Copyright © 2018 by Villa Sentieri, LLC. All rights reserved.


")
")

")
")
")
")
")
")
")
")
")
")

")
")


")
")
")
")
")
")
")
")
")


")
")
")
")
")
")
")


")
")
")
")
")
")
")
")
")

")
")
")
")
")
")
")
")
")
")


")
")
")
")
")
")
")
")
")
")
")
")
")
")
")