March 19, 2018
I didn’t grow up with a tradition of curing meats at home. There was a long tradition of homemade hot Italian sausage headed up by Uncle Joe Medile but no meat curing.
I started curing meats in medical school. These were wet-cured products, corned beef and pickled pork. I used them primarily to make West Indian food which was a significant part of my repertory at the time.
I bought myself a container of salt peter (sodium nitrate) and mixed my cures from old recipes. The use of salt peter is no longer permitted commercially for wet cures and only as a minor addition to a cure containing sodium nitrite for meats that require a long, dry cure. Wet cures are now made with sodium nitrite only.
Follow us on your social media platform of choice
During a long, dry cure, the sodium nitrate breaks down into sodium nitrite, acting like a time-release curing agent.
I frequently had two large containers of wet cure in my kitchen, one for beef and one for pork. Refrigeration wasn’t necessary, which was a good thing, because I didn’t have lots of extra refrigerator space as a medical student.
Because of the small quantities of nitrates and nitrites used to cure meat, it is much easier to buy curing salt that consists mostly of table salt with appropriate amounts of curing salt mixed in. Prague Powder #1 is a mixture of salt and sodium nitrite. It is used for wet curing and for dry curing that doesn’t extend for weeks. Prague Powder #2 is salt with both sodium nitrite and sodium nitrate. It is used for dry curing. Prague Powders are always colored pink to differentiate them from ordinary salt.
After my first year of medical school my meat curing came to an end as I was involved in much more demanding clinical rotations and then ultimately internship and residency.
Click HERE to join our mailing list and you’ll never miss a recipe again!
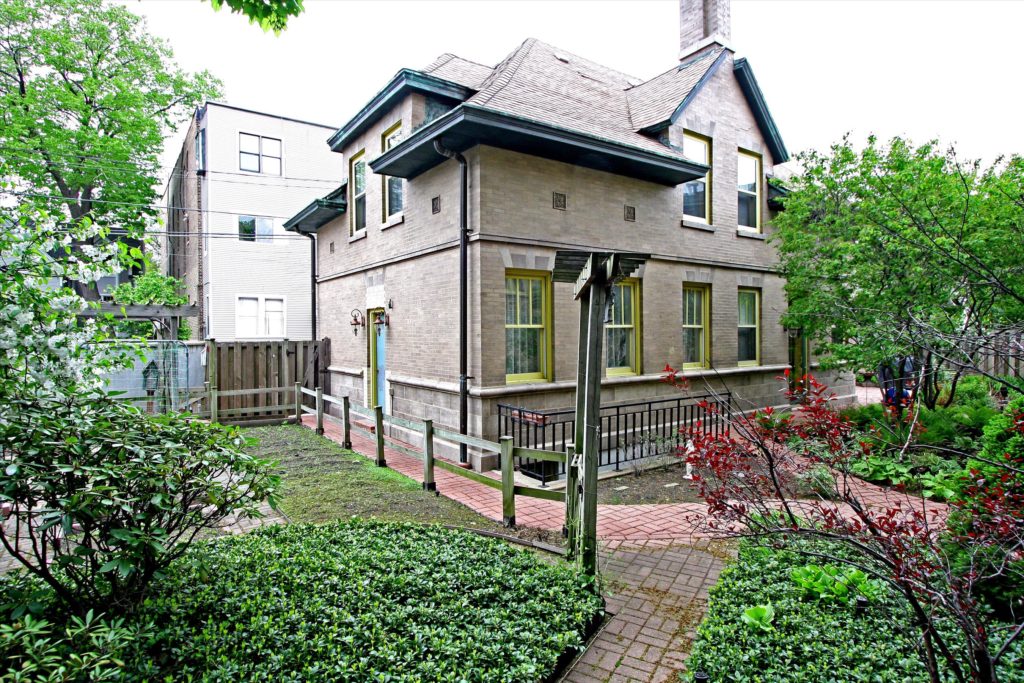
Though I occasionally made Italian sausage, I didn’t start curing meats again until around 2000 when we had a temperature and humidity controlled wine cellar at The Henry Rohkam House, our home in Chicago.

It actually started innocently enough. When she heard about our wine cellar, Aunt Margie (my mother’s sister and Uncle Joe’s wife) asked me if I was going to make salami. I hadn’t thought about it until that point but it seemed clear to me that she had memories of “the old Italian guys,” perhaps even her father, making salami and curing it in their wine cellars.
For several years, I made different types of cured salumi including Calabrese salami and pepperoni.
It was fun, and really pretty easy. It was also rewarding to slice up one’s own homemade salami for an antipasto platter when company arrived.

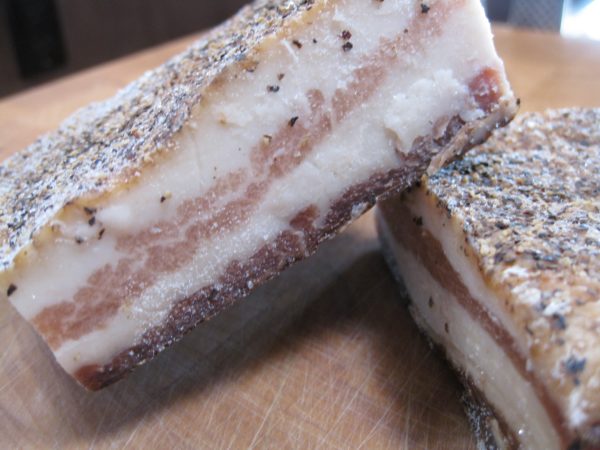
Although we have a temperature and humidity controlled wine cellar at Villa Sentieri in Santa Fe, I haven’t made salami since moving there full time in 2012. I have, however, made pancetta. In fact, for a number of years now the only pancetta that I’ve used has been my own home-cured version.

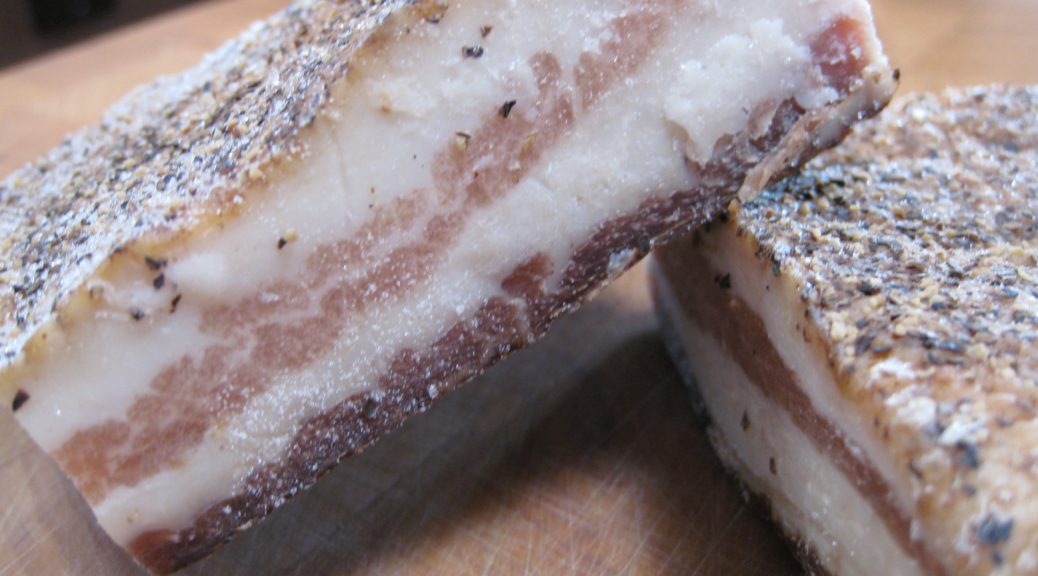
It’s even easier than making salami. You just weigh out the ingredients, rub them on a slab of pork belly and refrigerate it. There is no grinding of meat and stuffing of casings. Although it takes several months to turn pork belly into pancetta, the actual active time can’t amount to more than 30 minutes over the entire time period, and most of that is the initial step of weighing out the ingredients and rubbing them on the meat.
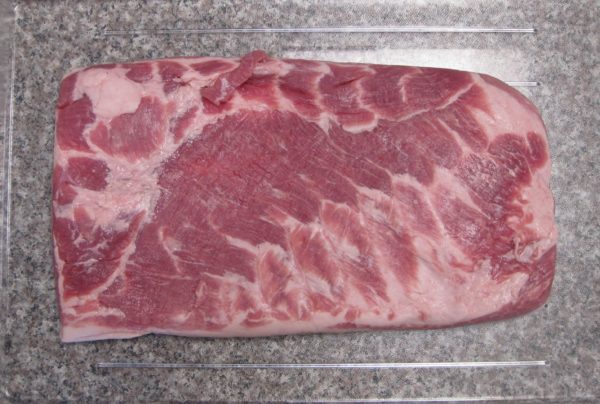
Although I now buy about an eight-pound piece of pork belly when making pancetta, I started making pancetta with one-pound pieces from my butcher. If you’re at all inclined to try home curing meat, a small quantity of pancetta is a great place to start.
If you have a favorite family recipe and a bit of a story to tell, please email me at santafecook@villasentieri.com and we can discuss including it in the blog. I am expanding the scope of my blog to include traditional recipes from around the country and around the world. If you haven’t seen Bertha’s Flan or Melinda’s Drunken Prunes, take a look. They will give you an idea of what I’m looking for.
| Prep Time | 30 minutes |
| Passive Time | 5 weeks |
| Servings |
variable
|
- 450 g pork belly approximately 1 pound
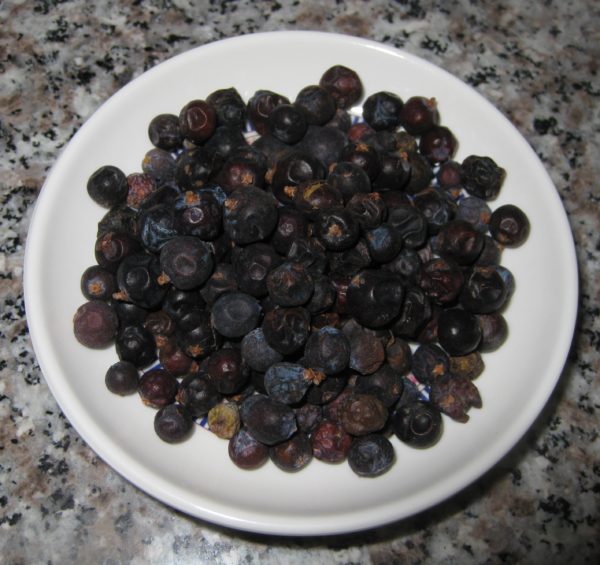
- 2 g juniper berries
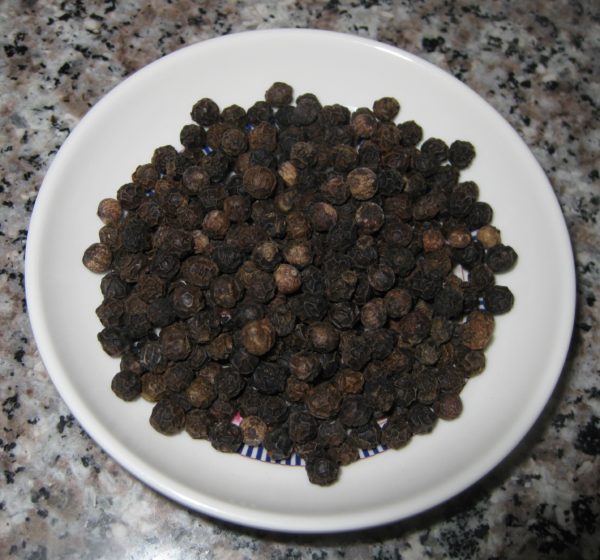
- 2 g black peppercorns
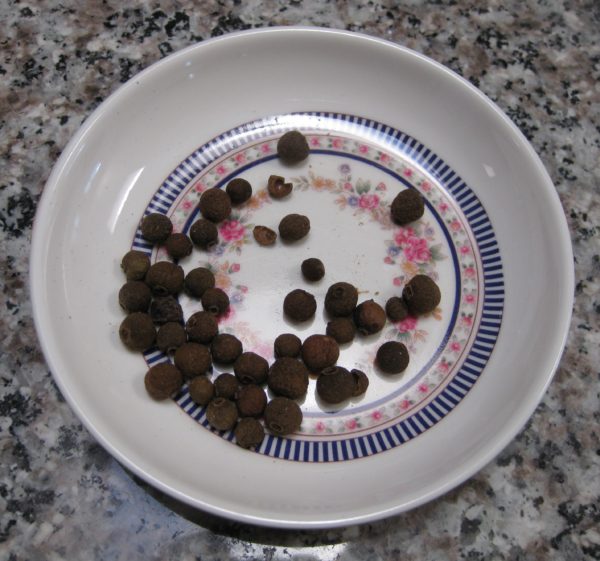
- 0.25 g allspice berries
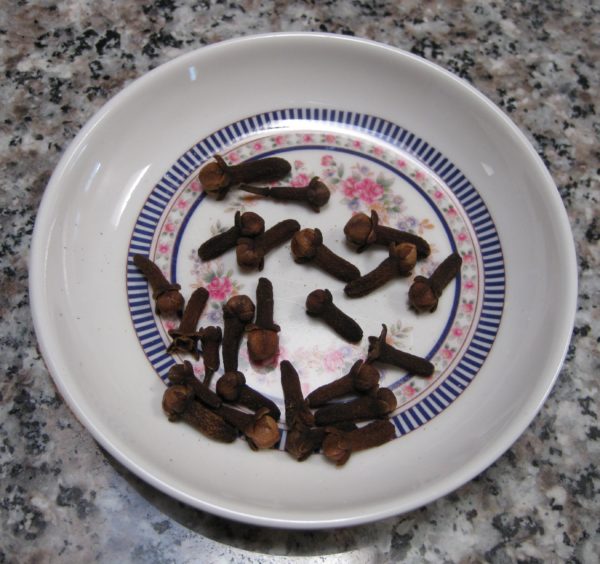
- 0.25 g cloves
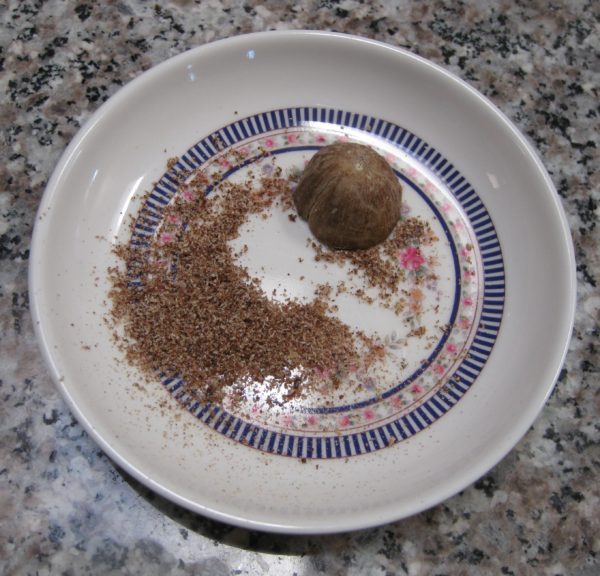
- 0.25 g nutmeg grated
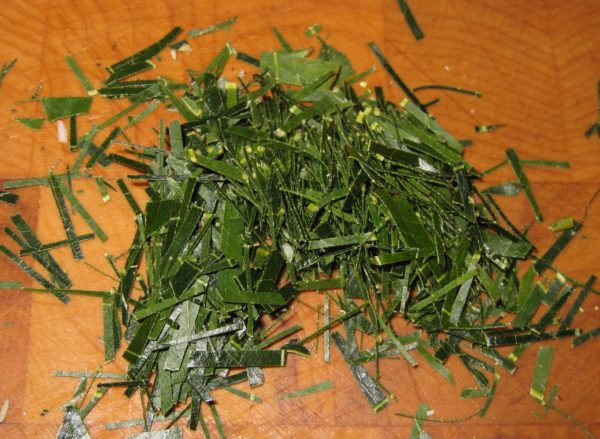
- in ½ fresh bay leaf cuthalf lengthwise and shredded with a knife
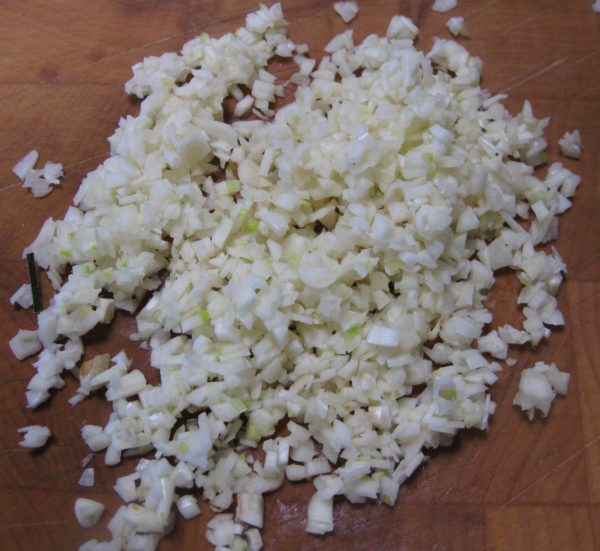
- 1 clove garlic minced
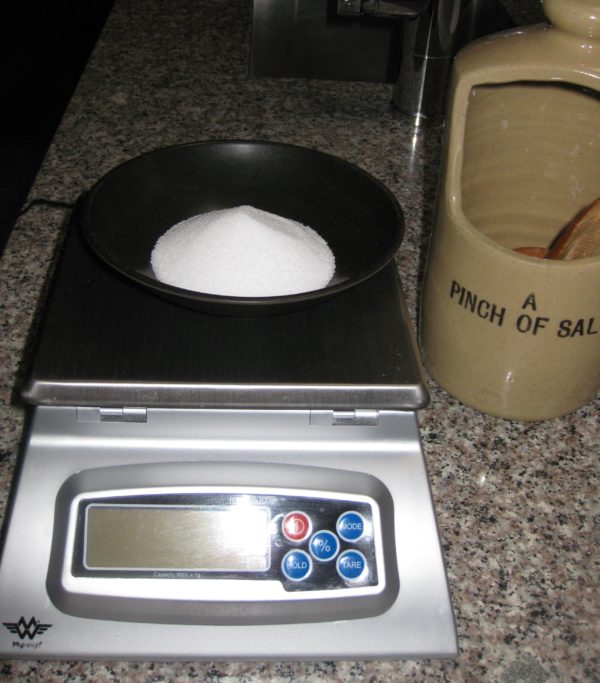
- 13.5 g canning and pickling salt
- 7.65 g Prague Powder #2
- black pepper coarsely ground for finishing
Ingredients
|

|
- Weigh out the ingredients, increasing the amount in proportion to the weight of the pork belly.
- Finely grind the juniper berries, peppercorns, allspice, and cloves in a mortar or small electric coffee grinder.
- Juniper berries
- Black peppercorns
- Allspice berries
- Cloves
- Combine the ground spices with the nutmeg, shredded bay leaf, garlic, salt and Prague Powder #2.
- Bay leaf
- Garlic
- Canning and pickling salt
- Prague Powder #2
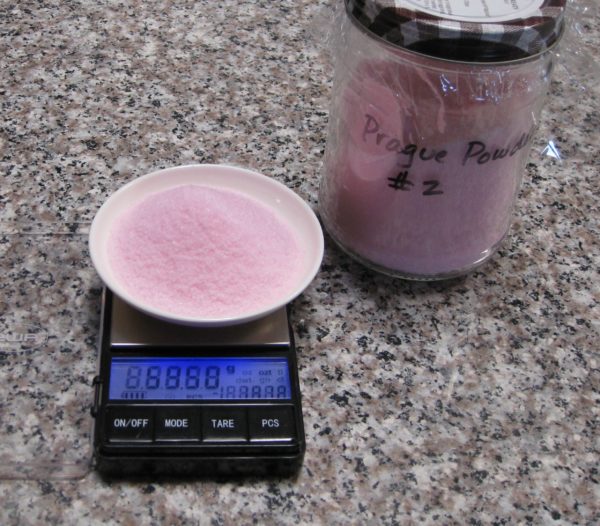
- Mix well.
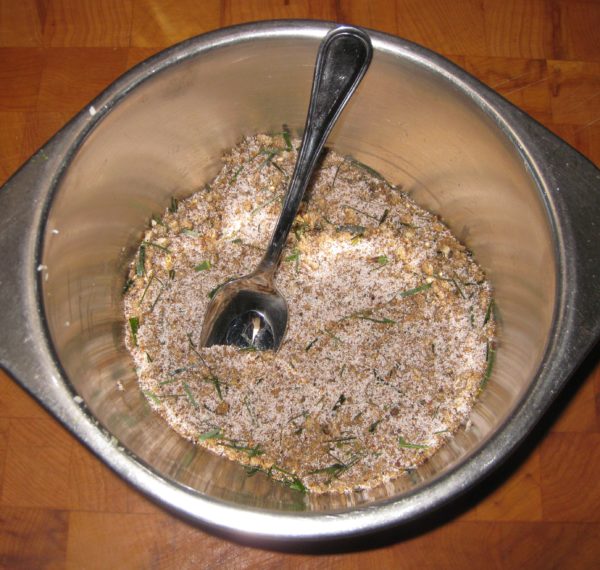
- Place the pork belly in a non-reactive container with a tight-fitting cover.

- Rub the cure over the meat, massaging it in.
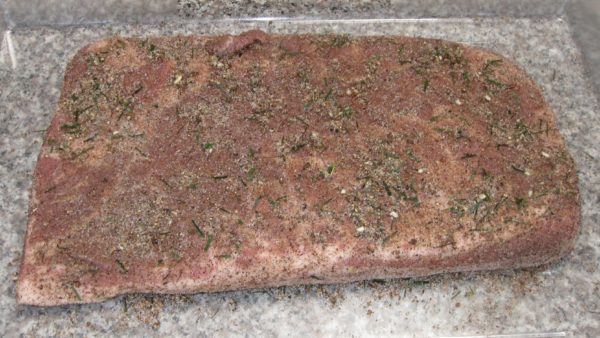
- Refrigerate the pork belly, tightly covered, turning every 2-3 days for 7-10 days, until it is of a uniform firmness. Some liquid will leach out of the pork.
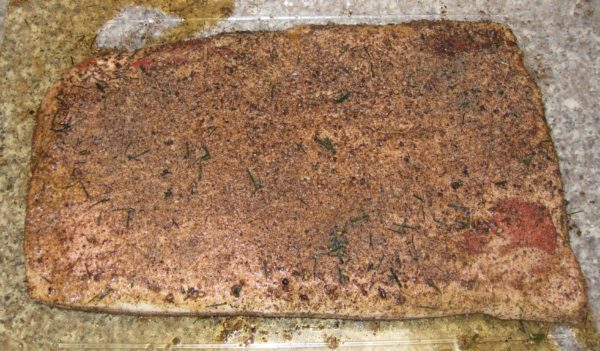
- Rinse the cured pork belly to remove excess cure.
- Pat the cured pork belly dry.
- Season the pancetta with a generous amount of coarsely ground black peppercorns.
- Weigh the cured pork belly and write down the weight and the date.
- Put the cured pork belly fat side up on a non-reactive rack over a shallow tray and refrigerate, uncovered, until it loses 20-25% of its weight, approximately 4 weeks.
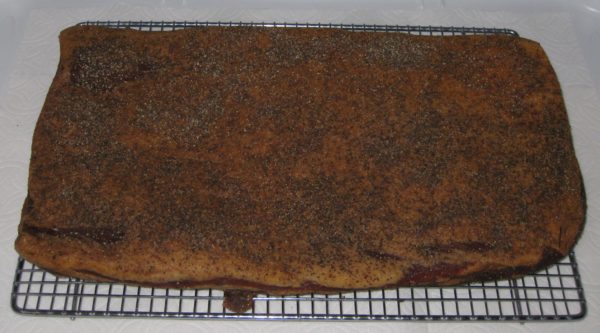
- Wrap it tightly in plastic wrap and refrigerate approximately one week to allow it to evenly hydrate. Even so, the edges will be drier than the middle.
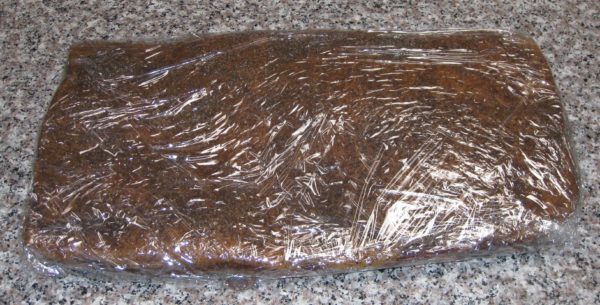
- If you are not using the pancetta within a few weeks, cut it into pieces and freeze, tightly wrapped.

Copyright © 2018 by VillaSentieri.com. All rights reserved.

