Torta all’Arancia (Orange Polenta Upside-Down Cake)

March 4, 2020

Italy is lavished with citrus, more so in Southern Italy than Northern Italy.  Even in Tuscany, though, families traditionally use a limonaia to winter-over lemon trees grown in pots.
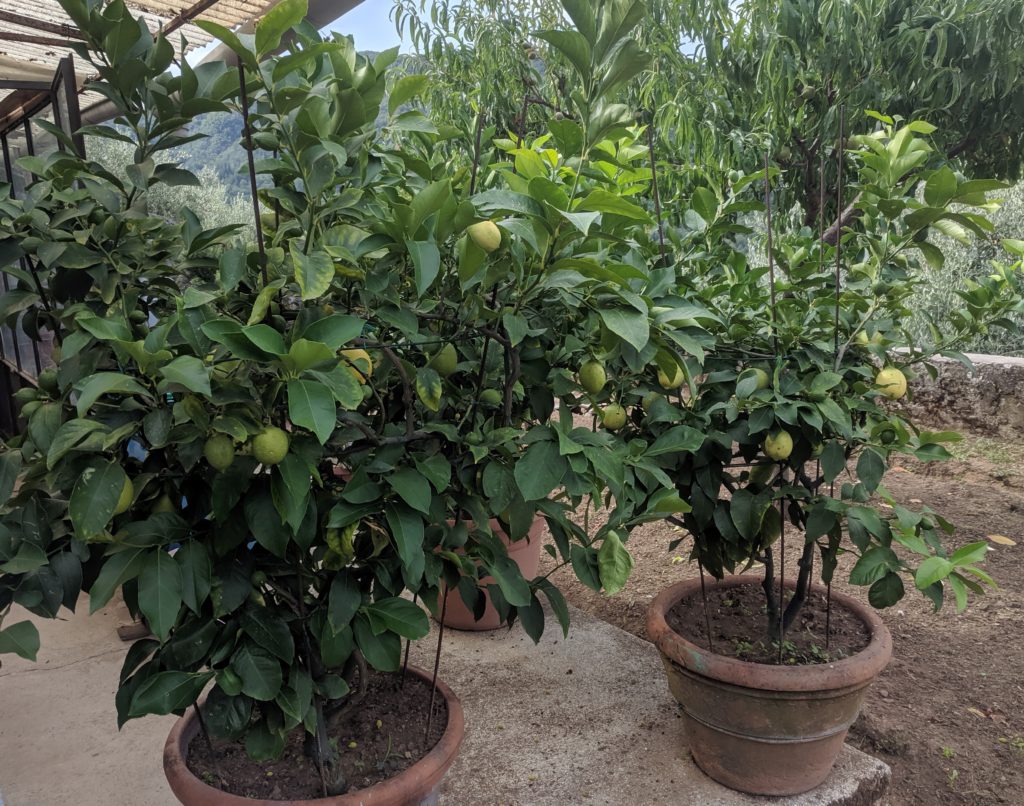
Potted lemon trees at a house in the village of Benabbio in Tuscany.

Citrus fruits feature prominently in Italian cuisine, especially in Southern Italy.  Calabria is responsible for about 25% of the citrus fruit produced in Italy.


Join our mailing list and you’ll never miss a recipe again!


A very short list of Italian foods that contain, or are made from citrus includes the famous limoncello liqueur and its orange-based cousin, arancello; panettone that is traditionally made with candied citron; lemon sorbetto (sorbet); an array of marmalades and jams; candied citrus peels of various types eaten as sweetmeats, sometimes coated in chocolate, as well as diced and incorporated into cakes; citrus salads, including an amazing Sicilian salad of oranges, fennel, onions and black olives; and the endless dishes where lemon juice is the basis of a pan sauce or salad dressing or, in lesser quantities, perks up other flavors without making itself known.
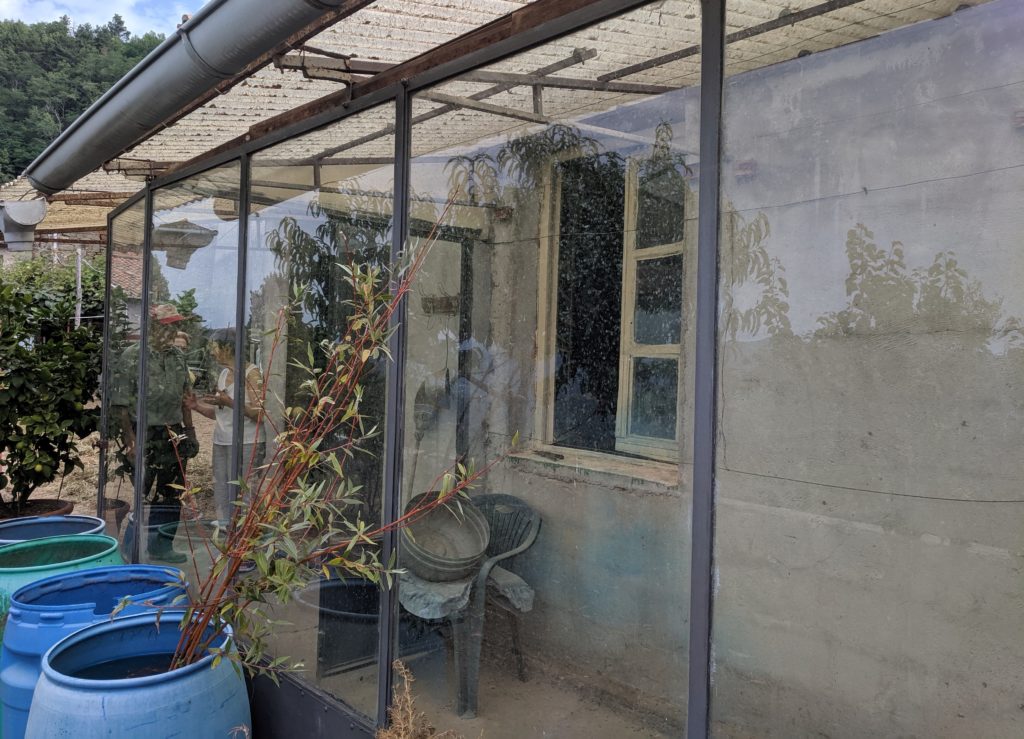
A rustic limonaia at a home in the village of Benabbio in Tuscany. It may be simple but it works beautifully.

Bergamot, most of which (and certainly the highest quality) comes from Calabria, is the defining flavor of Earl Grey Tea.  It is also used in an array of cosmetics and fragrances.
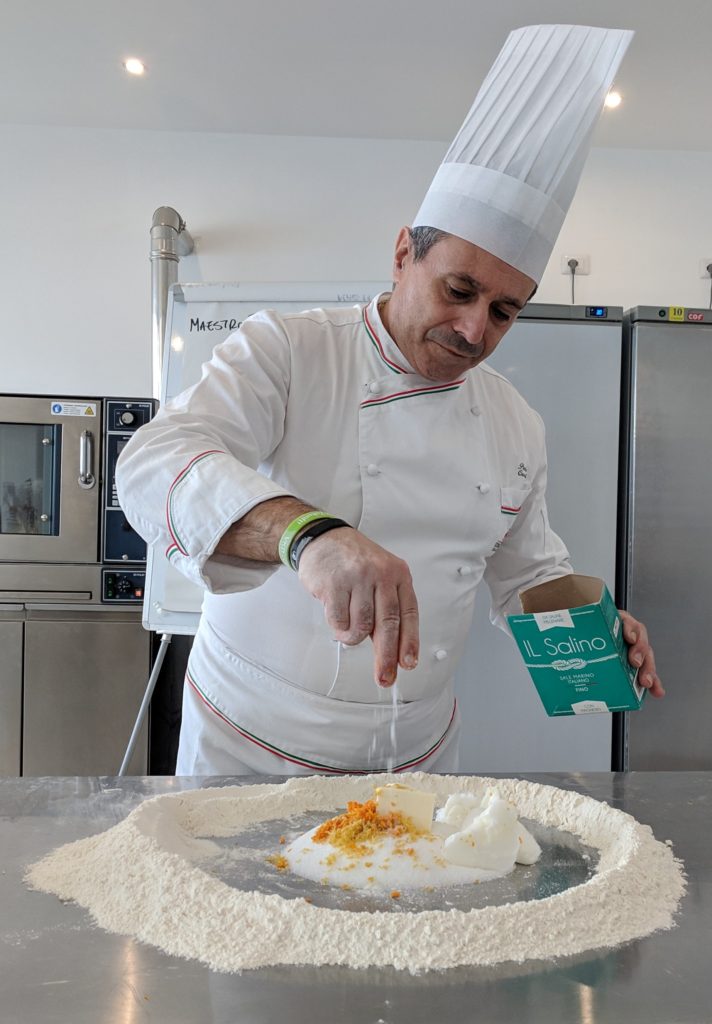
Maestro Paolo Caridi teaching a class at the Italian Culinary Institute.

Bergamot is also one of several citrus fruits used by Maestro Paolo Caridi to concoct the scrumptious citrus flavoring he uses in some of his pastries.  I’m itching to find a source of bergamot, which I understand grows in Palm Springs, California, to make a batch, having gotten his formula when I studied at the Italian Culinary Institute.


Follow us on your social media platform of choice


Being surrounded with citrus at our home in Palm Springs, I try to find ways to use the bounty.  It took me a while to come up with an orange cake (torta alle arance) that was everything I though an orange cake should be: a moist, not to sweet cake with a sturdy crumb and a distinct orange flavor.
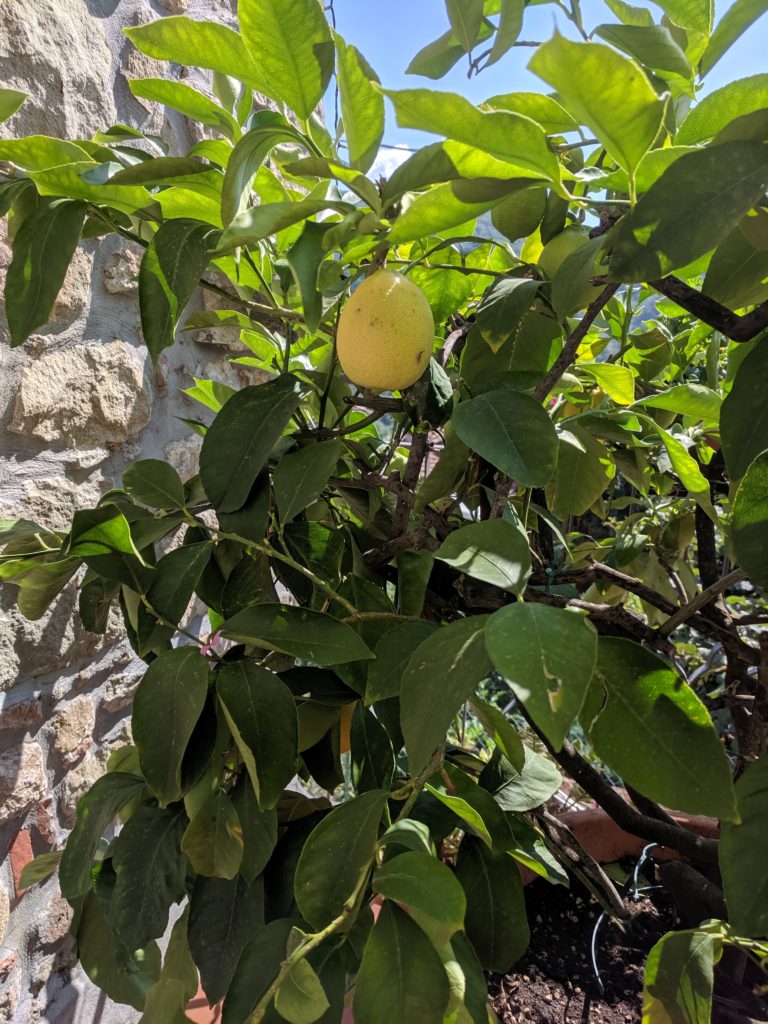
A potted lemon tree on Great Aunt Fidalma’s terrace in Tuscany.

Print Recipe
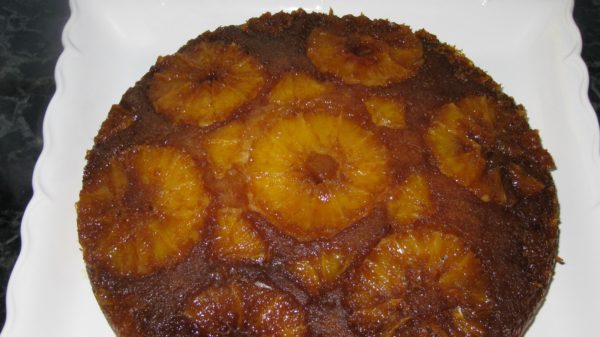
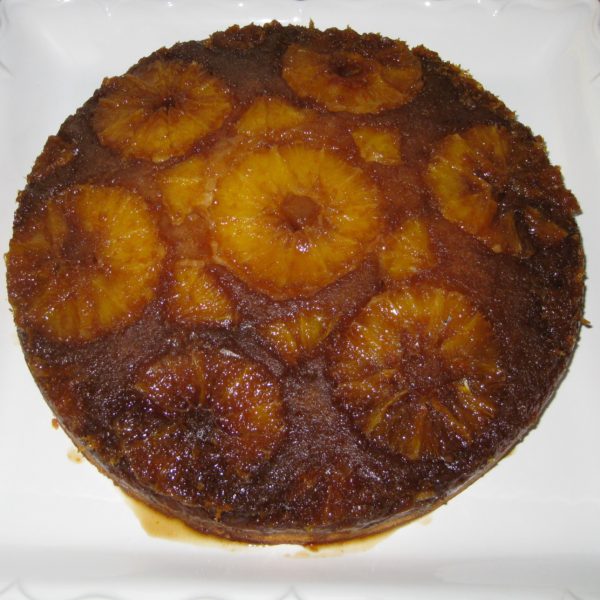
Torta all'Arancia (Orange Polenta Upside-Down Cake)
Instead of cutting the oranges in slices, you can supreme them if you prefer the look of sections rather than slices. If possible, use the metric measures for the best results.
Votes: 0
Rating: 0
You:
Rate this recipe!
Cuisine Italian
Prep Time 45 minutes
Cook Time 1 hour
Passive Time 1 hour
Servings
people
Ingredients
Topping
Cake and Assembly
Cuisine Italian
Prep Time 45 minutes
Cook Time 1 hour
Passive Time 1 hour
Servings
people
Ingredients
Topping
Cake and Assembly
Votes: 0
Rating: 0
You:
Rate this recipe!
Instructions
Topping
  1. Grease a 10-inch x 2-inch circular cake pan with butter.
  2. Finely grate the zest of the three oranges without any of the white pith. A microplane grater work well. Reserve the zest and oranges separately.
  3. Combine brown sugar, butter, white sugar, and orange juice in a small pan. Heat, stirring frequently till butter is melted and sugar is dissolved. Raise heat and boil for 2 minutes, without stirring, until slightly thickened.
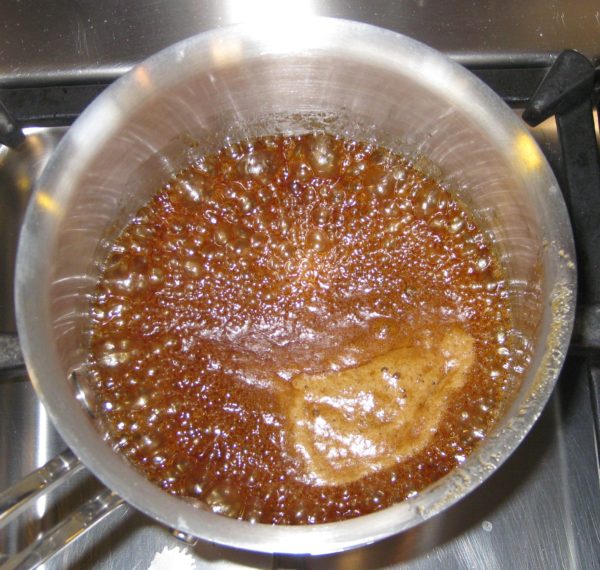
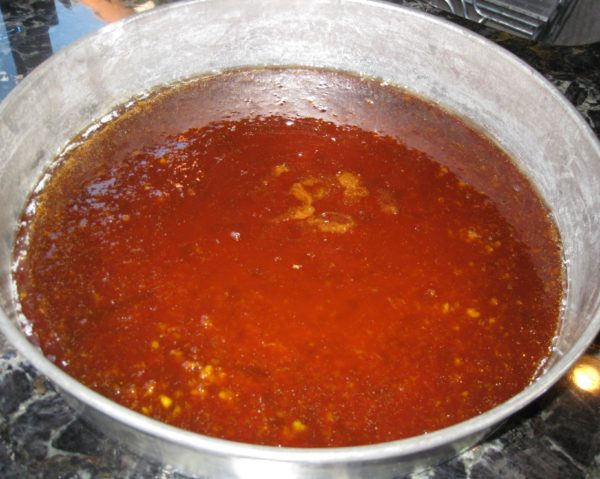
  4. Remove caramel syrup from the heat. Stir in the zest of three oranges. Pour the caramel on the bottom of the prepared pan. Allow to set for approximately 5 minutes, until cool.
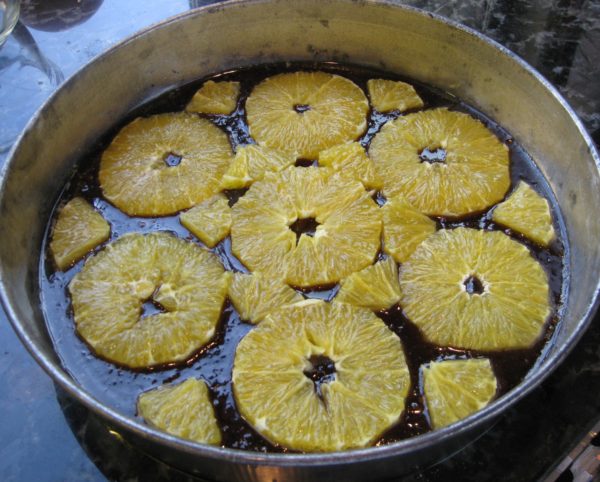
  5. Meanwhile, slice the oranges approximately ¼ inch thick. Cut off all pith and rind. Remove the tough core from any slices that have it. Scissors work well for doing this.
  6. After the caramel has cooled for about 5 minutes, arrange orange slices over the caramel without overlapping. Cut slices as needed to fill in the larger gaps between the full slices.
Cake and Assembly
  1. Stir together the flour, cornmeal, baking powder and salt. Reserve.
  2. Beat the butter in an electric mixer until lightly creamed.
  3. Add the white sugar, then beat at high speed until light and fluffy, approximately 4 minutes.
  4. Add eggs, one at a time, beating on medium after each addition until the egg is combined.
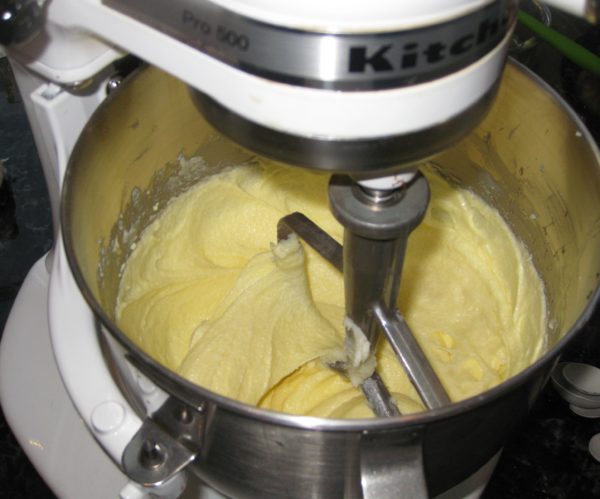
  5. Mix in sour cream then vanilla and orange zest.
  6. With the mixer on low, add the flour mixture a little at a time and mix until almost combined. Finish mixing by hand.
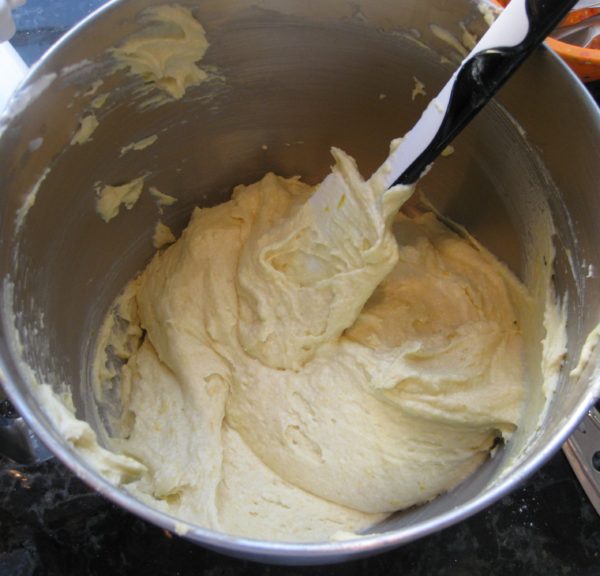
  7. Spoon the batter over the orange slices in the prepared pa. Spread the batter and tap the pan to remove air bubbles.
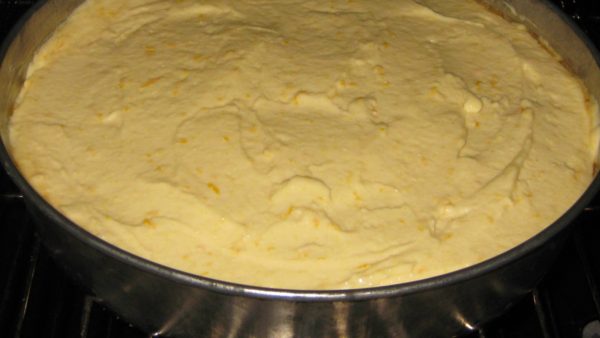
  8. Bake at 350°F until a cake tester comes out clean, 50-55 minutes. Cool for 10 minutes in the pan.
  9. Using a knife, loosen the cake from the sides of the pan. Invert onto a serving dish. Cool completely.
Recipe Notes

Copyright © 2020 by Villa Sentieri, LLC. All rights reserved.

Share this Recipe

Gary’s Barbecue Rub

June 15, 2018

As summer approaches, my thoughts of cooking turn to the outside.  Luckily, at 8000 feet, it’s not a problem to use the stove or the oven inside, even for extended periods of time, as the outdoor temperature is usually quite moderate and the house doesn’t really heat up.

Even so, summer instigates a more leisurely style of cooking for me.

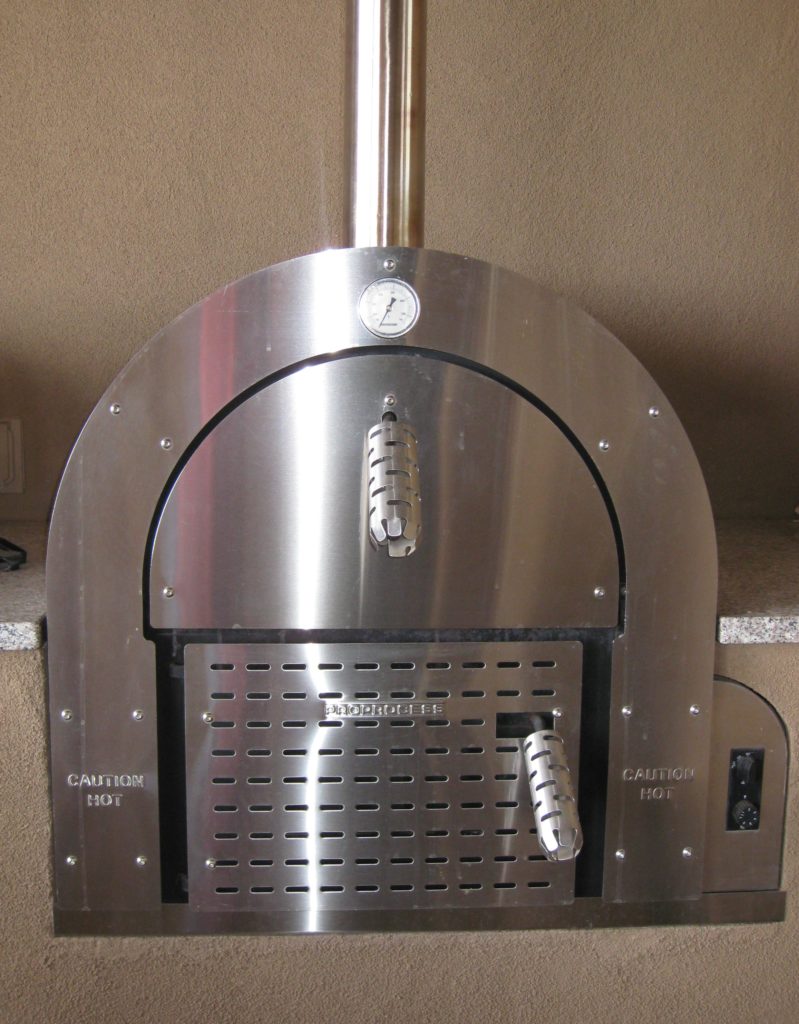
I like using my smoker, or grill, or wood-burning oven.

My smoker  has an adjustment for the heat output but not temperature, per se. If the wind or external temperature change, the internal smoker temperature changes, too.

There is no doubt that I have more of an Italian palate: more savory, less sweet.  In contrast, an American palate generally accepts much more sweetness in an array of foods.


Join our mailing list and you’ll never miss a recipe again!


Once, when my husband’s Great Uncle Duilio (born and raised in Italy but then residing in Argentina) was visiting, we made an American breakfast of pancakes and bacon.  He totally got into using maple syrup on the pancakes, and loved the bacon, but couldn’t understand the concept of allowing the sweet syrup to touch his bacon.  It just wasn’t right.

By European standards, American barbecue is sweet.  Even when we, as Americans, think it isn’t.

My wood-burning oven can also run on natural gas. It is great for pizza.

I guess I’ve developed an appreciation for a sweeter, more American approach to certain foods…barbecue, baked beans, bacon with maple syrup, and so forth.  Definitely, though, I still prefer foods less sweet than many of my friends would find acceptable.

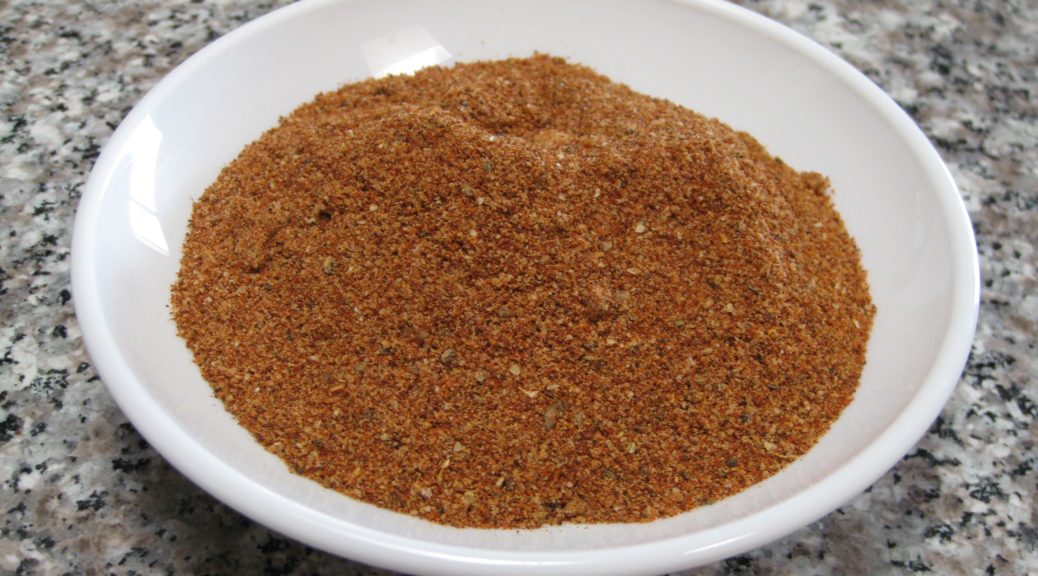
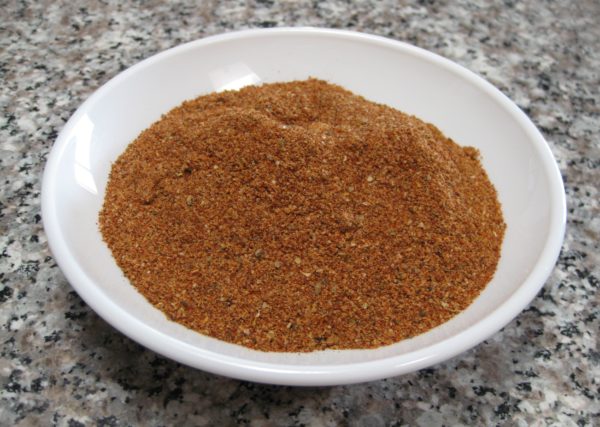
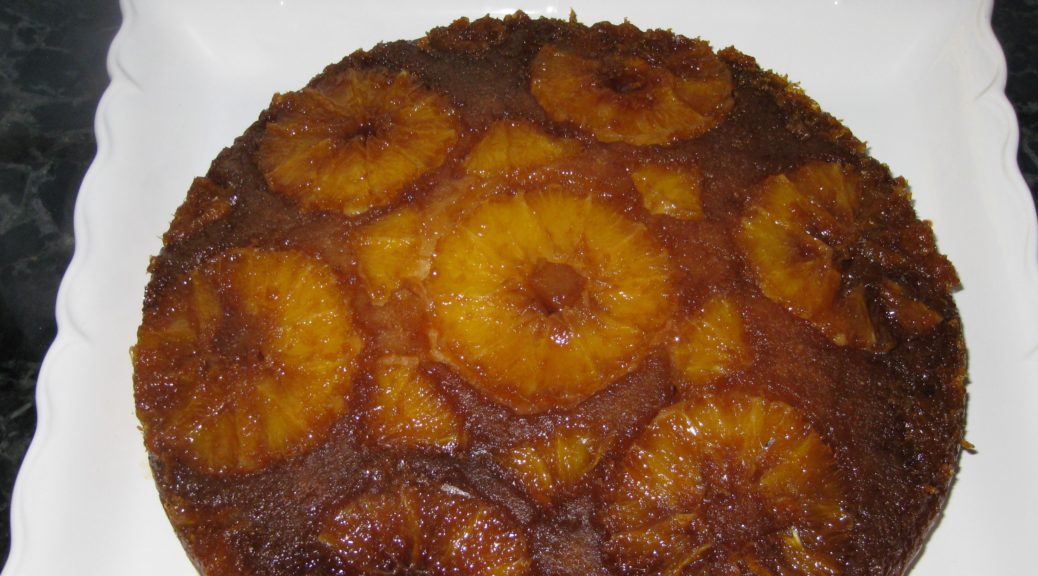
Today’s recipe is quite simple.  It’s a barbecue rub.  I developed it and have successfully used it on chicken, turkey, pork and beef.

In an upcoming post, I will describe my method for preparing skin-on, bone-in chicken thighs with both barbecue rub and barbecue sauce.


Follow us on your social media platform of choice


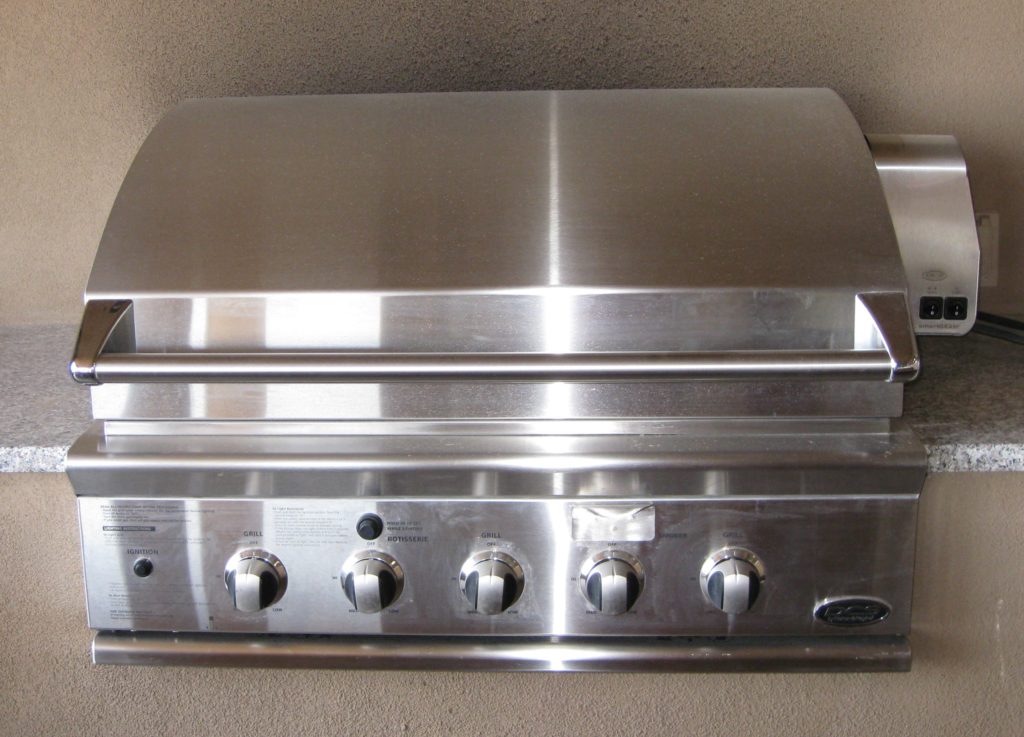
My DCS grill has a wood chip container with its own flame for precisely controlled smoking, whether low temperature or high temperature

If you’re at all interested and, like me, want to be able to replicate you cooking over and over again, you need to develop your own barbecue rub rather than relying on a pre-mixed, store-bought version.  This recipe is as good a starting point as I can think of.  Honestly, it only takes a few minutes to mix enough for a summer of barbecuing!

Print Recipe
Gary's Barbecue Rub
If you can’t find dried New Mexican chile molido, substitute a mixture of cayenne and paprika, half and half or to taste. Chile molido is pure ground dried red chile. There are no additional herbs or spices. It is NOT chili powder!! There aren’t really any pictures for this recipe. All they would show is measuring out dry ingredients. Enjoy the simplicity.
Votes: 0
Rating: 0
You:
Rate this recipe!
Prep Time 10 minutes
Servings
cups
Ingredients
Prep Time 10 minutes
Servings
cups
Ingredients
Votes: 0
Rating: 0
You:
Rate this recipe!
Instructions
  1. Combine chile, paprika, garlic powder, onion powder, salt, and celery seed in a jar.
  2. Grind black pepper in a coffee grinder.
  3. Add oregano to black pepper and grind again.
  4. Add pepper-oregano mixture to the contents of the jar.
  5. Pulverize the brown sugar in the coffee grinder.
  6. Add the brown sugar to the other ingredients. Mix well.
Recipe Notes

Copyright © 2018 by Villa Sentieri, LLC. All rights reserved.
Share this Recipe

Jamaican Easter Bread (Bun)

March 23, 2018

Google and Wikipedia and Bing have all let me down!

Often when I’m writing a blog, I’ll do a search or two to shore up some facts.

In this instance, I was trying to find a picture of a product and to confirm my understanding of exactly what it is.  That product is New Sugar.

My searches turned up nothing.

Back in college, I would buy new sugar on trips to the West Indies.  The stuff I bought was sold in cans.  It was dark brown, partially crystalized and partially a thick liquid.  It was not as dark or as thick as molasses.  My recollection is that new sugar is basically sugar cane juice boiled down until it thickens and some of the sugar crystallizes.

It’s what my recipe for Jamaican Easter Bread (aka “Bun”) calls for.


Click HERE to join our mailing list and you’ll never miss a recipe again!


Long ago, when my meager supplies of new sugar were exhausted and I was no longer going to the West Indies on a regular basis, I created a substitute for new sugar that fooled even my Jamaican friends.  (Hint, it’s in the recipe below.)

If my recipes contain a substitute for a difficult-to-find ingredient, I like to make the substitution clear and to provide directions on how to use the original ingredient if available.

In my blog entries, I try to provide some sort of personal or cultural or social context for each recipe.  In this instance, I wanted to highlight new sugar.

I was about to give up when I tried different search terms.  I had only known it as New Sugar, but, finally, searching on “Wet Sugar” got me one website that had what I was looking for.

The website confirmed my understanding of what new sugar, aka wet sugar, is:  boiled sugar cane juice.  It also confirmed that it is much more difficult to find than it was 30-50 years ago.  I hate to admit it, but I was buying new sugar more than 40 years ago!

My recipe for Bun (that’s really what it’s called in Jamaica…just Bun) came from Valrie Tracey a Jamaican friend from college.  Valrie and I and my roommate, Ray Hugh from Guyana, were close friends in college.  Though I’ve lost touch with Valrie, Ray and I are still in touch via Facebook.  And, yes, her name is spelled Valrie, apparently due to an error on her birth certificate as her parents intended for her name to be Valerie!


Follow us on your social media platform of choice


In addition to new sugar, Valrie’s recipe called for “Mixed Spice,” a commonly used mixture in the cooking of Britain and many former British colonies.  I don’t like using spice combinations that I haven’t made myself, like pumpkin pie spice or curry powder.  If the brand goes out of existence or changes its formula one can’t recreate the dish exactly the same way again.  For that reason, starting in college, I worked out my own formulas for spice mixtures that I used on a regular basis.

Valrie Tracey in 1975

Rather than have you make a batch of Mixed Spice before making a batch of Bun, I added the individual spices, in the correct amounts, to the recipe.

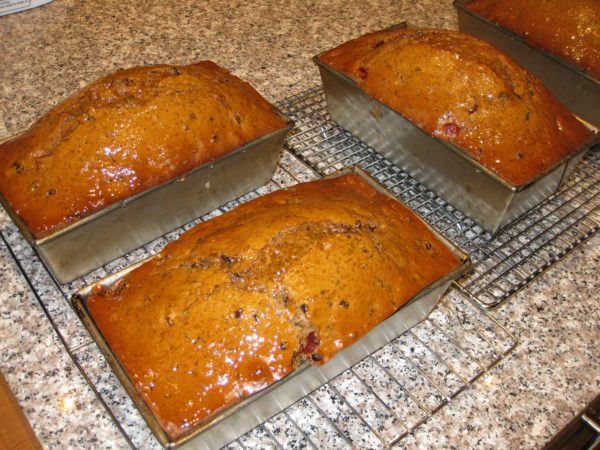
After resurrecting this recipe from one of my two 5 x 7 metal index card boxes of recipes that I started back in college and sharing the Bun with a number of friends, I began to seriously wonder why I hadn’t made it in over 40 years!

I can assure you, I won’t wait long to make it again.

I like to toast the Bun and add some butter and jam but in Jamaica it would often be served with a wedge of cheese.  However you serve it, I’m certain you’ll enjoy it.


If you have a favorite family recipe and a bit of a story to tell, please email me at santafecook@villasentieri.com and we can discuss including it in the blog. I am expanding the scope of my blog to include traditional recipes from around the country and around the world. If you haven’t seen Bertha’s Flan or Melinda’s Drunken Prunes, take a look.  They will give you an idea of what I’m looking for.


Print Recipe
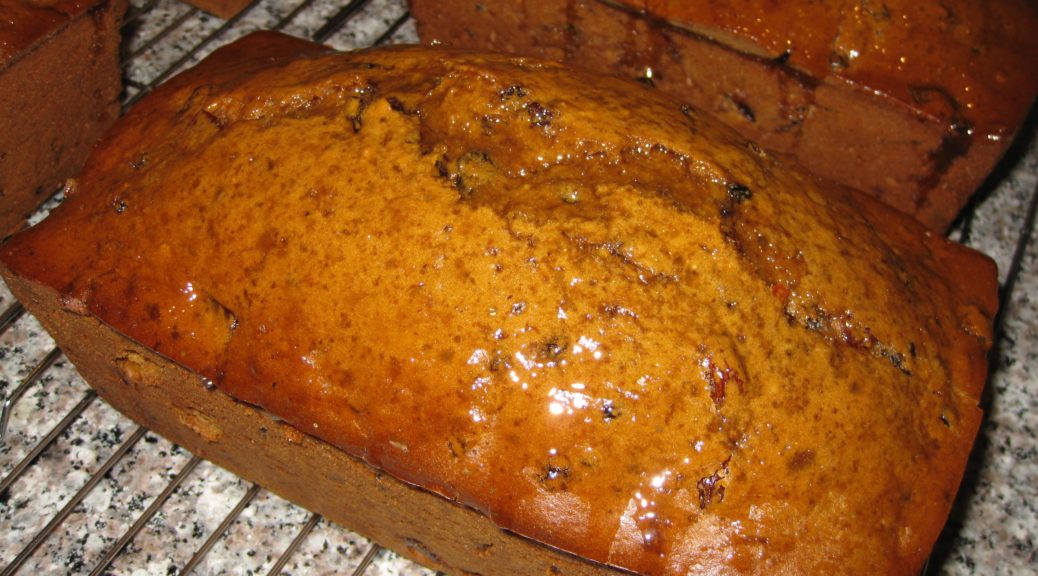
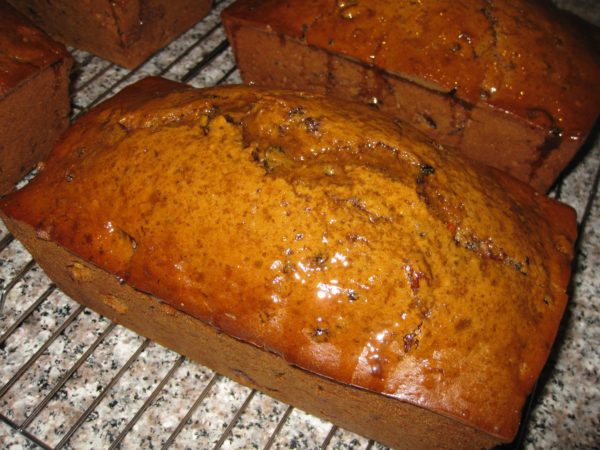
Jamaican Easter Bread (Bun)
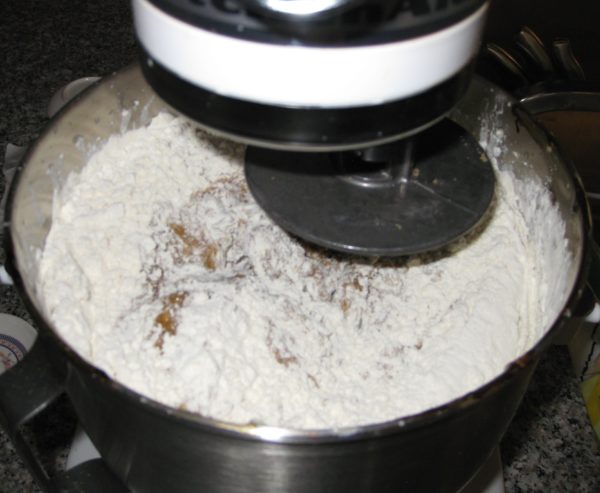
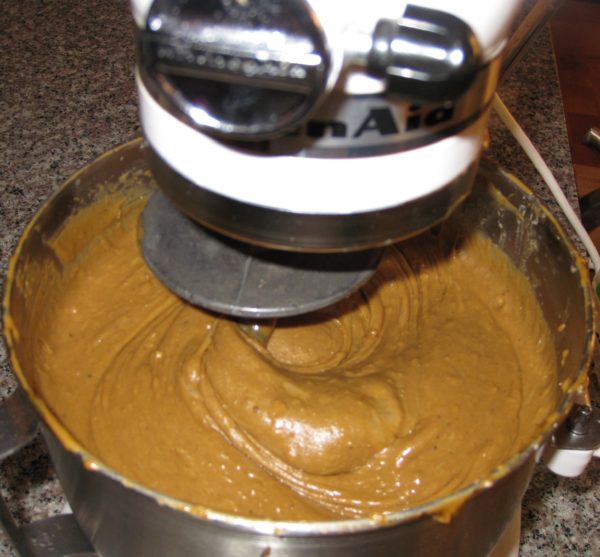
If you can find new sugar (also known as wet sugar) you can use 2 ½ cups of new sugar in place of the brown sugar and molasses. The dough for this version of Bun is quite wet, more like cake batter than bread dough. When I was making this back in college days and had to mix it by hand, I added enough flour to make a dough that could be kneaded. With a stand mixer, I allow the mixture to be wet. You might want to try both variations and see which you prefer.
Votes: 0
Rating: 0
You:
Rate this recipe!
Course Sweet Breads
Cuisine West Indian
Prep Time 30 minutes
Cook Time 90 minutes
Passive Time 2 hours
Servings
loaves
Ingredients
Bread
Glaze
Course Sweet Breads
Cuisine West Indian
Prep Time 30 minutes
Cook Time 90 minutes
Passive Time 2 hours
Servings
loaves
Ingredients
Bread
Glaze
Votes: 0
Rating: 0
You:
Rate this recipe!
Instructions
Bread
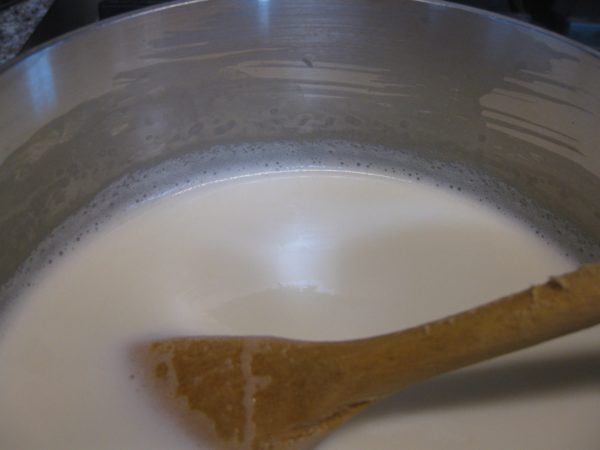
  1. Scald the milk by heating over medium high heat, stirring frequently to prevent a skin from forming, until bubbles begin to foam up around the side.
  2. Allow the milk to become lukewarm (approximately 110°F).
  3. Combine lukewarm milk, yeast, 1 teaspoon of sugar from the amount above, and 1 pound of flour in the bowl of a mixer.
  4. Using the paddle, mix well then allow the sponge to sit, covered, until it doubles in bulk.
  5. After the sponge has doubled, mix in 1/3 of the remaining flour and 1/3 of the remaining sugar.
  6. When combined, add the butter, molasses and all the spices and flavorings. Mix well.
  7. Add ½ of the remaining flour and ½ of the remaining sugar. Mix well.
  8. Add the eggs and mix well.
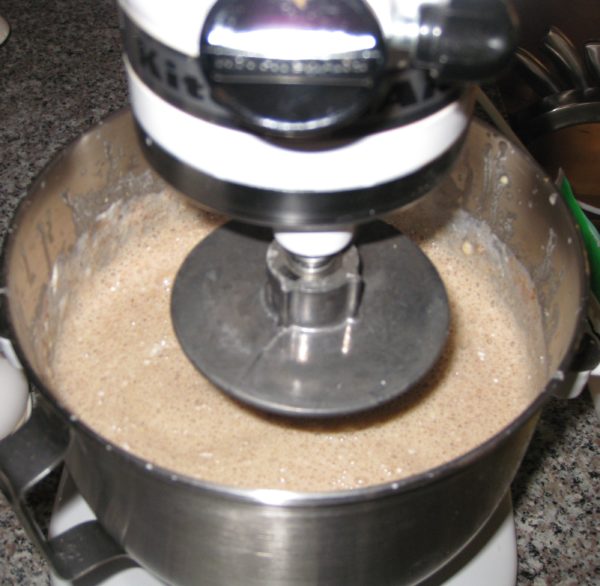
  9. Add the remaining flour and sugar. Mix for about 10 minutes on medium speed.
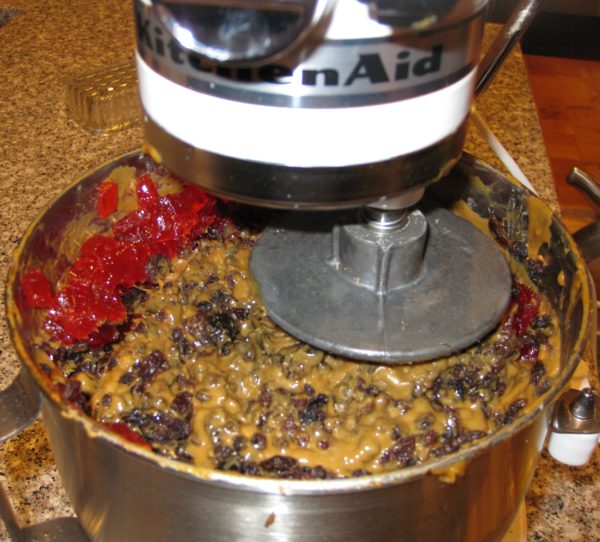
  10. Mix in the fruit.
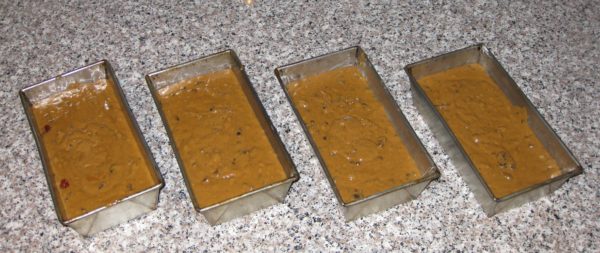
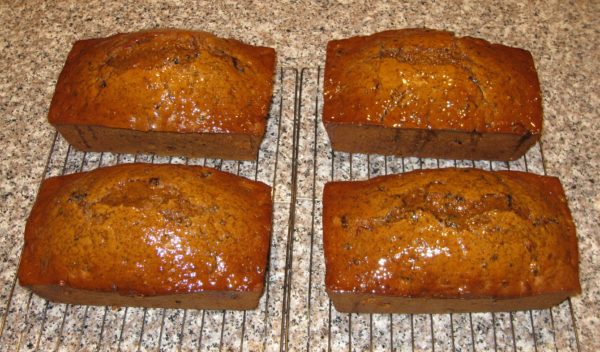
  11. Divide the batter into 4 well-buttered 8” x 4” bread pans. Cover and sit at room temperature for about an hour. The batter will not really rise but the yeast is the only leavening so it needs to have time to make air bubbles that can expand and leaven the bread.
  12. Bake at 300°F for approximately 90 minutes, until a tester comes out clean.
Glaze
  1. When the bread is nearing completion, make the glaze by bringing the sugar and water to a boil and simmering a few minutes until syrupy.
  2. As soon as the bun comes out of the oven, brush some of the glaze on top. Allow to cool 10 minutes in the pans.
  3. Remove the bun from the pans and brush with more glaze. Allow to cool another 10 minutes.
  4. Brush with remaining glaze and cool completely.
Recipe Notes

Copyright © 2018 by VillaSentieri.com. All rights reserved.
Share this Recipe

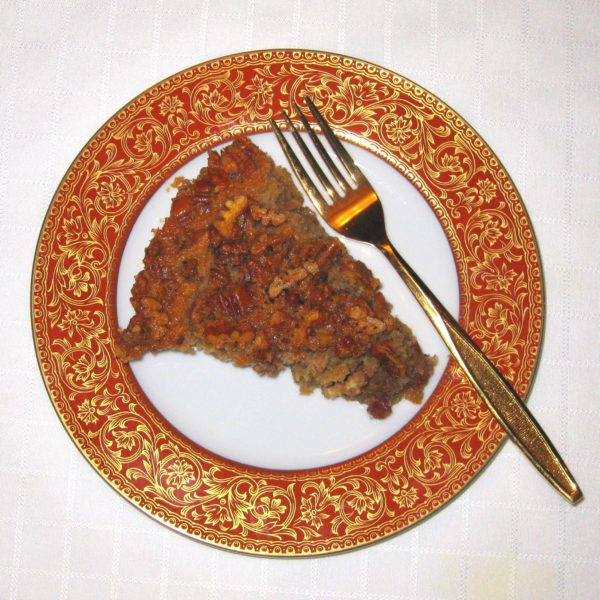
Julie’s Impossible Pecan Pie

October 16, 2017

Julie Paradise is the Queen of Impossible Pies.

Julie Paradise

I ate Impossible Pies back in the 1970s.   Savory Impossible Pies were a favorite of Auntie Helen. Auntie Helen was actually the aunt of Gene d’Aquili, my College Advisor. Ultimately, years later, I went into psychiatric practice with him. I spent lots of time with Gene and his family, including Auntie Helen, and her sister, Auntie Louise, from the early 1970s until the late 1980s when I left Philadelphia and moved to Tucson for a year before settling in Chicago. In a previous blog post, I talked about Auntie Helen and Auntie Louise.

Auntie Helen was especially fond of Impossible Tuna Pie. I have “her” recipe which exactly matches one I found on the internet a few months ago. I’m going to guess it was the one put out by the makers of Bisquick® way back in the day!

I’ve only ever had sweet impossible pies from Julie, but she says she makes savory ones too. Her take: “Green bean is delicious. Broccoli is fantastic and pretty. Zucchini is good.”

Julie is one of those folks who doesn’t like pie crust…and there are plenty of them. For her, Impossible Pies are the perfect solution.

On our recent visit to Julie and Gay’s home on Fire Island Julie made three Impossible Pies during a six-day stay. We ate every last crumb!

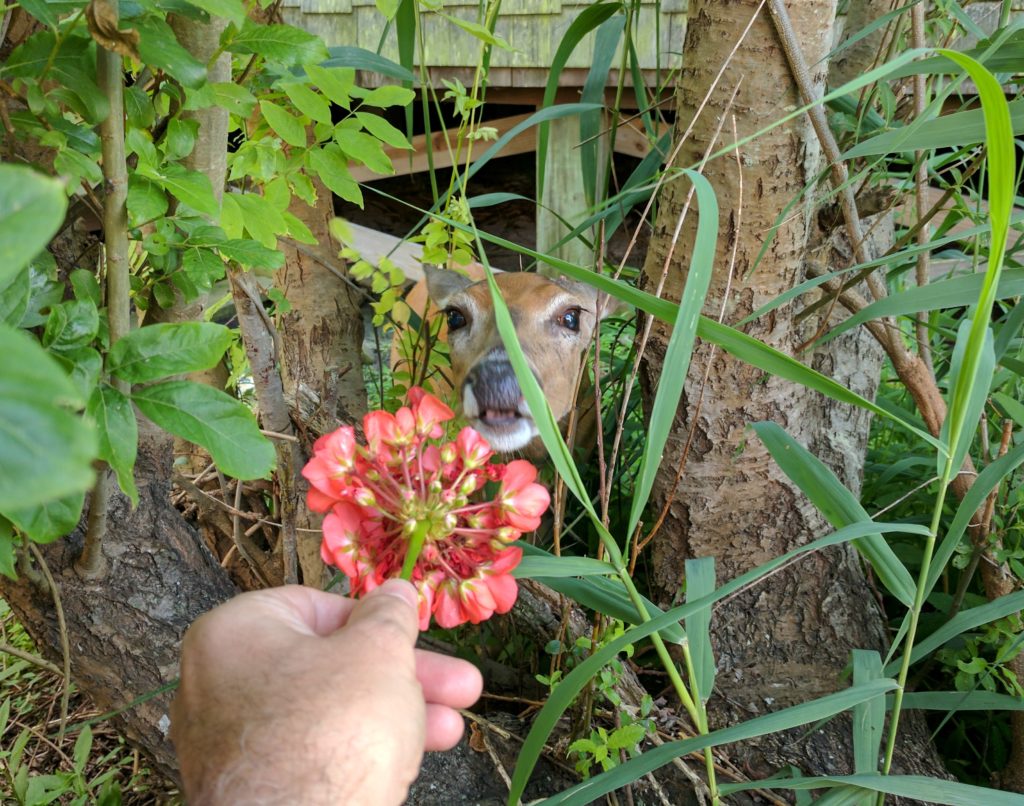
Deer near Gay and Julie’s deck eating geraniums out of my hand

Impossible Pies appear at the end of most every dinner that Gay and Julie host in Santa Fe and I wouldn’t want it any other way.

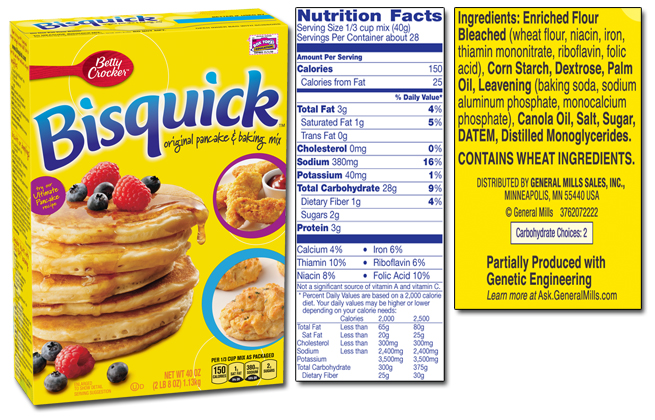
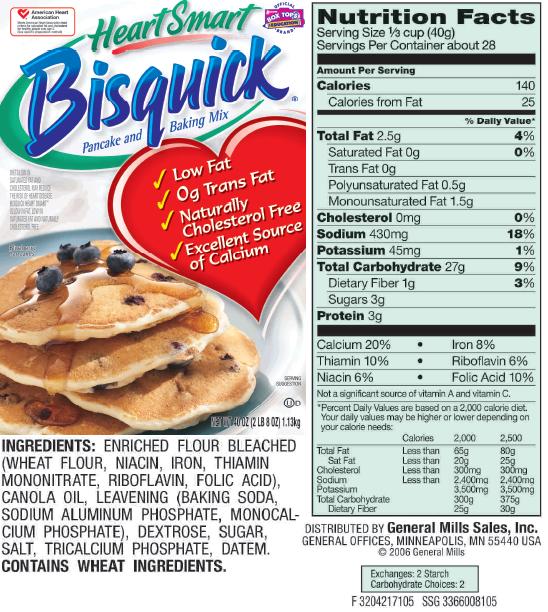
You’ve read my rants about the adverse health effects of hydrogenated and partially hydrogenated fats. That’s what baking mix (OK, let’s call it what it is, we’re really talking about Bisquick®) used to contain. I’m here to say: NO LONGER!

In prepping for making Julie’s Impossible Pecan Pie, I researched “baking mix” substitutes. There are many recipes available, all of which are very similar (flour, some sort of oil or fat, a bit of sugar, and baking powder). My plan was to make up a substitute rather than use the real thing because of my zero tolerance policy for hydrogenated and partially hydrogenated fats.

On a stroll through the supermarket, I saw the baking mix section and decided to take a look. That’s when I discovered that the good folks at Betty Crocker had changed the formula and replaced the partially hydrogenated fat with vegetable oil. I actually bought a box, intending to make all those things I had as a kid that were based on Bisquick and Auntie Helen’s Impossible Tuna Pie after making Julie’s Impossible Pecan Pie.

I looked at several other brands of baking mix and discovered that not all manufacturers are as enlightened as Betty. Partially hydrogenated fat was still a common ingredient in many of them. (There are also some specialty Bisquick products that contain—or may contain—based on the label, partially hydrogenated fats. It’s best to stick with what is labeled as the “Original” (which, of course it really isn’t) or the HeartSmart.

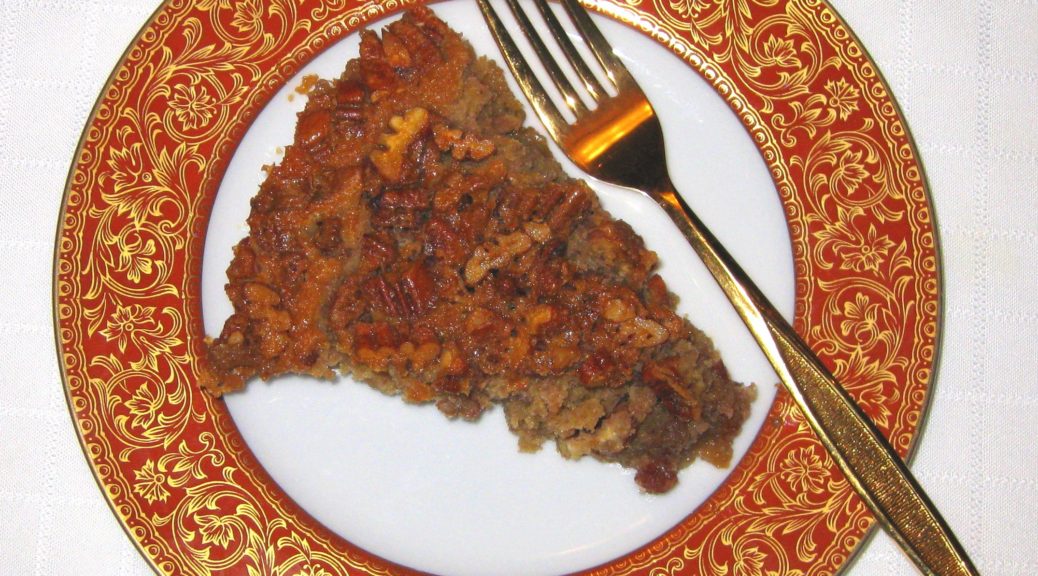
A funny thing happened with all this thinking about baking mix and baking mix substitutes. I realized that for all practical purposes, an Impossible Pie is like a Clafoutis! The only real difference is that the baking mix contains baking powder and the standard recipe for clafoutis does not. Given the variability of recipes from cook to cook, I guess it wouldn’t be unreasonable to call this a Pecan Clafoutis! And, as Julie says, a Clafoutis is best right out of the oven while an Impossible Pie is just fine at room temperature.

So, while I don’t often make Julia Child’s recipe for Clafoutis I think there are lots of Impossible Pies in my future.


Follow us


Click HERE to join our mailing list and you’ll never miss a recipe again!

Print Recipe
Julie's Impossible Pecan Pie
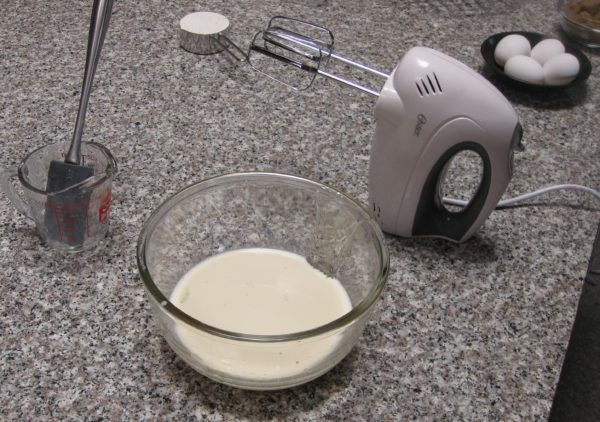
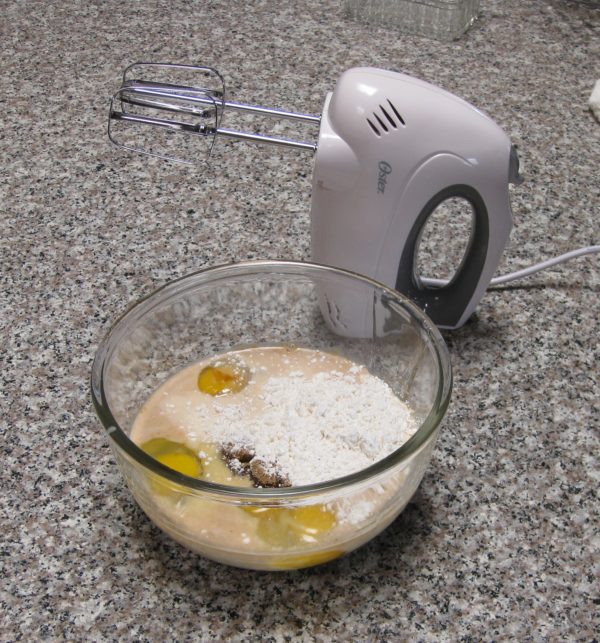
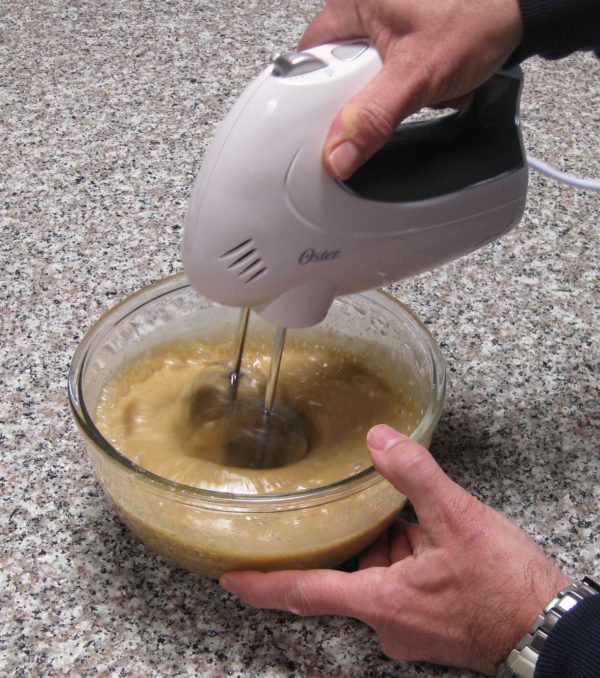
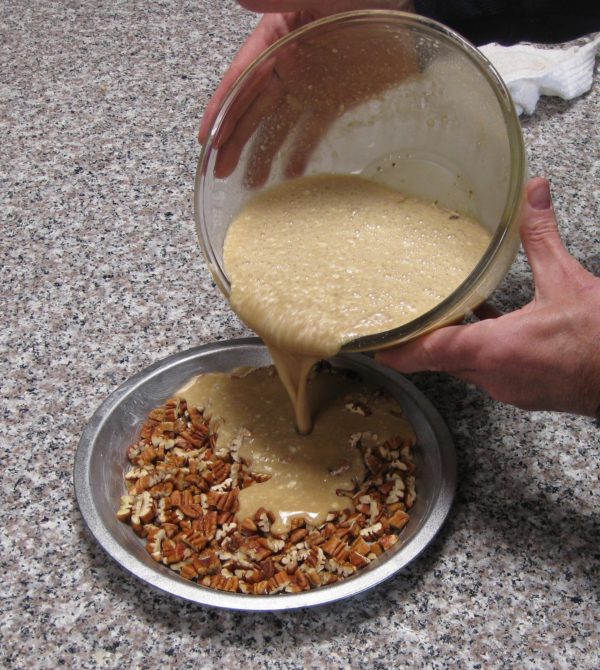
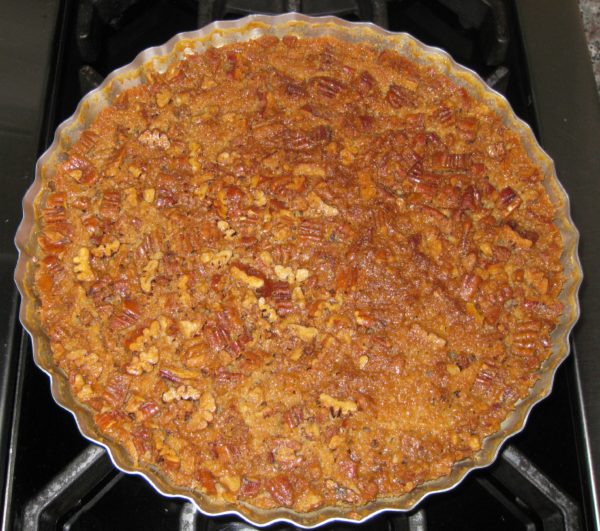
Although I used a mixer, as you’ll see in the pictures, a blender is easier and produces a smoother batter. Also, the original pie pan I chose was too small. You’ll see that I started putting everything into the 9-inch pan. I had to switch to a 10-inch deep dish pan! Although not part of Julie's original recipe, I've successfully added 1/4 teaspoon of almond essence to this pie. It's not enough to give the pie an almond flavor but it does amplify the nuttiness!
Votes: 2
Rating: 5
You:
Rate this recipe!
Cuisine American
Prep Time 15 minutes
Cook Time 1 hour
Servings
people
Ingredients
Cuisine American
Prep Time 15 minutes
Cook Time 1 hour
Servings
people
Ingredients
Votes: 2
Rating: 5
You:
Rate this recipe!
Instructions
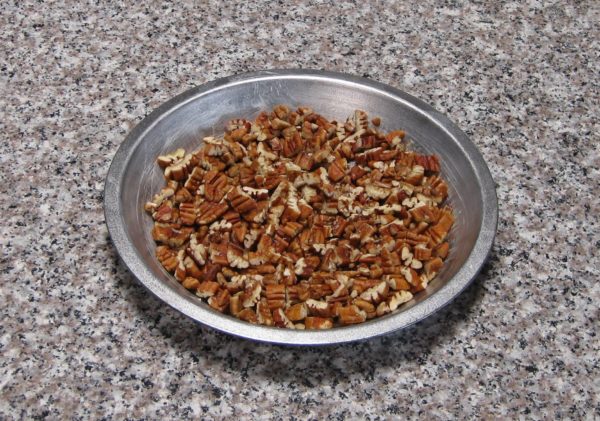
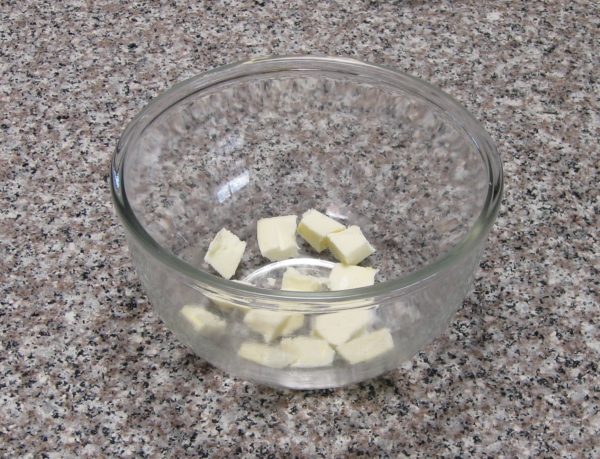
  1. Prepare all the ingredients.
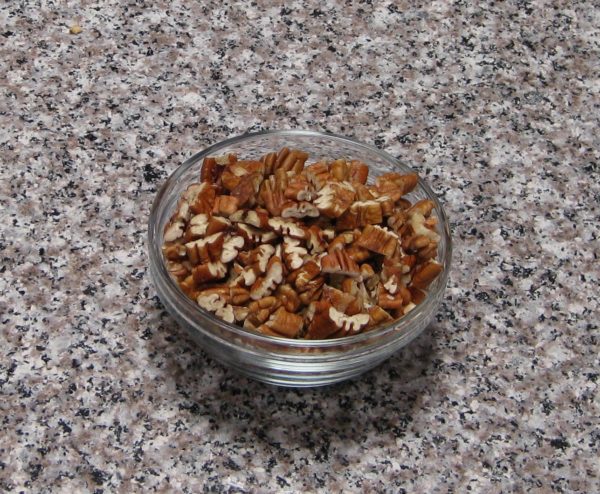
  2. Pecans
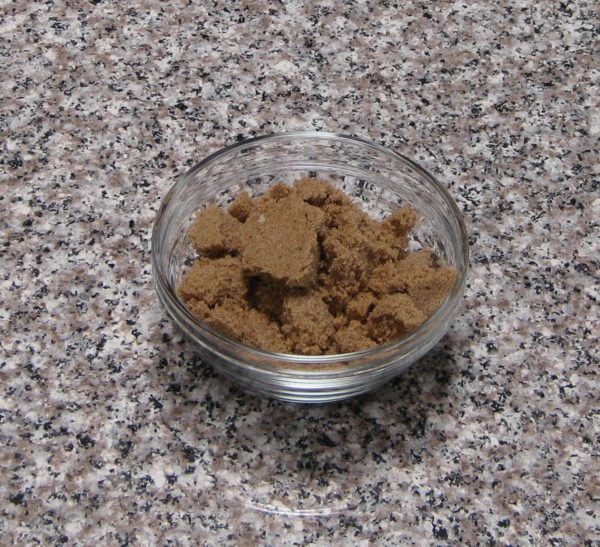
  3. Brown sugar
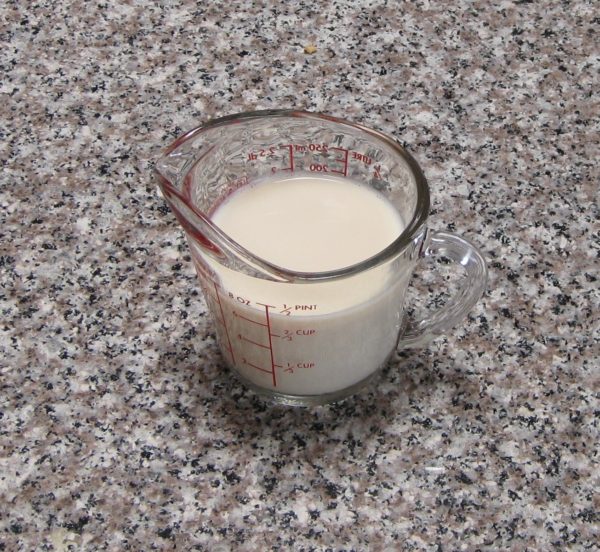
  4. Milk
  5. Corn syrup
  6. Eggs
  7. Baking mix
  8. Butter a 10-inch deep-dish pie pan.
  9. Add the pecans to the buttered pie pan and set aside.
  10. Put all remaining ingredients into a blender jar or mixing bowl and blend until thoroughly combined and no lumps remain. This will take approximately 15-20 seconds in a blender and at least one minute by electric mixer.
  11. Pour the batter over the pecans.
  12. Bake at 350°F for 50-55 minutes, until a knife inserted in the center comes out clean.
  13. Cool at least five minutes before serving or serve at room temperature.
Recipe Notes

Copyright © 2017 by VillaSentieri.com. All rights reserved.
Share this Recipe