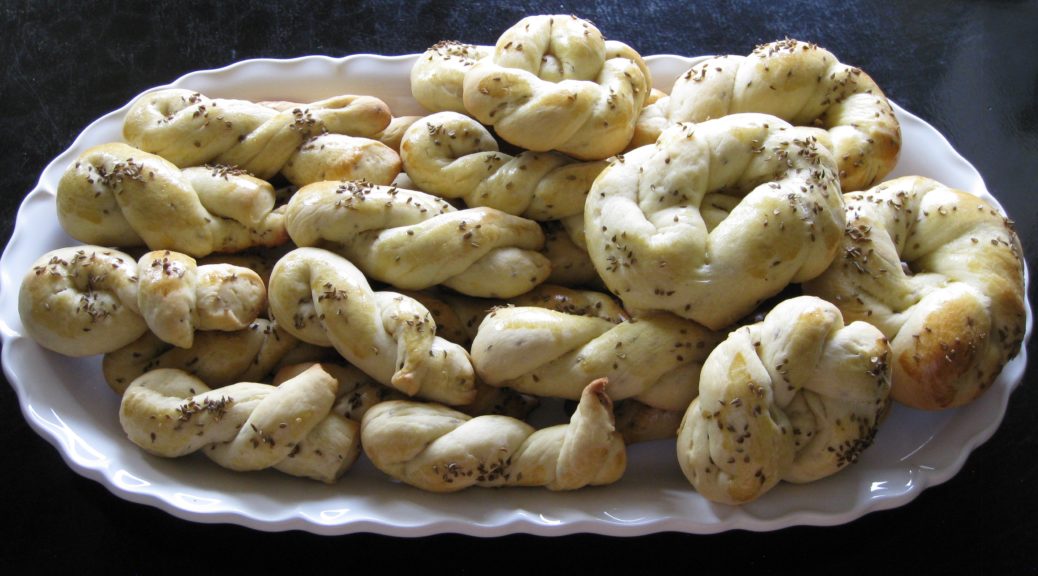
Anise Twists (Italian Anise Sweet Bread)

March 27, 2018

I really don’t know what to call these little breads any longer.

Growing up we always called them Biscotti.  The Italian word biscotti, which is plural for biscotto, can be translated as cookies or biscuits.  However, in the United States, the word biscotti is now completely identified with a particular type of pastry; those slices of sweet bread that are toasted until crisp (or crisp on the outside and soft on the inside depending on style).

We called those Anise Toasts when I was growing up since they were always flavored with anise in our house.  That was how we differentiated these softer anise-flavored sweet breads from the chewier, and toasted, anise-flavored pastries.
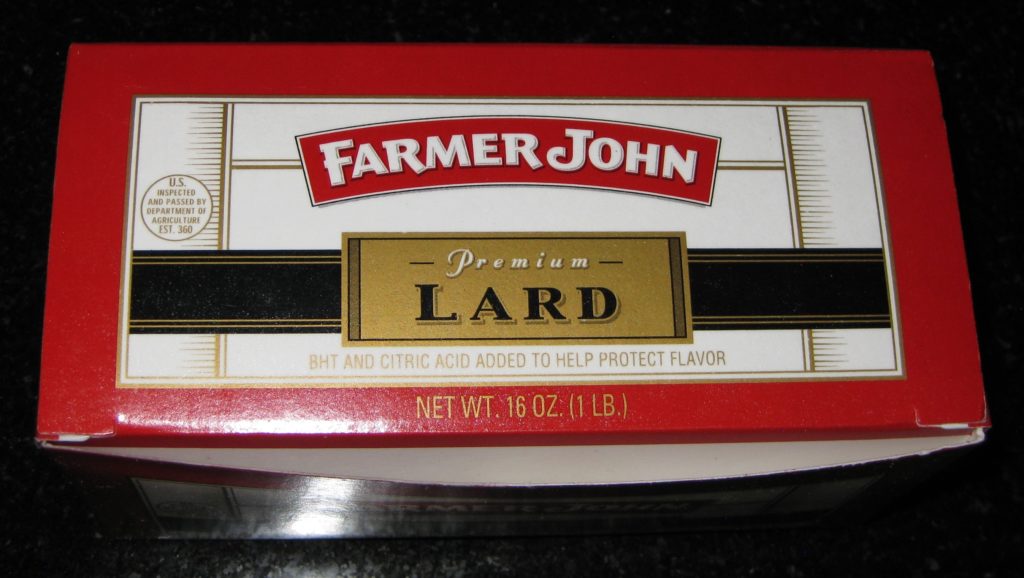
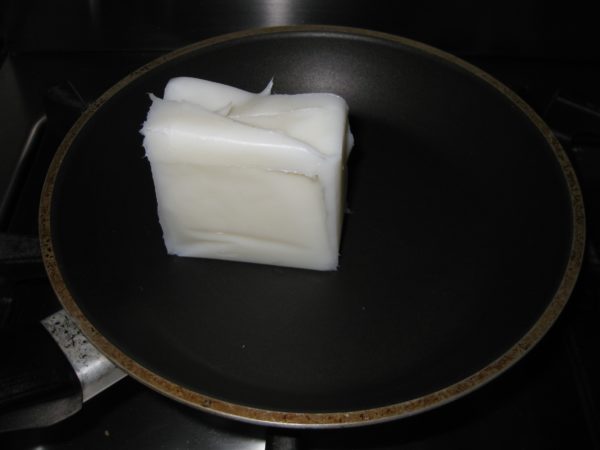
I found this lard at the supermarket. It is not hydrogenated and has just a few reasonable preservatives unlike the hydrogenated lard sold in those blue boxes

I believe that the word biscotto is derived from the words that mean twice (bis) cooked (cotto) making it an apt label for those toasted things.  Despite that, however, it really is used to refer generically to a cookie.


Follow us on your social media platform of choice


The Italian word torta is translated as cake or pie or tart depending on the context.  Sometimes that context can be provided only by more description.  For example, the Italian word limon is used for both a lemon and a lime.  To refer to a lime, you could say limon verde (green lemon) if it was not otherwise clear from the context that you meant a lime vs. a lemon.  (This would be critical, for example, when providing directions for making a Margarita!)  I think limon verde could also be used to refer to an unripe lemon but that’s getting a bit esoteric and, honestly, above my meager grasp of Italian.

But it points out the difficulties with translating seemingly simple concepts, like biscotti!
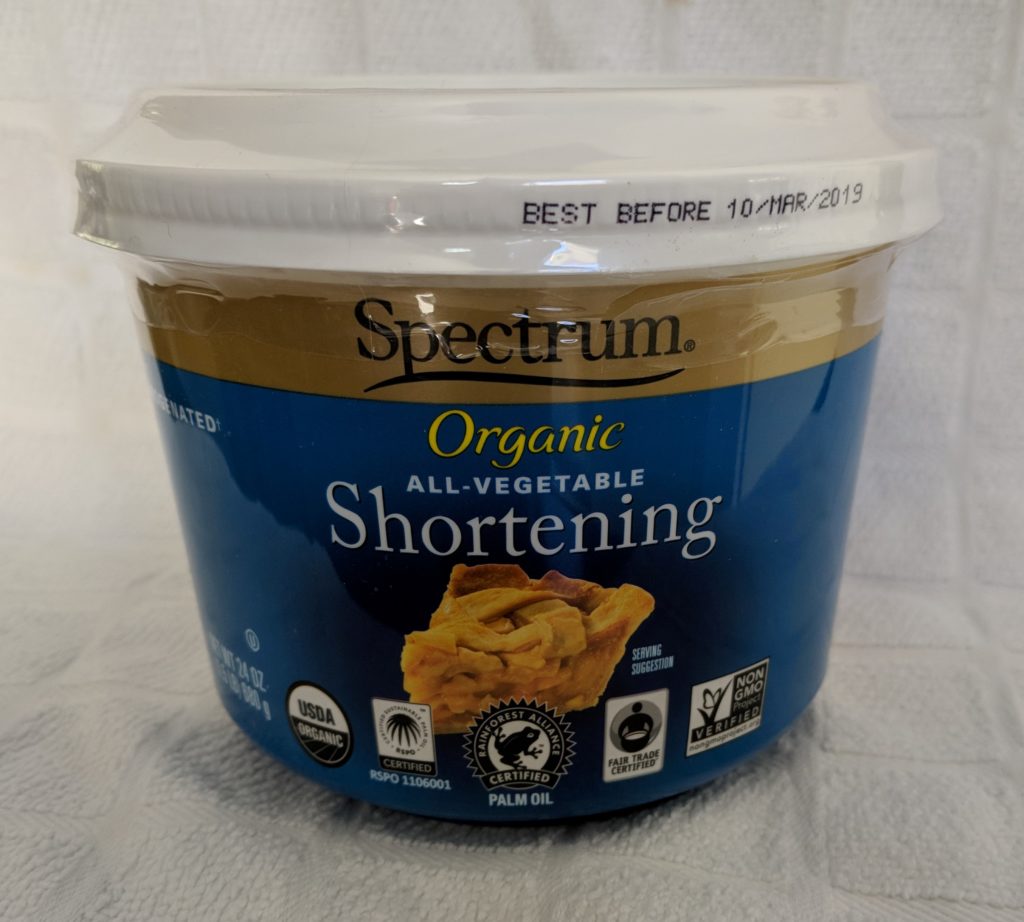
Palm Oil is a solid vegetable shortening that is not hydrogenated

I’m posting this recipe now because my mother always made these at Easter, but their appearance was not limited to that one holiday.  Sometimes, for Easter, the dough would be baked in a big braided circular loaf with colored eggs tucked into the braids.  Honestly, though, that was usually done by a friend of my mother’s, Mille Verbano, rather than by my mother who almost always made small ones as I now do.

Sometimes this is called Easter Bread but, truly, there are different types of Easter bread all over Italy so that term only works within a very specific socio-cultural context.  Although we never called this Easter bread in our house, if a relative did so, I would know immediately what he/she meant.


Click HERE to join our mailing list and you’ll never miss a recipe again!


I’m not a “dunker” but my mother and her sisters, Aunt Mamie (Mary, really, but as a toddler I said Mamie and that name stuck and became what everyone called her) and Aunt Margie loved to dunk bready things in coffee in the morning.  If you’re a dunker, these biscotti are perfect.
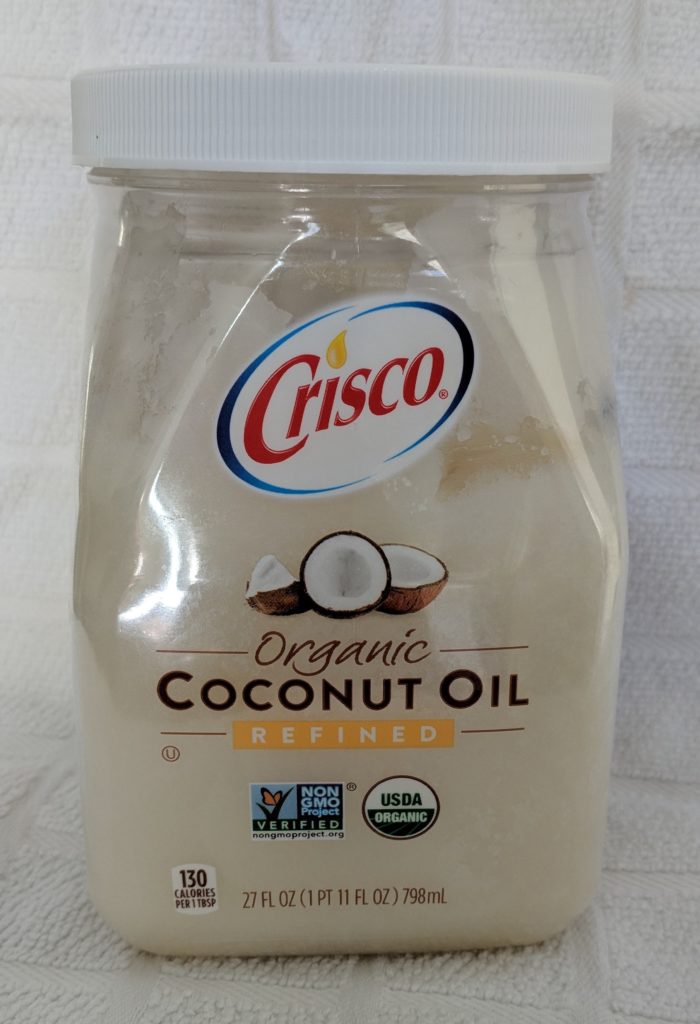
Coconut oil is a vegetable fat that is solid at cool room temperature

Some of you may remember my soapbox post about hydrogenated fats as a replacement for the lard often called for in traditional Italian pastries.  In deference to those of you who do not want to render your own lard (which I suspect is most of you), I was prepared to test this recipe with several non-hydrogenated vegetable fats, palm oil and refined coconut oil.  While shopping for other ingredients in Palm Springs I stumbled upon lard…pure, simple lard…not the hydrogenated lard that now dominates supermarket shelves.  I just had to try it.  I’ve not seen Farmer John lard in supermarkets in Santa Fe but I am hopeful that this signals a resurgence of the availability of unadulterated and chemically unaltered lard for baking.

I promise to test out future recipes with the non-hydrogenated vegetable fats, though!


If you have a favorite family recipe and a bit of a story to tell, please email me at santafecook@villasentieri.com and we can discuss including it in the blog. I am expanding the scope of my blog to include traditional recipes from around the country and around the world. If you haven’t seen Bertha’s Flan or Melinda’s Drunken Prunes, take a look.  They will give you an idea of what I’m looking for.


Print Recipe
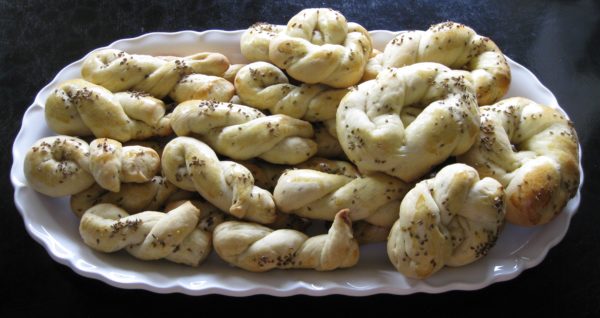
Anise Twists (Italian Anise Sweet Bread)
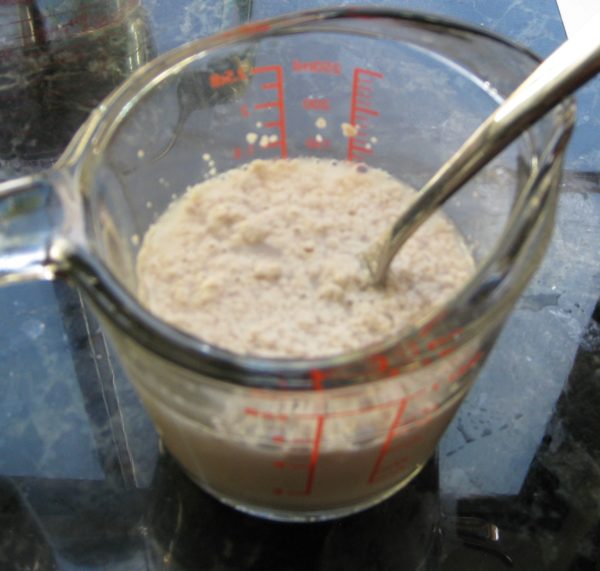
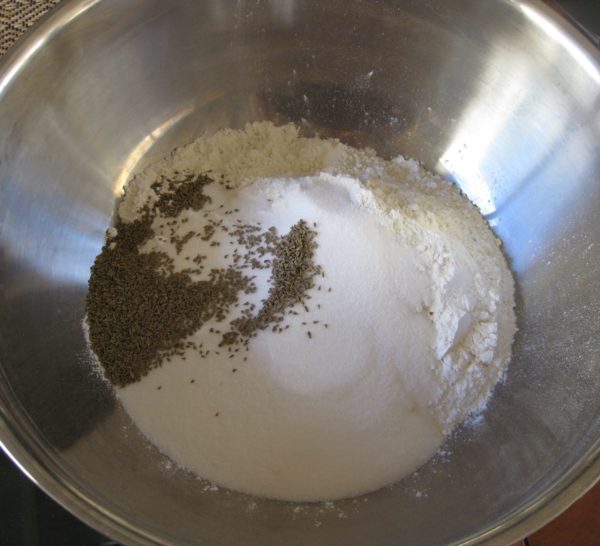
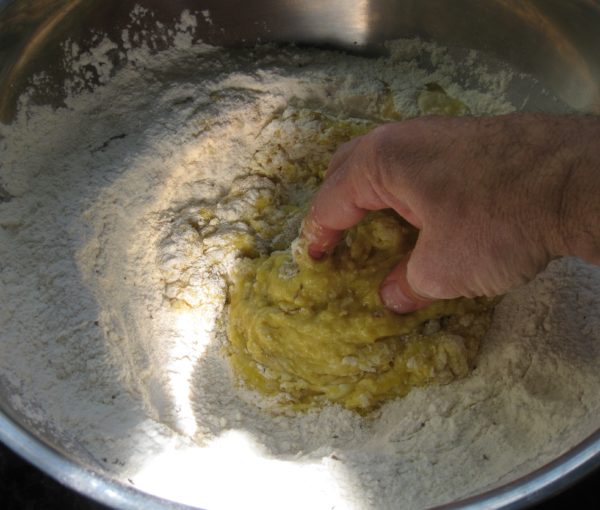
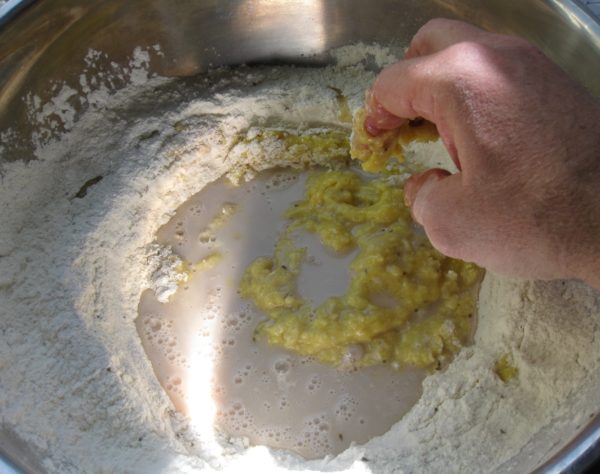
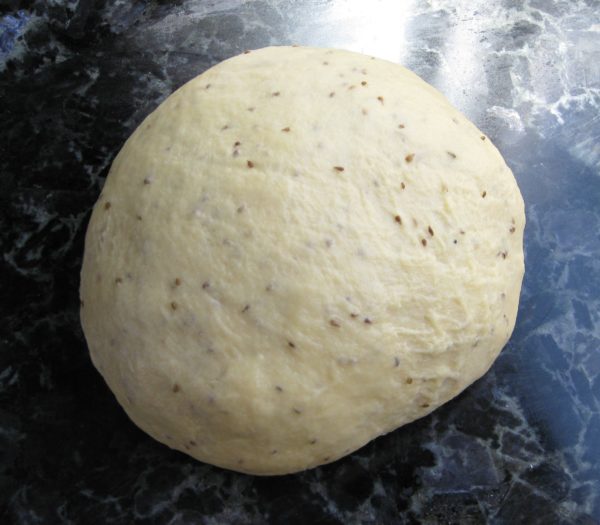
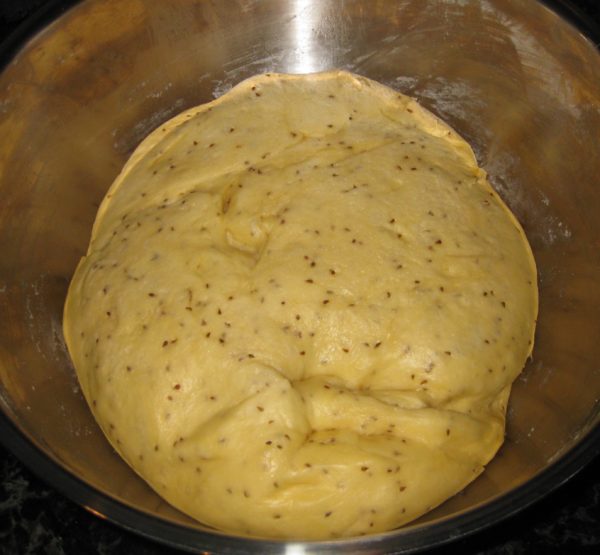
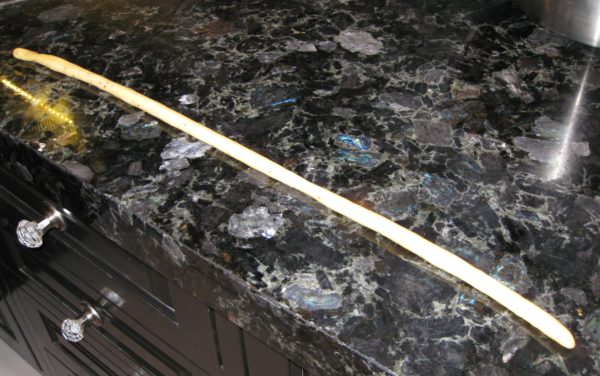
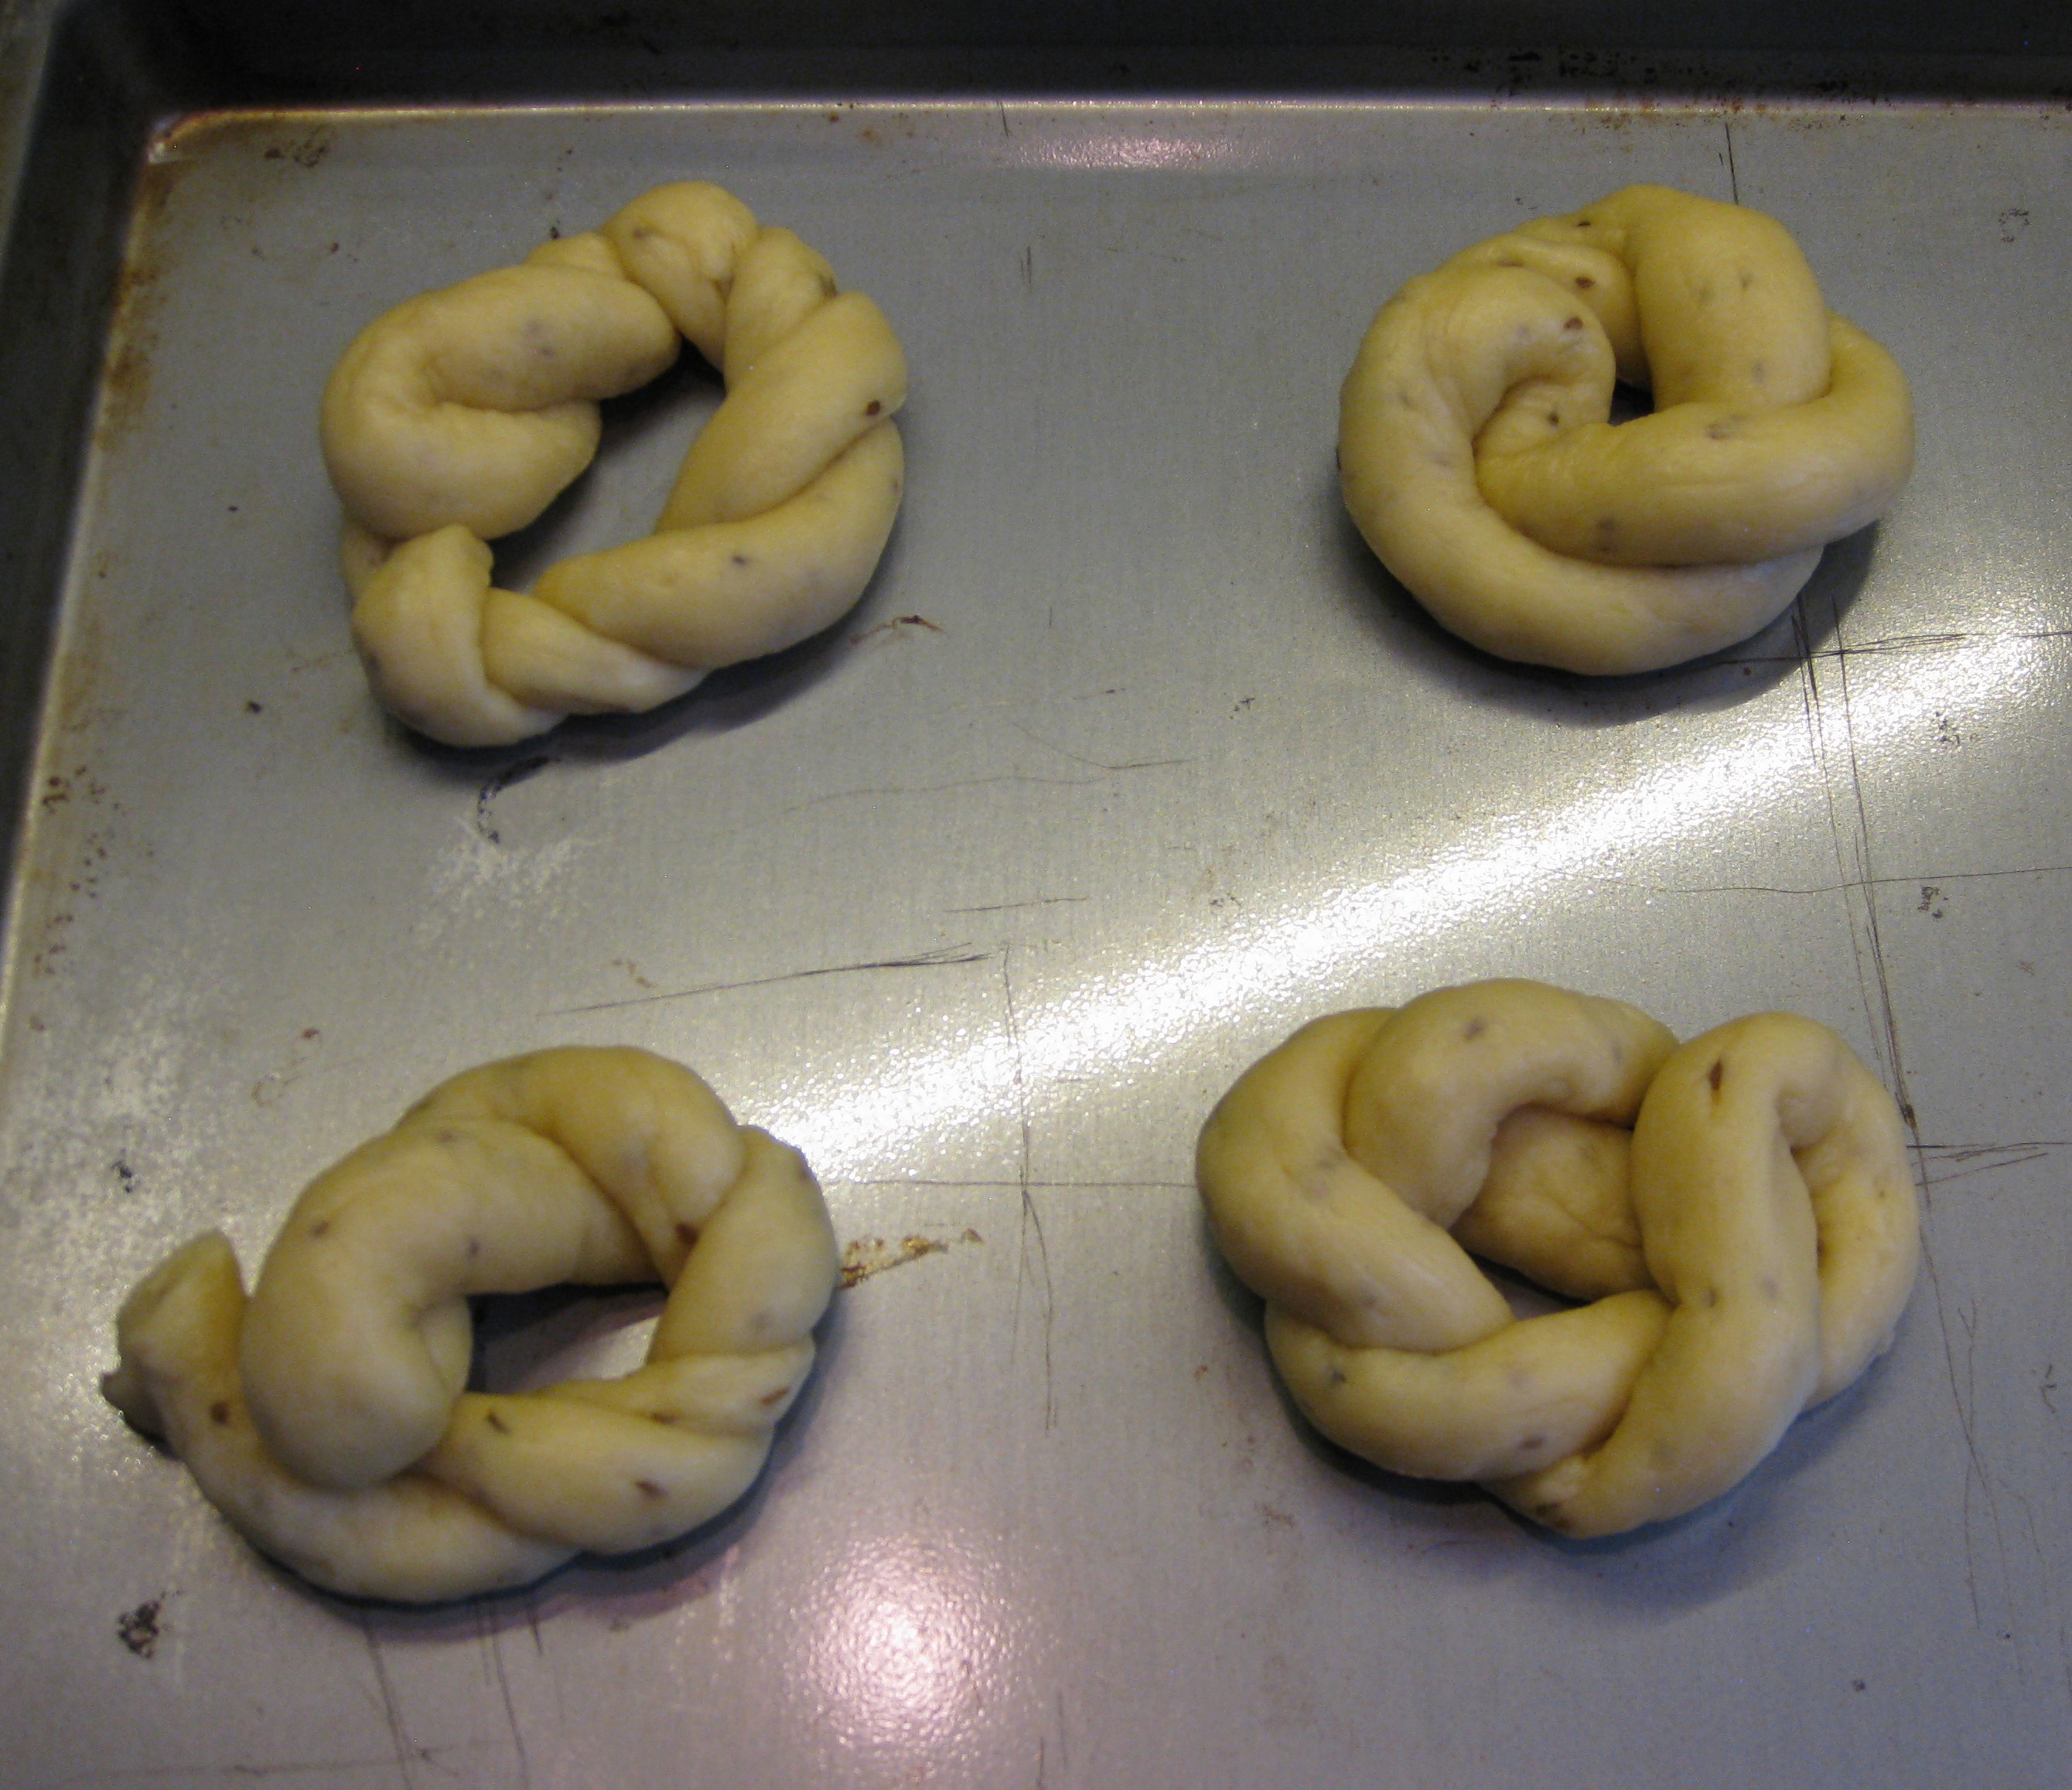
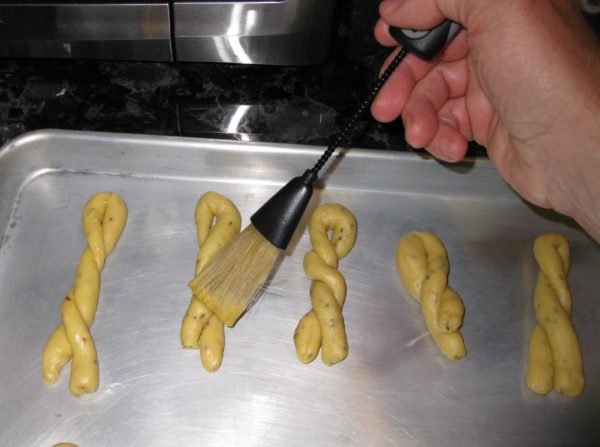
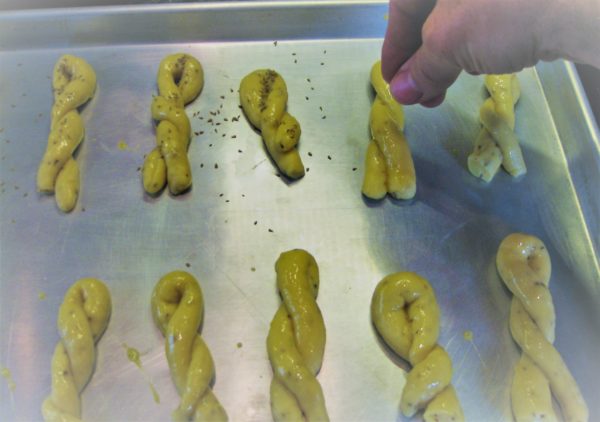
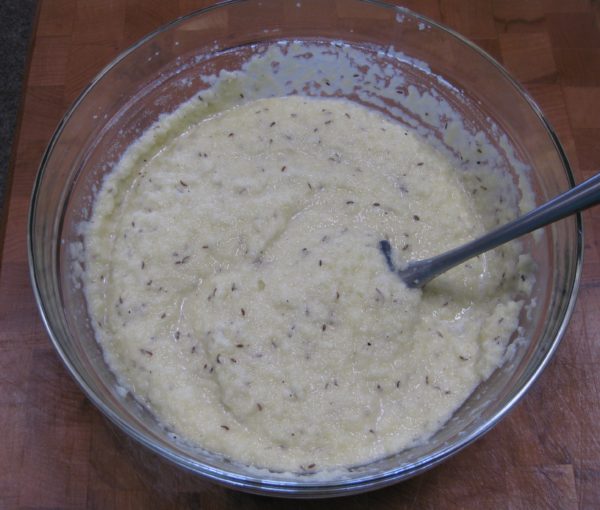
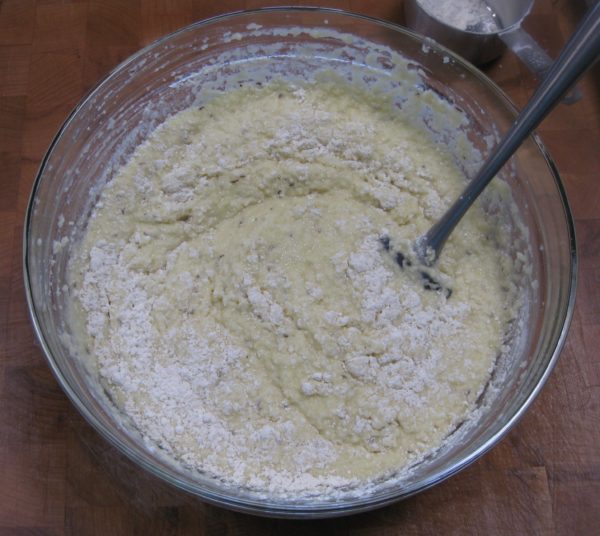
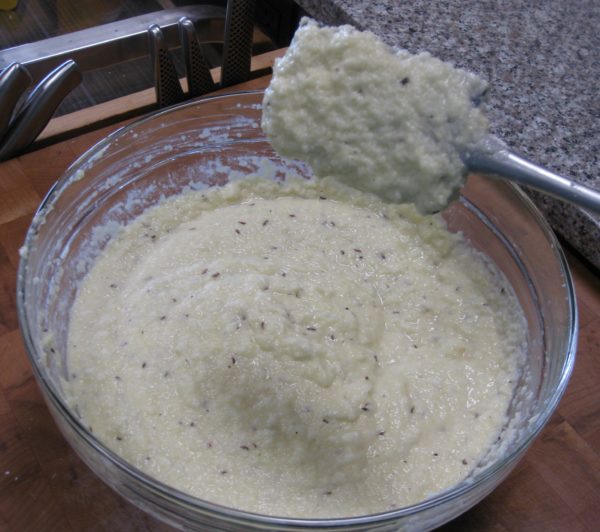
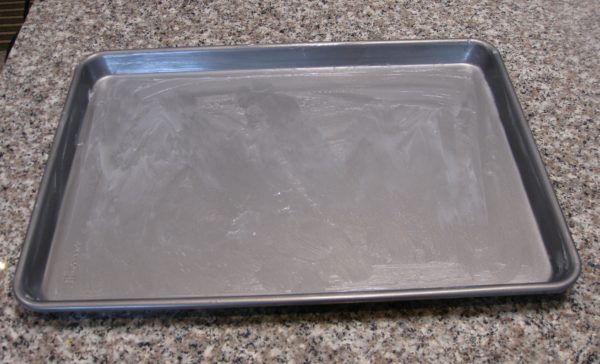
Shiny aluminum sheet pans work best. Dark pans will cause the bottoms of the breads to get too dark before they are cooked through. For reference, the pictures below show me making half a batch of Anise Twists, not the full recipe given below.
Votes: 0
Rating: 0
You:
Rate this recipe!
Course Sweet Breads
Cuisine Italian
Prep Time 2 hours
Cook Time 1 1/2 hours
Passive Time 4 hours
Servings
dozen little breads, approximately
Ingredients
Course Sweet Breads
Cuisine Italian
Prep Time 2 hours
Cook Time 1 1/2 hours
Passive Time 4 hours
Servings
dozen little breads, approximately
Ingredients
Votes: 0
Rating: 0
You:
Rate this recipe!
Instructions
  1. Melt the lard over gentle heat and allow to cool until lukewarm but still liquid.
  2. Dissolve one teaspoon of the sugar in the warm water, not more than 110°F.
  3. Add the yeast and allow it to proof.
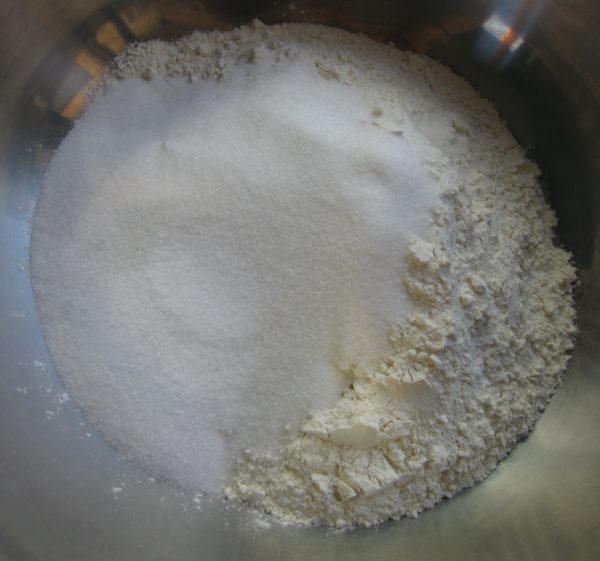
  4. Meanwhile, combine flour, remaining sugar, anise seeds and salt.
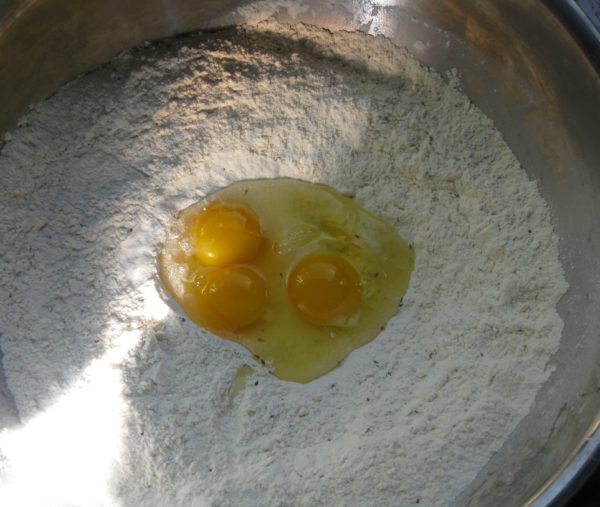
  5. Form a well in the center and add 6 eggs and the melted and cooled lard.
  6. Using a circular motion, begin to mix the flour into the liquids in the well.
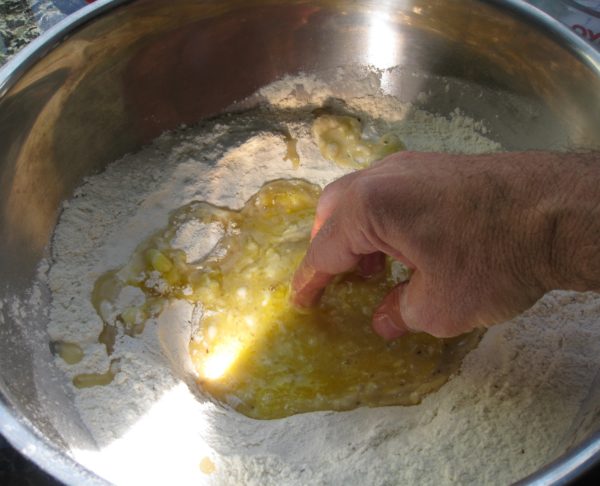
  7. Add the proofed yeast.
  8. Continue incorporating flour until it is all mixed in.
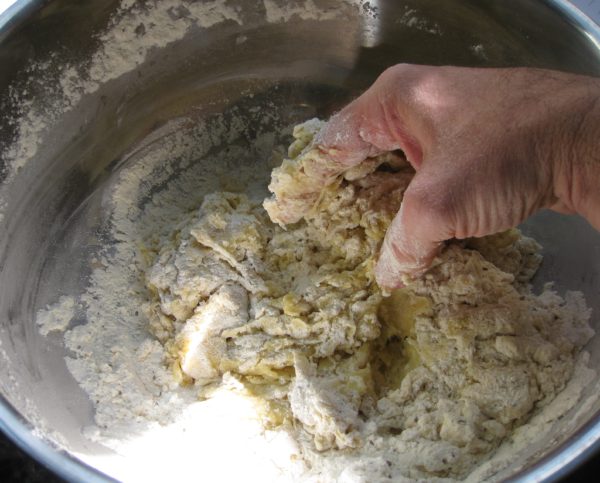
  9. Add a touch more flour or water, if needed, to create a supple, non-sticky dough.
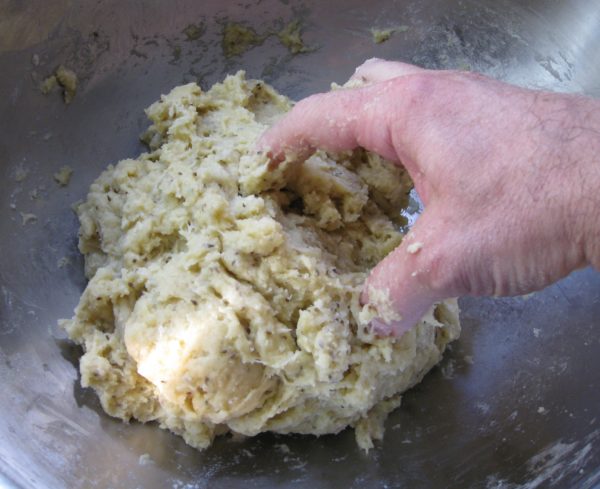
  10. Knead for approximately 10 minutes.
  11. Place the dough in a bowl. Cover the bowl and allow the dough to double in bulk.
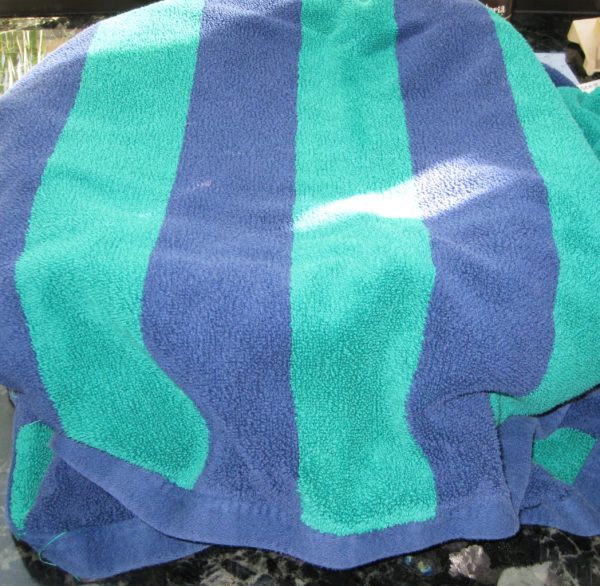
  12. Punch the dough down. Cover and allow to double again.
  13. Cut off small pieces of dough and roll into thin ropes, not much thicker than a pencil.
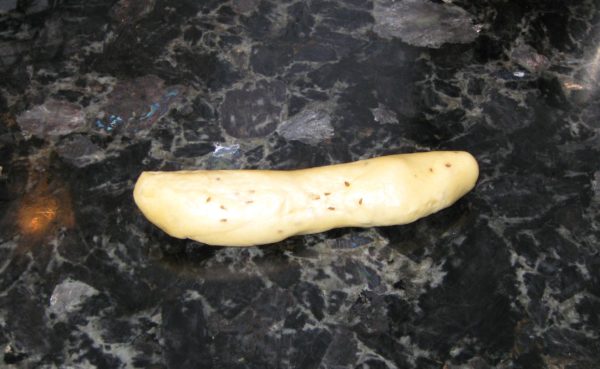
  14. The dough will have a tendency to shrink back. Roll it out. Let it shrink back a bit. Wait a few minutes for the gluten to relax. Roll it out again. Let it shrink back a bit. Repeat until the dough is the proper thickness. I find it helpful to roll 3 or 4 pieces of dough at a time. It makes the process more efficient.
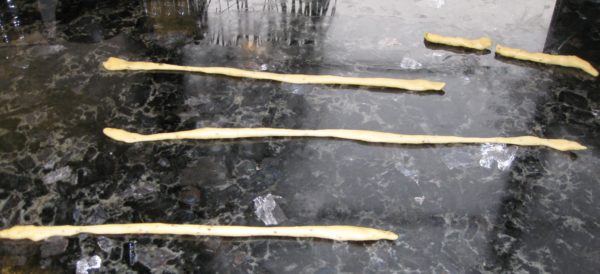
  15. Cut the dough into lengths. For the straight pieces, the lengths should be approximately 7 inches. For the circular pieces the lengths should be approximately 12 inches.
  16. Fold the lengths of dough in half and twist few times.
  17. Put on ungreased sheet pans, either straight or in circles.
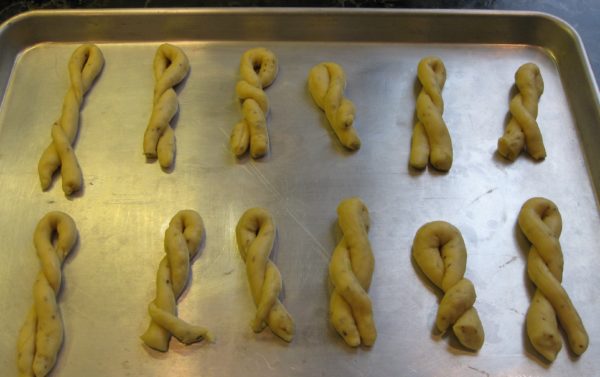
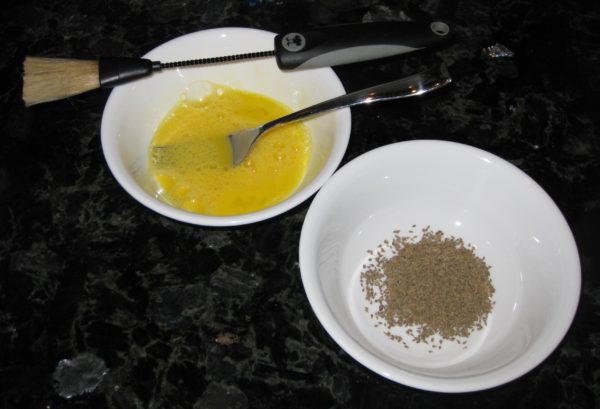
  18. Brush each with beaten egg. Sprinkle with additional anise seeds.
  19. Invert another sheet pan on top. Allow the bread to rise an hour.
  20. Bake at 350°F for 15-20 minutes, until golden brown.
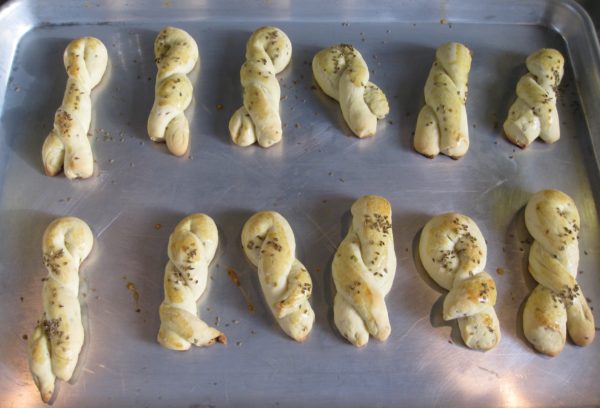
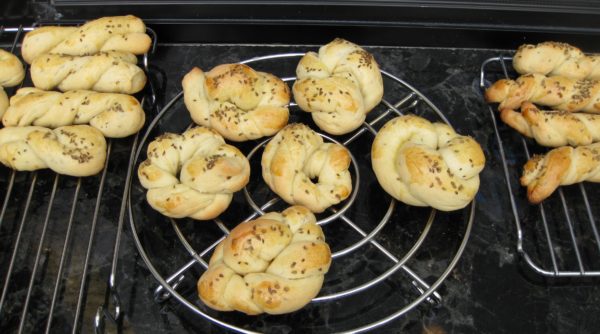
  21. Remove to wire racks to cool.
Recipe Notes

Copyright © 2018 by VillaSentieri.com. All rights reserved.

Share this Recipe

Slovak Potato Cake (Baba or Bubba)

June 7, 2017

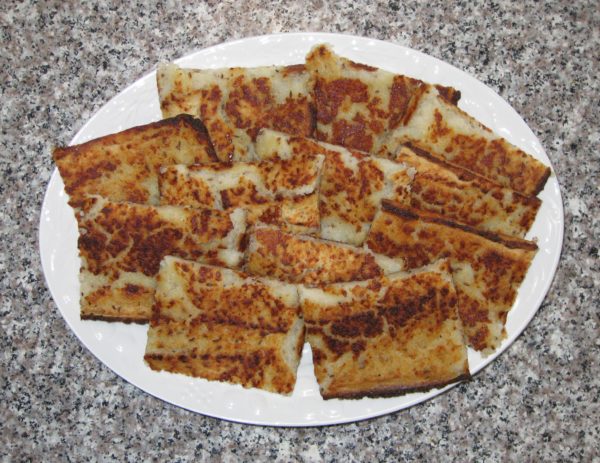
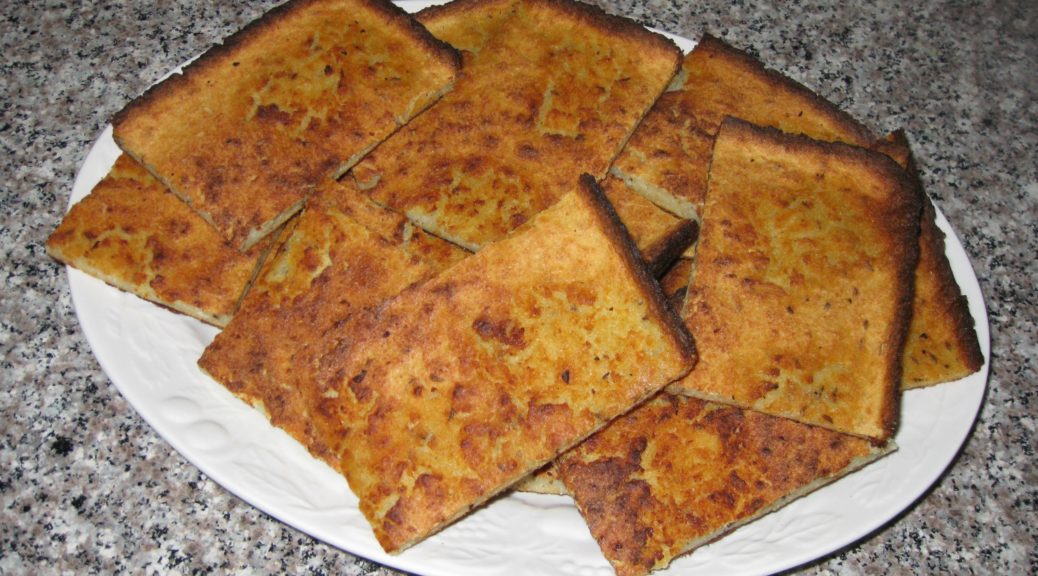
Baba was a favorite food in our house.  We often joked that my mother should open a shop selling pizza and baba.  We were convinced it would be a success, as were a number of family friends.

Although Johnstown, Pennsylvania, where I grew up, was originally founded by Germans (everyone, regardless of ethnic background, had sauerkraut, sausages, and pork on New Year’s Day), Italians and Eastern Europeans were among the largest ethnic groups when I lived there.  So, a “fusion” shop selling pizza and baba wasn’t so far-fetched!

Baba means old woman in Slovak.  I can’t tell you how it came to be applied to this very specific type of potato cake and whether it was just in our family or more widespread, though I suspect the latter.

Other than the crispy skin of our Thanksgiving turkey, this is the only food my sister and I fought over.  This, however, was three-way guerilla warfare also involving my father.  Crispy turkey skin has an immediacy about it.  It needs to be eaten right away, hot and crispy, or it loses its appeal.  The fight is right out there in the open, a virtual “land grab.”

Baba is different.  As good as it is freshly made, we all preferred it after a day or two.  Any leftover baba would be wrapped in aluminum foil and put in the oven, which had a pilot light way back then.  That kept it ever so slightly warmer than room temperature.  The baba would become chewy.

The natural tension that developed was between letting the baba mature till it had the optimum chewiness versus losing out entirely if someone else ate it first.

We all kept our eyes on the oven which was conveniently located at eye-level.  If it looked like the package had been disturbed, we could swing into action, grabbing what was left and eating it even if it didn’t have the optimum chew.  “Any baba is better than no baba” was definitely the operative mentality.

There was always the chance, however, that the first person to go for the baba would eat all of it, especially if there were only a few pieces left.

There was also the chance (sometimes turned into reality) that someone could deftly open the package, remove a piece of baba, close the package, and put it back in the oven it in a way that made it look undisturbed.  Well implemented, this was a strategy for getting more baba since others could be lulled into complacency thinking the cache of baba was still available to them for the taking.

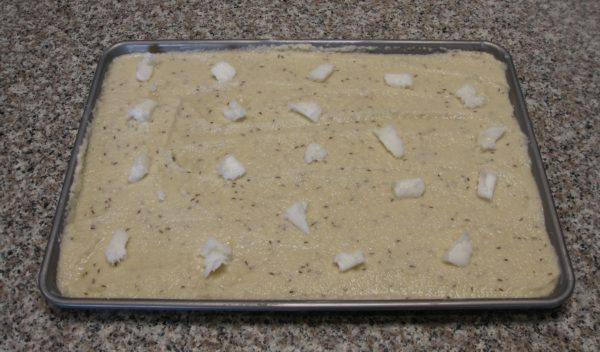
The ingredients of baba are pretty standard potato cake fare, potatoes, onions, salt, pepper, flour and, depending on the cook, egg.  Two things make it unusual in my experience: caraway seed and the cooking method.  To be sure, Slovaks put caraway seed in lots of foods but I have yet to find a recipe for Slovak potato cakes that contains caraway seed.

As for cooking method, baba is cooked in the oven in a rimmed baking sheet.  Remembering that my grandparents raised seven sons, who in later years were augmented by daughters-in-law and grandchildren, baba was made in large quantities.  When there wasn’t enough batter to fill another baking sheet “to the thickness of your finger,” as my Aunt Mary would say, the remaining batter would be turned into individual potato “pancakes” in a frying pan in shallow oil.

The proportions given here will nicely fill an 11” by 17” baking sheet.  If you prefer to fry the potato cakes rather than bake them, by all means do!

Print Recipe
Slovak Potato Cake (Baba)
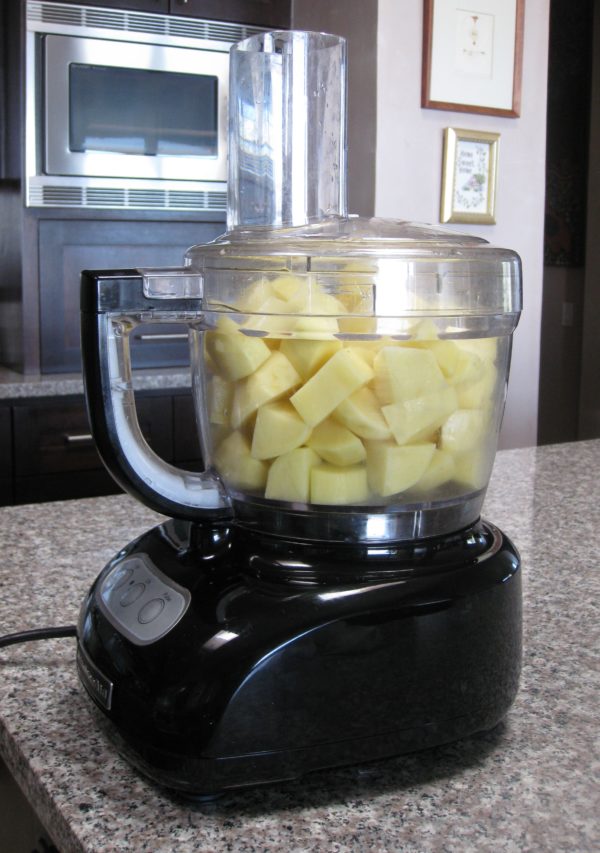
I remember watching my mother make this, and learning from her. Though it always tasted the same in the end, it seemed like the lack of precise measurements was an issue. My mother had no difficulty cooking her regular canon of Italian food without measurements. My suspicion is that the issue with Baba is that she didn’t make it all that often. I make it even less often (though I think that’s changing) which prompted me to carefully measure ingredients until I got a perfect batch and then stick with those measurements going forward. My mother put an egg in her Baba. My Aunt Mary did not. Aunt Mary, who lived next door to my Slovak grandparents for years, insists that Grandma never used egg. I have not tried it without the egg, being happy to stick with a recipe that works. Before food processors, the potatoes and onion were grated on the fine side of a box grater. The food processor eliminates the most tedious part of making Baba.
Votes: 0
Rating: 0
You:
Rate this recipe!
Prep Time 30 minutes
Cook Time 1 hour
Servings
people
Ingredients
Prep Time 30 minutes
Cook Time 1 hour
Servings
people
Ingredients
Votes: 0
Rating: 0
You:
Rate this recipe!
Instructions
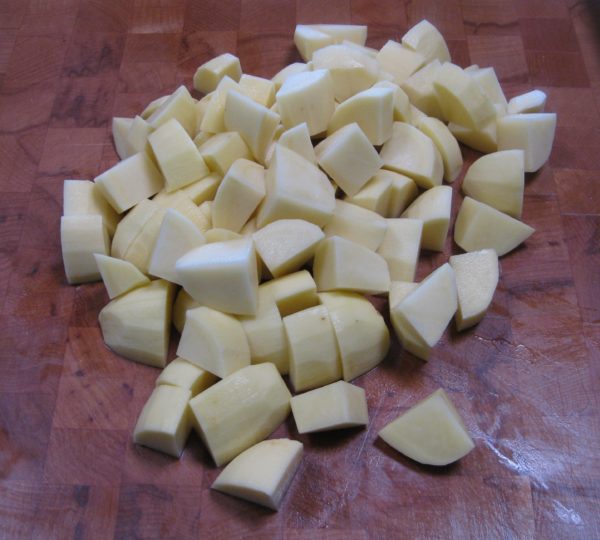
  1. Peel the potatoes. Rinse and dry them and cut into 1 inch cubes.
  2. Weigh out 1600 grams (3 ½ pounds) of potato cubes.
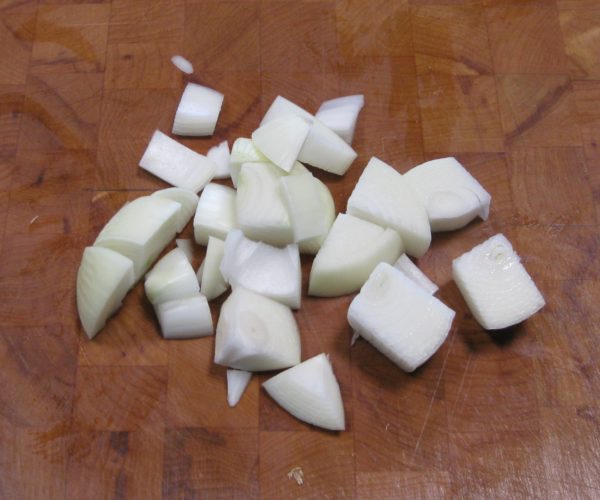
  3. Cut onion into 1 inch chunks.
  4. In two or three batches, depending on the size of your food processor, thoroughly grind the potato and onion, putting some potato and some onion in each batch.
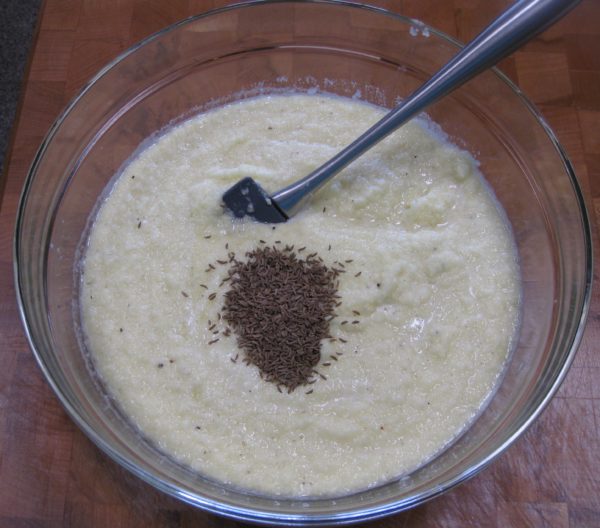
  5. Put the ground potatoes and onions into a large mixing bowl. Add the lightly beaten egg, salt, black pepper, and caraway seed.
  6. Mix well.
  7. Stir in about ¾ of the flour. Add enough of the remaining flour to thickly coat a spoon. Chances are you will need all the flour. If in doubt, just add it.
  8. Very, very generously grease an 11” x 17” x 1” baking sheet with lard. After you think you’ve used enough, add more! Remember, most potato cakes are fried. These are baked. They definitely need some fat for texture.
  9. Pour the batter into the prepared pan. Dot very generously with lard.
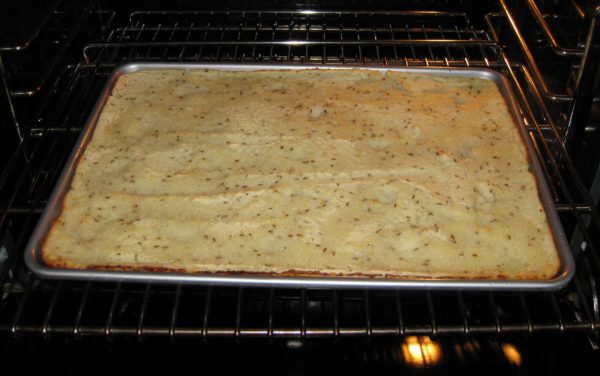
  10. Bake 425°F until browned on the bottom, about 30-40 minutes, turning the pan front to back after 20 minutes.
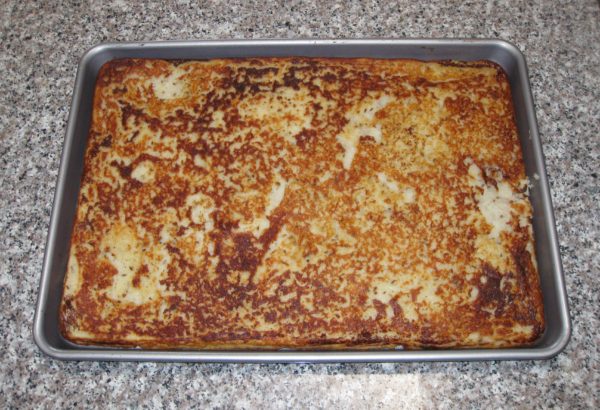
  11. When the bottom is brown, you’ll need to flip the Baba upside down. To do this, set another baking sheet of the same size on top of the Baba. The bottom of the baking sheet should be sitting on top of the Bubba.
  12. Flip the pans over. If you had enough lard in the pan, the Baba should release from the pan and be sitting, upside down, on the bottom of the other baking pan.
  13. Slide the Baba back into the original baking pan with the browned bottom now facing up.
  14. Bake another 20 minutes or so until browned on the bottom and thoroughly cooked.
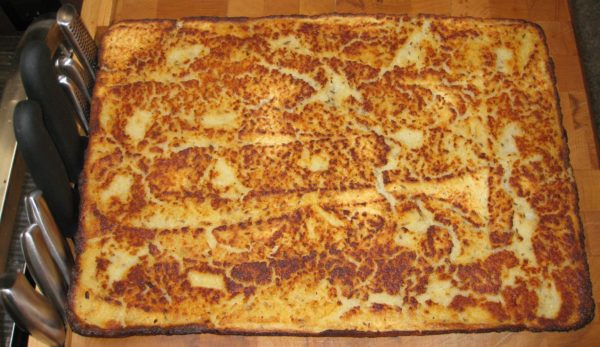
  15. Turn out of the pan onto a large cutting board.
  16. Cut into 16 pieces. Serve warm or at room temperature.
Recipe Notes

Although you can use solid vegetable shortening in this recipe, I suggest you use lard for better taste and better health. You can find information about lard vs. vegetable shortening in this post.

Copyright © 2017 by VillaSentieri.com. All rights reserved.
Share this Recipe

Totos (Italian Chocolate Spice Cookies)

December 21, 2016

Homemade cookies and pastries were staples of my childhood.  Trays of cookies showed up for holidays, celebrations, weddings, funerals, and, sometimes, for no apparent reason.

My mother along with relatives and friends set up a cookie-making operation that went on every night for weeks leading up to my sister’s wedding.  The overseer was Annie Castagnola, a family friend.  She had a thin spiral-bound 3-inch-by-5-inch notebook of cookie recipes.  The notebook was the kind we used in grade school to write down our homework assignments.  Annie’s recipes were a curated collection gathered from a host of “old Italian women,” my grandmother included.

The little notebook was coveted by more than a few cooks.  Annie, however, did not share her recipes, even when those recipes came from relatives of the very people who were asking for them.  I know, my mother was one of those people who wanted some of her mother’s recipes.  Annie wouldn’t budge.  The situation got resolved, however, during the cookie-baking marathon for my sister’s wedding.  One night, Annie left her little notebook at our house overnight.  Nobody’s confessing, but there are a few cookie recipes in my mother’s recipe box (sitting on my bookcase) written in my twelve-year-old hand.

Annie died a while back.  Her little notebook is most likely gone forever and along with it the baking secrets of a whole group of “old Italian women.”

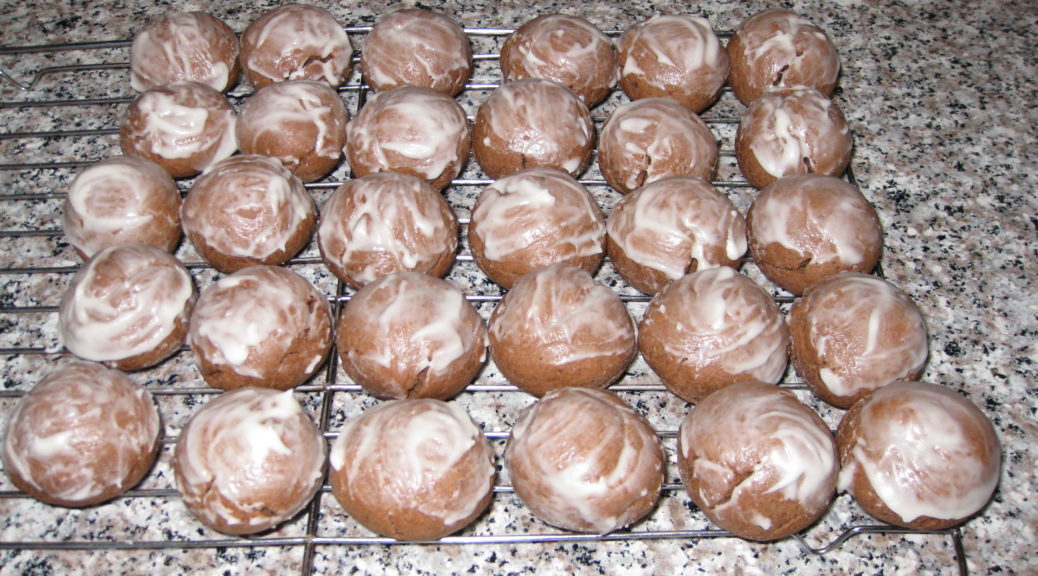
Of all the cookies that showed up throughout the year, my favorites were the various kinds of cakey cookies, my mom’s Genets, Aunt Margie’s aptly named “Colored Cookies,” and my cousin Angie Catanese’s Sesame Seed Cookies, to name a few.  These cakey cookies, which were not very sweet by American standards, were usually little balls but not always.  Genets are lemon flavored knots.  Colored Cookies are vanilla flavored balls, each made with four or five pinches of dough of different colors rolled together.  Sesame cookies are little logs, perfect for dunking into some Vin Santo.  For me, though, the best of these cakey cookies are Totos, little chocolate spice balls.

Print Recipe
Totos (Italian Chocolate Spice Cookies)
These little chocolate balls are intended to have a good kick from an array of spices. Lard is the traditional shortening to use. I render my own. If you need these to be vegetarian, or you just don't want to use lard, you can use solid vegetable shortening. Heck, you can even use clarified butter but that is way off the traditional scale!
Votes: 22
Rating: 3.86
You:
Rate this recipe!
Cuisine Italian
Prep Time 45 minutes
Cook Time 2 hours
Servings
dozen cookies
Ingredients
Cookies
Icing
Cuisine Italian
Prep Time 45 minutes
Cook Time 2 hours
Servings
dozen cookies
Ingredients
Cookies
Icing
Votes: 22
Rating: 3.86
You:
Rate this recipe!
Instructions
Cookies
  1. In a small saucepan, melt the lard over low heat. When just melted, remove the lard from the heat and allow to cool slightly.
  2. Meanwhile, combine the flour, cocoa, baking powder, baking soda, salt, cloves, cinnamon, allspice, and nutmeg together. Reserve.
  3. Make the icing and reserve.
  4. Put the sugar into a large mixing bowl. Add the cooled but still liquid lard and mix well until thoroughly combined. The mixture will be gritty. I recommend doing this by hand with a mixing spoon but you could use a portable electric mixer.
  5. Add the eggs one at a time to the sugar and lard mixture, mixing well after each addition. The sugar should dissolve as the eggs are added.
  6. Add the milk, honey, vanilla extract and lemon extract to the egg mixture. Mix until well combined.
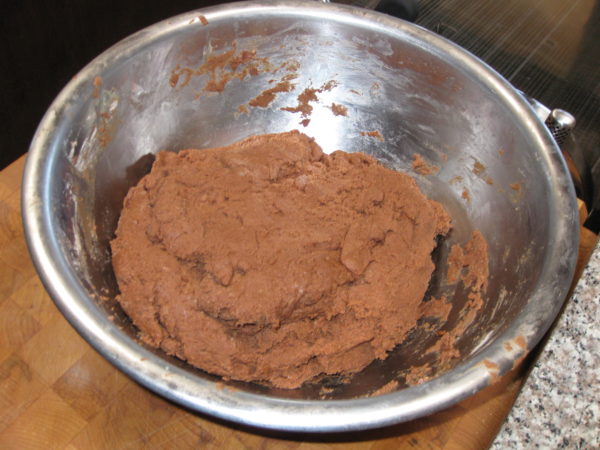
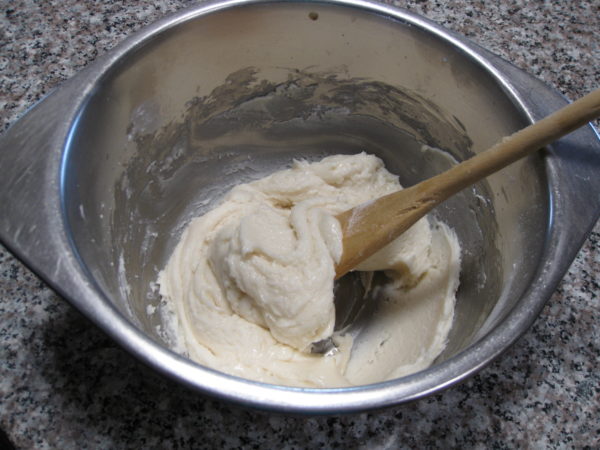
  7. Add the reserved dry ingredients. At this point there really is no better option than to reach into the mixture with your hand and get everything well combined. The dough will be somewhat sticky. Be certain that all the dry bits are scraped off the bottom and sides of the bowl and combined into the dough.
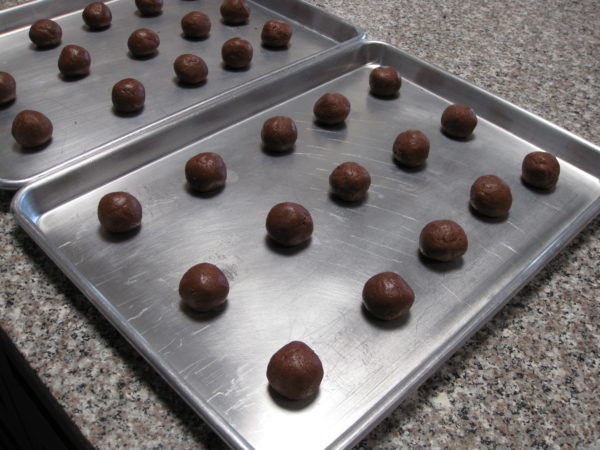
  8. Roll the dough into walnut-sized balls. If you want to weigh the first few to get the size correct, they should be between 21 and 22 grams.
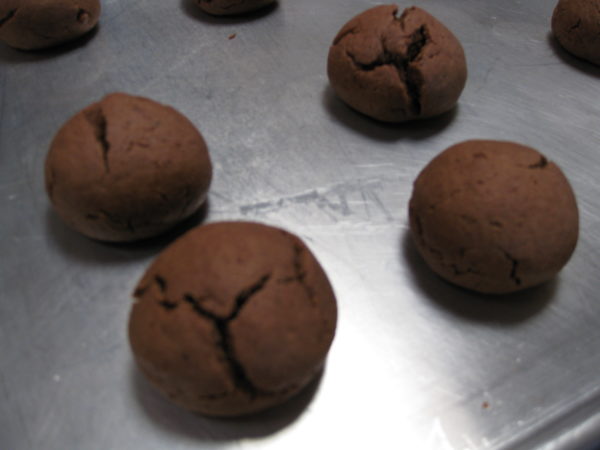
  9. Space the cookies several inches apart on ungreased cookie sheets. Bake at 375°F for 8-10 minutes until the cookies are very slightly browned on the bottom but still soft when touched. They have a tendency to crack as they bake. This is normal. You can bake two trays at a time, one in the lower third of the oven and one in the upper third. Be sure to switch the top and bottom cookie sheets after five minutes and also turn them front to back.
  10. As soon as you remove the cookies from the oven, carefully put them on cooling racks.
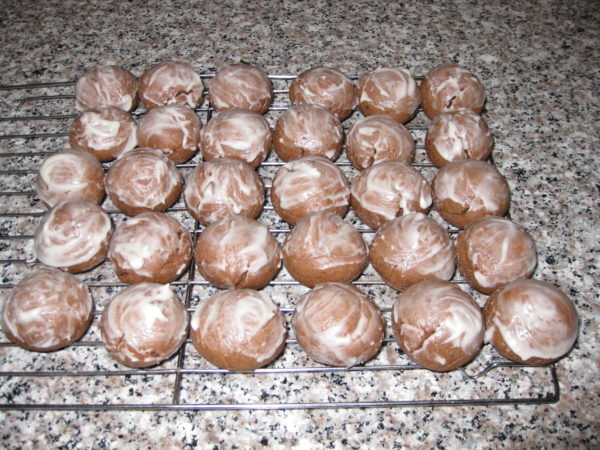
  11. Ice them immediately by holding a cookie with one hand and using the tip of your finger to spread a dollop of icing on the top half of each cookie. The icing should be a glaze, not a thick coating. Put the iced cookies on cooling racks to cool completely.
  12. Well wrapped, the cookies can be refrigerated for several weeks or frozen for several months.
Icing
  1. Melt the butter. Add the sugar, vanilla (or lemon) extract and 2 tablespoons of milk. Mix well. Add more milk, a teaspoon at a time, if needed, to make a thick icing that will hold its shape and spread well.
  2. It may be necessary to add a bit of milk from time to time if the icing stiffens up over the course of icing each batch of cookies as they come out of the oven.
Recipe Notes

Check out my method for rendering lard.

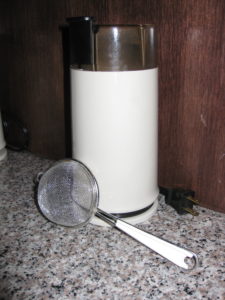
I prefer to grind my own spices using a small electric coffee grinder, except for the nutmeg, of course, for which I use a small grater. It is best to pass the ground spices through a small strainer to get out any small bits. If you don’t grind your own spices be sure to buy really fresh ground ones so the flavor is vibrant.

This recipe doesn’t involve any strenuous beating so the first few steps can easily be completed by hand with a sturdy mixing spoon rather than with a mixer. Similarly, after adding the dry ingredients, the dough only needs to be mixed enough to come together. This is easily (and traditionally) done with your hand though I suppose a dough hook would work, too.

Copyright © 2016 by VillaSentieri.com. All rights reserved.
Share this Recipe