Rabbi Goldie’s Jewish Apple Cake

September 5, 2018

In September 1972, at the age of 17, I went from the small town of Johnstown, Pennsylvania to Philadelphia to attend the University of Pennsylvania.

Little did I know how much my life was going to change, nor how sheltered I had been growing up in Johnstown.  There were a few trips to Florida and California by car, and a portion of every summer spent in Atlantic City, but other than that my life mostly revolved around the family and happenings within a few hours’ drive of Johnstown.

A few weeks before I left for college, I got a note from Jon Rikoon who was to be one of my roommates.  Jon lived on Long Island.  I don’t think I’d ever been to New York at that point.

Harnwell House, the dorm (now a college house) I lived in during freshman year

Another of my roommates (we had a three-bedroom, four-bed dorm “apartment”) was Chip Fleischmann, as in Fleischmann’s yeast.  The fourth roommate only lasted the first semester and I simply can’t remember his name.  (He kept to himself mostly.)

Join our mailing list and you’ll never miss a recipe again!

Early in freshman year, Jon started dating Gail Milgram.  Gail spent a lot of time in our apartment and she and I became very good friends.

Gail’s relationship with Jon didn’t last beyond freshman year but our friendship did.  We saw a lot of each other throughout our undergraduate years and for a few years thereafter while I was in medical school.

Our friendship remained strong.  In fact, at one point early in medical school Gail and I had to temporarily stop spending time together as her boyfriend at the time was jealous of our relationship.  Needless to say, he didn’t last!

Gail and I were in infrequent contact after my first couple of years in medical school.  In fact, years could go by without contact but, somehow, we always managed to reconnect.

As the years did, in fact, go by, Gail officially changed her name to Goldie.  She also became a rabbi.

A few months ago, out of the blue, just after I decided to post a recipe for the Jewish Apple Cake that (the then) Gail taught me how to make in college, I received an email from her.

Follow us on your social media platform of choice


She was in Europe for the summer and we set up a time to chat by video conference but her internet connection did not cooperate and we were unsuccessful in our attempts to chat.  We’re planning another attempt at video conferencing when both of us are in the States later this fall.  I’m looking forward to catching up with her.

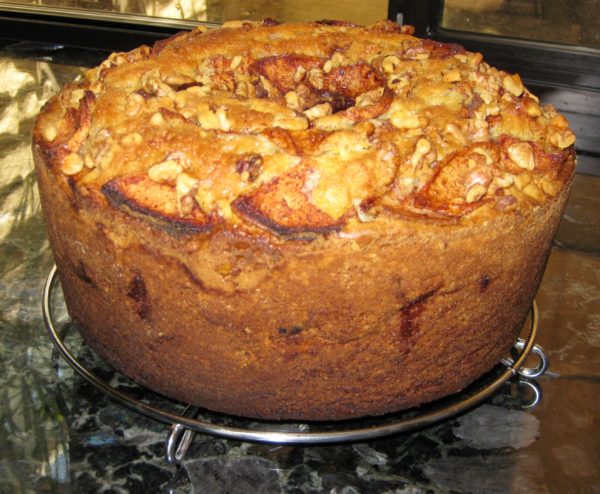
In the meantime, I hope you enjoy what is now, officially, Rabbi Goldie’s Jewish Apple Cake!
Print Recipe
Rabbi Goldie's Jewish Apple Cake
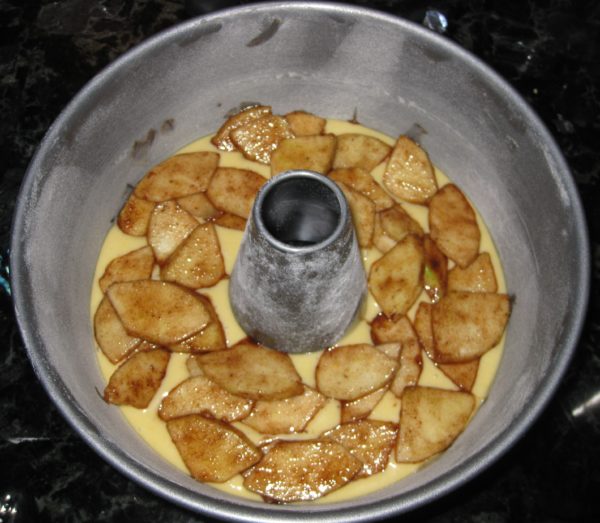
It is best to bake this cake in a plain, shiny aluminum pan. A dark pan will overcook the outside before the center is done. Don't add the sugar to the apples before you are ready to pour the batter into the pan or it will pull a lot of liquid out of the apples.
Votes: 20
Rating: 4.15
You:
Rate this recipe!
Cuisine Jewish
Prep Time 30 minutes
Cook Time 90 minutes
Passive Time 1 hour
Servings
people
Ingredients
Cuisine Jewish
Prep Time 30 minutes
Cook Time 90 minutes
Passive Time 1 hour
Servings
people
Ingredients
Votes: 20
Rating: 4.15
You:
Rate this recipe!
Instructions
  1. Grease and flour a 10" tube pan with a removable bottom.
  2. Sift together the flour and baking powder.
  3. Peel the apples, cut them in quarters and remove the core.
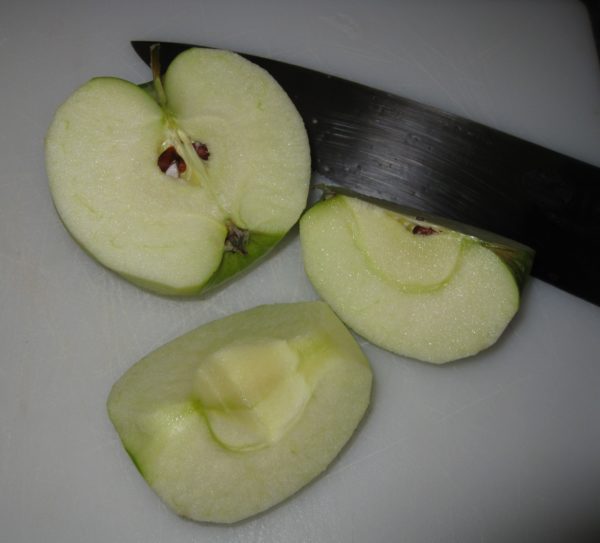
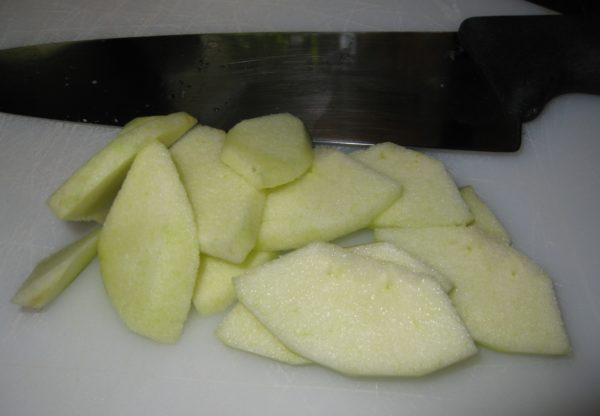
  4. Slice the apples crosswise into 1/8 inch thick slices.
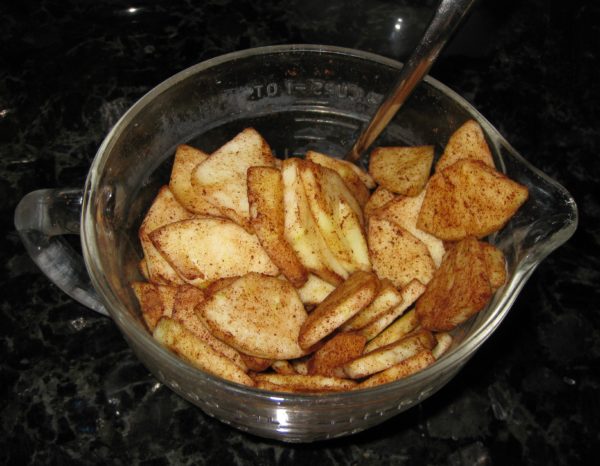
  5. Mix the apples and cinnamon and set aside.
  6. In the bowl of an electric mixer cream oil and 2 cups plus 3 tablespoons sugar.
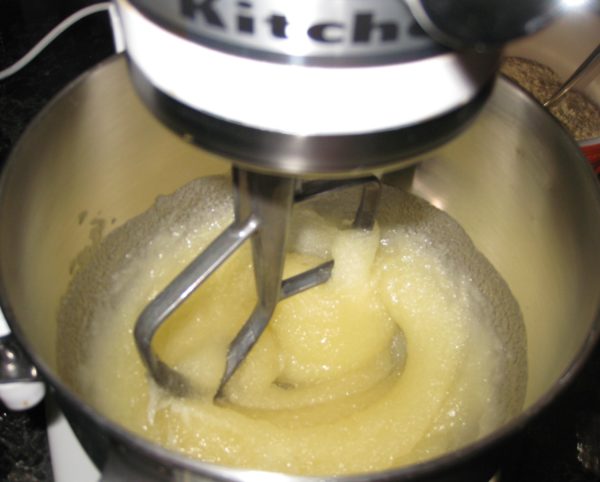
  7. Add eggs one at a time beating after each addition.
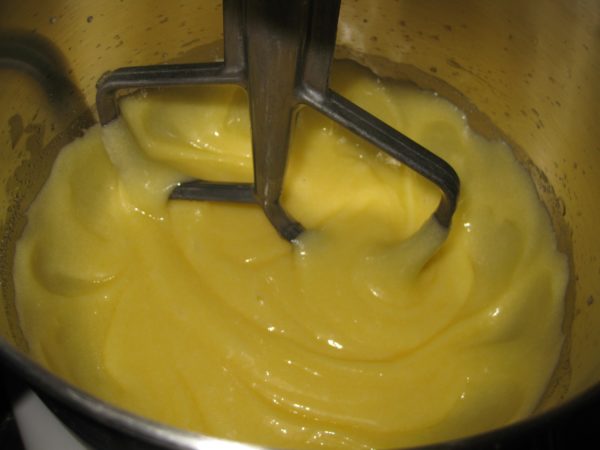
  8. Add 1/3 cup plus 1 tablespoon orange juice and vanilla. Mix well.
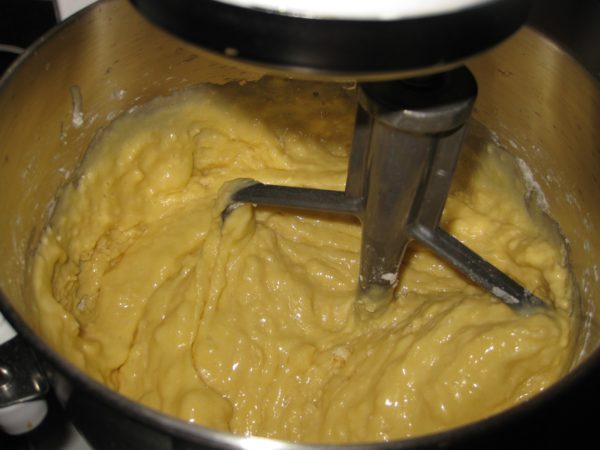
  9. Add flour and baking powder mixture and mix well.
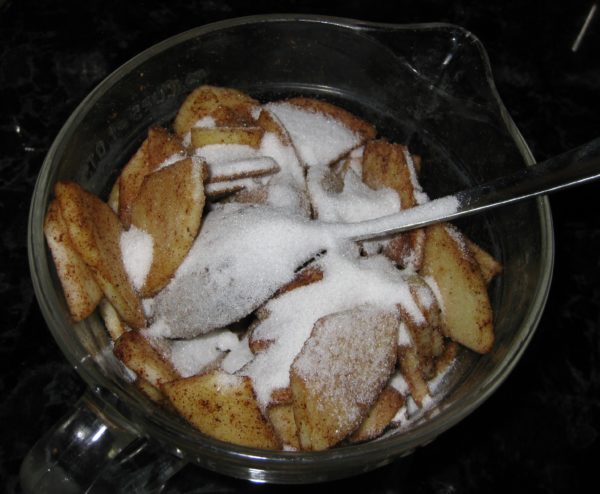
  10. Add 5 tablespoons of sugar to the apples and mix well.
  11. Pour half the batter into the prepared pan.
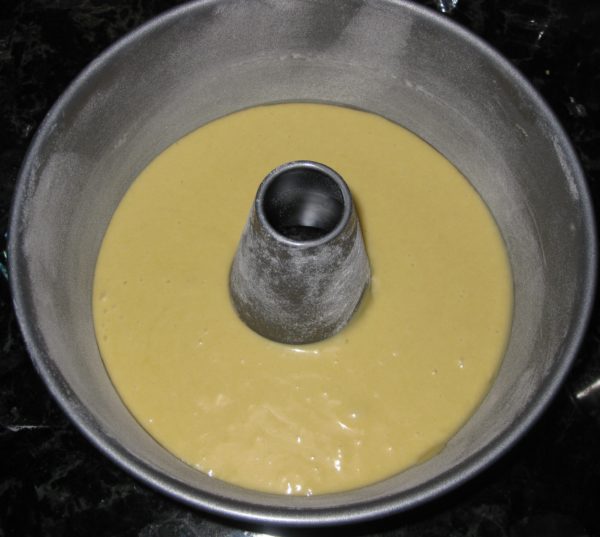
  12. Top the batter with half the apples.
  13. Top the apples with half the walnuts, if using.
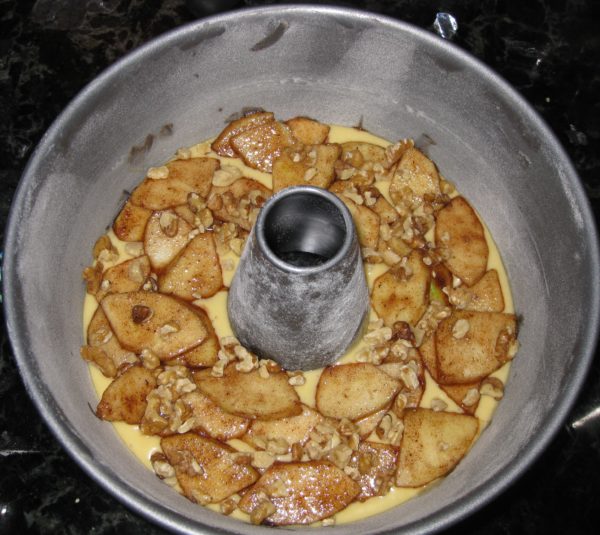
  14. Add the remaining batter and top with the remaining apples and walnuts, if using.
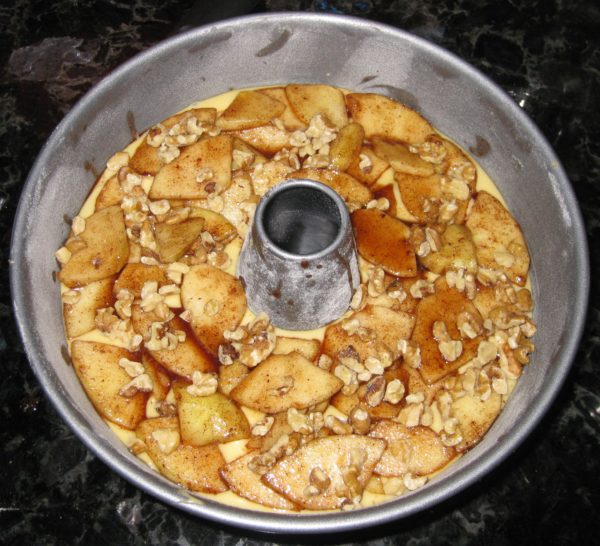
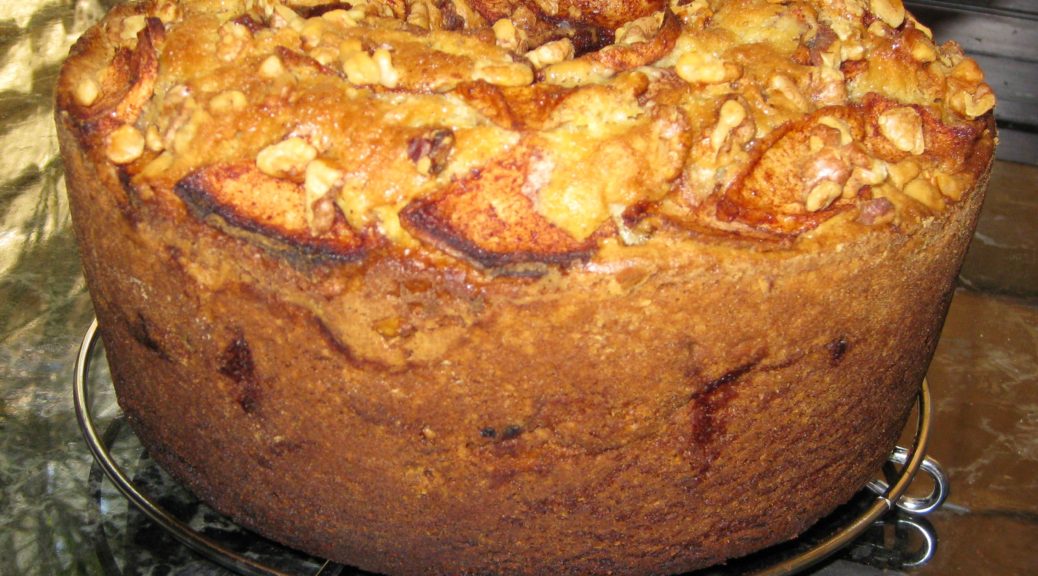
  15. Bake at 350°F for approximately 1 hour 40 minutes, until a tester inserted in the center comes out clean.
  16. Cool for 10 minutes on a rack. Remove from pan and cool completely.
Recipe Notes

Copyright © 2018 by Villa Sentieri, LLC. All rights reserved.

Share this Recipe

Crostata di Noci (Italian Walnut Tart)

December 20, 2017

One evening in 1996 my husband and I were sitting with his parents in a dimly-lit bar in Venice. We were all chatting. I was drinking grappa, as was my father-in-law. Then the desire for dessert hit me. If you’ve spent any time in Italy you know that at no point in the day are you actually hungry. There’s just too much wonderful food around to not partake in it. So the desire for dessert had absolutely nothing to do with the need for more calories.

Going for something new, I selected Crostata di Noci. I was absolutely amazed by what I got.

The pastry was standard-issue Italian pasta frolla, a slightly sweet leavened crust that’s like a cross between shortbread cookies and a dense cake. The filling, however, tasted for all the world like nut roll, one of my favorite pastries but one that is also very time-consuming and frustrating to make.

In that instant, it all made sense. Nut roll hails from Eastern and Central Europe (as does another of my favorites, the poppy seed roll).  In northeast in Italy there is a lot of Eastern European influence. Suddenly, taking nut roll filling and putting it in a pasta frolla case meant I could have something that tasted just like a nut roll but without all the frustration of actually making nut roll.


Click HERE to join our mailing list and you’ll never miss a recipe again!


Now, Crostata di Noci will never actually replace “real” nut roll just like making bread in my bread machine won’t replace making bread by hand. But, with a bread machine, I have homemade bread every day which wouldn’t be the case if I had to make every loaf by hand. With less than half-an-hour’s active time, I can indulge my taste for nut roll any time I want!

Around the holidays nut rolls were ubiquitous in my home town but my mother and my Aunt Margie made the best nut rolls I have ever had. Largely this is because they both put in a large proportion of sweetened nuts to dough. Honestly, there was just enough dough to roll pinwheel fashion and hold the whole thing together. Many other nut rolls were bready by comparison.

To be sure, my mother’s filling differed from my Aunt Margie’s. I’m not sure how each of them came by their respective recipes but my suspicion is that Aunt Margie’s came from her mother or another Italian relative or friend because it contained orange juice. The use of citrus in various pastries is common in Italy. Pasta frolla, for example, is traditionally flavored with lemon zest and vanilla. I am guessing my mother’s recipe came from my father’s mother or someone on the Slovak side of my family because the liquid in the nuts was milk and not orange juice.


Follow us on your social media platform of choice


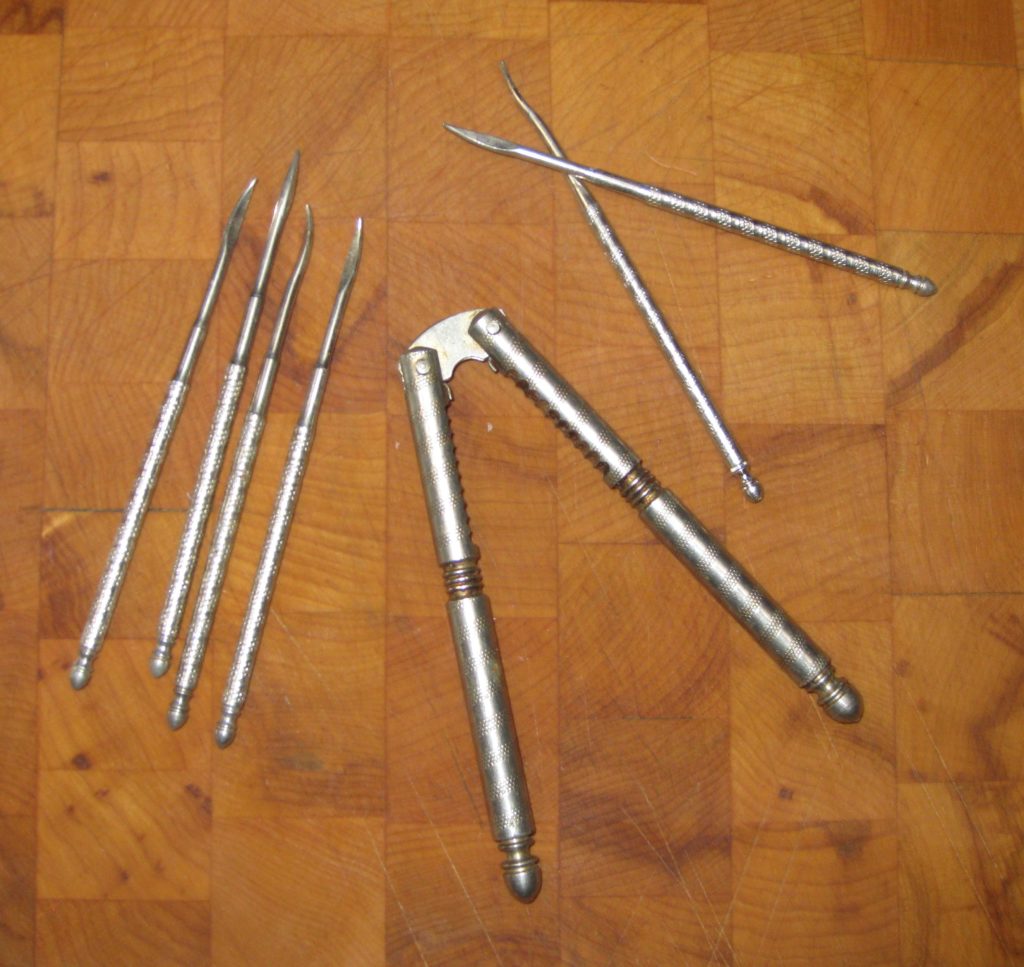
Separate from actually eating nut roll, there was this whole aura around making them (at least there was when I was young!). Buying shelled walnuts and using a food processor make quick work of preparing the nuts but in the 1960s, making nut roll started with my mother buying a large quantity of whole walnuts. We would sit around the table and crack the nuts open then extract the nutmeats. I still have the nutcracker and picks that we used.

My parents’ nutcracker and picks

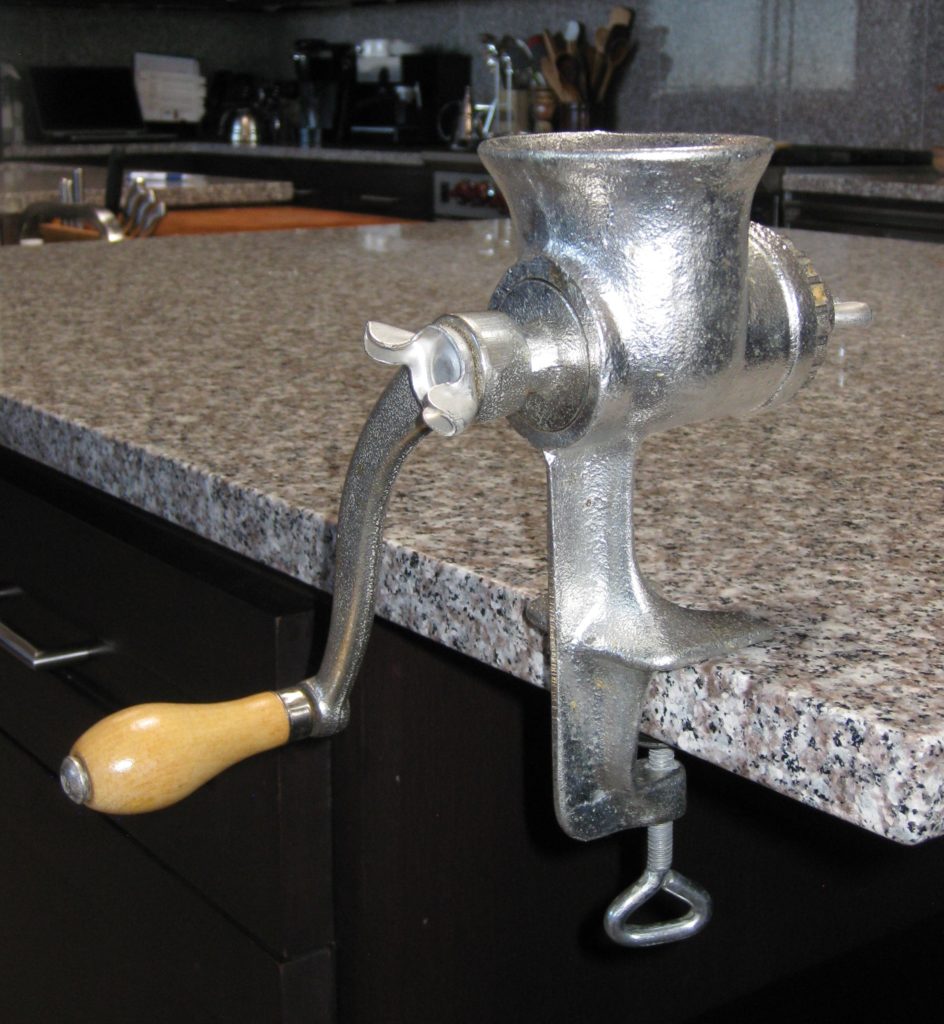
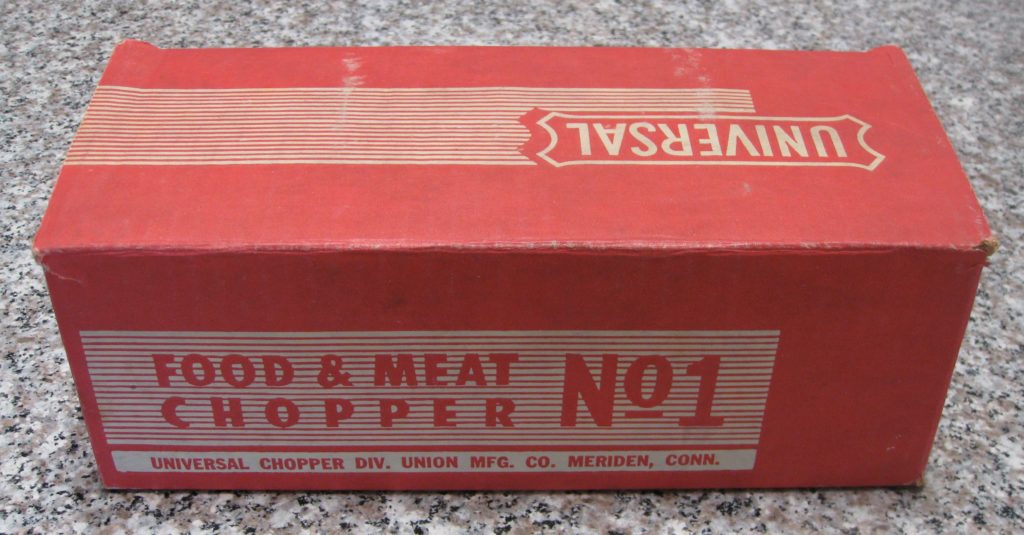
After all the nuts were shelled, they needed to be ground. We did this in a hand-crank grinder of the same type used to grind meat for sausage. As a kid, I got to turn the crank on the grinder! I no longer have my mother’s grinder as it got rusty from being stored in the basement but I have my own that is pretty much identical. I got it when I was in college.

The hand-crank grinder I got while in college

After the excitement (well, as a kid it was pretty exciting!) of shelling and grinding the nuts we all kind of abandoned my mother who started the laborious process of actually making the nut rolls. That is definitely not a job for amateurs. The dough had to be very thin but just thick enough to contain the nuts. The nuts had to be moist, sweet, and generous in quantity compared to the amount of dough. Then the whole thing had to be rolled up and baked.

After my mother died, Aunt Margie started sending me nut roll every year. After Aunt Margie died, my cousin Donna (Aunt Margie’s daughter) picked up the nut roll mantle. The two nut rolls that I got this year will be carefully doled out over a few weeks, befitting their preciousness, starting on Christmas Eve!

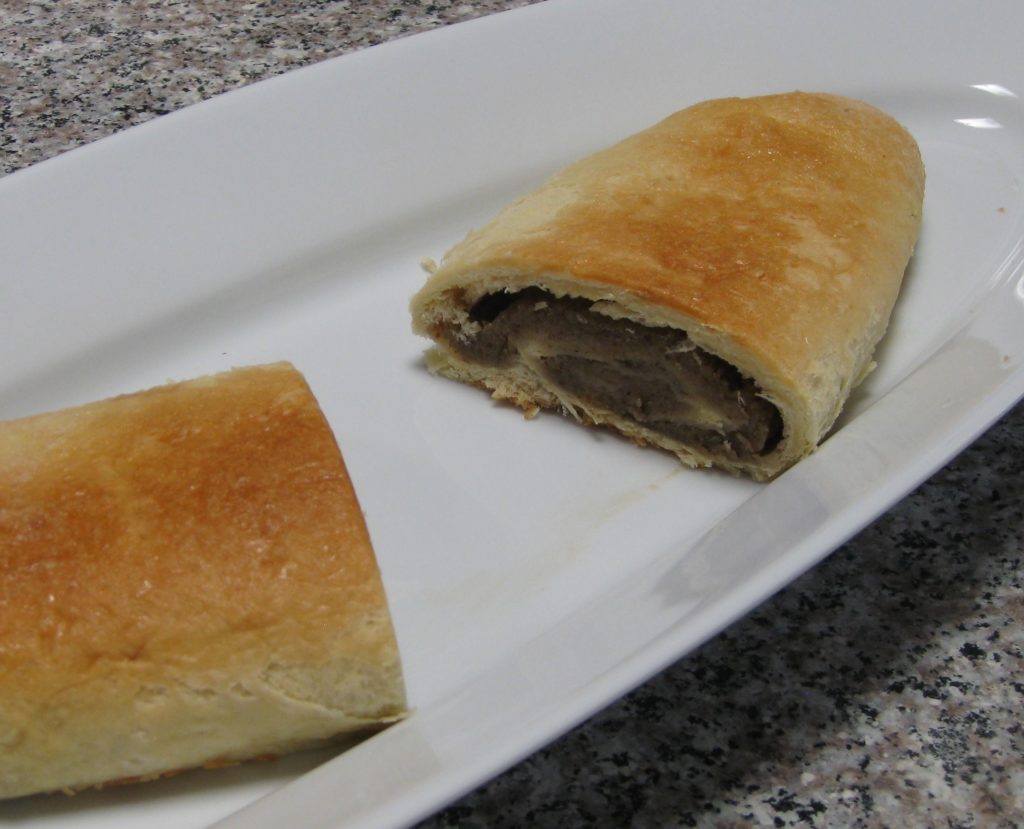
This year’s nut roll from my cousin Donna.  Notice the large proportion of nuts to dough.

If you have a favorite family recipe and a bit of a story to tell, please email me at santafecook@villasentieri.com and we can discuss it. I am expanding the scope of my blog to include traditional recipes from around the country and around the world. Take a look at Bertha’s Flan.  It will give you an idea of what I’m looking for.


After returning from that trip to Venice I was determined to recreate Crostata di Noci. I whipped up a batch of Zia Fidalma’s pasta frolla and made a simple walnut filling with orange juice in a nod to the Italian origins of this particular pastry.

The first try was a winner and I haven’t really made any substantive changes in the recipe since. If one wanted a creamier filling, one could add a few tablespoons of butter but, honestly, the crostata is so rich that I haven’t felt the need to make it more so.

Until I tackle nut roll making 101 (which I swear I’m going to do one day soon!), I’ll have to settle for crostata di noci, and the occasional nut roll care package from my cousin!

Print Recipe
Crostata di Noci (Italian Walnut Tart)
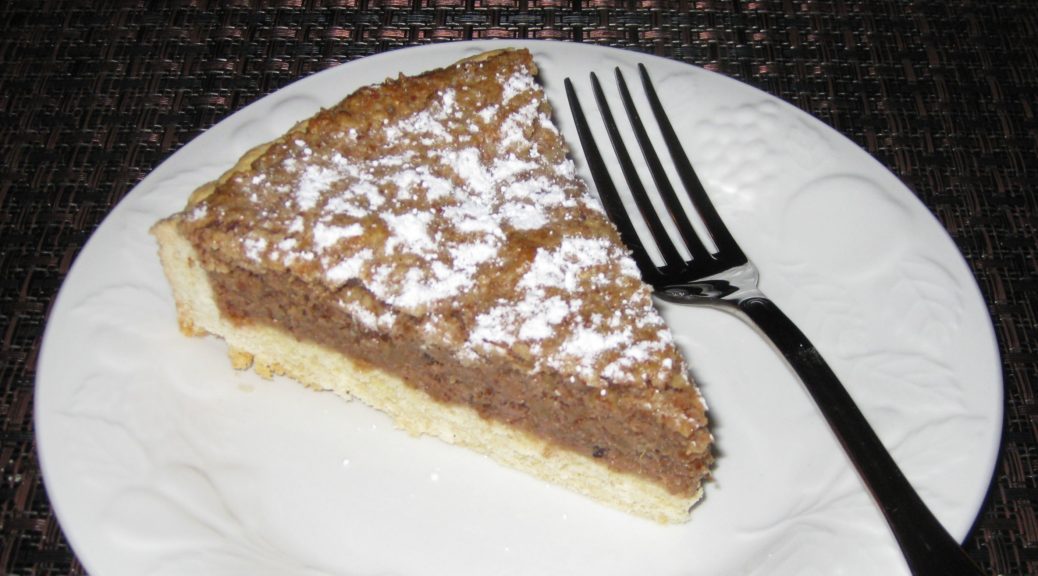
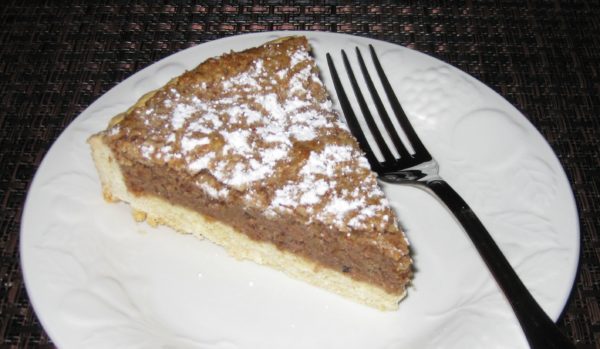
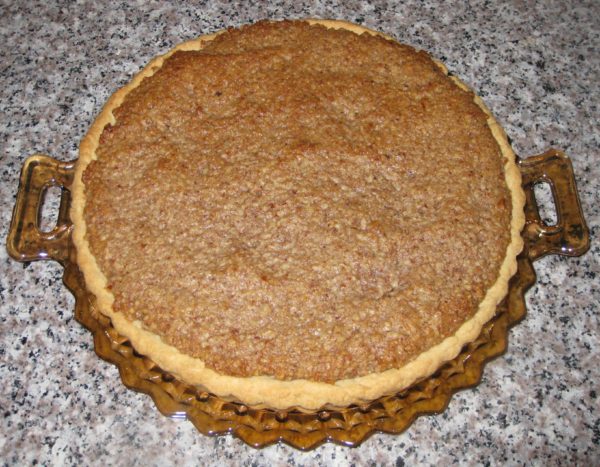
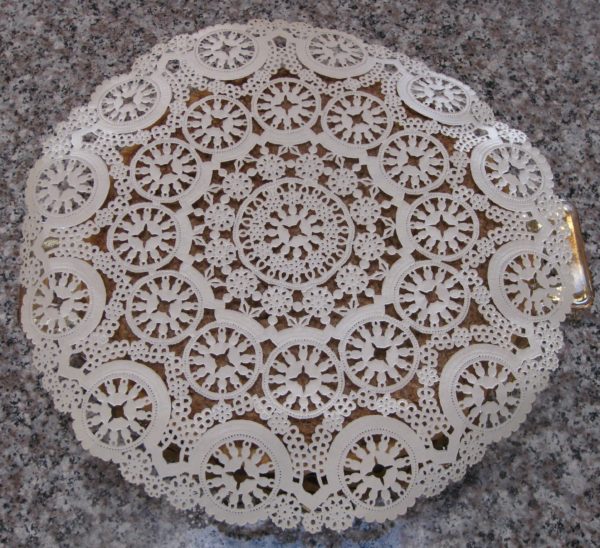
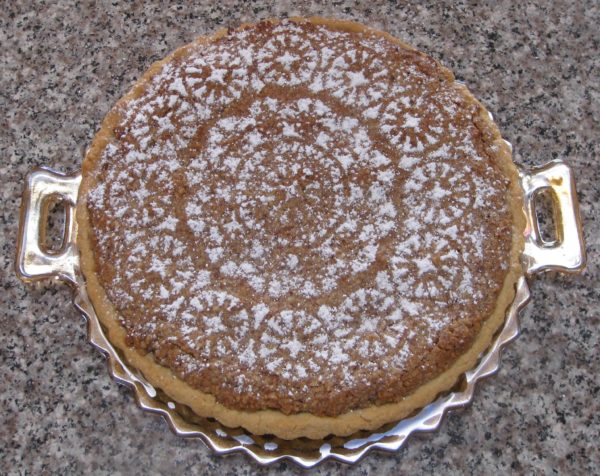
Lightly sweetened ground walnuts fill an Italian pasta frolla crust in this Venetian dessert. If you’re not a fan of walnuts you could use other nuts. If you want to make the crostata extra festive, put a paper doily on top and sprinkle it with powdered sugar to get a pattern.
Votes: 0
Rating: 0
You:
Rate this recipe!
Cuisine Italian
Prep Time 40 minutes
Cook Time 45 minutes
Passive Time 30 minutes, plus cooling
Servings
people
Ingredients
Pasta Frolla
Nut Filling
Cuisine Italian
Prep Time 40 minutes
Cook Time 45 minutes
Passive Time 30 minutes, plus cooling
Servings
people
Ingredients
Pasta Frolla
Nut Filling
Votes: 0
Rating: 0
You:
Rate this recipe!
Instructions
Pasta Frolla
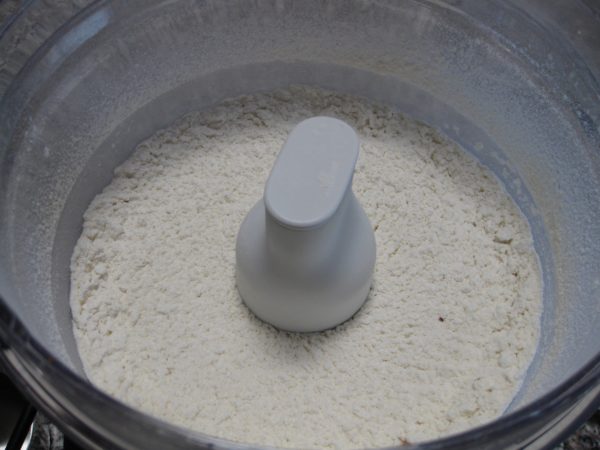
  1. Blend flour, sugar, baking powder, vanilla powder, salt and lemon zest in a food processor until combined.
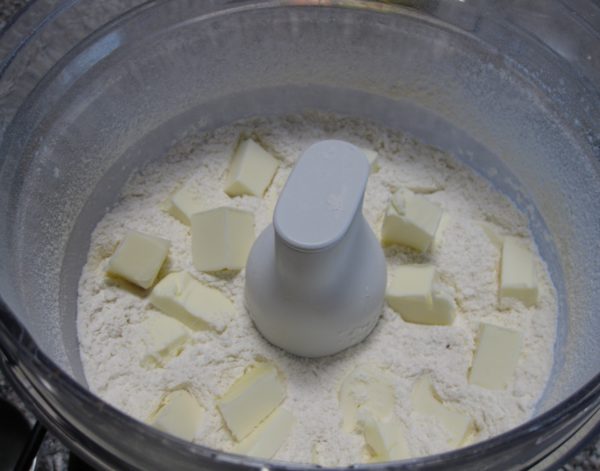
  2. Add the cold butter, cut in pieces.
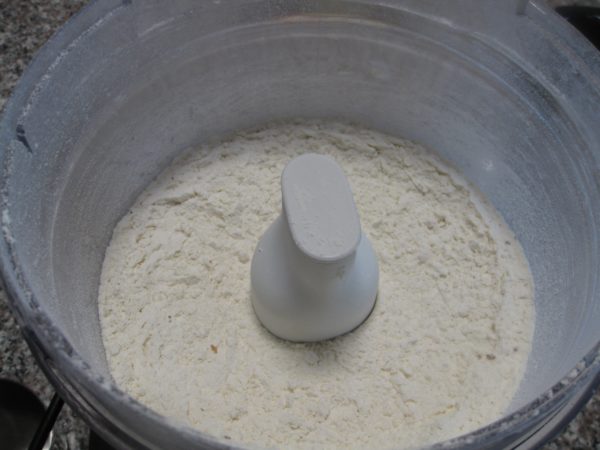
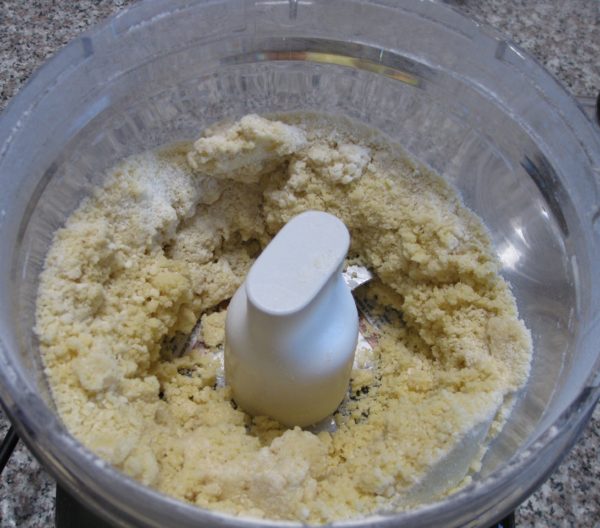
  3. Blend till well combined. The mixture in the food processor will appear to move as one mass though when you stop the processor you will see that it is not.
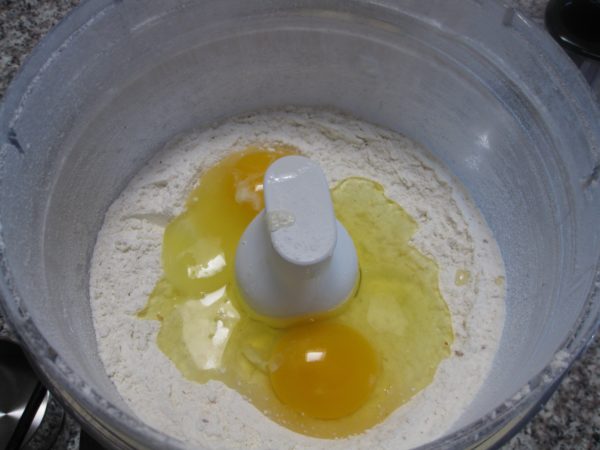
  4. Add the eggs and vanilla extract if you are using that instead of vanilla powder and blend till it almost forms a ball.
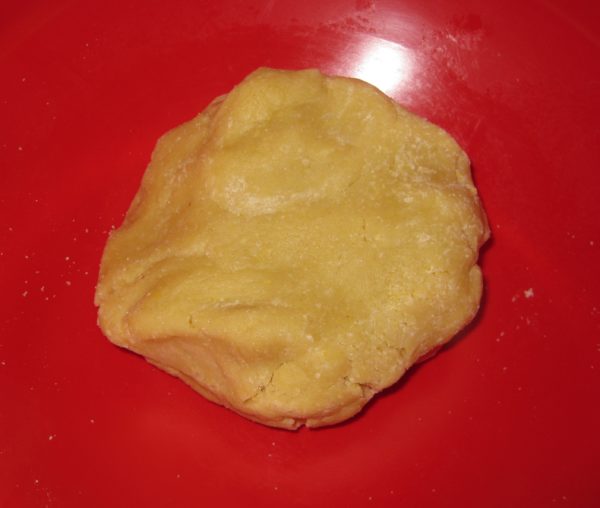
  5. Remove the pastry from the food processor and incorporate the final bits of flour by hand.
  6. Wrap the dough in waxed paper and refrigerate for about 30 minutes before using.
Nut Filling
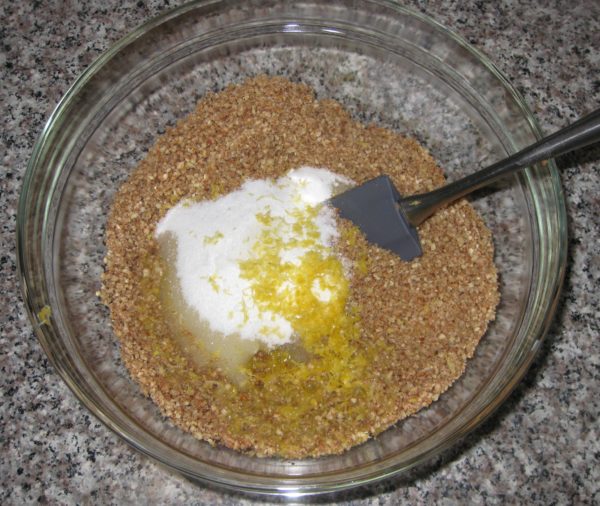
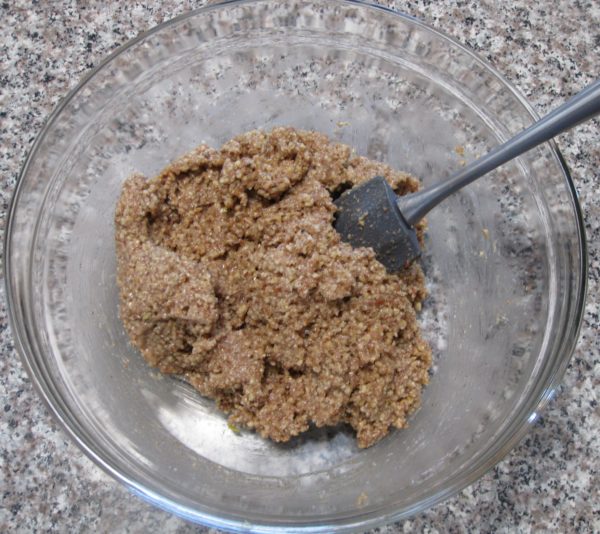
  1. Combine all ingredients and mix well.
  2. Cover the nut filling and keep it at room temperature while rolling out the pasta frolla.
Assembly
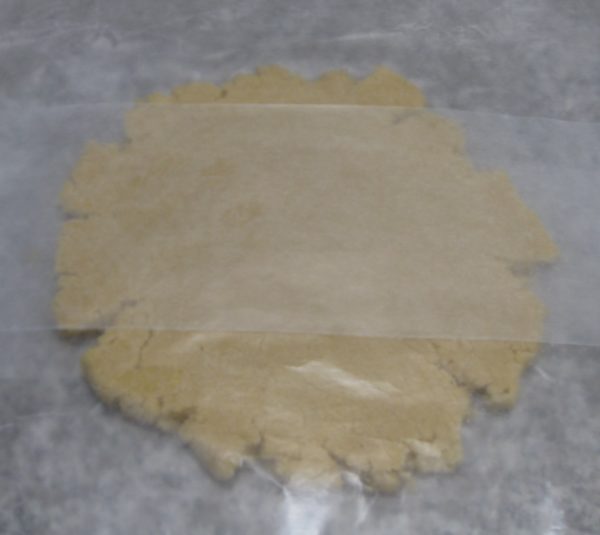
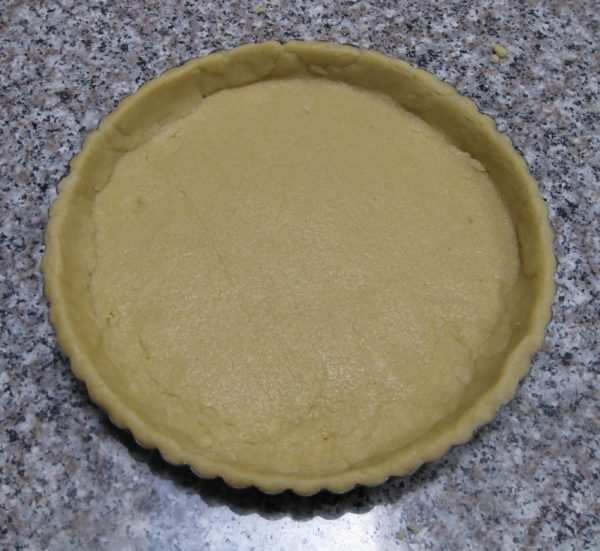
  1. Roll out pasta frolla between sheets of waxed paper until it is just large enough to come up the sides of a 10" diameter by 1” tall tart pan with a removable bottom.
  2. Trim the edges of pastry even with the top of the tart pan.
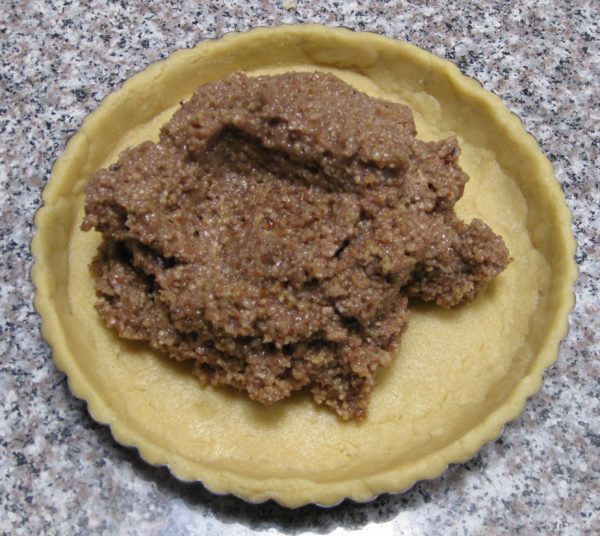
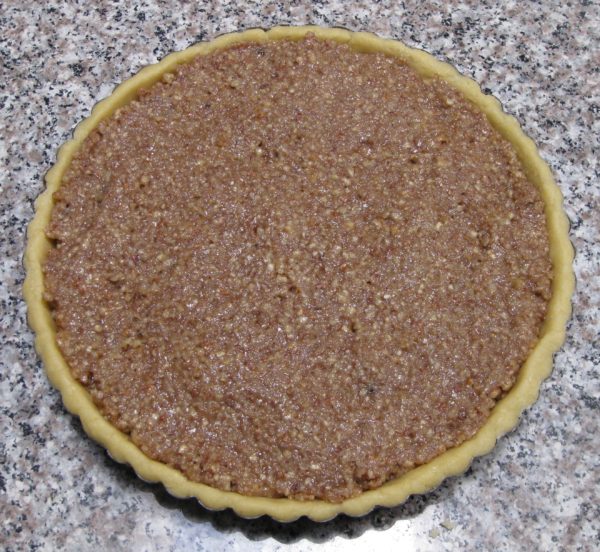
  3. Add the filling and spread it out evenly.
  4. The filling should come just to the top of the tart pan.
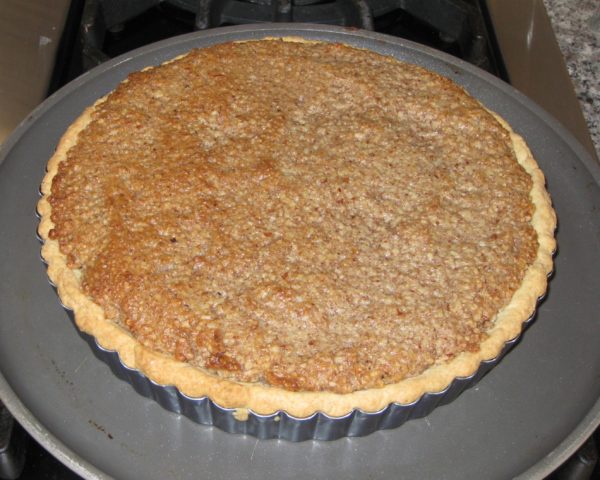
  5. Bake the crostata at 350°F for approximately 45 minutes or until crust is golden brown.
  6. Cool and remove the sides of the tart pan.
  7. The crostata can be sprinkled with powdered sugar for serving and/or accompanied by lightly sweetened whipped cream.
Recipe Notes

Copyright © 2017 by VillaSentieri.com. All rights reserved.
Share this Recipe