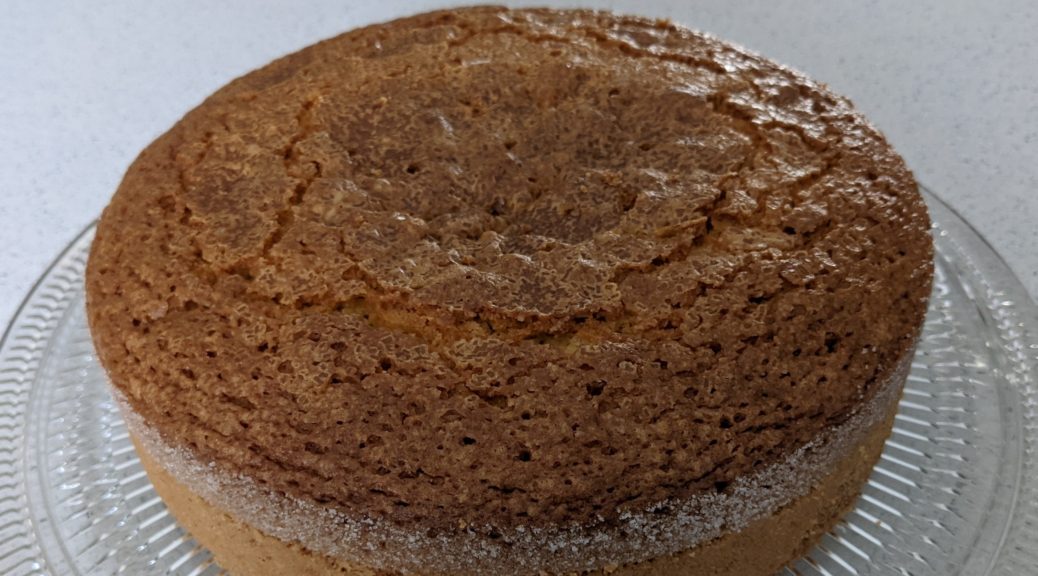
Olive Oil Cake (Torta all’Olio d’Oliva)

January 27, 2021

“Can’t you come up with another name?”

That was my husband’s response when I said I was going to post a recipe for olive oil cake.

I suggested the Italian, Torta all’Olio d’Oliva.  He wasn’t amused.

I guess he thinks the idea of olive oil in cake isn’t appetizing.

Nonetheless, the cake is a staple in regions surrounding the Mediterranean Sea.  And a delicious one, at that!
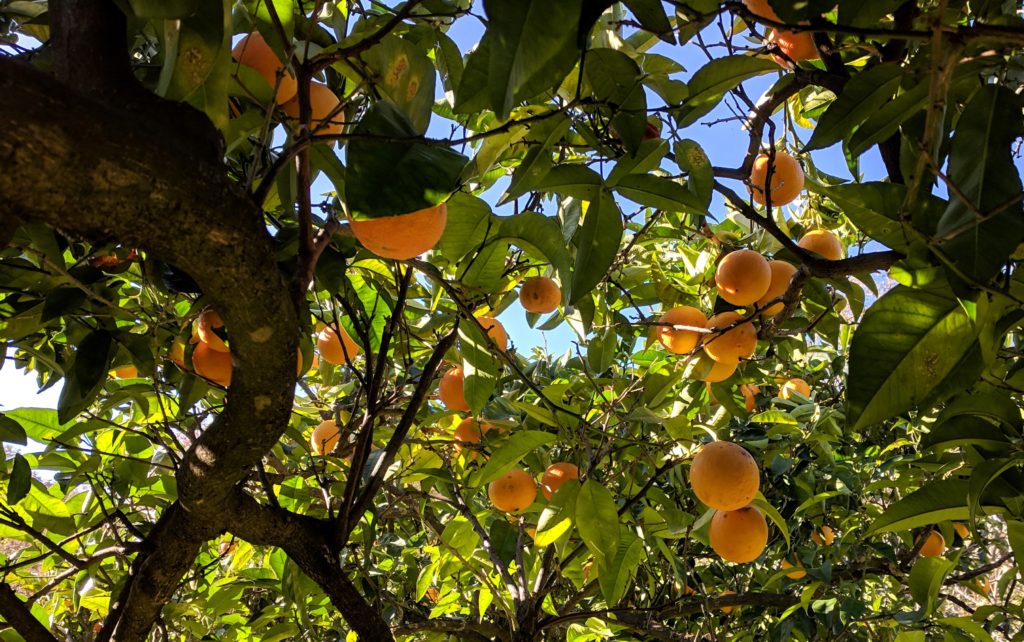
Oranges at a biodynamic citrus grove in Calabria near the Italian Culinary Institute

There are endless variations.  Some are thin, barely an inch tall.  Some are savory-sweet.  Some barely reveal the presence of olive oil.  Others proclaim the flavor of olive oil loudly.  Some are good for snacking (with tea or coffee).  And a few are actually good enough to serve for dessert with no embellishment.


Join our mailing list and you’ll never miss a recipe again!


Then there’s the olive oil to consider.  Even among really good extra-virgin olive oils, and I do suggest you use really good extra-virgin olive oil, there is a range of flavor profiles.  Words like grassy, bitter, peppery, fruity, and buttery come to mind.

Which you use will influence the flavor of the cake.  All will be good but some may be more to your liking than others.
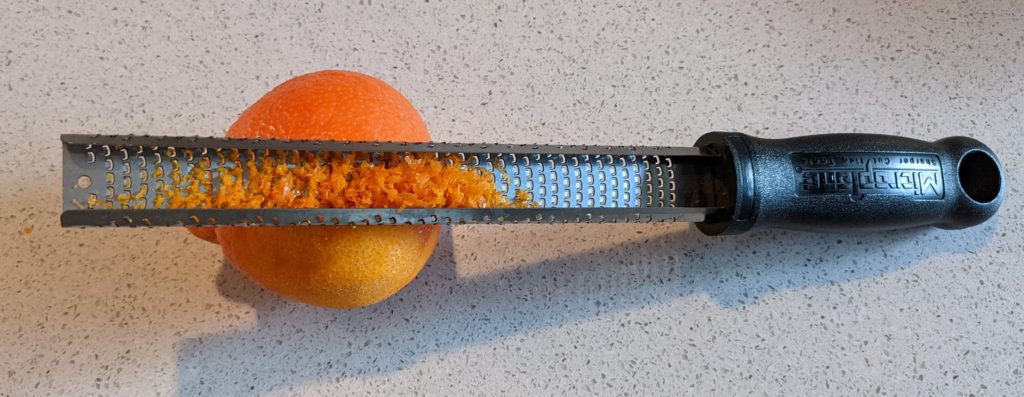
Freshly grated orange zest is key to the flavor of this olive oil cake

Honestly, though, does the world need another recipe for Torta all’Olio d’Oliva?

That’s a rhetorical question, right?

I mean, really, we wouldn’t ask if the world needed another recipe for chocolate cake.  We’d just lean into it and make it happen.

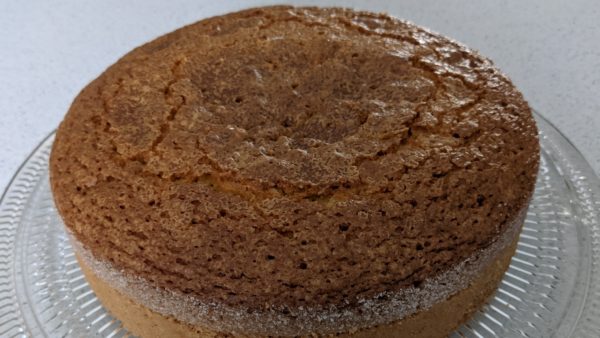
If you’ve never had olive oil cake, and if you like to bake, I suggest giving this version a try.  It has a moist crumb, crunchy top (from brown sugar), and a hint of orange from orange zest and orange liqueur.


Follow us on your social media platform of choice


This cake is suitable as dessert, not just snacking.  It’s not going to be a spectacle of a dessert, like the Maraschino Cherry Cake I made from the first edition Betty Crocker Picture Cookbook, but I believe it will surprise many of your guests with just how good it is.
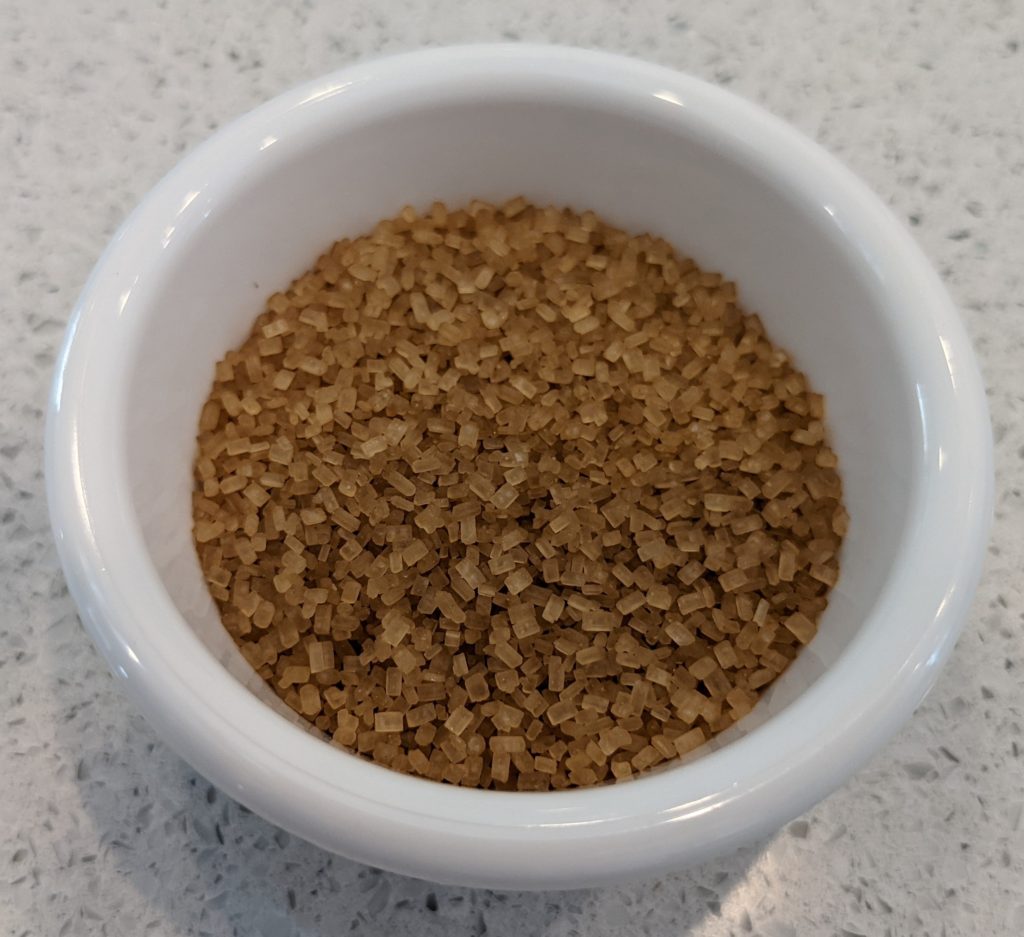
Large crystals of brown sugar, such as Turbinado or Zucchero di Canna add crunch to the top of the cake

Now for the apology:  I prefer to cook, and I DEFINITELY prefer to bake, using the metric system.  It’s just so much easier to scale recipes up and down.  Also, among professional bakers, most ingredients are weighed, even liquids.  Without a scale that measures in fractions of a gram, however, it is not practical to weigh small amounts of ingredients like baking powder and salt.  For these, I stick to teaspoons and tablespoons when I publish recipes though I often weigh these ingredients, too.  Remember, though, that a standard teaspoon is now treated as if it were 5 ml, and a tablespoon 15 ml, even though both are just a smidge less, at least in America.
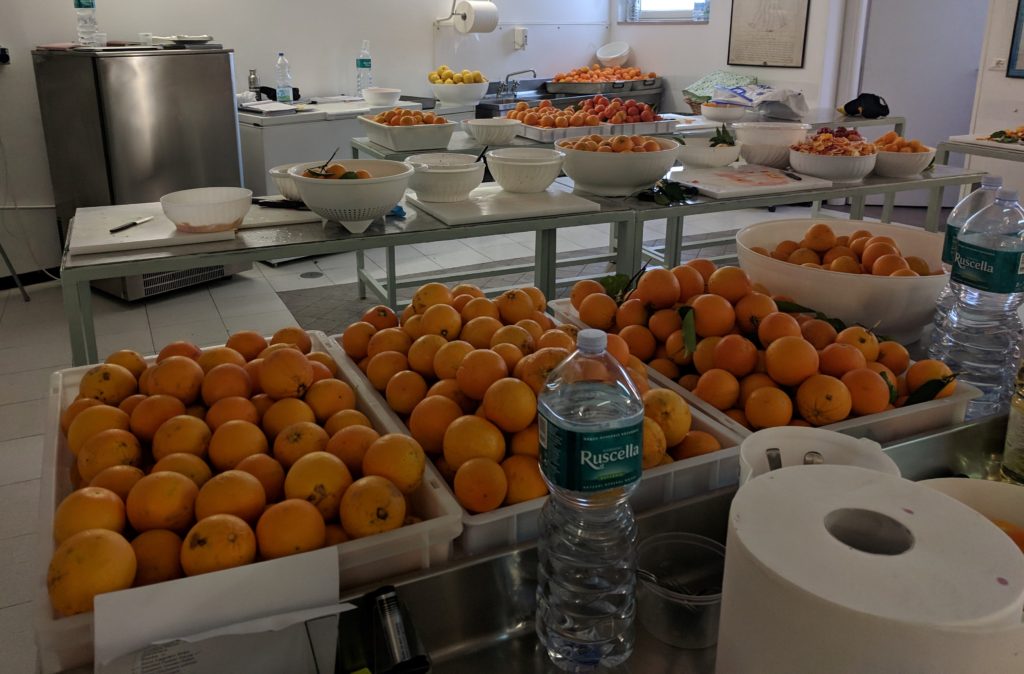
We picked a few oranges for a course on preserves at the Italian Culinary Institute

Although the recipe app will convert metric measures to non-metric, I’ll be happy to supply anyone with ingredient quantities in the typical volume-based American system upon request.

Print Recipe
Olive Oil Cake (Torta all’Olio d’Oliva)
This is a cake which definitely benefits from sitting, tightly covered, at room temperature for two days before serving. The flavors mellow and the olive oil diffuses throughout the cake. For the topping, use a brown sugar that is not soft and moist but rather granular. Use a good quality orange liqueur such as Arancello (sometimes called orangecello in the United States) or Grand Marnier.
Votes: 0
Rating: 0
You:
Rate this recipe!
Cuisine Italian
Prep Time 20 minutes
Cook Time 60 minutes
Passive Time 2 hours
Servings
people
Ingredients
Cuisine Italian
Prep Time 20 minutes
Cook Time 60 minutes
Passive Time 2 hours
Servings
people
Ingredients
Votes: 0
Rating: 0
You:
Rate this recipe!
Instructions
  1. Oil a 9” springform pan with olive oil.
  2. Cover the bottom with parchment and oil the parchment.
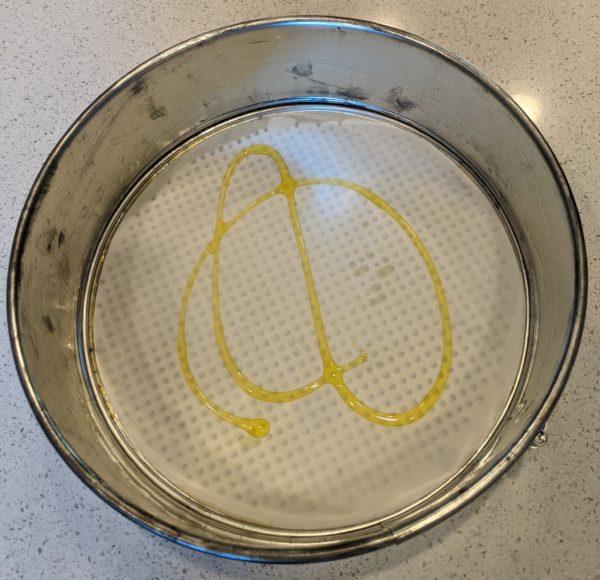
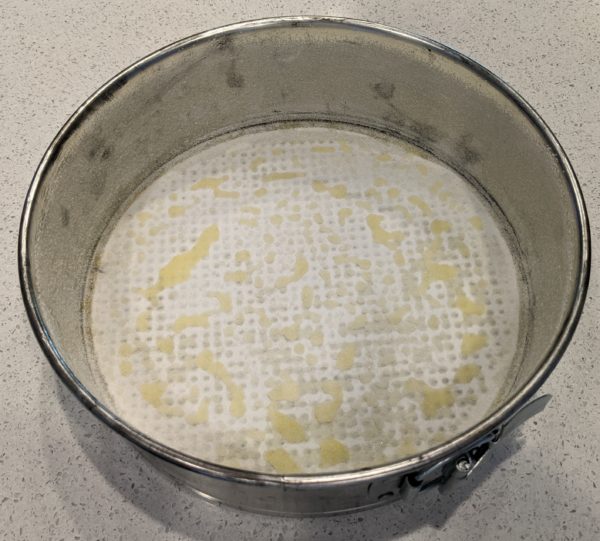
  3. Sprinkle the pan with sugar and dump out the excess. Even if you spread out the oil precisely it will tend to bead up, unlike butter, so there will be some sugar clumps. Don't be concerned.
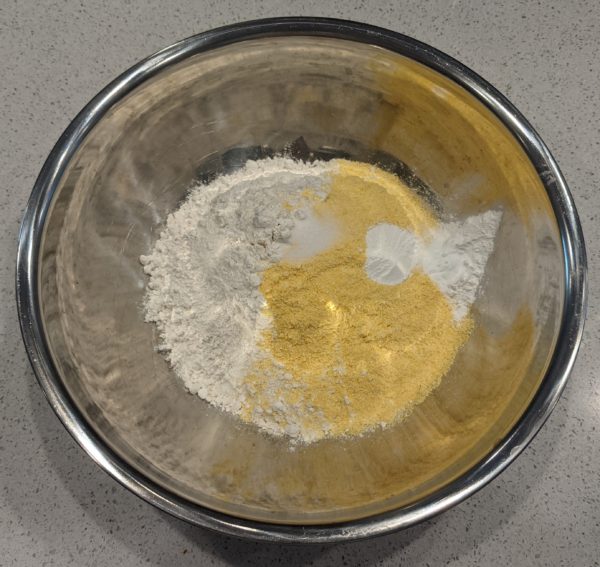
  4. Combine the flour, cornmeal, baking powder, baking soda and salt. Mix well and reserve.
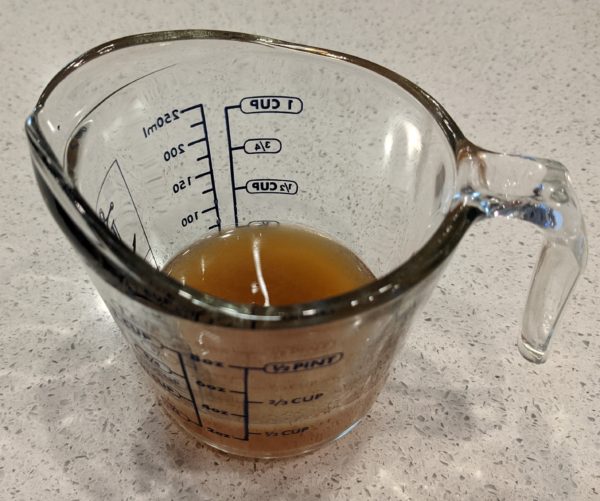
  5. Combine the liqueur, lemon juice and vanilla. Reserve.
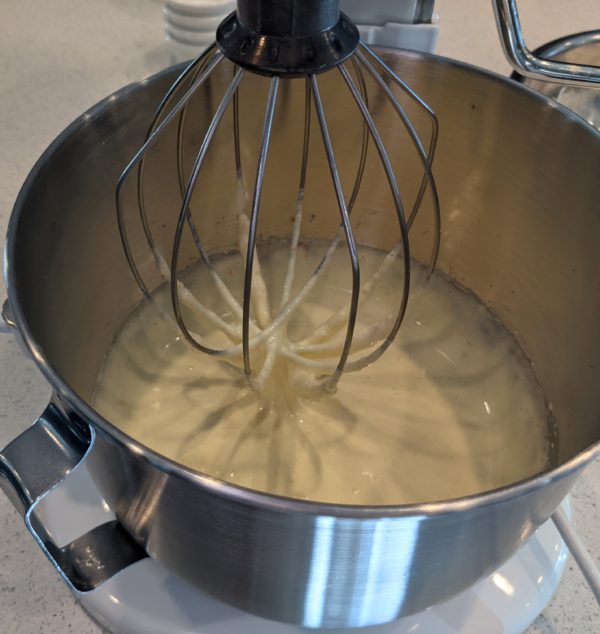
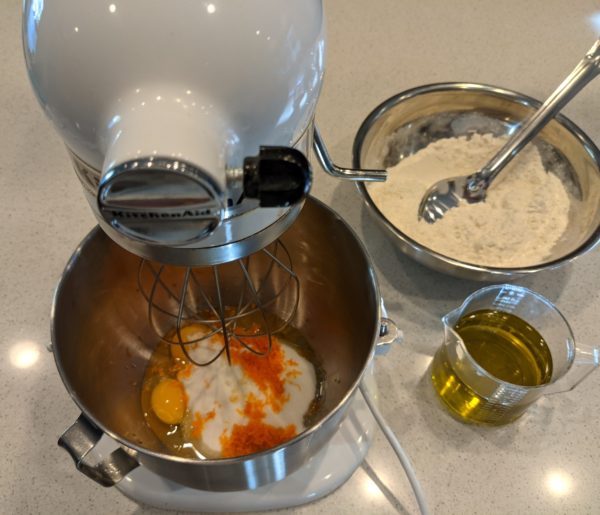
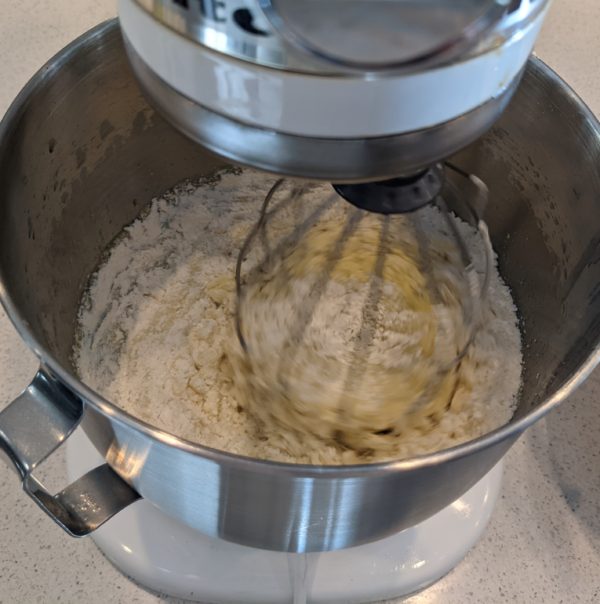
  6. In a planetary mixer, using the whisk, beat the sugar, eggs and orange zest on high speed until thick and ribbon-like, approximately 3-4 minutes.
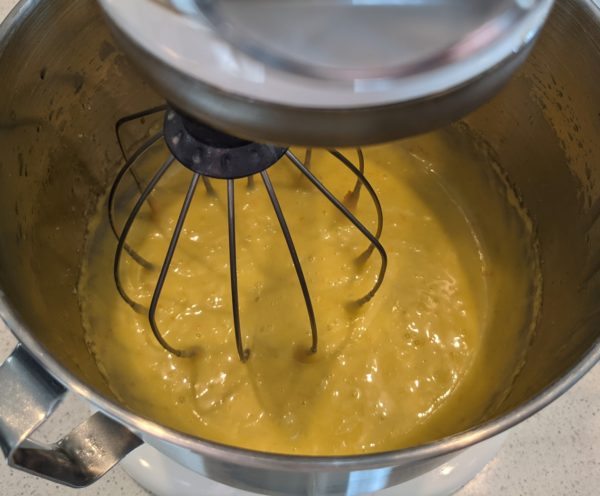
  7. Still on high speed, slowly drizzle in the olive oil and beat until fully incorporated.
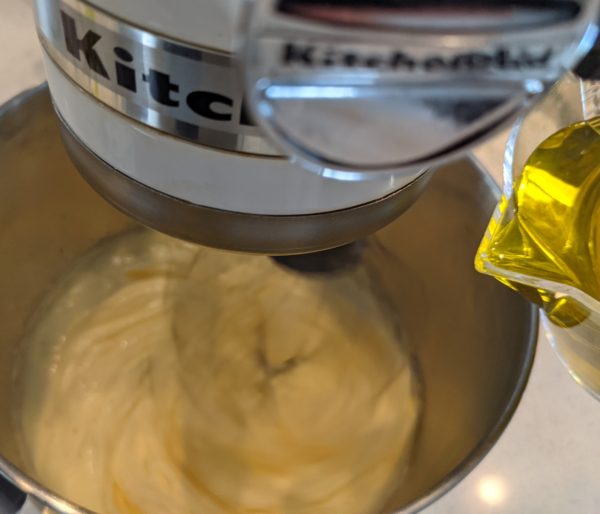
  8. The batter should get thicker.
  9. On low speed, add the flour mixture, in three additions, alternating with the liquid mixture, in two additions, starting and ending with flour. Scrape the bowl once or twice to ensure an even mix.
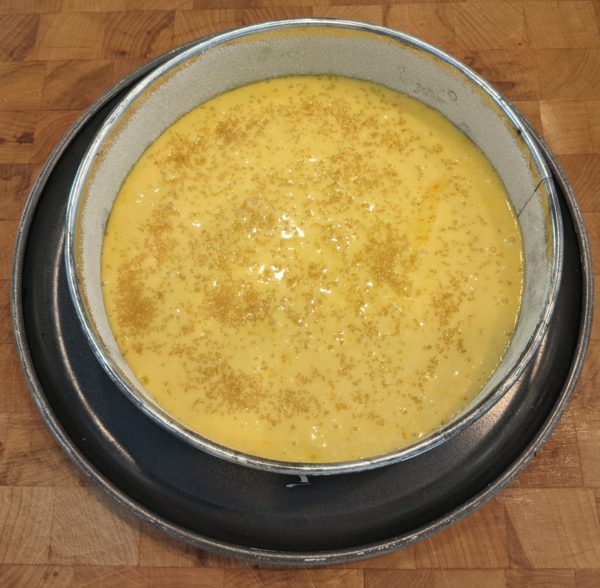
  10. Pour into the prepared springform pan.
  11. Sprinkle the top with brown sugar.
  12. Bake at 350°F until brown, firm on top, and a cake tester comes out clean; approximately 60 minutes. Do not underbake the cake or it will fall as it cools.
  13. Cool the cake for 15 minutes in the pan then poke the top all over with a skewer.
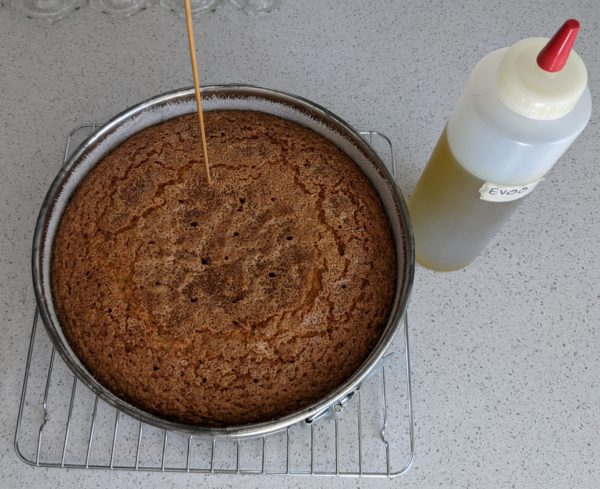
  14. Drizzle 2 tablespoons of olive oil on the cake and allow it to absorb.
  15. Remove the side of the pan and cool completely.
  16. When the cake is cool, remove it from the base of the springform pan. Wrap it in plastic and allow to rest at room temperature for at least one day, preferably two, before serving.
Recipe Notes

Copyright © 2021 by Villa Sentieri, LLC. All rights reserved.

Share this Recipe

Jim’s Hawaiian Guava Cake

October 25, 2017

“Aloha Mr. Van Sant.”

So began a 2003 email from Simon Rusconi, the Hotel Manager of the Sheraton Moana Surfrider Resort on Oahu.

Mr. Van Sant, Jim to the rest of us, had complimented the resort on its guava cake and Mr. Rusconi was writing to share the recipe.

Jim printed out the email and affixed it to an index card and put it in his recipe box. Late in 2016, the subject of the guava cake came up somehow at a dinner party at Jim and Bill’s house. Jim offered to share the recipe with me if I was interested.

I was, and I said that I’d make it for him. Shortly thereafter, the original recipe arrived in the mail still affixed to the index card. Not wanting to keep his original, I scanned it into my recipe database and returned the hardcopy.

Since Jim and Bill rent a home in Palm Springs just steps from our house, and since baking cakes at nearly 8000 feet where I live in New Mexico is an iffy proposition, at best, I said I’d bake the cake in Palm Springs. Every winter they rent the Oscar Mayer House. Yes, that Oscar Mayer!

We had a delightful luncheon at tables set up around their pool with guava cake for dessert.

The back of the Oscar Mayer house in Palm Springs, California
Inside the Oscar Mayer House
The front of the Oscar Mayer House

But that’s jumping ahead.

Receiving the recipe from Jim was merely the beginning. I became fascinated by guava cake without having even made one. Almost any recipe with the degree of cultural significance that guava cake seemed to garner grabs my attention. I did internet searches and combed through my Hawaiian cookbooks (of which I have a goodly number).

It appears that there are basically three variations of guava cake in Hawaii: Guava Chiffon Cake, Guava Spice Cake, and (plain old) Guava Cake. Recipes for the last often start with a box of cake mix and use Cool Whip in the cream cheese frosting.

From what my research has revealed, the original was a Guava Chiffon Cake invented by Herbert Matsuba, owner of the Dee Lite Bakery, in the early 1960s.

The popularity of the cake no doubt led to multiple copycat recipes, including those using a box of cake mix and Cool Whip aimed at the home cook.

The recipe from the Moana Surfrider was a Guava Spice Cake. I followed the recipe closely the first time except that I needed to find a substitute for frozen concentrated guava nectar which I was unable to find after scouring 10 grocery stores in Palm Springs and nearby desert towns.

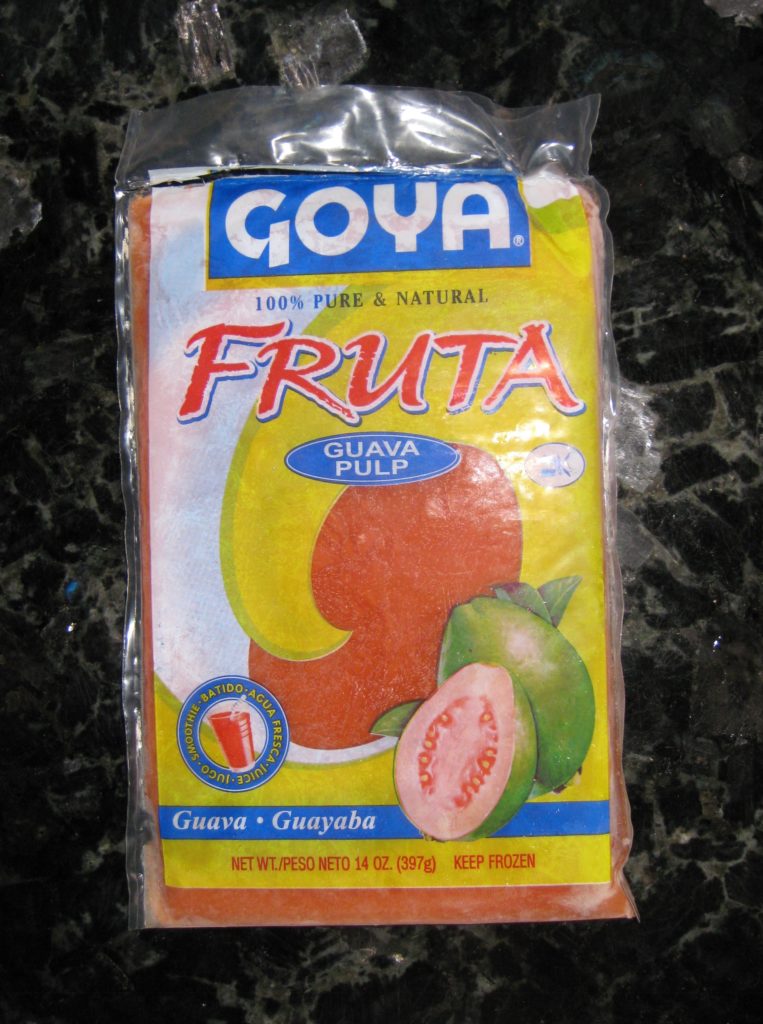
I ultimately was able to source pure guava puree at a market catering to Hispanic shoppers. It had no sweeteners so I thought I might need to add sugar to the batter in a subsequent trial but for the first round I used the guava puree as a direct substitute for concentrated guava nectar.

Frozen Guava Puree, a much easier to find substitute for frozen concentrated guava nectar

The cake was good but everyone who tasted it failed to taste any guava. It really just tasted like a spice cake. Certainly it was not worth hours of searching for guava concentrate only to have the flavor masked by spices.

Other than guava chiffon cake, which was definitely not the same genre as the cake that Jim had at the Moana Surfrider, I could not find a recipe for plain guava cake that did not start with a box of cake mix. I decided to make the original recipe without the spices.

That did it! The guava flavor came through but something told me that Herbert, a professional baker, might have used something to amp up the guava flavor.

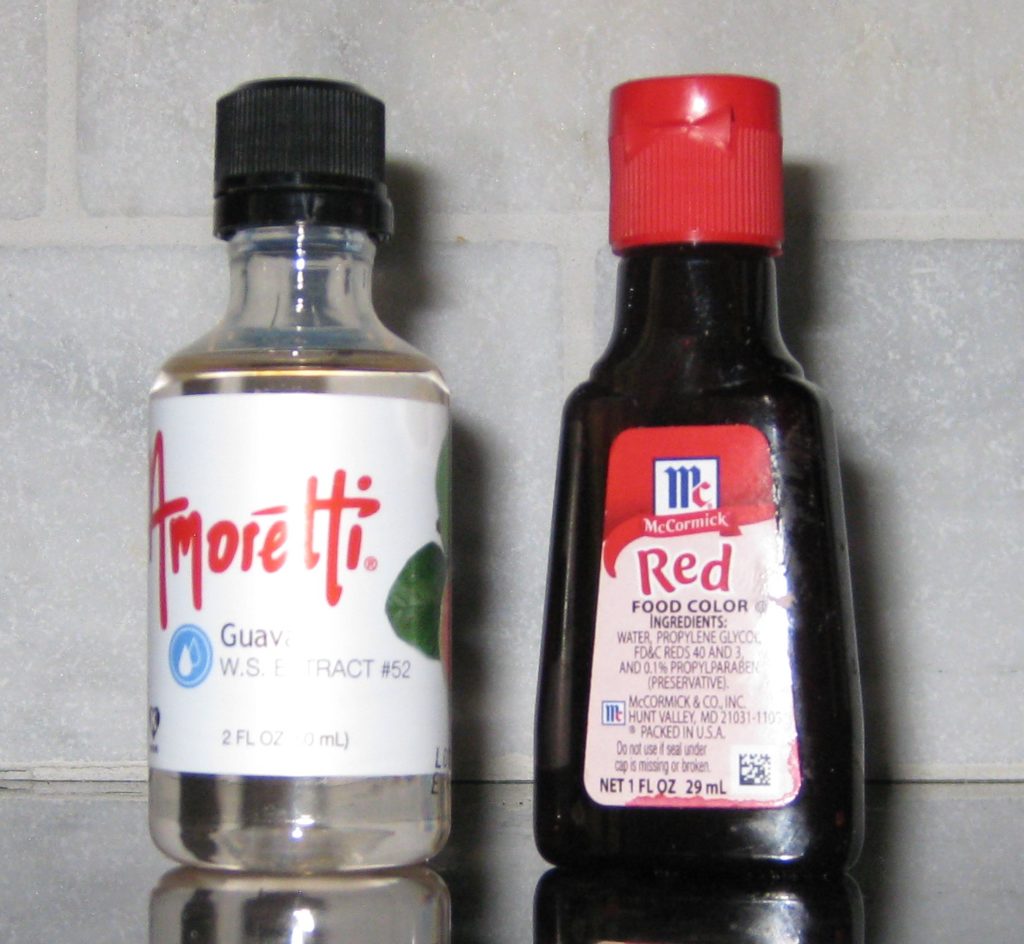
That started me on a search for natural guava extract. I found a wonderful extract made by Amoretti.

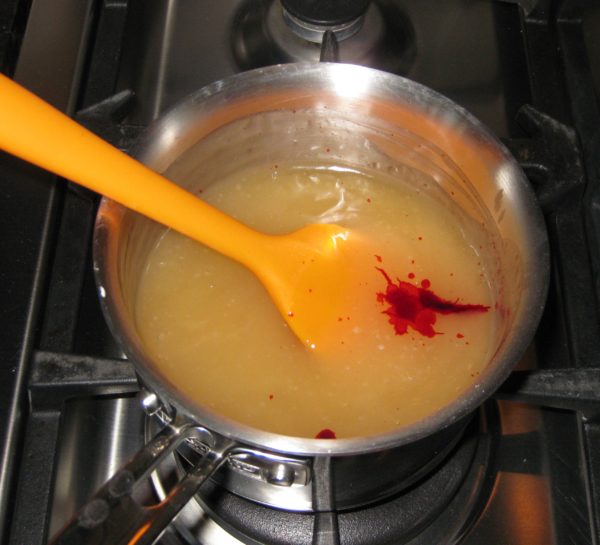
You can do without the Amoretti Guava Extract but not the red food coloring.

The next time I made the cake, I added a tiny bit of guava extract to the batter. I believe it enhanced the flavor but if one is not going to make a lot of guava cakes I would consider omitting the guava extract as it is expensive and very concentrated so a little bottle will last a long, long time.

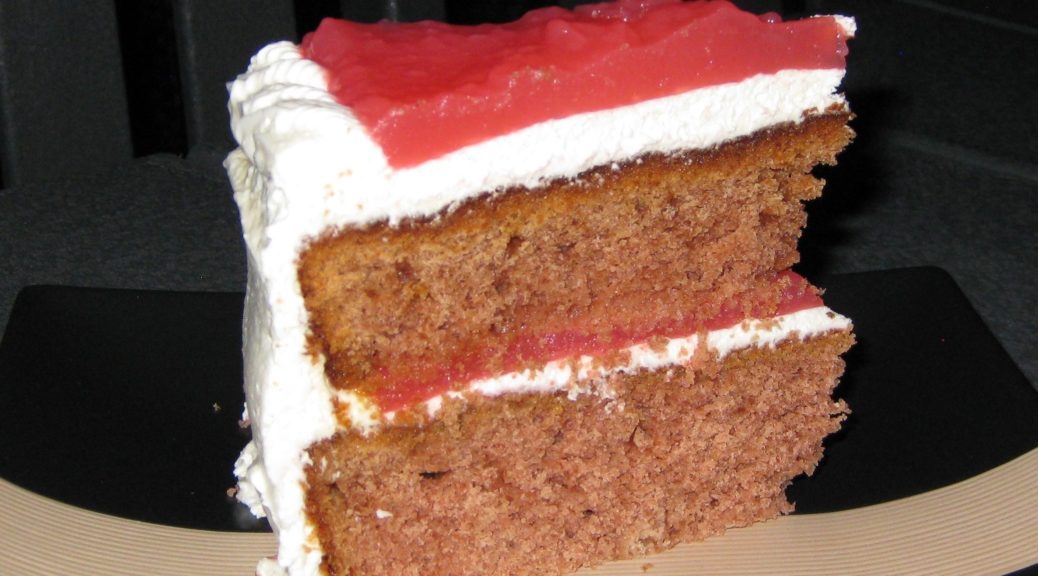
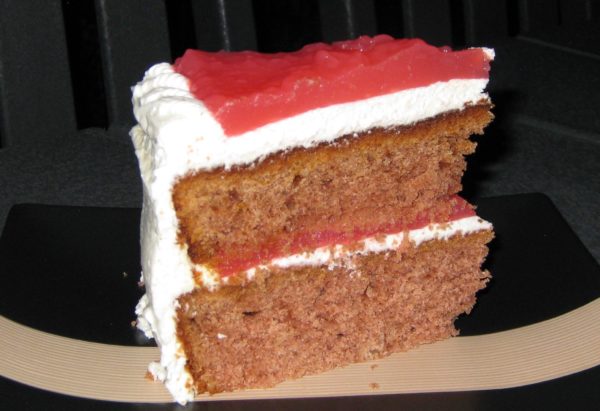
For an everyday cake, I suggest baking it in a 9” x 13” x 2” rectangular pan. For a more special presentation, make a layer cake by dividing the batter between two 9” round pans. If you are doing the latter, make a double batch of cream cheese frosting. You’ll have a little left over but a single batch will not be enough. You could always whip up half a batch of batter and make guava cupcakes to use the extra frosting!

In honor of Oscar Mayer, in whose house we all came together over Jim’s Hawaiian Guava Cake, I recommend the following tribute. Who knew there were so many variations on the Oscar Mayer Wiener theme?


Follow us


Click HERE to join our mailing list and you’ll never miss a recipe again!

Print Recipe
Jim's Hawaiian Guava Cake
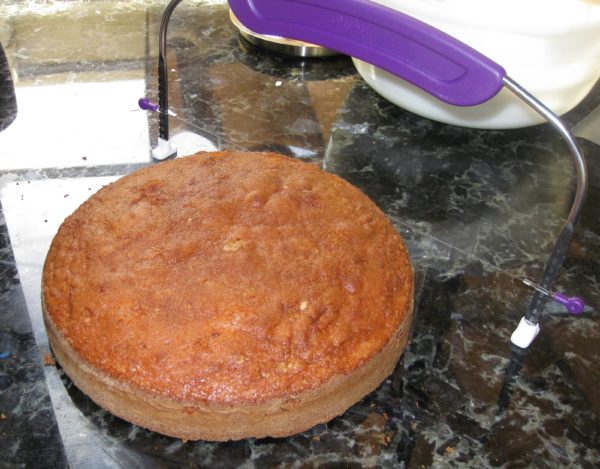
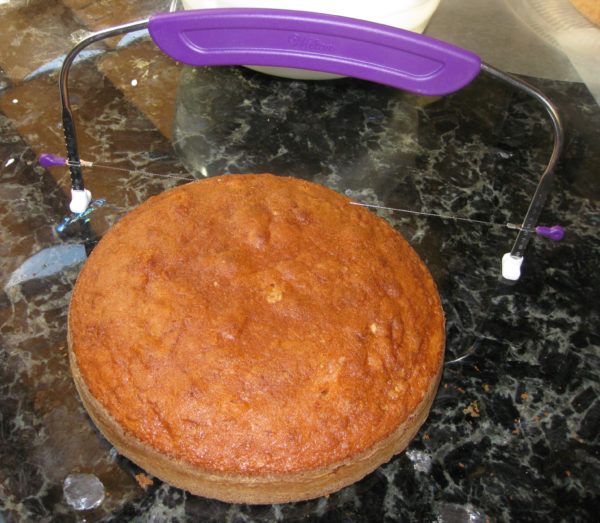
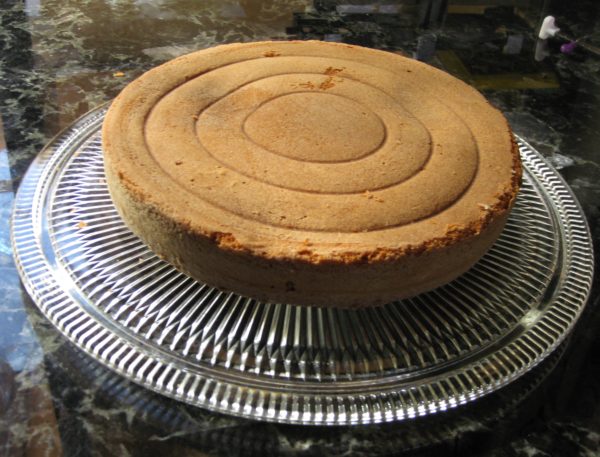
Because frozen, concentrated guava nectar is not readily available except in Hawaii, I standardized this recipe using frozen guava pulp which should be easy to find in large supermarkets or in markets catering to customers from Mexico, Central America, and the Caribbean. It is important that the cream cheese frosting be level so that the guava gel forms an even layer. If you are making a rectangular cake this means there will be a bit more frosting at the edges than in the middle. If you are making a round two-layer cake, I suggest cutting off the tops of the cakes to achieve a perfectly level appearance. Put the cakes cut side down to avoid having lots of crumbs working their way into the cream cheese frosting. Guava nectar can be purchased in cans or refrigerated. Guava pulp is frozen.
Votes: 0
Rating: 0
You:
Rate this recipe!
Prep Time 2 hours
Cook Time 1 hour
Passive Time 3 hours
Servings
people
Ingredients
Cake
Guava Gel
Cream Cheese Frosting (make a double batch for the round cake)
Prep Time 2 hours
Cook Time 1 hour
Passive Time 3 hours
Servings
people
Ingredients
Cake
Guava Gel
Cream Cheese Frosting (make a double batch for the round cake)
Votes: 0
Rating: 0
You:
Rate this recipe!
Instructions
Cake
  1. Butter and flour a 9 x 13 x 2 inch metal cake pan or two 9 inch round cake pans.
  2. Combine flour and baking soda. Reserve.
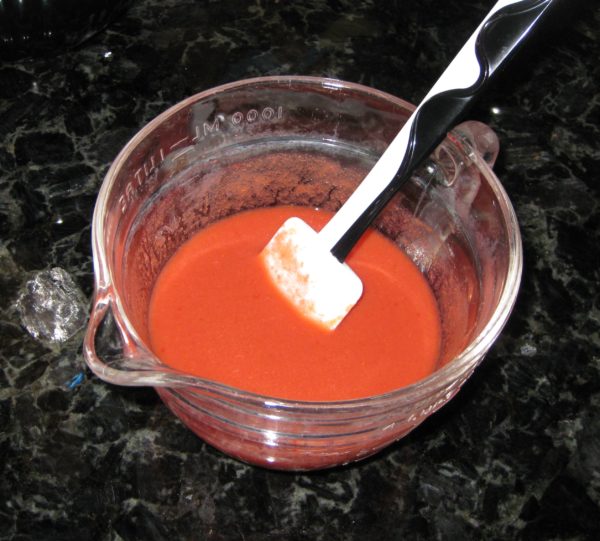
  3. Combine guava puree, guava nectar, guava extract and red food coloring. Reserve.
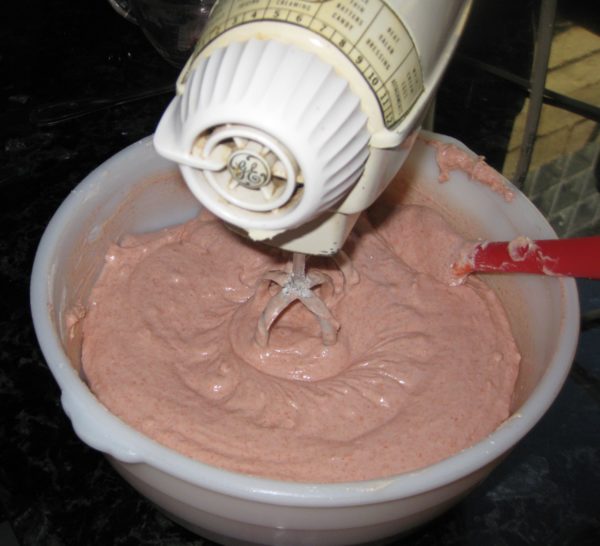
  4. Cream butter until light. Add sugar and cream until light and fluffy.
  5. Beat in eggs, one at a time, creaming well after each addition.
  6. On low, add dry ingredients alternating with wet ingredients, starting and ending with dry ingredients.
  7. For the rectangular pan: pour the batter into the prepared pan. Smooth the top. Rap the pan on the counter to release any air bubbles.
  8. Bake 350°F 40-45 minutes or until a tester comes out clean.
  9. Cool the cake in the pan then refrigerate.
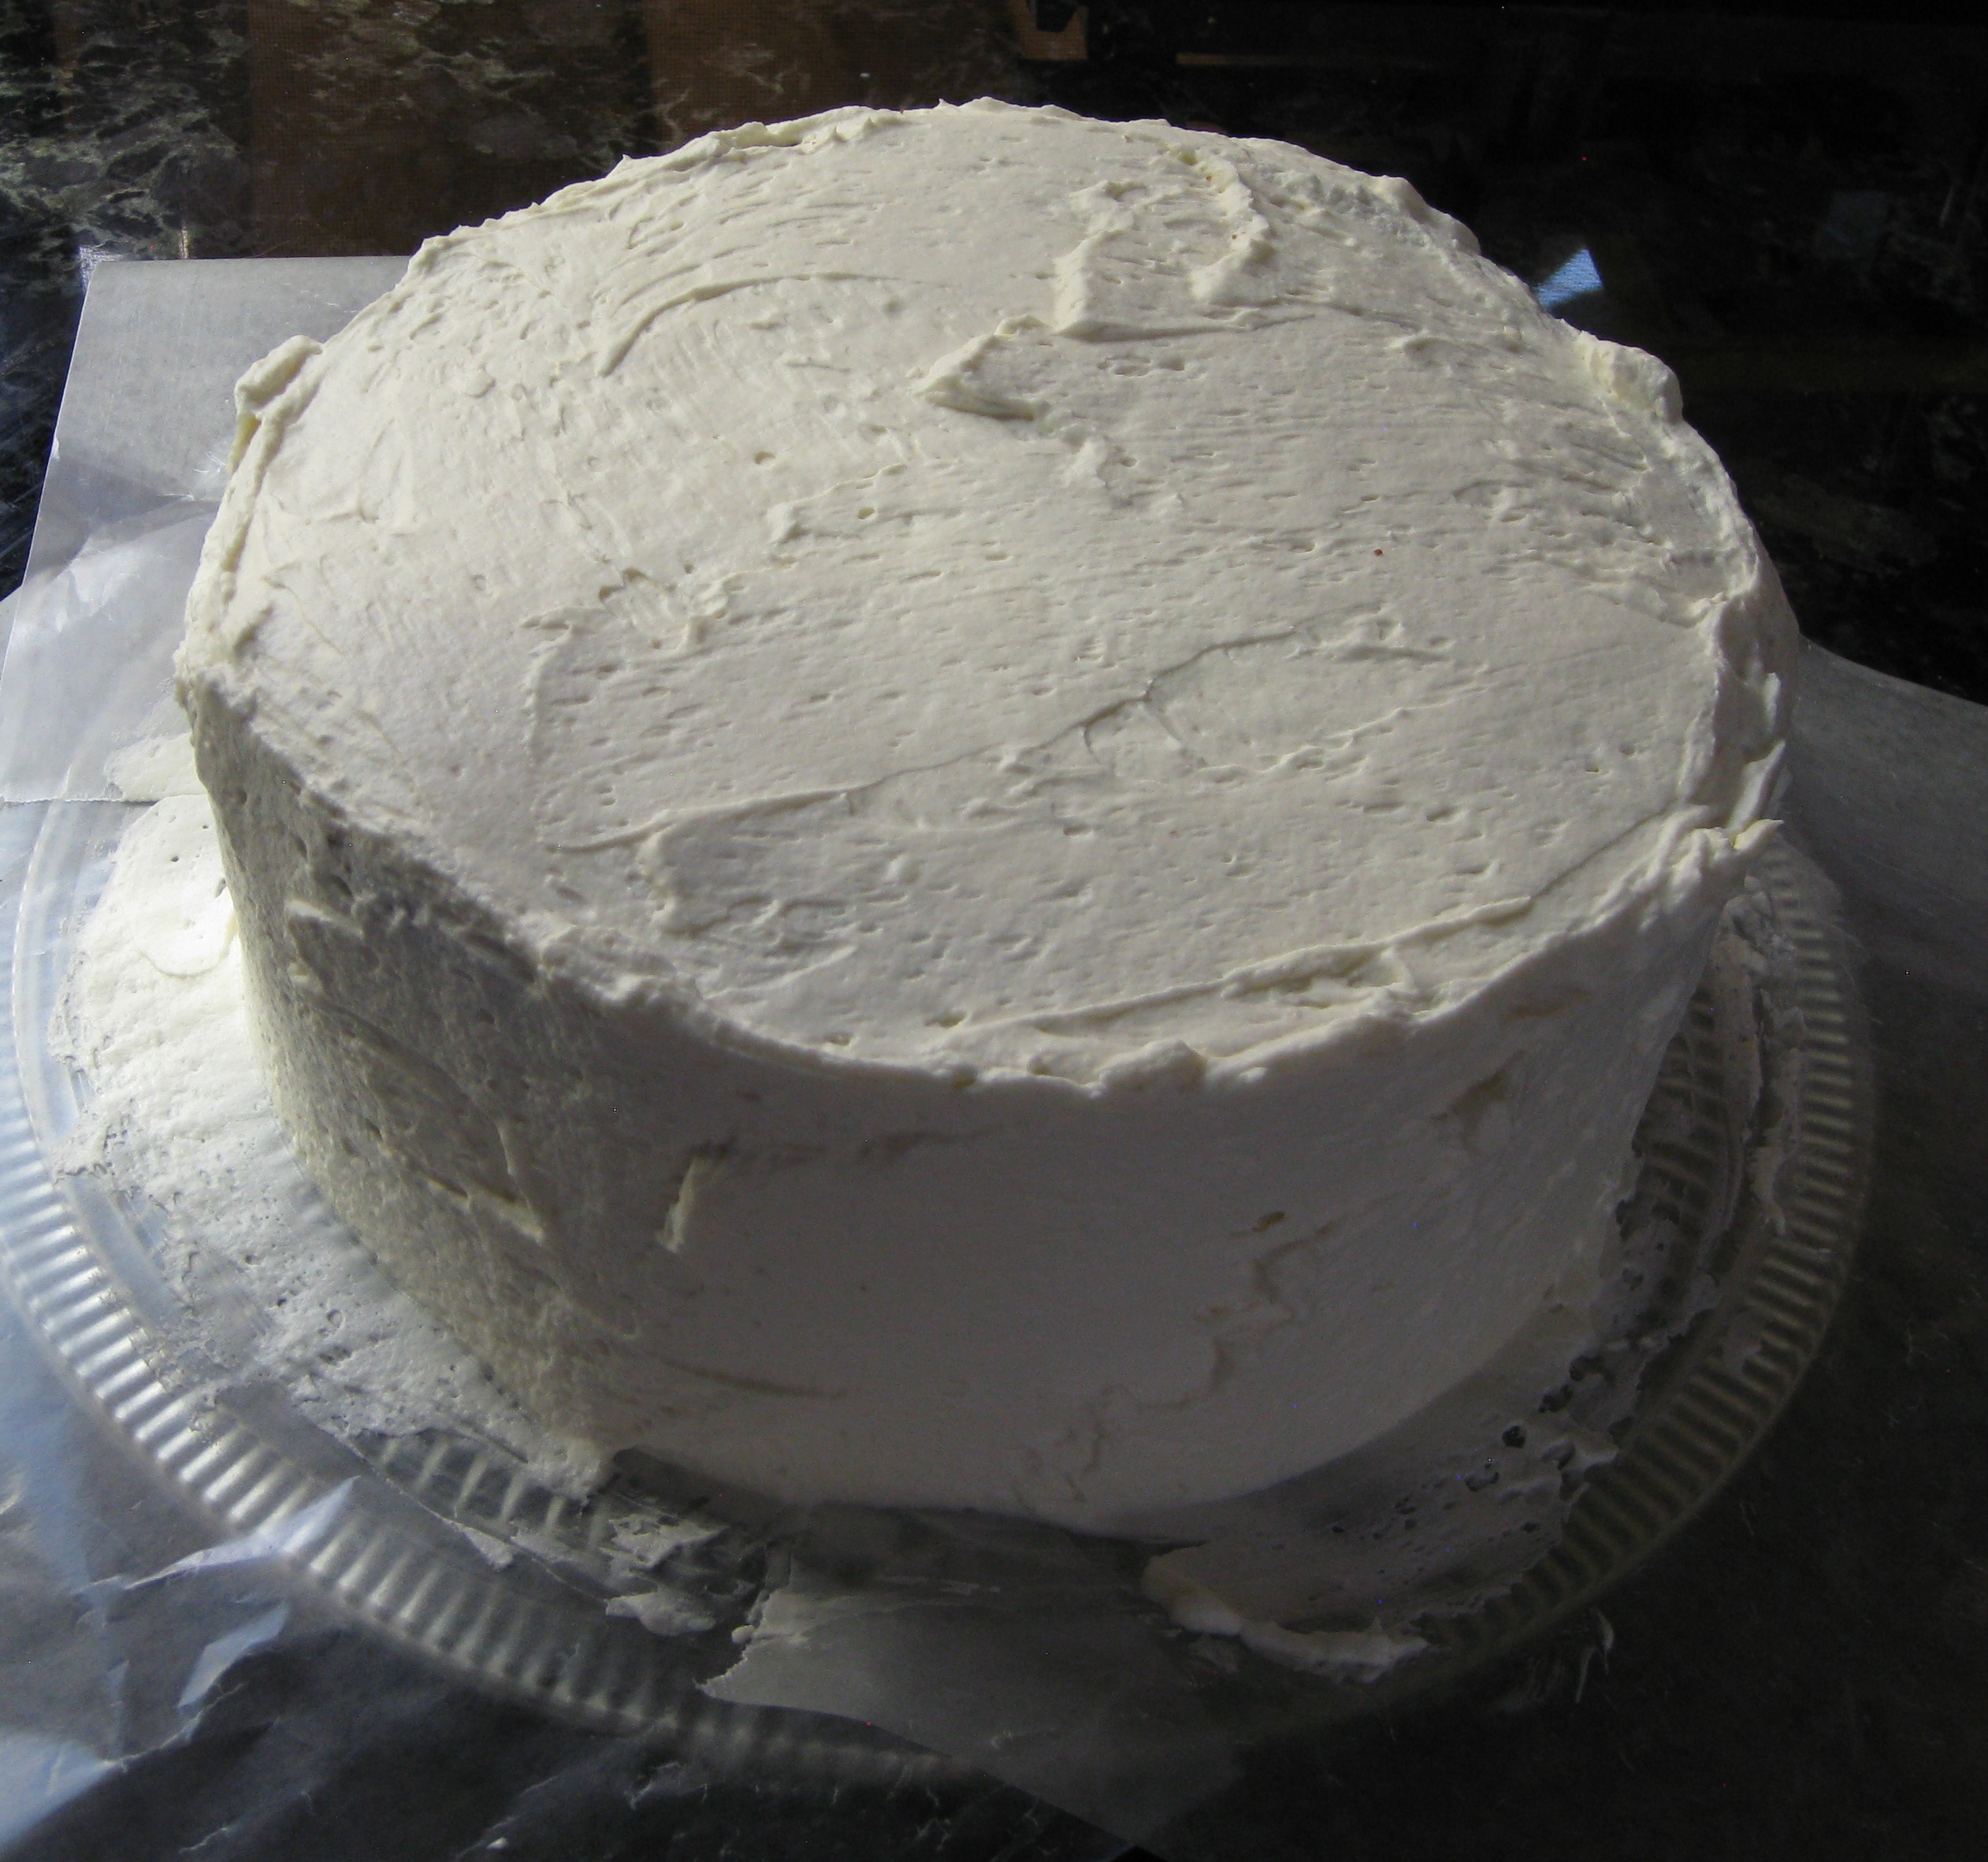
  10. Frost with cream cheese frosting being careful to make the top of the frosting level. Refrigerate several hours to firm up the frosting.
  11. Top with guava gel and smooth out to the edges. Refrigerate several hours to set the frosting and gel.
  12. Bring the cake to room temperature before serving.
  13. For the round pans: Pour the batter into the prepared pans. Smooth the tops. Rap the pans on the counter to release any air bubbles.
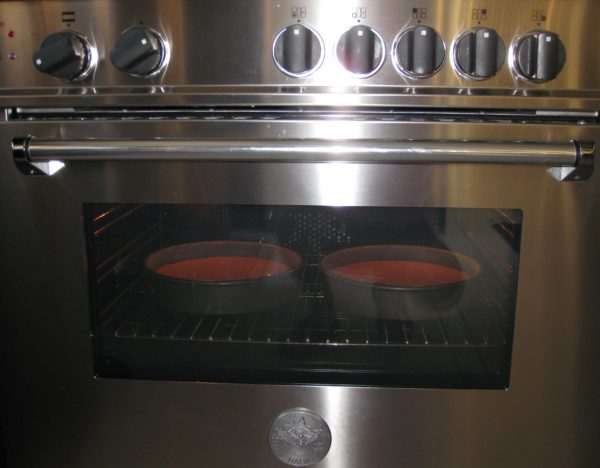
  14. Bake 350°F 30-35 minutes or until a tester comes out clean.
  15. Cool the cakes in the pans for 10 minutes. Remove and cool completely on a wire rack.
  16. Wrap the cakes and refrigerate until cold, or up to one day.
  17. Slice the rounded tops of the cakes off to make them level.
  18. x
  19. Put one layer, cut-side-down on a platter.
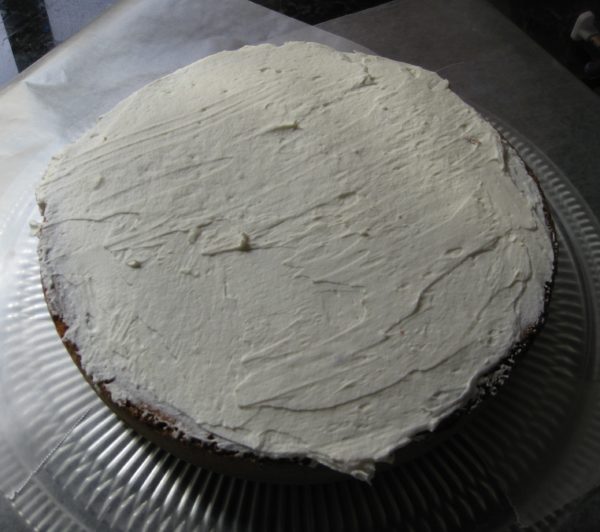
  20. Put a layer of cream cheese frosting on the top of this layer.
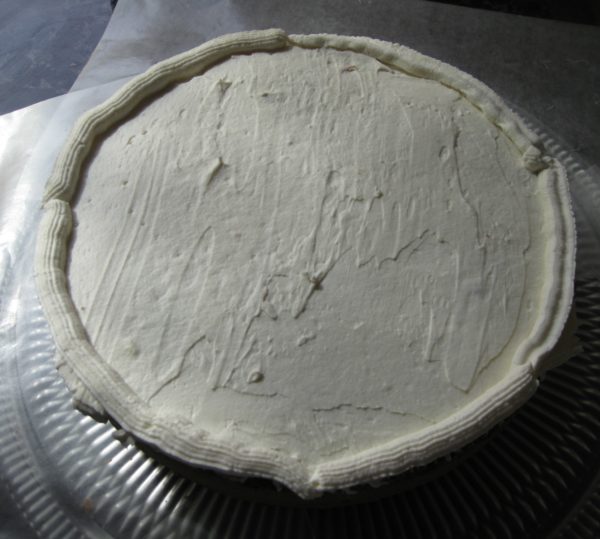
  21. Pipe a rim of frosting around the edge to hold the guava gel. This does not need to be fancy as it will be smoothed out.
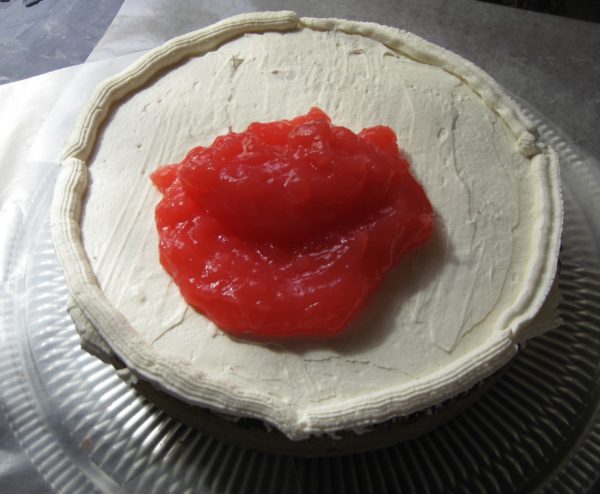
  22. Put just under ½ of the guava gel on top of the frosted bottom layer.
  23. Smooth the gel out to the piped edge.
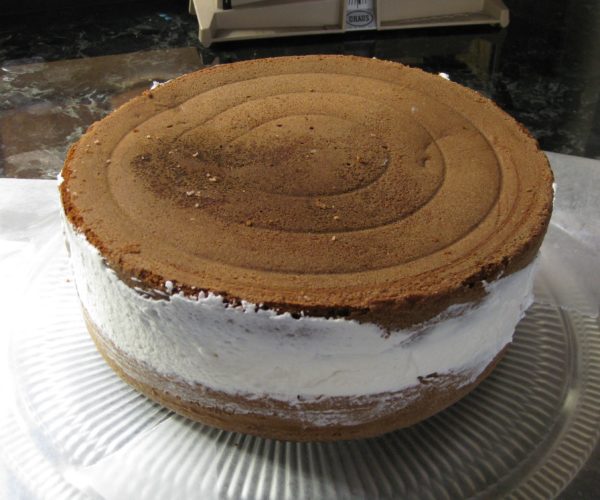
  24. Top with the remaining cake, cut side down.
  25. Generously frost sides and top of the cake with cream cheese frosting.
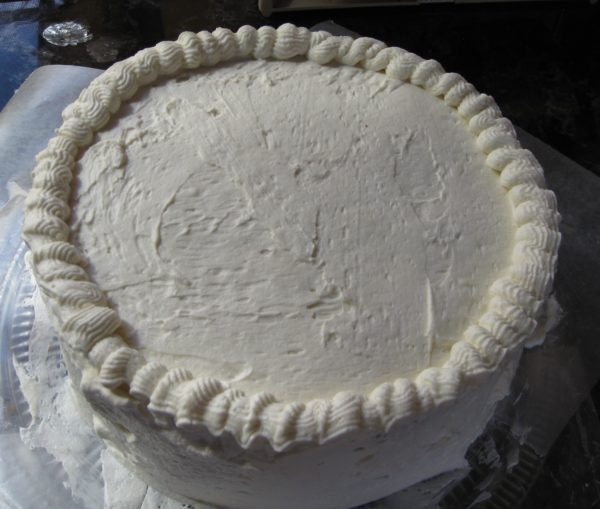
  26. Pipe a decorative border around the edge of the top layer.
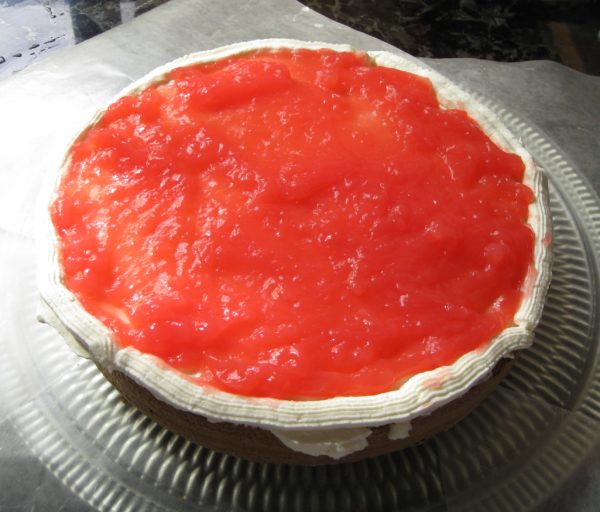
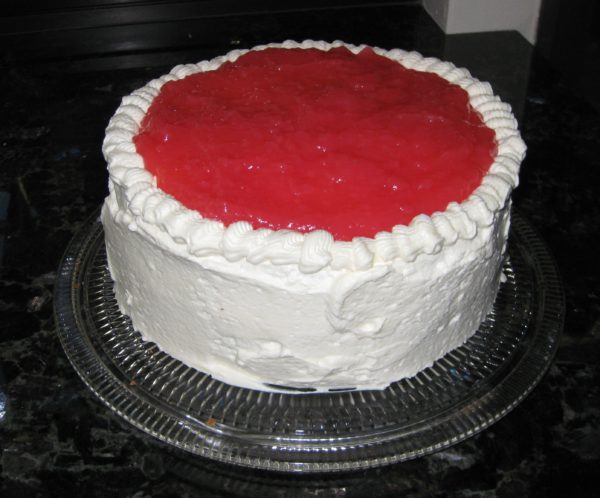
  27. Pour the remaining guava gel on top and smooth out to the edges.
  28. Refrigerate several hours to set the frosting and gel.
  29. Bring to room temperature before serving.
Guava Gel
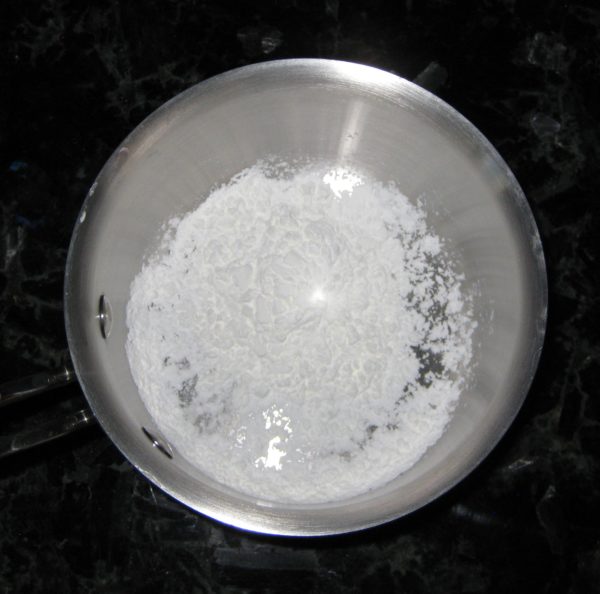
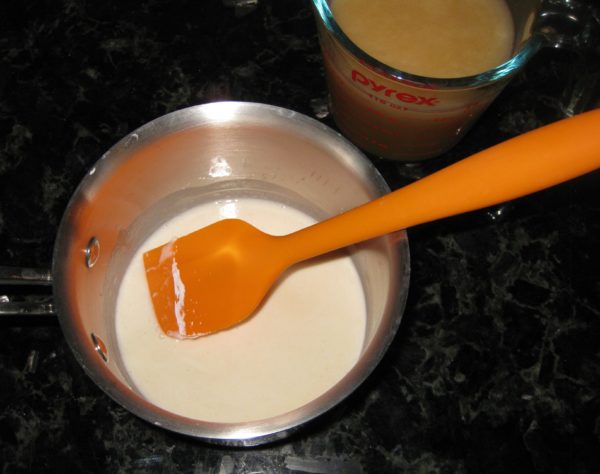
  1. Put the cornstarch in a small heavy-bottomed sauce pan.
  2. Stir in the guava nectar, a little at a time, to dissolve the cornstarch without forming lumps.
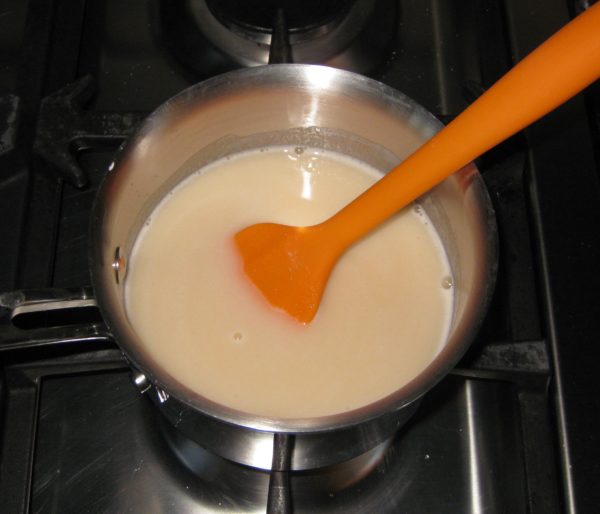
  3. When dissolved, add the remaining guava nectar and sugar.
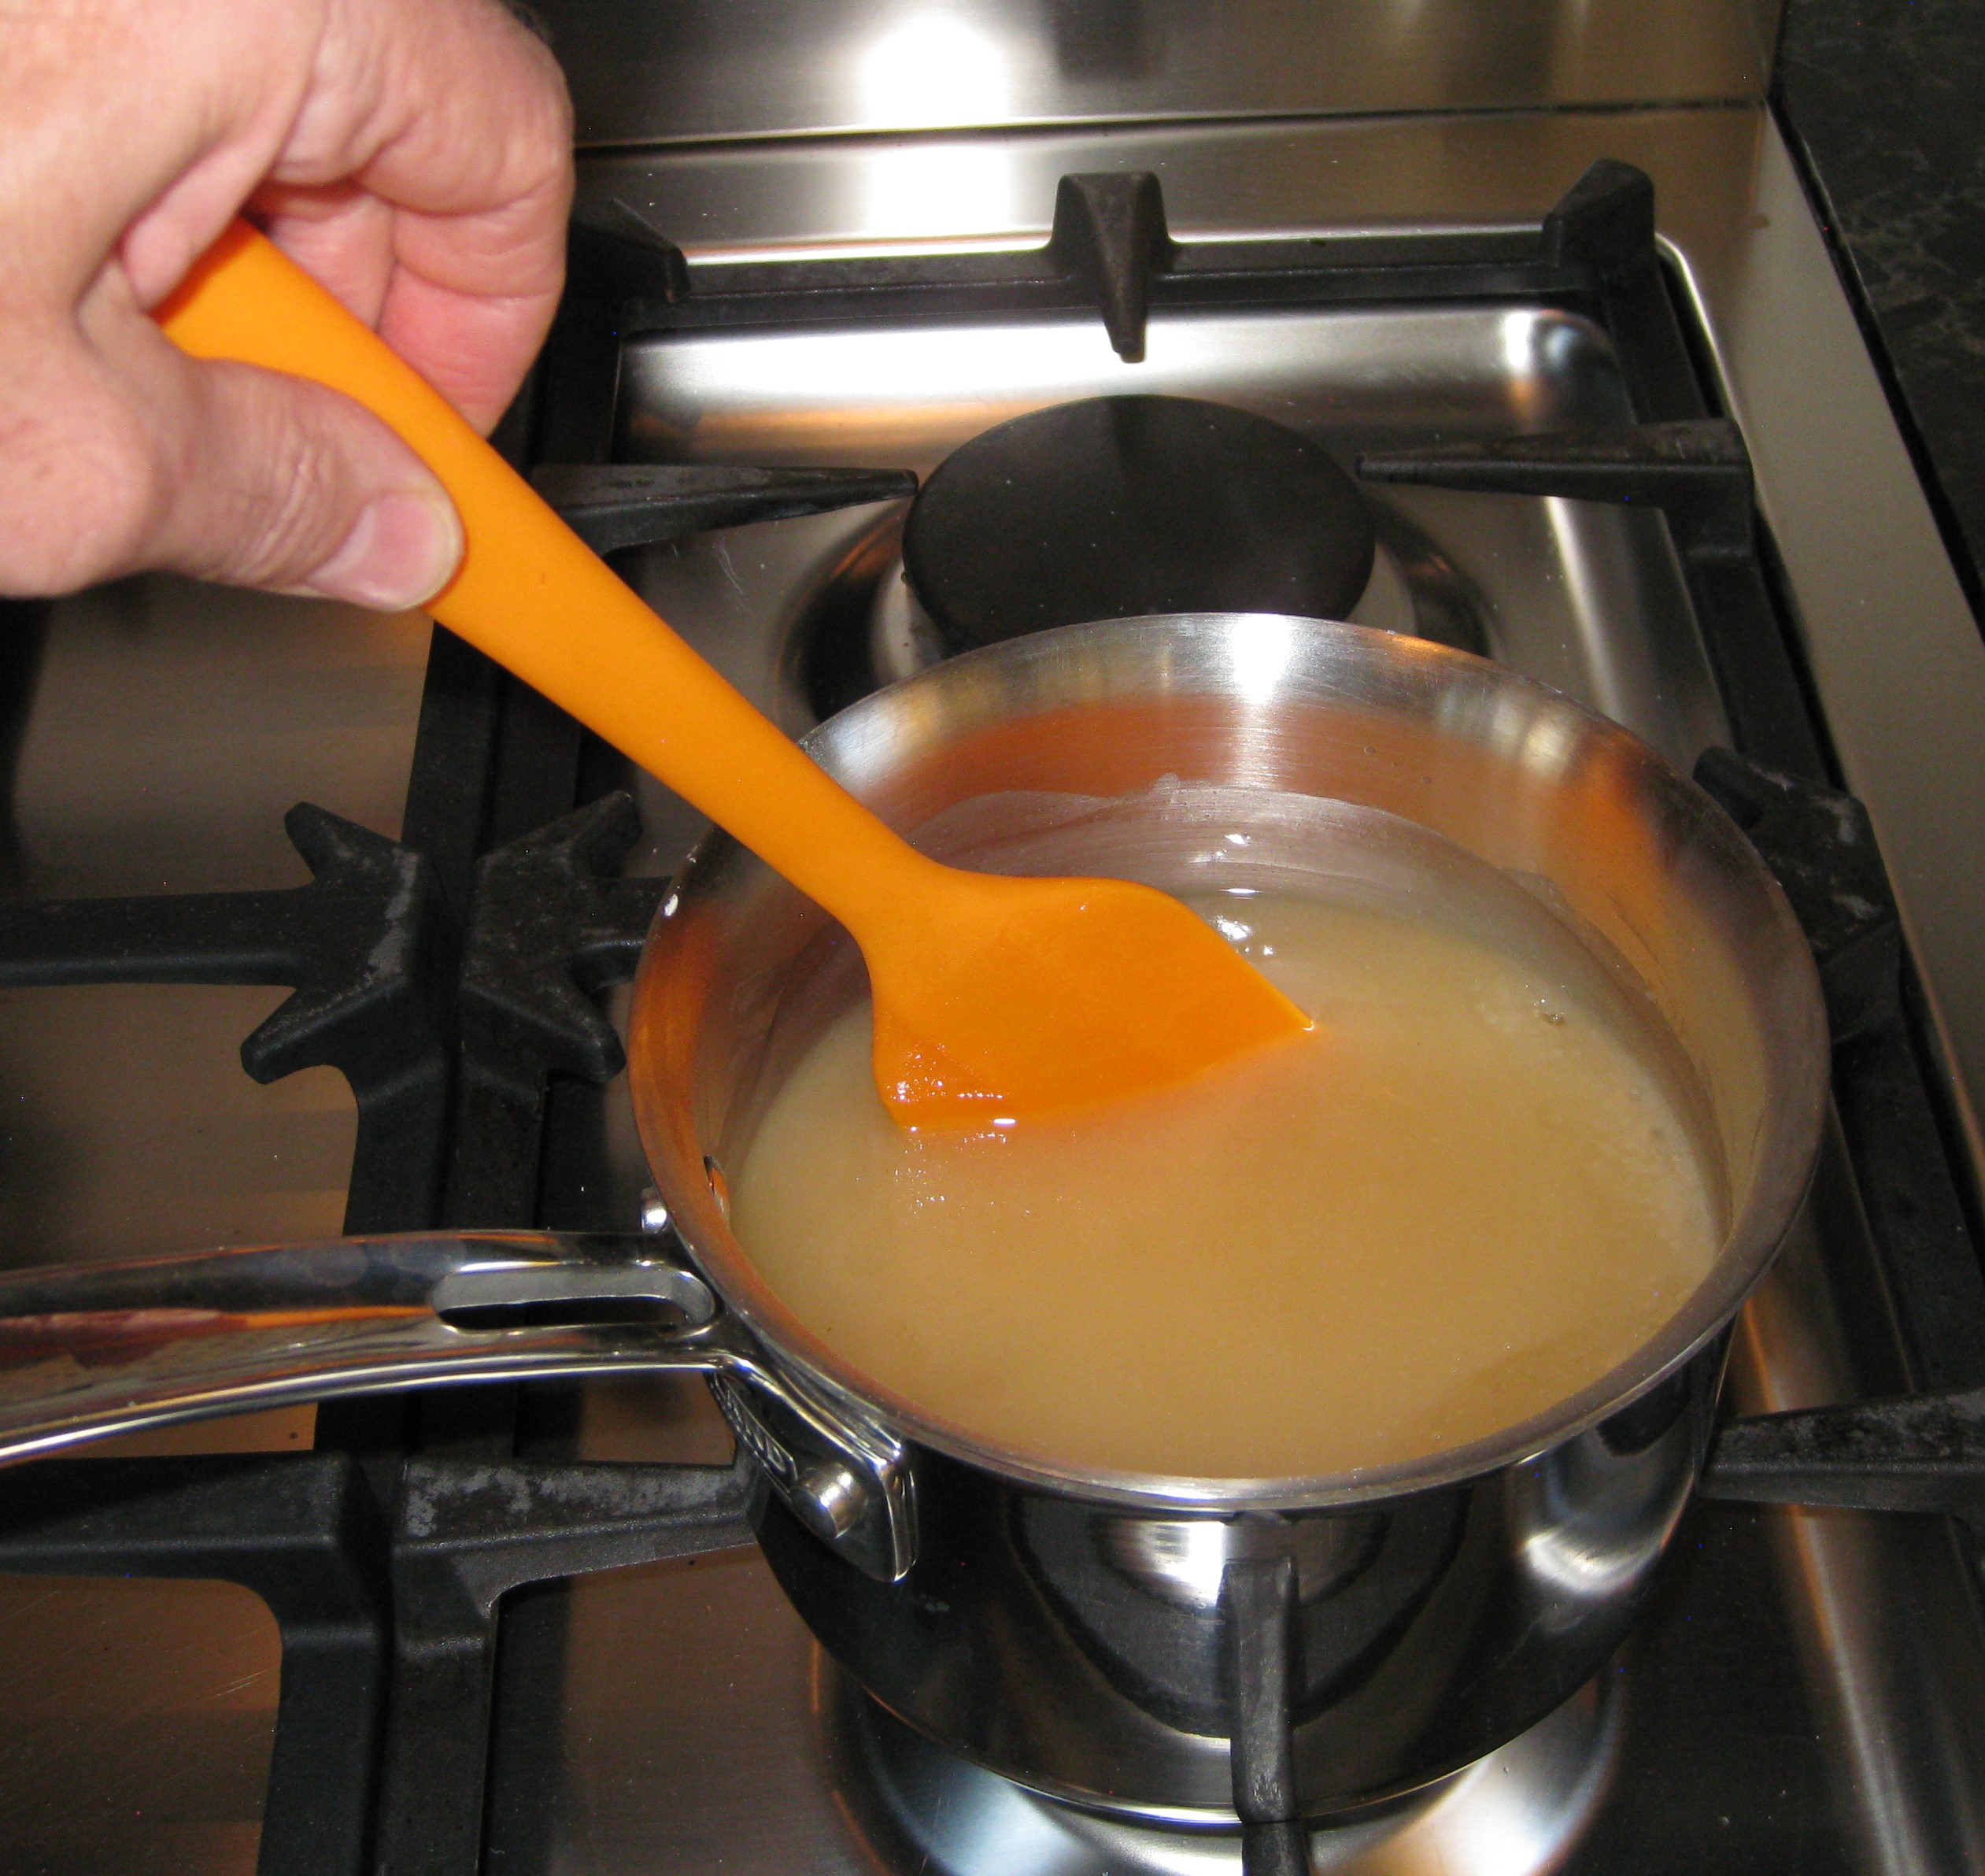
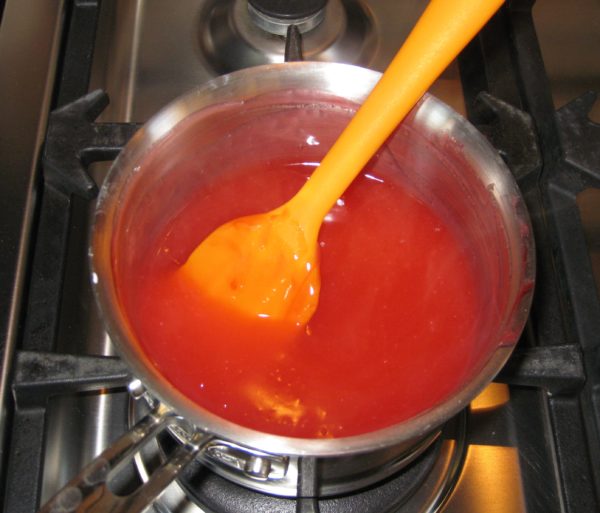
  4. Cook over medium heat, stirring constantly, until it comes to a full boil.
  5. Remove from heat and stir in red food coloring.
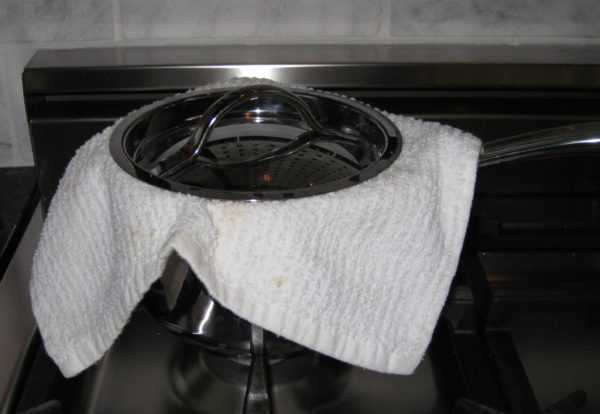
  6. Put a cloth on top of pan before putting cover back on to keep moisture from dripping back into the gel.
  7. After the gel reaches room temperature, refrigerate until cold.
Cream Cheese Frosting (make a double batch for the round cake)
  1. Chill the bowl and beaters for the whipped cream.
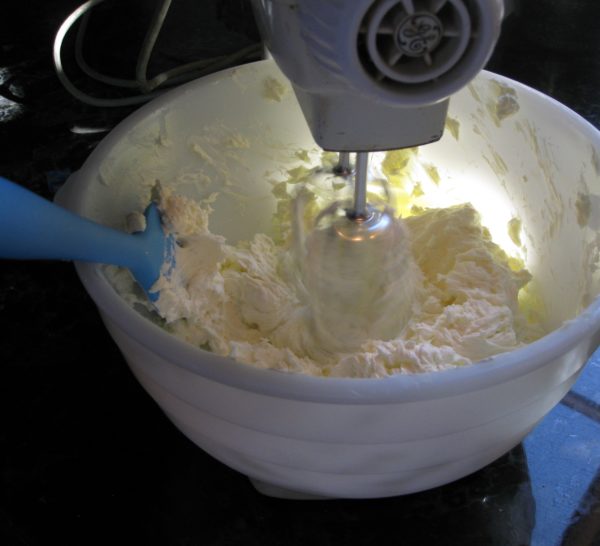
  2. Cream the cream cheese until light.
  3. Sprinkle in 1/3 cup of sugar and beat until light and fluffy.
  4. Mix in vanilla.
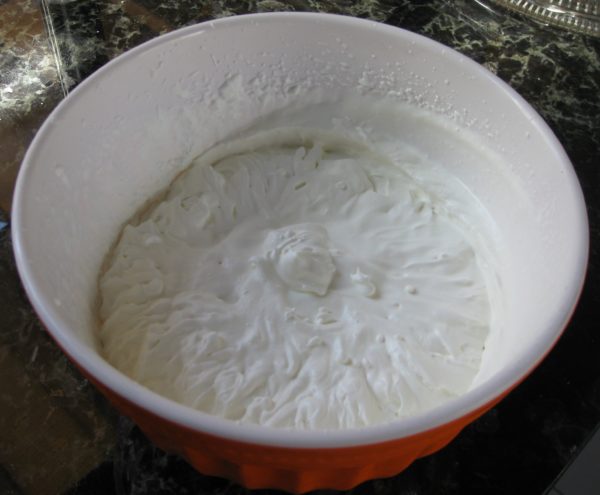
  5. In chilled bowl, beat the whipping cream until thick.
  6. Add 2 tablespoons of sugar and beat until the cream forms stiff peaks.
  7. Fold 1/3 of the whipped cream into the cream cheese to lighten it.
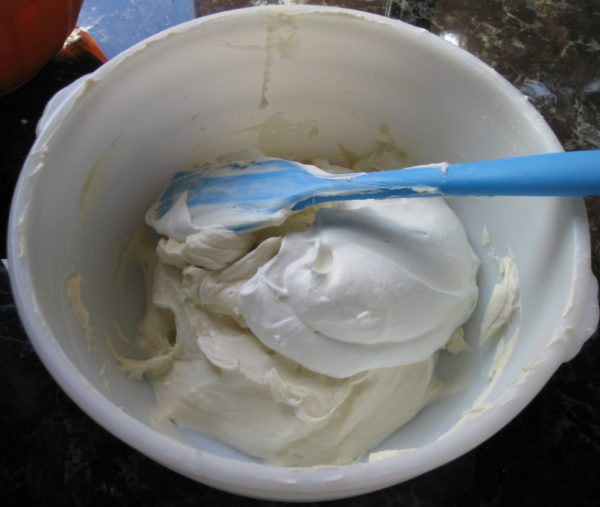
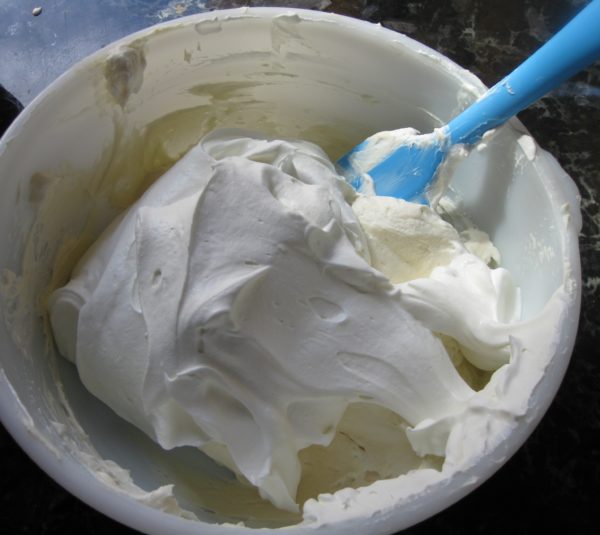
  8. Carefully, but thoroughly fold in the remainder of the whipped cream.
Recipe Notes

Copyright © 2017 by VillaSentieri.com. All rights reserved.

Share this Recipe

Mike’s (Justifiably Famous) Carrot Cake

August 25, 2017

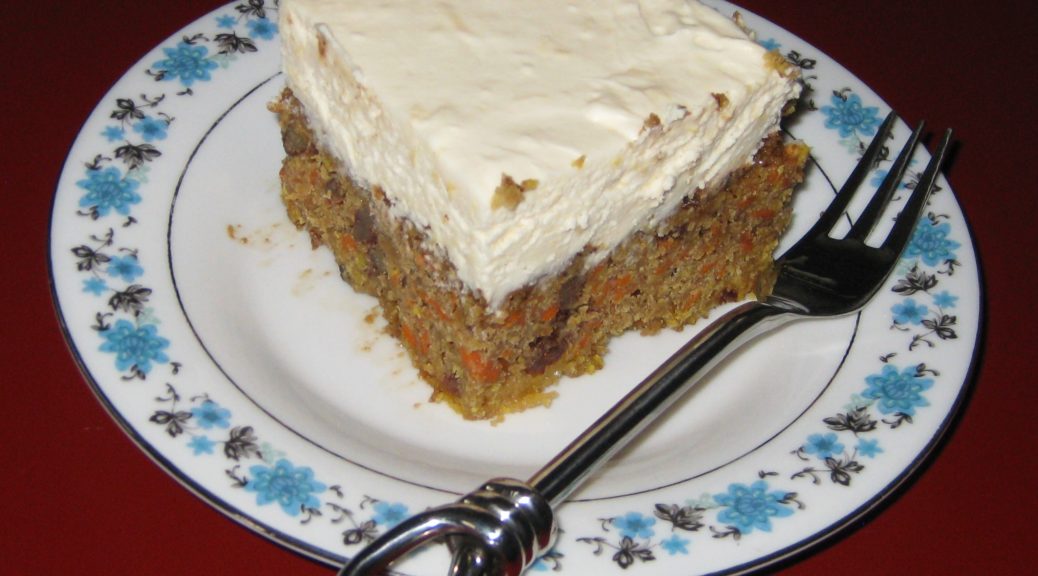
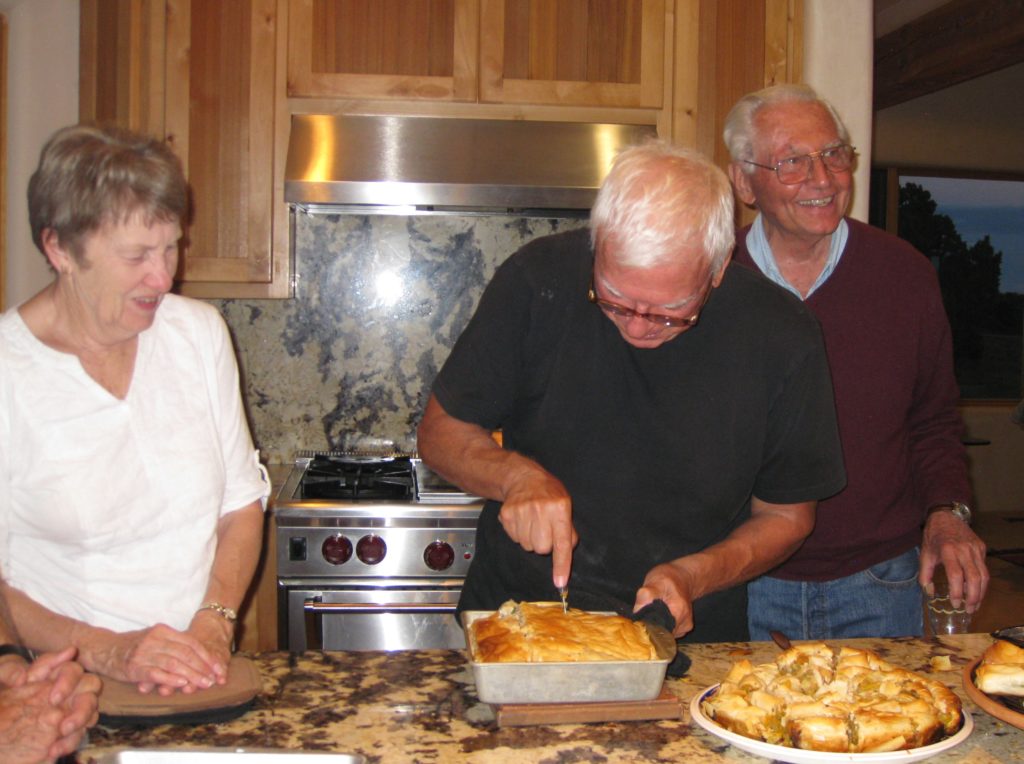
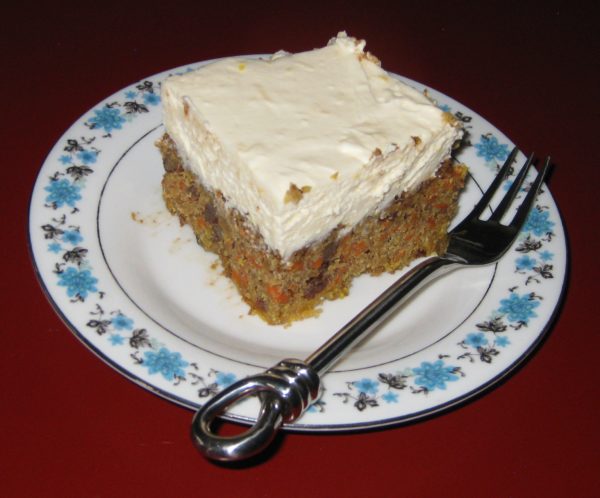
Mike Abramson says his carrot cake is the best ever.

Janet Carlson doesn’t necessarily agree.

For now, the controversy will need to simmer as I only have Mike’s (Justifiably Famous) Carrot Cake recipe, though I have suggested to Janet that she and Mike have a carrot cake bake-off.

Mike makes no apologies for having stolen the recipe from Tom Grier, originally of Grier, Georgia.

The story goes something like this…

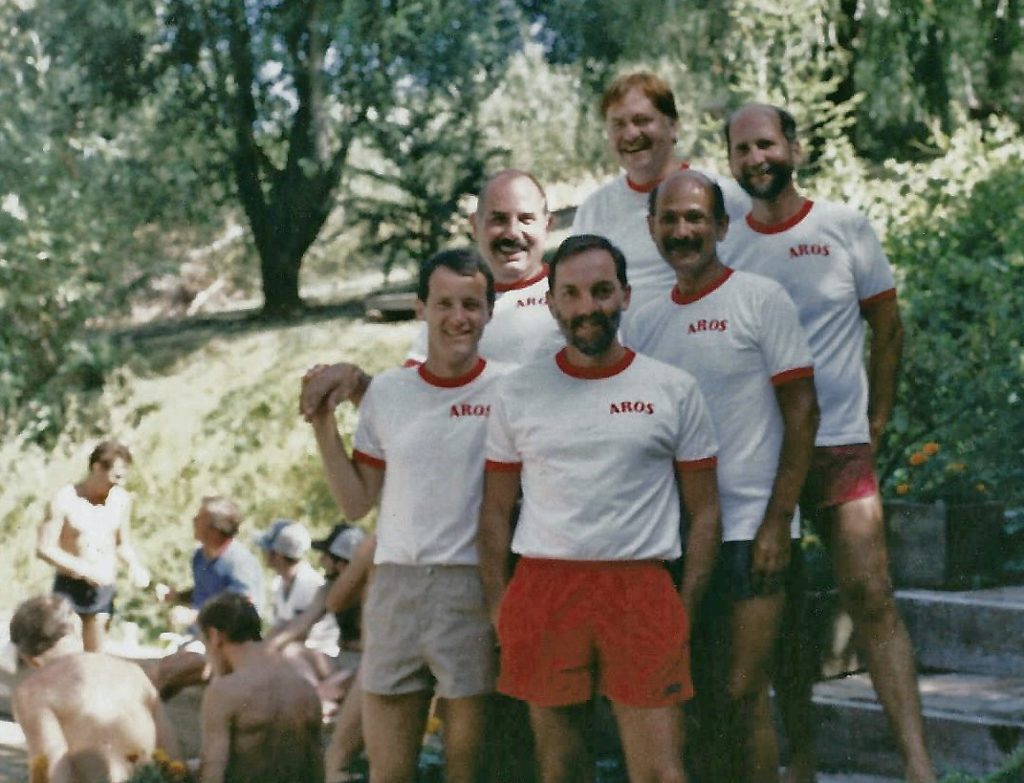
In the 1970’s a group of four friends from San Francisco bought a weekend house, they named Aros, near Sebastopol, California. The four owners rotated use of the house, each getting it for a week at a time but also sometimes showing up there together to host parties as in the photo below.

Mike Abramson, second row far right

Over the years, ownership of the house shifted as some individuals sold their interest and others bought in.

At one point, Tom Grier was the youngest owner.

The group met on a quarterly basis in San Francisco to discuss maintenance issues related to the house. As with use of the house, these meetings were held in rotation at the owners’ homes in San Francisco.

Whenever Tom hosted the meeting, he served carrot cake, which Mike believes originated as a Grier family recipe. Tom shared the recipe with Mike and the rest is history. Mike’s (Justifiably Famous) Carrot Cake was born.

But for Janet’s assertion that Mike’s might not be the best carrot cake in the world, well, we’ll just have to wait for the bake-off.

From left to right: Janet Carlson, Richard Valantasis, and Gino Barcone

Follow us


Click HERE to join our mailing list and you’ll never miss a recipe again!

Print Recipe
Mike's (Justifiably Famous) Carrot Cake
This is almost a cross between a spice cake and a carrot cake. The frosting is generous and could easily be reduced by one-third. This recipe is for sea level. If there is interest in adjustments for high altitude, let me know and I’ll post them.
Votes: 0
Rating: 0
You:
Rate this recipe!
Cuisine American
Prep Time 1 hour
Cook Time 40 minutes
Passive Time 2 hours
Servings
people
Ingredients
Cake
Frosting
Cuisine American
Prep Time 1 hour
Cook Time 40 minutes
Passive Time 2 hours
Servings
people
Ingredients
Cake
Frosting
Votes: 0
Rating: 0
You:
Rate this recipe!
Instructions
Cake
  1. Butter and flour a 9” x 13” baking pan.
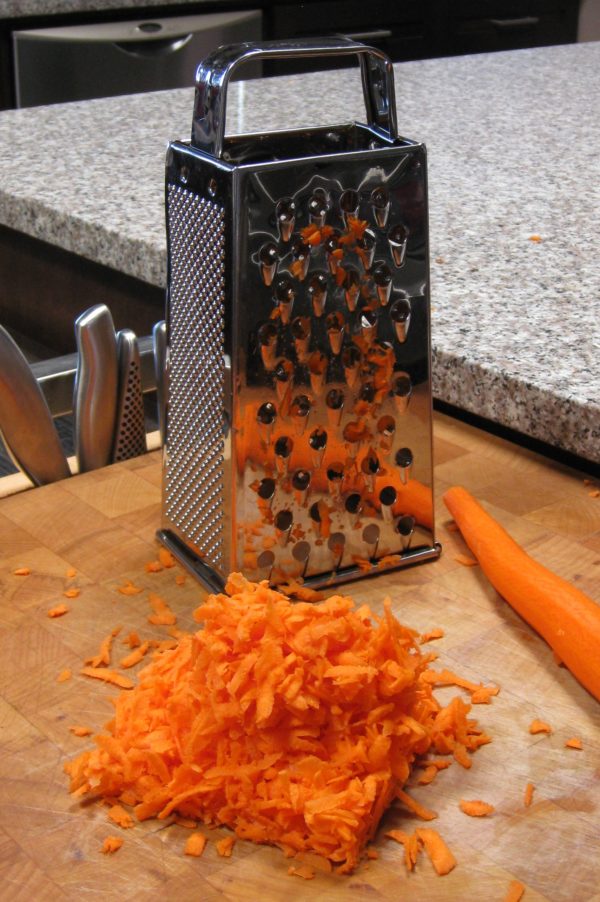
  2. Grate the carrots on the tear-drop holes of a box grater.
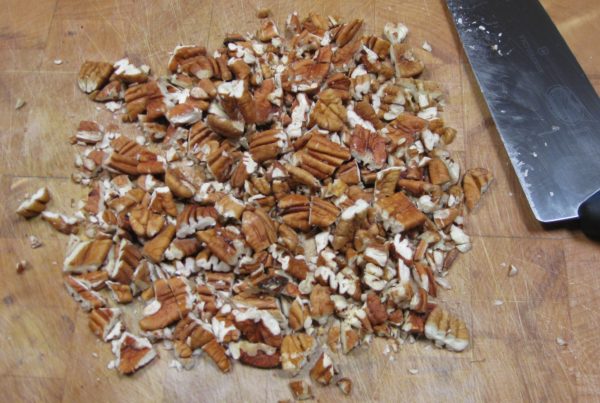
  3. Coarsely chop the nuts.
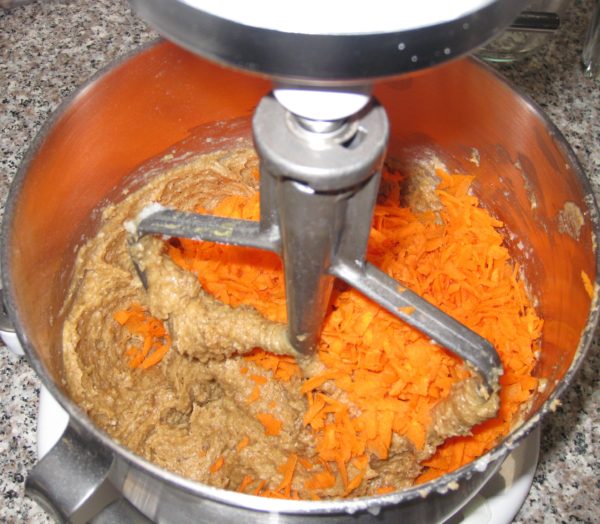
  4. Combine the flour, baking powder, baking soda, salt, cinnamon, cloves, allspice, nutmeg, and brown sugar in the bowl of a stand mixer. Mix with the paddle.
  5. Add the oil and eggs to the flour mixture. Blend until combined.
  6. Add the carrots and crushed pineapple with the juice. Mix thoroughly.
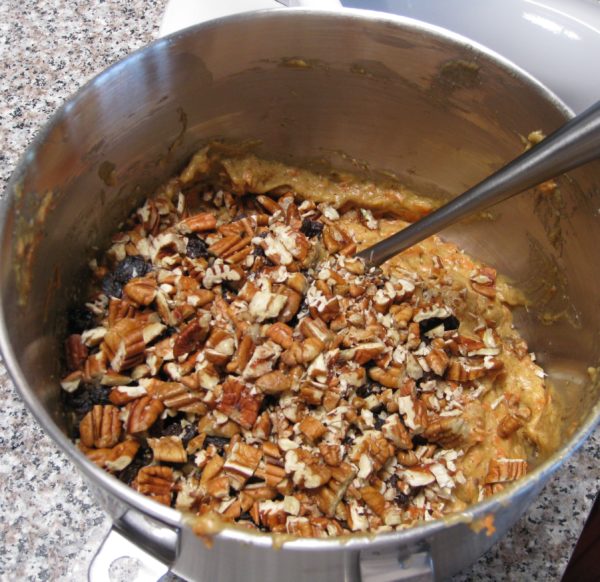
  7. Add the walnuts and raisins. Stir to combine.
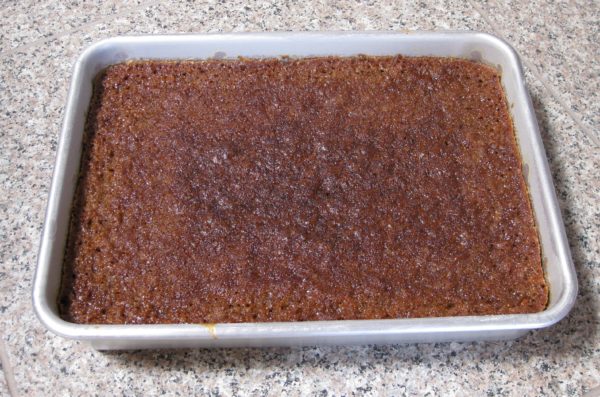
  8. Pour into the prepared pan. Bake at 350°F for 35-40 minutes or until the center springs back when lightly touched.
  9. Cool completely in the pan before frosting.
Frosting
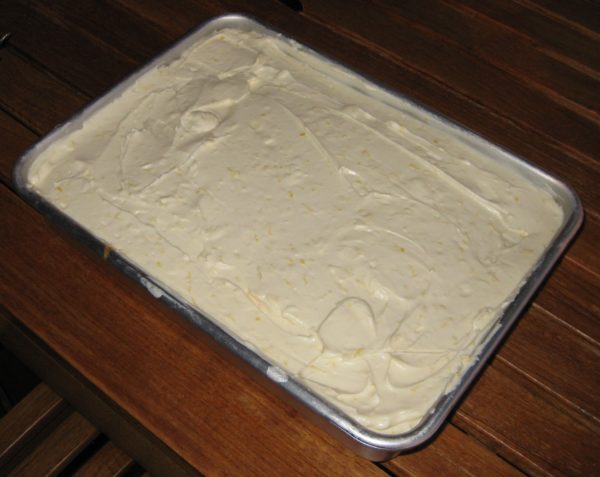
  1. Beat cream cheese and butter until light using the paddle of a stand mixer.
  2. Beat in all other ingredients.
  3. Frost cake when cool.
Recipe Notes

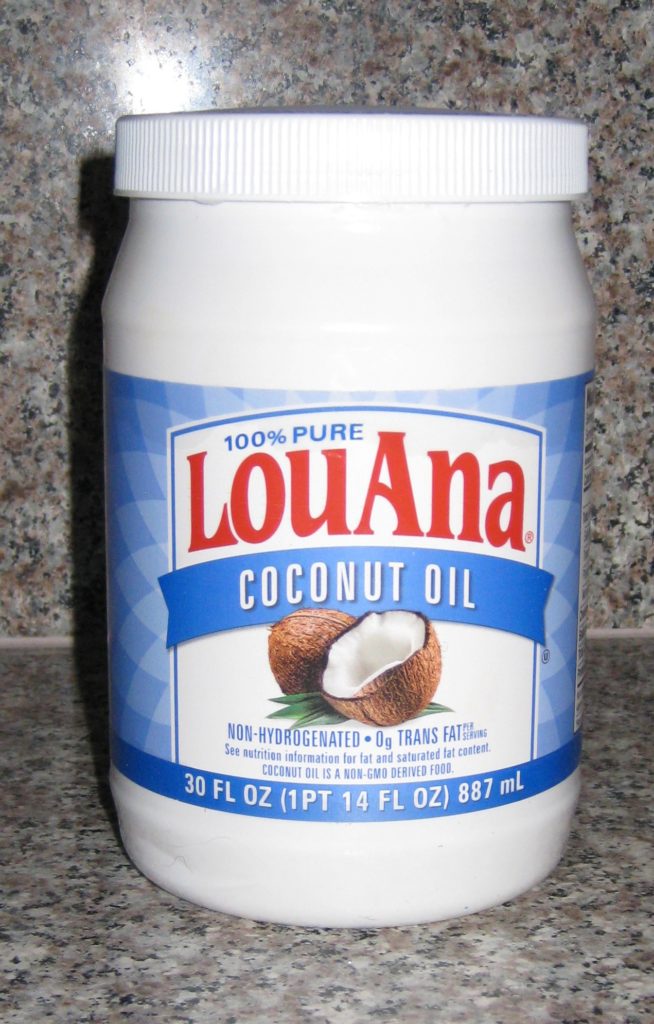
For recipes that call for solid vegetable shortening, such as Crisco, I use coconut oil is due to concerns about the negative health effects of hydrogenated fats.

Copyright © 2017 by VillaSentieri.com. All rights reserved.

Share this Recipe

Salsicce con Cardone (Sausage with Cardoons)

February 17, 2017

We made our move to multi-generational living in 1998 when my husband’s parents moved into the Coach House at our estate in Chicago, The Henry Rohkam House.  (There are a couple pictures of the main house in a prior post.)

Pretty quickly we settled into a routine of having meals together.  When we went to work, the dogs went to Grandma and Grandpa’s (21 feet away in the Coach House) for the day.

My husband started gardening with his father.  A large piece of our one-third-of-an-acre property in Chicago’s Lakeview neighborhood was turned over to cultivation.  We had grapes, strawberries, corn, tomatoes, eggplant, sweet peppers, radicchio, arugula, leaf lettuce, Swiss chard, okra, hot peppers of various types, an array of herbs and other vegetables that varied year by year.  The fruit trees never did very well.  The kiwi thrived but never bore fruit.  One of the four kiwi was accidentally injured and died.  In retrospect, it was probably the male plant (there were three female and one male plant), hence no fruit.

Every fall we canned and preserved foods in various ways.  We made jars of olives marinated in red wine vinegar and herbs from the garden.  We made herb-infused vinegar and olive oil.  We dried herbs for the winter.  We froze vats of tomato sauce.  I’ll admit to even freezing pesto which, while it doesn’t taste like its fresh-made cousin, is pretty awesome in the dead of a Chicago winter!

Some years there were enough strawberries to put up jam.  City squirrels can be quite bold, however.  I was standing alongside the garden one spring day when a squirrel, who had gone grocery shopping in our strawberry patch, literally ran over the top of my foot with a strawberry in his mouth on his way out of the produce isle.

The birds had Houdini-like skills.  Despite wrapping the grape arbor in yards of netting, the birds found their way in, decimated the grapes, and escaped.   The few grapes we were able to harvest were very sweet!

We built a temperature-controlled wine cellar in the basement of the Coach House.  My husband made wine for a few years but stopped when work got too busy.

I started cooking more often with my mother-in-law.  Every month or so, my husband’s grandmother, Noni, would come to visit for a weekend.  Noni was a marvelous cook.  Some dish always appeared during those weekends that I had never had before.  Sausage with Cardone was one of them.

For a vegetable that has been popular since the ancient Romans, I’m surprised I’d never hear of it.  I grew up eating sausage with peppers and onions.  Sometimes the sausage was cooked in a tomato sauce, sometimes not.  Cardone was a whole new thing!

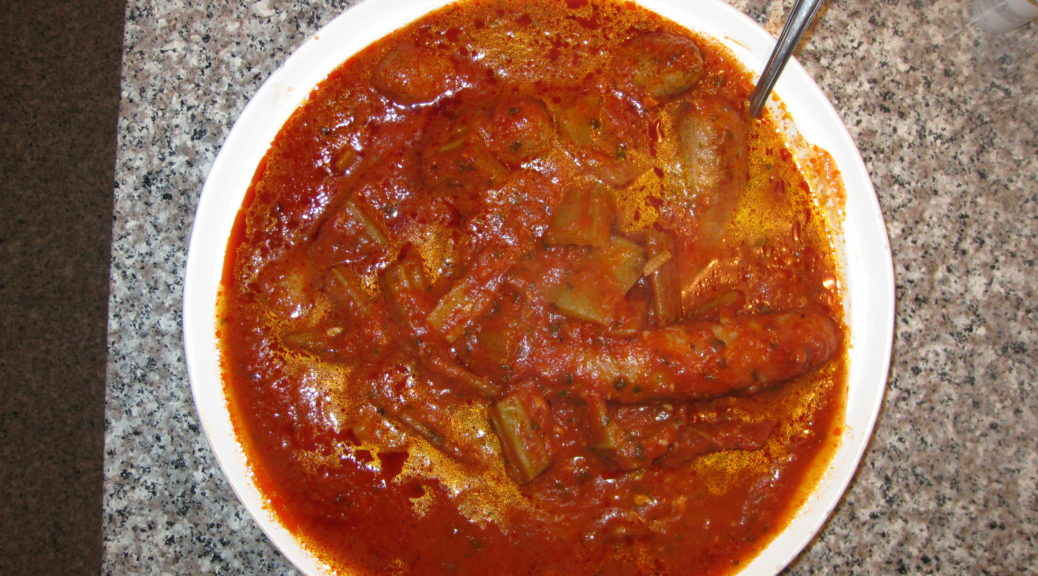
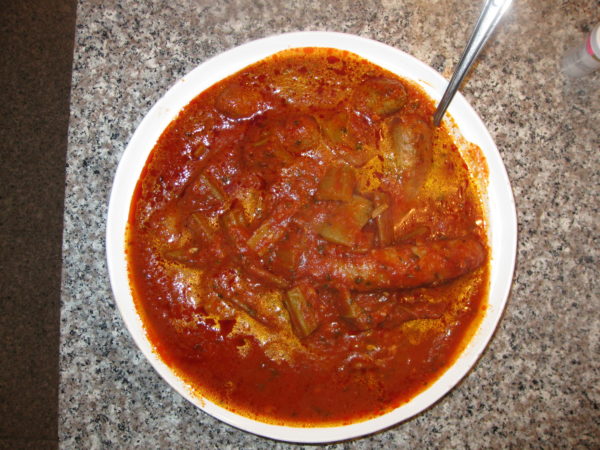
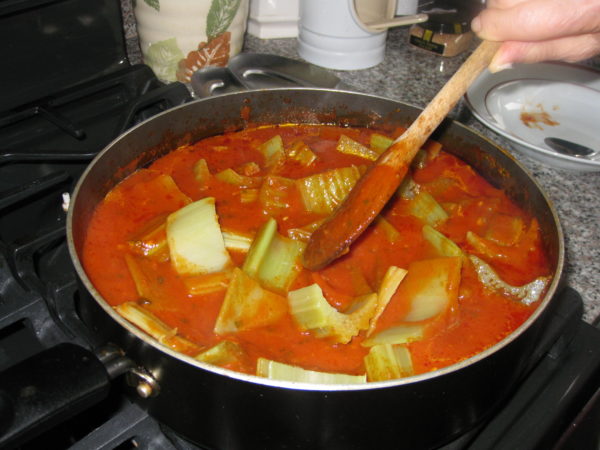
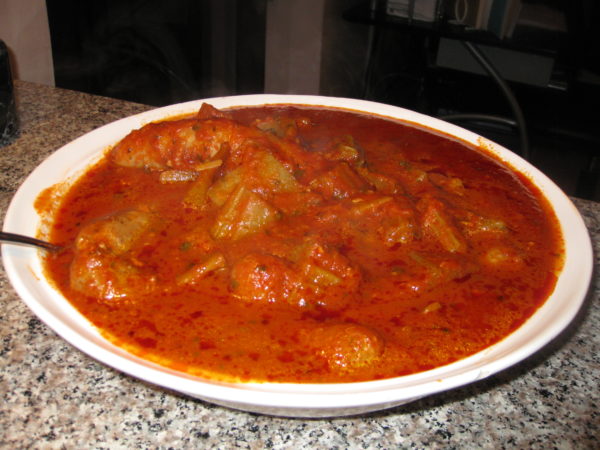
This goes really well with polenta but it’s equally good on its own.  Leftover sauce can be put on pasta or can accompany a frittata.  You may notice from the pictures that we didn’t use as much sausage as called for in the recipe.  We didn’t want leftover sausage but that didn’t mean we didn’t want leftover sauce!  Sadly, the cardone usually all gets eaten on the first go-around but on those rare occasions where it doesn’t, I like to use it as a sandwich filling for lunch.

Print Recipe
Salsicce con Cardone (Sausage with Cardoons)
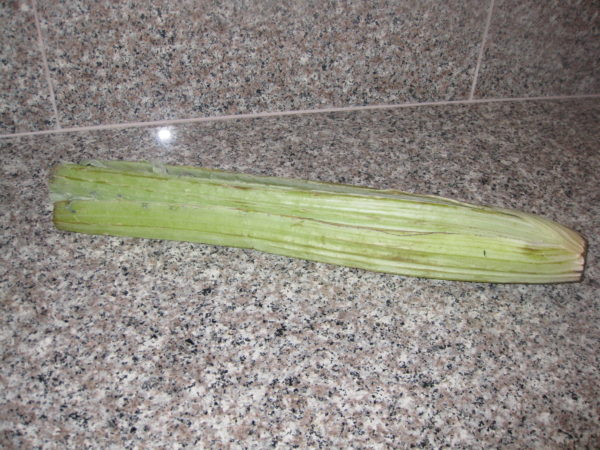
Cardone looks like oversized celery. It is giant, about 2 feet long as sold trimmed in the grocery store. It is related to the artichoke and was popular among the ancient Romans. Cardone should always be served cooked. Leaves should be removed and not eaten.
Votes: 0
Rating: 0
You:
Rate this recipe!
Course Mains, Meats
Cuisine Italian
Prep Time 15 minutes
Cook Time 2 1/2 hours
Servings
people
Ingredients
Course Mains, Meats
Cuisine Italian
Prep Time 15 minutes
Cook Time 2 1/2 hours
Servings
people
Ingredients
Votes: 0
Rating: 0
You:
Rate this recipe!
Instructions
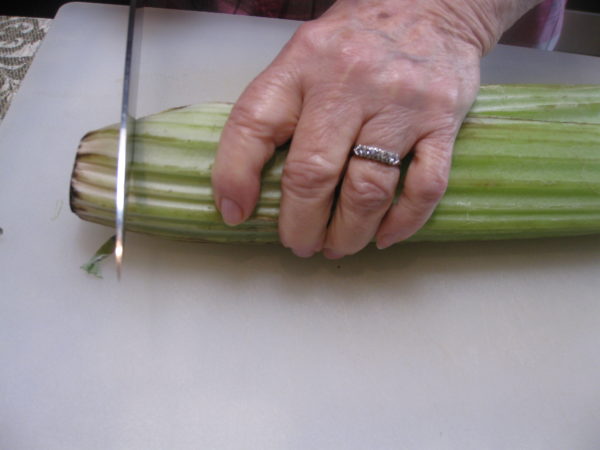
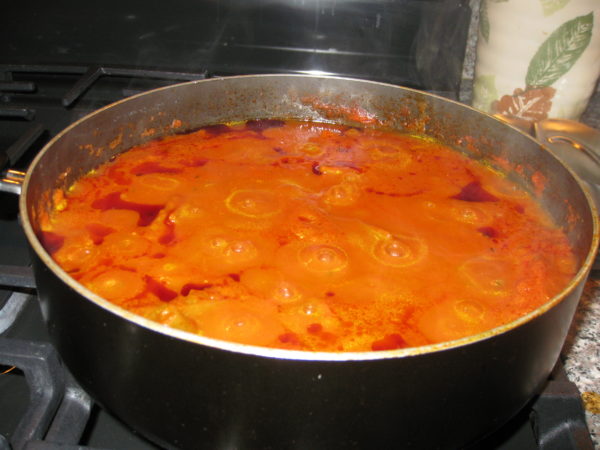
  1. The starting point: cardone from the market.
  2. Cut off the bottom of the cardone.
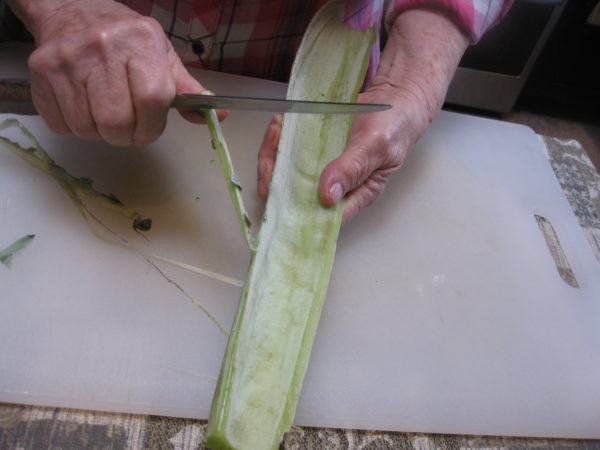
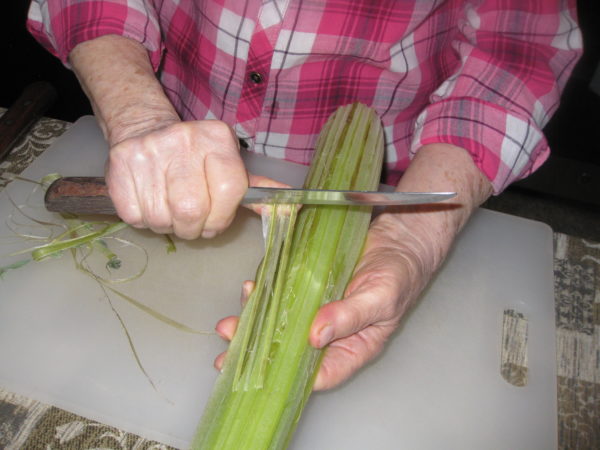
  3. Using a vegetable peeler (or knife if you are my mother-in-law), remove the leafy edges of the cardone.
  4. Remove any stringy parts of each rib.
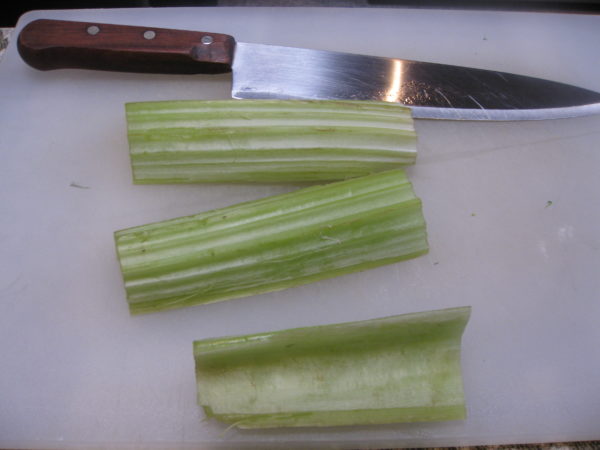
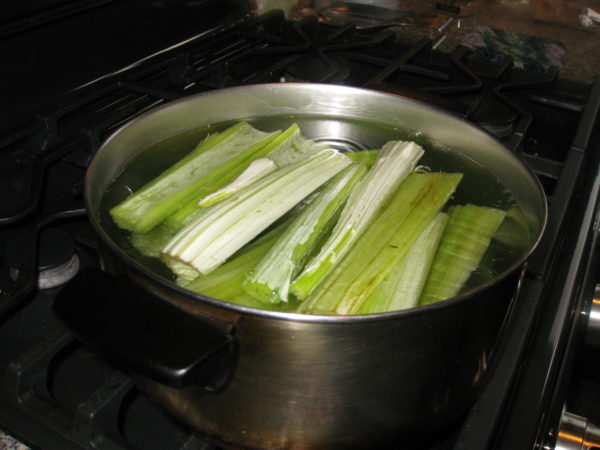
  5. Cut the ribs into pieces approximately 4 inch long. Wash well.
  6. Bring 3 quarts of water to a boil. Add 3 tablespoons of salt and a pinch of baking soda. Add the cardone and boil until you can pierce it relatively easily with the point of a sharp knife. Do not overcook the cardone as it will be cooked further with the sausage.
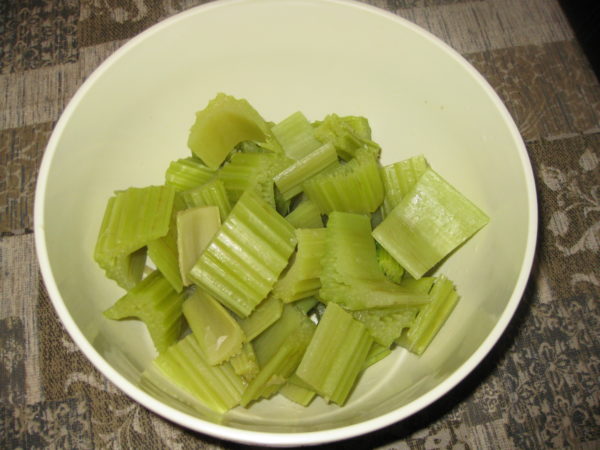
  7. Remove the cardone from the water. Stop cooking by putting the cardone in a bowl of ice water. When cold, cut into pieces approximately 1 ½ inches long and reserve.
  8. If the sausage is not in links, cut into pieces approximately 4-5 inches in length. Using the tines of a fork, pierce the skin of each piece of sausage in several places.
  9. Heat the olive oil in a large, heavy-bottomed sauté pan or a wide, shallow casserole. Add the sausage and brown well on all sides.
  10. Remove the sausage from the pan.
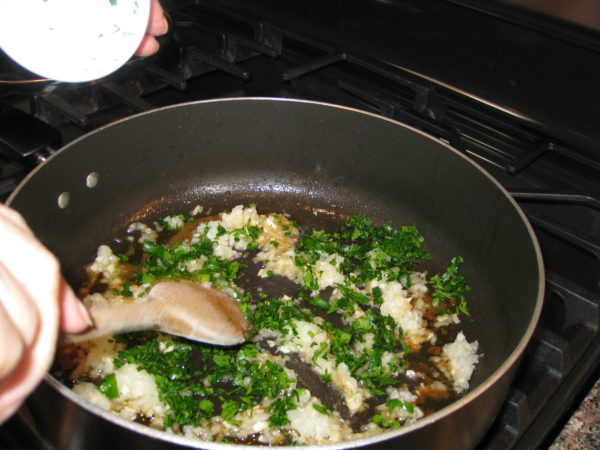
  11. Add the onions, garlic, parsley, and rosemary to the sausage drippings in the pan. Sauté until the onions are soft and golden.
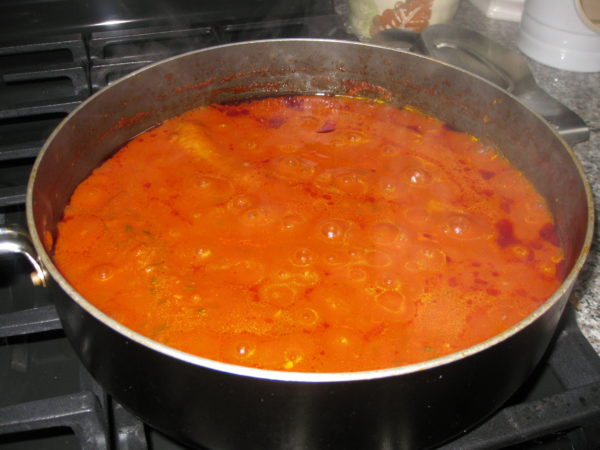
  12. Add the wine, if using. Allow wine to mostly cook away then add tomato puree and water.
  13. Return the sausage to the pot with the sauce. Season with salt and freshly ground pepper. Simmer, partially covered, for about an hour.
  14. Add the cardone. Taste for seasoning. Simmer, partially covered, until the cardone is tender, approximately 30-45 minutes.
  15. Pour into a serving dish and bring to the table.
Recipe Notes

Copyright © 2017 by VillaSentieri.com. All rights reserved.

Share this Recipe

Totos (Italian Chocolate Spice Cookies)

December 21, 2016

Homemade cookies and pastries were staples of my childhood.  Trays of cookies showed up for holidays, celebrations, weddings, funerals, and, sometimes, for no apparent reason.

My mother along with relatives and friends set up a cookie-making operation that went on every night for weeks leading up to my sister’s wedding.  The overseer was Annie Castagnola, a family friend.  She had a thin spiral-bound 3-inch-by-5-inch notebook of cookie recipes.  The notebook was the kind we used in grade school to write down our homework assignments.  Annie’s recipes were a curated collection gathered from a host of “old Italian women,” my grandmother included.

The little notebook was coveted by more than a few cooks.  Annie, however, did not share her recipes, even when those recipes came from relatives of the very people who were asking for them.  I know, my mother was one of those people who wanted some of her mother’s recipes.  Annie wouldn’t budge.  The situation got resolved, however, during the cookie-baking marathon for my sister’s wedding.  One night, Annie left her little notebook at our house overnight.  Nobody’s confessing, but there are a few cookie recipes in my mother’s recipe box (sitting on my bookcase) written in my twelve-year-old hand.

Annie died a while back.  Her little notebook is most likely gone forever and along with it the baking secrets of a whole group of “old Italian women.”

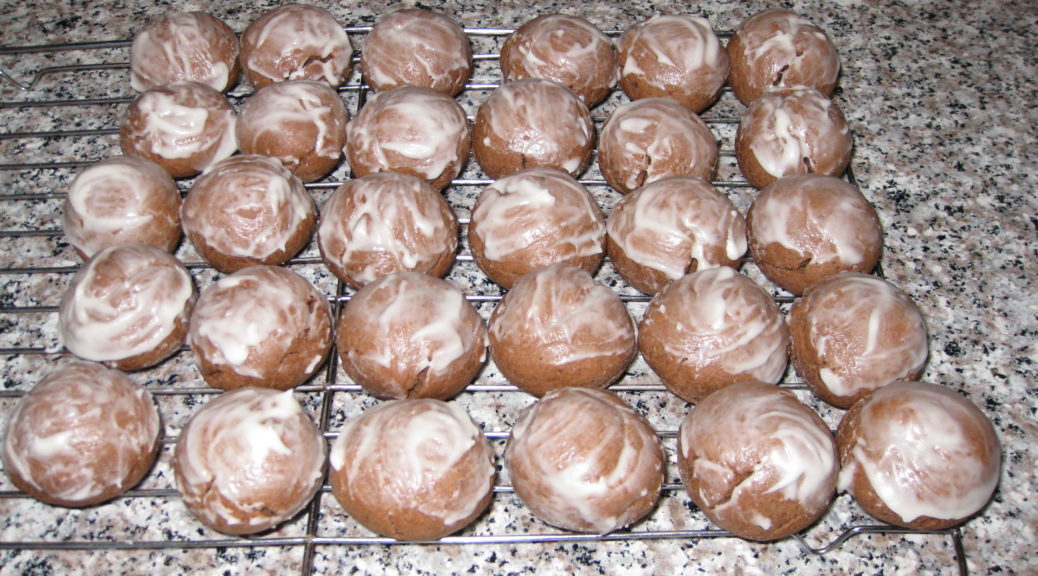
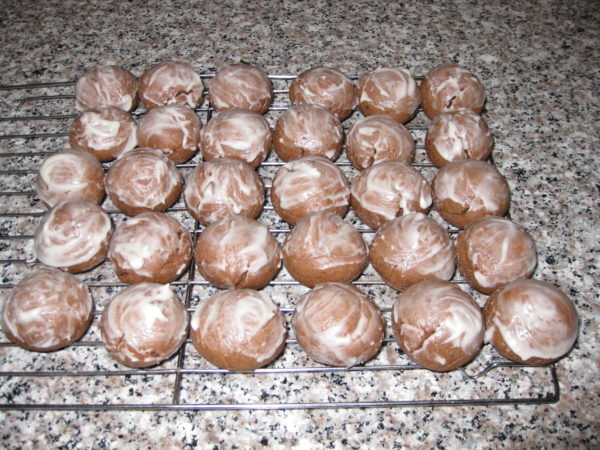
Of all the cookies that showed up throughout the year, my favorites were the various kinds of cakey cookies, my mom’s Genets, Aunt Margie’s aptly named “Colored Cookies,” and my cousin Angie Catanese’s Sesame Seed Cookies, to name a few.  These cakey cookies, which were not very sweet by American standards, were usually little balls but not always.  Genets are lemon flavored knots.  Colored Cookies are vanilla flavored balls, each made with four or five pinches of dough of different colors rolled together.  Sesame cookies are little logs, perfect for dunking into some Vin Santo.  For me, though, the best of these cakey cookies are Totos, little chocolate spice balls.

Print Recipe
Totos (Italian Chocolate Spice Cookies)
These little chocolate balls are intended to have a good kick from an array of spices. Lard is the traditional shortening to use. I render my own. If you need these to be vegetarian, or you just don't want to use lard, you can use solid vegetable shortening. Heck, you can even use clarified butter but that is way off the traditional scale!
Votes: 19
Rating: 3.84
You:
Rate this recipe!
Cuisine Italian
Prep Time 45 minutes
Cook Time 2 hours
Servings
dozen cookies
Ingredients
Cookies
Icing
Cuisine Italian
Prep Time 45 minutes
Cook Time 2 hours
Servings
dozen cookies
Ingredients
Cookies
Icing
Votes: 19
Rating: 3.84
You:
Rate this recipe!
Instructions
Cookies
  1. In a small saucepan, melt the lard over low heat. When just melted, remove the lard from the heat and allow to cool slightly.
  2. Meanwhile, combine the flour, cocoa, baking powder, baking soda, salt, cloves, cinnamon, allspice, and nutmeg together. Reserve.
  3. Make the icing and reserve.
  4. Put the sugar into a large mixing bowl. Add the cooled but still liquid lard and mix well until thoroughly combined. The mixture will be gritty. I recommend doing this by hand with a mixing spoon but you could use a portable electric mixer.
  5. Add the eggs one at a time to the sugar and lard mixture, mixing well after each addition. The sugar should dissolve as the eggs are added.
  6. Add the milk, honey, vanilla extract and lemon extract to the egg mixture. Mix until well combined.
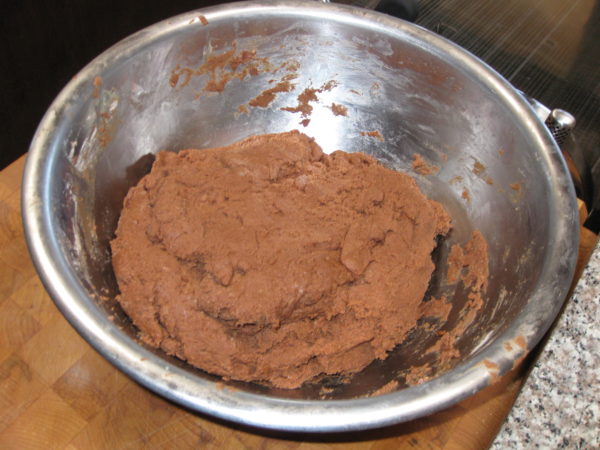
  7. Add the reserved dry ingredients. At this point there really is no better option than to reach into the mixture with your hand and get everything well combined. The dough will be somewhat sticky. Be certain that all the dry bits are scraped off the bottom and sides of the bowl and combined into the dough.
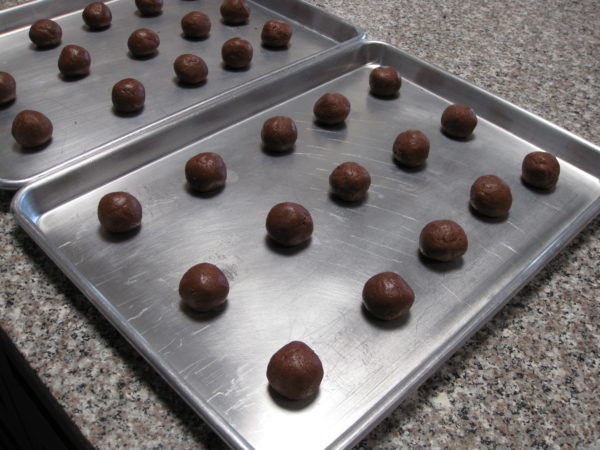
  8. Roll the dough into walnut-sized balls. If you want to weigh the first few to get the size correct, they should be between 21 and 22 grams.
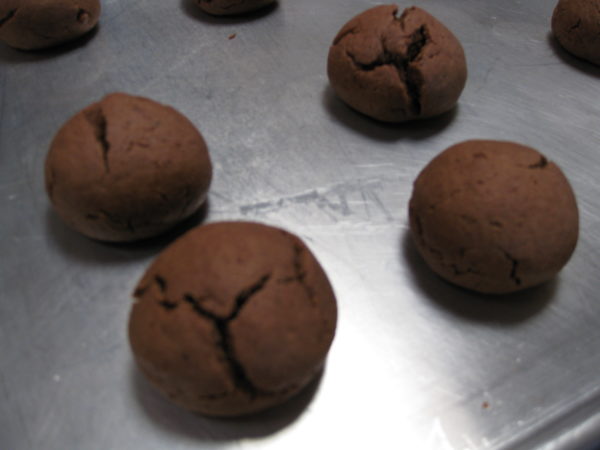
  9. Space the cookies several inches apart on ungreased cookie sheets. Bake at 375°F for 8-10 minutes until the cookies are very slightly browned on the bottom but still soft when touched. They have a tendency to crack as they bake. This is normal. You can bake two trays at a time, one in the lower third of the oven and one in the upper third. Be sure to switch the top and bottom cookie sheets after five minutes and also turn them front to back.
  10. As soon as you remove the cookies from the oven, carefully put them on cooling racks.
  11. Ice them immediately by holding a cookie with one hand and using the tip of your finger to spread a dollop of icing on the top half of each cookie. The icing should be a glaze, not a thick coating. Put the iced cookies on cooling racks to cool completely.
  12. Well wrapped, the cookies can be refrigerated for several weeks or frozen for several months.
Icing
  1. Melt the butter. Add the sugar, vanilla (or lemon) extract and 2 tablespoons of milk. Mix well. Add more milk, a teaspoon at a time, if needed, to make a thick icing that will hold its shape and spread well.
  2. It may be necessary to add a bit of milk from time to time if the icing stiffens up over the course of icing each batch of cookies as they come out of the oven.
Recipe Notes

Check out my method for rendering lard.

I prefer to grind my own spices using a small electric coffee grinder, except for the nutmeg, of course, for which I use a small grater. It is best to pass the ground spices through a small strainer to get out any small bits. If you don’t grind your own spices be sure to buy really fresh ground ones so the flavor is vibrant.

This recipe doesn’t involve any strenuous beating so the first few steps can easily be completed by hand with a sturdy mixing spoon rather than with a mixer. Similarly, after adding the dry ingredients, the dough only needs to be mixed enough to come together. This is easily (and traditionally) done with your hand though I suppose a dough hook would work, too.

Copyright © 2016 by VillaSentieri.com. All rights reserved.

Share this Recipe