January 11, 2023
Never Explain. Never Apologize.
Somebody famous once said that.
Well, according to Wikipedia, lots of famous people said that but the first, perhaps, is John Arbuthnot Fisher, a British Admiral of the Victorian and Edwardian eras.
I’m about to do both!
It’s been nearly a year since my last blog post. And many months had elapsed between my next-to-last blog post and that one. I’m sorry!
It amazes, and gratifies me, however, that during that long dry spell I continued to get messages from new readers of the blog and new subscribers to my emails.
Join our mailing list and you’ll never miss a recipe again!
Now let me explain.
Since August 2021 I have been working on a book about how to make artisan Italian gelato. All the time that I would have devoted to testing recipes and writing blog posts, and more, went to testing recipes for and, ultimately, writing the book.
I sent the manuscript to the publisher on November 1st. I’ve since revised the manuscript based on multiple rounds of feedback from the developmental editor. The text is now undergoing line editing. The photoshoot was completed a few weeks ago and photos were tentatively selected for the book.

I’m anxiously awaiting options for page layout and cover design. And not-so-anxiously awaiting feedback from the line editor.
Finding myself with more flexibility, I am planning on doing more baking than gelato-making for the next few months. Winter in Palm Springs is the time to use the oven!
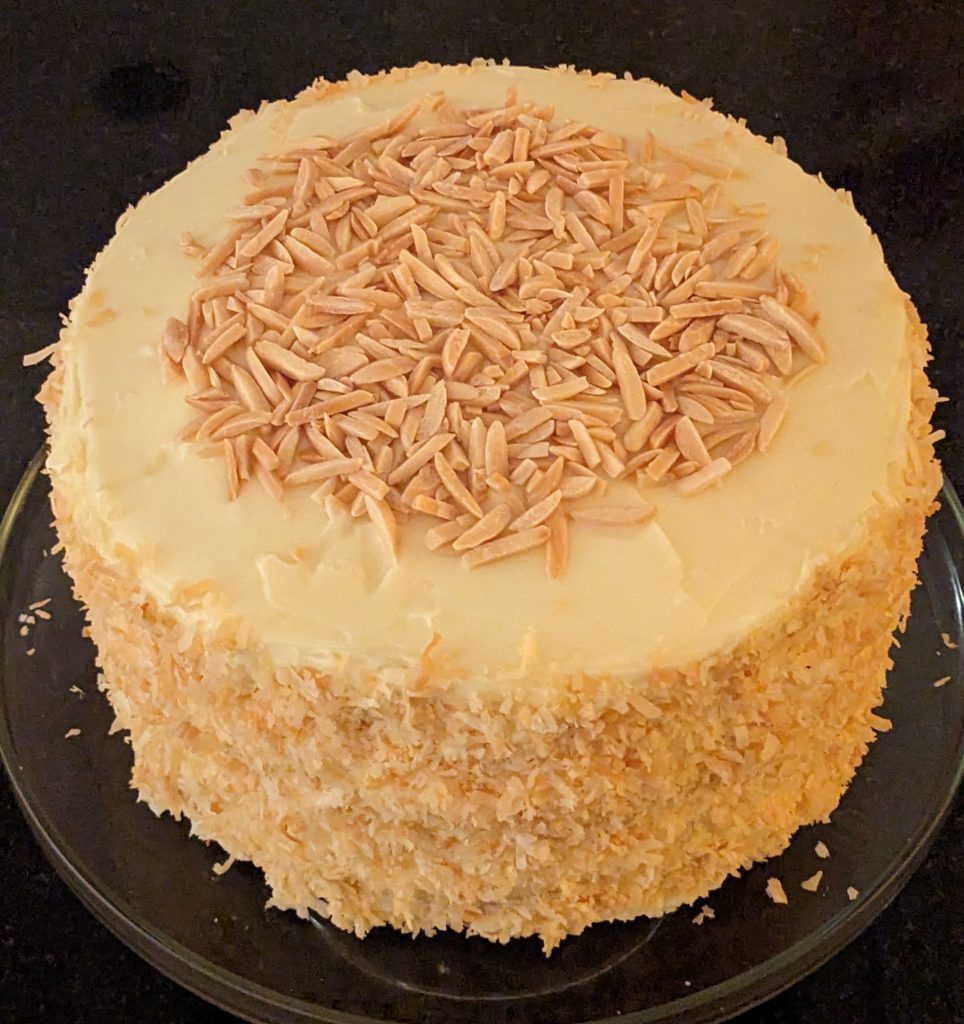
In fact, I had planned to make a coconut almond cake today, my second in less than two weeks. My goal is to keep at it until I reproduce a taste memory of a coconut almond cake that I ate, one and only one time, in 1967 (or summer arrives in Palm Springs, whichever comes first). It’s probably a fool’s errand but it is giving focus to my baking efforts.
Follow us on social media
![]()
![]()
![]()
A water leak last evening, while I was making dinner, means that the water to the house is shut off until the plumber gets here later today. No water means no baking. No baking means that I can repurpose my time to do my first blog post in nearly a year.
I promise to do my best to be more regular in posting.
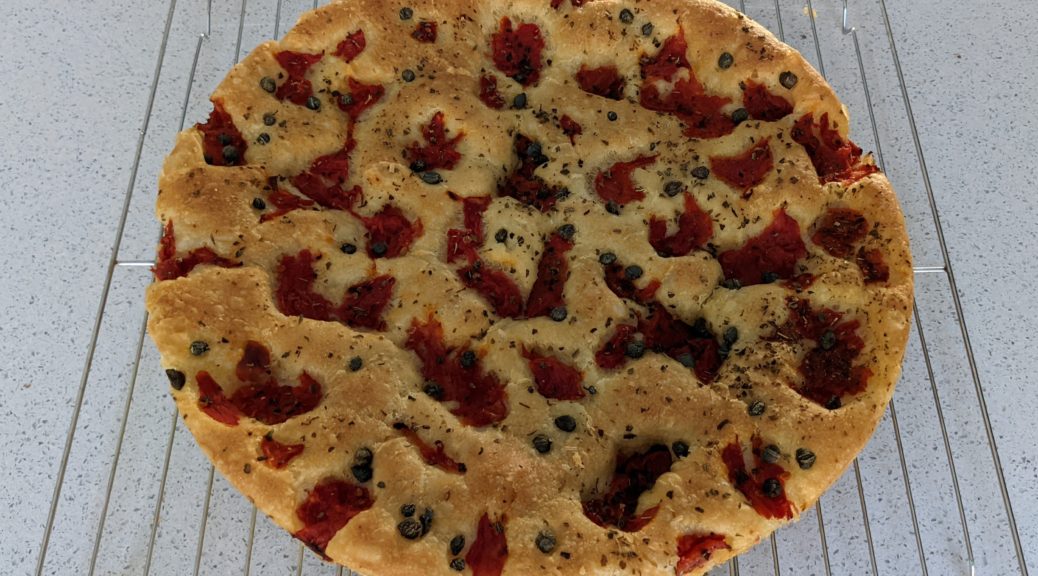
Now, let’s pivot to a recipe: Focaccia Barese (Focaccia from Bari).
I like to serve homemade bread with dinner as much as possible. This is a recipe that I turn to over and over to put a really tasty bread on the table with minimal active time and often little advance planning.

| Prep Time | 25 minutes |
| Cook Time | 35 minutes |
| Passive Time | 3 hours |
| Servings |
loaf
|
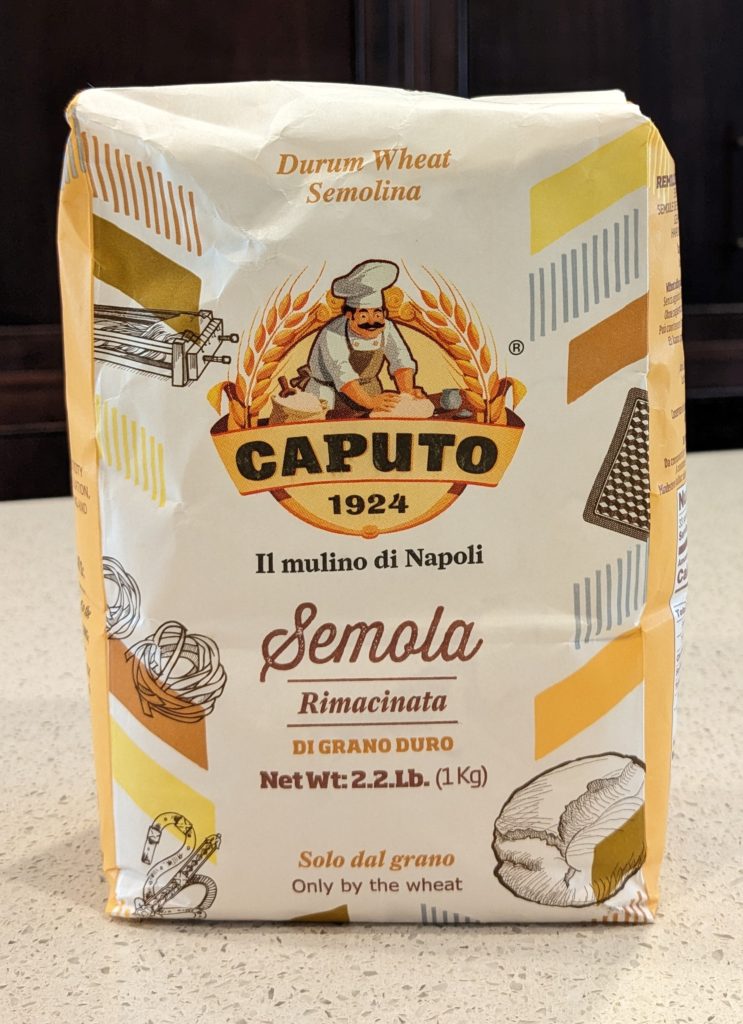
- 400 g bread flour
- 100 g semola remacinata (finely ground semolina flour)
- 475 g water
- 100 g extra virgin olive oil plus more
- 7 g instant yeast (one envelope)
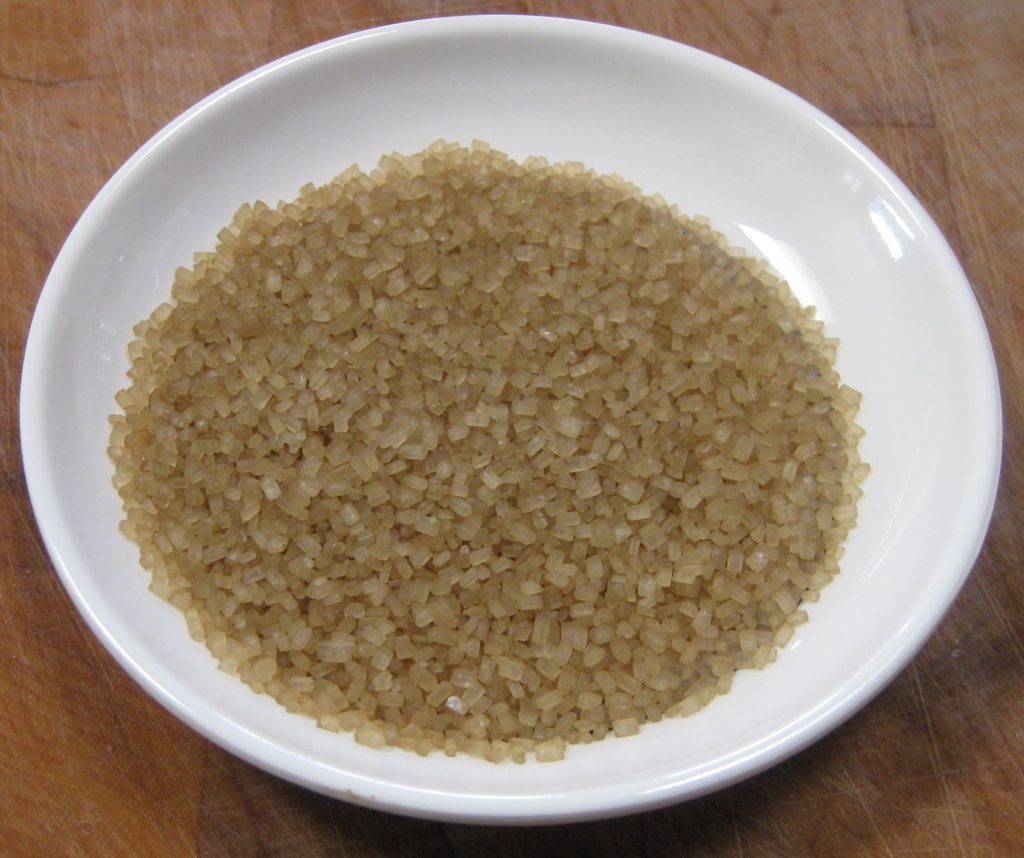
- 10 g sugar
- 15 g salt
- 14 1/2 oz can whole peeled tomatoes or 14 ½ oz can diced tomatoes
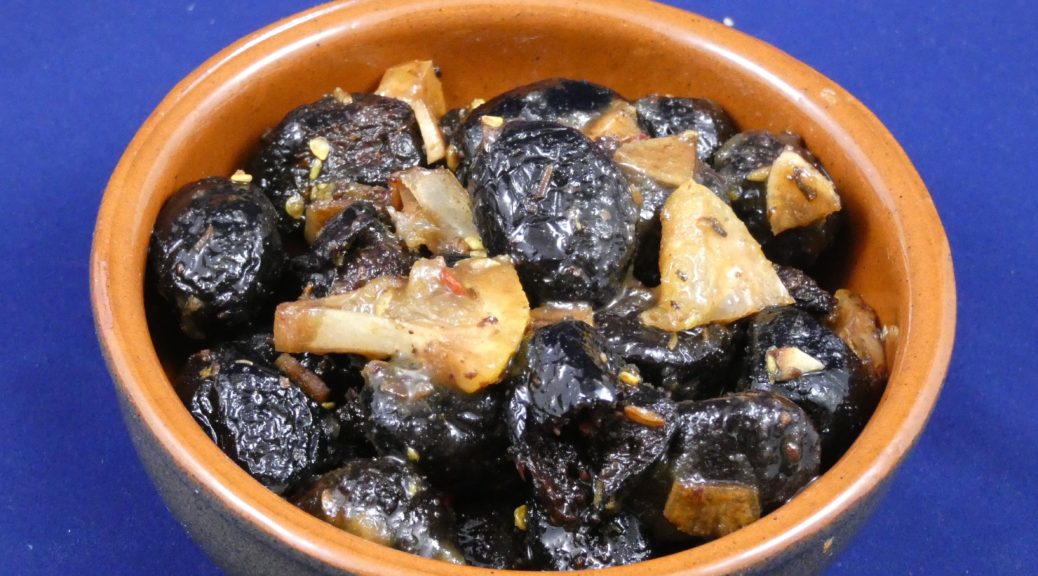
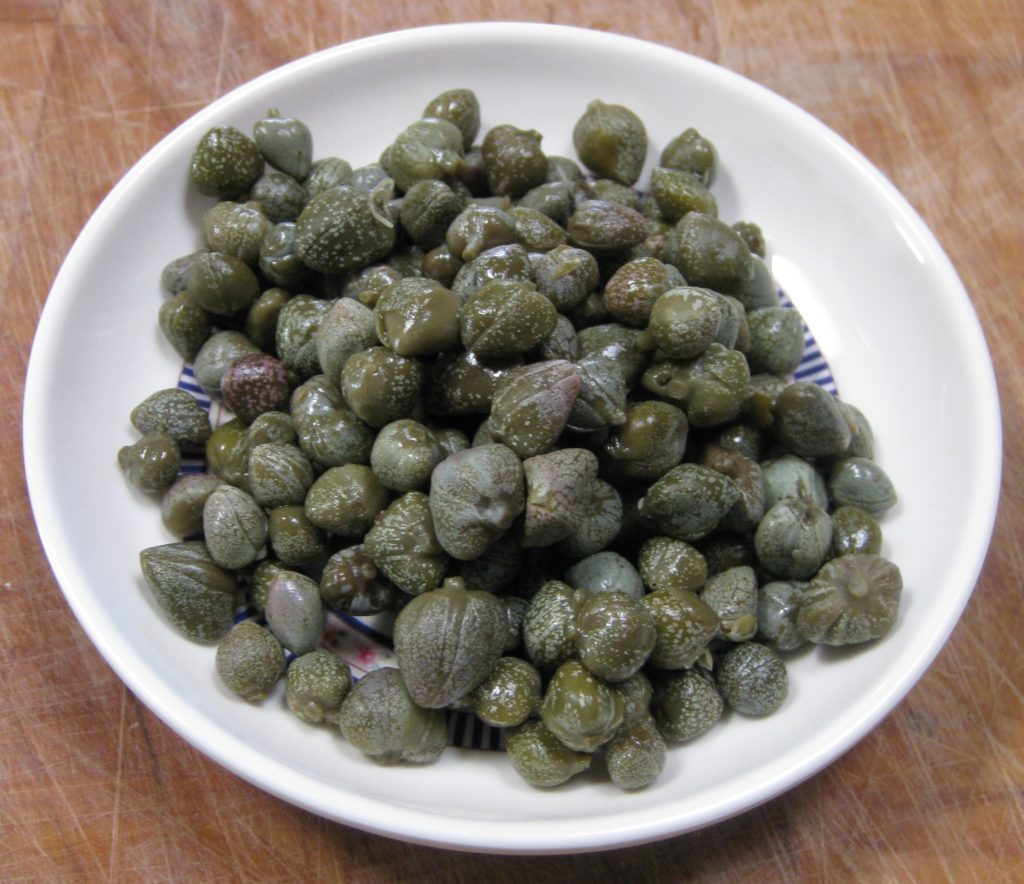
- 2 tablespoons capers rinsed
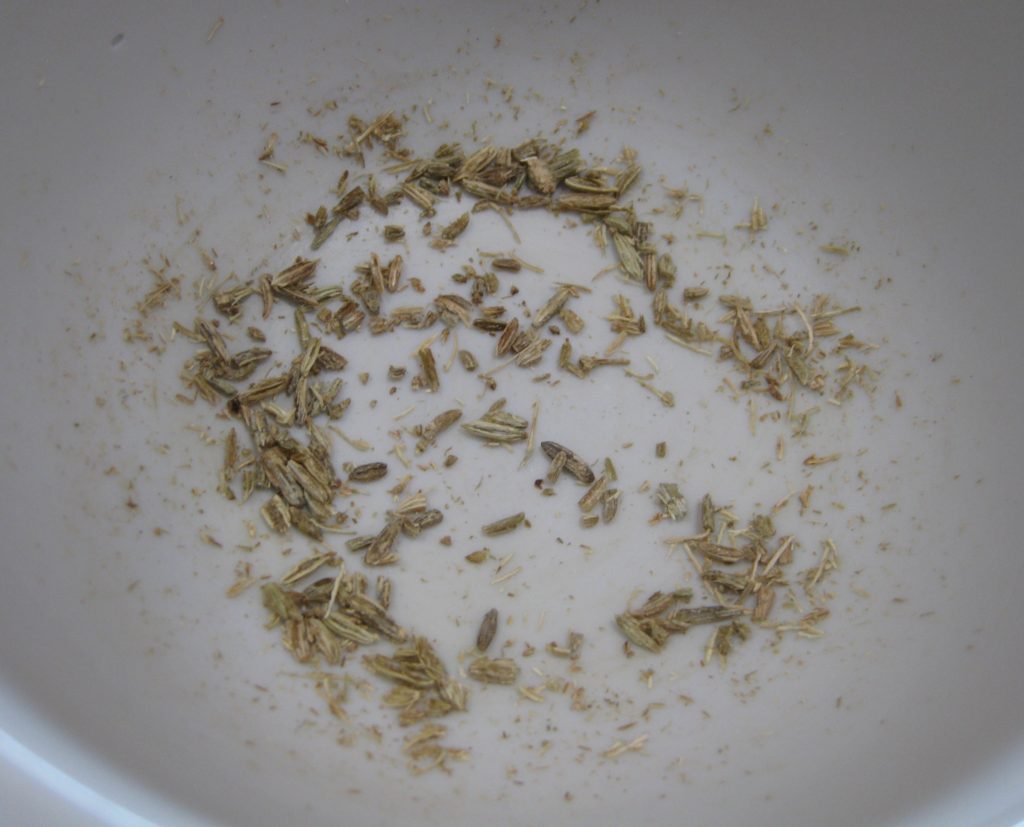
- 2 teaspoons dry oregano
- 75 g black olives coarsely chopped optional
Ingredients
|
|
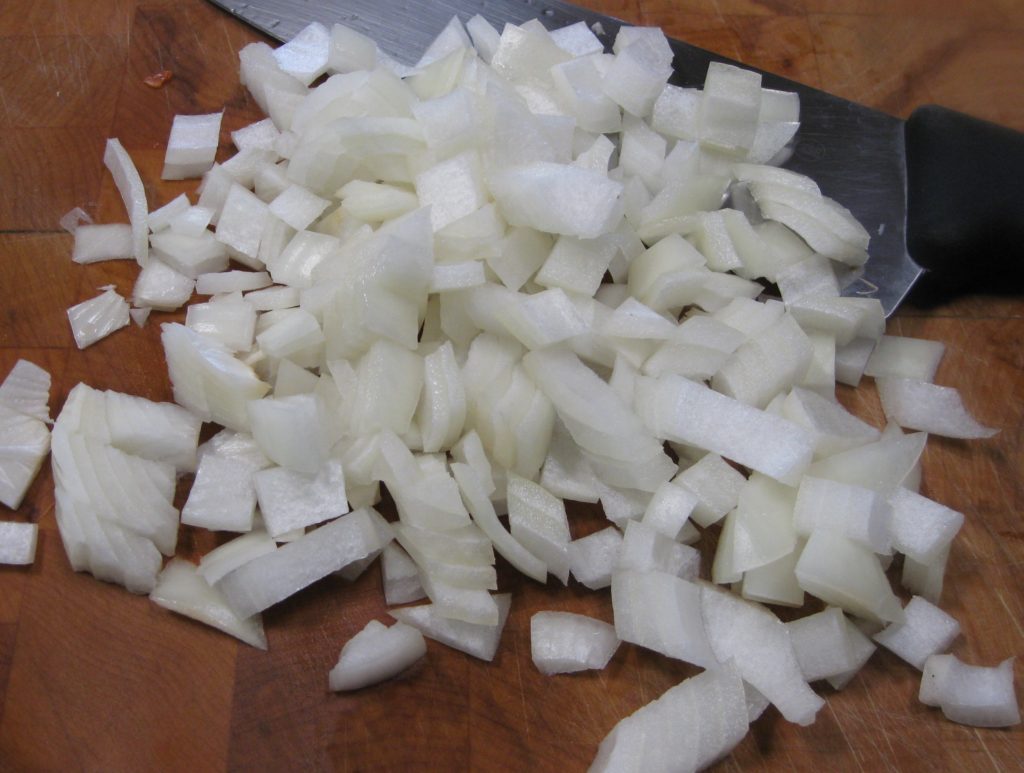
- Put flour, semola, and yeast in the bowl of a stand mixer. Using the paddle, NOT the dough hook, begin to mix on low.
- Slowly drizzle in the water. When the water is fully mixed in, sprinkle in the sugar.
- Add the salt and beat on medium high you see strings of gluten form in the dough, approximately 4-5 minutes. The dough will get stretchy and if you pull a bit, it should look stringy.

- Drizzle in the extra-virgin olive oil and mix on medium until well combined.
- Cover the bowl with plastic wrap and allow to rise for about two hours.

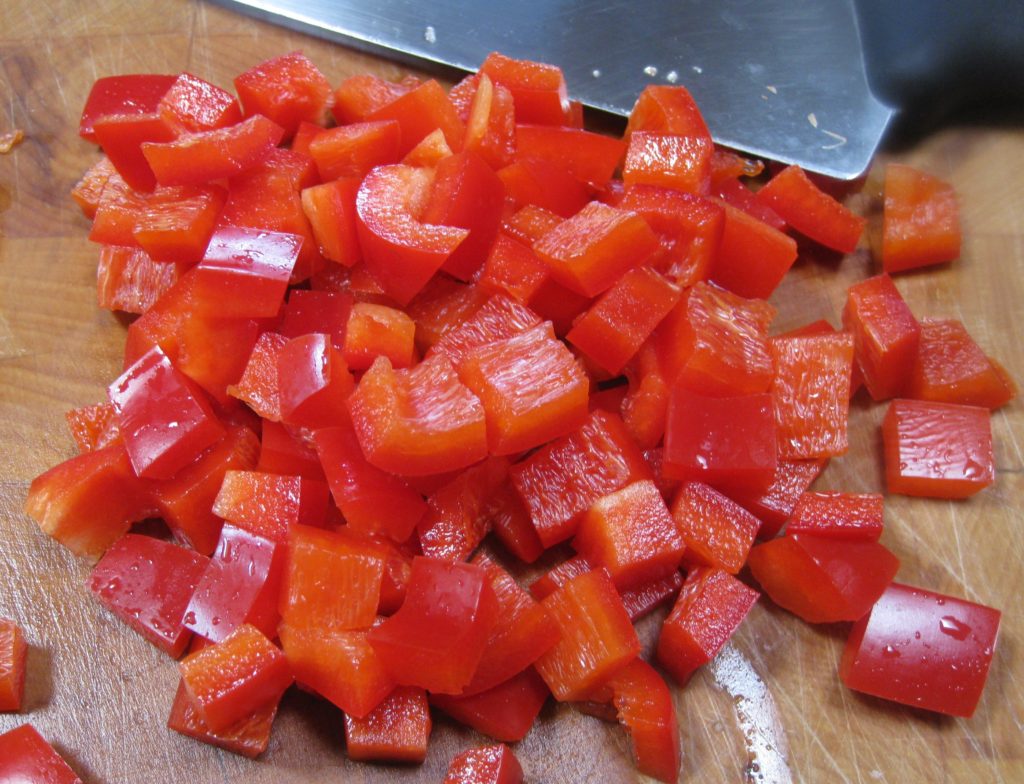
- Meanwhile, drain the canned tomatoes through a sieve. If the tomatoes are whole, coarsely crush them by hand and allow to drain further. If you are using diced tomatoes, crushing is not needed.

- Oil a circular baking pan, 12” in diameter x 2” high with more extra-virgin olive oil.

- Pour in the dough. Lightly oil your fingertips and press into the dough, without stretching, until it is evenly spread out in the pan.

- Arrange crushed tomatoes, capers, and olives, if using, on top. Drizzle with more extra-virgin olive oil. Sprinkle with oregano.

- Cover the pan and allow to rise. If you have another baking pan of the same size, turn it upside down and use it as a cover. If not, invert a large bowl over the baking pan. Whatever you do, be sure there is some space above the rim of the pan so that the dough has room to rise.

- When the dough reaches the top of the pan, carefully transfer it to the oven so it doesn’t deflate.

- Bake at 375°F with convection (or 400°F without convection) for approximately 35 minutes, turning once or twice, until browned and just beginning to pull away from the sides of the pan.
- Cool the bread in the pan set on a rack before removing it.

Copyright © 2023 by Villa Sentieri, LLC. All rights reserved.