Spaghetti alla Carbonara

21 March 2023

Cacio e Pepe, Pasta alla Gricia, Spaghetti all’Amatriciana, and Spaghetti alla Carbonara are the Holy Quaternity of Roman pasta dishes.

The sauce for Cacio e Pepe is little more than Pecorino Romano cheese emulsified into some of the pasta-cooking water to make a glossy sauce.  Pasta alla Gricia adds cured pork, usually guanciale, to Cacio e Pepe.  Amatriciana adds tomato to Gricia while  Carbonara adds egg to Gricia.

And there you have it, arguably the four most important pasta dishes of Roman cuisine.

The origins of Spaghetti alla Carbonara are murky.  Given the obvious relationship between these four pasta dishes one might think that there’s not much to talk about, one just naturally leading into the other.  However, there is some intriguing evidence, and a little speculation, about the origins of Carbonara.


Join our mailing list and you’ll never miss a recipe again!


The evidence and speculation go like this.  During the Allied liberation of Rome during WWII, the bacon and (powdered) eggs of American GI rations were combined with pasta to make a proto-Carbonara.  Some Italians agree with this, and some do not.  Those who do not usually insist that the cured pork product of choice is guanciale (cured pork jowl) not pancetta (cured pork belly) let alone American bacon.

But think about it.  How likely is it that the Romans had any cured pork hanging around near the end of WWII?  It’s more likely that they consumed anything that was consumable by then.  The existence of guanciale in any significant quantity is unlikely.  In addition, the first reference to Spaghetti alla Carbonara appeared in the newspaper La Stampa in 1950, indicating it was a favorite of American GIs.

Of course, it’s entirely possible that Spaghetti alla Carbonara existed prior to WWII and was made with guanciale.  After the Allied liberation of Rome, it’s reasonable to see how GI rations of (powdered) egg and bacon could have been substituted for fresh eggs and guanciale.  It’s also possible, even probable, that if it existed before the 1940s, Carbonara wasn’t written about because it was part of the cuisine of the poor (cucina povera).  Despite our current fascination with traditional cuisine, until recently culinary history largely focused on foods eaten by the upper classes, not the poor.


Follow us on social media


Unless more evidence comes to light, we may never know the origins of Spaghetti alla Carbonara.  Even so, there are some things we can say definitively:

  1. Adding cream to Carbonara is an abomination!
  2. If not the original meat, American bacon has a legitimate place in the history of Carbonara.
  3. Carbonara is delicious, whether made with guanciale, bacon, or pancetta.  Yes, each is different but each is delicious!  I’ve used all of them.  I prefer bacon but I’ll never turn down a well-made dish (or three) of Spaghetti alla Carbonara regardless of what cured pork product went into it.

The most challenging part of making carbonara is to incorporate the eggs, getting them to thicken into a sauce without either remaining raw or turning into scrambled eggs.  I’ve got a little trick that eliminates these concerns.

Read on!
Print Recipe
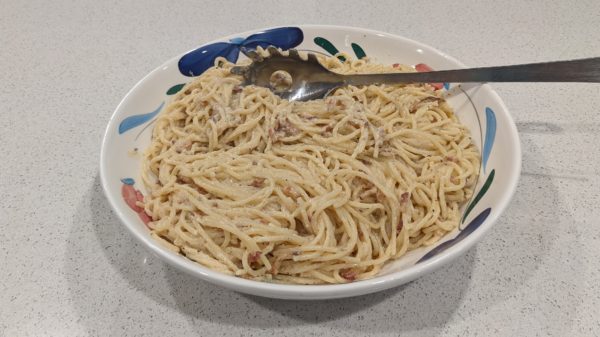
Spaghetti alla Carbonara
Spaghetti alla Carbonara is one of the four classic Roman pasta dishes, along with Cacio e Pepe, Pasta alla Gricia, and Spaghetti all’Amatriciana. It can be made with guanciale, American bacon, or pancetta though guanciale and bacon probably have the greatest claim on tradition. My preference is bacon. If using guanciale, I sometimes decrease the amount by 10% because it usually has more fat than either bacon or pancetta.
Votes: 0
Rating: 0
You:
Rate this recipe!
Prep Time 15 minutes
Cook Time 20 minutes
Servings
people
Ingredients
Prep Time 15 minutes
Cook Time 20 minutes
Servings
people
Ingredients
Votes: 0
Rating: 0
You:
Rate this recipe!
Instructions
  1. Cut the bacon into matchstick-size pieces.
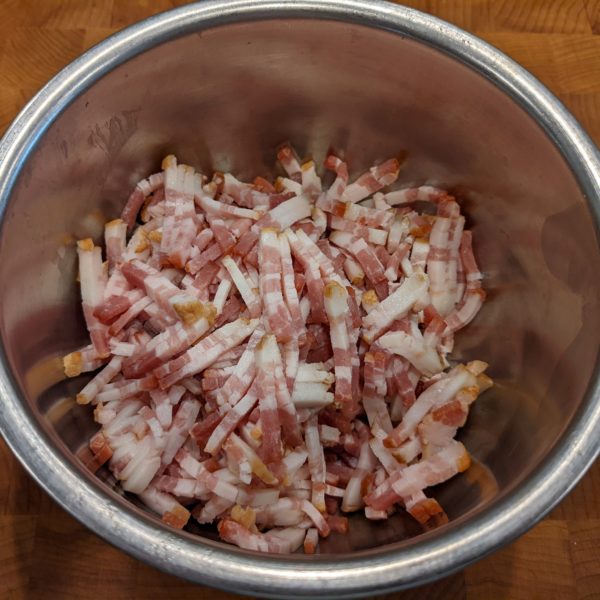
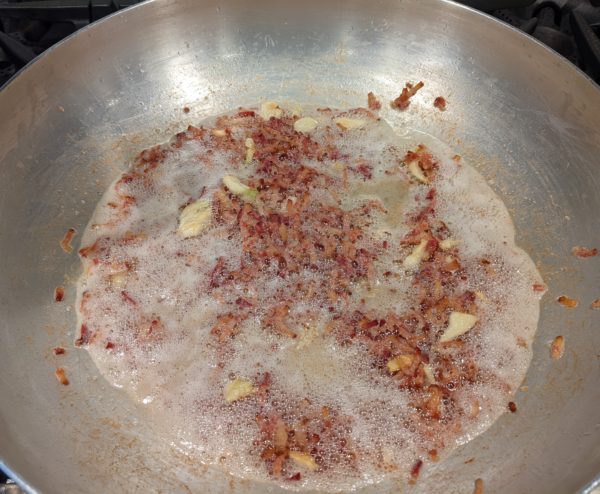
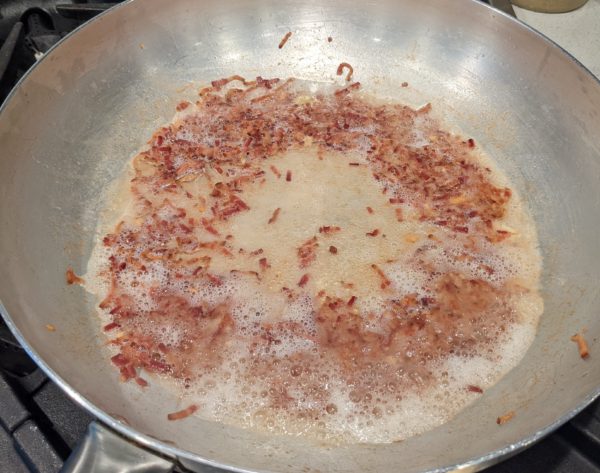
  2. Sauté the bacon in a dry sauté pan until some fat renders.
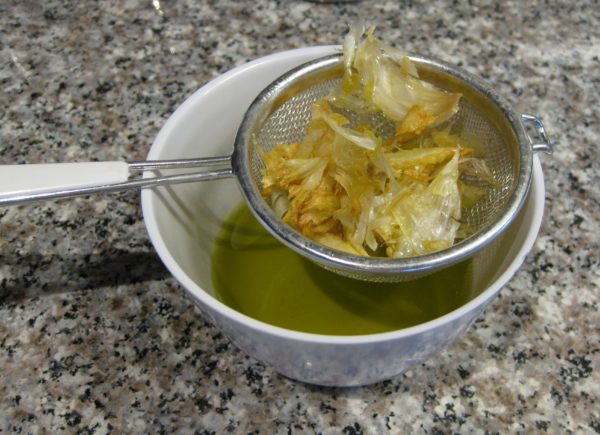
  3. Add the garlic and sauté until the garlic is quite golden, but not brown. Remove the garlic and reserve. If the bacon is not well browned, continue cooking.
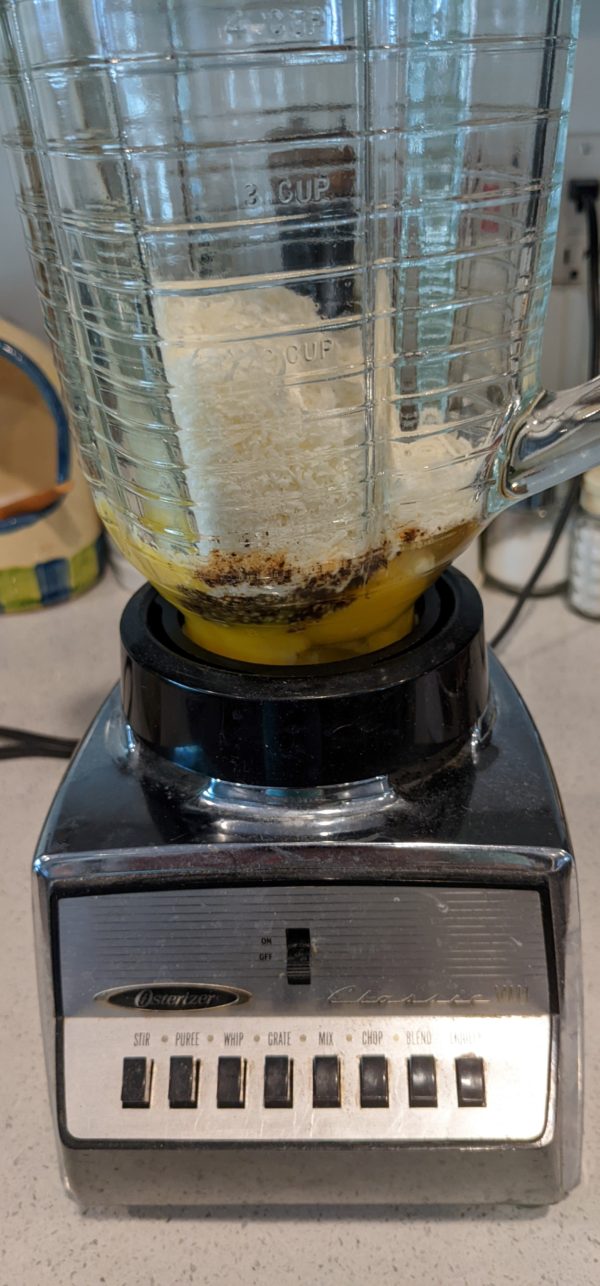
  4. Meanwhile, combine the eggs, egg yolks, Pecorino Romano cheese, 2 teaspoons black pepper, and reserved cooked garlic in a blender jar. Reserve.
  5. When the bacon is brown, add the wine and remove from the heat unless you are adding the pasta immediately. The dish can be made several hours ahead to this point.
  6. Cook the spaghetti in salted water until just shy of al dente.
  7. Just before draining the pasta, reheat the bacon and cook off the wine.
  8. Add the pasta to the bacon and sauté on medium to medium-high heat.
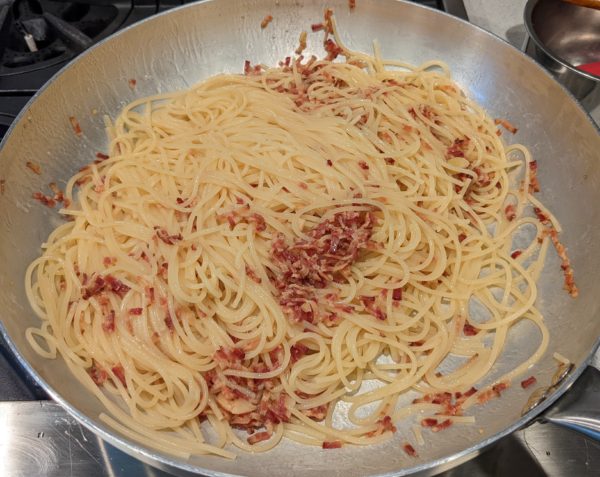
  9. Add pasta-cooking water, about one ladleful at a time, and continue cooking the pasta, stirring frequently, until al-dente. There should be enough liquid to coat the pasta in a thick "sauce."
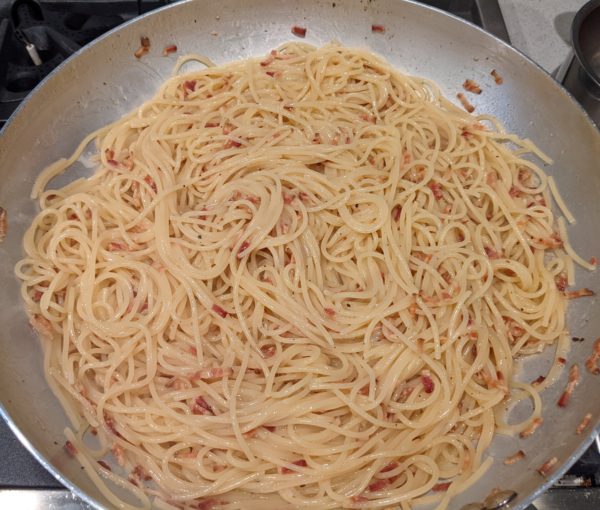
  10. Just as the pasta reaches al dente, turn on the blender. Blend the contents thoroughly and then add about 120 ml (½ cup) of the hot pasta cooking liquid while the blender is still running.
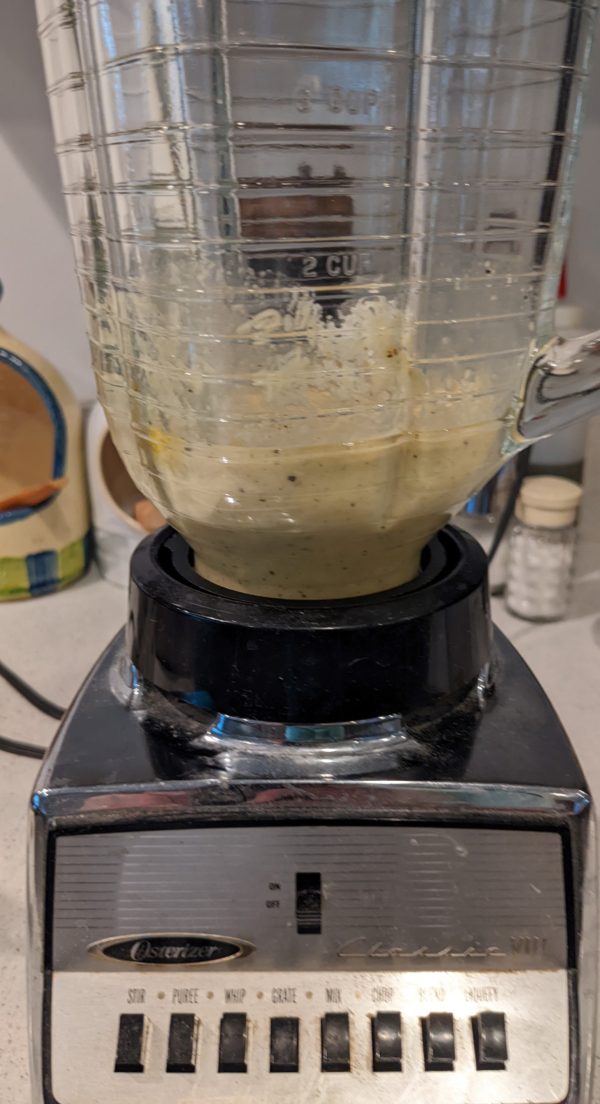
  11. Off the heat, add the blended egg mixture to the pasta along with the parsley, if using, and even more freshly ground black pepper.
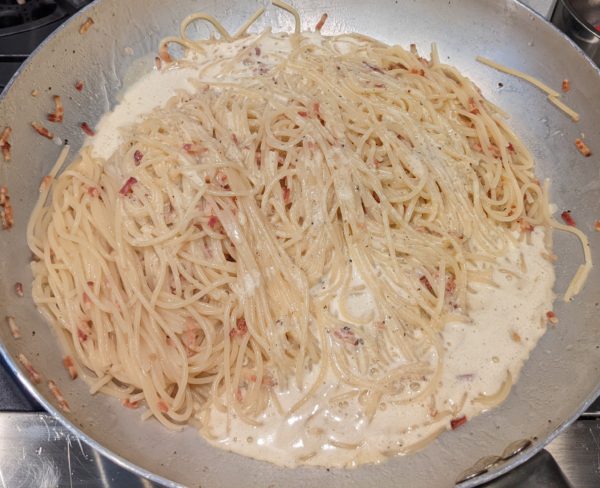
  12. Mix well to turn the eggs into a creamy sauce, adding pasta-cooking water if needed. Taste and adjust salt and pepper.
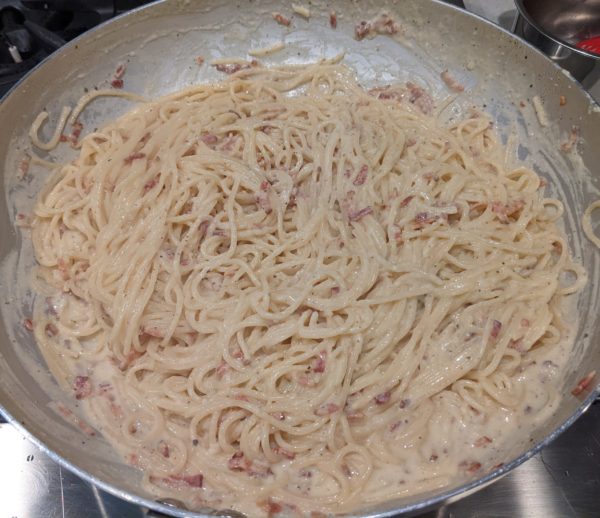
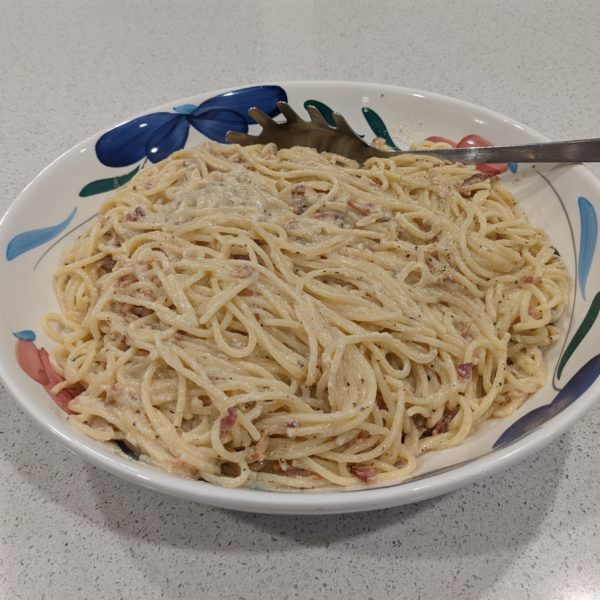
  13. Pour into a warmed serving bowl and serve immediately.
Recipe Notes

Copyright © 2023 by Villa Sentieri, LLC. All rights reserved.

Share this Recipe

Pollo alla Romana (Chicken with Sweet Peppers)

January 15, 2020

I will forever remember Ferragosto as the day the music died.

Ferragosto is celebrated on the fifteenth of August throughout Italy.  Originating during the Roman Empire, apparently in 18 BCE by Emperor Augustus, Ferragosto was originally held on August 1st.  Ultimately, the Catholic Church moved the date to August 15th to coincide with the Assumption, a “holy day of obligation,” thus imposing a secular holiday on a religious holy day.

Ferragosto is a day to feast.  It is also the day that the late-night revelry in the piazza of Bagni di Lucca comes to an end.


Join our mailing list and you’ll never miss a recipe again!


Those of you who have been following my blog for a while know that I spent the month of August 2019 in Tuscany cooking with Great Aunt Fidalma.

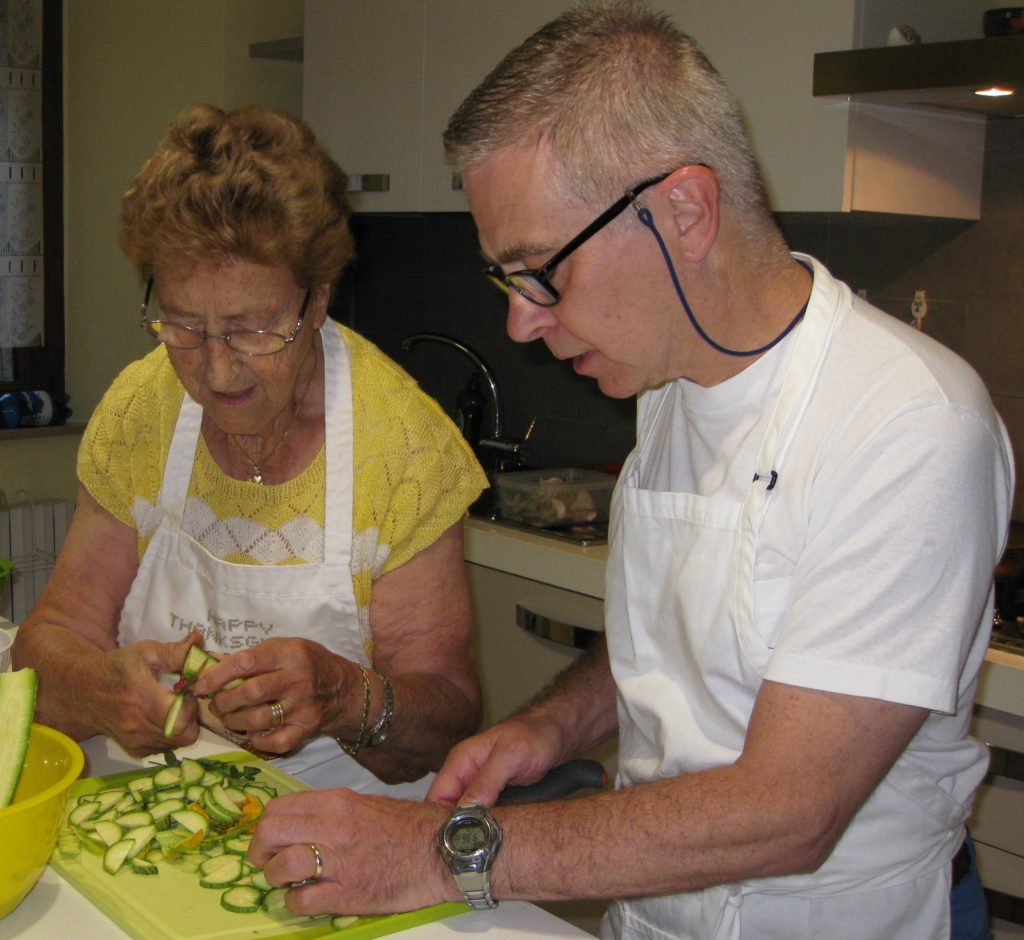
Cutting zucchini with Great Aunt Fidalma in her kitchen in Benabbio.

I rented a charming little apartment overlooking the piazza in Bagni di Lucca, a town near the village of Benabbio where Aunt Fidalma lives.

The piazza becomes the locus of loud music (70’s disco, karaoke, Italian pop) late into the night (or early into the morning depending on your perspective) on the weekends in August as well as during several August festival days.

A view from my terrace of the late-night revelry in the piazza of Bagni di Lucca.

The music precludes sleep.  Even if one could find ear plugs sufficient to drown out the sound, the building, and thus the bed, vibrate to the bass.

Ferragosto, August 15th, is the end of the late-night music.


Follow us on your social media platform of choice


Today, January 15th, marks five months since Ferragosto.  Pollo alla Romana (also known as pollo con i peperoni [chicken with sweet peppers]) is traditionally served on Ferragosto.  Given the five-month anniversary, today seems like an appropriate day to post the recipe.

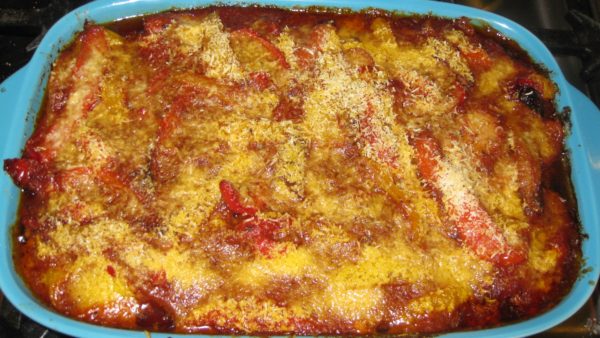
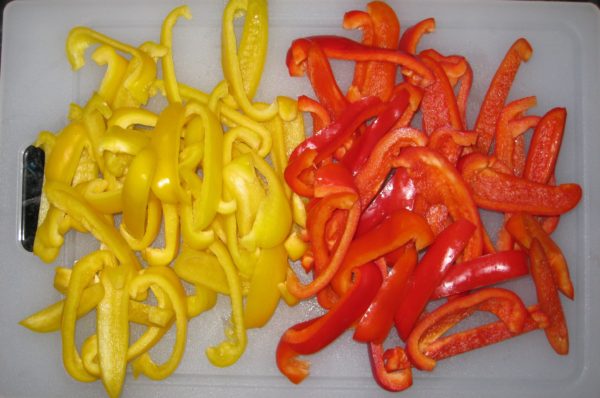
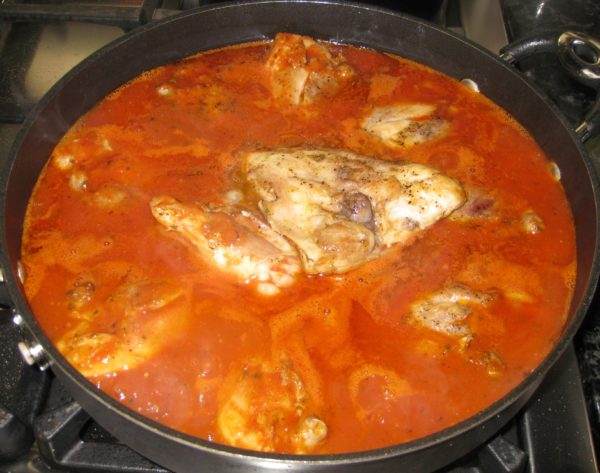
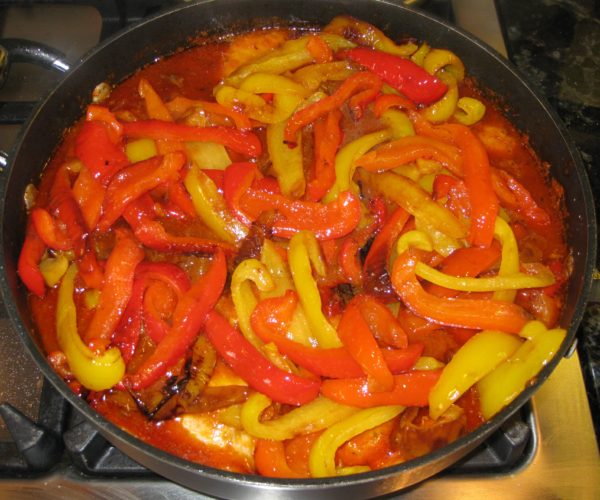
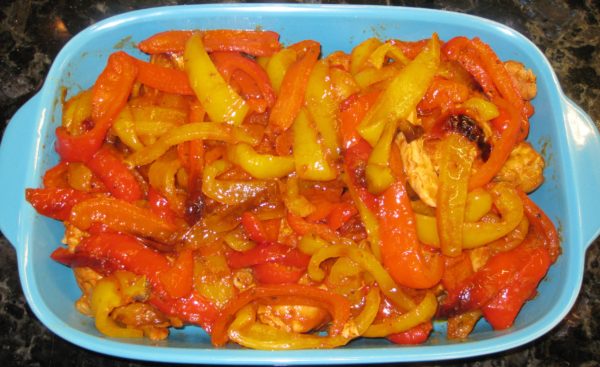
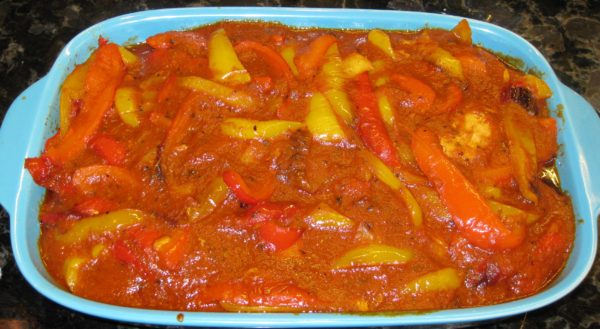
As you might guess from the name, Pollo alla Romana is from the area around Rome.  It is a simple dish made with chicken, sweet peppers (traditionally red and yellow ones) and tomatoes.  It can be cooked in the morning and served at room temperature later in the day making it a perfect summer dish.

It has become one of my go-to dishes for entertaining when I don’t want a lot of last-minute fuss to distract from enjoying cocktails with my guests.  Made earlier in the day, the dish reheats beautifully in the time it takes to drink a bourbon.

Print Recipe
Pollo alla Romana (Chicken with Sweet Peppers)
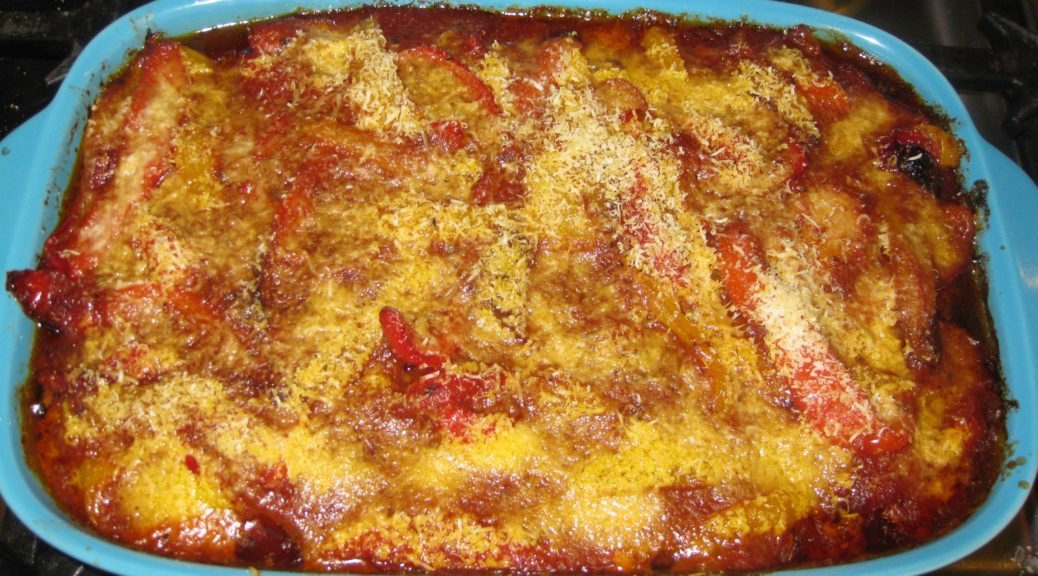
Traditionally this dish would be made with a cut-up chicken. I prefer to use just thighs as I think they take well to braising, which breasts don’t. You can use cut-up chicken parts if you prefer. When a dish says something should be fall-apart tender, I take that literally. It’s the way I grew up eating chicken cooked by my Italian-American mother. That means, for me, the chicken should braise in the liquid for at least 90 minutes if you’re close to sea level and longer if you're at a higher elevation. You can short-circuit that if you want but I think the texture of the dish will suffer.
Votes: 0
Rating: 0
You:
Rate this recipe!
Course Mains, Poultry
Cuisine Italian
Prep Time 30 minutes
Cook Time 2 1/2 hours
Servings
people
Ingredients
Course Mains, Poultry
Cuisine Italian
Prep Time 30 minutes
Cook Time 2 1/2 hours
Servings
people
Ingredients
Votes: 0
Rating: 0
You:
Rate this recipe!
Instructions
  1. Pass the can of tomatoes through a food mill to remove seeds and hard bits of tomato. Reserve the tomato puree.
  2. Slice the peppers into triangular pieces or thick strips.
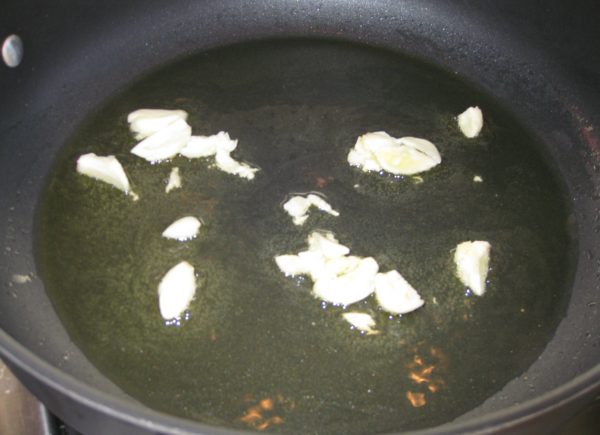
  3. Using a large heavy-bottomed sauté pan, sauté the garlic in the olive oil over medium heat until medium brown. Discard the garlic.
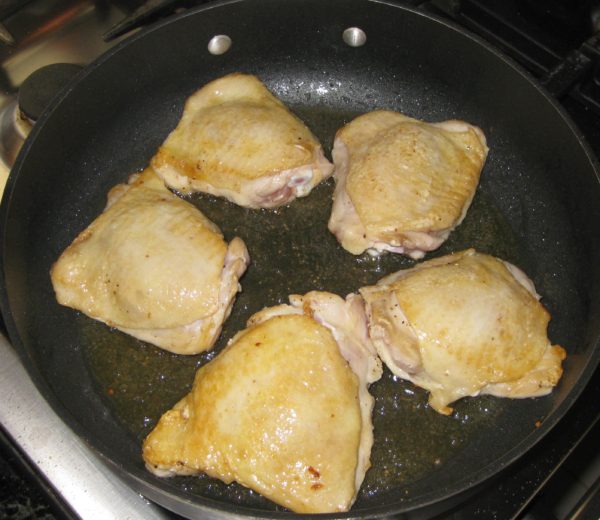
  4. Sauté the chicken in the garlic-flavored oil over high heat, starting skin side down to render additional fat from the skin, flipping twice, until well browned. Remove and reserve chicken.
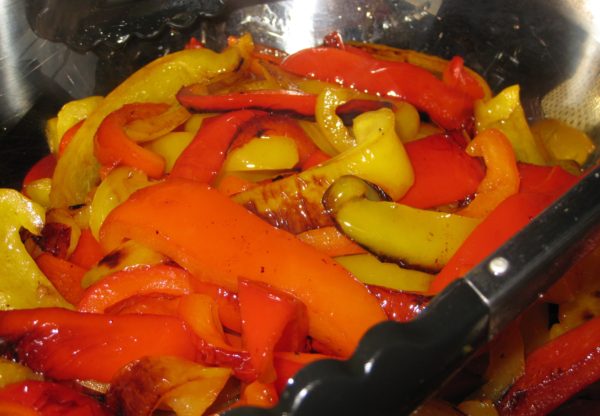
  5. Add the peppers to the oil and sauté briefly over high heat to put a light char on some of them. Remove and reserve peppers.
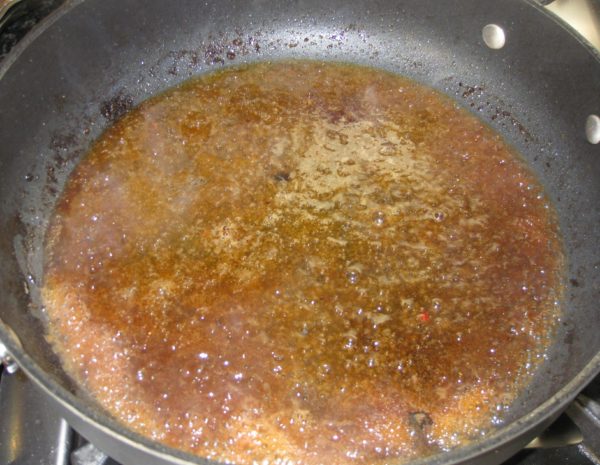
  6. Add the wine to the sauté pan, bring to a boil, and scrape up all the brown bits.
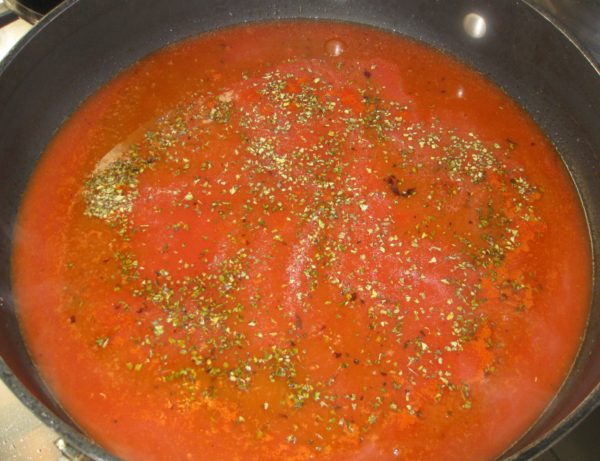
  7. After the wine evaporates, add the broth, tomato puree and oregano. Mix well.
  8. Add the chicken, skin side down, along with any accumulated juices. Season with salt and pepper.
  9. Simmer, partially covered, approximately 30 minutes (or, if you live at high altitude as I do, 60 minutes). Turn the chicken over. Remove and discard the skin (the skin adds lots of flavor as well as collagen to the sauce for a great mouth-feel so please use bone-in and skin-on thighs).
  10. Add the peppers and continue to braise, partially covered, for approximately another hour until the chicken is literally fall-apart tender. During cooking, taste and adjust salt, pepper, and oregano.
  11. Transfer the chicken and peppers to an oven-proof casserole.
  12. If the sauce is not thick, boil quickly to reduce it. Pour the sauce over the chicken.
  13. Sprinkle the top with Pecorino Romano cheese.
  14. Bake at 350°F to brown the top, approximately 15-20 minutes.
Recipe Notes

Copyright © 2020 by Villa Sentieri, LLC. All rights reserved.
Share this Recipe

Lupara

May 29, 2019

A Lupara is an 8mm sawn-off shotgun favored by La Cosa Nostra.

It’s also the name of a pasta dish.

Lupara, the shotgun not the pasta. [Licensed from Bluedog, without changes].
Interestingly, if you search for lupara recipes online you’ll only find a few and you’ll be hard-pressed to discover much commonality among the recipes.  Some are spicy.  Some are not.  Some have sweet peppers.  Some do not.  Some have tomatoes.  Some do not.  And most of them will be made with spaghetti.

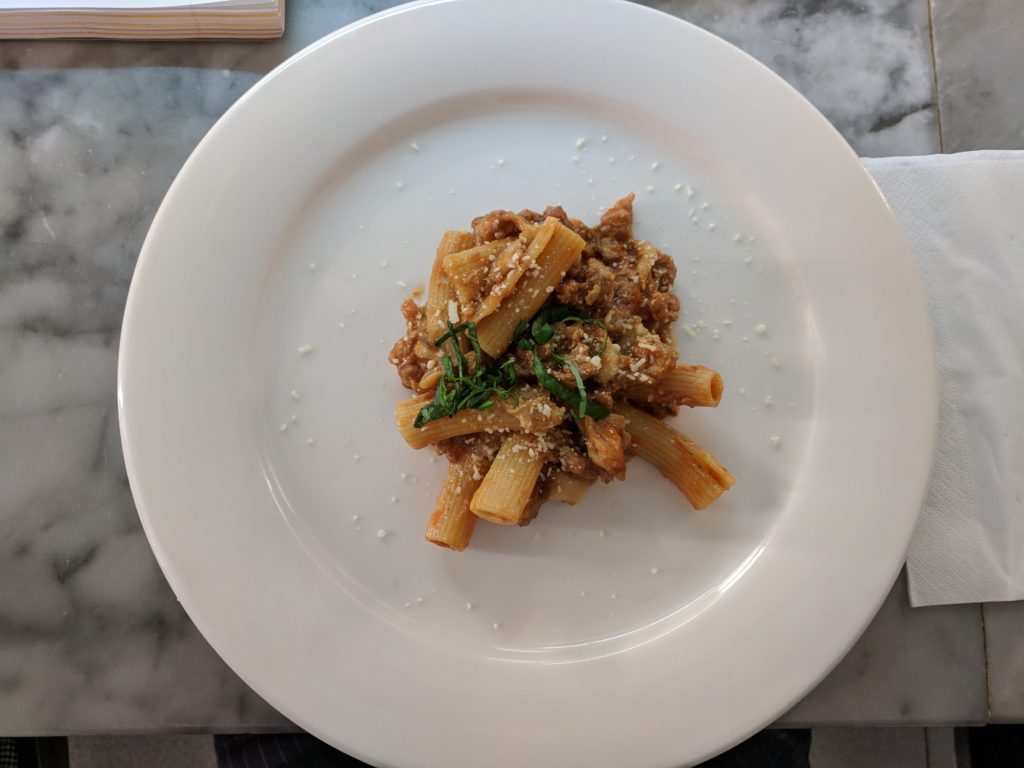
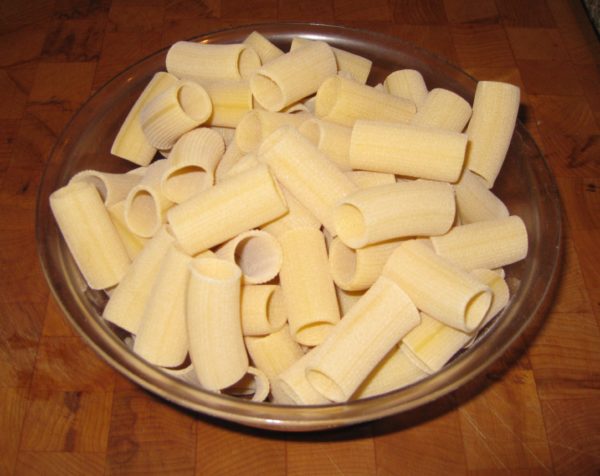
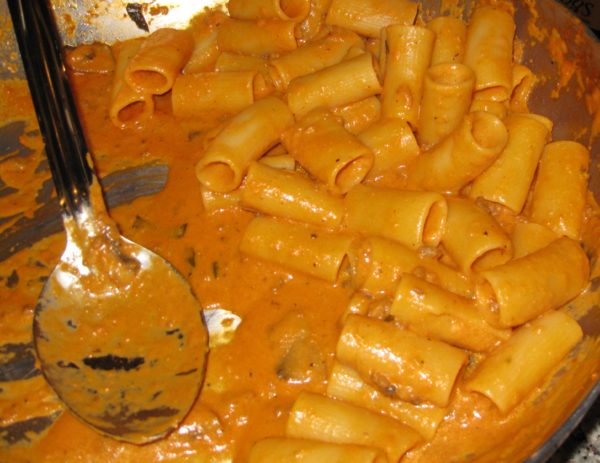
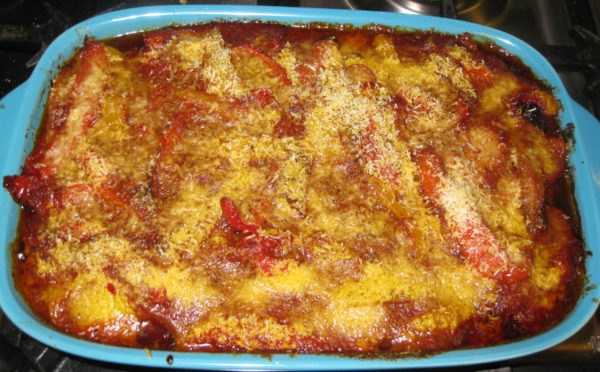
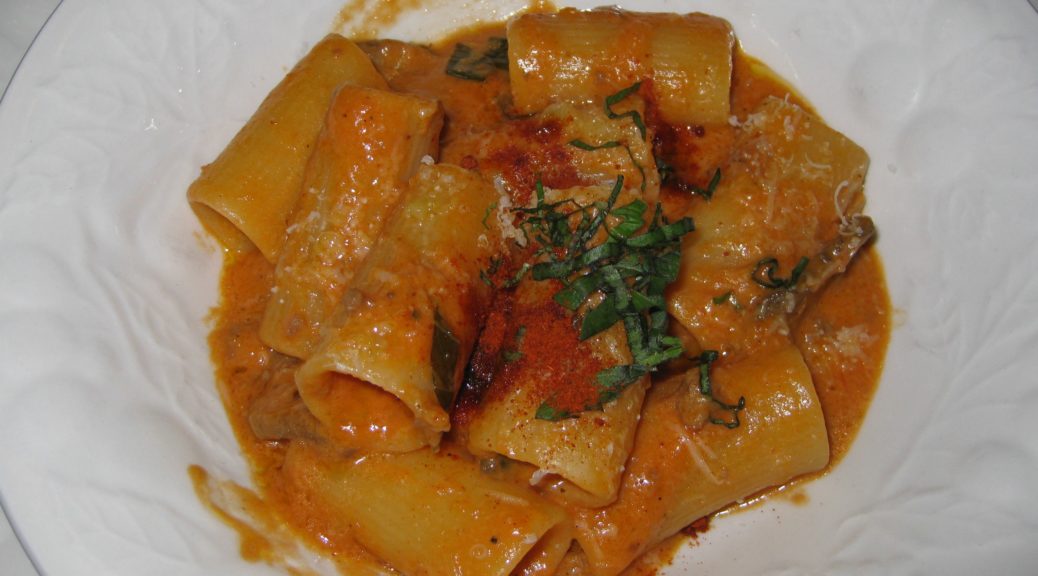
I learned to make lupara at the Italian Culinary Institute.  It was among the first pasta dishes demonstrated during the early days of the three-month course.  Made with short, cut pasta, like rigatoni, this rendition pays tribute to the shotgun for which it is named.

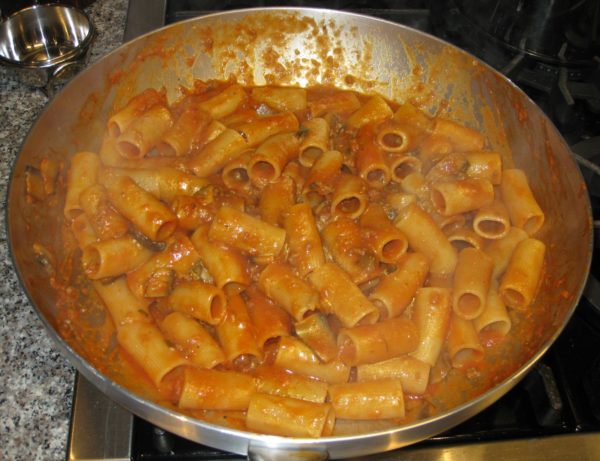
Lupara, the pasta not the shotgun, as prepared at the Italian Culinary Institute.

Join our mailing list and you’ll never miss a recipe again!

This dish makes use of a Basic Tomato Sauce, just tomatoes and a few aromatics cooked briefly.  You can make the tomato sauce in large batches and freeze it or you can make it as needed.  Although the sauce can be used on its own in some dishes, it is deliberately not aggressively seasoned.  This allows it to be used in a variety of preparations, with some final additional flavoring, without the sense that the same sauce is being used over and over.

I know this seems a little out of order, but I will publish the recipe for the Basic Tomato Sauce next week  For my first blog post since returning from Italy, I wanted to feature a dish that grabbed my attention.  This one did.  It’s got a great story and a great flavor.  Basic Tomato Sauce is good but it isn’t captivating (unlike a pasta dish named after the “Mob’s” favorite weapon!).  Basic Tomato Sause is meant to play a supporting role in most situations and that’s just not the type of recipe that I wanted to start with.

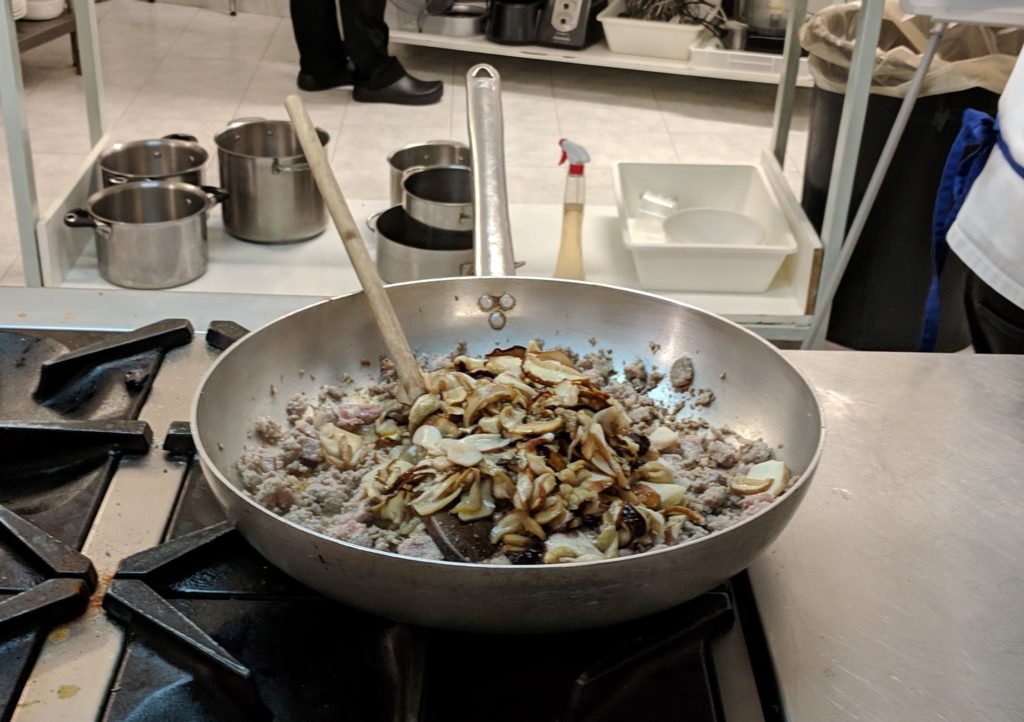
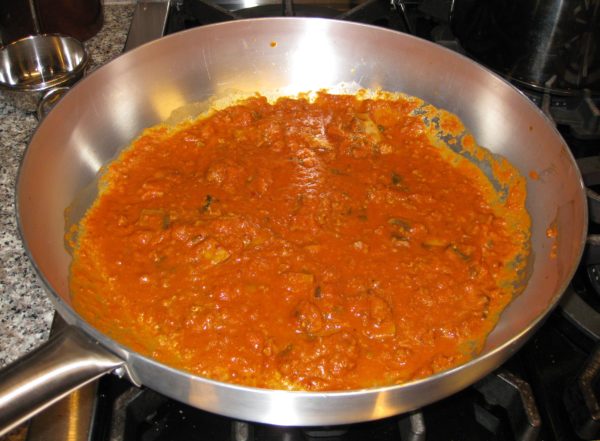
Lupara on the stove at the Italian Culinary Institute.

This version of Lupara is intended to be spicy but spicy means different things to different people.  There are two ways to build spice into this pasta.  You can use one or both of them.  The first method is to add dried, ground red pepper (peperoncino piccante in polvere, in Italian) during the final assembly of the pasta.  The other is to add thinly sliced fresh hot pepper (peperoncino fresco) when sautéing the sausage.  Getting authentic Italian peperoncino, powdered or fresh, is difficult in the States.  You can substitute Cayenne pepper for the ground one and a variety of long, red (always red!) chile, such as Thai or Cayenne, for the fresh.

Follow us on your social media platform of choice
         

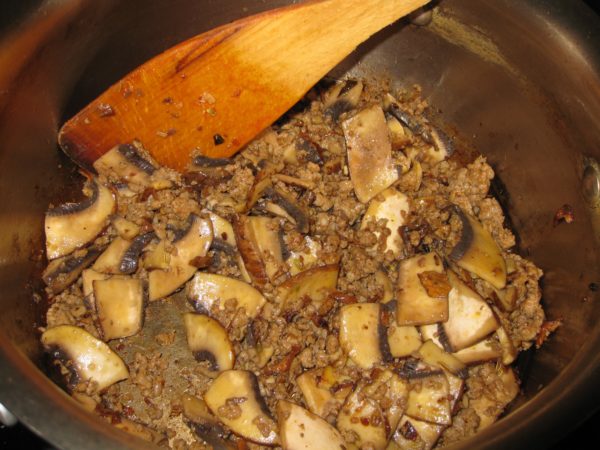
This recipe also calls for fresh porcini mushrooms.  These can be a challenge to find.  Feel free to substitute thinly sliced portobello mushrooms.  Though the flavor won’t be exactly the same, the dish will still be yummy!  If you are lucky enough to find fresh porcini, I suggest buying a heap, thinly slicing them, and freezing them.  They can be used in all sorts of cooked dishes, especially Trifulata which will hit the blog in the near future…as soon as I can find fresh porcini!! (You might notice portobello mushrooms in the pictures.)

This recipe requires a small amount of sausage.  It’s not a major player though it does add a nice meaty background note to the sauce.  Pick a good quality Italian-style sausage, sweet or hot.  I think that sausage with fennel seed adds a nice flavor but that’s a matter of personal taste.

Buon appetito!!

Print Recipe
Lupara
A lupara is an 8-gauge sawn-off shotgun associated with La Cosa Nostra (the “Mob”). Rigatoni resemble the barrel of a lupara. Adjust heat level to your taste. If you can’t find Italian powdered peperoncino piccante, substitute Cayenne pepper. For a different type of heat, add some thinly-sliced hot red chile when sautéing the sausage, instead of, or in addition to, the powered chile. If you can’t find fresh porcini, substitute portobello mushrooms. It is really important to use a very good quality Italian rigatoni, preferably an artisanal variety that is thicker than the usual boxed rigatoni to get the most benefit out of sautéing the pasta. If you want to make half as much pasta, freeze half the sauce. The recipe for Basic Tomato Sauce will be posted next week.
Votes: 0
Rating: 0
You:
Rate this recipe!
Prep Time 30 minutes
Cook Time 30 minutes
Servings
people
Ingredients
Sauce
Assembly
For serving
Prep Time 30 minutes
Cook Time 30 minutes
Servings
people
Ingredients
Sauce
Assembly
For serving
Votes: 0
Rating: 0
You:
Rate this recipe!
Instructions
Sauce
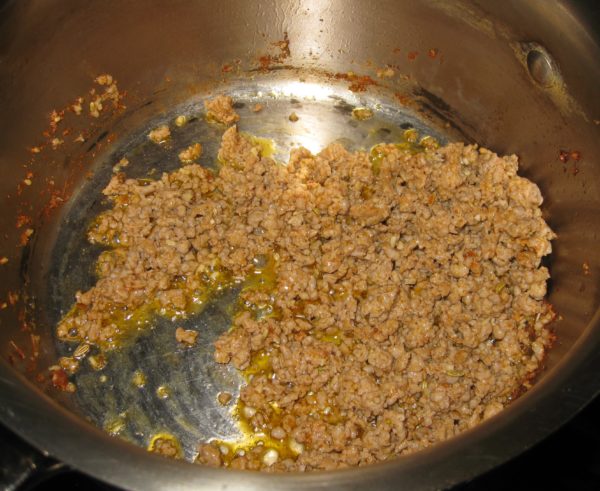
  1. Using a heavy-bottomed pot, sauté the sausage in the olive oil until colored.
  2. Add the porcini, butter, and fresh peperoncini, if desired, and sauté 5-7 minutes. During this time, the sausage should brown much more and the mushrooms should give up much of their liquid and take on some color.
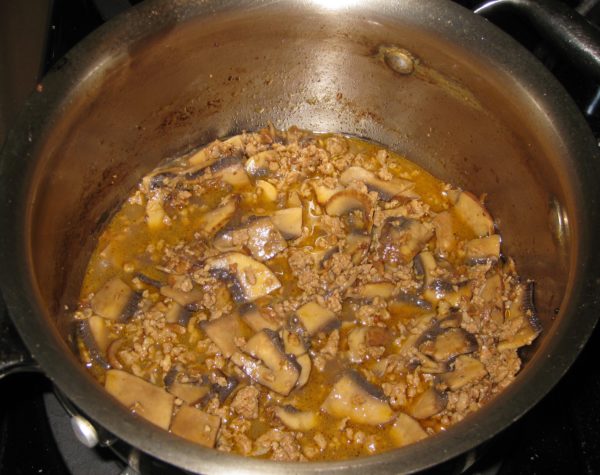
  3. Add the wine and evaporate completely over high heat.
  4. Add the broth, partially cover, and simmer until completely evaporated.
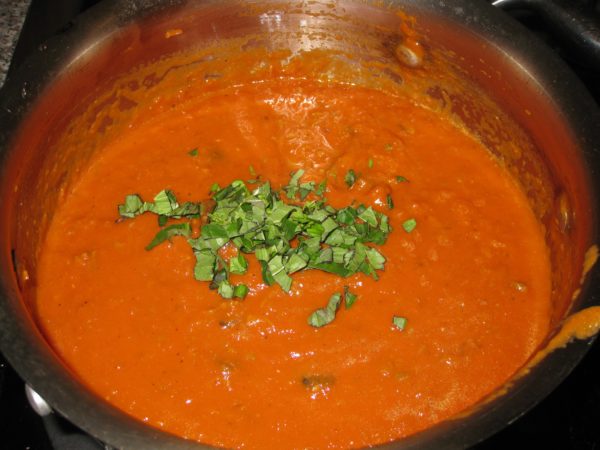
  5. Add the Basic Tomato Sauce, basil, and salt and pepper to taste. Simmer about 10 minutes. Reserve.
Assembly
  1. Bring three quarts of heavily salted water (according to the Italians, it should taste like the sea) to a boil.
  2. Meanwhile, sauté the garlic in the extra-virgin olive oil until light brown. Drain and reserve the oil.
  3. Cook the rigatoni just until it no longer has a crunch in the center but is still far from done.
  4. While the pasta is cooking, put the sauce in a large sauté pan and bring to a simmer along with peperoncino piccate to taste.
  5. Drain the rigatoni, saving at least one quart of the pasta-cooking liquid.
  6. Add the rigatoni to the sauce and increase the heat to medium to medium-high. Add pasta-cooking liquid, a ladle at a time, stirring the pasta frequently to finish cooking.
  7. After adding a ladle or two of the pasta-cooking liquid, add the cream. Continue adding pasta-cooking liquid as needed until the pasta is just al dente and coated with a thick sauce.
  8. Off the heat, mix in the Parmigiano Reggiano cheese, cream, and the reserved garlic oil. You may need to thin with a little more pasta-cooking liquid as the cheese will thicken and emulsify the sauce.
  9. Divide the pasta among serving bowls. Garnish each with a drizzle of extra-virgin olive oil and sprinklings of Pecorino Romano cheese and fresh basil chiffonade.
Recipe Notes

Here's my recipe for Basic Tomato Sauce.

Copyright © 2019 by Villa Sentieri, LLC. All rights reserved.
Share this Recipe

Aunt Margie’s Pasta è Ceci (Pasta and Chickpeas)

May 4, 2018

Beans and Macaroni. Pasta è Fagioli.  Even Pasta Fazool to quote Dean Martin.

It’s a classic combination and there are as many variations as there are cooks!  (Google returned 6,300,000 entries for “beans and macaroni,” 588,000 for “pasta è fagioli,” and 57,900 for “pasta fazool!”)

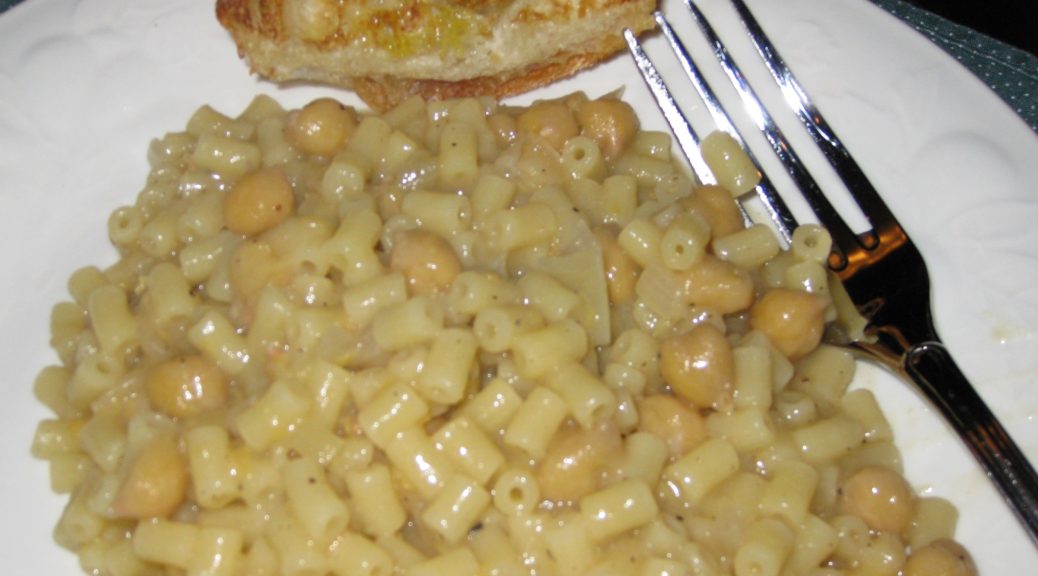
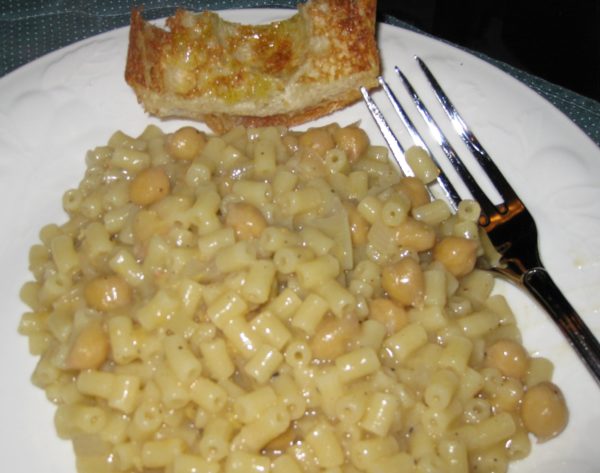
This is my interpretation of Aunt Margie’s, which she made with chickpeas.

At Aunt Margie’s 90th birthday party in September 2010.  From left to right, Aunt Margie’s grandson, Jim, me, Aunt Margie, my cousin Donna (Aunt Margie’s daughter)

It couldn’t be more different from my mother’s which was made with baby lima beans.

Aunt Margie’s was made with water and oil.  My mother’s had tomato sauce.


Follow us on your social media platform of choice


Aunt Margie’s was quite soupy.  My mother’s was just slightly “saucy.”

They grew up in the same house and learned to cook from the same mother.  I wish I had thought to ask either of them where their respective recipes came from and why they were so different.

My cousin Donna and I in the lobby of the Hilton Plaza in Miami Beach, 1970

One thing that both versions had in common, though, is that they were frequently served on Fridays, which our families observed as meatless back then.  (When Fridays were no longer meatless, my father joked that it was because the Vatican sold its fisheries.)

But Friday or no, pasta è fagioli, or, in this case, more specifically pasta è ceci (ceci means chickpeas), is consummate comfort food.  Admittedly, pasta è fagioli does not need to be meatless but it very often is.  (Actually, I made a non-meatless version earlier this week with guanciale, cured pork jowl.)


Click HERE to join our mailing list and you’ll never miss a recipe again!


Aunt Margie and Uncle Joe were like second parents to me.  I spent many (most?) summer days at Aunt Margie’s, getting there in the morning and staying until dinnertime or later.  My cousin, Donna, is nine months younger than I am.  Her neighbor Ricky Slivosky is nine months younger than she is.  The three of us hung out pretty much all summer.  That made Aunt Margie’s house the logical choice.

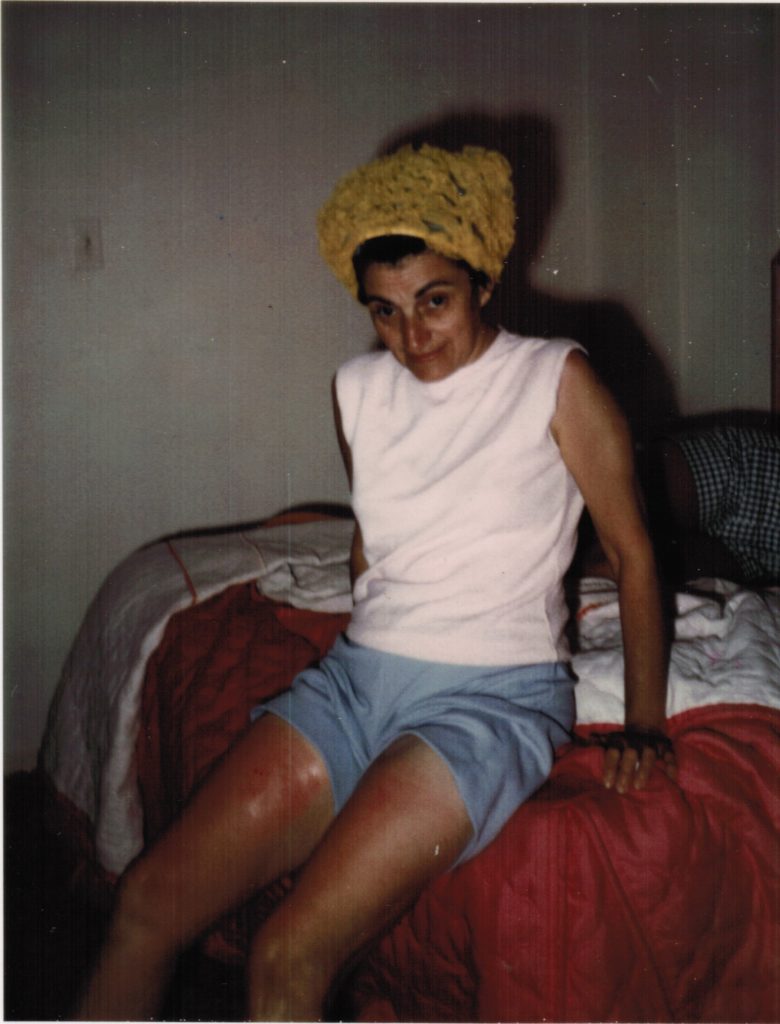
Aunt Margie got a little too much sun while we were staying at the Beau Rivage Resort in Miami Beach, 1971

Our families often vacationed together.  Florida was a favorite destination.  Once every 5 years Uncle Joe had 13 weeks of vacation (ahh, the glory days of American steel manufacturing…and collective bargaining).  Those years were likely to include a trip to California.

Aunt Margie really didn’t like vacations.  Several times I witnessed what I believe was an annual ritual.  Uncle Joe would be loading the suitcases in the trunk of the car and Aunt Margie would be standing beside him still trying to convince him to cancel the vacation.  Aunt Margie never won.

Beau Rivage Resort, Bal Harbour, Florida

Those vacations were always by car; two days to Florida and four days to California.  Aunt Margie ate the same lunch every day of every trip: bacon, lettuce, and tomato sandwiches on white toast, hold the mayo.  Only after we reached our destination did she resume a “regular” diet!

We always had fun and even Aunt Margie seemed to enjoy herself (a minor episode of seasickness, notwithstanding).

Aunt Margie getting seasick on the boat trip from Miami to the Bahamas, 1970

My father didn’t always go on vacation with us due to his work schedule.  He made it on the 1970 trip to Florida, which included several days in the Bahamas which we reached by boat from Miami.  The only food memory I have of that trip is going to an Italian restaurant in Freeport where the garlic bread was so garlicky that it was bitter.  The food itself must have been pretty good as we went back again.  Unfortunately, the garlic bread was just as bad the second time around.

Print Recipe
Aunt Margie's Pasta è Ceci (Pasta and Chickpeas)
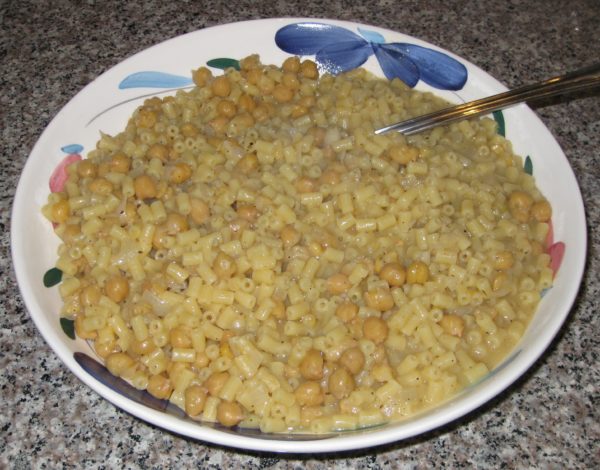
Aunt Margie’s Pasta è Ceci was more soupy than my mother’s Pasta è Fagioli. It had no tomato sauce. This is my interpretation. I have made the liquid a little thicker by emulsifying the cheese and oil at the end. Aunt Margie never used wine. That is my addition. To prepare dry chickpeas, combine 1 pound of dry chickpeas, 7 cups of water, 1 tablespoon salt, 2 bruised garlic cloves, one bay leaf, ½ teaspoon whole black pepper, and a piece of Parmesan cheese rind. Cook in the Instant Pot for 15 minutes or simmer, partially covered, adding more water if needed, till tender but not mushy. If not using the Instant Pot, add the salt after about 15 minutes of simmering. Measure out 3 ½ cups of cooked chickpeas. Reserve the remainder for another use. Use the cooking liquid as described below. Aunt Margie's pasta è ceci was usually so soupy that it was served in bowls. Feel free to make yours as loose as you would like.
Votes: 1
Rating: 5
You:
Rate this recipe!
Prep Time 10 minutes
Cook Time 45 minutes
Servings
people
Ingredients
Prep Time 10 minutes
Cook Time 45 minutes
Servings
people
Ingredients
Votes: 1
Rating: 5
You:
Rate this recipe!
Instructions
  1. Measure out three cups of chickpea-cooking liquid or use the liquid from canned chickpeas adding water to make three cups.
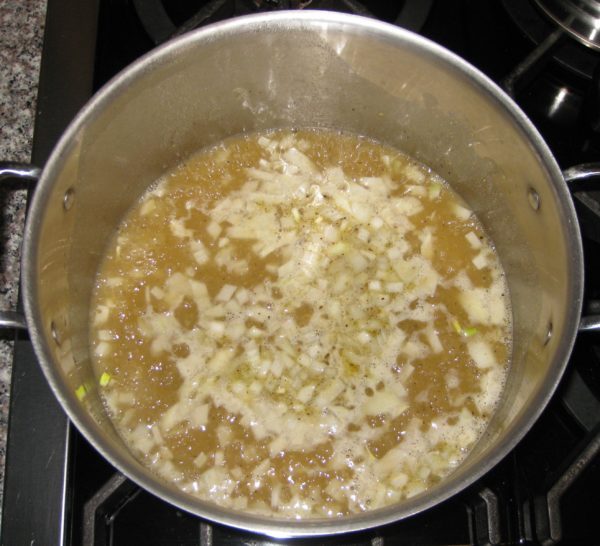
  2. Combine chickpea liquid, white wine, diced onion, oregano and black pepper in a Dutch oven large enough to hold the cooked pasta comfortably. Bring to a boil and simmer approximately 20 minutes, until the onion is tender.
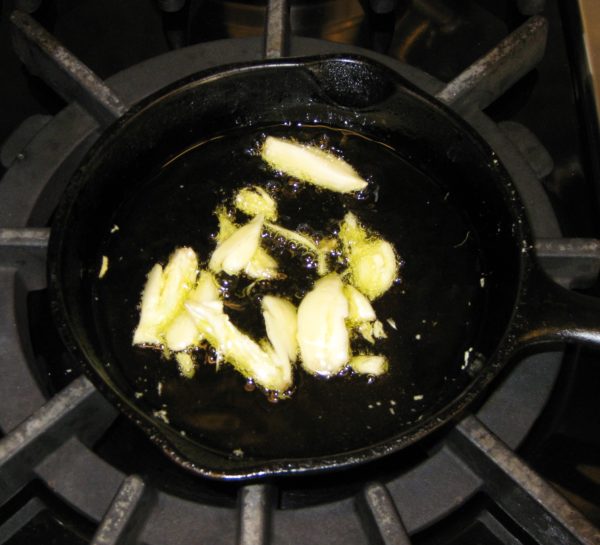
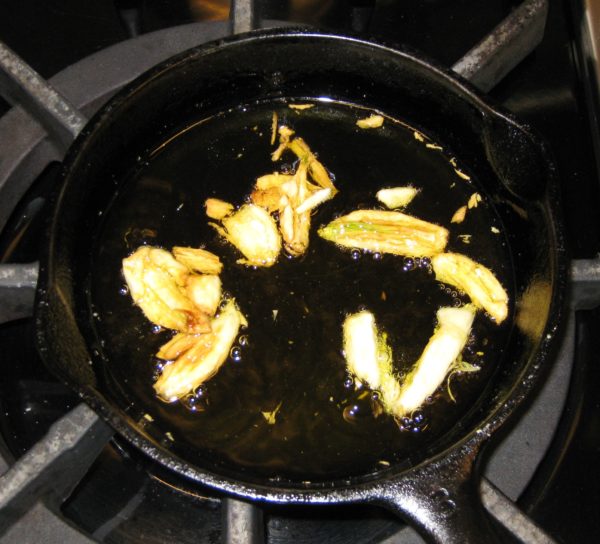
  3. Meanwhile, brown the garlic in 1/3 cup of olive oil over gentle heat.
  4. When the garlic is brown, remove it and reserve the oil.
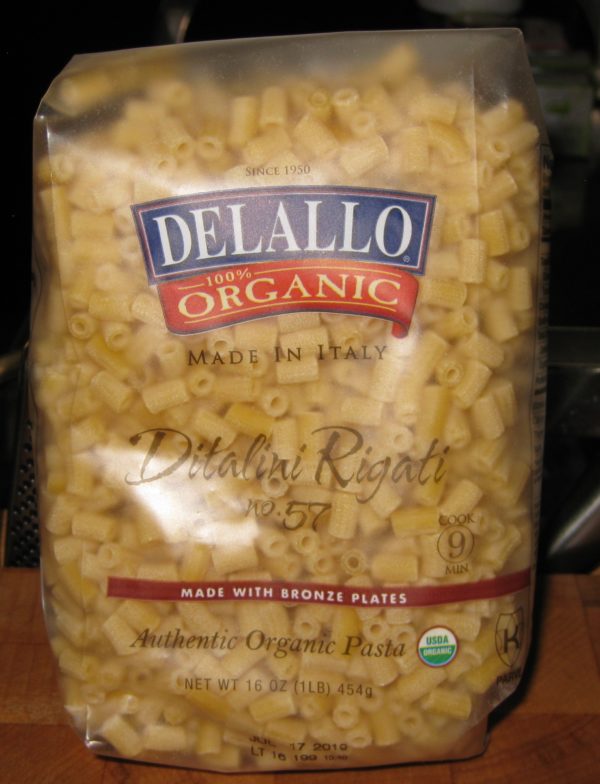
  5. Cook the pasta in two quarts of heavily salted, boiling water until the pasta retains just a little crunch at the very center.
  6. Reserve at least two cups of the pasta-cooking water.
  7. Pour some of the remaining pasta-cooking water into the serving bowl to warm it while proceeding with the recipe.
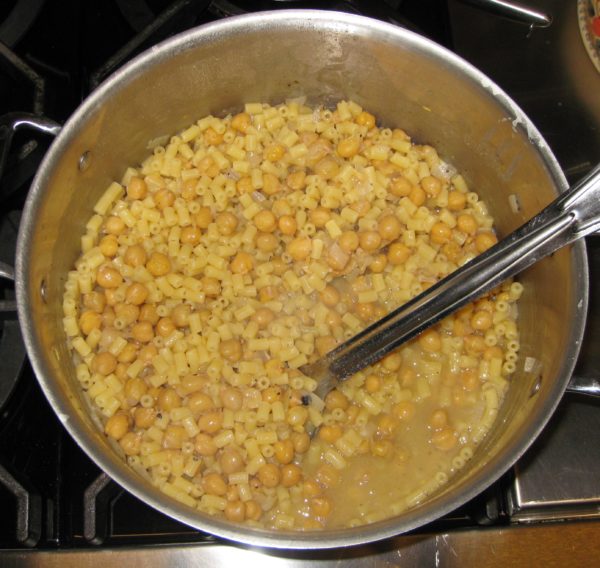
  8. Drain the pasta and immediately add it to the seasoned chickpea-cooking liquid along with the chickpeas.
  9. Add the garlic-infused oil and salt and black pepper to taste.
  10. Simmer gently, covered, until the pasta is just al dente. Add some of the reserved pasta-cooking water as needed.
  11. When the pasta is al dente, add more of the reserved pasta-cooking water, if necessary, to make a slightly soupy mixture.
  12. Remove from the heat.
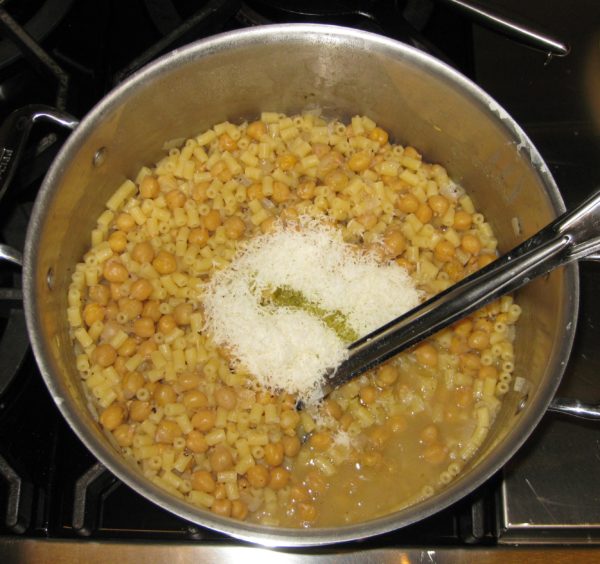
  13. Stir in the Romano cheese and 1/4 cup of olive oil to create a glossy sauce.
  14. Add a bit more of the pasta-cooking water if needed to thin the sauce as the combination of cheese and olive oil will create an emulsion that will thicken the sauce.
  15. Taste and adjust salt and pepper.
  16. Serve immediately with additional freshly grated Pecorino Romano cheese.
Recipe Notes

Copyright © 2018 by VillaSentieri.com. All rights reserved.
Share this Recipe

Pear, Celery and Arugula Salad with Lemon Dressing

December 26, 2016

I grew up in a family that put salad on the table at the same time as the rest of the meal.  I married into a family that does the same.  However, in the years between leaving home to go to college and getting married I most definitely converted to serving salad after the main part of the meal was over.  Notice, I didn’t say main course because the other change I made was thinking of the meal as comprising an antipasto (even if it is just a nibble of cheese and a cracker for a family meal) followed by, what Italians would call, the first course (il primo piatto) followed by a second course (il secondo piatto).

In an Italian meal, the first course is usually pasta, or soup, or risotto.  The second course  usually consists of meat or fish with several side dishes (contorni).  After that comes the salad.  Granted, there are exceptions to this sequence, even in Italy.  One of the most classic exceptions is serving Risotto alla Milanese with a breaded and fried veal chop.  OK, so these days, I try not to eat baby animals, so veal is pretty much off the menu at our house, but the point is Risotto alla Milanese is typically served with the meat, not before the meat.

The general rule that the sequence is antipasto, then first course, then second course, then salad was made abundantly clear when my Italian tutor had dinner at our house a few years ago.  For some reason, even though my in-laws grew up in Italy, we served spaghetti and meatballs (very good spaghetti and meatballs, mind you!).  Where it got interesting, however, is that we all ate the spaghetti and meatballs at the same time (for full disclosure, I didn’t touch my salad until afterwards).  My tutor, hailing from Italy however, ate her pasta first.  Only then did she put a meatball or two on her plate for her second course.  Only after that did she touch her salad!

When I am serving dinner for company, the salad always comes after the second course.  I’d rather not serve salad than serve it with the rest of the meal.  Salads, by design, have sharp dressings meant to cleanse the palate.  You can’t go back and forth between a subtly seasoned dish (whether it be pasta or fish or meat) and salad and do justice to the subtlety of the first.  The vinegar and/or lemon juice and/or mustard (and/or whatever else you put in your salad dressing) doesn’t allow that.  Forget what it does to the wine that you’ve paired with the dish!  If it’s just family, however, in the interest of domestic harmony, the salad goes on the table at the beginning.  I still don’t eat mine till the end but I can’t say the same for others.

Print Recipe
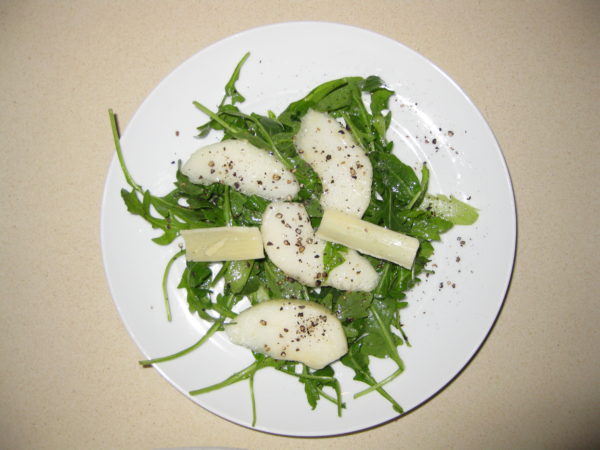
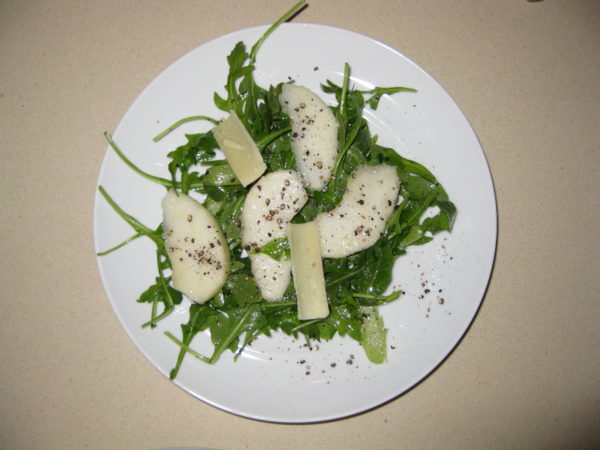
Pear, Celery and Arugula Salad with Lemon Dressing
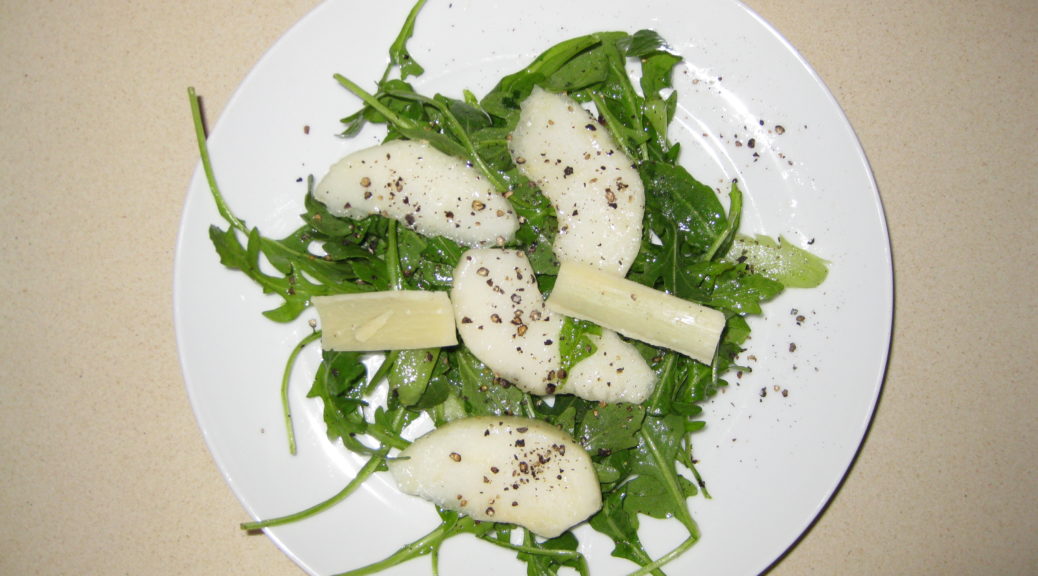
Pears add a welcome freshness to this salad that is a perfect antidote to winter when so little really good fresh produce is available. This may be a lot of pear for some but the sweet juicy taste is a great contrast to the crunch of the celery and the peppery bite of the arugula.
Votes: 0
Rating: 0
You:
Rate this recipe!
Prep Time 15 minutes
Servings
people
Ingredients
Prep Time 15 minutes
Servings
people
Ingredients
Votes: 0
Rating: 0
You:
Rate this recipe!
Instructions
  1. Squeeze about half a fresh lemon to make 2 ½ tablespoons of juice. Allow the juice to sit, uncovered, at room temperature for about an hour before using it to dress the salad. The flavor of the juice will improve.
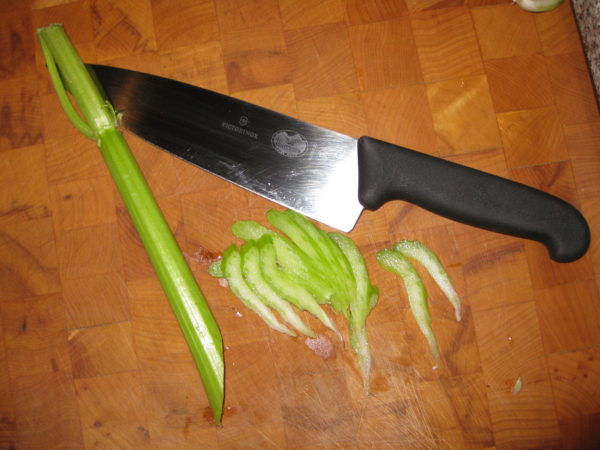
  2. Remove the top of the celery stalks, the part where the center stalk gets much thinner and smaller stalks come off the sides. Reserve these pieces for another use. Cut the remaining celery stalks on a long diagonal to create thin long pieces.
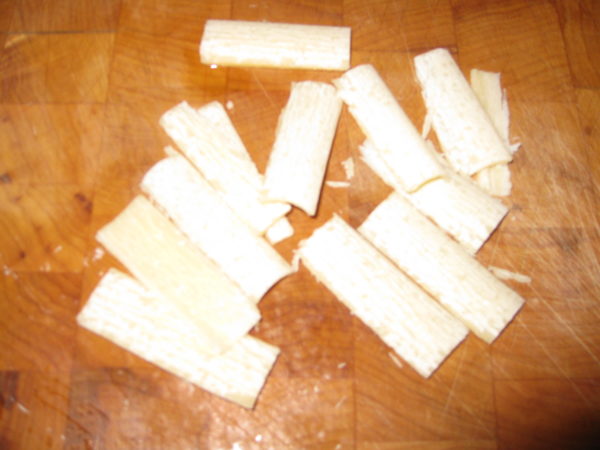
  3. Using a sharp knife or cheese paring knife, cut about 18 curls of Pecorino Romano cheese.
  4. Peel the pears and cut into quarters lengthwise. Core the pears. Slice into thin wedges.
  5. Combine the lemon juice and olive oil. Shake well to combine.
  6. Toss the arugula and celery with about 2/3 of the lemon-olive oil dressing. Season with salt and pepper to taste and toss again.
  7. Divide the arugula and celery onto six plates.
  8. Toss the pears in the remaining lemon-olive oil dressing. Arrange the pear slices and Pecorino Romano cheese on top of the arugula. Season with freshly ground black pepper. Serve immediately.
Recipe Notes

Copyright © 2016 by VillaSentieri.com.  All rights reserved.
Share this Recipe