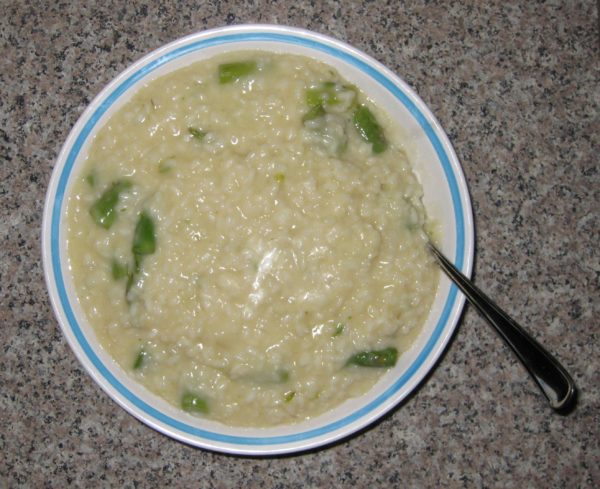
Risotto with Asparagus

May 29, 2017

Risotto is not a Southern Italian dish.  Neither is polenta, for that matter.

I never had either until college when I started cooking from Marcella Hazan’s The Classic Italian Cookbook published in 1973.  I still use the dog-eared copy I bought in college the year it was published.
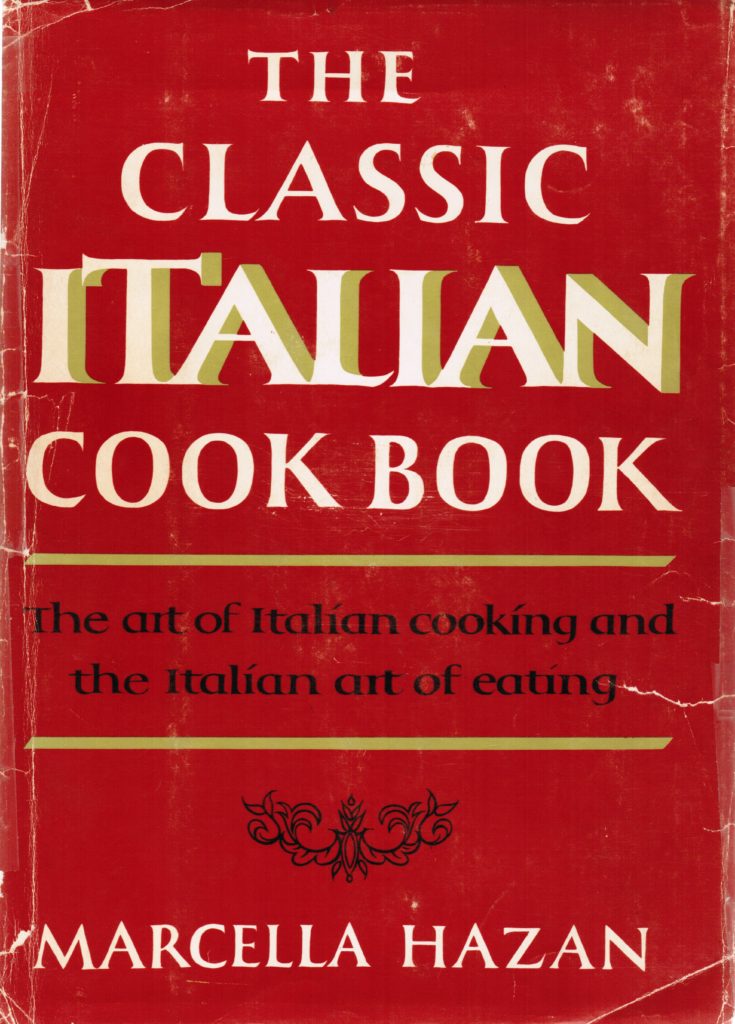
It was a magnificent introduction to Northern Italian cooking which I knew little about as a kid of 18 from a small town in Western Pennsylvania in my sophomore year of college.

My knowledge of Northern Italian cooking expanded rapidly though.  Marcella was only the beginning.  There was a true restaurant renaissance in Philadelphia in the 1970’s.  Not only magnificent French restaurants like Le Bec Fin and La Panetiere, but wonderful Northern Italian restaurants like the Monte Carlo Living Room and a bevy of others whose names I can’t recall.  I ate at all of them…often.  I still remember one dinner at the Monte Carlo Living Room where, after being served a very simple spaghetti with garlic and oil, the waiter (they weren’t called servers back then) came by with a black truffle and shaved large quantities of it onto my pasta.  Heaven!

I also learned about Northern Italian cooking from the aunts of my college advisor Eugene (Gene) d’Aquili.  Well, it was Roman cooking, actually, which is in central Italy but still pretty far north from where my mother’s family hailed.

Auntie Helen (Zia Elena) and Auntie Louise (Zia Luigia) (they Anglicized their names after coming to America) were born in Rome in the early years of the 20th century.  They came to America as children.  Of the two, Auntie Helen was the cook.  From her I learned to make many classic Roman dishes.  Some of Auntie Helen’s dishes are slated to make it into the blog, including a Roman Chicken Cacciatore flavored with anchovies.

So, by the time I got absorbed into my husband’s Northern Italian family (his father is from Tuscany and his mother from Friuli) I had a good grasp of Northern Italian cooking.

We have risotto often.  Probably at least once every two weeks.  It’s usually made with a vegetable, though occasionally I’ll make Risotto alla Milanese flavored with saffron and not a vegetable in sight.  In the spring risotto usually includes asparagus or peas.  In the summer it is likely to be zucchini.  The fall brings butternut squash risotto and mushroom risotto.  Mushroom risotto pretty much carries us through the winter, too, with the occasional risotto made with meat sauce.

Since it’s spring, I’m doing risotto agli asparagi, risotto with asparagus.
Print Recipe
Risotto with Asparagus
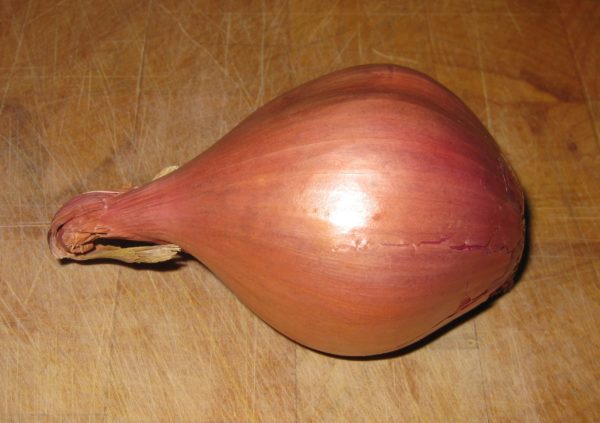
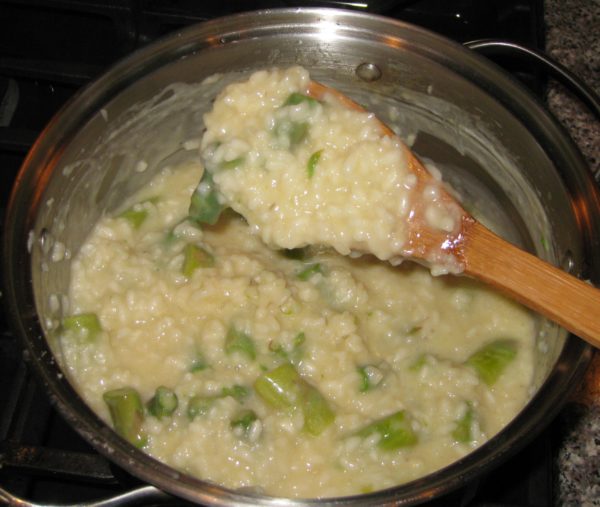
Risotto is a classic Northern Italian dish. The goal is to have rice grains that are still al dente (but not crunchy) in the middle surrounded by a creamy liquid. More often than not I find that risotto served in America is overly rich with butter, cheese, and sometimes cream. An Italian-style risotto should be creamy from the starch in the rice, augmented with a very modest amount of butter and cheese. Risotto rice is a short grain rice that cooks slowly, making it much easier to achieve an al dente texture because it takes a while to actually overcook it. The three types of rice for risotto are Arborio, Carnaroli, and Vialone Nano. Arborio is the easiest one to find though the other two are more forgiving than Arborio when it comes to overcooking. I recommend buying good quality rice imported from Italy. It really isn’t priced that differently from domestic. Do not wash the rice. I don’t buy shallots unless I have a specific recipe in mind. Since risotto is often something that I make with little advance planning based on the fresh vegetables that are in my refrigerator, I usually use onion and garlic in place of shallot. I honestly don’t think one could reliably tell the difference so feel free to use onion and garlic as noted in the recipe if shallots aren’t handy.
Votes: 0
Rating: 0
You:
Rate this recipe!
Prep Time 15 minutes
Cook Time 45 minutes
Servings
people
Ingredients
Prep Time 15 minutes
Cook Time 45 minutes
Servings
people
Ingredients
Votes: 0
Rating: 0
You:
Rate this recipe!
Instructions
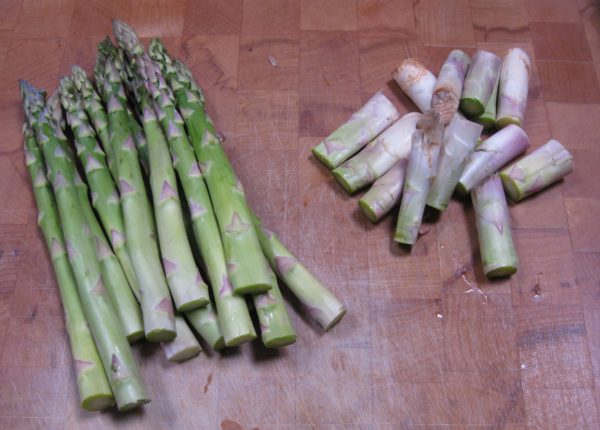
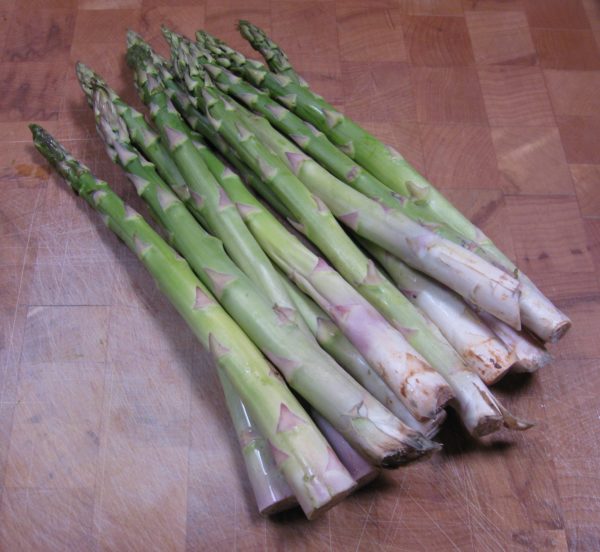
  1. Trim off the tough bottom of the asparagus spears. The standard way to do this is to bend the spear and let it crack naturally where the spear is less tough and woody.
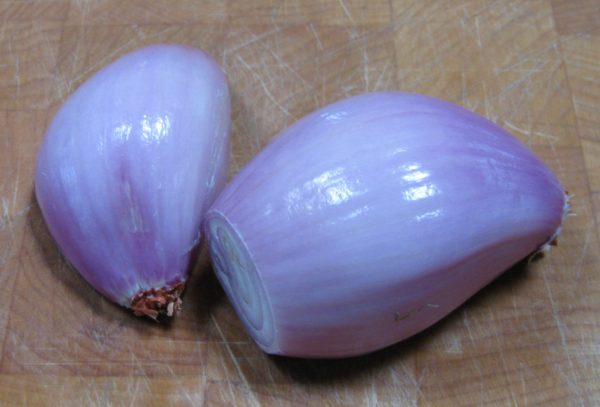
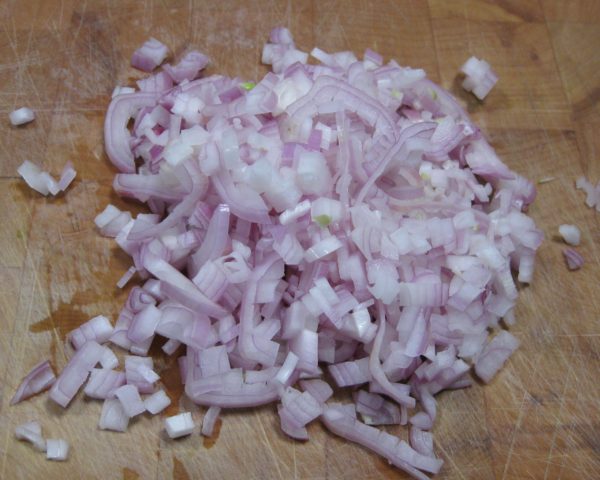
  2. Finely dice the shallot.
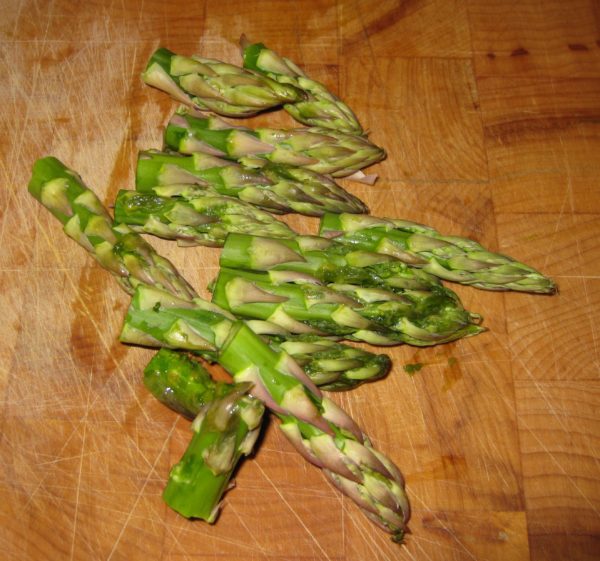
  3. Cut the tips off each spear, approximately the top 2 inches. Reserve the asparagus tips.
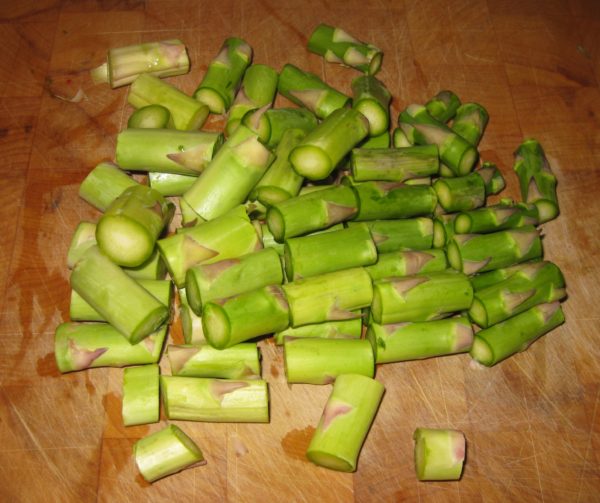
  4. Cut the remaining spears into 1 inch pieces. Reserve the cut spears separately from the tips.
  5. Bring the chicken broth to a boil.
  6. Cook the asparagus tips in chicken broth for 2-4 minutes. They should be “toothy” but not crunchy.
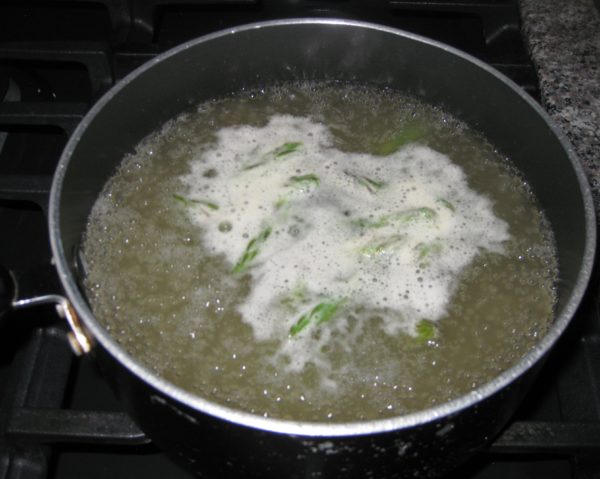
  7. Using a spider or large slotted spoon, remove the tips from the boiling broth and put them into a bowl of ice water to stop further cooking.
  8. Cook the cut asparagus spears in the chicken broth for 4-6 minutes. Like the tips, they should be toothy but not crunchy.
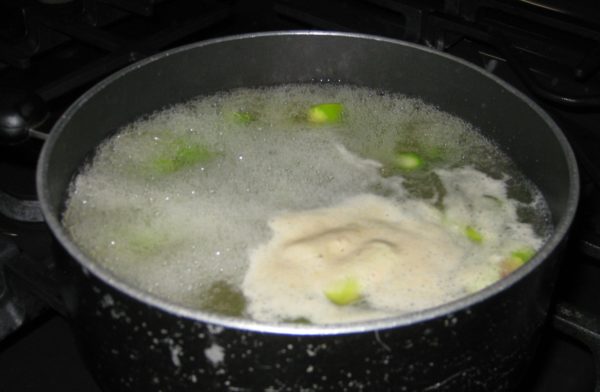
  9. Add the partially cooked cut spears to the ice water with the tips.
  10. Reduce the heat so the broth remains at a simmer.
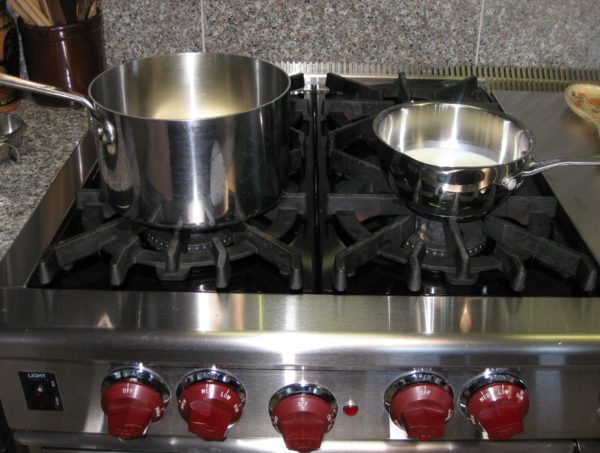
  11. Heat a two or three quart heavy-bottomed saucepan over medium high heat. Add the olive oil.
  12. When the oil is hot, add the finely chopped shallot (or onion and garlic if you are using that instead).
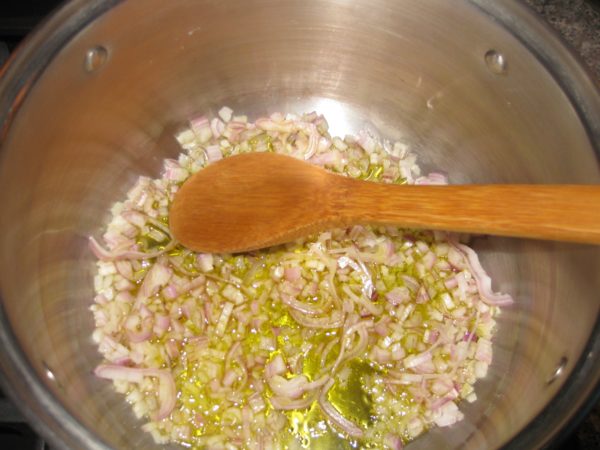
  13. Sauté, stirring frequently until the shallot softens and turns translucent. Do not brown the shallot. You may need to reduce the heat.
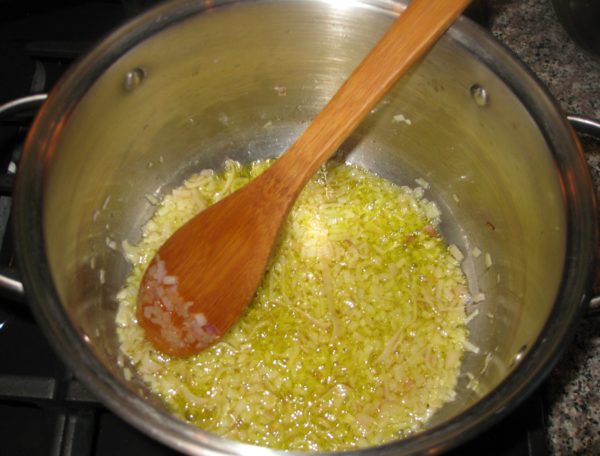
  14. When the shallot is soft, return the heat to medium high and add the rice.
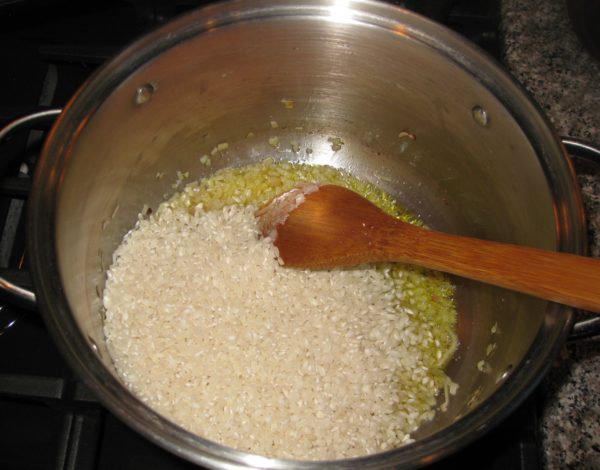
  15. Continue cooking, stirring frequently, until the rice starts to smell toasty. Do not brown the rice.
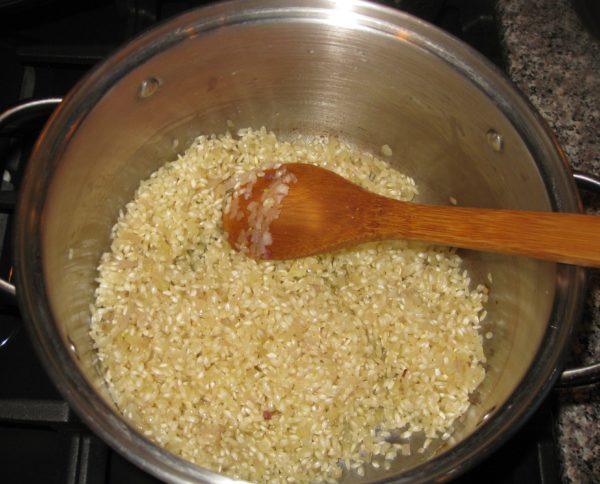
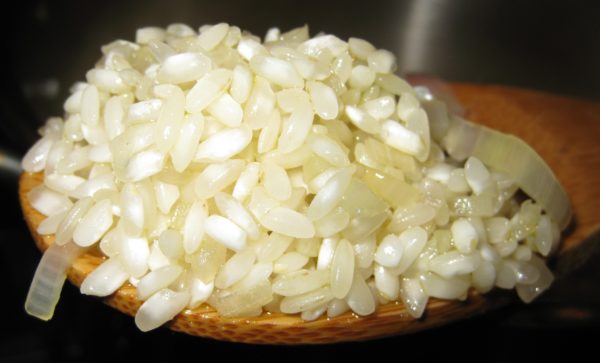
  16. The outer portion of the rice grains will get translucent while the inside will stay opaque white.
  17. Add the wine. Stir frequently, but not constantly, until the wine has totally evaporated. You will begin to see some starch leaching out of the rice. More and more of the starch will leach out as you cook the rice. This is what will make a creamy sauce.
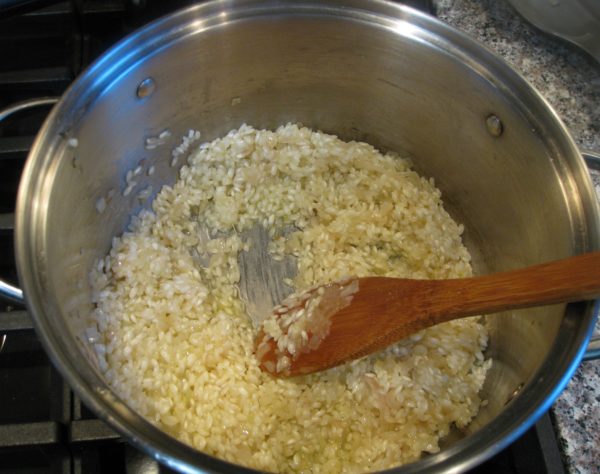
  18. When the wine has evaporated, add a scant ½ cup of simmering broth. Stir thoroughly paying particular attention to loosening any spots where the starch seems to be sticking to the bottom of the pan. You don’t want to brown (or worse yet, burn) the starch.
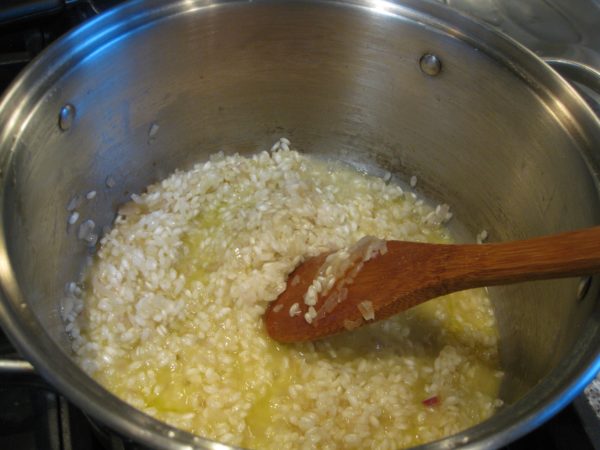
  19. Stir frequently, but not constantly, until the broth has evaporated.
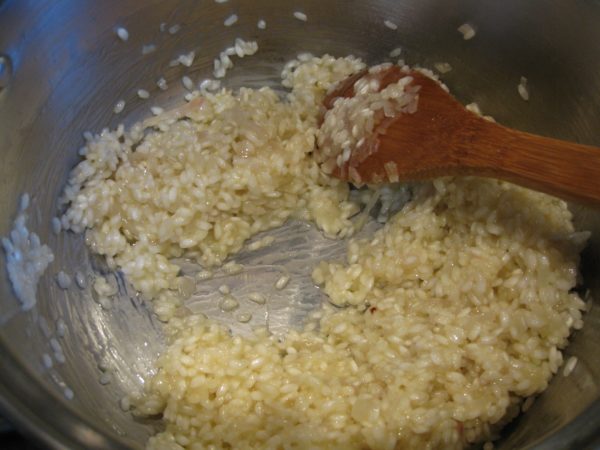
  20. If the broth is unsalted, as I recommend, you can add a teaspoon of salt to the rice as you begin to add broth. If the broth contains salt, I recommend not adding salt until the end.
  21. Keep repeating the process with a scant ½ cup of broth, cooking, stirring, and loosening any spots that are sticking until each addition of broth evaporates. The heat should stay as close as possible to medium high. The moderate boiling of the liquid will coax starch out of the rice to create the creaminess that is the hallmark of a good risotto.
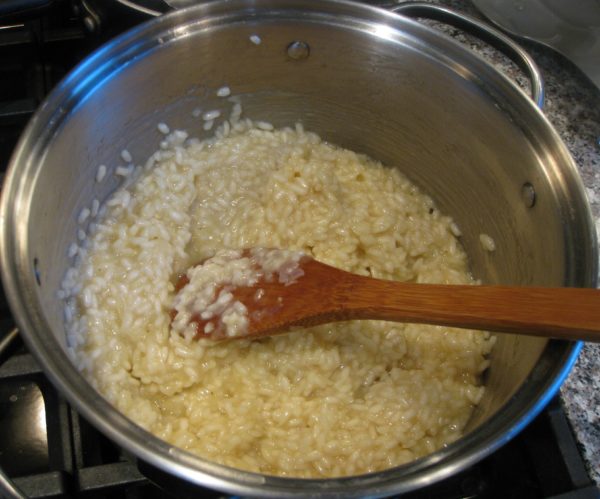
  22. While the rice is cooking, drain the partially cooked asparagus.
  23. Begin tasting the rice after about 20 minutes of cooking. It will probably still be quite crunchy at the very core. Until you get the hang of it, I suggest testing a rice grain each time you add more broth so you develop a sense of how quickly the texture changes.
  24. When you think you’re only one or two additions of broth away from having perfectly al dente rice, add the partially cooked asparagus.
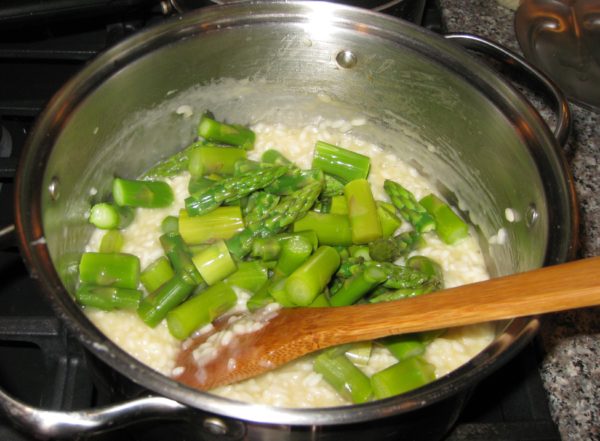
  25. Continue cooking, adding simmering broth or water as needed, until the rice is al dente.
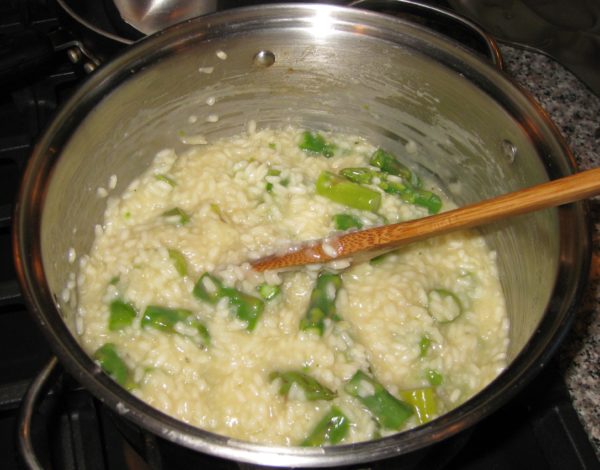
  26. Remove the rice from the heat and stir in enough simmering broth or water to create a creamy “sauce.” The starch that you have coaxed out of the rice should absorb at least ½ cup of liquid, possibly more.
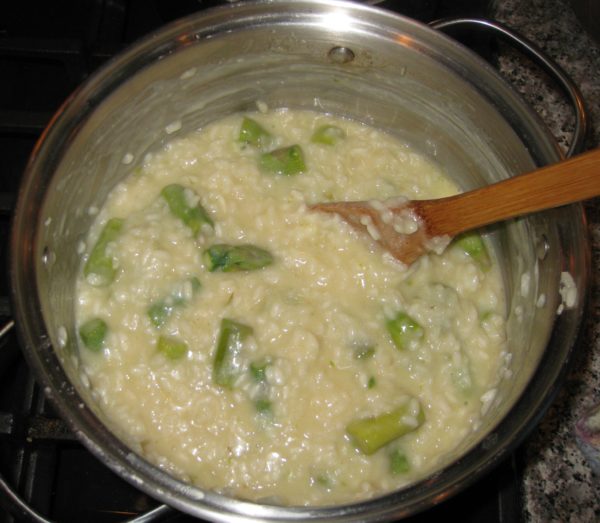
  27. Stir in the butter and Parmesan cheese. This will probably thicken the “sauce” so you will need to add a bit more simmering liquid to loosen it.
  28. Taste and add salt and freshly ground black pepper to taste.
  29. Serve immediately.
Recipe Notes

I think the standard method used to decide where to trim asparagus wastes too much.   For a quick tutorial on how I prep asparagus, check out my Preparing Asparagus post.

It will likely take more than 4 cups of broth to cook the rice. If you don’t have more broth, just use plain water. I do that very frequently. Except for the initial addition of wine, all liquid added to the risotto should be simmering.  As I’m getting near the end of the broth, I always put a couple of cups of water on to boil so that I have simmering water to add if needed.

Although the broth used for risotto should be flavorful, it should not be overly concentrated. The flavor of the asparagus should come through and not be muddled because the broth tastes assertively like chicken or herbs. Because you will be cooking down a fair amount of broth, it is best that it not be salted otherwise you run the risk of the risotto being too salty.

Copyright © 2017 by VillaSentieri.com. All rights reserved.

Share this Recipe

Croquetas de Jamon (Cuban Ham Croquettes)

May 1, 2017

In early 2014, my husband and I were lucky enough to go to Cuba with two close friends.  This was prior to the loosening up of restrictions on travel by Americans to the island nation.

Because of the guidelines governing such travel, we had to spend a significant portion of our time interacting with Cubans, not being tourists.  We visited a schools for the arts and music, toured cultural sites, attended lectures, saw a cigar factory, and met with some Cubans in their homes, among other activities.

All of Cuba is divided up into small units that are under the watchful eye of a trusted local who reports any unusual activities to the authorities.  These units could be a section of a street, for example, or a multi-unit building.  What turned out to be one of the most memorable events was meeting with the residents of one such building one evening in Cienfuegos.

The children put on a small performance, we had refreshments, then spent several hours chatting with the building’s residents.  It seemed to us that everyone was quite open, talking about the challenges, as well as the benefits (such as free education and health care) of life in Cuba.  In fact, while it seems that most Cubans we met were in favor of a more open society they were understandably very protective of their access to education and health care.

One man, seemed particularly open about the difficulties of life in Cuba.  This was surprising to us as his wife was the designated party operative responsible for overseeing this particular building.  Our suspicions seemed to be confirmed when he disappeared into their apartment shortly before the evening ended after his wife gave him “the look.”  As our vehicle was pulling away from the building, he ran out and waved us good-bye.  Clearly he had been banished from the meeting but kept a watchful eye from his apartment, exiting at just the right moment.

In addition to spending the major portion of our trip interacting with Cubans we were prohibited from actually going to the beach!  This was supposed to be an educational and cultural interchange, not fun.

Even more interesting is that, at the time, Americans were prohibited from buying Cuban cigars and rum.  Mind you, I’m not talking about bringing these items back to the United States which was definitely forbidden, but buying and using them while in Cuba.

This would seem to be a singularly difficult rule to enforce and I can’t say that anybody paid particular attention to it.  One of our most pleasant experiences was sitting at a park on the waterfront in Cienfuegos sipping rum (from plastic cups) smoking cigars and watching the sun set.

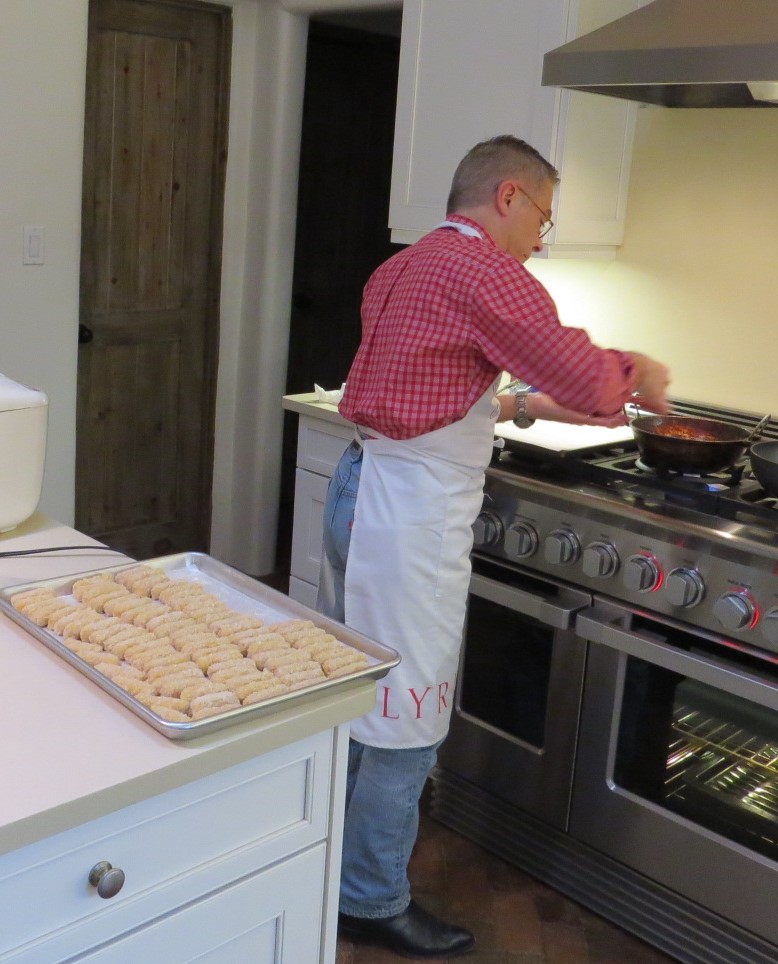
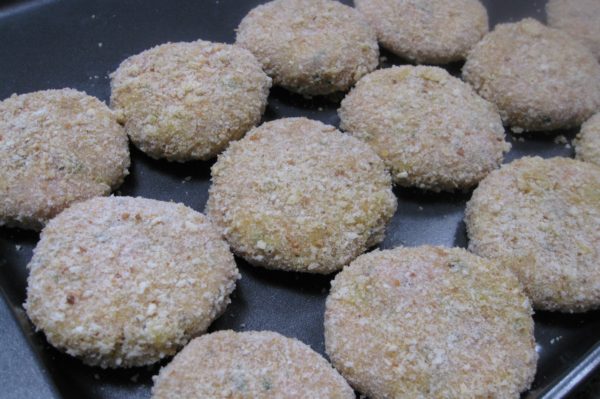
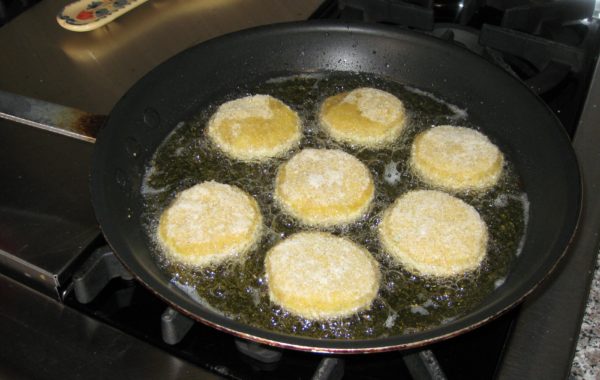
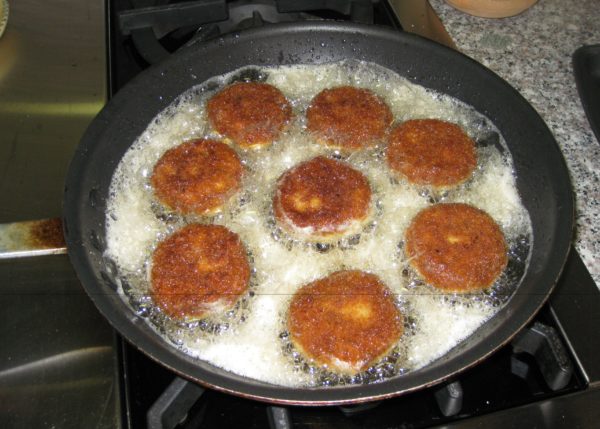
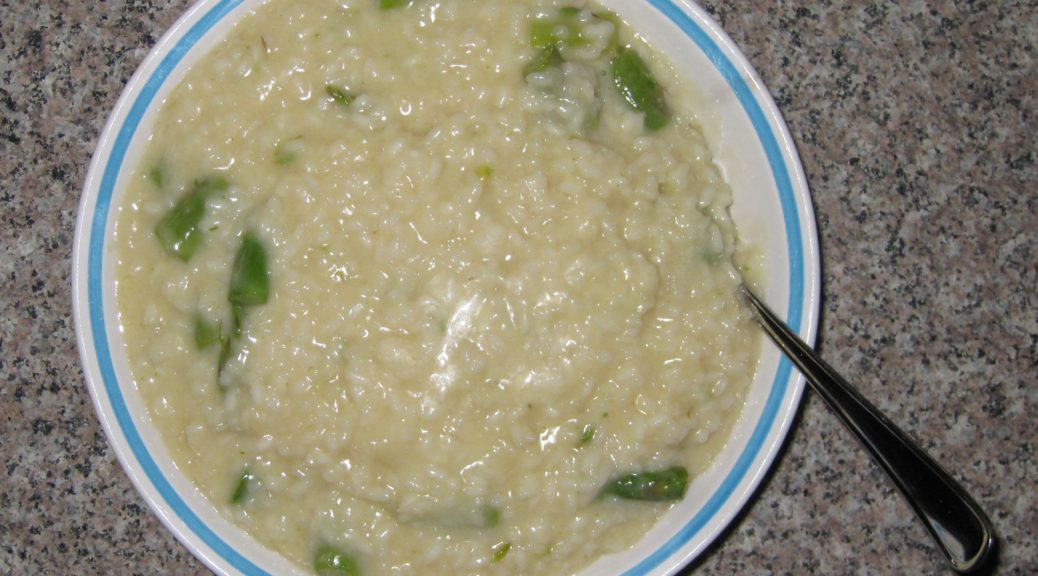
We ate a lot of croquetas in Cuba and drank a lot of rum punch, mojitos, and cariocas.  After we got back we pulled together a Cuban dinner with a few other friends.  I made the traditional finger-sized croquetas—seven dozen of them, actually!  Here is a picture of me frying them as well as a platter full of cooked ones along with some plantain chips and mojitos.

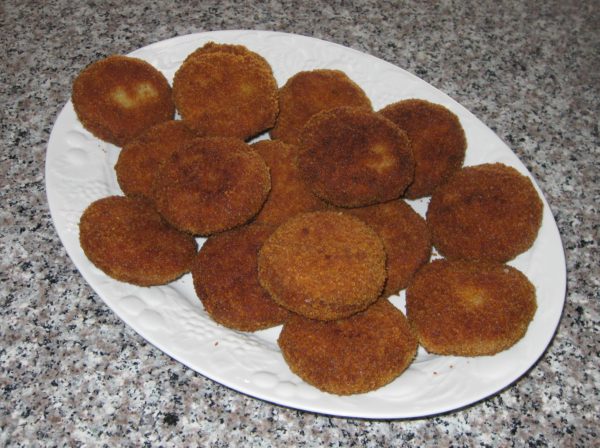
For this post, since I was cooking them as an entrée rather than as a nibble with cocktails, I made them larger.

Print Recipe
Croquetas de Jamon (Cuban Ham Croquettes)
Instead of ham, croquetas can be made with cooked fish, salted cod, or potatoes among other ingredients. Cracker crumbs are the standard coating used in Cuba but fine dry breadcrumbs will work fine. I really like using plain panko crumbs whizzed in the food processor to finely pulverize them. They give an amazing crunch! If you are making these to serve as nibbles, you should get seven dozen. If you are making larger croquetas to serve as a main course, this recipe will make 16. Two or three of the larger croquetas will serve one person depending on what else is being served.
Votes: 0
Rating: 0
You:
Rate this recipe!
Prep Time 1 hour
Cook Time 20 minutes
Passive Time 9 hours
Servings
people
Ingredients
Prep Time 1 hour
Cook Time 20 minutes
Passive Time 9 hours
Servings
people
Ingredients
Votes: 0
Rating: 0
You:
Rate this recipe!
Instructions
  1. If the ham was cooked with a sweet glaze, rinse the glaze off using warm water.
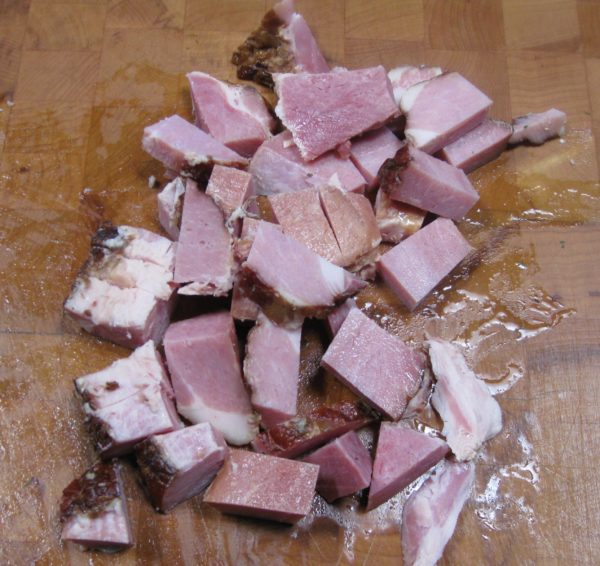
  2. Cut the ham into one-inch cubes.
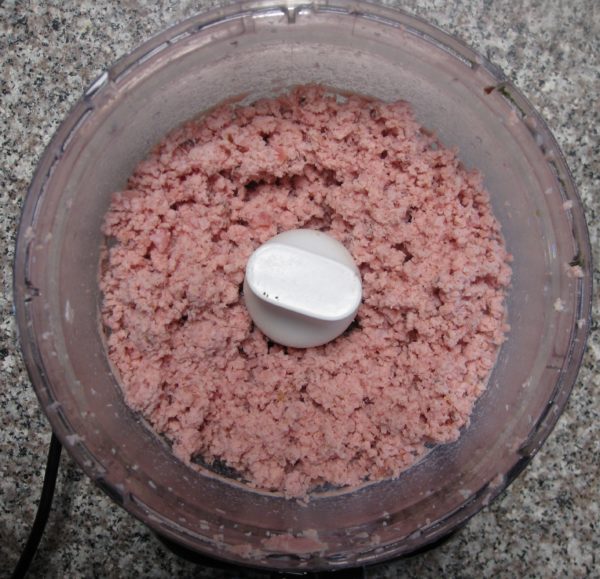
  3. Finely grind the ham in a food processor or meat grinder. Reserve the ground ham.
  4. Over medium heat, warm the milk in a small saucepan.
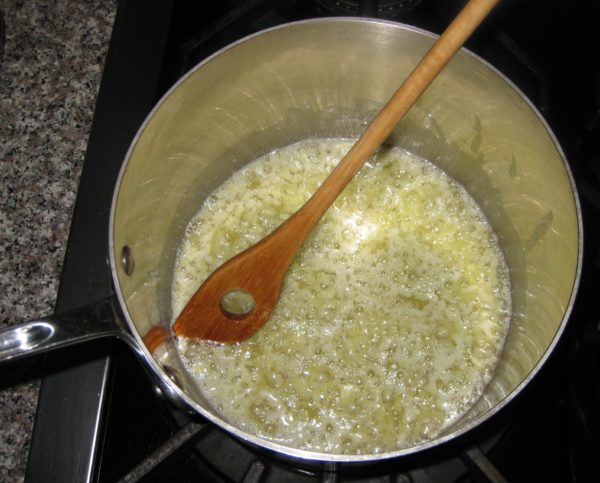
  5. Meanwhile, in a two-quart heavy bottomed pan, sauté the onion in butter on medium heat until soft, approximately 4-5 minutes.
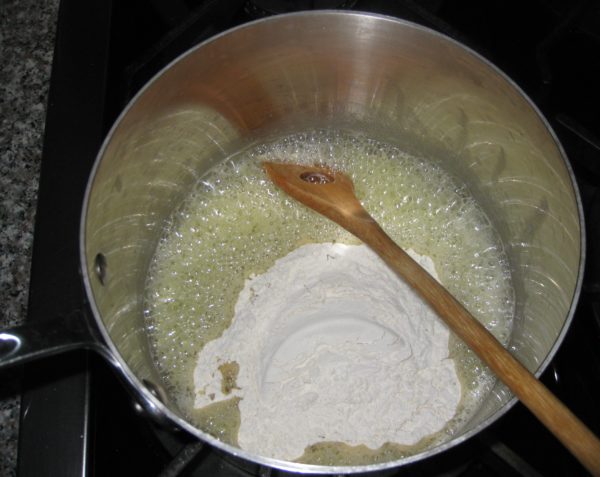
  6. Add the flour to the onion-butter mixture and cook for about two minutes, stirring constantly. Do not brown the flour.
  7. Note, the flour will appear golden from the combination of the butter and the onions.
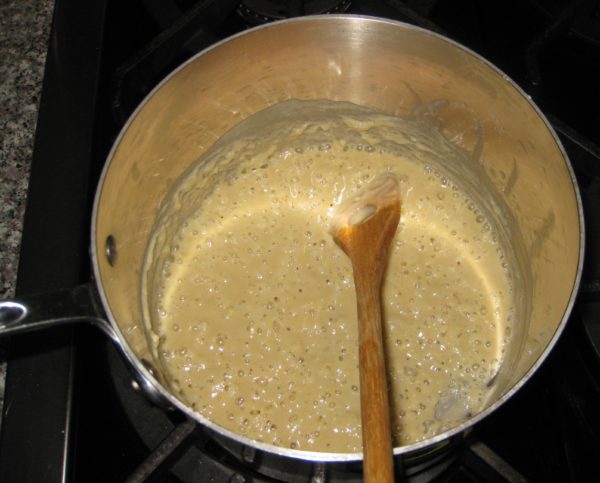
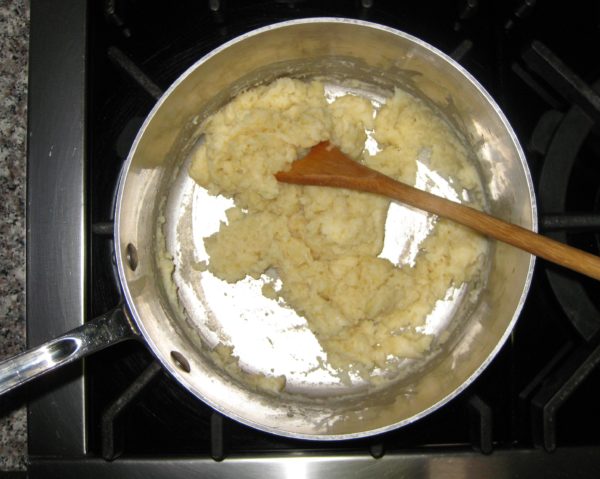
  8. Add about three tablespoons of the warm milk to the flour mixture. Stir well to fully incorporate. Continue adding about three tablespoons of warm milk at a time, stirring well after each addition, until all the milk has been incorporated. The mixture will form a rather heavy dough.
  9. Continue to cook the dough for 2-3 minutes, stirring constantly, without browning.
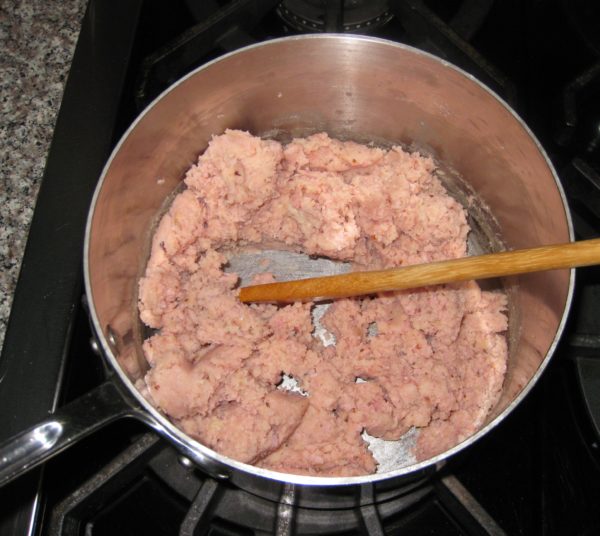
  10. Reduce the heat to low and stir in the ham. Keeping the mixture warm makes it much easier to blend the ham into the dough which would otherwise seize up with the addition of cold ham.
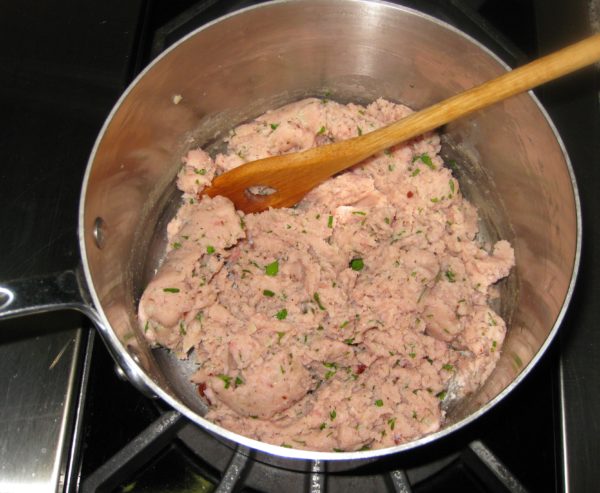
  11. Off the heat, stir in the nutmeg and parsley. Taste and adjust salt and pepper.
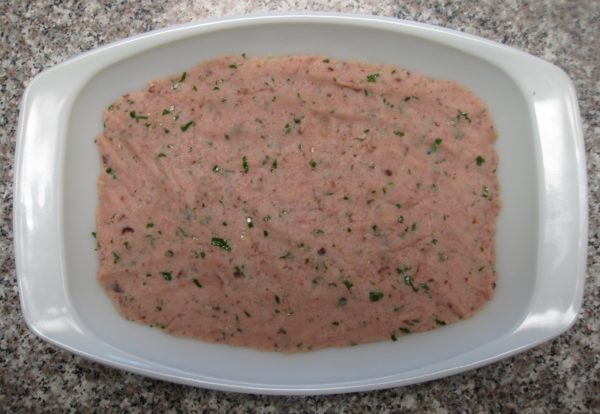
  12. Spread the mixture into a small oblong pan. Cool to room temperature uncovered.
  13. Cover and refrigerate until very cold, about six hours or overnight.
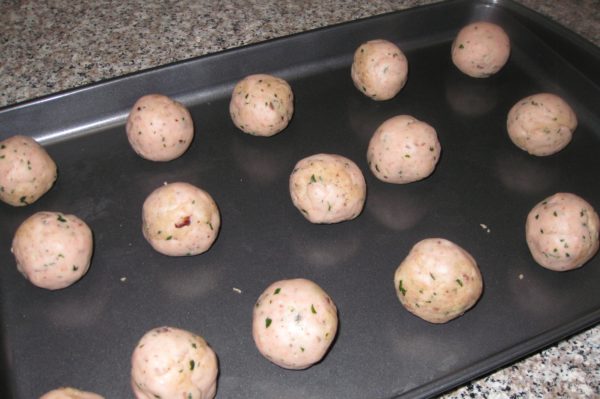
  14. Form the croquetas. If making small ones, roll portions of the dough into ½ inch diameter cylinders. Cut the cylinders into pieces about 2 inches long. If making larger croquetas, divide the mixture into 16 pieces. Roll each piece into a ball then flatten into a patty about ½ inch thick. Put the croquetas in a single layer on a cookie sheets. Refrigerate the croquetas until very cold.
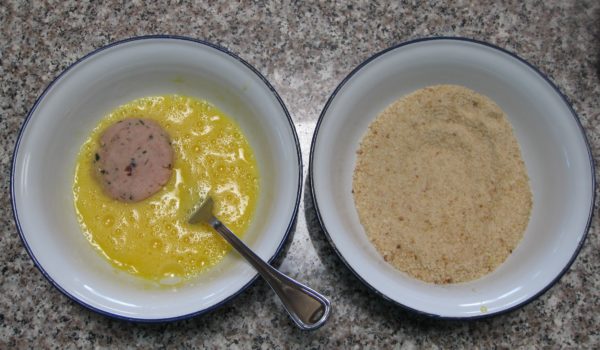
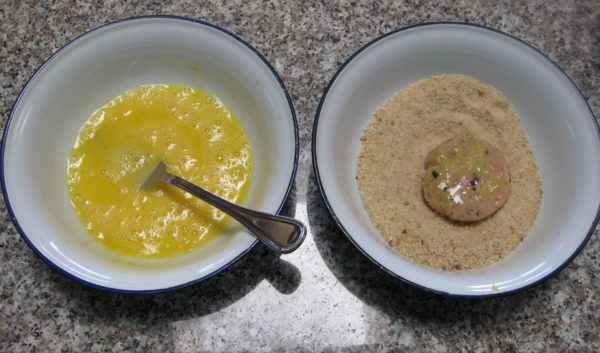
  15. To bread the croquetas, beat 3 eggs seasoned with ½ teaspoon of salt. Dip the croquettes in the beaten egg then roll in crumbs.
  16. Put the croquetas onto cookie sheets once again. Refrigerate until cold.
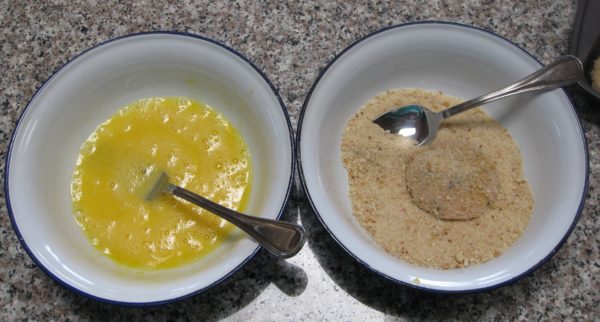
  17. Repeat the egg and crumb coating a second time. The second coating is necessary to get the traditional crunch. Refrigerate several hours or overnight.
  18. Cook the croquetas in a deep fryer at 350°F until deep brown. Alternatively, put ½ inch of oil in a heavy bottomed frying pan. Bring the oil to 350°F. Fry the croquetas, turning once, until deeply browned. Drain briefly on absorbent paper. Keep the croquetas warm in a low oven until they are all fried.
  19. The croquetas ready to serve.
Recipe Notes

Copyright © 2017 by VillaSentieri.com. All rights reserved.
Share this Recipe

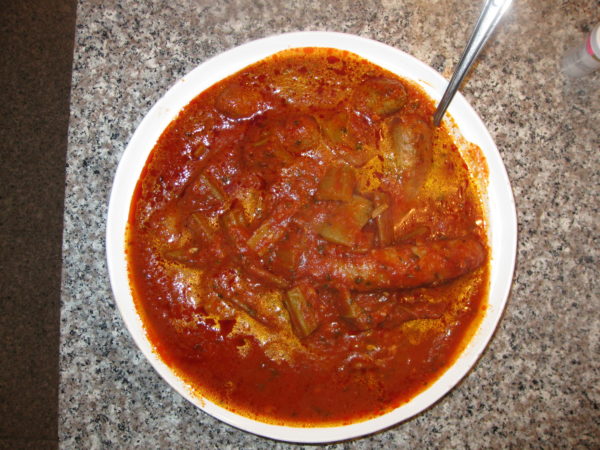
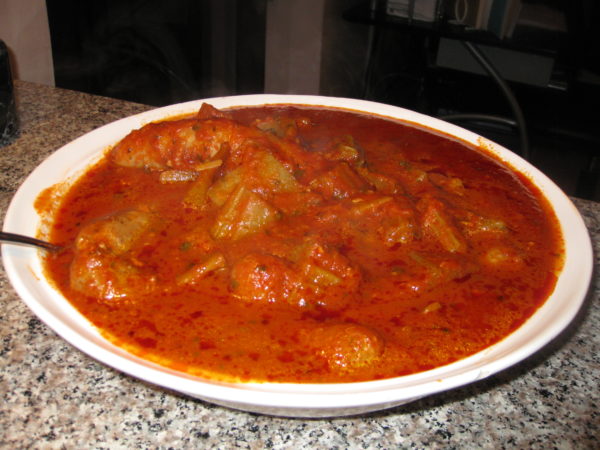
Salsicce con Cardone (Sausage with Cardoons)

February 17, 2017

We made our move to multi-generational living in 1998 when my husband’s parents moved into the Coach House at our estate in Chicago, The Henry Rohkam House.  (There are a couple pictures of the main house in a prior post.)

Pretty quickly we settled into a routine of having meals together.  When we went to work, the dogs went to Grandma and Grandpa’s (21 feet away in the Coach House) for the day.

My husband started gardening with his father.  A large piece of our one-third-of-an-acre property in Chicago’s Lakeview neighborhood was turned over to cultivation.  We had grapes, strawberries, corn, tomatoes, eggplant, sweet peppers, radicchio, arugula, leaf lettuce, Swiss chard, okra, hot peppers of various types, an array of herbs and other vegetables that varied year by year.  The fruit trees never did very well.  The kiwi thrived but never bore fruit.  One of the four kiwi was accidentally injured and died.  In retrospect, it was probably the male plant (there were three female and one male plant), hence no fruit.

Every fall we canned and preserved foods in various ways.  We made jars of olives marinated in red wine vinegar and herbs from the garden.  We made herb-infused vinegar and olive oil.  We dried herbs for the winter.  We froze vats of tomato sauce.  I’ll admit to even freezing pesto which, while it doesn’t taste like its fresh-made cousin, is pretty awesome in the dead of a Chicago winter!

Some years there were enough strawberries to put up jam.  City squirrels can be quite bold, however.  I was standing alongside the garden one spring day when a squirrel, who had gone grocery shopping in our strawberry patch, literally ran over the top of my foot with a strawberry in his mouth on his way out of the produce isle.

The birds had Houdini-like skills.  Despite wrapping the grape arbor in yards of netting, the birds found their way in, decimated the grapes, and escaped.   The few grapes we were able to harvest were very sweet!

We built a temperature-controlled wine cellar in the basement of the Coach House.  My husband made wine for a few years but stopped when work got too busy.

I started cooking more often with my mother-in-law.  Every month or so, my husband’s grandmother, Noni, would come to visit for a weekend.  Noni was a marvelous cook.  Some dish always appeared during those weekends that I had never had before.  Sausage with Cardone was one of them.

For a vegetable that has been popular since the ancient Romans, I’m surprised I’d never hear of it.  I grew up eating sausage with peppers and onions.  Sometimes the sausage was cooked in a tomato sauce, sometimes not.  Cardone was a whole new thing!

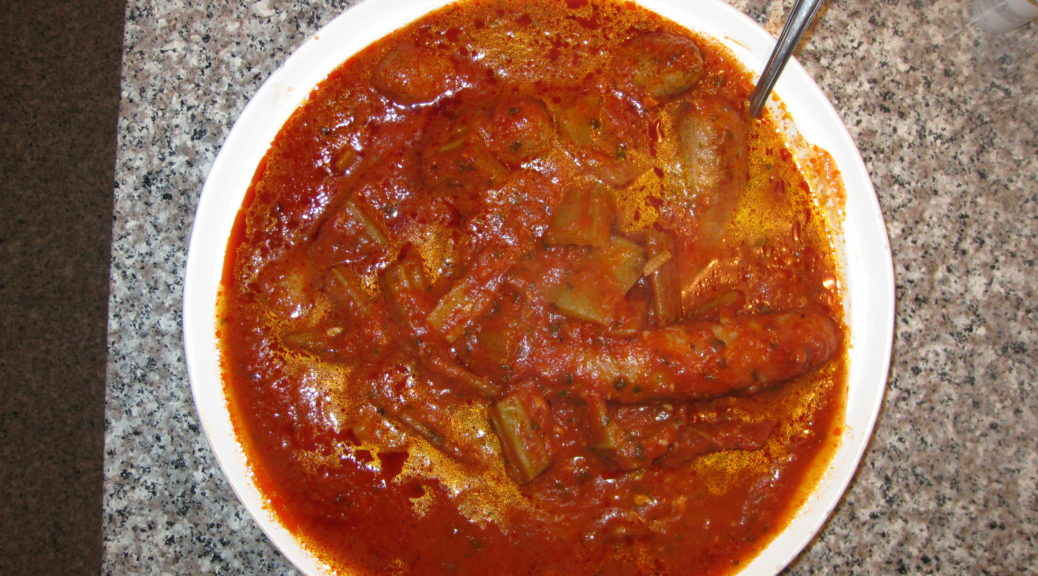
This goes really well with polenta but it’s equally good on its own.  Leftover sauce can be put on pasta or can accompany a frittata.  You may notice from the pictures that we didn’t use as much sausage as called for in the recipe.  We didn’t want leftover sausage but that didn’t mean we didn’t want leftover sauce!  Sadly, the cardone usually all gets eaten on the first go-around but on those rare occasions where it doesn’t, I like to use it as a sandwich filling for lunch.

Print Recipe
Salsicce con Cardone (Sausage with Cardoons)
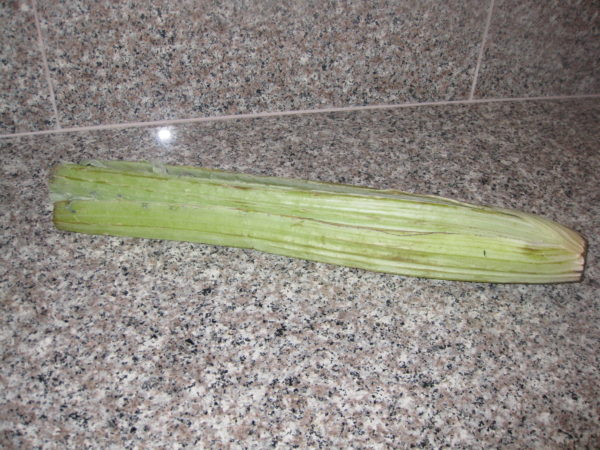
Cardone looks like oversized celery. It is giant, about 2 feet long as sold trimmed in the grocery store. It is related to the artichoke and was popular among the ancient Romans. Cardone should always be served cooked. Leaves should be removed and not eaten.
Votes: 0
Rating: 0
You:
Rate this recipe!
Course Mains, Meats
Cuisine Italian
Prep Time 15 minutes
Cook Time 2 1/2 hours
Servings
people
Ingredients
Course Mains, Meats
Cuisine Italian
Prep Time 15 minutes
Cook Time 2 1/2 hours
Servings
people
Ingredients
Votes: 0
Rating: 0
You:
Rate this recipe!
Instructions
  1. The starting point: cardone from the market.
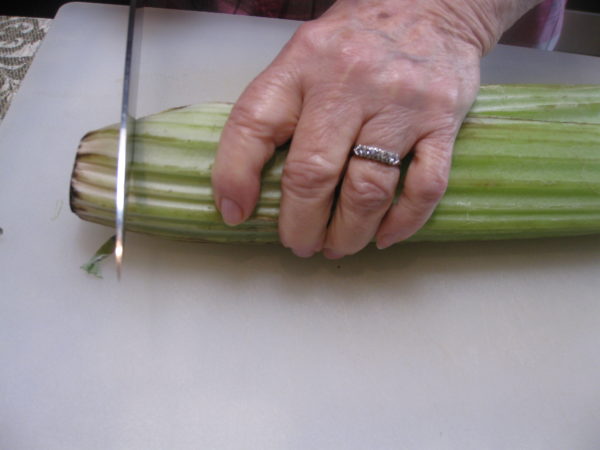
  2. Cut off the bottom of the cardone.
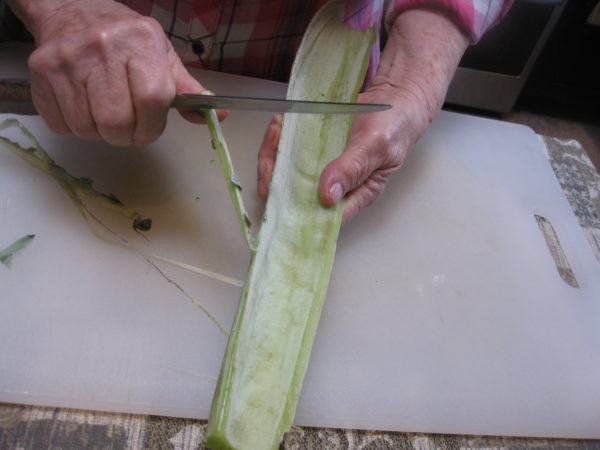
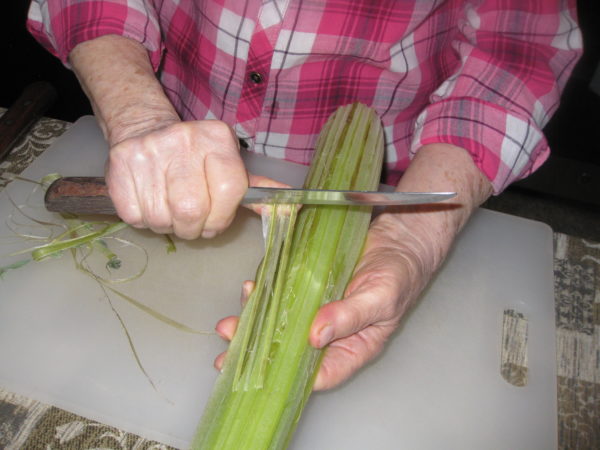
  3. Using a vegetable peeler (or knife if you are my mother-in-law), remove the leafy edges of the cardone.
  4. Remove any stringy parts of each rib.
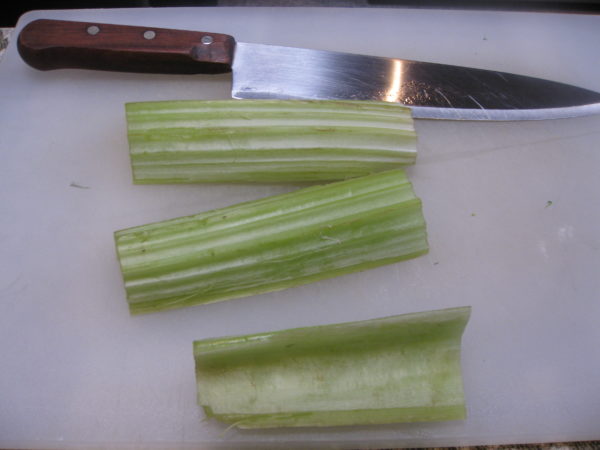
  5. Cut the ribs into pieces approximately 4 inch long. Wash well.
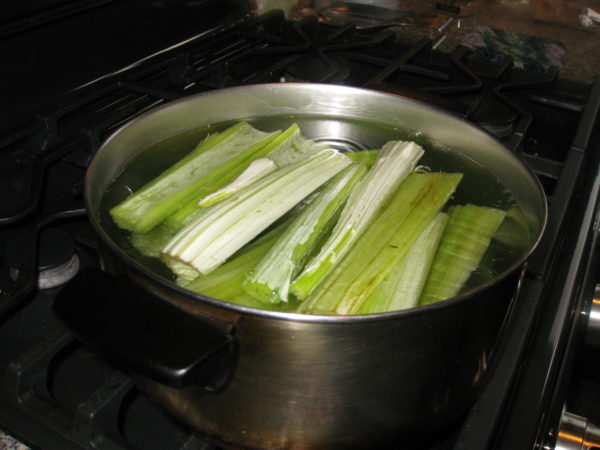
  6. Bring 3 quarts of water to a boil. Add 3 tablespoons of salt and a pinch of baking soda. Add the cardone and boil until you can pierce it relatively easily with the point of a sharp knife. Do not overcook the cardone as it will be cooked further with the sausage.
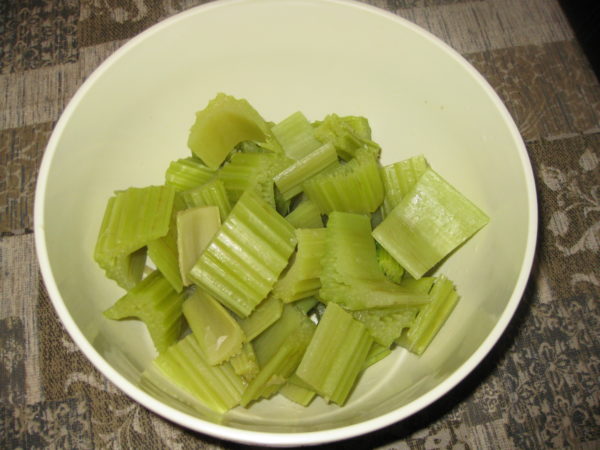
  7. Remove the cardone from the water. Stop cooking by putting the cardone in a bowl of ice water. When cold, cut into pieces approximately 1 ½ inches long and reserve.
  8. If the sausage is not in links, cut into pieces approximately 4-5 inches in length. Using the tines of a fork, pierce the skin of each piece of sausage in several places.
  9. Heat the olive oil in a large, heavy-bottomed sauté pan or a wide, shallow casserole. Add the sausage and brown well on all sides.
  10. Remove the sausage from the pan.
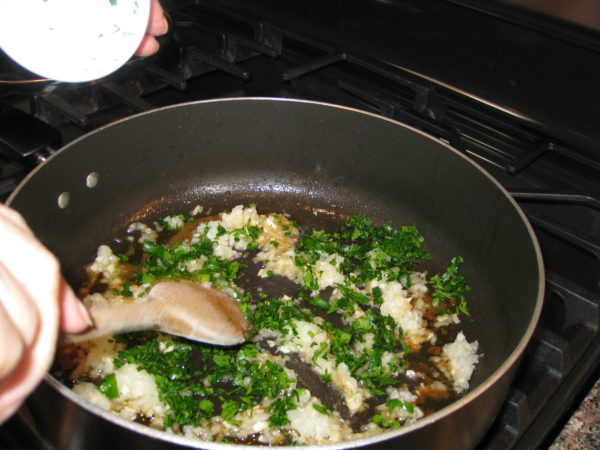
  11. Add the onions, garlic, parsley, and rosemary to the sausage drippings in the pan. Sauté until the onions are soft and golden.
  12. Add the wine, if using. Allow wine to mostly cook away then add tomato puree and water.
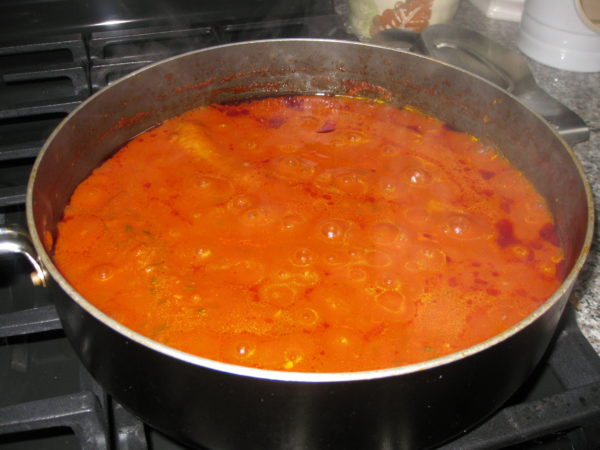
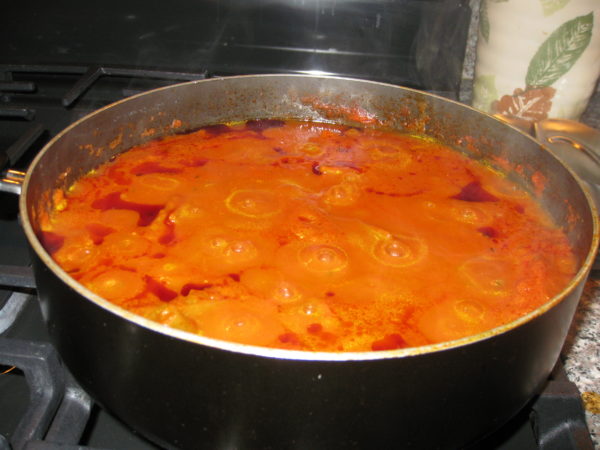
  13. Return the sausage to the pot with the sauce. Season with salt and freshly ground pepper. Simmer, partially covered, for about an hour.
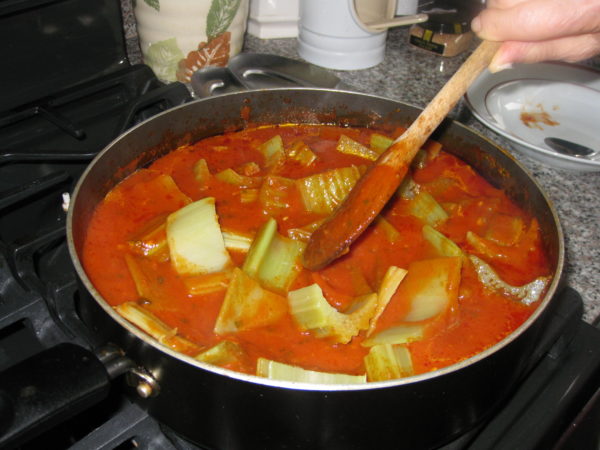
  14. Add the cardone. Taste for seasoning. Simmer, partially covered, until the cardone is tender, approximately 30-45 minutes.
  15. Pour into a serving dish and bring to the table.
Recipe Notes

Copyright © 2017 by VillaSentieri.com. All rights reserved.
Share this Recipe