Jamaican Easter Bread (Bun)

March 23, 2018

Google and Wikipedia and Bing have all let me down!

Often when I’m writing a blog, I’ll do a search or two to shore up some facts.

In this instance, I was trying to find a picture of a product and to confirm my understanding of exactly what it is.  That product is New Sugar.

My searches turned up nothing.

Back in college, I would buy new sugar on trips to the West Indies.  The stuff I bought was sold in cans.  It was dark brown, partially crystalized and partially a thick liquid.  It was not as dark or as thick as molasses.  My recollection is that new sugar is basically sugar cane juice boiled down until it thickens and some of the sugar crystallizes.

It’s what my recipe for Jamaican Easter Bread (aka “Bun”) calls for.


Click HERE to join our mailing list and you’ll never miss a recipe again!


Long ago, when my meager supplies of new sugar were exhausted and I was no longer going to the West Indies on a regular basis, I created a substitute for new sugar that fooled even my Jamaican friends.  (Hint, it’s in the recipe below.)

If my recipes contain a substitute for a difficult-to-find ingredient, I like to make the substitution clear and to provide directions on how to use the original ingredient if available.

In my blog entries, I try to provide some sort of personal or cultural or social context for each recipe.  In this instance, I wanted to highlight new sugar.

I was about to give up when I tried different search terms.  I had only known it as New Sugar, but, finally, searching on “Wet Sugar” got me one website that had what I was looking for.

The website confirmed my understanding of what new sugar, aka wet sugar, is:  boiled sugar cane juice.  It also confirmed that it is much more difficult to find than it was 30-50 years ago.  I hate to admit it, but I was buying new sugar more than 40 years ago!

My recipe for Bun (that’s really what it’s called in Jamaica…just Bun) came from Valrie Tracey a Jamaican friend from college.  Valrie and I and my roommate, Ray Hugh from Guyana, were close friends in college.  Though I’ve lost touch with Valrie, Ray and I are still in touch via Facebook.  And, yes, her name is spelled Valrie, apparently due to an error on her birth certificate as her parents intended for her name to be Valerie!


Follow us on your social media platform of choice


In addition to new sugar, Valrie’s recipe called for “Mixed Spice,” a commonly used mixture in the cooking of Britain and many former British colonies.  I don’t like using spice combinations that I haven’t made myself, like pumpkin pie spice or curry powder.  If the brand goes out of existence or changes its formula one can’t recreate the dish exactly the same way again.  For that reason, starting in college, I worked out my own formulas for spice mixtures that I used on a regular basis.

Valrie Tracey in 1975

Rather than have you make a batch of Mixed Spice before making a batch of Bun, I added the individual spices, in the correct amounts, to the recipe.

After resurrecting this recipe from one of my two 5 x 7 metal index card boxes of recipes that I started back in college and sharing the Bun with a number of friends, I began to seriously wonder why I hadn’t made it in over 40 years!

I can assure you, I won’t wait long to make it again.

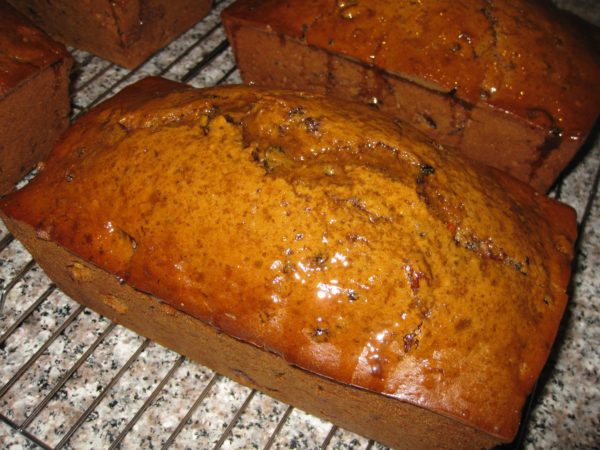
I like to toast the Bun and add some butter and jam but in Jamaica it would often be served with a wedge of cheese.  However you serve it, I’m certain you’ll enjoy it.


If you have a favorite family recipe and a bit of a story to tell, please email me at santafecook@villasentieri.com and we can discuss including it in the blog. I am expanding the scope of my blog to include traditional recipes from around the country and around the world. If you haven’t seen Bertha’s Flan or Melinda’s Drunken Prunes, take a look.  They will give you an idea of what I’m looking for.

Print Recipe
Jamaican Easter Bread (Bun)
If you can find new sugar (also known as wet sugar) you can use 2 ½ cups of new sugar in place of the brown sugar and molasses. The dough for this version of Bun is quite wet, more like cake batter than bread dough. When I was making this back in college days and had to mix it by hand, I added enough flour to make a dough that could be kneaded. With a stand mixer, I allow the mixture to be wet. You might want to try both variations and see which you prefer.
Votes: 0
Rating: 0
You:
Rate this recipe!
Course Sweet Breads
Cuisine West Indian
Prep Time 30 minutes
Cook Time 90 minutes
Passive Time 2 hours
Servings
loaves
Ingredients
Bread
Glaze
Course Sweet Breads
Cuisine West Indian
Prep Time 30 minutes
Cook Time 90 minutes
Passive Time 2 hours
Servings
loaves
Ingredients
Bread
Glaze
Votes: 0
Rating: 0
You:
Rate this recipe!
Instructions
Bread
  1. Scald the milk by heating over medium high heat, stirring frequently to prevent a skin from forming, until bubbles begin to foam up around the side.
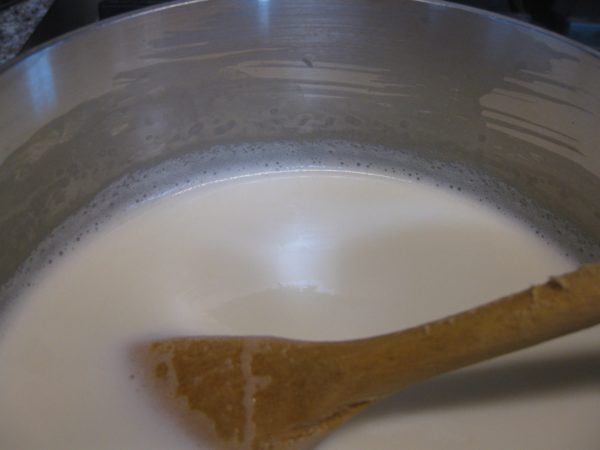
  2. Allow the milk to become lukewarm (approximately 110°F).
  3. Combine lukewarm milk, yeast, 1 teaspoon of sugar from the amount above, and 1 pound of flour in the bowl of a mixer.
  4. Using the paddle, mix well then allow the sponge to sit, covered, until it doubles in bulk.
  5. After the sponge has doubled, mix in 1/3 of the remaining flour and 1/3 of the remaining sugar.
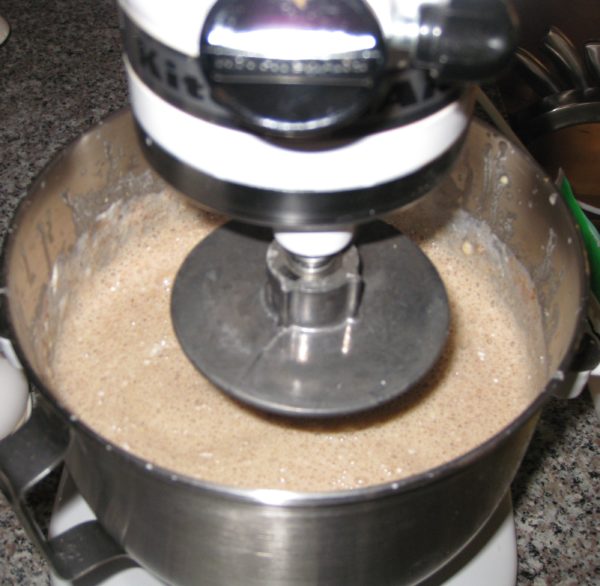
  6. When combined, add the butter, molasses and all the spices and flavorings. Mix well.
  7. Add ½ of the remaining flour and ½ of the remaining sugar. Mix well.
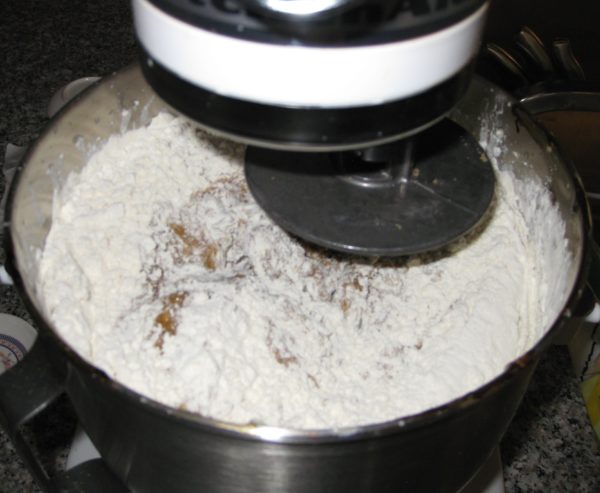
  8. Add the eggs and mix well.
  9. Add the remaining flour and sugar. Mix for about 10 minutes on medium speed.
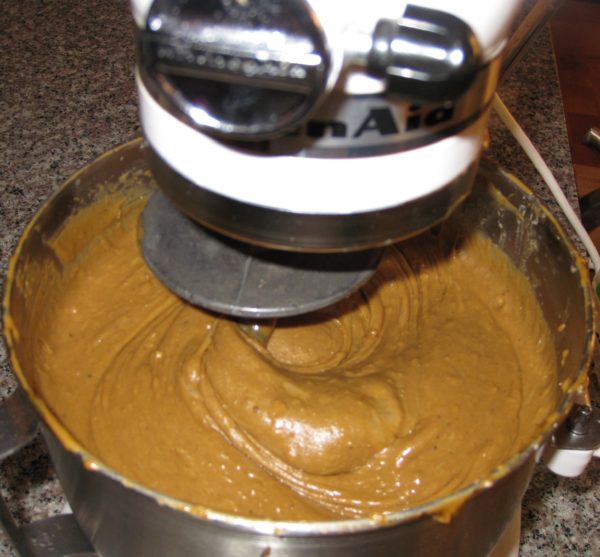
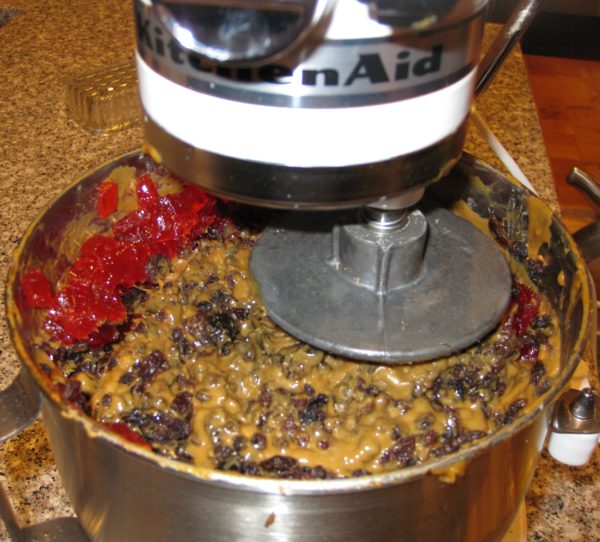
  10. Mix in the fruit.
  11. Divide the batter into 4 well-buttered 8” x 4” bread pans. Cover and sit at room temperature for about an hour. The batter will not really rise but the yeast is the only leavening so it needs to have time to make air bubbles that can expand and leaven the bread.
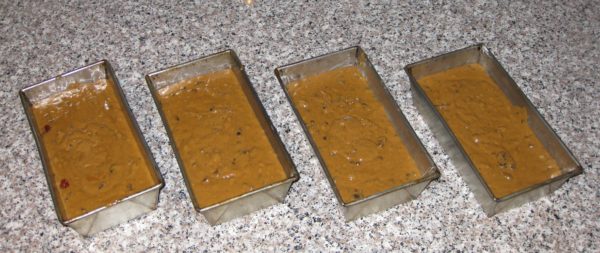
  12. Bake at 300°F for approximately 90 minutes, until a tester comes out clean.
Glaze
  1. When the bread is nearing completion, make the glaze by bringing the sugar and water to a boil and simmering a few minutes until syrupy.
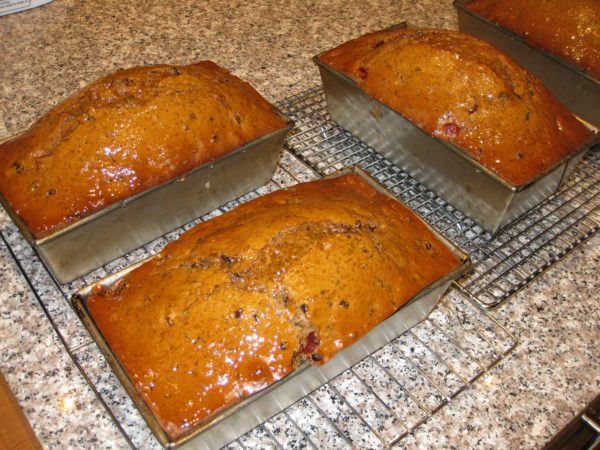
  2. As soon as the bun comes out of the oven, brush some of the glaze on top. Allow to cool 10 minutes in the pans.
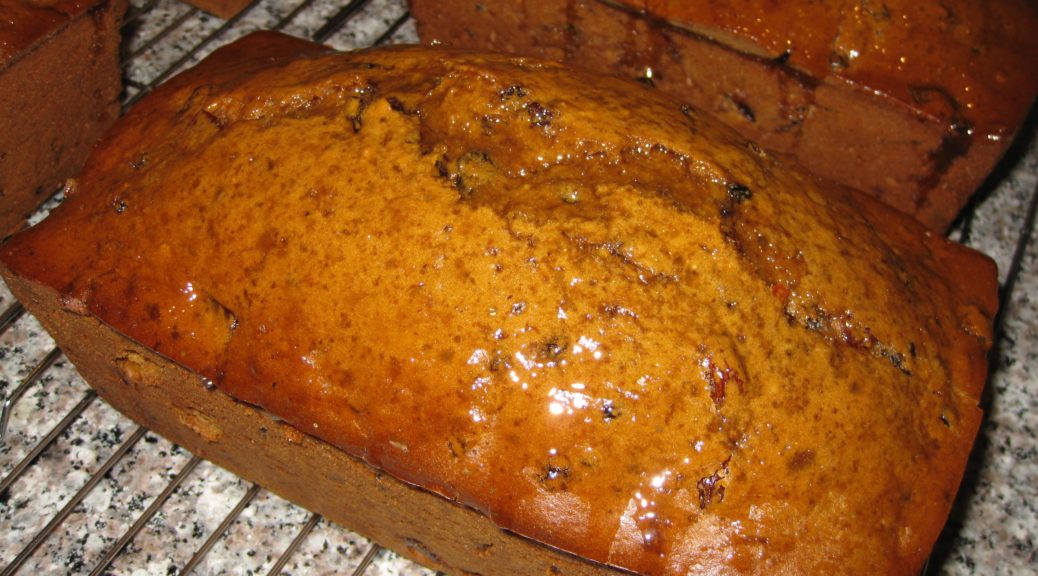
  3. Remove the bun from the pans and brush with more glaze. Allow to cool another 10 minutes.
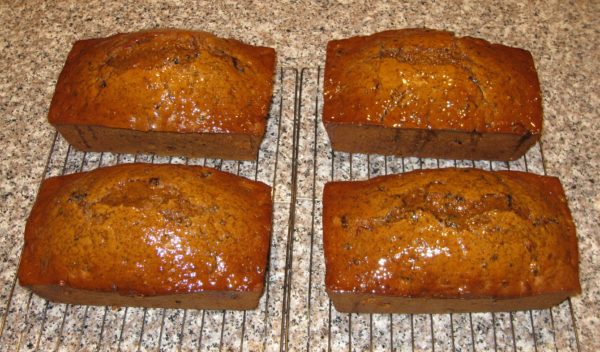
  4. Brush with remaining glaze and cool completely.
Recipe Notes

Copyright © 2018 by VillaSentieri.com. All rights reserved.

Share this Recipe

Slovak Potato Cake (Baba or Bubba)

June 7, 2017

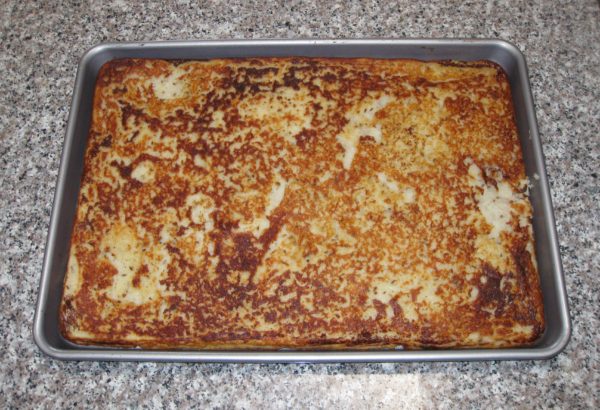
Baba was a favorite food in our house.  We often joked that my mother should open a shop selling pizza and baba.  We were convinced it would be a success, as were a number of family friends.

Although Johnstown, Pennsylvania, where I grew up, was originally founded by Germans (everyone, regardless of ethnic background, had sauerkraut, sausages, and pork on New Year’s Day), Italians and Eastern Europeans were among the largest ethnic groups when I lived there.  So, a “fusion” shop selling pizza and baba wasn’t so far-fetched!

Baba means old woman in Slovak.  I can’t tell you how it came to be applied to this very specific type of potato cake and whether it was just in our family or more widespread, though I suspect the latter.

Other than the crispy skin of our Thanksgiving turkey, this is the only food my sister and I fought over.  This, however, was three-way guerilla warfare also involving my father.  Crispy turkey skin has an immediacy about it.  It needs to be eaten right away, hot and crispy, or it loses its appeal.  The fight is right out there in the open, a virtual “land grab.”

Baba is different.  As good as it is freshly made, we all preferred it after a day or two.  Any leftover baba would be wrapped in aluminum foil and put in the oven, which had a pilot light way back then.  That kept it ever so slightly warmer than room temperature.  The baba would become chewy.

The natural tension that developed was between letting the baba mature till it had the optimum chewiness versus losing out entirely if someone else ate it first.

We all kept our eyes on the oven which was conveniently located at eye-level.  If it looked like the package had been disturbed, we could swing into action, grabbing what was left and eating it even if it didn’t have the optimum chew.  “Any baba is better than no baba” was definitely the operative mentality.

There was always the chance, however, that the first person to go for the baba would eat all of it, especially if there were only a few pieces left.

There was also the chance (sometimes turned into reality) that someone could deftly open the package, remove a piece of baba, close the package, and put it back in the oven it in a way that made it look undisturbed.  Well implemented, this was a strategy for getting more baba since others could be lulled into complacency thinking the cache of baba was still available to them for the taking.

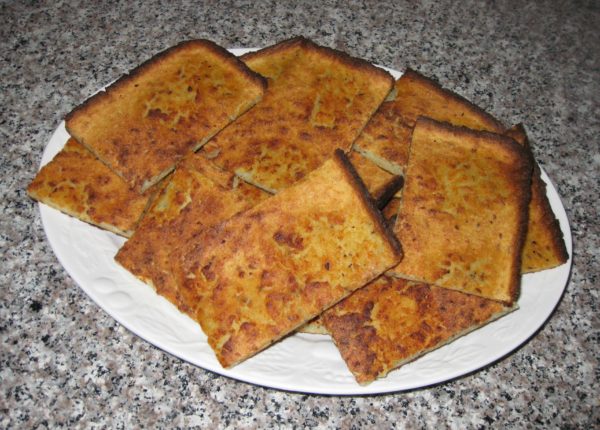
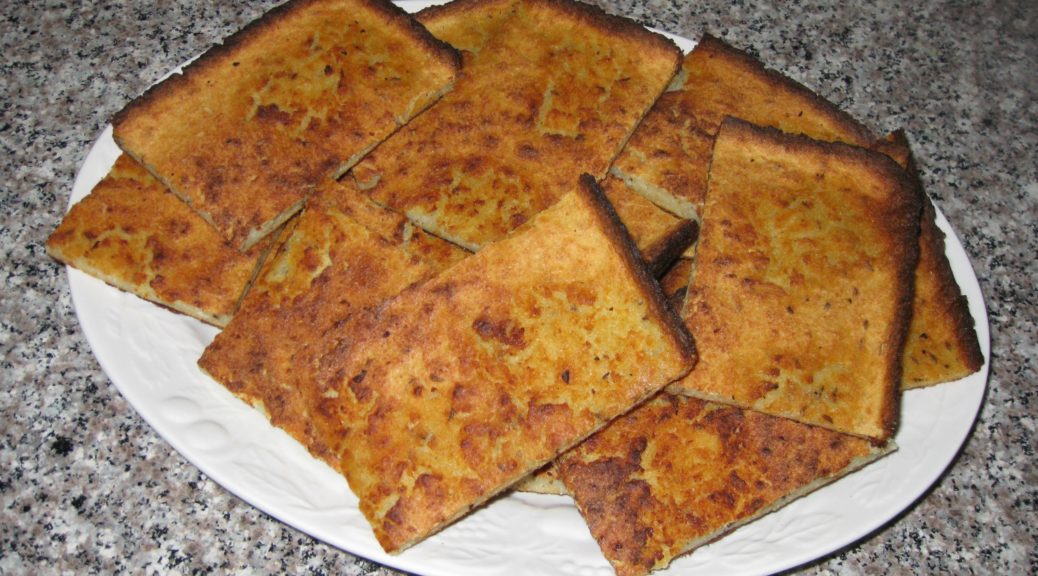
The ingredients of baba are pretty standard potato cake fare, potatoes, onions, salt, pepper, flour and, depending on the cook, egg.  Two things make it unusual in my experience: caraway seed and the cooking method.  To be sure, Slovaks put caraway seed in lots of foods but I have yet to find a recipe for Slovak potato cakes that contains caraway seed.

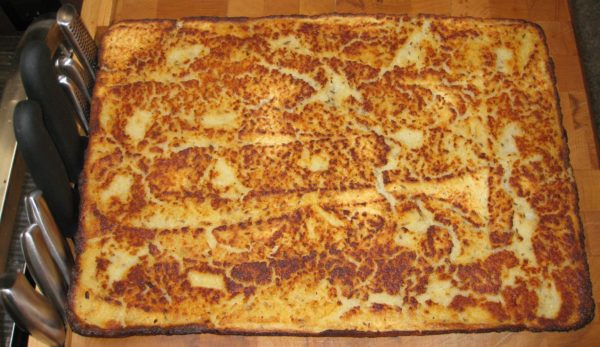
As for cooking method, baba is cooked in the oven in a rimmed baking sheet.  Remembering that my grandparents raised seven sons, who in later years were augmented by daughters-in-law and grandchildren, baba was made in large quantities.  When there wasn’t enough batter to fill another baking sheet “to the thickness of your finger,” as my Aunt Mary would say, the remaining batter would be turned into individual potato “pancakes” in a frying pan in shallow oil.

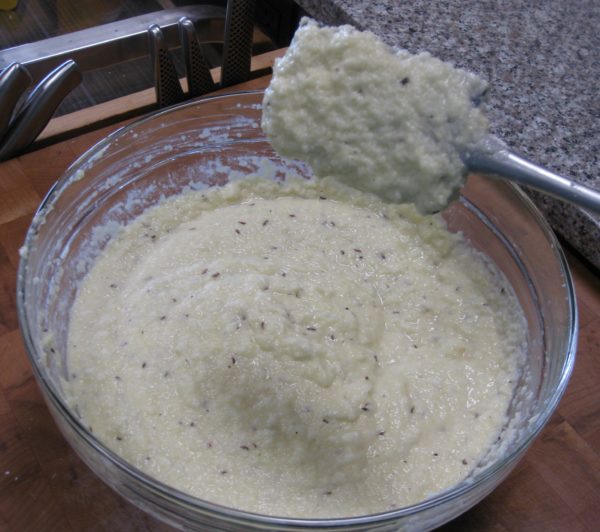
The proportions given here will nicely fill an 11” by 17” baking sheet.  If you prefer to fry the potato cakes rather than bake them, by all means do!

Print Recipe
Slovak Potato Cake (Baba)
I remember watching my mother make this, and learning from her. Though it always tasted the same in the end, it seemed like the lack of precise measurements was an issue. My mother had no difficulty cooking her regular canon of Italian food without measurements. My suspicion is that the issue with Baba is that she didn’t make it all that often. I make it even less often (though I think that’s changing) which prompted me to carefully measure ingredients until I got a perfect batch and then stick with those measurements going forward. My mother put an egg in her Baba. My Aunt Mary did not. Aunt Mary, who lived next door to my Slovak grandparents for years, insists that Grandma never used egg. I have not tried it without the egg, being happy to stick with a recipe that works. Before food processors, the potatoes and onion were grated on the fine side of a box grater. The food processor eliminates the most tedious part of making Baba.
Votes: 0
Rating: 0
You:
Rate this recipe!
Prep Time 30 minutes
Cook Time 1 hour
Servings
people
Ingredients
Prep Time 30 minutes
Cook Time 1 hour
Servings
people
Ingredients
Votes: 0
Rating: 0
You:
Rate this recipe!
Instructions
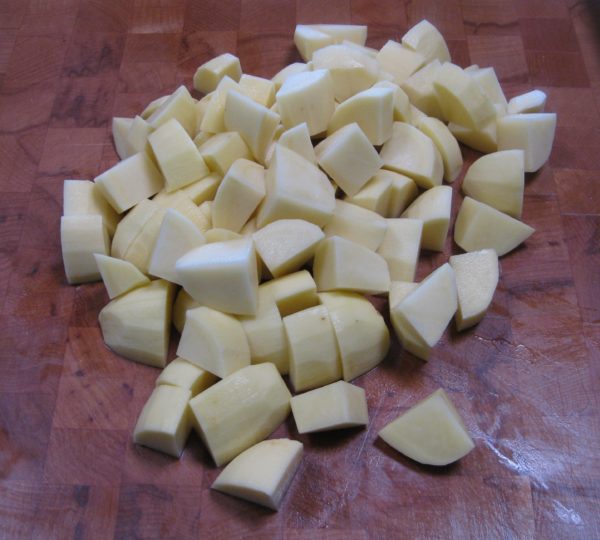
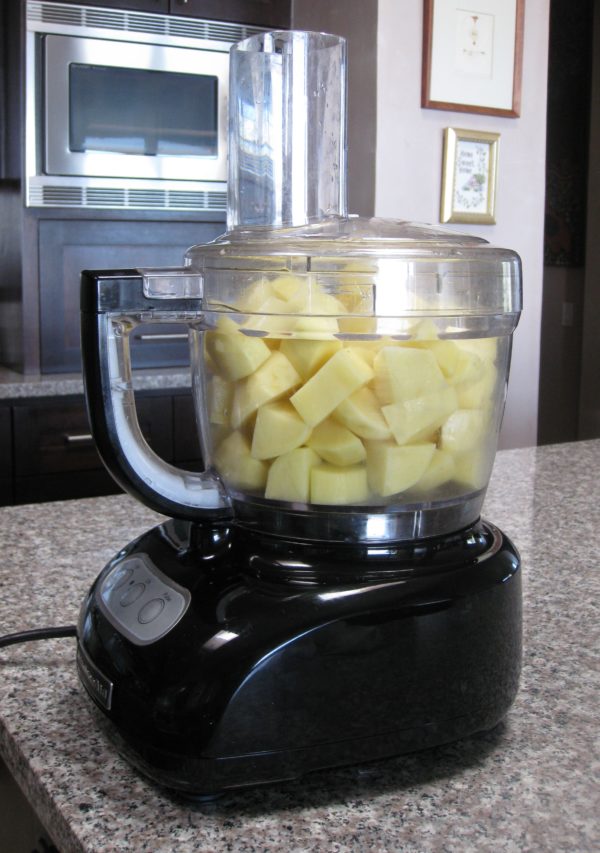
  1. Peel the potatoes. Rinse and dry them and cut into 1 inch cubes.
  2. Weigh out 1600 grams (3 ½ pounds) of potato cubes.
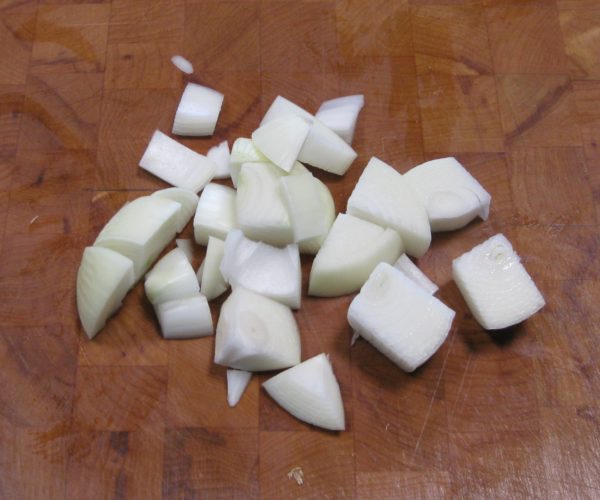
  3. Cut onion into 1 inch chunks.
  4. In two or three batches, depending on the size of your food processor, thoroughly grind the potato and onion, putting some potato and some onion in each batch.
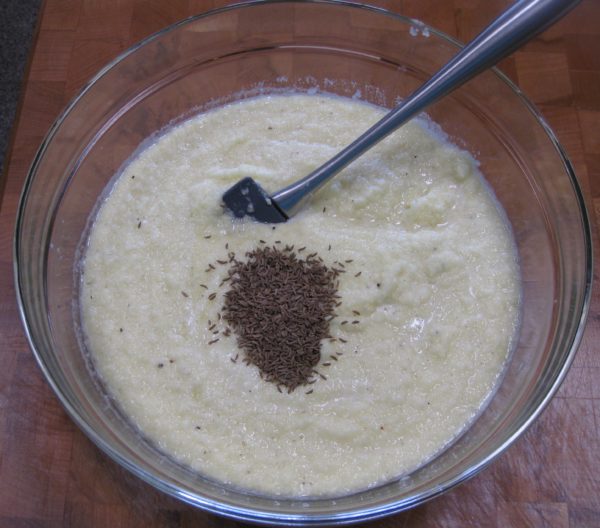
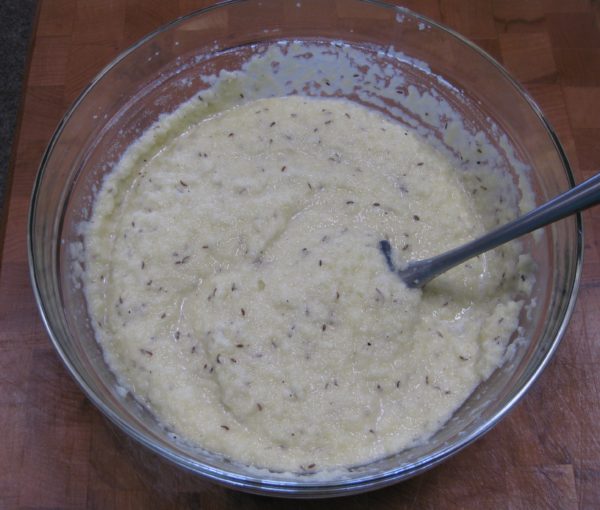
  5. Put the ground potatoes and onions into a large mixing bowl. Add the lightly beaten egg, salt, black pepper, and caraway seed.
  6. Mix well.
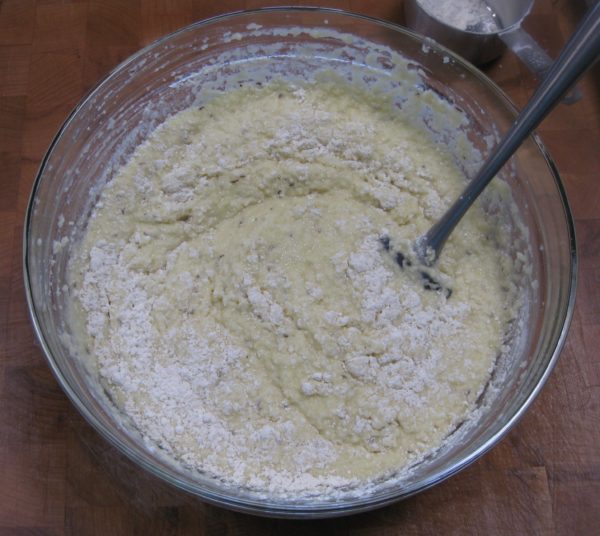
  7. Stir in about ¾ of the flour. Add enough of the remaining flour to thickly coat a spoon. Chances are you will need all the flour. If in doubt, just add it.
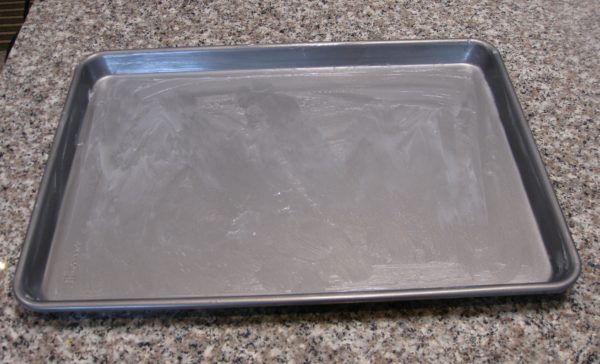
  8. Very, very generously grease an 11” x 17” x 1” baking sheet with lard. After you think you’ve used enough, add more! Remember, most potato cakes are fried. These are baked. They definitely need some fat for texture.
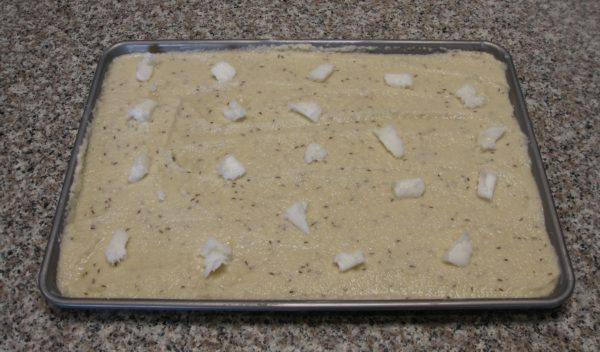
  9. Pour the batter into the prepared pan. Dot very generously with lard.
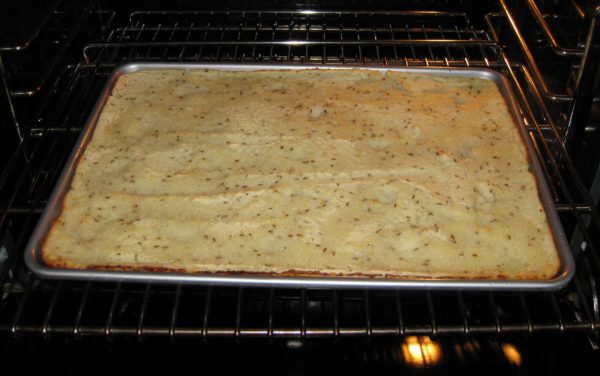
  10. Bake 425°F until browned on the bottom, about 30-40 minutes, turning the pan front to back after 20 minutes.
  11. When the bottom is brown, you’ll need to flip the Baba upside down. To do this, set another baking sheet of the same size on top of the Baba. The bottom of the baking sheet should be sitting on top of the Bubba.
  12. Flip the pans over. If you had enough lard in the pan, the Baba should release from the pan and be sitting, upside down, on the bottom of the other baking pan.
  13. Slide the Baba back into the original baking pan with the browned bottom now facing up.
  14. Bake another 20 minutes or so until browned on the bottom and thoroughly cooked.
  15. Turn out of the pan onto a large cutting board.
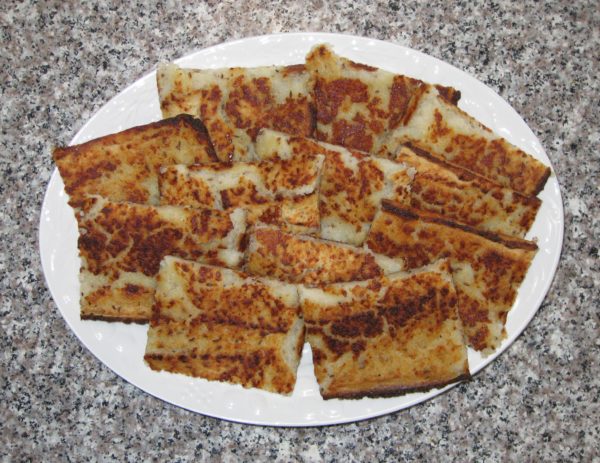
  16. Cut into 16 pieces. Serve warm or at room temperature.
Recipe Notes

Although you can use solid vegetable shortening in this recipe, I suggest you use lard for better taste and better health. You can find information about lard vs. vegetable shortening in this post.

Copyright © 2017 by VillaSentieri.com. All rights reserved.
Share this Recipe

Slovak Caraway Soup

April 26, 2017

Growing up with an ethnically Italian mother and an ethnically Slovak father, we mostly ate Italian food with Slovak food appearing on the table every week or two.  On Sundays we usually went to visit my father’s parents and got a bit more Slovak food.

There were some classic American dishes that appeared on our table, too.  But, honestly, not that often.  The only thing my mother made that I didn’t like was hamburgers.  Well, that and liver.

But even my mother didn’t like liver.  She made it because my father liked it.  There was never the expectation that anyone else would eat it.

When she made liver…and that process involved running from the living room, through the dining room, to the kitchen to turn the liver as it sautéed and then running back to the living room to avoid the smell…she always made something else for the rest of us.  Well, that wasn’t so unusual either.  Remember…Southern Italian mother…food is important…everyone needs to eat.  There were nights when she would make one meal for my father, one for my sister, and one for me.  She would eat one of the three.

We always ate dinner together as a family and, despite the comment above, we usually at the same meal.  Sometimes, though, we each got individually catered food.

But back to hamburgers for a moment.  My mother was a great cook.  I know she used really good beef for her hamburgers.  She usually picked out a whole cut and had the butcher grind it.  She never bought ground beef that I recall.  I still follow the basic blueprint of her hamburger recipe today and enjoy it.  So, I can’t really tell you why I thought her hamburgers were awful.  But I did.

Soup was a big deal in our house.  My father really liked soup.  Interestingly, I don’t remember having Caraway Soup more than a few times while growing up.  I do know, however, that while I was in college I got the recipe from my mother after it appeared on our table one day.  It seemed like a revelation.

It has been a regular on my table ever since.

Print Recipe
Slovak Caraway Soup
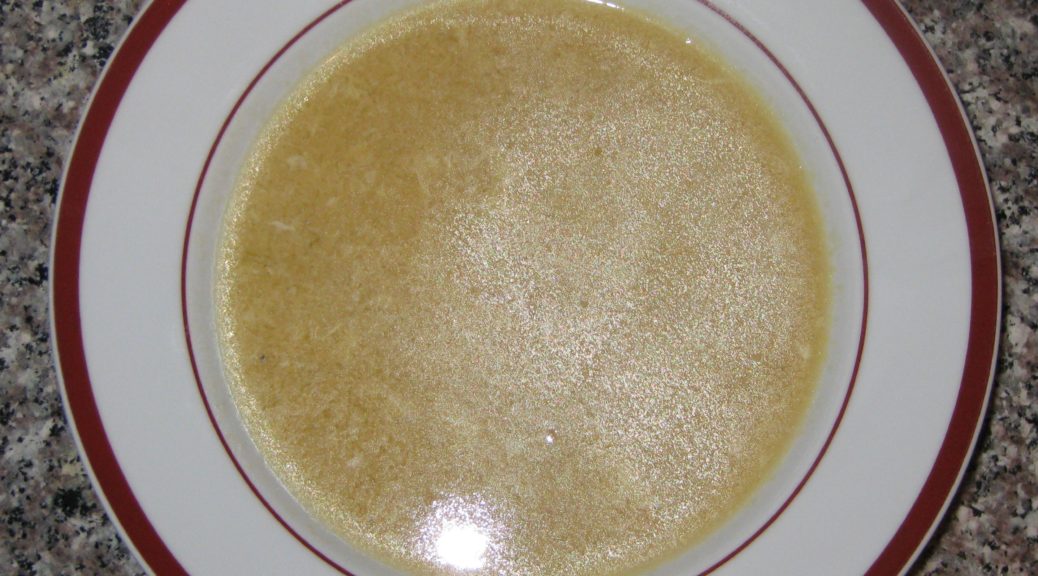
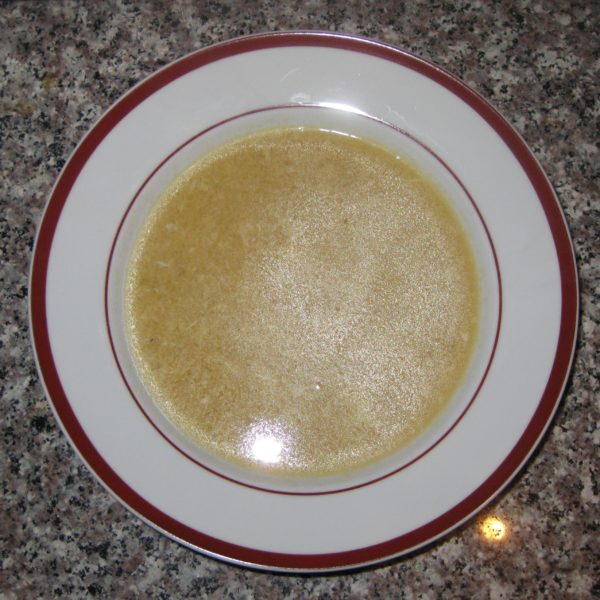
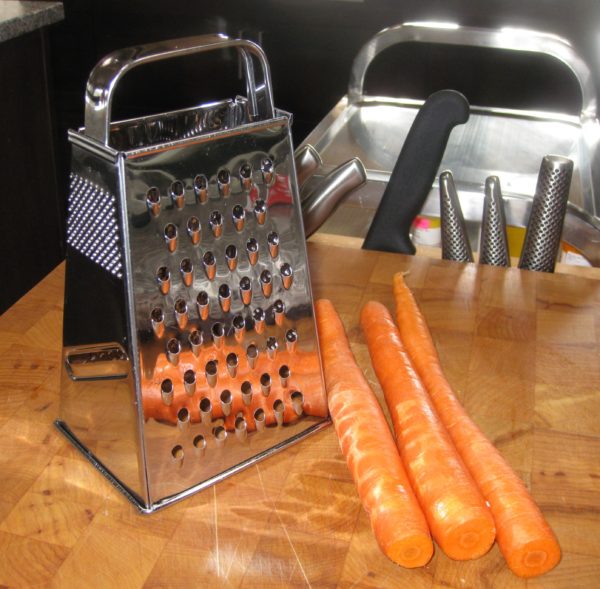
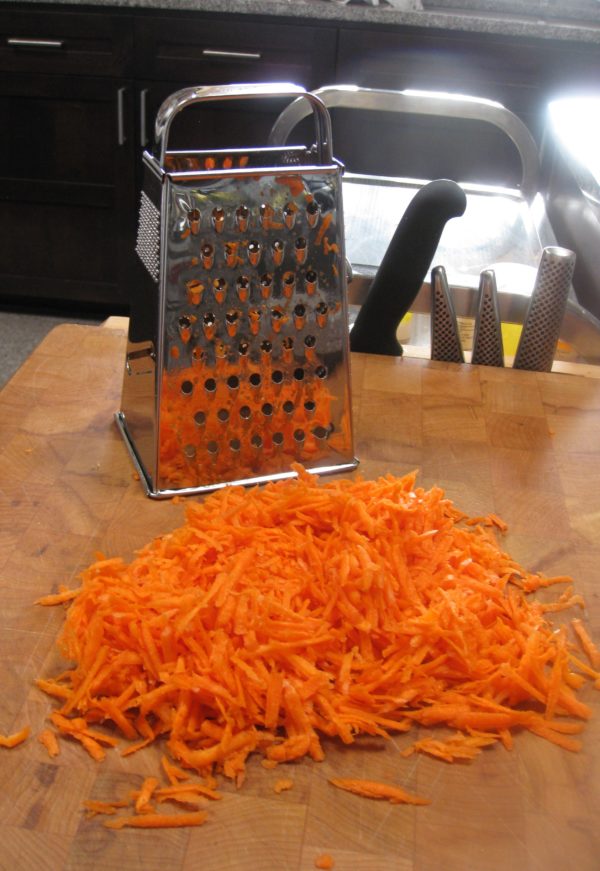
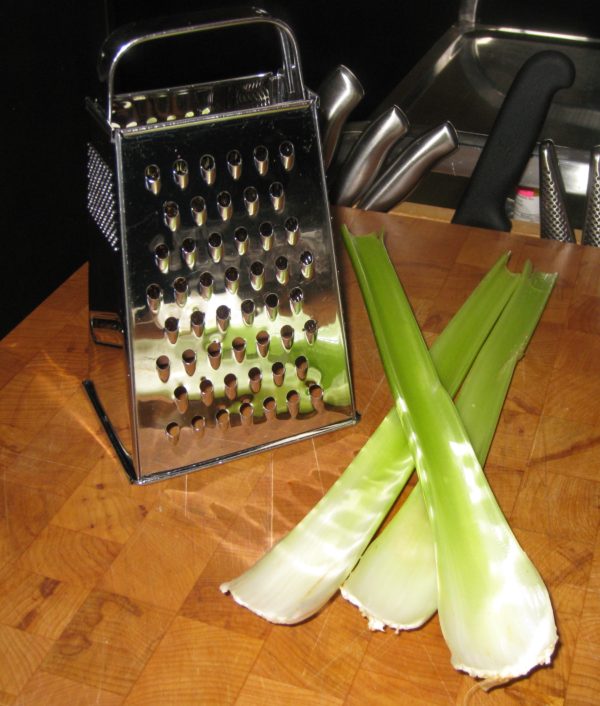
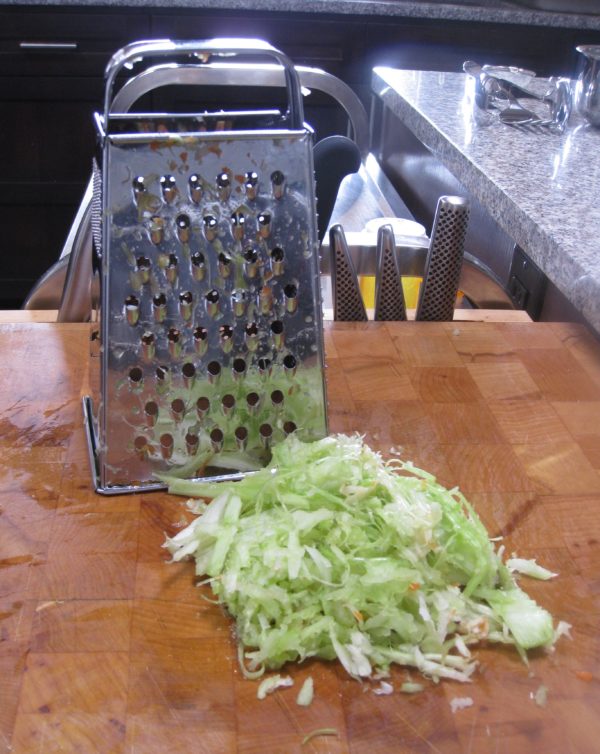
This is a light, refreshing soup based on a vegetable broth for which the ingredients are almost always on hand. I like serving it as a first course though it works equally well for lunch or as a light supper. Grating the vegetables on the large holes of a box grater was one of my mother’s tricks. It makes fast work of prep and the small pieces quickly flavor the broth.
Votes: 0
Rating: 0
You:
Rate this recipe!
Cuisine Slovak
Prep Time 15 minutes
Cook Time 1 hour
Passive Time 45 minutes
Servings
people
Ingredients
Cuisine Slovak
Prep Time 15 minutes
Cook Time 1 hour
Passive Time 45 minutes
Servings
people
Ingredients
Votes: 0
Rating: 0
You:
Rate this recipe!
Instructions
  1. Shred the carrots on the teardrop holes of a box grater.
  2. Shred the celery on the teardrop holes of a box grater.
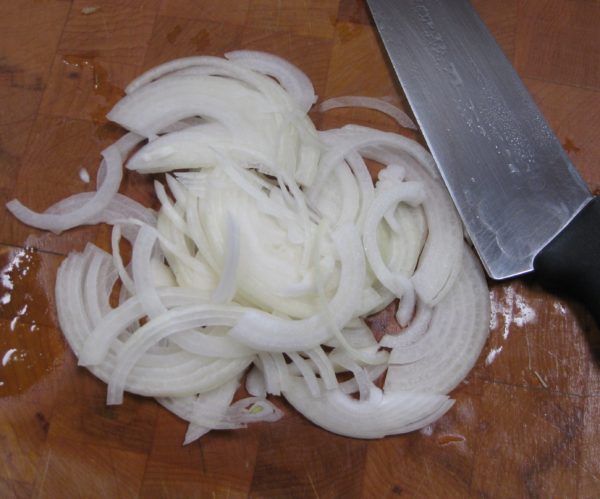
  3. Thinly slice half an onion.
  4. Combine carrots, celery, sliced onion, 2 teaspoons of salt, ½ teaspoon of black pepper and 2 quarts of water in a stock pot. Cover. Bring to a boil then reduce heat and simmer for 30 minutes.
  5. Add the caraway seeds. Cover and simmer another 25 minutes.
  6. Strain the broth. Discard the solids.
  7. Return the broth to the stock pot. The soup can be made several hours ahead to this point.
  8. When your ready to finish the soup, return the broth to a bare simmer.
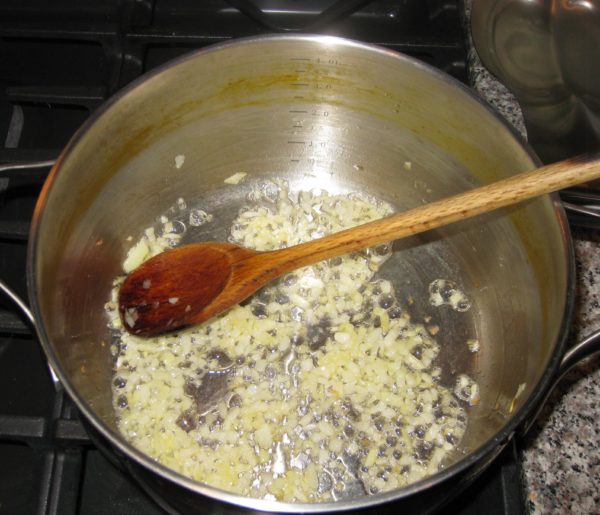
  9. In a heavy-bottomed stock pot large enough to hold the soup, sauté the minced onion in butter until soft but not brown, about 3-4 minutes.
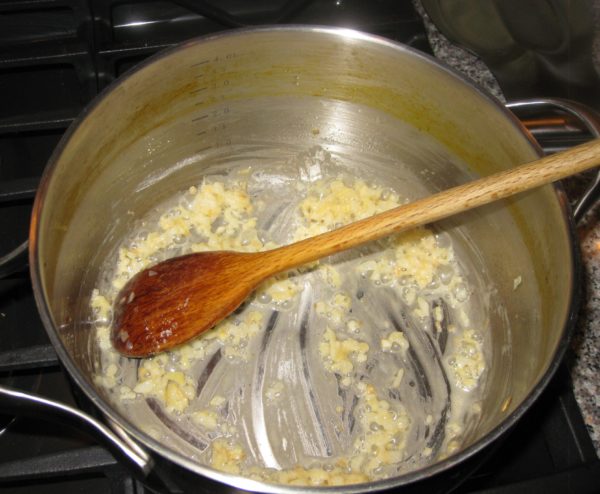
  10. Add the flour to the sautéed onions and cook until lightly colored, about 2 minutes, stirring almost constantly.
  11. Stir the hot broth into the onion-flour mixture a ladleful at a time, stirring well while adding the broth to avoid lumps.
  12. After about one-third of the broth has been added, the remainder can be added all at once.
  13. Bring to a boil and boil gently for 1-2 minutes to thicken. Adjust salt and pepper.
  14. While the soup is boiling, beat the eggs with 1/3 cup of water. Season the eggs with salt.
  15. While constantly whisking the stock, drizzle in the eggs to create shreds of egg.
  16. Serve immediately.
Recipe Notes

Copyright © 2017 by VillaSentieri.com. All rights reserved.
Share this Recipe