January 21, 2021
Pre-pandemic my husband randomly chose a region of Italy. Most of our meals for the month were traditional foods of that region.
In response to the pandemic, I reduced my marketing, with rare exception, to one supermarket trip once a week. Obtaining the ingredients to create very specific regional Italian cuisine became difficult with such a shopping regimen. Meal planning, though still Italian, reverted to dishes for which I could obtain the necessary ingredients at the supermarket supplemented by deliveries from Amazon.
Amazon is my source for Italian flour, several types of which I use for making pasta, bread, pizza and cake. Carnaroli rice can be difficult to obtain under the best of circumstances but is available on Amazon. Some of the ingredients for gelato are impossible to find in retail shops making Amazon the go-to source.
Other items, like specific types of cheeses or cured meats or olives, can only reasonably come from local retail markets. The same is true for produce and an array of other ingredients. One marketing trip a week to a general supermarket made it impossible to gather many of the required ingredients so the one-region-a-month-cooking-and-eating regimen fell victim to the pandemic, at least temporarily.
Follow us on your social media platform of choice
![]()
![]()
![]()
I made food from Piemonte (Piedmont) while our region-a-month plan was still active. Piemonte has cows, so beef and dairy figure prominently in the cuisine. Piemonte is also home to Barolo, among other wonderful wines.
Piemontese food does not shy away from calories or flavor!
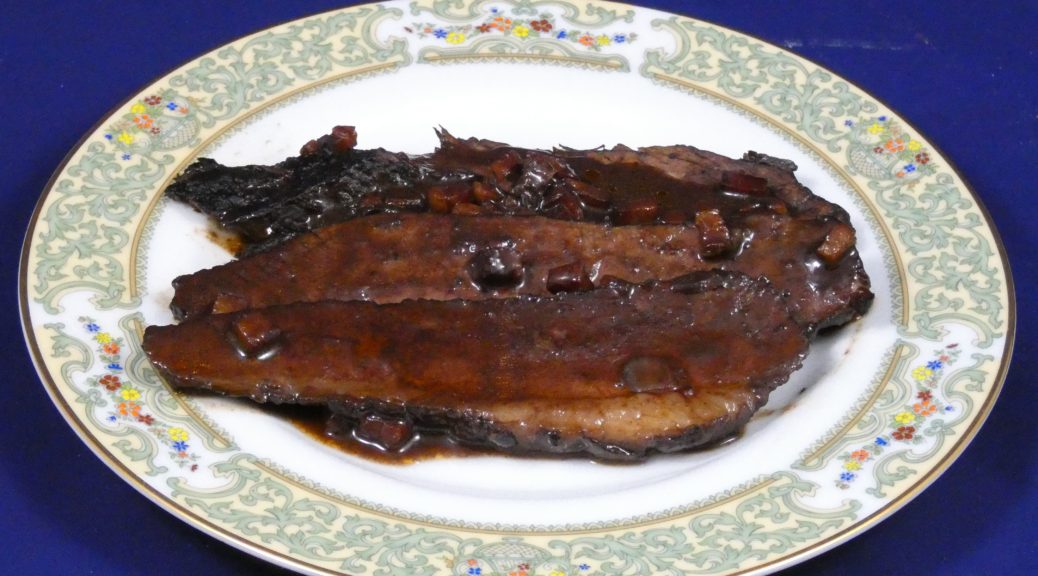
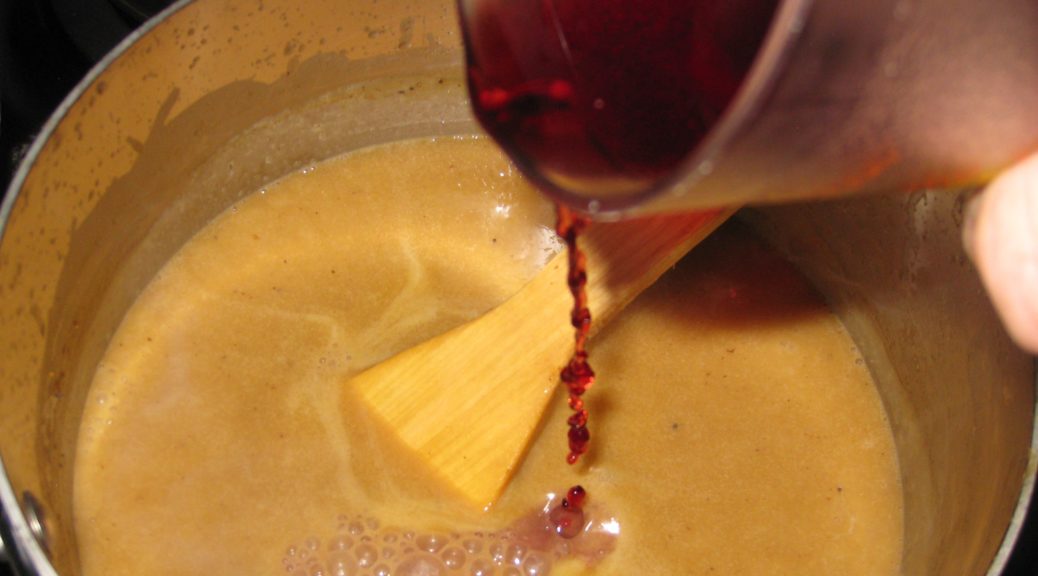
This dish makes use of two of the stars of Piemontese cuisine, beef and wine. The most traditional recipes call for a whole filet. The wine is traditionally Barolo.
There was a time when Barolo was affordable. It is no longer a budget-friendly wine and certainly not one that I would use to braise beef in, even if it’s filet. If you’re interested in how Barolo became so well-known, watch the movie Barolo Boys.
It’s rare to find a modern recipe that simply specifies Barolo as the red wine. Even when the traditional name of the dish, Brasato al Barolo, is used, the wine is rarely Barolo. Calling this Brasato al Vino would be more accurate but that name doesn’t really convey the historic context of the dish.
Join our mailing list and you’ll never miss a recipe again!
I’ve made this with filet that I dutifully larded with my home-cured pancetta. While the taste was good, the texture of filet after braising was not good, even with the larding.
After that first attempt, I decided to use a cut more commonly used for long, slow, moist cooking even if it was not as high-brow as filet. Once I made that decision, I started doing recipe research that stretched beyond my several very traditional multi-volume sets of Italian regional cuisine published in Italy in Italian. I discovered that other (iconoclastic English-speaing) cooks had made the same shift to “lesser” cuts of meat.
I particularly like brisket that’s been braised though a nicely marbled chuck roast would work too.
The dish was a hit when made with brisket. Truth be told, the family didn’t care to ever have it again when I made it with filet. With the textural change from the brisket it’s become part of our standard menu rotation.
This is a perfect dish for winter. It’s great for entertaining as it is actually better if made the day before and reheated just before serving.
Oh, and if you actually make it with Barolo, please invite me to dinner!

| Prep Time | 30 minutes |
| Cook Time | 4 hours |
| Passive Time | 24 hours |
| Servings |
people
|
- 1 1/2 kilogram beef brisket
- 2 onions chopped
- 2 carrots chopped
- 2 stalks celery chopped
- 4 cloves garlic smashed
- 1 1/2 bottles of Barolo or other full-bodied red wine
- flour for dredging
- 50 ml garlic oil
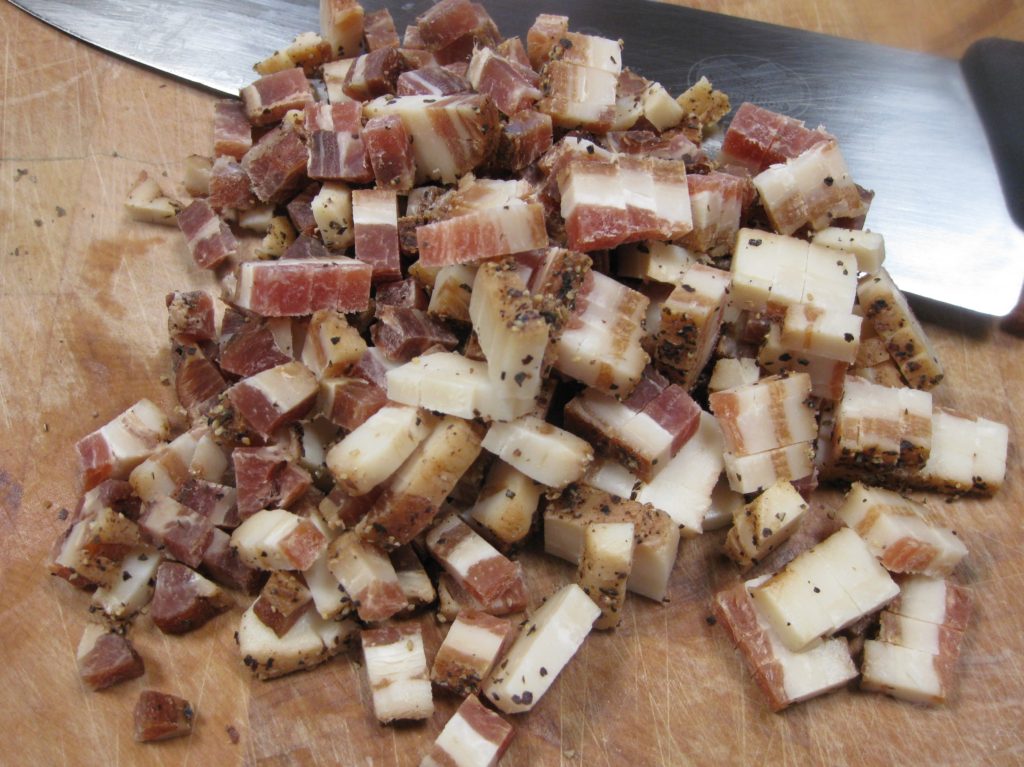
- 100 grams pancetta diced
- 3 tablespoons tomato paste
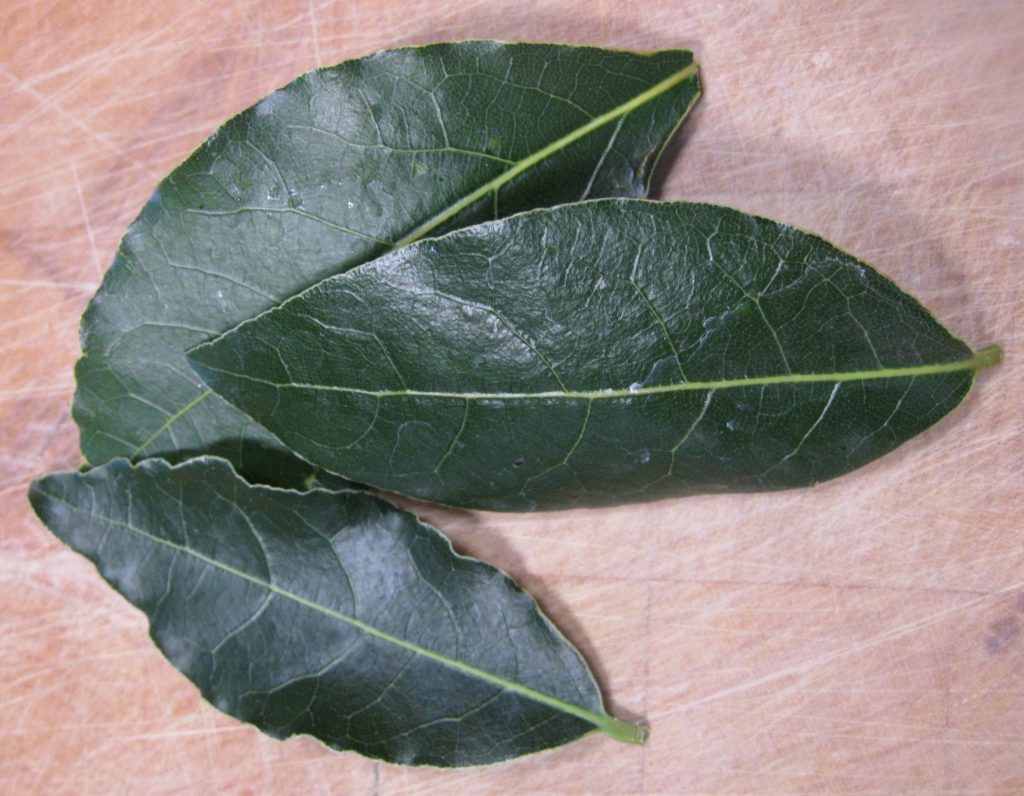
- 3 fresh bay leaves
- 6 whole cloves
- 2 sprigs rosemary
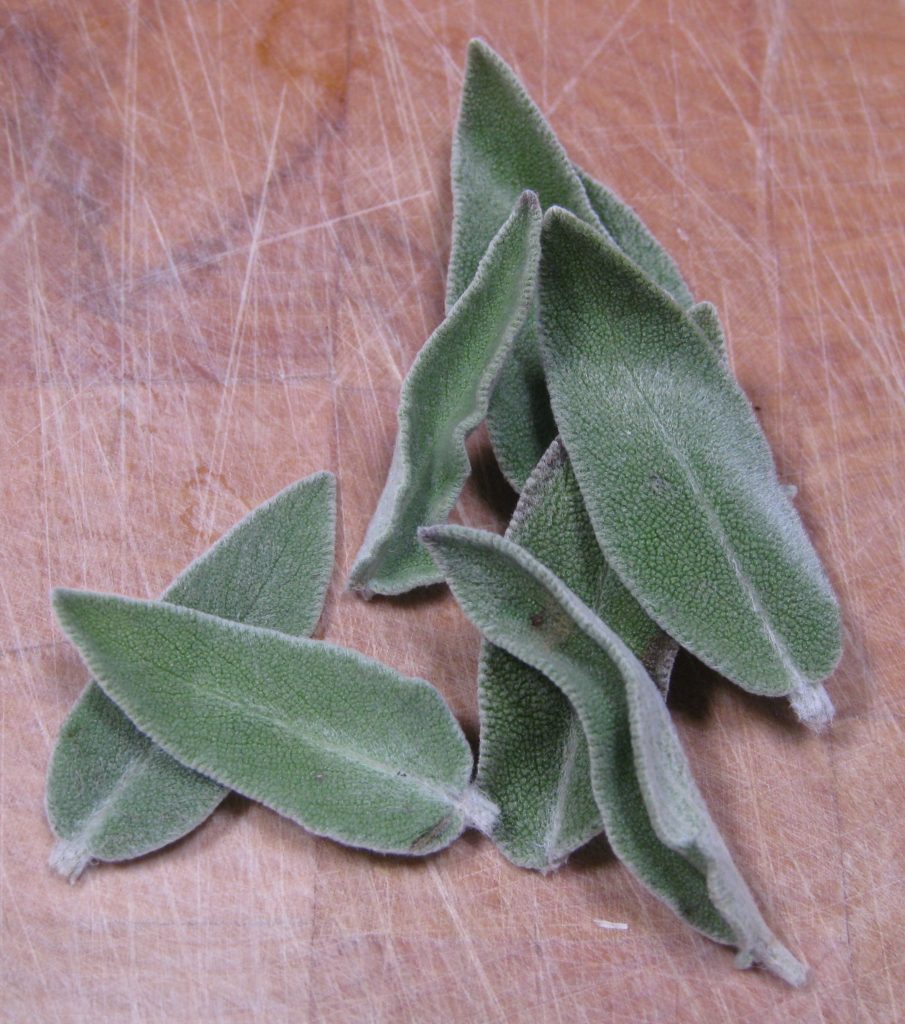
- 6 sage leaves
- 3 inches stick cinnamon
- 6 juniper berries
- 1 teaspoon whole black peppercorns
- salt to taste
- 100 ml dry Marsala
Ingredients
|
|
- Combine beef with the onion, carrot, celery, garlic, and wine. Cover and refrigerate overnight.

- The next day, remove the beef and wipe dry.

- Strain the marinade. Reserve the solids and liquid separately.
- Dredge the beef in flour.

- Sauté pancetta in garlic oil over low heat until it renders its fat and browns. Remove pancetta and reserve.

- Brown the beef in the rendered fat. Remove the beef.

- Add the vegetables to the pan and sauté until softened and the onions are translucent.

- Add the tomato paste. Sauté the tomato paste briefly to darken and sweeten it.

- Add the reserved marinade to the pan along with the bay leaves, cloves, rosemary, sage leaves, cinnamon, juniper berries and peppercorns. Bring to a boil, scraping up any browned bits.

- Add the beef. Season with salt. Braise till tender, partially covered, approximately 3 hours.

- Remove the beef and refrigerate, tightly covered.
- Strain the braising liquid. Discard the solids and refrigerate the liquid.

- When the beef is cold, slice it against the grain and put in an ovenproof pan or casserole.

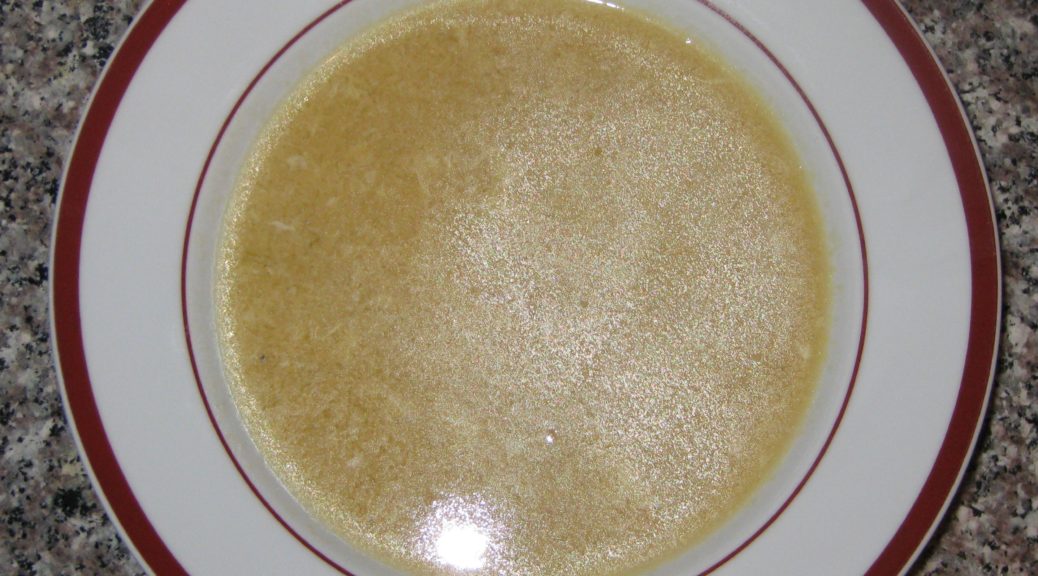
- Skim the chilled braising liquid.
- Heat the de-fatted braising liquid with the reserved fried pancetta.

- When the braising liquid comes to a boil, remove from heat and add the Marsala. Pour the liquid over the beef, cover the pan, and heat at 350°F for approximately 1 hour.
Copyright © 2021 by Villa Sentieri, LLC. All rights reserved.


")
")
")
")
")
")
")
")
")
")
")
")
")
")
")
")
")

")
")
")
")
")
")
")

")
")
")
")
")
")
")
")
")
")
")
")
")
")