Sri Lankan Fish Croquettes

December 26, 2018

OK, I’m going out on a limb again posting another Sri Lankan recipe.

Whenever I do that, fewer people open the email and even fewer look at the recipe.  Sri Lankan food just doesn’t garner the interest (among my readers, at least) that Italian food does.  Interestingly (or not, perhaps) my cousin’s Marinated Pasta Salad from two weeks ago got the largest response ever!

Although a majority of my recipes are Italian, I am reluctant to post ONLY Italian recipes.  There are just so many things that I like to cook…and therefore want to share…that I want to keep my options open.  What happens, if for example if I choose to post only Italian recipes and then want to post my recipe for Bourbon Brown Sugar Apricot Jam?  That most certainly is NOT Italian.  (But it is so, so good!)


Join our mailing list and you’ll never miss a recipe again!


One possibility, I guess, would be to focus this blog on Italian food exclusively and to start a second blog that includes all the other foods I like to cook.  The majority of that food would end up being Asian with a smattering of Western Cuisines.  Bourbon Brown Sugar Apricot Jam would be just as out of place there as it would in an exclusively Italian-food-oriented blog. (And, I’m not sure I could keep two blogs going.)

Here’s my request:  Use the comment feature to let me know what you think about the options, or even come up with alternative suggestions, for how to focus the blog.  I plan to continue posting while I am in Italy for three months but that would be a great time to redesign the focus of the blog, if need be, and start fresh when I return.
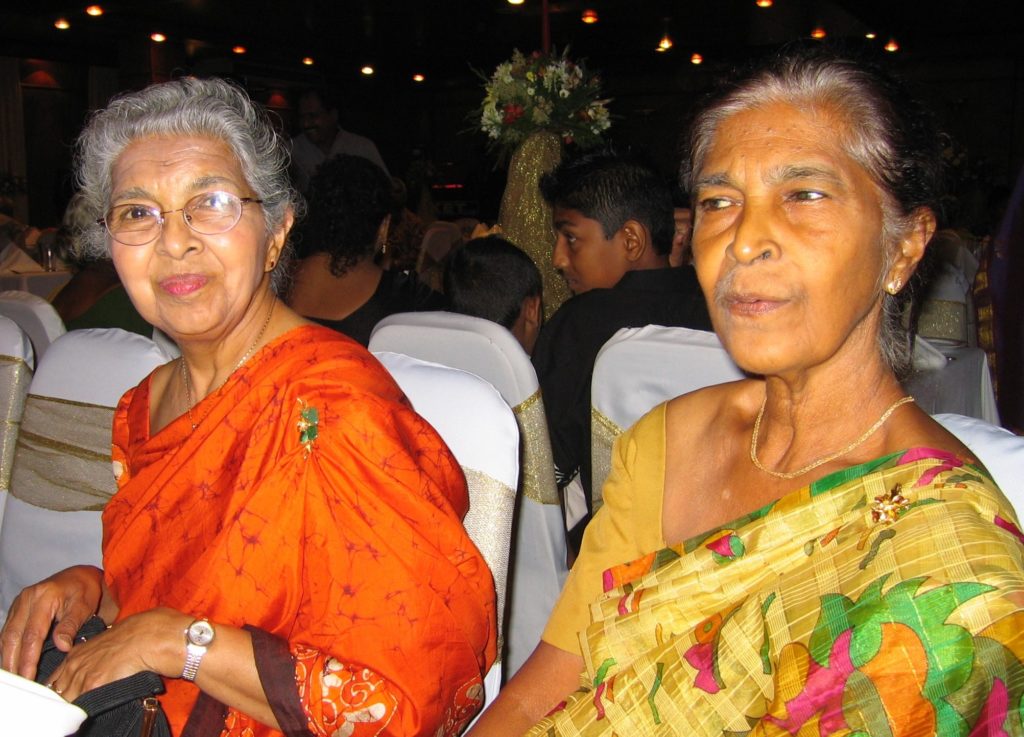
Nanacy Rajapakse (left), who taught me the fundamentals of Sri Lankan cuisine, and her sister Thilaka in 2005.

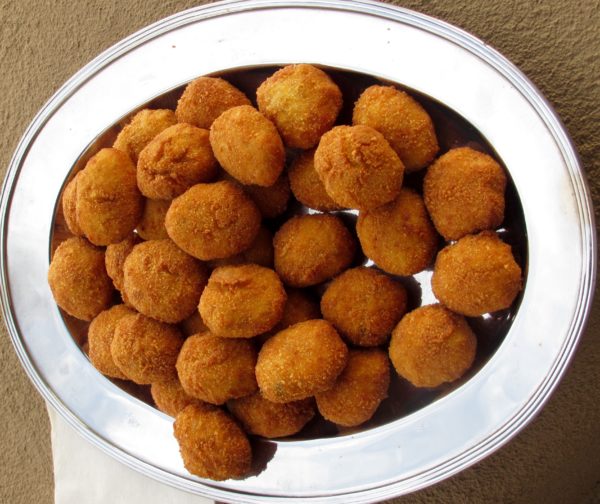
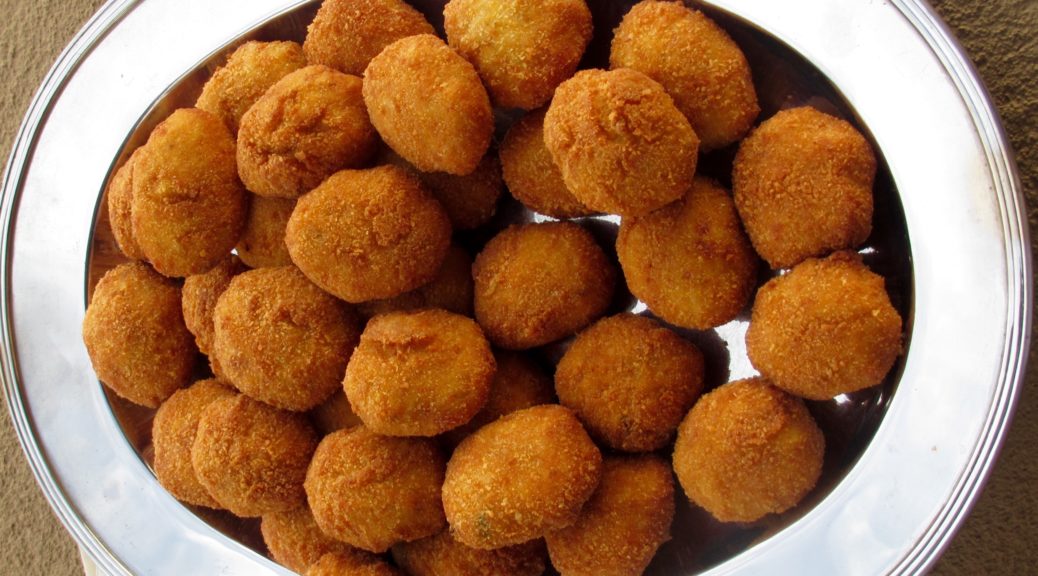
As for the Fish Croquettes, these are actually called Fish Cutlets in Sri Lanka but croquettes would be a more common term in the West.  I think you’ll find that they go really well with cocktails and, if you didn’t tell anyone they were Sri Lankan, nobody would be the wiser.


Follow us on your social media platform of choice


Over the next few months, I will post a few more of my favorite Sri Lankan recipes.  When I started doing this in the late summer, my plan was to post enough recipes for my readers to be able to put together a credible Sri Lankan meal, not that every dish I posted would need to be included but that I would have posted enough of an assortment of recipes to provide a good basis for selection.

Fishing boats in Sri Lanka

I am going to follow through on that plan in the coming months.  Upcoming recipes might include Beef Smoore, Devilled Cashews, Ghee Rice, Pol Sambol, Pork Badun, Beet Curry, Fish Curry, Pickled Lime, Pumpkin Curry, Tempered Cabbage and Peppers, and Wattalappam.  If you’ve got a favorite that you want me to post just let me know!

The blog will be an interesting juxtaposition over the next few months as I chronicle my culinary experience in Italy interspersed with Sri Lankan recipes.
Print Recipe
Sri Lankan Fish Croquettes
Although Tuna is a traditional fish used for cutlets, almost any type of fish will work. Good quality frozen tuna can be used in place of fresh. Curry leaves can be found in many Asian markets. There really is no substitute for them in terms of taste but if not having access to curry leaves is the only thing preventing you from trying this recipe, use another fresh green herb such as basil, thyme, or oregano. These may be served warm or at room temperature.
Votes: 0
Rating: 0
You:
Rate this recipe!
Prep Time 1 hour
Cook Time 1 1/2 hours
Passive Time 4 hours
Servings
croquettes
Ingredients
For the croquettes
For dredging and frying
Prep Time 1 hour
Cook Time 1 1/2 hours
Passive Time 4 hours
Servings
croquettes
Ingredients
For the croquettes
For dredging and frying
Votes: 0
Rating: 0
You:
Rate this recipe!
Instructions
  1. Peel the potatoes. Cut them into pieces approximately ¾ inch on a side.
  2. Put the cut potatoes in a steamer basket. Sprinkle with ground black pepper to taste.
  3. Steam the potatoes over boiling water until tender, 15-25 minutes.
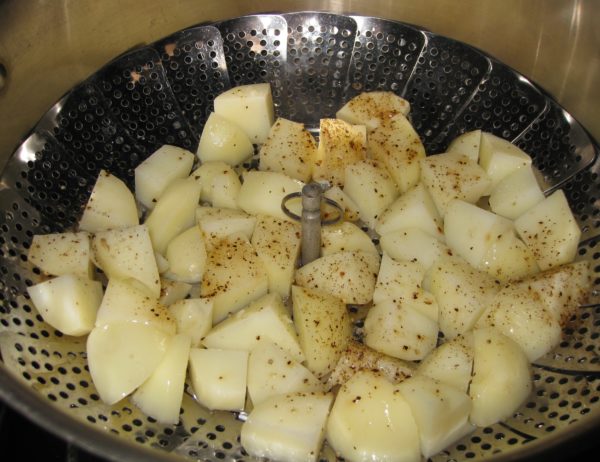
  4. Put the cooked potatoes into a mixing bowl.
  5. Cut the fish into strips approximately 1 ½ inches wide.
  6. Put the fish in the steamer basket. Sprinkle with ground black pepper to taste.
  7. Steam the fish over boiling water until fully cooked and flaky, 10-20 minutes. If the fish has skin, remove it after steaming.
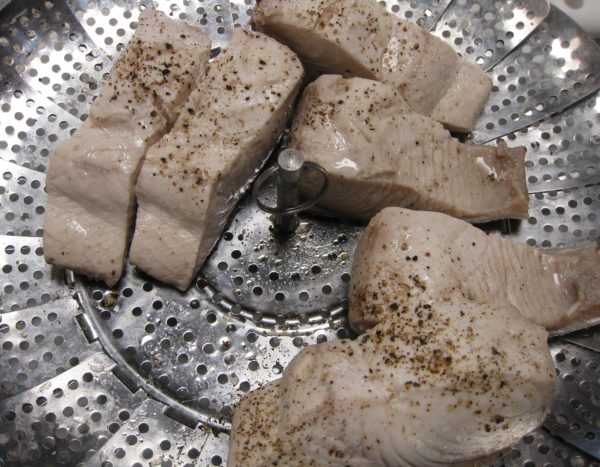
  8. Put the fish on a plate to cool.
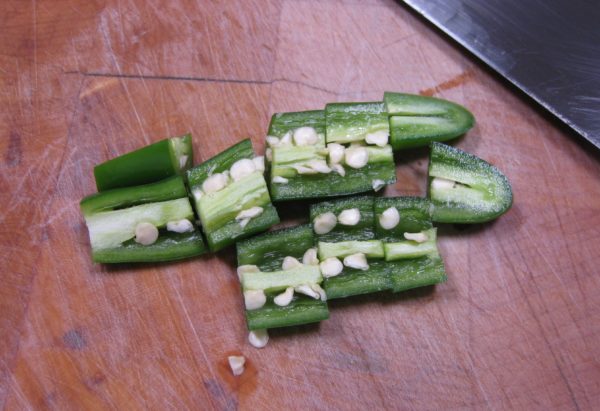
  9. Coarsely chop the green chiles
  10. Grind the onions and green chile in a food processor.
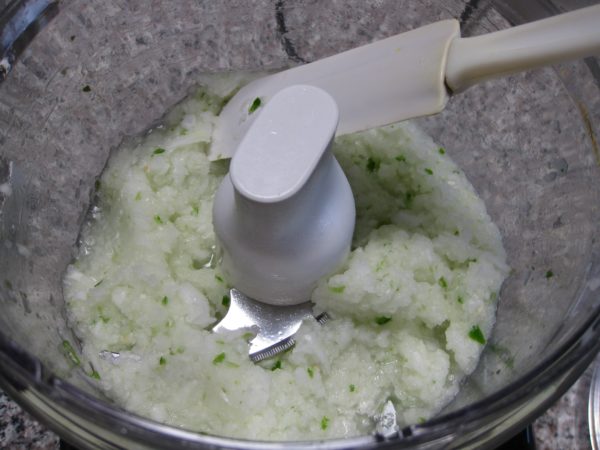
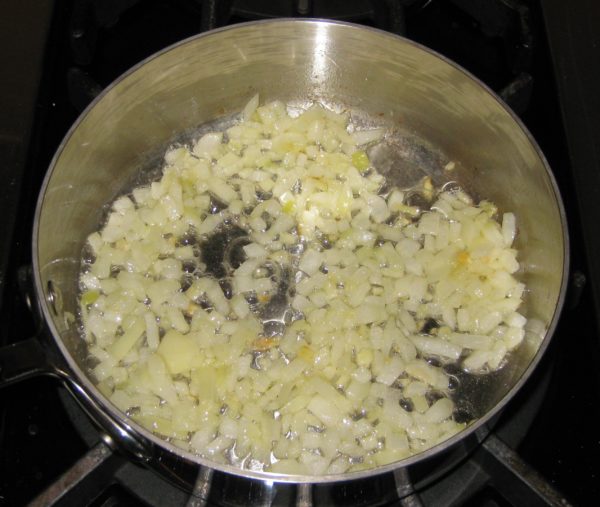
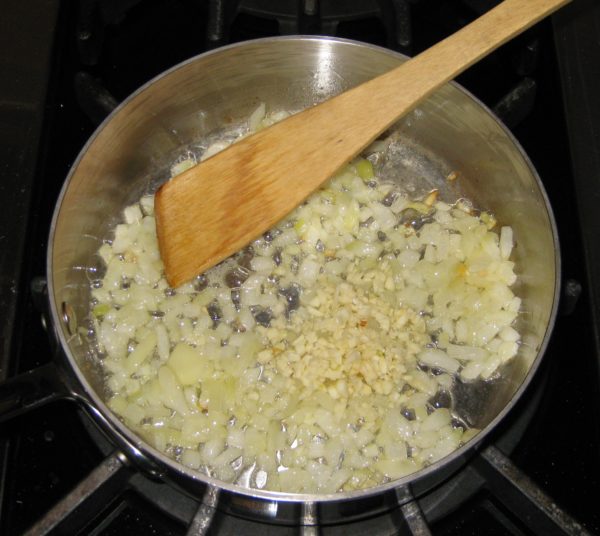
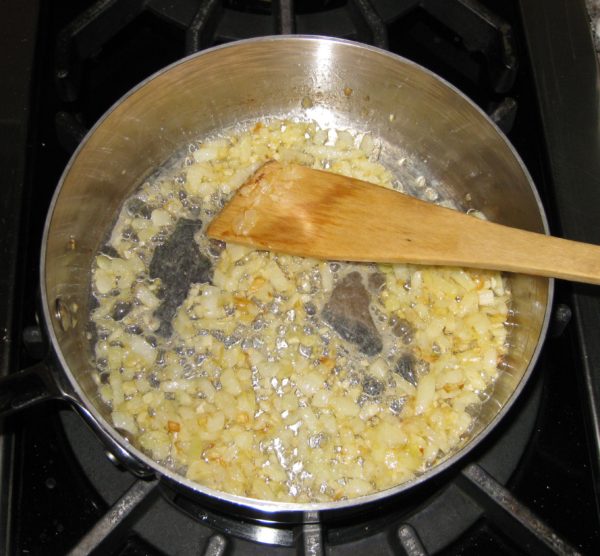
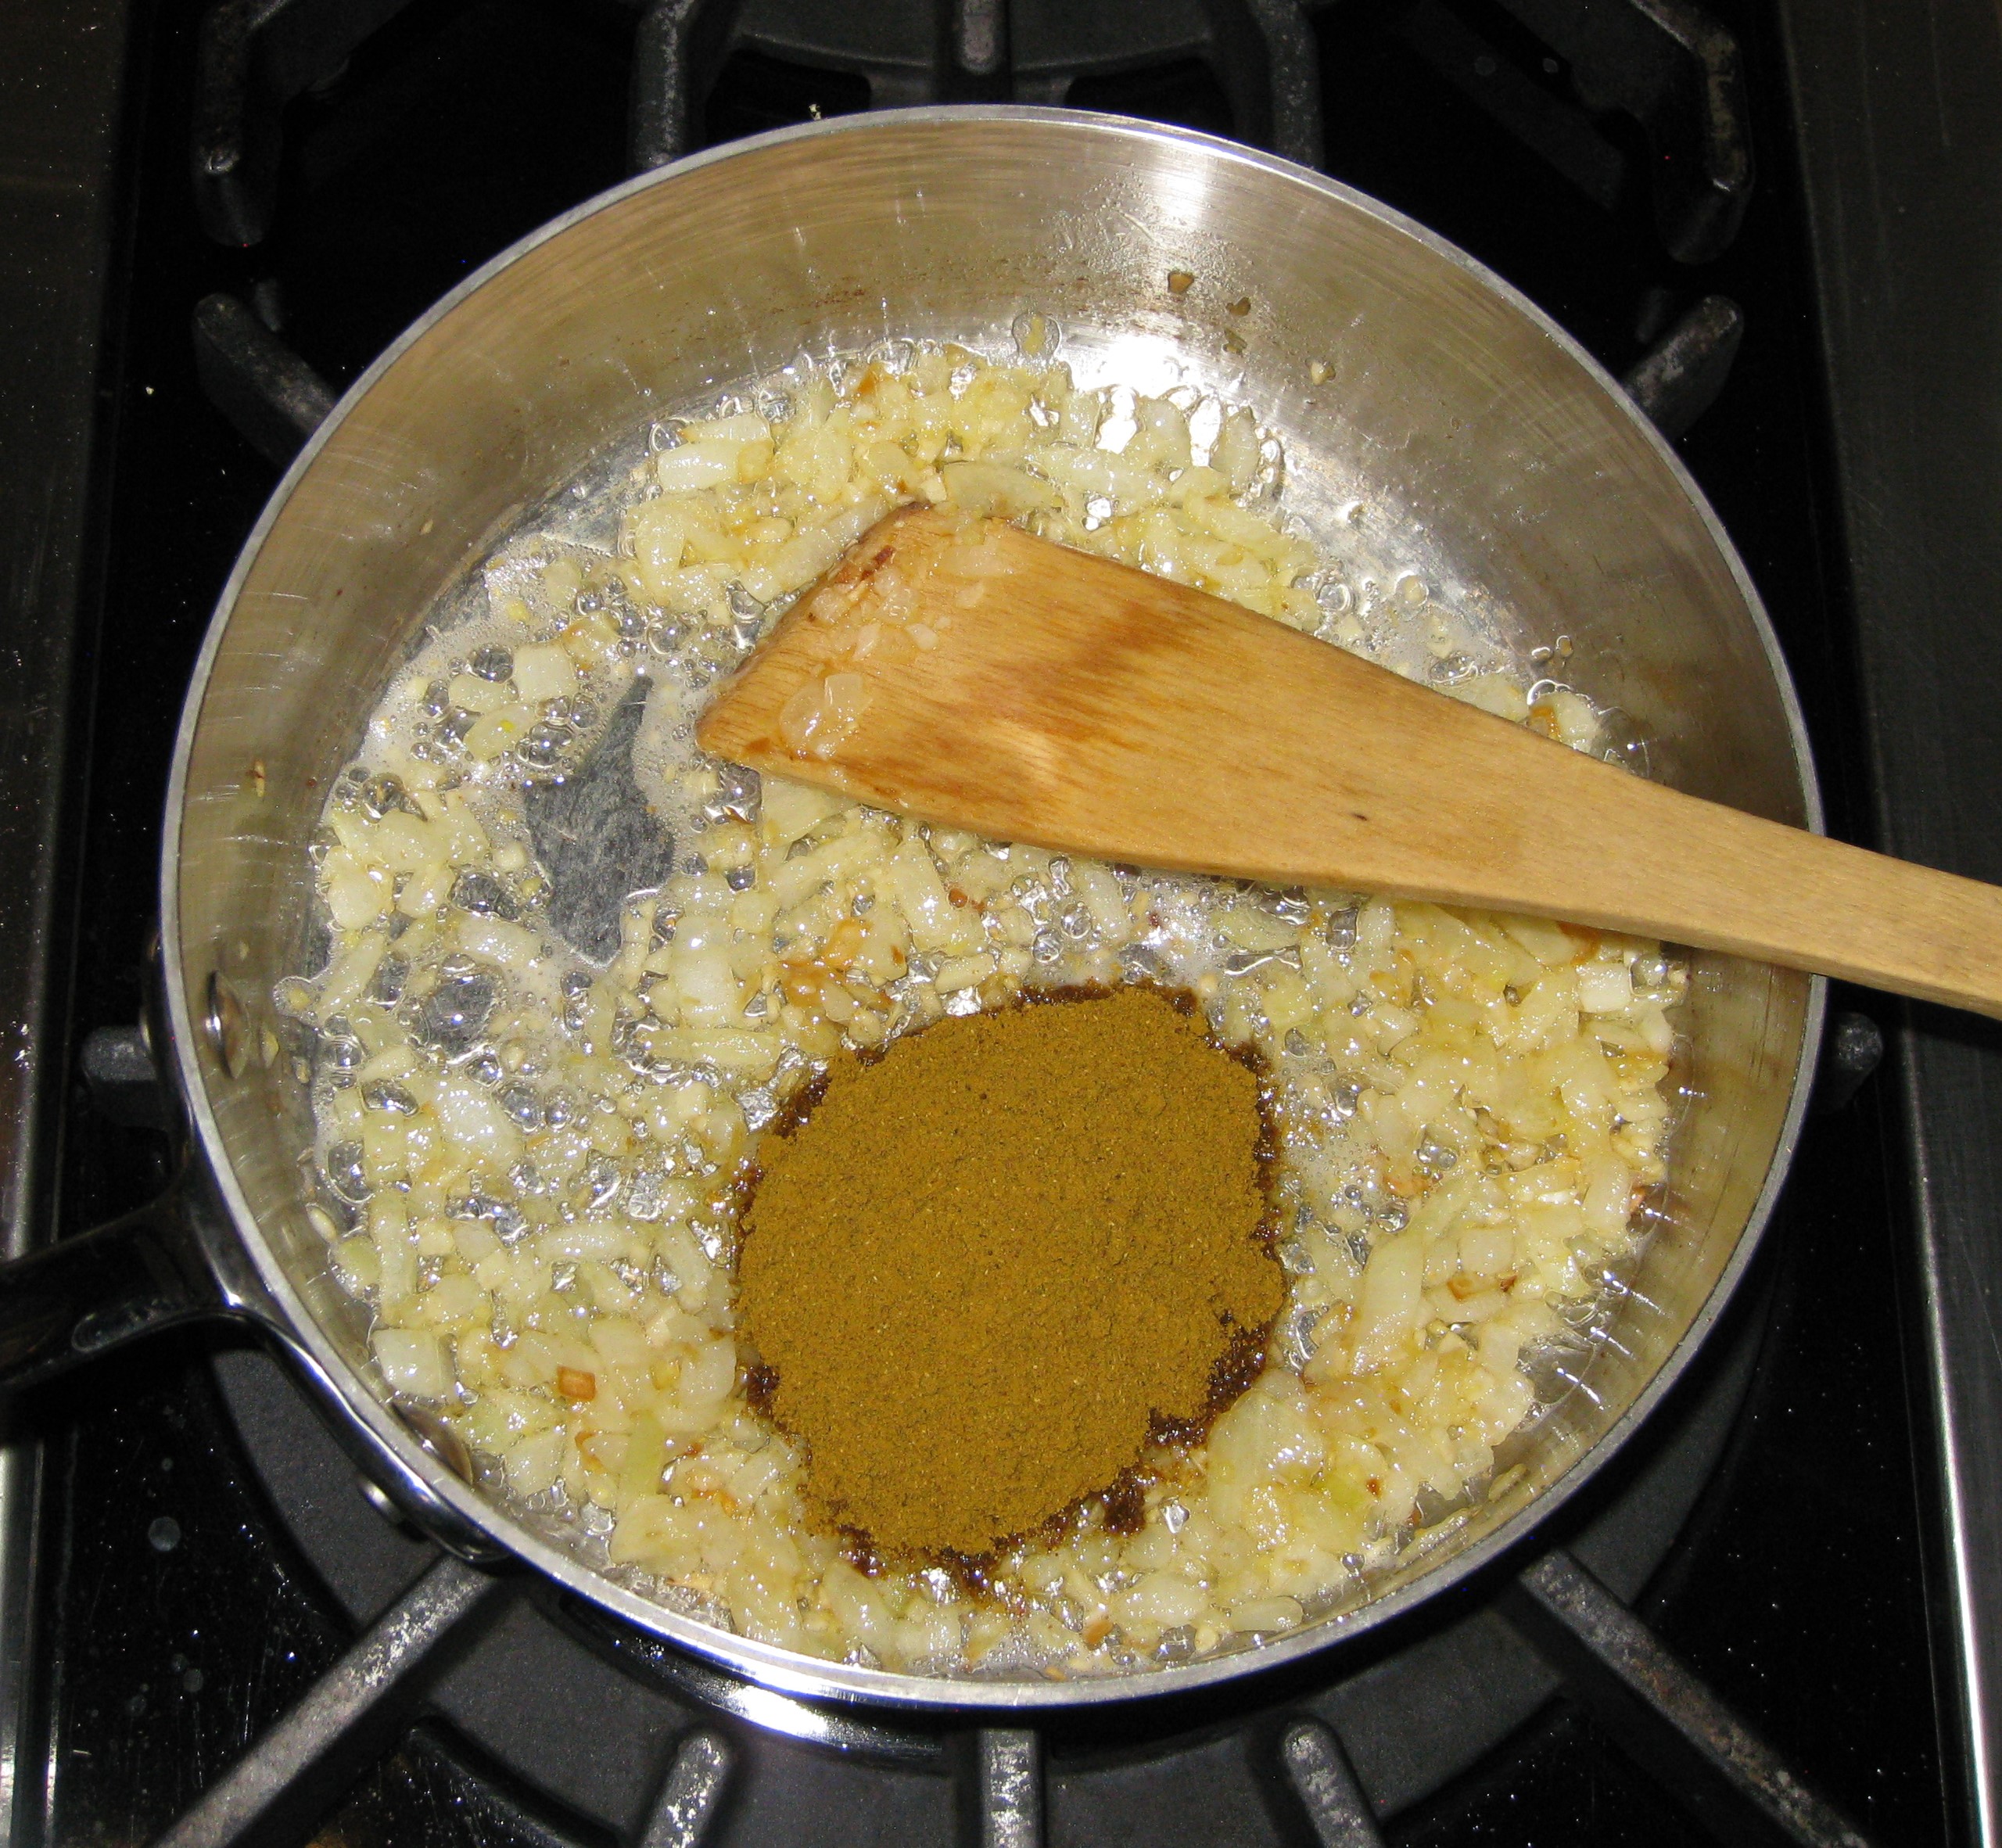
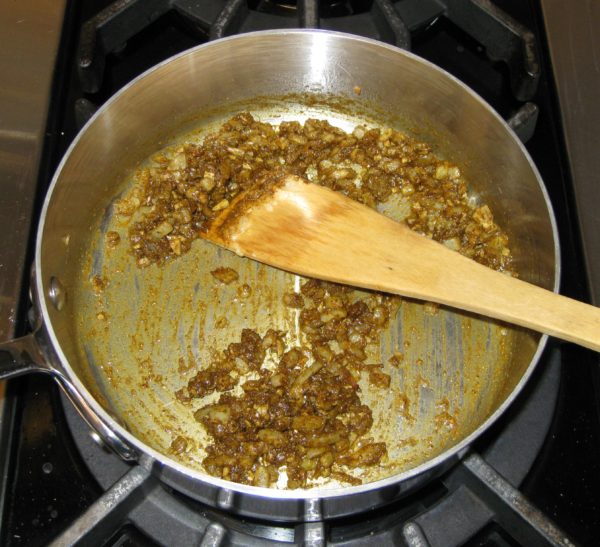
  11. Sauté the ground onion mixture, curry leaves, and cumin in the oil until the onion is soft but not brown, 6-8 minutes.
  12. Coarsely mash the partially cooled potato.
  13. Add the fish to the potato and mash again. The mixture should not be completely smooth but there should not be any really large chunks.
  14. Add the onion mixture and salt to the mashed potatoes and fish. Mix well.
  15. Add the eggs and then enough breadcrumbs to bind the mixture. The amount of breadcrumbs needed will vary based on the moisture content. Use your judgement and opt for making the mixture a little loose rather than overly stiff.
  16. Refrigerate, covered, for several hours for the breadcrumbs to fully hydrate.
  17. Taste and adjust salt (and chile if you wish).
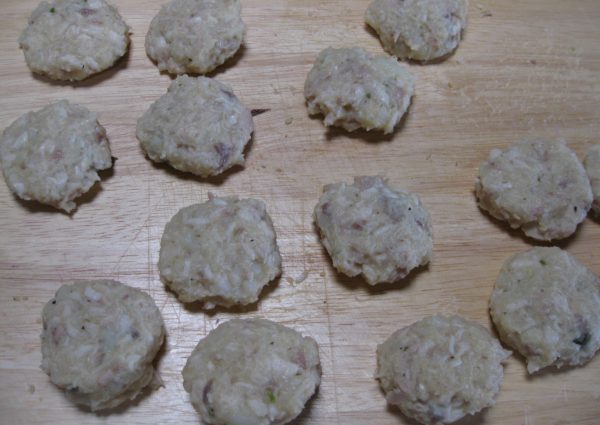
  18. Divide into 50 portions. Shape each into a slightly flattened oval shape.
Final Assembly
  1. Season the flour with salt and freshly ground black pepper to taste.
  2. Beat the four eggs lightly and season with salt and freshly ground black pepper to taste.
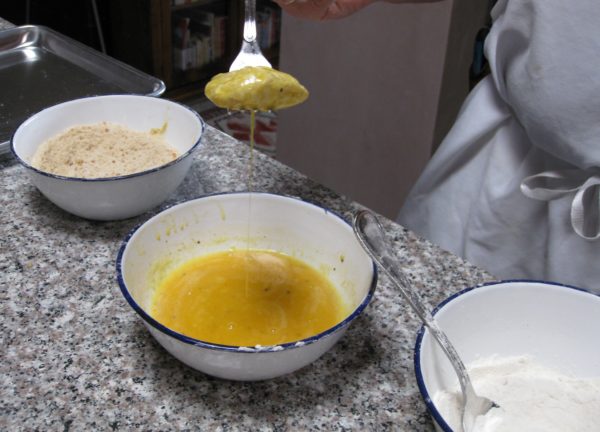
  3. Dredge each croquette in flour, then dip in the beaten egg, then roll in the breadcrumbs.
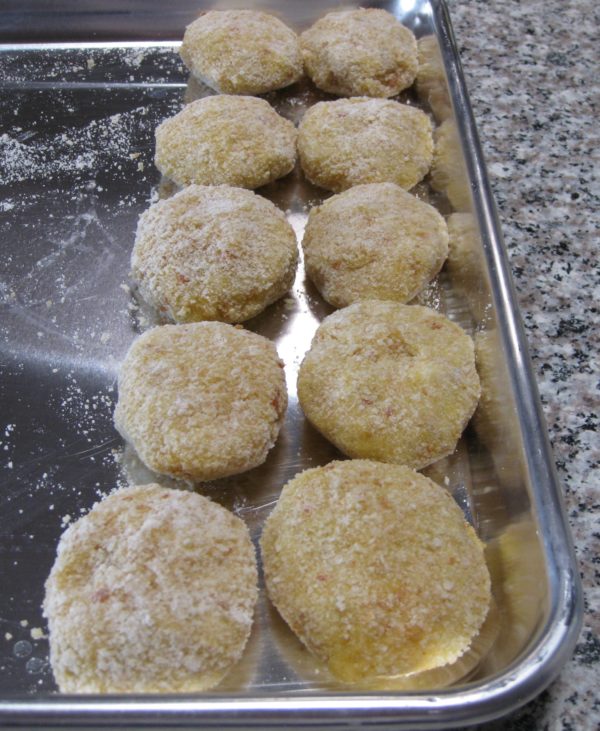
  4. Refrigerate, uncovered, at least one hour before frying.
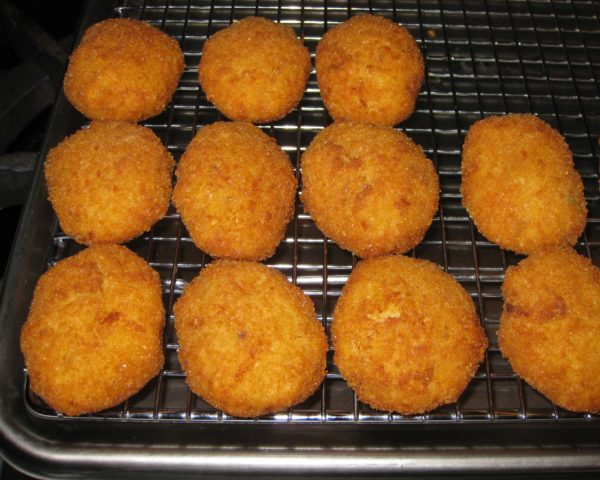
  5. Deep fry the croquettes at 350°F to 375°F until golden brown.
  6. Drain on a rack set in a rimmed baking sheet.
Recipe Notes

Curry leaves have an alluring flavor that isn't really comparable to any other herb.  I recommend that you try to find them.  You will probably have extra left.  I suggest adding the whole fresh leaves to eggs before scrambling.
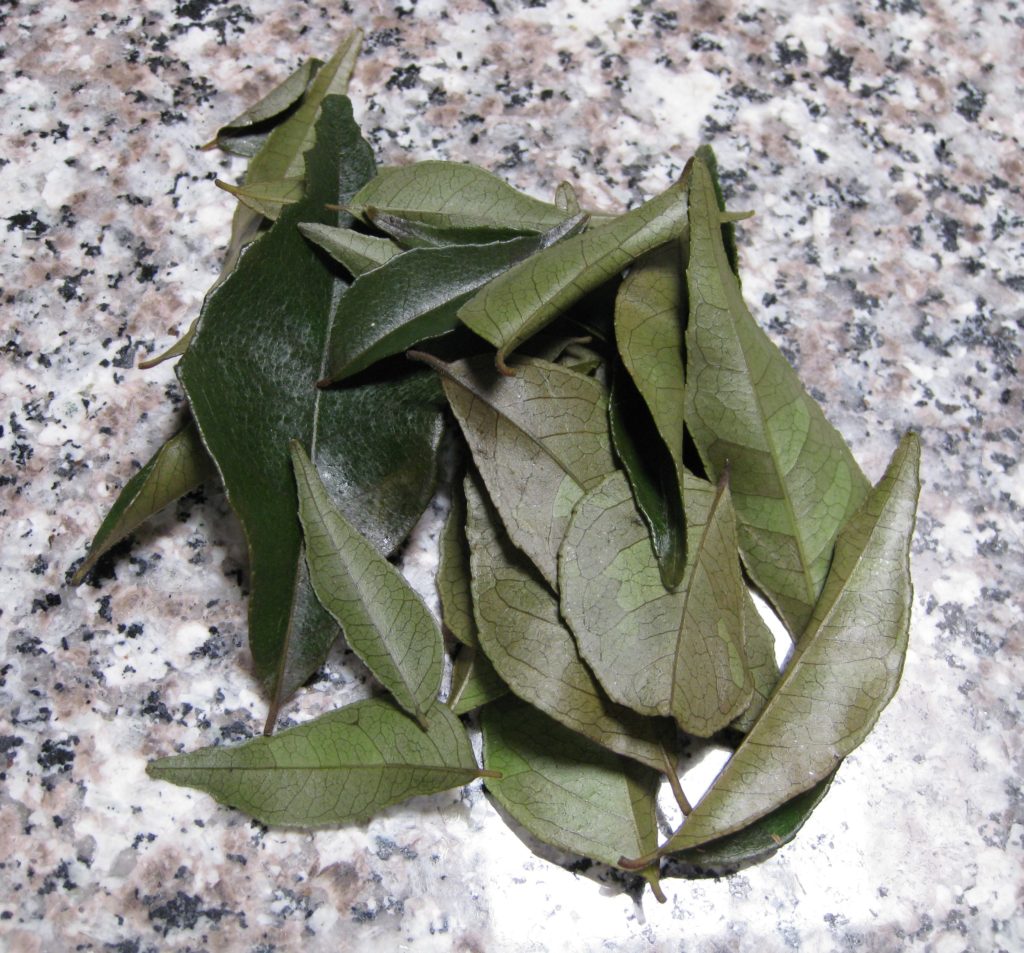
Fresh curry leaves

Copyright © 2018 by Villa Sentieri, LLC. All rights reserved.

Share this Recipe

Sri Lankan Cashew Curry

August 29, 2018

I know I’ve posted a lot of Sri Lankan recipes recently.  I’m trying to post enough to create a Sri Lankan meal if my readers are interested.

Sri Lankan food is not common in the United States.  There are some Sri Lankan restaurants on Staten Island but I’ve never ventured to them when I’ve been in New York.  It’s not that I don’t want to, but it’s a bit of a hike to get there…and there are so many good restaurants in NYC that are easier to get to.

One of these days I’ll try some of the Sri Lankan restaurants in Los Angeles but for now I’ll have to settle on my own cooking.

Sri Lankan Arrack is made from the sap of coconut blossoms (Photo by SilentBobxy2 [CC BY-SA 3.0 (https://creativecommons.org/licenses/by-sa/3.0) or GFDL (http://www.gnu.org/copyleft/fdl.html)], from Wikimedia Commons)
If you like Indian, especially South Indian, and Thai food, chances are excellent that you will like Sri Lankan cooking.  I find the spices in Sri Lankan food to be more delicate than Indian with abundant use of super-aromatic spices like cardamom, cinnamon and cloves.

Join our mailing list and you’ll never miss a recipe again!

Curry leaves are an absolute delight, lending a taste and aroma that I can’t really describe.

Although native to Brazil, the cashew was transported to India by the Portuguese in the sixteenth century.  From there it spread throughout South Asia.  It is also commonly grown in Africa.

Cashews are an integral part of Sri Lankan cuisine.  Devilled cashews are a common nibble with cocktails.  Arrack is the classic distilled spirit of Sri Lanka, made from the sap of coconut blossoms.

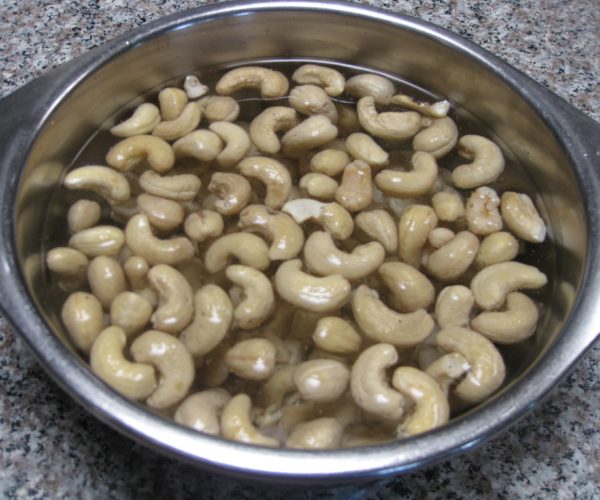
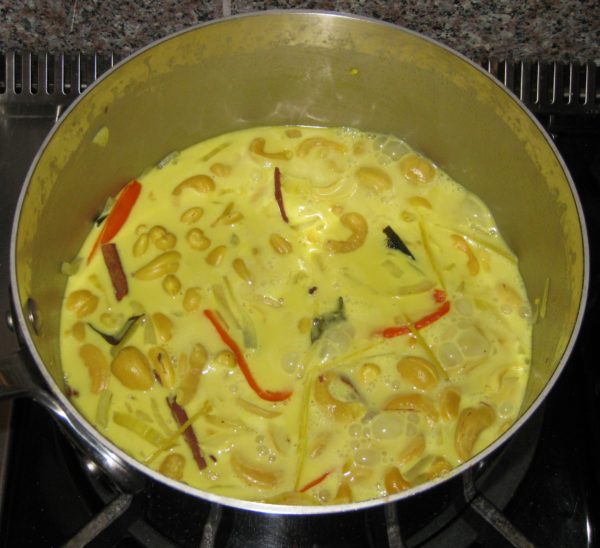
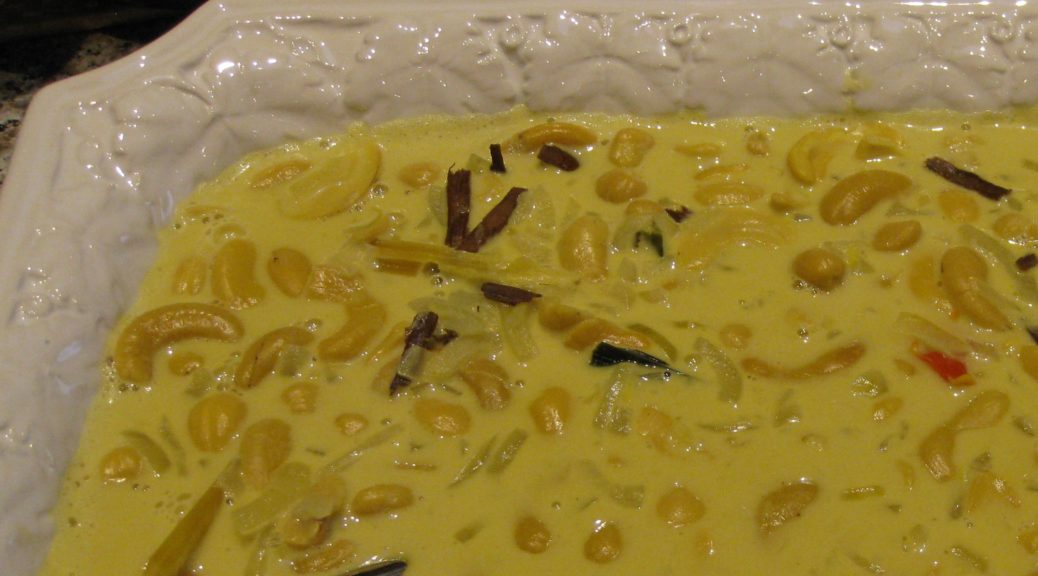
In Sri Lanka, cashew curry is made from fresh cashews.  I’ve never seen fresh cashews in the United States.  Whole raw cashews work well if soaked in water for several hours, just like dried beans.

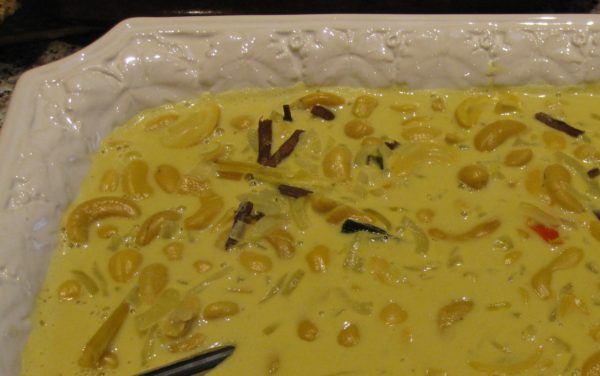
In my experience there are two basic styles of cashew curry in Sri Lanka, a dry one and one with gravy.  The one I have always made is with gravy.  The “gravy” is really seasoned coconut milk.

Follow us on your social media platform of choice


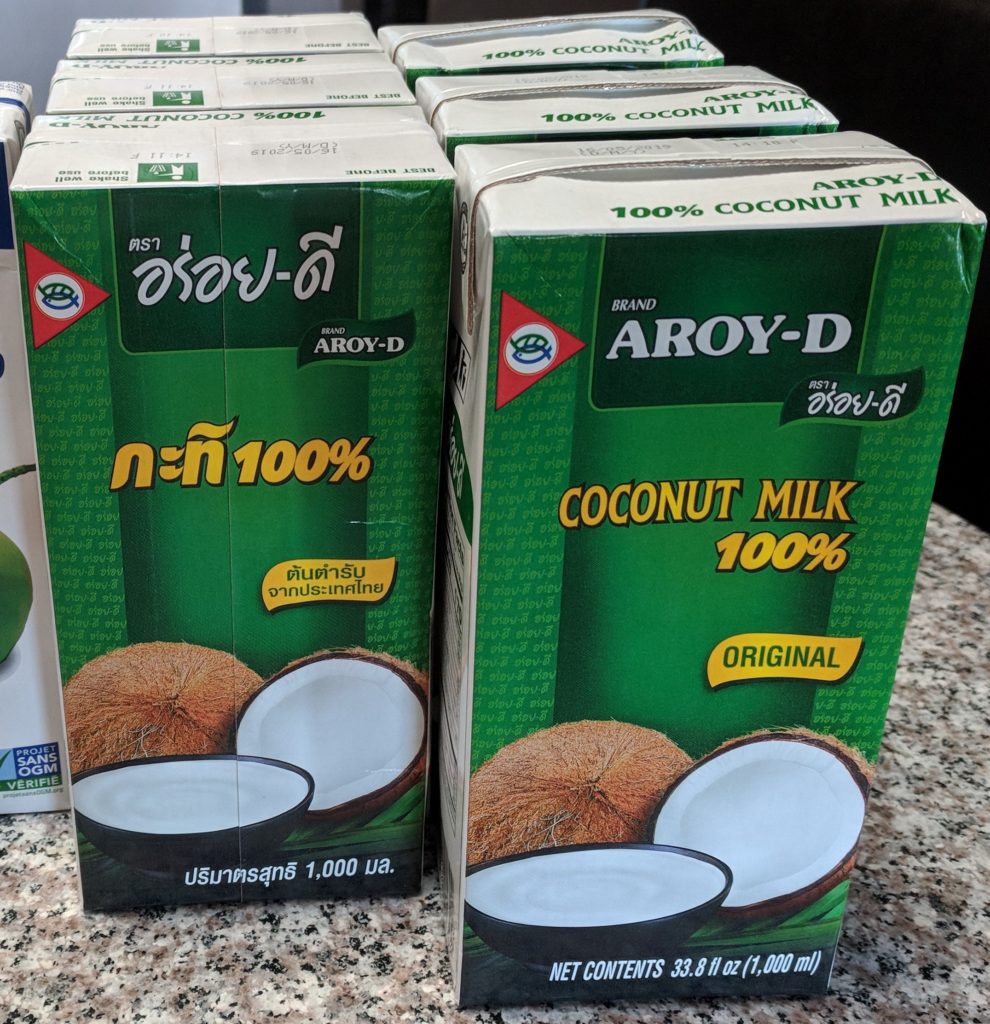
In years past, I would always make my own coconut milk from shredded coconut but now, with rare exception, I use coconut milk that I’ve purchased.  With a good quality coconut milk, such as Aroy-D it is really impossible to tell the difference when making a curry or other well-seasoned dish.

Aroy-D is an excellent brand of coconut milk

This is an especially easy dish to prepare as all the ingredients are simmered.  There’s no sautéing involved.  That makes it a great introduction to Sri Lankan cooking.  Serve it with rice to sop up all the wonderful gravy.

Print Recipe
Sri Lankan Cashew Curry
If using homemade coconut milk, use 3 cups of thin milk instead of 1 ½ cups purchased coconut milk and 1 ½ cups water. Long thin chilies, such as Cayenne or Thai Bird peppers would be appropriate for this dish.
Votes: 0
Rating: 0
You:
Rate this recipe!
Course Mains, Vegetarian
Cuisine Sri Lankan
Prep Time 15 minutes
Cook Time 1 hour
Passive Time 3 hours
Servings
people
Ingredients
Course Mains, Vegetarian
Cuisine Sri Lankan
Prep Time 15 minutes
Cook Time 1 hour
Passive Time 3 hours
Servings
people
Ingredients
Votes: 0
Rating: 0
You:
Rate this recipe!
Instructions
  1. Cover the cashews with water and allow to soak for 2-3 hours, or overnight in the refrigerator.
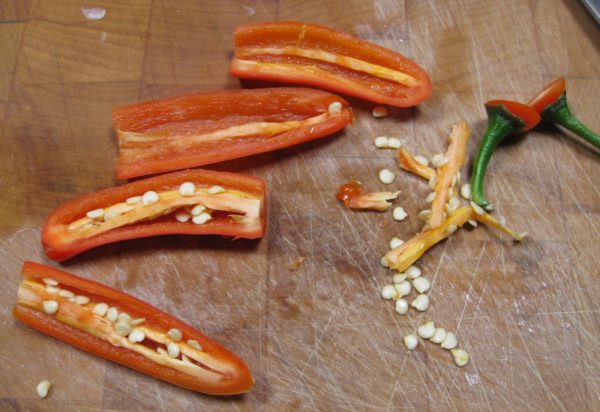
  2. Split and seed the chilies.
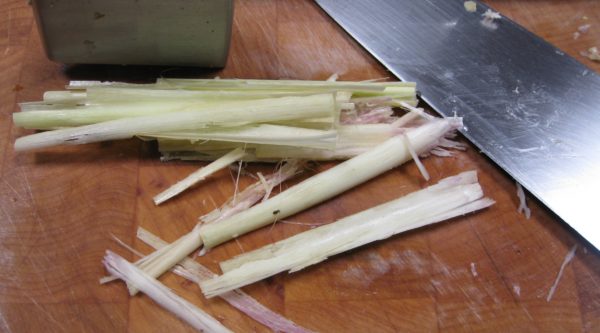
  3. Lightly crush the lemongrass. Peel off the tough outer layers and cut off the dark tough tops, leaving about 4 inches of softer inner pith.
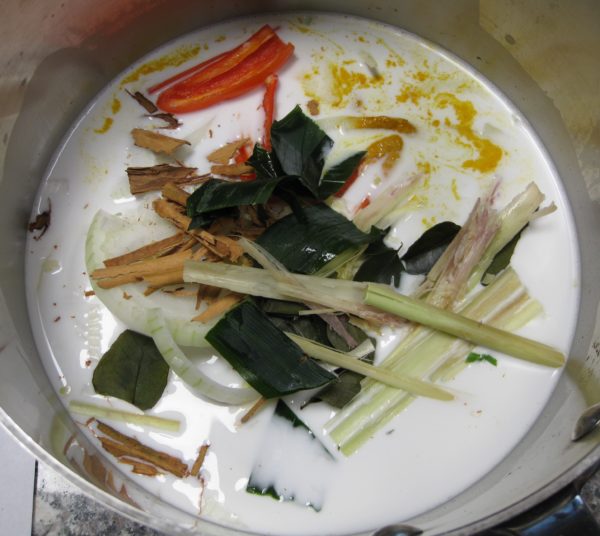
  4. Put everything except cashews, thick coconut milk, and salt into a saucepan.
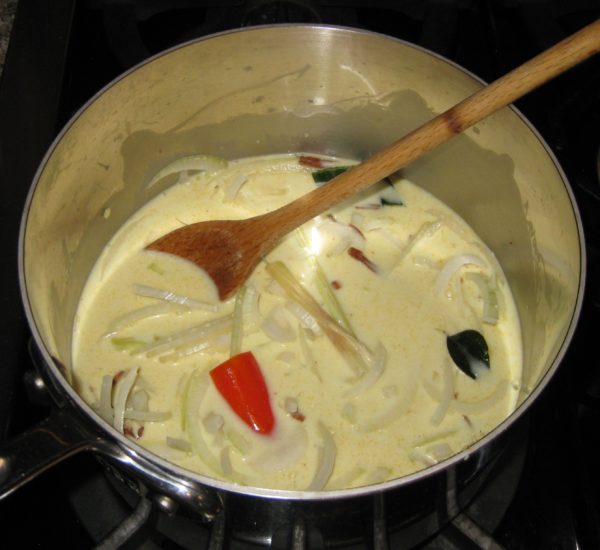
  5. Boil gently, uncovered, for about 10 minutes.
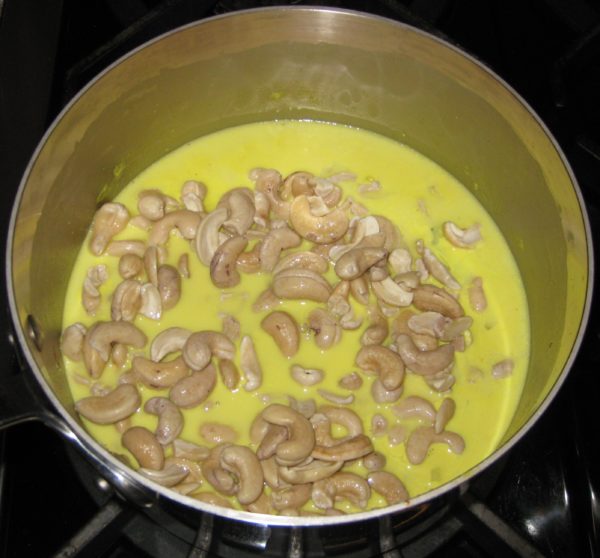
  6. Add drained, soaked cashews and simmer approximately 15-20 minutes.
  7. Add two teaspoons salt.
  8. Simmer until cashews are cooked but not mushy, approximately 10-20 minutes more.
  9. Add thick coconut milk.
  10. Taste and adjust salt.
  11. Simmer 5 minutes more.
Recipe Notes

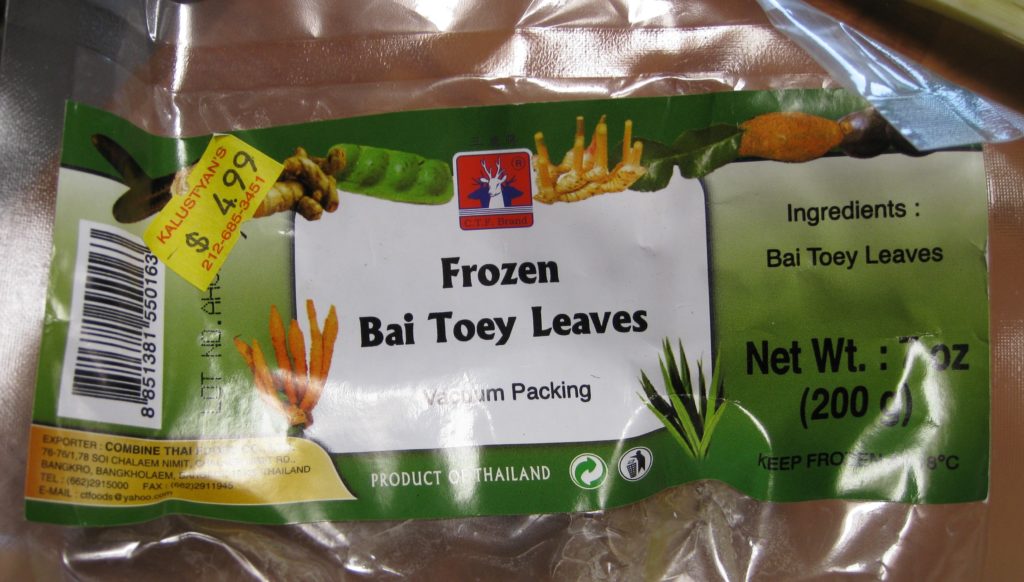
Rampe (pandan, bai tuey, or bai toey) can be purchased frozen in Asian grocery stores.

Copyright © 2018 by Villa Sentieri, LLC. All rights reserved.
Share this Recipe

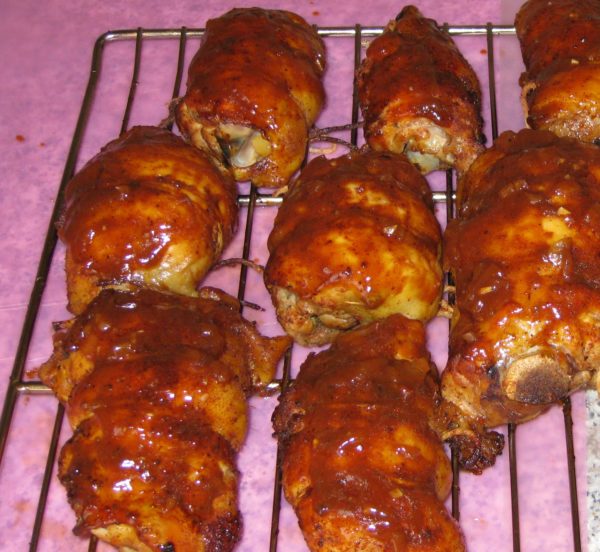
Barbecued Chicken Thighs

July 25, 2018

For someone who tries to eat lower on the food chain, I sure love using my smoker.

Granted, I could smoke things like cheese and even some vegetables but meat is where the smoker really shines!

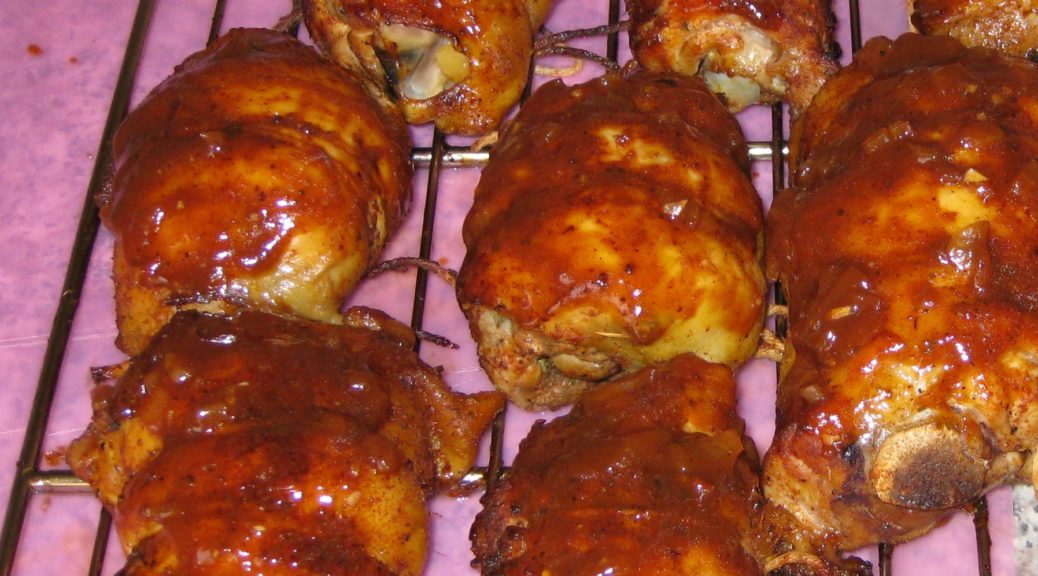
I’ve smoked pork shoulders, ribs, and turkey breasts, and I continue to expand my repertory, but I really enjoy smoking chicken thighs.

Smoking is often an all-day affair.  Sometimes it’s an all-night affair if one is smoking large enough pieces of meat.  So far, I’ve limited myself to smoking things that can go into the smoker at a reasonable time of the day.  I’m not one of those guys who wants to sit beside his smoker through the night with a cooler of beer at his side!

Join our mailing list and you’ll never miss a recipe again!

Chicken thighs cook in a relatively short period of time so they’re great when you want to limit attending to the smoker to just a few hours before dinnertime.

My smoker has an adjustment for the heat output but not temperature, per se. If the wind or external temperature change, the internal smoker temperature changes, too. Some day I’ll get a smoker with an actual thermostat but so far this one has served me well.

If you get a smoker with an automatic thermostat there would be almost no need to attend to the chicken thighs.  While I have a nice smoker, it doesn’t have a thermostat.  It has a control that puts out an adjustable but then constant amount of heat based on the setting similar to the way car heaters used to work before cars had real thermostats.  If the outdoor temperature or wind changes, the temperature inside the smoker will change due to the constant heat output.

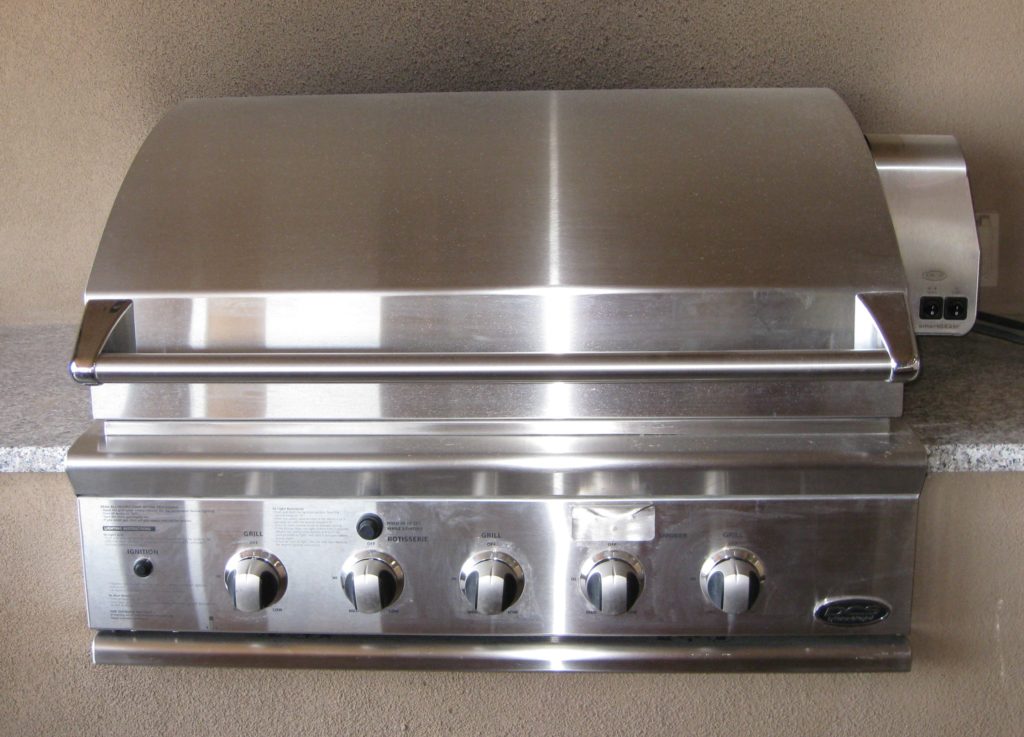
Before I had a smoker, I used my gas grill to smoke.  It has a separate burner just for creating smoke from wood chips.  It has three other burners to actually cook the food plus a rotisserie burner.  Under many circumstances, the burner for the wood chips puts out enough heat to keep the grill at the proper smoking temperature.  When the weather turns cold, like the time I smoked a turkey on Thanksgiving, a little heat from one of the other burners is needed…just not a burner that’s actually under the food.

I sometimes use my gas grill to smoke things, including a whole turkey once.

This recipe makes use of two of my previously published recipes, my barbecue rub and my barbecue sauce.

Follow us on your social media platform of choice


If you don’t have a smoker (and I realize that most people don’t) you really can do these on a grill with indirect heat, either gas or charcoal.

Put on oven thermometer on the grate where you intend to put the chicken.  There should not be any heat coming from under that grate.  Heat up the opposite side of the grill using either gas or charcoal.  With a little experimentation, you’ll be able to keep the side of the grill, where the chicken will go, at the proper smoking temperature.  If your grill doesn’t have a separate place for wood chips, add some wood chips, soaked in water for 30 minutes, to the hot part of the grill from time to time.

Happy smoking!!! (Oh, and don’t forget the beer!)

Print Recipe
Barbecued Chicken Thighs
These chicken thighs are moist and fall-apart tender. See the Notes section for links to my recipes for barbecue rub and barbecue sauce. Professional kitchens often weigh liquids, hence the 4000 grams of water. 4000 grams would essentially be the same as 4 liters. The advantage of weighing the water, though, is that you can add ice to cool the brine down while still being exact about the quantity of water. This recipe scales easily.
Votes: 0
Rating: 0
You:
Rate this recipe!
Course Mains, Poultry
Cuisine American
Prep Time 40 minutes
Cook Time 4 hours
Passive Time 2 hours
Servings
people
Ingredients
Course Mains, Poultry
Cuisine American
Prep Time 40 minutes
Cook Time 4 hours
Passive Time 2 hours
Servings
people
Ingredients
Votes: 0
Rating: 0
You:
Rate this recipe!
Instructions
  1. Dissolve the salt in the water.
  2. Refrigerate the brine until cold. If you are weighing the water, you can add ice cubes to cool the brine quickly.
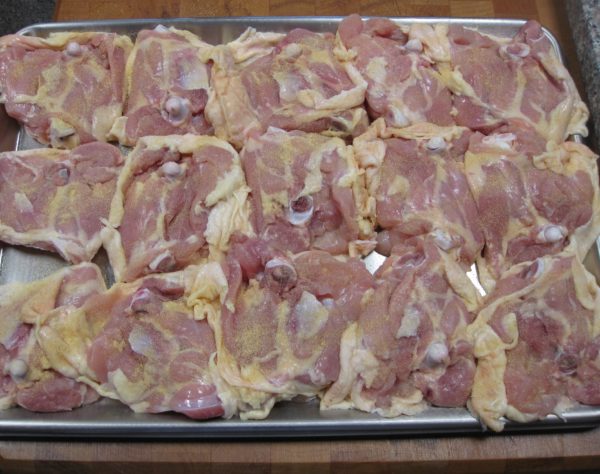
  3. Add the chicken thighs and weigh them down with a plate or a zipper lock bag full of water. Brine for two hours in the refrigerator.
  4. Remove the chicken thighs and pat them dry.
  5. Lay the chicken thighs skin-side down.
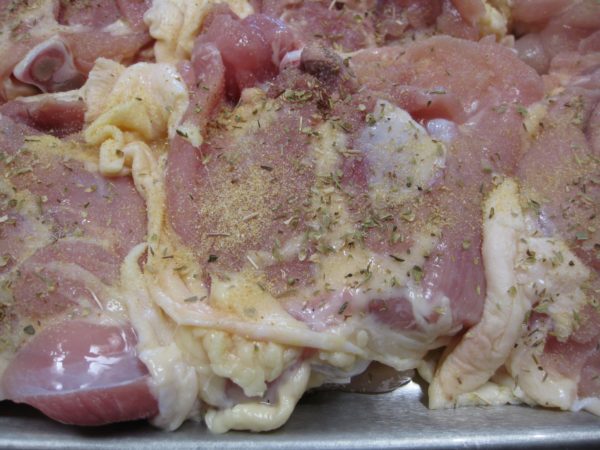
  6. Sprinkle liberally with garlic powder.
  7. Sprinkle with oregano.
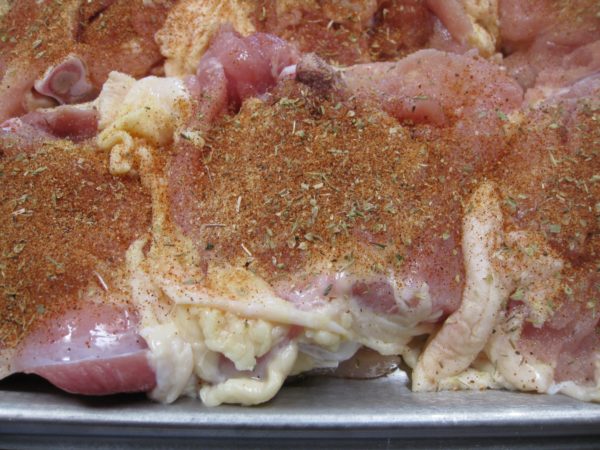
  8. Sprinkle with barbecue rub.
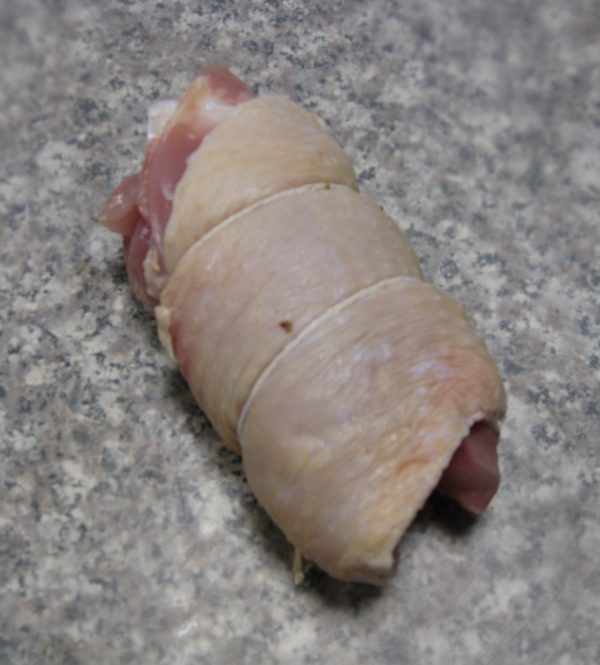
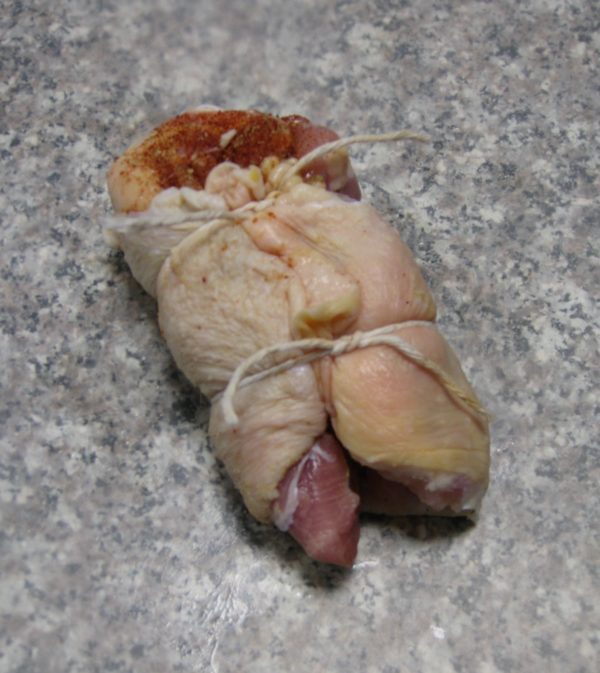
  9. Wrap the skin around thigh, trying to enclose the meat as much as possible. Tie with twine.
  10. Rub the thighs generously with barbecue rub.
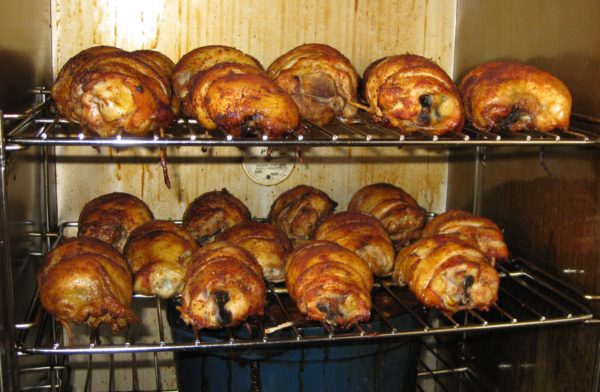
  11. Smoke at 225°F for 4 hours.
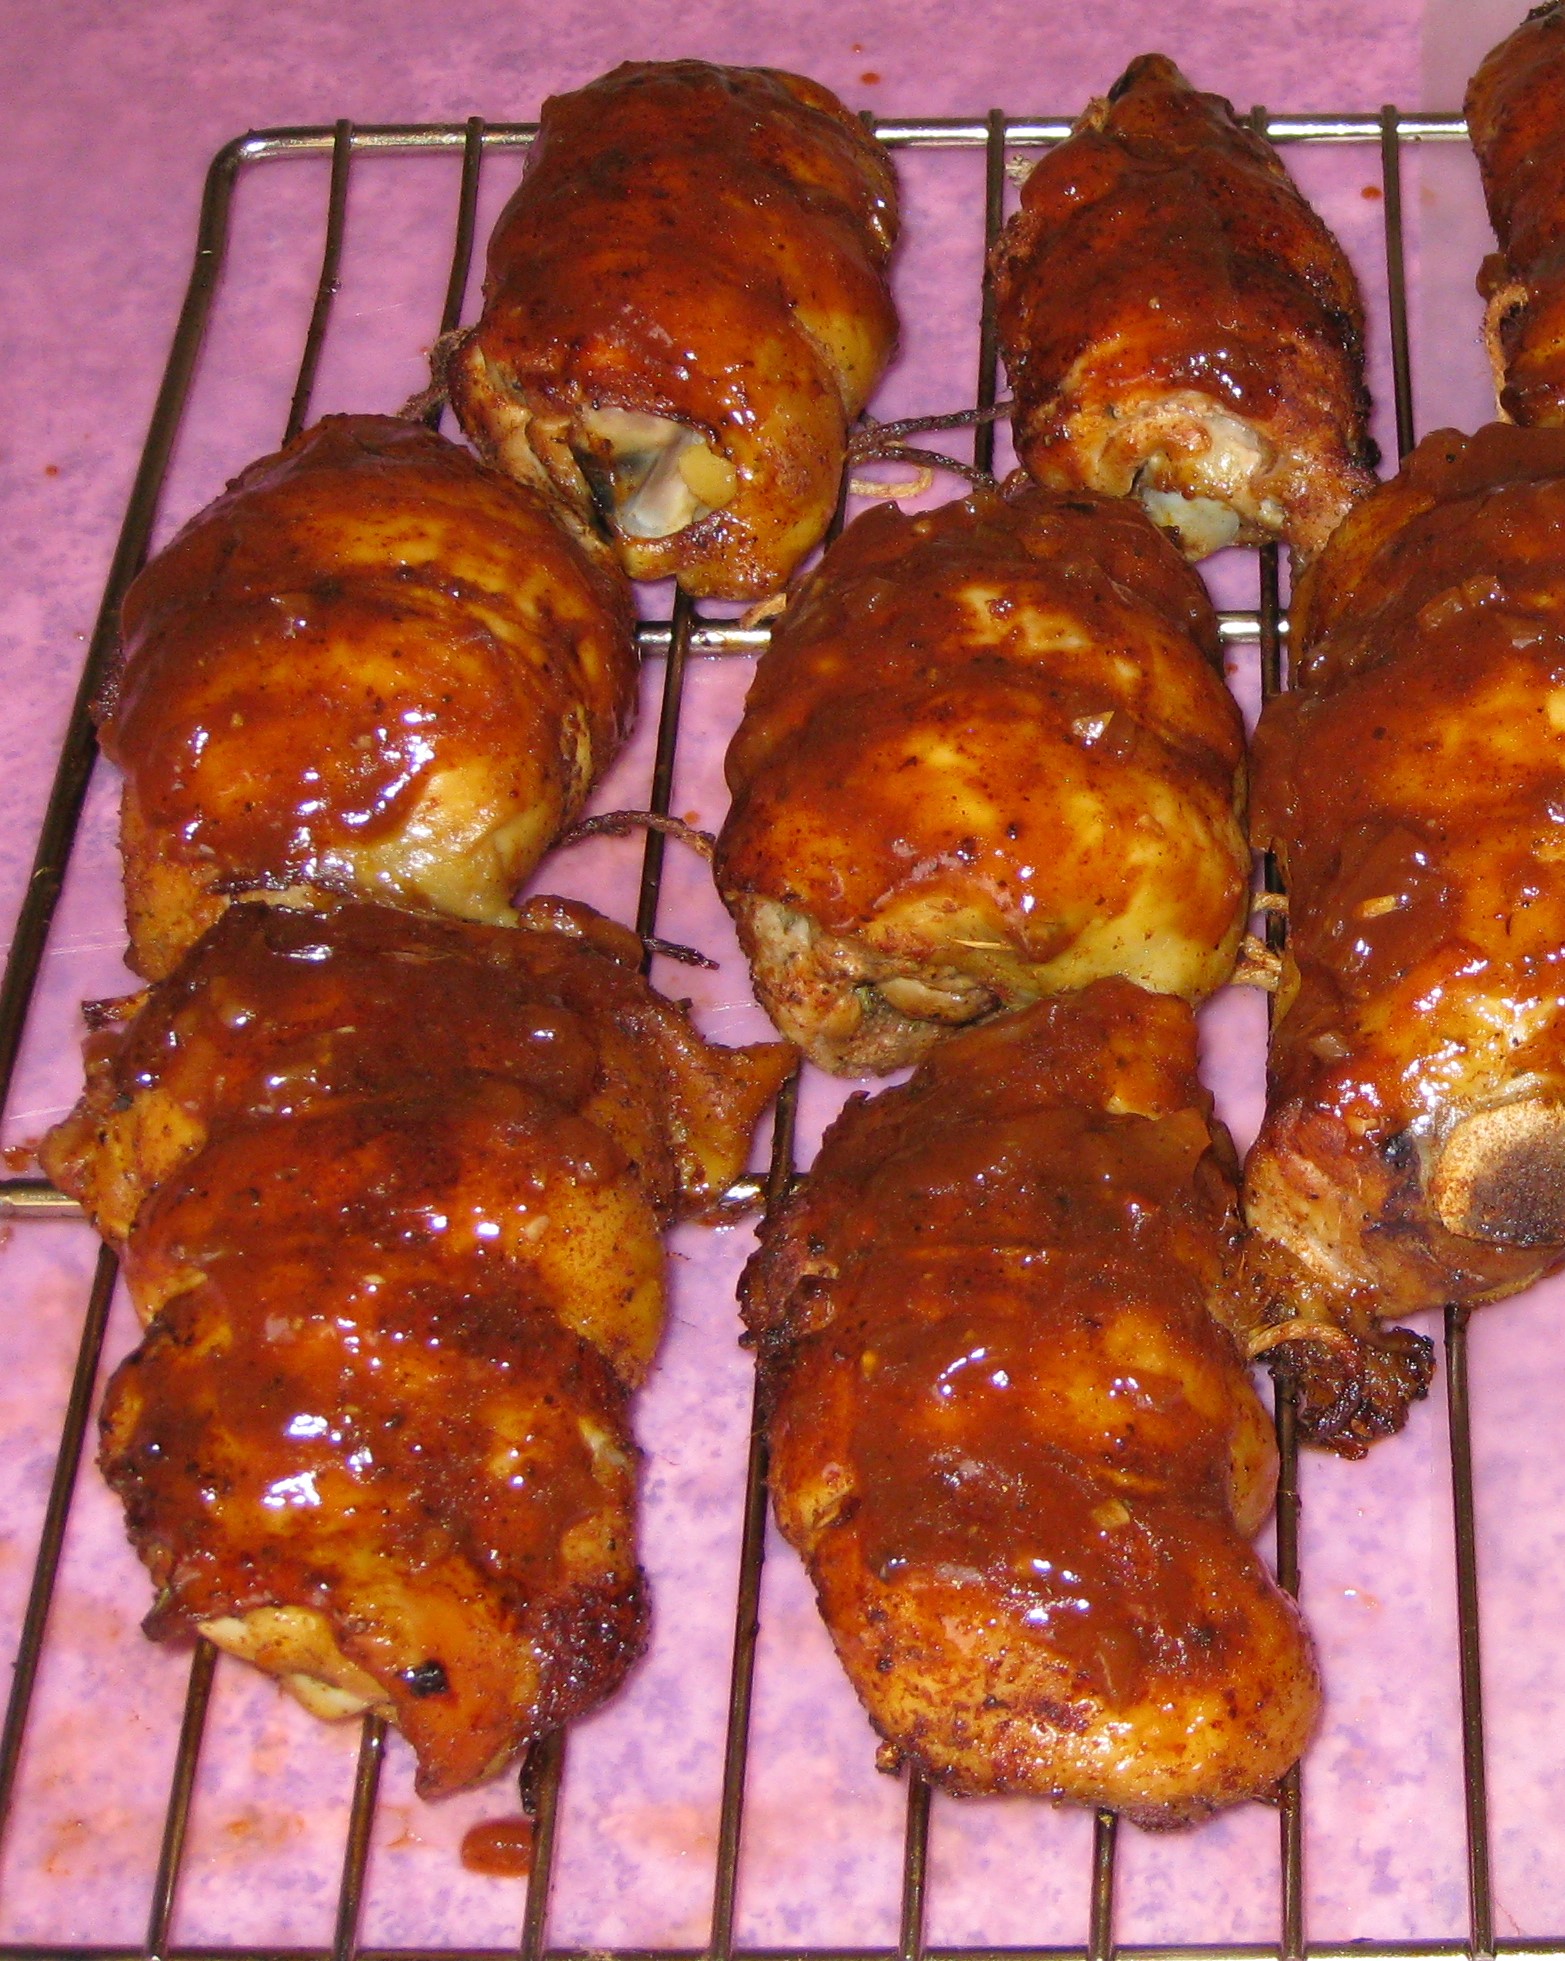
  12. Fifteen minutes before thighs are done, brush with barbecue sauce. Continue cooking for 15 more minutes.
Recipe Notes

Here is where you will find my recipe for barbecue rub and my recipe for barbecue sauce.

Copyright © 2018 by Villa Sentieri, LLC. All rights reserved.
Share this Recipe

Guyanese “Cook Up” (Rice and Black Eyed Peas Cooked in Coconut Milk)

July 13, 2018

The combination of rice and legumes (peas, beans, lentils) is common throughout much of the world.  Sometimes the beans and rice are cooked together like Cajun Red Beans and Rice, Ecuadorian Gallo Pinto or Italian Risi e Bisi.  Sometimes the beans and rice are cooked separately but served together as with Cuban Black Beans and Rice.  The combination of black beans and rice, mixed into a single dish, is traditionally called Moros y Cristianos, a not very politically correct term that translates as Moors and Christians.

Jamaican Rice and Peas is probably the most well-known version of the combination from the West Indies, a term that is typically applied to the English-speaking parts of the Caribbean.  As I’ve mentioned before, although Guyana is on the South American mainland, it was administered as part of the British West Indies and most definitely has a West Indian culture.

Join our mailing list and you’ll never miss a recipe again!

Jamaican Rice and Peas is typically meatless.  It is most often made with red kidney beans.  Part of the cooking liquid is coconut milk.

The house where Ray Hugh, my college roommate, grew up and where I stayed on several occasions, Georgetown, Guyana

Cook Up, the Guyanese version of rice and peas, is most definitely not meatless.  In my experience, it is rare to have fewer than two types of meat in Cook Up.  Coconut milk also figures prominently.

I made four trips to Guyana starting just prior to my junior year in college and ending just prior to starting my internship after finishing medical school.  During the first three trips, I stayed with Ray Hugh, my college roommate, at his father’s house.

During the last trip, I was working as a physician at the public hospital in Georgetown, Guyana.  I rented a room in a private house.  That visit was scheduled to last for five months with a brief return to the States for my medical school graduation after about three and a half months.  As graduation approached, and the prospect of working long hours as an intern became more real, I decided that when I flew home for graduation I would stay put and relax for a bit before starting internship.

Follow us on your social media platform of choice


I enjoy going to food markets whenever I travel, be they local convenience stores, supermarkets, open-air markets, or any other variant!  Stabroek Market in Georgetown is a roofed-over open-sided market housed in a sprawling Nineteenth Century building.  Vendors sell food and almost  any other necessity.

Stabroek Market in Georgetown, Guyana (photo: Google, stabroeknews.com)

Although the house where I stayed had a cook, she only cooked lunch, a very substantial lunch I might add!  I sometimes cooked dinner.  Stabroek Market was where I did my shopping.

Thyme figures prominently in Guyanese cooking.  There are three different herbs that are referred to as thyme in Guyana.  The first is what we think of as “regular” thyme, sometimes called French thyme.  The second is referred to as fine-leaf thyme or Guyanese thyme.  The third is called thick-leaf thyme or broad-leaf thyme.

Although there are many varieties of thyme, thick-leaf thyme is not really thyme but a semi-succulent perennial plant that has wide distribution.  Guyanese thyme, which is quite difficult to obtain in the United States may actually be a variety of oregano.  Thyme, oregano, and marjoram are all closely related.

Rather than sweat trying to find different varieties of thyme, I use “regular” (French) thyme and a little oregano and/or marjoram to round out the flavors.  Since no two cooks use the same herbs in the same quantities, and since many Guyanese cooks would just use French thyme, I think the addition of a little oregano and/or marjoram to mimic fine-leaf thyme produces a traditional taste.  However you do it, thyme  should be the predominant flavor.  Since thyme can taste medicinal in large quantities, use it sparingly at first if it’s not an herb you’re accustomed to cooking with.

Print Recipe
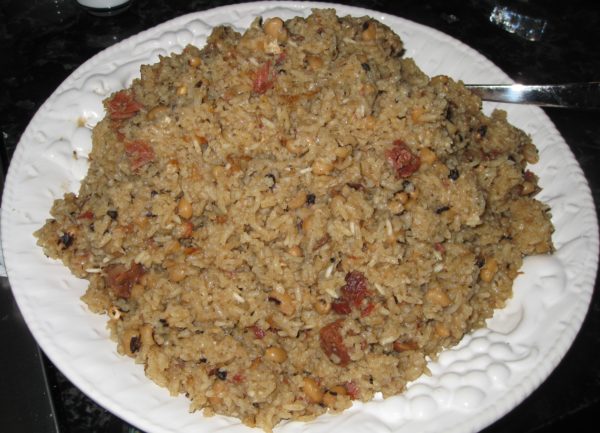
Guyanese "Cook Up" (Rice and Peas with Coconut Milk and Meats)
There are more variations of Cook Up than there are Guyanese cooks. Consider this recipe a starting point. You can use more kinds or different meat, such as diced corned beef or pickled pork (essentially made the same was as corned beef but with pork). Typically, in Guyana, the meats and black-eyed peas would be cooked in the same pot, being added when appropriate to finish cooking at the same time. Liquid would be adjusted by sight and the rice and other ingredients added and the cooking finished. When I made this frequently, I had all the timing down and got quite good at estimating the volume of liquid in the pot. These days, I cook the different ingredients in steps, and actually measure the liquid, as described below.
Votes: 12
Rating: 2.42
You:
Rate this recipe!
Course Mains, Meats, Poultry
Cuisine West Indian
Prep Time 15 minutes
Cook Time 3 1/2 hours
Passive Time 1 hour
Servings
people
Ingredients
Seasoned Chicken
Smoked Meat Broth
Final Assembly
Course Mains, Meats, Poultry
Cuisine West Indian
Prep Time 15 minutes
Cook Time 3 1/2 hours
Passive Time 1 hour
Servings
people
Ingredients
Seasoned Chicken
Smoked Meat Broth
Final Assembly
Votes: 12
Rating: 2.42
You:
Rate this recipe!
Instructions
Seasoned Chicken
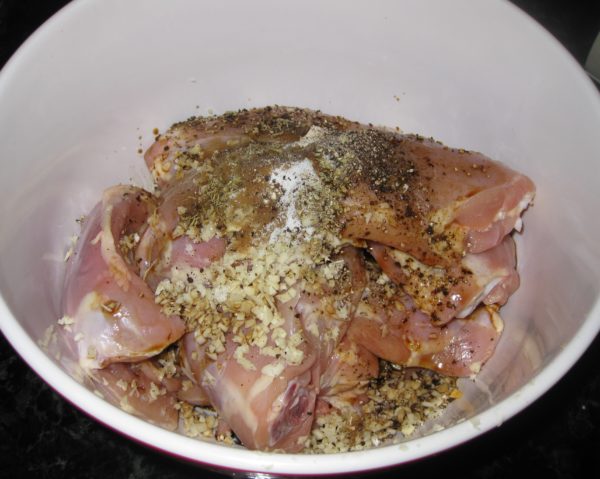
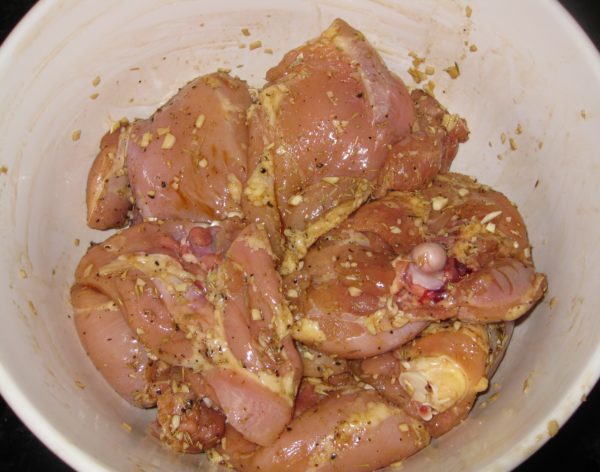
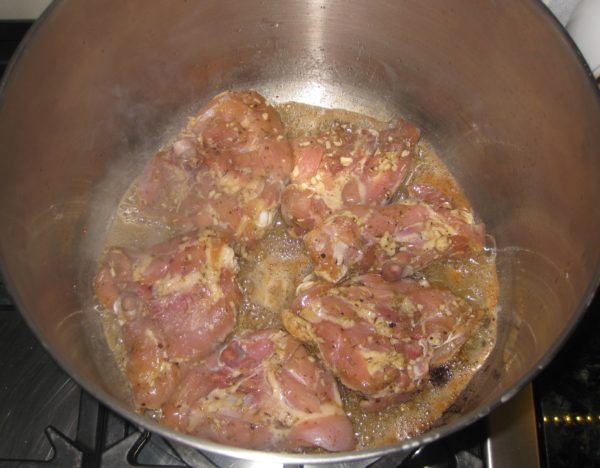
  1. Combine chicken thighs with all chicken seasoning ingredients.
  2. Mix well. Refrigerate several hours or overnight.
Smoked Meat Broth
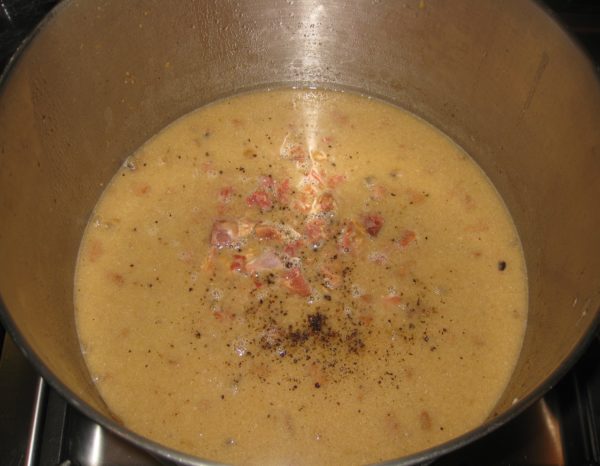
  1. Make the smoked meat broth using the ham shanks or ham hock and water. You can do this by simmering them, covered, for 4-5 hours; cooking in a pressure cooker or Instant Pot for 60 minutes; or using a slow cooker set on low for 6-8 hours.
  2. When the broth is done, remove and reserve the ham shanks or ham hock. Skim the fat from the broth, add water to make 8 cups, and refrigerate if not using immediately.
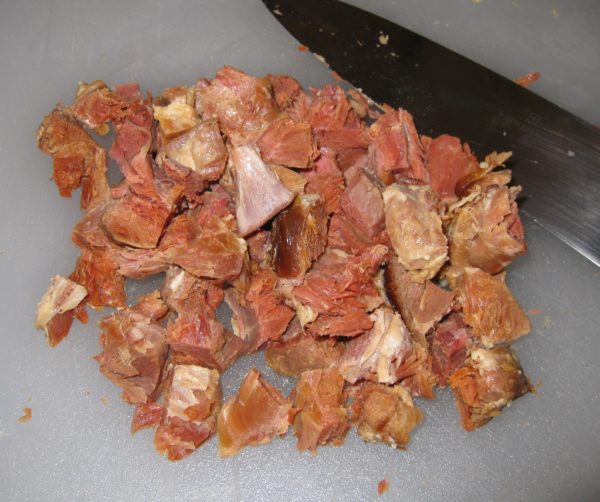
  3. Dice the meat from the ham shanks or ham hock and reserve.
Final Assembly
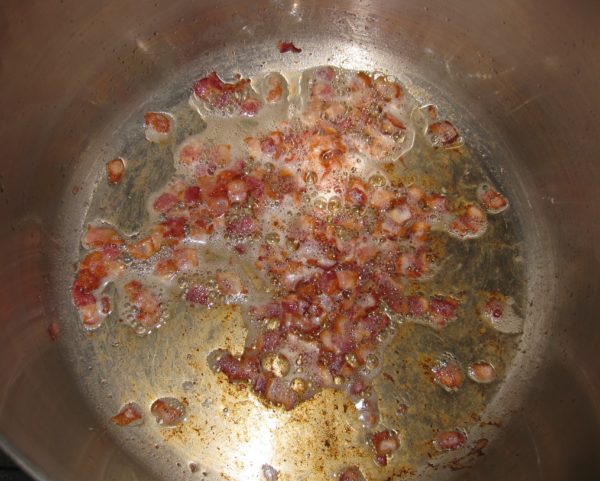
  1. Dice the bacon.
  2. In a large, heavy-bottomed Dutch oven or stockpot with a tight-fitting lid, brown the bacon.
  3. Remove and reserve the bacon.
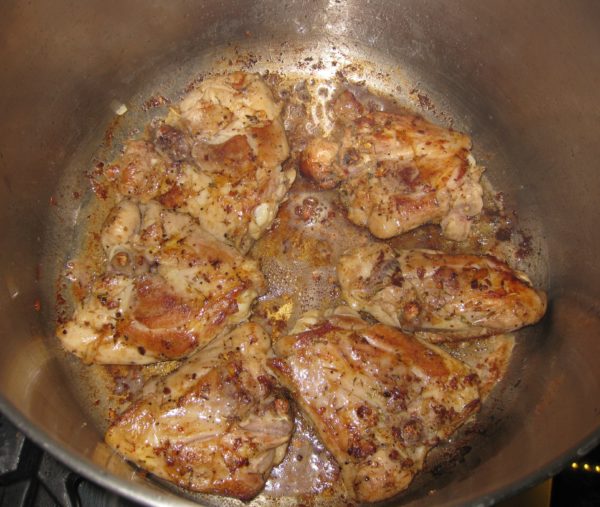
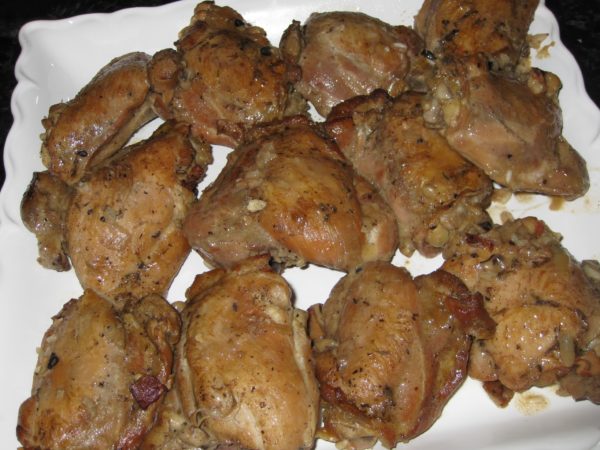
  4. Brown the seasoned chicken pieces well, in batches, in a the bacon fat in the Dutch oven.
  5. As the chicken pieces are browned, remove them to a platter.
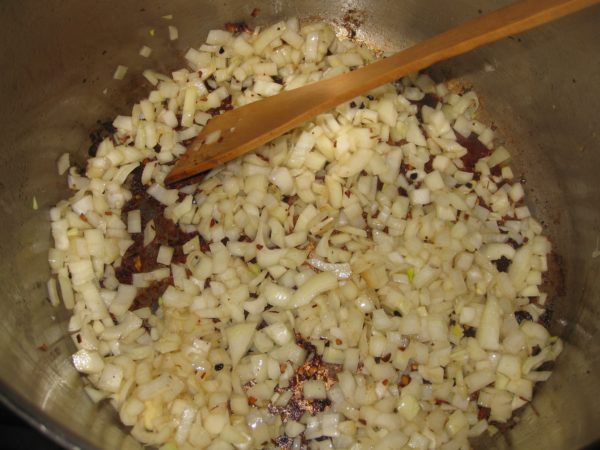
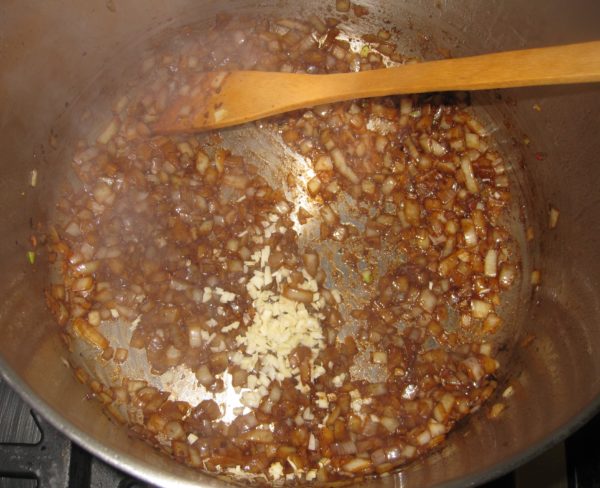
  6. After browning and removing all the chicken, add the onions to the Dutch oven and sauté until softened. If the onions do not release enough liquid to loosen the browned bits from the bottom of the pot, add a few tablespoons of broth or water.
  7. After loosening the brown bits, continue to sauté the onions until translucent.
  8. Add the garlic and sauté until fragrant.
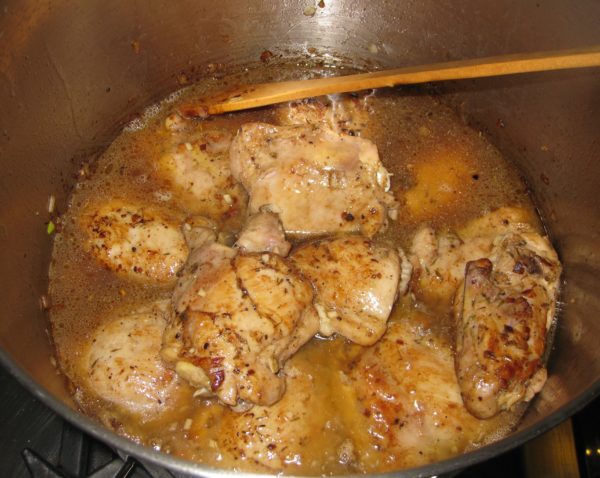
  9. Return the chicken to the pot with the onions and garlic. Add any accumulated juices as well as any marinade that might be left in the bowl. Add 4 cups of broth. Cover the pot and simmer approximately one hour, until the chicken is tender.
  10. Remove and reserve the chicken.
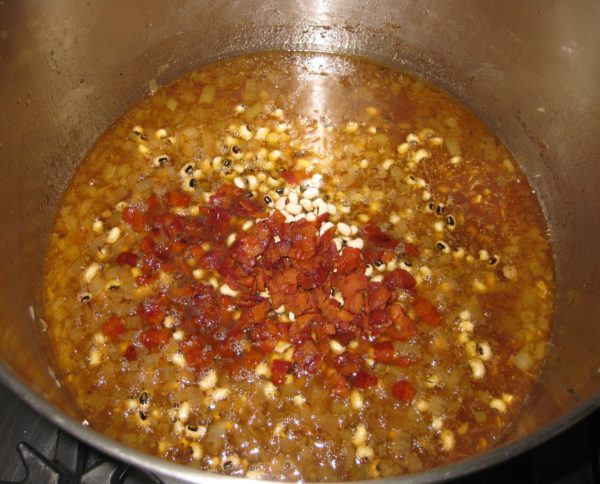
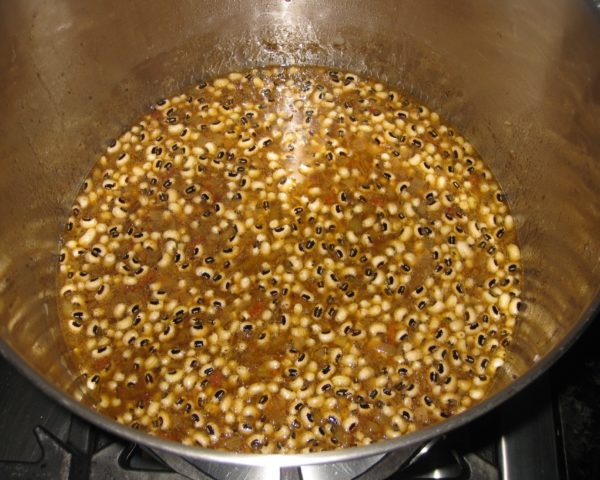
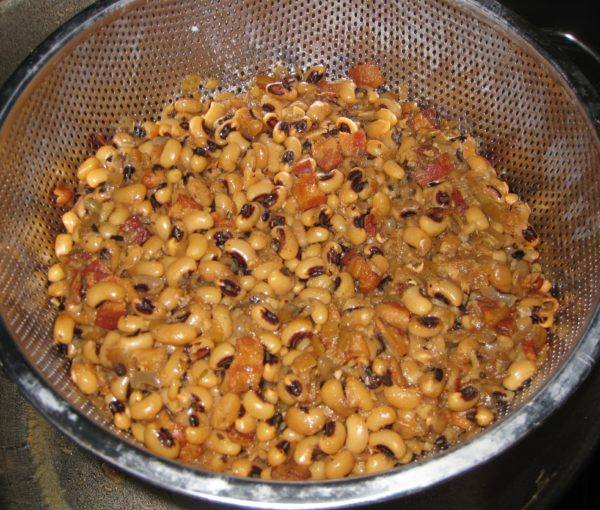
  11. Add the black-eyed peas and bacon to the pot in which the chicken was cooked along with the remaining 4 cups of broth. Bring to a gentle boil and cook, partially covered, until the peas are cooked, approximately 30-45 minutes, adding two teaspoons of salt after about 15 minutes of cooking.
  12. When the peas are cooked drain them, reserving the cooking liquid.
  13. Measure the cooking liquid and either add water or boil it down to make four cups.
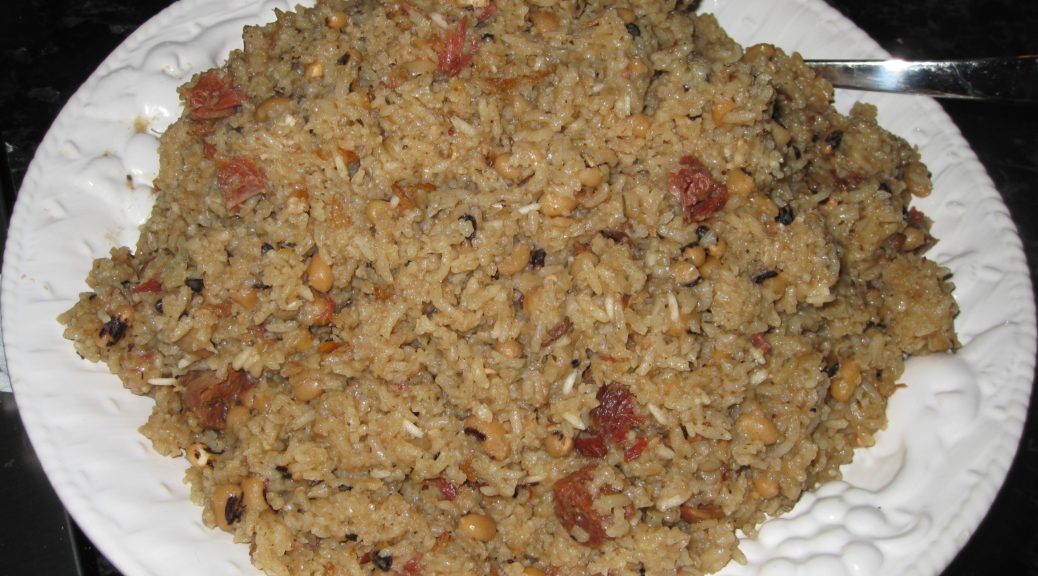
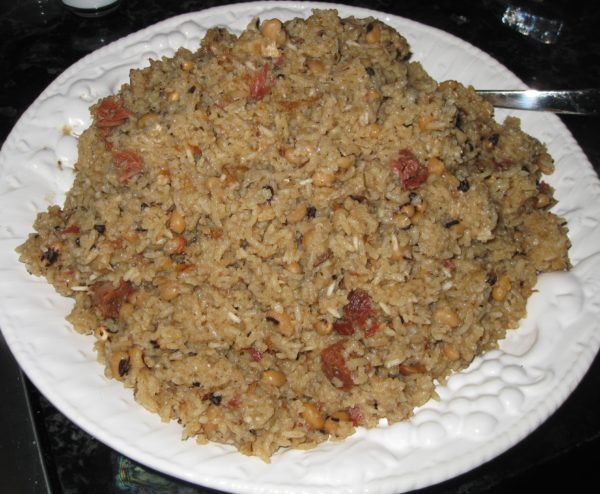
  14. Return the cooking liquid to the Dutch oven along with the cooked black-eyed peas and bacon, diced pork from the broth, rice, coconut milk and 4 teaspoons of salt. Bring to a boil, stirring a few times. Put the chicken pieces on top of the rice, cover the pot, reduce the heat to low, and cook for 20 minutes without opening the pot.
  15. Remove the rice from the heat and allow it to rest for 15 minutes without removing the lid.
  16. After 15 minutes taste a bit of the rice. It should be cooked, but if not, add a bit more water and cook briefly on low heat, covered, until the rice is fully cooked.
  17. Arrange the chicken on a serving platter.
  18. Stir the rice and put on the platter with the chicken or on a different one. Serve immediately with West Indian hot sauce.
Recipe Notes

Smoked ham shanks are the boney ends of smoked ham. They have a gentle smoke flavor, just like ham. Smoked ham hocks are much more aggressively smoked and one would be sufficient for this quantity of rice.

Copyright © 2018 by Villa Sentieri, LLC. All rights reserved.

Share this Recipe

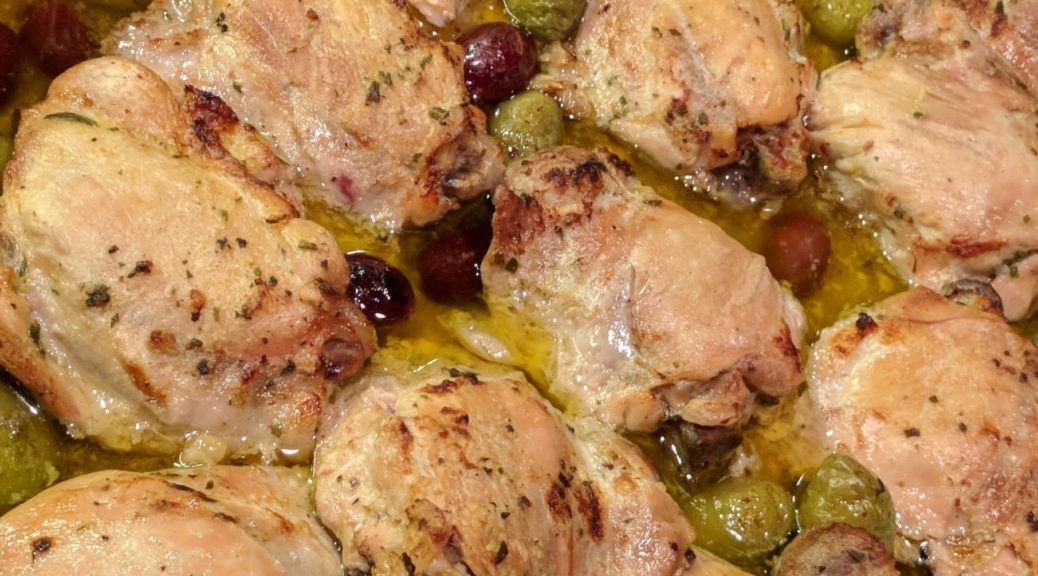
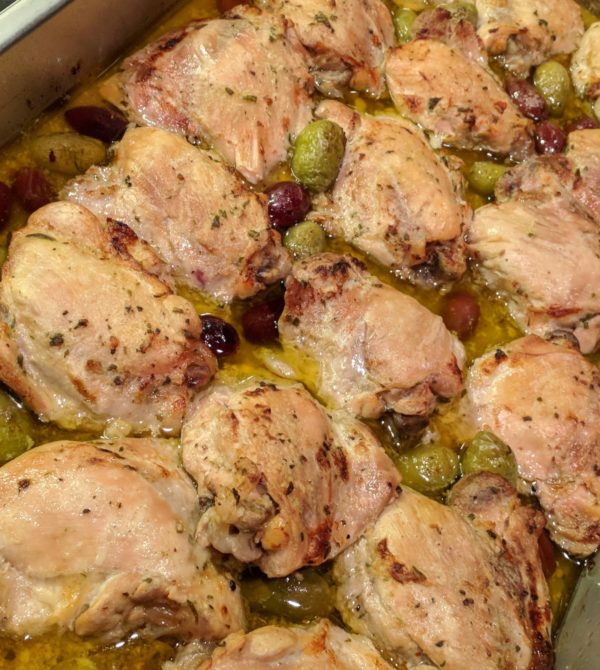
Chicken Braised with Lemon, Sage and Olives

June 20, 2018

When we’re in Palm Springs in the winter, surrounded by an abundance of citrus trees, I feel like citrus ought to be featured in every meal.

Being able to walk out the door and pick lemons, limes, oranges, grapefruit and tangerines, and NOT doing it, seems like such a grand missed opportunity.  Even if the ingredients for the rest of the meal don’t come from within a few feet of my door, the citrus fruits and herbs can.

With that in mind, and the prospect of cooking a multi-course dinner for 15 people in a kitchen that’s about 8’ x 10’ got me to thinking.  Individually lemons, sage, and olives pair well with chicken so why not all of them together in the same dish?

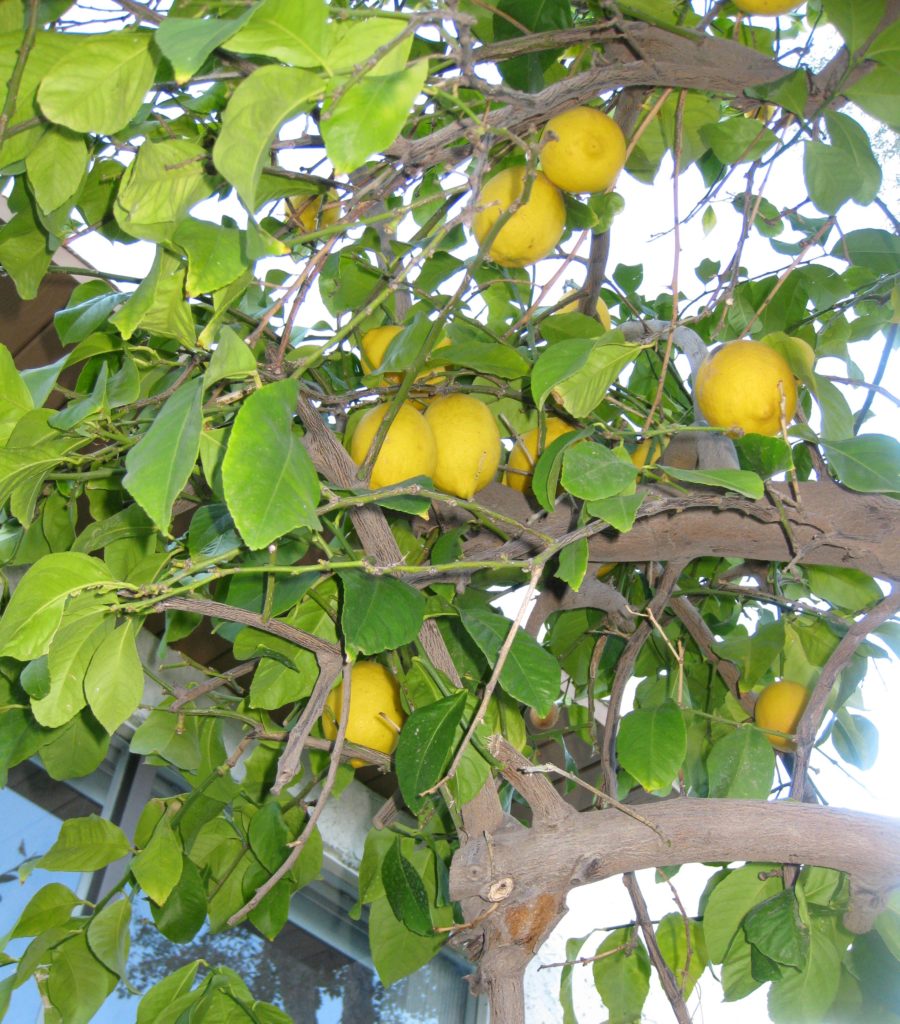
Looking up into a lemon tree in Palm Springs

Next came the method.  With fifteen people I needed at least 15 pieces of chicken.  I was pretty sure that with all the other courses, one piece of chicken per person would be enough.  I added a few more for good measure.


Follow us on your social media platform of choice


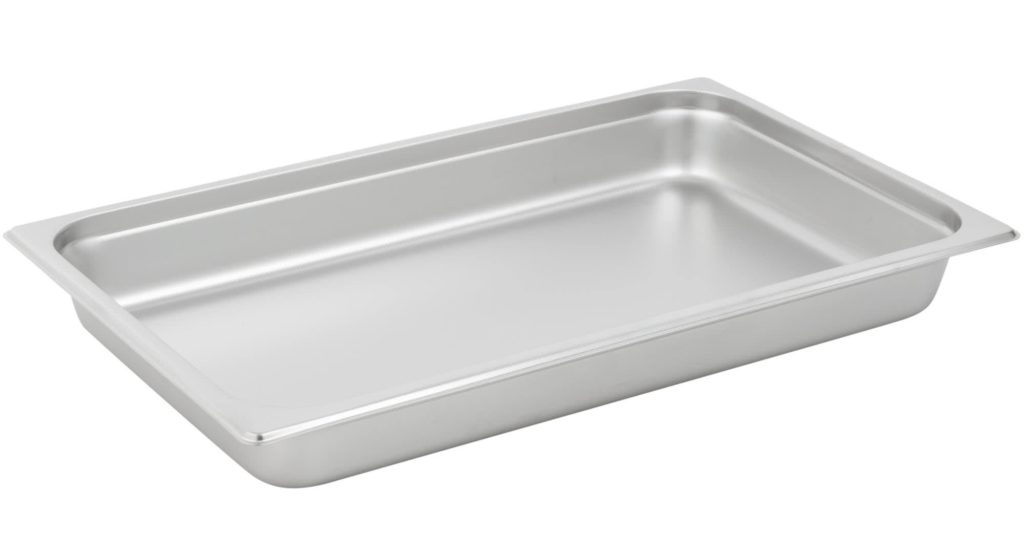
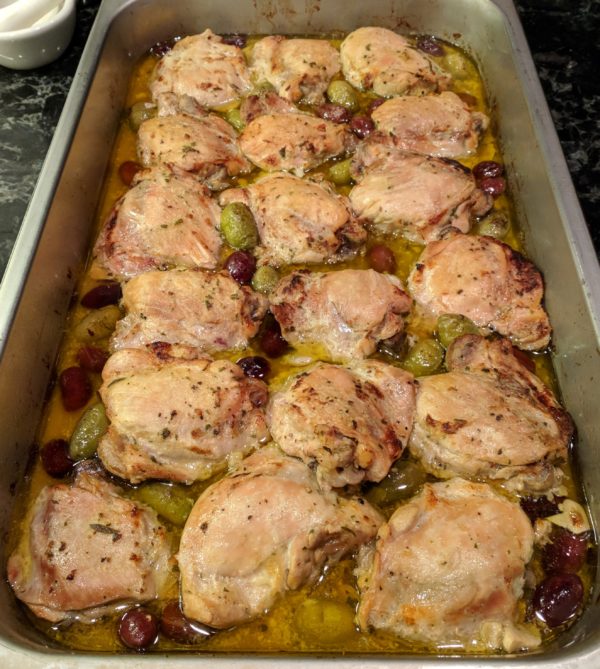
Braising 18 pieces of chicken on the stove top would have consumed a good deal of space so I opted for the oven and a “hotel pan,” sometimes called a steam table tray.  You know, those cafeteria-style rectangular pans.  I have a mess of them in an array of sizes.  Made of stainless steel, they’re non-reactive.  You can cook and store food in them, simplifying the preparation process.  Shallow roasting pans are a good substitute.  Don’t use aluminum pans or other reactive materials due to the lemon juice in this dish.

To keep it simple, I decided not to brown the chicken first, but rather to do it at the end by turning up the oven.  I made a marinade by buzzing the ingredients in a blender, so even that is super-easy.

A hotel pan is a great way to prepare large quantities of food

Which part of the chicken to use was never in question.  I like what happens to chicken thighs with long, slow braising.  Keeping the bone in adds flavor and structure so I suggest avoiding boneless thighs.

If you keep the skin on you’ll have to remove it before browning and serving the chicken because it will be rubbery from the moist heat.  I usually prefer to keep the skin on as it helps keep the meat moist but the combination of low and slow cooking and a tight cover meant the effect of the skin would be marginal.  Removing the skin in the beginning makes the dish even simpler to prepare.  Besides, the skin is a great addition to the stock pot when making chicken stock or broth.


Join our mailing list and you’ll never miss a recipe again!


I keep a zipper lock bag in my freezer into which I put chicken skin and other bits that I trim off chicken then add the contents to the stock pot with backs and wings.  Skin contains a lot of fat but since it will be skimmed off at the end it’s not really a concern.  The collagen in the skin, however, will greatly improve the mouthfeel of the broth.  In the “old days” adding chicken feet to the stock pot served the same purpose but finding chicken feet is challenging.

A Palm Springs orange tree, in the distance, full of ripe oranges

While this dish was created in the Palm Springs winter, it works well year-round thanks to the non-stop availability of lemons.  The next time you’re cooking for a crowd, give it a try and let me know what you think.

Print Recipe
Chicken Braised with Lemon, Sage and Olives
I created this recipe for my father-in-law’s birthday, January 2018. The lemons came from the trees outside of our house in Palm Springs. Though not essential, I prefer to put a sheet of baking parchment over the chicken before covering with aluminum foil to keep the reactive aluminum completely out of contact with the acid in the lemon juice.
Votes: 0
Rating: 0
You:
Rate this recipe!
Course Mains, Poultry
Cuisine Italian
Prep Time 30 minutes
Cook Time 2 hours
Servings
people
Ingredients
Course Mains, Poultry
Cuisine Italian
Prep Time 30 minutes
Cook Time 2 hours
Servings
people
Ingredients
Votes: 0
Rating: 0
You:
Rate this recipe!
Instructions
  1. Make marinade by pureeing the olive oil, lemon juice, 6 cloves garlic, rosemary, salt, and pepper in a blender.
  2. Pour the marinade over the chicken thighs and mix well.
  3. Marinate chicken thighs overnight in the refrigerator.
  4. Lightly oil a non-reactive hotel pan or shallow roasting pan.
  5. Arrange lemon slices on the bottom of the pan.
  6. Put a sage leaf on each lemon slice.
  7. Put a chicken thigh on each sage-topped lemon slice, reserving the marinade.
  8. Scatter olives around the chicken.
  9. Smash the remaining 8 garlic cloves and scatter around the chicken.
  10. Pour the marinade over the chicken. Cover the pan tightly with foil. (If possible, cover the pan with a sheet of parchment before the aluminum foil.)
  11. Put the chicken into a preheated 350°F oven. Cook until the chicken is nearly fall-apart tender, 90-120 minutes.
  12. Using a turkey baster, remove most of the liquid from the pan. Put the liquid into a fat separator.
  13. Turn the heat as high as the oven goes. Put the pan of chicken on the top rack until it takes on some color, approximately 10-15 minutes. You can also use the broiler for this, though many broilers do not have enough heated surface area to brown the contents of a large pan.
  14. While the chicken is browning, skim the fat from the pan juices.
  15. Carefully move the chicken thighs, with lemon slices intact, to a serving platter or individual plates.
  16. Scatter the olives over the chicken.
  17. Pour some of the defatted pan juices over the chicken.
  18. Pass the remaining defatted pan juices at the table.
Recipe Notes

Copyright © 2018 by Villa Sentieri, LLC. All rights reserved.
Share this Recipe

Stir-Fried Chicken with Cashews and Snow Peas

May 9, 2018

This is the year of the Dog.

It may be old news, but Lunar New Year was Friday, February 16, 2018.  We celebrated with close friends and a dinner menu with an extensive array of Asian dishes.  There are many traditional dishes for Lunar New Year depending on the country.  I chose to do a pan-Asian menu rather than focus on strictly traditional recipes from a single country.

Kifune Shrine, Kyoto, Japan (Photo by Avishek Kumar)

We were in Palm Springs for Lunar New Year.  The plan was to escape winter weather in Santa Fe which, as it turned out, was not very wintery after all, unlike what the East Coast experienced.


Follow us on your social media platform of choice


Sourcing Asian ingredients has become a real issue for me now that I don’t live in a major city.  The only Asian grocery store in Santa Fe, Talin Market, closed a few months ago though the original location is still open in Albuquerque.

Palm Springs only has two Asian markets that I can find.  Both are Filipino-owned and, although they stock an array of Asian goods, they really focus on Filipino foods.

Honen-in Temple, Kyoto, Japan (Photo by Avishek Kumar)

Amazon came to the rescue.  While I’d rather stand in the aisles of an Asian market reading and comparing packages of honest-to-goodness product, Amazon was a lifesaver.

There were eight of us for the Lunar New Year dinner.

The kitchen in our Palm Springs house is small, approximately 9 feet by 11 feet.  Turning out a multi-course meal requires a lot of planning and organization.   I divided the main part of the meal into four courses.  Each course included a complementary array of foods and different cooking methods.

We started with hors d’oeuvres and cocktails.  We ended with a simple, non-traditional dessert of gelato and fortune cookies, which I purchased.  I assumed nobody was going to be too into dessert after all the other food.

Fushimi Inari Shrine, Kyoto, Japan (Photo by Avishek Kumar)

Here’s the menu:

Hors d ’Oeuvres
Vegetable Dumplings with Soy-Vinegar Dipping Sauce
Steamed Edamame with Coarse Salt

First Course
Stir-Fried Chicken with Cashews and Snow Peas
Eggplant Hunan Style
Cambodian Fish with Bean Thread

Second Course
Korean Bulgogi
Indonesian Sweet Corn Patties
Szechuan Garlic Noodles

Third Course
Hot and Sour Soup

Fourth Course
Chinese Roast Pork
Japanese Carrot Salad
Mapo Tofu
Caramelized Tomatoes with Ginger and Vinegar


Join our mailing list and you’ll never miss a recipe again!


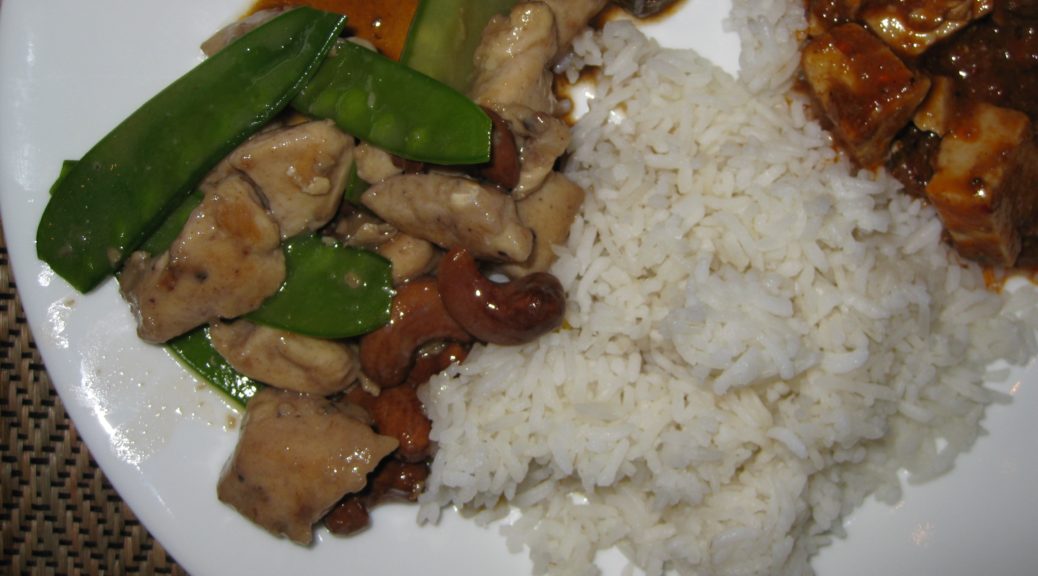
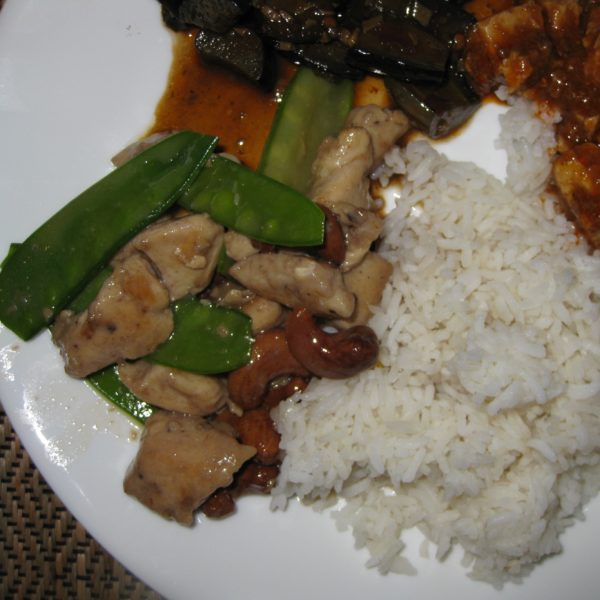
I recently published my recipe for Chinese Roast PorkHot and Sour Soup is coming up in a couple of weeks.  Today, however, we’re focusing on a Cantonese classic, Stir-Fried Chicken with Nuts and Vegetables, specifically cashews and snow peas.

This is a recipe that I started making during junior year in college.  It got tweaked a lot over that year.  By then I was comfortable with the end product and didn’t really do much with it… until this year.

I didn’t really change the recipe, though.  I changed the pan!

Shrine in Gion District, Kyoto, Japan (Photo by Avishek Kumar)

You’ve probably figured out that I’m prone to excess where kitchen equipment comes in.  I have four woks:  two carbon steel ones that date back to college and two that are a decade or so younger, one aluminum and one carbon steel.  Both of these are larger than the ones from my college days.

I always cook my stir-fries in a wok but this particular dish is always a problem due to the “velvet” coating on the chicken.  The coating always sticks to the wok.  I suspect I could eliminate that problem by using enough oil to deep fry the chicken but that wasn’t supposed to be the way to cook it.  So, I always just accepted the “sticking-chicken” problem.

Until now.

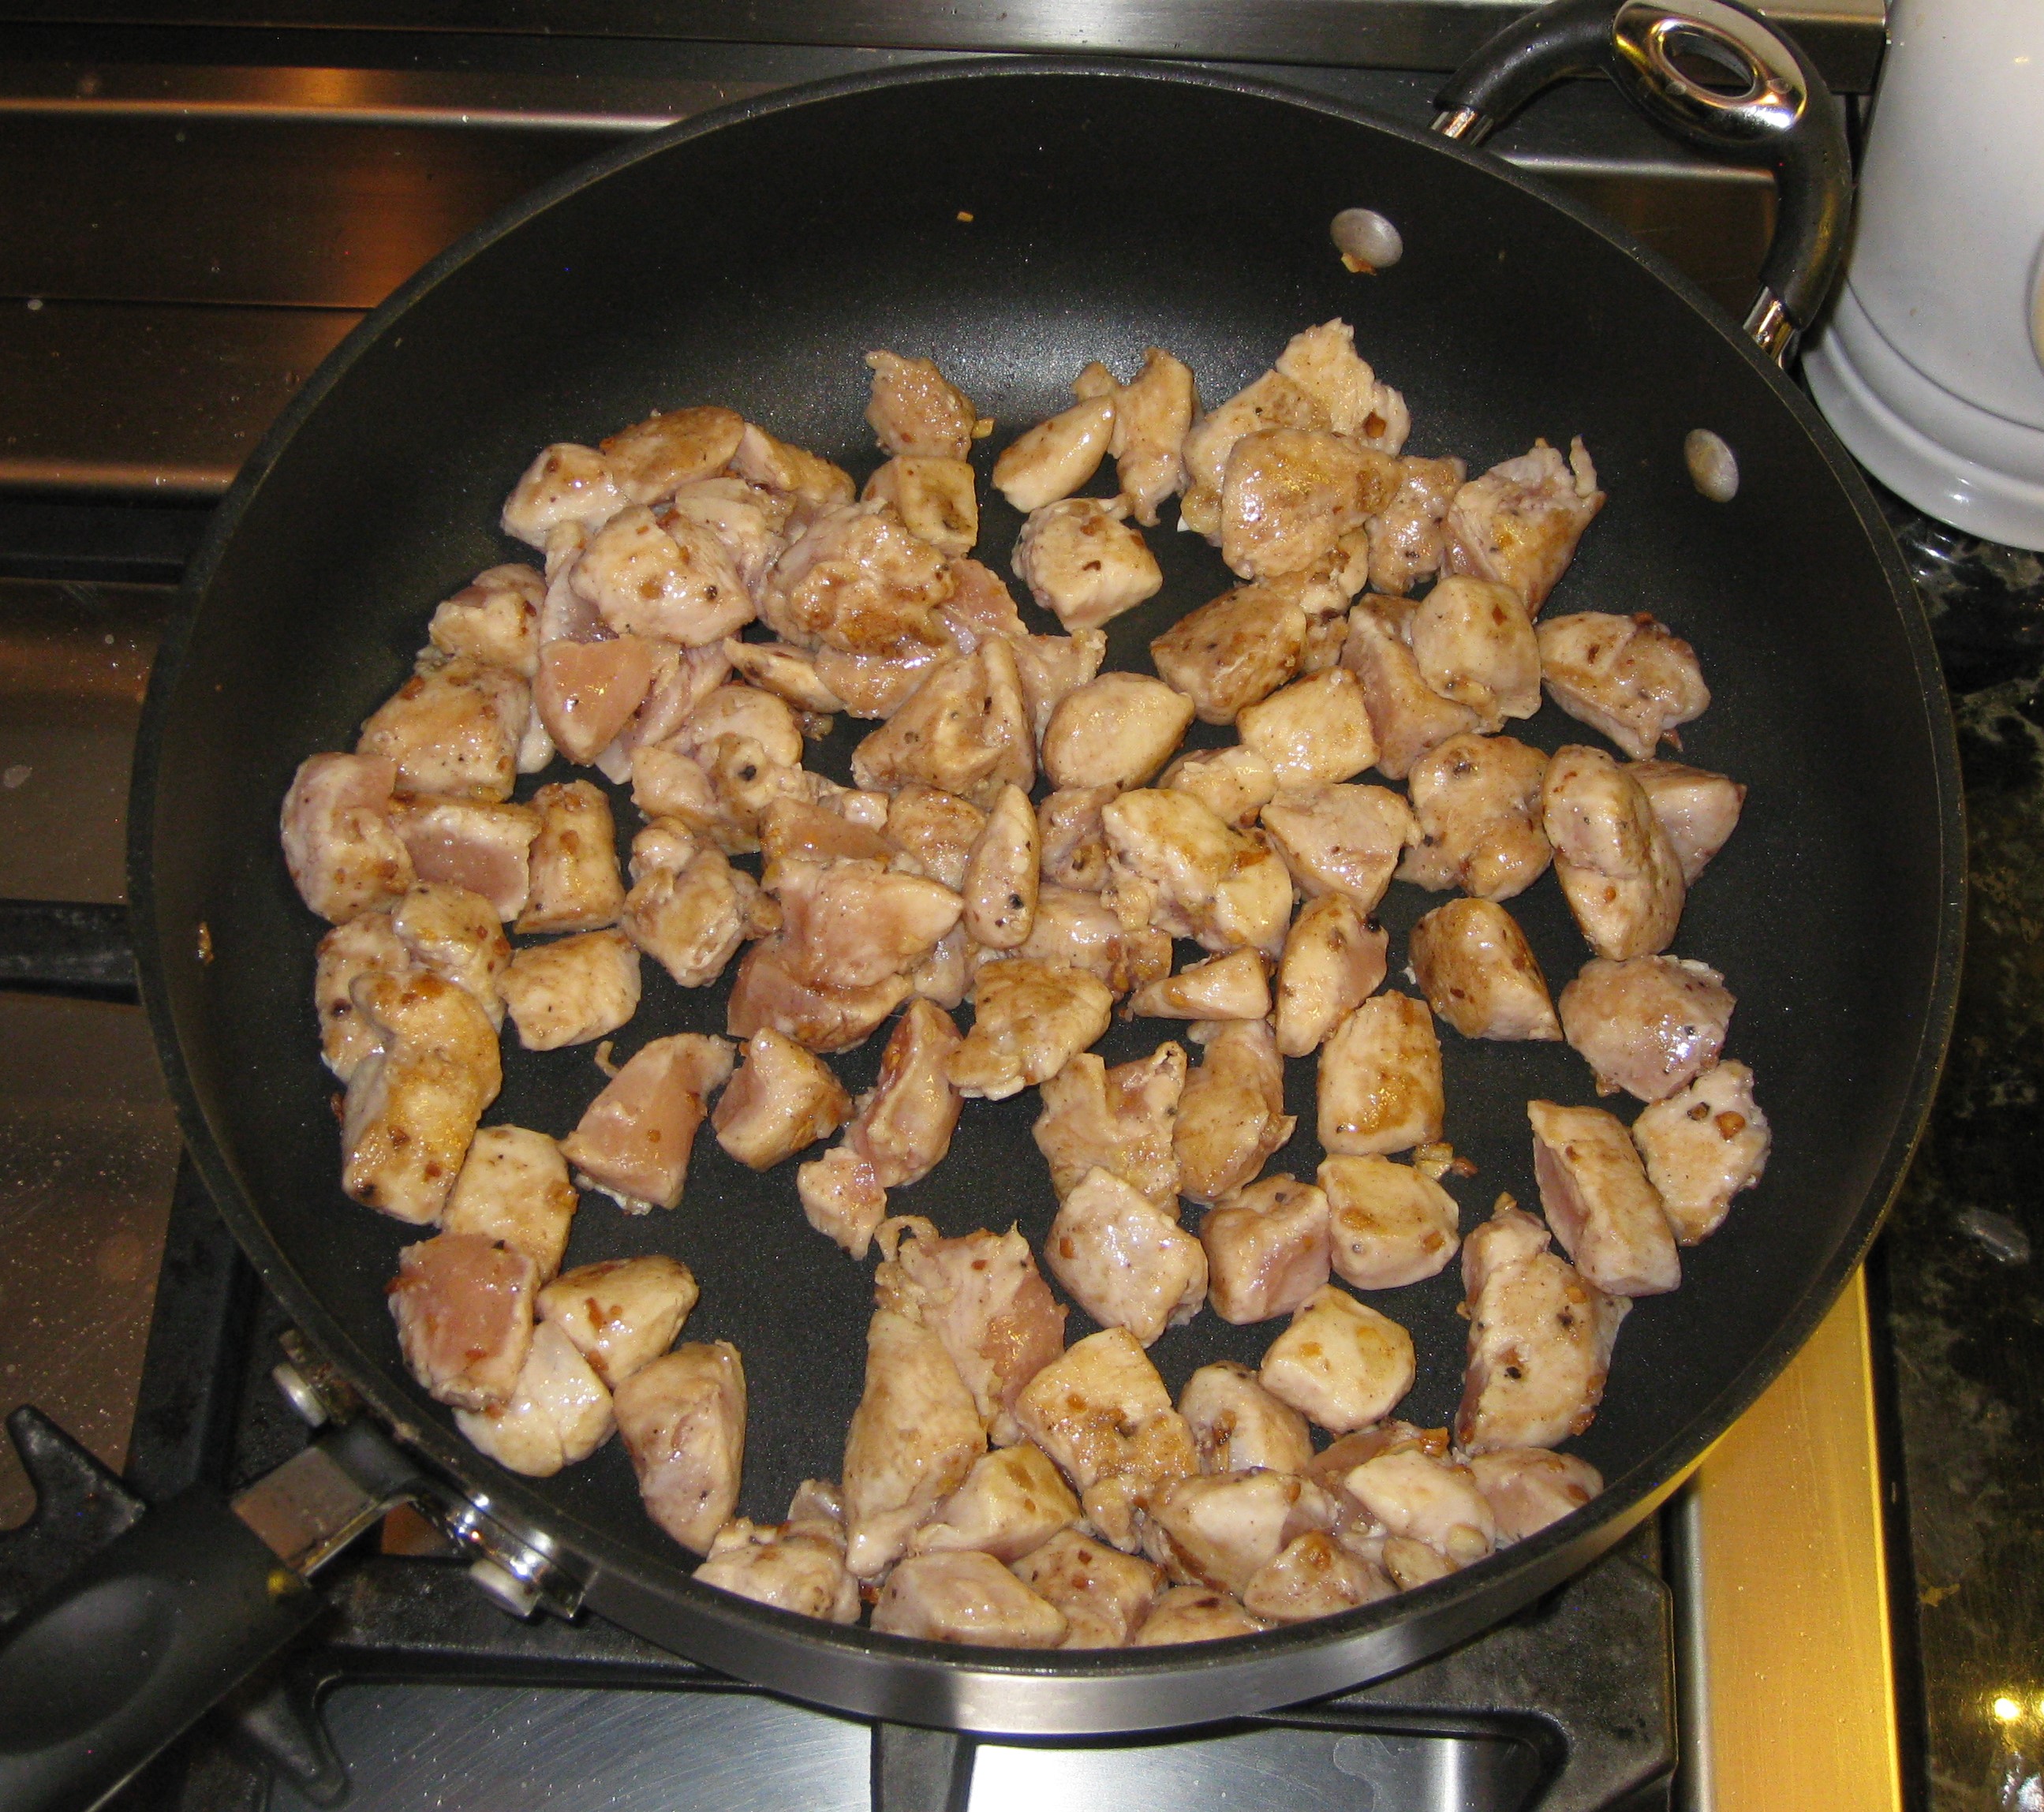
I used a large, non-stick skillet.

It worked like a charm!!!

I don’t think I’ll give up my woks any time soon but for this particular dish, non-stick is definitely the way to go.

Afterthought:  This recipe calls for MSG, though, of course, you can leave it out if you wish.  If you’re at all interested in the hype about the health effects of MSG, I suggest you read this article.

Print Recipe
Stir-Fried Chicken with Cashews and Snow Peas
Walnuts and either broccoli or green beans can be used instead of cashews and snow peas. The chicken can be marinated several hours in advance and refrigerated, tightly covered. If you wish, you can reduce or eliminate the MSG.
Votes: 0
Rating: 0
You:
Rate this recipe!
Course Mains, Poultry
Cuisine Chinese
Prep Time 20 minutes
Cook Time 15 minutes
Servings
people as part of a Chinese meal
Ingredients
Velvet Chicken
Sauce
Assembly
Course Mains, Poultry
Cuisine Chinese
Prep Time 20 minutes
Cook Time 15 minutes
Servings
people as part of a Chinese meal
Ingredients
Velvet Chicken
Sauce
Assembly
Votes: 0
Rating: 0
You:
Rate this recipe!
Instructions
Velvet Chicken
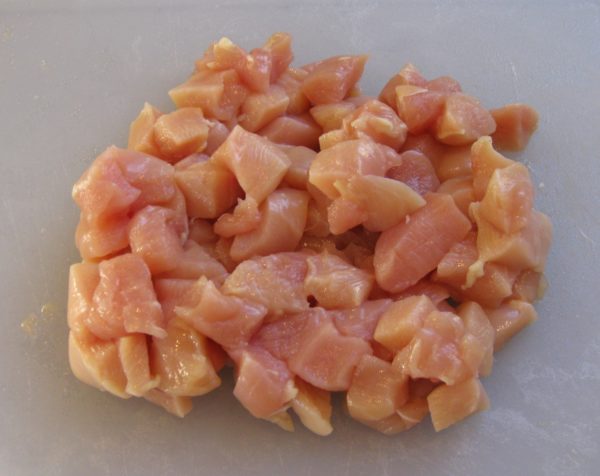
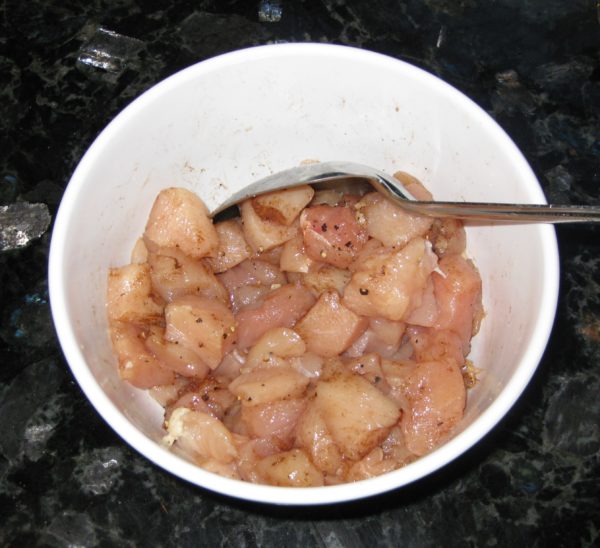
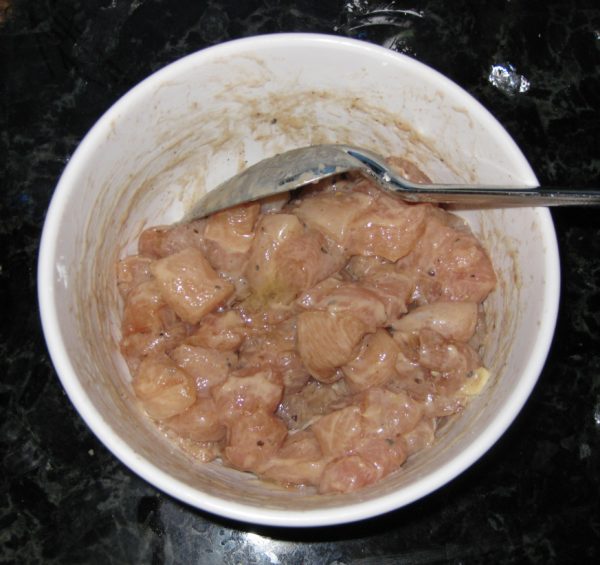
  1. Cut the chicken into ½ inch cubes.
  2. Put the chicken in a non-reactive dish.
  3. Sprinkle the chicken with salt, pepper, five spice powder and MSG. Mix well then let stand 20 minutes.
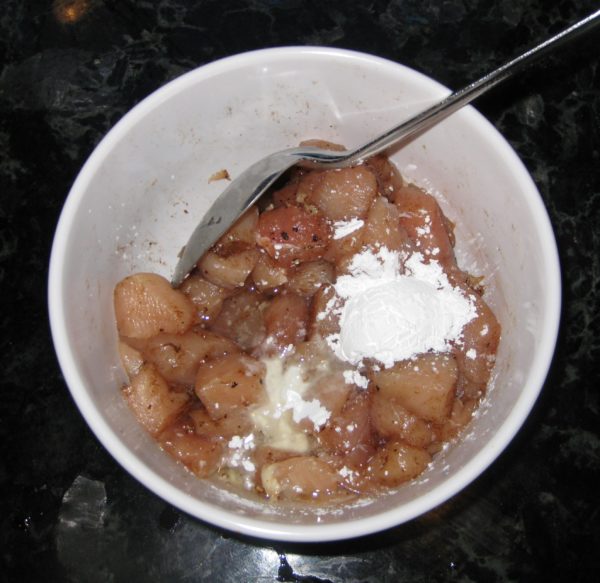
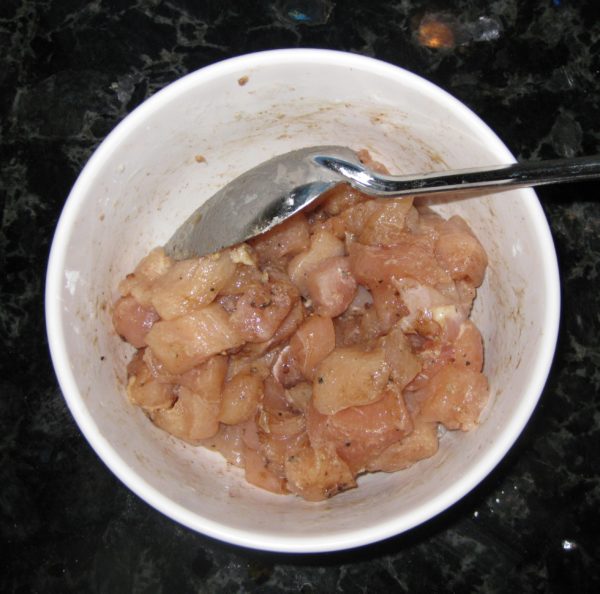
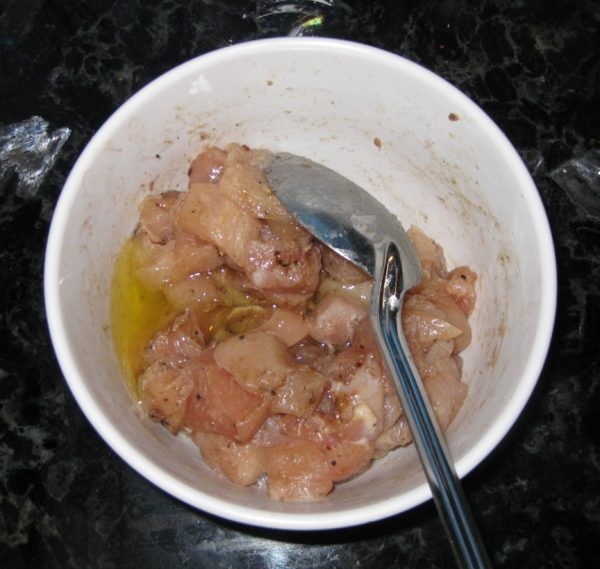
  4. Sprinkle the chicken with cornstarch and 4 teaspoons of oil. Mix well and let stand 20 minutes.
  5. Fold the egg white into the chicken. Let stand 30 minutes. If not using immediately, the chicken can be refrigerated, covered, for several hours at this point.
Sauce
  1. Combine all sauce ingredients, stir well and reserve.
Assembly
  1. Deep fry the nuts until golden. Once they start to color, they will cook rapidly. Careful attention is required to avoid burning them.
  2. When golden, remove the nuts from the oil and spread them on a paper towel to drain.
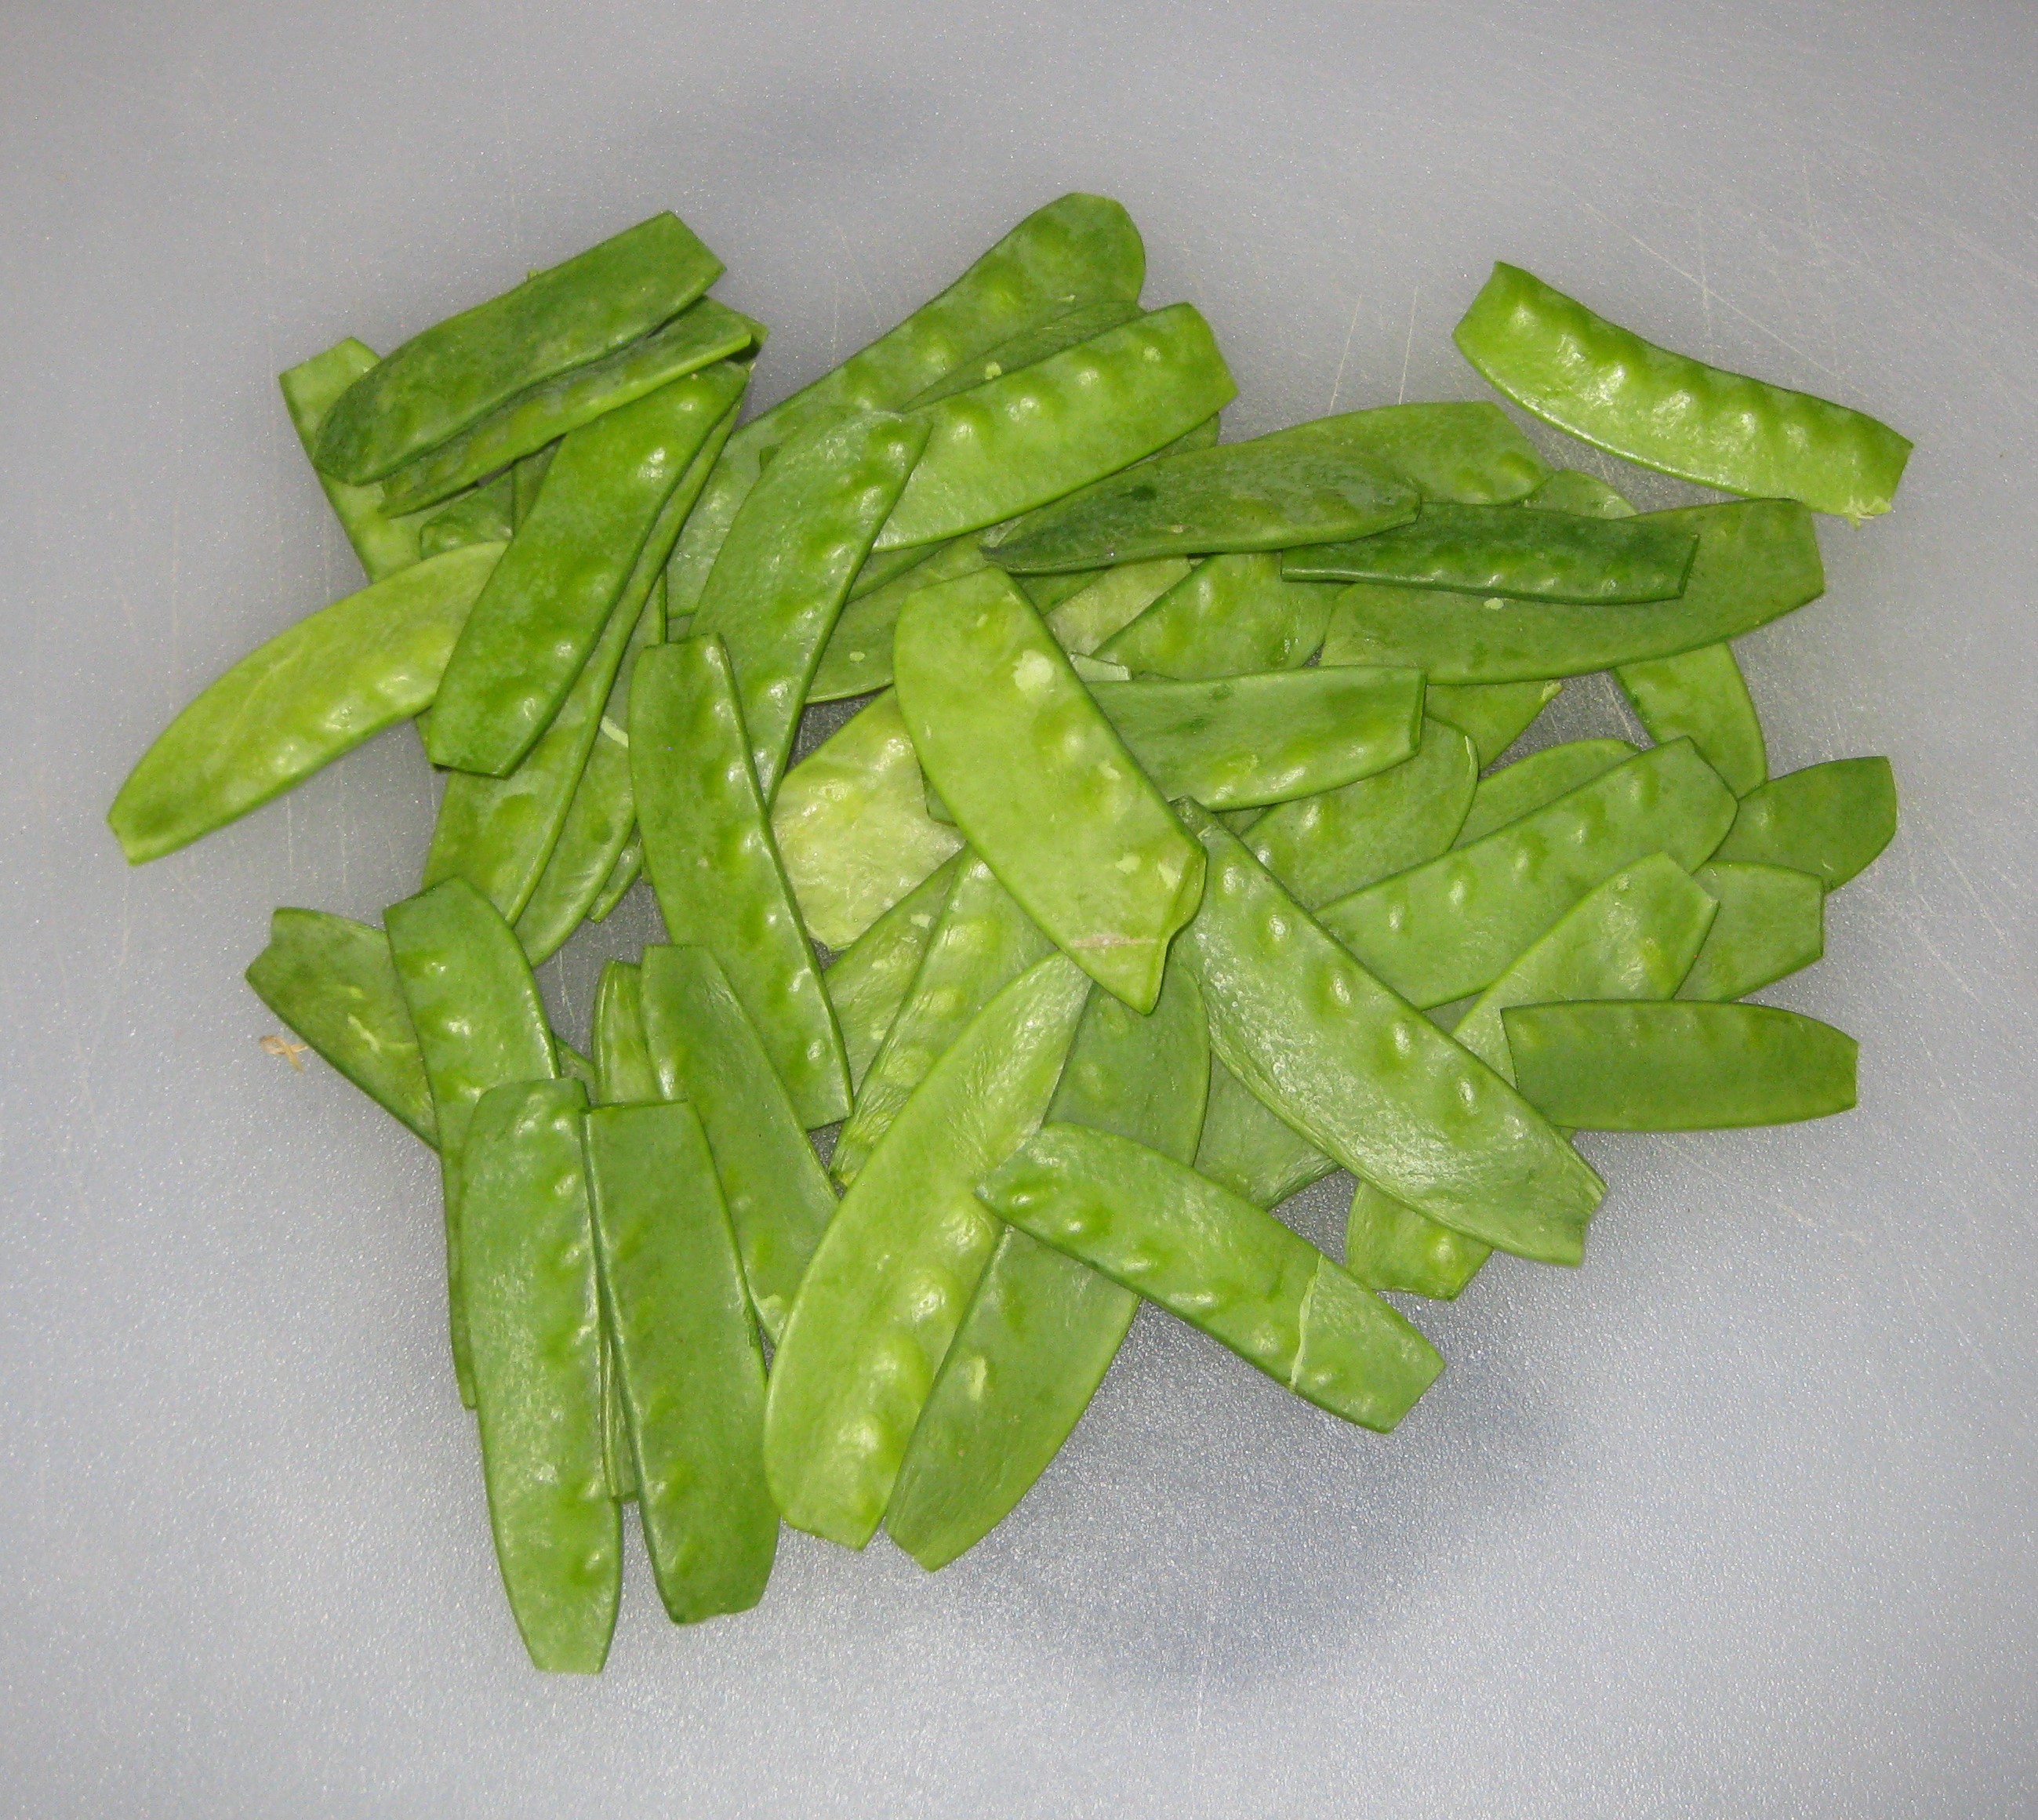
  3. Cut the tips off the snow peas.
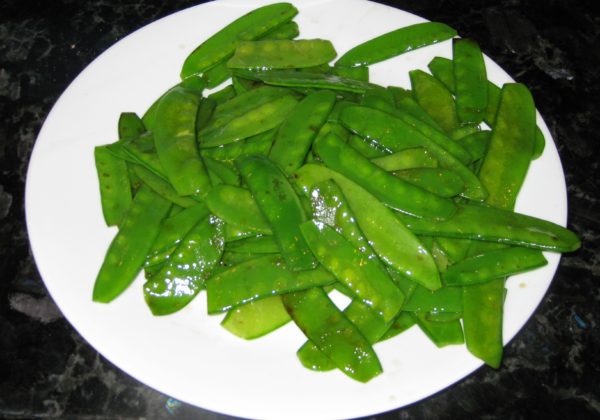
  4. Using a large non-stick skillet, stir-fry the snow peas in 3 tablespoons of vegetable oil over high heat for about 30 seconds, until bright green. (You can use some of the oil used to fry the nuts if you wish.)
  5. Transfer the cooked snow peas to a plate to cool.
  6. In the same non-stick skillet, stir-fry the garlic and ginger over high heat, until fragrant, approximately 30 seconds, adding a few tablespoons more oil if needed.
  7. Add the chicken and stir-fry over high heat until just cooked through, approximately 2-3 minutes.
  8. Stir the sauce mixture to combine and add it to the chicken.
  9. Bring to a boil and cook until thickened, stirring constantly, approximately 1 minute.
  10. Stir in the cooked cashews and snow peas.
  11. Remove the pan from the heat and stir in the sesame oil.
  12. Serve immediately with steamed rice.
Recipe Notes

Copyright © 2018 by VillaSentieri.com. All rights reserved.
Share this Recipe

Guyanese Curried Chickpeas (Channa Masala)

April 30, 2018

The largest ethnic group in Guyana is comprised of those of (East) Indian descent.  When I was there in the 1970s and 1980s, Indians represented just over half of the population.  As of the 2002 census, those of Indian descent represent just over 43 percent of the population.

Other demographic groups in Guyana include those of African, Chinese, Western European, and mixed descent.  Amerindians are now a very small percentage of the population.

The cuisine of Guyana reflects its multicultural population.  Curry is very popular as is roti, Indian-style flatbread.  Chinese-style fried rice is a restaurant staple.  A typical Sunday dish is Portuguese-derived garlic pork.  British-style baked goods are popular, especially black cake around Christmastime.

The Guyana Supreme Court building (CC BY-SA 3.0, https://commons.wikimedia.org/w/index.php?curid=475676)

A quick internet search demonstrated to me that the restaurant scene in Guyana has changed dramatically since my visits there.  In the 70s and 80s, restaurants were, for the most part, very basic affairs.  There were just a few that rose above “basic” but even they were challenged to produce really good food because of the limitation on imported foodstuffs.


Click HERE to join our mailing list and you’ll never miss a recipe again!


Food prepared at home was generally of a better quality, and certainly displayed more variety, than what was available in restaurants “back then.”  And, while in any given household there may be more foods reflective of the particular demographics of that household, popular dishes like curry, fried rice, garlic pork, and black cake are prepared in pretty much every household.  They have really become Guyanese dishes, regardless of their ethnic origins.

My last trip to Guyana was in early 1981.  I finished medical school around the end of January and went to Guyana to work on the psychiatric unit at the public hospital in Georgetown, the capital, before beginning my internship at the Hospital of the University of Pennsylvania in mid-June.  At that time there was one psychiatrist who worked for the government of Guyana and one psychiatrist in private practice.  The government psychiatrist, who lived a significant distance from Georgetown, was also responsible for overseeing the long-term psychiatric unit in Fort Canje, now referred to as the National Psychiatric Hospital.


Follow us on your social media platform of choice


The day I arrived at the public hospital in Georgetown, the psychiatrist was a no-show.  He then made it clear that he had no intention of coming to the hospital for the duration of my stay.  At the age of 26, just having finished medical school and not having done an internship, let alone a residency, I became the de-facto psychiatrist for the public hospital!

The Guyana Parliament Building (CC BY-SA 3.0, https://commons.wikimedia.org/w/index.php?curid=475699)

The psychiatric unit consisted of four rooms (plus two bathrooms) on the upper floor above the morgue.  The psychiatrist’s office (my office) was the entry point to the unit.  Behind the office was a very small nurses’ station.  There were two large wards, one on each side of the nurses’ station.  Each has eleven beds and no privacy.  One ward was for men and one for women.  Though we only had 22 beds, our census was often double that.  There was no option to add beds so patients often slept two to a bed.

In general, male patients were attended to by male nurses and female patients by female nurses.

There was also a very, very busy outpatient clinic staffed by myself and three social workers.

The male nurses started including me in some of their evening social gatherings.  I remember a few held at the home of one of the nurses who was of Indian descent.  We basically sat around talking, drinking rum, and eating.  My love of spicy Indian food was met with amazement.  The fact that I could eat incendiary atchar was sort of beyond belief.

Whenever these gatherings happened, it was just us guys.  Wives and girlfriends stayed away, even the wife of whomever was hosting the party (even though she would have prepared most if not all the food!).

When I was in Guyana, pre-mixed curry powder was the norm in cooking.  This recipe reflects that tendency.  When I made Indian food frequently, I would keep one or two types of homemade curry powders on hand as a quick solution to a weeknight meal.  For this recipe, feel free to use a good quality commercial curry powder.

Print Recipe
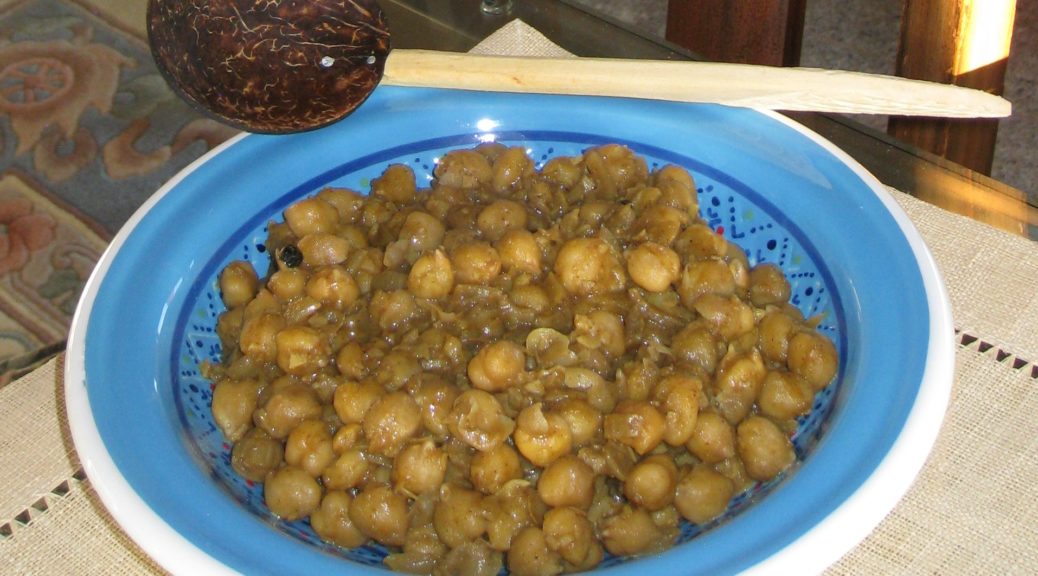
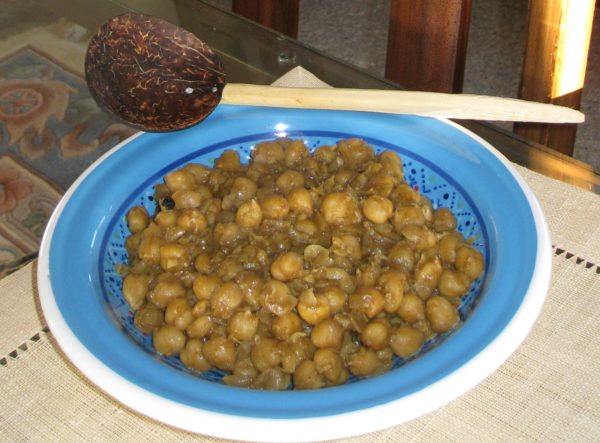
Guyanese Curried Chickpeas
Two cans of chickpeas can be used instead of the 3 to 3 ½ cups of home cooked beans but home-cooked are so good, and so much better. If using canned chickpeas, taste the canning liquid to decide whether to use it or discard it and rinse the chickpeas. The curry should be basically dry at the end so do not put in too much liquid at the beginning. Although not strictly Guyanese, adding a tablespoon or so of minced ginger with the garlic is a welcome taste treat.
Votes: 9
Rating: 4.56
You:
Rate this recipe!
Prep Time 10 minutes
Cook Time 30 minutes
Servings
people
Ingredients
Prep Time 10 minutes
Cook Time 30 minutes
Servings
people
Ingredients
Votes: 9
Rating: 4.56
You:
Rate this recipe!
Instructions
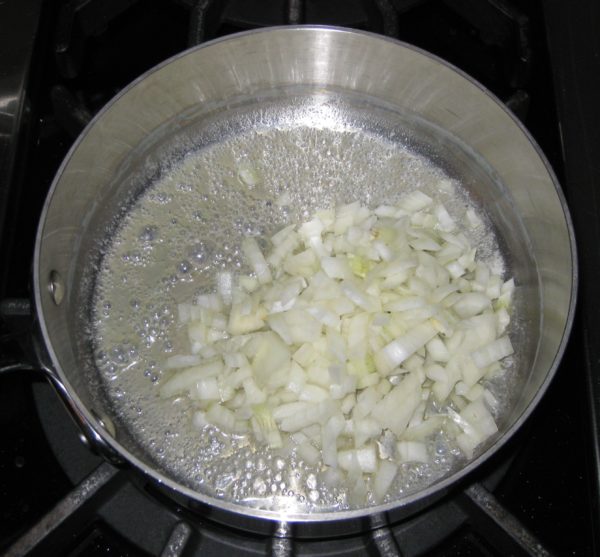
  1. Sauté the onion in butter until translucent.
  2. Add the garlic and minced hot pepper.
  3. Continue sautéeing until the onion is golden and the garlic is fragrant.
  4. Add the curry powder.
  5. Sauté 2-3 minutes, stirring frequently, until the raw smell is gone.
  6. Add the liquid.
  7. Bring to a boil and simmer approximately 20 minutes to develop flavor.
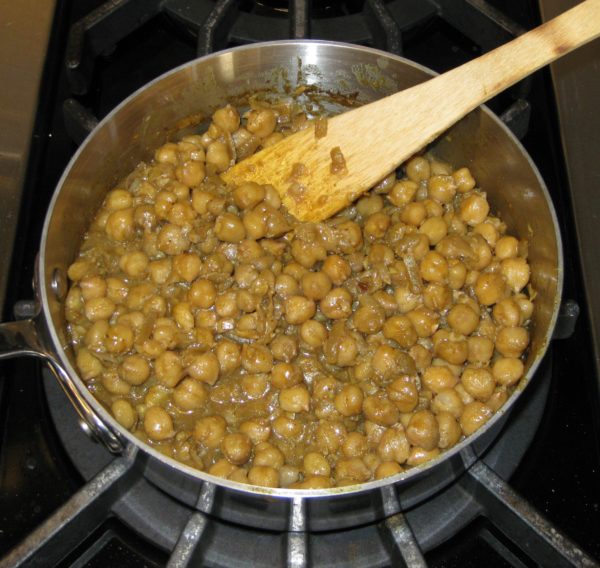
  8. Add the chickpeas.
  9. Simmer 10-15 minutes, stirring frequently. The chickpeas should be almost dry by the end.
  10. Adjust salt and pepper while cooking.
  11. Off the heat and stir in the lime juice and serve
Recipe Notes

Copyright © 2018 by VillaSentieri.com. All rights reserved.
Share this Recipe

Chinese Roast Pork

April 25, 2018

Throughout junior year in college I predominantly ate Chinese, West Indian, and Sri Lankan food.  To be sure, I made Italian and a smattering of other cuisines but that year was really an intensive study in three cuisines.

My roommate, Ray Hugh, was from Guyana.  His grandparents emigrated from China to Guyana around 1870.  My grandparents emigrated from Italy (on my mother’s side) and Slovakia (on my father’s side) to the United States a few decades later.

Ray Hugh in 1975 from the first page of my 1975 scrapbook

I learned a lot about Chinese food, especially Hakka Chinese, from Ray.  We also went to Chinese restaurants regularly so my palate got accustomed to the different regional cuisines of China.  We spent six weeks the summer after junior year staying with his mother outside of London.  I learned a lot about Chinese (and West Indian) food from her.


Click HERE to join our mailing list and you’ll never miss a recipe again!


As for West Indian, my primary influences were, again, Ray Hugh, Valrie Tracey, and Gloria Lannaman.  Though located on the South American mainland, Guyana was administered (then called British Guiana) as part of the British West Indies and it definitely has a West Indian cultural heritage.

Valrie and Gloria were from Jamaica.  I posted my version of a recipe for Valrie’s Easter Bun a few weeks ago.  If I get in the right frame of mind, I’ll post my interpretations of her recipes for curry goat and for home-salted mackerel cooked in coconut milk.  Admittedly, these may be a stretch for most of my readers but they fulfill the blog’s goal of highlighting traditional recipes from around the world.

From Gloria, I got a wonderful pot roast recipe with allspice (called pimento in Jamaica) and a shockingly pink rum punch recipe.  I still use her technique for sautéing baked ham with caramelized onions and Scotch Bonnet peppers for a quick supper or served on crackers with cocktails.   These will all appear in due course.

Valrie Tracey in 1975, also from the first page of my 1975 scrapbook

As I’ve described several times, Nanacy and Reggie Rajapakse were my primary instructors in the art of Sri Lankan cooking…along with a couple of cookbooks by Charmaine Solomon, who Nanacy and Reggie knew.

For much of the summer that Ray and I spent with his mother near London, we explored the city almost every day.  We’d have breakfast, walk to the train station in New Malden, and take the train to London.  We’d be home for dinner, usually.  Lunch was frequently at a restaurant in Chinatown—you know, the Cantonese ones with roast pork, roast ducks, and other roasted animal parts hanging in the window.  That was where I honed my taste for Cantonese roast pork—minus the bright red food coloring.


Follow us on your social media platform of choice


In these restaurants, lunch was a bowl of rice and some sort of roasted meat, hacked to bite-size bits with a very heavy cleaver.  There was nary a vegetable in sight.  When I mentioned to Ray, once, that a vegetable would be nice, he walked over to the chef, who was putting together everyone’s lunch right inside the front window of the store, with rows of glistening roasted meat on hooks hanging in front of him.  The chef pulled a few greens from somewhere, dipped them in a bubbling cauldron of broth momentarily, and put them in my bowl along with the rice and roast pork.  He was very gracious about it but I realized that vegetables were not the point of a restaurant like this.  From then on I was happy to eat rice and roasted meat for lunch, choosing to balance out my diet at the other two meals of the day.

The third and final picture on the first page of one of my 1975 scrap book is this picture of me

Friday, July 4, 1975 was one of the days we did not go into London from Ray’s mother’s house.  Instead, we stayed home and made hamburgers and hot dogs (well, that being England and then being then, they were bangers, really) and a few of the usual trimmings.  Ray and I along with his mother and two sisters, and his younger sister’s boyfriend, Clive, sat outside in the charming little backyard (what the Brits call a “garden”) eating.  Clive asked what we were celebrating.  I told him we were celebrating the independence of the United States from Britain.  That didn’t go over really well but he was a good sport about it.

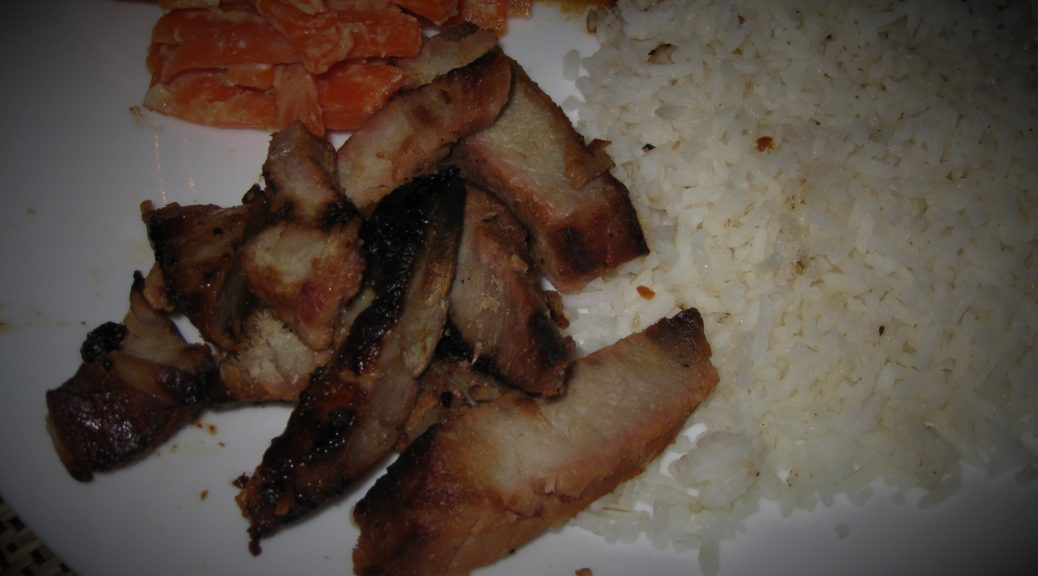
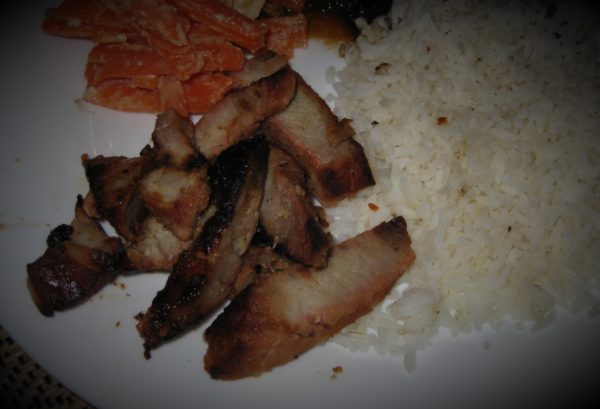
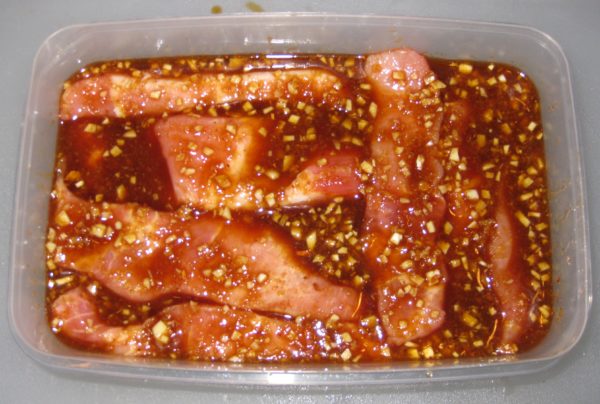
From that summer of eating Cantonese Roast Pork in London’s Chinatown, I got home wanting to be able to make it.  Ray and I roomed together senior year as well.  That’s when I perfected my recipe for roast pork.  It involves marinating strips of pork overnight then hanging them from hooks in the oven and roasting them.  It sounds fussy, but it’s really quite easy.

Stainless steel “s” hooks are the best for hanging the pork in the oven

This Cantonese-style roast pork is totally different from Ray’s Five Spice Roast Pork, which I like equally well.

Print Recipe
Chinese Roast Pork
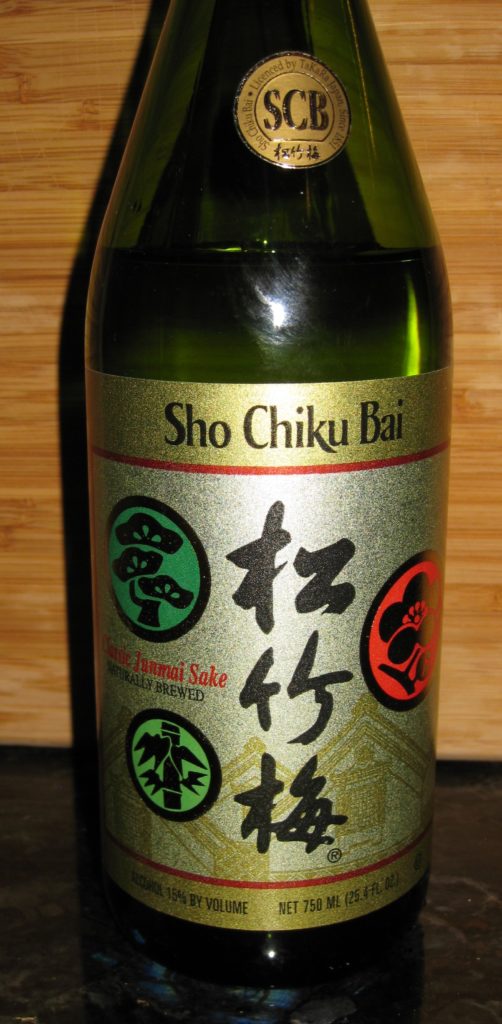
This roast pork is not as red as the roast pork often seen in Chinese restaurants as it does not use artificial coloring. Thick-cut boneless pork chops work well. It is best for the meat to have a layer of fat to provide some moisture while roasting. The thin fat cap should not be removed. The difference in taste between Chinese rice wine, sake, and pale dry sherry is not really noticeable in this dish given the other very flavorful ingredients. Good quality Chinese rice wine can be difficult to find. I prefer a reasonably-priced, good-quality domestic Sake, such as Sho Chiku Bai. Do not use the unfiltered (nigori) sake, however.
Votes: 0
Rating: 0
You:
Rate this recipe!
Course Mains, Meats
Cuisine Chinese
Prep Time 15 minutes
Cook Time 1 hour
Passive Time 24 hours
Servings
people
Ingredients
Course Mains, Meats
Cuisine Chinese
Prep Time 15 minutes
Cook Time 1 hour
Passive Time 24 hours
Servings
people
Ingredients
Votes: 0
Rating: 0
You:
Rate this recipe!
Instructions
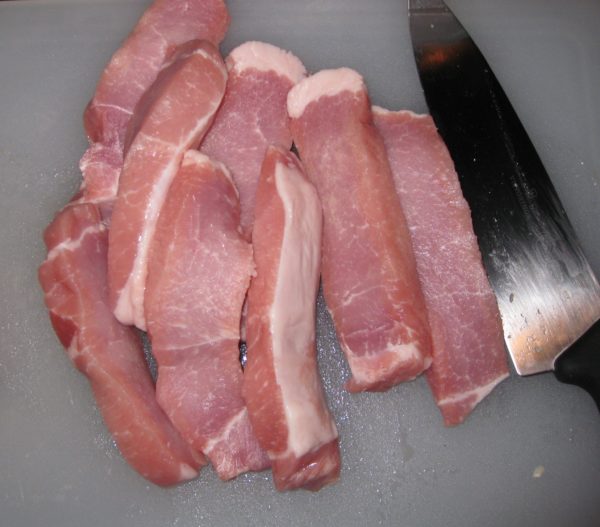
  1. Cut pork into 1½ x 1½ x 4 inch strips.
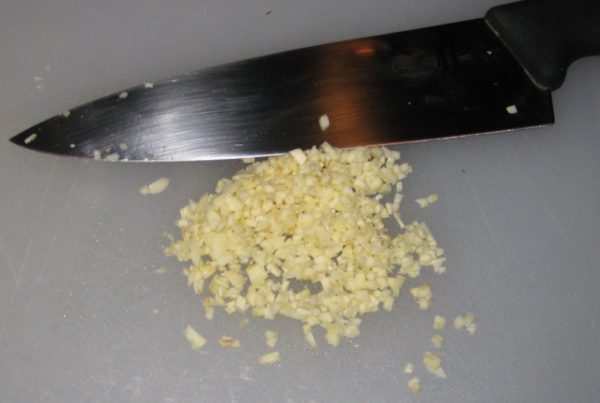
  2. Mince the garlic.
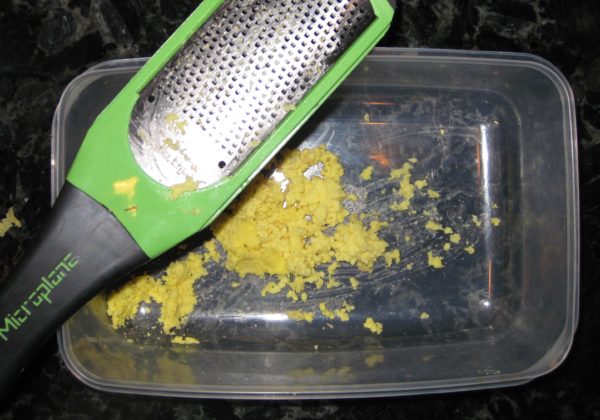
  3. Grate the ginger.
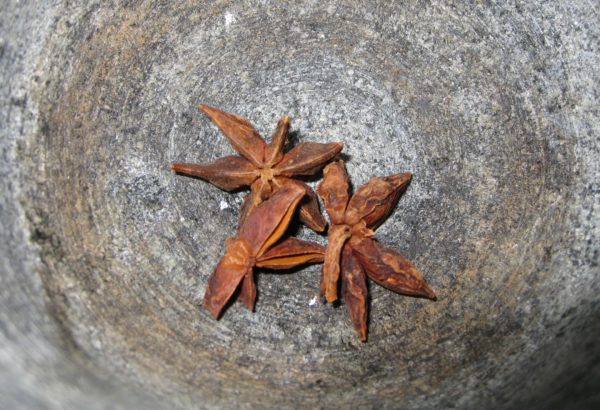
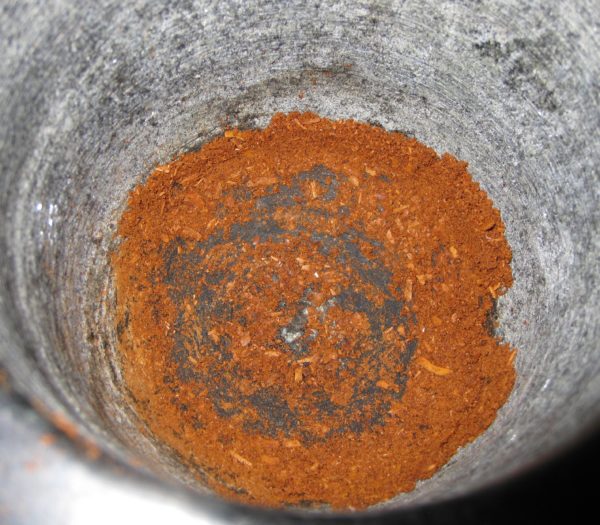
  4. Crush the star anise in a mortar.
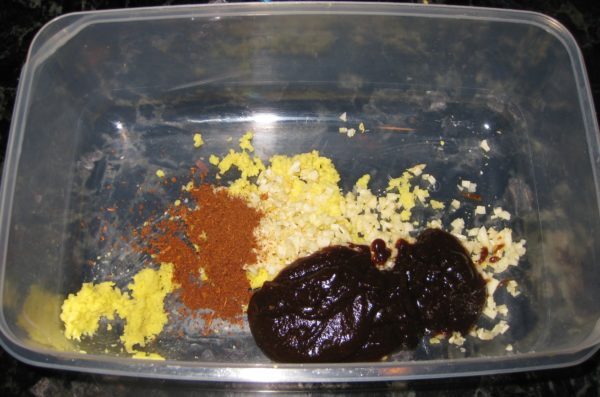
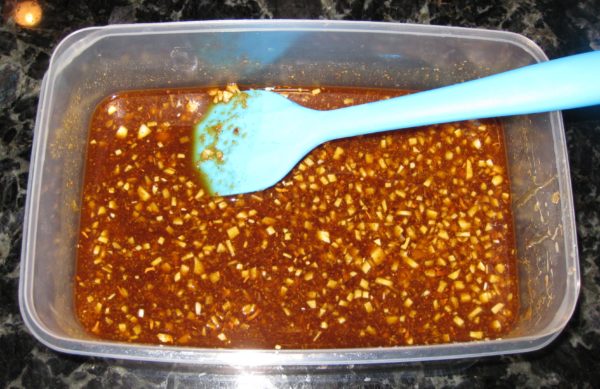
  5. Combine the ginger, garlic, hoi sin sauce, crushed star anise, sake, soy sauce and honey. Mix well.
  6. Add the pork strips and toss to coat.
  7. Marinate the pork at least 2 hours, but preferably overnight turning once or twice.
  8. To roast, put one oven rack in the top position and another in the bottom position. Preheat the oven to 350°F.
  9. Hang each strip of pork from an "S" shaped hook on the top rack. Put a roasting pan below the pork, filled with water, to catch the drippings.
  10. Roast at 350°F for 30 minutes. Increase the temperature to 450°F and cook for another 20-25 minutes.
  11. Remove the pork strips from the oven. Slice them crosswise, approximately 1/3 inch thick. Pile the pork on a platter to serve.
Recipe Notes

Sho Chiku Bai sake is reasonably priced and good to drink as well as to cook with.

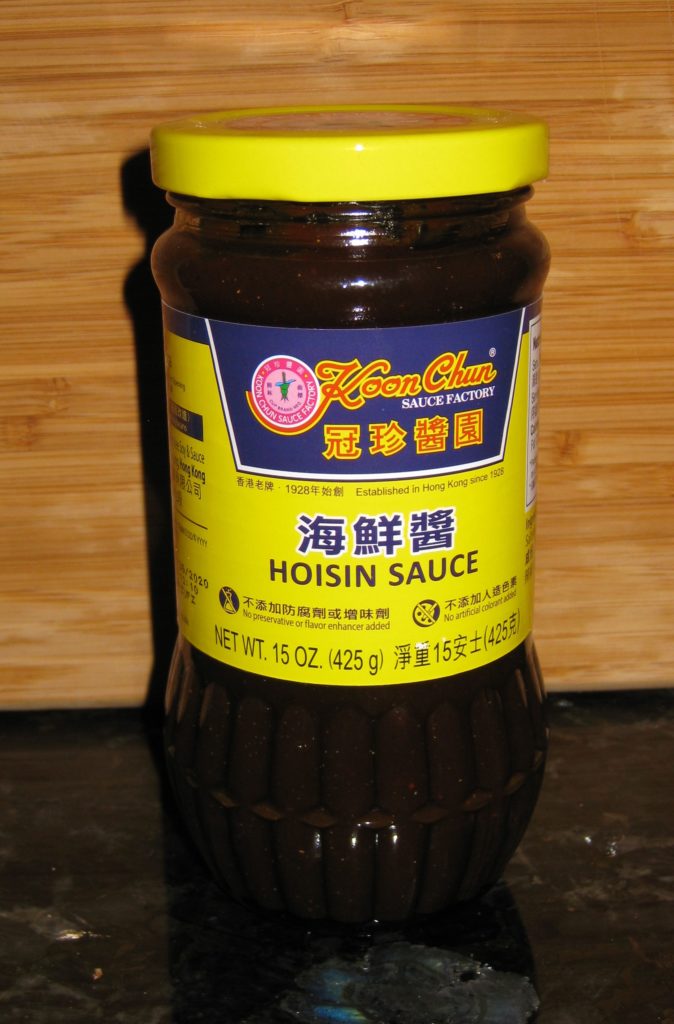
Hoisin sauce is available in Asian markets and many well-stocked supermarkets.

Copyright © 2018 by VillaSentieri.com. All rights reserved.
Share this Recipe

Philadelphia-Style Tomato Pie

March 14, 2018

Like many psychiatry residents, I used to moonlight to make extra money.

The money was good and the work was usually not difficult.  Many moonlighting jobs required being on-premises overnight.  Most of the time, this usually just involved sleeping but, again, not always.

One of my easier moonlighting jobs was at a private psychiatric hospital in the Philadelphia suburbs.  I had to do the histories, physicals, and psychiatric evaluations on the newly admitted patients and then be available for any issues that came up during my shift.  Usually I got to sleep all night.

This was in stark contrast to one of my other moonlighting jobs at the crisis service that covered a swath of northeast Philadelphia.  The patients were more acute and admissions unplanned.  Sleep was elusive.


Follow us on your social media platform of choice


One morning as I was finishing up some work on one of the units at the private psychiatric hospital I spied a pizza box in the staff lounge, clearly intended for anyone who wanted to have some.

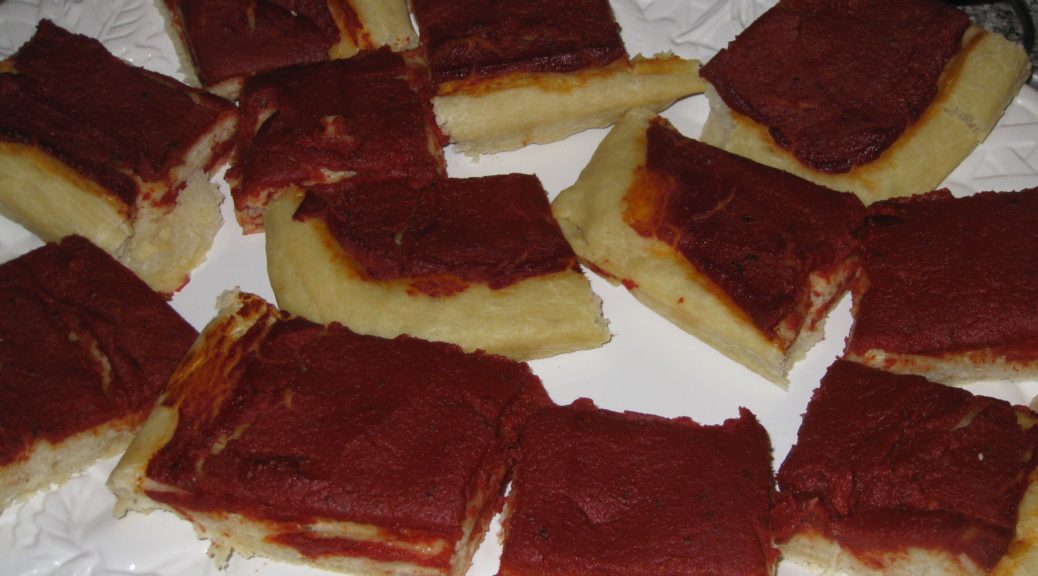
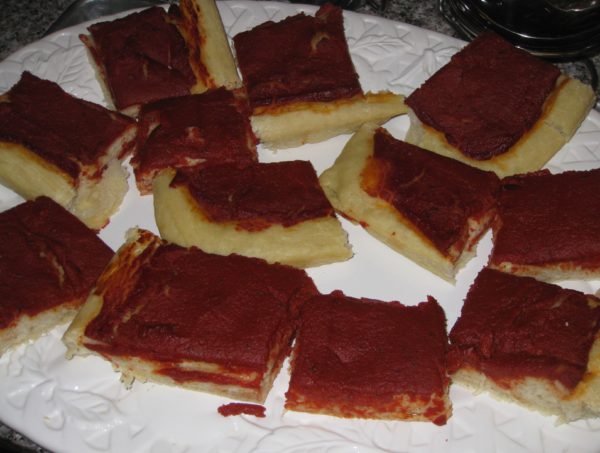
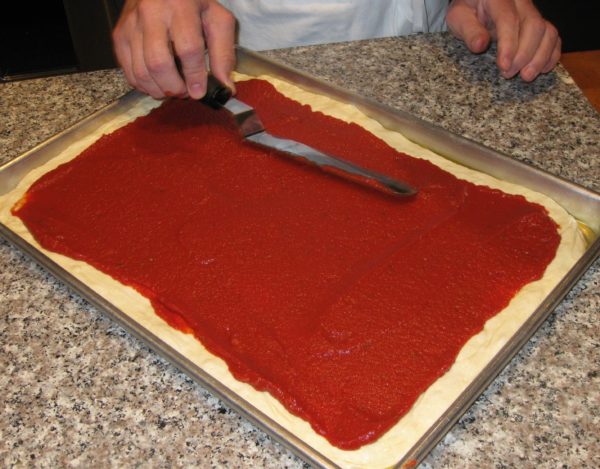
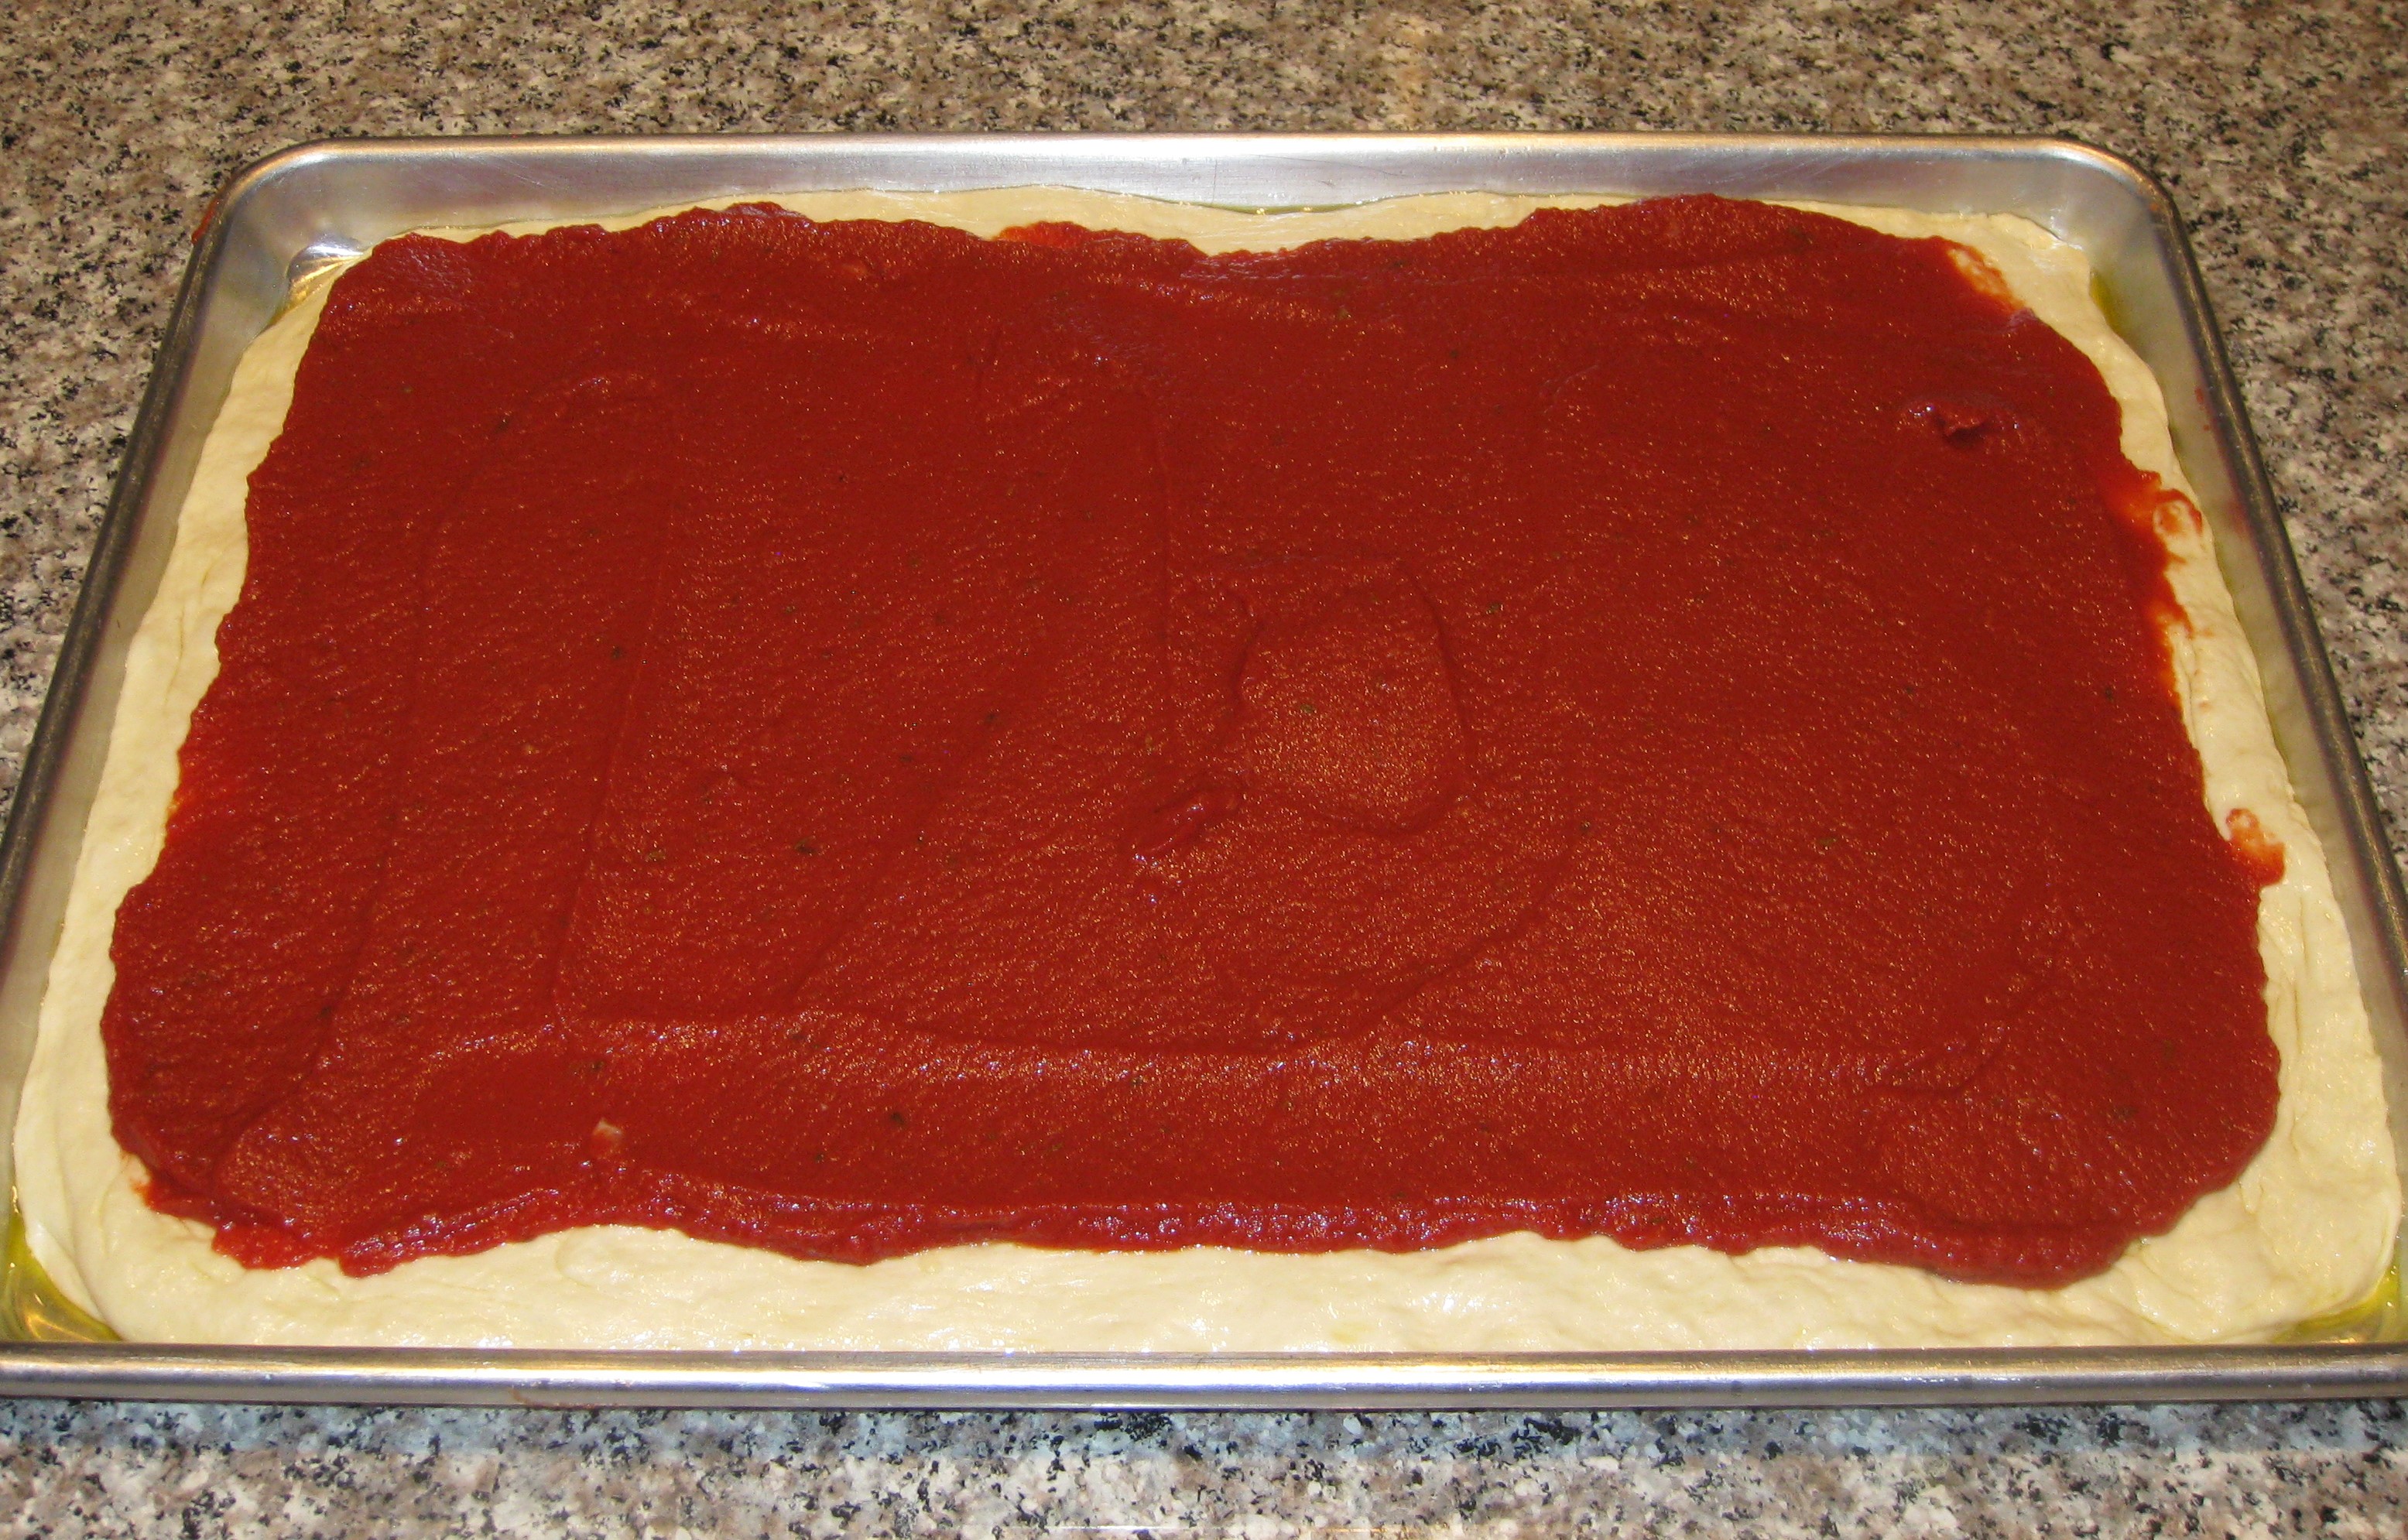
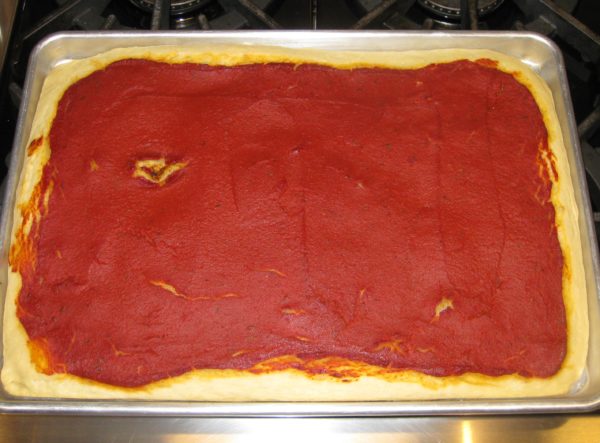
I opened the box and was presented with my first tomato pie, basically a focaccia topped with a prodigious amount of a jam-like tomato sauce.  There was no cheese and there were no toppings.

I had never heard of tomato pie like this.  Sometimes the term tomato pie was applied to a run-of-the mill pizza, usually by my Uncle Joe, but this was a whole different creation.

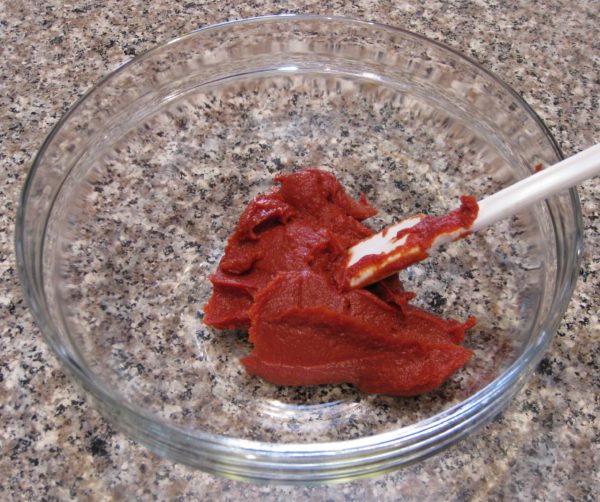
Not only was it naked, except for the tomato sauce, the sauce was very dense (almost like tomato paste) and thickly applied to the dough.

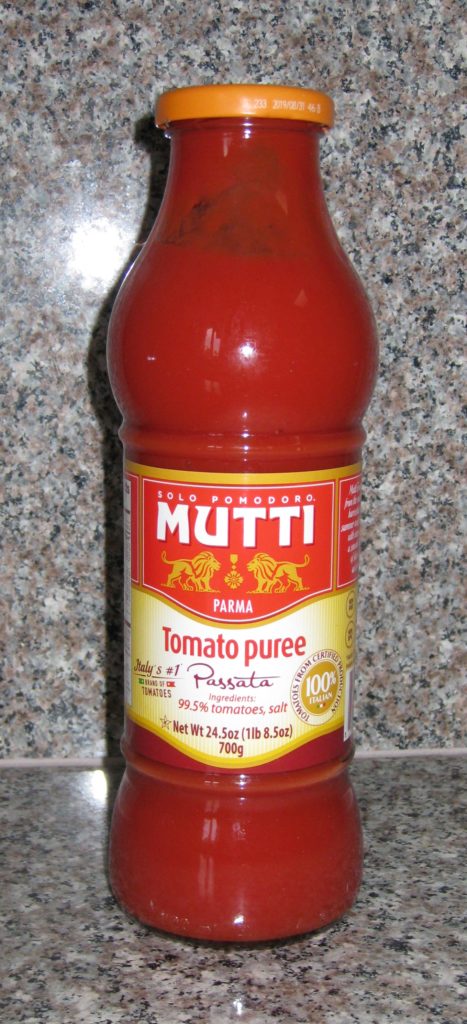
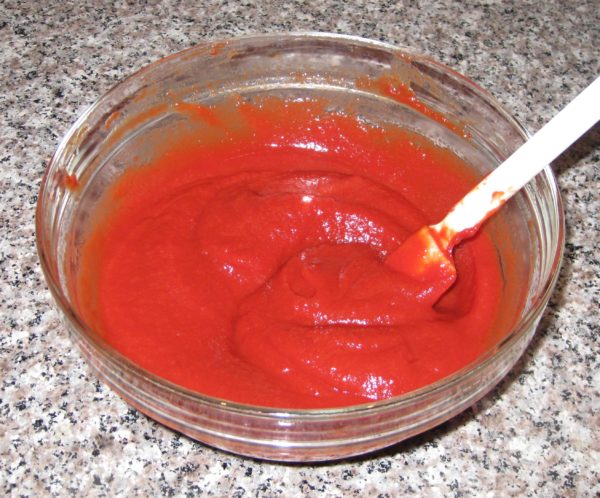
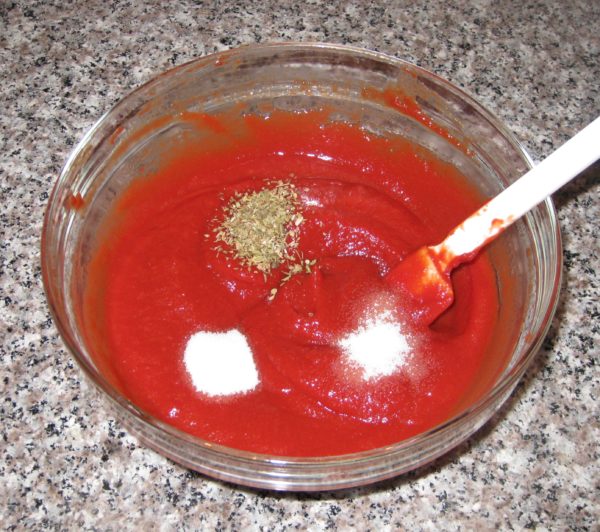
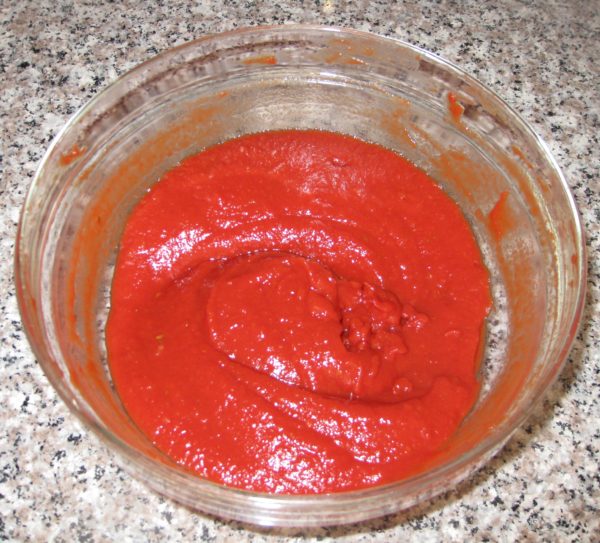
Good quality tomato puree is essential for this sauce. I prefer imported Italian tomato puree, called passato (or passata) (both are correct) di pomodoro

Growing up, a regular mid-morning Sunday snack (after church and before our major meal of the day around 1:00 or so) was a bowl of my mother’s long-simmered tomato sauce that was almost always bubbling away on the stove on Sunday mornings and a stack of bread to dip into it.   Italian bread was preferred but I’d make do with American “slice” bread if need be…often six slices…to hold me over until mealtime.

Tomato pie was heaven-made for someone like me.  It was bread and sauce in an easy-to-eat package.  No bowl or dipping required.


Click HERE to join our mailing list and you’ll never miss a recipe again!


It’s pretty astounding to realize that I had lived in Philadelphia for about 11 years before encountering my first tomato pie.  I don’t really understand why.  Two of the bastions of Philadelphia tomato pie are on Ninth Street, an area that I started going to my freshman year in college.

This article provides some interesting background on Philly-style Tomato Pie.

I’m a big fan of making dough for pizza and focaccia in my bread machine.  If you don’t have a bread machine, use a mixer with a dough hook.  Failing that, some elbow grease and a smooth kitchen counter will do the trick.


If you have a favorite family recipe and a bit of a story to tell, please email me at santafecook@villasentieri.com and we can discuss including it in the blog. I am expanding the scope of my blog to include traditional recipes from around the country and around the world. If you haven’t seen Bertha’s Flan or Melinda’s Drunken Prunes, take a look.  They will give you an idea of what I’m looking for.


Print Recipe
Philadelphia-Style Tomato Pie
Tomato Pie is a thick crust pizza dough topped with copious amounts of very thick tomato sauce. No cheese is put on the pie before baking. Some folks sprinkle grated Pecorino on the finished pie. It is usually served at room temperature. If the garlic taste in the sauce is too strong for you, the garlic can be sautéed in a small amount of olive oil before mixing into the tomato puree mixture. It is best to make the sauce a day in advance and refrigerate it. If you don’t have a bread machine, mix the dough in a mixer with a dough hook for about 10 minutes after the dough comes together. You can also mix it by hand which will give you a bit of an upper-body workout.
Votes: 2
Rating: 5
You:
Rate this recipe!
Prep Time 15 minutes
Cook Time 35 minutes
Passive Time 24 hours
Servings
pieces
Ingredients
Sauce
Dough
Assembly
Prep Time 15 minutes
Cook Time 35 minutes
Passive Time 24 hours
Servings
pieces
Ingredients
Sauce
Dough
Assembly
Votes: 2
Rating: 5
You:
Rate this recipe!
Instructions
Sauce
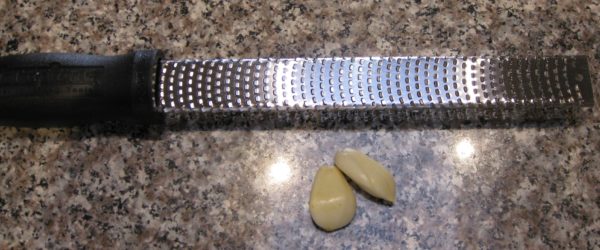
  1. Grate the garlic on a Microplane grater or crush to a paste.
  2. Combine all the ingredients for the sauce.
  3. Cover the sauce and refrigerate overnight.
  4. Before using, taste and adjust seasoning.
Dough
  1. Prepare the dough using the dough cycle of the bread machine.
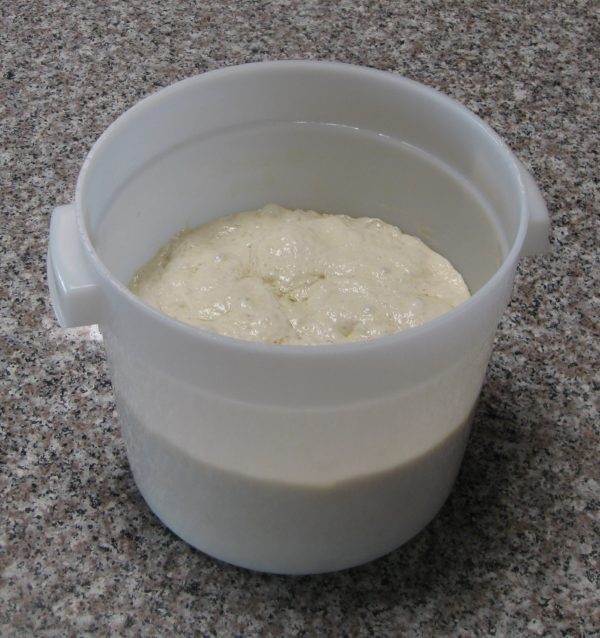
  2. At the end of the cycle put the dough into an oiled bowl or covered container and allow to rise until doubled.
Assembly
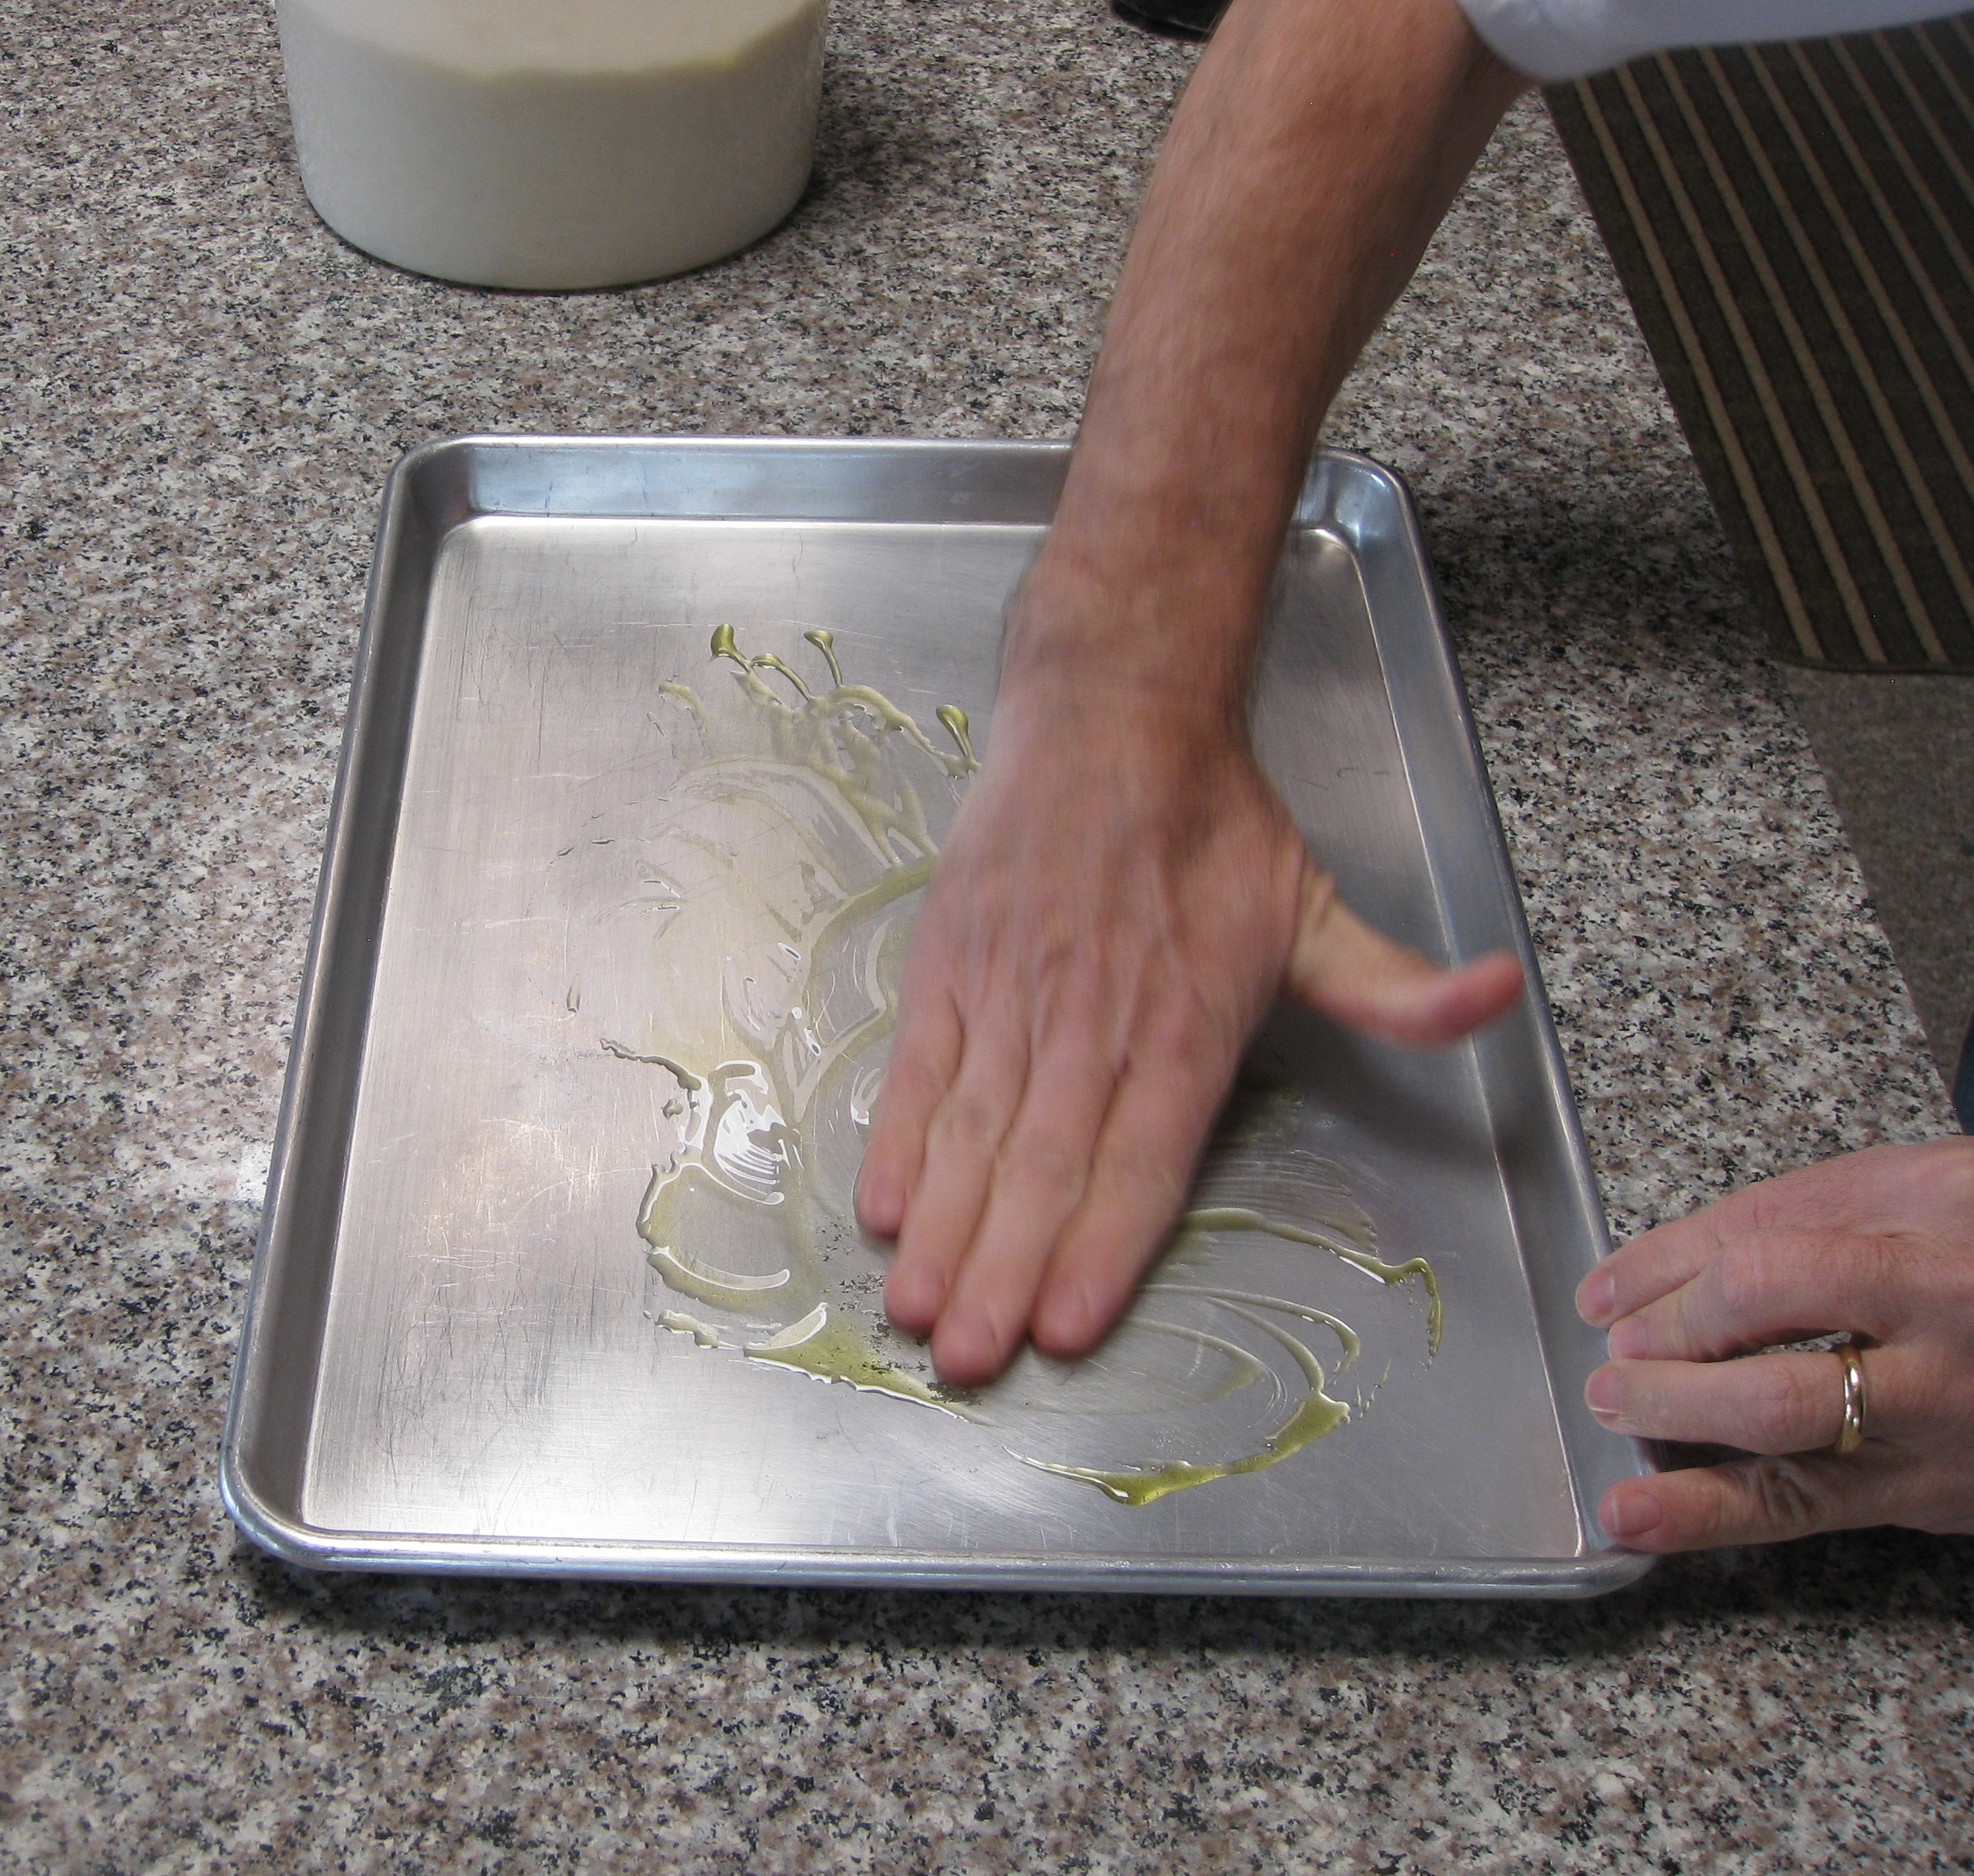
  1. Oil a half-sheet pan (13" x 18") with a few tablespoons of olive oil.
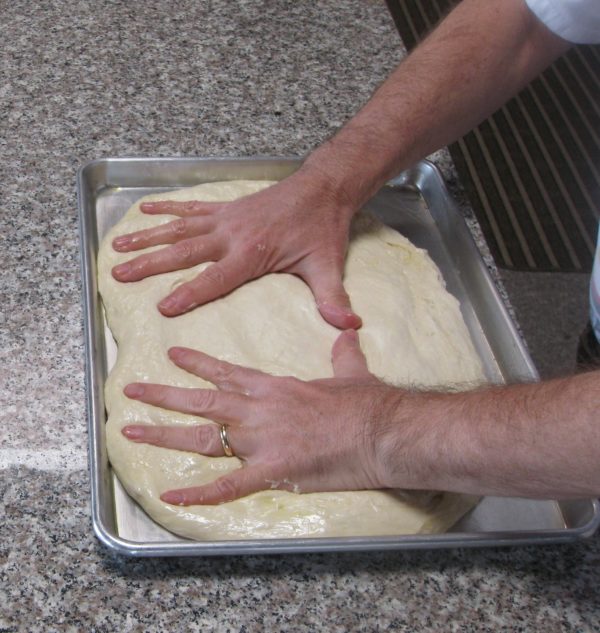
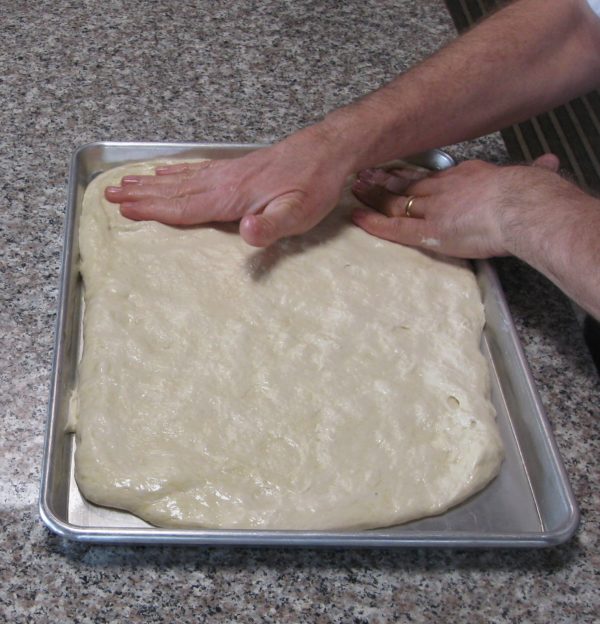
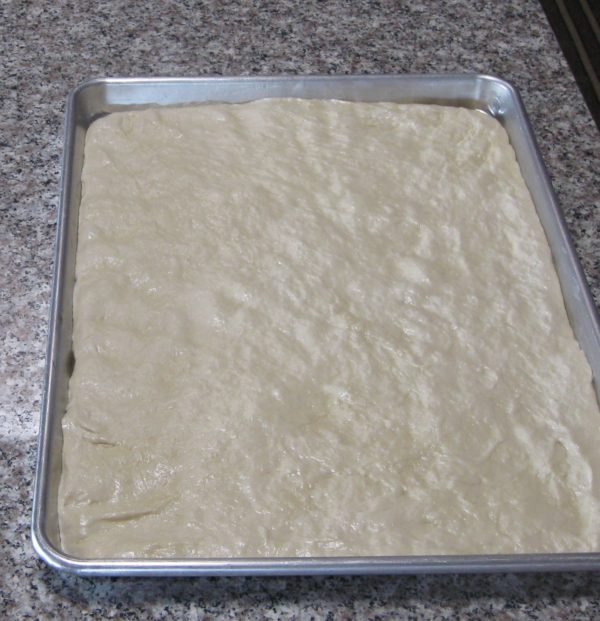
  2. Stretch dough into the pan.
  3. The dough will spring back. Stretch it out then allow it to rest a few minutes. Stretch more, then allow it to rest a few minutes. With resting in between stretches, the gluten will relax and the dough won't spring back.
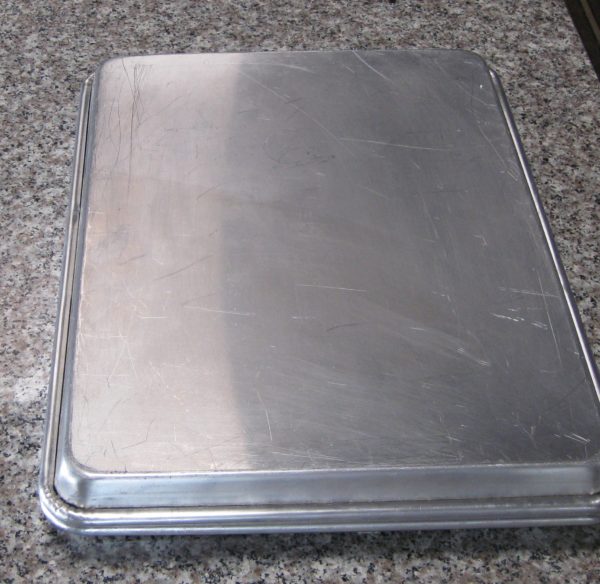
  4. Cover the pan. I invert another half-sheet pan on top.
  5. Allow to rise until doubled, approximately 30 minutes.
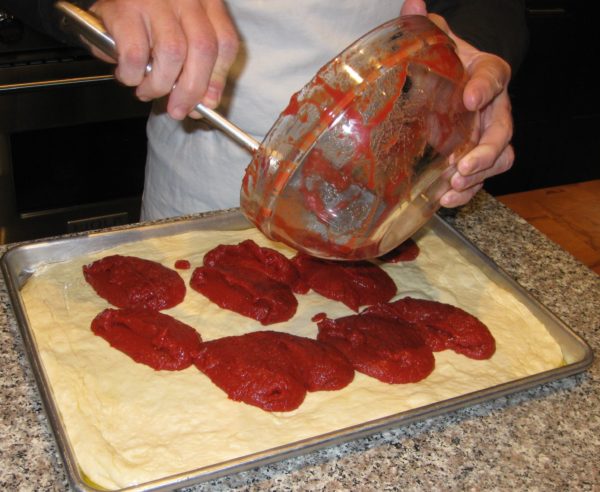
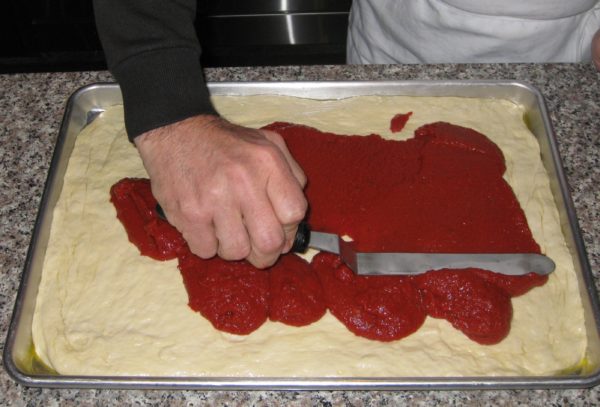
  6. Spread all of the sauce on top.
  7. Bake at 350°F until crust is browned and sauce is thick, approximately 35-45 minutes.
  8. Cool in the pan.
  9. Cut into squares and serve at room temperature.
  10. Sprinkle with grated Pecorino cheese, if desired, once cool.
Recipe Notes

Copyright © 2018 by VillaSentieri.com. All rights reserved.
Share this Recipe

Frittata di Spaghetti (Frittata with Spaghetti)

March 9, 2018

Although I typically heat up left over pasta and have it for lunch, it definitely pales in comparison to the freshly made dish.

In the pre-microwave days of my youth, leftover pasta was heated gently in a sauté pan with a little bit of water added.  Now, the microwave makes quick work of the same task.

If you have leftover pasta, though, consider turning it into a frittata.  I think it constitutes an entirely new dish, and not leftovers, because it’s being turned into something totally different.

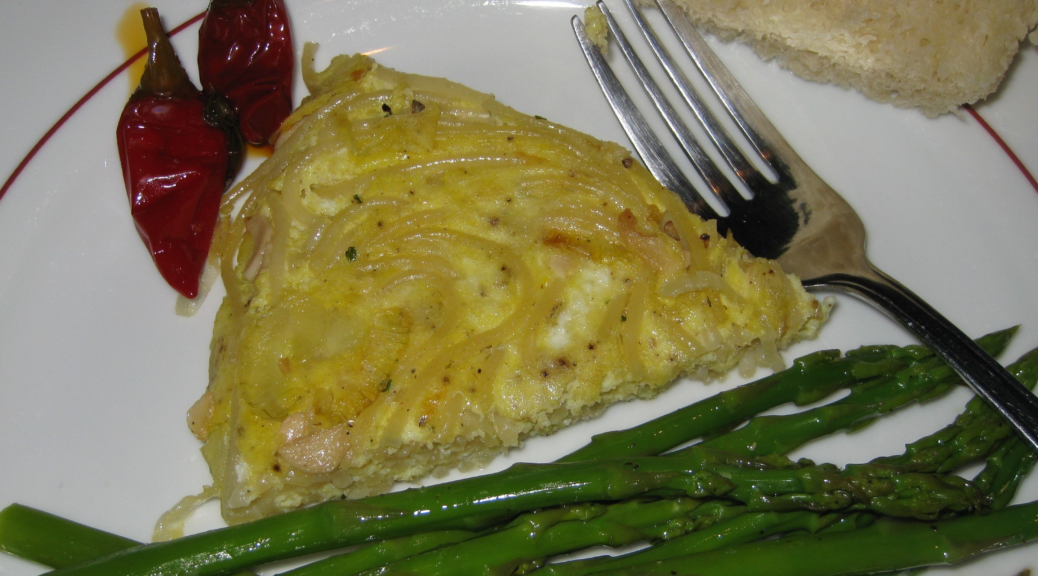
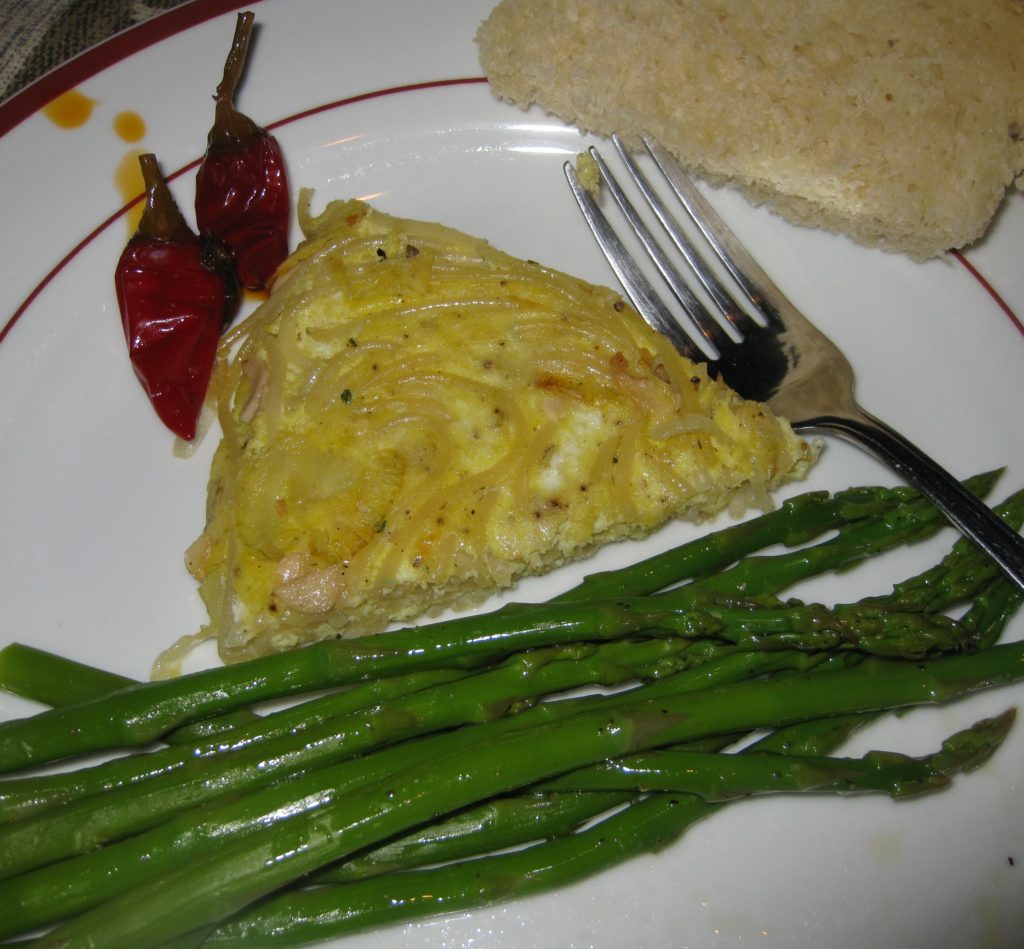
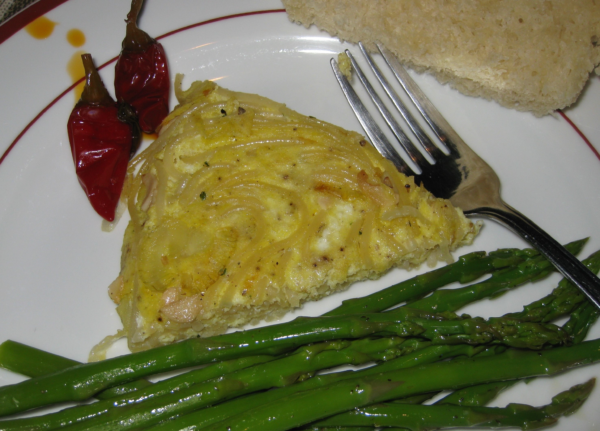
A slice of frittata with a few Calabrian oil-cured peppers on the side

We eat so much pasta in our house that if we turned the leftovers into frittate (the plural of frittata) our dinners would alternate between pasta and frittata almost every day of the week!  That’s why some of the leftover pasta is simply heated up for lunch.


Follow us on your social media platform of choice


A frittata is often referred to as an Italian omelet.  But an omelet it most definitely is not.  It is cooked using a different technique with a different intended outcome.

Calling a frittata an Italian omelet is like calling everything made from ground beef a hamburger.  (OK, off my soapbox for now.)

You can use most any combination of pasta and sauce for a frittata but you don’t want there to be lots of extra sauce or it will be difficult to get the eggs to set.

Most often, I’ll use a long thin pasta, like spaghetti or spaghettini with either a tomato sauce or anchovies and garlic.  They both work well.  That said, I’ve made frittate from a wide array of leftover types of pasta.  Shape is no object!

If you happen to know somebody who raises chickens or if you have access to freshly laid eggs at a farm stand or farmers’ market this is an excellent use for them.  There’s little that stands between you and the eggs, so using really good, fresh eggs is noticeable.

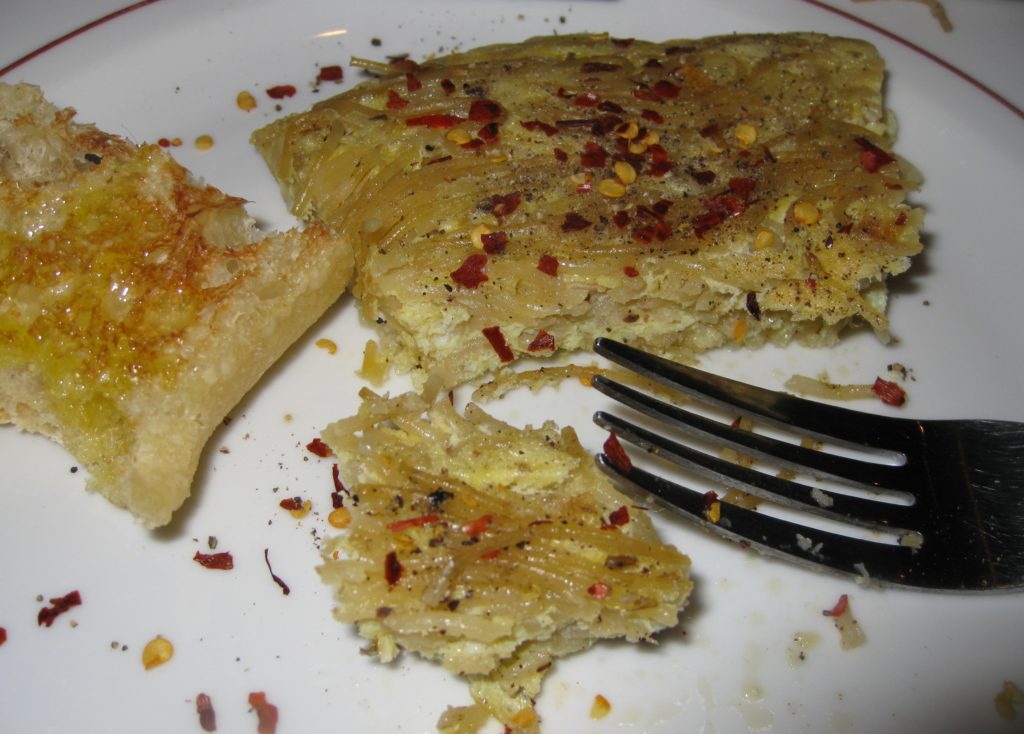
Crushed red pepper is a good alternative to Calabrian oil-cured peppers, but definitely not as flavorful

As I mentioned earlier this week, I’m losing the battle to raise chickens at our house.


Click HERE to join our mailing list and you’ll never miss a recipe again!


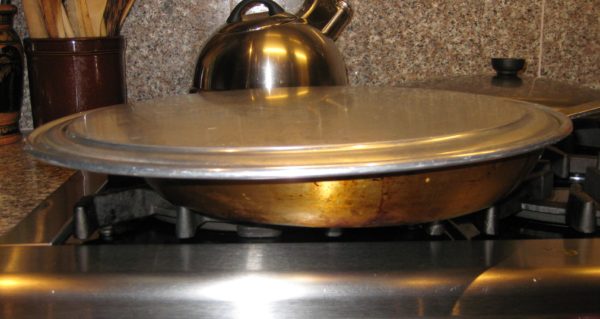
A frittata is cooked slowly in a sauté pan until the eggs set and turn golden brown on the bottom.  I prefer to do this with the pan covered as it aids in setting the top of the eggs, too.

Once the bottom is set, there are two methods to finish the frittata.  One is to put the frittata under the broiler or in the oven.  The good folks at Wikipedia think this is the only way to do it.  In fact, I would suggest that most Italians do not do that.  They simply flip the frittata over.  (OK, I was back on the soapbox for a moment there.)

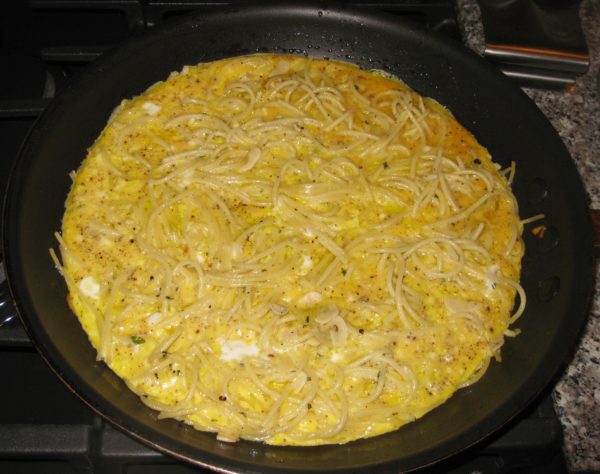
If you’re going to finish the frittata by flipping, however, you need to be sure that the top of the frittata is not runny.  It should be just barely set.

In case you missed it, I previously published a recipe for an onion frittata.  Although it uses a large quantity of onions, they cook down into sweet, golden deliciousness before the eggs are added.

And…before we leave the subject of leftovers…leftover frittata makes a great filling for a sandwich, especially with a few oil-cured Calabrian peppers!


If you have a favorite family recipe and a bit of a story to tell, please email me at santafecook@villasentieri.com and we can discuss including it in the blog. I am expanding the scope of my blog to include traditional recipes from around the country and around the world. If you haven’t seen Bertha’s Flan or Melinda’s Drunken Prunes, take a look.  They will give you an idea of what I’m looking for.


Print Recipe
Frittata di Spaghetti (Spaghetti Frittata)
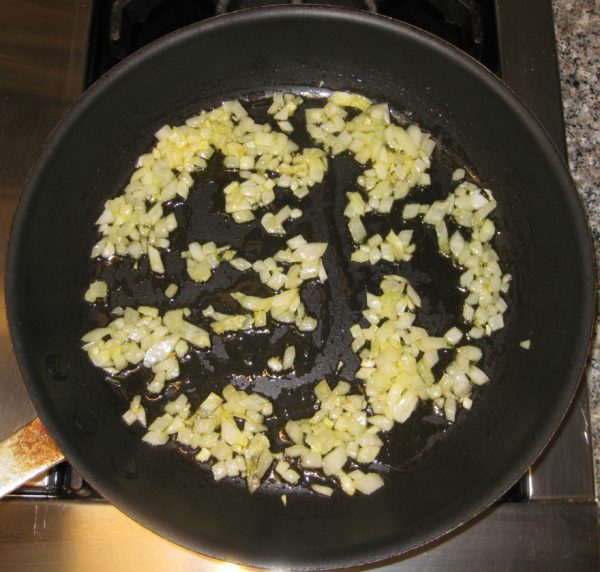
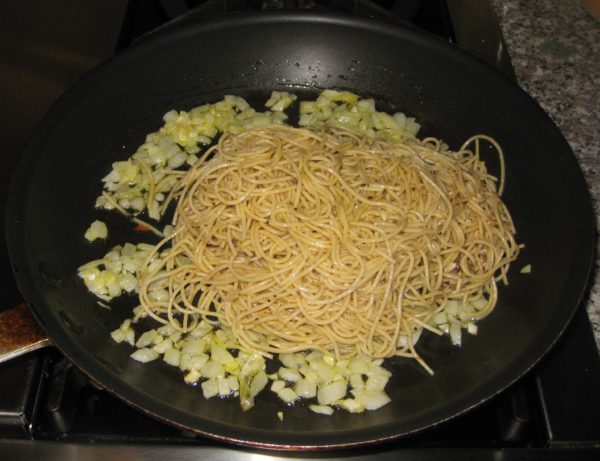
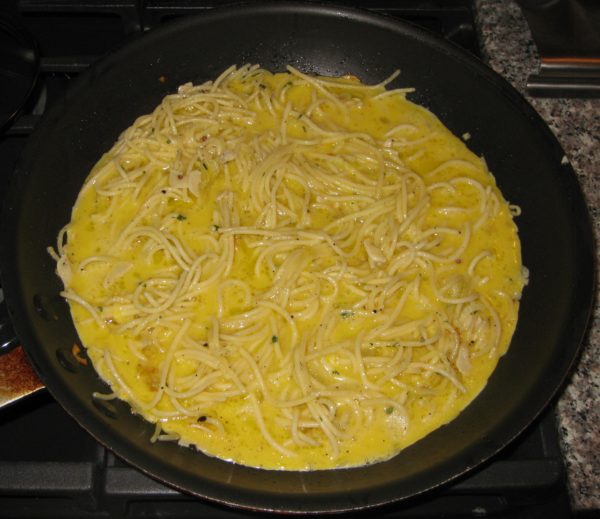
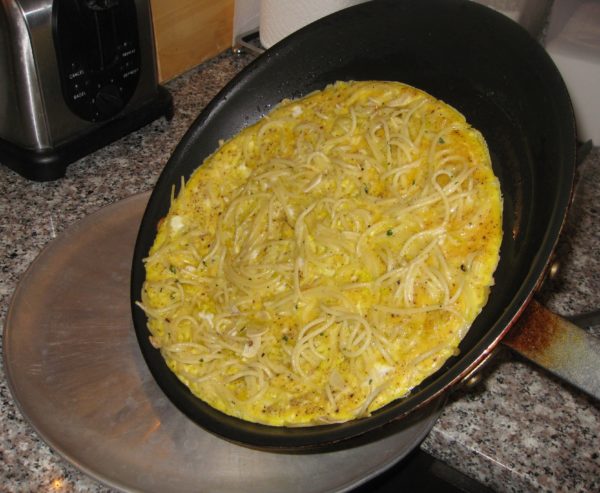
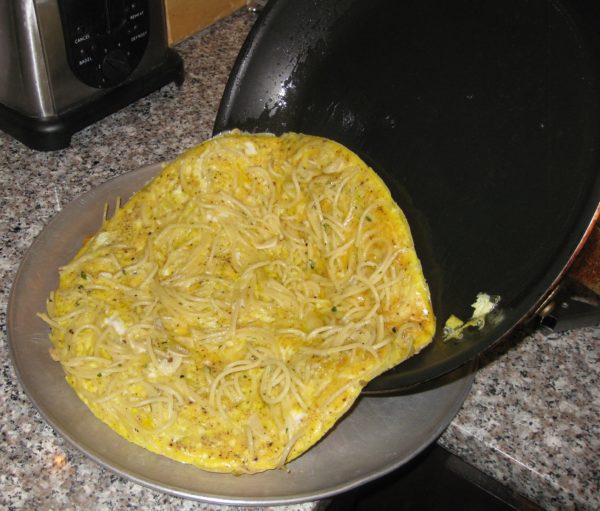
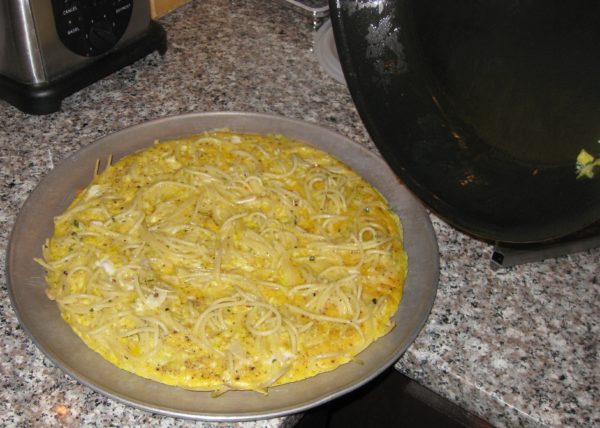
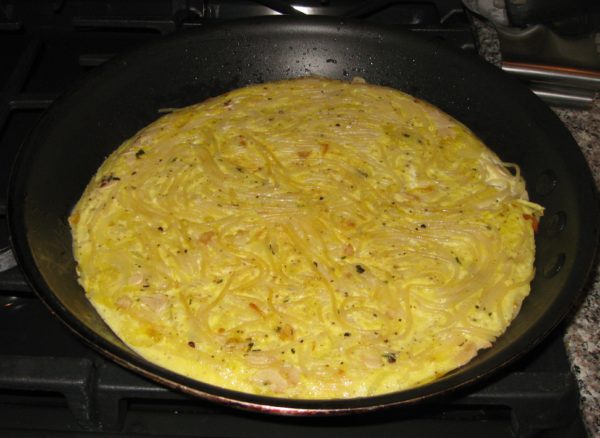
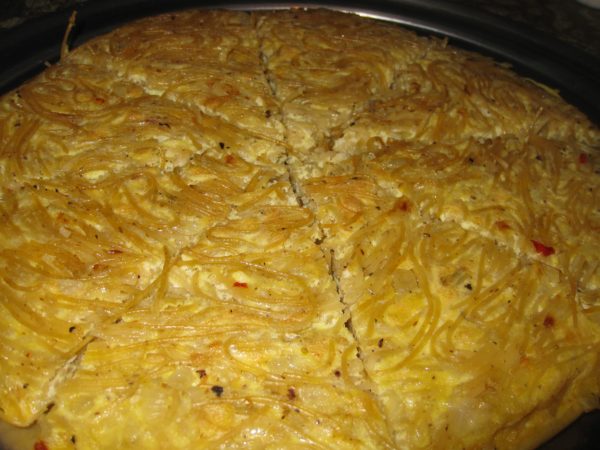
This is a wonderful Italian way to use leftover pasta by turning it into something completely different. The proportions are approximate and will depend on how much pasta is leftover. The pictures show this being made with about half a pound (uncooked weight) of spaghettini with anchovy and garlic (see the Notes section below for a link to the recipe) but it works equally well with most pastas and sauces, including tomato sauce. Use 8 eggs if you have a larger amount of leftover pasta or if you need to stretch the dish to feed more. Use either onion or garlic as the aromatic. Which you choose will depend on which better compliments the pasta. In this case, because the sauce had a lot of garlic, I chose onion to add a bit of a sweet note. If using a tomato sauce, I would have chosen garlic. Whether or not to use Parmesan cheese follows the same logic. Italians feel that cheese rarely goes with fish, like the anchovies in this sauce, so I didn’t use it.
Votes: 0
Rating: 0
You:
Rate this recipe!
Prep Time 10 minutes
Cook Time 1 hour
Servings
people
Ingredients
Prep Time 10 minutes
Cook Time 1 hour
Servings
people
Ingredients
Votes: 0
Rating: 0
You:
Rate this recipe!
Instructions
  1. Heat the oil in a 12 inch (preferably non-stick) sauté pan.
  2. Add the onion or garlic and sauté over medium heat until the onion is soft and caramelized or the garlic is fragrant.
  3. Add the pasta and sauce and heat gently.
  4. Toss the pasta a few times to be sure it heats evenly.
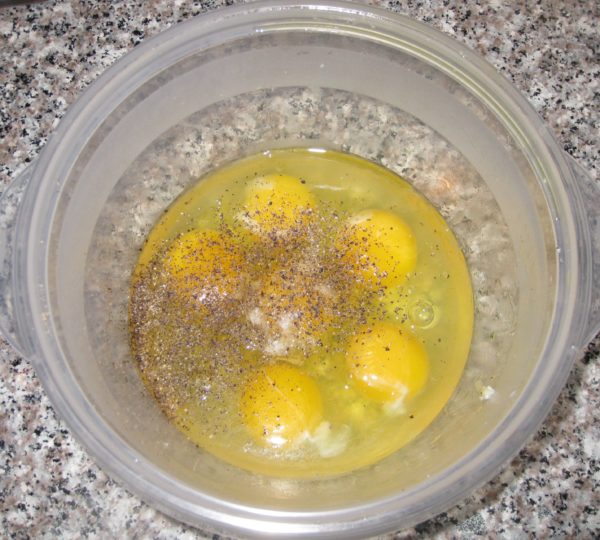
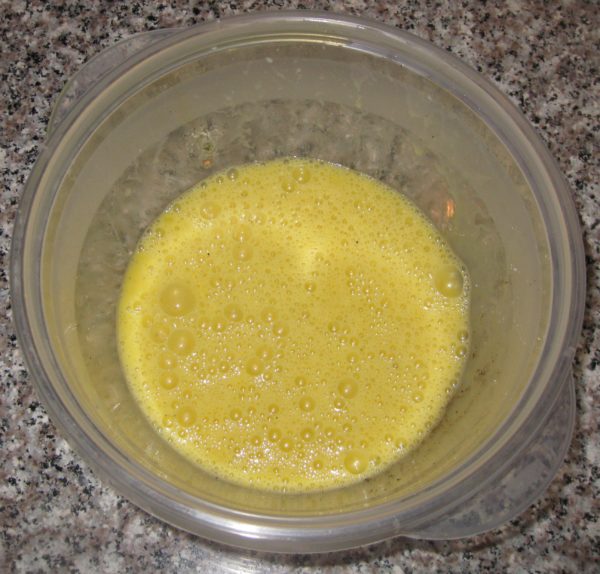
  5. Meanwhile, beat the eggs with salt and pepper to taste.
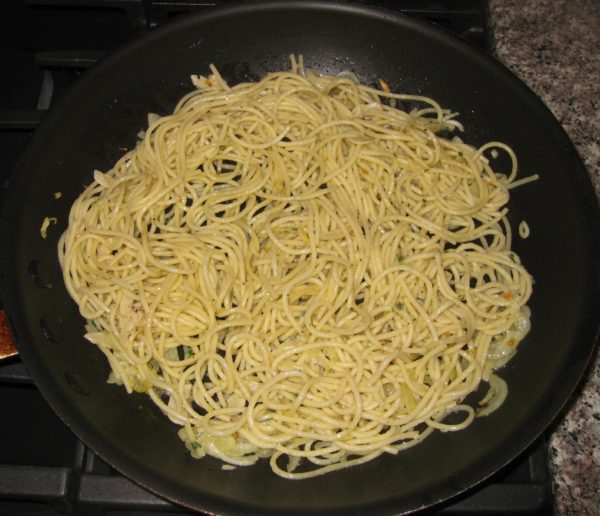
  6. When the pasta is heated through, spread it evenly on the bottom of the pan.
  7. If you cannot clearly see enough of a slick of oil on the bottom of the pan to protect the eggs from sticking, add a bit more. (Some sauces sop up the oil more than others.)
  8. Pour the eggs over the pasta, being careful to distribute them evenly.
  9. If using cheese, sprinkle it over the top of the eggs.
  10. Cover the pan and reduce the heat to low.
  11. Keep the eggs covered the whole time and move the pan around on the stove, even putting it off-center much of the time, to be sure the heat is evenly distributed around the bottom of the pan.
  12. Cook until the top of the eggs is just set. That is, there is no runny egg left. This will take approximately 25-30 minutes.
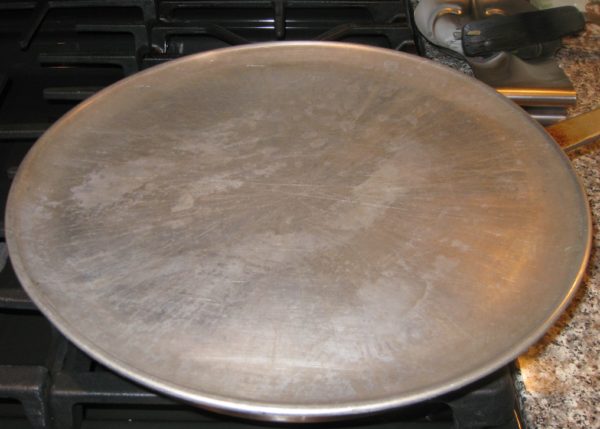
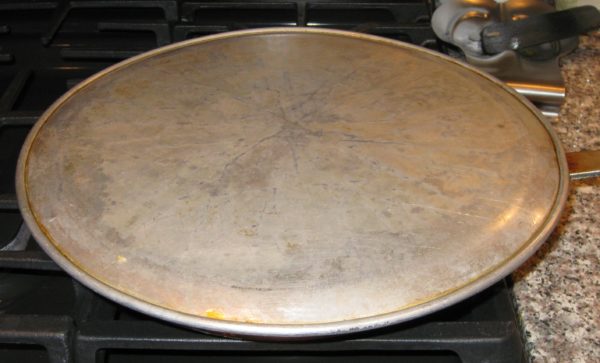
  13. When the eggs are set, slide them out of the pan onto a cookie sheet or pizza pan.
  14. Put the sauté pan upside down on the eggs and then flip the whole set-up over.
  15. Return the eggs to the heat, uncovered, for approximately 5 minutes to lightly brown the bottom.
  16. Slide on to a serving platter and cut in wedges to serve.
Recipe Notes

This is where you can find my recipe for Spaghettini with Anchovy and Garlic.

Copyright © 2018 by VillaSentieri.com. All rights reserved.
Share this Recipe