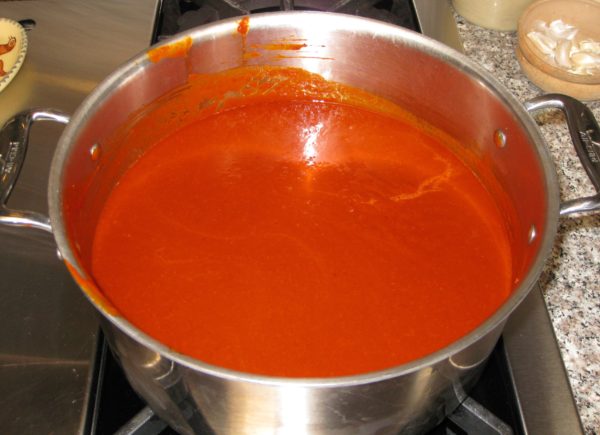
Thanksgiving Gravy

November 7, 2019

I’m not much of a turkey person.

If it were up to me, I’d probably never make turkey, except for the fact that turkey is a GREAT excuse to make killer stuffing and gravy.

OK, OK, those of you who know me know that I’m enough of a traditionalist that I’d probably still make turkey on Thanksgiving, with or without stuffing and gravy, because it’s, well, traditional.

Turkey aside, though, I absolutely LOVE stuffing and I LOVE gravy.

After Thanksgiving, I carefully hide the leftover stuffing in the fridge and keep it all for myself.  There usually isn’t much leftover so I get maybe two days of snacking on cold stuffing.  And it has to be cold, not warm, with a bit of added salt because the taste of salt is dulled by the coldness of the stuffing.


Click HERE to join our mailing list and you’ll never miss a recipe again!


As for the gravy, when I was a kid, I liked gravy so much that I would stir enough into my mashed potatoes that they became runny and spread out over my plate!  I don’t do that anymore but I still love gravy.

I love gravy so much that I roast poultry specifically to make gravy then discard the poultry because I’ve browned it to a fare-thee-well to get a really flavorful gravy.  But I only do that once a year—on Thanksgiving—hence the name Thanksgiving gravy.

When I was growing up, my parents hosted Thanksgiving dinner.  My Aunt Margie and Uncle Joe hosted Christmas Eve dinner.

On Thanksgiving, while my mother and Aunt Margie were getting everything ready to bring to the table (everything included a full Italian meal with sausage, meatballs, lasagna, etcetera alongside a full traditional American Thanksgiving meal!) my Aunt Mamie would make gravy from the pan drippings.


Follow us on your social media platform of choice


From my current vantage point, however, there is a very limited amount of gravy that can be made that way, otherwise it doesn’t have enough meaty goodness.  Though I have to say that Aunt Mamie did a great job of making gravy.  Hers was the one that I most often stirred into my mashed potatoes.

The search for lots of meaty-tasting gravy is what got me started on the path of roasting poultry a few days in advance simply to make a brown stock to use as the base for my gravy.

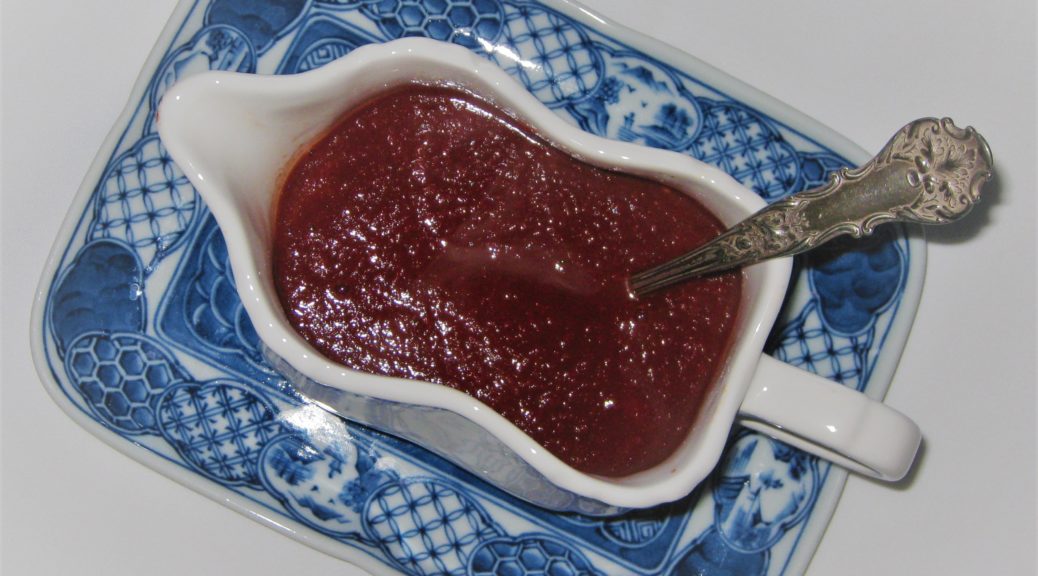
I guess, in reality, my gravy is more of a variation on French brown sauce (Sauce Espagnole) with added pan drippings than traditional American-style gravy but it packs the flavor that I expect from good gravy.

If there’s any leftover gravy, I warm it with some cream and sautéed mushrooms and then gently reheat leftover turkey in the sauce.
Print Recipe
Thanksgiving Gravy
Roasting poultry to make a flavorful stock creates a gravy with an extra punch of flavor. Turkey wings and necks are ideal but chicken and Cornish hen work very well, too. Whatever poultry you use, cut it into lots of pieces to create more surface area for browning. I use a lot of Parmigiano Reggiano cheese and I put all the rinds in a container in the freezer. I use one whenever I make stock or broth, as I do for the stock for this gravy. It is not necessary to peel the onions and garlic.
Votes: 0
Rating: 0
You:
Rate this recipe!
Prep Time 30 minutes
Cook Time 11 hours
Passive Time 12 hours
Servings
cups
Ingredients
Brown Stock
Prep Time 30 minutes
Cook Time 11 hours
Passive Time 12 hours
Servings
cups
Ingredients
Brown Stock
Votes: 0
Rating: 0
You:
Rate this recipe!
Instructions
Brown Stock
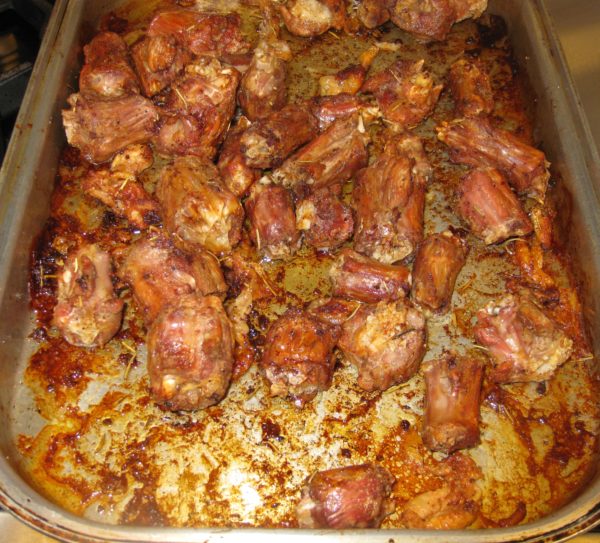
  1. Cut the turkey or other poultry into chunks. Put the cut-up turkey into a heavy roasting pan. Mix with ¼ cup of extra-virgin olive oil. Season generously with garlic powder and salt.
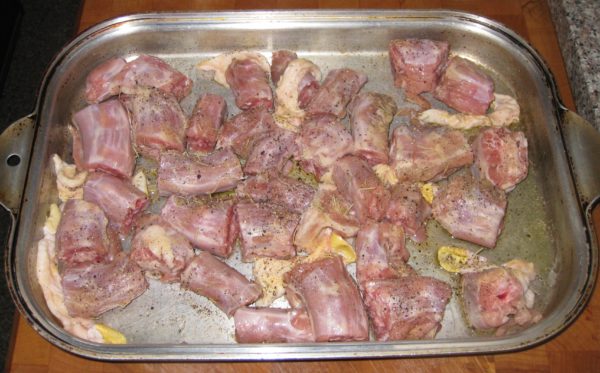
  2. Roast the turkey at 425°F until dark brown, turning often, 1½ to 2 hours.
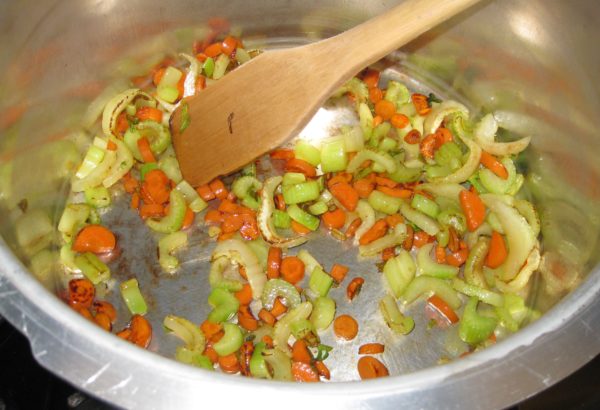
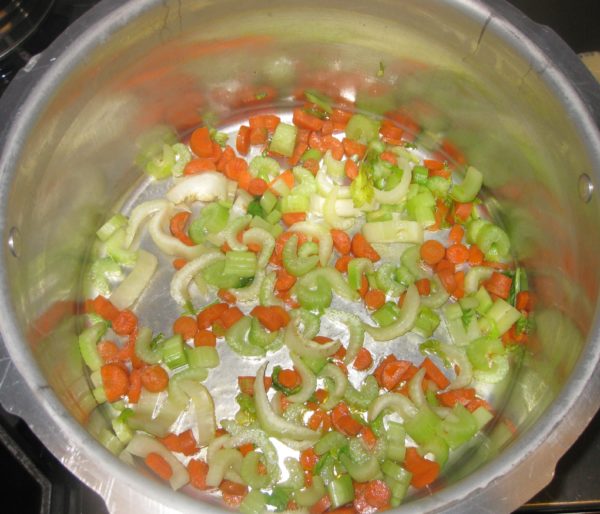
  3. Meanwhile, in a heavy-bottomed stock pot, large enough to hold all the ingredients, sauté the carrots and celery in ¼ cup of extra-virgin olive oil over high heat.
  4. As the carrots and celery begin to brown, add the onions and garlic.
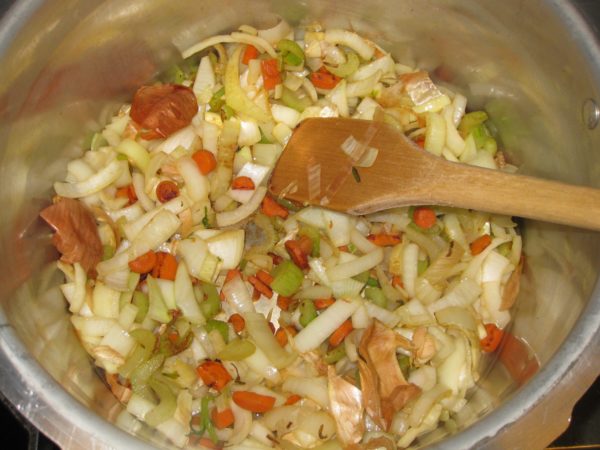
  5. Continue cooking, adjusting heat to medium if necessary, to create nicely browned vegetables and fond without burning.
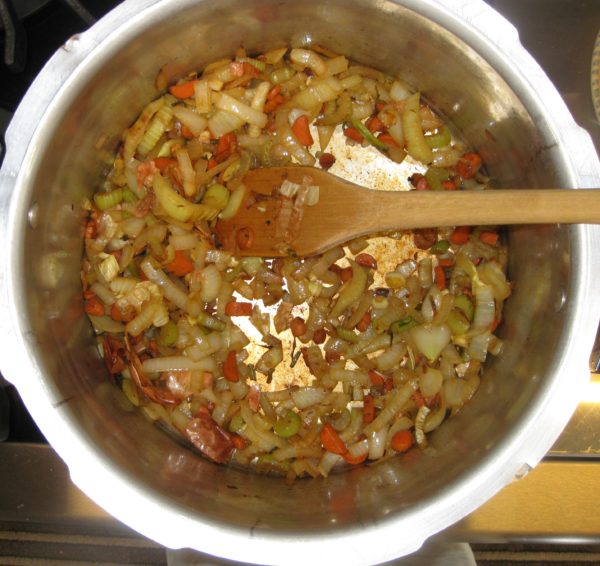
  6. When the vegetables are brown, add 1/2 cup of red wine and 1 cup of water to stop the cooking and set the pot aside until the turkey is ready.
  7. When the turkey is brown, add it and any pan drippings to the stockpot with the vegetables.
  8. Using some of the water, deglaze roasting pan and add the liquid to the stockpot. All these brown bits are important for flavor.
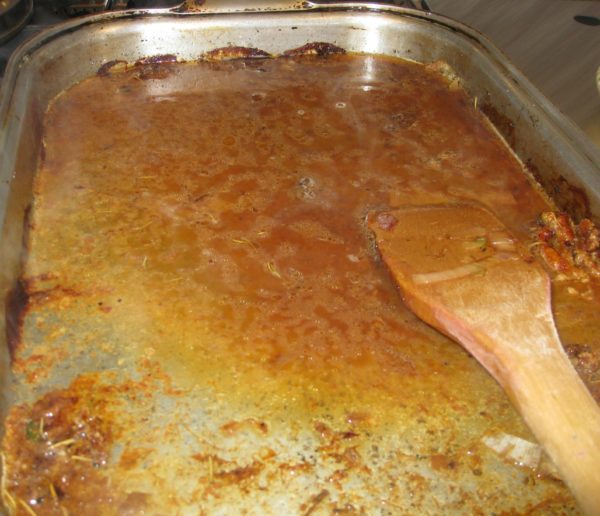
  9. Add the bay leaf, rosemary, sage, parsley, whole cloves, Parmigiano Reggiano cheese rind, if using, black pepper, and enough water to cover generously. Bring to a simmer and simmer, partially covered for six hours, stirring occasionally.
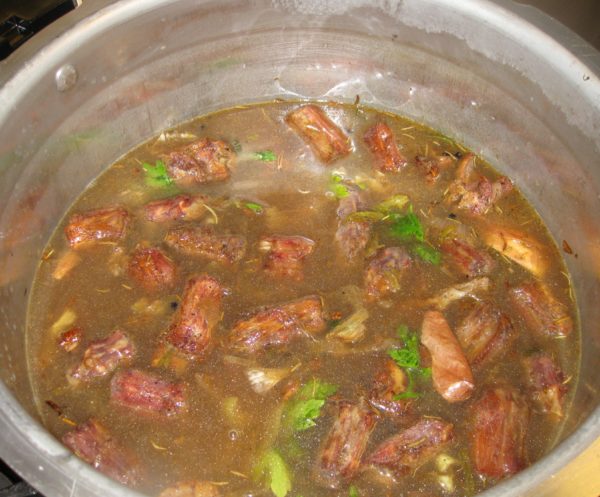
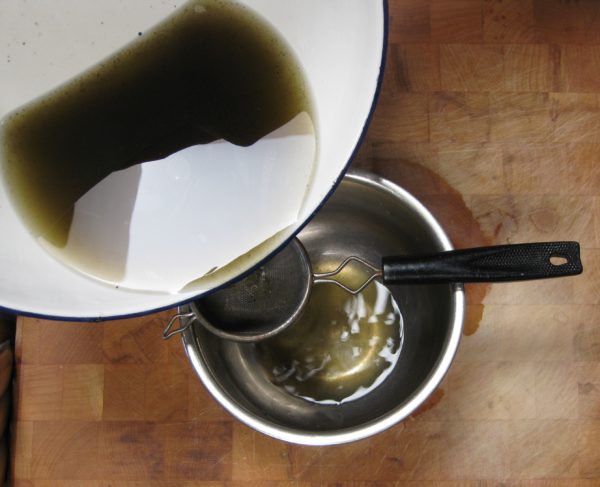
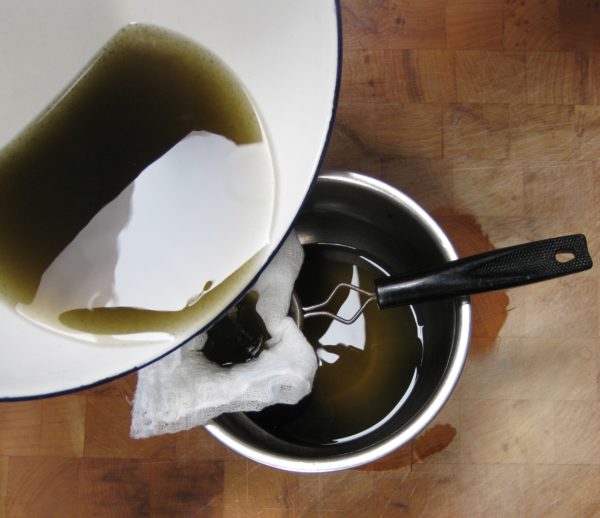
  10. Strain and refrigerate the stock. The stock may be made up to three days in advance.
Gravy
  1. Skim the fat from the top of the stock. Heat the fat to cook off any water. Measure ¾ cup of melted fat and reserve. Add butter, if necessary, to make ¾ cup.
  2. Gently boil the skimmed stock to reduce it to about six cups, if necessary.
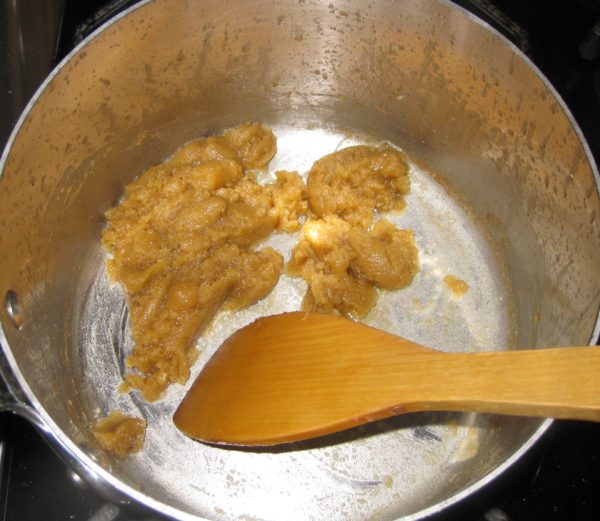
  3. Meanwhile, in a heavy-bottomed saucepan, gently brown the flour in the fat from the stock.
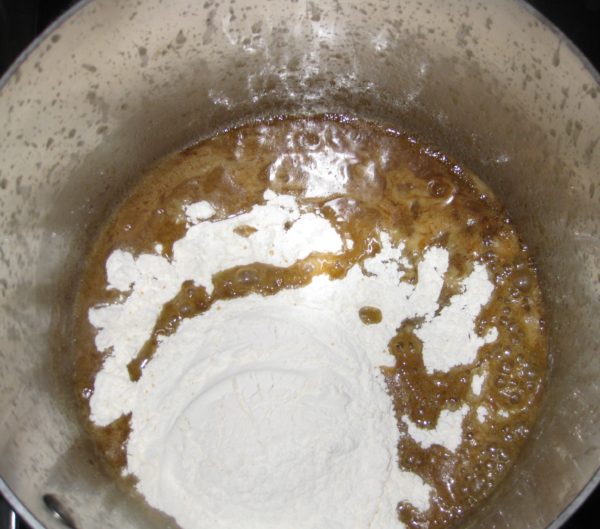
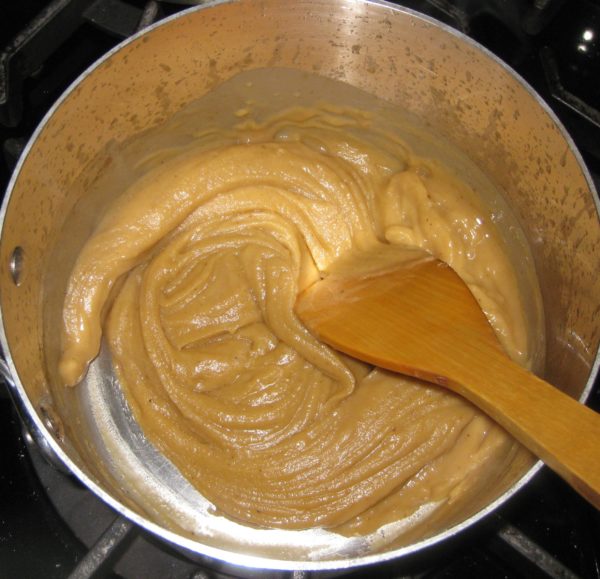
  4. Add the six cups of hot stock, approximately ¾ cup at a time, stirring well after each addition, to avoid lumps.
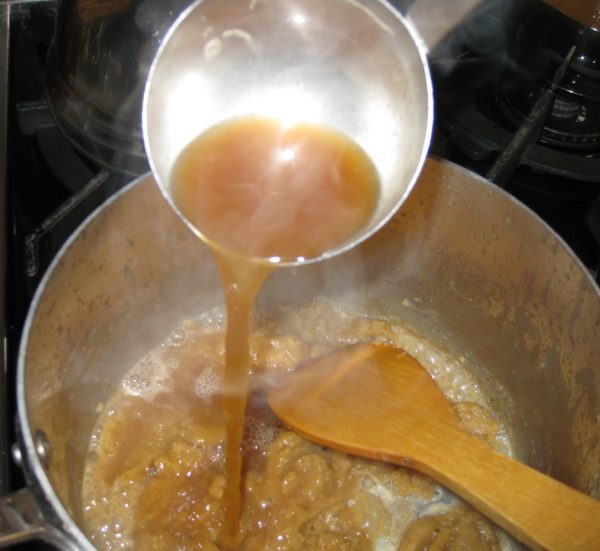
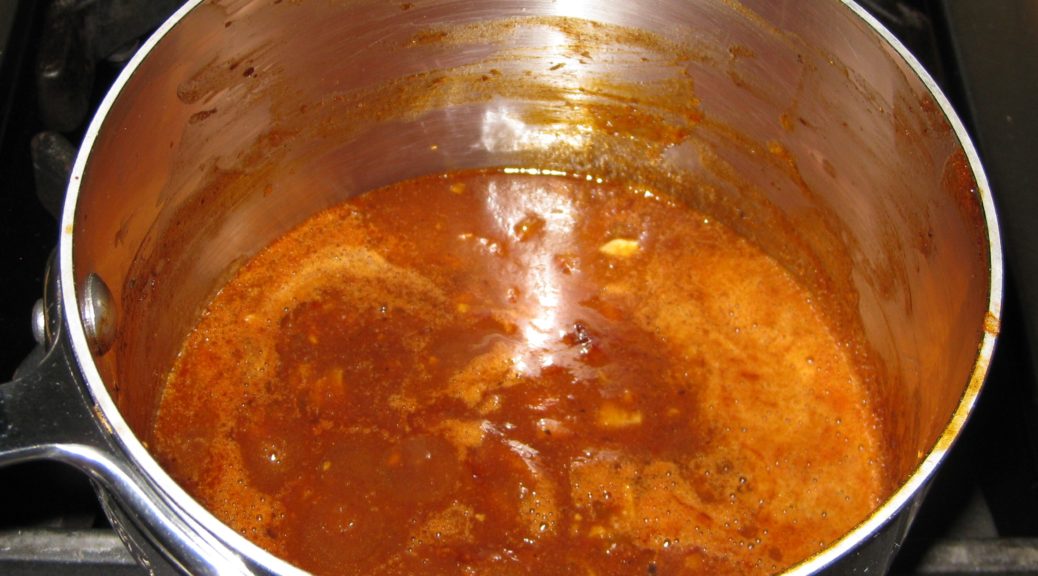
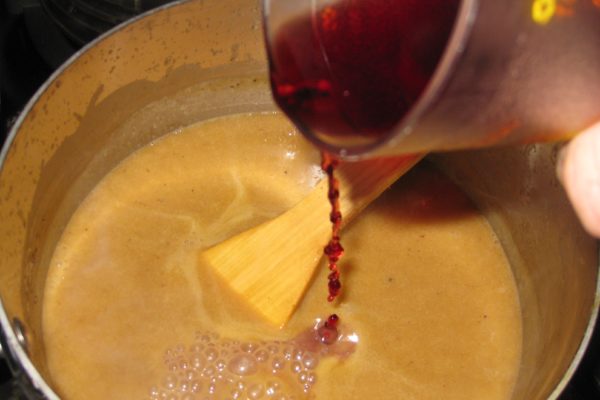
  5. After all the stock has been added, bring to a simmer. Add the wine. Season with 1 teaspoon salt and pepper to taste. (The drippings from the turkey can be fairly salty so the gravy should be under-salted until the final adjustment of seasoning.)
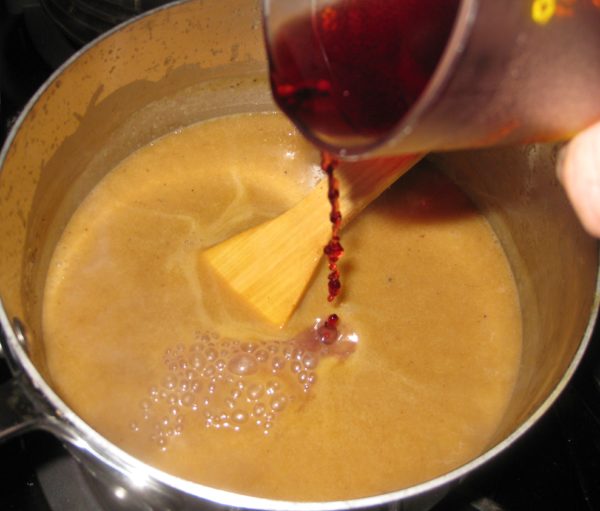
  6. Simmer gently till thick, approximately 2 hours, stirring frequently. Set aside, covered, until the turkey is ready.
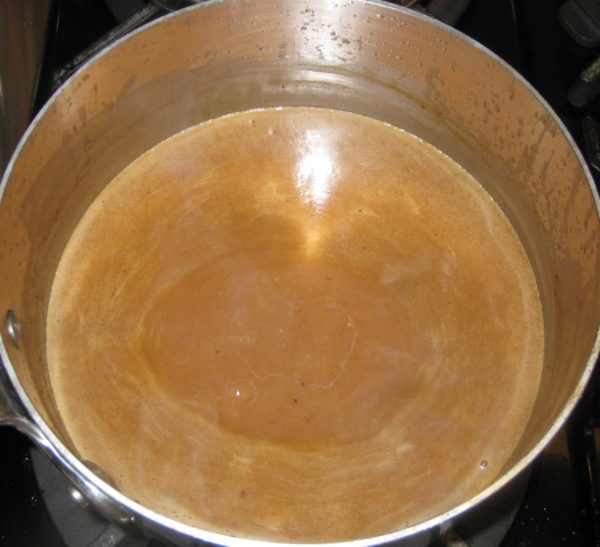
  7. After removing the turkey from the oven, deglaze the roasting pan with water. Skim the fat from the deglazing liquid. Pour the defatted drippings into gravy and simmer briefly to achieve the desired consistency. Adjust seasoning.
Recipe Notes

Copyright © 2019 by Villa Sentieri, LLC. All rights reserved.

Share this Recipe

Guyanese Barbecue Sauce

June 6, 2018

In a prior blog post, I talked about Jamaican New Sugar, also known as Wet Sugar.  New Sugar is difficult to obtain outside of Jamaica and even in Jamaica it is becoming harder to get.

Just as New Sugar relates to Jamaica, Demerara Brown sugar relates to Guyana.  Demerara Brown sugar is much easier to find, however.

The typical brown sugars available in the United States are made from refined white sugar with the addition of molasses.

New sugar, Demerara Brown sugar, and Turbinado sugar all represent stages in sugar refining.  Rather than adding molasses back into white sugar, it hasn’t been completely refined out of any of these sugars.


Follow us on your social media platform of choice


Of all of these, the one that I’ve used the most is Demerara Brown.  Even within this very distinct category, there are differences in refinement and moisture content.  Some Demerara Brown sugars are darker than others, though I’ve never seen a “grade” attached to these differences.  The Demerara Brown sugar that I used to buy in Guyana always seemed to have more moisture in it than that which is available in American markets.

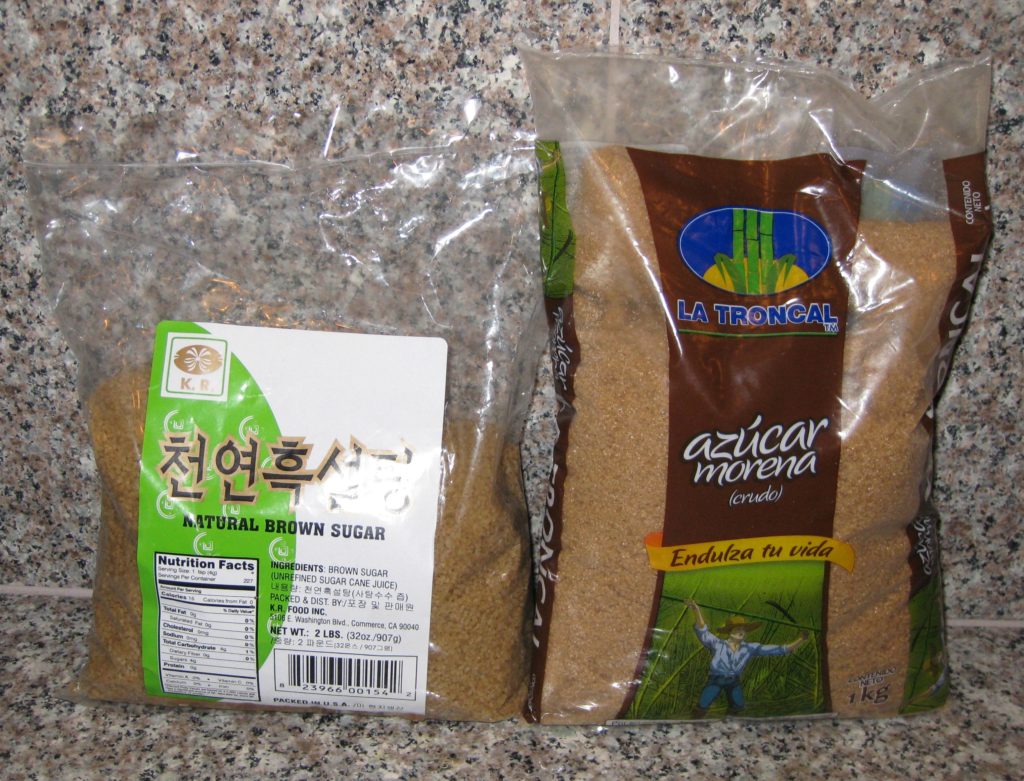
I’ve found several sugars that are good substitutes for Demerara Brown sugar.  One came from Ecuador and, admittedly, isn’t much easier to source than Demerara Brown sugar.

The other is a brown sugar made for the Korean market that I found in an Asian grocery store.

Korean and Ecuadorean brown sugars are good substitutes for Demerara Brown Sugar

I prefer both of them over Turbinado sugar as substitutes for Demerara Brown sugar as they are both less refined than Turbinado and have more of the flavor of true Demerara Brown.  For this barbecue sauce, however, since sugar is not a big component (as it might be in baked goods, for example) the ordinary American style brown sugar from the supermarket would work just fine.


Join our mailing list and you’ll never miss a recipe again!


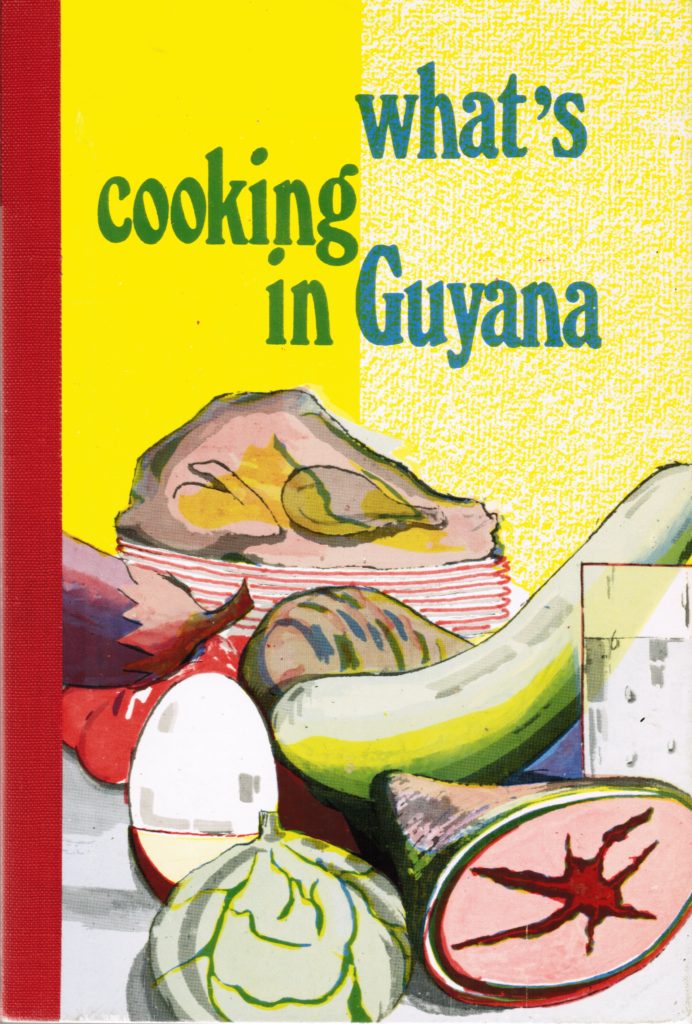
I’ve been making this barbecue sauce since I was in college when I purchased a cookbook on a trip to Guyana.  (I might have mentioned this before, but I have thousands upon thousands of cookbooks.  I’ve actually run out of shelf space for them and have them stacked in boxes which is far from ideal.  I’m trying to figure out where to install additional library shelving so I can get the books out of the boxes and make them accessible.)

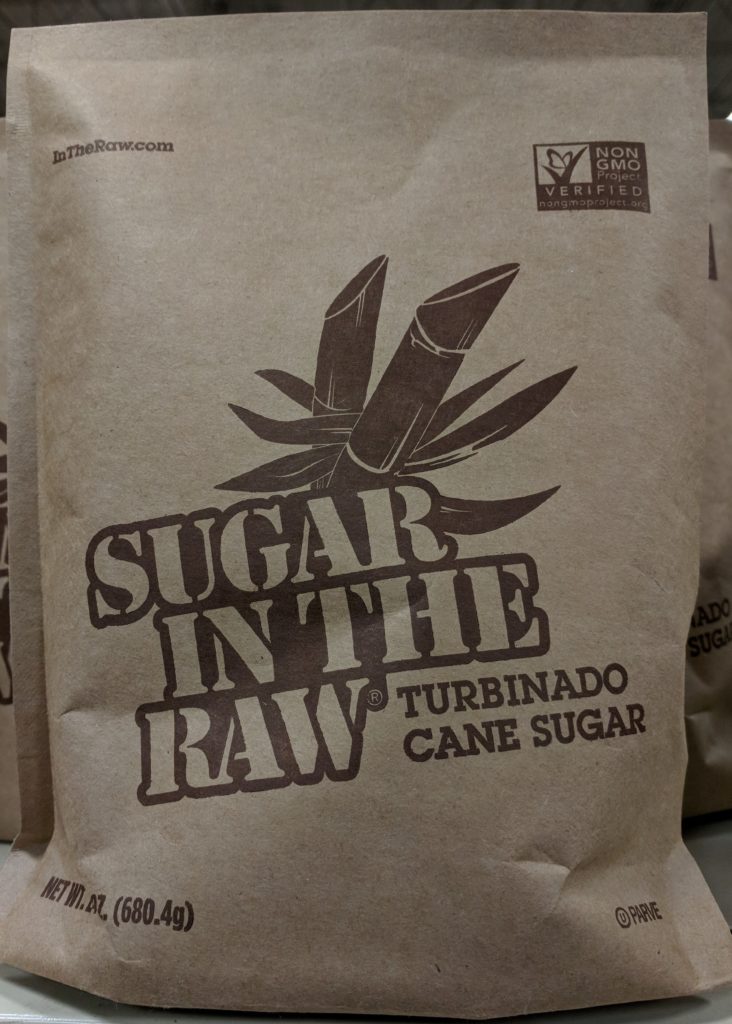
Turbinado sugar, which is lighter in color than Demerara Brown sugar, is not a good substitute for the flavor

What’s Cooking in Guyana is representative of a style of cookbook published decades ago in countries around the world, well at least in Anglophone countries with which I am most familiar!  It is based on recipes from Home Economics professionals and contains traditional recipes, some (modified) international recipes as well as a quantity of what I call “made up” recipes.  That is, recipes with no particular cultural history to them that were developed by professional cooks.  Admittedly, some of these recipes enter the cannon of locally prepared dishes and, if they survive long enough, can become “traditional.”

Never once in all my time in Guyana was I served anything that contained barbecue sauce.  Barbecue, and anything resembling barbecue, just wasn’t part of the country’s culinary heritage.  So, the presence of barbecue sauce in this Guyanese cookbook is curious.  If you look at the ingredients, you’ll notice a resemblance to the ketchup-based barbecue sauces of the United States but a closer look at the ingredients will demonstrate the use of a number of specifically West Indian ingredients.

The first Guyanese cookbook I ever purchased

I classify this recipe as a “made up” one.  And a very good one at that!  It is my go-to barbecue sauce (when I’m not being lazy and reaching for a bottle of the purchased stuff, which, admittedly, I do from time to time.)  Many years ago, I  changed the proportions of ingredients in this barbecue sauce to suit my taste.  I feel that it is now truly mine.

In the coming weeks, I’m going to post my recipe for barbecue rub and then after that my recipe for smoked chicken thighs that makes use of both the rub and the barbecue sauce.  Stay tuned!

Print Recipe
Guyanese Barbecue Sauce
Wiri wiri peppers are nearly impossible to obtain outside of Guyana. Habanero or Scotch Bonnet peppers can be substituted. Demerara brown sugar can be difficult to find. Any coarse grained brown sugar can be used, such as Turbinado. Regular American-style brown sugar would work too. Lea and Perrins Steak Sauce can be substituted for the Pickapeppa Sauce. This recipe is modified from “what’s cooking in Guyana” published in 1973 by the Guyanese Ministry of National Development & Agriculture and the Carnegie School of Home Economics.
Votes: 0
Rating: 0
You:
Rate this recipe!
Prep Time 15 minutes
Cook Time 15 minutes
Servings
cups
Ingredients
Prep Time 15 minutes
Cook Time 15 minutes
Servings
cups
Ingredients
Votes: 0
Rating: 0
You:
Rate this recipe!
Instructions
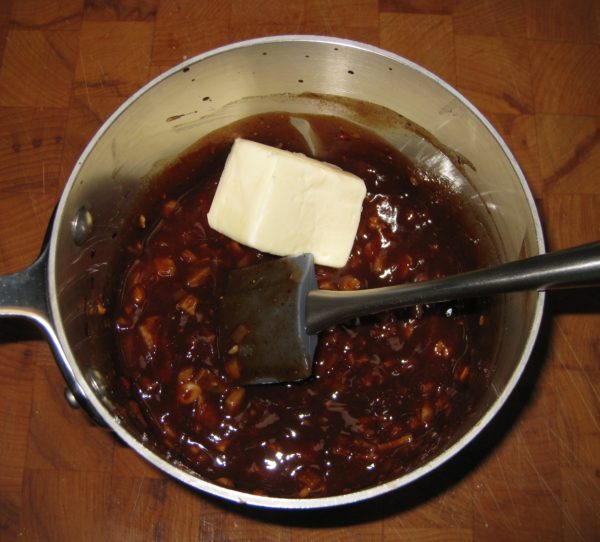
  1. Combine all ingredients in a small non-reactive saucepan.
  2. Bring to a boil over medium heat.
  3. Reduce heat and simmer 10 minutes, stirring frequently.
  4. Thin with a few tablespoons of water, if necessary.
  5. The sauce may be refrigerated for up to one week.
Recipe Notes

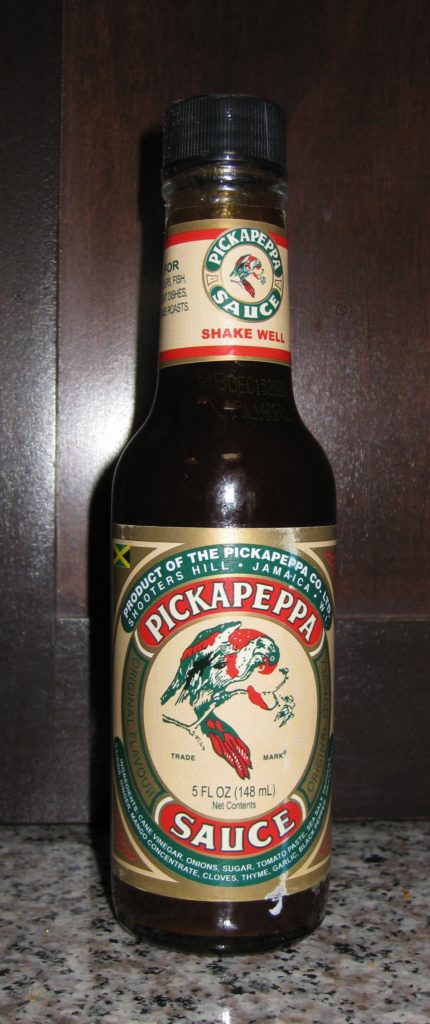
Despite its name, Pickapeppa sauce is not spicy.  It is very similar to a good steak sauce, such as A-1

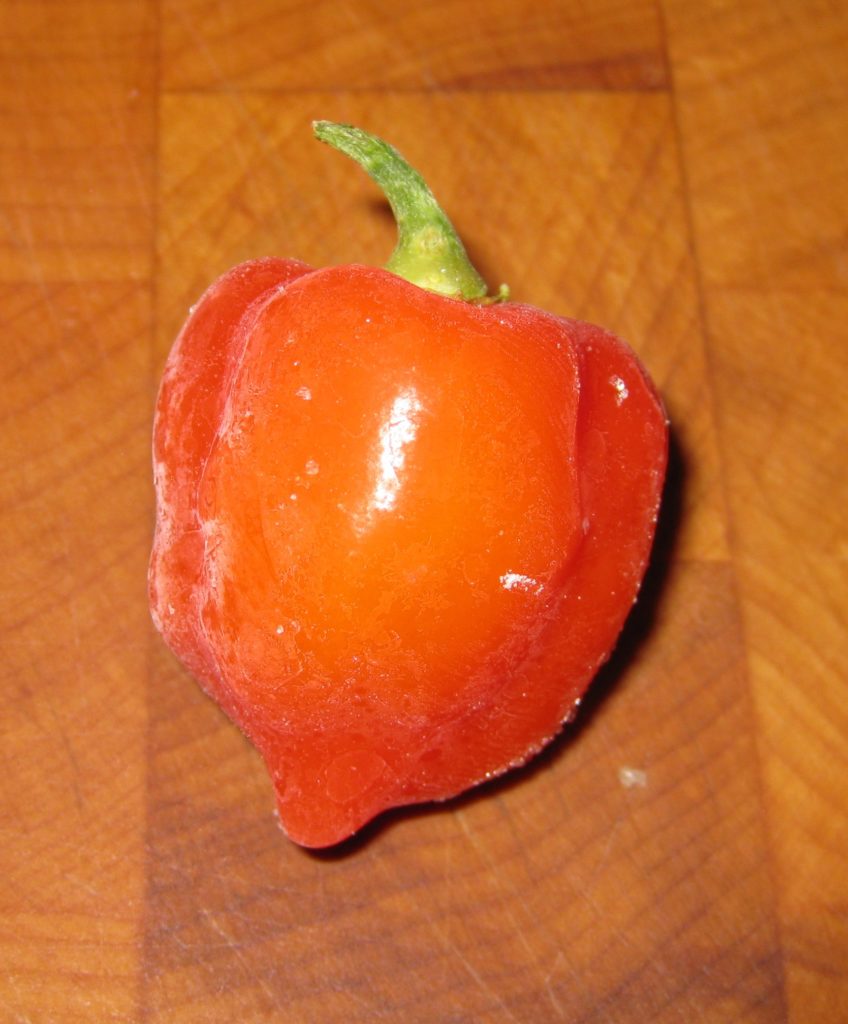
Wiri wiri peppers are almost impossible to obtain, and the small amount needed does not justify a strenuous search.  Habanero or Scotch Bonnet peppers, to taste, can be substituted.

Copyright © 2018 by Villa Sentieri, LLC. All rights reserved.
Share this Recipe

Eduardo’s Chimichurri

October 20, 2017

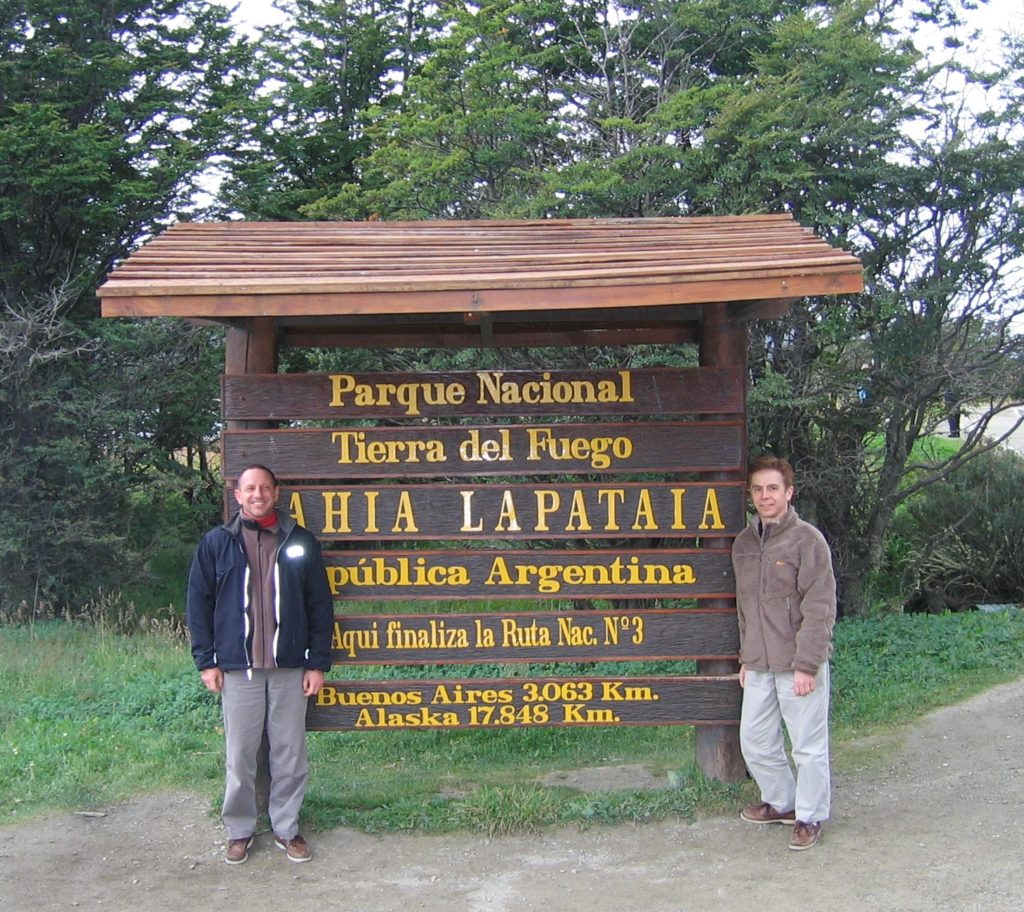
We’ve been to Argentina at least three times. Once as part of a trip to explore wine country in Chile and Argentina, once as part of a trip to Antarctica for which the ship left from Tierra del Fuego, and once with my in-laws to visit relatives who lived in Patagonia.

Tierra del Fuego, the starting point for our Antarctic adventure!
Penguins
Icebergs really are blue!

On each trip we spent some time in Buenos Aires, some more than others. And on each trip we did the Argentine thing of eating copious quantities of meat.

Eateries abound selling meats of various types cooked over live charcoal. The less fancy, but no less good, ones are often outdoor affairs with pots of chimichurri on each table. Often, the maestro de parrilla (grill master) is standing just feet away tending several large parrillas (grills) brimming with various cuts of meat. One of our most memorable meals of grilled meats was at just such a place in the suburbs of Buenos Aires with a friend from the States who married an Argentine and moved to Buenos Aires.

I developed a true appreciation for the extent to which Argentines love meat, however, at several family dinners at my husband’s Great Uncle Duilio and Great Aunt Juliana’s house in Puerto Madryn, Patagonia. Duilio is Fidalma’s brother. I’ve mentioned Fidalma several times in this blog.

We spent a week in Puerto Madryn and had two Sunday dinners with Duilio’s family (daughters, sons-in-law, and grandchildren).

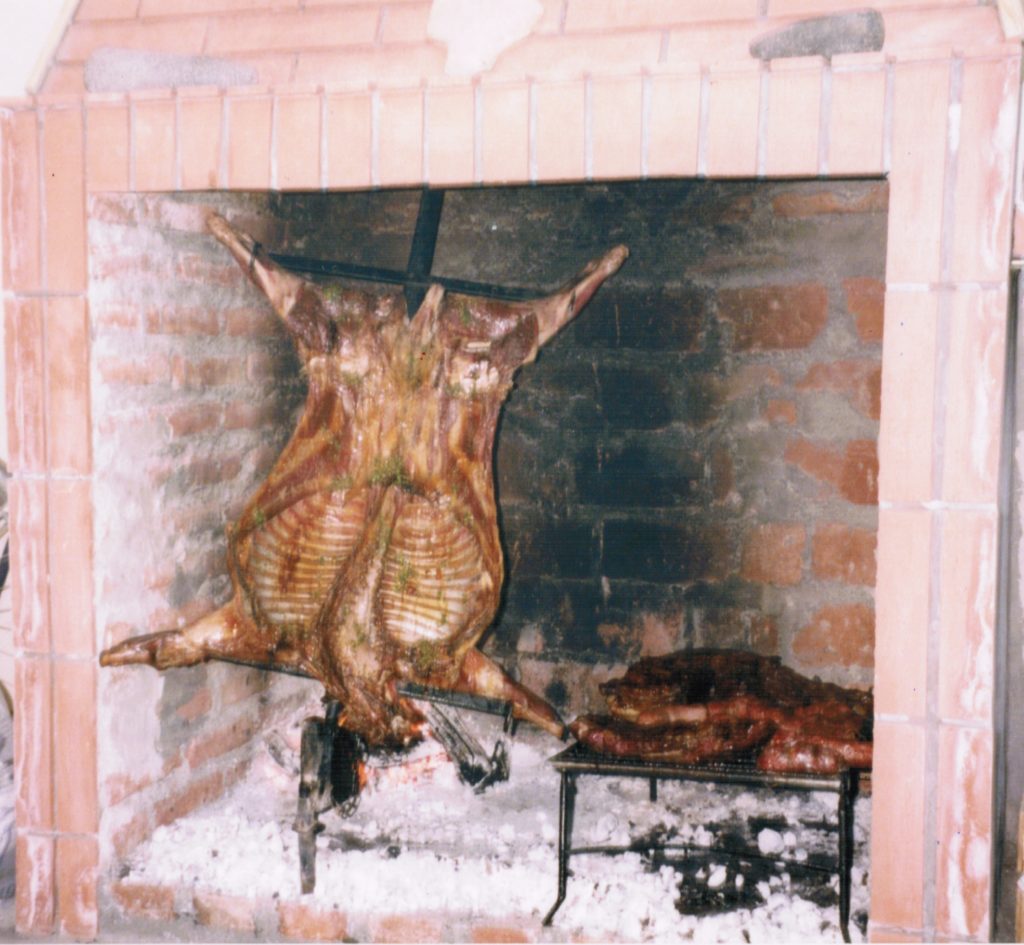
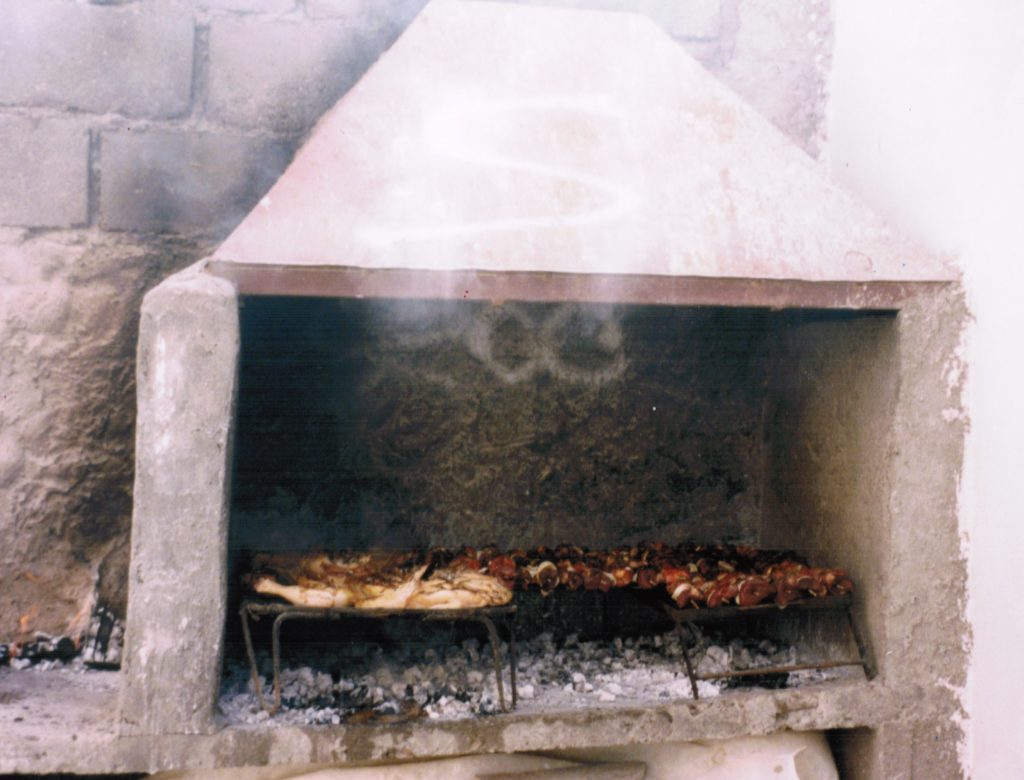
To accommodate large family gatherings, one of Duilio’s daughters converted an outbuilding to host bacchanalian feasts. There was a large indoor parilla with grill racks, an iron cross to hold an entire lamb near the charcoal, and a hook to hold a cauldron over the heat. There was another parilla just outside the door, in the courtyard. The rest of the interior space was given over to a very, very long table and chairs.

Indoor parilla with a whole lamb and sausages

When we arrived for the second Sunday dinner, Eduardo, one of Duilio’s sons-in-law was frying 15 kilos (that’s 33 pounds!) of calamari in a large cauldron set over a fire in the indoor parilla. This was just to keep us from getting restless and hungry as the rest of the meal was prepared.

Outdoor parilla with chicken and brochettes

When we sat down to eat, the first course was grilled chicken. The grilled chicken course was followed by grilled sausages. The grilled sausages were followed by grilled lamb. The grilled lamb was followed by grilled beef.

Yep, each course was a different meat!

Truth be told, there were some vegetables on the table. But that doesn’t mean they were eaten by most of the family and the quantity certainly paled in comparison to the herd of animals that made its way onto the table in succession.

The seating arrangement was in strict age progression. Duilio and Juliana sat at the head. On either side of them sat my husband’s parents. Next to them on opposite sides of the table was where my husband and I were seated. After that came Dulio and Juliana’s daughters and their husbands. The remainder of the table was filled with grandchildren.

The vegetables started at “our” end of the table. Duilio and Juliana, as well as my in-laws and the two of us actually put vegetables on our plates. Duilio and Juliana’s daughters took a bite or two, as I recall. The sons-in-law and grandchildren wanted nothing to do with anything that was suspiciously related to a root!

And there you have it. Course after course of meat, no veggies for the “true” Argentines, a bit of dessert, and the obligatory cup of mate passed around the table.

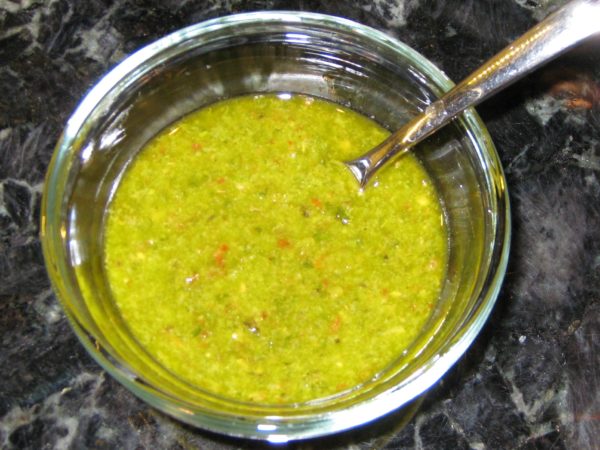
Eduardo cooked all the food magnificently. This is his chimichurri recipe. It contains a few ingredients that might seem unusual but since his family has been in Argentina for many generations who am I to argue?

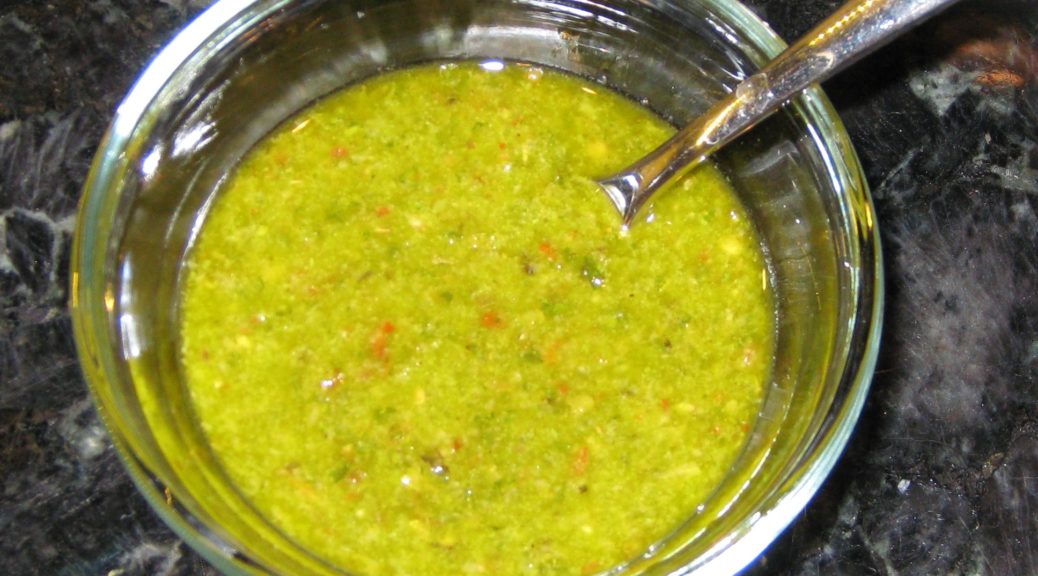
In addition to serving as the typical condiment for grilled meat, chimichurri is also as a marinade for the same meat. It will keep a week in the refrigerator so be sure to make enough to both marinate the meat and serve as a condiment.


Follow us


Click HERE to join our mailing list and you’ll never miss a recipe again!

Print Recipe
Eduardo's Chimichurri
While a few of the ingredients may seem unusual, Eduardo’s family has lived in Argentina for several generations so I don’t doubt the traditional nature of this recipe. Make extra and use some to marinate the meat before cooking. Pass the remainder at the table. You can use either red or white wine vinegar but I prefer white as it does not dull the bright green color of the herbs.
Votes: 0
Rating: 0
You:
Rate this recipe!
Prep Time 20 minutes
Passive Time 3 hours
Servings
cups
Ingredients
Prep Time 20 minutes
Passive Time 3 hours
Servings
cups
Ingredients
Votes: 0
Rating: 0
You:
Rate this recipe!
Instructions
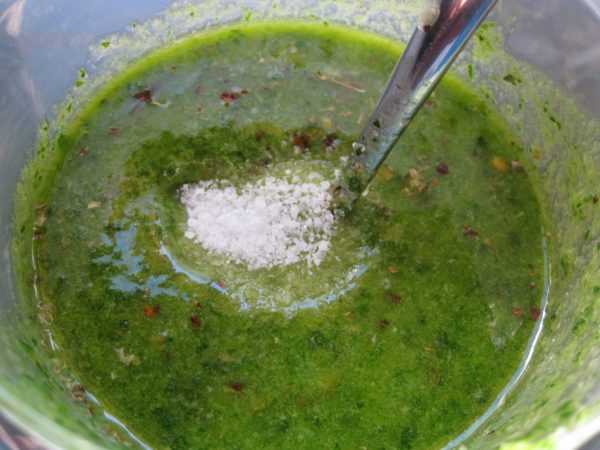
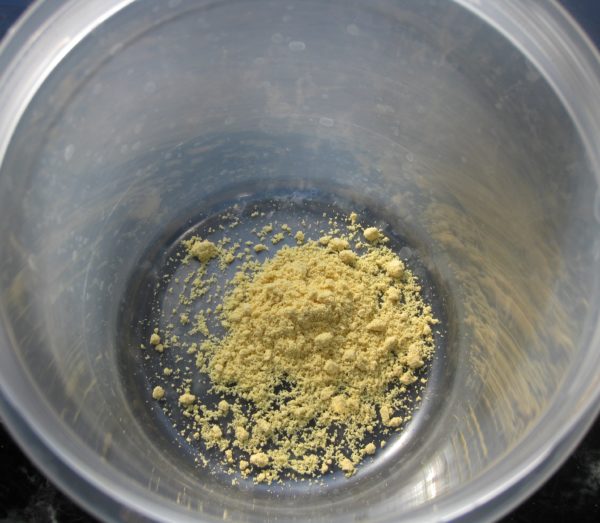
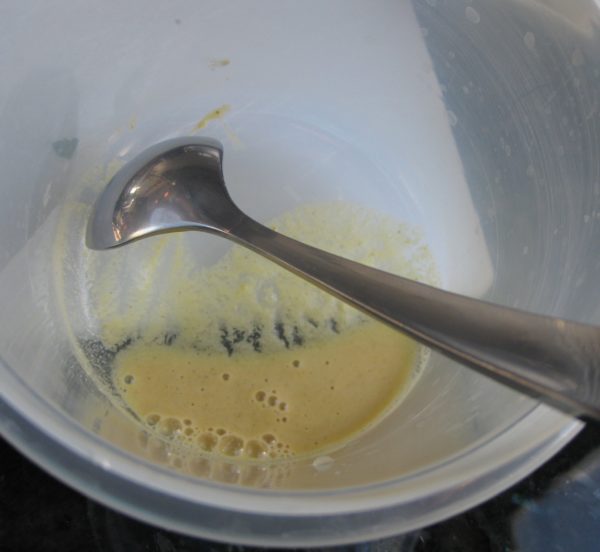
  1. In a jar with a tight-fitting lid large enough to hold the finished sauce, combine the mustard and water.
  2. Allow the mustard-water mixture to stand approximately 7-10 minutes to develop the mustard’s flavor.
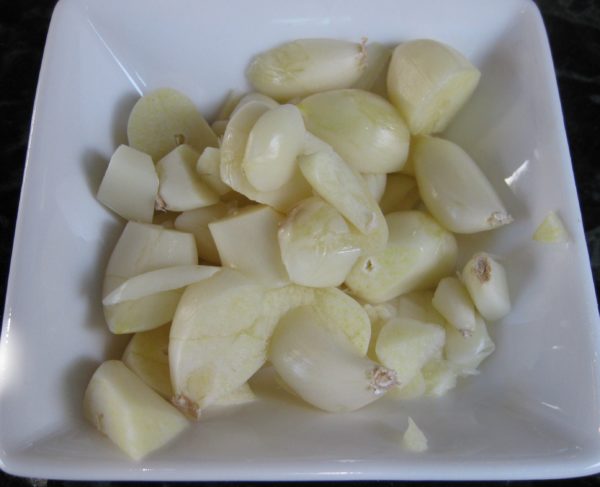
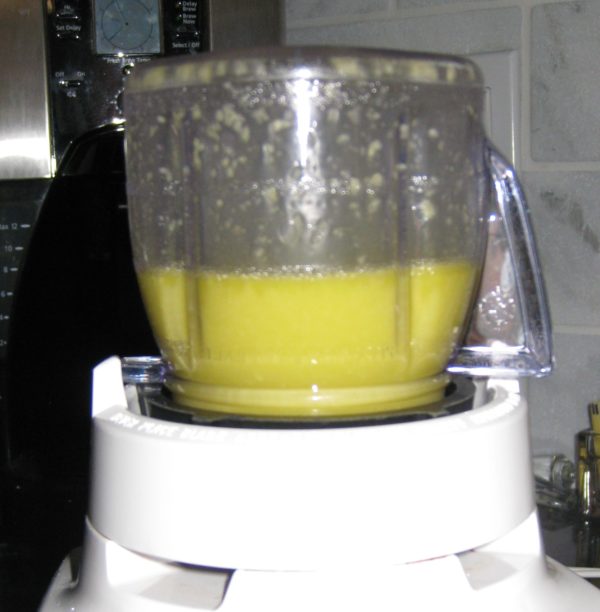
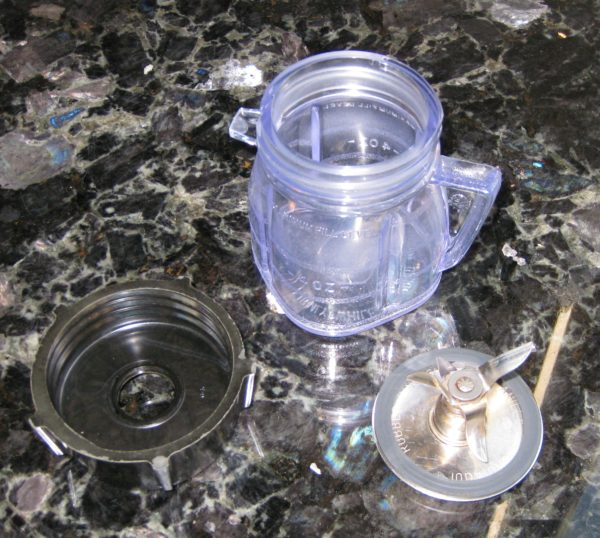
  3. Meanwhile, in a small blender jar, combine the garlic and one-half of the olive oil. Blend until garlic is finely minced.
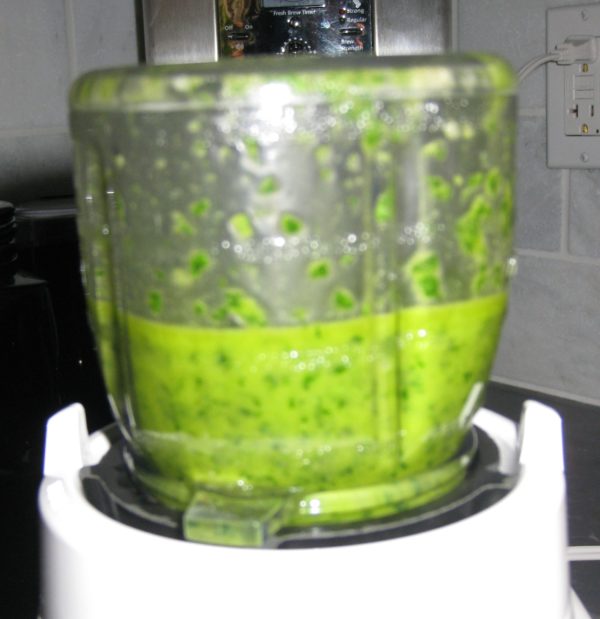
  4. Add the basil to the garlic-oil mixture and blend again until basil is finely chopped but not pureed.
  5. Add the garlic-oil-basil mixture to the mustard mixture.
  6. Combine the remaining oil and parsley in the blender jar and blend until parsley is finely chopped but not pureed.
  7. Add the parsley-oil mixture to the herb mixture.
  8. Use the wine to rinse out the blender jar and then add it to the herb mixture.
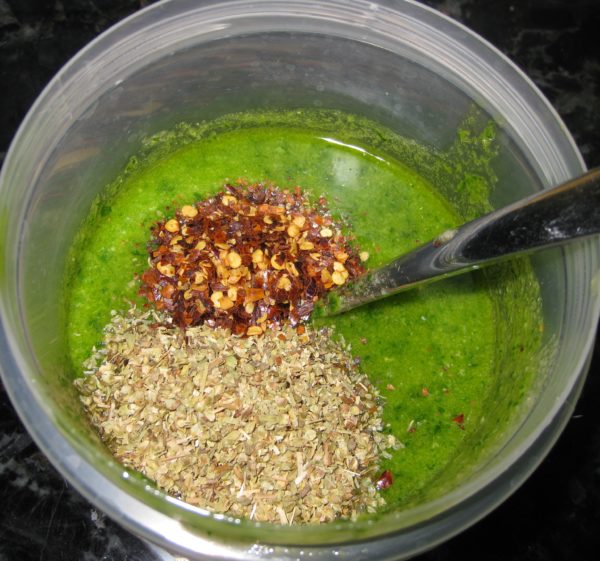
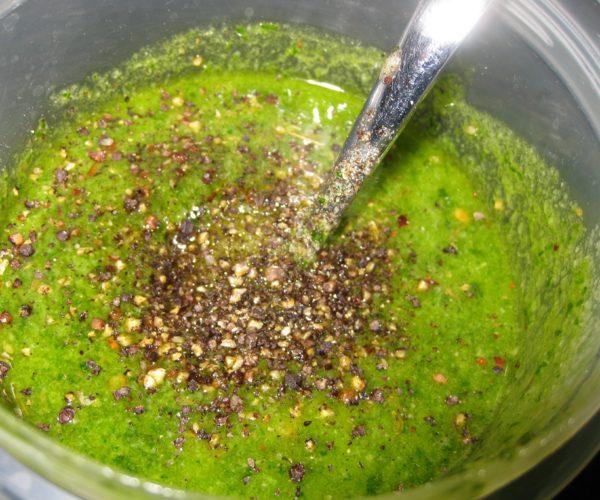
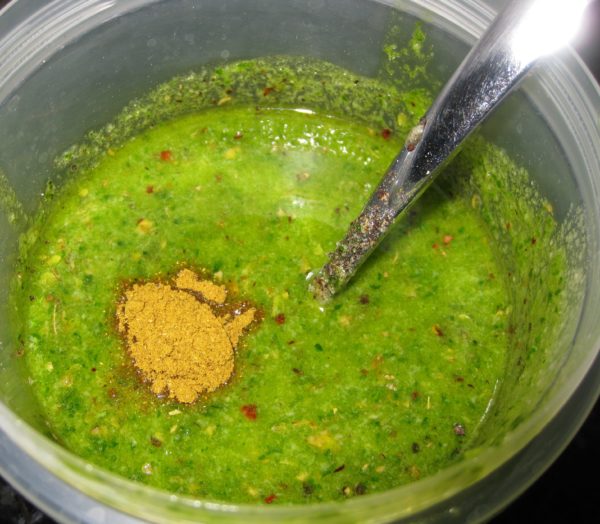
  9. Add all other ingredients. Mix well.
  10. X
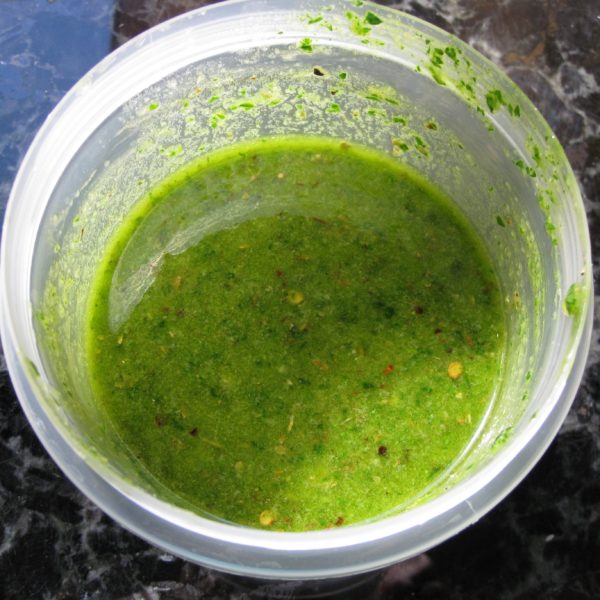
  11. Cover and allow the chimichurri to sit at room temperature for approximately three hours to develop flavor.
  12. The chimichurri can be refrigerated, tightly covered, for up to a week.
Recipe Notes

Copyright © 2017 by VillaSentieri.com. All rights reserved.
Share this Recipe

New Mexican Green Chile Sauce

September 22, 2017

Those of you who haven’t spent time in New Mexico may not know that chile (definitely spelled with an “e”) has cult status in the state.

New Mexican food wouldn’t be the same without “red” or “green.” Chile, that is. Those are the standard sauces used in New Mexican cuisine.

When ordering most dishes in a New Mexican restaurant in Santa Fe, the first question from the server, if the customer hasn’t specified, is “Red or Green or Christmas?”

Just 70 miles away in Taos, the question is “Red or Green or Caribe?”

It’s not that you can’t get Christmas in Taos, which as you might have guessed is half red chile sauce and half green chile sauce, it’s that never, ever is Caribe an option in Santa Fe. It just isn’t. I believe this speaks to the development of related, but different, foodways in the historically isolated towns and villages of New Mexico.

The most famous of all New Mexico chile is Hatch. There are about six varieties of chile grown in Hatch but, if they’re grown there, they can all be labeled as Hatch Chile. The tiny village of Chimayó, just under 30 miles from Santa Fe in northern New Mexico, grows good chile, too.

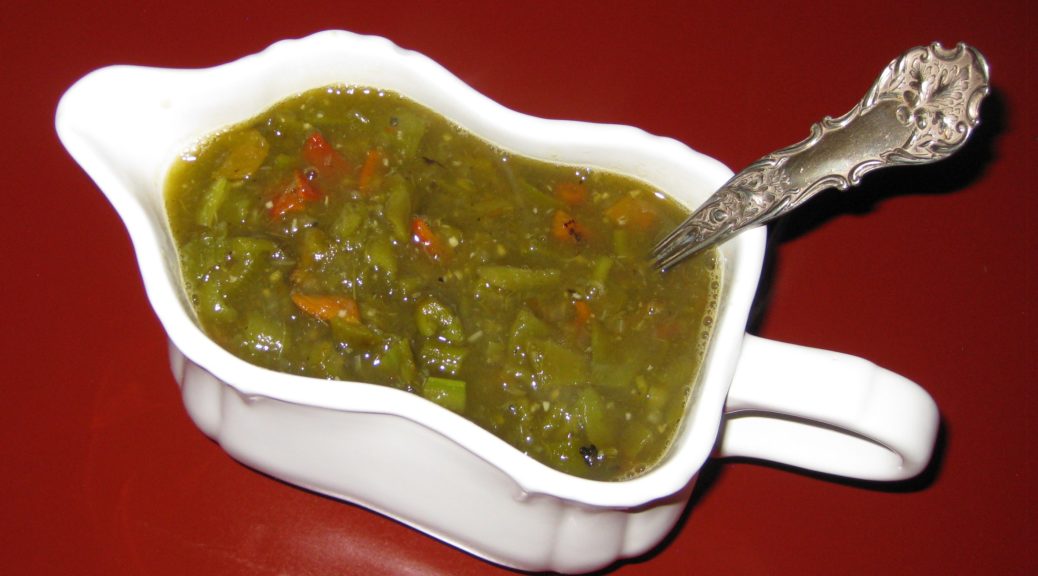
When I buy roasted green chile at the Santa Fe Farmers Market, I usually head for the vendor selling chile from Chimayó. That’s exactly what I did last week to make a batch of Green Chile for this blog post (honestly, we don’t add the word “sauce” to the end as the context indicates whether one is talking about the sauce or the fruit. And, yes, chile is a fruit!). Chimayó has a multi-hundred year history of growing heirloom chile and I feel good supporting that history, if even in a very small way.

A typical chile-roasting set-up found throughout parking lots in New Mexico in the late summer.

I served that chile during a dinner party for a group of close friends. Among the ten of us, only one was born and raised in New Mexico, Pat Assimakis (aka Pat Paris if you’re a maître d’ and she’s ever made a reservation at your restaurant). I gave Pat a taste of my green chile, she thought for a second and said, “Chimayó?” She nailed it! It’s got a slightly different taste from Hatch chile.

New Mexicans have strong opinions about their chile, be it red or green. The usual divide is between those who put almost nothing but chile in their chile (see, you knew the first meant the fruit and the second meant the sauce, right?) except for a bit of onion and/or garlic and those who add herbs (like oregano) and spices (like cumin). I am firmly in the former camp. Onion and garlic help to round out the flavor but, to my taste, herbs and spices detract from the pure chile goodness.

The other divide is degree of heat. Back to the restaurant scenario above, a frequent question from the customer after the server says “Red or Green?” is “Which is hotter?” Restaurants stake out their territory, not only in how they make their chile, but in terms of which is hotter.

Since I’m a bit of a chile-head, given a choice between the medium-hot and the hot Chimayó chile at the Farmers Market, I opted for the hot. So, I was more than a little concerned when Doug Howe, one of the other friends at our dinner, and the first to ladle some green chile onto his plate, took three large spoonsful. Before I could warn him, he took a bite and was in agony. I relieved him of his green chile, putting it on my plate, instead. Pat and I sure enjoyed the chile, Doug not so much. As for the other seven diners, I’m not sure.

In case you missed it, here is my recipe for Red Chile.


Follow us


Click HERE to join our mailing list and you’ll never miss a recipe again!

Print Recipe
New Mexican Green Chile Sauce
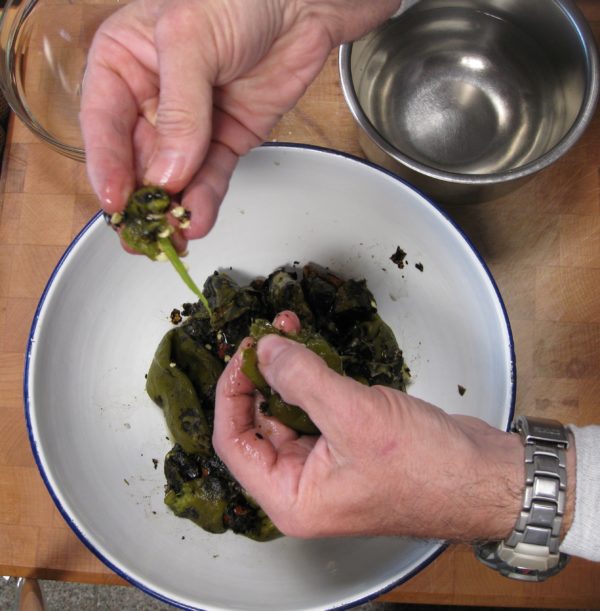
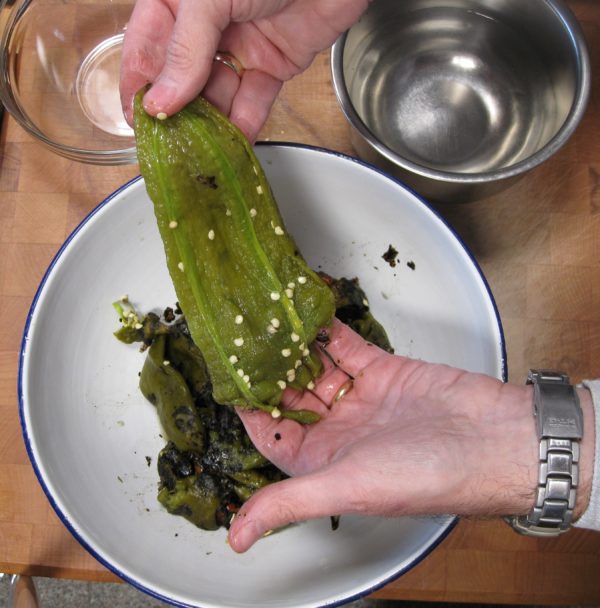
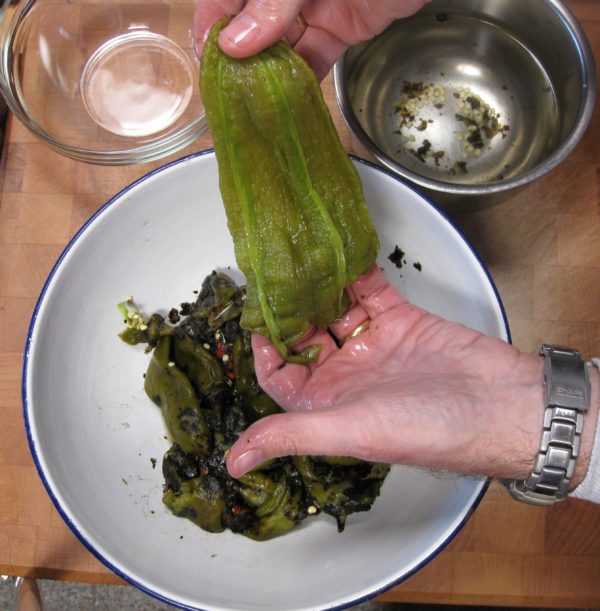
This is classic New Mexican Green Chile. There are just a few aromatics and no herbs and spices to muddy the flavor. Removing the skin and seeds can be a chore as they want to stick to your fingers. Dipping the chile and your fingers in water makes the task a breeze however, you want to use that water as part of the sauce because all of the tasty liquid that collects inside the chile as it roasts would be lost otherwise.
Votes: 0
Rating: 0
You:
Rate this recipe!
Prep Time 30 minutes
Cook Time 45 minutes
Servings
cups
Ingredients
Prep Time 30 minutes
Cook Time 45 minutes
Servings
cups
Ingredients
Votes: 0
Rating: 0
You:
Rate this recipe!
Instructions
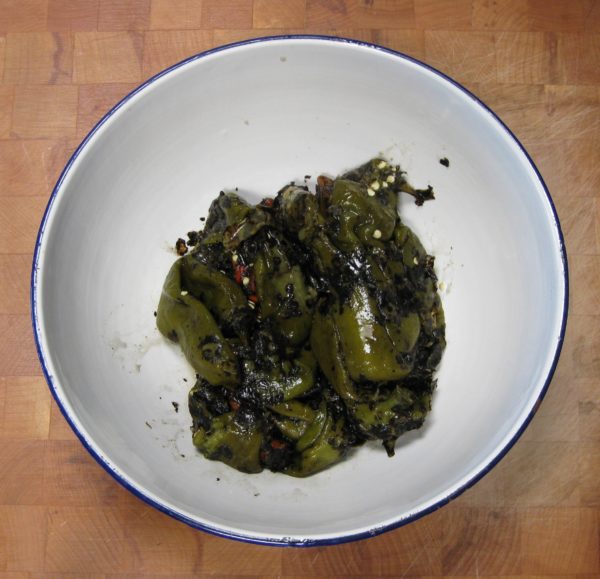
  1. Roasted green chile ready to be cleaned.
  2. Put two cups of water in a small bowl.
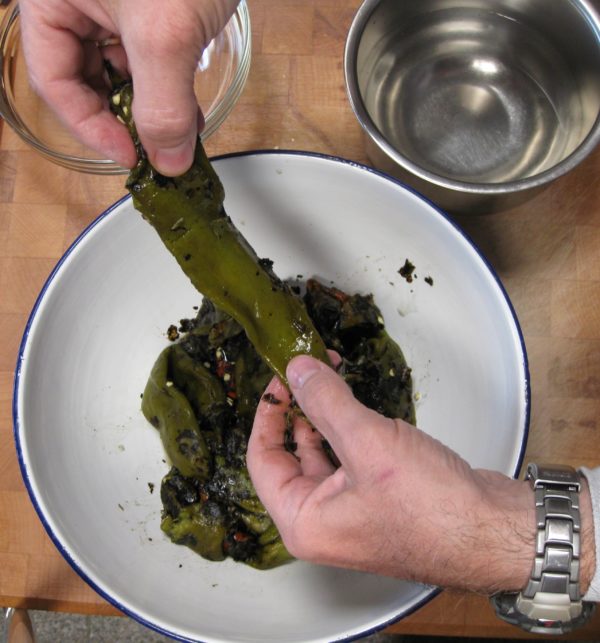
  3. Holding the chile over a bowl to catch any juice, use your fingers to remove the skin of the roasted chile. Most of the skin should slide off easily. You may need to work on a few bits here and there. Remove as much skin as possible but a few bits of stubbornly sticking skin aren’t a problem.
  4. Shake whatever skin you can from your fingers (it has a tendency to cling desperately to your fingers) then dip your fingers and the chile in the bowl of water to remove the clinging skin.
  5. Still holding the chile over a bowl, remove the stem end. You can usually do this by pinching the top of the chile but a pair of kitchen shears works well, too.
  6. Discard the stem end and any seeds that cling to it.
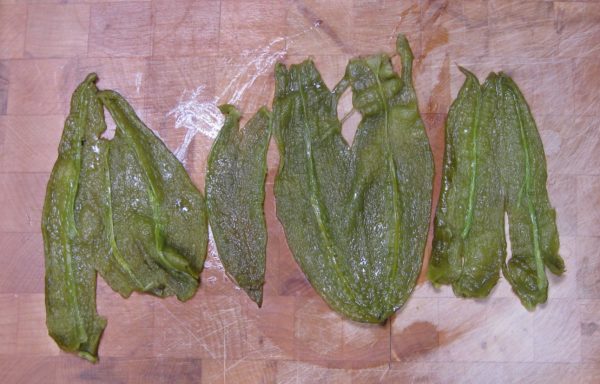
  7. Split the chile in half lengthwise. Again, this is pretty easy to do with a fingernail.
  8. Dip the chile into the bowl of water and scrape away the seeds.
  9. Put the cleaned chile into a clean bowl and repeat the process with the remaining chile.
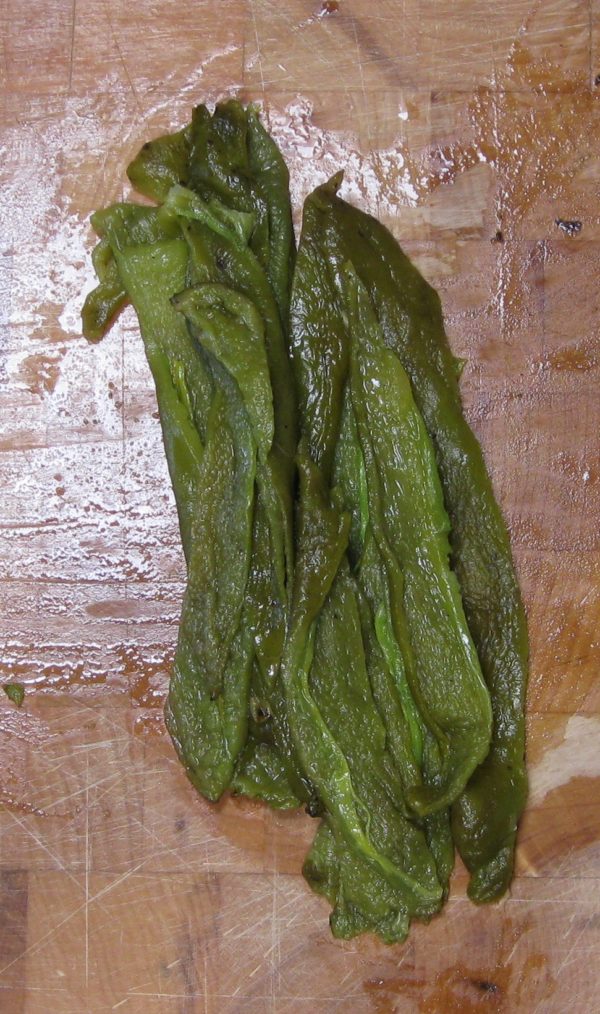
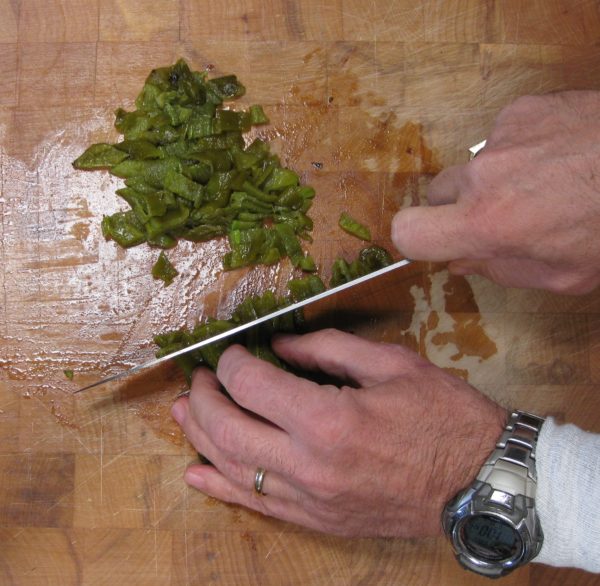
  10. Cut the chile into long strips.
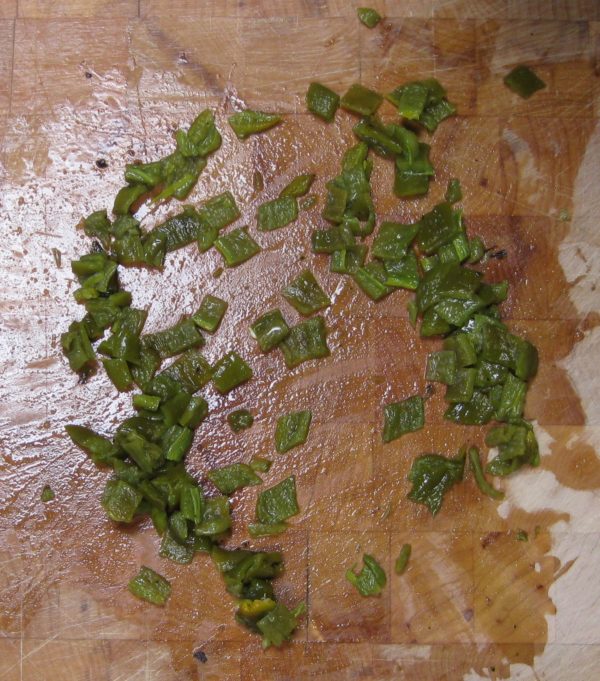
  11. Cut the chile crosswise into small squares
  12. Add any liquid that has collected in the bottom of the bowl from the chopped chile to the bowl of water.
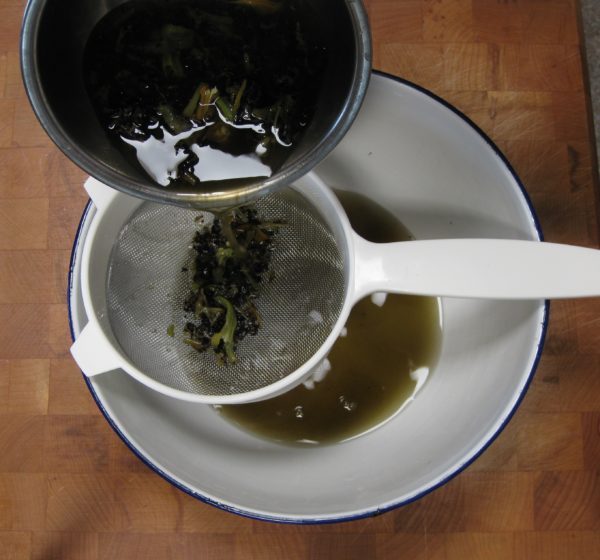
  13. Strain out seeds and bits of flesh from the water using a three step process. Strain the water through a large sieve.
  14. Strain the liquid through a fine, small sieve.
  15. Strain the liquid through several layers of cheesecloth or a paper filter.
  16. Chop the onion.
  17. Mince the garlic.
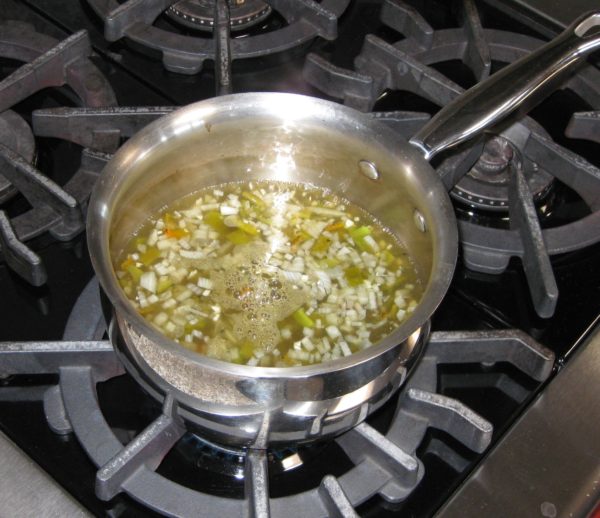
  18. Combine ½ cup of chopped chile, onion, garlic, strained water, and salt in a saucepan. Bring the mixture to a boil and simmer for 20 minutes.
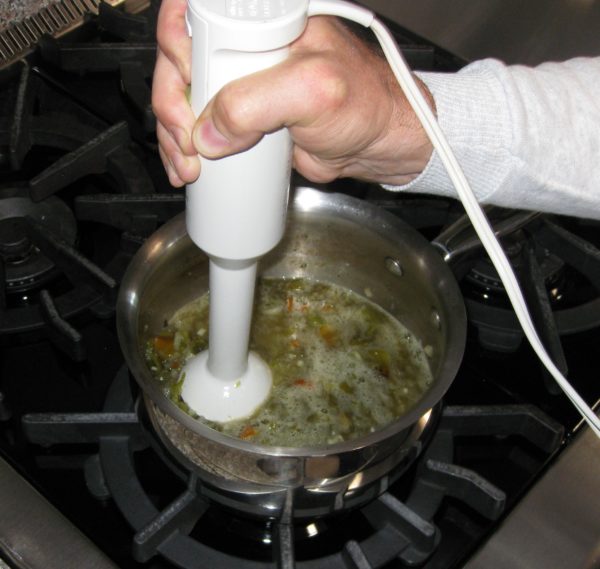
  19. Using an immersion blender or a regular blender puree the chile mixture. This will help to thicken the chile sauce without using a thickening agent.
  20. Add the remaining diced chile and two cups of water to the puree and simmer until the chile is soft to the bite, but not mushy, approximately 15-20 minutes, adjusting salt approximately 10 minutes into the simmer. If you used a regular blender in the previous step, use the water to rinse out the blender jar before adding it to the pot.
  21. The green chile can be refrigerated or frozen. It will become softer if frozen so best to cook it for a shorter time if it is going to be frozen.
Recipe Notes

Copyright © 2017 by VillaSentieri.com. All rights reserved.
Share this Recipe

New Mexican Red Chile Sauce

June 21, 2017

I come by a love of spicy food honestly.   I grew up in a family with a strong Southern Italian heritage and a love of spicy foods.  There was usually one, if not two, types of hot salami in the fridge.  My Uncle Joe Medile made the hot Italian sausage that we ate frequently and when my father said it wasn’t spicy enough, as he always did, the next batch was spicier still.  My cousin Angie put up hot peppers (her recipe is coming in the autumn).  Another Uncle ate sandwiches of fried hot peppers from his garden.  I still have hot salami in my fridge, and I make sausage and jarred hot peppers and eat fried pepper sandwiches!

I could go on but you get the picture.

In college, I fell in with a crowd of friends from all around the world, quite a number of whom were into fiery foods; foods so hot that they made anything with a European sensibility (like Italian food) seem like child’s play.

It wasn’t surprising that when I first ate New Mexican food in 1991, I was hooked by Red Chile and Green Chile.

New Mexican chile (and it is spelled chile, with an “e” on the end) at the most basic is a sauce.  Go into any New Mexican restaurant and order a burrito and the wait person, without missing a beat, will say “Red or Green?” unless you are in the know enough to have made your choice of chile part of the order in the first place.  The sauce will be poured over the burrito before serving.  If you are indecisive, you can have “Christmas” which will get you half red chile and half green chile.

New Mexican Chile has nothing in common with chili, whether it’s Tex-Mex, Cincinnati, or any other version.  There is Green Chile Stew which contains pork (usually) and is served in a bowl like, well, a stew.  But you won’t get Green Chile Stew if you ask for Green Chile.  You’ll get a sauce.

I’ve collected lots of Red Chile recipes from friends; eaten Red Chile scores, if not hundreds of times in restaurants; and researched Red Chile in old cookbooks.  I take a very traditional approach to what goes into my Red Chile, and it’s not much.

I think a traditional Red Chile should be made with ingredients that would have been available in the small, isolated farming communities in Northern New Mexico where the dish was perfected.  When I see recipes that purport to taste traditional, if not be traditional, that contain things like raisins, chipotle in adobo, and Asian fish sauce, I sigh.

Mind you, those ingredients, and other equally incongruous ingredients (like frozen orange juice concentrate!), might make a tasty sauce but it would not be New Mexican Red Chile!

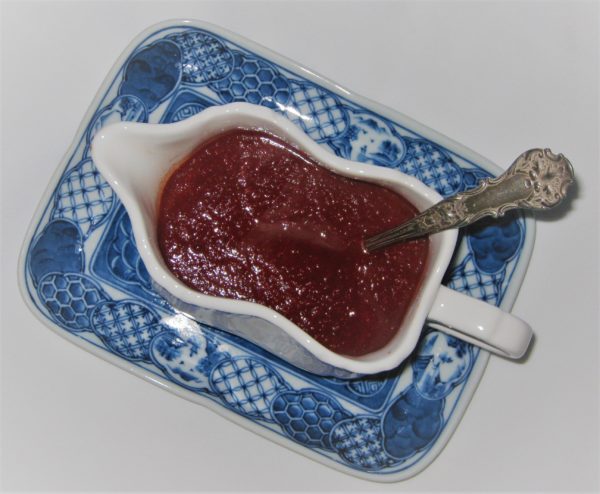
Red Chile should taste of chile with other ingredients used in small quantities to complement the chile.   In my case those ingredients are garlic and salt.  Period!

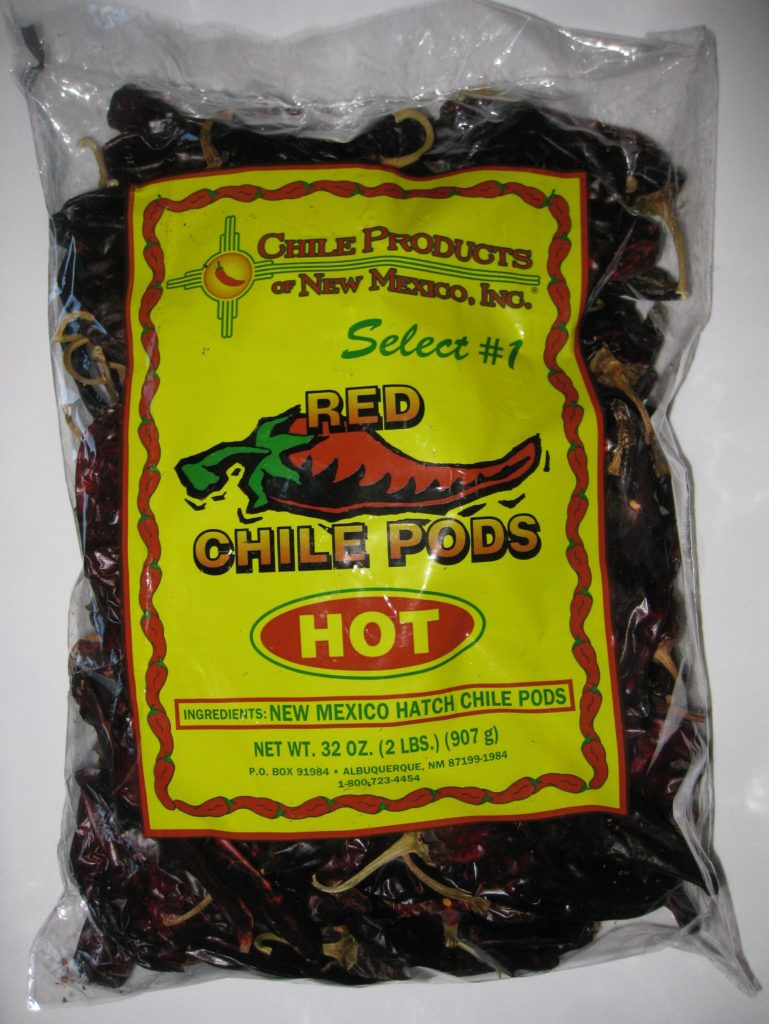
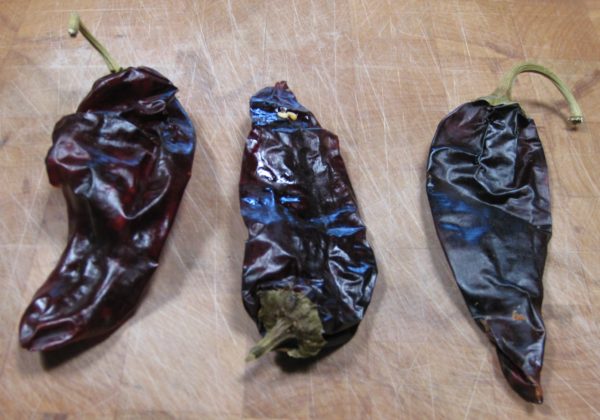
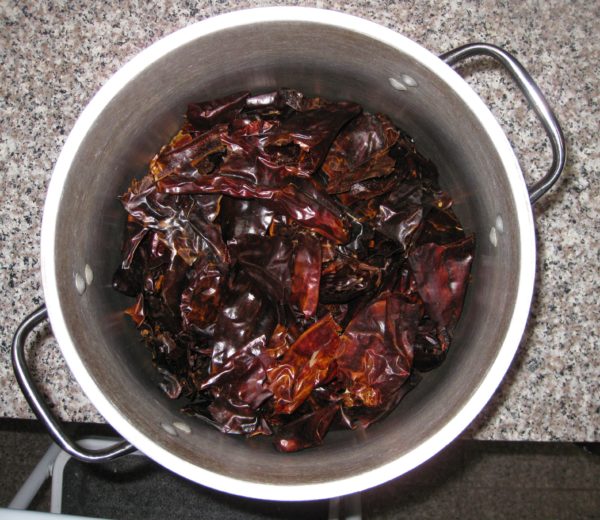
New Mexican Red Chile Pods

Before the advent of refrigeration, Red Chile, which is made from dried fully ripened, i.e. red, chile pods, was eaten most of the year.  Green Chile, made from roasted, freshly harvested green chile pods, was eaten at harvest time.

Next month I’m going to post my favorite New Mexican recipe, Carne Adovada, slow-cooked pork cubes in an abundant amount of red chile sauce.  The Red Chile in this post is an integral part of the process.  If you want to give the Carne Adovada a try you might want to practice making Red Chile.  If you’re at a loss for what to do with it, consider using it as a sauce on steak, chops or scrambled eggs.  Pour it over mashed potatoes.  Make burritos and smother them in red chile.

Before moving to New Mexico full time, we spent almost every holiday in Santa Fe.  We always invited a large crowd of friends over for Thanksgiving dinner.  Since we would leave Santa Fe to return to Chicago on the Saturday or Sunday after Thanksgiving, leftovers became a problem.  We quickly developed the tradition of having all of our Thanksgiving guests back for dinner on Friday which consisted of leftovers.  The only new addition to the meal, though, was red chile which some of us, at least, used in place of gravy!

The uses for red chile are limited only by your imagination.


Click HERE to join our mailing list and you’ll never miss a recipe again!

Print Recipe
New Mexican Red Chile Sauce
Commercially available red chile pods are categorized by heat level: mild, medium, hot, and extra hot. As with any agricultural product, there is some variability. Look for certified New Mexico grown chile. The town of Hatch in Southern New Mexico is probably the most well know chile-growing region but Chimayo in Northern New Mexico grows some pretty awesome chile, too. If you can’t find New Mexican chile in the markets near you, you can order it on line. I think that using whole pods rather than ground chile (chile molido…NOT to be confused with chili powder!!!) makes for a better texture. See the note at the bottom for a method using ground red chile. Remember, ground New Mexico Red Chile only contains chile pods, nothing else!!! Recipes for Red Chile usually start by specifying a particular number of chile pods. However, many of the pods in any batch of chile are broken. My solution was to weigh the pods, after removing seeds and stems, so that I no longer had to guess about how much broken up chile pod equals one whole pod.
Votes: 0
Rating: 0
You:
Rate this recipe!
Prep Time 15 minutes
Cook Time 40 minutes
Passive Time 20 minutes
Servings
cups
Ingredients
Prep Time 15 minutes
Cook Time 40 minutes
Passive Time 20 minutes
Servings
cups
Ingredients
Votes: 0
Rating: 0
You:
Rate this recipe!
Instructions
  1. The starting point: whole dried chile pods.
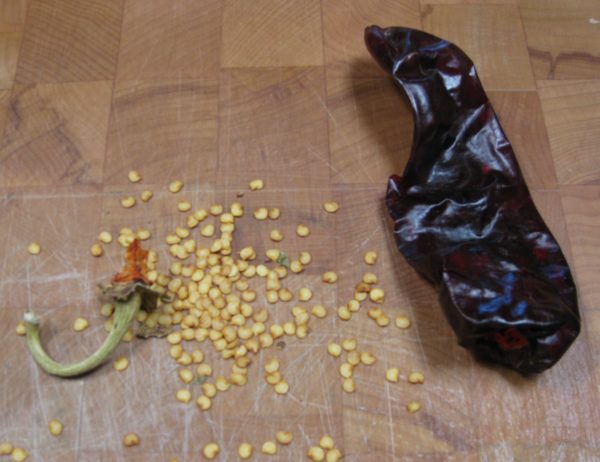
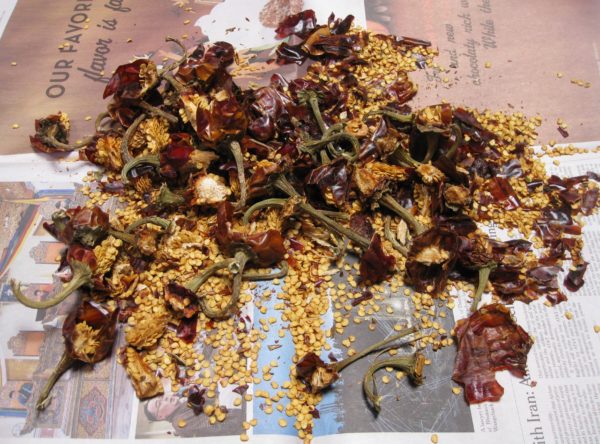
  2. Break off the stem of each chile pod and empty out the seeds and pith. You might have to break the pod in one or two places to get out the seeds. Try not to break it into small pieces, however.
  3. The stems, seeds, and pith ready for the compost heap!
  4. Weigh out 1 ½ ounces of chile pods after stem, seeds, and pith have been removed.
  5. Put the chile in a bowl.
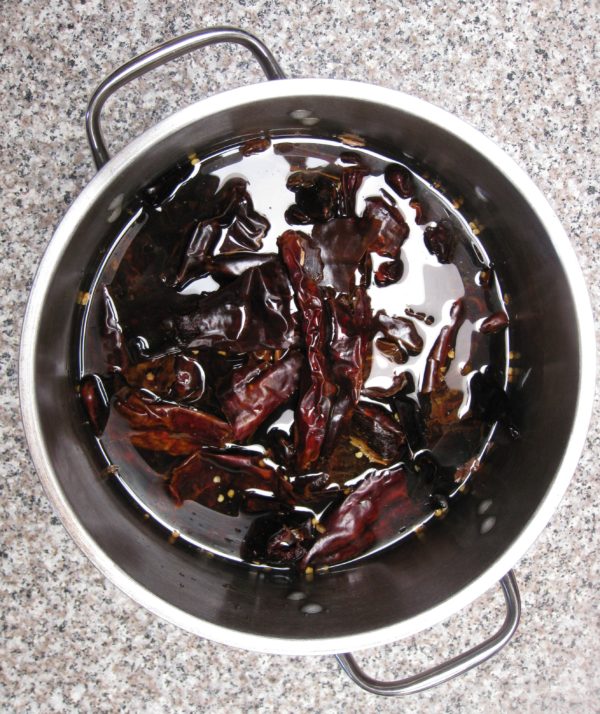
  6. Cover the chiles with very hot tap water.
  7. Steep the chiles in the hot water until softened, 15- 20 minutes.
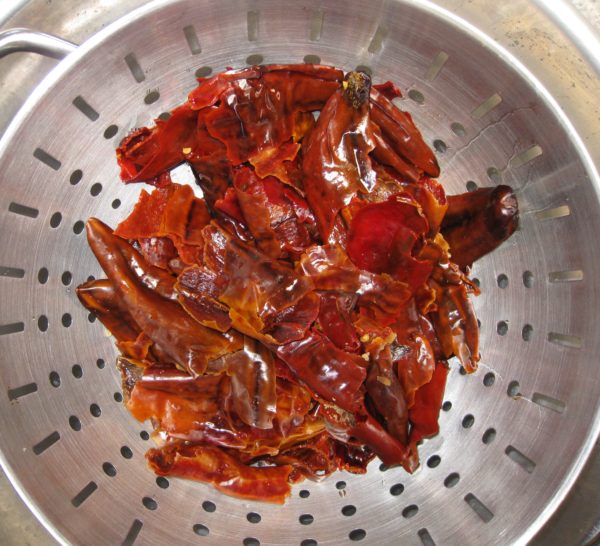
  8. Lift the chiles out of the water and into a colander, attempting to leave as many of the seeds behind as possible. Despite your best efforts, there will still be some!
  9. Discard the water used to soften the chiles.
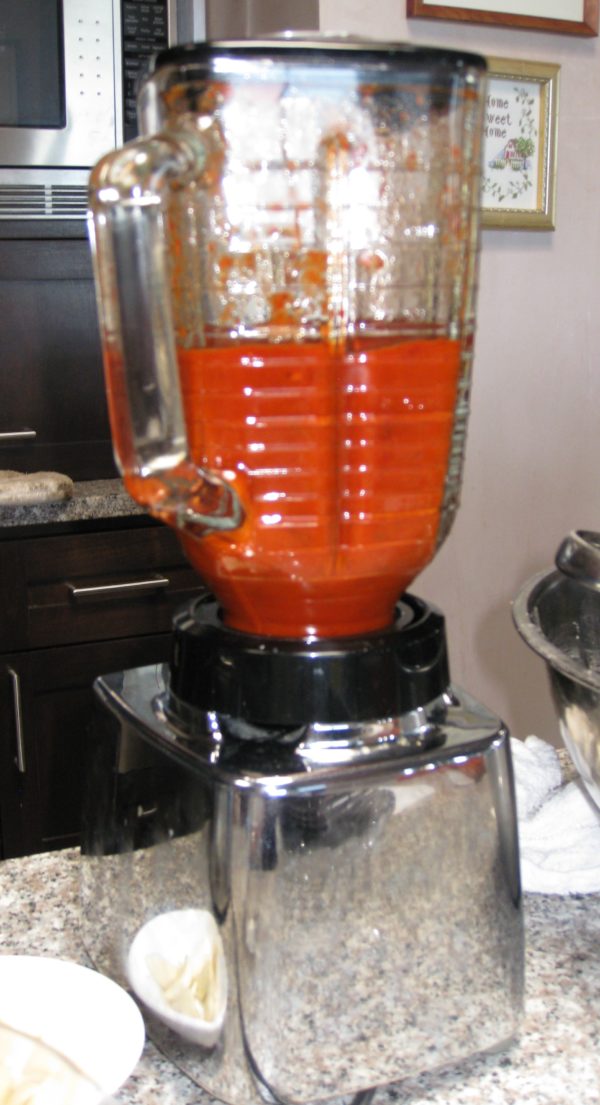
  10. Put the softened chiles, garlic, and 1 ¼ cups of fresh water in a blender.
  11. Puree until smooth, one to two minutes.
  12. Pour the chile puree into a saucepan.
  13. Use the remaining ¼ cup of water to rinse out the blender jar. Add this to the saucepan.
  14. Add the salt to the chile puree.
  15. Bring to a boil, reduce heat, and simmer uncovered till thickened, about 20-30 minutes.
  16. Adjust salt near the end of cooking.
Recipe Notes

Some cooks like to toast the chile pods in the oven. I have done this but I don’t believe it adds enough flavor to justify the extra work.

The water used to soak the chile can be bitter so I always discard it and use fresh water for making the sauce. The seeds and pith can also add a bitter note.  You’ll never get rid of all the seeds but eliminate as many as possible.

Chile Molido (Ground Chile or Chile Powder, not to be confused with Chili Powder!)

If you want to use ground New Mexico red chile pods (chile molido) rather than whole pods, first puree the garlic with some of the water. Add the garlic puree to the ground chile. Add the remaining water a little at a time, stirring well, to avoid lumps. Add the salt and proceed with simmering as described above.

Copyright © 2017 by VillaSentieri.com. All rights reserved.
Share this Recipe