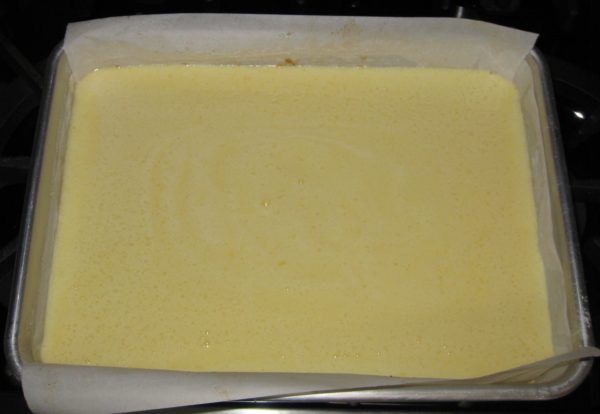
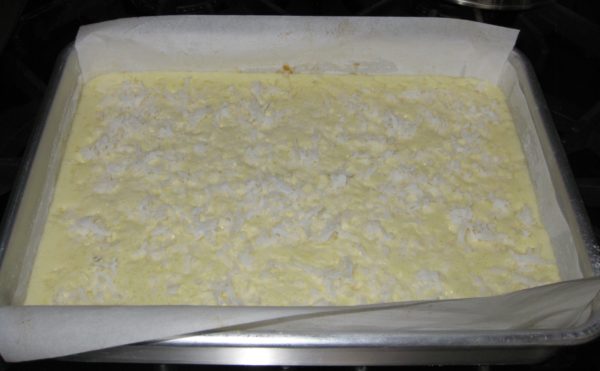
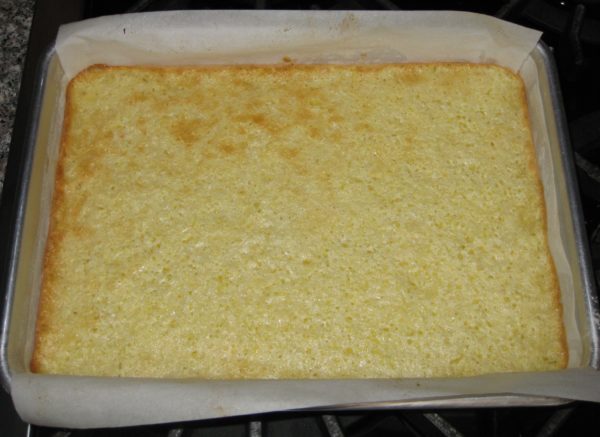
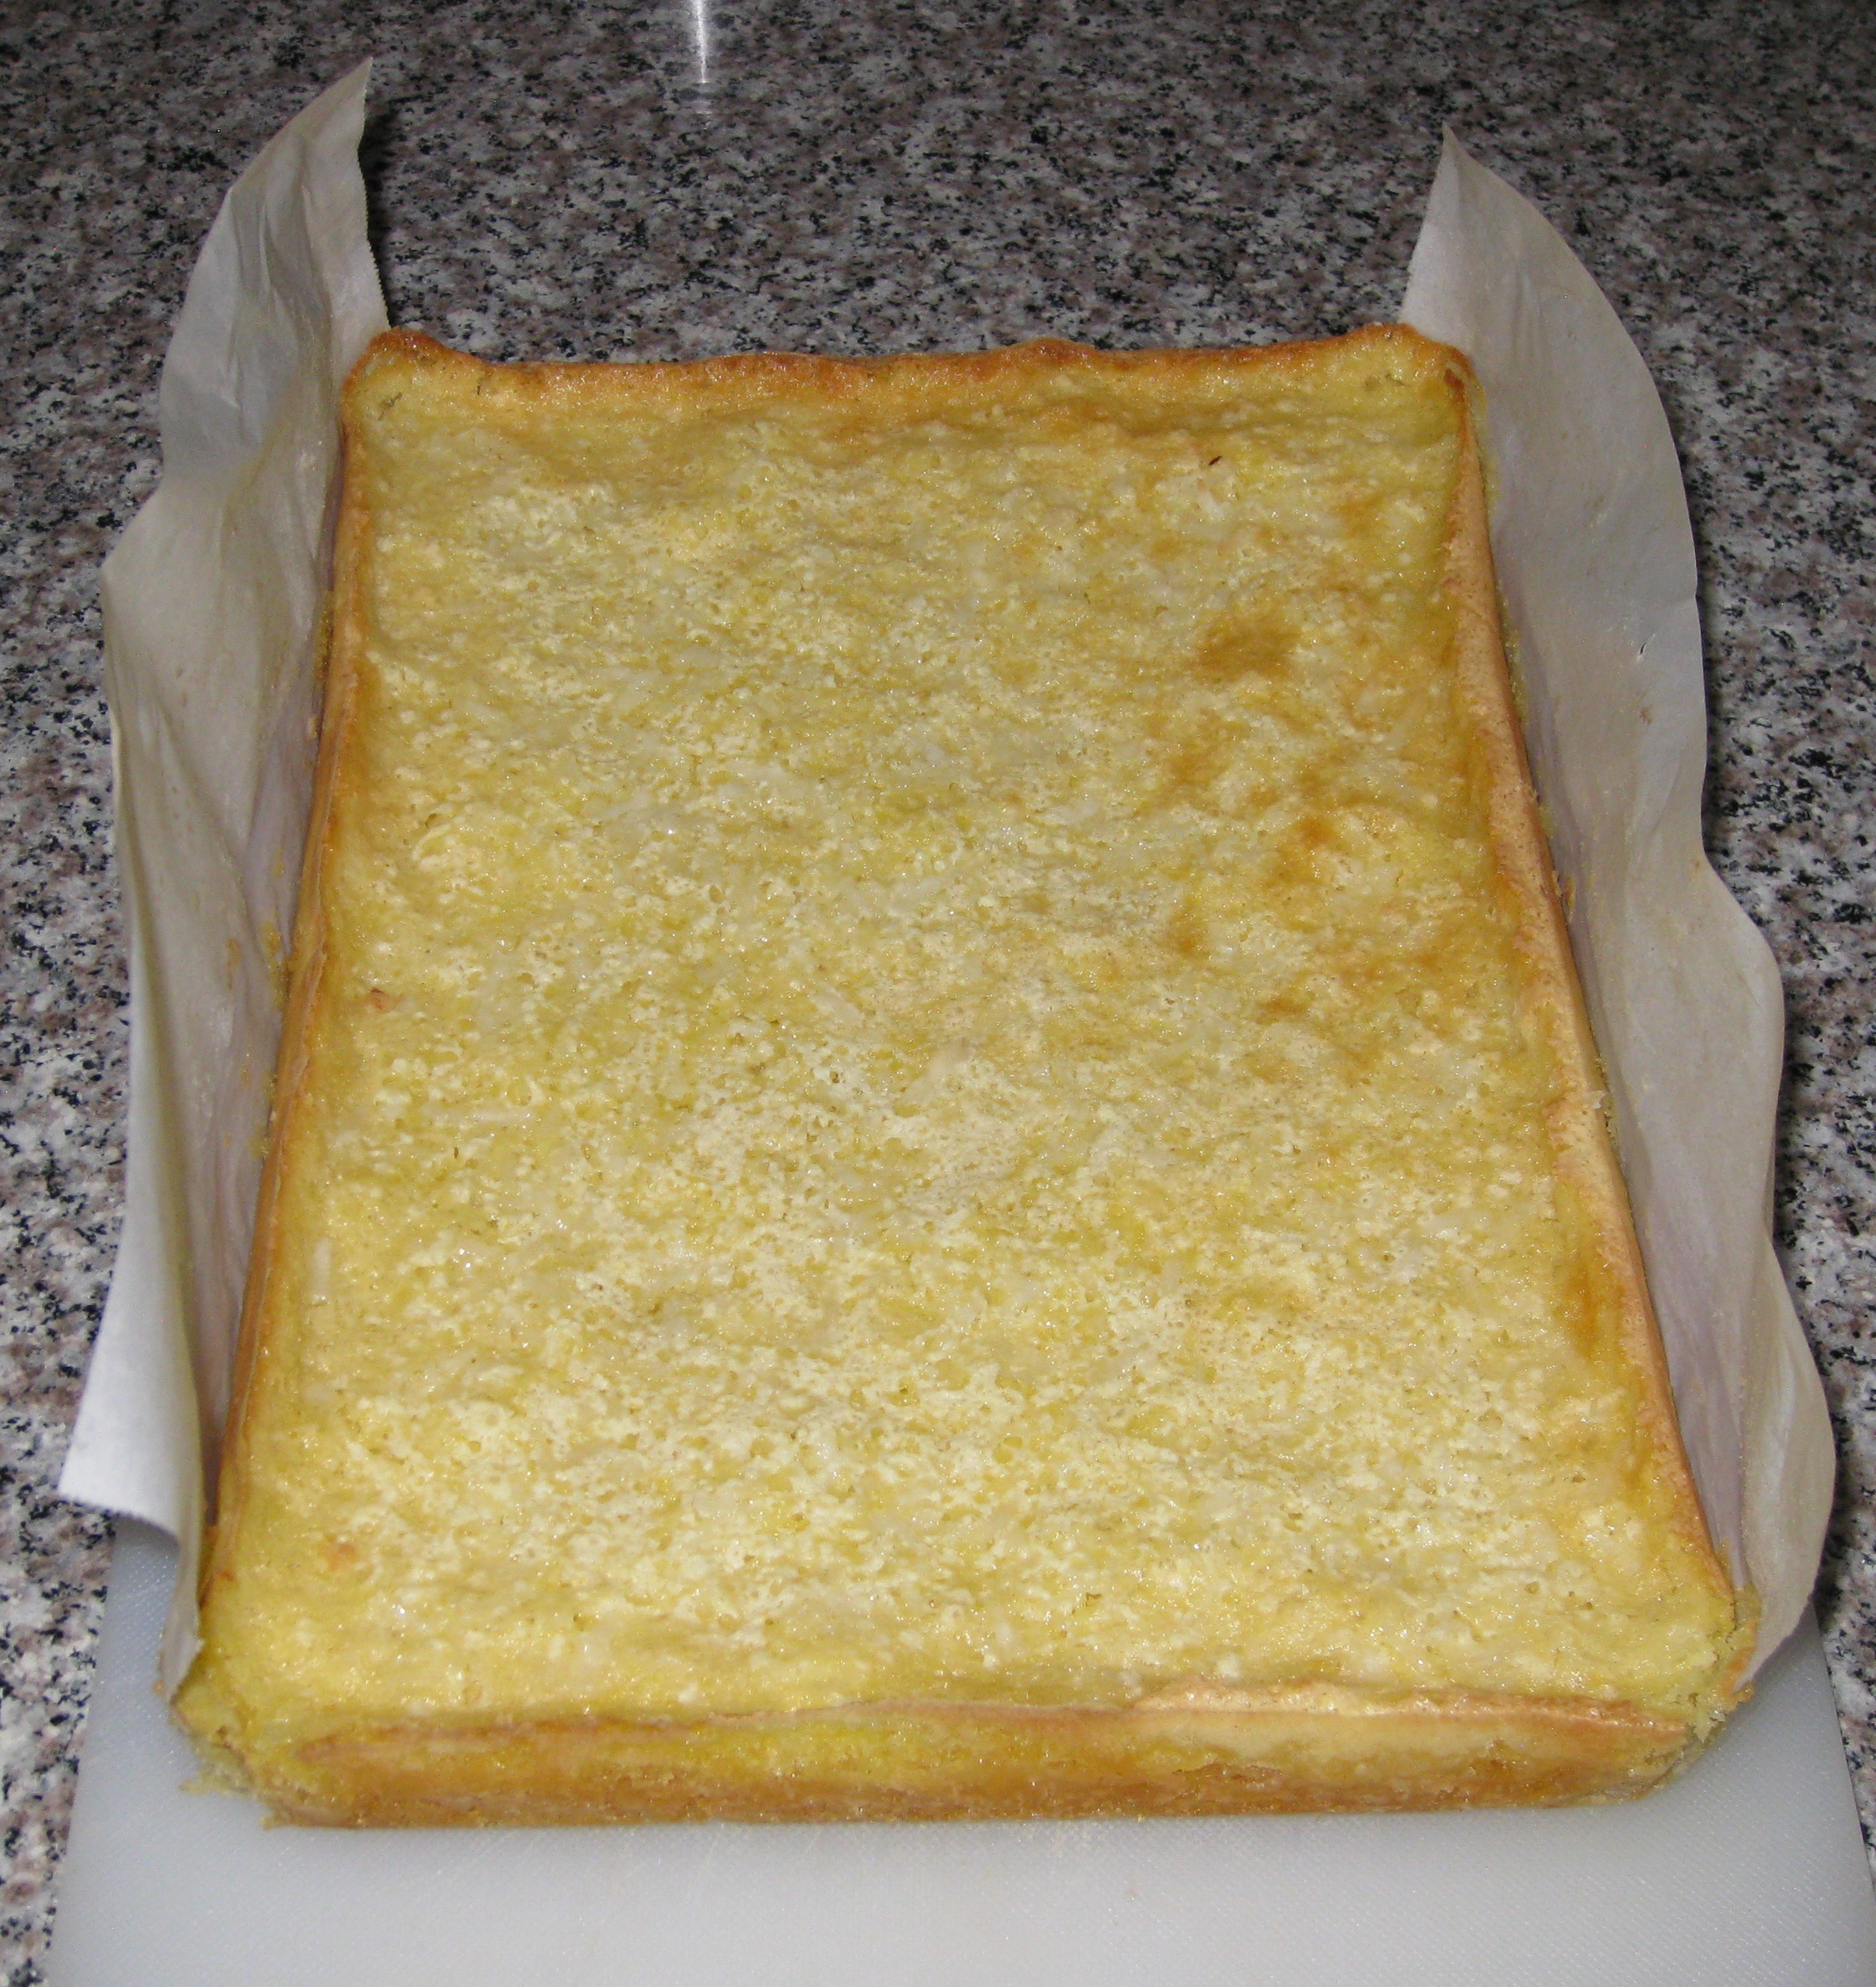
Sformato di Zucchini (Italian Zucchini Bake)

September 15, 2021

A lot has happened in the seven months since my last blog post.  I’m sure you’ll understand why I haven’t posted in a while.

We’re no longer in Santa Fe!

That’s right, we’ve moved full time to Palm Springs, California.

An aerial view of the “new” Villa Sentieri, foreground, with the hiking trail just beyond, that prompted the name of the Villa.

It was, and remains, exceedingly difficult to have left all our close friends in Santa Fe but Palm Springs called to us.


Join our mailing list and you’ll never miss a recipe again!


We get two growing seasons each year.  Since we’re just a few hundred feet above sea level, I don’t need to be concerned about testing recipes at high altitude.  The weather is pretty darn great, too!

The variety of what we can grow here is amazing.  We have ten citrus trees, three fig trees and an apricot tree.  We’re considering adding a pomegranate tree.  We have table grapes trellised up a side wall.  There are four raised beds for herbs and vegetables.

Frank grew the most awesome tomatoes this year.  I have quite a stash of homemade passata (tomato puree) in the freezer.
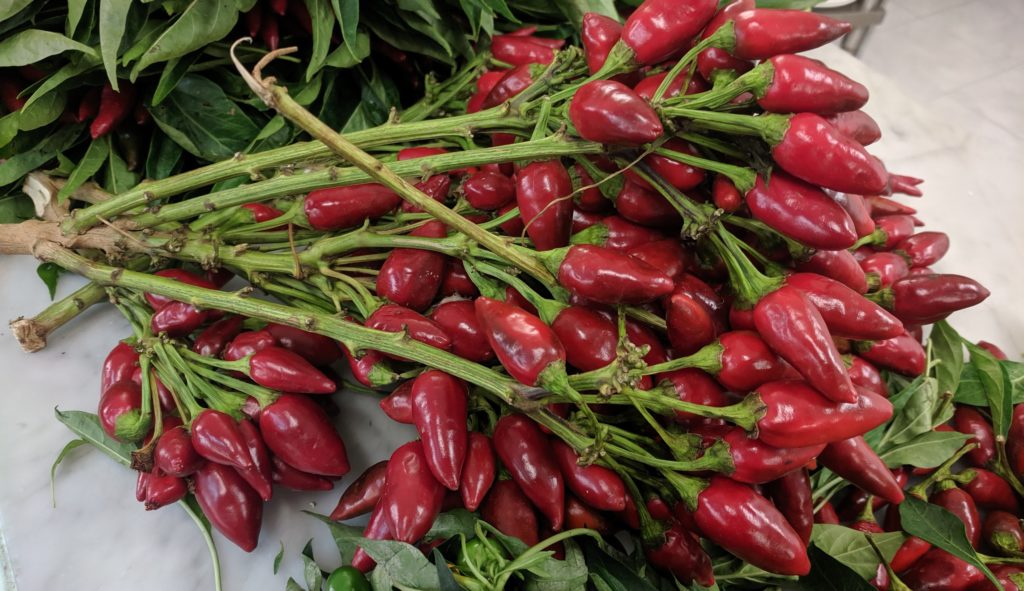
Naso di Cane (Nose of the Dog) peppers from Calabria. Seeds I brought back in 2019 just got planted in our garden in Palm Springs. I’m hoping to make “Olio Santo” (Holy Oil, aka Hot Chile Oil) in a few months.

The timing of our seasons takes a bit of getting used to.  Our first season pretty much ended in June.  That’s probably the time that most of you were just getting started with your gardens.  Though the herbs have continued to grow through the summer heat, all the vegetables were done by the end of June.


Follow us on your social media platform of choice


Right now we have an abundance of fresh limes.  The other citrus trees have fruit but it won’t be ripe for a few more months.

The vegetable beds sat fallow for the summer.  Just a few days ago, Frank planted them with seeds for what will be our second harvest of the year.  That will take place in November and December.

The “new” Villa Sentieri has an interior atrium with a koi pond filled with 17 koi.

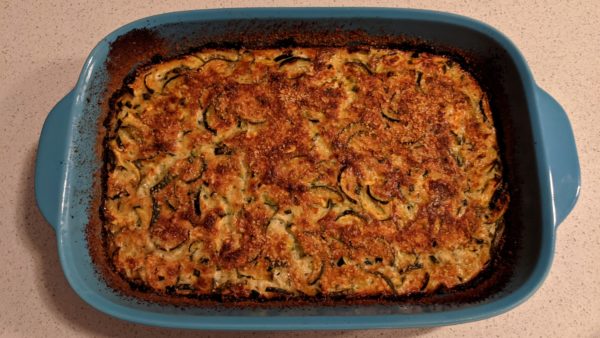
Though we’re not harvesting vegetables at the moment, this is the perfect time for zucchini in most of the country.  When there’s an abundance of zucchini, sformato is the answer.
Print Recipe
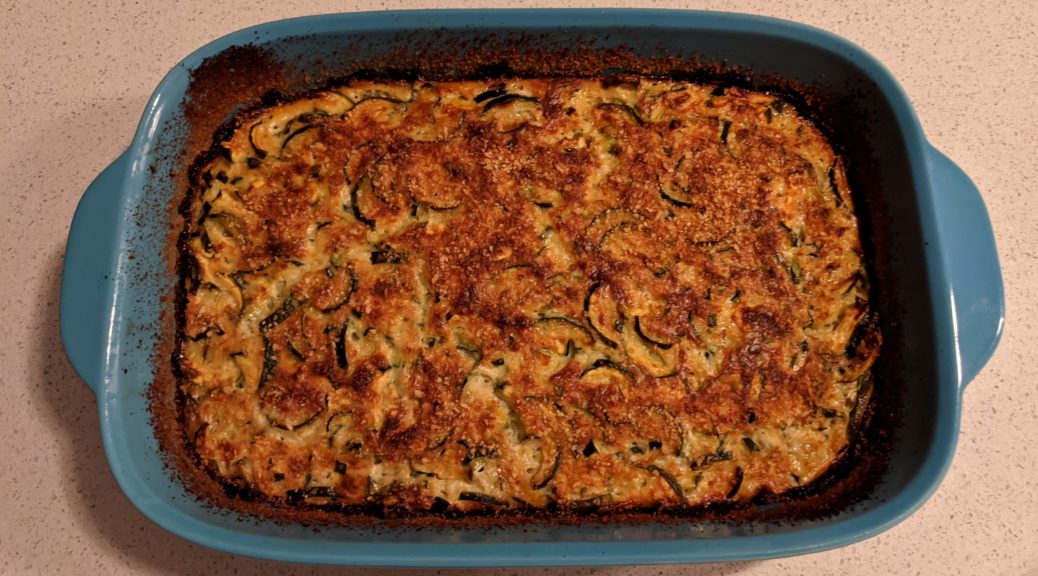
Sformato di Zucchini (Italian Zucchini Bake)
This was the first item that I cooked with Zia Fidalma at her home in Tuscany in August 2019. Green beans, cut in small pieces, can be prepared the same way except the beans are boiled and not sautéed. A combo of beans and zucchini is also possible. Zia does not usually add herbs to her sformato but since she had some niepita she added it. Though you’re not likely to have niepita (aka mentuccia romana), unless you grow your own, adding a small amount of marjoram or oregano is a welcome addition. If you don’t have fresh herbs, use a light sprinkling of dry herbs. In any case, herbs are totally optional.
Votes: 0
Rating: 0
You:
Rate this recipe!
Cuisine Italian
Prep Time 20 minutes
Cook Time 2 hours
Servings
people
Ingredients
Cuisine Italian
Prep Time 20 minutes
Cook Time 2 hours
Servings
people
Ingredients
Votes: 0
Rating: 0
You:
Rate this recipe!
Instructions
Besciamella
  1. In a small heavy-bottomed saucepan, melt the butter.
  2. Add the flour and sauté briefly until the raw smell is gone. Do not brown the flour.
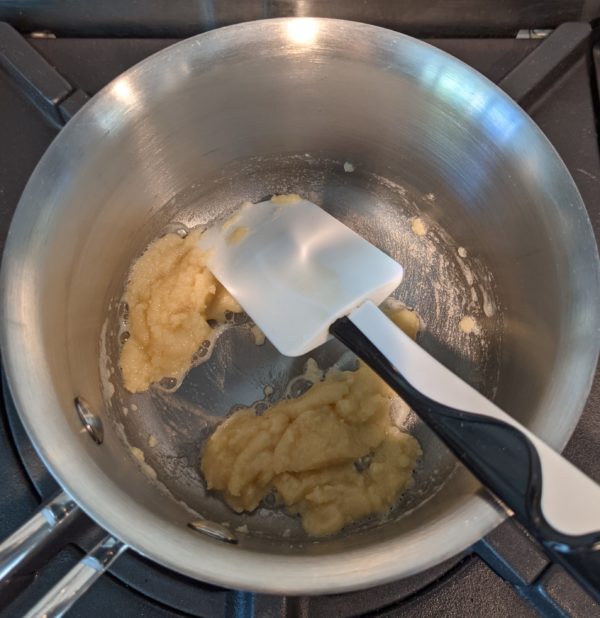
  3. Add the milk a little at a time, stirring well after each addition to avoid lumps.
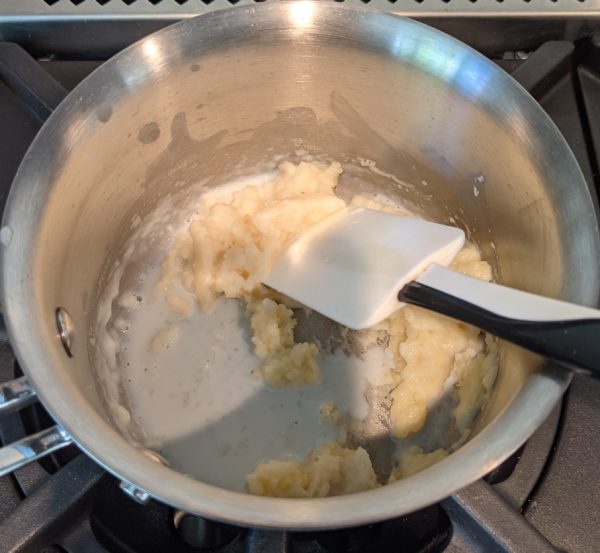
  4. After all the milk has been added, bring the mixture to a boil, stirring constantly and scraping the bottom of the pan. Boil for one minute.
  5. Remove from the heat and stir in the nutmeg.
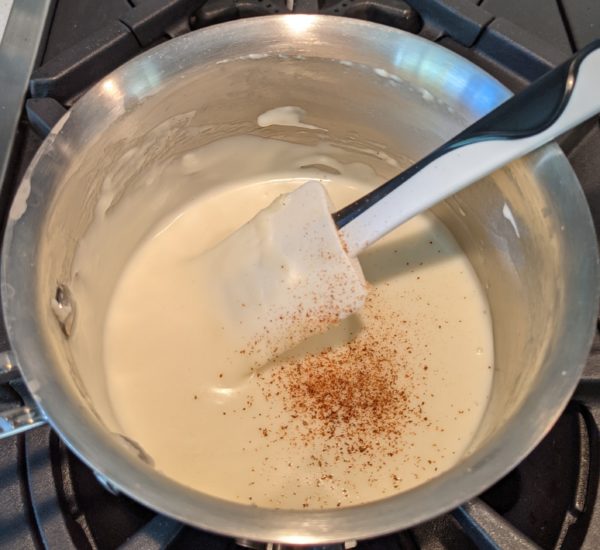
  6. If not using immediately, pour the besciamella into a heat-proof bowl and cover with plastic wrap touching the surface to avoid the formation of a skin.
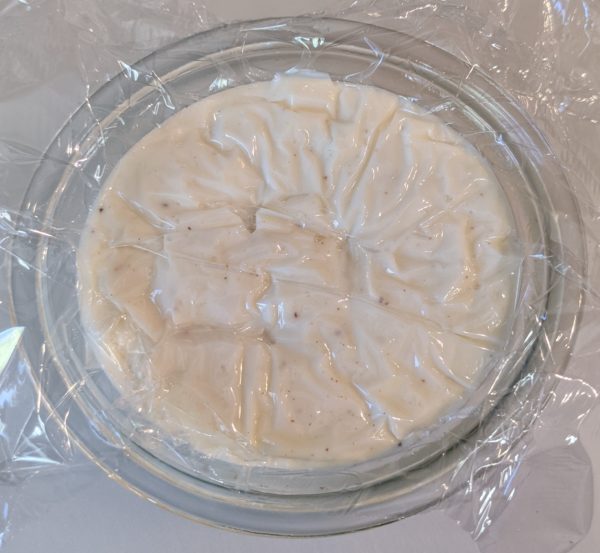
  7. Refrigerate if the besciamella will not be used within an hour or two.
Sformato
  1. Do not peel the zucchini. Cut off the stem ends and slice the zucchini lengthwise about 3/16 inch thick then crosswise the same thickness to make thick matchsticks.
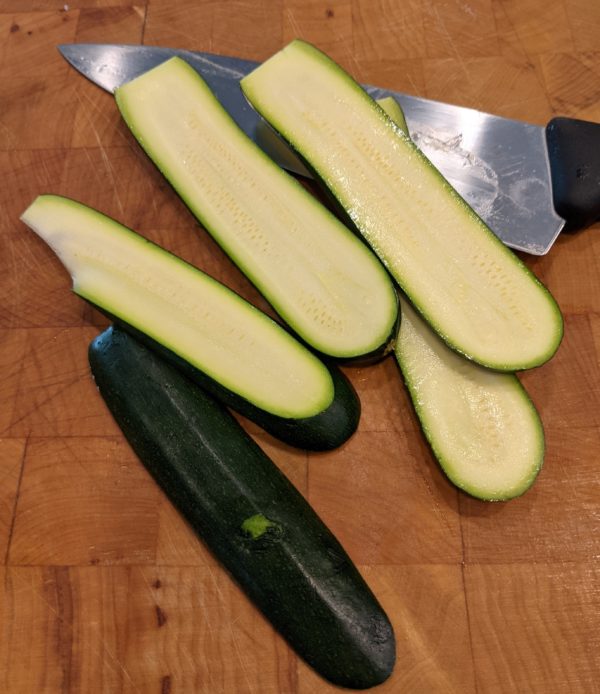
  2. Sauté the garlic in the olive oil until fragrant.
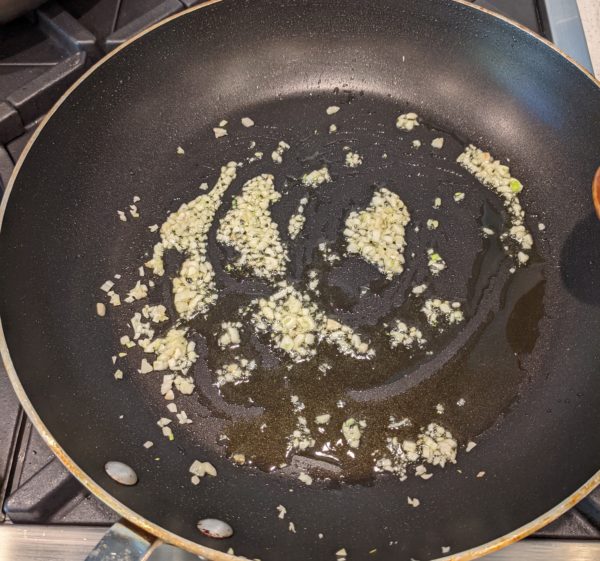
  3. Add the cut zucchini, chopped flowers and minced niepita if using. Season with salt and pepper and sauté briskly until just barely tender.
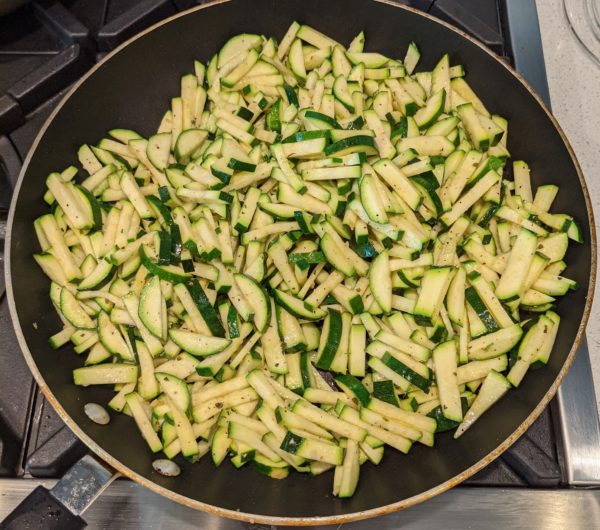
  4. Mix the cooked zucchini with the besciamella, nutmeg, and Parmigiano.
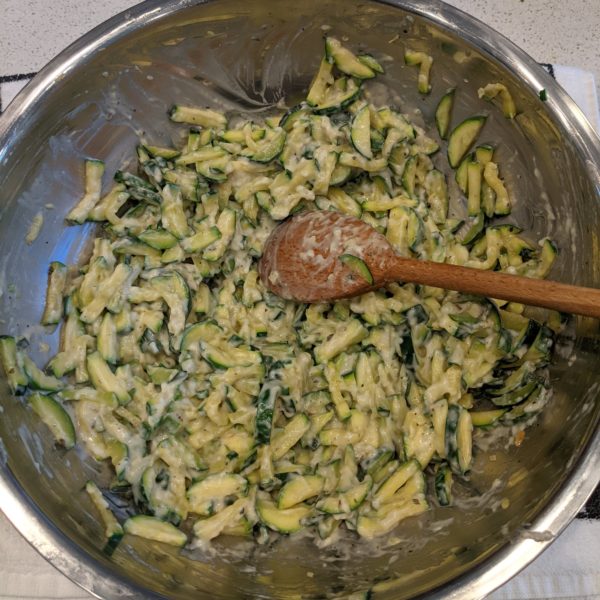
  5. Stir in the eggs after the mixture is cool enough to not cook the eggs.
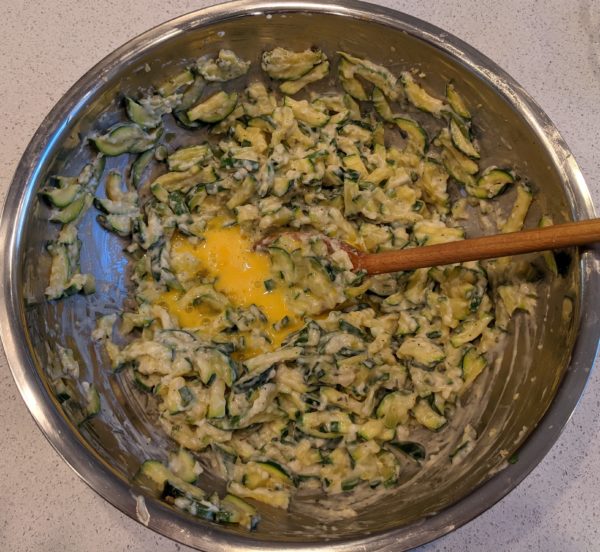
  6. Taste and adjust salt and black pepper.
  7. Butter a baking dish, approximately 7 ½” x 11”.
  8. Sprinkle the buttered dish with fine dry breadcrumbs.
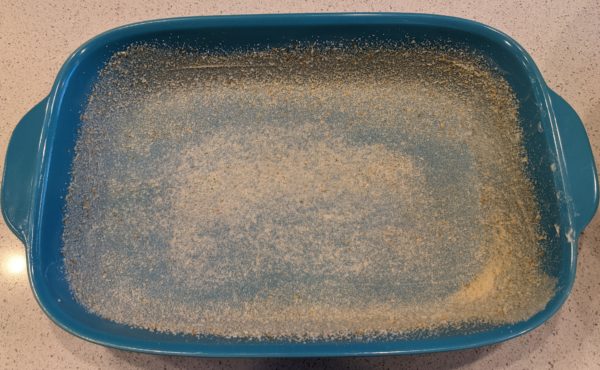
  9. Pour the zucchini mixture into the prepared baking dish. It should be about ¾ inch thick.
  10. Bake at 400°F till very brown on top, approximately 90 minutes. Cool 10 minutes before cutting.
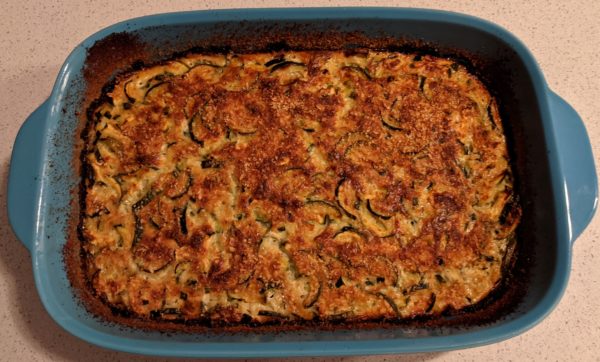
  11. Serve warm or at room temperature.
Recipe Notes

Copyright © 2021 by Villa Sentieri, LLC. All rights reserved.

Share this Recipe

Olive Oil Cake (Torta all’Olio d’Oliva)

January 27, 2021

“Can’t you come up with another name?”

That was my husband’s response when I said I was going to post a recipe for olive oil cake.

I suggested the Italian, Torta all’Olio d’Oliva.  He wasn’t amused.

I guess he thinks the idea of olive oil in cake isn’t appetizing.

Nonetheless, the cake is a staple in regions surrounding the Mediterranean Sea.  And a delicious one, at that!

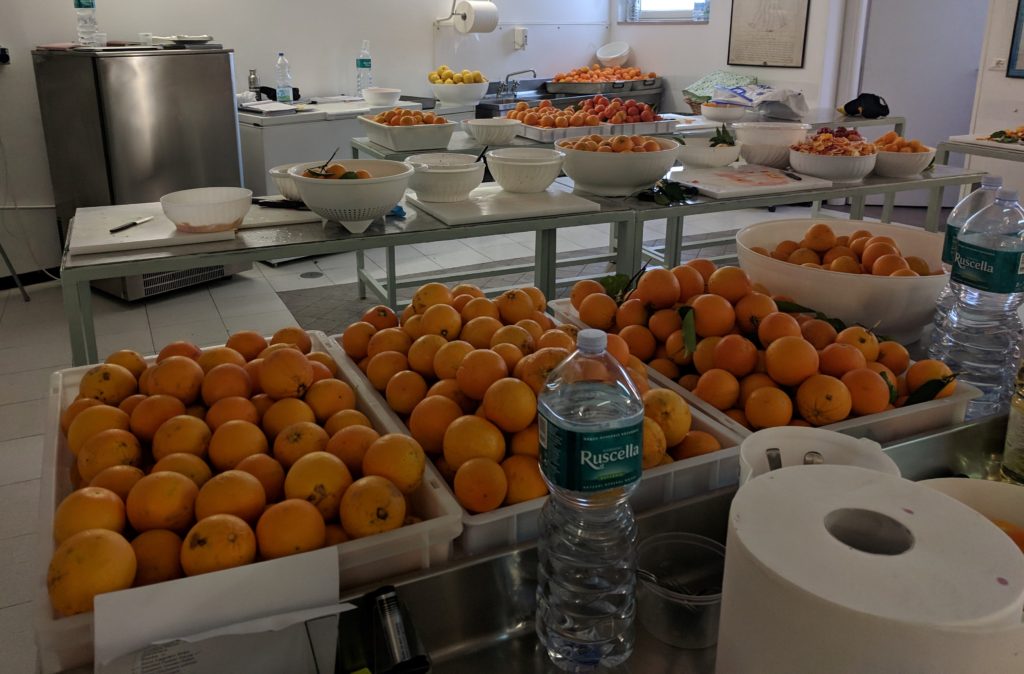
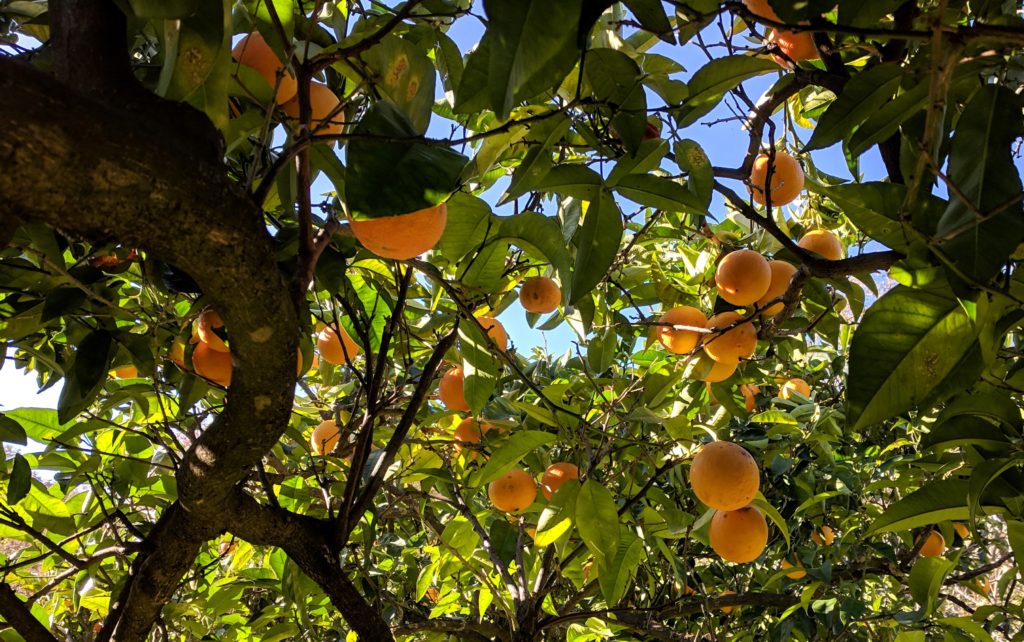
Oranges at a biodynamic citrus grove in Calabria near the Italian Culinary Institute

There are endless variations.  Some are thin, barely an inch tall.  Some are savory-sweet.  Some barely reveal the presence of olive oil.  Others proclaim the flavor of olive oil loudly.  Some are good for snacking (with tea or coffee).  And a few are actually good enough to serve for dessert with no embellishment.


Join our mailing list and you’ll never miss a recipe again!


Then there’s the olive oil to consider.  Even among really good extra-virgin olive oils, and I do suggest you use really good extra-virgin olive oil, there is a range of flavor profiles.  Words like grassy, bitter, peppery, fruity, and buttery come to mind.

Which you use will influence the flavor of the cake.  All will be good but some may be more to your liking than others.

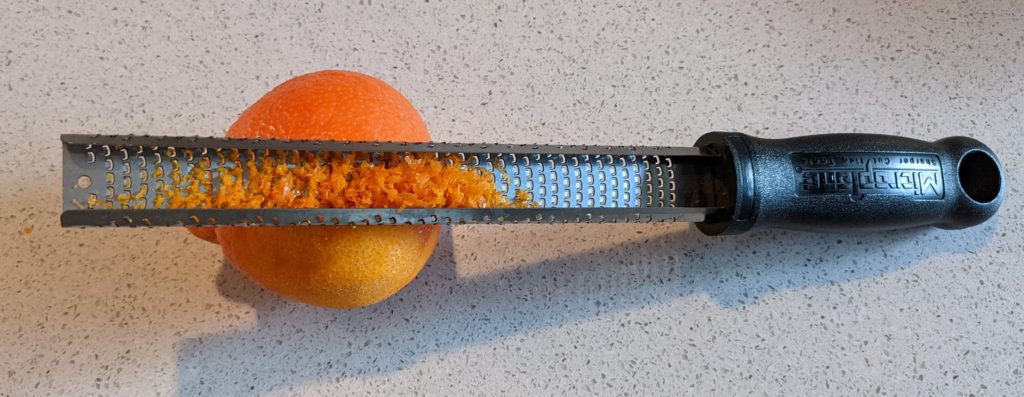
Freshly grated orange zest is key to the flavor of this olive oil cake

Honestly, though, does the world need another recipe for Torta all’Olio d’Oliva?

That’s a rhetorical question, right?

I mean, really, we wouldn’t ask if the world needed another recipe for chocolate cake.  We’d just lean into it and make it happen.

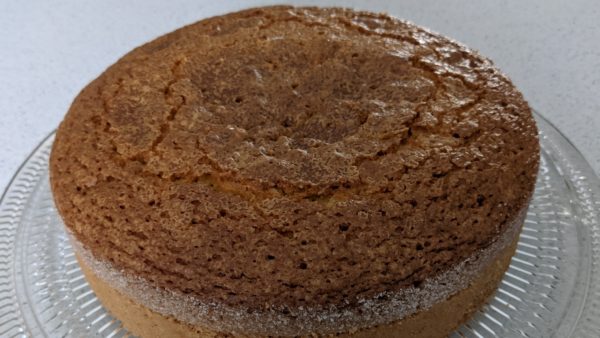
If you’ve never had olive oil cake, and if you like to bake, I suggest giving this version a try.  It has a moist crumb, crunchy top (from brown sugar), and a hint of orange from orange zest and orange liqueur.


Follow us on your social media platform of choice


This cake is suitable as dessert, not just snacking.  It’s not going to be a spectacle of a dessert, like the Maraschino Cherry Cake I made from the first edition Betty Crocker Picture Cookbook, but I believe it will surprise many of your guests with just how good it is.

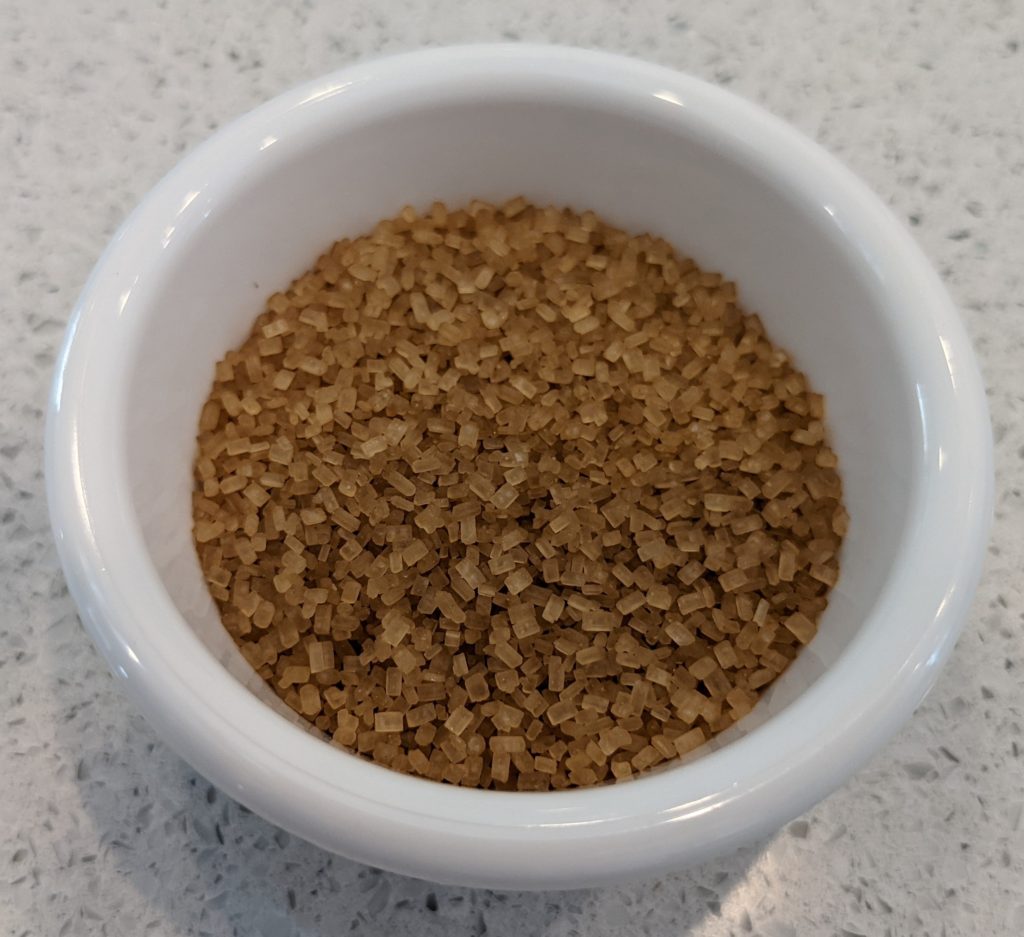
Large crystals of brown sugar, such as Turbinado or Zucchero di Canna add crunch to the top of the cake

Now for the apology:  I prefer to cook, and I DEFINITELY prefer to bake, using the metric system.  It’s just so much easier to scale recipes up and down.  Also, among professional bakers, most ingredients are weighed, even liquids.  Without a scale that measures in fractions of a gram, however, it is not practical to weigh small amounts of ingredients like baking powder and salt.  For these, I stick to teaspoons and tablespoons when I publish recipes though I often weigh these ingredients, too.  Remember, though, that a standard teaspoon is now treated as if it were 5 ml, and a tablespoon 15 ml, even though both are just a smidge less, at least in America.

We picked a few oranges for a course on preserves at the Italian Culinary Institute

Although the recipe app will convert metric measures to non-metric, I’ll be happy to supply anyone with ingredient quantities in the typical volume-based American system upon request.

Print Recipe
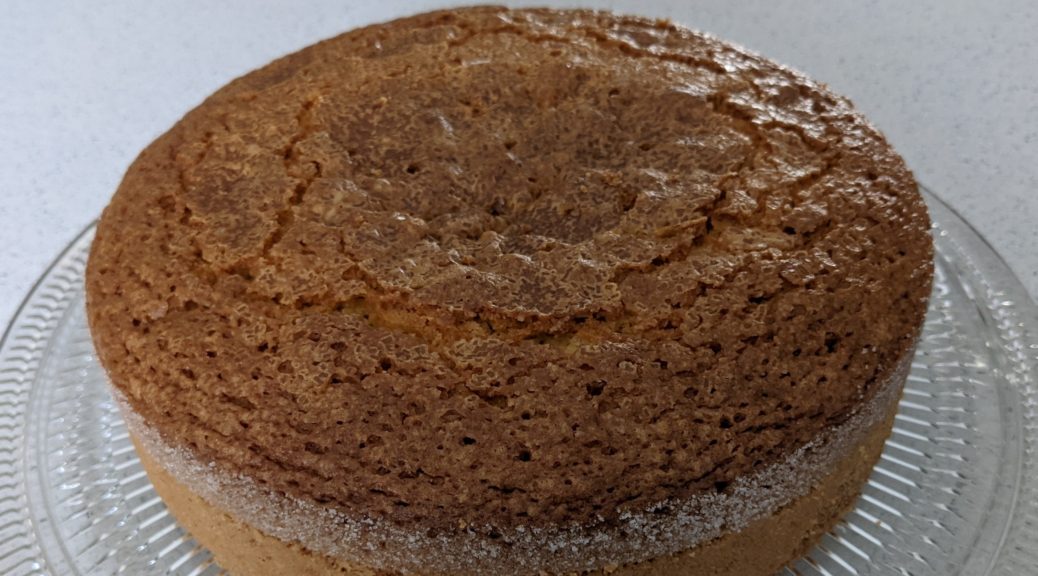
Olive Oil Cake (Torta all’Olio d’Oliva)
This is a cake which definitely benefits from sitting, tightly covered, at room temperature for two days before serving. The flavors mellow and the olive oil diffuses throughout the cake. For the topping, use a brown sugar that is not soft and moist but rather granular. Use a good quality orange liqueur such as Arancello (sometimes called orangecello in the United States) or Grand Marnier.
Votes: 0
Rating: 0
You:
Rate this recipe!
Cuisine Italian
Prep Time 20 minutes
Cook Time 60 minutes
Passive Time 2 hours
Servings
people
Ingredients
Cuisine Italian
Prep Time 20 minutes
Cook Time 60 minutes
Passive Time 2 hours
Servings
people
Ingredients
Votes: 0
Rating: 0
You:
Rate this recipe!
Instructions
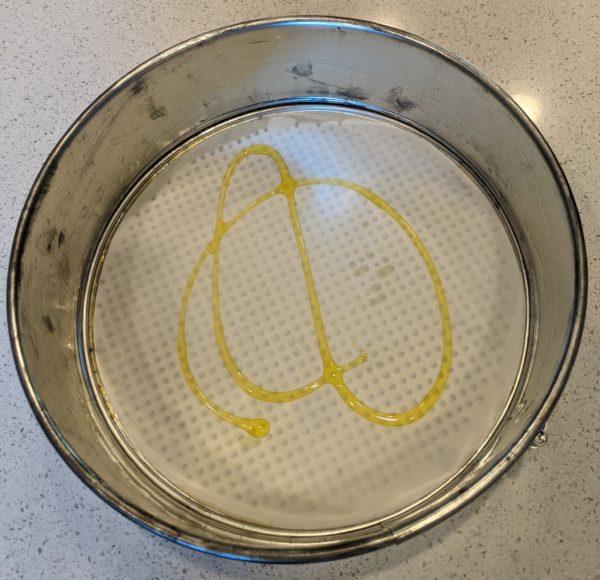
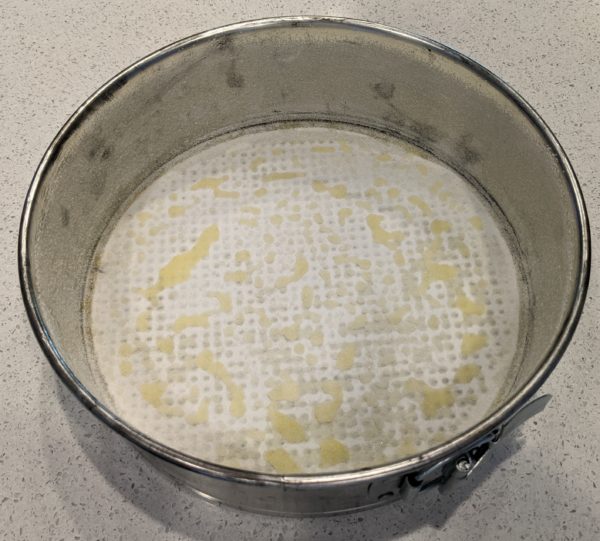
  1. Oil a 9” springform pan with olive oil.
  2. Cover the bottom with parchment and oil the parchment.
  3. Sprinkle the pan with sugar and dump out the excess. Even if you spread out the oil precisely it will tend to bead up, unlike butter, so there will be some sugar clumps. Don't be concerned.
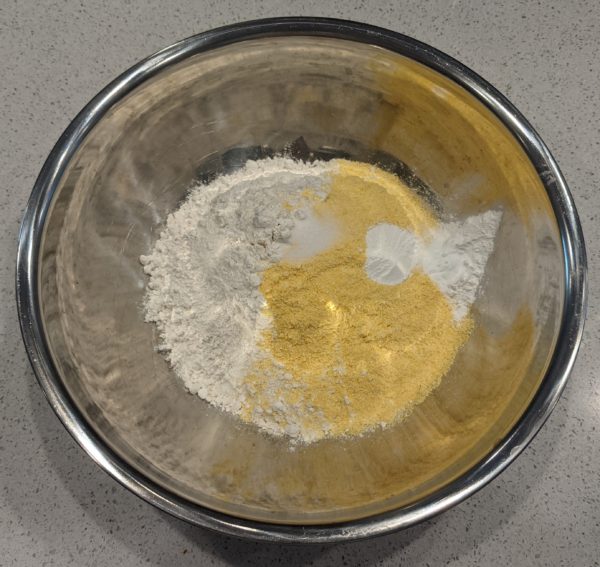
  4. Combine the flour, cornmeal, baking powder, baking soda and salt. Mix well and reserve.
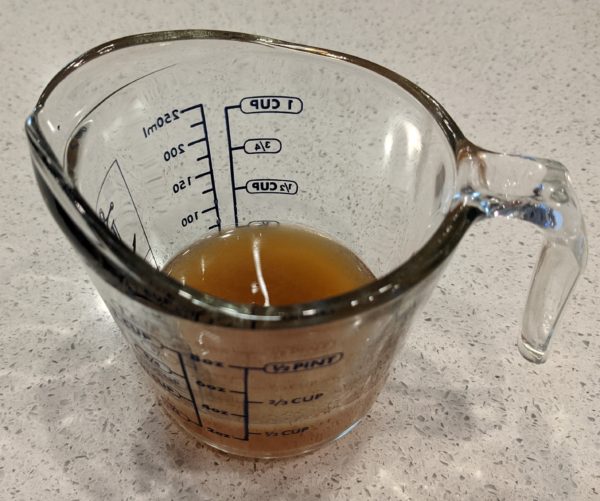
  5. Combine the liqueur, lemon juice and vanilla. Reserve.
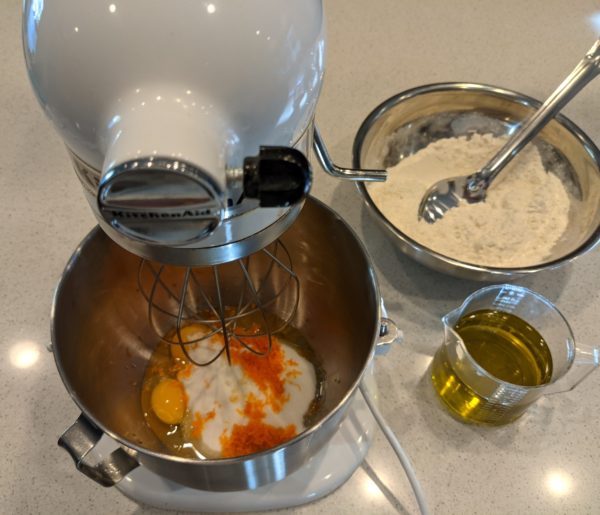
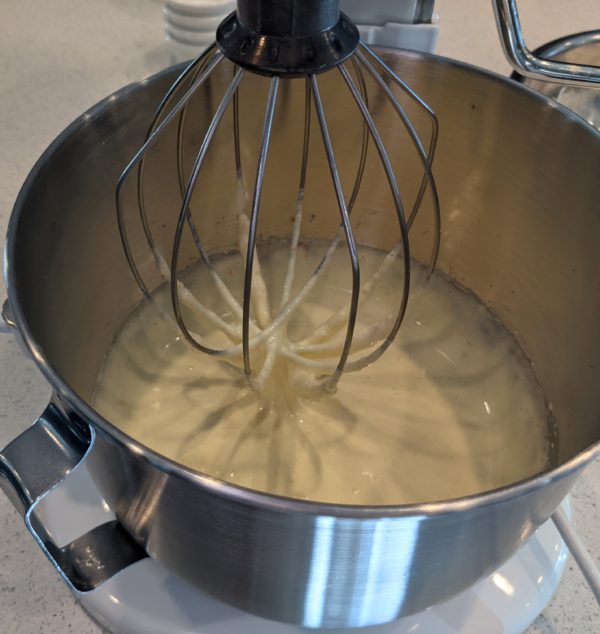
  6. In a planetary mixer, using the whisk, beat the sugar, eggs and orange zest on high speed until thick and ribbon-like, approximately 3-4 minutes.
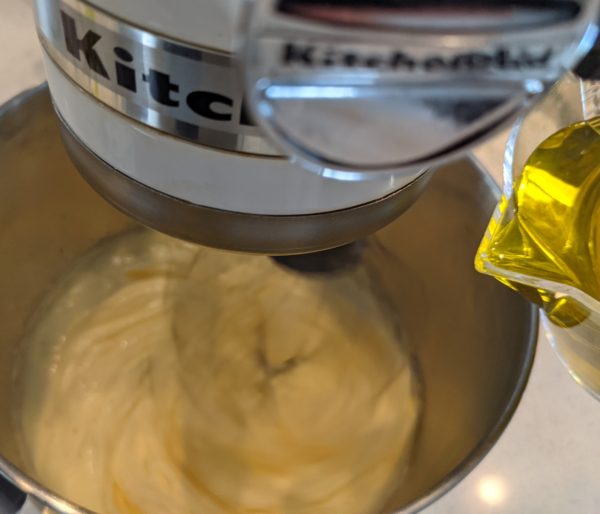
  7. Still on high speed, slowly drizzle in the olive oil and beat until fully incorporated.
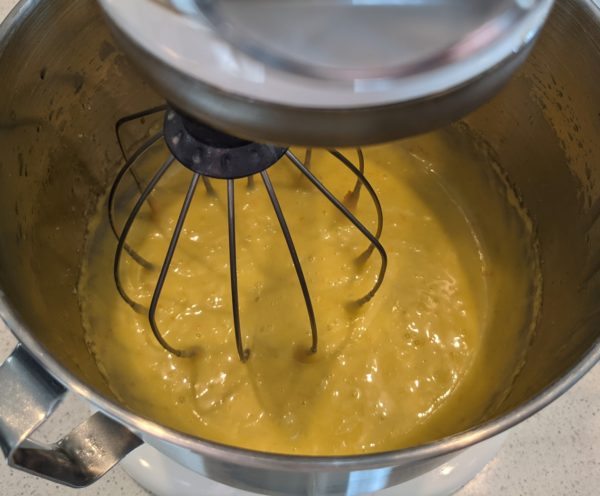
  8. The batter should get thicker.
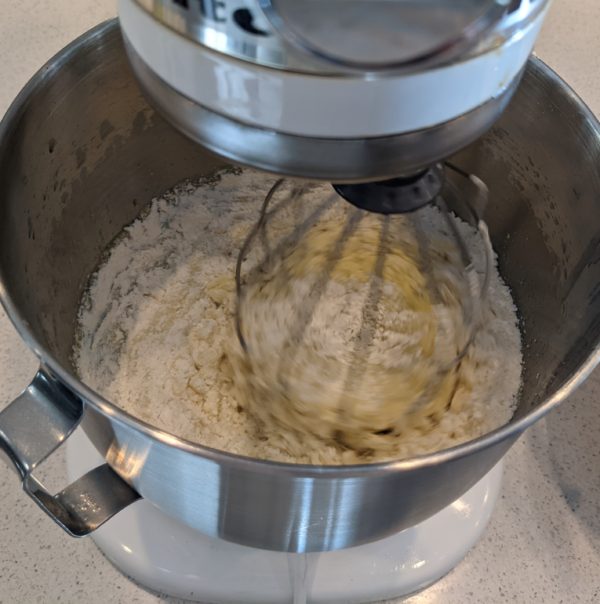
  9. On low speed, add the flour mixture, in three additions, alternating with the liquid mixture, in two additions, starting and ending with flour. Scrape the bowl once or twice to ensure an even mix.
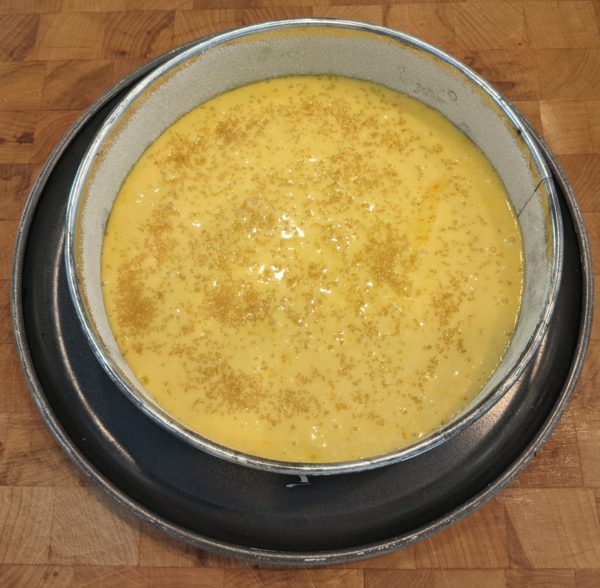
  10. Pour into the prepared springform pan.
  11. Sprinkle the top with brown sugar.
  12. Bake at 350°F until brown, firm on top, and a cake tester comes out clean; approximately 60 minutes. Do not underbake the cake or it will fall as it cools.
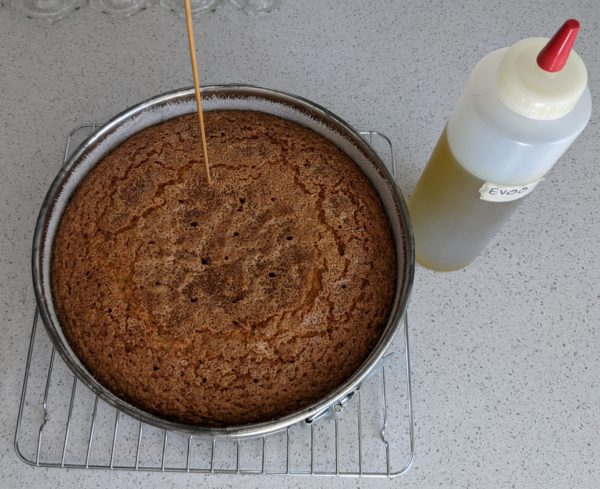
  13. Cool the cake for 15 minutes in the pan then poke the top all over with a skewer.
  14. Drizzle 2 tablespoons of olive oil on the cake and allow it to absorb.
  15. Remove the side of the pan and cool completely.
  16. When the cake is cool, remove it from the base of the springform pan. Wrap it in plastic and allow to rest at room temperature for at least one day, preferably two, before serving.
Recipe Notes

Copyright © 2021 by Villa Sentieri, LLC. All rights reserved.
Share this Recipe

The Best Cheesecake… Ever!!

July 30, 2020

I apologize!

This isn’t an Italian recipe.


Join our mailing list and you’ll never miss a recipe again!


I’ve had a taste for cheesecake for months now.  A few weeks ago, I bought cream cheese and sour cream in anticipation of making cheesecake.

Well, yesterday was the day.

I pulled out a recipe that I stumbled upon more than twenty years ago.

It was from a coffee shop in Santa Fe, The Three Cities of Spain, that closed in the mid 1970s!  Apparently, the coffee shop was quite an interesting place!


Follow us on your social media platform of choice


I can’t tell you much more about the recipe, though now that I’ve looked, I’ve found a number of versions on the web.

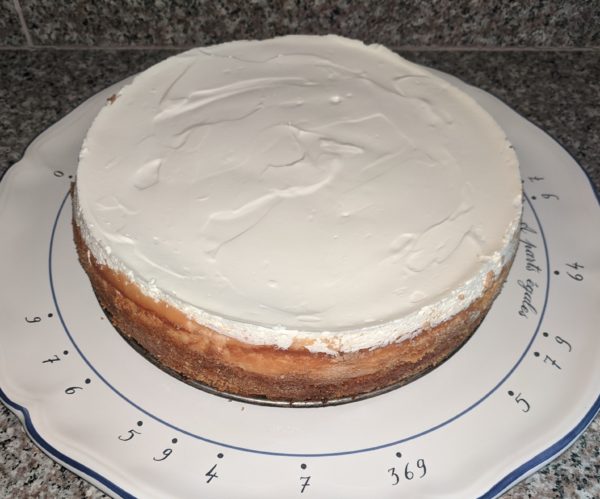
What I can tell you is that if you like cheesecake, MAKE THIS CAKE NOW!

Print Recipe
The Best Cheesecake... Ever!!
The very short and simple ingredient list belies the deliciousness of this cheesecake. Make it the day before you want to serve it so that it has time to chill and set.
Votes: 2
Rating: 4.5
You:
Rate this recipe!
Cuisine American
Prep Time 40 minutes
Cook Time 60 minutes
Passive Time 10 hours
Servings
people
Ingredients
Crust
Filling
Topping
Cuisine American
Prep Time 40 minutes
Cook Time 60 minutes
Passive Time 10 hours
Servings
people
Ingredients
Crust
Filling
Topping
Votes: 2
Rating: 4.5
You:
Rate this recipe!
Instructions
Crust
  1. Butter the bottom and sides of a 9 1/2 inch (24 centimeter) springform pan.
  2. Combine all crust ingredients. Press into the bottom and about one inch up the sides of the buttered springform pan.
Filling
  1. Beat the cream cheese until light and fluffy, preferably using the paddle of a planetary mixer. Scrape the bowl several times to be sure the cream cheese is well blended.
  2. Beat in the eggs, one at a time, beating very well after each addition, and scraping down the bowl.
  3. Add the sugar and blend. Add the vanilla. Turn the mixer to high and beat until very light and fluffy, approximately one minute.
  4. Pour the filling into the prepared springform pan. The filling should come over the top of the graham cracker crust.
  5. Bake 350°F for 40-45 minutes or until the cake is jiggly in the center but set about three inches in from the edge.
  6. Remove the cake from the oven and allow to rest for five minutes. Do not turn the oven off.
  7. Prepare the topping.
Topping
  1. Blend all ingredients thoroughly.
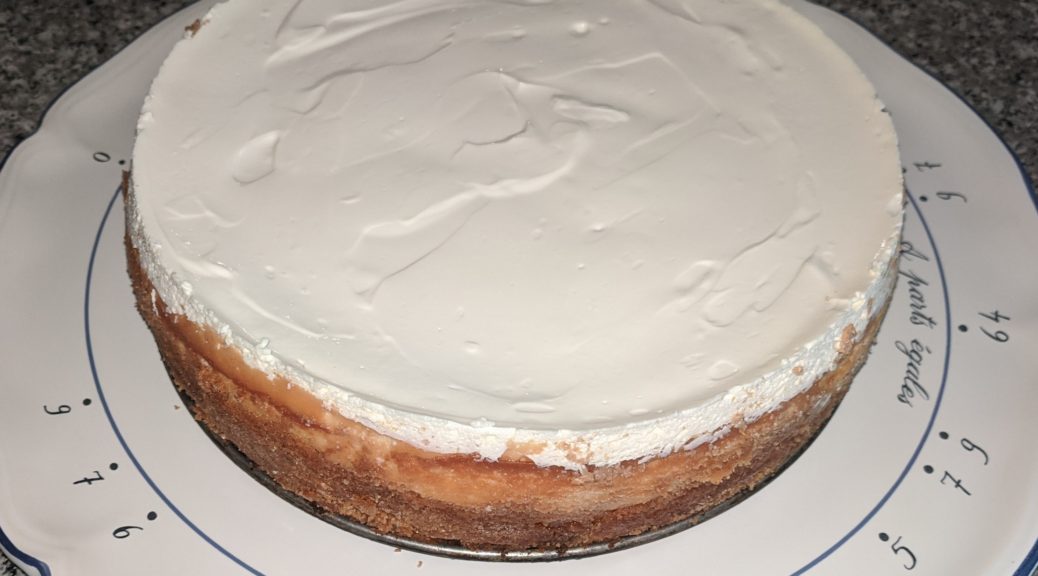
  2. After the cake has been out of the oven for five minutes, put the topping on the firm part of the cake, around the edges, then carefully spread it evenly over the entire top of the cake.
  3. Return the cheesecake to the oven for 10 minutes.
  4. About 10 minutes after removing the cake from the oven, run a knife around the side to loosen the crust but do not unmold the cake. Allow the cake to cool to room temperature then cover loosely and refrigerate at least six hours.
  5. About three hours before serving, remove the cake from the refrigerator. Remove the side of the springform pan. Allow the cake to come to room temperature before serving.
Recipe Notes

Copyright © 2020 by Villa Sentieri, LLC. All rights reserved.
Share this Recipe

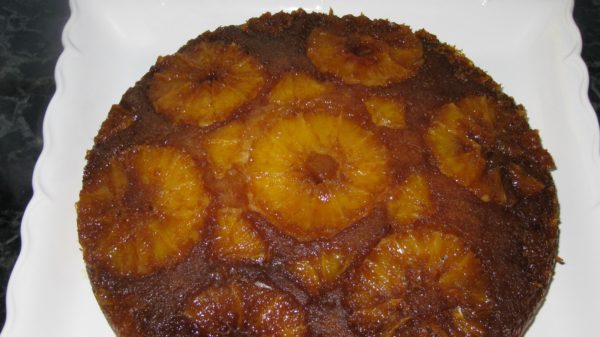
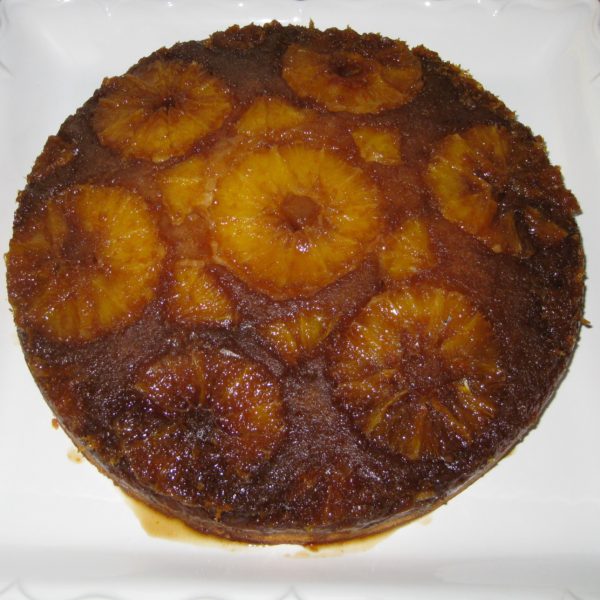
Torta all’Arancia (Orange Polenta Upside-Down Cake)

March 4, 2020

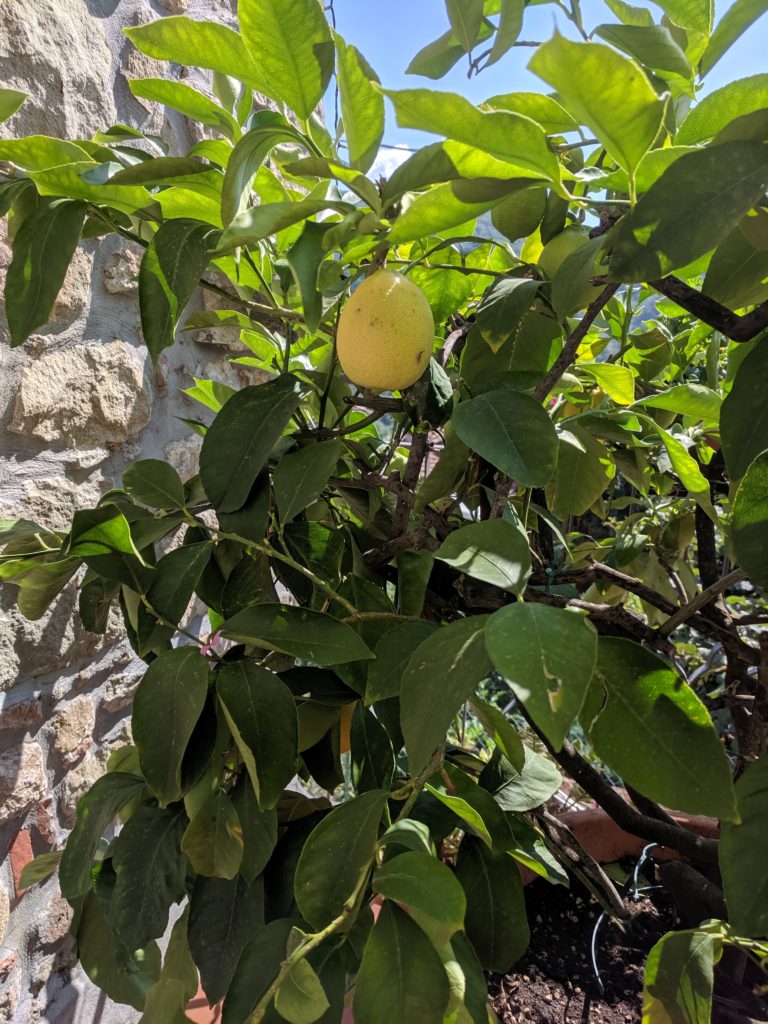
Italy is lavished with citrus, more so in Southern Italy than Northern Italy.  Even in Tuscany, though, families traditionally use a limonaia to winter-over lemon trees grown in pots.

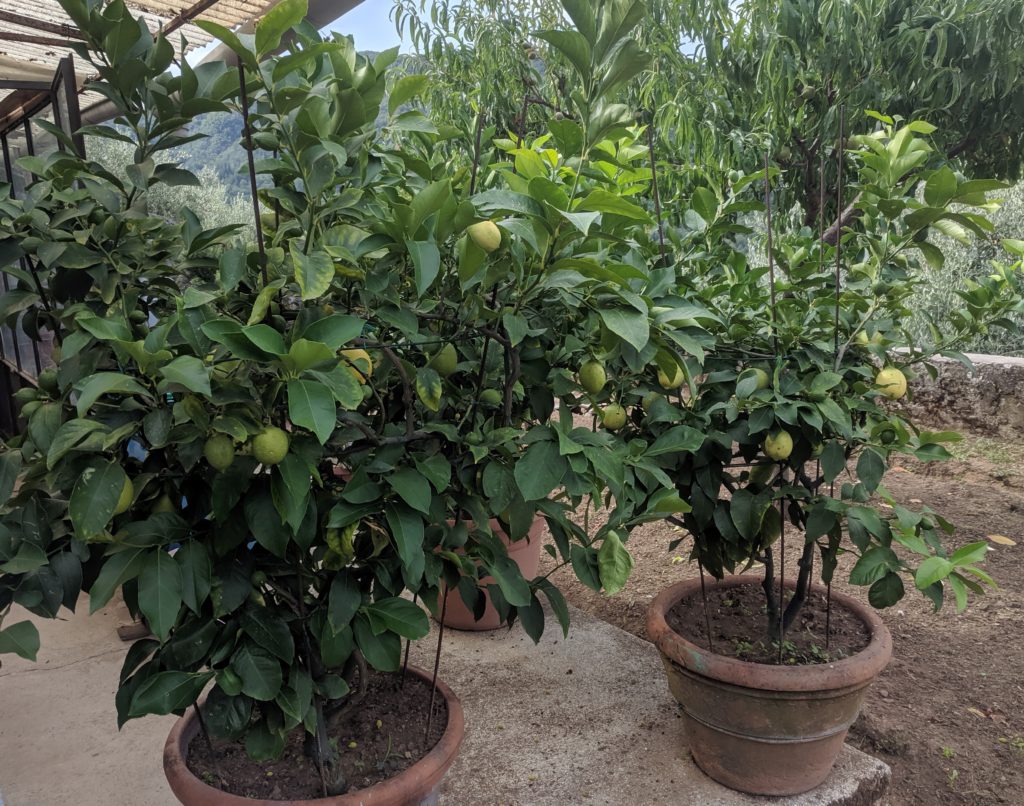
Potted lemon trees at a house in the village of Benabbio in Tuscany.

Citrus fruits feature prominently in Italian cuisine, especially in Southern Italy.  Calabria is responsible for about 25% of the citrus fruit produced in Italy.


Join our mailing list and you’ll never miss a recipe again!


A very short list of Italian foods that contain, or are made from citrus includes the famous limoncello liqueur and its orange-based cousin, arancello; panettone that is traditionally made with candied citron; lemon sorbetto (sorbet); an array of marmalades and jams; candied citrus peels of various types eaten as sweetmeats, sometimes coated in chocolate, as well as diced and incorporated into cakes; citrus salads, including an amazing Sicilian salad of oranges, fennel, onions and black olives; and the endless dishes where lemon juice is the basis of a pan sauce or salad dressing or, in lesser quantities, perks up other flavors without making itself known.

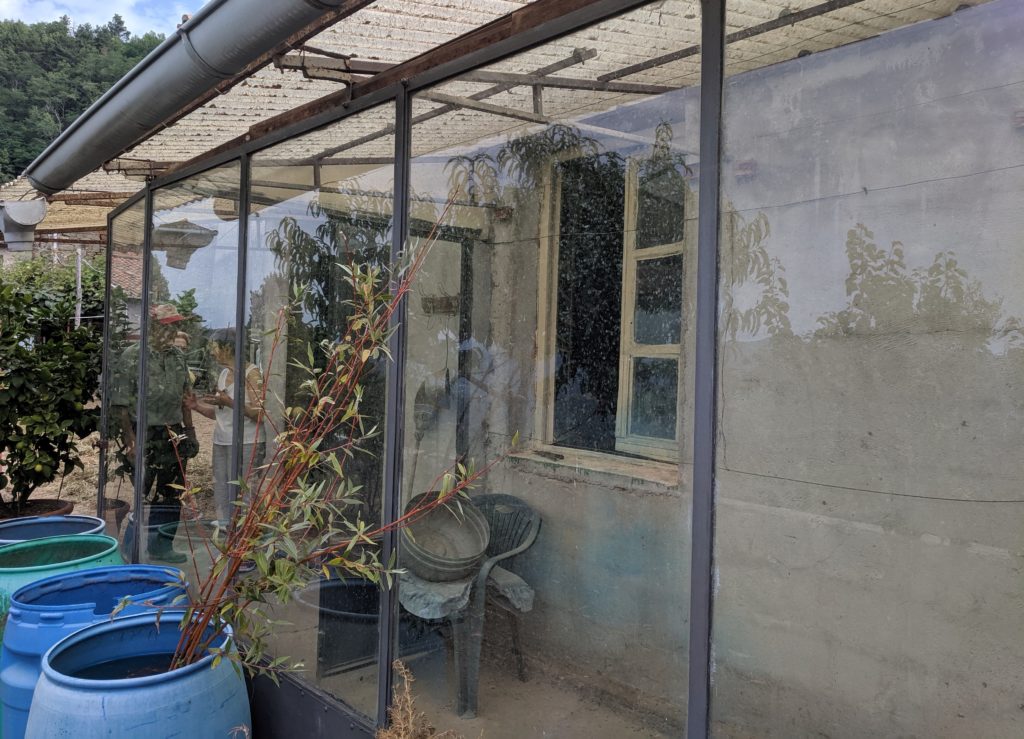
A rustic limonaia at a home in the village of Benabbio in Tuscany. It may be simple but it works beautifully.

Bergamot, most of which (and certainly the highest quality) comes from Calabria, is the defining flavor of Earl Grey Tea.  It is also used in an array of cosmetics and fragrances.

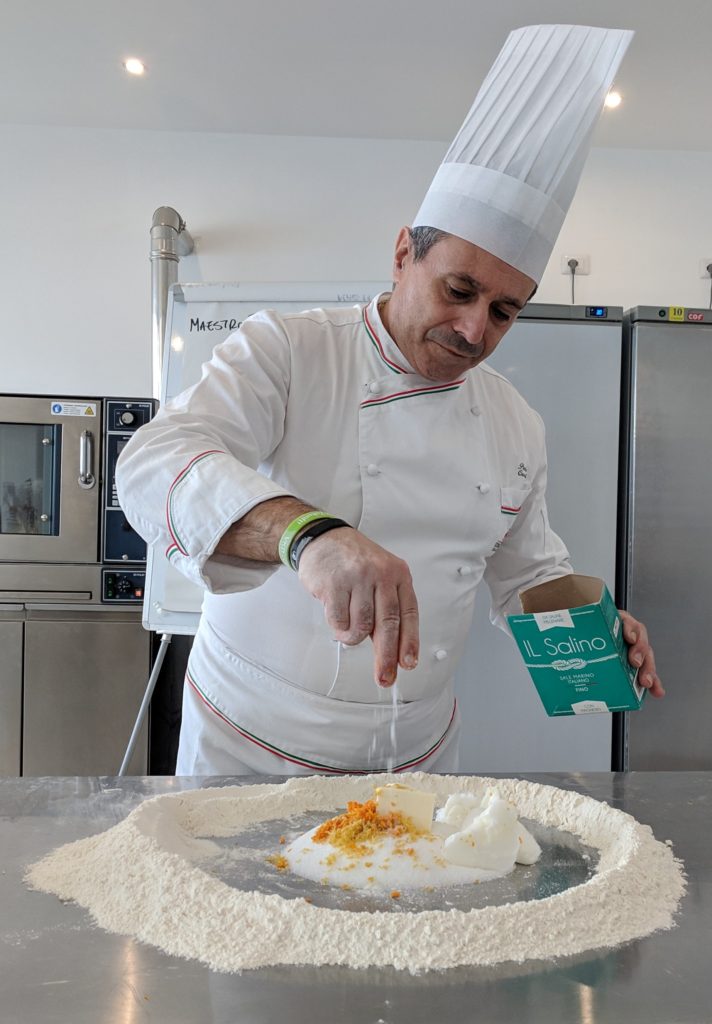
Maestro Paolo Caridi teaching a class at the Italian Culinary Institute.

Bergamot is also one of several citrus fruits used by Maestro Paolo Caridi to concoct the scrumptious citrus flavoring he uses in some of his pastries.  I’m itching to find a source of bergamot, which I understand grows in Palm Springs, California, to make a batch, having gotten his formula when I studied at the Italian Culinary Institute.


Follow us on your social media platform of choice


Being surrounded with citrus at our home in Palm Springs, I try to find ways to use the bounty.  It took me a while to come up with an orange cake (torta alle arance) that was everything I though an orange cake should be: a moist, not to sweet cake with a sturdy crumb and a distinct orange flavor.

A potted lemon tree on Great Aunt Fidalma’s terrace in Tuscany.

Print Recipe
Torta all'Arancia (Orange Polenta Upside-Down Cake)
Instead of cutting the oranges in slices, you can supreme them if you prefer the look of sections rather than slices. If possible, use the metric measures for the best results.
Votes: 0
Rating: 0
You:
Rate this recipe!
Cuisine Italian
Prep Time 45 minutes
Cook Time 1 hour
Passive Time 1 hour
Servings
people
Ingredients
Topping
Cake and Assembly
Cuisine Italian
Prep Time 45 minutes
Cook Time 1 hour
Passive Time 1 hour
Servings
people
Ingredients
Topping
Cake and Assembly
Votes: 0
Rating: 0
You:
Rate this recipe!
Instructions
Topping
  1. Grease a 10-inch x 2-inch circular cake pan with butter.
  2. Finely grate the zest of the three oranges without any of the white pith. A microplane grater work well. Reserve the zest and oranges separately.
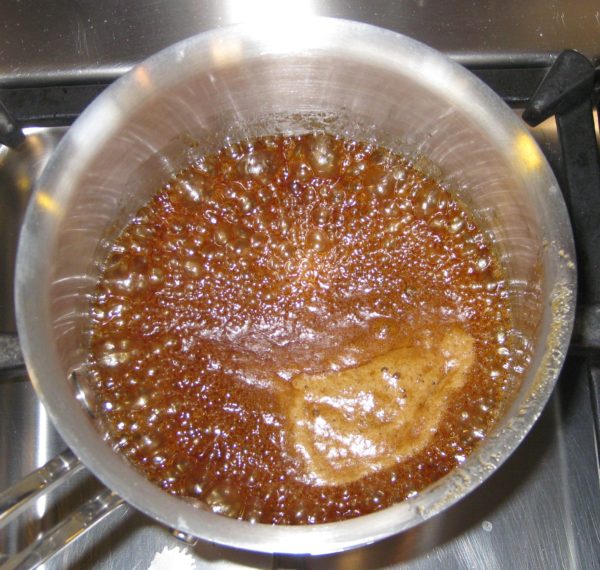
  3. Combine brown sugar, butter, white sugar, and orange juice in a small pan. Heat, stirring frequently till butter is melted and sugar is dissolved. Raise heat and boil for 2 minutes, without stirring, until slightly thickened.
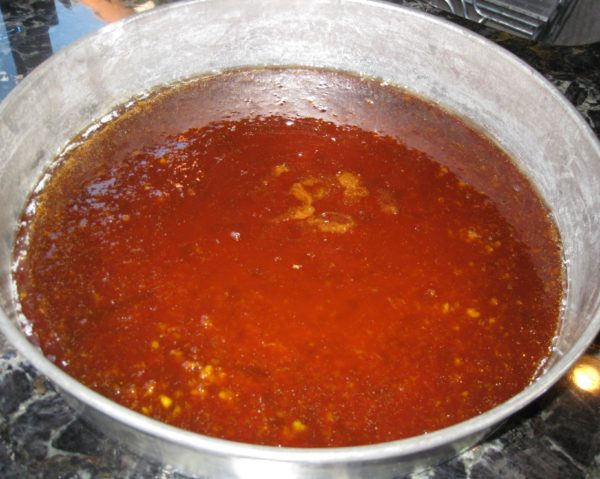
  4. Remove caramel syrup from the heat. Stir in the zest of three oranges. Pour the caramel on the bottom of the prepared pan. Allow to set for approximately 5 minutes, until cool.
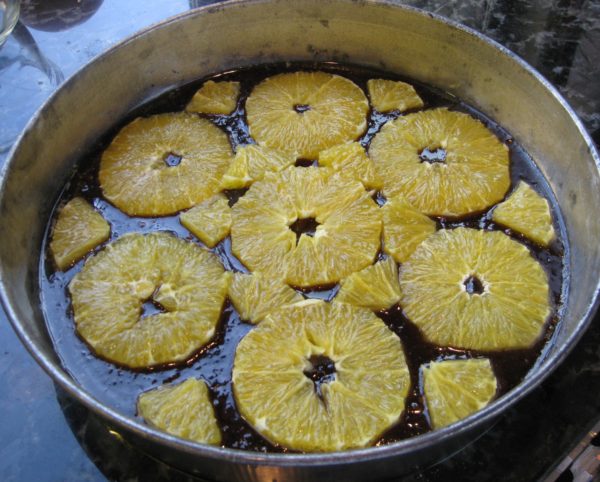
  5. Meanwhile, slice the oranges approximately ¼ inch thick. Cut off all pith and rind. Remove the tough core from any slices that have it. Scissors work well for doing this.
  6. After the caramel has cooled for about 5 minutes, arrange orange slices over the caramel without overlapping. Cut slices as needed to fill in the larger gaps between the full slices.
Cake and Assembly
  1. Stir together the flour, cornmeal, baking powder and salt. Reserve.
  2. Beat the butter in an electric mixer until lightly creamed.
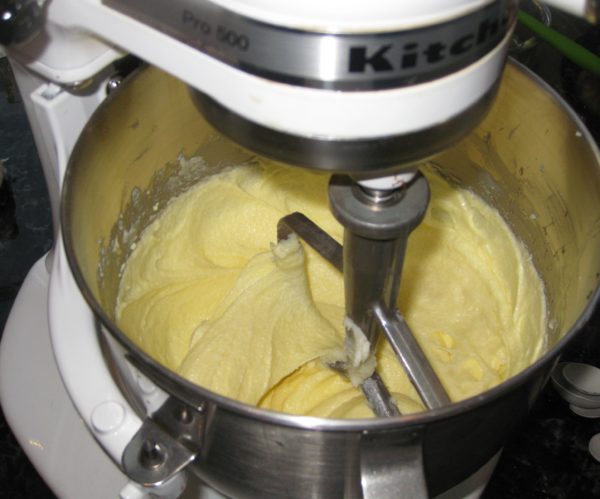
  3. Add the white sugar, then beat at high speed until light and fluffy, approximately 4 minutes.
  4. Add eggs, one at a time, beating on medium after each addition until the egg is combined.
  5. Mix in sour cream then vanilla and orange zest.
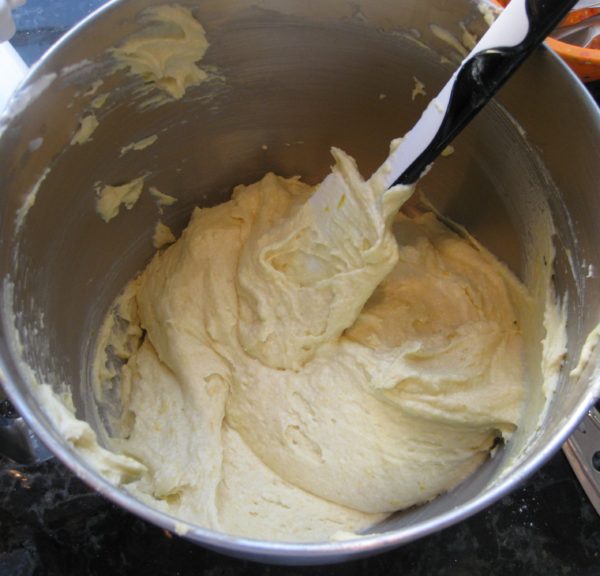
  6. With the mixer on low, add the flour mixture a little at a time and mix until almost combined. Finish mixing by hand.
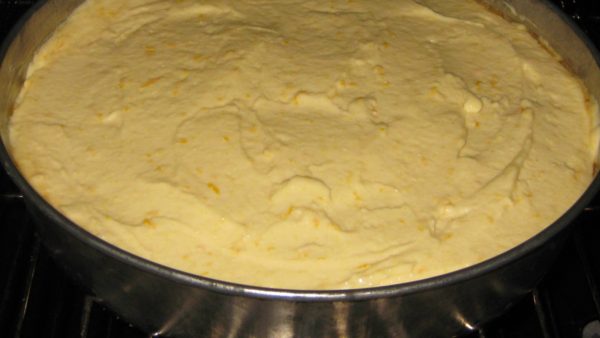
  7. Spoon the batter over the orange slices in the prepared pa. Spread the batter and tap the pan to remove air bubbles.
  8. Bake at 350°F until a cake tester comes out clean, 50-55 minutes. Cool for 10 minutes in the pan.
  9. Using a knife, loosen the cake from the sides of the pan. Invert onto a serving dish. Cool completely.
Recipe Notes

Copyright © 2020 by Villa Sentieri, LLC. All rights reserved.
Share this Recipe

Zia Ida’s Lemon Bars

July 4, 2018

Happy Fourth of July!!!

I’m posting this recipe today because it is one of the three desserts that I typically serve on the Fourth of July.  The other two are Dulce de Leche Cheesecake Bars and Nick Maglieri’s Supernatural Brownies.

Our front gate ready for the Fourth of July, 2017

The first year that these three became our traditional dessert course, one of our guests, after tasting them, commandeered the platter and started serving the other guests.  He introduced the dessert as “Sex on a platter!”

That was the moment when I knew I could not make changes to the dessert course without proof that the changes would actually be an improvement rather than just different.


Join our mailing list and you’ll never miss a recipe again!


The three desserts make a winning combination.

Guests arriving by van from the parking area

This year, we are not throwing our usual Fourth of July party.  Instead, we are spending two weeks on Fire Island.

For the last five and a half years, my husband, Frank, has been working in Alamogordo, New Mexico, a four-hour drive from our home in Santa Fe.  With rare exceptions, we’ve only seen each other on weekends during this time.  The trip to Fire Island is a celebration of his last day of work in Alamogordo which was this past Friday.

Fourth of July guests

Even when not part of the Fourth of July dessert trifecta, these lemon bars get great reviews but I have to apologize a bit to Zia Ida.

Zia Ida is my husband’s Aunt Ida.  Zia is the Italian word for aunt.

Zia Ida, far left, my father-in-law, and their aunt, Zia Fidalma, from Tuscany

I still consider these to be her lemon bars even though I’ve tweaked her recipe.  I added the lemon zest as her original recipe only called for the juice.  I think the zest adds layers of lemon flavor as the essential oils are way more lemony than the juice.  I also like to add coconut, though it wasn’t part of the original recipe and can certainly be left out.  Since I like my lemon bars tart, I increased the lemon juice from the original 5 tablespoons.

These lemon bars are not fussy to make.  I’ve seen fussy recipes that include steps like precooking the filling and diddling with the crust.  I don’t think either of those steps would improve the flavor and they’d definitely increase the work involved.

More Fourth of July guests

If you have a favorite recipe for some sort of dessert bar, I’d love to see it.  In the meantime, I hope you enjoy Zia Ida’s Lemon Bars.

Print Recipe
Zia Ida's Lemon Bars
The coconut is optional. If you like your lemon bars less tart, use 5 tablespoons of lemon juice. After zesting the lemons for the crust and the lemon topping, squeeze the juice and strain well. You may need juice from an additional lemon.
Votes: 0
Rating: 0
You:
Rate this recipe!
Cuisine American
Prep Time 25 minutes
Cook Time 30 minutes
Passive Time 12 hours
Servings
bars
Ingredients
Crust
Topping
Cuisine American
Prep Time 25 minutes
Cook Time 30 minutes
Passive Time 12 hours
Servings
bars
Ingredients
Crust
Topping
Votes: 0
Rating: 0
You:
Rate this recipe!
Instructions
Crust
  1. Butter a 9" x 13" pan.
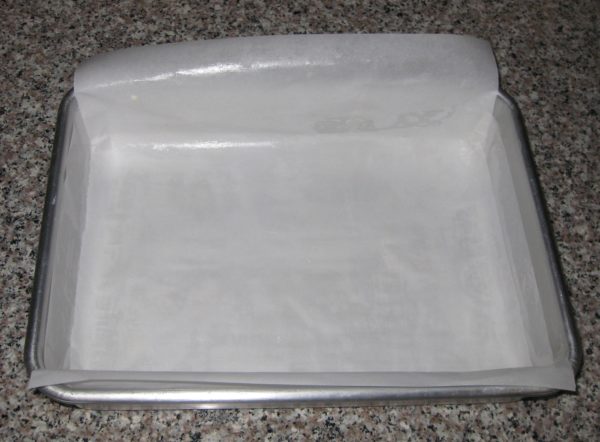
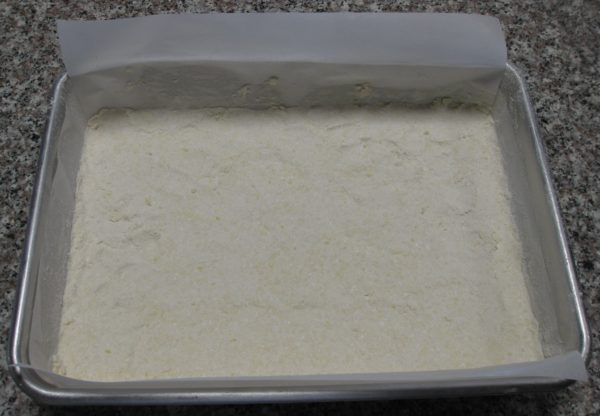
  2. Line the buttered pan with buttered parchment, allowing the parchment to overhang the sides of the pan a few inches in all directions.
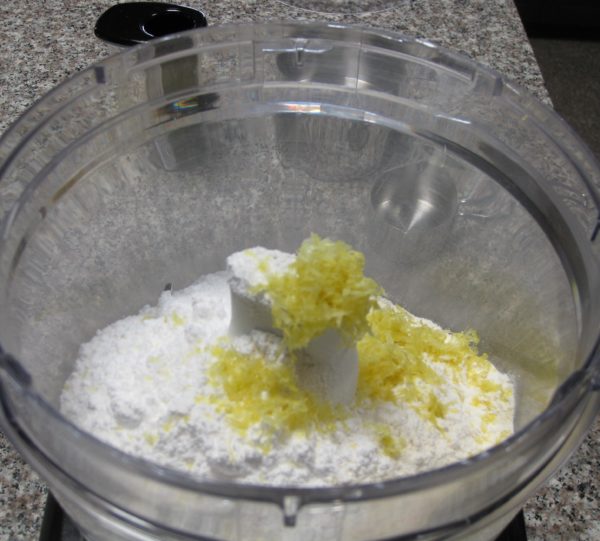
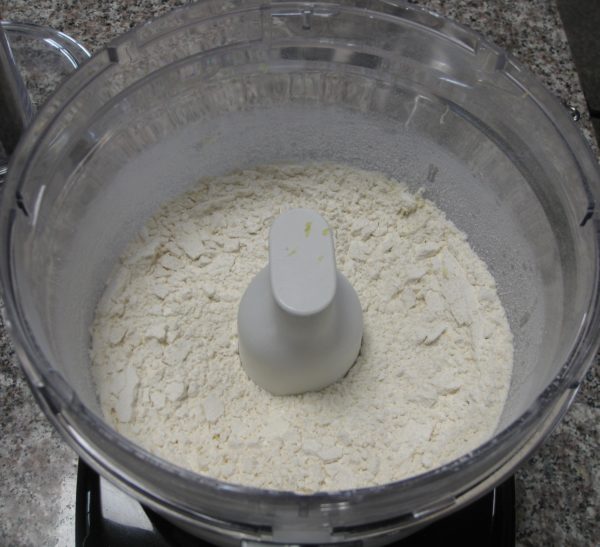
  3. Pulse flour, sugar and zest in food processor until combined.
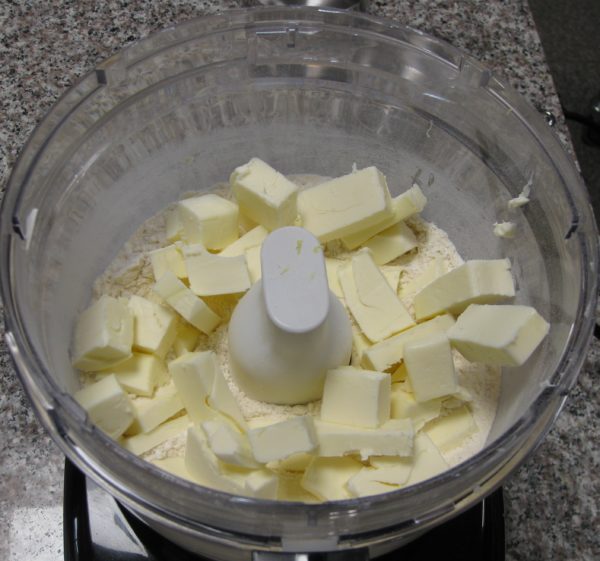
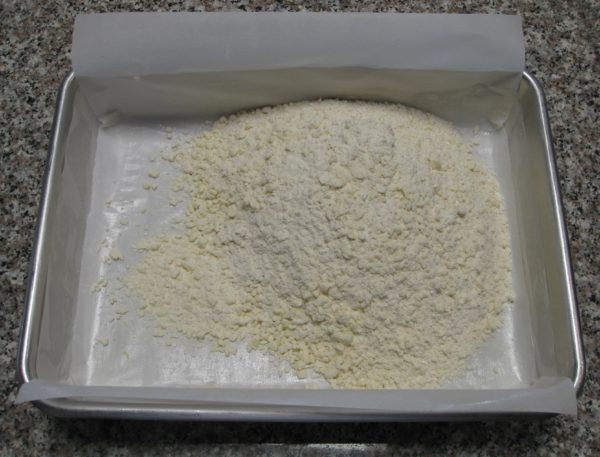
  4. Add cold butter, cut in small cubes. Briefly pulse until mixture forms coarse crumbs.
  5. Press the crust mixture into the prepared pan.
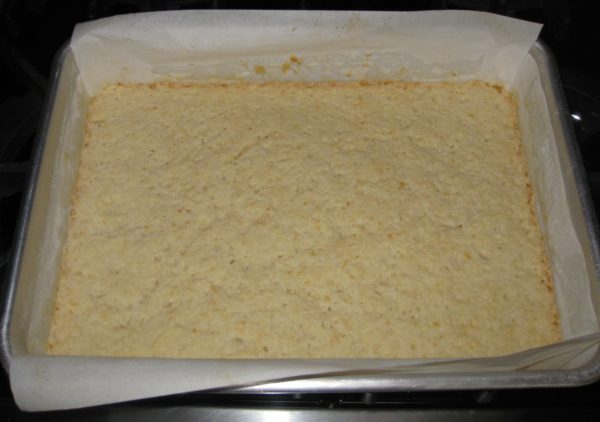
  6. Bake at 350°F for 20 minutes until lightly brown.
Topping
  1. As soon as the crust is out of the oven, make the topping.
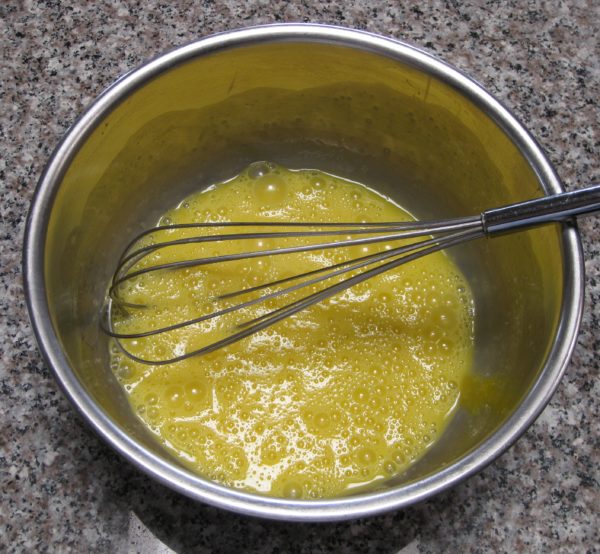
  2. Whisk the eggs to combine.
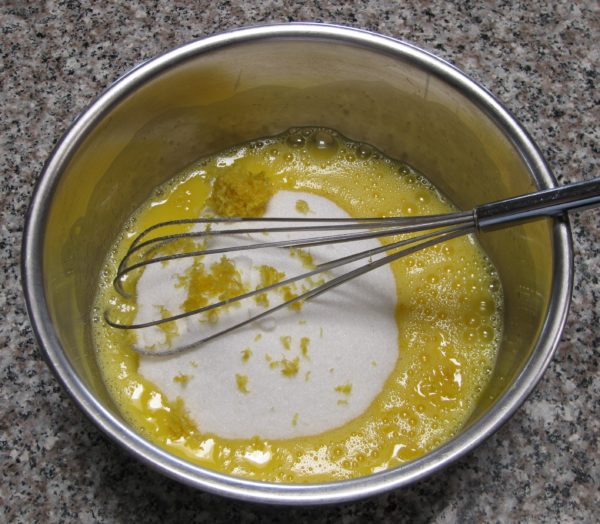
  3. Whisk in sugar, salt and lemon zest until light yellow.
  4. Whisk in flour and baking powder.
  5. Add strained lemon juice and mix well.
  6. Pour over the warm crust.
  7. Sprinkle with coconut, if using.
  8. Bake at 350°F for 20-25 minutes, until golden brown.
  9. Cool on a rack to room temperature.
  10. Cover the baking pan and refrigerate overnight or until cold and firm.
  11. Using the edges of the parchment, remove the cooled pastry from the pan.
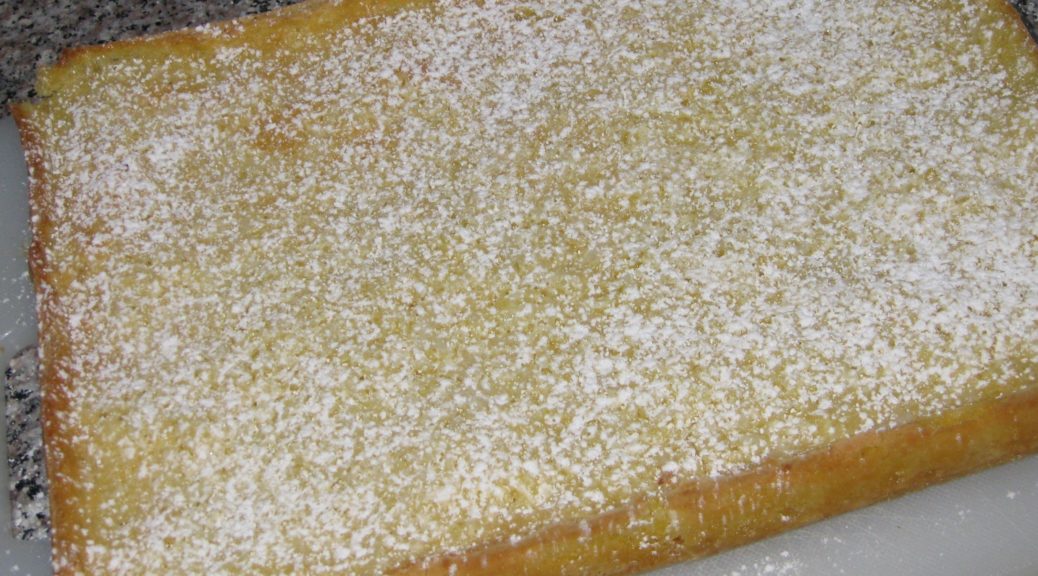
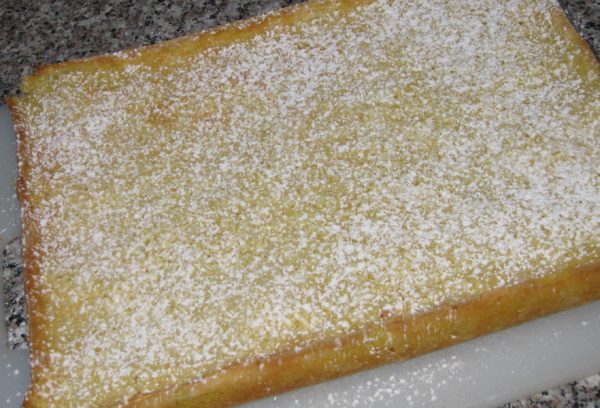
  12. Cut into squares. Dust with powdered sugar just before serving.
Recipe Notes

Copyright © 2018 by Villa Sentieri, LLC. All rights reserved.
Share this Recipe

Grandma Mihalik’s Butter Cookies

December 11, 2017

When I was young, cookie season started in mid-December and continued until early January. Friends and family all had platters and trays of cookies on their tables, often of the multi-tiered variety. Each was carefully wrapped in plastic ready to be unwrapped when guests arrived. The platters were replenished after each group of guests left.

In my circle of family and friends, cookies usually fell into one of two categories, Italian-American or Slovak-American.

To be sure, there was some crossover.


Click HERE to follow us on Twitter


Nut rolls and poppy seed rolls are Slovak (well, OK, they’re really pretty much pan-Eastern European but since I grew up in a half-Slovak family we considered them to be Slovak even though we knew they were also made by the Poles, Ukrainians, Slovenians, and other Eastern Europeans in town) but they were made by the Italian side of my family as much as by the Slovak side.

There were also nut horns, butterballs, and thumbprints which defied ethnic baking boundaries.

However, flat, rolled cookies, like these butter cookies, were not usually made by Italian-Americans.  The totos that I wrote about last December and the colored cookies that are coming up later this week were not usually made by Slovak-Americans.


Click HERE to join our mailing list and you’ll never miss a recipe again!


This recipe came to me by way of Aunt Ann who was married to my father’s brother, Jano. She said it was Grandma’s recipe.

I remember eating these cookies and seeing them piled on my grandmother’s table over the holidays.

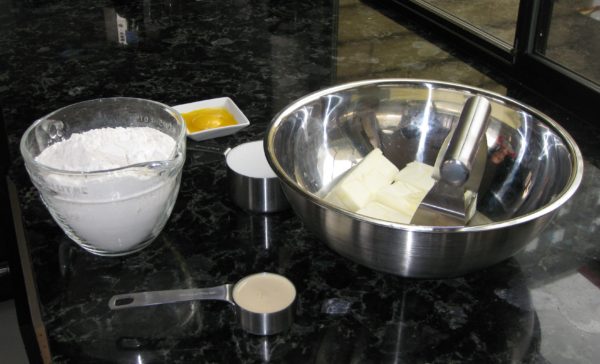
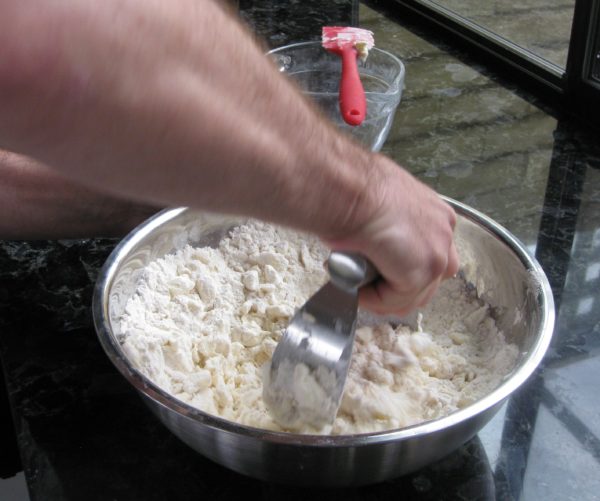
These cookies are similar to the sand tarts that are common in the central part of Pennsylvania where the Pennsylvania Dutch, of German extraction, historically lived. The big difference, though, is that the dough for these butter cookies is prepared more like a pie crust while the dough for sand tarts is prepared more like cake batter. That is, for these cookies, flour and sugar are cut into butter with a pastry blender whereas for sand tarts the butter and sugar are first creamed together.

There also are sand tarts that I think of as more Southern.  These are usually rolled into balls or formed into shapes and baked but not rolled thin like Pennsylvania Dutch sand tarts and my grandmother’s butter cookies.


Follow us


Print Recipe
Grandma Mihalik's Butter Cookies
The cookies should just be pale golden brown on the bottom. The color and weight of the cookie sheet significantly influence cooking. I find that shiny aluminum cookie sheets of medium weight work best. Dark metal will cause the bottom of the cookies to brown too much. Allow the cookies to rest for about 30 seconds before removing them from the cookie sheets. If you wait too long the cookies will lose their flexibility and are likely to break.
Votes: 0
Rating: 0
You:
Rate this recipe!
Cuisine Slovak
Prep Time 1 1/2 hours
Cook Time 1 hour
Passive Time 30 minutes
Servings
dozen
Ingredients
Cuisine Slovak
Prep Time 1 1/2 hours
Cook Time 1 hour
Passive Time 30 minutes
Servings
dozen
Ingredients
Votes: 0
Rating: 0
You:
Rate this recipe!
Instructions
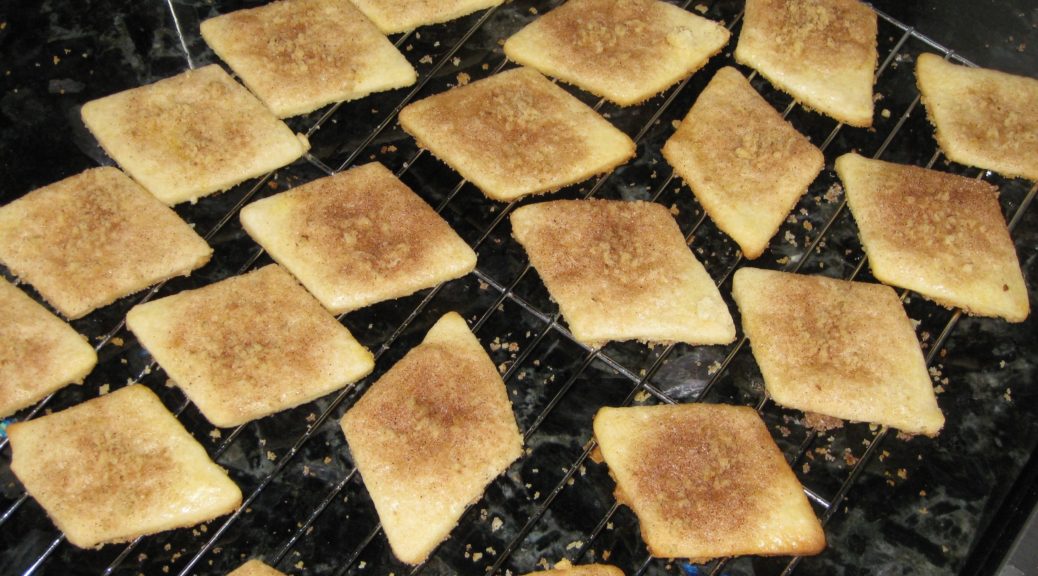
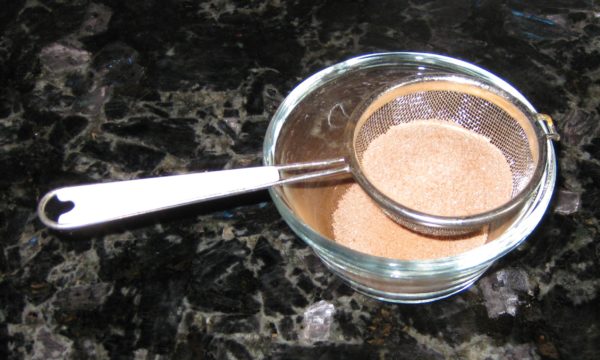
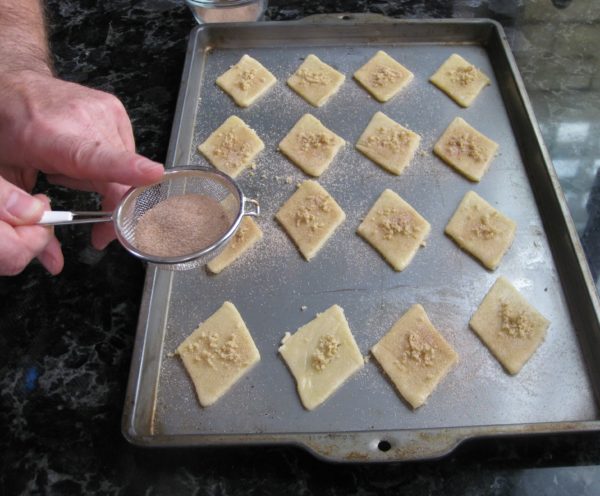
  1. Combine cinnamon and three tablespoons sugar. Reserve.
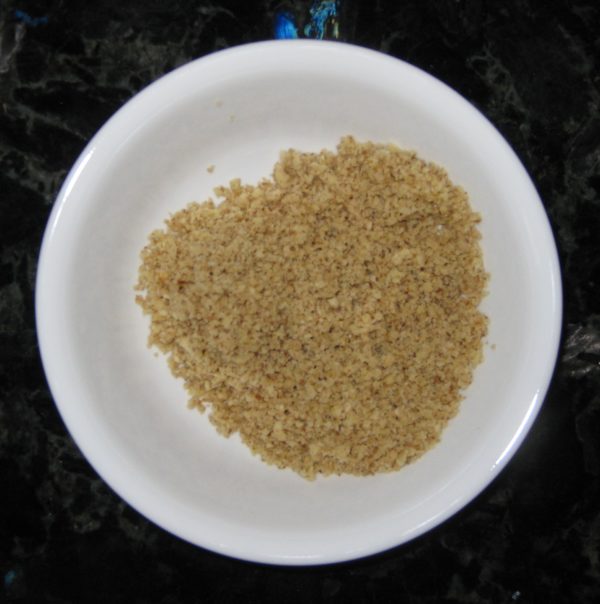
  2. Grind the walnuts and reserve.
  3. Put the butter in a mixing bowl and leave at room temperature for about 30 minutes to soften slightly.
  4. Add 1 cup of sugar and flour to the butter.
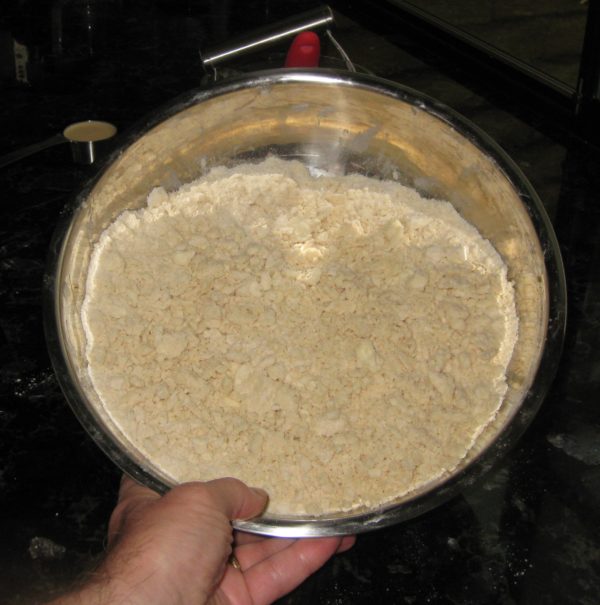
  5. Mix with a pastry blender until little beads form.
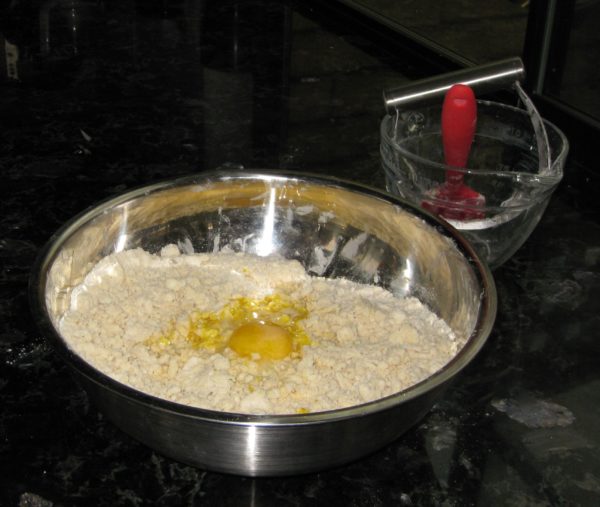
  6. Add the cream and egg yolks and continue mixing with the pastry blender until a shaggy dough forms.
  7. Press into a log, cut in half (or quarters) and wrap in plastic wrap and refrigerate for 30 minutes.
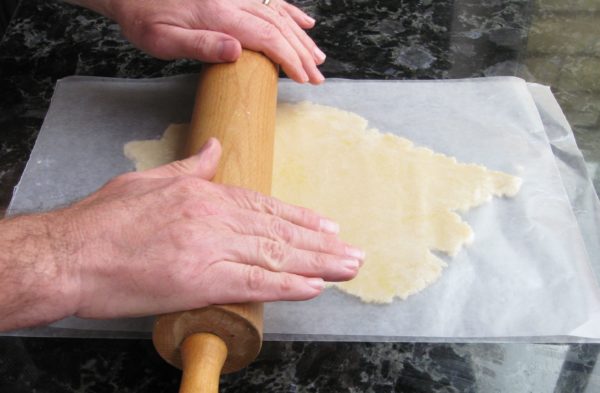
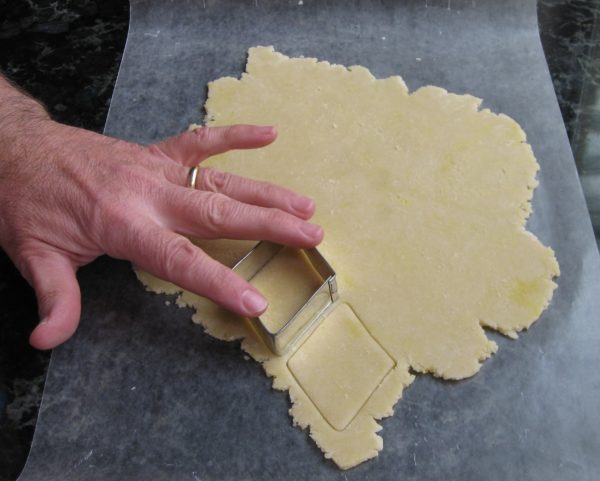
  8. Roll a portion of dough between sheets of waxed paper to approximately 1/8 inch thick.
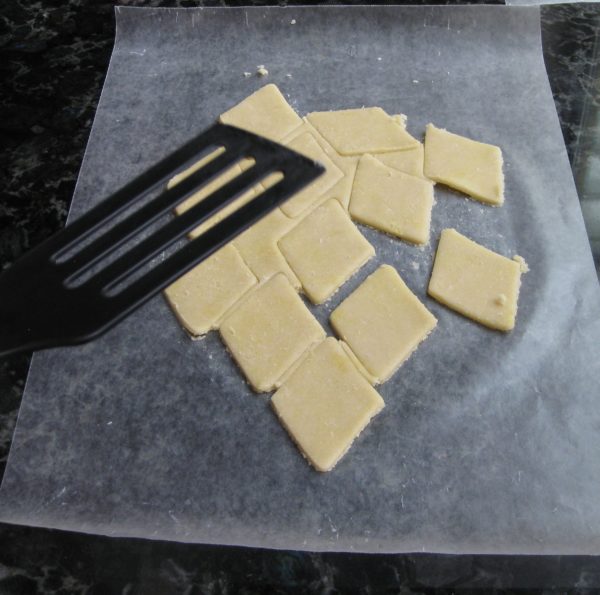
  9. Cut into shapes.
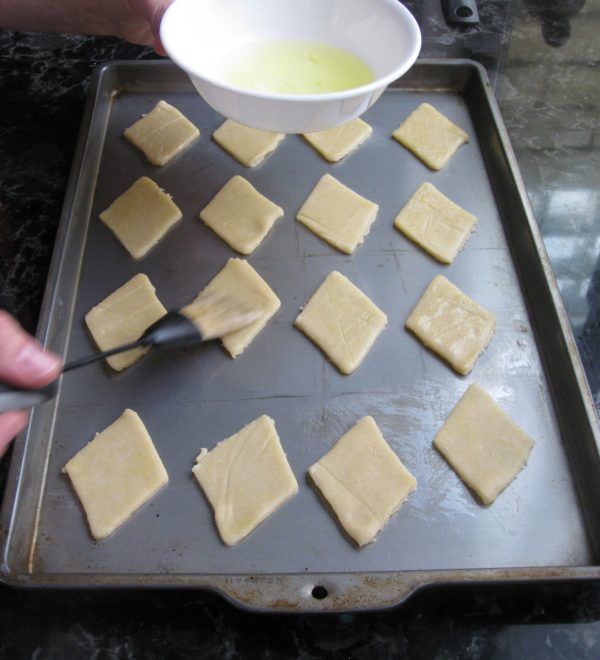
  10. Arrange on ungreased cookie sheets.
  11. If the dough starts to warm too much it will be difficult to get the cookies off the waxed paper. If this happens, put the rolled out dough, still between the waxed paper, in the refrigerator for a few of minutes.
  12. Brush with unbeaten egg whites.
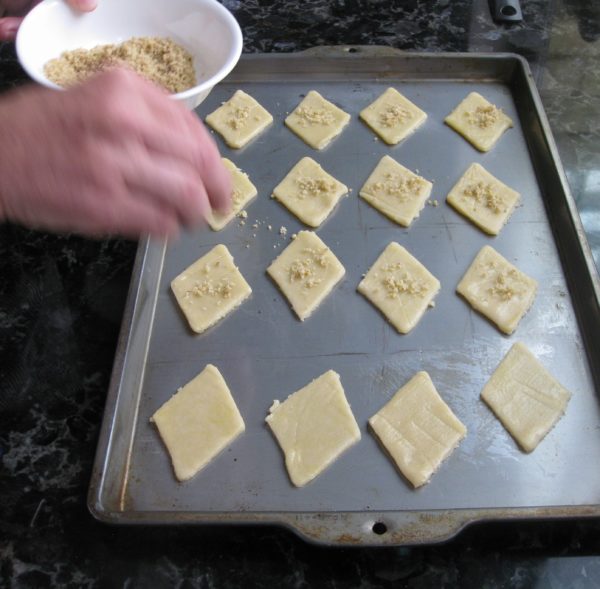
  13. Sprinkle with ground walnuts
  14. Sprinkle with cinnamon sugar.
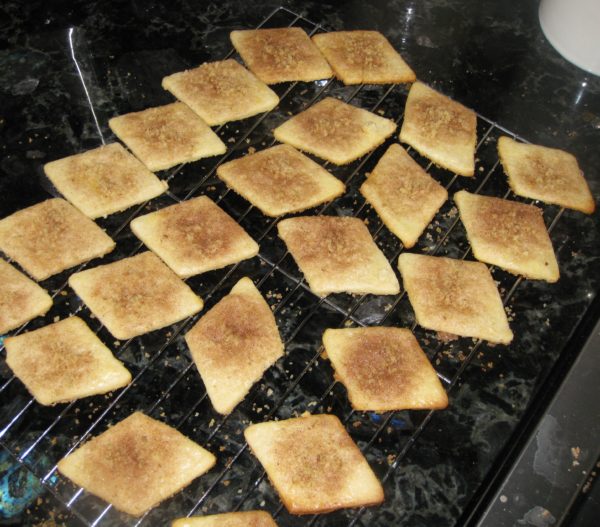
  15. Bake 350°F approximately 8-9 minutes or until light brown on the bottom.
  16. Remove from the cookie sheet almost immediately and cool on a wire rack.
Recipe Notes

Copyright © 2017 by VillaSentieri.com. All rights reserved.
Share this Recipe

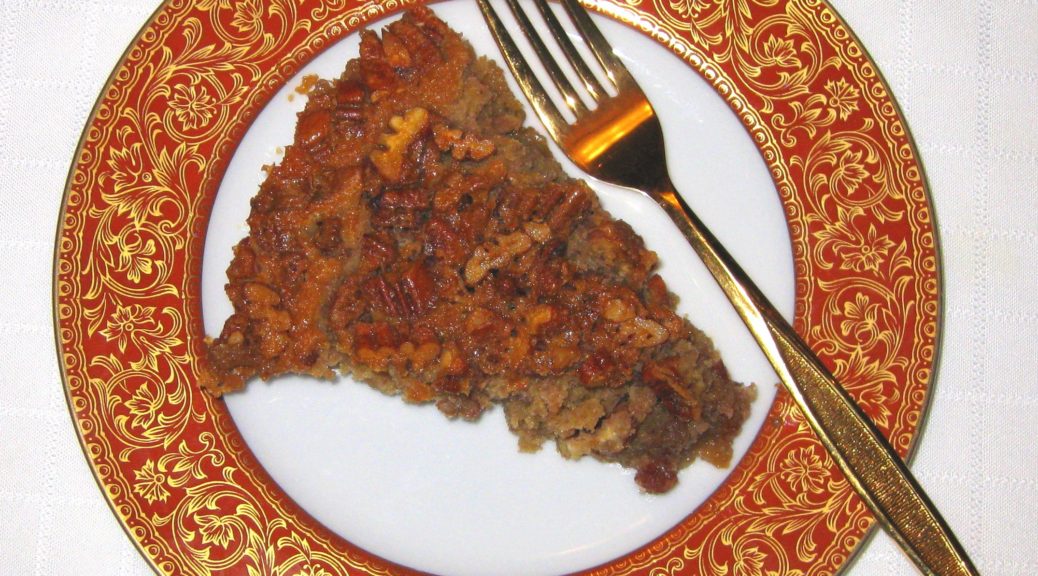
Julie’s Impossible Pecan Pie

October 16, 2017

Julie Paradise is the Queen of Impossible Pies.

Julie Paradise

I ate Impossible Pies back in the 1970s.   Savory Impossible Pies were a favorite of Auntie Helen. Auntie Helen was actually the aunt of Gene d’Aquili, my College Advisor. Ultimately, years later, I went into psychiatric practice with him. I spent lots of time with Gene and his family, including Auntie Helen, and her sister, Auntie Louise, from the early 1970s until the late 1980s when I left Philadelphia and moved to Tucson for a year before settling in Chicago. In a previous blog post, I talked about Auntie Helen and Auntie Louise.

Auntie Helen was especially fond of Impossible Tuna Pie. I have “her” recipe which exactly matches one I found on the internet a few months ago. I’m going to guess it was the one put out by the makers of Bisquick® way back in the day!

I’ve only ever had sweet impossible pies from Julie, but she says she makes savory ones too. Her take: “Green bean is delicious. Broccoli is fantastic and pretty. Zucchini is good.”

Julie is one of those folks who doesn’t like pie crust…and there are plenty of them. For her, Impossible Pies are the perfect solution.

On our recent visit to Julie and Gay’s home on Fire Island Julie made three Impossible Pies during a six-day stay. We ate every last crumb!

Deer near Gay and Julie’s deck eating geraniums out of my hand

Impossible Pies appear at the end of most every dinner that Gay and Julie host in Santa Fe and I wouldn’t want it any other way.

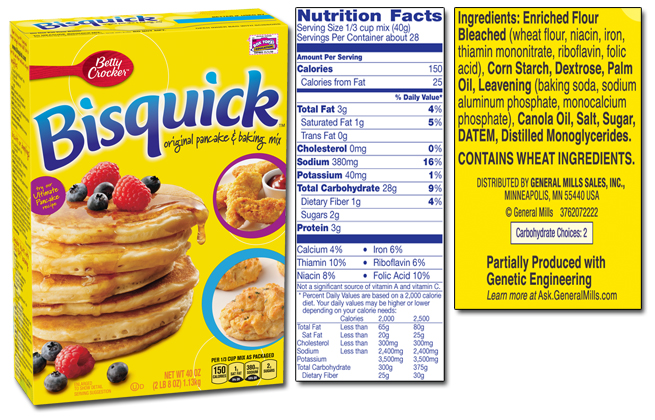
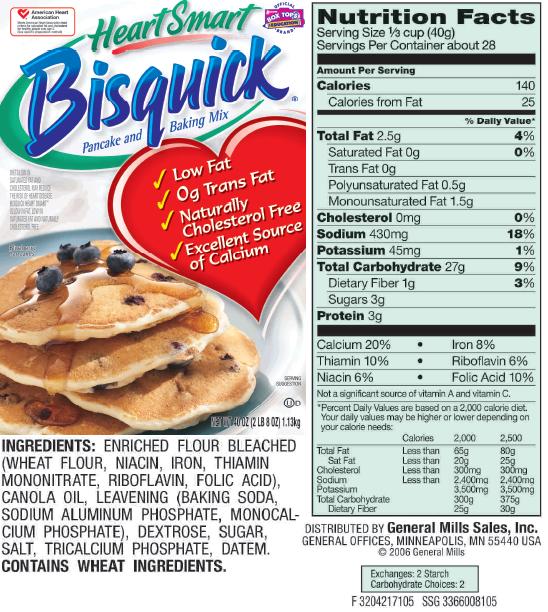
You’ve read my rants about the adverse health effects of hydrogenated and partially hydrogenated fats. That’s what baking mix (OK, let’s call it what it is, we’re really talking about Bisquick®) used to contain. I’m here to say: NO LONGER!

In prepping for making Julie’s Impossible Pecan Pie, I researched “baking mix” substitutes. There are many recipes available, all of which are very similar (flour, some sort of oil or fat, a bit of sugar, and baking powder). My plan was to make up a substitute rather than use the real thing because of my zero tolerance policy for hydrogenated and partially hydrogenated fats.

On a stroll through the supermarket, I saw the baking mix section and decided to take a look. That’s when I discovered that the good folks at Betty Crocker had changed the formula and replaced the partially hydrogenated fat with vegetable oil. I actually bought a box, intending to make all those things I had as a kid that were based on Bisquick and Auntie Helen’s Impossible Tuna Pie after making Julie’s Impossible Pecan Pie.

I looked at several other brands of baking mix and discovered that not all manufacturers are as enlightened as Betty. Partially hydrogenated fat was still a common ingredient in many of them. (There are also some specialty Bisquick products that contain—or may contain—based on the label, partially hydrogenated fats. It’s best to stick with what is labeled as the “Original” (which, of course it really isn’t) or the HeartSmart.

A funny thing happened with all this thinking about baking mix and baking mix substitutes. I realized that for all practical purposes, an Impossible Pie is like a Clafoutis! The only real difference is that the baking mix contains baking powder and the standard recipe for clafoutis does not. Given the variability of recipes from cook to cook, I guess it wouldn’t be unreasonable to call this a Pecan Clafoutis! And, as Julie says, a Clafoutis is best right out of the oven while an Impossible Pie is just fine at room temperature.

So, while I don’t often make Julia Child’s recipe for Clafoutis I think there are lots of Impossible Pies in my future.


Follow us


Click HERE to join our mailing list and you’ll never miss a recipe again!

Print Recipe
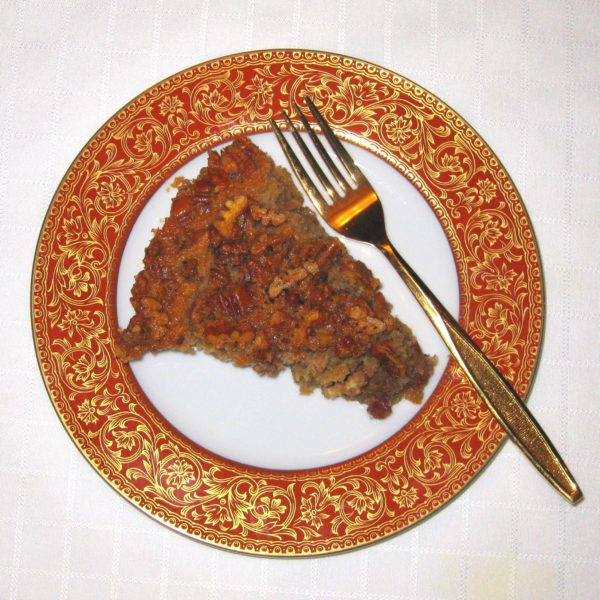
Julie's Impossible Pecan Pie
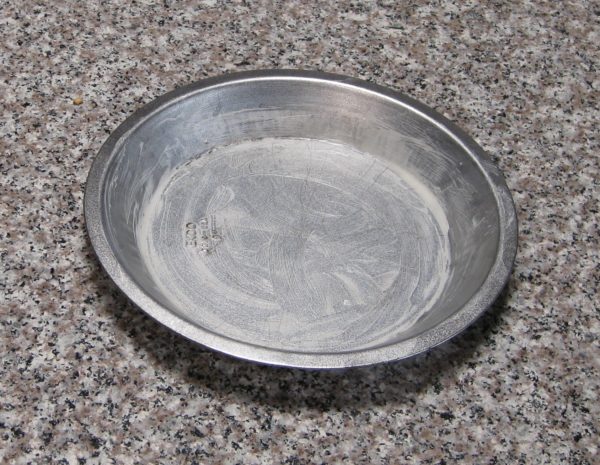
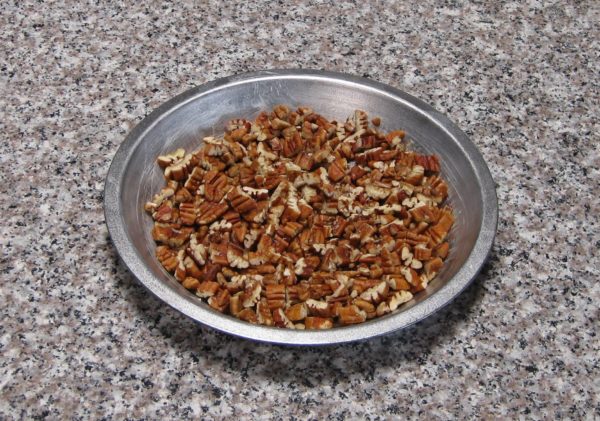
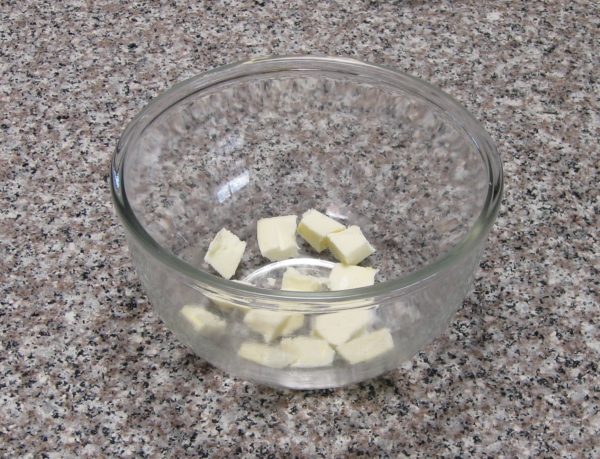
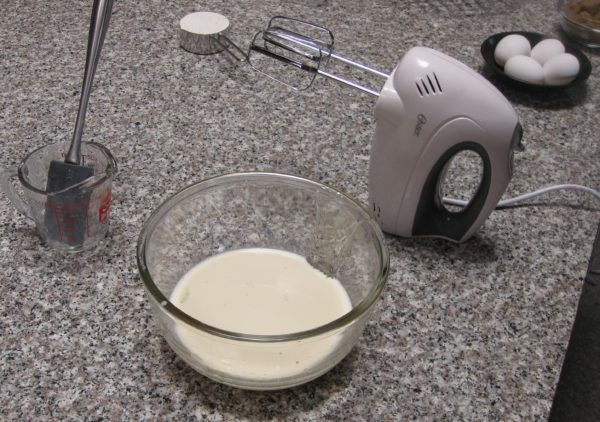
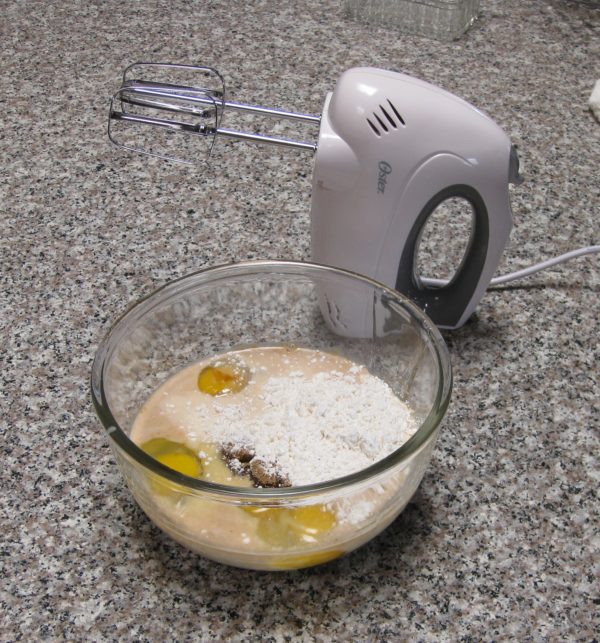
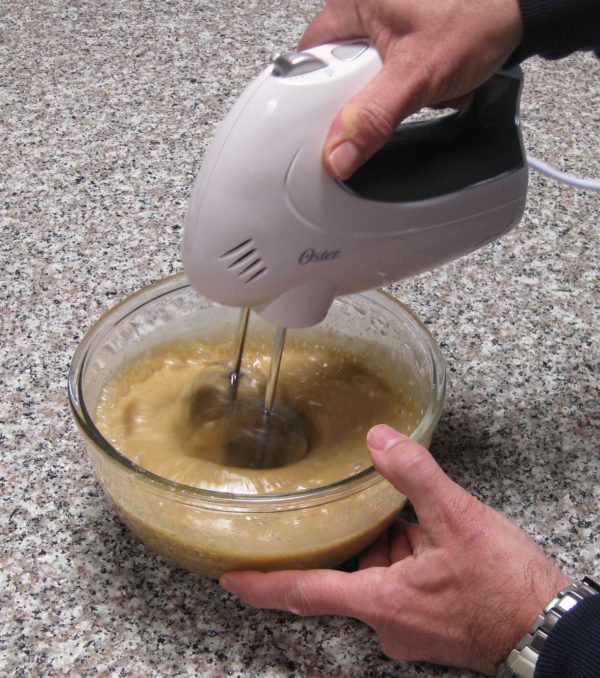
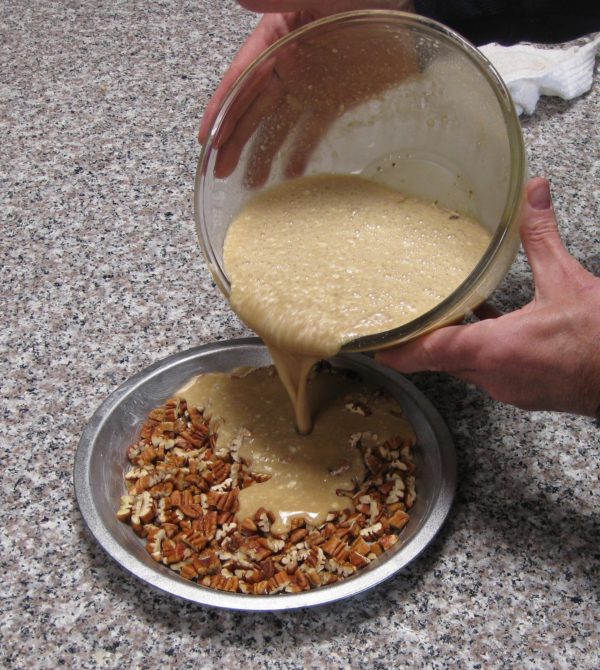
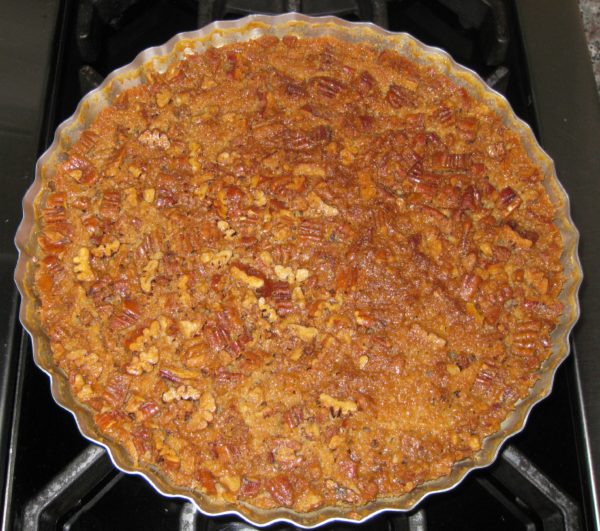
Although I used a mixer, as you’ll see in the pictures, a blender is easier and produces a smoother batter. Also, the original pie pan I chose was too small. You’ll see that I started putting everything into the 9-inch pan. I had to switch to a 10-inch deep dish pan! Although not part of Julie's original recipe, I've successfully added 1/4 teaspoon of almond essence to this pie. It's not enough to give the pie an almond flavor but it does amplify the nuttiness!
Votes: 0
Rating: 0
You:
Rate this recipe!
Cuisine American
Prep Time 15 minutes
Cook Time 1 hour
Servings
people
Ingredients
Cuisine American
Prep Time 15 minutes
Cook Time 1 hour
Servings
people
Ingredients
Votes: 0
Rating: 0
You:
Rate this recipe!
Instructions
  1. Prepare all the ingredients.
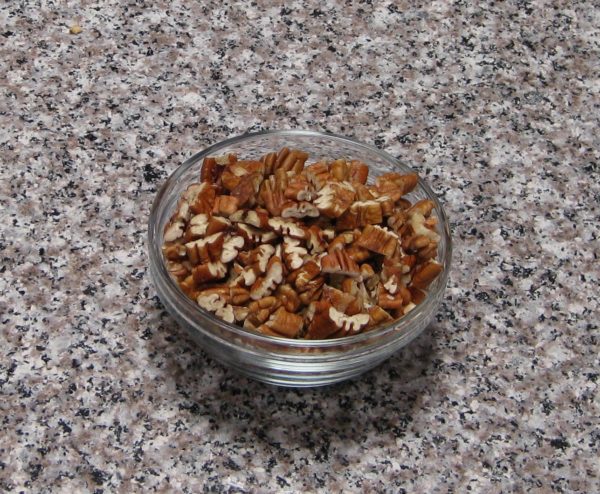
  2. Pecans
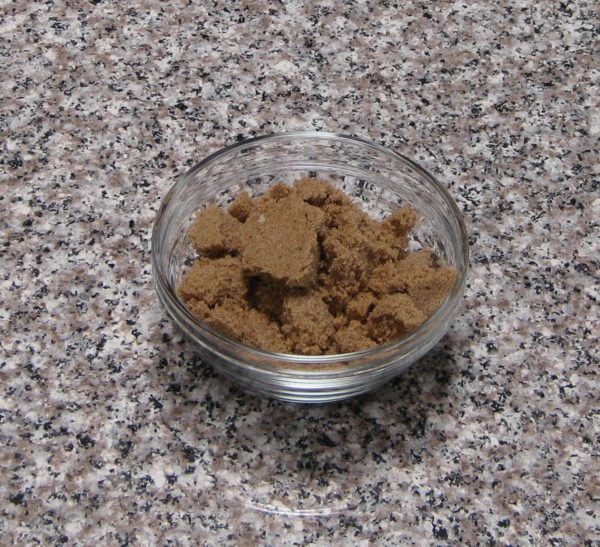
  3. Brown sugar
  4. Milk
  5. Corn syrup
  6. Eggs
  7. Baking mix
  8. Butter a 10-inch deep-dish pie pan.
  9. Add the pecans to the buttered pie pan and set aside.
  10. Put all remaining ingredients into a blender jar or mixing bowl and blend until thoroughly combined and no lumps remain. This will take approximately 15-20 seconds in a blender and at least one minute by electric mixer.
  11. Pour the batter over the pecans.
  12. Bake at 350°F for 50-55 minutes, until a knife inserted in the center comes out clean.
  13. Cool at least five minutes before serving or serve at room temperature.
Recipe Notes

Copyright © 2017 by VillaSentieri.com. All rights reserved.
Share this Recipe

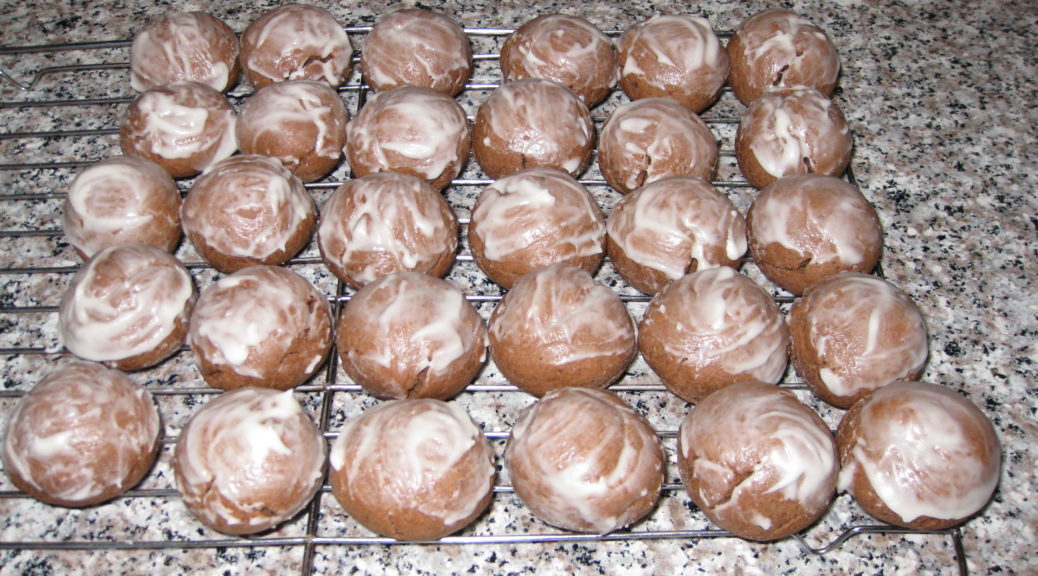
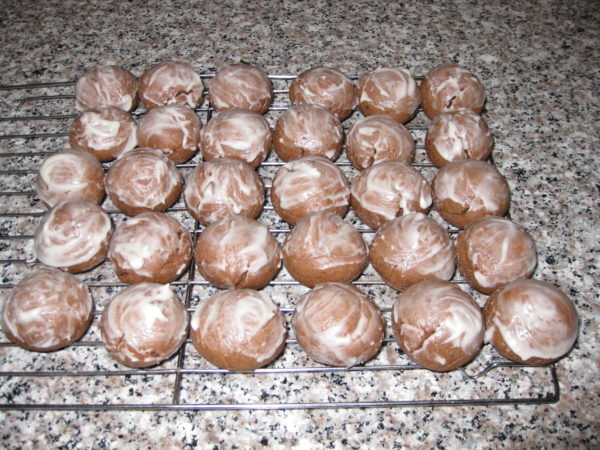
Totos (Italian Chocolate Spice Cookies)

December 21, 2016

Homemade cookies and pastries were staples of my childhood.  Trays of cookies showed up for holidays, celebrations, weddings, funerals, and, sometimes, for no apparent reason.

My mother along with relatives and friends set up a cookie-making operation that went on every night for weeks leading up to my sister’s wedding.  The overseer was Annie Castagnola, a family friend.  She had a thin spiral-bound 3-inch-by-5-inch notebook of cookie recipes.  The notebook was the kind we used in grade school to write down our homework assignments.  Annie’s recipes were a curated collection gathered from a host of “old Italian women,” my grandmother included.

The little notebook was coveted by more than a few cooks.  Annie, however, did not share her recipes, even when those recipes came from relatives of the very people who were asking for them.  I know, my mother was one of those people who wanted some of her mother’s recipes.  Annie wouldn’t budge.  The situation got resolved, however, during the cookie-baking marathon for my sister’s wedding.  One night, Annie left her little notebook at our house overnight.  Nobody’s confessing, but there are a few cookie recipes in my mother’s recipe box (sitting on my bookcase) written in my twelve-year-old hand.

Annie died a while back.  Her little notebook is most likely gone forever and along with it the baking secrets of a whole group of “old Italian women.”

Of all the cookies that showed up throughout the year, my favorites were the various kinds of cakey cookies, my mom’s Genets, Aunt Margie’s aptly named “Colored Cookies,” and my cousin Angie Catanese’s Sesame Seed Cookies, to name a few.  These cakey cookies, which were not very sweet by American standards, were usually little balls but not always.  Genets are lemon flavored knots.  Colored Cookies are vanilla flavored balls, each made with four or five pinches of dough of different colors rolled together.  Sesame cookies are little logs, perfect for dunking into some Vin Santo.  For me, though, the best of these cakey cookies are Totos, little chocolate spice balls.

Print Recipe
Totos (Italian Chocolate Spice Cookies)
These little chocolate balls are intended to have a good kick from an array of spices. Lard is the traditional shortening to use. I render my own. If you need these to be vegetarian, or you just don't want to use lard, you can use solid vegetable shortening. Heck, you can even use clarified butter but that is way off the traditional scale!
Votes: 19
Rating: 3.84
You:
Rate this recipe!
Cuisine Italian
Prep Time 45 minutes
Cook Time 2 hours
Servings
dozen cookies
Ingredients
Cookies
Icing
Cuisine Italian
Prep Time 45 minutes
Cook Time 2 hours
Servings
dozen cookies
Ingredients
Cookies
Icing
Votes: 19
Rating: 3.84
You:
Rate this recipe!
Instructions
Cookies
  1. In a small saucepan, melt the lard over low heat. When just melted, remove the lard from the heat and allow to cool slightly.
  2. Meanwhile, combine the flour, cocoa, baking powder, baking soda, salt, cloves, cinnamon, allspice, and nutmeg together. Reserve.
  3. Make the icing and reserve.
  4. Put the sugar into a large mixing bowl. Add the cooled but still liquid lard and mix well until thoroughly combined. The mixture will be gritty. I recommend doing this by hand with a mixing spoon but you could use a portable electric mixer.
  5. Add the eggs one at a time to the sugar and lard mixture, mixing well after each addition. The sugar should dissolve as the eggs are added.
  6. Add the milk, honey, vanilla extract and lemon extract to the egg mixture. Mix until well combined.
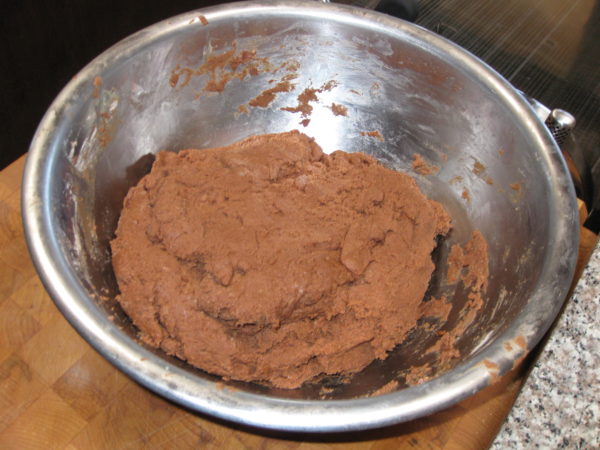
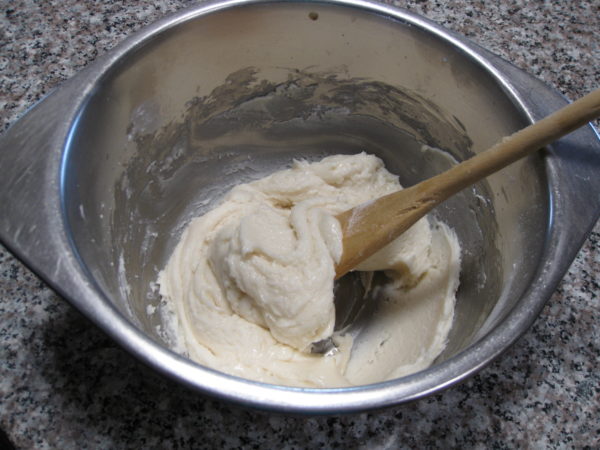
  7. Add the reserved dry ingredients. At this point there really is no better option than to reach into the mixture with your hand and get everything well combined. The dough will be somewhat sticky. Be certain that all the dry bits are scraped off the bottom and sides of the bowl and combined into the dough.
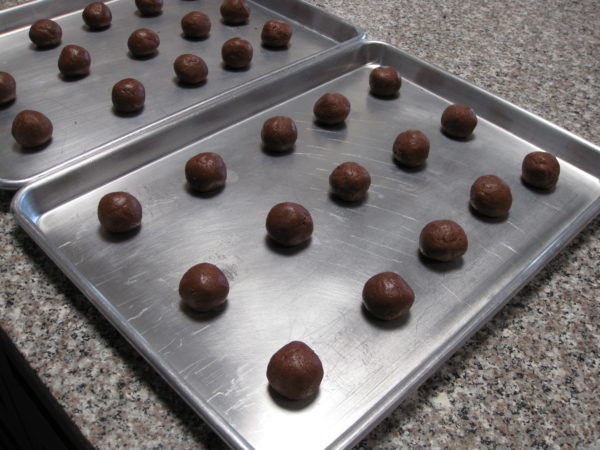
  8. Roll the dough into walnut-sized balls. If you want to weigh the first few to get the size correct, they should be between 21 and 22 grams.
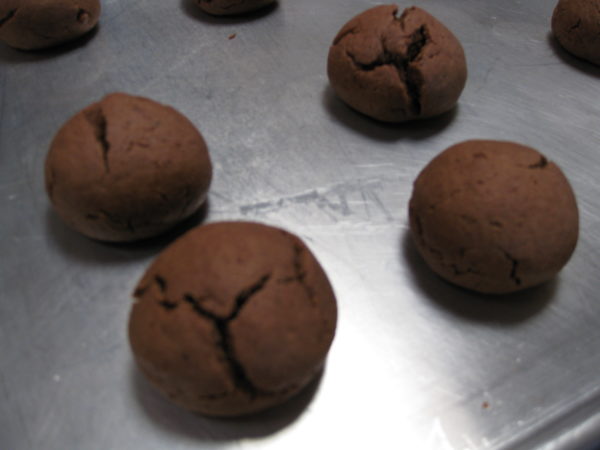
  9. Space the cookies several inches apart on ungreased cookie sheets. Bake at 375°F for 8-10 minutes until the cookies are very slightly browned on the bottom but still soft when touched. They have a tendency to crack as they bake. This is normal. You can bake two trays at a time, one in the lower third of the oven and one in the upper third. Be sure to switch the top and bottom cookie sheets after five minutes and also turn them front to back.
  10. As soon as you remove the cookies from the oven, carefully put them on cooling racks.
  11. Ice them immediately by holding a cookie with one hand and using the tip of your finger to spread a dollop of icing on the top half of each cookie. The icing should be a glaze, not a thick coating. Put the iced cookies on cooling racks to cool completely.
  12. Well wrapped, the cookies can be refrigerated for several weeks or frozen for several months.
Icing
  1. Melt the butter. Add the sugar, vanilla (or lemon) extract and 2 tablespoons of milk. Mix well. Add more milk, a teaspoon at a time, if needed, to make a thick icing that will hold its shape and spread well.
  2. It may be necessary to add a bit of milk from time to time if the icing stiffens up over the course of icing each batch of cookies as they come out of the oven.
Recipe Notes

Check out my method for rendering lard.

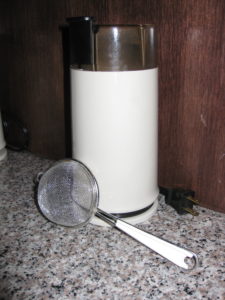
I prefer to grind my own spices using a small electric coffee grinder, except for the nutmeg, of course, for which I use a small grater. It is best to pass the ground spices through a small strainer to get out any small bits. If you don’t grind your own spices be sure to buy really fresh ground ones so the flavor is vibrant.

This recipe doesn’t involve any strenuous beating so the first few steps can easily be completed by hand with a sturdy mixing spoon rather than with a mixer. Similarly, after adding the dry ingredients, the dough only needs to be mixed enough to come together. This is easily (and traditionally) done with your hand though I suppose a dough hook would work, too.

Copyright © 2016 by VillaSentieri.com. All rights reserved.
Share this Recipe