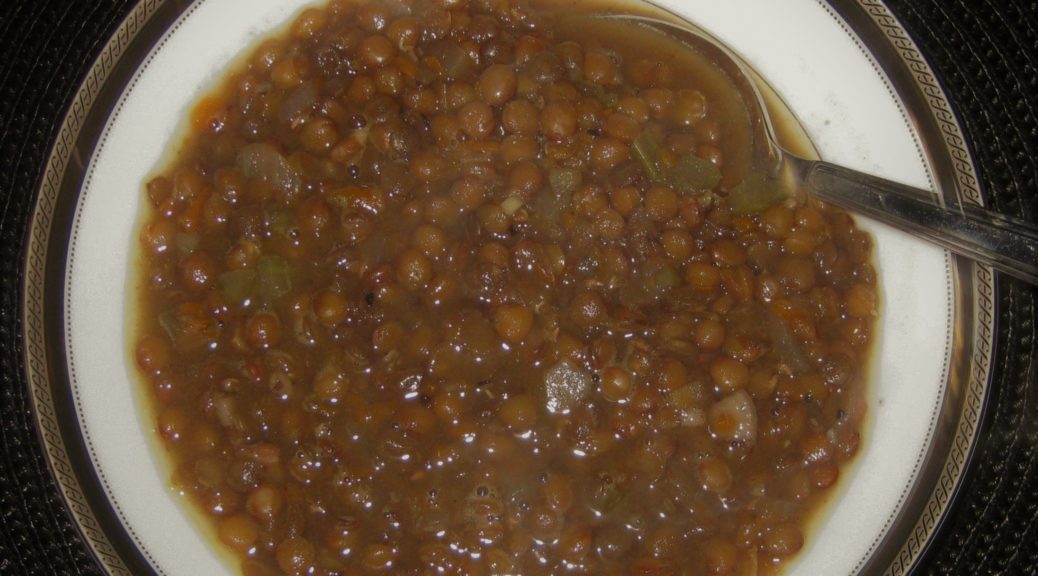
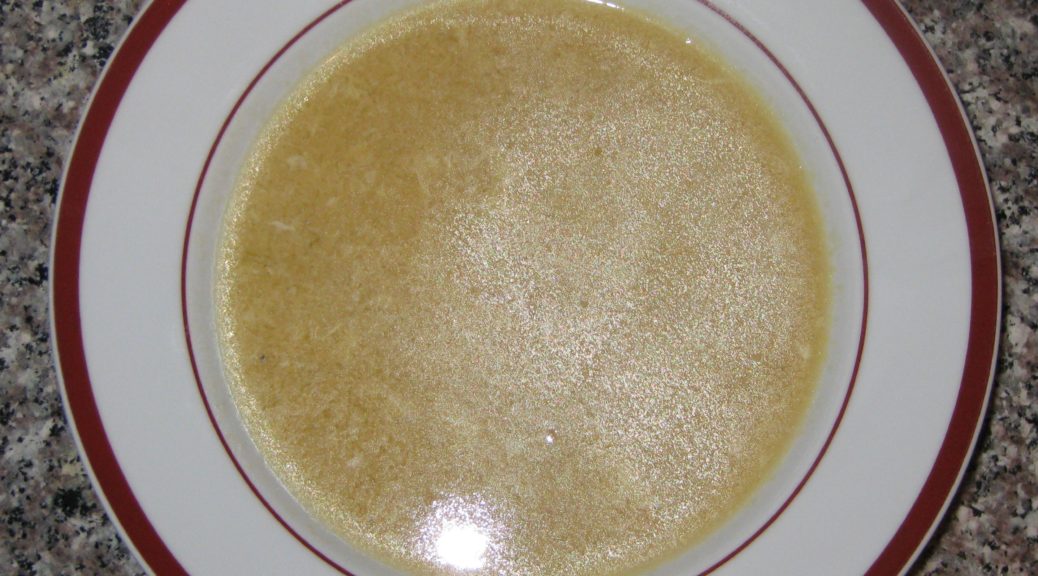
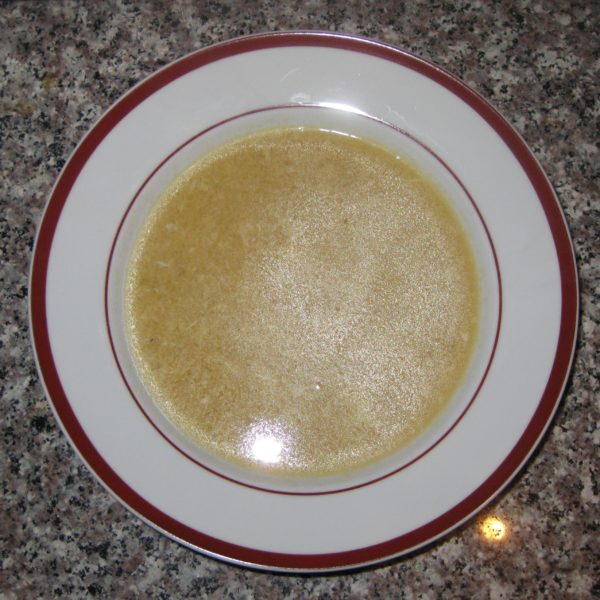
Mom’s Lentil Soup

January 26, 2018

My father liked soup.  Actually, my father really, really liked soup.  Every few weeks my mother would make beef noodle soup as it was one of my dad’s favorites.  Beef noodle is the soup we had most often.  Goulash was the “stew” we had most often.  In fact, I don’t remember my mother ever making an American-style beef stew.

The first American-style beef stew that I ever made was from a recipe that my sister started using after she got married.  It was definitely not one of our family recipes, though it was good.

After the beef noodle soup that my mother made on a regular basis, other soups were just occasional affairs, though soups of various types appeared often on our table.


Click HERE to join our mailing list and you’ll never miss a recipe again!


Italian “Wedding” Soup was a favorite but not something that we had more than a three or four times a year.  Everyone in the family really loved Wedding Soup but, honestly, it’s a lot of work.  It’s coming to the blog next month but today we have my Mom’s Lentil Soup.

My parents in 1981

Let’s face it, lentil soup isn’t something people swoon over.  At best it is good comfort food.  That’s exactly what this is for me.

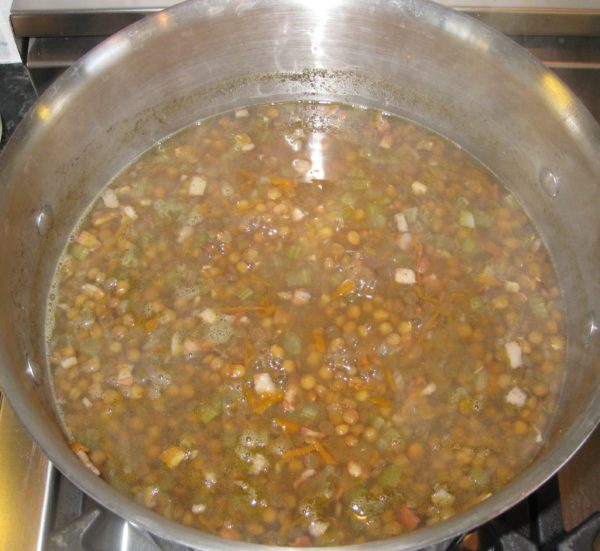
It’s also easy to make.  A few minutes of chopping and some stirring off-and-on are rewarded with a really good pot of soup.

My mother’s lentil soup was unusual in that she put enough black pepper into it to create a distinct bite.  The first time I tasted it, as an adolescent, I was surprised by how peppery it was but I loved it.   Whether or not you add that much black pepper is entirely your choice but, in my mind, it’s the black pepper that sets my mother’s lentil soup apart from the pack.


Follow us on your social media platform of choice


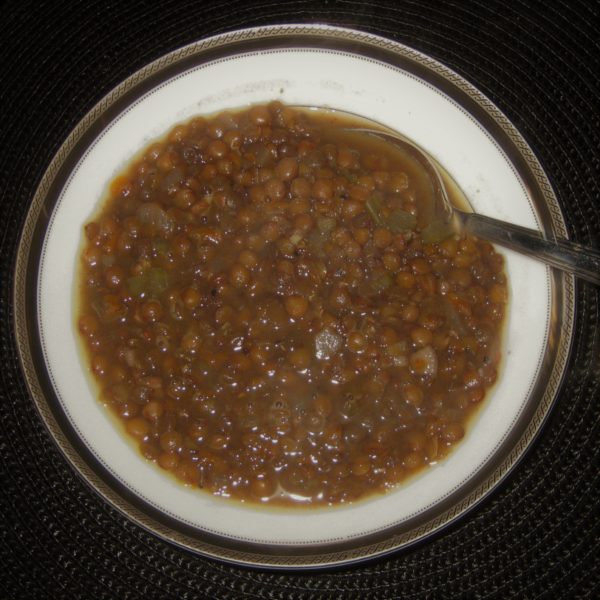
Consistent with my mom’s low-and-slow philosophy, this soup is cooked longer that would be typical, for the average American cook at least.  Despite the long cooking, the lentils remain intact though soft.  They don’t really fall apart the way that dry beans might.

This soup freezes well so a big batch shouldn’t be a problem.

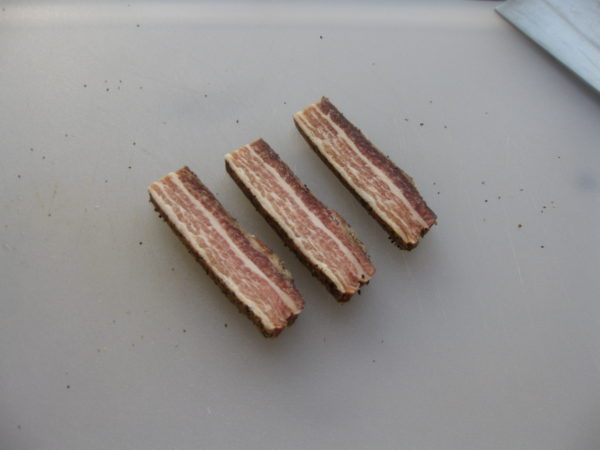
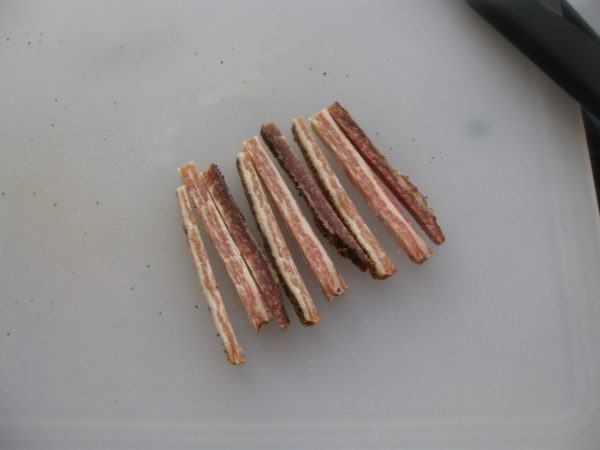
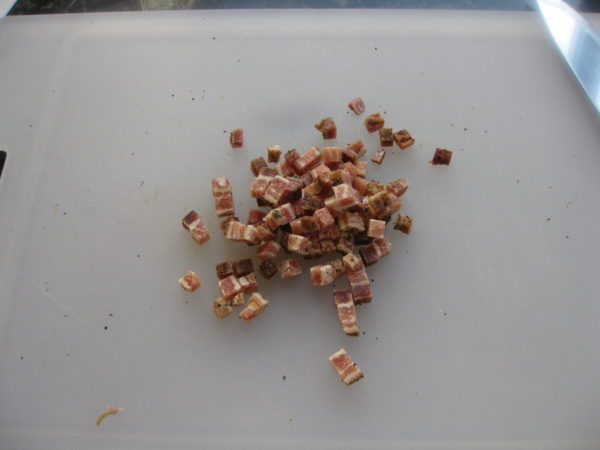
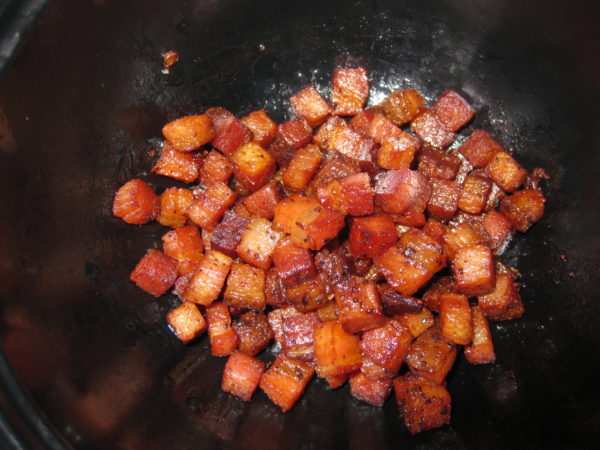
While a ham bone makes great lentil soup, it’s not something that most households have on a regular basis but a handful of baked ham or a few ounces of bacon make an awfully tasty soup.


If you have a favorite family recipe and a bit of a story to tell, please email me at santafecook@villasentieri.com and we can discuss including it in the blog. I am expanding the scope of my blog to include traditional recipes from around the country and around the world. If you haven’t seen Bertha’s Flan or Melinda’s Drunken Prunes, take a look.  They will give you an idea of what I’m looking for.


Print Recipe
Mom's Lentil Soup
When my mother made this soup, she added enough black pepper to give it a distinct bite. The addition of a bay leaf is my only modification of the original recipe.
Votes: 0
Rating: 0
You:
Rate this recipe!
Cuisine American
Prep Time 10 minutes
Cook Time 2 1/2 hours
Servings
people
Ingredients
Cuisine American
Prep Time 10 minutes
Cook Time 2 1/2 hours
Servings
people
Ingredients
Votes: 0
Rating: 0
You:
Rate this recipe!
Instructions
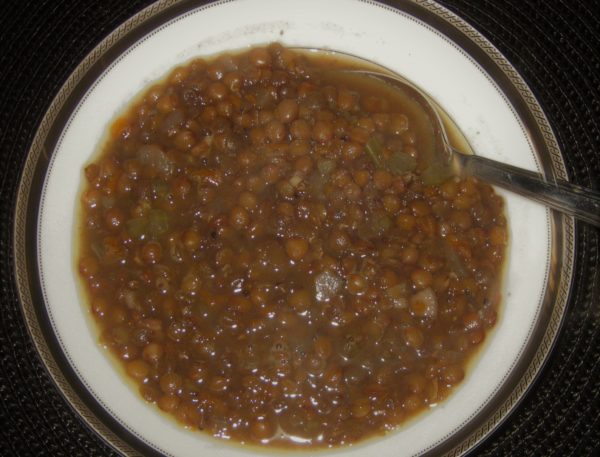
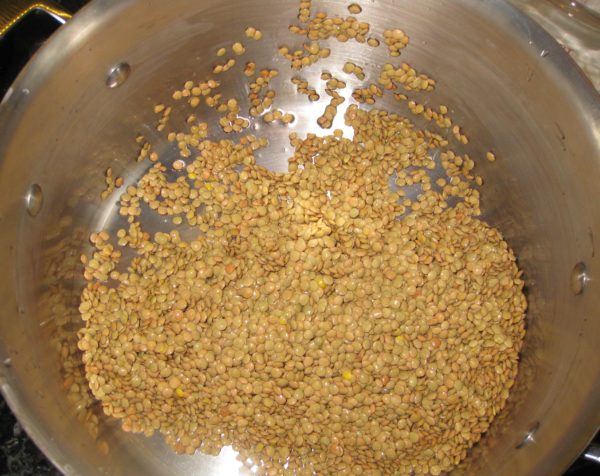
  1. Wash and pick over the lentils then drain.
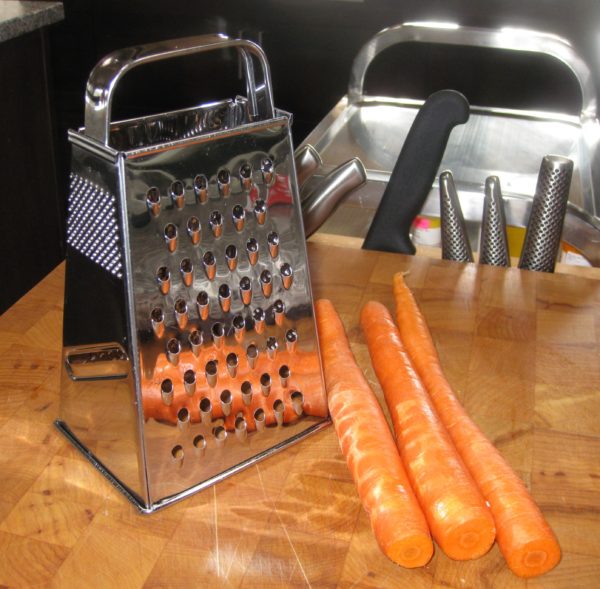
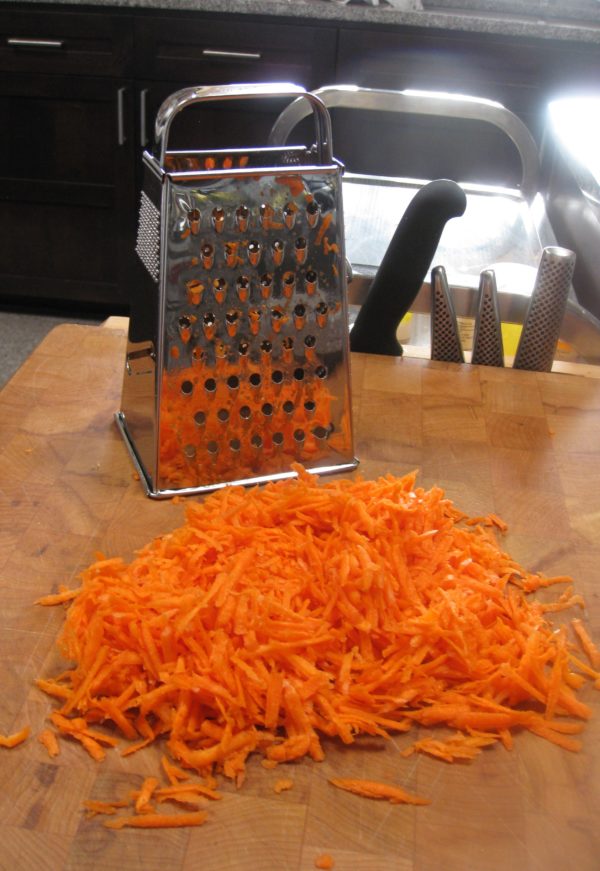
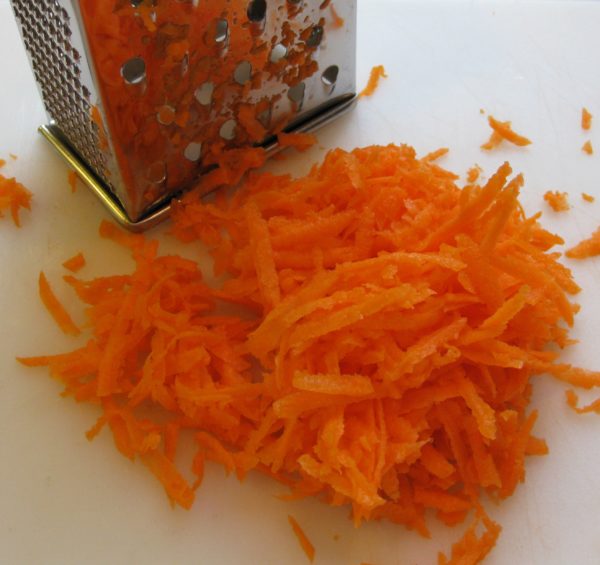
  2. Shred the carrot on the tear-drop side of a box grater.
  3. Put all the ingredients in a large stock pot.
  4. Cover and bring to a boil.
  5. Reduce heat and simmer partially covered for 2 to 2½ hours.
  6. Adjust salt and pepper to taste.
  7. The soup should be thick and the lentils soft but intact.
Recipe Notes

Copyright © 2018 by VillaSentieri.com. All rights reserved.

Share this Recipe

Risotto with Butternut Squash

February 22, 2018

Risotto isn’t really a recipe.  It’s a technique.

Yes, there are a few quintessentially classic risotti for which precise instructions are needed (like Risotto alla Milanese) but, in general, you can adapt the technique to use an array of vegetables and other ingredients.

Risotto with Asparagus is a good example of a risotto where the vegetables are pre-cooked and added near the end.  The same can be done with both peas and mushrooms, for example.

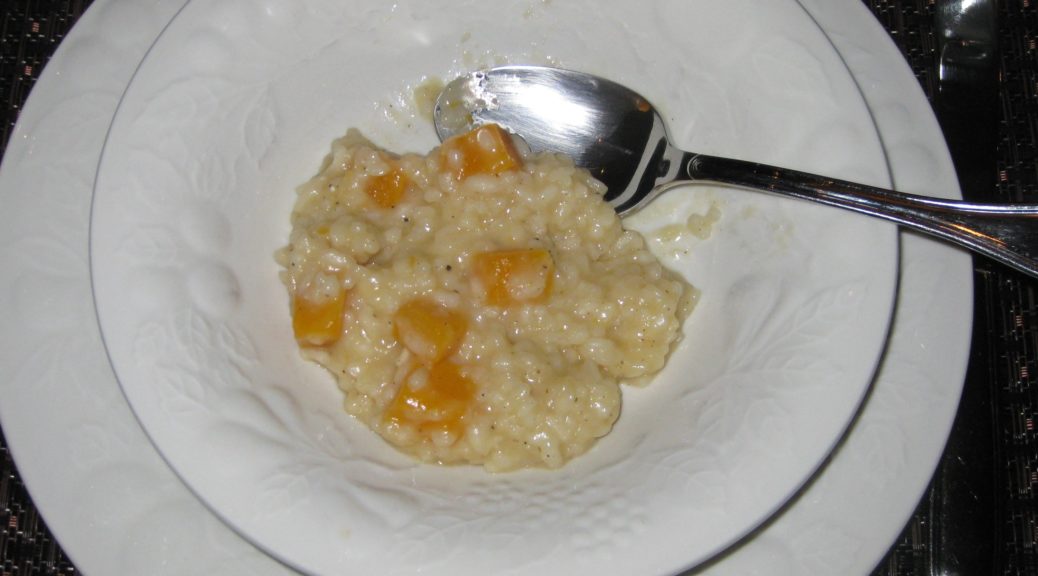
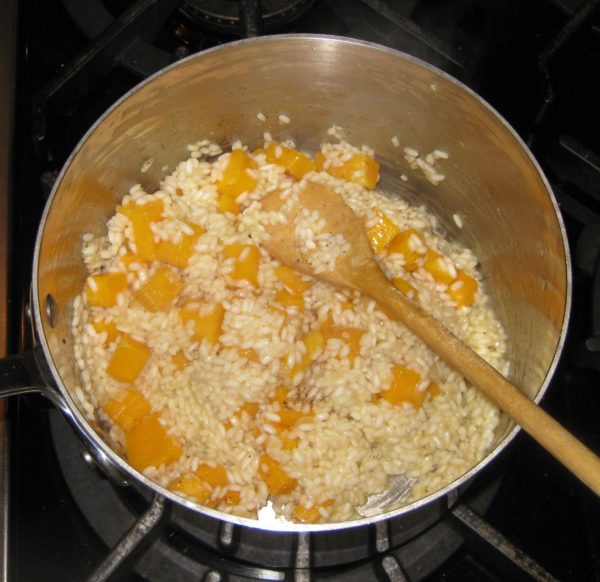
Risotto with Butternut Squash is an example of a risotto where the vegetables are added at the beginning and complete their cooking as the rice cooks.  Though you wouldn’t think it would work, Risotto with Zucchini works the same way, as long as the zucchini are cut into thick slices.


Click HERE to join our mailing list and you’ll never miss a recipe again!


In a traditional Italian meal, risotto, pasta, and soup are all considered the same course:  the first course (Il Primo Piatto).  The first course follows the antipasto (which means, literally, before the pasta).  Il Primo Piatto is followed by the second course (Il Secondo Piatto), consisting of fish, meat, or poultry and accompanied by several side dishes (contorni).  The first and second courses have almost equal weight in an Italian meal; very different from an American meal.

While restaurants often par-cook a risotto so that it can be quickly finished for service, I find that cooking a risotto at home is best done “in the moment.”  That means I only make risotto for a small group when everyone can hang out in the kitchen during the 45 minutes, or so, that it takes to cook.  That pretty much consumes the cocktail hour.  Because of this, for me, risotto is a dish for family or very close friends.


Follow us on your social media platform of choice


Risotto isn’t something I grew up eating.  It is traditionally a Northern Italian dish.  I also don’t remember Auntie Helen, who was from Rome, making risotto either.

As with much of Northern Italian cooking, my first introduction was through Marcella Hazan’s The Classic Italian Cookbook.  Beyond that, my Italian repertoire grew based on trips to Italy, cooking with Italian friends, and ultimately, marrying into my husband’s very Northern Italian family.
Risotto with butternut squash is a wonderful dish for late fall and winter.


If you have a favorite family recipe and a bit of a story to tell, please email me at santafecook@villasentieri.com and we can discuss including it in the blog. I am expanding the scope of my blog to include traditional recipes from around the country and around the world. If you haven’t seen Bertha’s Flan or Melinda’s Drunken Prunes, take a look.  They will give you an idea of what I’m looking for.


It is important to use what the Italians would call “riso per risotto” (rice for risotto).  The rice used for risotto is short-grained.  It can absorb a lot of liquid, turning creamy in the process while still maintaining the ideal “al dente,” (toothy) quality at the very core.  The most commonly available types of rice for risotto are Arborio, Carnaroli, and Vialone Nano.   Far and away, Arborio is the most common.

Since creaminess is the goal, rice used for risotto shouldn’t be washed.  The little extra starch on the grains will improve the texture.

A well-made risotto gets almost all of its creamy texture from the cooking method, not from the addition of butter, cheese, or cream.  To be sure, a bit of butter and Parmigiano Reggiano cheese are almost always added at the end but this should be for flavor, not to compensate for poor technique.

My most common quibble with risotto made in the United States is that it is overly rich with butter and cheese and (heaven forbid) sometimes cream.

To coax creaminess out of the rice, broth is added in small amounts and completely cooked off before the next bit is added.  In general, the amount of broth I add each time is no more than 1/3 the quantity of rice I start with.  For example, if I’m using one cup of rice, I add no more than 1/3 cup of broth each time liquid is needed.  The rice should be stirred frequently, but not constantly.

Print Recipe
Risotto with Butternut Squash
Broth for risotto should be light in flavor, not a heavy stock. The broth should add the barest amount of background flavor but allow the other ingredients in the risotto to shine. Risotto uses a lot of broth. It is important that the broth have minimal salt so as not to result in an overly salty dish. I never salt my homemade broth for this reason. If it seems that you will run out of broth before the risotto has finished cooking, put some water on to heat. It is important that all liquid added to the risotto be at a simmer.
Votes: 0
Rating: 0
You:
Rate this recipe!
Prep Time 15 minutes
Cook Time 45 minutes
Servings
people
Ingredients
Prep Time 15 minutes
Cook Time 45 minutes
Servings
people
Ingredients
Votes: 0
Rating: 0
You:
Rate this recipe!
Instructions
  1. Bring the broth to a simmer.
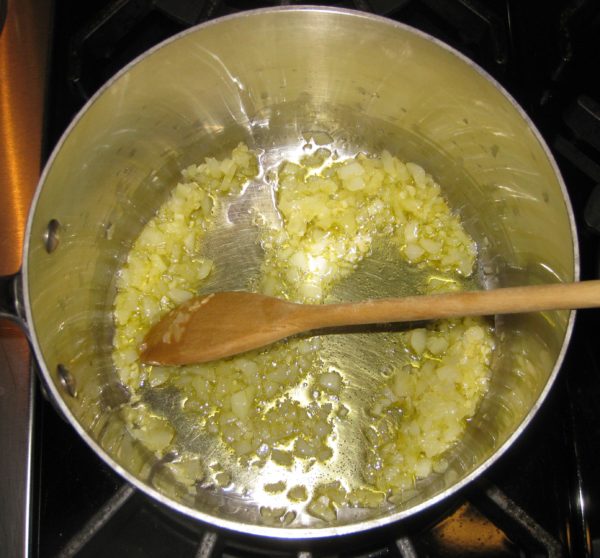
  2. Meanwhile, heat a three or four quart heavy-bottomed saucepan over medium high heat. Add the olive oil.
  3. When the oil is hot, add the onion and garlic.
  4. Sauté, stirring frequently until the onion softens and turns translucent. Do not brown the onion. You may need to reduce the heat.
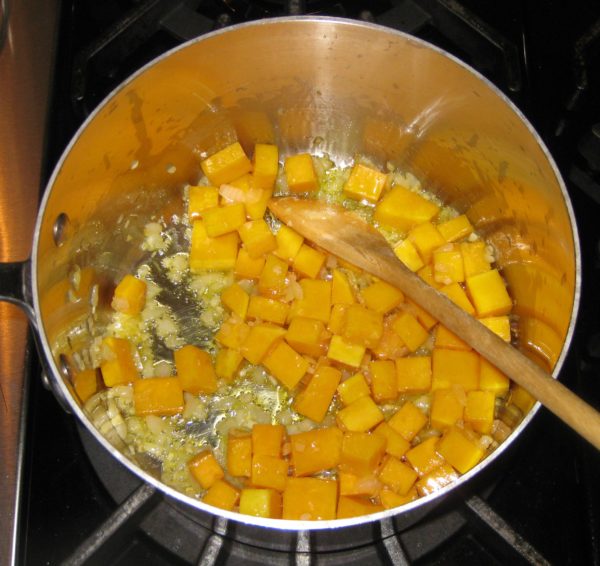
  5. When the onion is soft, return the heat to medium high and add the butternut squash.
  6. Sauté, stirring often, until the squash starts to soften, about five minutes. Be careful not to brown the onion or garlic.
  7. Add 1/3 cup of wine and immediately cover the pot. Cook another five minutes, stirring occasionally.
  8. Remove the cover and cook off any remaining wine.
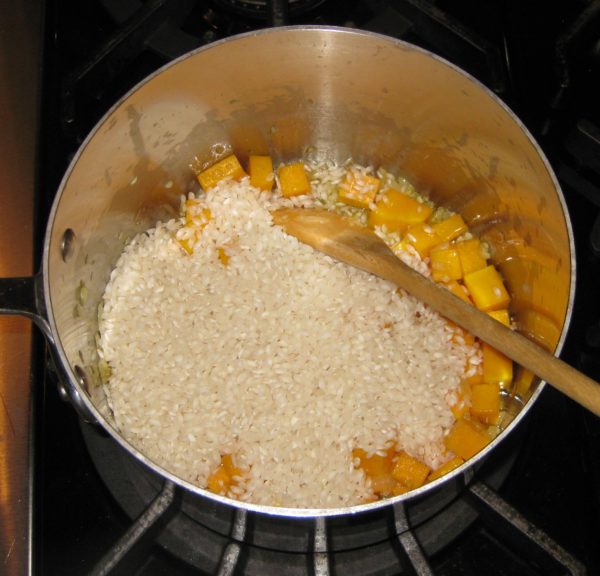
  9. With the heat still on medium high, add the rice.
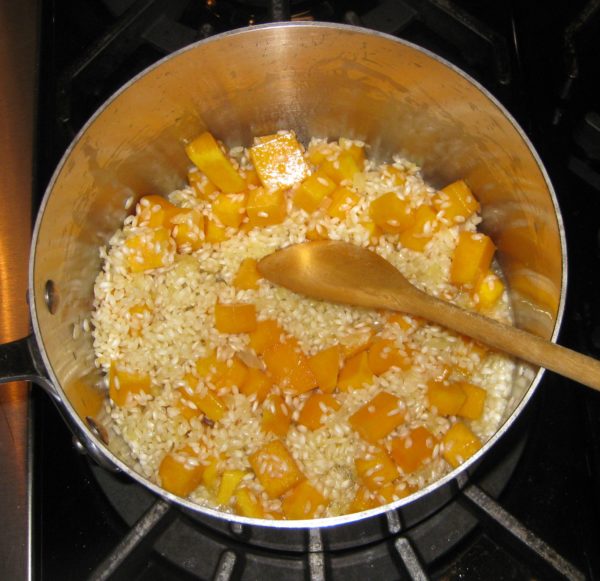
  10. Continue cooking, stirring frequently, until the outer portion of the rice becomes translucent while the inside remains opaque white.
  11. Add the remaining 2/3 cup of wine. Stir frequently, but not constantly, until the wine has totally evaporated. You will begin to see some starch leaching out of the rice. More and more of the starch will leach out as you cook the rice. This is what will make a creamy sauce, not a large quantity of butter, cheese, or cream.
  12. When the wine has evaporated, add a scant ½ cup of simmering broth. Stir thoroughly paying particular attention to loosening any spots where the starch seems to be sticking to the bottom of the pan. You don’t want to brown (or worse yet, burn) the starch.
  13. Stir frequently, but not constantly, until the broth has evaporated.
  14. If the broth is unsalted, as I recommend, you can add a teaspoon of salt to the rice as you begin to add broth. If the broth contains salt, I recommend not adding salt until the end.
  15. Keep repeating the process with a scant ½ cup of broth, cooking, stirring, and loosening any spots that are sticking until each addition of broth evaporates. The heat should stay as close as possible to medium high. The moderate boiling of the liquid will coax starch out of the rice to create the creaminess that is the hallmark of a good risotto.
  16. Add the sage after about 20 minutes of cooking.
  17. Begin tasting the rice for doneness at the same time. It will probably still be quite crunchy at the very core. Until you get the hang of it, I suggest testing a rice grain each time you add more broth so you develop a sense of how quickly the texture changes.
  18. Continue cooking, adding simmering broth or water as needed, until the rice is al dente. Once the rice is cooked, add another 1/2 cup of simmering broth, stir, and then immediately remove the rice from the heat.
  19. Off the heat, stir in the butter and Parmesan cheese.
  20. Stir in enough additional simmering broth or water to create a creamy “sauce.” The starch that you have coaxed out of the rice, plus the modest amount of butter and cheese, should allow you to add at least another ½ cup of liquid, possibly more.
  21. Taste and add salt and freshly ground black pepper to taste.
Recipe Notes

Check out the introduction to my recipe for Risotto with Asparagus for more information on making risotto.

Copyright © 2018 by VillaSentieri.com. All rights reserved.

Share this Recipe

Slovak Caraway Soup

April 26, 2017

Growing up with an ethnically Italian mother and an ethnically Slovak father, we mostly ate Italian food with Slovak food appearing on the table every week or two.  On Sundays we usually went to visit my father’s parents and got a bit more Slovak food.

There were some classic American dishes that appeared on our table, too.  But, honestly, not that often.  The only thing my mother made that I didn’t like was hamburgers.  Well, that and liver.

But even my mother didn’t like liver.  She made it because my father liked it.  There was never the expectation that anyone else would eat it.

When she made liver…and that process involved running from the living room, through the dining room, to the kitchen to turn the liver as it sautéed and then running back to the living room to avoid the smell…she always made something else for the rest of us.  Well, that wasn’t so unusual either.  Remember…Southern Italian mother…food is important…everyone needs to eat.  There were nights when she would make one meal for my father, one for my sister, and one for me.  She would eat one of the three.

We always ate dinner together as a family and, despite the comment above, we usually at the same meal.  Sometimes, though, we each got individually catered food.

But back to hamburgers for a moment.  My mother was a great cook.  I know she used really good beef for her hamburgers.  She usually picked out a whole cut and had the butcher grind it.  She never bought ground beef that I recall.  I still follow the basic blueprint of her hamburger recipe today and enjoy it.  So, I can’t really tell you why I thought her hamburgers were awful.  But I did.

Soup was a big deal in our house.  My father really liked soup.  Interestingly, I don’t remember having Caraway Soup more than a few times while growing up.  I do know, however, that while I was in college I got the recipe from my mother after it appeared on our table one day.  It seemed like a revelation.

It has been a regular on my table ever since.

Print Recipe
Slovak Caraway Soup
This is a light, refreshing soup based on a vegetable broth for which the ingredients are almost always on hand. I like serving it as a first course though it works equally well for lunch or as a light supper. Grating the vegetables on the large holes of a box grater was one of my mother’s tricks. It makes fast work of prep and the small pieces quickly flavor the broth.
Votes: 0
Rating: 0
You:
Rate this recipe!
Cuisine Slovak
Prep Time 15 minutes
Cook Time 1 hour
Passive Time 45 minutes
Servings
people
Ingredients
Cuisine Slovak
Prep Time 15 minutes
Cook Time 1 hour
Passive Time 45 minutes
Servings
people
Ingredients
Votes: 0
Rating: 0
You:
Rate this recipe!
Instructions
  1. Shred the carrots on the teardrop holes of a box grater.
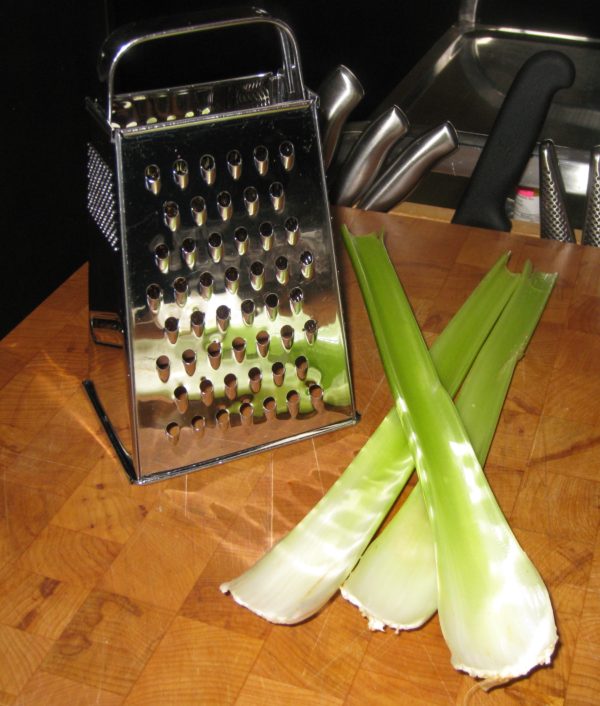
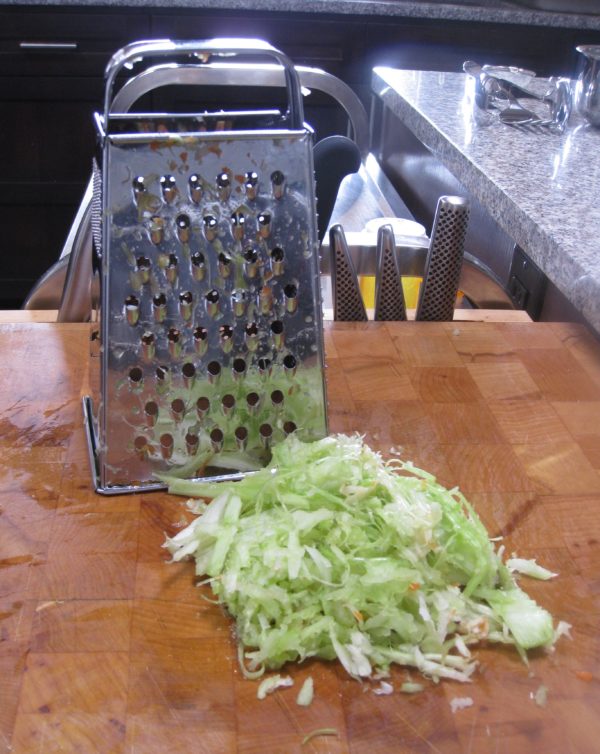
  2. Shred the celery on the teardrop holes of a box grater.
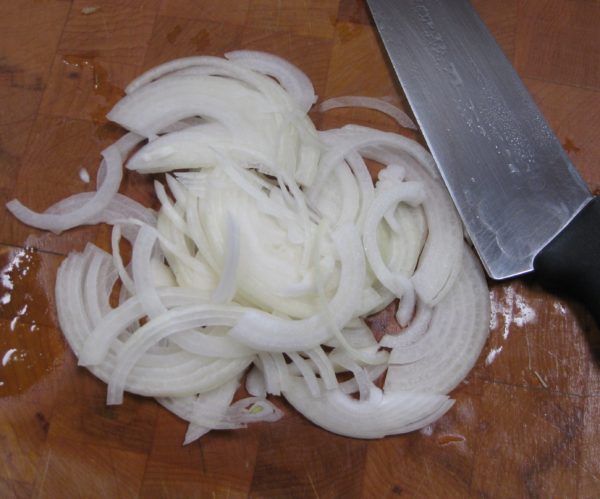
  3. Thinly slice half an onion.
  4. Combine carrots, celery, sliced onion, 2 teaspoons of salt, ½ teaspoon of black pepper and 2 quarts of water in a stock pot. Cover. Bring to a boil then reduce heat and simmer for 30 minutes.
  5. Add the caraway seeds. Cover and simmer another 25 minutes.
  6. Strain the broth. Discard the solids.
  7. Return the broth to the stock pot. The soup can be made several hours ahead to this point.
  8. When your ready to finish the soup, return the broth to a bare simmer.
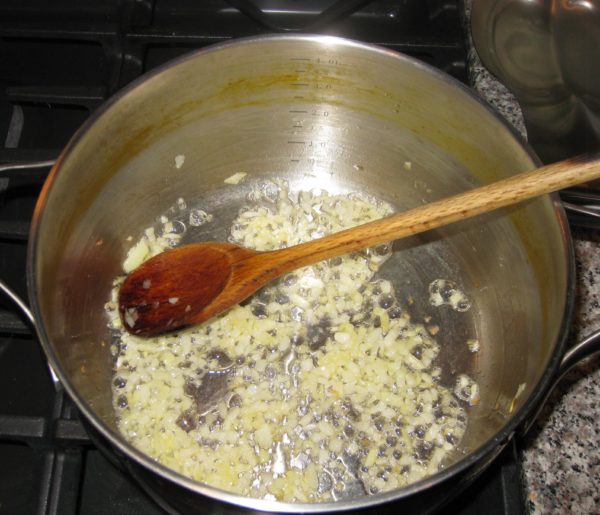
  9. In a heavy-bottomed stock pot large enough to hold the soup, sauté the minced onion in butter until soft but not brown, about 3-4 minutes.
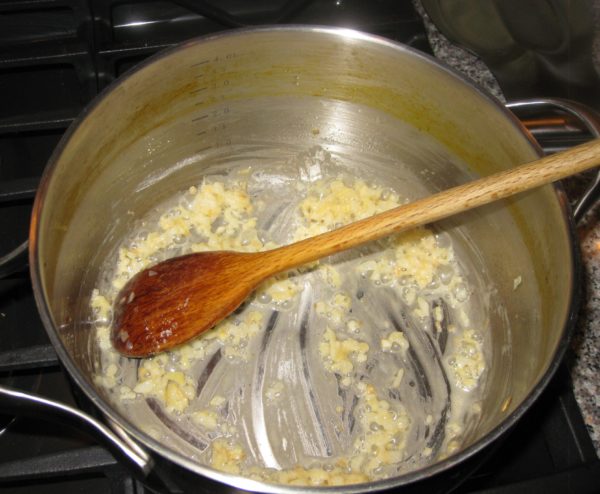
  10. Add the flour to the sautéed onions and cook until lightly colored, about 2 minutes, stirring almost constantly.
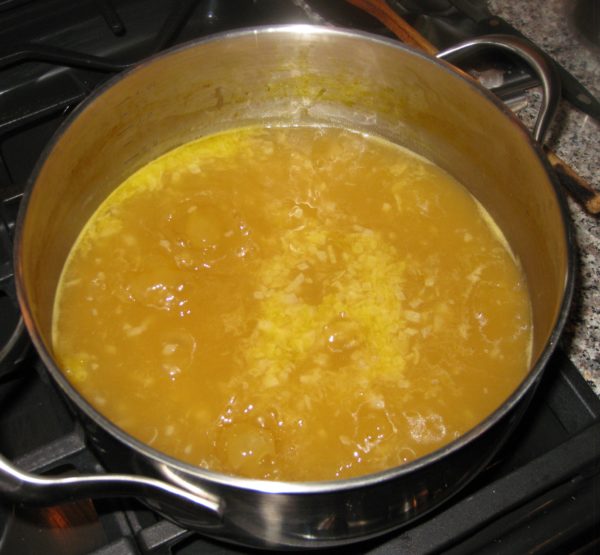
  11. Stir the hot broth into the onion-flour mixture a ladleful at a time, stirring well while adding the broth to avoid lumps.
  12. After about one-third of the broth has been added, the remainder can be added all at once.
  13. Bring to a boil and boil gently for 1-2 minutes to thicken. Adjust salt and pepper.
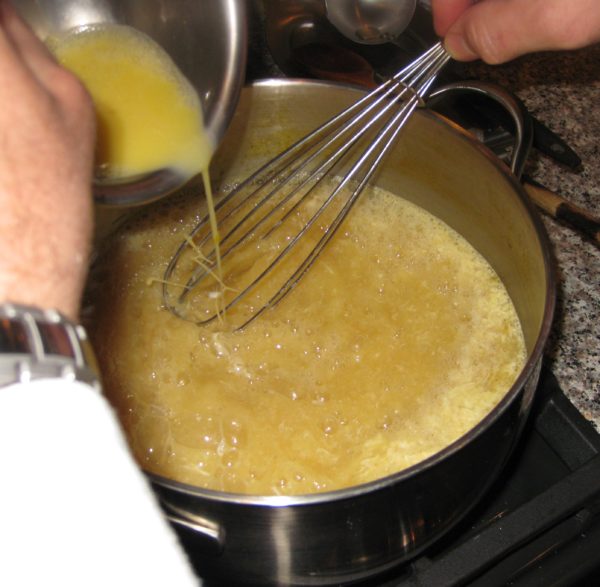
  14. While the soup is boiling, beat the eggs with 1/3 cup of water. Season the eggs with salt.
  15. While constantly whisking the stock, drizzle in the eggs to create shreds of egg.
  16. Serve immediately.
Recipe Notes

Copyright © 2017 by VillaSentieri.com. All rights reserved.
Share this Recipe

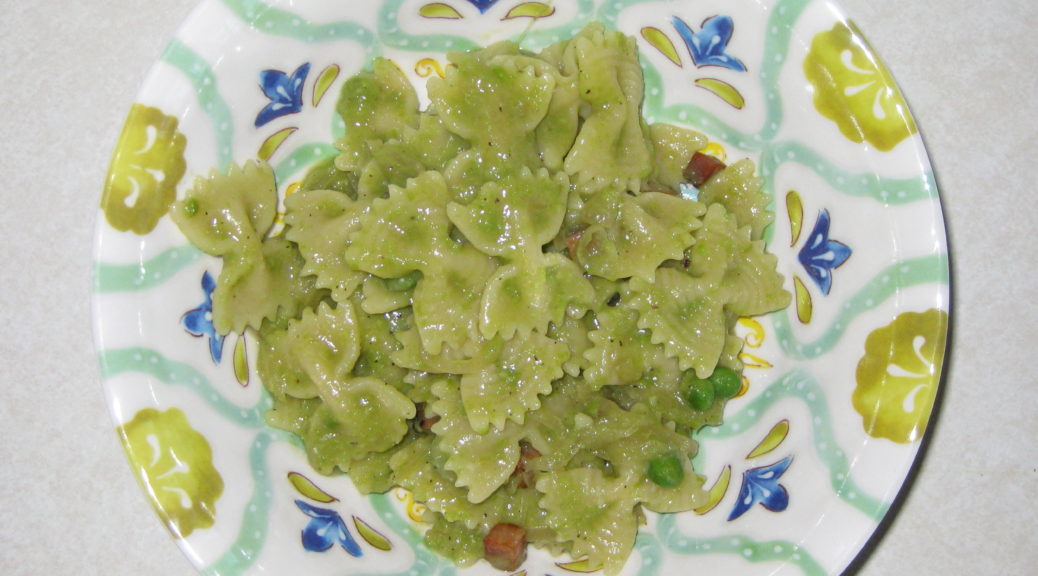
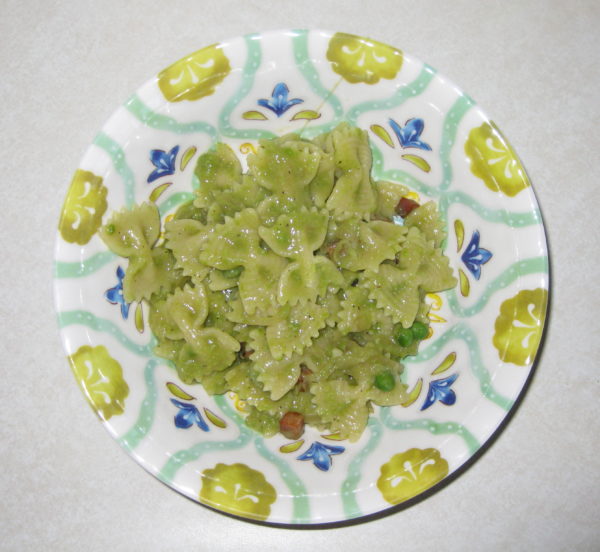
Farfalle con Salsa di Piselli (Bowtie Pasta with Peas)

April 13, 2017

I’ve been silent for a while.  It wasn’t planned or anticipated.  Life just got in the way.  Mostly it was good stuff, though.  For example…

My husband’s birthday…a momentous one that ends in a zero…held at Trio Restaurant in Palm Springs.

A wedding (complete with a photo shoot using vintage hats!)  Congratulations Suzanne and Bob!!

A visit to the Trinity Site on one of the two days per year that it is open to the public.

Cooking at Palm Desert Food and Wine Festival.  Yep!  I got to cook at the Palm Desert Food and Wine Festival!!

That was a hoot!

The main events of the food and wine festival are held in a series of large tents on the top of a parking garage in Palm Desert.  The festival starts off on Friday with a multi-course, wine-paired James Beard Luncheon prepared by celebrity chefs.  The festival continues on Saturday and Sunday with The Grand Tasting and Chef Demonstrations.  There are other related events, such as special dinners, in the area, too.

There are three tents devoted to chef demonstrations.  Each demonstration runs for about an hour.  One demonstration per hour in each of three tents for two days is a lot of demonstrations.

Local chefs bring their own ingredients for their demonstrations and also prepare samples of the finished dish for about 100 audience participants.  Mostly what the local chefs really bring is their restaurant kitchen staff to do the work.

Celebrity Chefs have a whole different deal.  They submit their recipes.  The ingredients get purchased.  The commercial kitchen, set up in a tent on top of the parking garage, preps all the ingredients for their demonstrations and also prepares between 75 and 175 portions of the dish to be distributed to the audience.

I got to prepare food for The Beekman Boys, Stuart O’Keeffe, Zac Young, and Aarti Sequeira, among others.  The Beekman Boys, Josh and Brent, were gracious enough to come into the kitchen and chat with me during their Facebook Live post!  The post is below.

https://www.facebook.com/FabulousBeekmanBoys/videos/10155167453464283/


So, while I wasn’t posting recipes, for which I apologize, I was further pursuing my cooking goals.

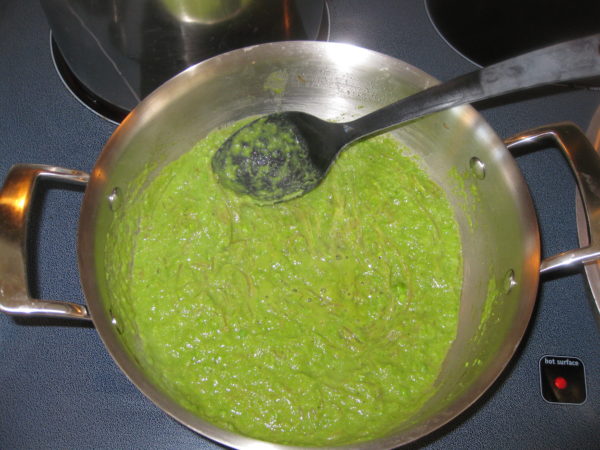
After being in Palm Desert, where it was definitely spring, and returning to Santa Fe where it was definitely winter, I felt the need for something spring-like.  This pasta, with a sauce of spring-like peas, was exactly the thing!  Unless you have absolutely glorious peas from a local farmers’ market, I suggest using frozen peas.  This is exactly what I did to create a taste of spring in the Santa Fe winter!

Print Recipe
Farfalle con Salsa di Piselli (Bowtie Pasta with Peas)
If you have access to fresh peas from a farmers’ market please give them a try. If not, frozen peas work well. I’ve never had good luck with the “fresh” shelled peas in the supermarket. They always seem too starchy, and sometimes even musty tasting. Each pound of peas in the pod yields about 1 cup of shelled peas. For the 2 ¼ cups of peas needed for this recipe, I’d start with at least 2 ¼ pounds of peas in the pod. The vermouth adds an herbal quality and its slight bitterness balances the sweetness of the peas.
Votes: 0
Rating: 0
You:
Rate this recipe!
Prep Time 30 minutes
Cook Time 30 minutes
Servings
people
Ingredients
Prep Time 30 minutes
Cook Time 30 minutes
Servings
people
Ingredients
Votes: 0
Rating: 0
You:
Rate this recipe!
Instructions
  1. Combine the peas, thyme and water. Season with salt. Bring to a boil. If you are using frozen peas remove from the heat as soon as the water comes to a boil and continue with the next step. If you are using fresh peas, cook until the skins pop when bitten into and the peas are just cooked. This will take just a few minutes. The time is dependent on the peas so you’ll have to taste a pea about every 30 seconds so that you don’t overcook them.
  2. Remove ½ cup of the cooked peas from the cooking liquid. Rinse the peas under cool water to stop the cooking. Reserve the peas.
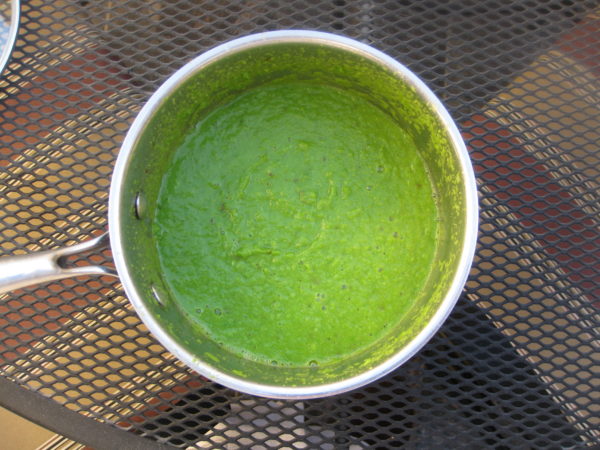
  3. Puree the remaining peas with the cooking liquid in a blender. Reserve the pea puree.
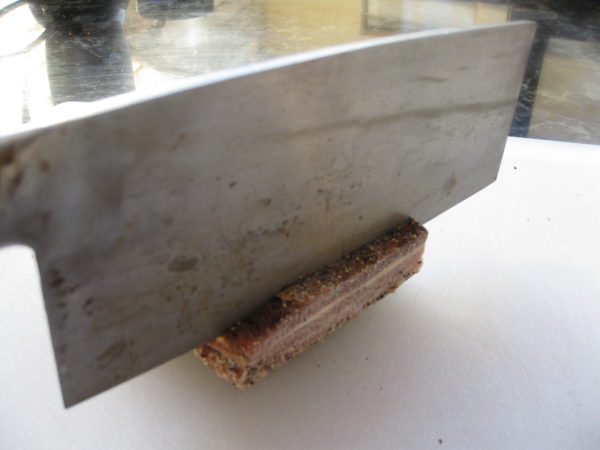
  4. Cut the pancetta into ¼ inch dice.
  5. In a wide, heavy-bottomed pan large enough to hold the cooked pasta comfortably, cook the pancetta over medium-low heat until crisp and brown. If the oil from the pancetta starts to smoke reduce the heat and add a tablespoon of water to quickly lower the temperature. It is important to brown the pancetta well, and to create browned bits in the bottom of the pan (without burning) to build flavor for the sauce.
  6. Remove the pancetta and reserve.
  7. Thinly slice the onion.
  8. Add the butter to the pan you just used to cook the pancetta. leaving in the rendered fat and browned bits. As soon as the butter melts, add the thinly-sliced onion and sauté until the onion is soft and golden brown.
  9. Add the vermouth to the sautéed onions. (Note, the recipe can be prepared several hours in advance up to this point. If doing so, as soon as you add the vermouth, remove the pan from the heat and cover tightly.)
  10. Bring the onion-vermouth mixture to a boil and boil rapidly until the vermouth has evaporated.
  11. Add the pureed peas, reduce heat to low, and gently warm the onion-pea puree mixture.
  12. Meanwhile cook the pasta in three quarts of heavily-salted, rapidly-boiling water. When the pasta is al dente, remove one cup of the cooking liquid and reserve.
  13. Drain the pasta and immediately add it to the warm onion-pea puree mixture.
  14. Increase heat to medium. Add the whole cooked peas, the pancetta, freshly ground black pepper to taste, and enough of the reserved pasta cooking liquid to make a sauce that just clings to the pasta. Cook for a minute or two to allow the sauce to bubble and thicken, stirring occasionally. Add more pasta cooking liquid as needed.
  15. Off the heat, add the Parmesan cheese. Stir well. Add a bit more pasta cooking water if the sauce becomes too thick after adding the Parmesan cheese.
  16. Add the fruity extra virgin olive oil, if using. Stir. Taste and adjust salt and pepper, if necessary.
Recipe Notes

Browning the pancetta and onions is critical to building flavor for the sauce.  It is better to use low heat than heat that is too high.  The starch in the pasta-cooking liquid helps to add body to the sauce.

Copyright © 2017 by VillaSentieri.com. All rights reserved.

Share this Recipe

Mom’s Pasta e Fagioli (Mom’s Pasta and Beans)

February 22, 2017

We didn’t eat a lot of prepared foods growing up.  In fact we almost never did.  OK, there were a few times in the early 60’s where I got to try out those recently-invented “TV Dinners.”

I was well into adulthood before I had a real appreciation for the quality of the homemade food that was put on our table every day.

My mother made putting great food on the table seem effortless.  I remember many Sunday mornings when I’d wake up to find her making ravioli from scratch for our big midday meal: cooking the beef and spinach filling, preparing the dough, rolling and filling the ravioli, all the while a big pot of tomato sauce bubbling away on the stove.  It was just a family Sunday dinner!

Weekday meals were usually less elaborate but no less delicious; maybe homemade sausage, pan-fried potatoes, and a vegetable or two or maybe pasta with sauce leftover from Sunday.  It was always fun to walk into the kitchen to find her making something I’d never had before; something that her mother used to make.  Sometimes that wasn’t even at a defined meal time.

Now I think I understand.  My mother died in 1993 and I bet I didn’t make her version of pasta e fagioli for 20 years after her death.  Then one day, the desire for it just struck me and there I was, in the kitchen, cooking.

It’s become part of my regular routine again after that long hiatus.  Sitting down to a bowl of my mother’s pasta e fagioli is comforting; almost as comforting as if she had made it for me.  There’s just something about the combination of pasta, beans and red sauce that I can’t explain.  It triggers an emotional bridge to what feels like an earlier time in my life.  I’m guessing something similar prompted my mother to occasionally whip up dishes from her youth that she hadn’t made in decades, if ever.

Print Recipe
Mom's Pasta e Fagioli (Mom's Pasta and Beans)
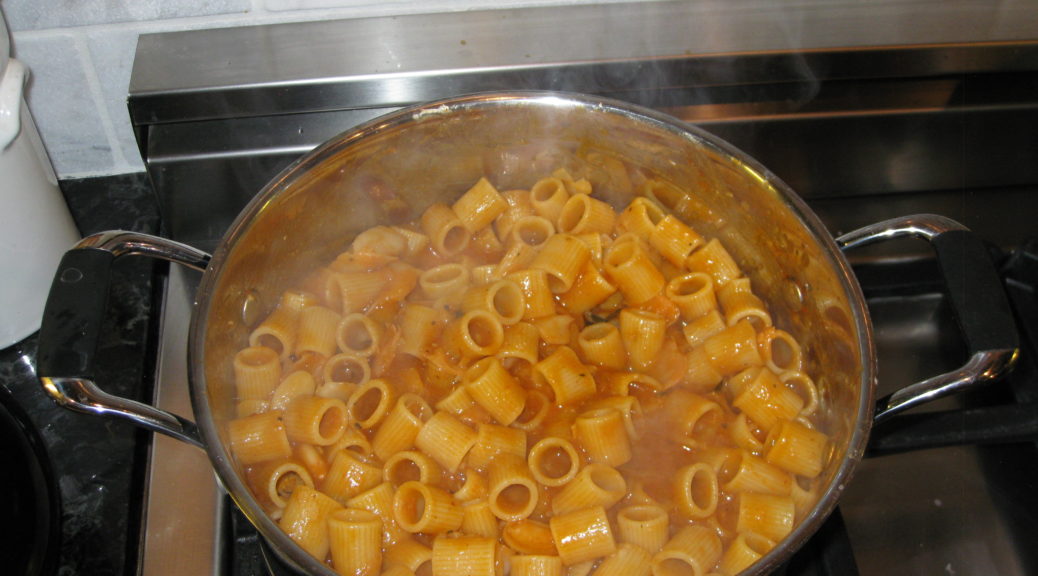
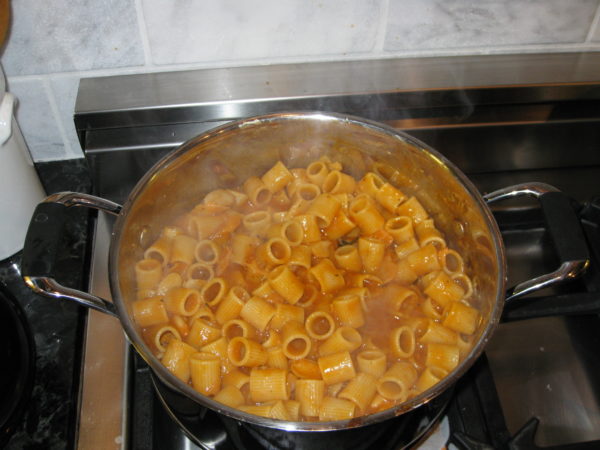
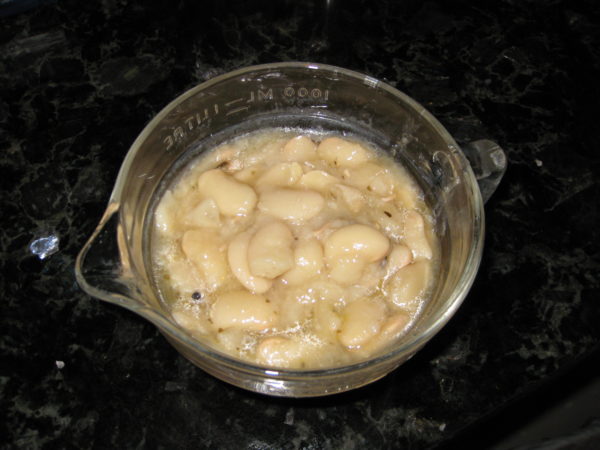
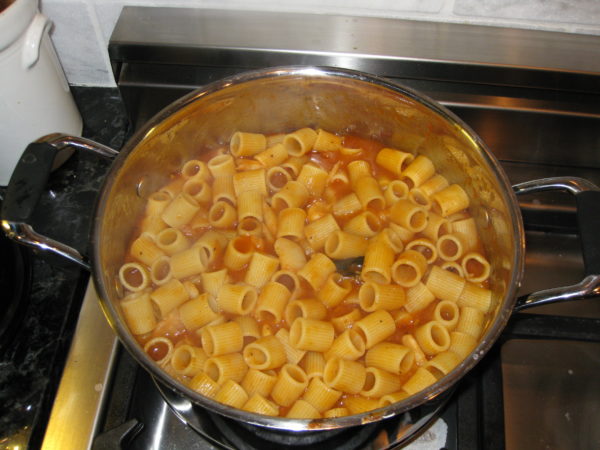
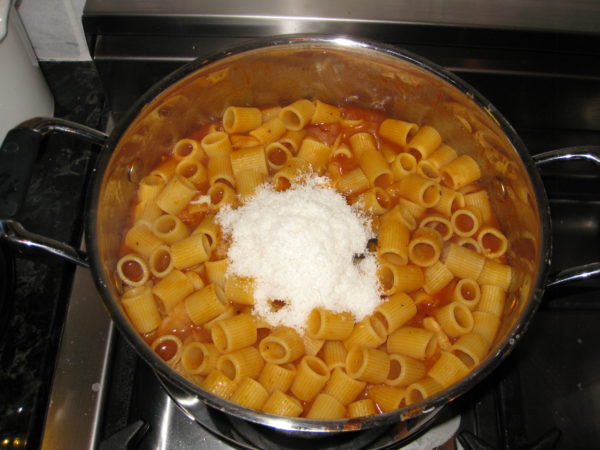
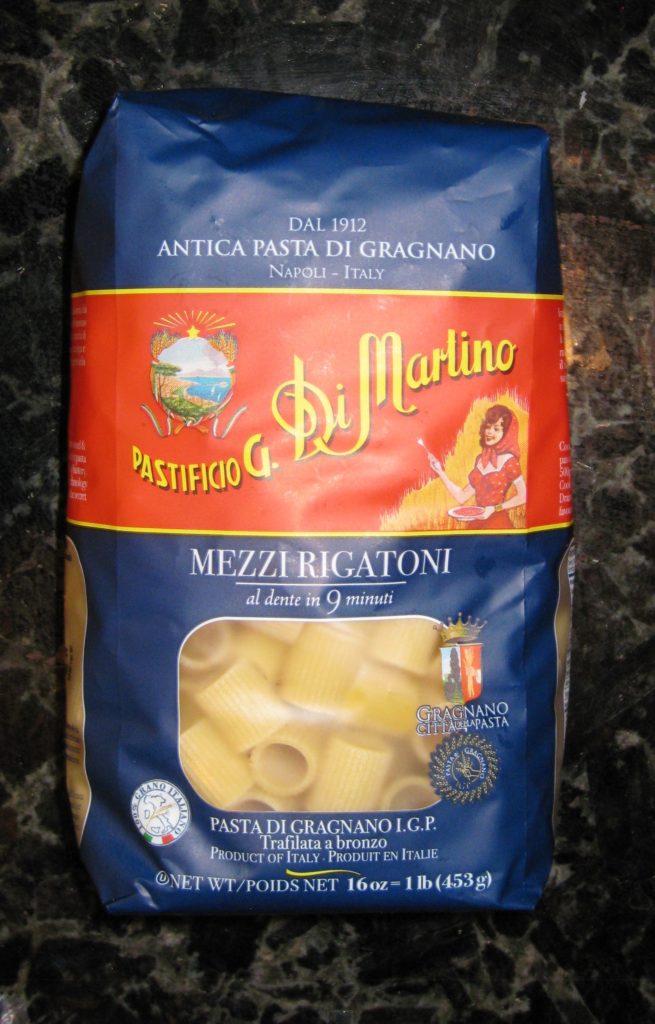
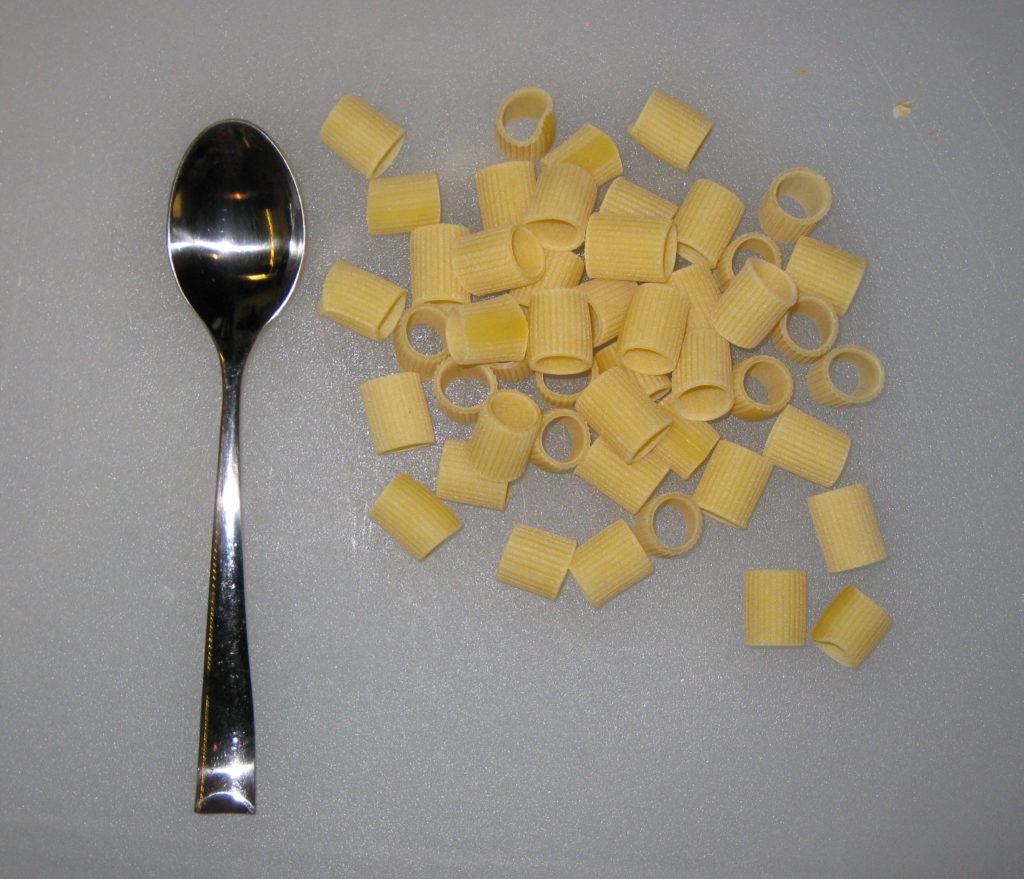
Follow the directions for Cannelini alla Toscana but use dried lima beans instead of cannellini and substitute ½ teaspoon of dried oregano and a sprig of fresh rosemary for the sage. There will be leftover beans that you can freeze or refrigerate for another use. You can also use two 15 ounce cans of Butter Beans in place of the home-cooked lima beans. Mom always used ditalini for this dish. These days, when you can find them (and it can be challenging) they have usually been upgraded from ditalini to ditali, though they are exactly what she used. More frequently, I use a slightly larger, but still rather small, pasta such as the mezzi rigatoni shown here.
Votes: 0
Rating: 0
You:
Rate this recipe!
Prep Time 15 minutes
Cook Time 1 1/2 hours
Servings
people
Ingredients
Prep Time 15 minutes
Cook Time 1 1/2 hours
Servings
people
Ingredients
Votes: 0
Rating: 0
You:
Rate this recipe!
Instructions
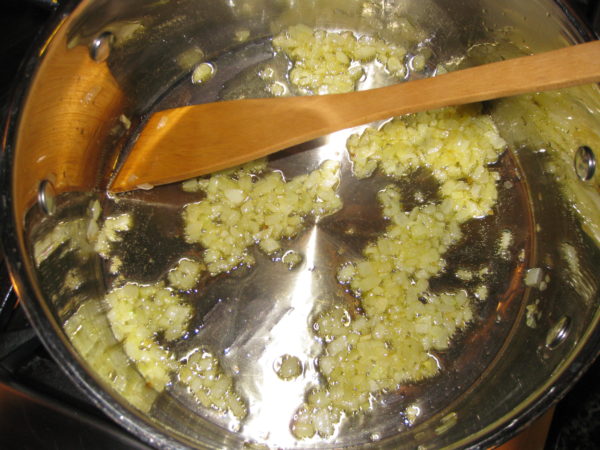
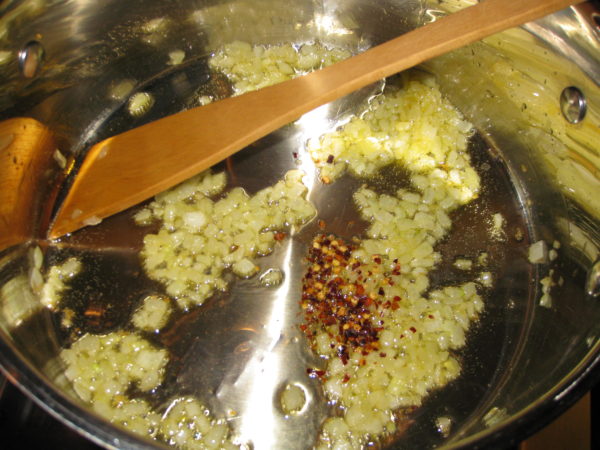
  1. Finely dice the onion. Sauté the onion in ¼ cup of olive oil until soft and golden.
  2. Add the crushed red pepper and sauté another minute.
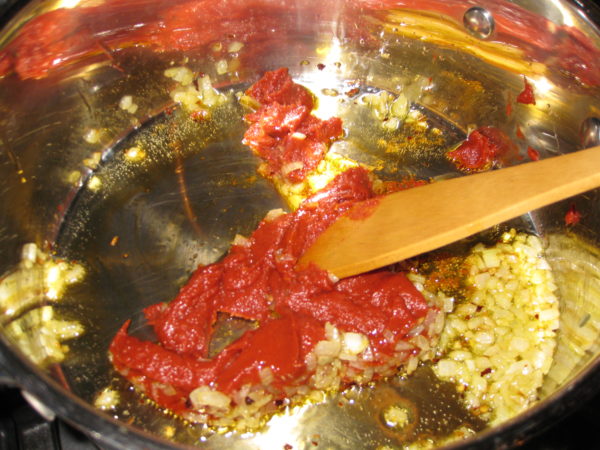
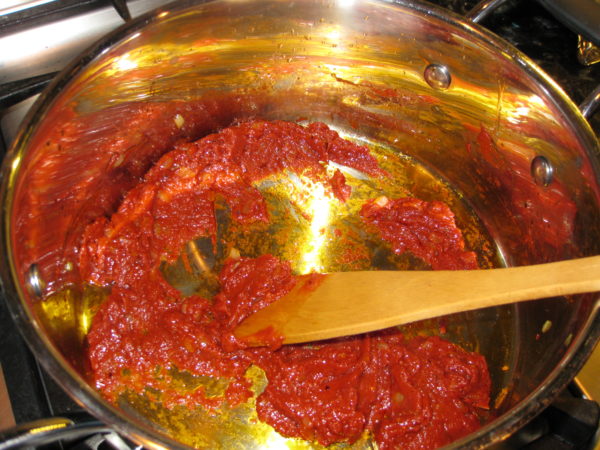
  3. Add the tomato paste and sauté, stirring frequently until the tomato paste turns a shade darker and smells sweet, 2-3 minutes.
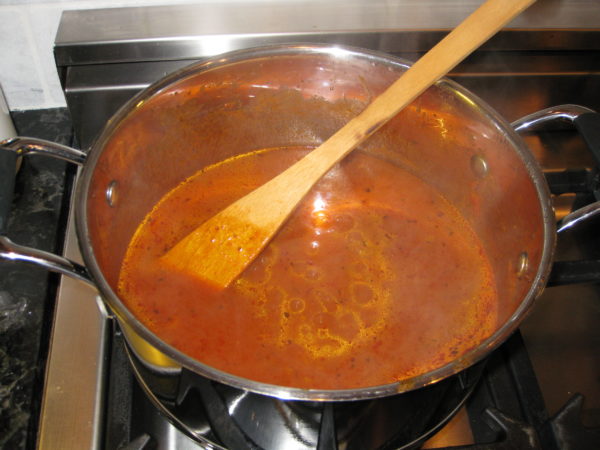
  4. Add the water, oregano, basil and salt and pepper to taste. Stir well to fully incorporate the tomato paste.
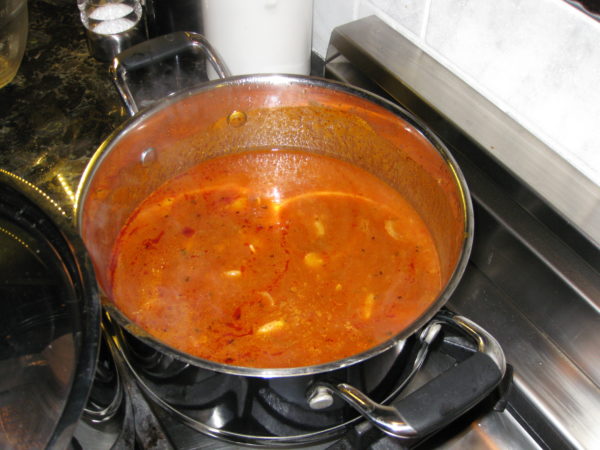
  5. Bring to a very low boil, partially covered, and cook 30-45 minutes stirring occasionally. Adjust seasoning as needed, tasting several times as the sauce cooks.
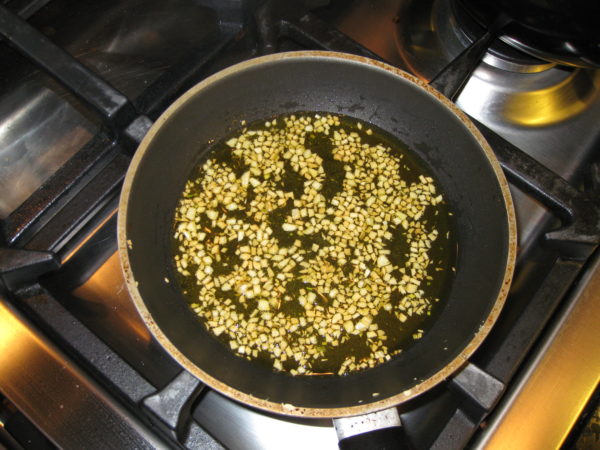
  6. Meanwhile, sauté the garlic in the remaining ¼ cup of olive oil very slowly until browned. Remove from the heat and reserve.
  7. The dish can be cooked several hours ahead to this point.
  8. Bring three quarts of water and three tablespoons of salt to a boil.
  9. While the water is heating, add the beans and their liquid to the tomato sauce, return to a simmer, and cook, partially covered till the pasta is ready.
  10. Cook pasta until it still has a small bit of chewy center. It will cook more in the sauce. Scoop out and reserve two cups of the pasta cooking liquid.
  11. Drain the pasta. Add the pasta to the tomato-bean mixture. Add the browned garlic and olive oil. Stir well, cover and cook on very low heat until the pasta is cooked but al dente and the sauce has thickened. Add some of the pasta cooking liquid as needed from time to time to create a smooth sauce.
  12. Off the heat stir in the Parmigiano Reggiano cheese. Taste and adjust seasoning.
  13. It is not unheard of for me to add an extra glug or two of olive oil at this point to get a luscious sauce. Stir and decide if another dash of pasta-cooking water is needed, as well.
Recipe Notes

Mezzi Rigatoni


Copyright © 2017 by VillaSentieri.com. All rights reserved.
Share this Recipe

Salsicce con Cardone (Sausage with Cardoons)

February 17, 2017

We made our move to multi-generational living in 1998 when my husband’s parents moved into the Coach House at our estate in Chicago, The Henry Rohkam House.  (There are a couple pictures of the main house in a prior post.)

Pretty quickly we settled into a routine of having meals together.  When we went to work, the dogs went to Grandma and Grandpa’s (21 feet away in the Coach House) for the day.

My husband started gardening with his father.  A large piece of our one-third-of-an-acre property in Chicago’s Lakeview neighborhood was turned over to cultivation.  We had grapes, strawberries, corn, tomatoes, eggplant, sweet peppers, radicchio, arugula, leaf lettuce, Swiss chard, okra, hot peppers of various types, an array of herbs and other vegetables that varied year by year.  The fruit trees never did very well.  The kiwi thrived but never bore fruit.  One of the four kiwi was accidentally injured and died.  In retrospect, it was probably the male plant (there were three female and one male plant), hence no fruit.

Every fall we canned and preserved foods in various ways.  We made jars of olives marinated in red wine vinegar and herbs from the garden.  We made herb-infused vinegar and olive oil.  We dried herbs for the winter.  We froze vats of tomato sauce.  I’ll admit to even freezing pesto which, while it doesn’t taste like its fresh-made cousin, is pretty awesome in the dead of a Chicago winter!

Some years there were enough strawberries to put up jam.  City squirrels can be quite bold, however.  I was standing alongside the garden one spring day when a squirrel, who had gone grocery shopping in our strawberry patch, literally ran over the top of my foot with a strawberry in his mouth on his way out of the produce isle.

The birds had Houdini-like skills.  Despite wrapping the grape arbor in yards of netting, the birds found their way in, decimated the grapes, and escaped.   The few grapes we were able to harvest were very sweet!

We built a temperature-controlled wine cellar in the basement of the Coach House.  My husband made wine for a few years but stopped when work got too busy.

I started cooking more often with my mother-in-law.  Every month or so, my husband’s grandmother, Noni, would come to visit for a weekend.  Noni was a marvelous cook.  Some dish always appeared during those weekends that I had never had before.  Sausage with Cardone was one of them.

For a vegetable that has been popular since the ancient Romans, I’m surprised I’d never hear of it.  I grew up eating sausage with peppers and onions.  Sometimes the sausage was cooked in a tomato sauce, sometimes not.  Cardone was a whole new thing!

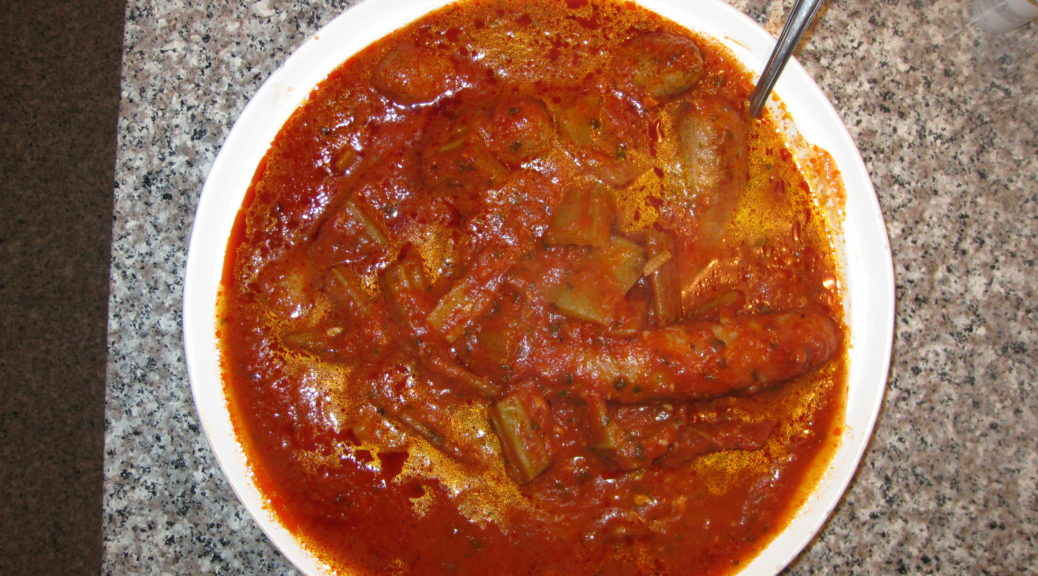
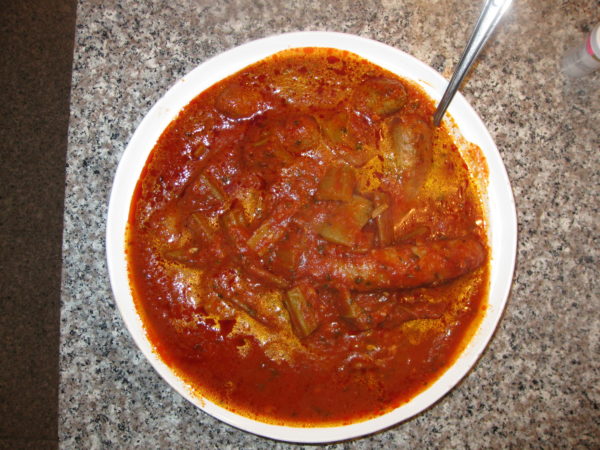
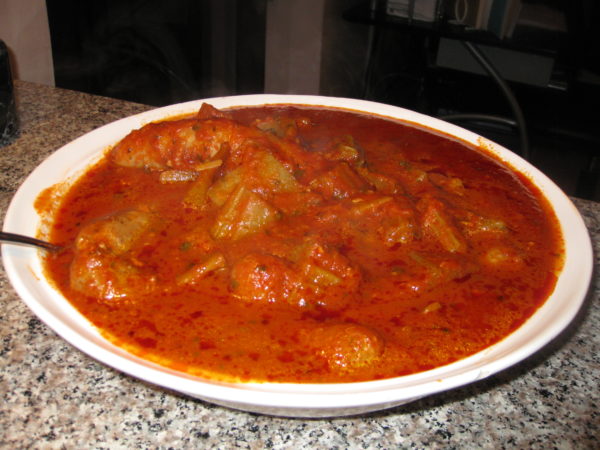
This goes really well with polenta but it’s equally good on its own.  Leftover sauce can be put on pasta or can accompany a frittata.  You may notice from the pictures that we didn’t use as much sausage as called for in the recipe.  We didn’t want leftover sausage but that didn’t mean we didn’t want leftover sauce!  Sadly, the cardone usually all gets eaten on the first go-around but on those rare occasions where it doesn’t, I like to use it as a sandwich filling for lunch.

Print Recipe
Salsicce con Cardone (Sausage with Cardoons)
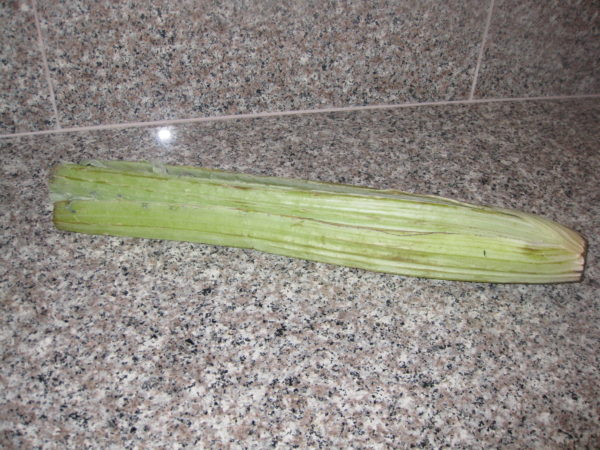
Cardone looks like oversized celery. It is giant, about 2 feet long as sold trimmed in the grocery store. It is related to the artichoke and was popular among the ancient Romans. Cardone should always be served cooked. Leaves should be removed and not eaten.
Votes: 0
Rating: 0
You:
Rate this recipe!
Course Mains, Meats
Cuisine Italian
Prep Time 15 minutes
Cook Time 2 1/2 hours
Servings
people
Ingredients
Course Mains, Meats
Cuisine Italian
Prep Time 15 minutes
Cook Time 2 1/2 hours
Servings
people
Ingredients
Votes: 0
Rating: 0
You:
Rate this recipe!
Instructions
  1. The starting point: cardone from the market.
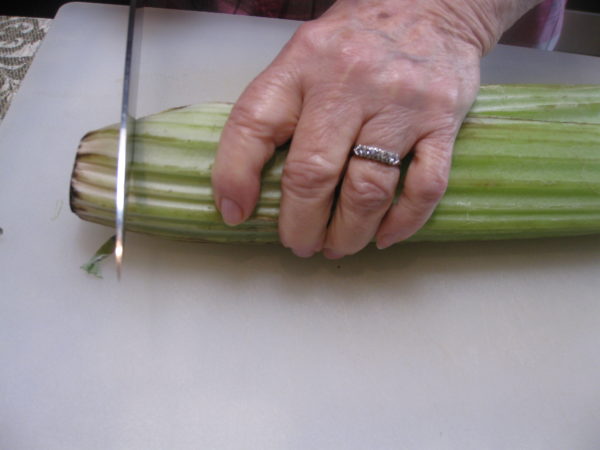
  2. Cut off the bottom of the cardone.
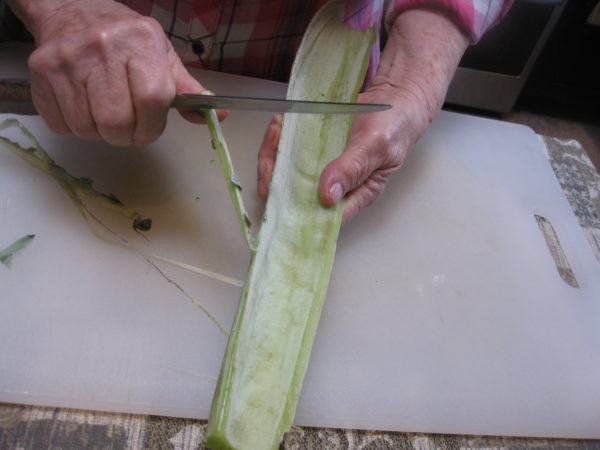
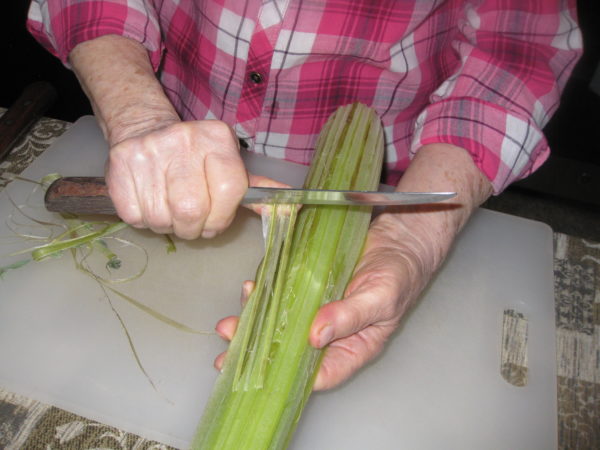
  3. Using a vegetable peeler (or knife if you are my mother-in-law), remove the leafy edges of the cardone.
  4. Remove any stringy parts of each rib.
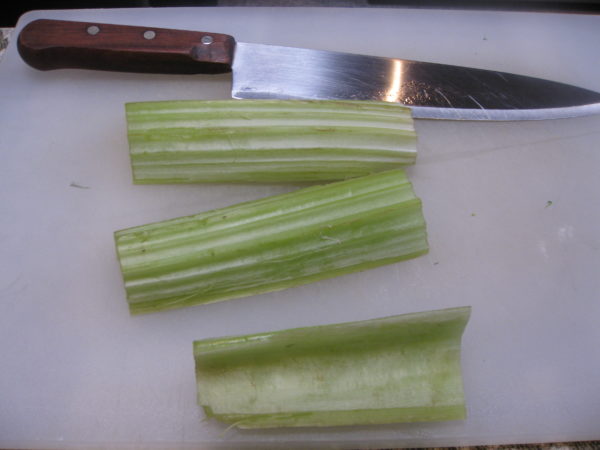
  5. Cut the ribs into pieces approximately 4 inch long. Wash well.
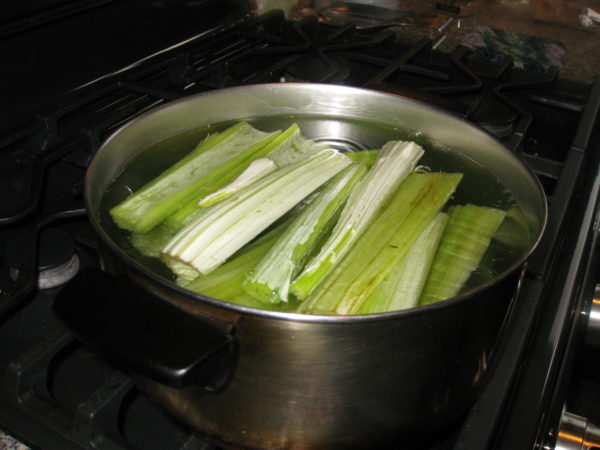
  6. Bring 3 quarts of water to a boil. Add 3 tablespoons of salt and a pinch of baking soda. Add the cardone and boil until you can pierce it relatively easily with the point of a sharp knife. Do not overcook the cardone as it will be cooked further with the sausage.
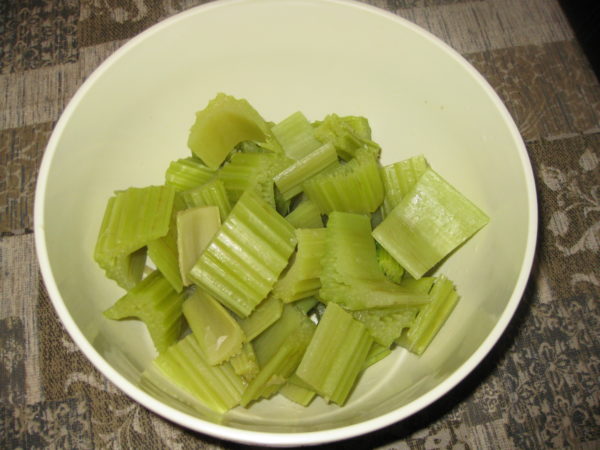
  7. Remove the cardone from the water. Stop cooking by putting the cardone in a bowl of ice water. When cold, cut into pieces approximately 1 ½ inches long and reserve.
  8. If the sausage is not in links, cut into pieces approximately 4-5 inches in length. Using the tines of a fork, pierce the skin of each piece of sausage in several places.
  9. Heat the olive oil in a large, heavy-bottomed sauté pan or a wide, shallow casserole. Add the sausage and brown well on all sides.
  10. Remove the sausage from the pan.
  11. Add the onions, garlic, parsley, and rosemary to the sausage drippings in the pan. Sauté until the onions are soft and golden.
  12. Add the wine, if using. Allow wine to mostly cook away then add tomato puree and water.
  13. Return the sausage to the pot with the sauce. Season with salt and freshly ground pepper. Simmer, partially covered, for about an hour.
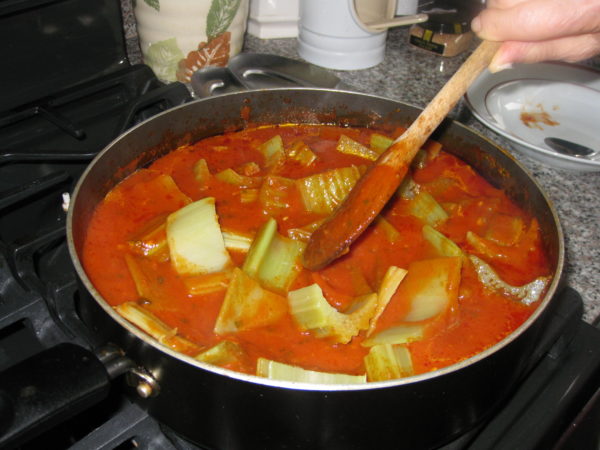
  14. Add the cardone. Taste for seasoning. Simmer, partially covered, until the cardone is tender, approximately 30-45 minutes.
  15. Pour into a serving dish and bring to the table.
Recipe Notes

Copyright © 2017 by VillaSentieri.com. All rights reserved.
Share this Recipe

Sformato di Spinaci (Spinach Casserole)

January 13, 2017

The word sformato in Italian means deformed or shapeless.  When applied to food, standard Italian-English dictionaries often translate it as pie or soufflé. It is none of the above.

A sformato is most definitely not deformed or shapeless.  In fact, a food historian described a sformato as “something that was cooked in the mould [sic] and then extracted from it” (Alexandra Grigorieva, Naming Authenticity and Regional Italian Cuisine in Authenticity in the Kitchen: Proceedings of the Oxford Symposium on Food and Cookery 2005, edited by Richard Hosking).  Nor is a sformato really a pie or a soufflé as those terms are usually used.  It has no crust of any sort, as would a pie.  It is not puffy like a souffle.  Sometimes it doesn’t even contain eggs.

A sformato is most often made of vegetables, usually bound with some combination of eggs, cream, cheese, and/or béchamel (balsamella or besciamella in Italian), and cooked in a baking dish.  I think the best English translation of the word is casserole.

Sformato di Spinaci, spinach sformato (or, reluctantly, spinach casserole), is one of those dishes that has iconic status in my husband’s family.  Like Merluzzo in Umido, the recipe came from Italy with his grandmother whom we called Nonni.  Nonni is one of those made up words that sometimes take hold in a family based on the mispronunciations of little kids.  The Italian word for grandmother is Nonna.  However, Nonni is to Nonna as Gramma is to Grandmother.

Just as Pasta Ascuitta has only one meaning in my family, Sformato has only one meaning in my husband’s.  If you simply say “sformato,” everyone knows you mean spinach sformato, and not, for example, cauliflower sformato.

I first had sformato at Christmas Dinner at my in-law’s house in 1989.  Although I had been cooking northern Italian food since 1973 based largely on Marcella Hazan’s wonderful cookbooks, that Christmas was really the beginning of my learning to make some of my husband’s family’s northern Italian favorites.  It’s really a whole different taste profile from the southern Italian dishes I grew up with.

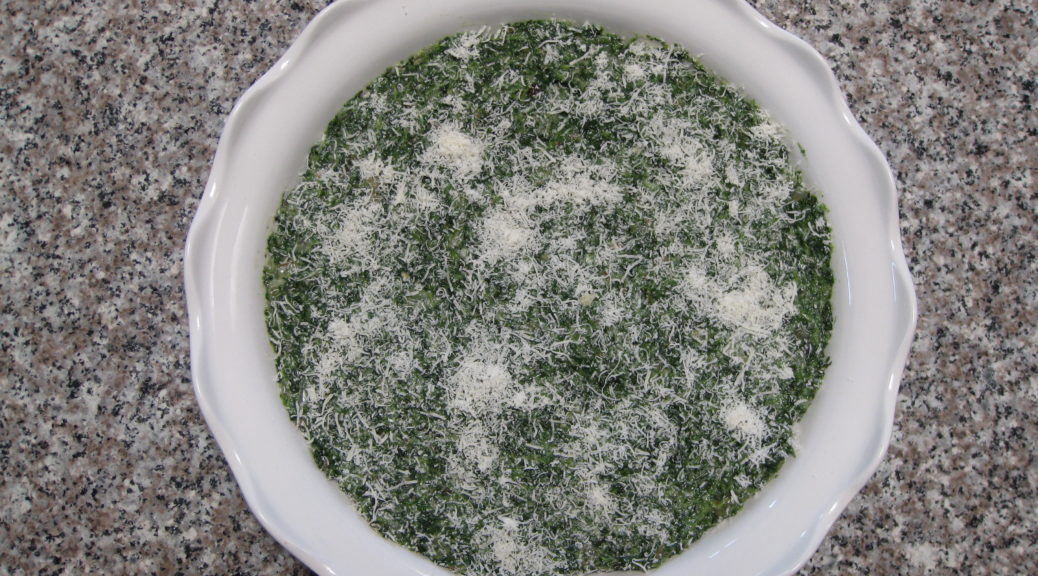
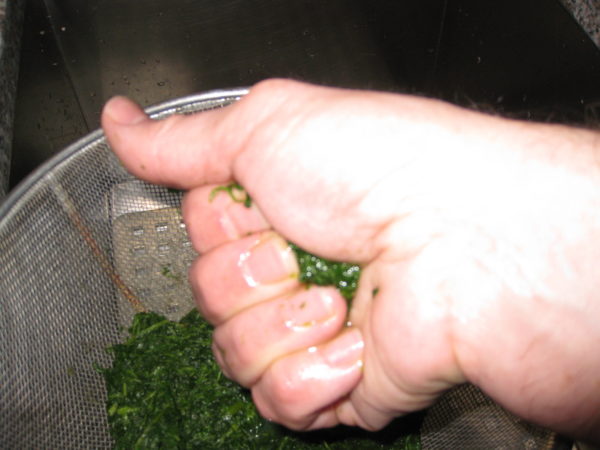
I’ve actually taken a heretical twist with my interpretation of Nonni’s sformato. I’ve added a little balsamella for moisture. This was most definitely not in the original, though it is not an uncommon addition to sformato. If you want to make the original version, just leave out the balsamella.  It will be a little drier.  You might want to not squeeze the spinach quite as tightly if you don’t include the balsamella.

Print Recipe
Sformato di Spinaci (Spinach Sformato or Spinach Casserole)
Nonni always made this with ground beef but Italian sausage, casing removed and crumbled, works really well (a bit of southern Italian heresy creeping in!). It can also be made without meat, but the amount of spinach should be increased by an additional 10 oz. to a total of 30 oz. I have occasionally used fresh spinach but, honestly, frozen chopped spinach works just fine. I doubt you could reliably tell the difference in a side-by-side comparison of fresh vs. frozen spinach in this dish.
Votes: 0
Rating: 0
You:
Rate this recipe!
Course Vegetables
Cuisine Italian
Prep Time 45 minutes
Cook Time 1 hour
Passive Time 15 minutes
Servings
people
Ingredients
For the spinach mixture
For the balsamella
Course Vegetables
Cuisine Italian
Prep Time 45 minutes
Cook Time 1 hour
Passive Time 15 minutes
Servings
people
Ingredients
For the spinach mixture
For the balsamella
Votes: 0
Rating: 0
You:
Rate this recipe!
Instructions
For the spinach mixture
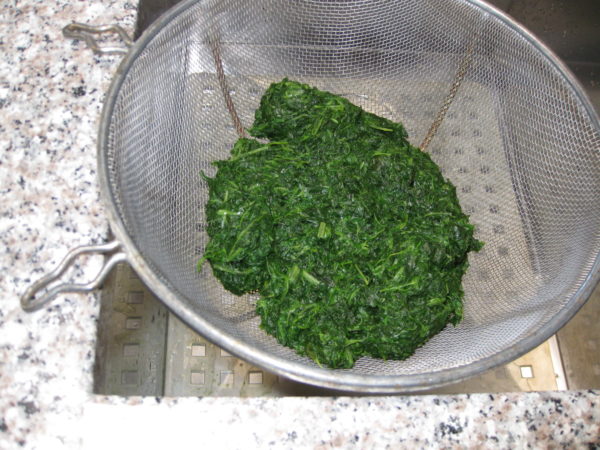
  1. Cook the frozen spinach in a heavy bottomed sauce pan tightly covered until thawed, breaking up the spinach from time to time.
  2. As soon as the spinach is thawed, pour the contents of the pan into a fine mesh sieve and allow the spinach to drain and cool.
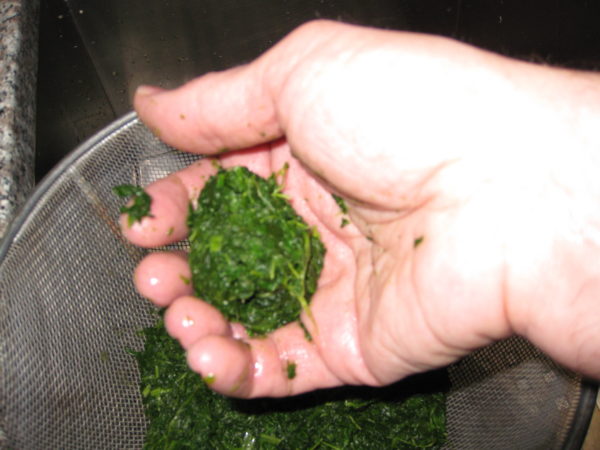
  3. When the spinach is cool enough to handle, squeeze small handfuls of the spinach to remove excess water.
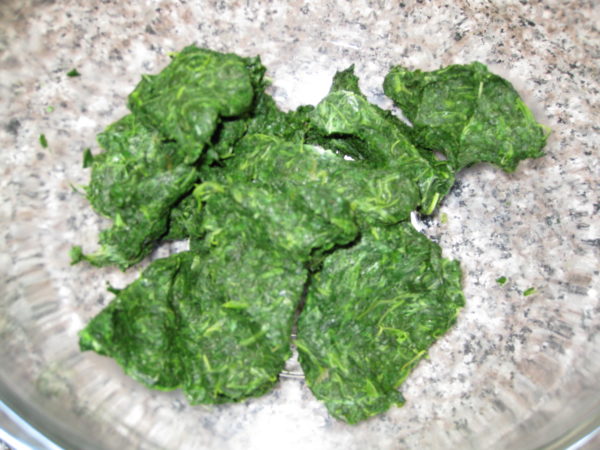
  4. Cut through the mass of squeezed spinach about eight or ten times with a knife then rub it through your fingers to loosen it. It will be pretty tightly wadded up from squeezing out the liquid.
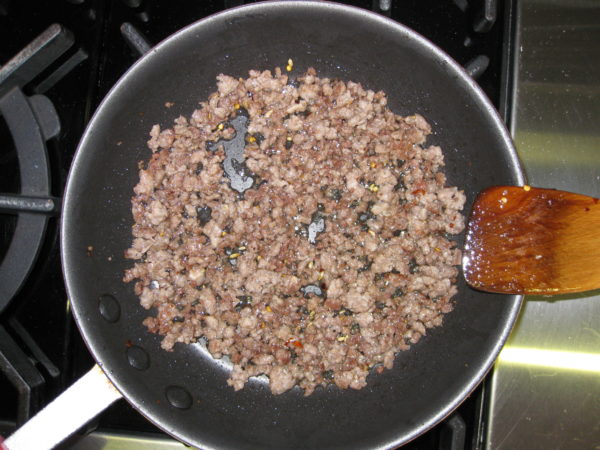
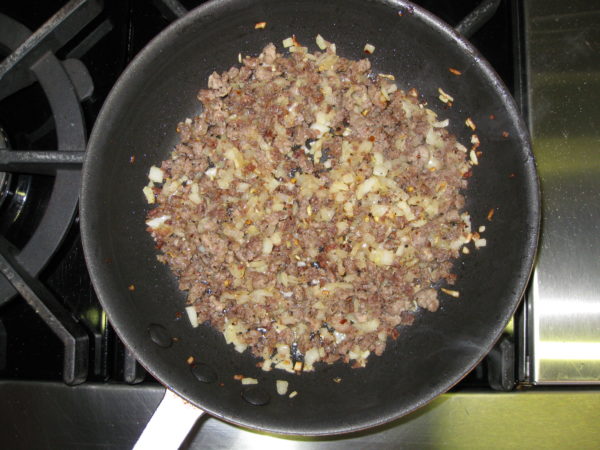
  5. Brown the ground beef or sausage in olive oil over medium heat. You want to get some really browned bits of meat for the flavor. Don't make the mistake of just cooking the meat until it is no longer pink.
  6. When the meat is nicely browned, add the onion and cook until golden and soft. Add the garlic and sauté until fragrant, about 1-2 minutes.
  7. Combine the meat mixture and spinach in a large mixing bowl. Season with salt and pepper and allow to cool briefly.
  8. Meanwhile, make the breadcrumbs by removing the crusts from a slice of two-day old home-style white bread. Tear the bread into pieces and whiz in a food processor until processed into evenly sized crumbs. Reserve.
  9. Melt the butter and toss with the breadcrumbs. Reserve.
  10. Make the balsamella (see directions below).
  11. Add the balsamella to the cooled meat and spinach mixture. Stir well, loosening up the spinach. When well combined, stir in the eggs. Be certain that the mixture is not so hot that it cooks the eggs.
  12. Reserve two tablespoons of the Parmesan cheese and mix the remainder into the spinach-meat-balsamella mixture.
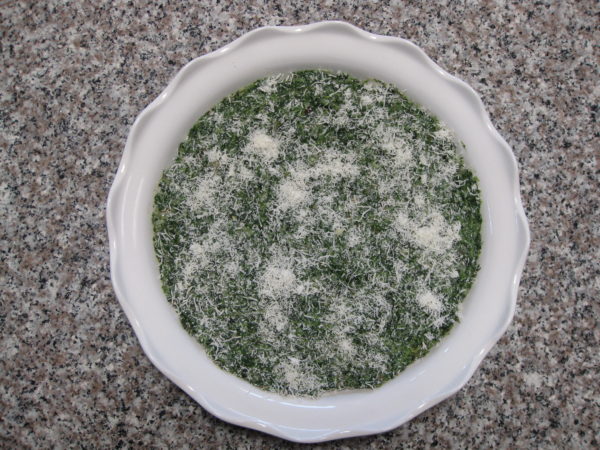
  13. Pour the spinach mixture into a buttered 9-inch round or 8-inch square baking dish. Sprinkle top with the buttered crumbs and reserved Parmesan cheese.
  14. Bake at 350°F for approximately 60 minutes or until golden brown.
  15. Cool about 10 minutes before cutting and serving.
For the balsamella
  1. Heat the milk in a small heavy-bottomed saucepan until bubbles begin to form around the edges. Do not bring the milk to a boil.
  2. Meanwhile, melt the butter in a saucepan and add the flour when the foam subsides. Cook for several minutes without browning.
  3. Add the milk, approximately two tablespoonsful at a time, mixing well after each addition. Adding the milk in small amounts should allow you to stir out any lumps before adding the next bit of milk.
  4. After all the milk has been added, bring to a boil and cook for one minute, until thickened.
  5. Remove from the heat and stir in the nutmeg.
Recipe Notes

This recipe doubles well.  If you want to cook a double recipe in a single pan, use a 9-inch by 13-inch baking dish.  Bake at 325°F rather than 350°F as it will brown too much around the outside before the inside is cooked.  If necessary, raise the heat to 375°F at the very end, and put the sformato on the top shelf of the oven, to brown the top.

If you want to use fresh spinach, use 2 pounds instead of the 20 ounces of frozen spinach.  Remove the stems.  Wash the spinach, shaking off most of the water.  Put the spinach in a heavy-bottomed Dutch oven with just the liquid clinging to the leaves.  Cook covered, over medium heat till fully wilted.  Drain and proceed as above with the exception that you will need to do much more chopping of the cooked and squeezed spinach than the eight to ten cuts suggested above.

Copyright © 2017 by VillaSentieri.com. All rights reserved.
Share this Recipe

Merluzzo in Umido (Cod in Light Tomato Sauce)

January 4, 2017

The first time I had Merluzzo in Umido was November 1992.  My husband and I took my mother, his mother, and his fraternal grandmother to Santa Fe for a week over Thanksgiving.  At the time, we were living in Chicago.  We rented an ancient adobe house off Garcia Street.  The house didn’t have any central heat though it did have a frightening array of heating devices that included a kiva fireplace, a direct-vent gas heater in the living room, a portable electric heater in one of the bedrooms, wall-mounted electric radiant heaters in the bathrooms, and nothing in the kitchen.  If the oven wasn’t on, the kitchen was the coldest room in the house as it had three outside walls and a door that didn’t seal very well.

Of course, it was reported to be the coldest winter that Santa Fe had experienced in 100 years! In addition to cold, there was lots of snow. And there we were, in a drafty old adobe house with no central heat enjoying a week with the likes of The Golden Girls!

We had a blast.

We had been house hunting in Santa Fe since April of that year.  On that November trip we saw several houses we liked.  We spent a few evenings rating each of the houses on an array of factors using a spreadsheet.  (In my professional life, we would have called this a prioritization matrix or selection grid. It’s a technique I’ve taught to hundreds of health care professionals over several decades.)  One afternoon we all piled into the car to look at the two finalists in the property hunt.  We were uncertain which one to buy.  Not so the women.  A little house on Griffin Street was the undisputed, hands-down favorite.  Deal done!

We put in an offer and closed in January.  For most of December my mother kept saying that she wanted to go back to Santa Fe and stay in the house in the spring.  We did a bit of remodeling and moved into the house in March.  Unfortunately, my mother died in January, shortly before we closed on the house.  She never got to experience her dream of returning to Santa Fe.  We had that house for more than nine years before we moved into a much larger Santa Fe property in Ricardo-Legorreta-designed Zocalo.  After Zocalo, we built and moved into Villa Sentieri overlooking the city.

I frequently think of that trip.  It was memorable in so many ways.  We found our first house in Santa Fe.  I got to spend quality time with my mother in the last weeks of her life.  My husband and I had interviews to get our medical licenses in New Mexico.  (It’s the only time either of us has been personally interviewed for a medical license!).   And, I learned how to make Merluzzo in Umido, one of many recipes that my husband’s grandmother brought with her from Italy.

Print Recipe
Merluzzo in Umido (Cod in Light Tomato Sauce)
If possible, by large filets of cod and portion them at home. Three pounds is enough for eight people. The advantage of portioning the fish at home is that you can make some smaller pieces for individuals with smaller appetites. Cod is a perfect fish for this dish because it is forgiving in terms of being overcooked. However, any firm, white, non-oily fish will taste great. I used a 15-inch rondeau to cook the cod. It held the fish in a single layer. If you don’t have a pan large enough to hold the fish in one layer, make the sauce in a single sauté pan then divide it among two different pans to cook the fish.
Votes: 0
Rating: 0
You:
Rate this recipe!
Cuisine Italian
Prep Time 20 minutes
Cook Time 1 hour
Servings
people
Ingredients
Cuisine Italian
Prep Time 20 minutes
Cook Time 1 hour
Servings
people
Ingredients
Votes: 0
Rating: 0
You:
Rate this recipe!
Instructions
  1. Cut the cod into 8 to 10 serving pieces. Though you can cook whole filets, it will be easier to get the fish out of the pan if cut into portions.
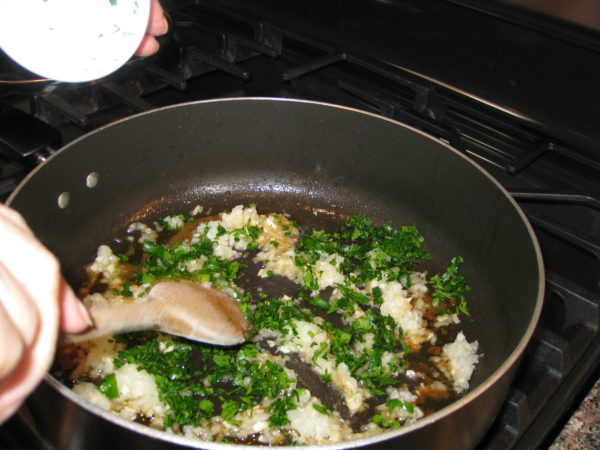
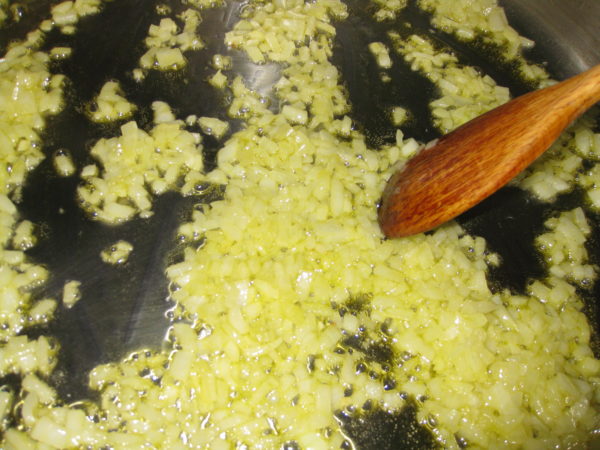
  2. In rondeau large enough to hold the fish in one layer, sauté the onion and a sprinkling of salt in the olive oil until transparent and slightly golden but not brown.
  3. Add the garlic and sauté until fragrant, about 1 minute.
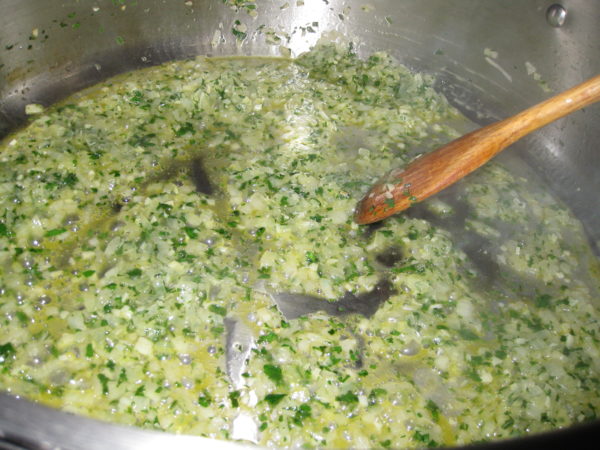
  4. Add parsley and some freshly ground black pepper. Sauté for a minute or two. The smell of parsley should become noticeably more potent. Do not brown the ingredients of the pan.
  5. Add the wine and cook briskly until the wine evaporates.
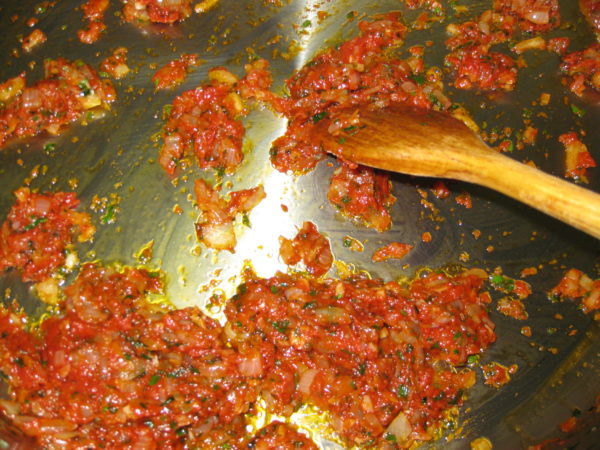
  6. Add the tomato paste. Sauté, stirring frequently, until it gets ever so slightly darker and begins to smell sweet. This will take 2-3 minutes.
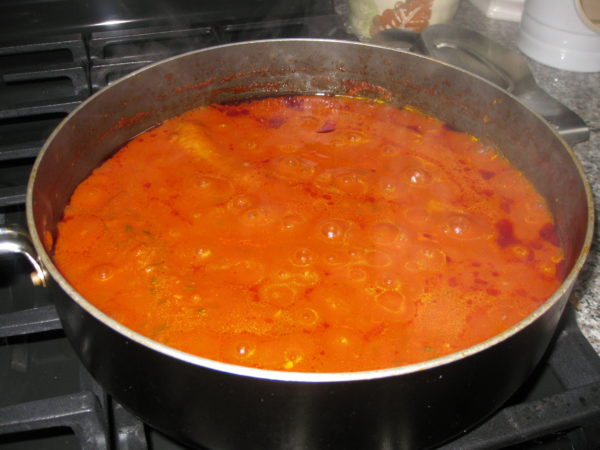
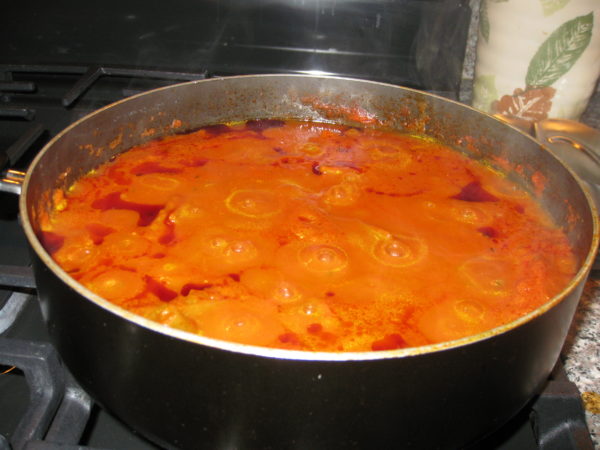
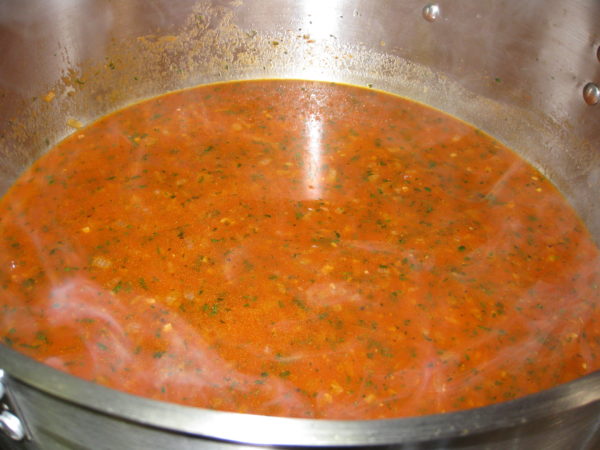
  7. Add the water, oregano, basil and additional salt and pepper to taste. Boil gently, with the cover slightly askew for 20-30 minutes. The sauce will thicken. If it becomes too thick, add a little additional water. However, the juices from the fish will thin the sauce so it is better for the sauce to start out too thick rather than two thin. The sauce can be made ahead to this point.
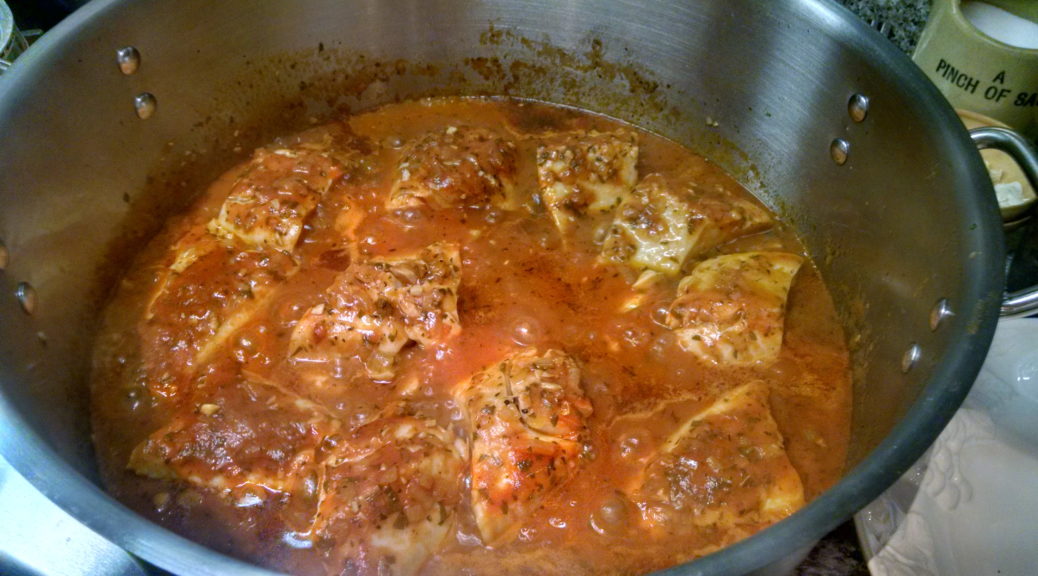
  8. With the sauce at a medium boil, add the fish, skin side down. Season with salt and pepper. Cover the pot tightly and cook for approximately 20 minutes until the fish cooks through an flakes easily. The length of time will depend on the type of fish, thickness of the portions, and elevation. Do not turn the fish but occasionally spoon some of the sauce over the top of the cooking fish.
  9. Taste the sauce and adjust seasoning. If the sauce it too thick thin with a little water. If it is too thin, boil it briskly after removing the fish.
  10. Put the fish on a deep serving platter. Pour the sauce over the fish and serve.
Recipe Notes

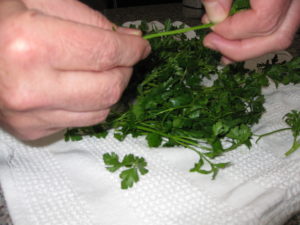
Parsley stems can be bitter.  When adding parsley to a recipe, I only use the leaves and very tender stems.  To do this, I hold the end of the parsley stem in one hand and slide the stem between the thumb and finger of the other hand.  When my fingers reach the leaves, I pinch off the stem and discard it.  This makes quick work of the parsley and removes any chance of bitterness from the stems.

Copyright © 2017 by VillaSentieri.com.  All rights reserved.
Share this Recipe