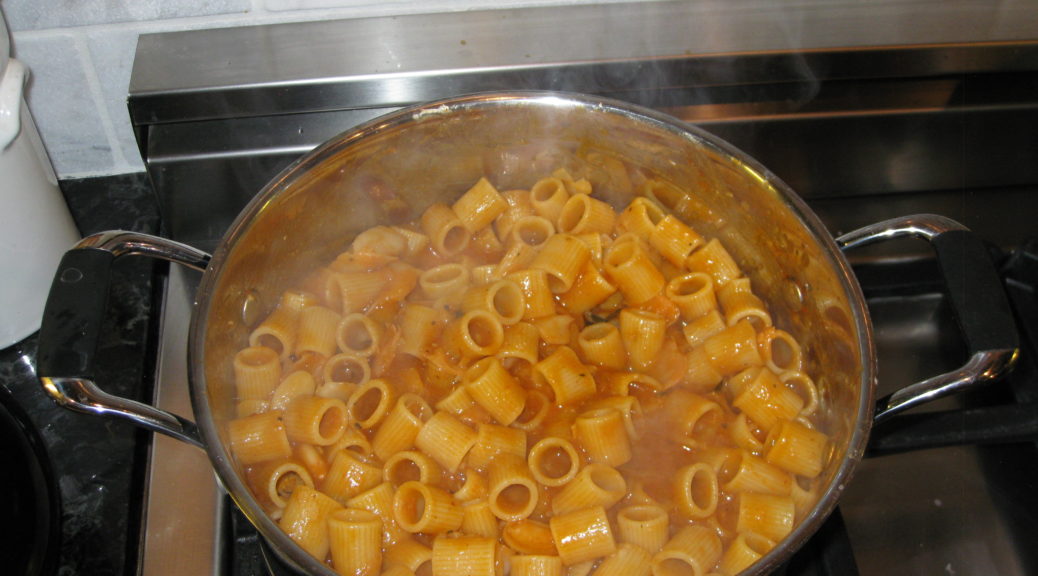
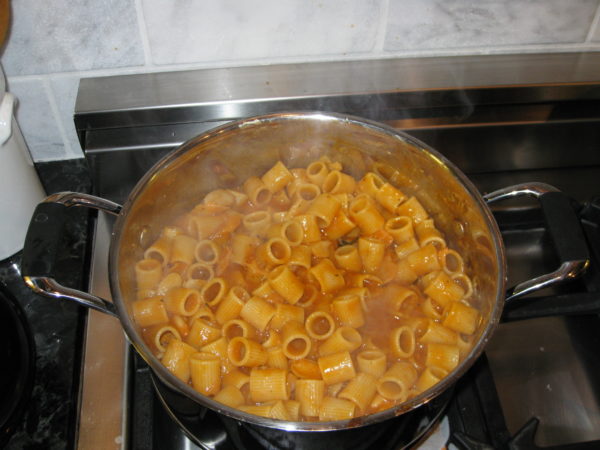
Pasta with Silky Zucchini Sauce

July 5, 2017

Pasta tossed with a sauce of some sort of vegetable cooked in olive oil is an Italian classic.  My mother frequently used either eggplant or zucchini, cooked them until they became very soft, and then tossed them with pasta.

I have one very vivid memory of this dish and it goes back to the summer of 1992.

After my mother was diagnosed with metastatic lung cancer in early summer 1992, she came to live with us.  Until the last few days of her life in early January 1993, she took over our kitchen, a very comfortable role for her.

Over the years prior to her diagnosis, she had become friendly with our next door neighbor, Carla.  During the last six months of her life she and Carla spent hours every day visiting and chatting.  This was a wonderful arrangement as my husband, Frank, and I were working long hours.  (It also led, through a number of interesting steps, to Frank and I becoming the god-parents for one of Carla and Billy’s children a few years later.  But that’s a story for a different day.)

Frank had very long work hours a couple days per week.  He rarely got home before 10 PM on those days.  My mother and I would eat dinner earlier and then she would set aside his food.

But she did more than that.

When he got home, she always warmed up his dinner and then sat with him at the table while he ate.  She never let him eat alone.  Most likely, I was upstairs in bed.  Since I got up earlier than Frank, I tried to be in bed by 10 PM to watch the news and go to sleep.

For some reason, the plate of pasta with zucchini sitting on the counter one evening to be warmed up for Frank’s dinner, knowing my mother would sit with him as he ate, is the mental image I have of this dish.  I can’t make this without that image appearing in my mind.  I think somehow that dish, made of very humble ingredients, came to represent the best of my mother’s nurturing characteristics.

She was a fierce advocate for her children.  My sister and I both started school a year early because my mother thought we were intellectually ready (she was right) and she wasn’t going to take “no” for an answer from the school authorities.

Once, in second grade, my sister arrived home with the hem of her school uniform let down because one of the nuns thought it was too short.  My mother promptly hemmed it, even shorter, and sent my sister to school the next day without ever saying a word.  The hemline stayed put.

You didn’t mess with my mother where her children were concerned.

She continued cooking for us until less than a week before she died.

In those years we always gave a New Year’s Day party, a casual affair where people could come and relax and chat and eat.  The Soviet Union was officially dissolved December 25, 1991.  Most of 1992 saw the effects of the dissolution so the theme of our January 1, 1993 party was the dissolution of the Soviet Union.

For the party, my mother made 14 dozen stuffed cabbage rolls and 17 dozen potato pancakes!

She sat on the sofa throughout the entire party, chatting with everyone and being the life of the party.  The next day she took a turn for the worse and on the morning of January 6th she died.

Some of my best memories involve food, most of which was cooked by family and friends who are no longer with us.  Capturing and preserving those recipes is the way that I pay homage to them and to the culture and values they passed on to me.


Click HERE to join our mailing list and you’ll never miss a recipe again!
Print Recipe
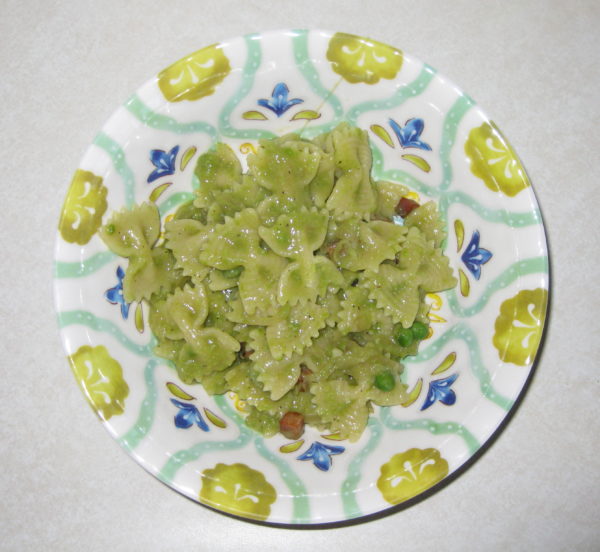
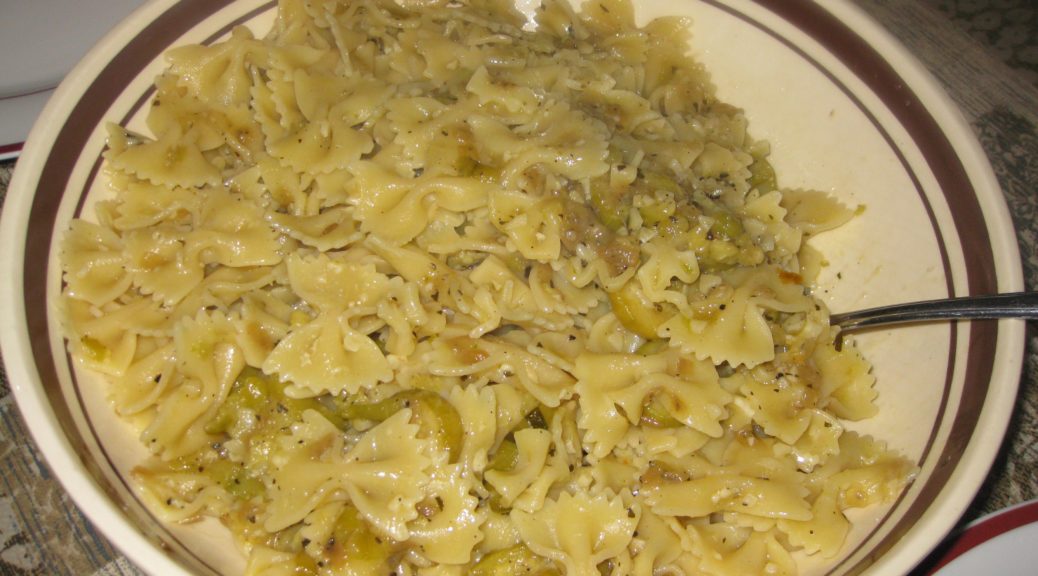
Pasta with Silky Zucchini Sauce
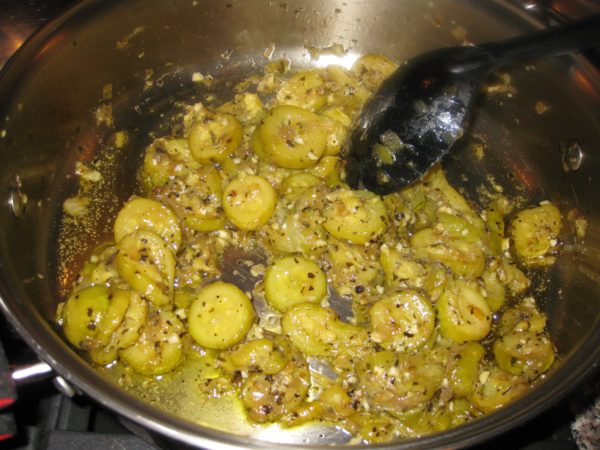
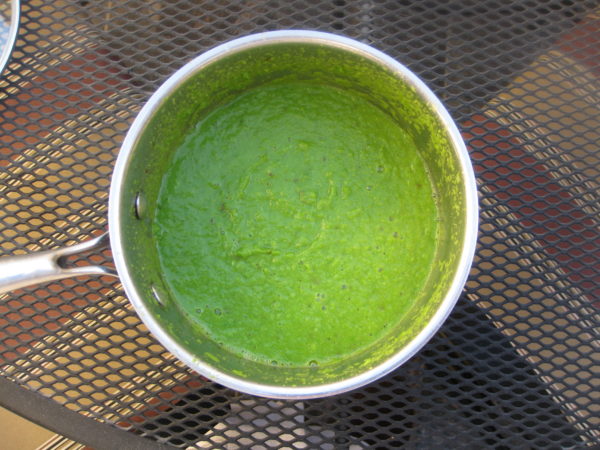
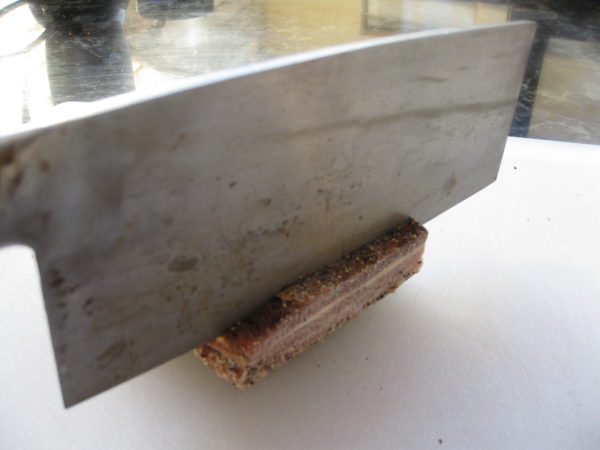
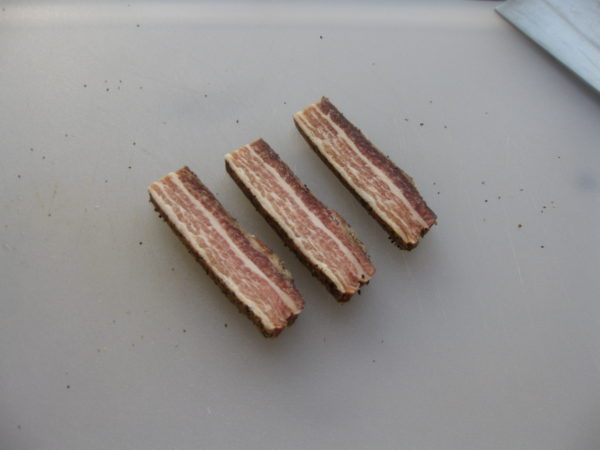
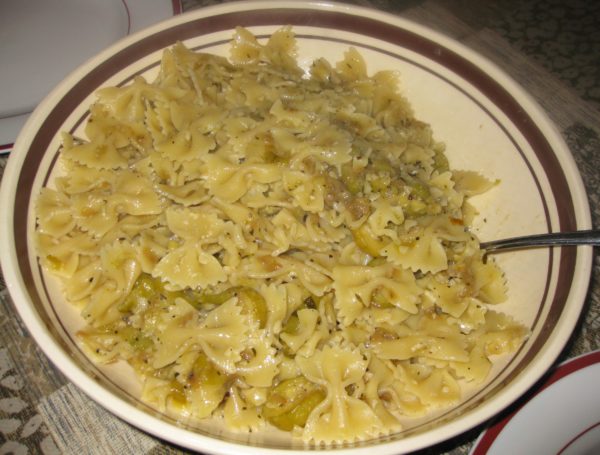
Zucchini are cooked to a silky softness to make a luscious sauce for pasta. Finishing the pasta in the pan with the zucchini and adding some pasta-cooking liquid, Parmesan cheese, and a couple of glugs of olive oil creates glossy sauce with a wonderful mouthfeel. When choosing zucchini, pick small ones, preferably not more than about six inches long. They should be firm and have glossy skin. It will take about 4 or 5 to yield four cups of sliced zucchini. Crushed red pepper is completely optional. If you have fresh basil you can omit the dry basil and toss in a tablespoon or so of basil chiffonade when you combine the pasta with the zucchini.
Votes: 0
Rating: 0
You:
Rate this recipe!
Prep Time 15 minutes
Cook Time 1 hour
Servings
people
Ingredients
Prep Time 15 minutes
Cook Time 1 hour
Servings
people
Ingredients
Votes: 0
Rating: 0
You:
Rate this recipe!
Instructions
  1. Dice the onion.
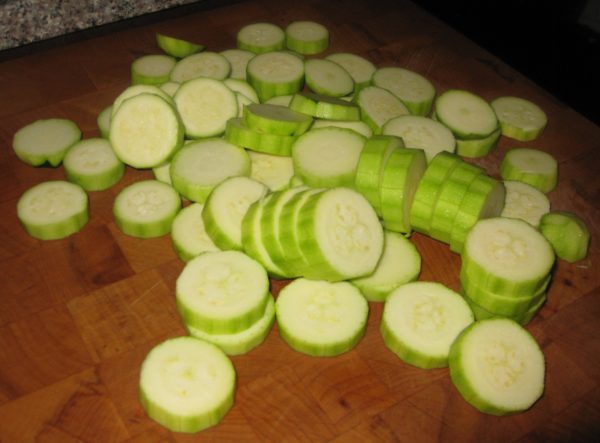
  2. Peel the zucchini and slice approximately ¼ inch thick.
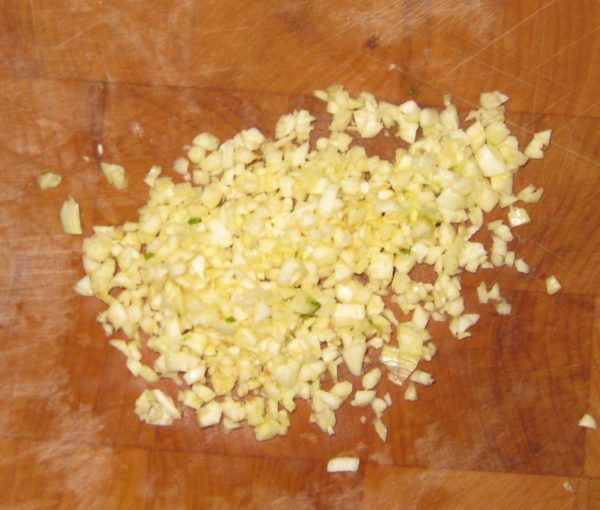
  3. Mince the garlic.
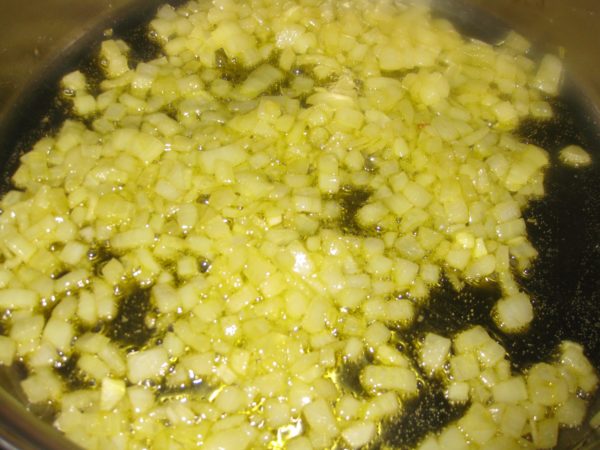
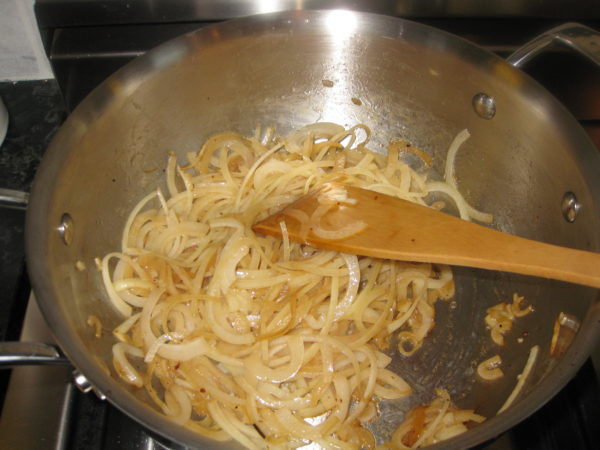
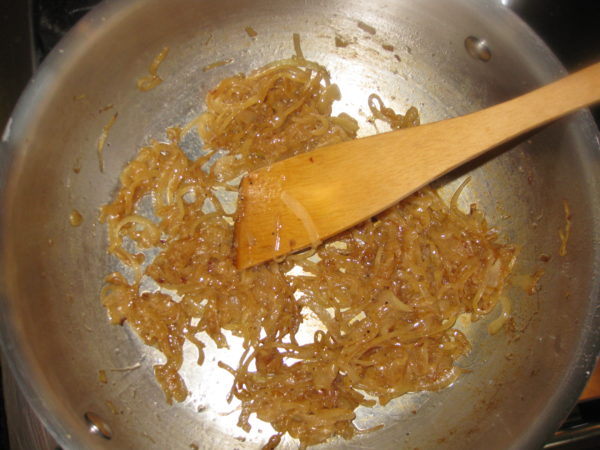
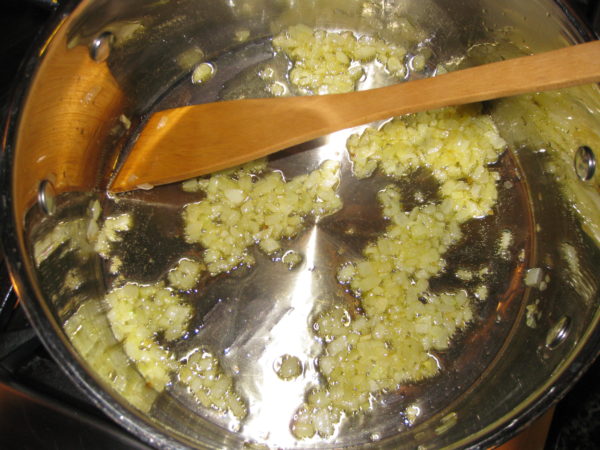
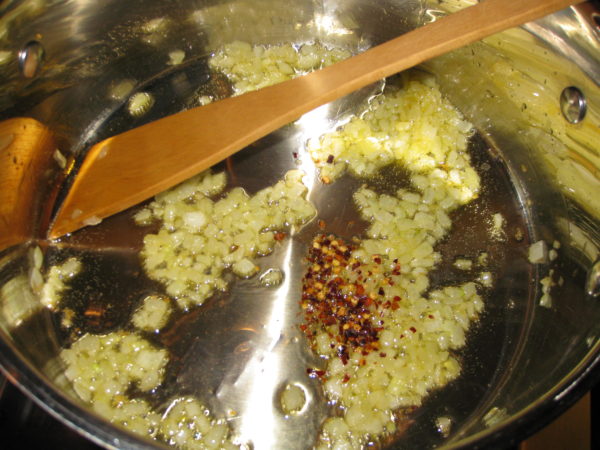
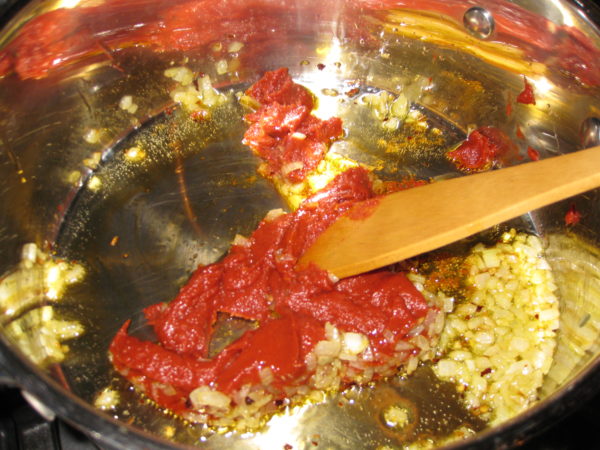
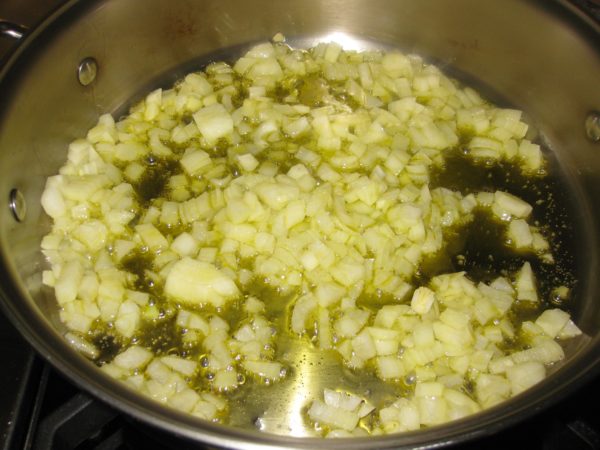
  4. In a large, heavy-bottomed sauté pan large enough to hold the pasta and sauce, sauté the onion and crushed red pepper, if using, over medium heat until the onion is golden and soft. Do not brown the onion.
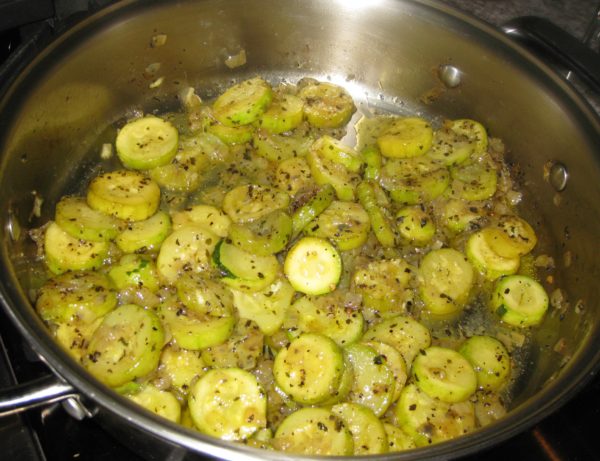
  5. Add the zucchini. Toss to coat with oil. Season liberally with salt and freshly ground black pepper.
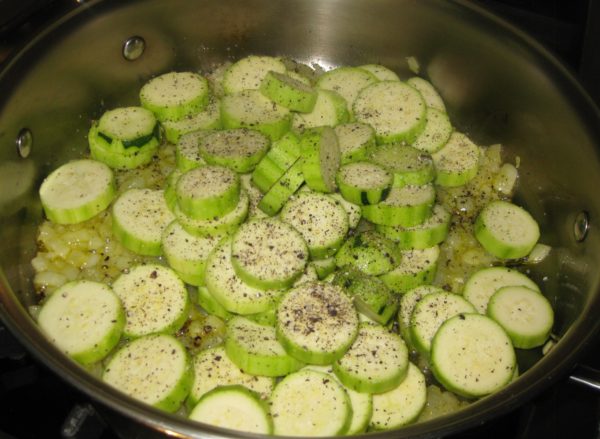
  6. Sauté on medium to medium high heat, adjusting from time to time to avoid browning the zucchini.
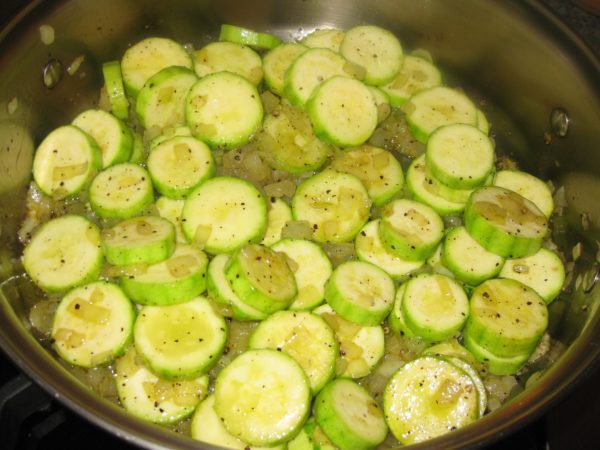
  7. Add the dry oregano and dry basil, if using, after about 20 minutes.
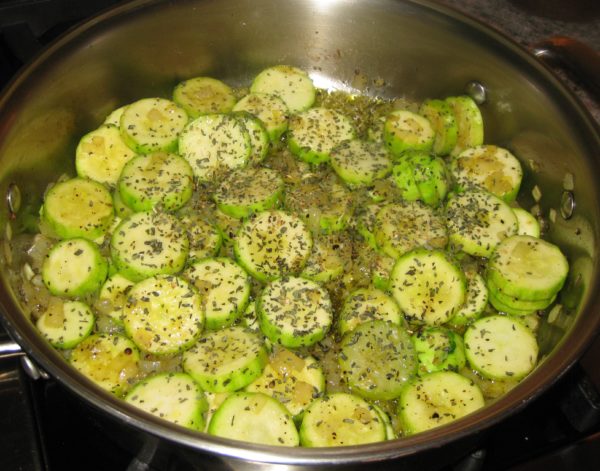
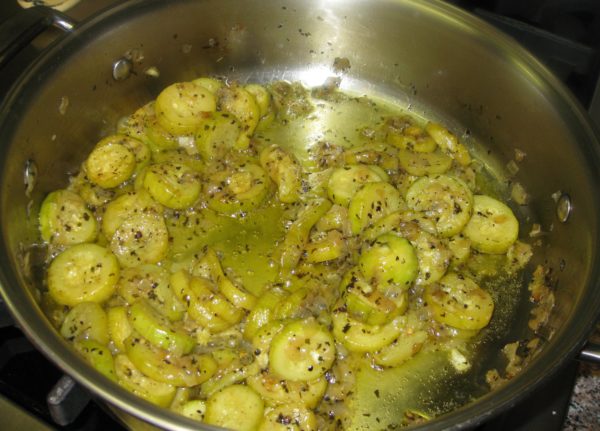
  8. Continue to sauté, stirring often, until the zucchini is quite soft, but still intact. It can turn golden but should not brown. Taste and adjust salt and pepper while the zucchini is cooking.
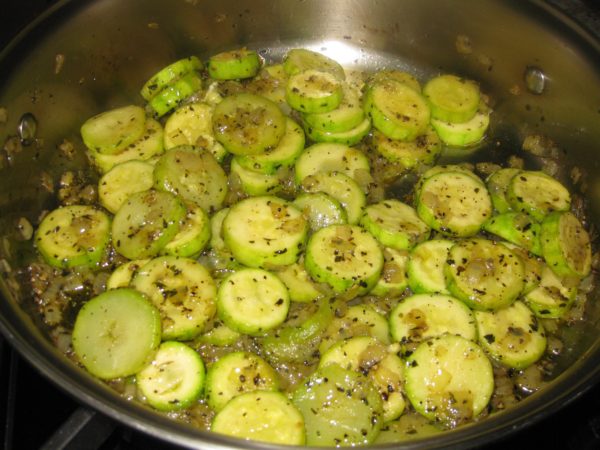
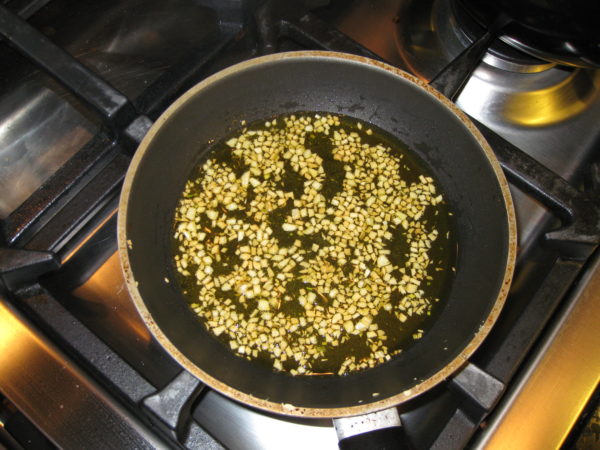
  9. Add the minced garlic and cook until fragrant, about 5 minutes longer.
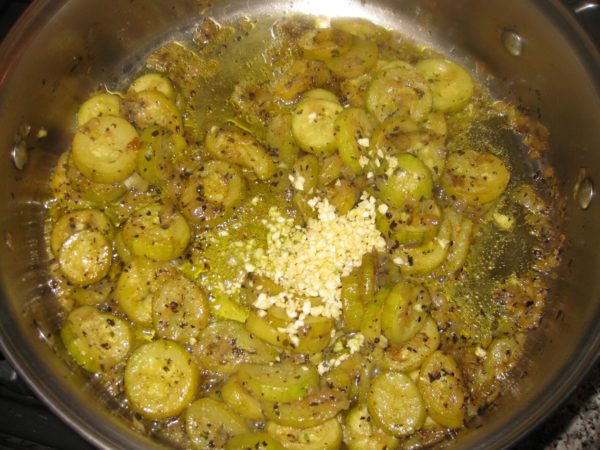
  10. The dish can be prepared several hours in advance to this point. Simply take the sauté pan off the heat and cover it.
  11. Bring three quarts of water to a rolling boil. Add 1/3 cup salt. Add the pasta and cook at a full boil until the pasta is almost al dente. It should still be just the tiniest bit hard in the center.
  12. Reserve at least one cup of pasta-cooking liquid.
  13. Drain the pasta and add it to the zucchini in the sauté pan. Add about ½ cup of reserved pasta-cooking liquid and fresh basil, if using, and cook over medium heat at a light boil until the pasta is al dente. Add more pasta-cooking water as needed. There should be some liquid in the pan when the pasta is finished.
  14. Off the heat, stir in the Parmigiano Reggiano cheese and 2 tablespoons of extra virgin olive oil. Add a bit more pasta-cooking liquid if needed to emulsify the cheese and olive oil to create a glossy sauce that just clings to the pasta.
  15. Taste and adjust salt and pepper.
Recipe Notes

Copyright © 2017 by VillaSentieri.com. All rights reserved.

Share this Recipe

Pasta al Pesto

May 15, 2017

Gardening at 8000 feet is challenging.  Even more so when you consider that we are sitting on almost solid rock.

There’s not much soil to begin with, just the barest of covering on a rocky foundation.  The piñon and juniper that surround us work their roots through little crevices in the rock that sits just inches below the surface.

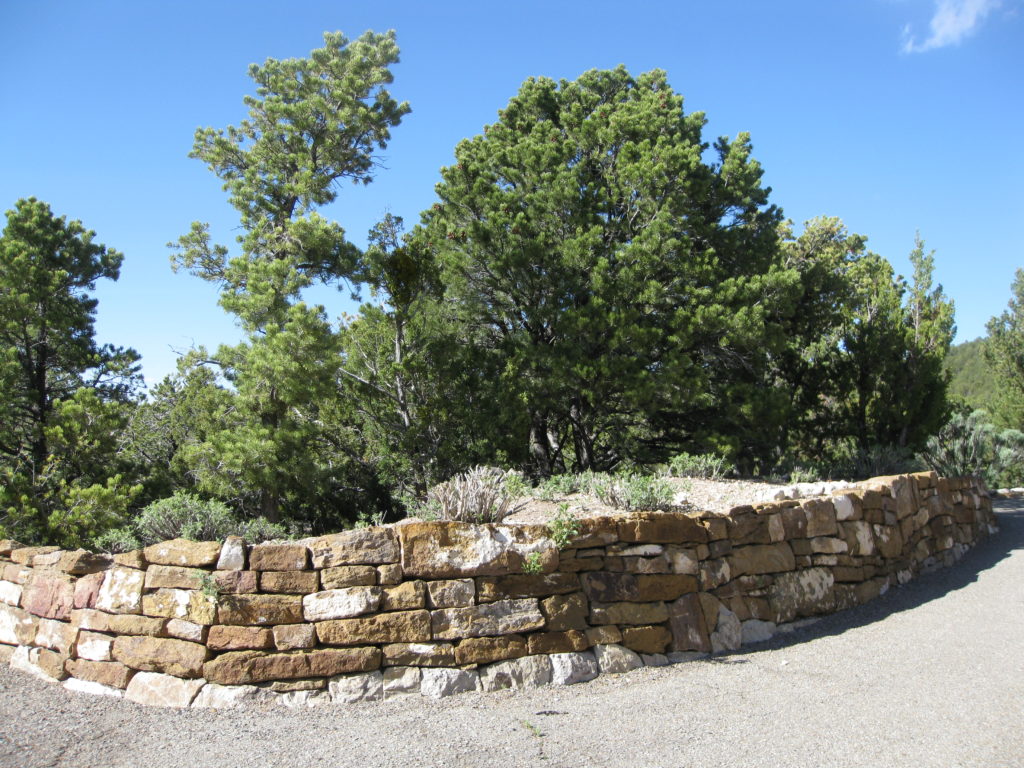
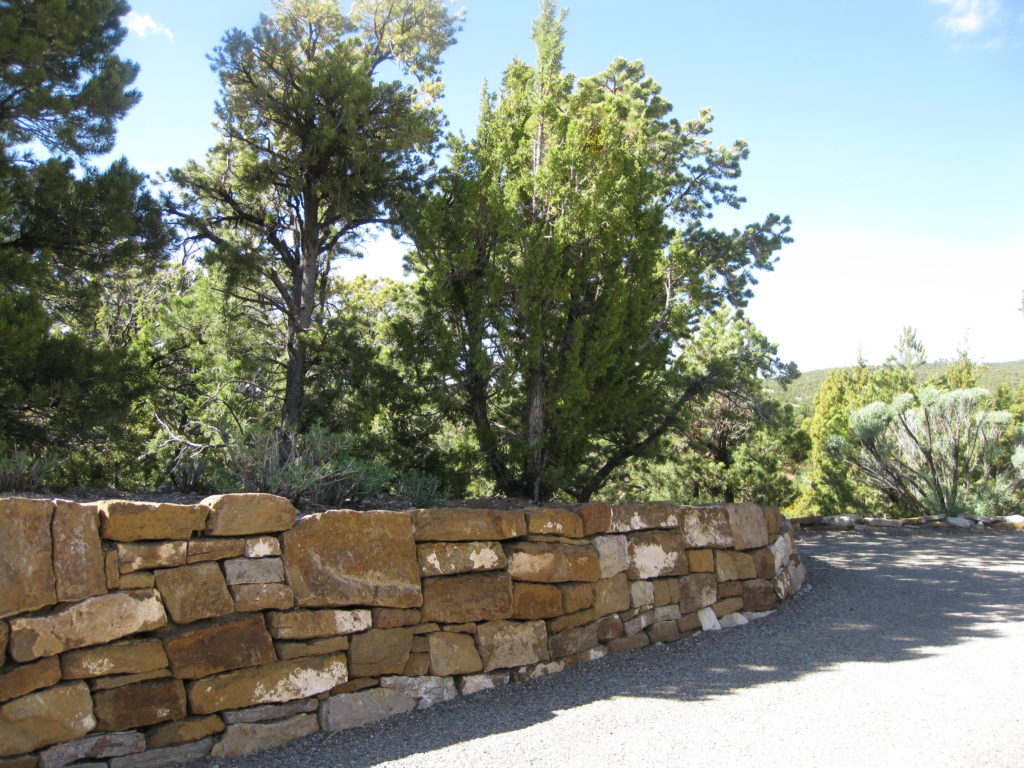
What little soil there was in the area immediately surrounding our house was removed to level the building site.  The excavation was almost exclusively rock, one hundred truck loads were taken away.  Some rock was kept on site to create retaining walls around the property.

The corollary, however, is that there’s no dirt around the house to dig into to plant much of anything.  The landscaping that was done was exclusively within rock retaining walls or our front enclosed courtyard, where topsoil was brought in.  The first load of topsoil for the courtyard arrived April 2007, before we were ready to plant anything.  April is a windy month in New Mexico.  The winds started up one day and before evening every last speck of topsoil was blown to West Texas!

We could consider raised bed gardening but that would just invite the rabbits and deer to munch their way through our garden.  As it is, we’ve offered up several stands of ornamental grasses on the periphery of our landscaped area to the critters.  We seem to have reached a truce of some sort.  We let them eat the ones around the edges and, for the most part, they let the others alone.

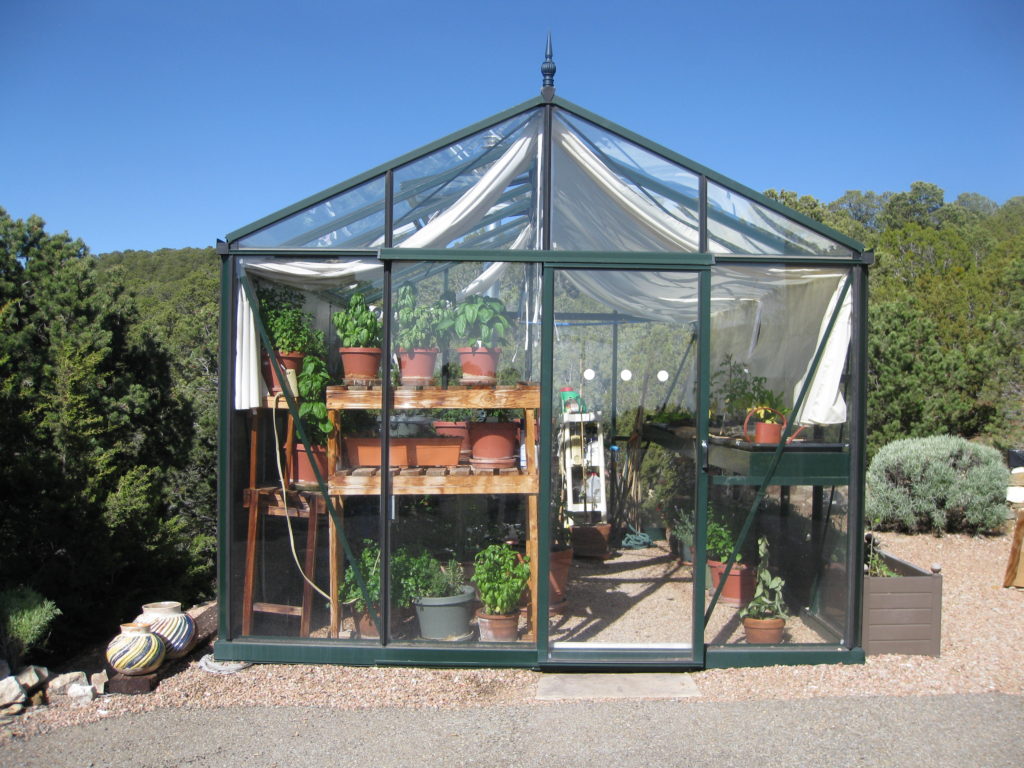
We installed a greenhouse that allows us to extend the growing season by many months.  It also allows us to winter over a number of plants that would not survive in this climate.  The greenhouse also allows us to grow fig trees in large pots.  The first year we grew figs, they didn’t ripen.  It turns out that even though summer days are warm, the nights are cool enough that the fruit doesn’t ripen.  The following year we left the fig trees in the greenhouse throughout the summer, convinced that it would be too warm for them to thrive even with the automatic ventilation system.

Luckily, we were wrong.  The fig trees loved the heat.  Picking a ripe fig off of the tree and eating it immediately is amazing.  The only fresh fruit experience that would be superior, in my estimation, is a fresh-picked mango…and those trees won’t fit in our greenhouse!

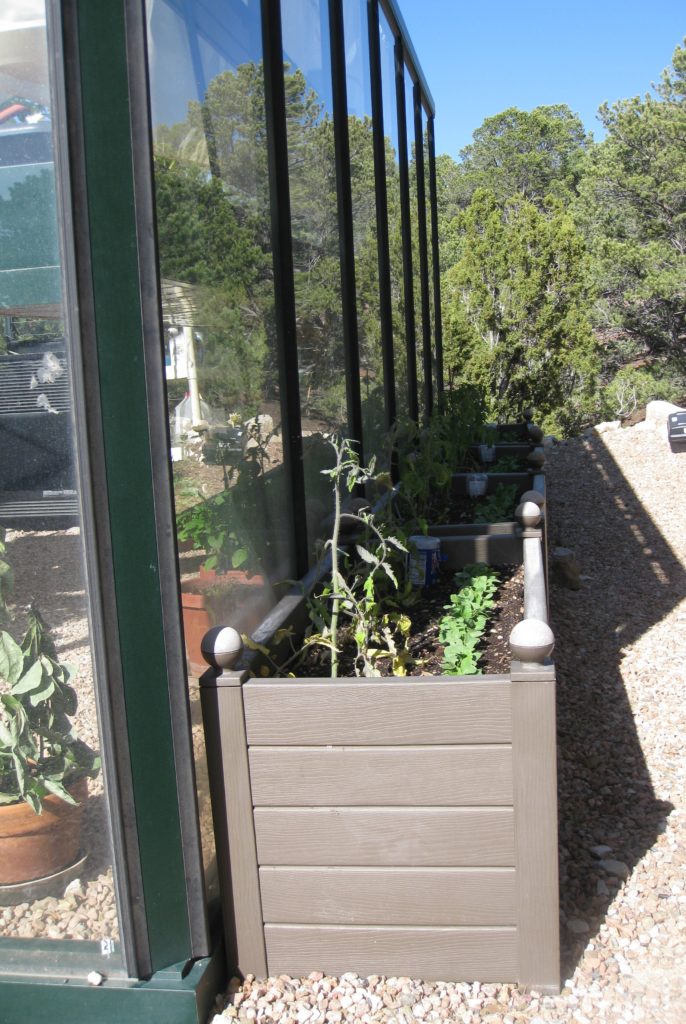
We have one row of planter boxes outside the greenhouse.  We use these for plants, like tomatoes, that are not very attractive to deer and rabbits.  Salad greens, such as arugula, radicchio, and leaf lettuce grows in shallow trays on a raised shelf in the greenhouse.  Many pots of herbs also remain in the greenhouse year-round.  Everything else is planted in our interior courtyard, either in pots or in another row of planter boxes.

Depending on the type of plants, we start planting seeds in February.  Seedlings are transplanted once the risk of frost is minimal.

This year, we started too much basil from seed.  It needed to be thinned.  This created the opportunity for us to have pesto much earlier than would otherwise have been the case.  Usually it’s June before the basil plants have grown large enough that we can harvest leaves for pesto.

We had this pesto on April 30th, a day that measured more than 8 inches of snow at Villa Sentieri.  It was winter’s last hurrah and fresh pesto was a perfect way to welcome spring and say good-bye to winter.


Print Recipe
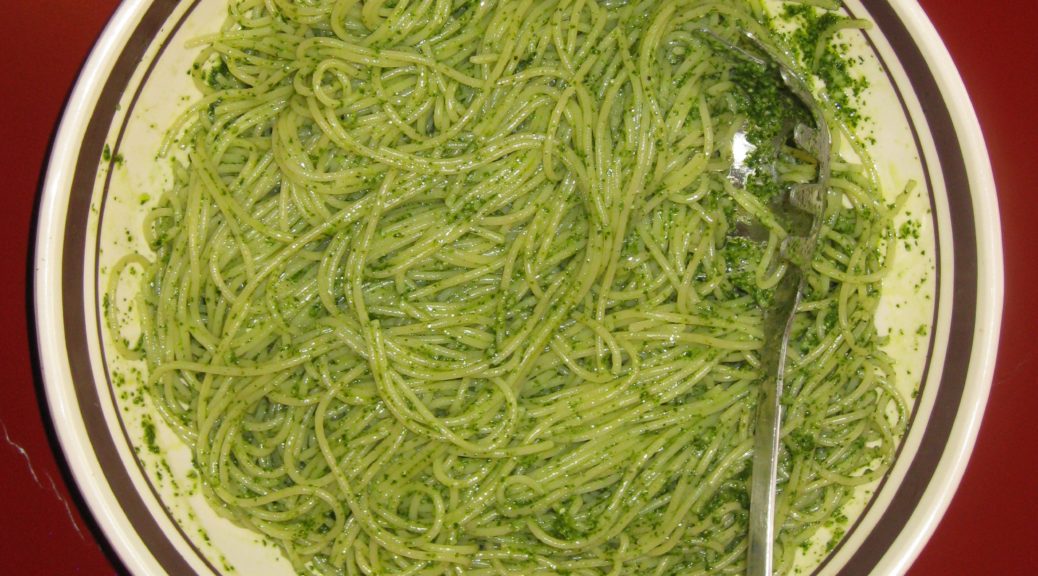
Pasta al Pesto
The classic basil-based pesto is Pesto alla Genovese. However, because the recipe and ingredients for Pesto alla Genovese are tightly regulated (for example, the basil must be grown in Genoa, Italy), I’ll refrain from calling this Pesto alla Genovese since it can’t meet those strict regulations. Try to use young, small basil leaves. If you must use larger ones, tear them into smaller pieces so they measure approximately the same way. Using olive oil from Liguria, where Pesto alla Genovese originated, is another of those difficult-to-meet requirements. Nonetheless, try to use a sweet, fruity olive oil rather than one that is spicy and pungent. Make the pesto as close to serving time as possible. I like to have all the ingredients measured, making the pesto after the pasta starts to a boil. If you’re wondering about the use of a food processor, that would not be permitted either but I doubt there are many of us that would make pesto if we had to use the traditional marble mortar and wooden pestle!
Votes: 0
Rating: 0
You:
Rate this recipe!
Prep Time 30 minutes
Cook Time 15 minutes
Passive Time 30 minutes
Servings
people
Ingredients
For the pesto
For the pasta
Prep Time 30 minutes
Cook Time 15 minutes
Passive Time 30 minutes
Servings
people
Ingredients
For the pesto
For the pasta
Votes: 0
Rating: 0
You:
Rate this recipe!
Instructions
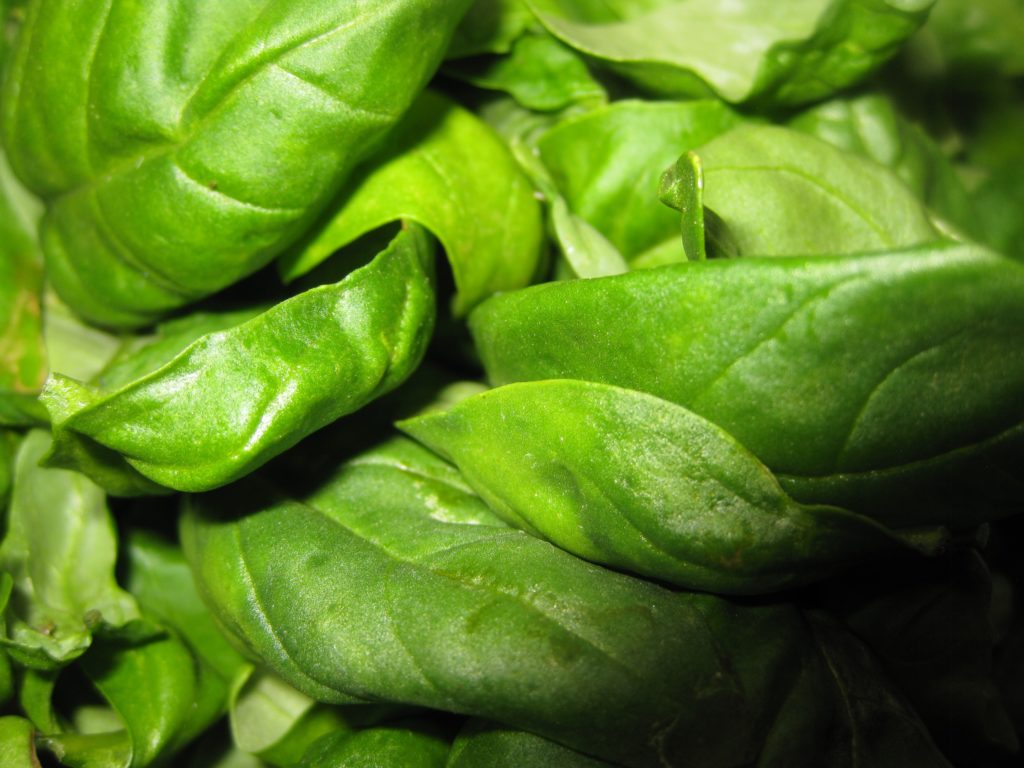
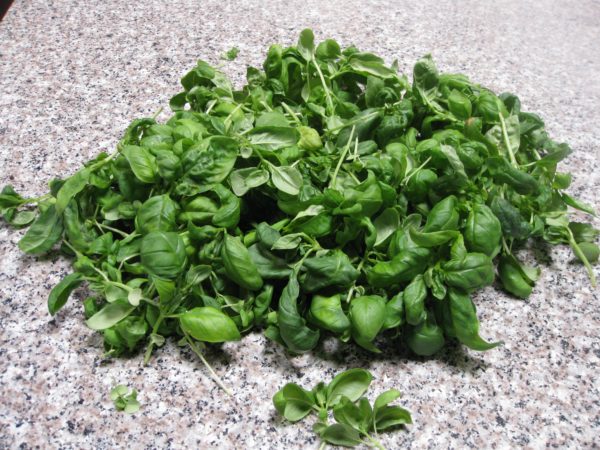
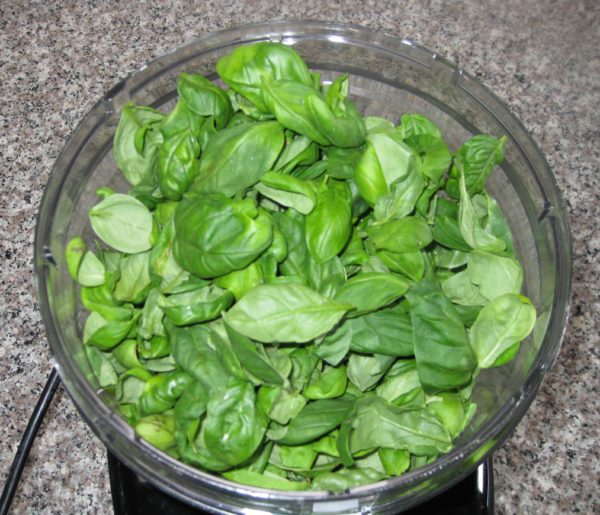
  1. Pluck the basil leaves from the stems and measure 2 cups, lightly packed.
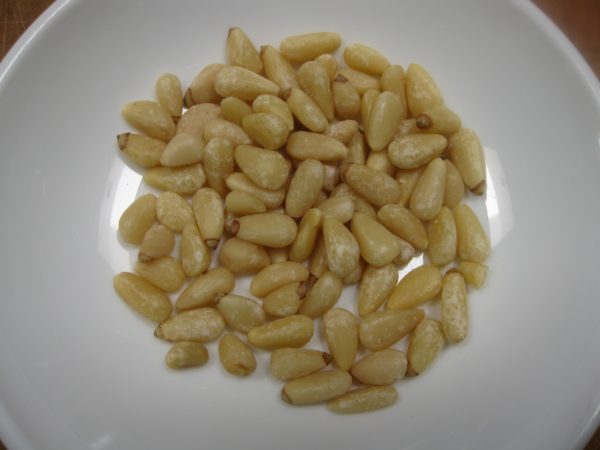
  2. Measure all the other ingredients. Pine nuts.
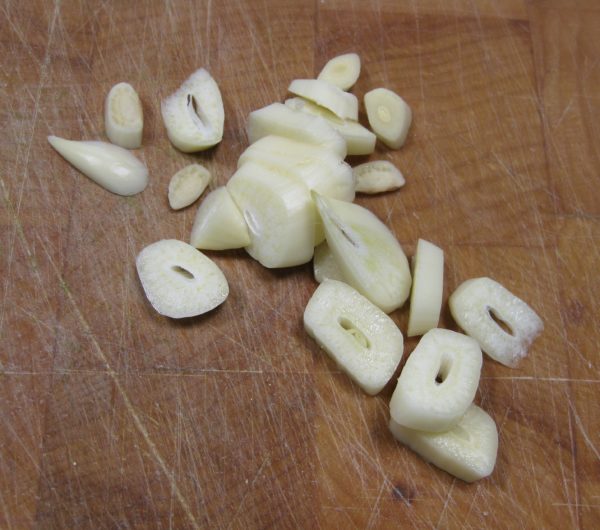
  3. Garlic.
  4. Parmigiano Reggiano and Pecorino Romano cheeses.
  5. Don't forget the extra-virgin olive oil and salt.
  6. Bring three quarts of water and 1/3 cup of salt to a rolling boil.
  7. While water comes to a boil and the pasta cooks, heat the serving bowl by placing it in a 150°F oven or partially filling it with boiling water.
  8. When the water comes to a boil, add the pasta. Return to a boil, stirring frequently.
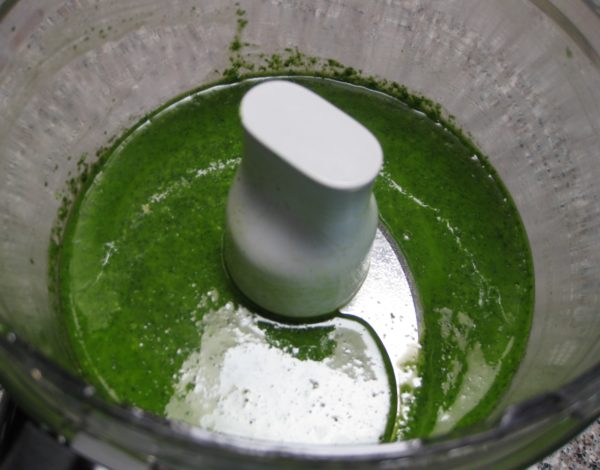
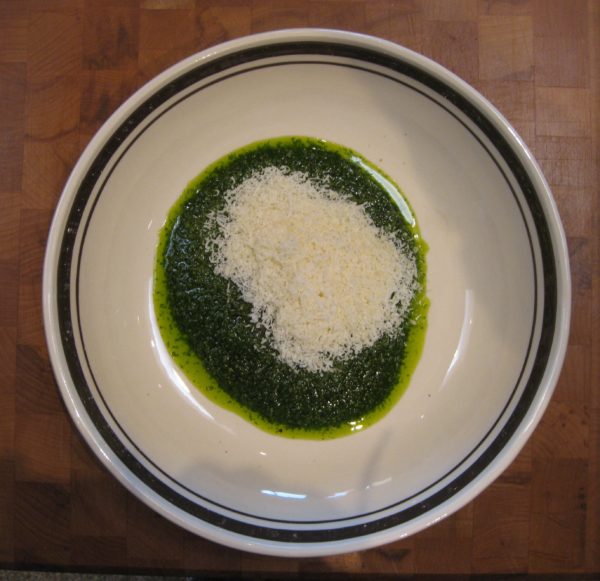
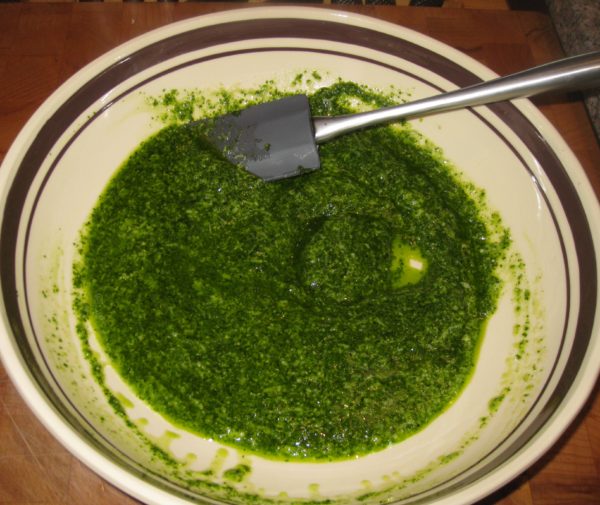
  9. As the pasta boils, put the basil leaves, olive oil, pine nuts, garlic, and salt in a food processor. Puree the basil mixture, scraping down the sides of the bowl occasionally.
  10. When the pasta is almost al dente, pour the basil puree into the warmed serving bowl.
  11. Add the Parmigiano and Romano cheeses. Stir to combine.
  12. Remove ¼ of the boiling pasta-cooking water from the pot and stir into the pesto to loosen it.
  13. When the pasta is al dente, remove and reserve a cup of pasta cooking water.
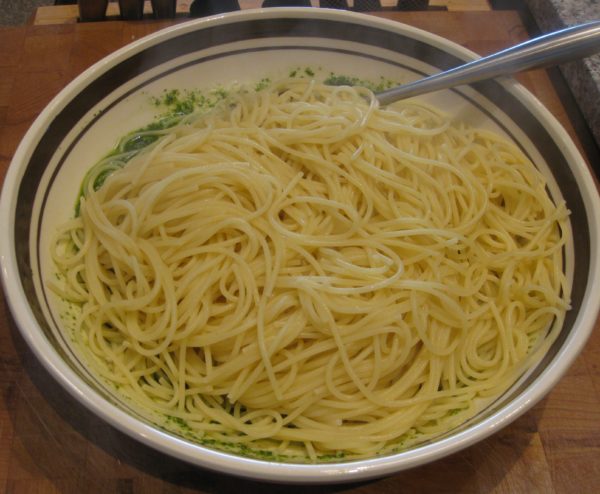
  14. Drain the pasta. Do not rinse. Add the pasta to the serving bowl and toss to coat each strand.
  15. If the pesto seems a little thick, add a tablespoon or two of the reserved pasta-cooking water.
  16. Taste and adjust salt if necessary.
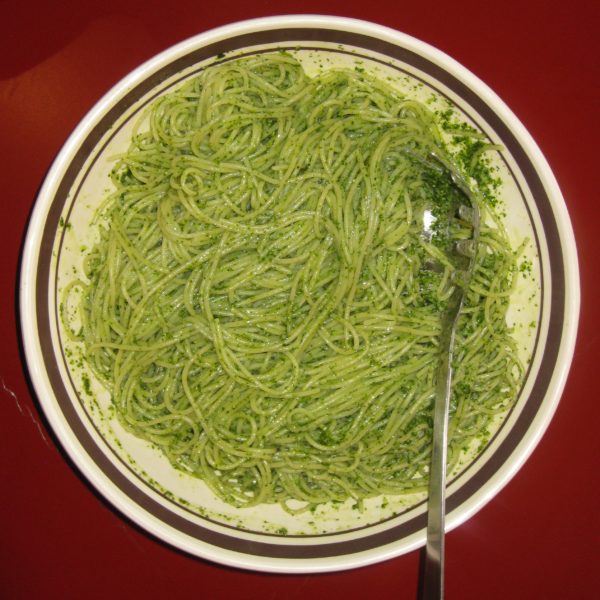
  17. The finished dish.
Recipe Notes

Copyright © 2017 by VillaSentieri.com. All rights reserved.
Share this Recipe

Orecchiette with Broccoli and Anchovies

May 10, 2017

A few times in my life I’ve been lucky enough to cook with my husband’s Great Aunt Fidalma.  It’s always been in my kitchen, though I keep hoping to make a trip to Tuscany to cook with her in her kitchen.

Zia Fidalma speaks Italian and German.  I speak English.  Though I studied German in high school and college, and at one point was passably able to translate scientific German, my command of spoken German (and at this point, scientific German) is hopeless.  I studied Italian for a while too, but the best I can do is read a menu, order in a restaurant, and find out where the restroom is.

So, cooking with Zia Fidalma starts with a language barrier but it doesn’t seem to matter.  Somehow we communicate.

Mostly that means Zia Fidalma speaks slowly in Italian emphasizing the words I am likely to understand most.

Like the time we were in my kitchen in Santa Fe preparing dinner for twelve.  The first course was spaghetti al pesto.  A pile of basil stalks from my father-in-law’s (Zia Fidalma’s nephew) garden were on the kitchen counter.  Zia Fidalma was plucking off basil leaves one at a time, inspecting each one.  At one point, she looked up at me holding a leaf and said “è brutta” (it’s ugly), clearly wanting my agreement to discard the less-than-perfect leaf.

One day at our home in Chicago, she was making risotto for lunch.  It had a very similar flavor profile to this pasta in that it contained broccoli, garlic and anchovies.

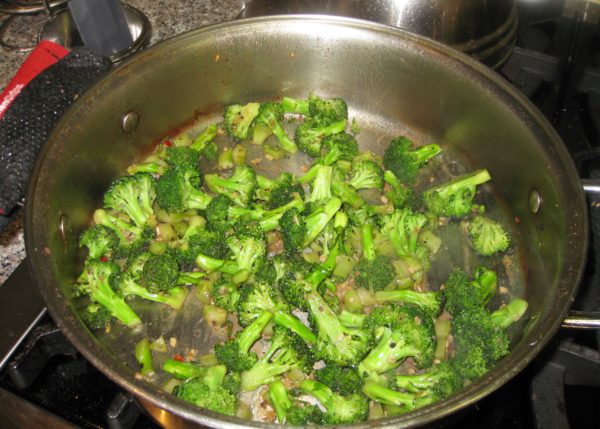
Zia Fidalma cranked up the 15,000 BTU burner to high.  She sizzled some minced garlic for a moment.  There was a vague hint of smoke coming from the pan.  She added the anchovies and stirred them about.  Smoke started to billow up.  She smiled knowingly.  She added the broccoli, undeterred.  Smoke continued.  She stirred.  I stood there horrified.  Then she lightly charred the broccoli.  I was even more horrified.  At long last some liquid went in and the rest of the risotto-making followed a familiar pattern.

I try to avoid smoking oil at all cost when cooking.  I was more than a little concerned about how the risotto would taste.

However, I have never had anything but fabulous food from Zia Fidalma, so I had to trust that this would be OK, too.

This wasn’t her first rodeo.  She’d been making risotto since before I was born.

In the end, all I can say is that the risotto was wonderful.  It had layers of flavor.  It provided an important lesson about how techniques different from what one would typically use can create incredible flavors.

So, if you see wisps of smoke coming from the pan as you singe the broccoli for this recipe, don’t fret.  Just raise a toast to Zia Fidalma, and enjoy!

Print Recipe
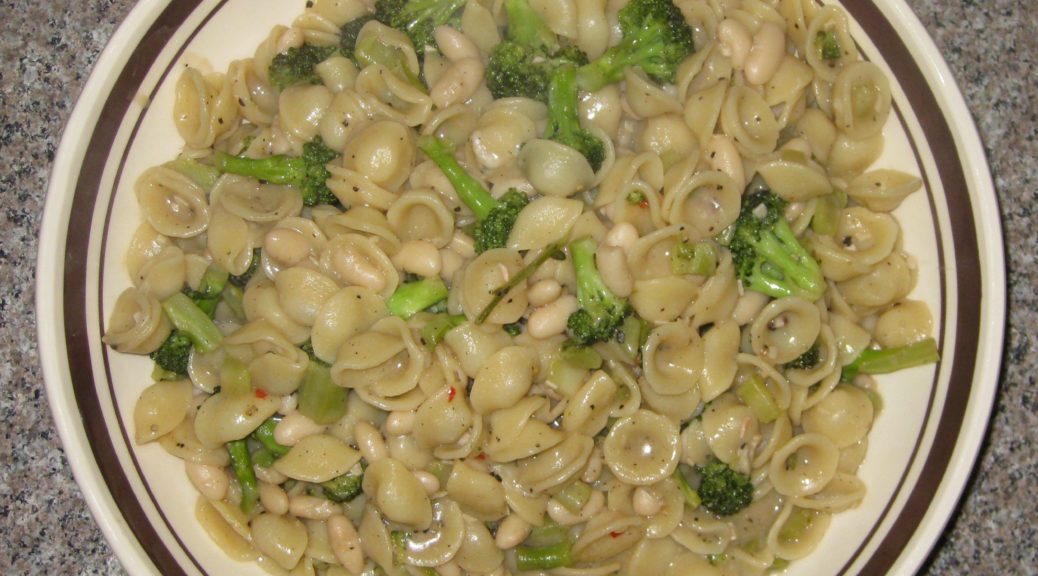
Orecchiette with Broccoli and Anchovies
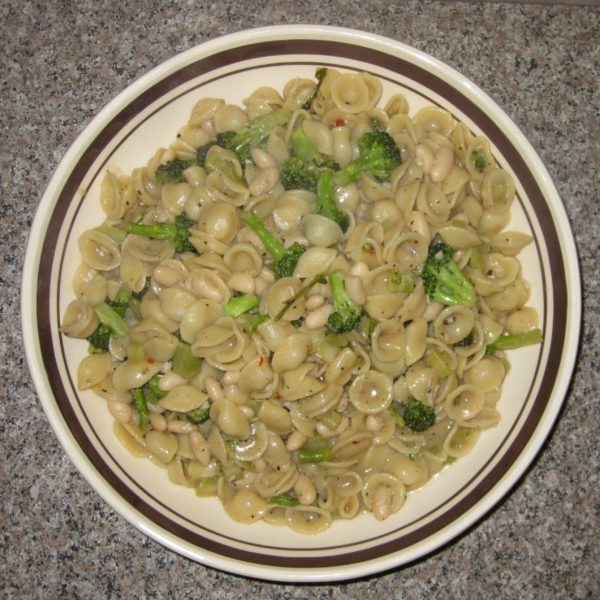
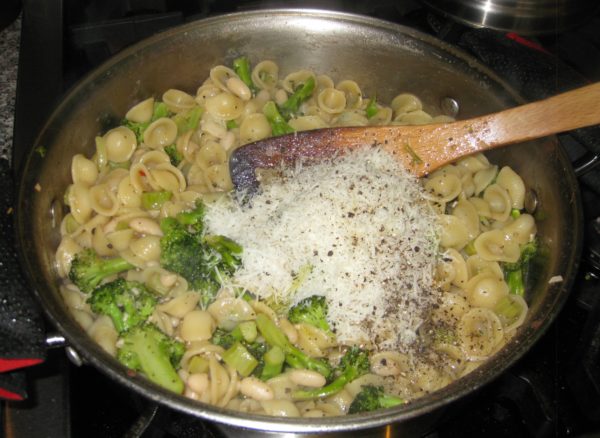
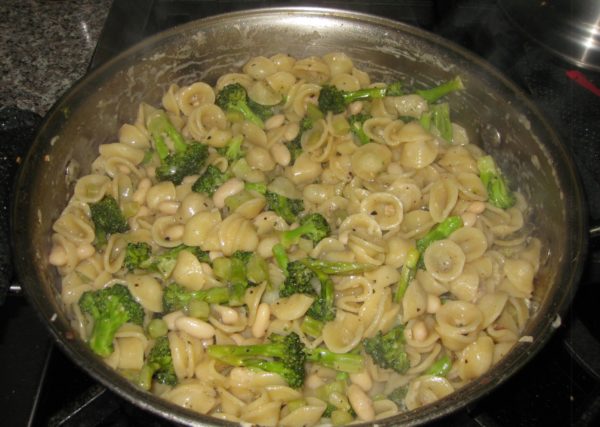
My husband’s Great Aunt Fidalma, who lives in Tuscany, showed me how to cook the broccoli in this manner. Previously, I parboiled the florets and added them and the beans to the sautéed garlic and anchovies. This method adds layers of flavor that cannot be obtained by just boiling the broccoli. I prefer to use home-cooked kidney beans following my recipe for Cannellini alla Toscana. You can use either red or white (cannellini) beans but the red ones add more color contrast. As an alternative you can use one 15 ounce can of beans. Do not discard the liquid in the can as it will improve the body of the sauce.
Votes: 0
Rating: 0
You:
Rate this recipe!
Prep Time 15 minutes
Cook Time 30 minutes
Passive Time 15 minutes
Servings
people
Ingredients
Prep Time 15 minutes
Cook Time 30 minutes
Passive Time 15 minutes
Servings
people
Ingredients
Votes: 0
Rating: 0
You:
Rate this recipe!
Instructions
  1. Put 3 quarts of water and 1/3 cup salt in a 5 quart stockpot or Dutch oven. Bring to a boil over high heat.
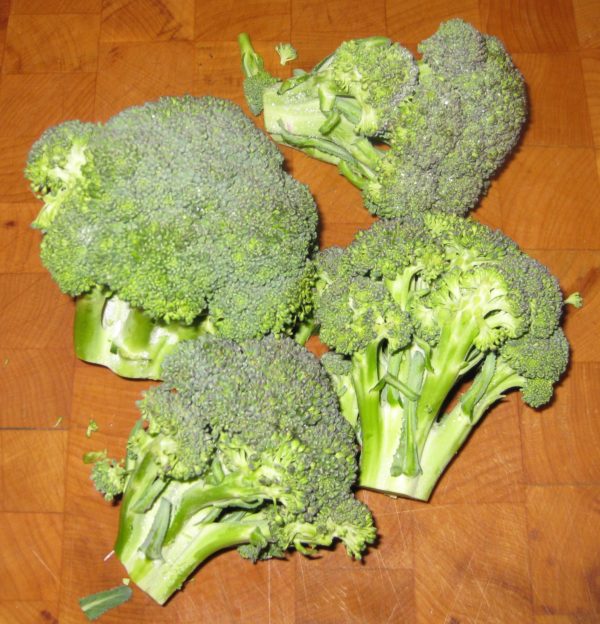
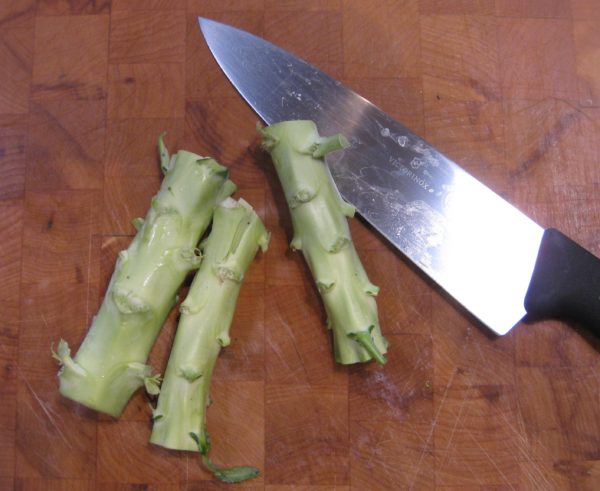
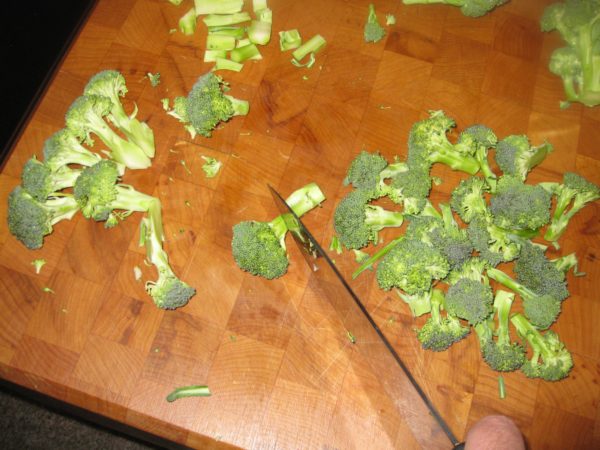
  2. Meanwhile, cut the thick stems off the broccoli just below where the stems start to branch into individual florets.
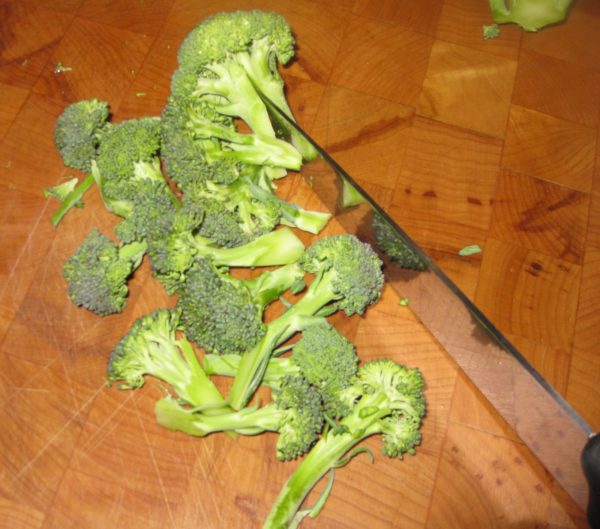
  3. Cut the individual florets off the broccoli by cutting lengthwise through the stalk from top to bottom.
  4. Cut off any remaining stalk just below the floret. These tender stalks can be cut crosswise into one-half inch pieces and added to the florets.
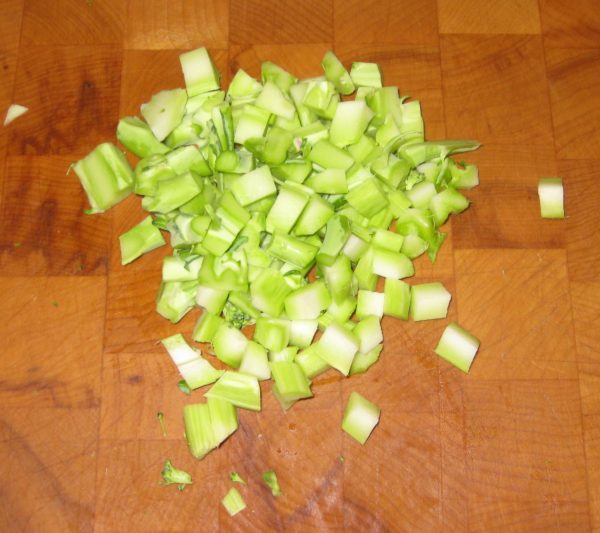
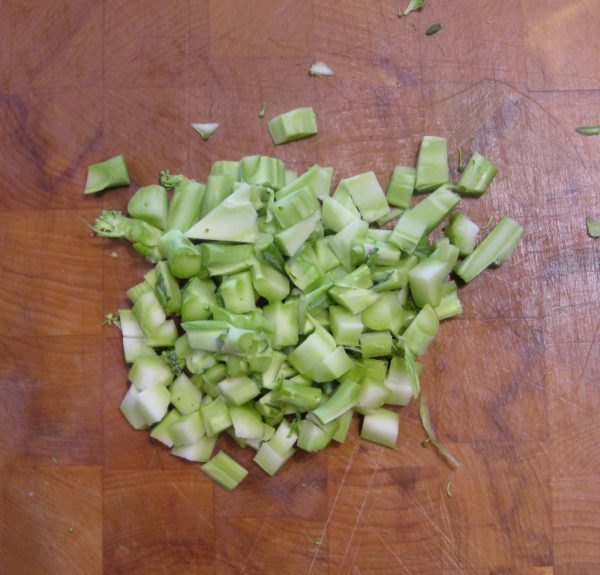
  5. You can use some of the thicker stalks as well, if you wish. To do so, use a vegetable peeler to remove the tough outer skin. Dice the peeled stems into 1/3 inch cubes. Reserve these diced stalks separately from the florets and diced tender stalks.
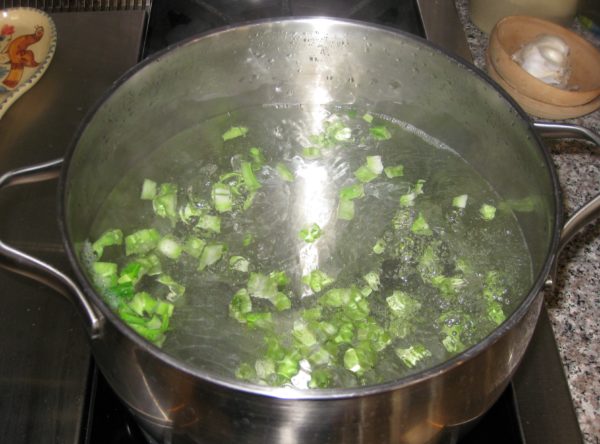
  6. When the salted water comes to a boil, add the diced, peeled stalks, if using. Return to a boil and cook for 2-3 minutes until they just begin to get tender. Using a spider or large slotted spoon, remove the stalks from the water and plunge them into a bowl of ice water to stop cooking. When cool, drain in a colander.
  7. Keep the water on low heat so you can return it to a boil quickly when needed to cook the pasta.
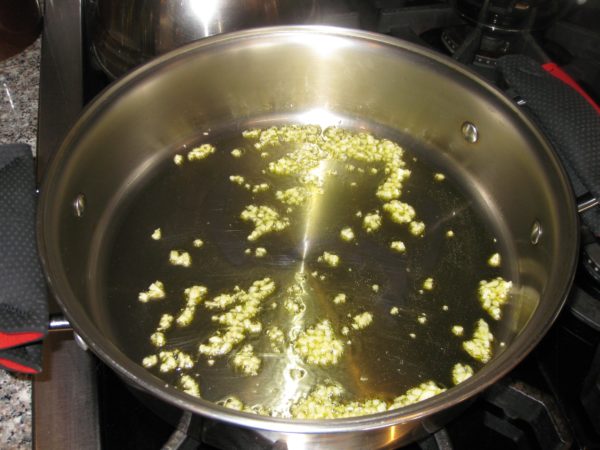
  8. In a heavy-bottomed pan large enough to hold the finished dish, sauté the garlic over medium high heat until it turns fragrant, about 30 seconds.
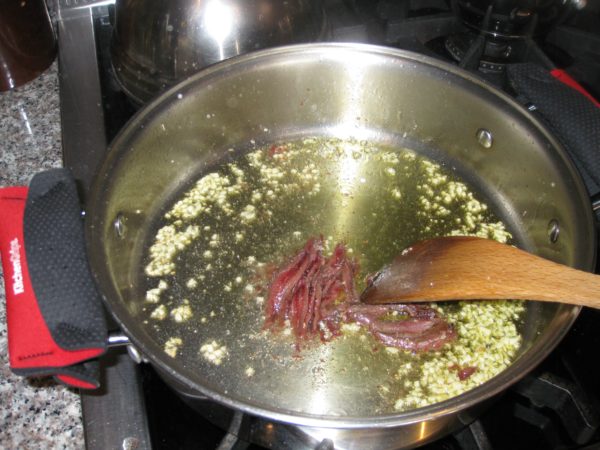
  9. Add the anchovies and their oil and continue to sauté, breaking up the anchovies till they turn to a paste.
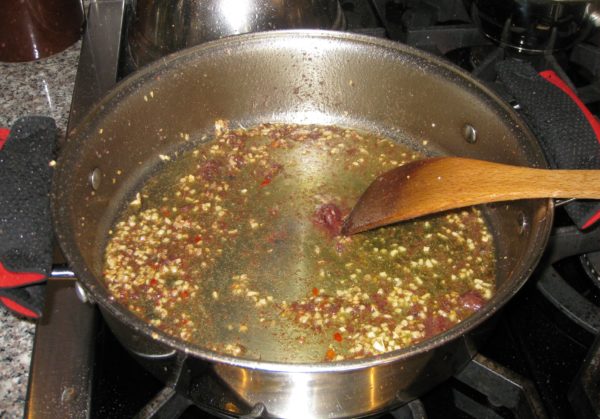
  10. Continue to cook until the anchovies darken slightly, about 1-2 minutes.
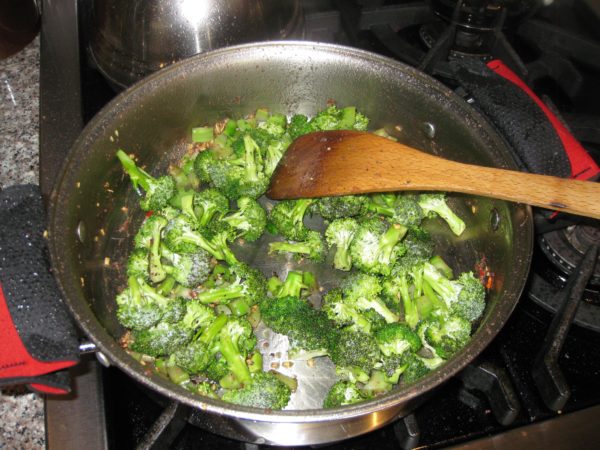
  11. Add the broccoli florets and diced tender stems. If using, add the partially cooked peeled stems. Season with salt and freshly ground black pepper.
  12. Sauté on high heat, stirring very frequently, until some of the broccoli florets just begin to singe, about 5 minutes.
  13. Add the crushed red pepper. Stir to combine.
  14. Add the wine and cover with a tight fitting lid. Cook over medium high heat till the florets are cooked through but not mushy, shaking the pan occasionally.
  15. If all the wine evaporates before the broccoli is cooked, ladle in a bit of the pasta cooking liquid and continue.
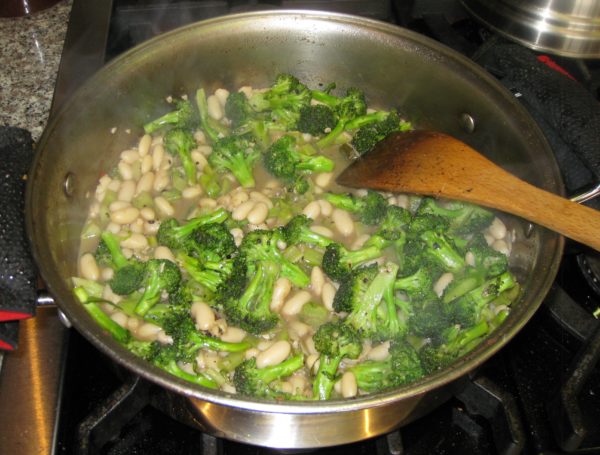
  16. When the broccoli is cooked, add the beans and their cooking liquid along with the oregano. Bring to a simmer over gentle heat.
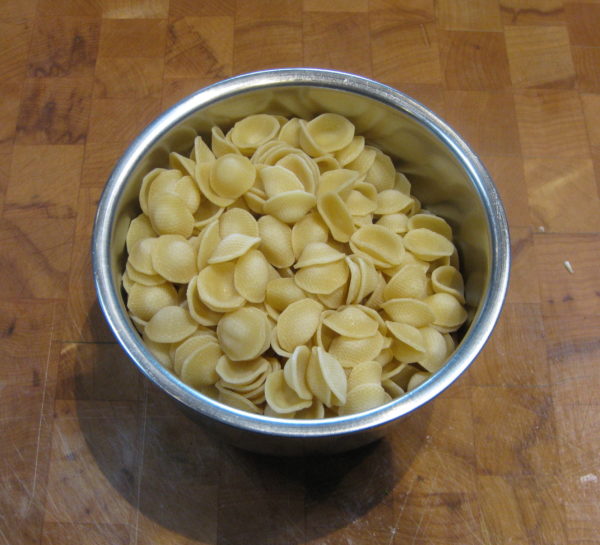
  17. Meanwhile, return the pasta-cooking water to a rolling boil and add the pasta. Cook until the pasta is slightly shy of al dente. The pasta will finish cooking in the sauce.
  18. Put about ¾ cup of pasta cooking liquid into the beans. Reserve another cup of the liquid.
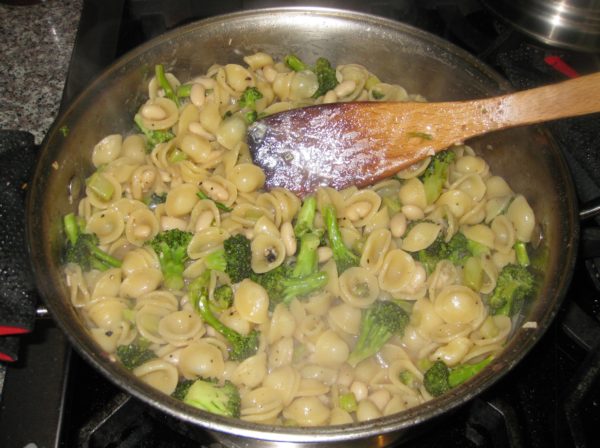
  19. Quickly drain the pasta and add to the beans. Stir well. Bring to a gentle boil, uncovered. Cook stirring occasionally until the pasta is al dente. Add as much of the reserved pasta-cooking liquid as needed to have enough sauce to coat the pasta and broccoli.
  20. The starch in the pasta-cooking liquid will add body to the sauce. One way to incorporate more of the pasta-cooking liquid is to cook the pasta over higher heat so that you can add, and boil off, more of the liquid, leaving the starch behind.
  21. When the pasta is cooked, remove the pan from the heat and stir in the Parmesan cheese and 1 teaspoon freshly ground black pepper. Taste and adjust salt after adding the cheese.
  22. Stir in the finishing extra-virgin olive oil. This will make the sauce glossy and add additional flavor.
  23. The starch from the pasta water and bean-cooking liquid along with the cheese should create an emulsion with the oil. You may need to add more of the reserved pasta-cooking liquid to loosen the sauce.
  24. Serve immediately. Pass extra Parmesan cheese at the table.
Recipe Notes

Copyright © 2017 by VillaSentieri.com. All rights reserved.
Share this Recipe

Farfalle con Salsa di Piselli (Bowtie Pasta with Peas)

April 13, 2017

I’ve been silent for a while.  It wasn’t planned or anticipated.  Life just got in the way.  Mostly it was good stuff, though.  For example…

My husband’s birthday…a momentous one that ends in a zero…held at Trio Restaurant in Palm Springs.

A wedding (complete with a photo shoot using vintage hats!)  Congratulations Suzanne and Bob!!

A visit to the Trinity Site on one of the two days per year that it is open to the public.

Cooking at Palm Desert Food and Wine Festival.  Yep!  I got to cook at the Palm Desert Food and Wine Festival!!

That was a hoot!

The main events of the food and wine festival are held in a series of large tents on the top of a parking garage in Palm Desert.  The festival starts off on Friday with a multi-course, wine-paired James Beard Luncheon prepared by celebrity chefs.  The festival continues on Saturday and Sunday with The Grand Tasting and Chef Demonstrations.  There are other related events, such as special dinners, in the area, too.

There are three tents devoted to chef demonstrations.  Each demonstration runs for about an hour.  One demonstration per hour in each of three tents for two days is a lot of demonstrations.

Local chefs bring their own ingredients for their demonstrations and also prepare samples of the finished dish for about 100 audience participants.  Mostly what the local chefs really bring is their restaurant kitchen staff to do the work.

Celebrity Chefs have a whole different deal.  They submit their recipes.  The ingredients get purchased.  The commercial kitchen, set up in a tent on top of the parking garage, preps all the ingredients for their demonstrations and also prepares between 75 and 175 portions of the dish to be distributed to the audience.

I got to prepare food for The Beekman Boys, Stuart O’Keeffe, Zac Young, and Aarti Sequeira, among others.  The Beekman Boys, Josh and Brent, were gracious enough to come into the kitchen and chat with me during their Facebook Live post!  The post is below.

https://www.facebook.com/FabulousBeekmanBoys/videos/10155167453464283/


So, while I wasn’t posting recipes, for which I apologize, I was further pursuing my cooking goals.

After being in Palm Desert, where it was definitely spring, and returning to Santa Fe where it was definitely winter, I felt the need for something spring-like.  This pasta, with a sauce of spring-like peas, was exactly the thing!  Unless you have absolutely glorious peas from a local farmers’ market, I suggest using frozen peas.  This is exactly what I did to create a taste of spring in the Santa Fe winter!

Print Recipe
Farfalle con Salsa di Piselli (Bowtie Pasta with Peas)
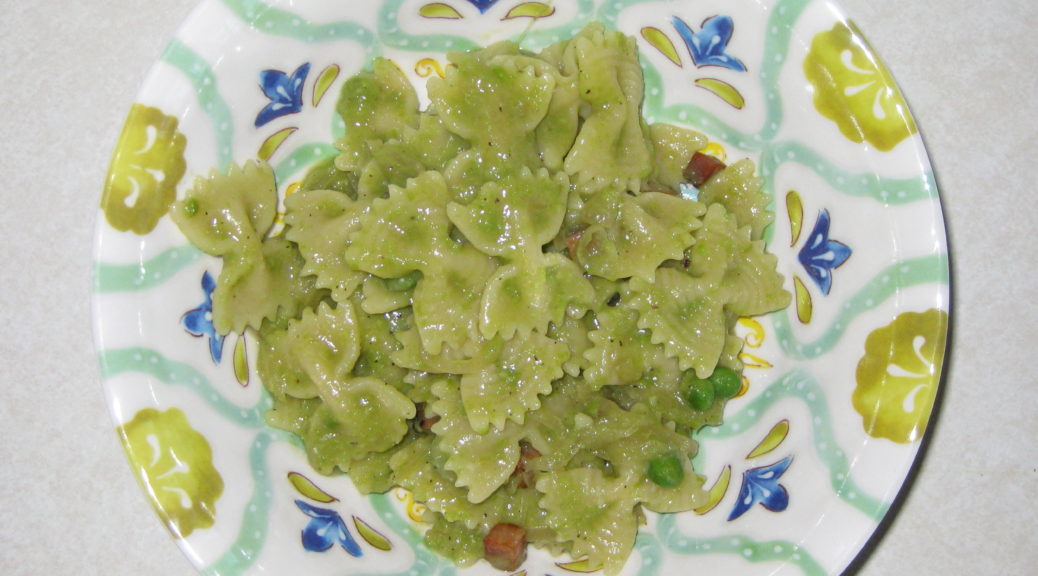
If you have access to fresh peas from a farmers’ market please give them a try. If not, frozen peas work well. I’ve never had good luck with the “fresh” shelled peas in the supermarket. They always seem too starchy, and sometimes even musty tasting. Each pound of peas in the pod yields about 1 cup of shelled peas. For the 2 ¼ cups of peas needed for this recipe, I’d start with at least 2 ¼ pounds of peas in the pod. The vermouth adds an herbal quality and its slight bitterness balances the sweetness of the peas.
Votes: 0
Rating: 0
You:
Rate this recipe!
Prep Time 30 minutes
Cook Time 30 minutes
Servings
people
Ingredients
Prep Time 30 minutes
Cook Time 30 minutes
Servings
people
Ingredients
Votes: 0
Rating: 0
You:
Rate this recipe!
Instructions
  1. Combine the peas, thyme and water. Season with salt. Bring to a boil. If you are using frozen peas remove from the heat as soon as the water comes to a boil and continue with the next step. If you are using fresh peas, cook until the skins pop when bitten into and the peas are just cooked. This will take just a few minutes. The time is dependent on the peas so you’ll have to taste a pea about every 30 seconds so that you don’t overcook them.
  2. Remove ½ cup of the cooked peas from the cooking liquid. Rinse the peas under cool water to stop the cooking. Reserve the peas.
  3. Puree the remaining peas with the cooking liquid in a blender. Reserve the pea puree.
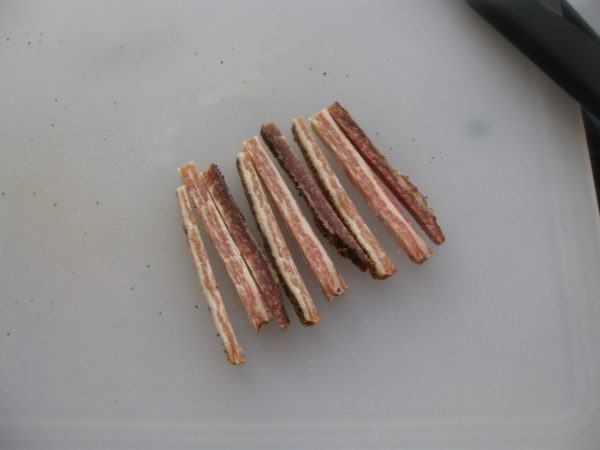
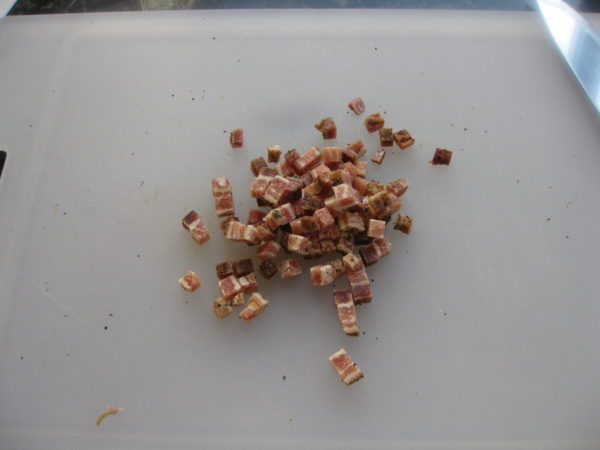
  4. Cut the pancetta into ¼ inch dice.
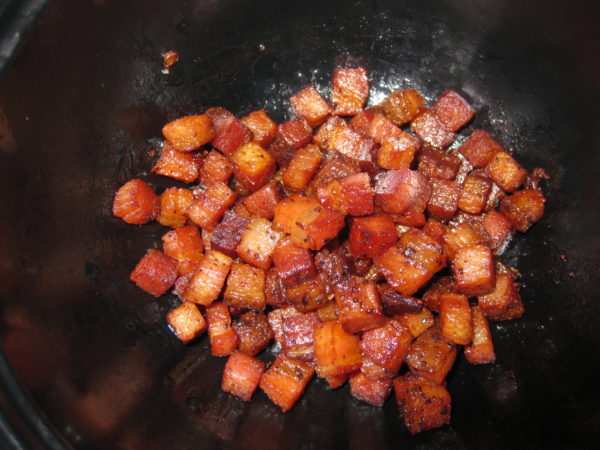
  5. In a wide, heavy-bottomed pan large enough to hold the cooked pasta comfortably, cook the pancetta over medium-low heat until crisp and brown. If the oil from the pancetta starts to smoke reduce the heat and add a tablespoon of water to quickly lower the temperature. It is important to brown the pancetta well, and to create browned bits in the bottom of the pan (without burning) to build flavor for the sauce.
  6. Remove the pancetta and reserve.
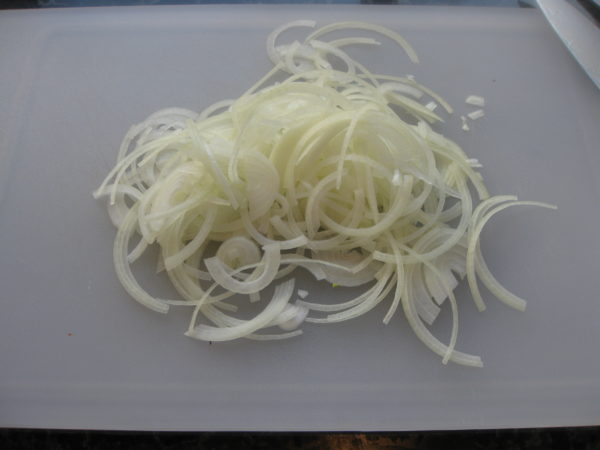
  7. Thinly slice the onion.
  8. Add the butter to the pan you just used to cook the pancetta. leaving in the rendered fat and browned bits. As soon as the butter melts, add the thinly-sliced onion and sauté until the onion is soft and golden brown.
  9. Add the vermouth to the sautéed onions. (Note, the recipe can be prepared several hours in advance up to this point. If doing so, as soon as you add the vermouth, remove the pan from the heat and cover tightly.)
  10. Bring the onion-vermouth mixture to a boil and boil rapidly until the vermouth has evaporated.
  11. Add the pureed peas, reduce heat to low, and gently warm the onion-pea puree mixture.
  12. Meanwhile cook the pasta in three quarts of heavily-salted, rapidly-boiling water. When the pasta is al dente, remove one cup of the cooking liquid and reserve.
  13. Drain the pasta and immediately add it to the warm onion-pea puree mixture.
  14. Increase heat to medium. Add the whole cooked peas, the pancetta, freshly ground black pepper to taste, and enough of the reserved pasta cooking liquid to make a sauce that just clings to the pasta. Cook for a minute or two to allow the sauce to bubble and thicken, stirring occasionally. Add more pasta cooking liquid as needed.
  15. Off the heat, add the Parmesan cheese. Stir well. Add a bit more pasta cooking water if the sauce becomes too thick after adding the Parmesan cheese.
  16. Add the fruity extra virgin olive oil, if using. Stir. Taste and adjust salt and pepper, if necessary.
Recipe Notes

Browning the pancetta and onions is critical to building flavor for the sauce.  It is better to use low heat than heat that is too high.  The starch in the pasta-cooking liquid helps to add body to the sauce.

Copyright © 2017 by VillaSentieri.com. All rights reserved.
Share this Recipe

Mom’s Pasta e Fagioli (Mom’s Pasta and Beans)

February 22, 2017

We didn’t eat a lot of prepared foods growing up.  In fact we almost never did.  OK, there were a few times in the early 60’s where I got to try out those recently-invented “TV Dinners.”

I was well into adulthood before I had a real appreciation for the quality of the homemade food that was put on our table every day.

My mother made putting great food on the table seem effortless.  I remember many Sunday mornings when I’d wake up to find her making ravioli from scratch for our big midday meal: cooking the beef and spinach filling, preparing the dough, rolling and filling the ravioli, all the while a big pot of tomato sauce bubbling away on the stove.  It was just a family Sunday dinner!

Weekday meals were usually less elaborate but no less delicious; maybe homemade sausage, pan-fried potatoes, and a vegetable or two or maybe pasta with sauce leftover from Sunday.  It was always fun to walk into the kitchen to find her making something I’d never had before; something that her mother used to make.  Sometimes that wasn’t even at a defined meal time.

Now I think I understand.  My mother died in 1993 and I bet I didn’t make her version of pasta e fagioli for 20 years after her death.  Then one day, the desire for it just struck me and there I was, in the kitchen, cooking.

It’s become part of my regular routine again after that long hiatus.  Sitting down to a bowl of my mother’s pasta e fagioli is comforting; almost as comforting as if she had made it for me.  There’s just something about the combination of pasta, beans and red sauce that I can’t explain.  It triggers an emotional bridge to what feels like an earlier time in my life.  I’m guessing something similar prompted my mother to occasionally whip up dishes from her youth that she hadn’t made in decades, if ever.

Print Recipe
Mom's Pasta e Fagioli (Mom's Pasta and Beans)
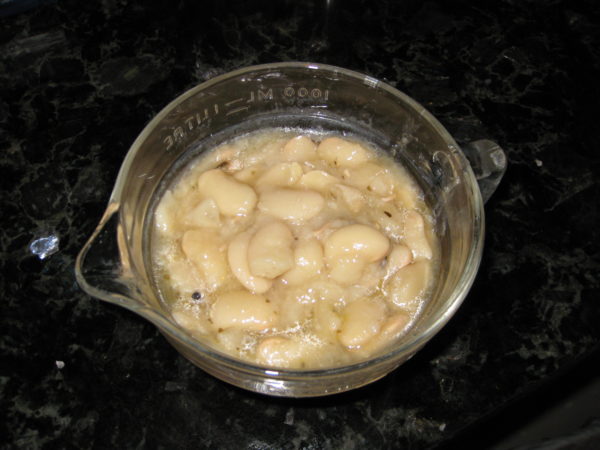
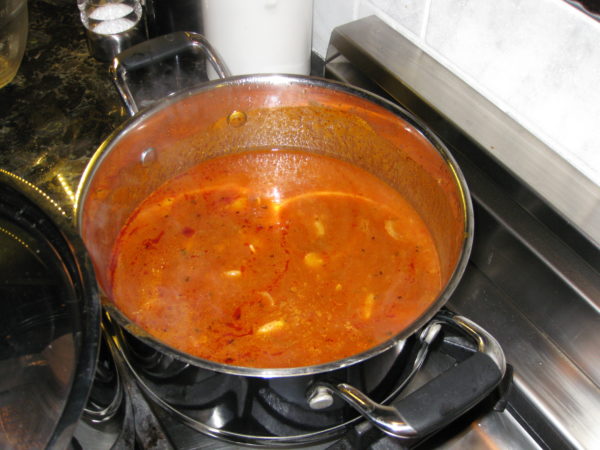
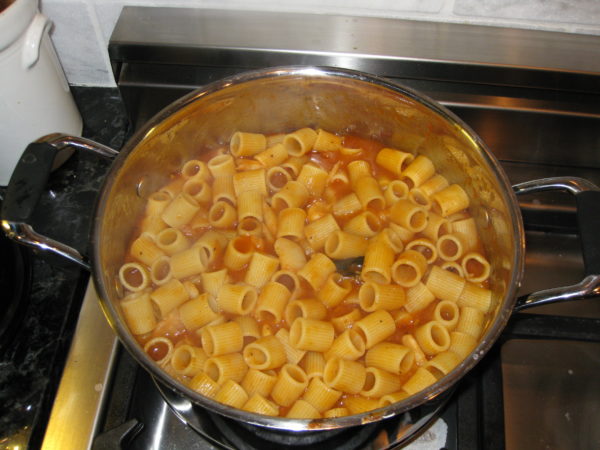
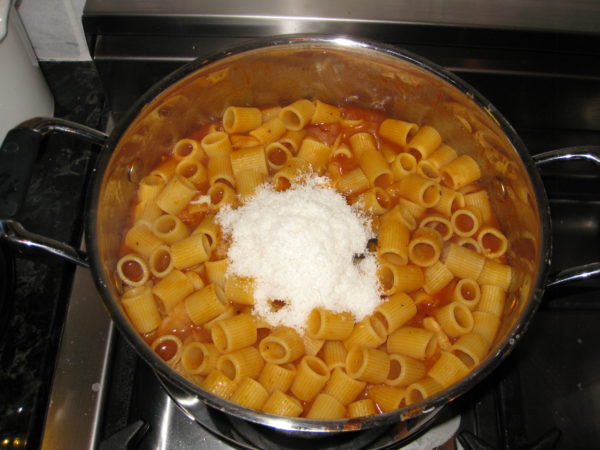
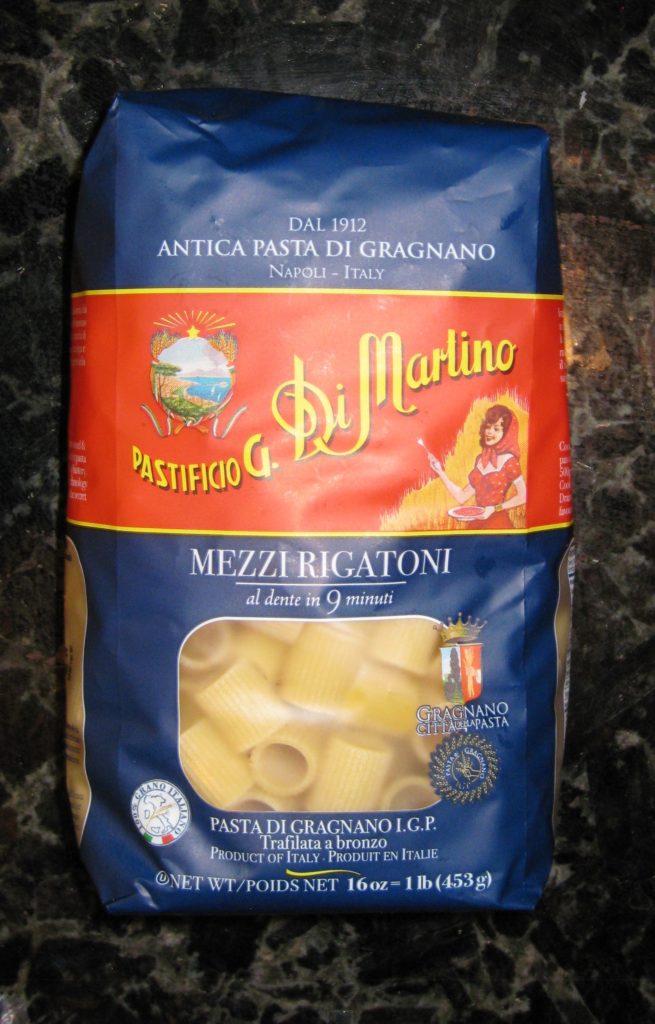
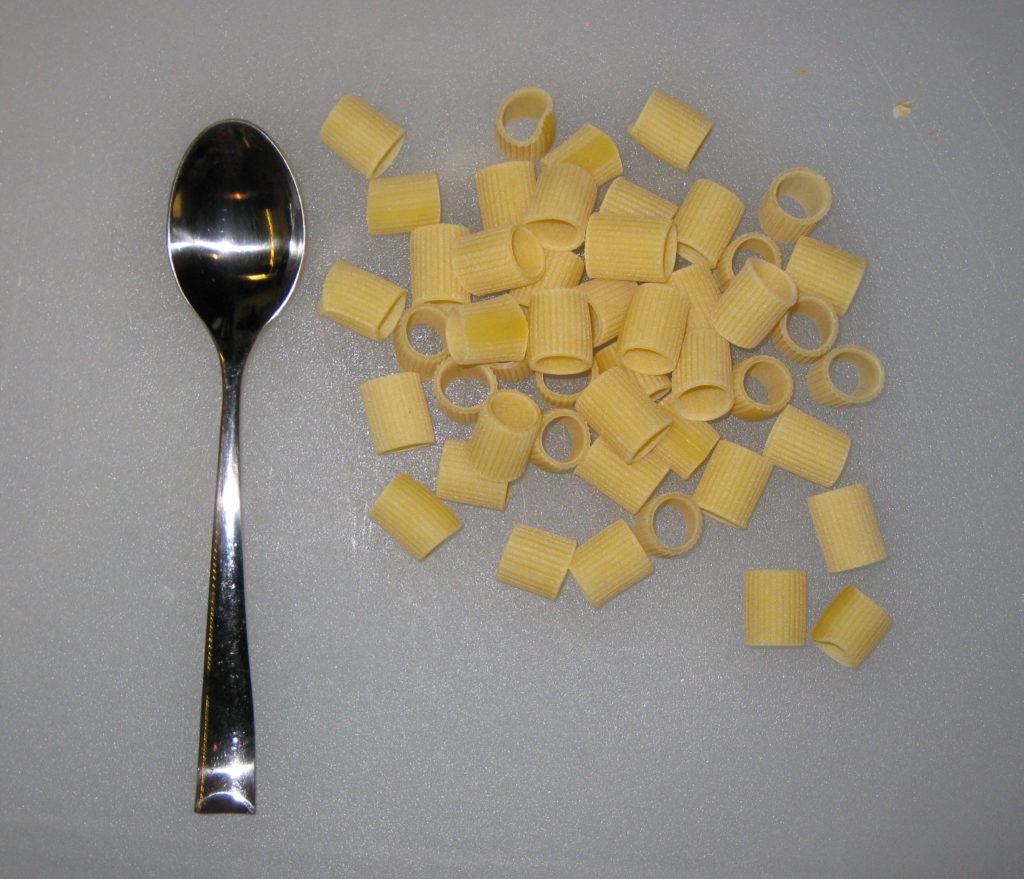
Follow the directions for Cannelini alla Toscana but use dried lima beans instead of cannellini and substitute ½ teaspoon of dried oregano and a sprig of fresh rosemary for the sage. There will be leftover beans that you can freeze or refrigerate for another use. You can also use two 15 ounce cans of Butter Beans in place of the home-cooked lima beans. Mom always used ditalini for this dish. These days, when you can find them (and it can be challenging) they have usually been upgraded from ditalini to ditali, though they are exactly what she used. More frequently, I use a slightly larger, but still rather small, pasta such as the mezzi rigatoni shown here.
Votes: 0
Rating: 0
You:
Rate this recipe!
Prep Time 15 minutes
Cook Time 1 1/2 hours
Servings
people
Ingredients
Prep Time 15 minutes
Cook Time 1 1/2 hours
Servings
people
Ingredients
Votes: 0
Rating: 0
You:
Rate this recipe!
Instructions
  1. Finely dice the onion. Sauté the onion in ¼ cup of olive oil until soft and golden.
  2. Add the crushed red pepper and sauté another minute.
  3. Add the tomato paste and sauté, stirring frequently until the tomato paste turns a shade darker and smells sweet, 2-3 minutes.
  4. Add the water, oregano, basil and salt and pepper to taste. Stir well to fully incorporate the tomato paste.
  5. Bring to a very low boil, partially covered, and cook 30-45 minutes stirring occasionally. Adjust seasoning as needed, tasting several times as the sauce cooks.
  6. Meanwhile, sauté the garlic in the remaining ¼ cup of olive oil very slowly until browned. Remove from the heat and reserve.
  7. The dish can be cooked several hours ahead to this point.
  8. Bring three quarts of water and three tablespoons of salt to a boil.
  9. While the water is heating, add the beans and their liquid to the tomato sauce, return to a simmer, and cook, partially covered till the pasta is ready.
  10. Cook pasta until it still has a small bit of chewy center. It will cook more in the sauce. Scoop out and reserve two cups of the pasta cooking liquid.
  11. Drain the pasta. Add the pasta to the tomato-bean mixture. Add the browned garlic and olive oil. Stir well, cover and cook on very low heat until the pasta is cooked but al dente and the sauce has thickened. Add some of the pasta cooking liquid as needed from time to time to create a smooth sauce.
  12. Off the heat stir in the Parmigiano Reggiano cheese. Taste and adjust seasoning.
  13. It is not unheard of for me to add an extra glug or two of olive oil at this point to get a luscious sauce. Stir and decide if another dash of pasta-cooking water is needed, as well.
Recipe Notes

Mezzi Rigatoni


Copyright © 2017 by VillaSentieri.com. All rights reserved.
Share this Recipe

Pasta ai Funghi (Pasta with Mushrooms)

January 27, 2017

Growing up, pasta was almost always served with a long-cooked Southern Italian ragu.  Yes, there was the occasional sauce of vegetables sautéed in olive oil till they softened enough to make a sauce but those sauces were the exception to the rule.

These days, a long-cooked ragu is still the epitome of pasta cooking for me but far more often I make quicker sauces.  Pasta with mushrooms is one of them.

In my last post, I introduced nepita, an herb used in Italy that is really not commonly available in the US.  Nepita pairs really well with mushrooms.  The nepita that I use is from plants that we grow from seeds we brought back from Italy in 1996.  I’m so concerned that one day our nepita won’t make it through the winter and reappear in the spring that we’ve taken to backing it up the way other folks back up their data.

Over the years we’ve gifted nepita plants to friends who like to garden.  Should a disaster ever befall our nepita, there should still be a clone of it somewhere with enough seeds that we can germinate another plant or two.  For an herb that I’ve only known for 20 years, it’s become an integral part of my kitchen.

While there’s no real substitute for nepita, there are lots of herbs that go well with mushrooms.  In this rendition, I’ve called for basil and oregano, the combination that I usually use when I don’t have nepita.  Marjoram also works well, with or without a pinch of thyme, but marjoram is a relatively uncommon herb in Italian cooking.

Herbs are not a major player in this dish.  Though nepita is distinctive, there are so many layers of flavor from the dried porcini, onion, garlic, and marsala that the lack of nepita isn’t really a big deal.  Basil and oregano work well and, in fact, are what I used before that 1996 trip to Tuscany where I discovered nepita.

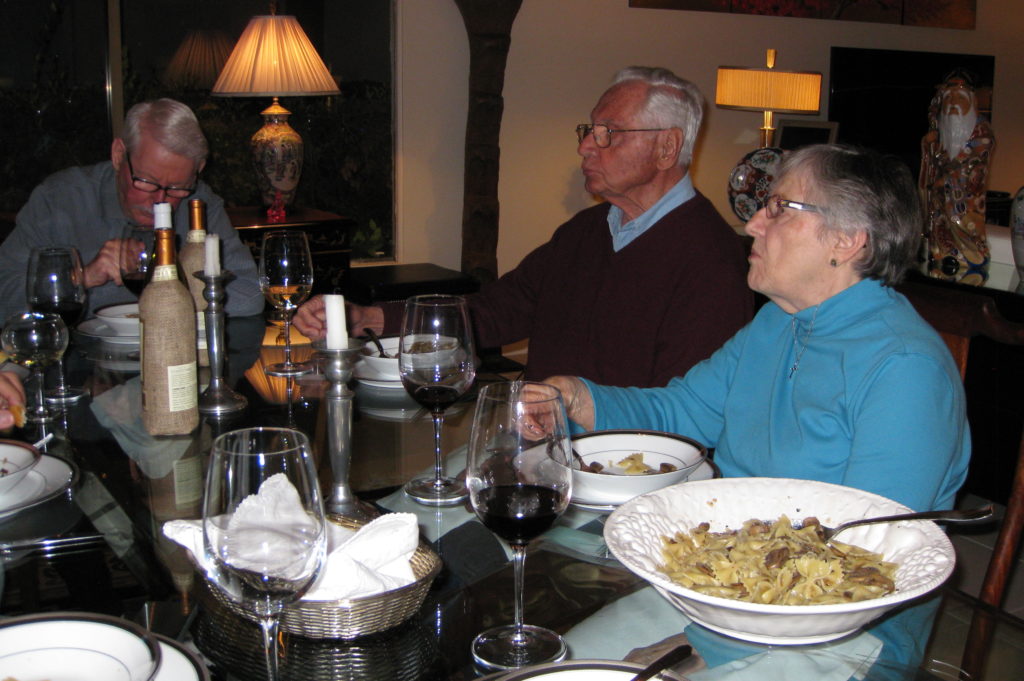
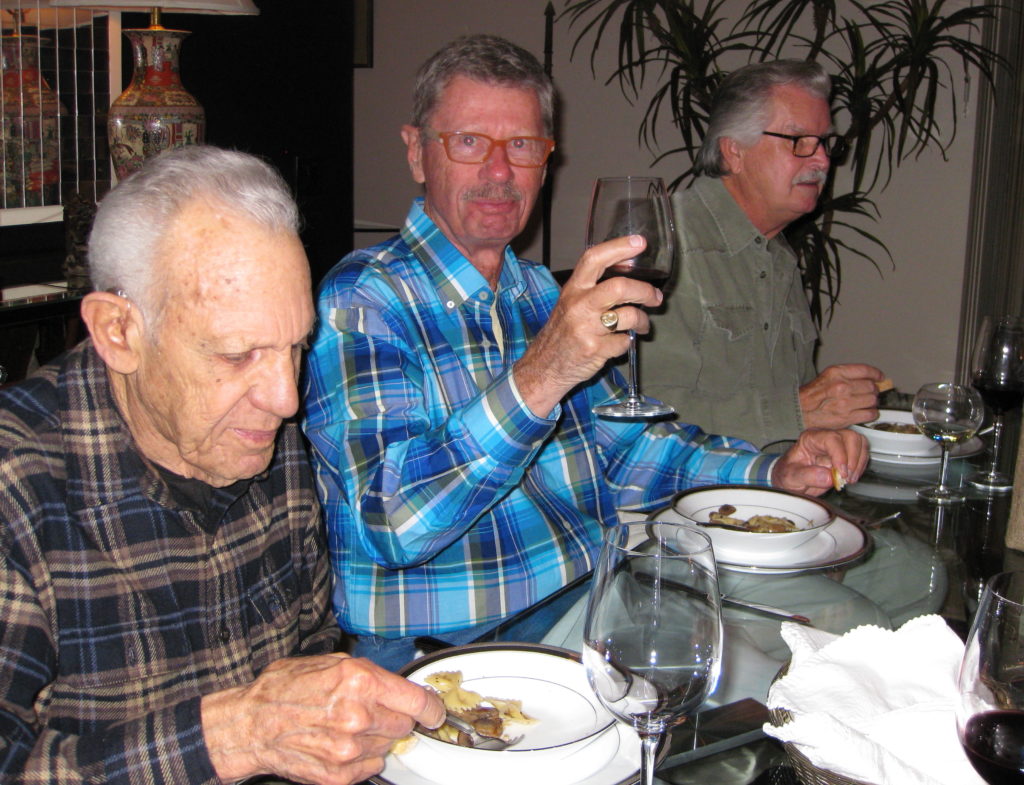
Pasta ai Funghi was one of the courses I served at my father-in-law’s birthday dinner last week.  Here are a couple of pictures of that dinner from our home in Palm Springs.


My father-in-law (left) and mother-in-law. Good friend, Gino Barcone is in between.
From left to right, John Berl, Bill Hoadley, and Bob Bauernschmitt.


Print Recipe
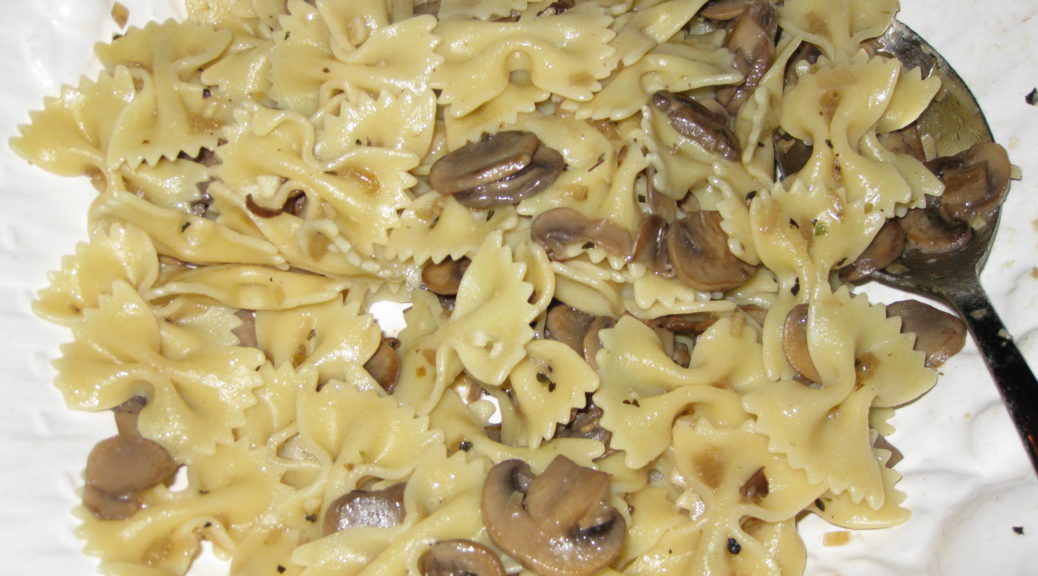
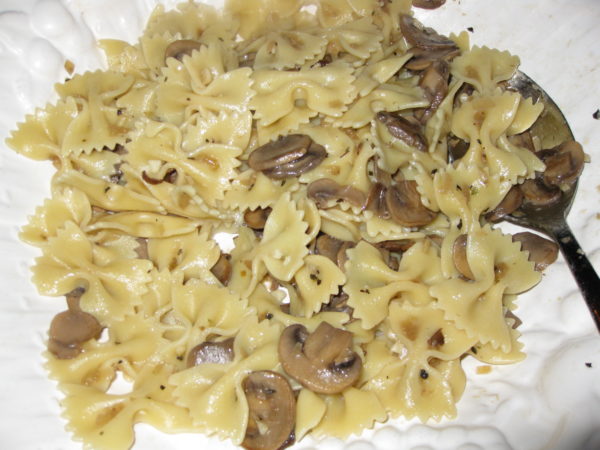
Pasta ai Funghi (Pasta with Mushrooms)
While many mushroom-based sauces for pasta contain cream and butter, this one uses only olive oil. It creates a beautiful, glossy sauce. The mushrooms can be prepared several hours in advance making this an ideal dish if you are cooking for company.
Votes: 0
Rating: 0
You:
Rate this recipe!
Prep Time 25 minutes
Cook Time 35 minutes
Servings
people
Ingredients
Prep Time 25 minutes
Cook Time 35 minutes
Servings
people
Ingredients
Votes: 0
Rating: 0
You:
Rate this recipe!
Instructions
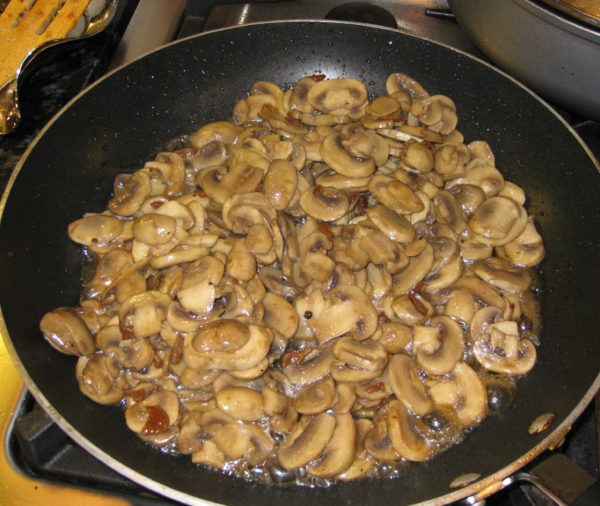
  1. Soak porcini in enough warm water to just cover. When soft, about 15 minutes, squeeze excess water out of the mushrooms. Reserve the liquid. Finely chop the porcini.
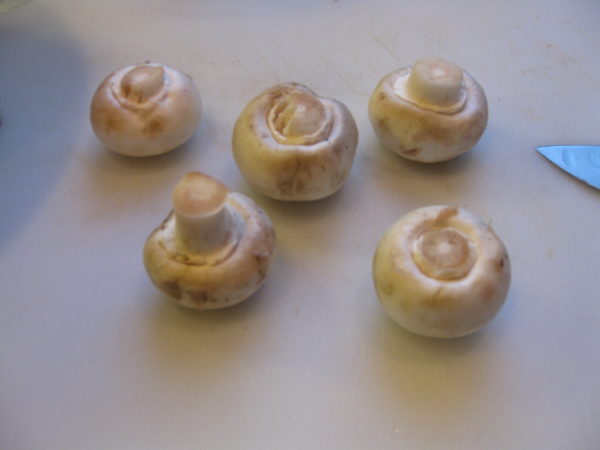
  2. Clean the mushrooms by wiping them with a damp cloth.
  3. If you are using common white mushrooms, slice off the very bottom of the stem as it is usually a bit dry. There is no need to remove the rest of the stem, though.
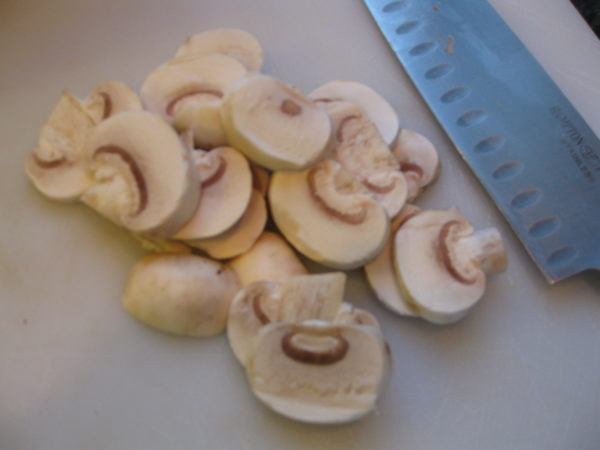
  4. Turn each mushroom upside down and cut into 1/8 inch thick slices. If the mushrooms are really large, you might have to make a crosswise cut as well.
  5. Slice or cut other mushrooms into similar sized pieces. For example, cut large portobello mushrooms into long strips approximately 1/8 inch thick and then cut each strip into smaller pieces.
  6. If you are using oyster and/or enoki mushrooms cut them into slightly larger pieces and keep them separate as they require less cooking than most other mushrooms.
  7. Finely chop the onion and reserve.
  8. In a sauté pan large enough to hold the mushrooms and cooked pasta, heat the ¼ cup of olive oil, over high heat. When the oil is hot, add the finely chopped porcini. Sauté a minute or two until the porcini becomes aromatic, being careful not to burn them.
  9. Add the reserved porcini soaking liquid. Over high heat, quickly evaporate the liquid, stirring often.
  10. Once the liquid is evaporated, add all the cut-up mushrooms to the sauté pan, except for quick cooking types like enoki and oyster mushrooms. Sauté the mushrooms, still on high heat, stirring often until they have absorbed all the olive oil.
  11. Season liberally with salt and reduce the heat to medium low.
  12. Stir the mushrooms often until they begin to release their liquid. When they do, turn the heat to high and cook until all the liquid is evaporated, stirring often. Add freshly ground black pepper to taste.
  13. Continue sautéing the mushrooms until they just begin to brown. Now is the time to add any quick-cooking varieties of mushrooms, such as oyster and enoki, you may be using.
  14. Continue to sauté until of the mushrooms are nicely browned.
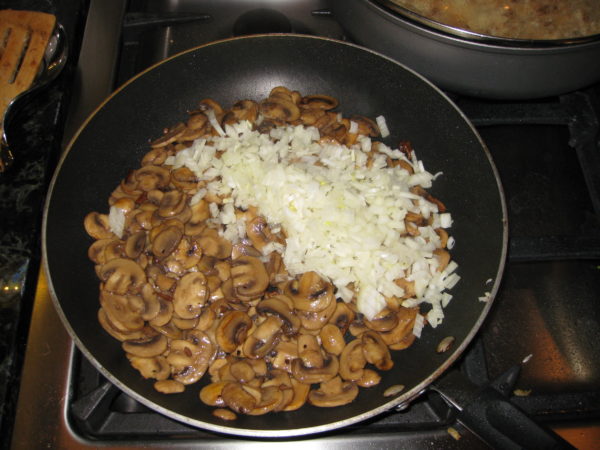
  15. When the mushrooms are brown, add the onion and crushed red pepper.
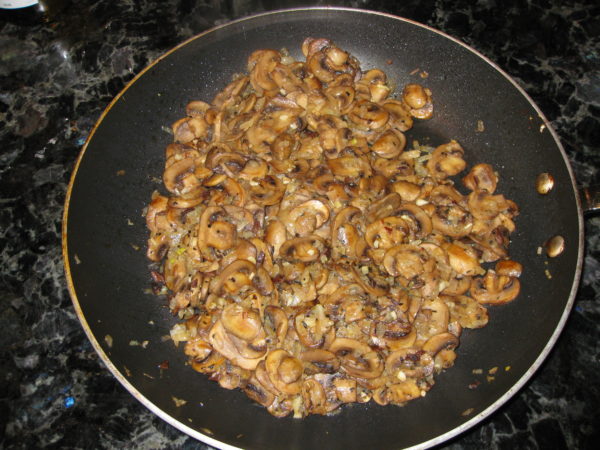
  16. Over medium heat, cook until the onion is soft and golden.
  17. Stir in the garlic and sauté for about one minute until it becomes fragrant.
  18. Stir in the oregano and basil, or, if you are lucky enough to have a stash, about 1 teaspoon of fresh nepita or ½ teaspoon of dried. Add the marsala. It will evaporate almost immediately.
  19. Remove the sauté pan from the heat until the pasta is ready. The mushrooms can be made several hours ahead to this point.
  20. Cook the pasta in well-salted water until al dente. Meanwhile gently warm the mushrooms if they were made ahead.
  21. When the pasta is cooked, remove about 1 cup of pasta-cooking liquid and reserve. Quickly drain the pasta. Do not rinse. Add the pasta to the warm mushrooms along with about ¼ cup of the reserved pasta-cooking liquid. Cook over low heat, stirring often for about one minute.
  22. Remove the pasta and mushrooms from the heat. Add the Parmigiano Reggiano cheese and stir to combine. Add 2 tablespoons of extra virgin olive oil and the truffle oil, if using. Stir to combine. The cheese and the starch in the pasta cooking liquid should help to emulsify the olive oil and water, creating a glossy sauce.
  23. If the pasta is too dry, add more pasta-cooking liquid, just don’t make it watery. The cheese, olive oil and water should hold together.
  24. Taste and adjust seasoning, if needed.
  25. Serve immediately, preferably in warmed pasta bowls. Pass additional freshly grated Parmesan cheese at the table.
Recipe Notes

I most often make this with ordinary white button mushrooms, especially if I am going to add the truffle oil. Using an array of different mushrooms, such as cremini, baby bella, oyster, and enoki makes a visually and texturally interesting dish, however.

When I make pasta, I always pour some of the pasta-cooking liquid into the serving bowl to warm it.

Copyright © 2017 by VillaSentieri.com. All rights reserved.

Share this Recipe

Pasta e Fagioli (Pasta and Beans)

January 18, 2017

Talk about comfort food!  Pasta e Fagioli (pasta and beans) hits the spot (for me, at least!).

There are endless variations.  White kidney beans, red kidney beans, chick peas, butter beans, fava beans, for example.  Ditalini, mezzi rigatoni, lumaconi, orecchiette, linguine, and more.  Not to mention the possibilities of tomato sauce, anchovies, broccoli, rapini, and escarole.  I could go on but you get the point.  You could mix and match just those ingredients and come up with hundreds of different combinations.

Growing up, my mother made only one version that I recall.  It featured butter beans, tomato sauce and ditalini.  The amount of liquid was equivalent to pasta with a red sauce.  My Aunt Margie, my mom’s sister, made hers with chick peas and ditalini, no tomato sauce, and it was definitely more of a soup.  My guess is that my grandmother made both versions, and probably others, but my mom and my aunt each settled on one for their cooking repertory.

Then there’s a version that I learned from a work colleague, Louis Evangelista, more than thirty years ago.  He learned it from his Sicilian grandfather.  It features linguine, red kidney beans, escarole, red pepper, and an abundant amount of garlic.

Then there’s orecchiette with kidney beans, broccoli and anchovy.

But we’re not making any of these today.  We’re doing a simple version with kidney beans and lumaconi.  The others will make their appearance in the coming months.

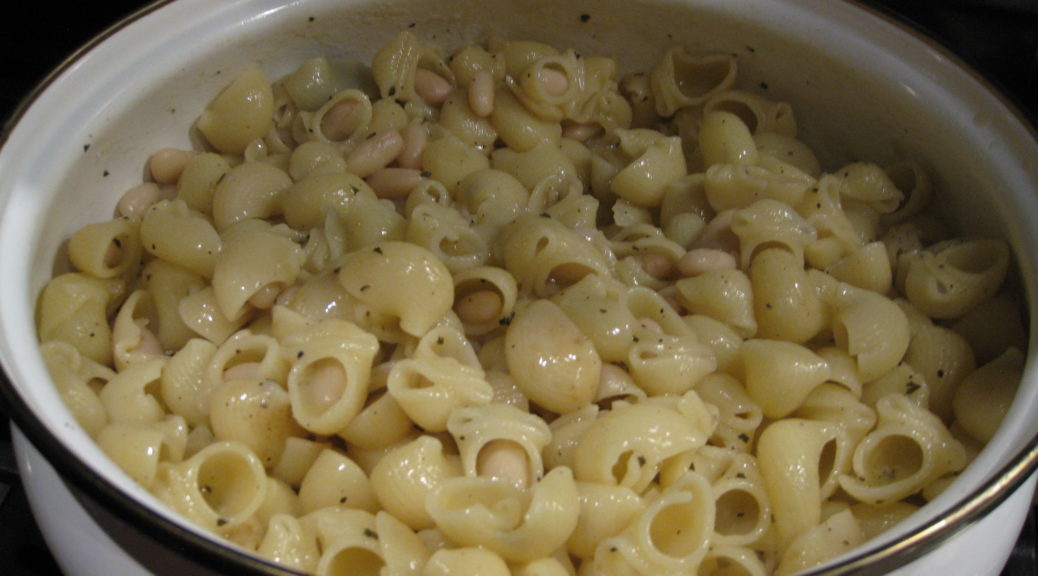
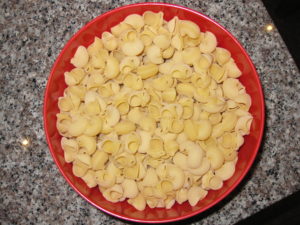
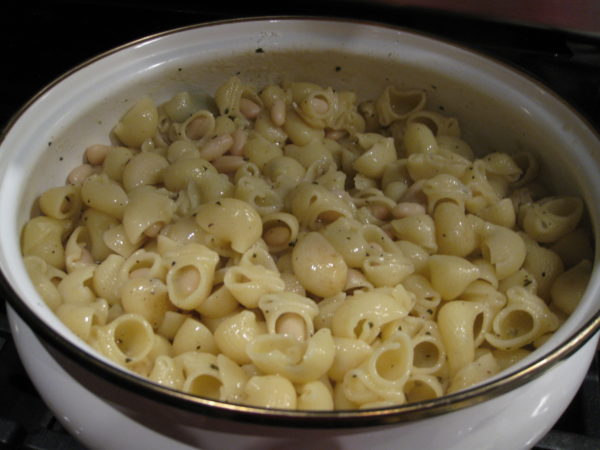
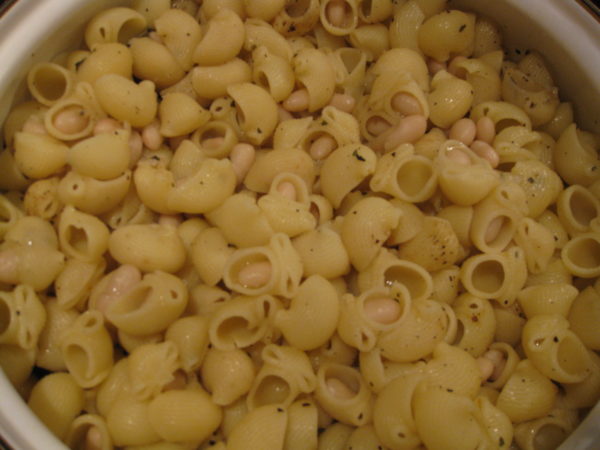
Lumaconi is a wonderful pasta shape for pasta e fagioli.  Lumaconi means snails.  Look at the picture below and you’ll see the resemblance.  What’s so cool about using lumaconi is that the beans naturally slip inside the cooked pasta for the perfect mouthful of beans and pasta!

If you use red kidney beans rather than white, the contrast between the bean and pasta will look startlingly like real snails.  This might not be a good thing depending on your audience!

I strongly encourage you to start with dry beans rather than canned.  Follow the recipe for Cannellini alla Toscana using either white or red kidney beans.  For something as hands-off as putting a pot of beans in the oven you’ll be rewarded with enough beans for two, if not three, meals plus a taste profile that is infinitely superior to canned beans.

This last point was hammered home to me a few months ago.  We were in Alamogordo with Pat and Becky, friends from Santa Fe.  We spent the day at White Sands National Monument sledding down the dunes followed by lunch in Ruidoso before returning to our little house in Alamogordo (the house is another story for another day).

We didn’t feel like going out, not that there are many places to go out to in Alamogordo unless you count Chili’s, which, inexplicably, is my husband’s favorite restaurant in town.  Besides, we made the requisite pilgrimage to Chili’s the night before.

So, a couple of cans of kidney beans later, I was making pasta e fagioli.  It was good, no doubt.  But it had been a very long time since I had used canned beans (even though there is an entire phalanx of canned beans in my pantry).  I was actually startled by the difference in taste and texture, having grown so accustomed to using home-cooked beans.

However, by all means, if using canned beans is the difference between trying this dish, and not.  Go for it!  You might want to throw an extra bit of herbs in the pot at the beginning, like a bay leaf and some sage, but it’s not really essential.

Let me know what you think of the recipe.  And for those of you who have your own favorite version of pasta e fagioli, let me know what it is.

Print Recipe
Pasta e Fagioli (Pasta and Beans)
The difference in taste and texture between home-cooked beans and canned beans is dramatic. I recommend cooking either red or white kidney beans using the Cannellini alla Toscana recipe. While I always keep canned beans on hand for emergencies, my freezer is also always stocked with a variety of cooked beans. Whenever I make Cannellini alla Toscana, I freeze leftover beans in portions of 1 ½ cups of beans covered in whatever cooking liquid is left. I never discard any of the cooking liquid. Ideally, you should have enough cooking liquid to cover the beans for the first part of the cooking, before adding the pasta and some pasta-cooking liquid. If you are using canned beans, two 15 oz. cans of beans is the right amount. Do not discard the liquid in the can. It will help to thicken the sauce.
Votes: 0
Rating: 0
You:
Rate this recipe!
Prep Time 15 minutes
Cook Time 40 minutes
Servings
people
Ingredients
Prep Time 15 minutes
Cook Time 40 minutes
Servings
people
Ingredients
Votes: 0
Rating: 0
You:
Rate this recipe!
Instructions
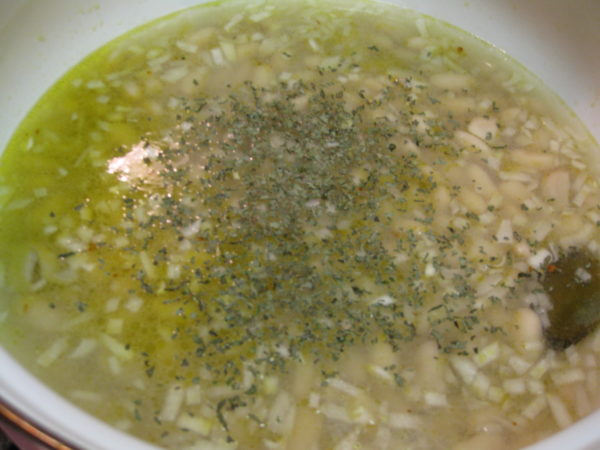
  1. Combine the beans and their liquid, onion, basil, and red pepper, and freshly ground black pepper to taste in a heavy-bottomed pot large enough to contain the cooked pasta and beans. If the bean cooking liquid and wine does not cover the beans, add water to just cover.
  2. Simmer, partially covered approximately twenty minutes. Taste for salt after about 10 minutes. Remember that the pasta will be well salted and you will be adding Parmigiano so best not to over-salt at this point.
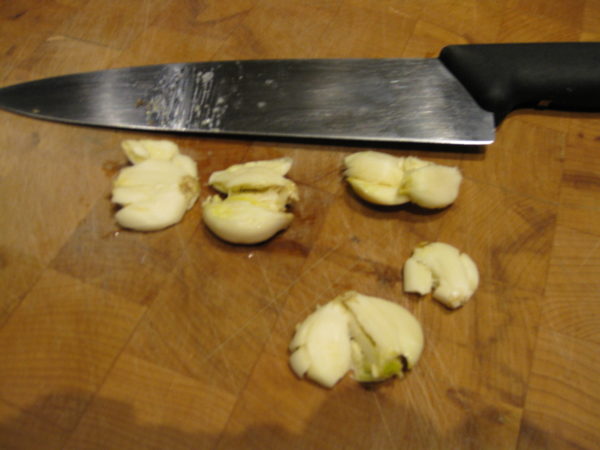
  3. Meanwhile, bruise the garlic with the side of a knife.
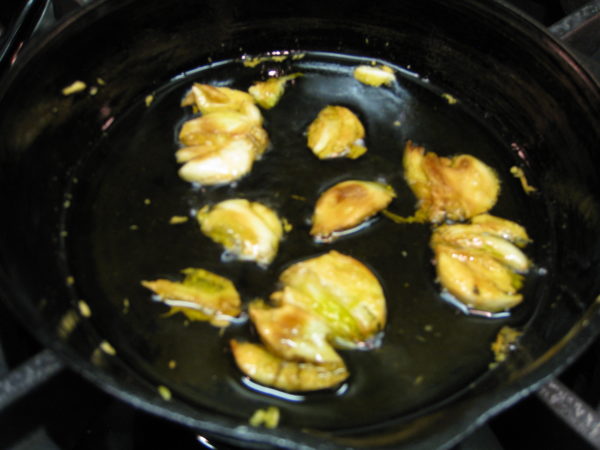
  4. Sauté the garlic in the olive oil very slowly until browned. Garlic should be quite brown but not burnt which would make it bitter. Remove and discard garlic. Reserve the garlic-flavored oil.
  5. Cook pasta in 4 quarts of abundantly salted water. The pasta will finish cooking with the beans, so there should still be a small core of hard pasta in the center.
  6. Just before draining the pasta, scoop out and reserve about two cups of the pasta cooking liquid.
  7. If you will not be serving the pasta e fagioli in the cooking pot, pour some of the cooking water into the serving bowl to warm it while you finish cooking the pasta and beans.
  8. Drain the pasta but leave some water clinging. That is, there is no need to shake the colander. Add the pasta to the bean mixture. Stir to combine. Add the garlic oil. Mix well.
  9. Cover tightly and cook over very low heat for approximately 10-15 minutes stirring occasionally until the pasta is cooked through but still ad dente. Add a little of the reserved pasta water from time to time if needed. When the pasta is finished there should be just enough water remaining to create a sauce.
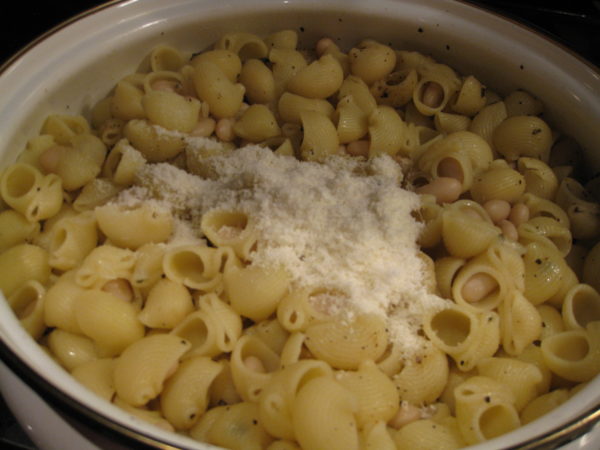
  10. Off the heat, stir in the Parmigiano Reggiano.
  11. The combination of the cheese and the starch from both the bean cooking liquid and the pasta cooking liquid should create a glossy sauce.
  12. You might want to stir in an extra tablespoon or two of extra virgin olive oil both for the flavor and to help emulsify the sauce. Taste and adjust salt and pepper if needed.
  13. If not serving the pasta in the cooking pot, drain and dry the warmed serving bowl and pour in the pasta.
  14. Serve the pasta e fagioli with additional freshly grated Parmigiano Reggiano cheese and crushed red pepper.
Recipe Notes

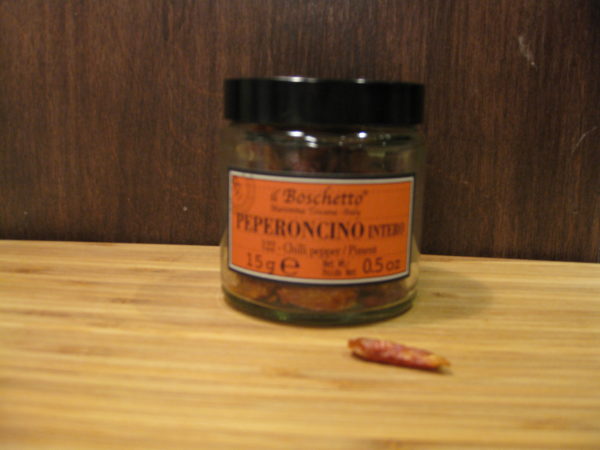
More than other seasonings, quantities of dried red pepper are mere suggestions. Different types of red peppers vary in their heat and flavor profile. Different people have different tolerances for the heat of peppers. If I were making this dish for only myself, I would add at least a teaspoon of crushed red pepper and I’d probably still add more at the table. The suggested ¼ teaspoon is a modest amount that should not cause difficulty, even for individuals with a low tolerance for spiciness. However, make sure that you use one of the more traditional types of crushed red peppers, or even the whole dried Italian peppers that I used in this recipe. Do not make the mistake of using a dried version of one of the super-hot peppers (like bhut jalokia or naga jalokia or even Habanero or Scotch Bonnet) without understanding the heat level they pack!

Copyright © 2017 by VillaSentieri.com. All rights reserved.
Share this Recipe

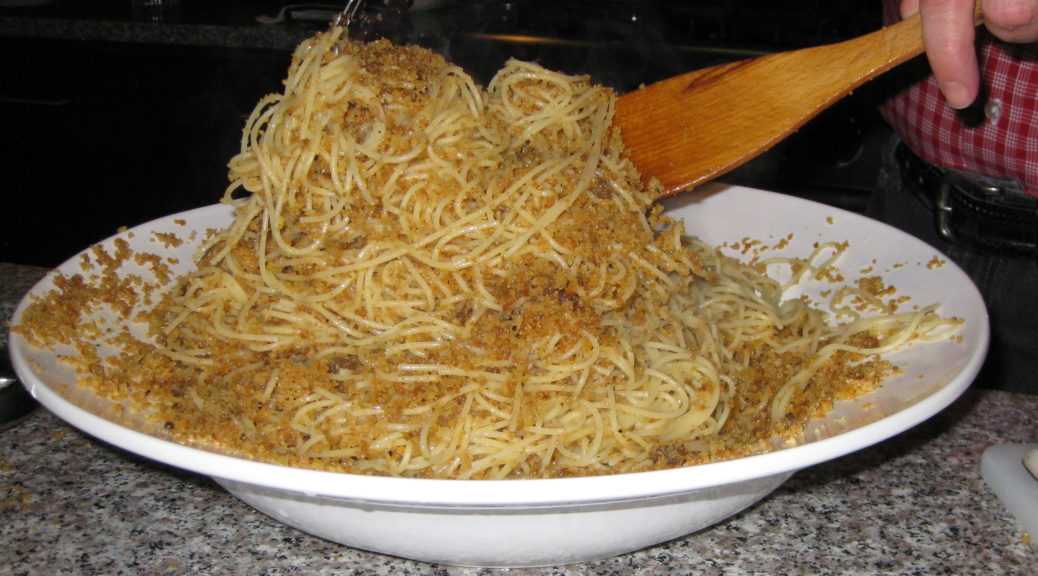
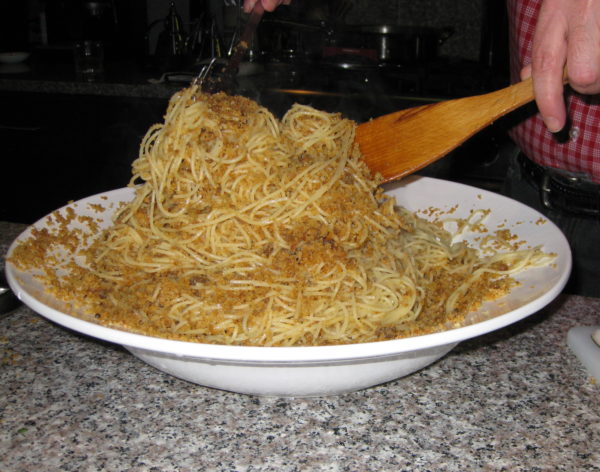
Pasta Ascuitta (Angel Hair Pasta with Crispy Breadcrumbs)

December 30, 2016

Pasta ascuitta is the name given to a whole category of pasta dishes in Italy.  It means “dry pasta,” quite literally.  In reality, most of them are not really dry in the full sense of that word.  The category includes all kinds of pasta with almost any imaginable sauce.  Spaghetti and meatballs would be pasta ascuitta to an Italian (though the meatballs would be served as a separate course a discussed previously).  What makes pasta ascuitta “dry” is how it compares to the other category of pasta, “pasta in brodo,” or pasta in broth.

In contrast to pasta in brodo, pasta with sauce is dry, or “ascuitta.” Remember that in Italy the first course after the antipasto (which literally means before the pasta) is either pasta or soup or rice.  So, pasta in brodo is both a soup and a pasta.  A classic version in our house is tortellini in chicken broth. With appropriate Italian (not Italian-American) restraint it makes a great first course.  There might only be five or six tortellini in each bowl of broth.  It takes the edge off one’s hunger without filling one up before whatever comes next.

Growing up in my family, however, pasta ascuitta meant one and only one thing, the way many general terms come to have a specific meaning in a particular context.  Pasta ascuitta, to my family, meant angel hair pasta or spaghettini (not spaghetti), served with an abundant amount of breadcrumbs cooked in olive oil until crispy and flavored with anchovies.  Of everything that appeared on the table at Christmas Eve, pasta ascuitta was, and still is, my favorite.

As children, we called it sawdust spaghetti. I still do, sometimes.  I was chatting with my cousin Donna Meinecke the morning of Christmas Eve this year.  Our families spent most holidays together when we were growing up.  When she asked me what I was cooking, the first thing I said was “sawdust spaghetti.”  Enough said!  It was Christmas Eve, after all, and while I decided it was best not to introduce a table-full of unsuspecting guests to a soup of baccala (salted and dried cod) and tomatoes; a second pasta with a tomato sauce and squid tentacles; and stuffed squid, I had to serve pasta ascuitta.

If you were counting, you would have figured out that the first course of our family Christmas Eve dinner had two pastas and one soup.  This, of course, was after a massive antipasto and a large platter of steamed mussels but before the second course of breaded and pan-fried fish fillets, the aforementioned stuffed squid, and, in later years when the “no meat” rule in our family was relaxed, bracciole and homemade sausage.

I truly don’t remember what vegetables were served.  I do remember, however, that there was a huge platter of cookies for dessert.

Print Recipe
Pasta Ascuitta (Angel Hair Pasta with Crispy Breadcrumbs)
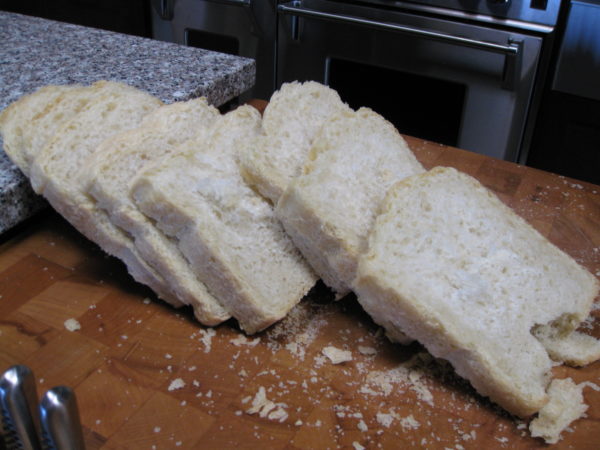
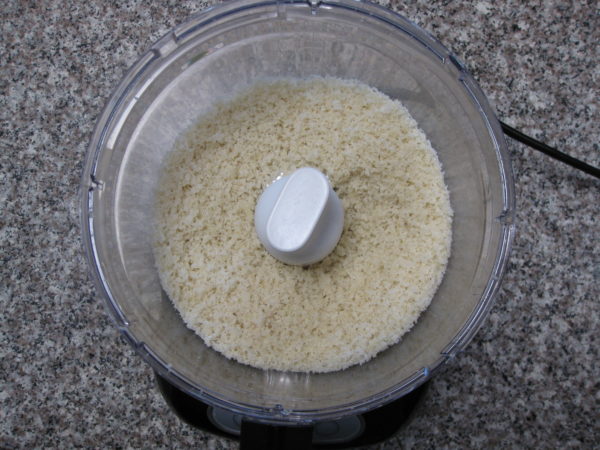
The genius of this dish, made from very humble ingredients, is the crunch of the salty breadcrumbs in contrast to the chew of the pasta. Even if you think you don’t like anchovies, give this dish a try. There is something irresistible about the salty, crunchy breadcrumbs packed with umami. If you’re still not convinced, try using half the amount of anchovies. I promise you, the next time you make this dish, you’ll follow the suggested amount. This may sound like a lot of oil but remember, it's the only "sauce" in the dish. It works out to about 2-3 tablespoons per serving. A food processor renders the job of making the breadcrumbs a breeze. Do not use packaged breadcrumbs. It is essential that they be large and soft, but made from bread that is a couple of days old for the proper texture. It is best to use bread that was baked in a pan rather than free-form as the ratio of soft, inner white crumb to crust will be greater. Many supermarkets carry a hearty artisan-style sliced sandwich bread if you don't have a good Italian bakery nearby and don't want to make your own. You want a dense crumb which this type of bread has. It will work just fine using the food processor method below.
Votes: 1
Rating: 5
You:
Rate this recipe!
Prep Time 20 minutes
Cook Time 40 minutes
Passive Time 48 hours
Servings
people
Ingredients
Prep Time 20 minutes
Cook Time 40 minutes
Passive Time 48 hours
Servings
people
Ingredients
Votes: 1
Rating: 5
You:
Rate this recipe!
Instructions
  1. Put the bread in a paper bag for two days at room temperature. This will allow the bread to become stale, but not hard.
  2. On serving day, make the breadcrumbs from the stale bread in one of two ways. Cut the bread into 1-inch-thick slices.
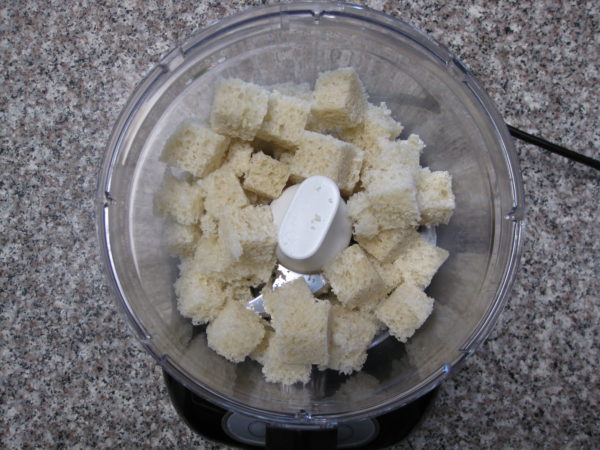
  3. Cut off the crust from each slice. Cut the slices into one inch cubes.
  4. Process the bread cubes in a food processor to yield coarse (but not chunky) crumbs.
  5. Without a food processor, cut the loaf in quarters and scoop out the center of the loaf. Using your hands, crumble the center of the loaf into coarse crumbs. Then using the teardrop-shaped holes of a grater, grate the white bread that is clinging to the crust.
  6. Measure out and reserve 6 cups of crumbs. Save any additional for another purpose.
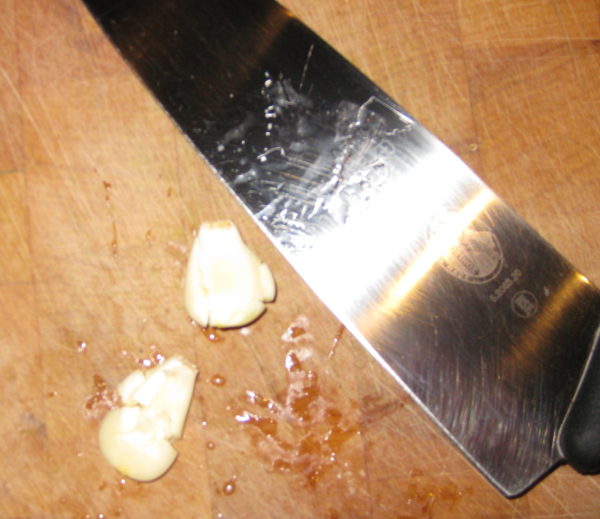
  7. Bruise the garlic with the side of a chef's knife.
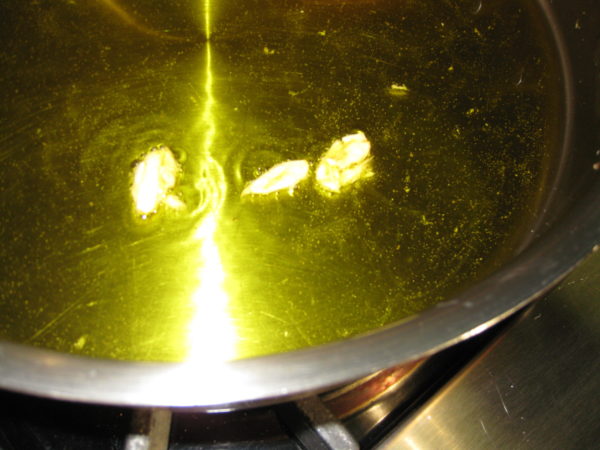
  8. Heat the olive oil in large, heavy skillet over medium heat. Sauté the garlic (if using) until dark golden, almost brown, then discard. Add bread crumbs to the oil and stir constantly till light golden.
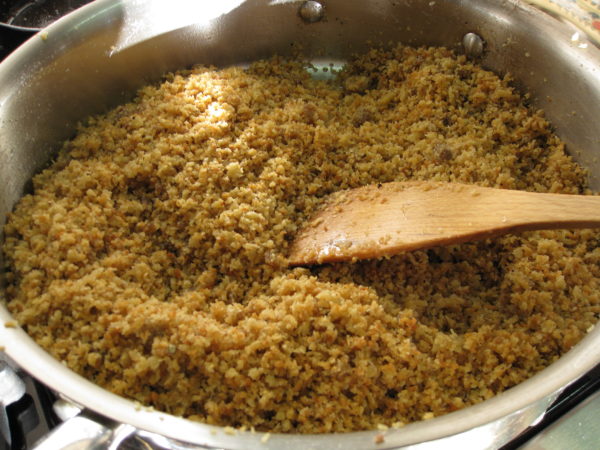
  9. Push the breadcrumbs away from the center of the skillet and add anchovies and their oil. Working quickly so the breadcrumbs don't burn, heat and stir the anchovies, smashing and breaking them into bits. When the anchovies are in small bits, mix them into the crumbs. Season the crumbs with freshly ground black pepper. Continue cooking the breadcrumb-anchovy mixture, stirring constantly, breaking up any remaining bits of anchovy, until the breadcrumbs are crispy. Most of the crumbs will be golden brown but some will be darker. Be careful not to burn the crumbs. There will still be some visible bits of anchovy when the breadcrumbs have gotten crispy.
  10. Remove the skillet from the heat. If not using immediately, stir the anchovy-crumb mixture every few minutes for about 10 minutes so the crumbs on the bottom don't burn from the residual heat. Reserve the anchovy-breadcrumb mixture. Making the crumb mixture a few hours in advance makes the final put-together less stressful.
  11. Cook one pound of angel hair pasta or spaghettini in generously salted water until al dente. I usually use about 1/3 cup salt for six quarts of water. If the crumbs were browned earlier, warm them gently while the pasta cooks.
  12. When the pasta is finished, pour some of the pasta-cooking water into the serving bowl to warm it. Drain the pasta well but do not rinse.
  13. Toss the pasta with the crumbs. If the skillet is large enough, it is best to toss the breadcrumbs and pasta there. It will keep the pasta warmer. Season with a generous amount of black pepper. Taste and adjust salt. It is entirely likely that no additional salt will be needed.
  14. Empty the water from the serving bowl. Dry the bowl, pour in the pasta and serve. It is not traditional to serve cheese with this pasta.
Recipe Notes

If any pasta is leftover, the breadcrumbs will lose their crispiness but still taste great for a quick lunch (in our house, mostly eaten furtively in secret before someone else nabs it).  However, this pasta makes the foundation for a great frittata.  We won't be covering the making of a frittata for a while but stay tuned.

Copyright © 2016 by VillaSentieri.com. All rights reserved.
Share this Recipe