Funghi Ripieni (Stuffed Mushrooms)

September 29, 2021

“Your grams are killing me!”

That’s what a friend told me recently regarding some of the recipes on my blog.

His comment came as he was considering how much pasta to cook for dinner.  I repeated what Great Aunt Fidalma told me:  80 grams per person.

Making the change to the metric system (International System or SI) of measurement isn’t easy and we don’t do much as a country to catalyze the change.  In some areas, though, we’ve made the transition.
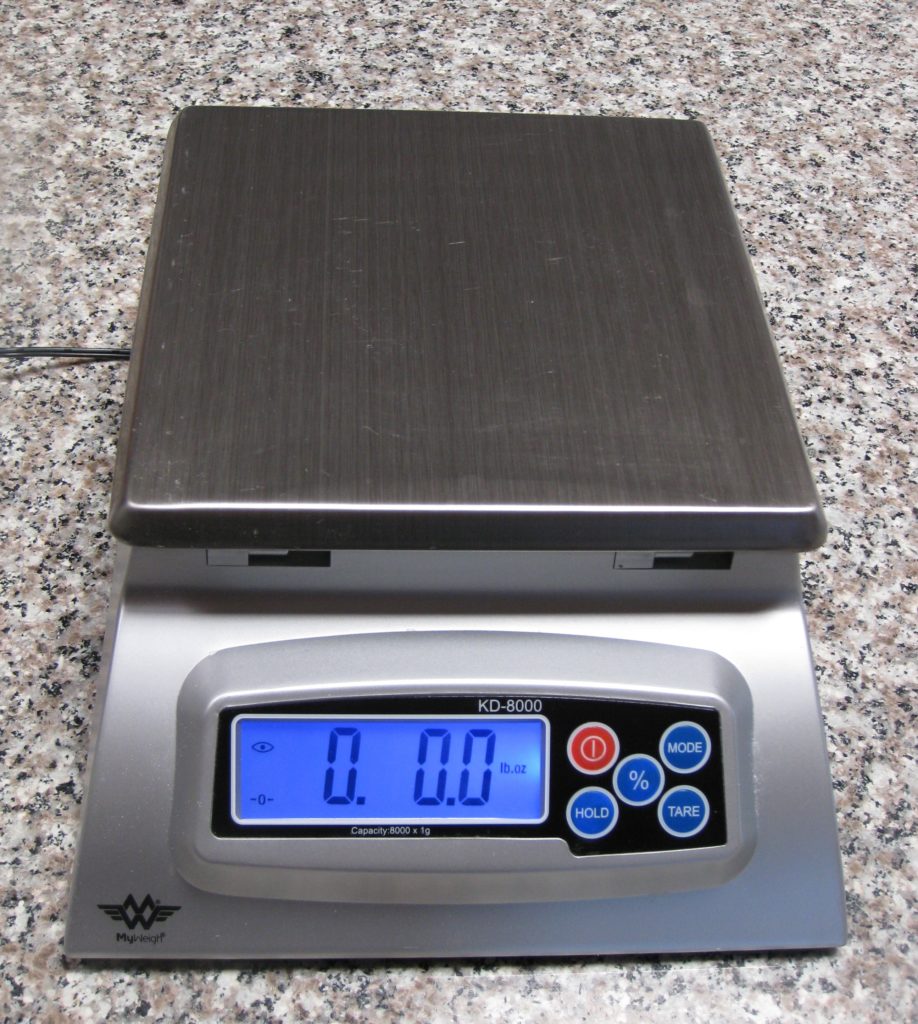
The digital scale I use on a daily basis. I also have two battery powered scales that are just as accurate that cost $20 each.

Have you looked carefully at a wine or liquor bottle recently?  The contents are specified in the metric system even as we continue to refer to a bottle of liquor as a “fifth.”  Until January 1979, a liquor bottle, indeed, held one-fifth of a US gallon, approximately 757 ml.  Standard liquor bottles now contain 750 ml, just a smidge less.


Join our mailing list and you’ll never miss a recipe again!


Cooking, and especially baking, is much easier with the metric system.  And that doesn’t even take into account the ease of weighing ingredients rather than trying to measure cups and fractions of cups.

I find that I am frequently scaling recipes up and down, but usually up.  If the recipe calls for 3/4 cup of water, and I’m upscaling by 20%, I end up with the unwieldy amount of 9/10 cup of water.  If I were using metric measures, I’d be starting with something like 180 ml and increasing by 20% to get to 216 ml which is much easier to measure out than 9/10 of a cup.
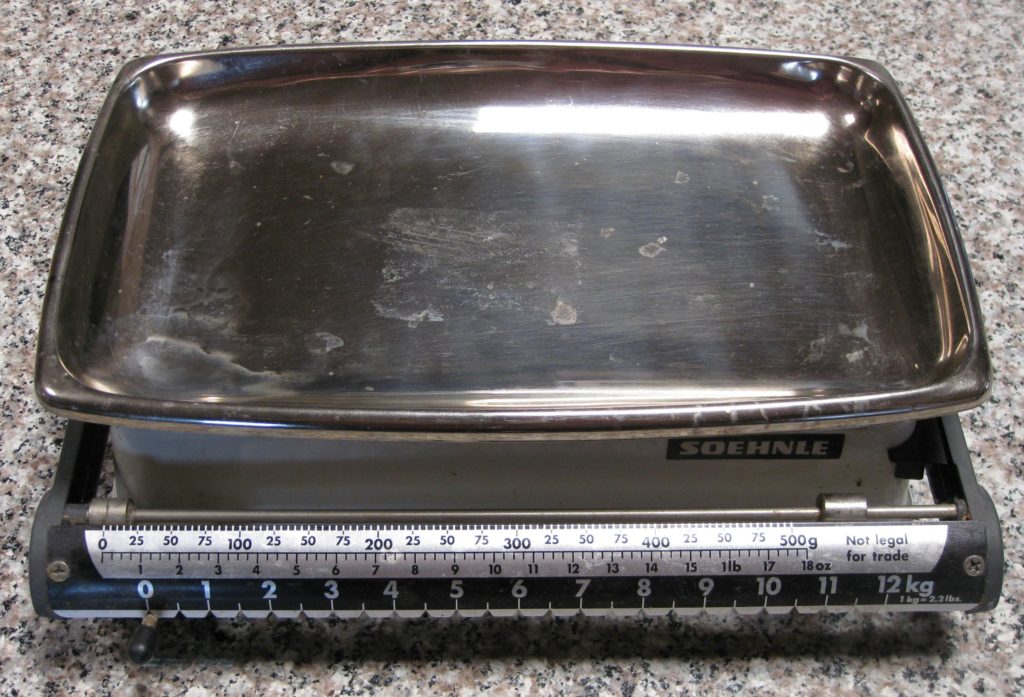
The manual scale that I used for many years. It has since been mothballed.

Let’s face it, how do you measure 9/10 cup.  You first start by determining what 1/10 cup is, which is 1.6 tablespoons.  Multiplying that by 9 gets you 14.4 tablespoons.  But since you’re not going to measure out that many tablespoons one by one (and you’re likely to get pretty inaccurate after a few tablespoons, if you do) you work backwards to figure out what standard measure comes close.  That gets you back to the 3/4 cup (12 tablespoons) you started with plus 2.4 tablespoons.

For most purposes, you can treat 2.4 tablespoons as if it were 2.5 tablespoons since the difference is likely within the margin of error for measuring with kitchen equipment.  But unless you have a set of measuring spoons that contains a 1/2 tablespoon measure, you’ll be measuring out 2 tablespoons plus 1 teaspoon plus 1/2 teaspoon… if you can remember how many teaspoons are in a tablespoon.

So rather than just pouring 215 ml into a measuring cup (a reasonable approximation for 216 ml and one that can be found marked on some metric measuring “cups”) you’d be measuring out ¾ cup plus 2 tablespoons plus 1 teaspoon plus 1/2 teaspoon.  In my book, that’s crazy!


Follow us on your social media platform of choice


It gets even easier if you give up the notion of measuring by volume and measure everything by weight, even liquids, as is typically done in professional kitchens.  You can get a very accurate scale for less than $20.  With that, you could weigh out the 216 grams of water (equivalent to 216 ml of water) and call it a day:  no guessing, no eyeballing, no complex calculations needed.

For weighing small quantities this little scale can’t be beat for accuracy.

So really, what’s holding you back from giving the Metric System a go?

It’s time for me to get off my soapbox (for now) and actually cook something.  How about stuffed mushrooms?  I’ll even write the recipe in American measures!!
Print Recipe
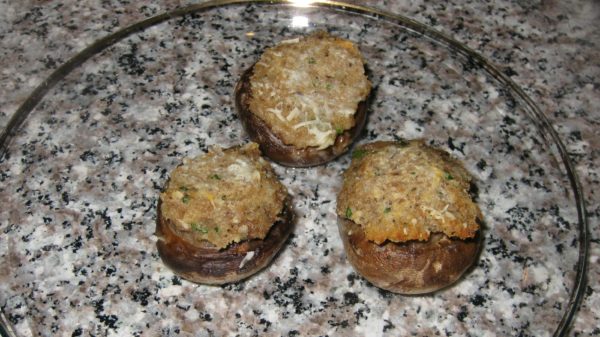
Funghi Ripieni (Stuffed Mushrooms)
These stuffed mushrooms come together quickly and can be made early in the day and refrigerated until it’s time to pop them in the oven.
Votes: 0
Rating: 0
You:
Rate this recipe!
Prep Time 20 minutes
Cook Time 35 minutes
Servings
people
Ingredients
Prep Time 20 minutes
Cook Time 35 minutes
Servings
people
Ingredients
Votes: 0
Rating: 0
You:
Rate this recipe!
Instructions
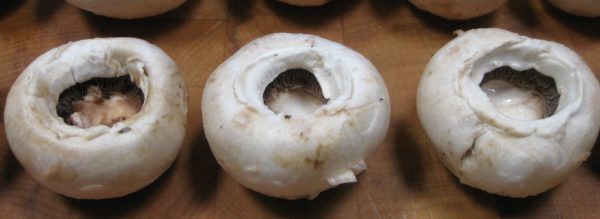
  1. Wipe the mushrooms with a damp cloth.
  2. Remove the stems.
  3. Finely grind the stems in a food processor.
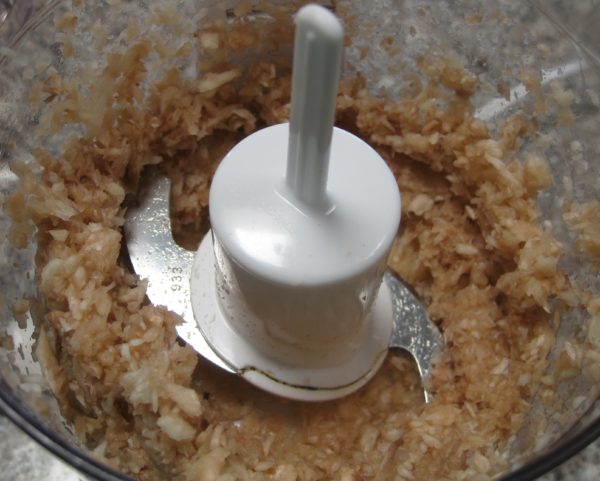
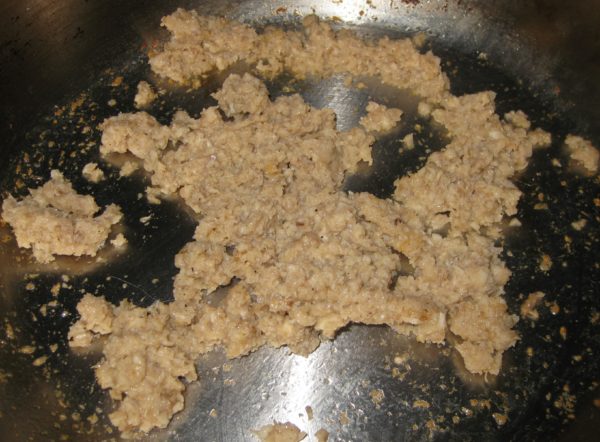
  4. Sauté the ground stems in the butter with a pinch of salt until the liquid is drawn out and then completely evaporated.
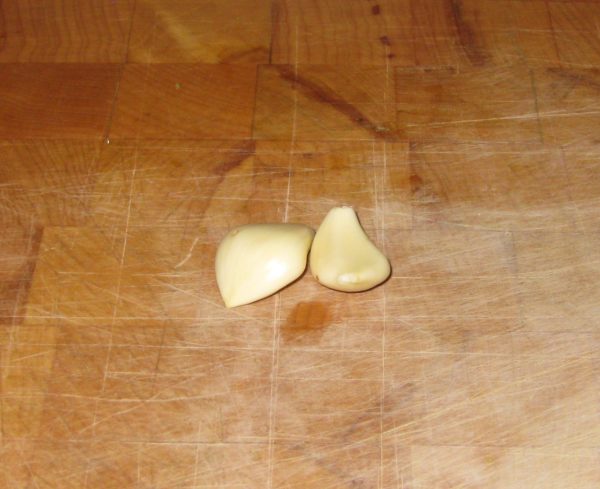
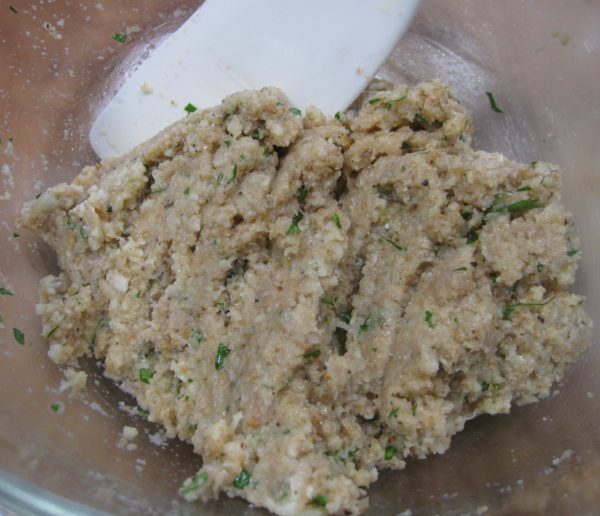
  5. Mix the cooked stems with the breadcrumbs, eggs, parsley, garlic, oregano, and salt and pepper to taste.
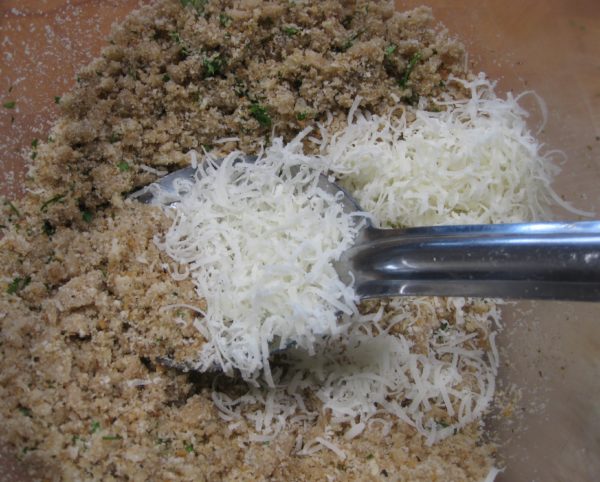
  6. Cool slightly and add 3 tablespoons Parmesan cheese.
  7. Butter a baking dish large enough to hold the mushroom caps in a single layer, snugly.
  8. Fill each mushroom cap with some of the stuffing mixture.
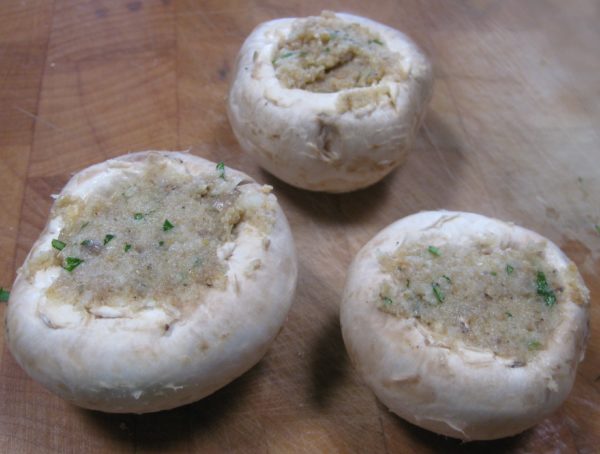
  9. Arrange the stuffed mushroom caps in the buttered dish.
  10. Sprinkle with additional Parmesan cheese, dot with butter and add a small amount of broth or water to the bottom of the dish to keep the mushrooms from sticking.
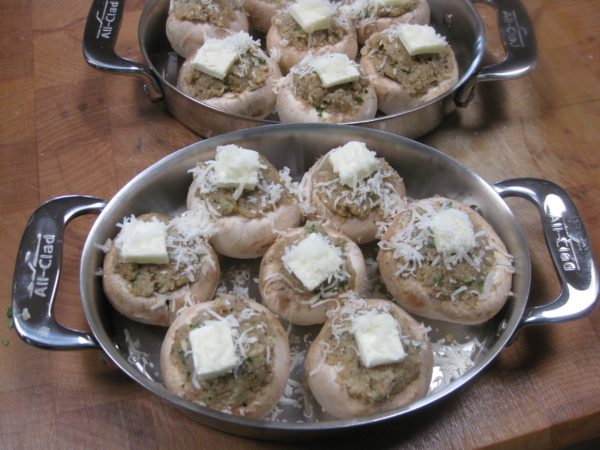
  11. Bake at 375°F for 20 minutes, until golden brown on top.
  12. Baste occasionally with the liquid in the pan during baking.
Recipe Notes

Copyright © 2021 by Villa Sentieri, LLC. All rights reserved.

Share this Recipe

Barbecued Chicken Thighs

July 25, 2018

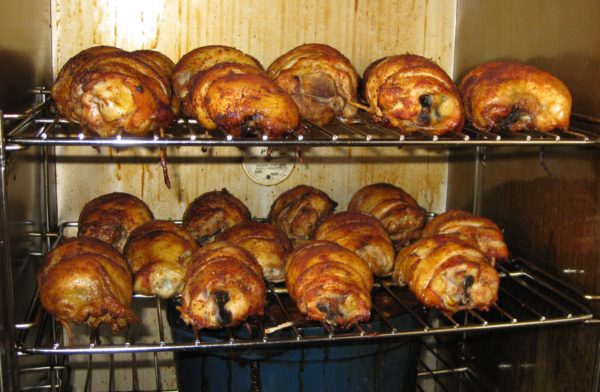
For someone who tries to eat lower on the food chain, I sure love using my smoker.

Granted, I could smoke things like cheese and even some vegetables but meat is where the smoker really shines!

I’ve smoked pork shoulders, ribs, and turkey breasts, and I continue to expand my repertory, but I really enjoy smoking chicken thighs.

Smoking is often an all-day affair.  Sometimes it’s an all-night affair if one is smoking large enough pieces of meat.  So far, I’ve limited myself to smoking things that can go into the smoker at a reasonable time of the day.  I’m not one of those guys who wants to sit beside his smoker through the night with a cooler of beer at his side!

Join our mailing list and you’ll never miss a recipe again!

Chicken thighs cook in a relatively short period of time so they’re great when you want to limit attending to the smoker to just a few hours before dinnertime.

My smoker has an adjustment for the heat output but not temperature, per se. If the wind or external temperature change, the internal smoker temperature changes, too. Some day I’ll get a smoker with an actual thermostat but so far this one has served me well.

If you get a smoker with an automatic thermostat there would be almost no need to attend to the chicken thighs.  While I have a nice smoker, it doesn’t have a thermostat.  It has a control that puts out an adjustable but then constant amount of heat based on the setting similar to the way car heaters used to work before cars had real thermostats.  If the outdoor temperature or wind changes, the temperature inside the smoker will change due to the constant heat output.

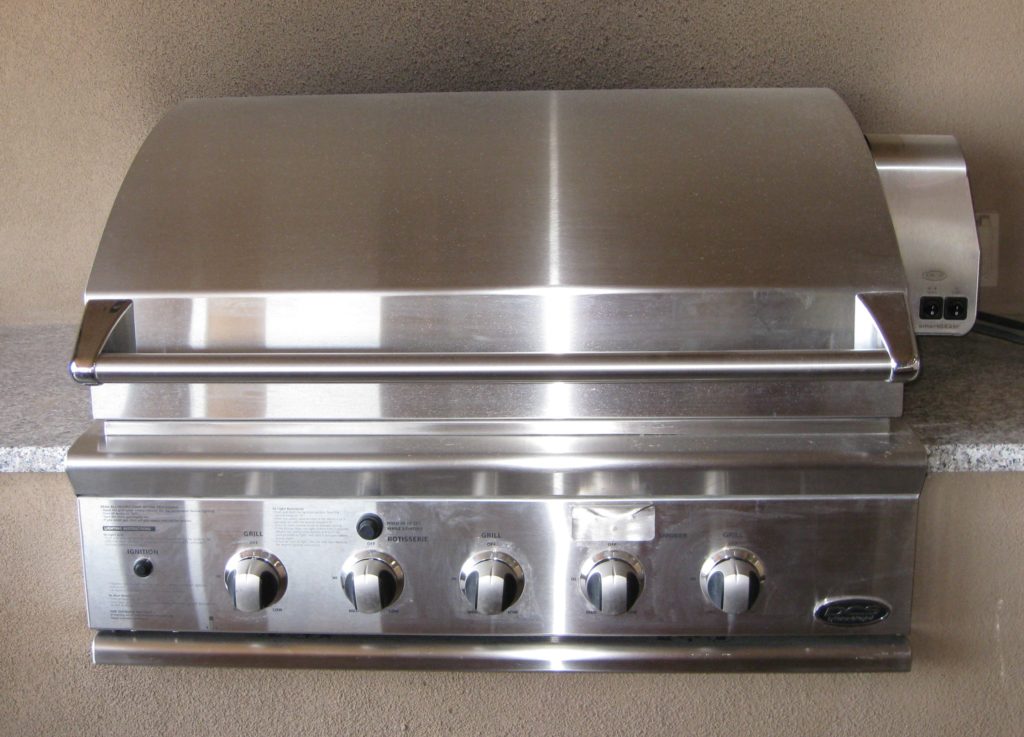
Before I had a smoker, I used my gas grill to smoke.  It has a separate burner just for creating smoke from wood chips.  It has three other burners to actually cook the food plus a rotisserie burner.  Under many circumstances, the burner for the wood chips puts out enough heat to keep the grill at the proper smoking temperature.  When the weather turns cold, like the time I smoked a turkey on Thanksgiving, a little heat from one of the other burners is needed…just not a burner that’s actually under the food.

I sometimes use my gas grill to smoke things, including a whole turkey once.

This recipe makes use of two of my previously published recipes, my barbecue rub and my barbecue sauce.

Follow us on your social media platform of choice


If you don’t have a smoker (and I realize that most people don’t) you really can do these on a grill with indirect heat, either gas or charcoal.

Put on oven thermometer on the grate where you intend to put the chicken.  There should not be any heat coming from under that grate.  Heat up the opposite side of the grill using either gas or charcoal.  With a little experimentation, you’ll be able to keep the side of the grill, where the chicken will go, at the proper smoking temperature.  If your grill doesn’t have a separate place for wood chips, add some wood chips, soaked in water for 30 minutes, to the hot part of the grill from time to time.

Happy smoking!!! (Oh, and don’t forget the beer!)

Print Recipe
Barbecued Chicken Thighs
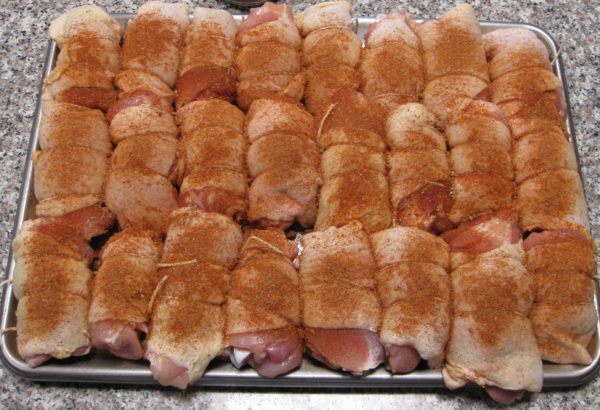
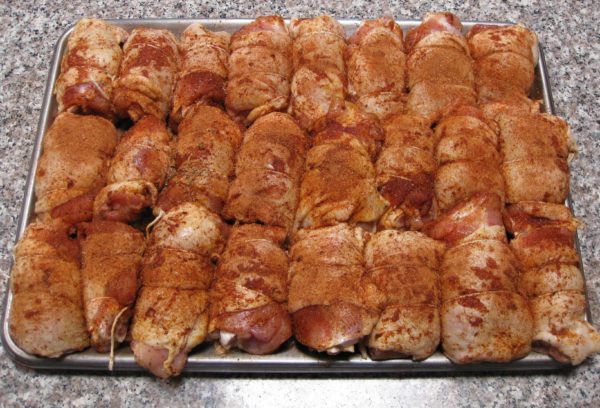
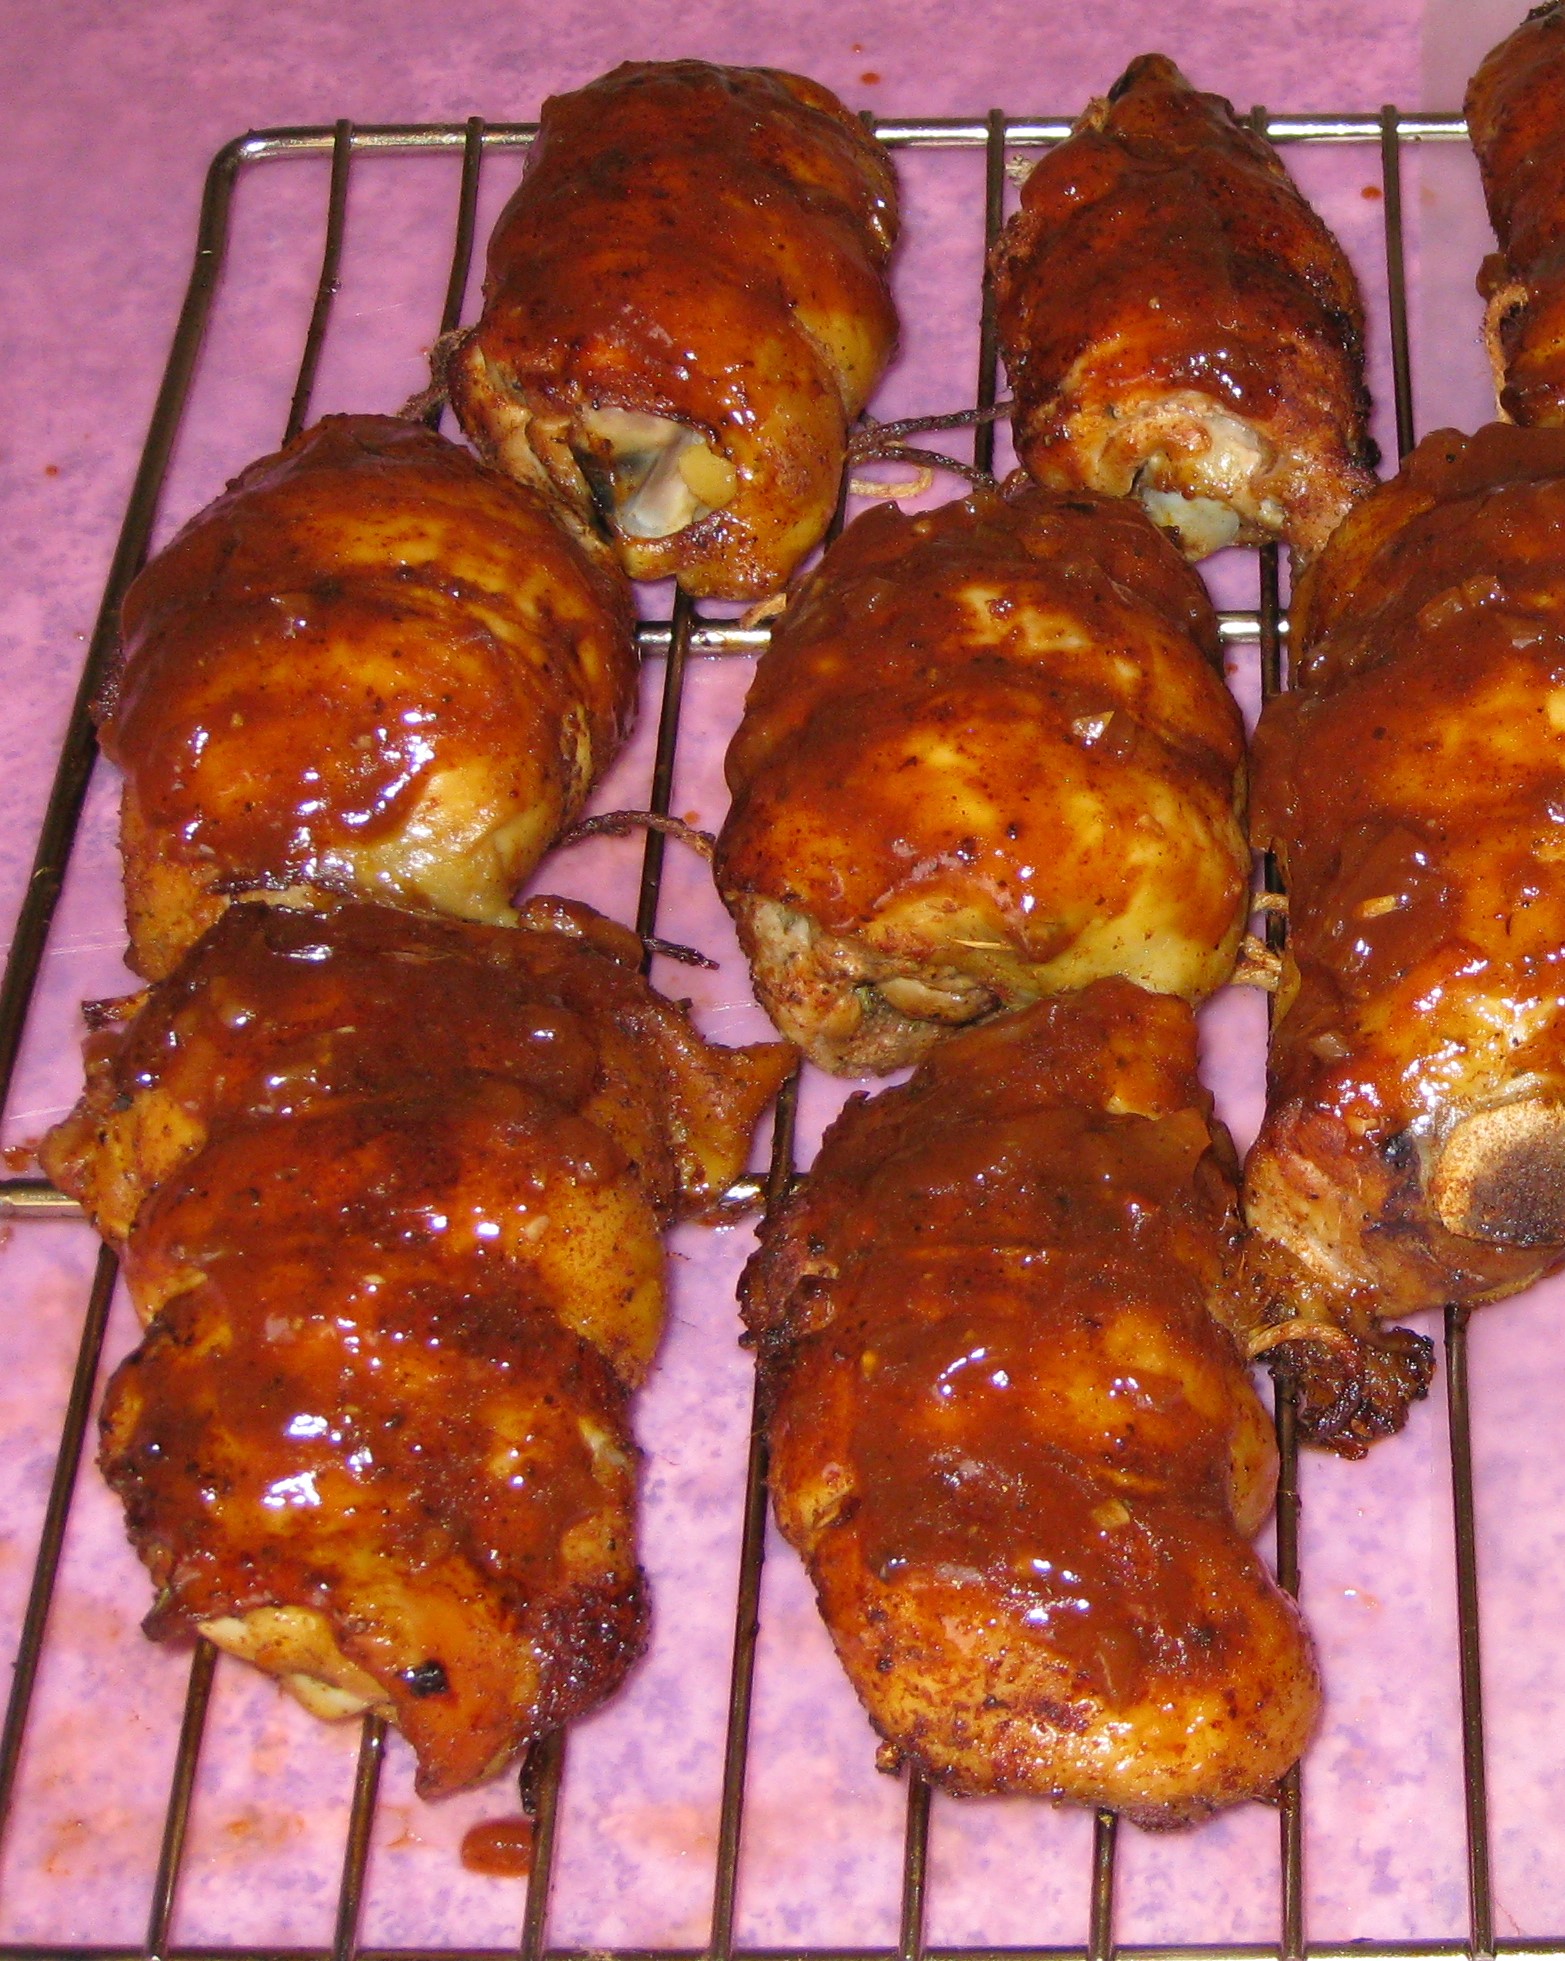
These chicken thighs are moist and fall-apart tender. See the Notes section for links to my recipes for barbecue rub and barbecue sauce. Professional kitchens often weigh liquids, hence the 4000 grams of water. 4000 grams would essentially be the same as 4 liters. The advantage of weighing the water, though, is that you can add ice to cool the brine down while still being exact about the quantity of water. This recipe scales easily.
Votes: 0
Rating: 0
You:
Rate this recipe!
Course Mains, Poultry
Cuisine American
Prep Time 40 minutes
Cook Time 4 hours
Passive Time 2 hours
Servings
people
Ingredients
Course Mains, Poultry
Cuisine American
Prep Time 40 minutes
Cook Time 4 hours
Passive Time 2 hours
Servings
people
Ingredients
Votes: 0
Rating: 0
You:
Rate this recipe!
Instructions
  1. Dissolve the salt in the water.
  2. Refrigerate the brine until cold. If you are weighing the water, you can add ice cubes to cool the brine quickly.
  3. Add the chicken thighs and weigh them down with a plate or a zipper lock bag full of water. Brine for two hours in the refrigerator.
  4. Remove the chicken thighs and pat them dry.
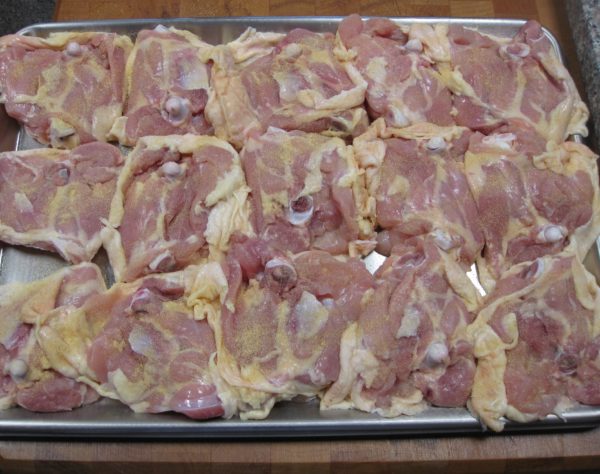
  5. Lay the chicken thighs skin-side down.
  6. Sprinkle liberally with garlic powder.
  7. Sprinkle with oregano.
  8. Sprinkle with barbecue rub.
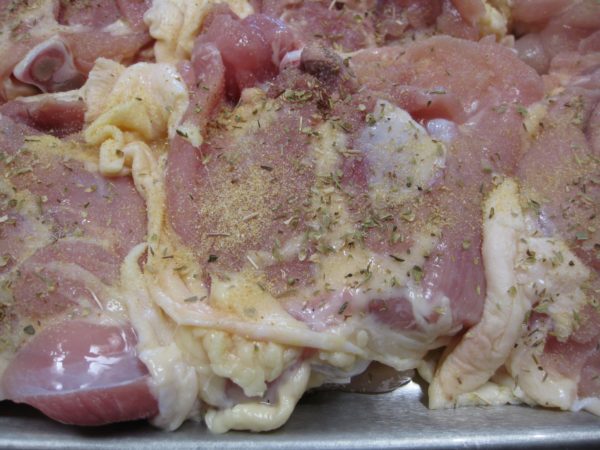
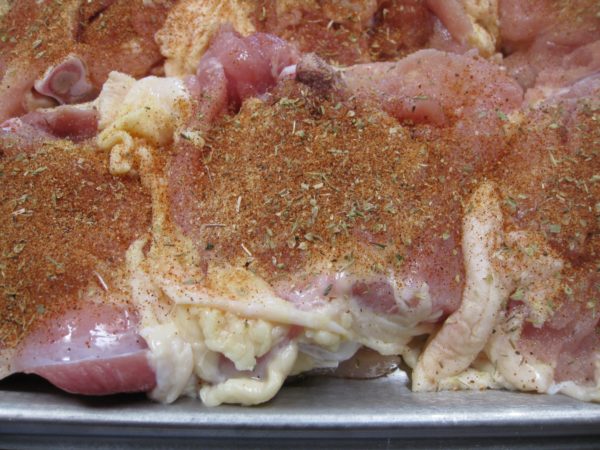
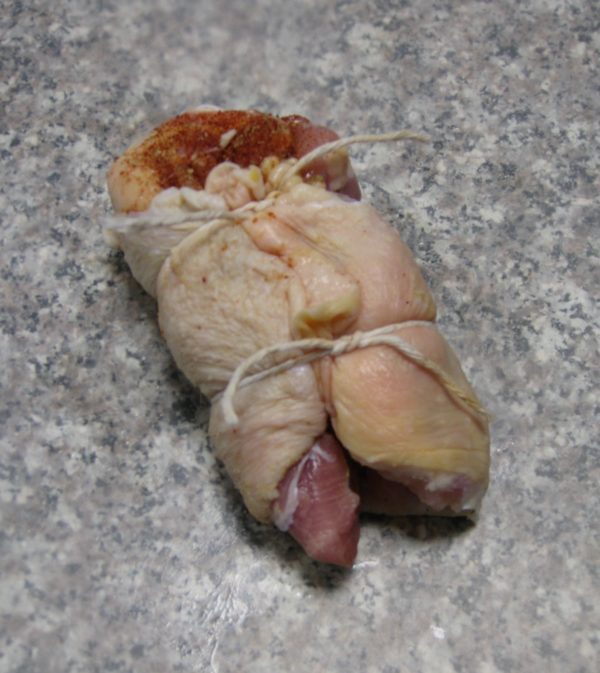
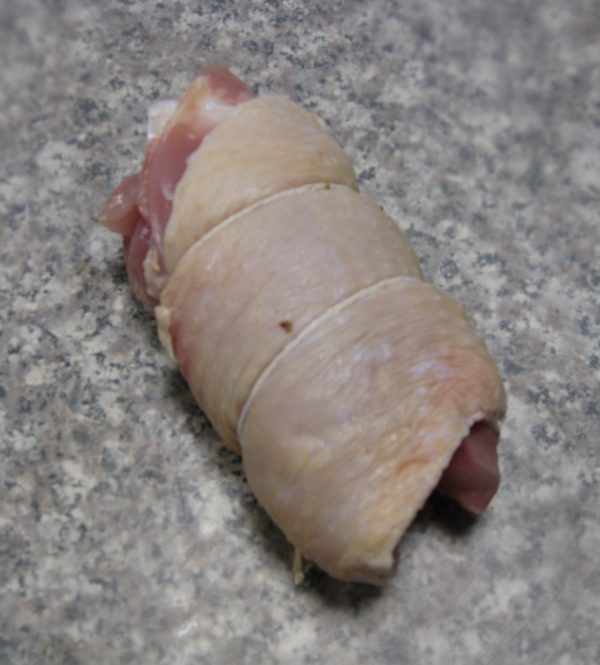
  9. Wrap the skin around thigh, trying to enclose the meat as much as possible. Tie with twine.
  10. Rub the thighs generously with barbecue rub.
  11. Smoke at 225°F for 4 hours.
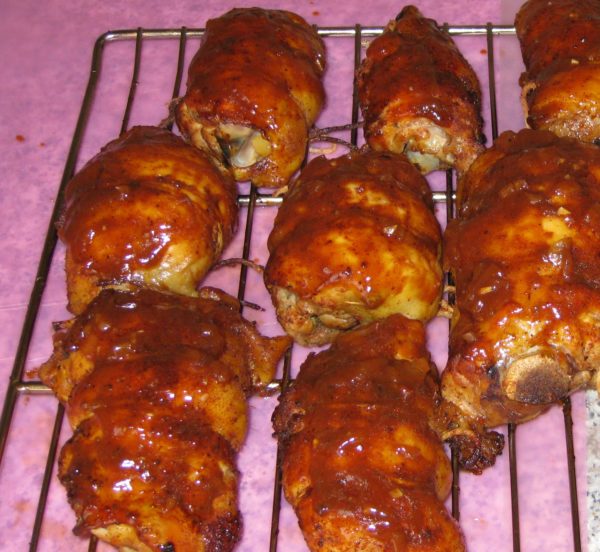
  12. Fifteen minutes before thighs are done, brush with barbecue sauce. Continue cooking for 15 more minutes.
Recipe Notes

Here is where you will find my recipe for barbecue rub and my recipe for barbecue sauce.

Copyright © 2018 by Villa Sentieri, LLC. All rights reserved.
Share this Recipe

Argentine Marinated Eggplant

July 9, 2018

Argentines love meat.

I mean, they really, really love meat!

When visiting family in Patagonia a number of years ago we had a meal that went something like this:

  1. Appetizer:  Fried calamari (15 kilos, no less)
  2. First course:  Grilled lamb chops
  3. Second course:  Grilled steak
  4. Third course:  Grilled chicken
  5. Fourth course:  Grilled sausage

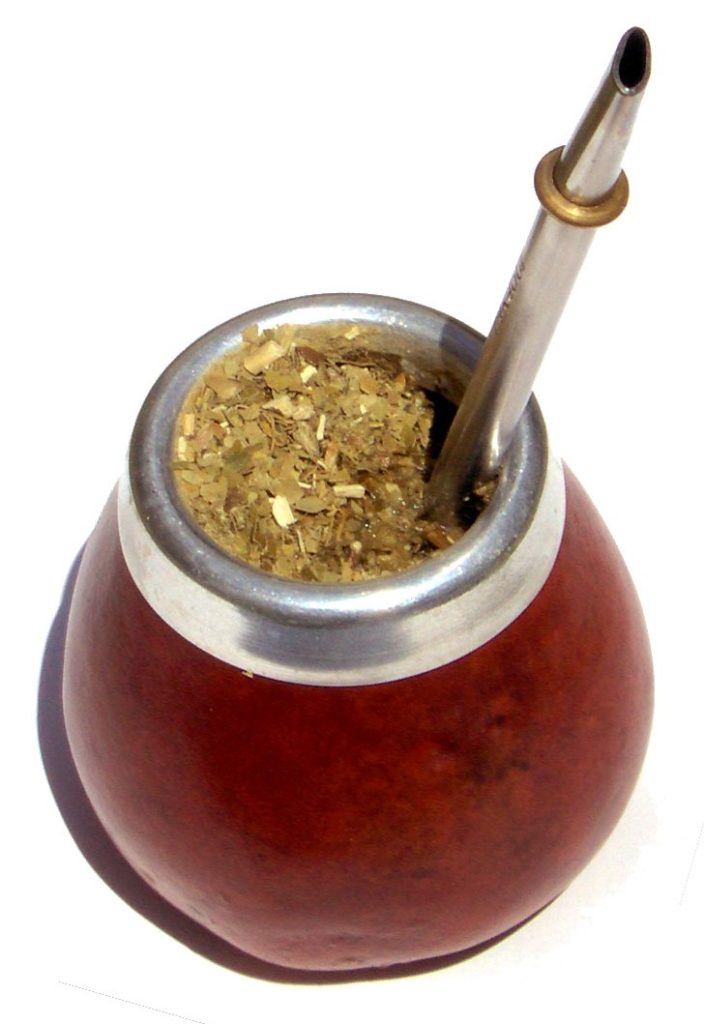
All that was followed by maté, a caffeine-containing tisane made from the leaves of a native tree.


Follow us on your social media platform of choice


A tisane would be tea, if it were made from tea leaves but, since it’s not made from tea leaves, it isn’t properly called tea.  A tisane is different from a decoction though we sometimes erroneously call both of them tea.

In a tisane, the botanicals are steeped in hot water, as is tea.  Whereas, for a decoction, the ingredients are actually boiled.

Maté (photo by Jorge Alfonso Hernández / http://creativecommons.org/licenses/by-sa/3.0/)

I don’t remember what dessert was but we had something!

To be fair, there were some vegetables on the table.  But they didn’t migrate far from us Americans sitting at one end. The heads of this extended family, my husband’s great uncle and aunt from Italy, made a bit of a nod in the direction of vegetables. Their children, grandchildren, and the various spouses and significant others wanted nothing at all to do with anything that once had roots.

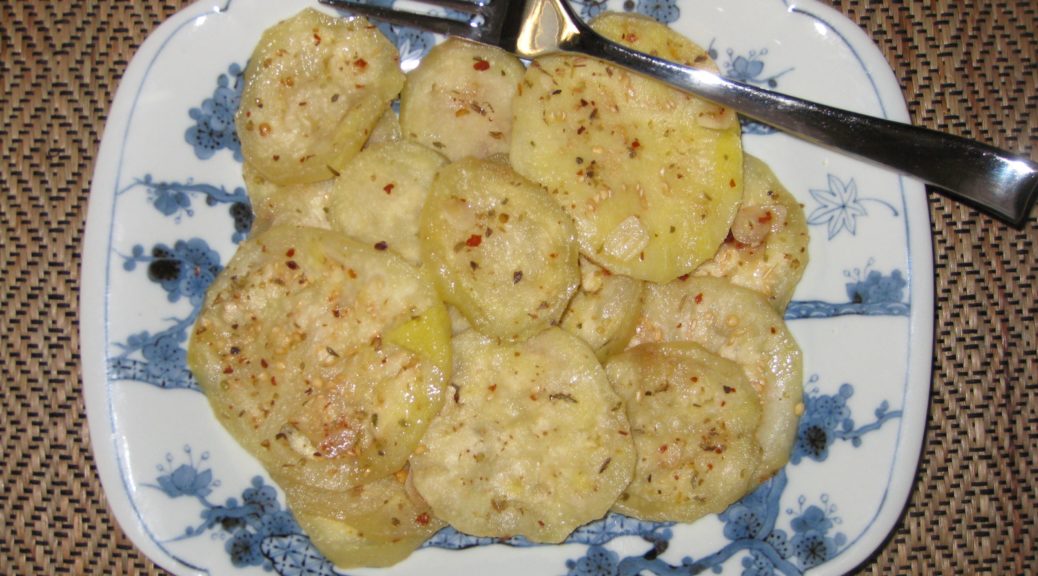
Nonetheless, Argentines excel at making side dishes that compliment grilled meat.  This eggplant is one example.  (I’m not sure who, exactly, eats these dishes but they do appear on tables!)

This eggplant great for a crowd since it is made in advance and can sit in the fridge for several days, getting better each day.  It’s a perfect accompaniment to grille meats.  That’s a plus now that summer grilling season is here.

Join our mailing list and you’ll never miss a recipe again!

I really like having an array of dishes in my repertoire that don’t require much (or any) last minute fussing when I’m trying to feed a crowd.  This dish fits the bill perfectly.

Maté plant in the wild (photo by Ilosuna / http://creativecommons.org/licenses/by-sa/3.0/)

I frequently get asked for the recipe which tells me it’s generally well liked.

Now that summer grilling season is upon us, give this a try!  I promise you won’t be sorry.

Print Recipe
Argentine Marinated Eggplant
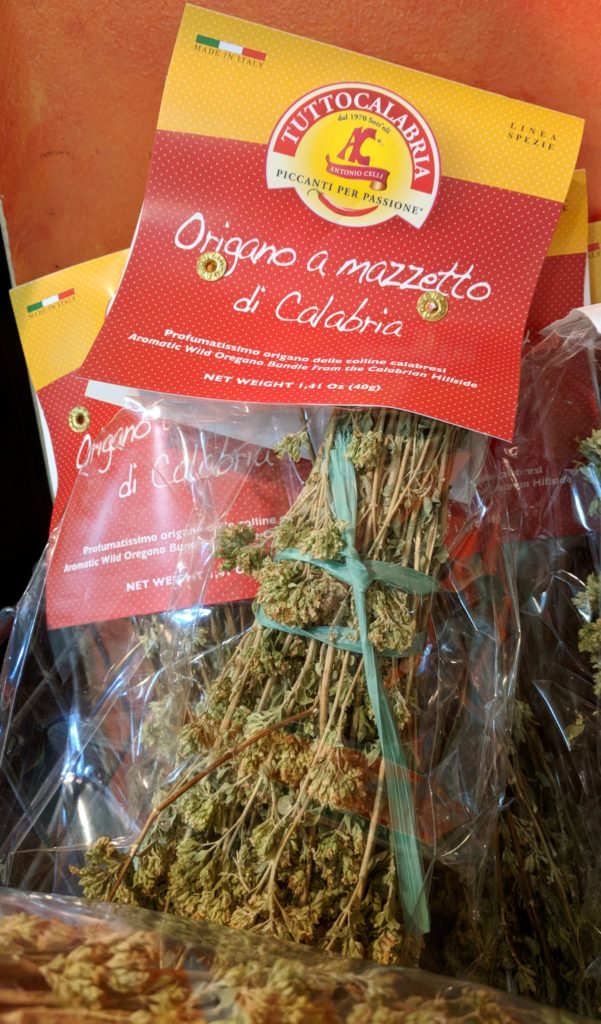
If your dried oregano is more than a year old, you may want to get a new jar for this dish. The oregano is key to the flavor. If you can get very aromatic, dried wild oregano from Italy so much the better. See the Notes section below for some amazing wild oregano. Adjust the crushed red pepper to taste.
Votes: 0
Rating: 0
You:
Rate this recipe!
Course Sides, Vegetables
Cuisine Argentine
Prep Time 20 minutes
Cook Time 45 minutes
Passive Time 25 hours
Servings
people
Ingredients
Course Sides, Vegetables
Cuisine Argentine
Prep Time 20 minutes
Cook Time 45 minutes
Passive Time 25 hours
Servings
people
Ingredients
Votes: 0
Rating: 0
You:
Rate this recipe!
Instructions
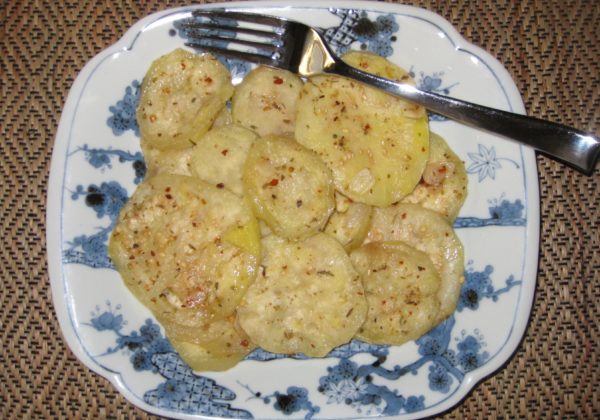
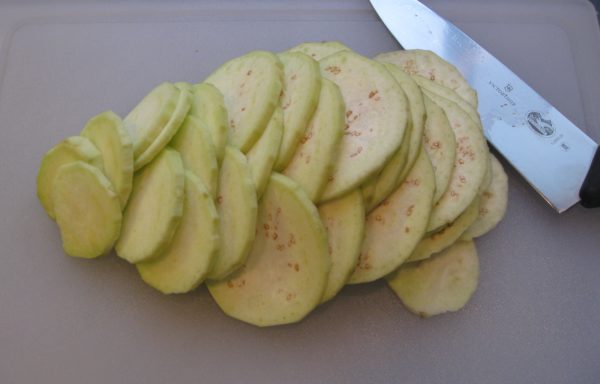
  1. Peel the eggplant.
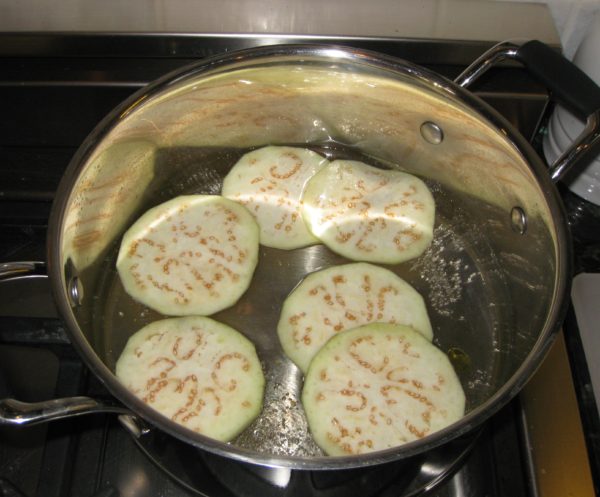
  2. Slice the eggplant into rounds approximately 1/8 inch thick.
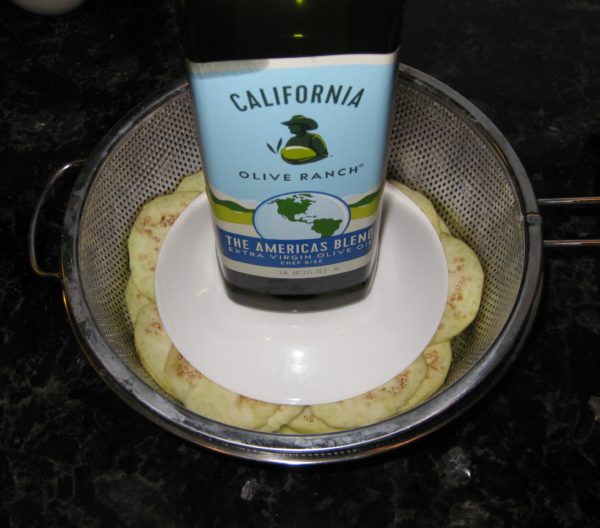
  3. Salt the eggplant slices liberally and place them in a colander.
  4. Put a saucer on top of the eggplant and add a weight, such as a few canned goods.
  5. Allow the eggplant to sweat and drain for an hour.
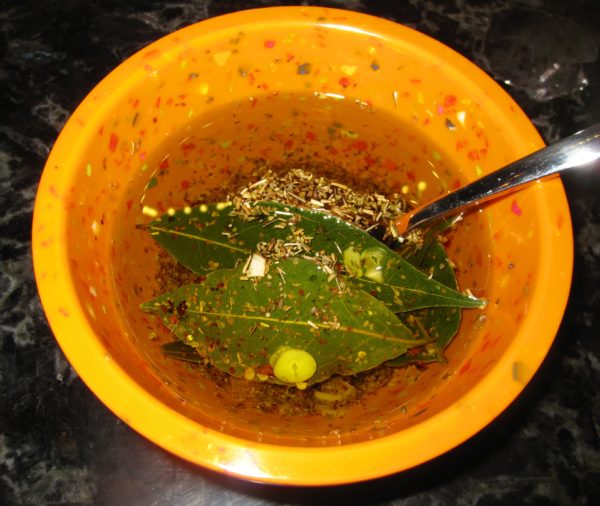
  6. Meanwhile, mix the olive oil, garlic, oregano, red pepper, salt, and bay leaves. Set aside.
  7. Rinse and drain the eggplant.
  8. Bring the vinegar and water to a boil.
  9. Working in batches, add a few eggplant slices to the boiling vinegar and water mixture. Cook for 1 minute after the mixture returns to a boil.
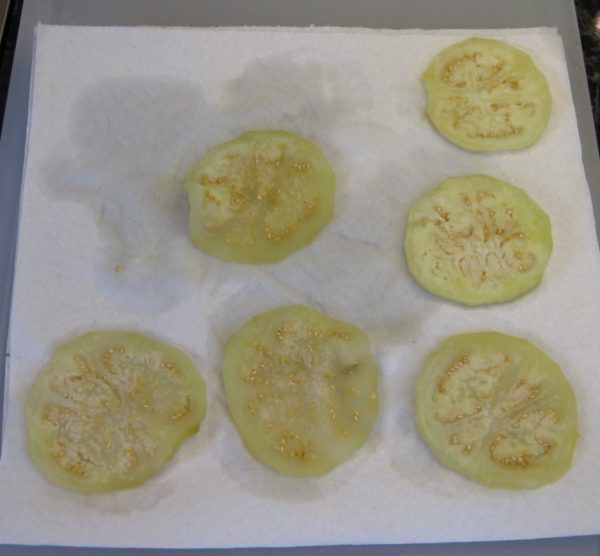
  10. Blot the cooked eggplant on paper towels.
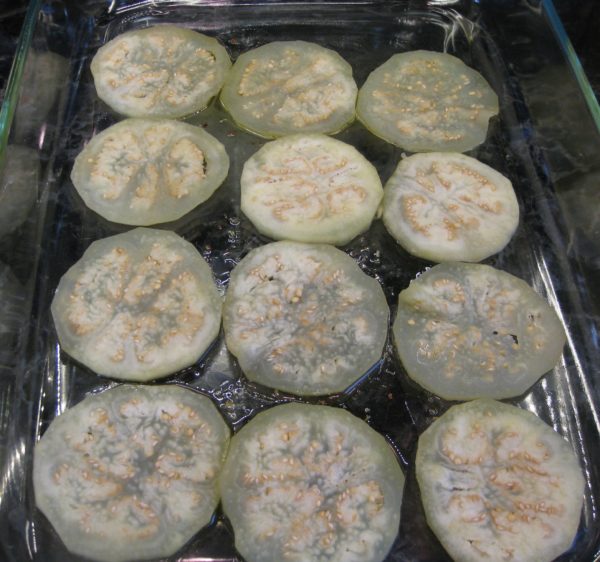
  11. Put a layer of cooked eggplant in a non-reactive container, such as a glass baking dish.
  12. Drizzle the eggplant with some of the olive oil mixture.
  13. Repeat layers of eggplant drizzled with the oil mxiture until all ingredients are used.
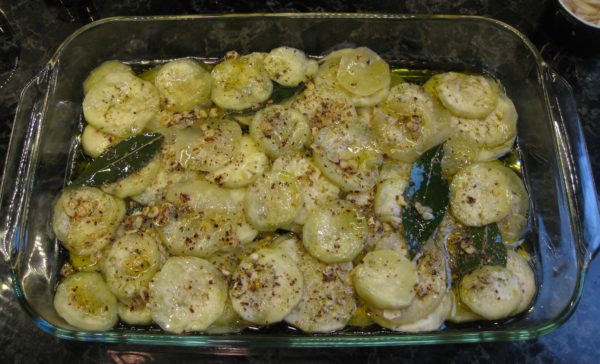
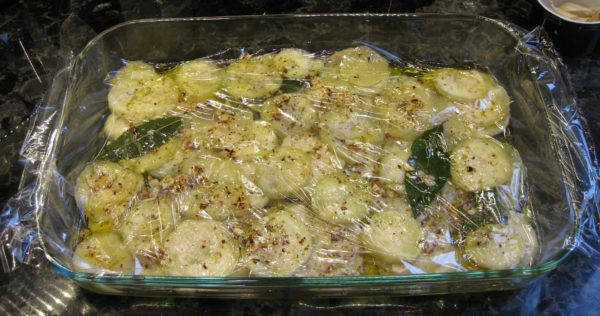
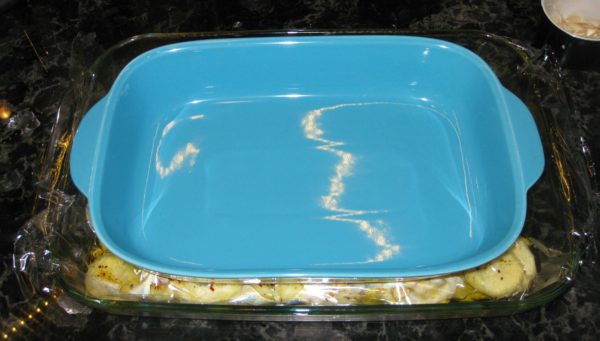
  14. Place a layer of plastic wrap directly on the eggplant.
  15. Put a dish or plate on the plastic wrap to weigh down the eggplant. Refrigerate for 24 hours.
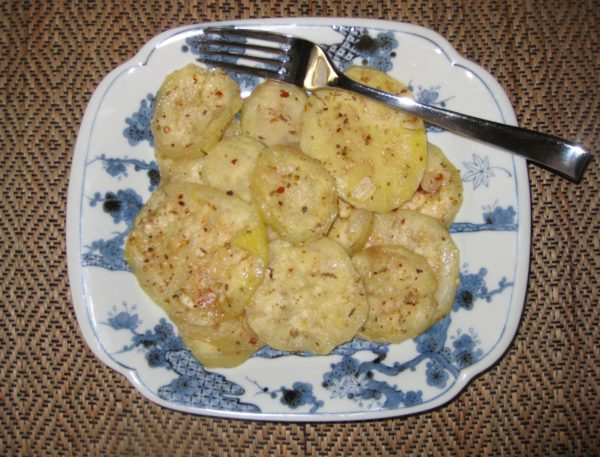
  16. Allow the eggplant to come to cool room temperature and remove the bay leaves before serving.
Recipe Notes

Wild oregano from the hills of Calabria

Copyright © 2018 by Villa Sentieri, LLC. All rights reserved.
Share this Recipe

Gary’s Barbecue Rub

June 15, 2018

As summer approaches, my thoughts of cooking turn to the outside.  Luckily, at 8000 feet, it’s not a problem to use the stove or the oven inside, even for extended periods of time, as the outdoor temperature is usually quite moderate and the house doesn’t really heat up.

Even so, summer instigates a more leisurely style of cooking for me.

I like using my smoker, or grill, or wood-burning oven.

My smoker  has an adjustment for the heat output but not temperature, per se. If the wind or external temperature change, the internal smoker temperature changes, too.

There is no doubt that I have more of an Italian palate: more savory, less sweet.  In contrast, an American palate generally accepts much more sweetness in an array of foods.


Join our mailing list and you’ll never miss a recipe again!


Once, when my husband’s Great Uncle Duilio (born and raised in Italy but then residing in Argentina) was visiting, we made an American breakfast of pancakes and bacon.  He totally got into using maple syrup on the pancakes, and loved the bacon, but couldn’t understand the concept of allowing the sweet syrup to touch his bacon.  It just wasn’t right.

By European standards, American barbecue is sweet.  Even when we, as Americans, think it isn’t.

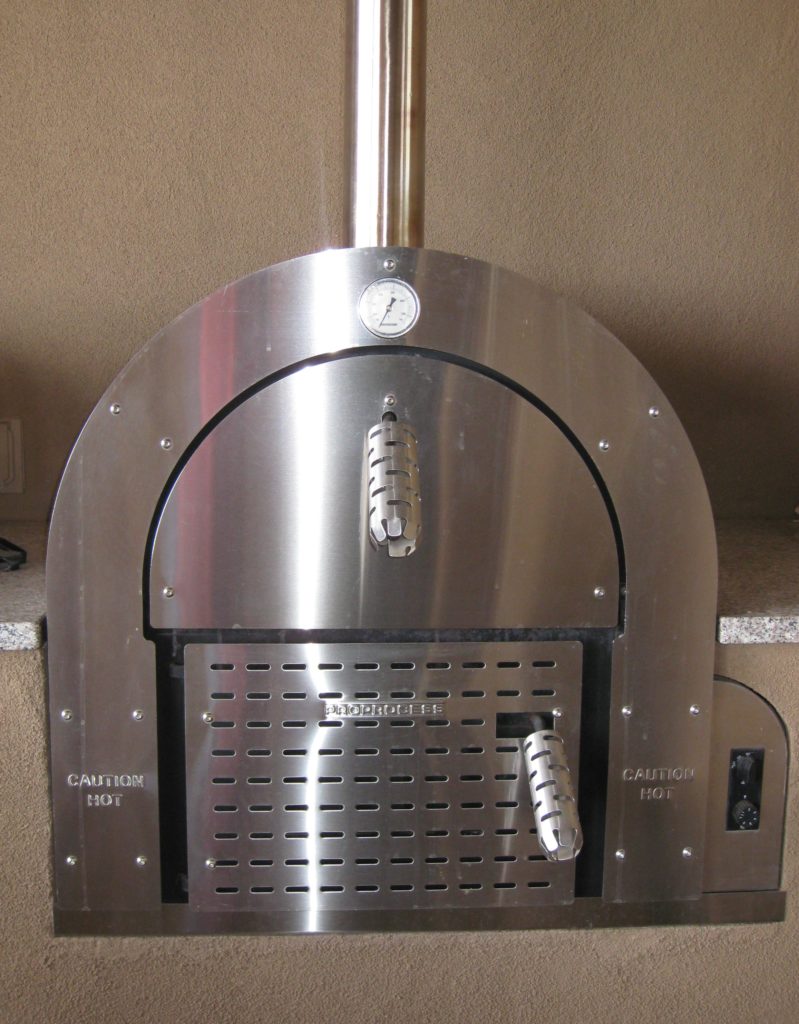
My wood-burning oven can also run on natural gas. It is great for pizza.

I guess I’ve developed an appreciation for a sweeter, more American approach to certain foods…barbecue, baked beans, bacon with maple syrup, and so forth.  Definitely, though, I still prefer foods less sweet than many of my friends would find acceptable.

Today’s recipe is quite simple.  It’s a barbecue rub.  I developed it and have successfully used it on chicken, turkey, pork and beef.

In an upcoming post, I will describe my method for preparing skin-on, bone-in chicken thighs with both barbecue rub and barbecue sauce.


Follow us on your social media platform of choice


My DCS grill has a wood chip container with its own flame for precisely controlled smoking, whether low temperature or high temperature

If you’re at all interested and, like me, want to be able to replicate you cooking over and over again, you need to develop your own barbecue rub rather than relying on a pre-mixed, store-bought version.  This recipe is as good a starting point as I can think of.  Honestly, it only takes a few minutes to mix enough for a summer of barbecuing!

Print Recipe
Gary's Barbecue Rub
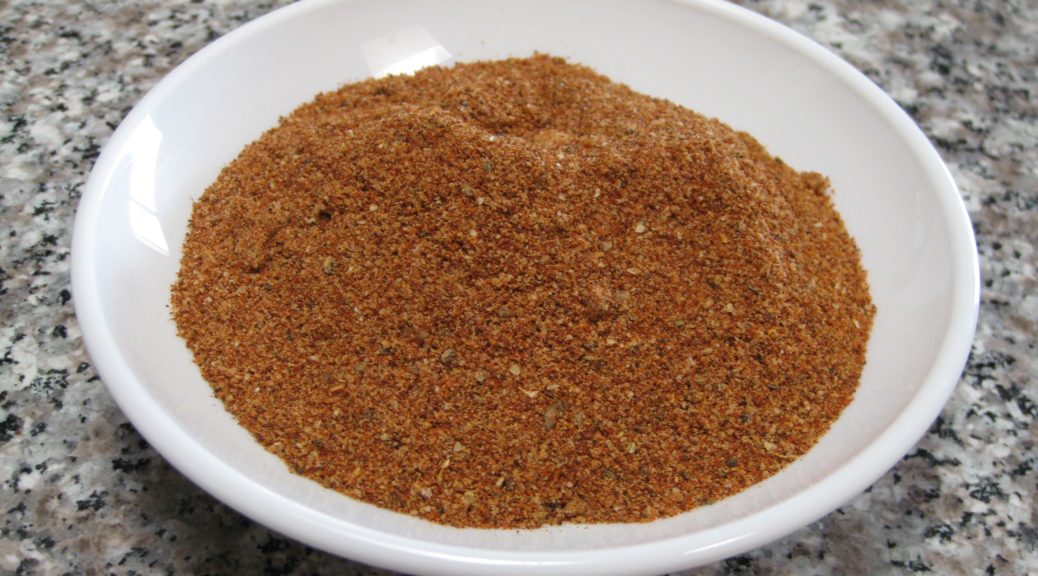
If you can’t find dried New Mexican chile molido, substitute a mixture of cayenne and paprika, half and half or to taste. Chile molido is pure ground dried red chile. There are no additional herbs or spices. It is NOT chili powder!! There aren’t really any pictures for this recipe. All they would show is measuring out dry ingredients. Enjoy the simplicity.
Votes: 0
Rating: 0
You:
Rate this recipe!
Prep Time 10 minutes
Servings
cups
Ingredients
Prep Time 10 minutes
Servings
cups
Ingredients
Votes: 0
Rating: 0
You:
Rate this recipe!
Instructions
  1. Combine chile, paprika, garlic powder, onion powder, salt, and celery seed in a jar.
  2. Grind black pepper in a coffee grinder.
  3. Add oregano to black pepper and grind again.
  4. Add pepper-oregano mixture to the contents of the jar.
  5. Pulverize the brown sugar in the coffee grinder.
  6. Add the brown sugar to the other ingredients. Mix well.
Recipe Notes

Copyright © 2018 by Villa Sentieri, LLC. All rights reserved.

Share this Recipe

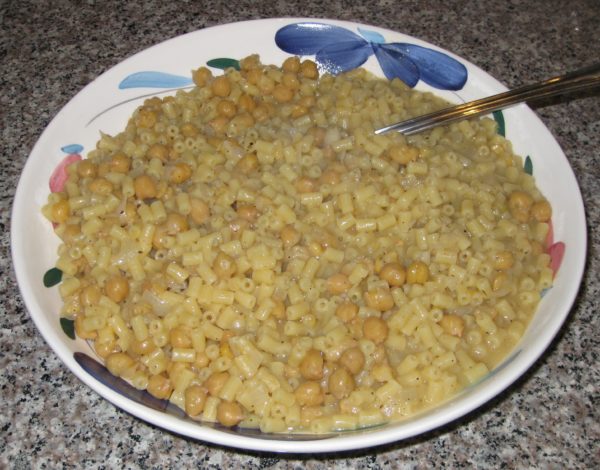
Aunt Margie’s Pasta è Ceci (Pasta and Chickpeas)

May 4, 2018

Beans and Macaroni. Pasta è Fagioli.  Even Pasta Fazool to quote Dean Martin.

It’s a classic combination and there are as many variations as there are cooks!  (Google returned 6,300,000 entries for “beans and macaroni,” 588,000 for “pasta è fagioli,” and 57,900 for “pasta fazool!”)

This is my interpretation of Aunt Margie’s, which she made with chickpeas.

At Aunt Margie’s 90th birthday party in September 2010.  From left to right, Aunt Margie’s grandson, Jim, me, Aunt Margie, my cousin Donna (Aunt Margie’s daughter)

It couldn’t be more different from my mother’s which was made with baby lima beans.

Aunt Margie’s was made with water and oil.  My mother’s had tomato sauce.


Follow us on your social media platform of choice


Aunt Margie’s was quite soupy.  My mother’s was just slightly “saucy.”

They grew up in the same house and learned to cook from the same mother.  I wish I had thought to ask either of them where their respective recipes came from and why they were so different.

My cousin Donna and I in the lobby of the Hilton Plaza in Miami Beach, 1970

One thing that both versions had in common, though, is that they were frequently served on Fridays, which our families observed as meatless back then.  (When Fridays were no longer meatless, my father joked that it was because the Vatican sold its fisheries.)

But Friday or no, pasta è fagioli, or, in this case, more specifically pasta è ceci (ceci means chickpeas), is consummate comfort food.  Admittedly, pasta è fagioli does not need to be meatless but it very often is.  (Actually, I made a non-meatless version earlier this week with guanciale, cured pork jowl.)


Click HERE to join our mailing list and you’ll never miss a recipe again!


Aunt Margie and Uncle Joe were like second parents to me.  I spent many (most?) summer days at Aunt Margie’s, getting there in the morning and staying until dinnertime or later.  My cousin, Donna, is nine months younger than I am.  Her neighbor Ricky Slivosky is nine months younger than she is.  The three of us hung out pretty much all summer.  That made Aunt Margie’s house the logical choice.

Aunt Margie got a little too much sun while we were staying at the Beau Rivage Resort in Miami Beach, 1971

Our families often vacationed together.  Florida was a favorite destination.  Once every 5 years Uncle Joe had 13 weeks of vacation (ahh, the glory days of American steel manufacturing…and collective bargaining).  Those years were likely to include a trip to California.

Aunt Margie really didn’t like vacations.  Several times I witnessed what I believe was an annual ritual.  Uncle Joe would be loading the suitcases in the trunk of the car and Aunt Margie would be standing beside him still trying to convince him to cancel the vacation.  Aunt Margie never won.

Beau Rivage Resort, Bal Harbour, Florida

Those vacations were always by car; two days to Florida and four days to California.  Aunt Margie ate the same lunch every day of every trip: bacon, lettuce, and tomato sandwiches on white toast, hold the mayo.  Only after we reached our destination did she resume a “regular” diet!

We always had fun and even Aunt Margie seemed to enjoy herself (a minor episode of seasickness, notwithstanding).

Aunt Margie getting seasick on the boat trip from Miami to the Bahamas, 1970

My father didn’t always go on vacation with us due to his work schedule.  He made it on the 1970 trip to Florida, which included several days in the Bahamas which we reached by boat from Miami.  The only food memory I have of that trip is going to an Italian restaurant in Freeport where the garlic bread was so garlicky that it was bitter.  The food itself must have been pretty good as we went back again.  Unfortunately, the garlic bread was just as bad the second time around.

Print Recipe
Aunt Margie's Pasta è Ceci (Pasta and Chickpeas)
Aunt Margie’s Pasta è Ceci was more soupy than my mother’s Pasta è Fagioli. It had no tomato sauce. This is my interpretation. I have made the liquid a little thicker by emulsifying the cheese and oil at the end. Aunt Margie never used wine. That is my addition. To prepare dry chickpeas, combine 1 pound of dry chickpeas, 7 cups of water, 1 tablespoon salt, 2 bruised garlic cloves, one bay leaf, ½ teaspoon whole black pepper, and a piece of Parmesan cheese rind. Cook in the Instant Pot for 15 minutes or simmer, partially covered, adding more water if needed, till tender but not mushy. If not using the Instant Pot, add the salt after about 15 minutes of simmering. Measure out 3 ½ cups of cooked chickpeas. Reserve the remainder for another use. Use the cooking liquid as described below. Aunt Margie's pasta è ceci was usually so soupy that it was served in bowls. Feel free to make yours as loose as you would like.
Votes: 1
Rating: 5
You:
Rate this recipe!
Prep Time 10 minutes
Cook Time 45 minutes
Servings
people
Ingredients
Prep Time 10 minutes
Cook Time 45 minutes
Servings
people
Ingredients
Votes: 1
Rating: 5
You:
Rate this recipe!
Instructions
  1. Measure out three cups of chickpea-cooking liquid or use the liquid from canned chickpeas adding water to make three cups.
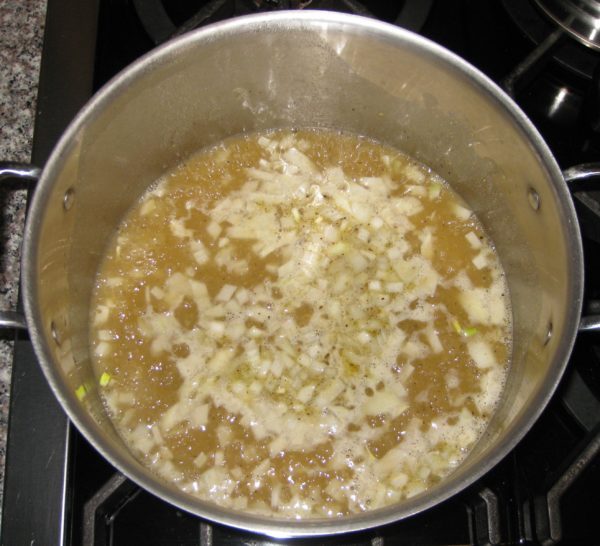
  2. Combine chickpea liquid, white wine, diced onion, oregano and black pepper in a Dutch oven large enough to hold the cooked pasta comfortably. Bring to a boil and simmer approximately 20 minutes, until the onion is tender.
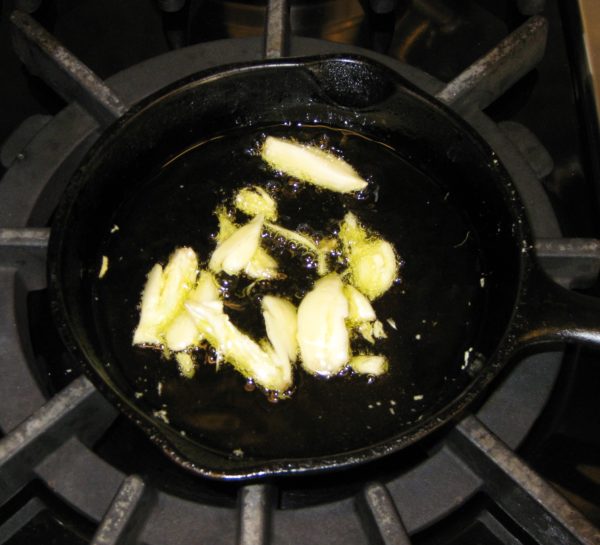
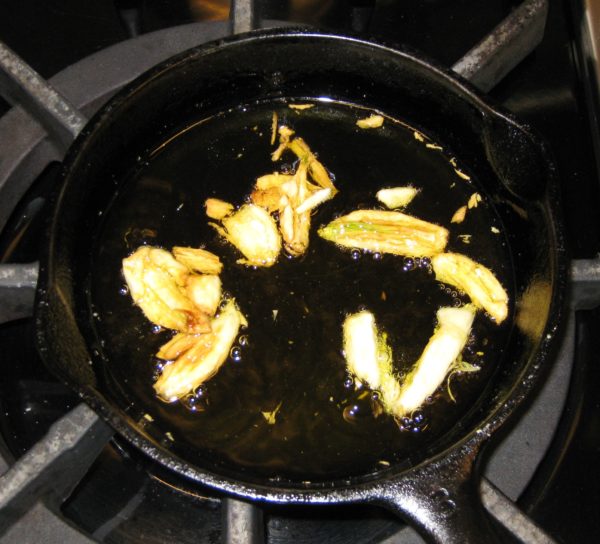
  3. Meanwhile, brown the garlic in 1/3 cup of olive oil over gentle heat.
  4. When the garlic is brown, remove it and reserve the oil.
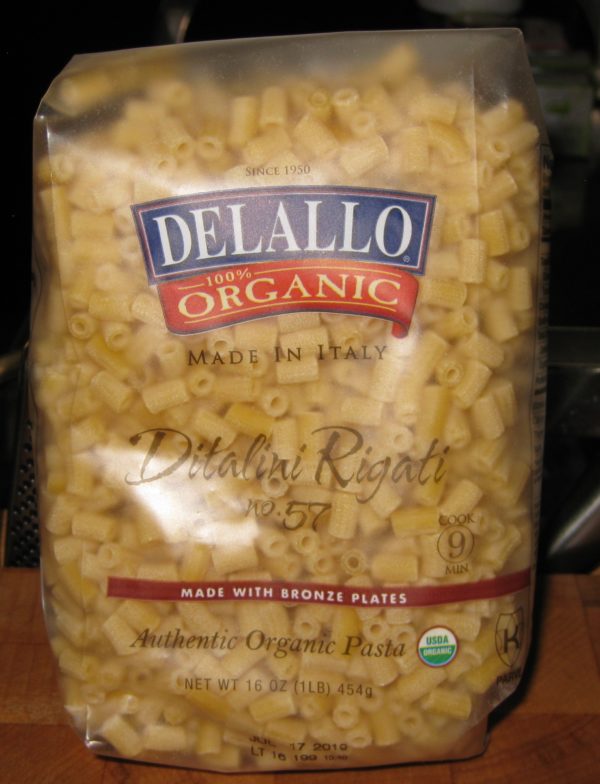
  5. Cook the pasta in two quarts of heavily salted, boiling water until the pasta retains just a little crunch at the very center.
  6. Reserve at least two cups of the pasta-cooking water.
  7. Pour some of the remaining pasta-cooking water into the serving bowl to warm it while proceeding with the recipe.
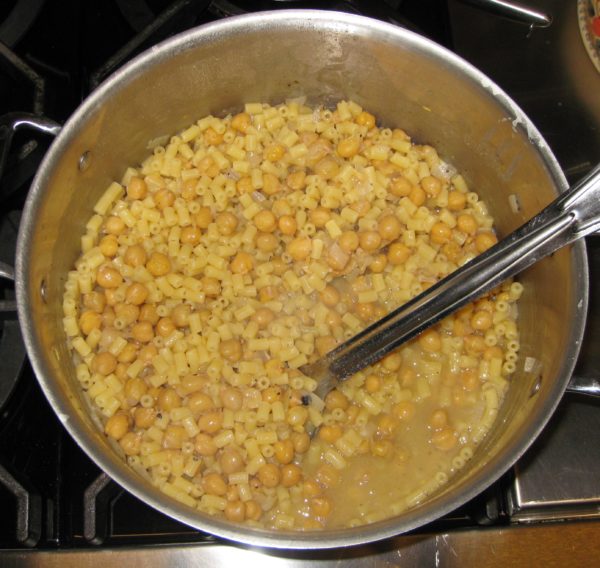
  8. Drain the pasta and immediately add it to the seasoned chickpea-cooking liquid along with the chickpeas.
  9. Add the garlic-infused oil and salt and black pepper to taste.
  10. Simmer gently, covered, until the pasta is just al dente. Add some of the reserved pasta-cooking water as needed.
  11. When the pasta is al dente, add more of the reserved pasta-cooking water, if necessary, to make a slightly soupy mixture.
  12. Remove from the heat.
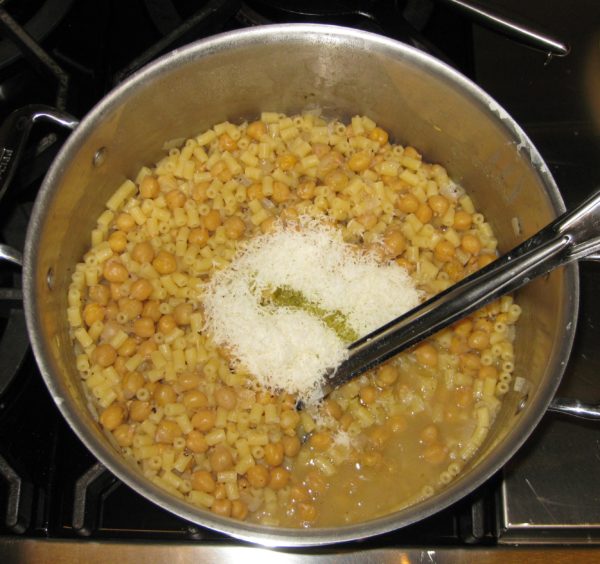
  13. Stir in the Romano cheese and 1/4 cup of olive oil to create a glossy sauce.
  14. Add a bit more of the pasta-cooking water if needed to thin the sauce as the combination of cheese and olive oil will create an emulsion that will thicken the sauce.
  15. Taste and adjust salt and pepper.
  16. Serve immediately with additional freshly grated Pecorino Romano cheese.
Recipe Notes

Copyright © 2018 by VillaSentieri.com. All rights reserved.

Share this Recipe

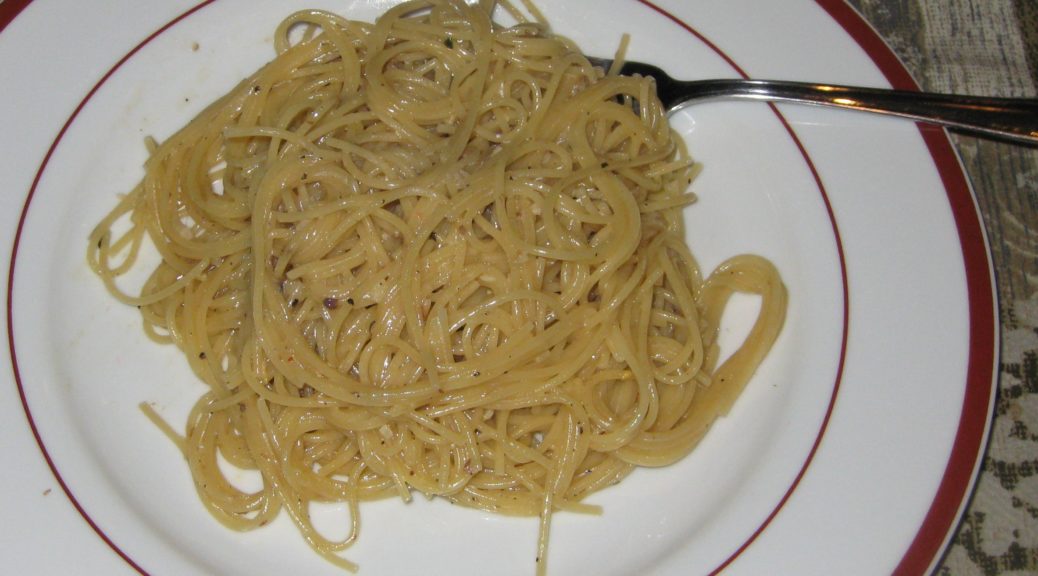
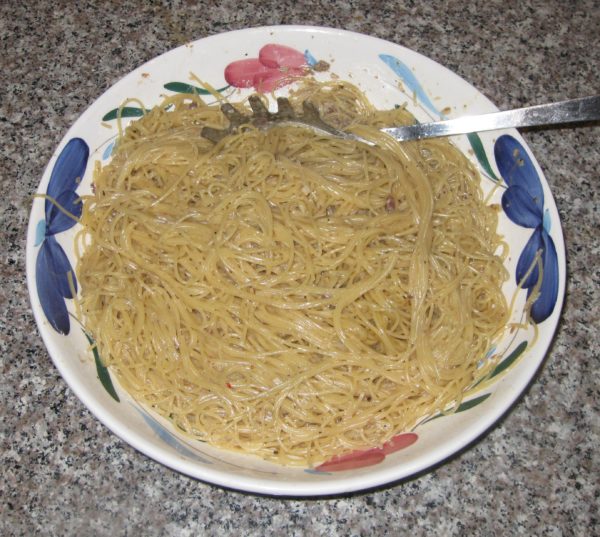
Spaghettini con Acciughe (Spaghettini with Anchovies)

January 1, 2018

In our house pasta mostly was dressed with a red sauce, specifically my mother’s long-simmered Southern Italian-style sauce.  In Western Pennsylvania, we called it “sauce” or sometimes “spaghetti sauce” though it was used on much more than spaghetti.  Further east, in Philadelphia, New York, and New Jersey the term “gravy” was common, but not where I lived.

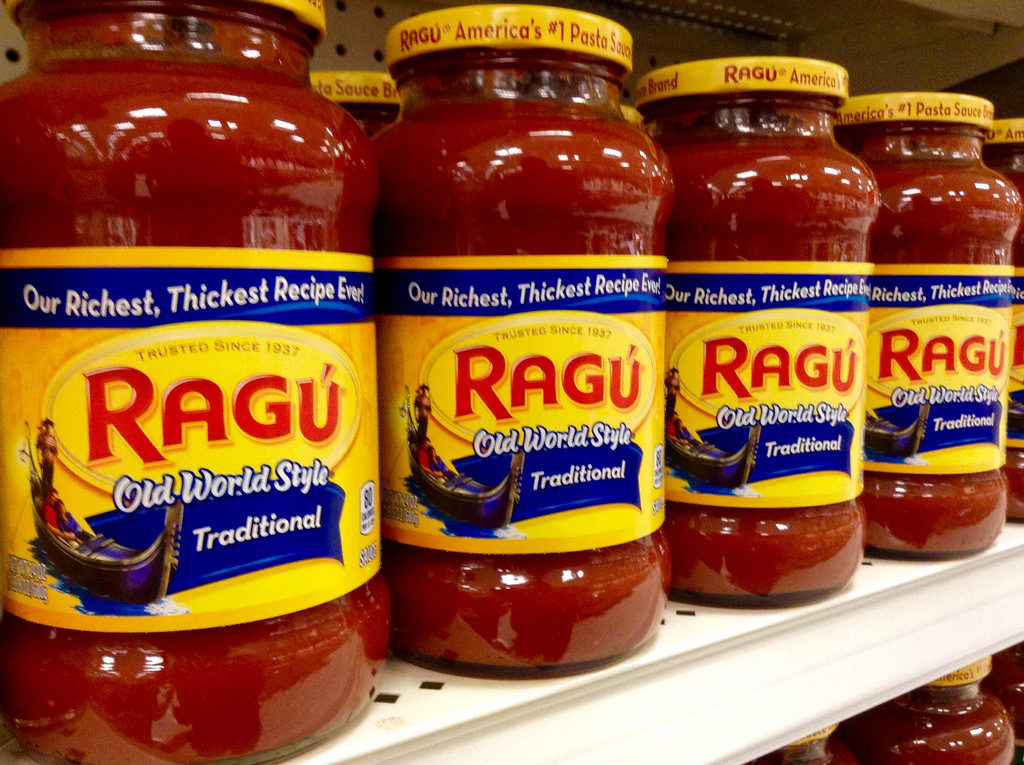
Now I mostly use the Italian word “sugo” which is a general term for sauce, though commonly used for a tomato-based sauce.  The word ragù definitely connotes a tomato-based sauce, specifically with meat.  It also happens to be a trademarked name, though with a different accent mark on the last letter:  Ragú.

I found it interesting that Ragú was started in 1937 in Rochester, New York by Assunta and Giovanni Cantisano, Italian immigrants who sold the sauce from their front porch.  In 1969, the company was sold to Chesebrough-Pond’s.  The brand became the best-selling pasta sauce in the country and ultimately achieved a reported 60% share of the pasta sauce market in the United States.


Click HERE to join our mailing list and you’ll never miss a recipe again!


Purchased pasta sauce was something that NEVER entered our house!

When pasta wasn’t served with a red sauce, it was typically served as Pasta è Fagioli (Pasta and Beans) and, once a year, on Christmas Eve, with crispy breadcrumbs and anchovies.  You can find my mother’s recipe for Pasta è Fagioli here and mine here.  In the coming months you’ll get my Aunt Margie’s recipe and Louis Evangelista’s recipe for Pasta è Fagioli.

Although not something I grew up with, a simple sauce of anchovies, garlic and olive oil is now a favorite in my household.

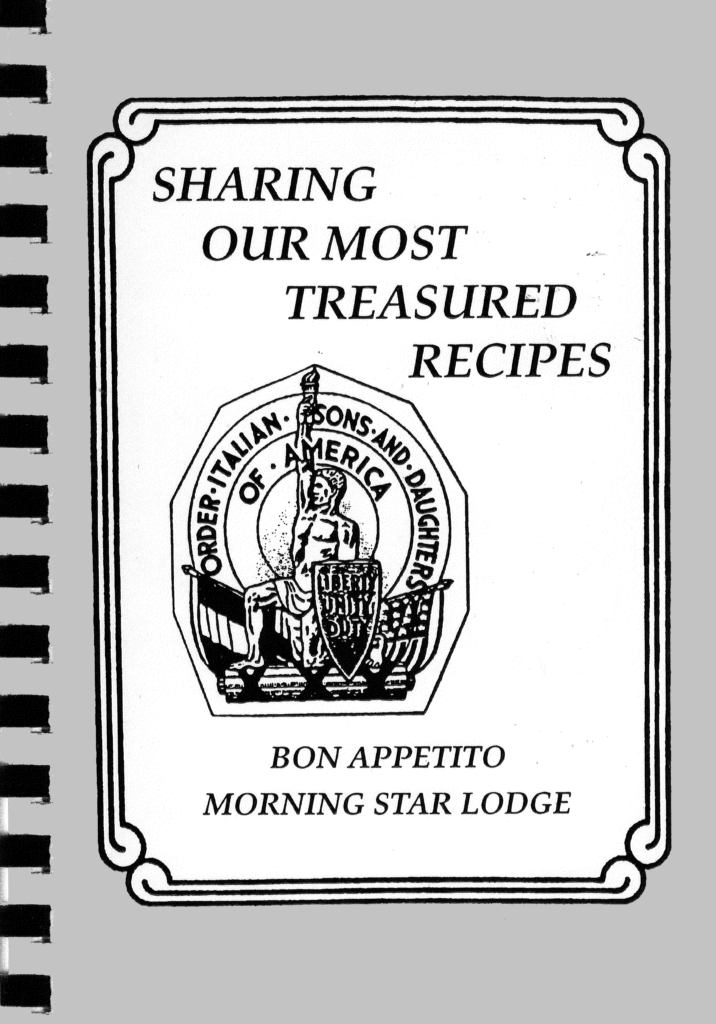
My recipe is adapted from one by G. J. Gillotti (whose family also hails from Calabria) in Our Most Treasured Recipes, published in 1993 by the Morning Star Lodge of the Order of Italian Sons and Daughters of America.  The sauce comes together from pantry staples in the time it takes to bring the pasta water to a boil.


Follow us on your social media platform of choice


Morning Star Lodge is in Pittsburgh, about 70 miles from my hometown of Johnstown, PA.  If you’ve been following my blog, you know I have both Italian and Slovak roots.  There are lots of people of Italian and Eastern European extraction in Western Pennsylvania.  I found it interesting to peruse the pages of this ostensibly Italian cookbook.  Among many Italian and Italian-American favorites are Eastern European dishes like holubki (stuffed cabbage), sweet sour kielbasa, and pierogi casserole.  This speaks to the melting pot that is Western Pennsylvania!


If you’ve gotten this far, I hope you’re interested in trying this recipe but I fear there are many of you who hear the word anchovy and stop cold in your tracks.  If any of you are still reading, however, I would encourage you to try this recipe.  The anchovies provide a background savory note but really are not front and center!


If you have a favorite family recipe and a bit of a story to tell, please email me at santafecook@villasentieri.com and we can discuss including it in the blog. I am expanding the scope of my blog to include traditional recipes from around the country and around the world. If you haven’t seen Bertha’s Flan or Melinda’s Drunken Prunes, take a look.  They will give you an idea of what I’m looking for.


Print Recipe
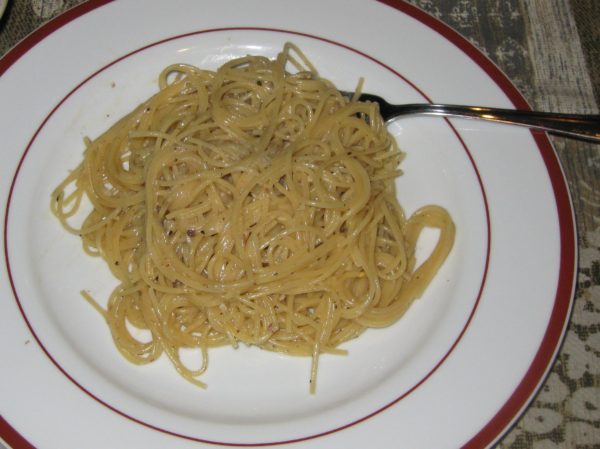
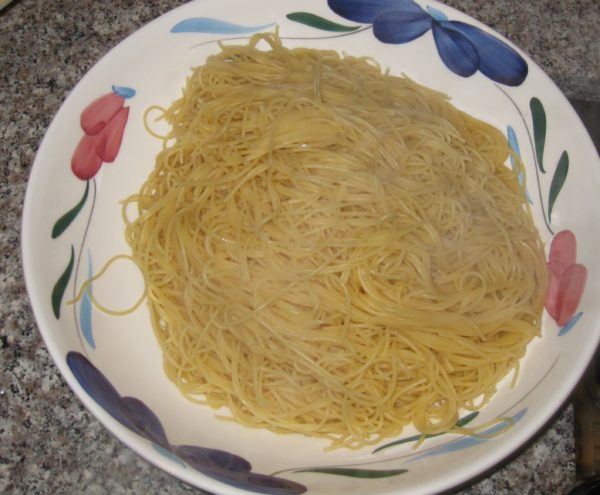
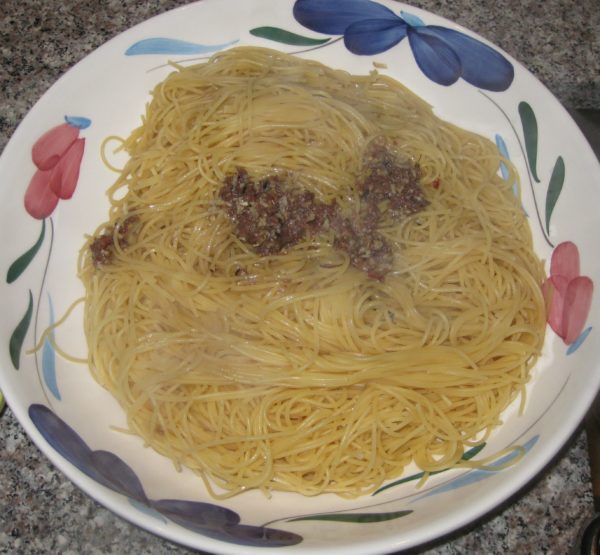
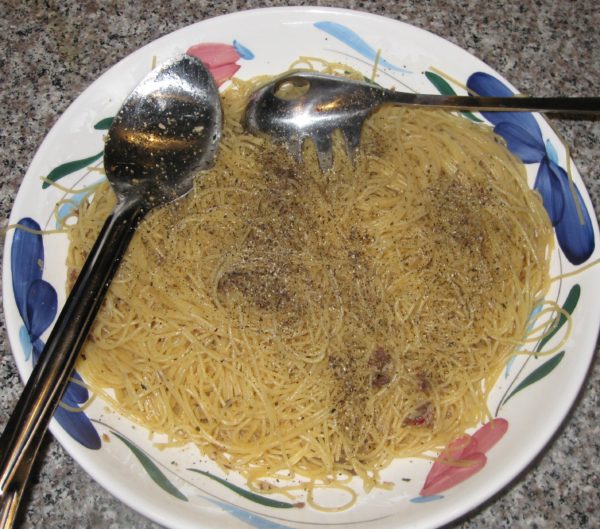
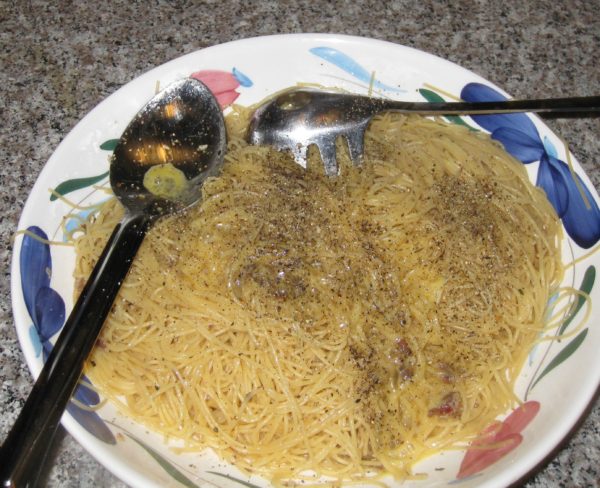
Spaghettini con Acciughe (Spaghettini with Anchovies)
Buy good quality anchovies packed in olive oil. The difference in price between low-end and high-end anchovies is not that much but the difference in taste is astounding. Good anchovies will have only the slightest smell “of the sea” when you open the can. After cooking, they will fade into the background leaving a savory (umami) note without any fishiness. Italians rarely use cheese in dishes that contain fish. I prefer spaghettini in this dish. Spaghettini is thinner than spaghetti but thicker than angel hair (vermicelli).
Votes: 0
Rating: 0
You:
Rate this recipe!
Prep Time 15 minutes
Cook Time 40 minutes
Servings
people
Ingredients
Prep Time 15 minutes
Cook Time 40 minutes
Servings
people
Ingredients
Votes: 0
Rating: 0
You:
Rate this recipe!
Instructions
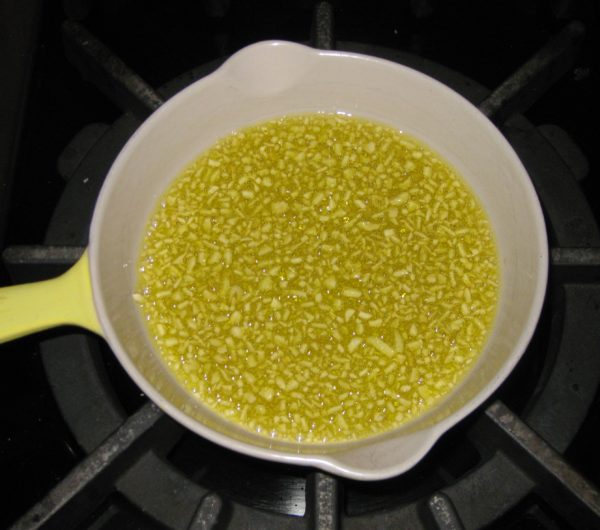
  1. In a small frying pan gently sauté garlic in olive oil until golden brown.
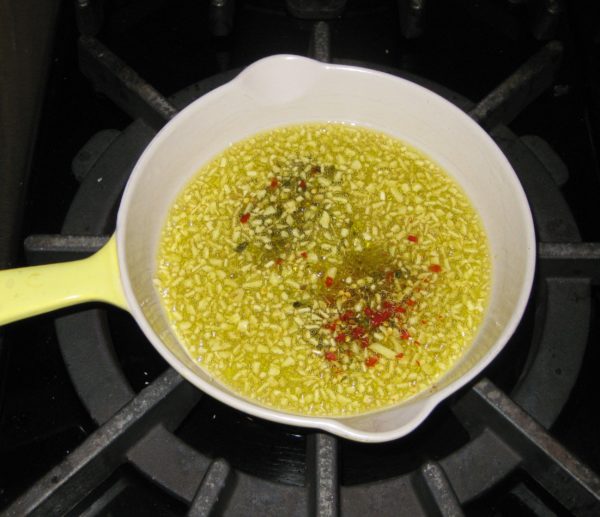
  2. Add the fennel seed, red pepper, oregano, and basil and cook for approximately 30 seconds.
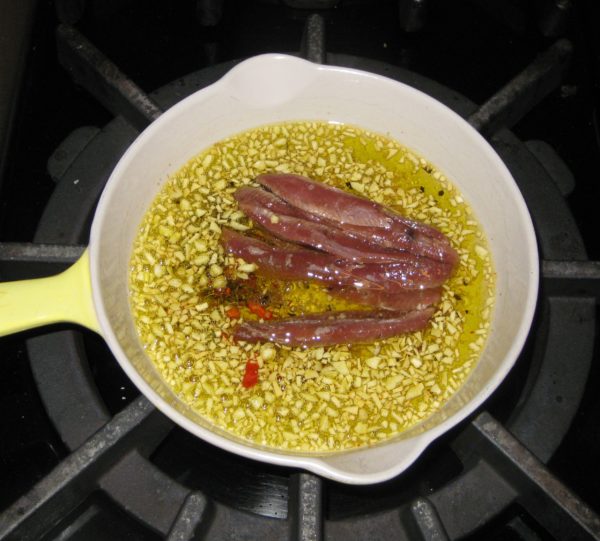
  3. Add the anchovies and their oil.
  4. Cook gently, stirring frequently, until anchovies disintegrate. This will only take a few minutes.
  5. Add white wine and simmer gently till most of the wine has evaporated and the anchovies have thoroughly disintegrated. Remove the pan from the heat.
  6. Meanwhile cook pasta in 3 quarts of boiling water seasoned with 1/3 cup of salt until just al dente.
  7. As the pasta nears completion, use some of the pasta water to warm the serving bowl. This is important as the egg will cook in the hot pasta and if the bowl is cold, the pasta will lose too much heat to do this effectively.
  8. Just before draining the pasta, reheat the olive oil-anchovy mixture on medium-low.
  9. Drain pasta, reserving at least one cup of the pasta-cooking water.
  10. Drain and quickly dry the warmed serving bowl.
  11. Put half of the olive oil-anchovy mixture in the warmed serving bowl.
  12. Add the drained pasta.
  13. Top with the remaining olive-oil anchovy mixture.
  14. Toss pasta.
  15. Add black pepper and beaten egg. Toss until well mixed.
  16. In a leap of faith, add about ½ cup of the reserved (still hot) pasta-cooking water. Toss well.
  17. Drizzle in approximately ¼ cup of finishing olive oil. Toss well.
  18. Add more pasta-cooking water, if needed, to make a glossy sauce. You probably can’t go wrong with adding at least another ¼ cup of pasta-cooking water.
Recipe Notes

Copyright © 2018 by VillaSentieri.com. All rights reserved.
Share this Recipe

Eduardo’s Chimichurri

October 20, 2017

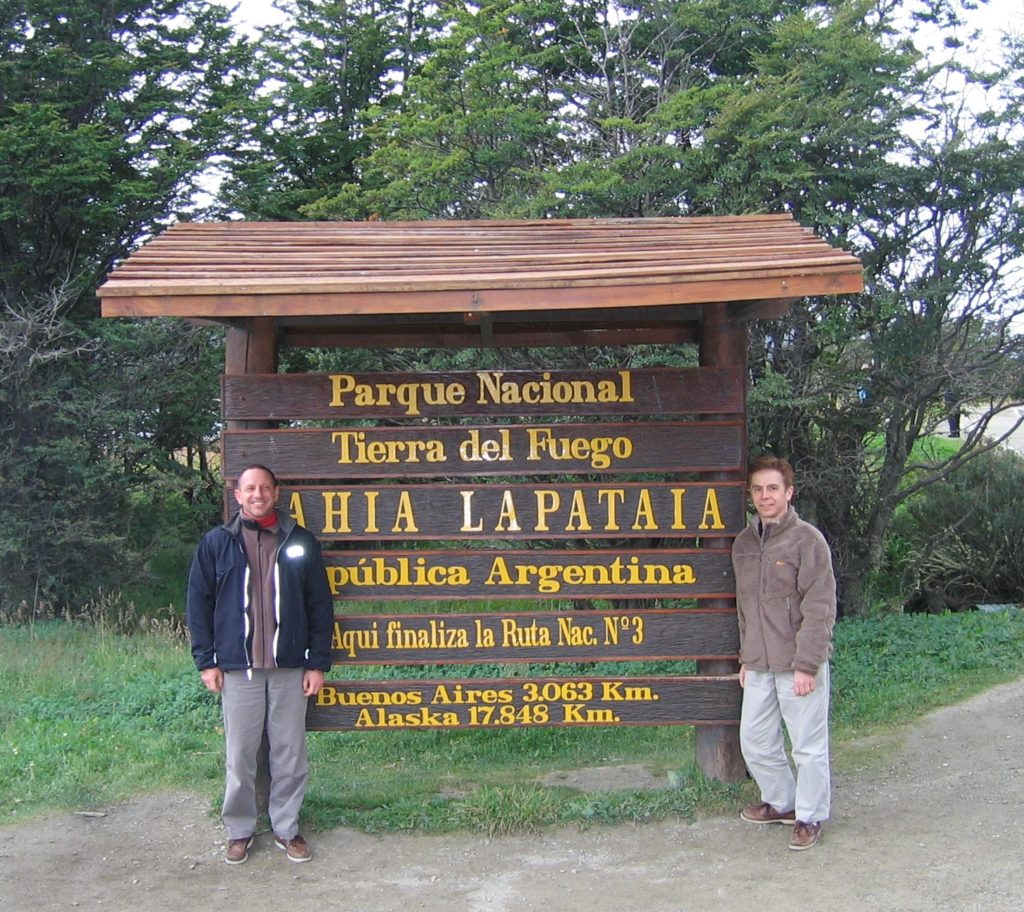
We’ve been to Argentina at least three times. Once as part of a trip to explore wine country in Chile and Argentina, once as part of a trip to Antarctica for which the ship left from Tierra del Fuego, and once with my in-laws to visit relatives who lived in Patagonia.

Tierra del Fuego, the starting point for our Antarctic adventure!
Penguins
Icebergs really are blue!

On each trip we spent some time in Buenos Aires, some more than others. And on each trip we did the Argentine thing of eating copious quantities of meat.

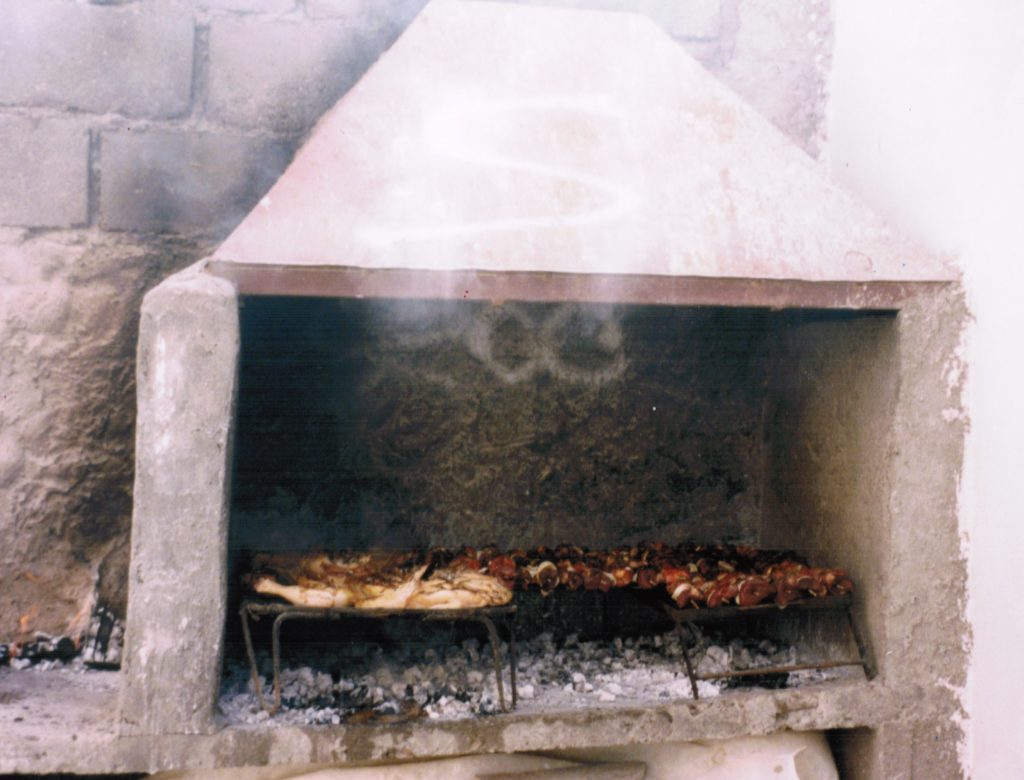
Eateries abound selling meats of various types cooked over live charcoal. The less fancy, but no less good, ones are often outdoor affairs with pots of chimichurri on each table. Often, the maestro de parrilla (grill master) is standing just feet away tending several large parrillas (grills) brimming with various cuts of meat. One of our most memorable meals of grilled meats was at just such a place in the suburbs of Buenos Aires with a friend from the States who married an Argentine and moved to Buenos Aires.

I developed a true appreciation for the extent to which Argentines love meat, however, at several family dinners at my husband’s Great Uncle Duilio and Great Aunt Juliana’s house in Puerto Madryn, Patagonia. Duilio is Fidalma’s brother. I’ve mentioned Fidalma several times in this blog.

We spent a week in Puerto Madryn and had two Sunday dinners with Duilio’s family (daughters, sons-in-law, and grandchildren).

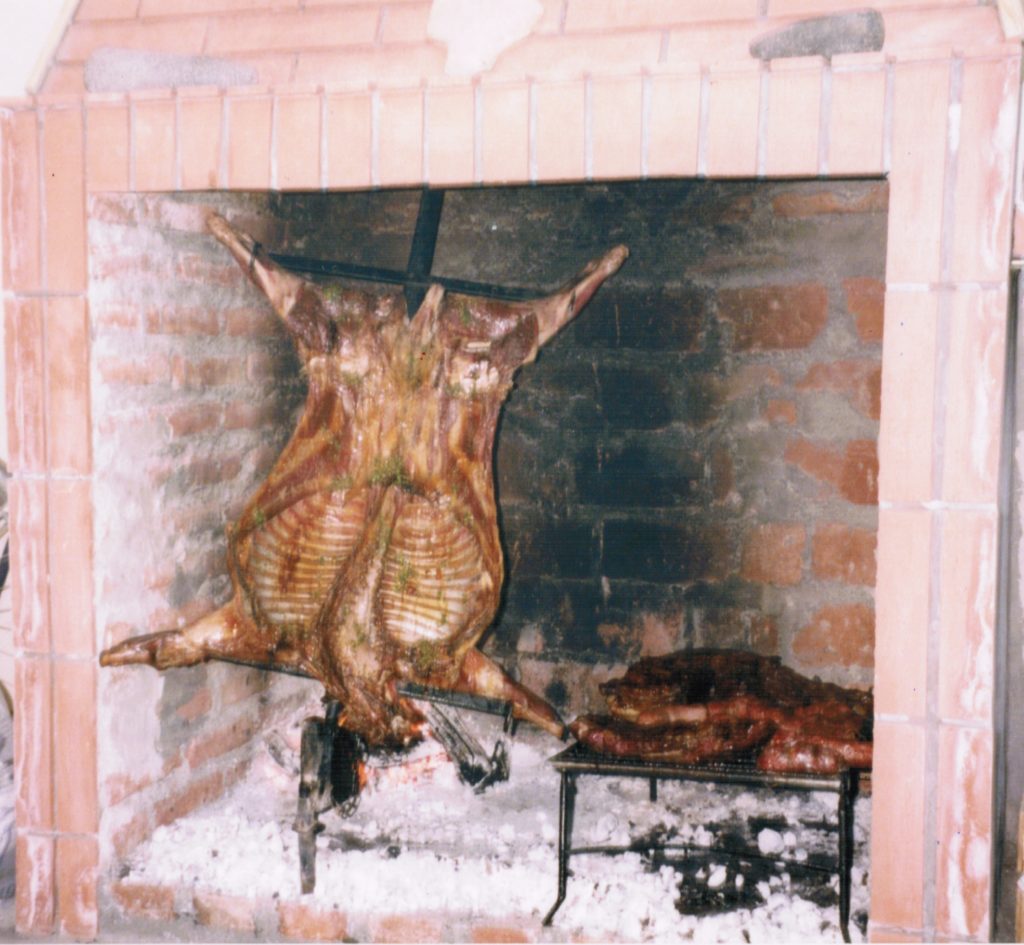
To accommodate large family gatherings, one of Duilio’s daughters converted an outbuilding to host bacchanalian feasts. There was a large indoor parilla with grill racks, an iron cross to hold an entire lamb near the charcoal, and a hook to hold a cauldron over the heat. There was another parilla just outside the door, in the courtyard. The rest of the interior space was given over to a very, very long table and chairs.

Indoor parilla with a whole lamb and sausages

When we arrived for the second Sunday dinner, Eduardo, one of Duilio’s sons-in-law was frying 15 kilos (that’s 33 pounds!) of calamari in a large cauldron set over a fire in the indoor parilla. This was just to keep us from getting restless and hungry as the rest of the meal was prepared.

Outdoor parilla with chicken and brochettes

When we sat down to eat, the first course was grilled chicken. The grilled chicken course was followed by grilled sausages. The grilled sausages were followed by grilled lamb. The grilled lamb was followed by grilled beef.

Yep, each course was a different meat!

Truth be told, there were some vegetables on the table. But that doesn’t mean they were eaten by most of the family and the quantity certainly paled in comparison to the herd of animals that made its way onto the table in succession.

The seating arrangement was in strict age progression. Duilio and Juliana sat at the head. On either side of them sat my husband’s parents. Next to them on opposite sides of the table was where my husband and I were seated. After that came Dulio and Juliana’s daughters and their husbands. The remainder of the table was filled with grandchildren.

The vegetables started at “our” end of the table. Duilio and Juliana, as well as my in-laws and the two of us actually put vegetables on our plates. Duilio and Juliana’s daughters took a bite or two, as I recall. The sons-in-law and grandchildren wanted nothing to do with anything that was suspiciously related to a root!

And there you have it. Course after course of meat, no veggies for the “true” Argentines, a bit of dessert, and the obligatory cup of mate passed around the table.

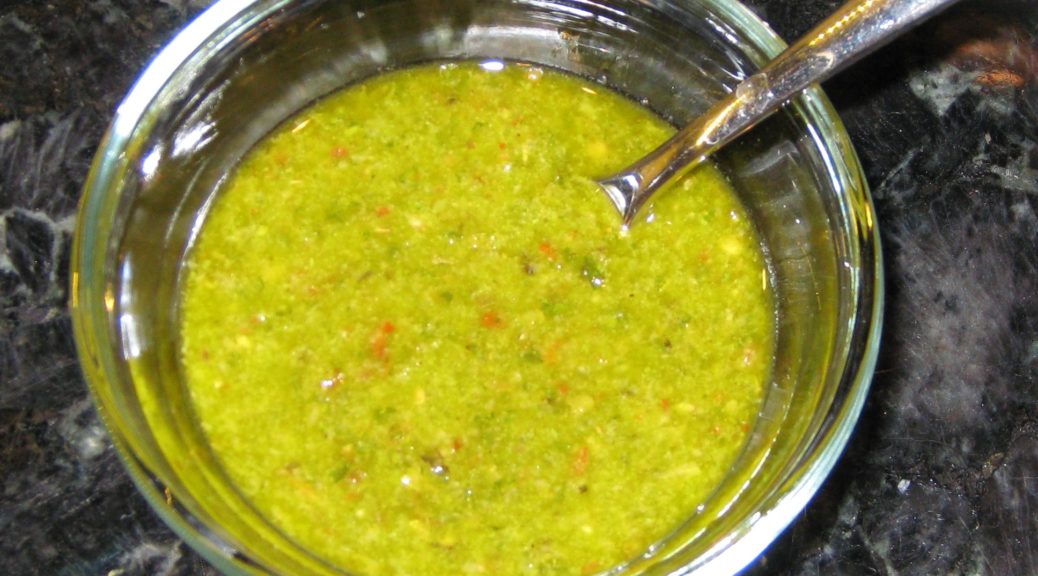
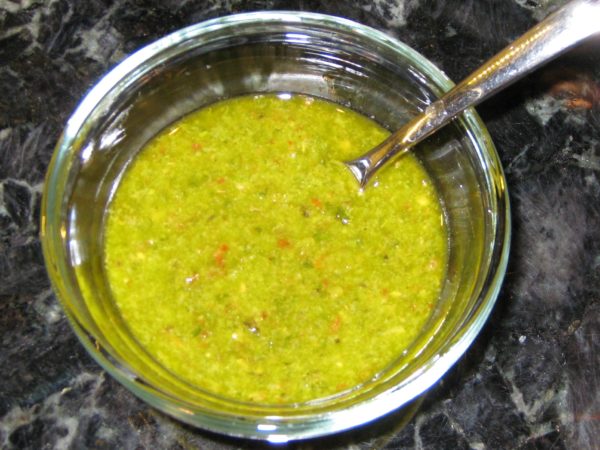
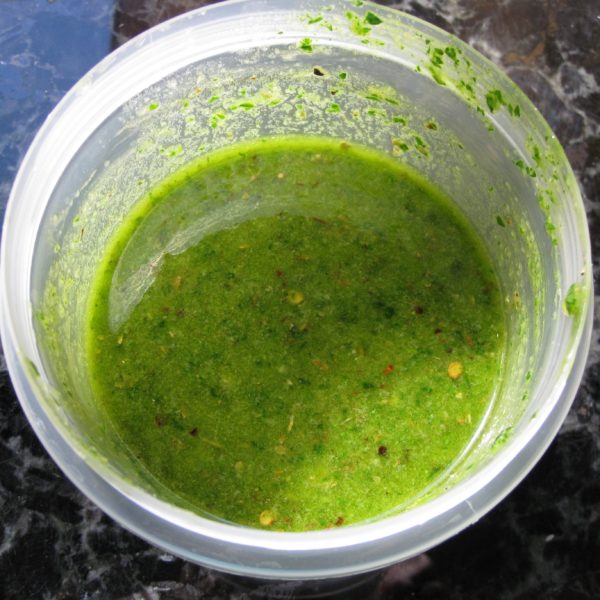
Eduardo cooked all the food magnificently. This is his chimichurri recipe. It contains a few ingredients that might seem unusual but since his family has been in Argentina for many generations who am I to argue?

In addition to serving as the typical condiment for grilled meat, chimichurri is also as a marinade for the same meat. It will keep a week in the refrigerator so be sure to make enough to both marinate the meat and serve as a condiment.


Follow us


Click HERE to join our mailing list and you’ll never miss a recipe again!

Print Recipe
Eduardo's Chimichurri
While a few of the ingredients may seem unusual, Eduardo’s family has lived in Argentina for several generations so I don’t doubt the traditional nature of this recipe. Make extra and use some to marinate the meat before cooking. Pass the remainder at the table. You can use either red or white wine vinegar but I prefer white as it does not dull the bright green color of the herbs.
Votes: 0
Rating: 0
You:
Rate this recipe!
Prep Time 20 minutes
Passive Time 3 hours
Servings
cups
Ingredients
Prep Time 20 minutes
Passive Time 3 hours
Servings
cups
Ingredients
Votes: 0
Rating: 0
You:
Rate this recipe!
Instructions
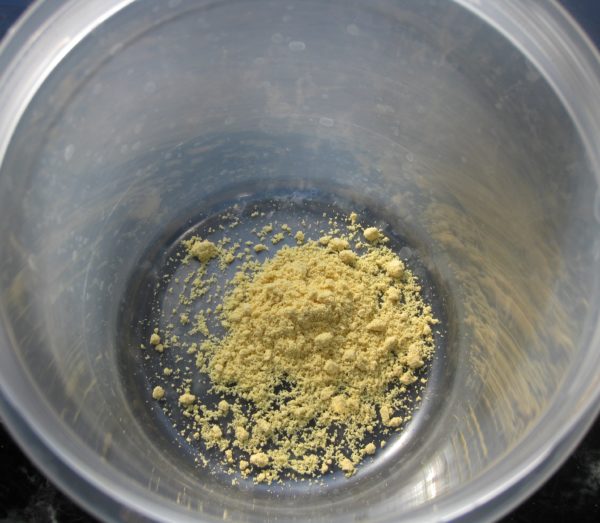
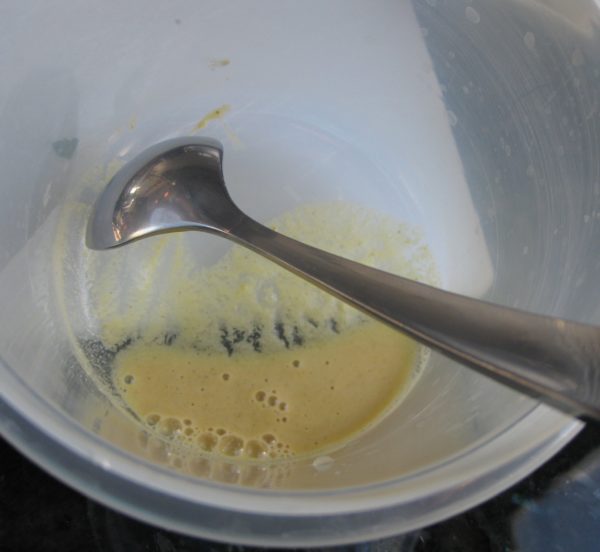
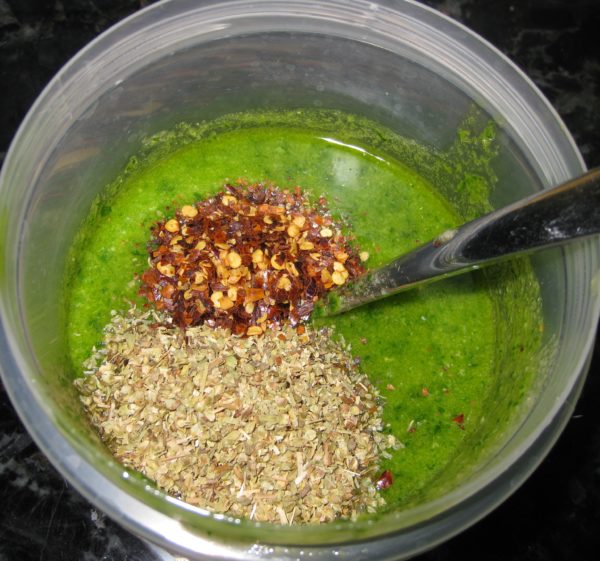
  1. In a jar with a tight-fitting lid large enough to hold the finished sauce, combine the mustard and water.
  2. Allow the mustard-water mixture to stand approximately 7-10 minutes to develop the mustard’s flavor.
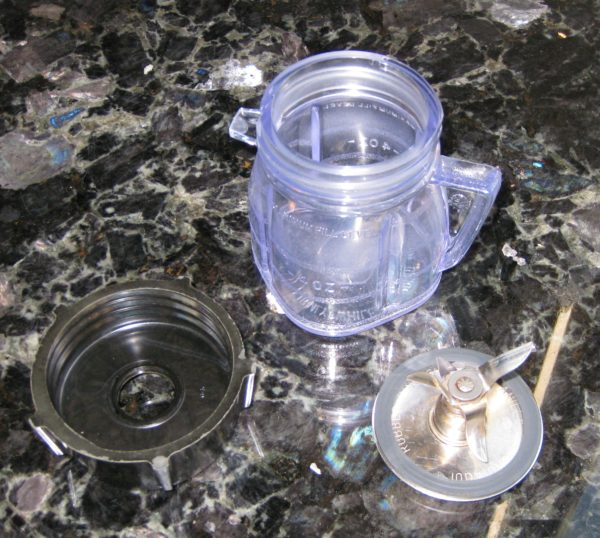
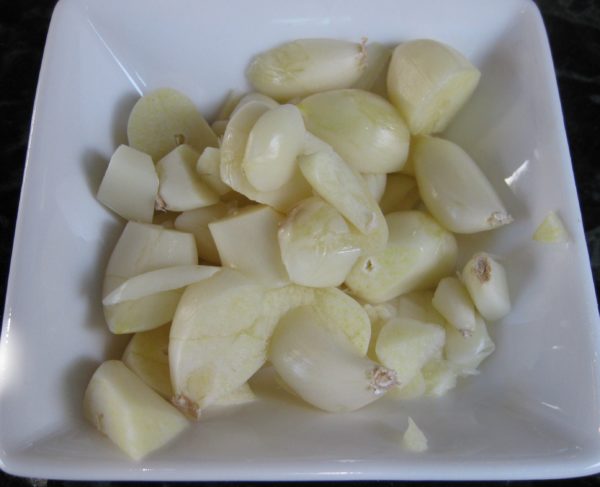
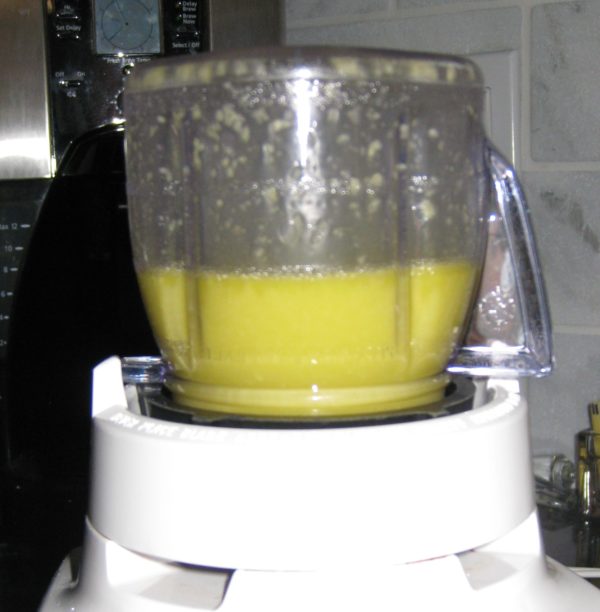
  3. Meanwhile, in a small blender jar, combine the garlic and one-half of the olive oil. Blend until garlic is finely minced.
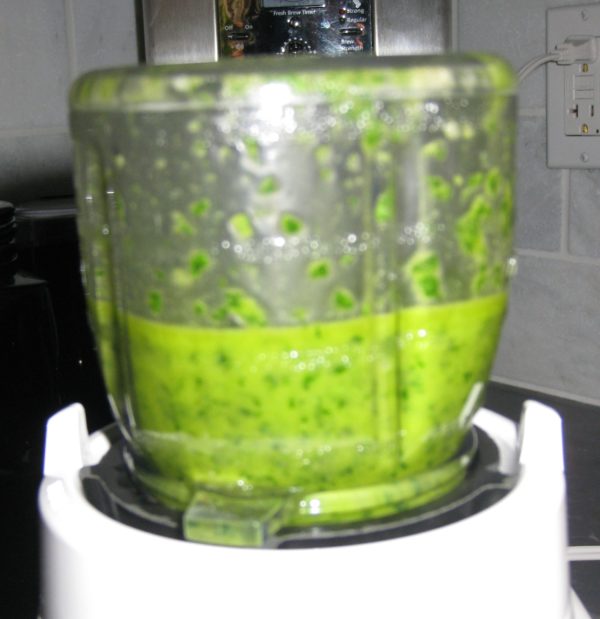
  4. Add the basil to the garlic-oil mixture and blend again until basil is finely chopped but not pureed.
  5. Add the garlic-oil-basil mixture to the mustard mixture.
  6. Combine the remaining oil and parsley in the blender jar and blend until parsley is finely chopped but not pureed.
  7. Add the parsley-oil mixture to the herb mixture.
  8. Use the wine to rinse out the blender jar and then add it to the herb mixture.
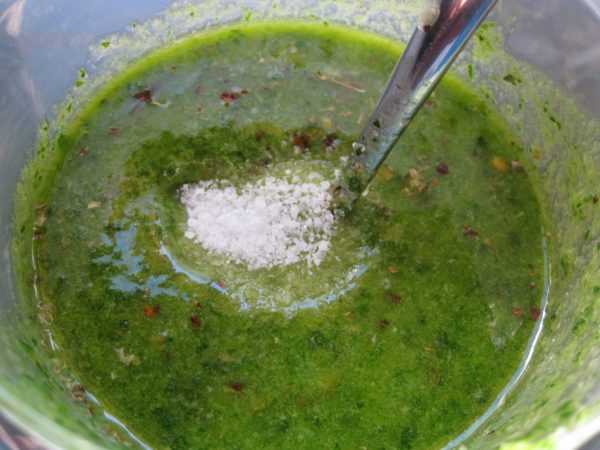
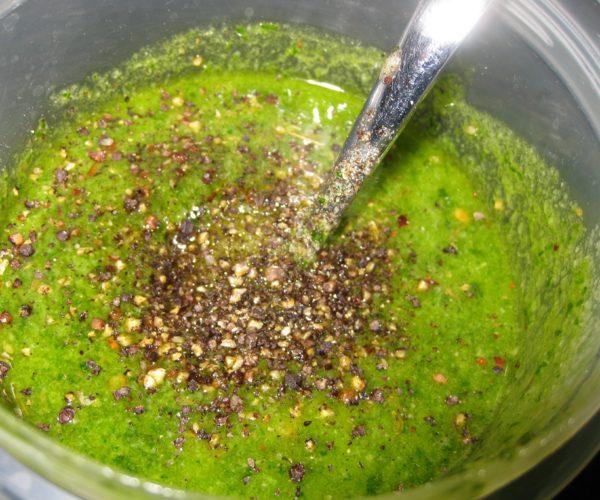
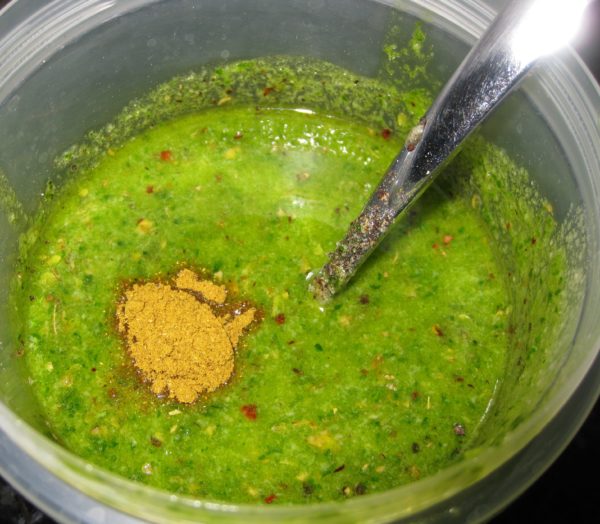
  9. Add all other ingredients. Mix well.
  10. X
  11. Cover and allow the chimichurri to sit at room temperature for approximately three hours to develop flavor.
  12. The chimichurri can be refrigerated, tightly covered, for up to a week.
Recipe Notes

Copyright © 2017 by VillaSentieri.com. All rights reserved.
Share this Recipe

Calabacitas: A New Mexican Classic

August 21, 2017

Talk about a dish that simply wouldn’t exist in any recognizable form without new world crops, calabacitas is it! Squash, corn, and chile are all new world plants.

Calabacitas is Spanish for zucchini but is also the name given to a dish of zucchini, corn, and (usually) green chile.

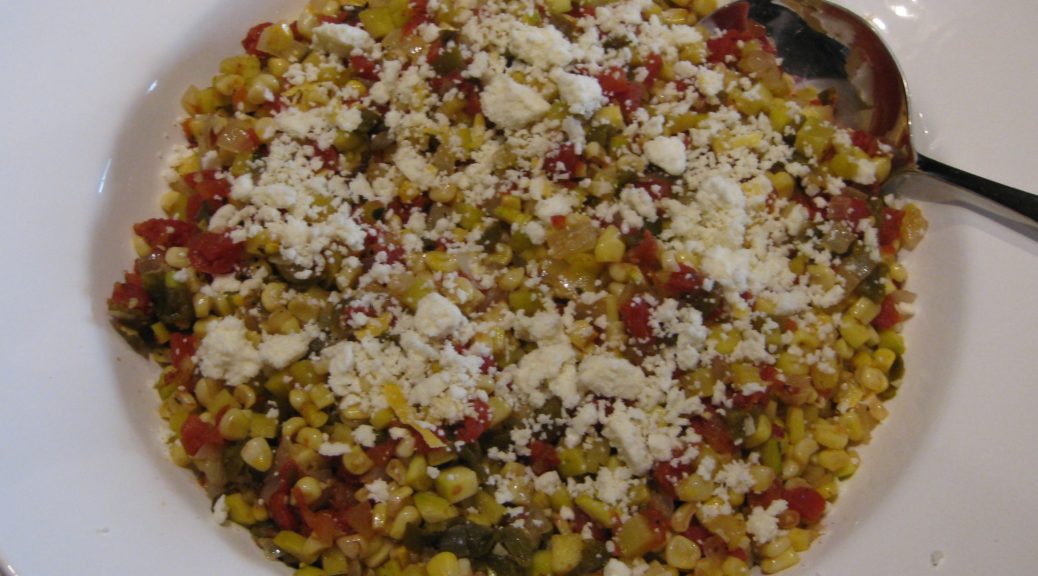
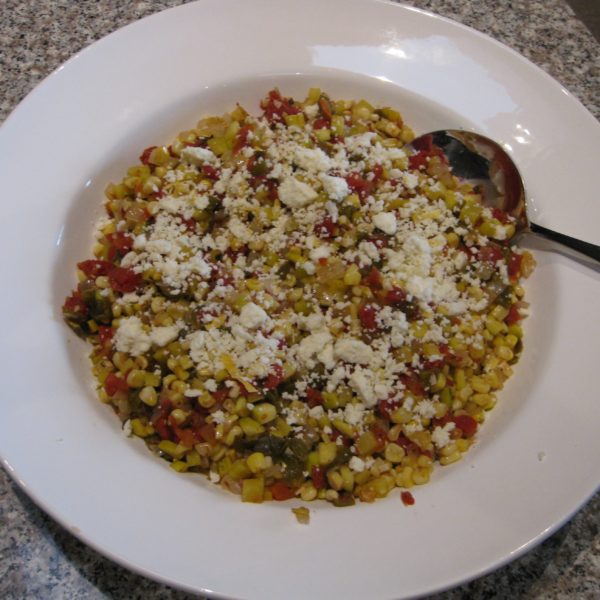
Often served as a side dish, calabacitas makes an awesome burrito, too. Accompany it with some frijoles (and probably a tortilla or three) and you’ve got a great high-protein vegetarian dinner. Leave out the cheese and it’s vegan! Truth be told, I’m plus-minus on the cheese in any case. When serving this for company I usually sprinkle cheese on top as in this recipe, but if it’s just for “us,” cheese isn’t usually even a thought.

This is the time of year to serve the most sublime calabacitas possible as zucchini, corn, green chile, and tomatoes are all in the farmers’ market. But calabacitas is too good to be had only a few weeks a year and, honestly, versions made with frozen corn, canned tomatoes, and roasted green chile that you’ve squirreled away in your freezer along with the ever-present zucchini in the produce aisle are too good to pass up any time of year.

For me, calabacitas shares a serious failing with succotash. They are both great ideas in my estimation but the execution often falls flat.

When I set out to finally perfect a version of calabacitas that I felt comfortable serving, I thought back on all the less-than-perfect renditions I’d had since I first set foot in New Mexico in 1991.

The litany of offenses includes being too watery, being too rich, having huge chunks of zucchini that seem mismatched next to corn kernels, being under-seasoned and being aggressively seasoned.

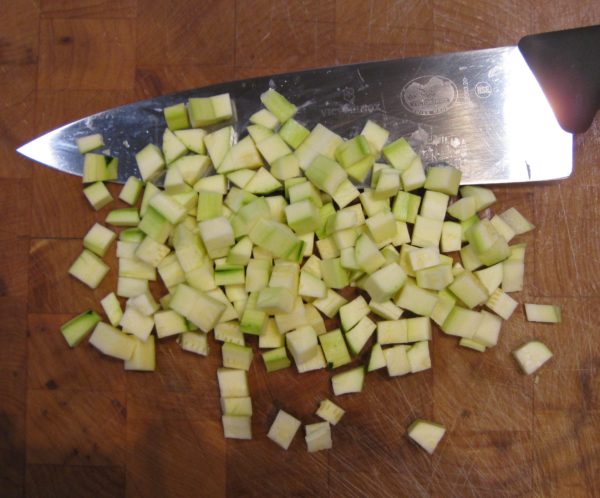
That set out a plan of action for me. The zucchini should be cut approximately the same size as corn kernels. There needed to be a minimum amount of liquid in the finished dish. Loads of cream or butter or cheese were out of the question. The seasoning should complement the vegetables, not assume control of the dish.

Zucchini (the namesake vegetable) and corn were a given. Pretty much everything else was up for grabs. Tomatoes, which are sometimes included, seemed right for color and a bit of acidic brightness that the zucchini and corn lack. They have the added bonus of being another New World crop. Roasted green chile, also sometimes included, was right for several reasons. It screamed “New Mexico,” it would add a bit of complimentary smokiness to the blend, and, honestly, I’m a chile-head.

My preference was for hot or extra-hot chile. This is wrong for several reasons. First, calabacitas is not traditionally a spicy dish. Second, after one of the dinners where I tested out my evolving recipe, one of the guests said that it was unfortunate that the entire “calabacitas conversation” that evening centered on how hot it was and not on how good it was.

In cooking I prefer to bow to tradition but if there’s ever a place where I butt heads with tradition, it’s in making dishes spicy. But I decided there and then that I should follow tradition and use mild chile in my calabacitas.

Finally I was on to the aromatics and seasoning. Onion and garlic are my go-to combination unless there is some compelling reason for one or the other (usually based on tradition). The herbs eluded me for a while. I really wanted to use Mexican Oregano (which isn’t actually oregano) because of its New World origins but it just seemed to overpower the dish. In the end, I decided that a modest amount of Mediterranean Oregano played best in the sandbox with the other ingredients.

Let me know what you think of my rendition of a New Mexico classic.


Follow us


Click HERE to join our mailing list and you’ll never miss a recipe again!

Print Recipe
Calabacitas: A New Mexican Classic
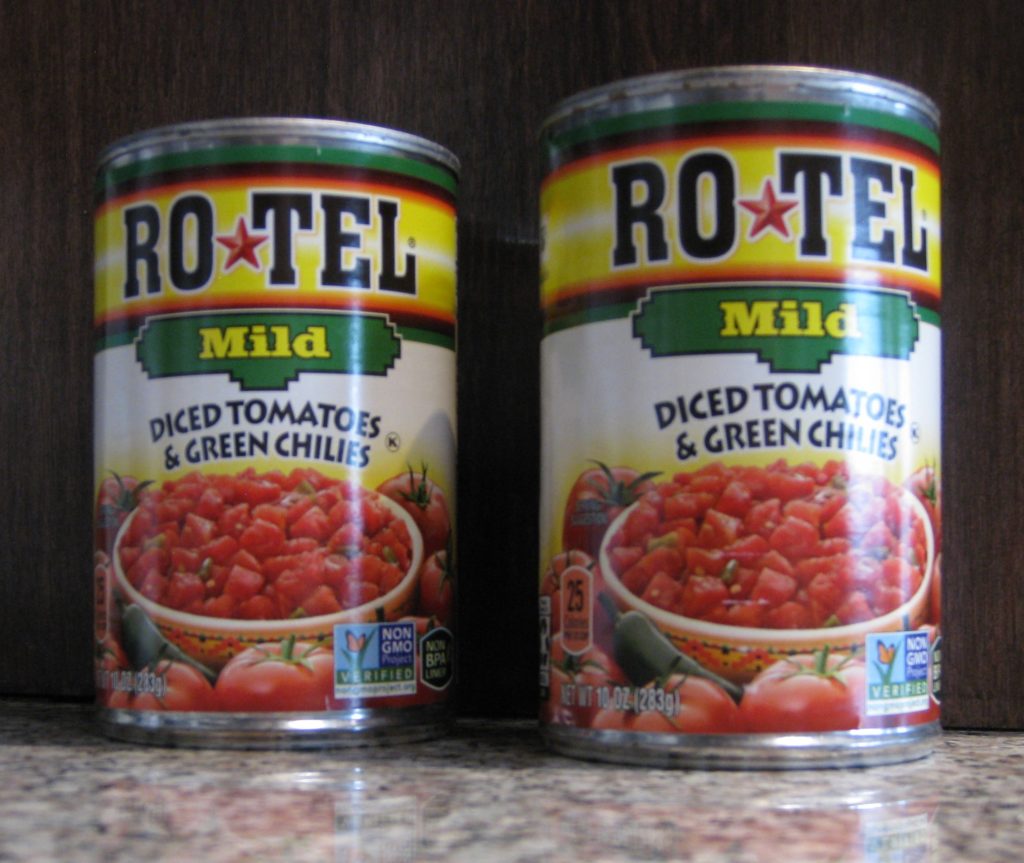
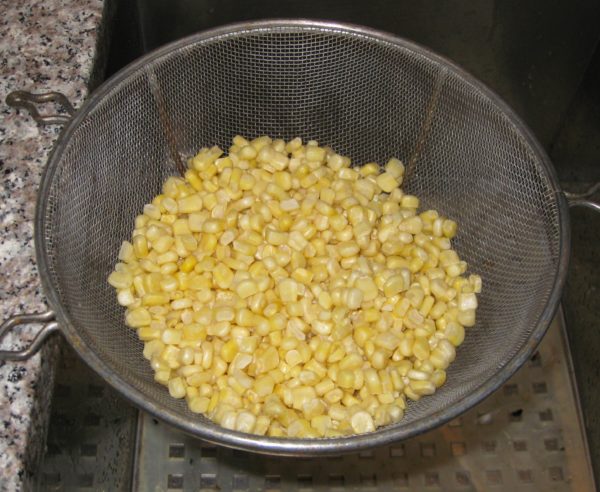
Traditionally calabacitas is not a spicy dish so it is best to use mild roasted green chile unless you and all your eaters are chile heads. Bacon fat gives a great flavor but olive oil or other vegetable oil is fine, too. Frozen corn works well as there are so many other flavors in the dish but using fresh corn cut off the cob is a definite treat. I prefer to thaw frozen corn before cooking. Ice crystals can sometimes carry a "freezer" taste and rinsing them off can eliminate it. Also, it is easier to time the cooking of the corn in combination with other ingredients if it is not frozen when cooking starts. Rotel packs tomatoes in 10 ounce cans and they’re a bit of a Southwestern classic in and of themselves. In a pinch feta cheese can be used instead of Cotija
Votes: 0
Rating: 0
You:
Rate this recipe!
Prep Time 40 minutes
Cook Time 30 minutes
Servings
people
Ingredients
Prep Time 40 minutes
Cook Time 30 minutes
Servings
people
Ingredients
Votes: 0
Rating: 0
You:
Rate this recipe!
Instructions
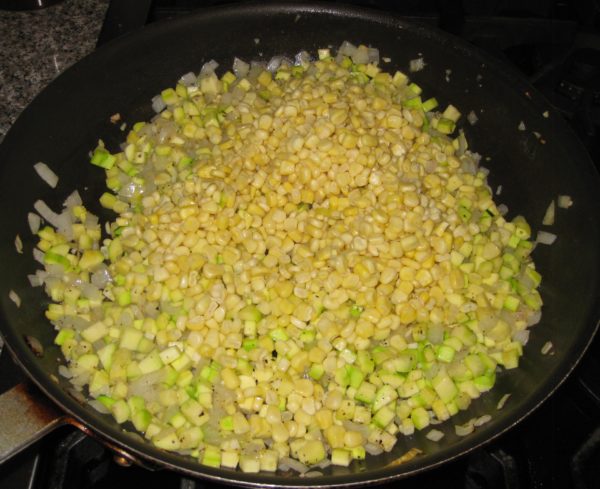
  1. Dice the zucchini.
  2. Thaw the corn under running water.
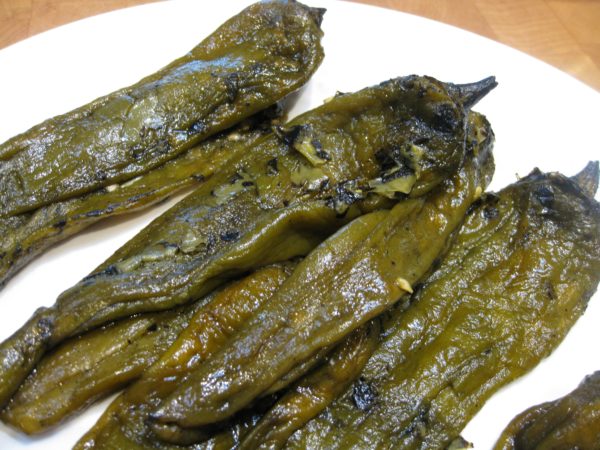
  3. Roasted New Mexico green chile.
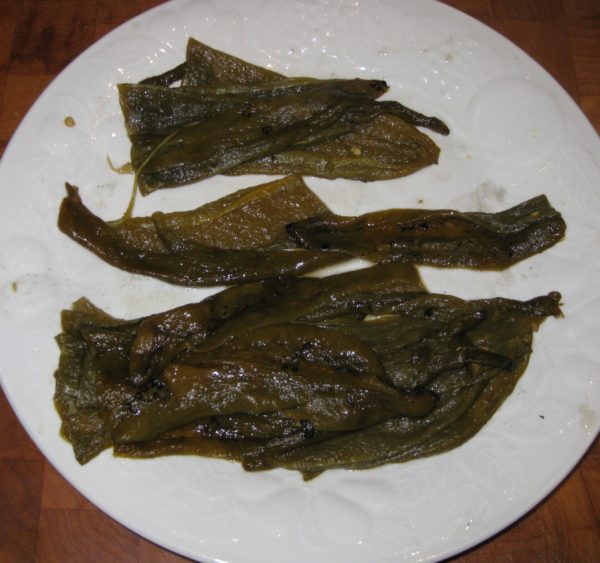
  4. Peeled and seeded chile, ready to be chopped.
  5. Sauté the onion until translucent.
  6. Add the garlic and continue to cook until the onion is golden but not brown.
  7. Add the zucchini and sauté until the zucchini is hot.
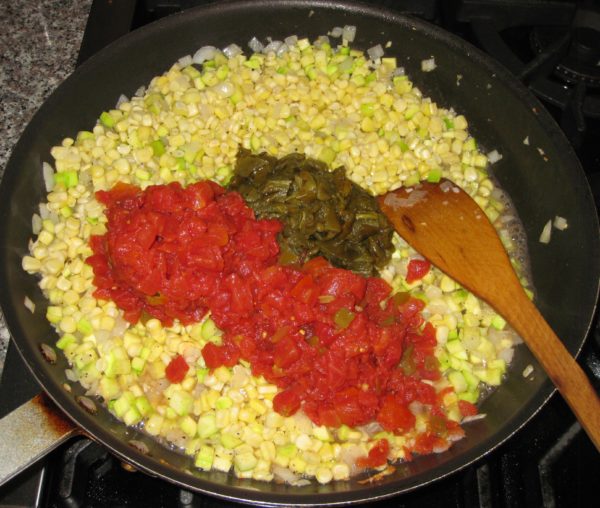
  8. Add the corn, green chile, tomatoes, oregano, salt, and pepper.
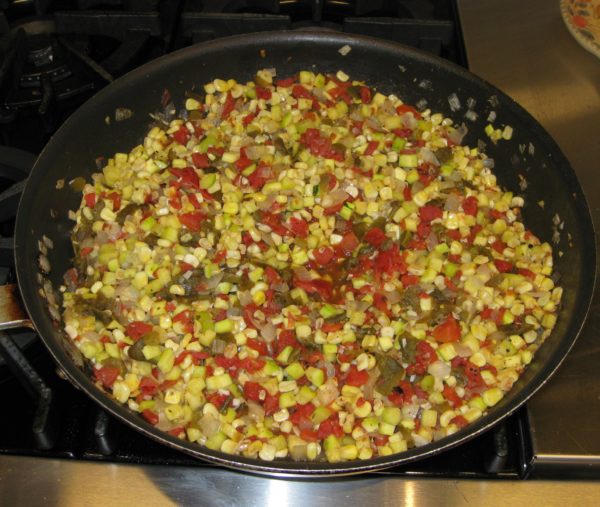
  9. Simmer until the liquid has evaporated and the zucchini and corn are cooked, about 10-15 minutes, depending on your preference.
  10. Adjust oregano, salt and pepper in the last few minutes of cooking.
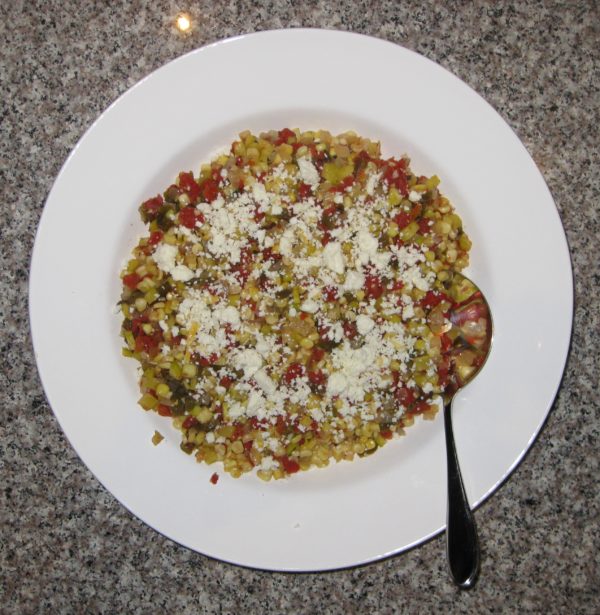
  11. Serve sprinkled with crumbled Cotija cheese.
Recipe Notes

Copyright © 2017 by VillaSentieri.com. All rights reserved.
Share this Recipe

Auntie Helen’s Roman Chicken Cacciatore

Pollo alla Cacciatora (Chicken Cacciatore, in English) means Chicken Hunter’s Style and there are as many styles as there are hunters and cooks.

I grew up eating a Southern Italian version in a red sauce with peppers and mushrooms.

This recipe, using anchovies and no vegetables, is from Rome and goes back to the late 1800’s at least.  I learned it from Auntie Helen.  Auntie Helen was actually the aunt of Eugene (Gene) d’Aquili, my undergraduate advisor at the University of Pennsylvania and the psychiatrist with whom I set up my psychiatric practice in Philadelphia many years later.

Gene’s grandparents left Rome around the turn of the 20th century and moved to Trenton, New Jersey with their four children, Guido, Helen, Louise and a fourth daughter who died shortly after the move.

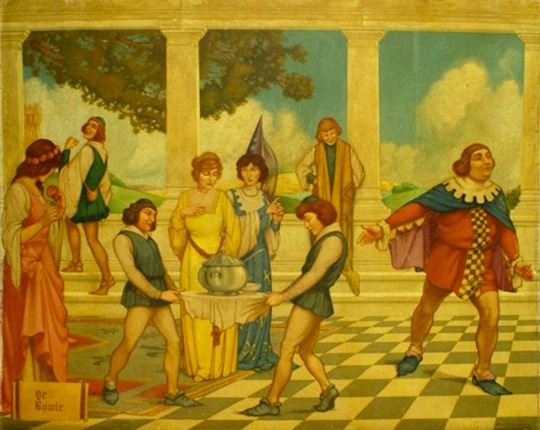
Gene’s father, Guido, was an artist and part of what was sometimes referred to as the New Hope School after a town of the same name in Pennsylvania on the New Jersey border.  He painted a series of Old King Cole murals similar to the ones Maxfield Parrish painted for the St. Regis in New York City.

Those murals ended up on the walls of my dining room in Berwyn, Pennsylvania.  For several years, from early medical school until partway through my internship, I rented the carriage house on the d’Aquili estate in Berwyn.  The murals were installed in the dining room after the d’Aquili family purchased them from the social club in Trenton that had originally commissioned them.

Here are some pictures of the murals.

There is a blog that features the murals and information about them, if you’re interested.

Here is a picture of my parents, standing in front of one of the murals in my dining room.  I believe this was taken in May 1981 when I graduated medical school.

Auntie Helen and Auntie Louise never married.  They both became school teachers and lived in Morrisville, New Jersey until the early 1980’s when they moved into the carriage house on the d’Aquili estate that I vacated after I bought my first house.

Auntie Helen was a wonderful cook.  This recipe for pollo alla cacciatora came from her, and before her, from her mother.  Don’t let the anchovies put you off, even if you don’t like anchovies.  The “fishiness” cooks away leaving a savory, umami flavor.  I will bet you that none of your guests will guess that there are anchovies in this dish.

In addition to her other wonderful Italian specialties, including brodetto, panpeppato, and cheese bread, the last of which unfortunately I do not have a recipe, among others, Auntie Helen made some American dishes that were fashionable at the time including Impossible Tuna Pie!

I want to give a shout out to Julie Paradise for reintroducing me to Impossible Pies.  Julie is the master of the genre and her pecan version is going to end up on my table soon!


Follow us


Click HERE to join our mailing list and you’ll never miss a recipe again!

Print Recipe
Roman Chicken Cacciatore
As an alternative to cutting up a whole chicken, chicken parts can be used. Thighs work particularly well for the long, slow cooking technique. If using chicken parts, use about 3 pounds. This chicken goes well with polenta. I suggest using yellow cornmeal for a color contrast with the dark sauce. A link to my polenta recipe can be found in the Notes section following the recipe.
Votes: 0
Rating: 0
You:
Rate this recipe!
Course Mains, Poultry
Cuisine Italian
Prep Time 15 minutes
Cook Time 2 hours
Servings
people
Ingredients
Course Mains, Poultry
Cuisine Italian
Prep Time 15 minutes
Cook Time 2 hours
Servings
people
Ingredients
Votes: 0
Rating: 0
You:
Rate this recipe!
Instructions
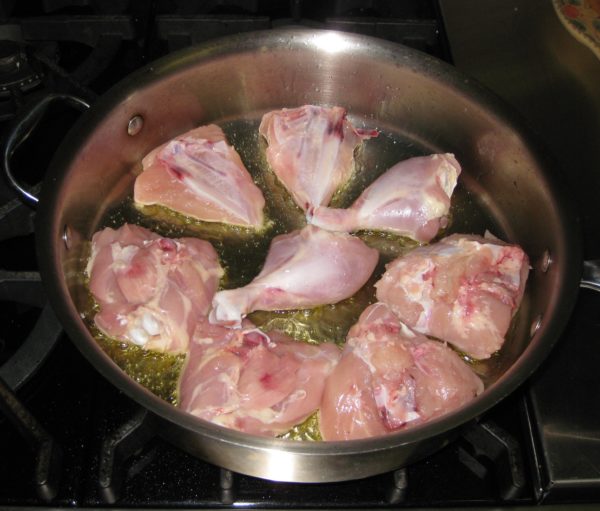
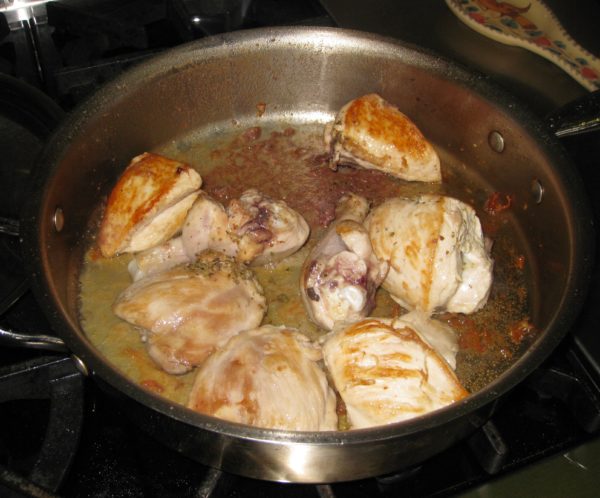
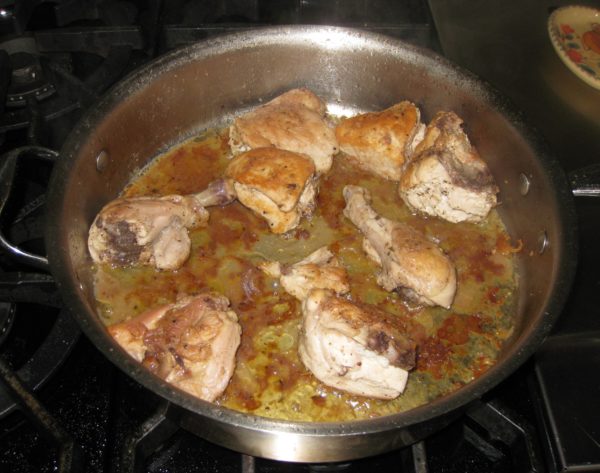
  1. Cut the chicken into pieces, legs, thighs, and breasts. You can cut the breasts in half crosswise if you like. Reserve the back and wings for another use.
  2. Remove the skin from the chicken.
  3. Bruise the garlic with the side of a chef's knife.
  4. In a skillet large enough to comfortably hold the chicken, and that has a lid, heat the olive oil until it is almost smoking.
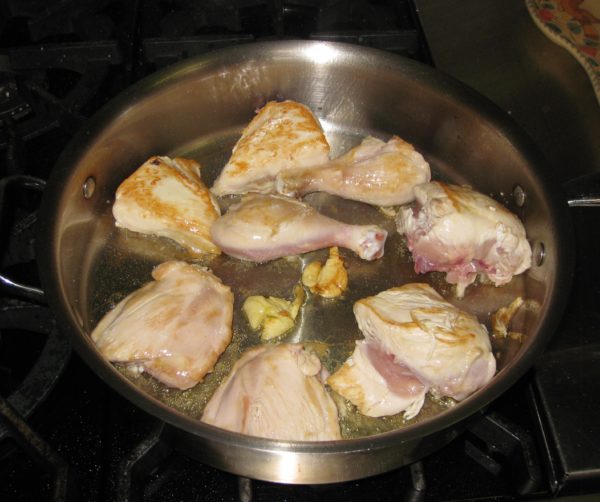
  5. Add the chicken. Do not disturb the chicken until it is crusted and releases easily from the pan, 4-5 minutes.
  6. Turn the chicken over. Add the bruised garlic to the pan. Brown the other side of the chicken, adjusting the heat as necessary to prevent the olive oil from smoking.
  7. If the garlic starts getting dark brown, remove it before it burns. Reserve the browned garlic, however.
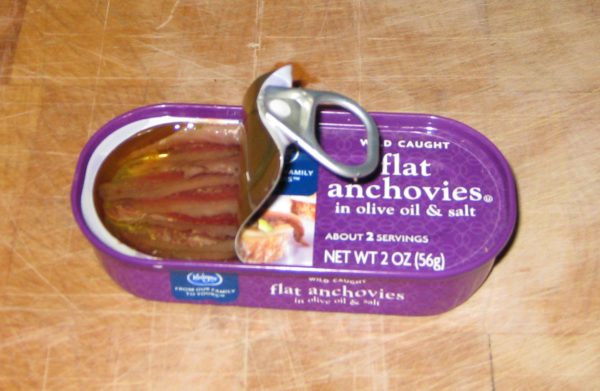
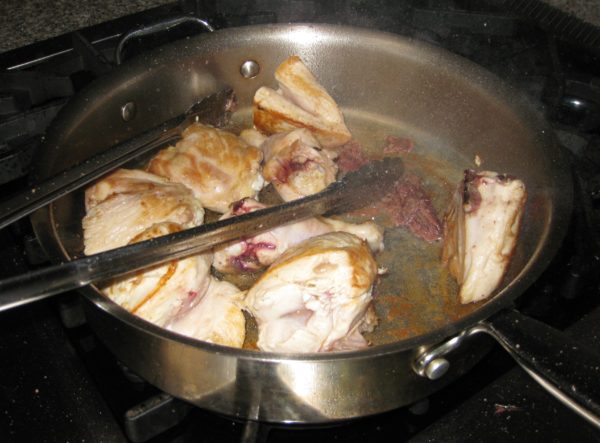
  8. When the chicken is well browned on all sides (legs don’t really have “sides” so you will need to turn them around a bit), add the anchovies and their oil. They will splatter a bit.
  9. Work the anchovies with a spoon so they start to disintegrate.
  10. Have the cover ready. Turn the heat to low. Add the water and quickly cover the pan to reduce splattering. Wait 2-3 minutes until the rapid sizzling has slowed down.
  11. Turn the chicken. Add the vinegar and return the browned garlic to the pan if you removed it earlier. If the water has evaporated when you remove the lid to add the vinegar, add another two tablespoons of water along with the vinegar and garlic. Add oregano and season with salt and pepper, to taste.
  12. Braise covered for 1 ½ to 2 hours on gentle heat, turning every 20-30 minutes. Add water, two tablespoons at a time, whenever the liquid in the pan has evaporated.
  13. Add an extra grinding of pepper before removing the chicken from the heat. Adjust salt if necessary.
Recipe Notes

Here is my recipe for Polenta.

Copyright © 2017 by VillaSentieri.com. All rights reserved.
Share this Recipe

Orecchiette with Broccoli and Anchovies

May 10, 2017

A few times in my life I’ve been lucky enough to cook with my husband’s Great Aunt Fidalma.  It’s always been in my kitchen, though I keep hoping to make a trip to Tuscany to cook with her in her kitchen.

Zia Fidalma speaks Italian and German.  I speak English.  Though I studied German in high school and college, and at one point was passably able to translate scientific German, my command of spoken German (and at this point, scientific German) is hopeless.  I studied Italian for a while too, but the best I can do is read a menu, order in a restaurant, and find out where the restroom is.

So, cooking with Zia Fidalma starts with a language barrier but it doesn’t seem to matter.  Somehow we communicate.

Mostly that means Zia Fidalma speaks slowly in Italian emphasizing the words I am likely to understand most.

Like the time we were in my kitchen in Santa Fe preparing dinner for twelve.  The first course was spaghetti al pesto.  A pile of basil stalks from my father-in-law’s (Zia Fidalma’s nephew) garden were on the kitchen counter.  Zia Fidalma was plucking off basil leaves one at a time, inspecting each one.  At one point, she looked up at me holding a leaf and said “è brutta” (it’s ugly), clearly wanting my agreement to discard the less-than-perfect leaf.

One day at our home in Chicago, she was making risotto for lunch.  It had a very similar flavor profile to this pasta in that it contained broccoli, garlic and anchovies.

Zia Fidalma cranked up the 15,000 BTU burner to high.  She sizzled some minced garlic for a moment.  There was a vague hint of smoke coming from the pan.  She added the anchovies and stirred them about.  Smoke started to billow up.  She smiled knowingly.  She added the broccoli, undeterred.  Smoke continued.  She stirred.  I stood there horrified.  Then she lightly charred the broccoli.  I was even more horrified.  At long last some liquid went in and the rest of the risotto-making followed a familiar pattern.

I try to avoid smoking oil at all cost when cooking.  I was more than a little concerned about how the risotto would taste.

However, I have never had anything but fabulous food from Zia Fidalma, so I had to trust that this would be OK, too.

This wasn’t her first rodeo.  She’d been making risotto since before I was born.

In the end, all I can say is that the risotto was wonderful.  It had layers of flavor.  It provided an important lesson about how techniques different from what one would typically use can create incredible flavors.

So, if you see wisps of smoke coming from the pan as you singe the broccoli for this recipe, don’t fret.  Just raise a toast to Zia Fidalma, and enjoy!

Print Recipe
Orecchiette with Broccoli and Anchovies
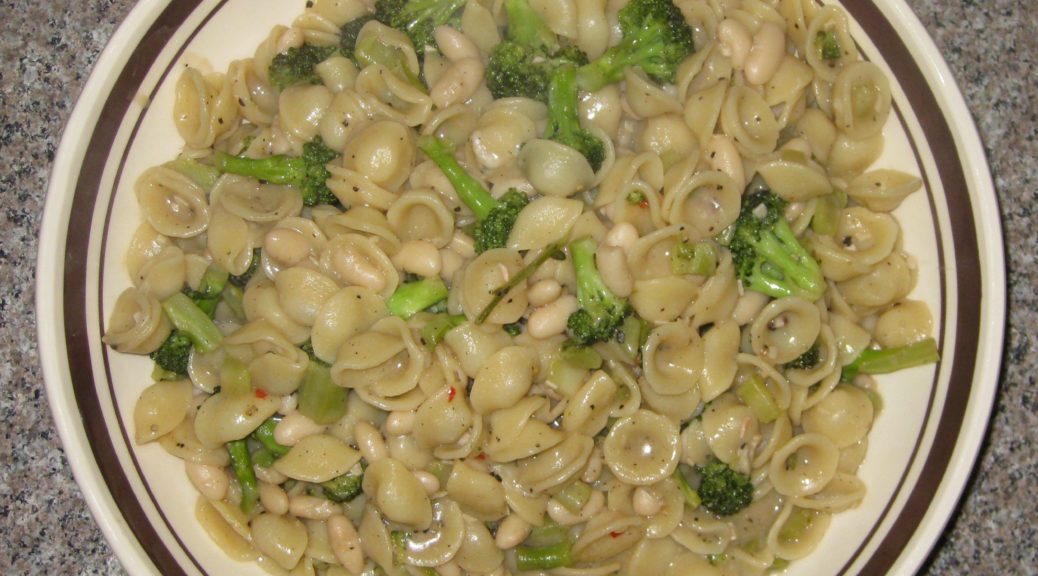
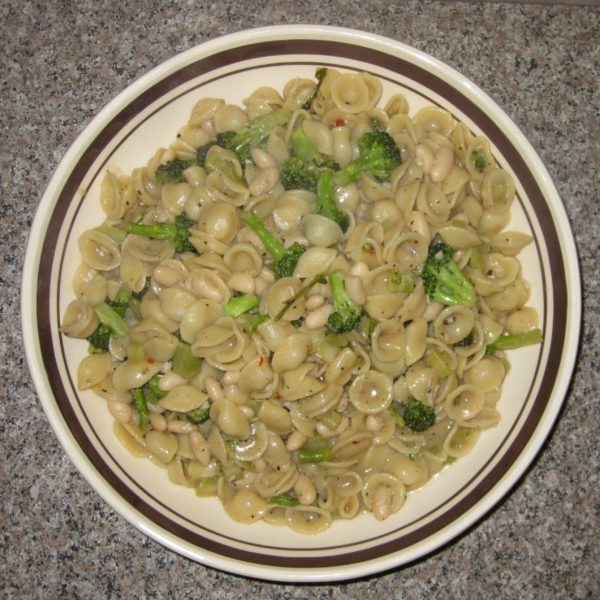
My husband’s Great Aunt Fidalma, who lives in Tuscany, showed me how to cook the broccoli in this manner. Previously, I parboiled the florets and added them and the beans to the sautéed garlic and anchovies. This method adds layers of flavor that cannot be obtained by just boiling the broccoli. I prefer to use home-cooked kidney beans following my recipe for Cannellini alla Toscana. You can use either red or white (cannellini) beans but the red ones add more color contrast. As an alternative you can use one 15 ounce can of beans. Do not discard the liquid in the can as it will improve the body of the sauce.
Votes: 0
Rating: 0
You:
Rate this recipe!
Prep Time 15 minutes
Cook Time 30 minutes
Passive Time 15 minutes
Servings
people
Ingredients
Prep Time 15 minutes
Cook Time 30 minutes
Passive Time 15 minutes
Servings
people
Ingredients
Votes: 0
Rating: 0
You:
Rate this recipe!
Instructions
  1. Put 3 quarts of water and 1/3 cup salt in a 5 quart stockpot or Dutch oven. Bring to a boil over high heat.
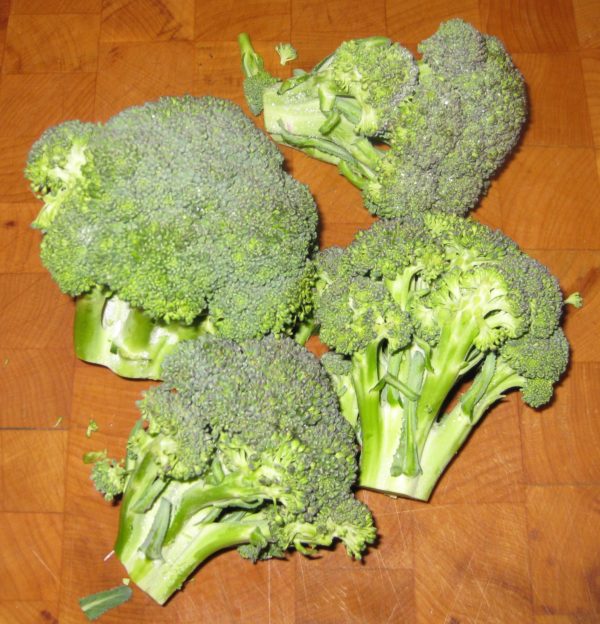
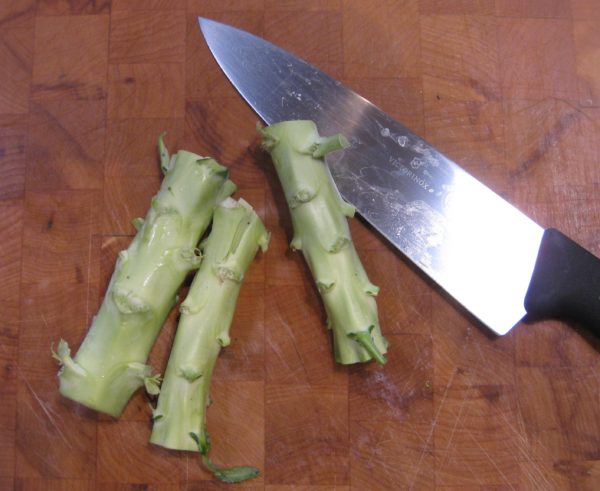
  2. Meanwhile, cut the thick stems off the broccoli just below where the stems start to branch into individual florets.
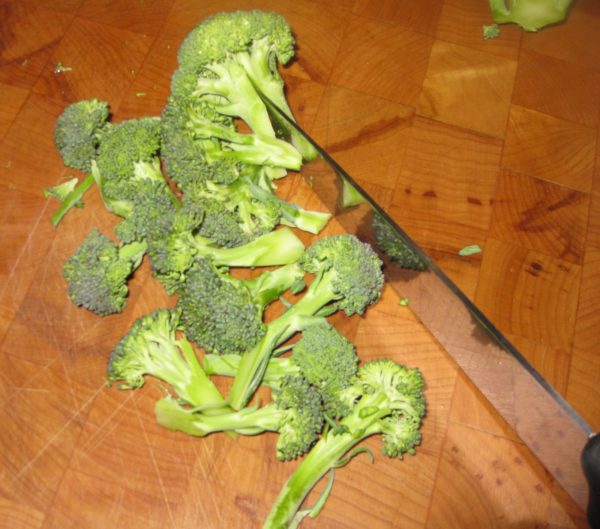
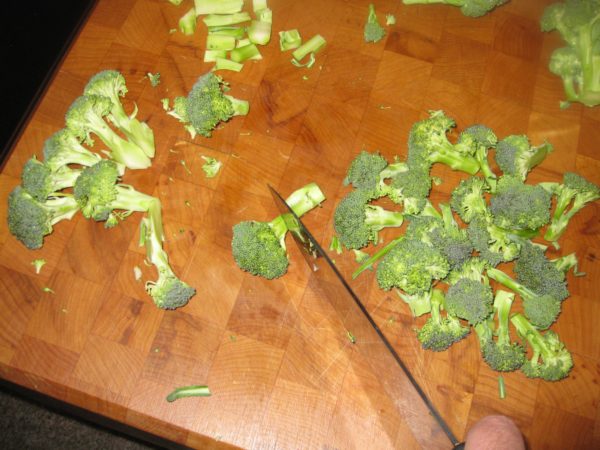
  3. Cut the individual florets off the broccoli by cutting lengthwise through the stalk from top to bottom.
  4. Cut off any remaining stalk just below the floret. These tender stalks can be cut crosswise into one-half inch pieces and added to the florets.
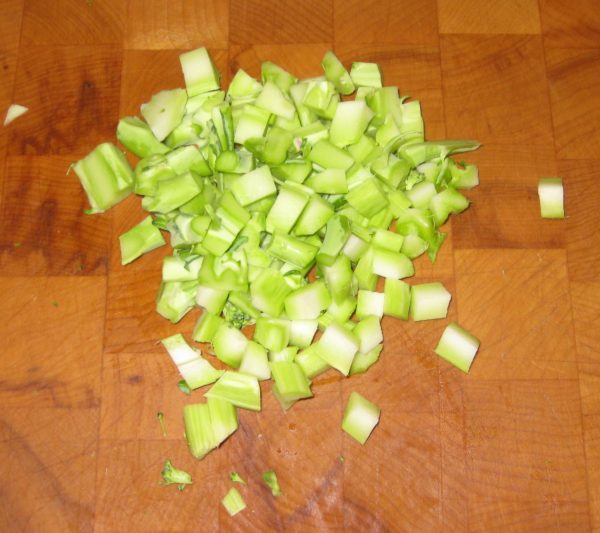
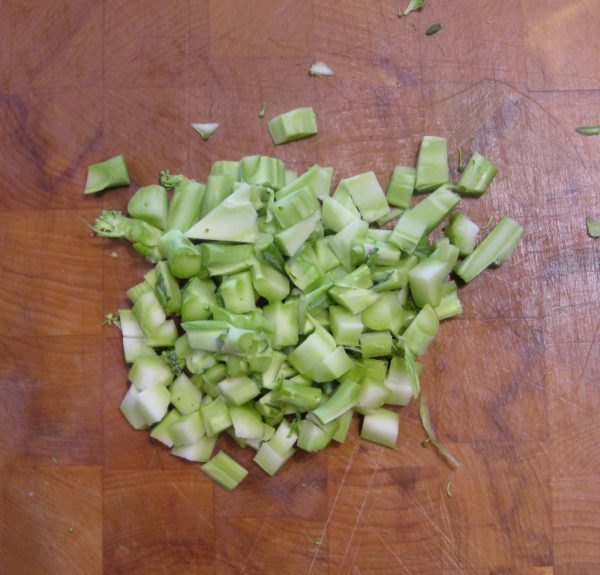
  5. You can use some of the thicker stalks as well, if you wish. To do so, use a vegetable peeler to remove the tough outer skin. Dice the peeled stems into 1/3 inch cubes. Reserve these diced stalks separately from the florets and diced tender stalks.
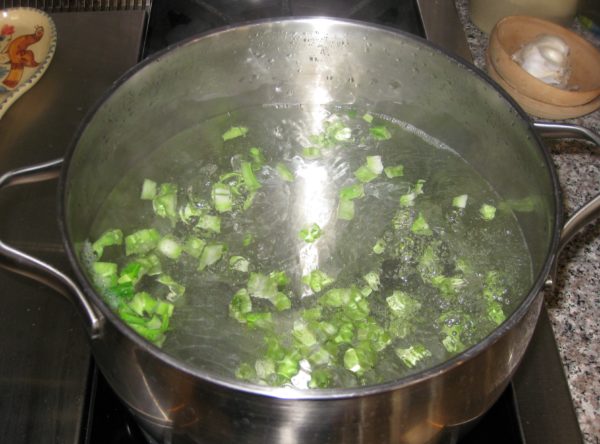
  6. When the salted water comes to a boil, add the diced, peeled stalks, if using. Return to a boil and cook for 2-3 minutes until they just begin to get tender. Using a spider or large slotted spoon, remove the stalks from the water and plunge them into a bowl of ice water to stop cooking. When cool, drain in a colander.
  7. Keep the water on low heat so you can return it to a boil quickly when needed to cook the pasta.
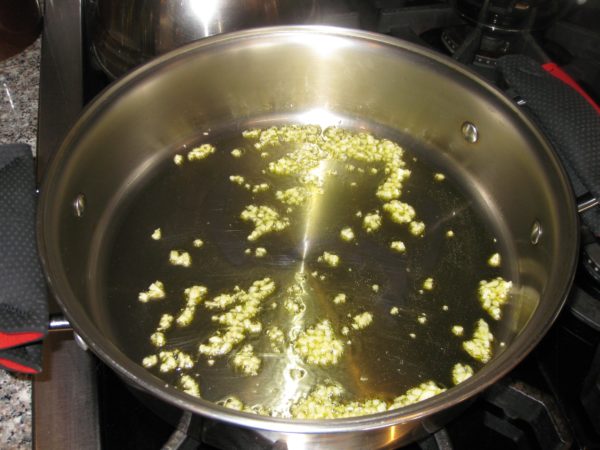
  8. In a heavy-bottomed pan large enough to hold the finished dish, sauté the garlic over medium high heat until it turns fragrant, about 30 seconds.
  9. Add the anchovies and their oil and continue to sauté, breaking up the anchovies till they turn to a paste.
  10. Continue to cook until the anchovies darken slightly, about 1-2 minutes.
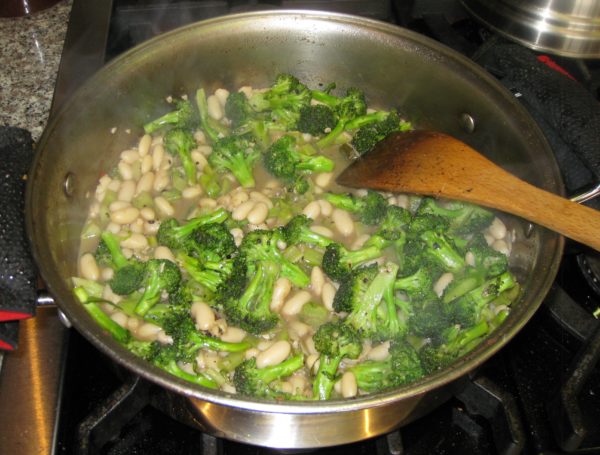
  11. Add the broccoli florets and diced tender stems. If using, add the partially cooked peeled stems. Season with salt and freshly ground black pepper.
  12. Sauté on high heat, stirring very frequently, until some of the broccoli florets just begin to singe, about 5 minutes.
  13. Add the crushed red pepper. Stir to combine.
  14. Add the wine and cover with a tight fitting lid. Cook over medium high heat till the florets are cooked through but not mushy, shaking the pan occasionally.
  15. If all the wine evaporates before the broccoli is cooked, ladle in a bit of the pasta cooking liquid and continue.
  16. When the broccoli is cooked, add the beans and their cooking liquid along with the oregano. Bring to a simmer over gentle heat.
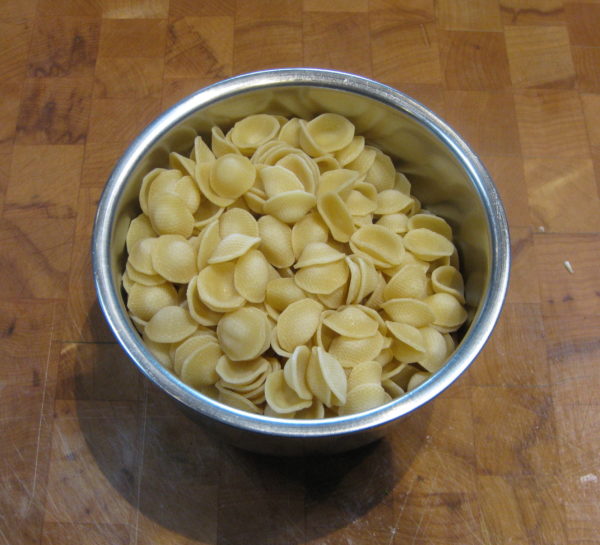
  17. Meanwhile, return the pasta-cooking water to a rolling boil and add the pasta. Cook until the pasta is slightly shy of al dente. The pasta will finish cooking in the sauce.
  18. Put about ¾ cup of pasta cooking liquid into the beans. Reserve another cup of the liquid.
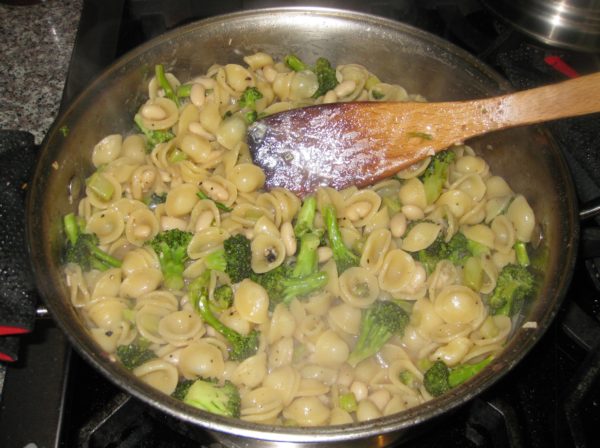
  19. Quickly drain the pasta and add to the beans. Stir well. Bring to a gentle boil, uncovered. Cook stirring occasionally until the pasta is al dente. Add as much of the reserved pasta-cooking liquid as needed to have enough sauce to coat the pasta and broccoli.
  20. The starch in the pasta-cooking liquid will add body to the sauce. One way to incorporate more of the pasta-cooking liquid is to cook the pasta over higher heat so that you can add, and boil off, more of the liquid, leaving the starch behind.
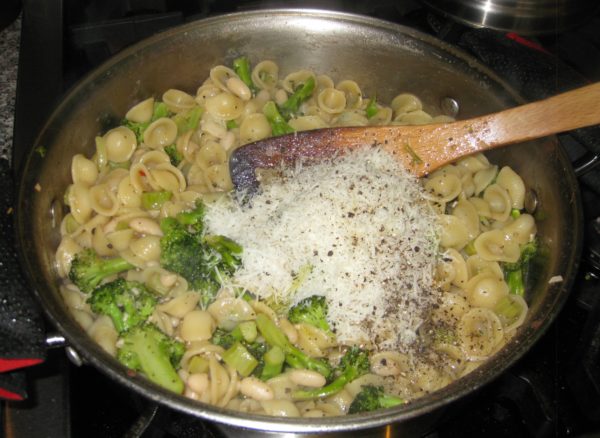
  21. When the pasta is cooked, remove the pan from the heat and stir in the Parmesan cheese and 1 teaspoon freshly ground black pepper. Taste and adjust salt after adding the cheese.
  22. Stir in the finishing extra-virgin olive oil. This will make the sauce glossy and add additional flavor.
  23. The starch from the pasta water and bean-cooking liquid along with the cheese should create an emulsion with the oil. You may need to add more of the reserved pasta-cooking liquid to loosen the sauce.
  24. Serve immediately. Pass extra Parmesan cheese at the table.
Recipe Notes

Copyright © 2017 by VillaSentieri.com. All rights reserved.
Share this Recipe