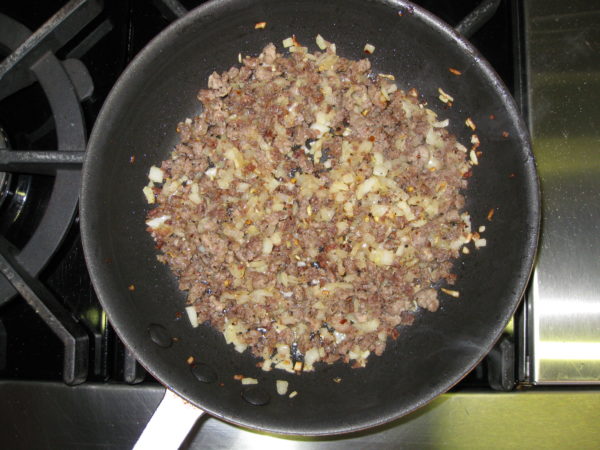
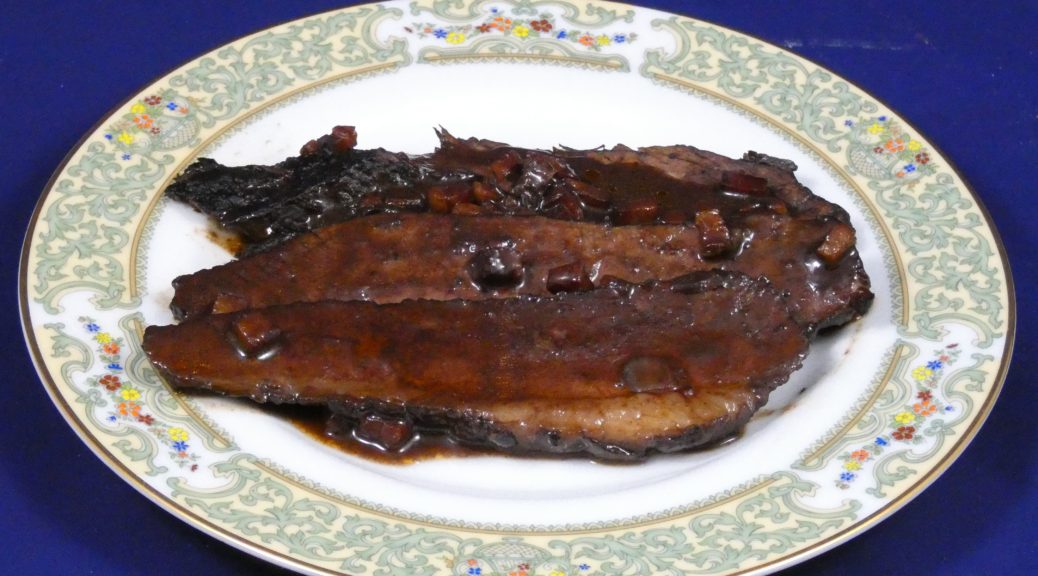
Brasato al Barolo (Beef Braised in Red Wine)

January 21, 2021

Pre-pandemic my husband randomly chose a region of Italy.  Most of our meals for the month were traditional foods of that region.

In response to the pandemic, I reduced my marketing, with rare exception, to one supermarket trip once a week.  Obtaining the ingredients to create very specific regional Italian cuisine became difficult with such a shopping regimen.  Meal planning, though still Italian, reverted to dishes for which I could obtain the necessary ingredients at the supermarket supplemented by deliveries from Amazon.
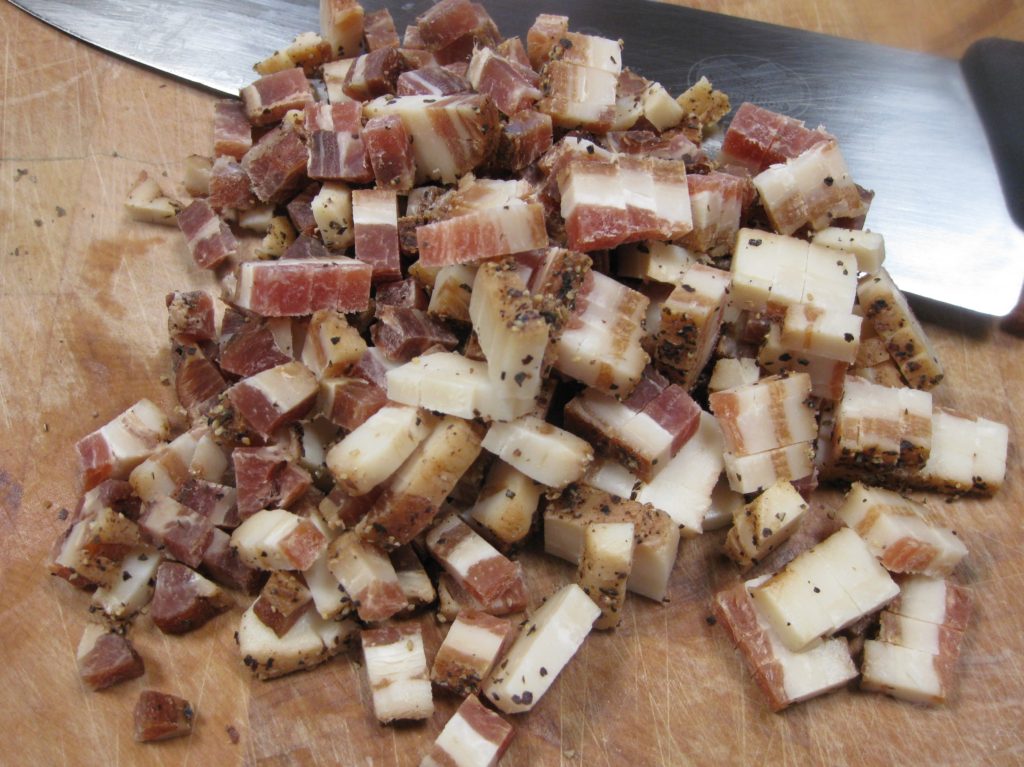
Home-cured pancetta diced and ready to be cooked. Good quality pancetta can be purchased. Be sure to have it sliced thickly.

Amazon is my source for Italian flour, several types of which I use for making pasta, bread, pizza and cake.  Carnaroli rice can be difficult to obtain under the best of circumstances but is available on Amazon.  Some of the ingredients for gelato are impossible to find in retail shops making Amazon the go-to source.

Other items, like specific types of cheeses or cured meats or olives, can only reasonably come from local retail markets.  The same is true for produce and an array of other ingredients.  One marketing trip a week to a general supermarket made it impossible to gather many of the required ingredients so the one-region-a-month-cooking-and-eating regimen fell victim to the pandemic, at least temporarily.


Follow us on your social media platform of choice


I made food from Piemonte (Piedmont) while our region-a-month plan was still active.  Piemonte has cows, so beef and dairy figure prominently in the cuisine.  Piemonte is also home to Barolo, among other wonderful wines.

Piemontese food does not shy away from calories or flavor!

This dish makes use of two of the stars of Piemontese cuisine, beef and wine.  The most traditional recipes call for a whole filet.  The wine is traditionally Barolo.
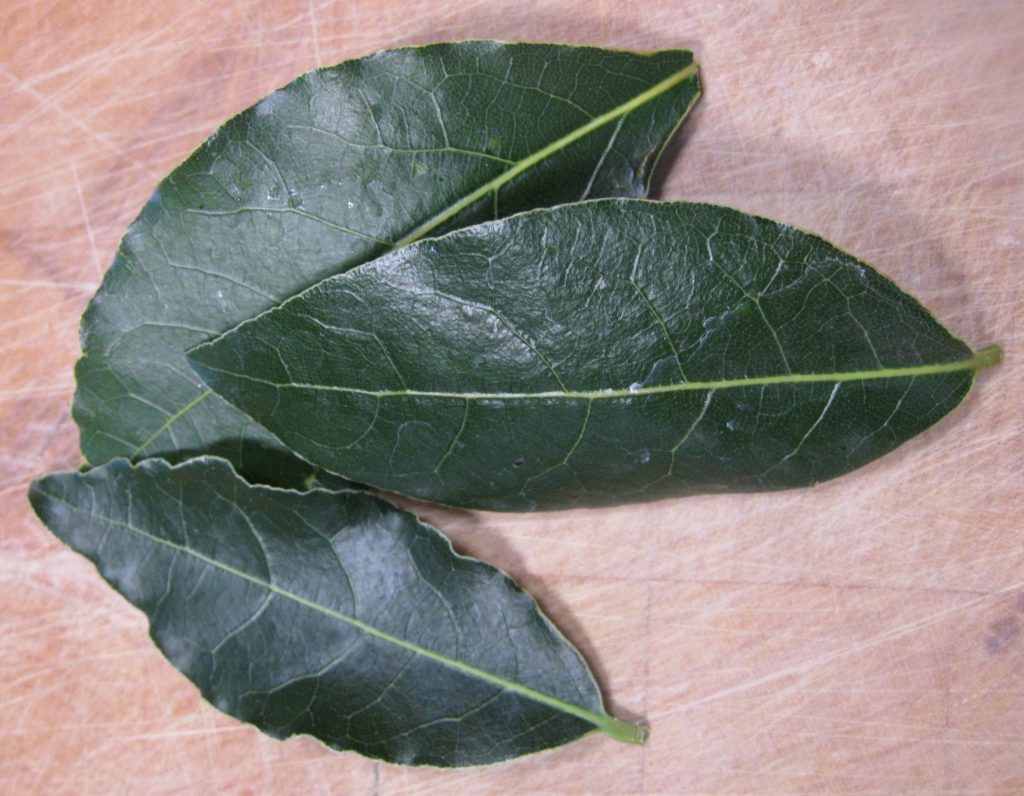
Fresh bay leaves have tremendously more aroma than dried ones.

There was a time when Barolo was affordable.  It is no longer a budget-friendly wine and certainly not one that I would use to braise beef in, even if it’s filet.  If you’re interested in how Barolo became so well-known, watch the movie Barolo Boys.

It’s rare to find a modern recipe that simply specifies Barolo as the red wine.  Even when the traditional name of the dish, Brasato al Barolo, is used, the wine is rarely Barolo.  Calling this Brasato al Vino would be more accurate but that name doesn’t really convey the historic context of the dish.


Join our mailing list and you’ll never miss a recipe again!


I’ve made this with filet that I dutifully larded with my home-cured pancetta.  While the taste was good, the texture of filet after braising was not good, even with the larding.

After that first attempt, I decided to use a cut more commonly used for long, slow, moist cooking even if it was not as high-brow as filet.  Once I made that decision, I started doing recipe research that stretched beyond my several very traditional multi-volume sets of Italian regional cuisine published in Italy in Italian.  I discovered that other (iconoclastic English-speaing) cooks had made the same shift to “lesser” cuts of meat.

I particularly like brisket that’s been braised though a nicely marbled chuck roast would work too.
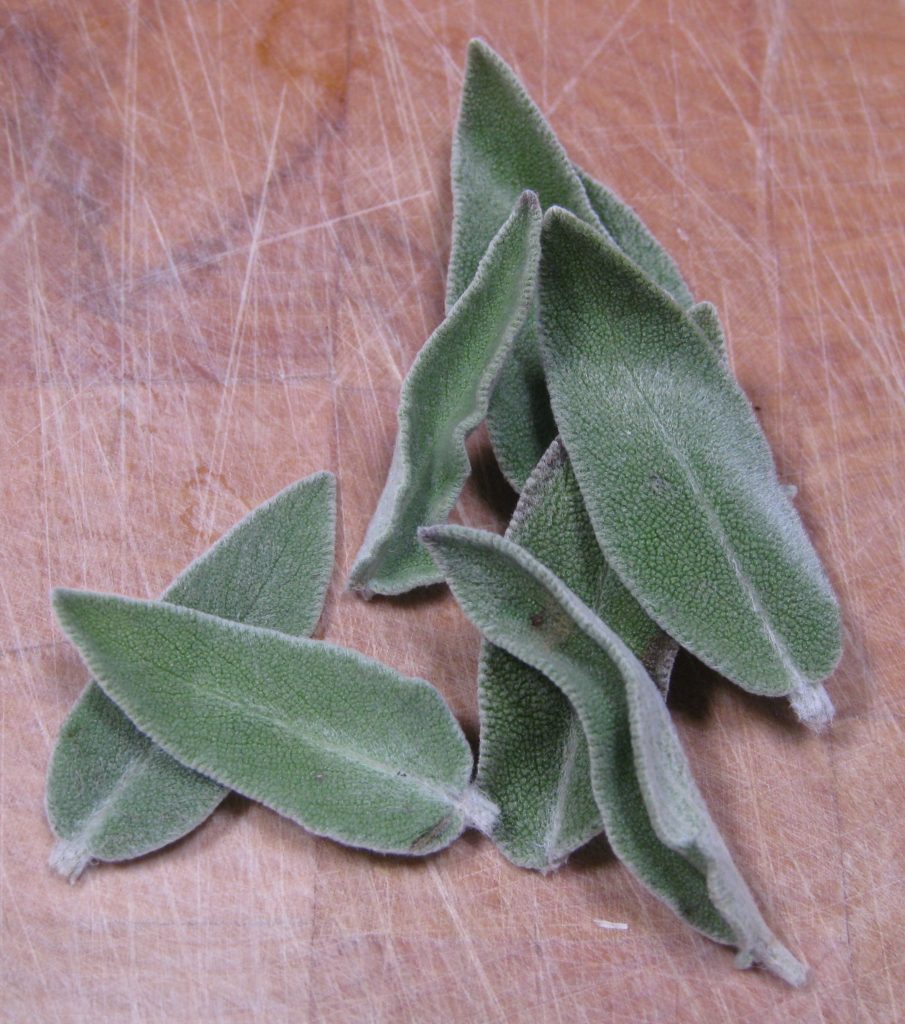
Fresh sage leaves are better than dried when it comes to flavor.

The dish was a hit when made with brisket.  Truth be told, the family didn’t care to ever have it again when I made it with filet.  With the textural change from the brisket it’s become part of our standard menu rotation.

This is a perfect dish for winter.  It’s great for entertaining as it is actually better if made the day before and reheated just before serving.

Oh, and if you actually make it with Barolo, please invite me to dinner!
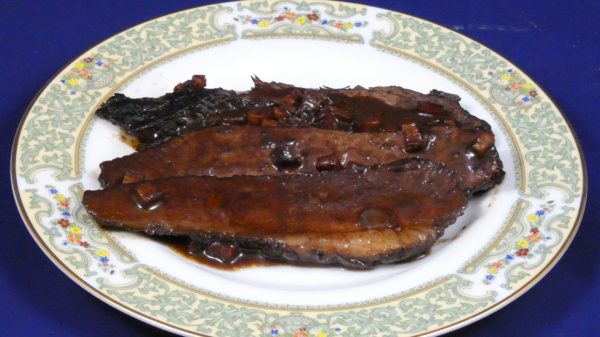
Print Recipe
Brasato al Barolo (Beef Braised in Red Wine)
Since Barolo is so expensive, most contemporary recipes call for another full-bodied red wine. I have used Zinfandel as well as an Argentine wine that was 60% Merlot and 40% Syrah with great success. The meat can be served without refrigerating first but refrigeration makes it easier to get neat slices. If not refrigerating, pour the hot sauce on the sliced meat and serve immediately. If you don’t have a stash of garlic oil on hand, smash two cloves of garlic and sauté in the olive oil until golden then remove the garlic.
Votes: 0
Rating: 0
You:
Rate this recipe!
Course Mains, Meats
Cuisine Italian
Prep Time 30 minutes
Cook Time 4 hours
Passive Time 24 hours
Servings
people
Ingredients
Course Mains, Meats
Cuisine Italian
Prep Time 30 minutes
Cook Time 4 hours
Passive Time 24 hours
Servings
people
Ingredients
Votes: 0
Rating: 0
You:
Rate this recipe!
Instructions
  1. Combine beef with the onion, carrot, celery, garlic, and wine. Cover and refrigerate overnight.
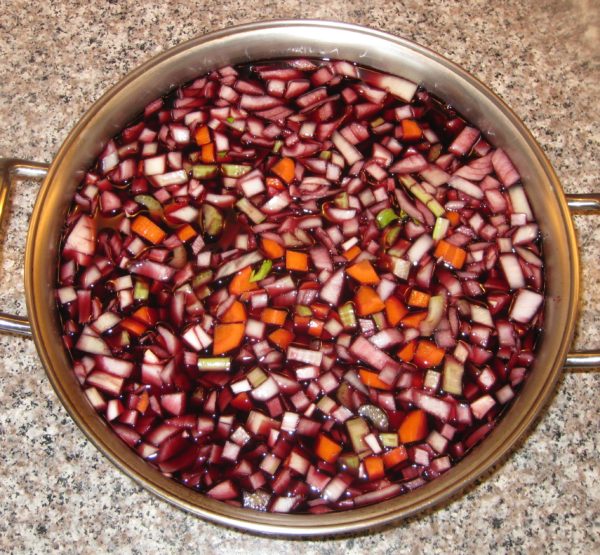
  2. The next day, remove the beef and wipe dry.
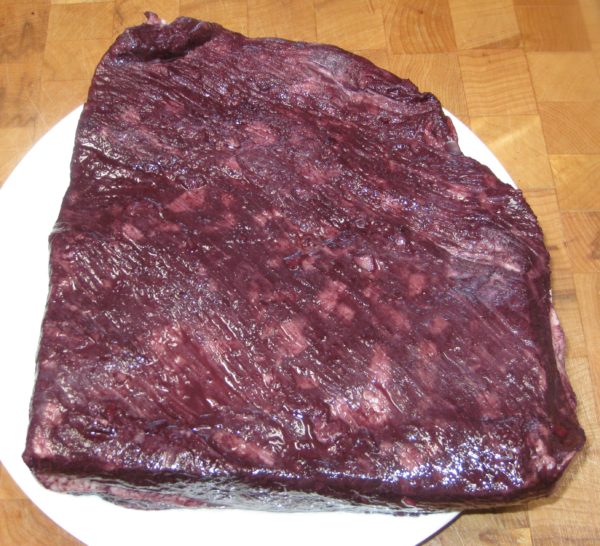
  3. Strain the marinade. Reserve the solids and liquid separately.
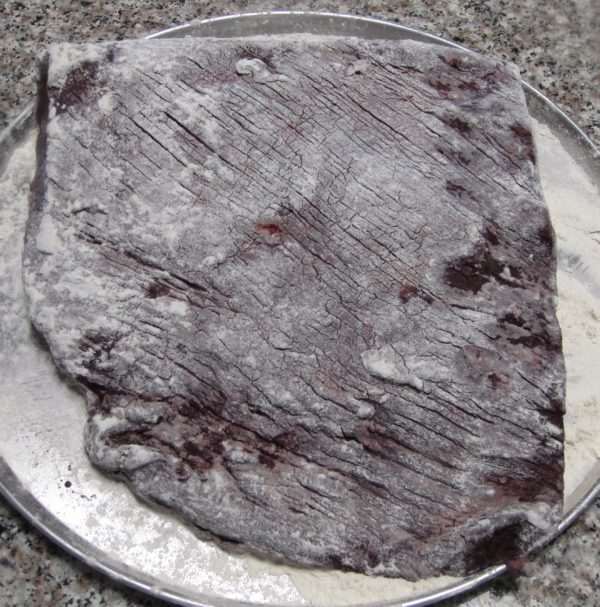
  4. Dredge the beef in flour.
  5. Sauté pancetta in garlic oil over low heat until it renders its fat and browns. Remove pancetta and reserve.
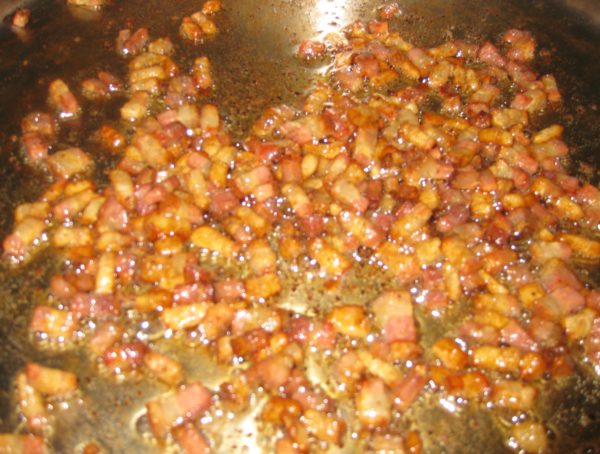
  6. Brown the beef in the rendered fat. Remove the beef.
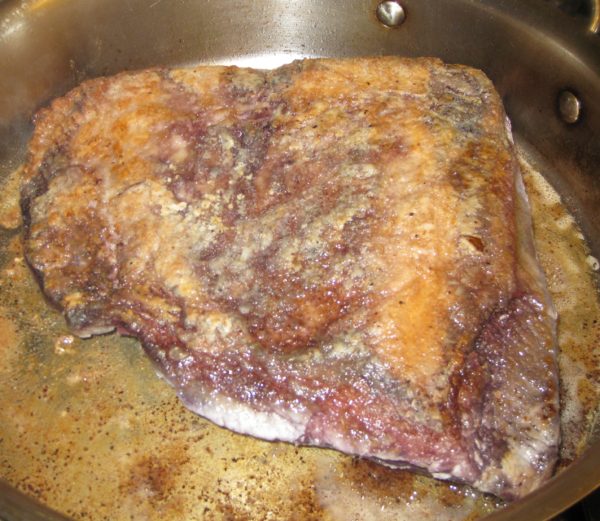
  7. Add the vegetables to the pan and sauté until softened and the onions are translucent.
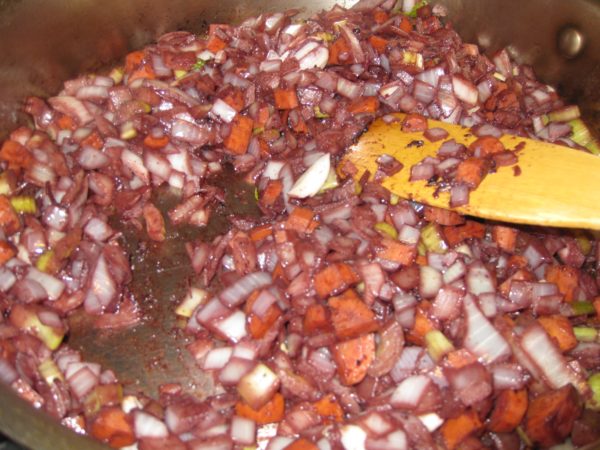
  8. Add the tomato paste. Sauté the tomato paste briefly to darken and sweeten it.
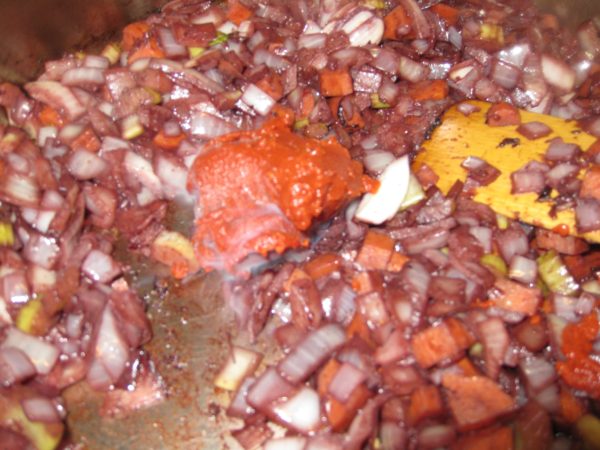
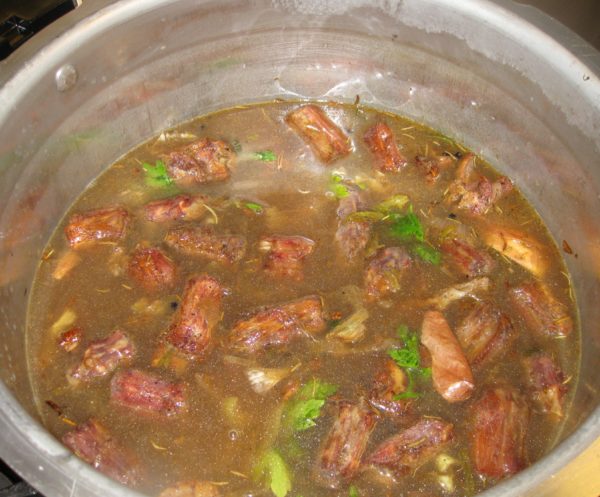
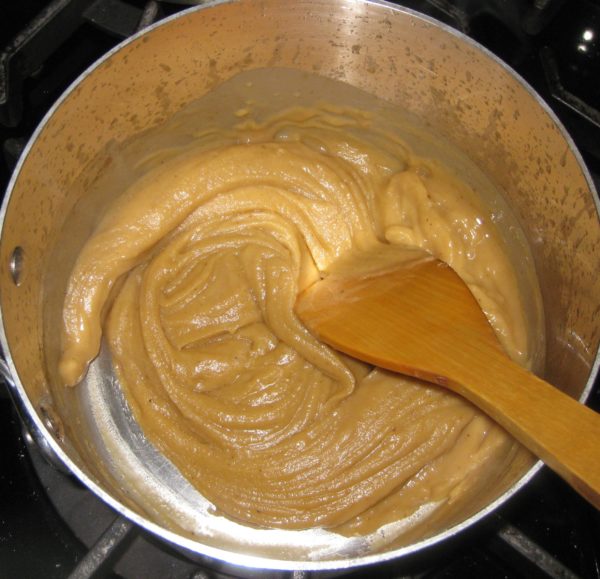
  9. Add the reserved marinade to the pan along with the bay leaves, cloves, rosemary, sage leaves, cinnamon, juniper berries and peppercorns. Bring to a boil, scraping up any browned bits.
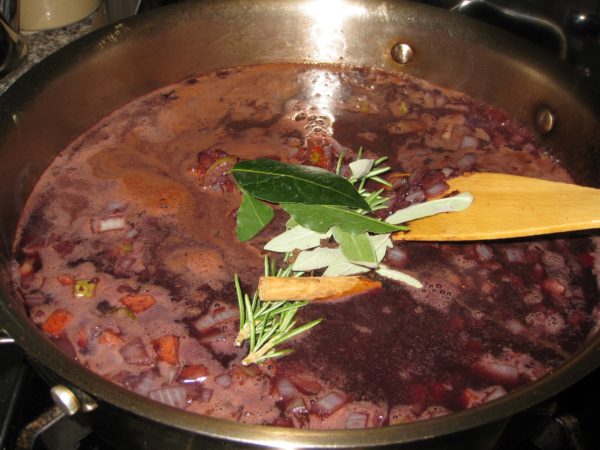
  10. Add the beef. Season with salt. Braise till tender, partially covered, approximately 3 hours.
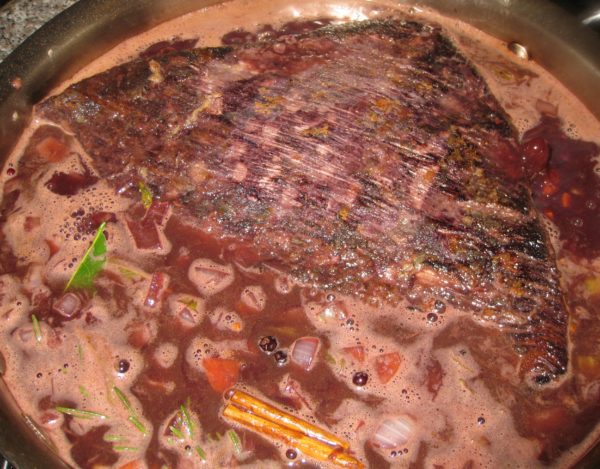
  11. Remove the beef and refrigerate, tightly covered.
  12. Strain the braising liquid. Discard the solids and refrigerate the liquid.
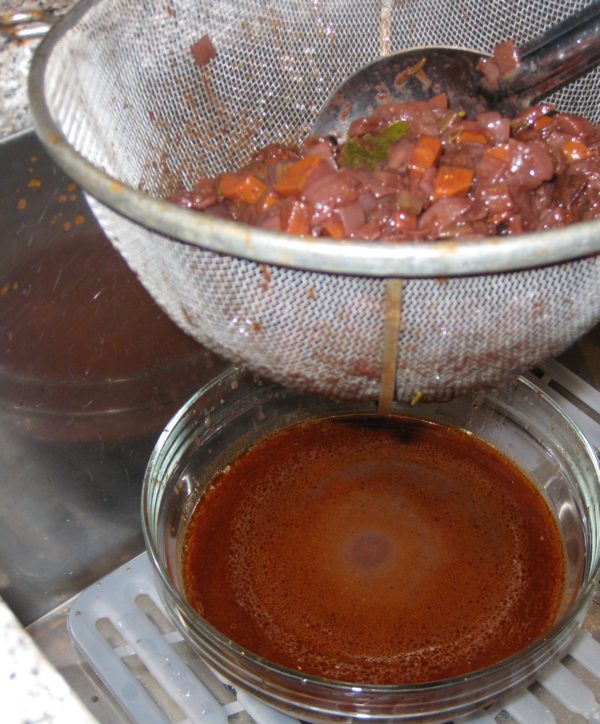
  13. When the beef is cold, slice it against the grain and put in an ovenproof pan or casserole.
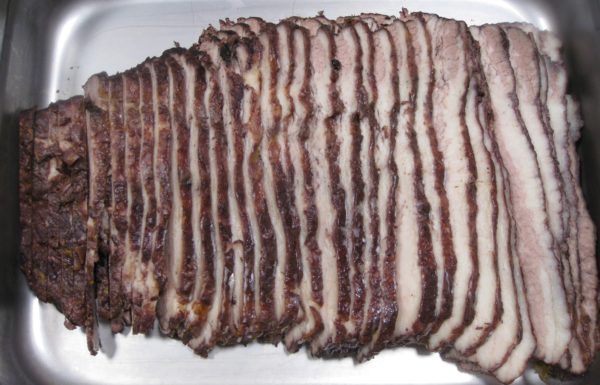
  14. Skim the chilled braising liquid.
  15. Heat the de-fatted braising liquid with the reserved fried pancetta.
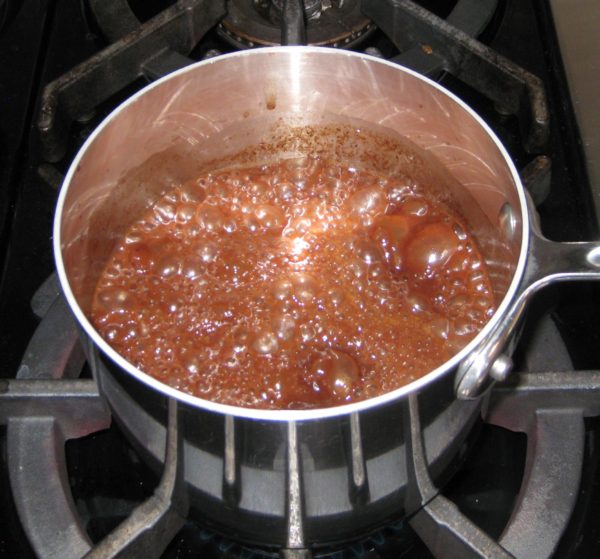
  16. When the braising liquid comes to a boil, remove from heat and add the Marsala. Pour the liquid over the beef, cover the pan, and heat at 350°F for approximately 1 hour.
Recipe Notes

Copyright © 2021 by Villa Sentieri, LLC. All rights reserved.

Share this Recipe

Thanksgiving Gravy

November 7, 2019

I’m not much of a turkey person.

If it were up to me, I’d probably never make turkey, except for the fact that turkey is a GREAT excuse to make killer stuffing and gravy.

OK, OK, those of you who know me know that I’m enough of a traditionalist that I’d probably still make turkey on Thanksgiving, with or without stuffing and gravy, because it’s, well, traditional.

Turkey aside, though, I absolutely LOVE stuffing and I LOVE gravy.

After Thanksgiving, I carefully hide the leftover stuffing in the fridge and keep it all for myself.  There usually isn’t much leftover so I get maybe two days of snacking on cold stuffing.  And it has to be cold, not warm, with a bit of added salt because the taste of salt is dulled by the coldness of the stuffing.


Click HERE to join our mailing list and you’ll never miss a recipe again!


As for the gravy, when I was a kid, I liked gravy so much that I would stir enough into my mashed potatoes that they became runny and spread out over my plate!  I don’t do that anymore but I still love gravy.

I love gravy so much that I roast poultry specifically to make gravy then discard the poultry because I’ve browned it to a fare-thee-well to get a really flavorful gravy.  But I only do that once a year—on Thanksgiving—hence the name Thanksgiving gravy.

When I was growing up, my parents hosted Thanksgiving dinner.  My Aunt Margie and Uncle Joe hosted Christmas Eve dinner.

On Thanksgiving, while my mother and Aunt Margie were getting everything ready to bring to the table (everything included a full Italian meal with sausage, meatballs, lasagna, etcetera alongside a full traditional American Thanksgiving meal!) my Aunt Mamie would make gravy from the pan drippings.


Follow us on your social media platform of choice


From my current vantage point, however, there is a very limited amount of gravy that can be made that way, otherwise it doesn’t have enough meaty goodness.  Though I have to say that Aunt Mamie did a great job of making gravy.  Hers was the one that I most often stirred into my mashed potatoes.

The search for lots of meaty-tasting gravy is what got me started on the path of roasting poultry a few days in advance simply to make a brown stock to use as the base for my gravy.

I guess, in reality, my gravy is more of a variation on French brown sauce (Sauce Espagnole) with added pan drippings than traditional American-style gravy but it packs the flavor that I expect from good gravy.

If there’s any leftover gravy, I warm it with some cream and sautéed mushrooms and then gently reheat leftover turkey in the sauce.

Print Recipe
Thanksgiving Gravy
Roasting poultry to make a flavorful stock creates a gravy with an extra punch of flavor. Turkey wings and necks are ideal but chicken and Cornish hen work very well, too. Whatever poultry you use, cut it into lots of pieces to create more surface area for browning. I use a lot of Parmigiano Reggiano cheese and I put all the rinds in a container in the freezer. I use one whenever I make stock or broth, as I do for the stock for this gravy. It is not necessary to peel the onions and garlic.
Votes: 0
Rating: 0
You:
Rate this recipe!
Prep Time 30 minutes
Cook Time 11 hours
Passive Time 12 hours
Servings
cups
Ingredients
Brown Stock
Prep Time 30 minutes
Cook Time 11 hours
Passive Time 12 hours
Servings
cups
Ingredients
Brown Stock
Votes: 0
Rating: 0
You:
Rate this recipe!
Instructions
Brown Stock
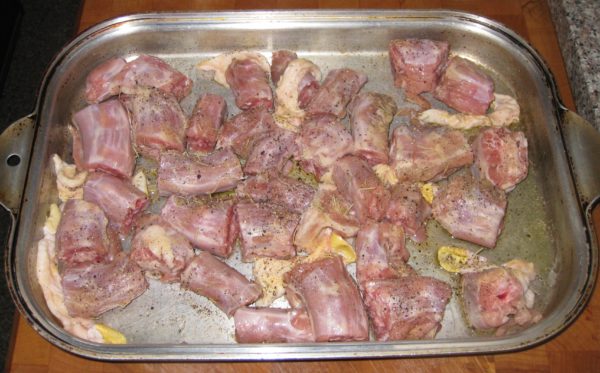
  1. Cut the turkey or other poultry into chunks. Put the cut-up turkey into a heavy roasting pan. Mix with ¼ cup of extra-virgin olive oil. Season generously with garlic powder and salt.
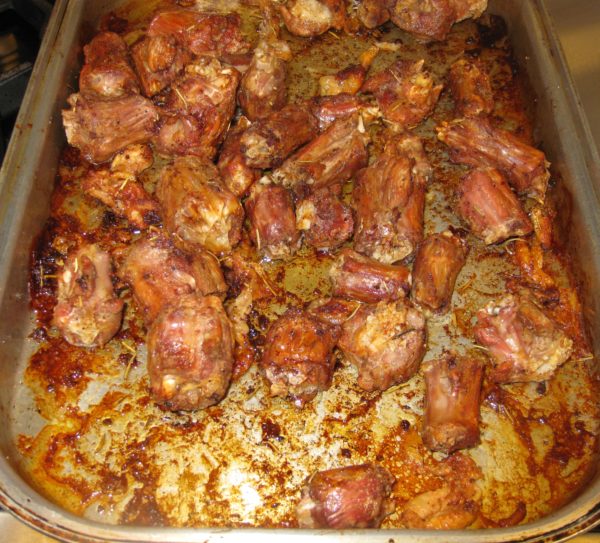
  2. Roast the turkey at 425°F until dark brown, turning often, 1½ to 2 hours.
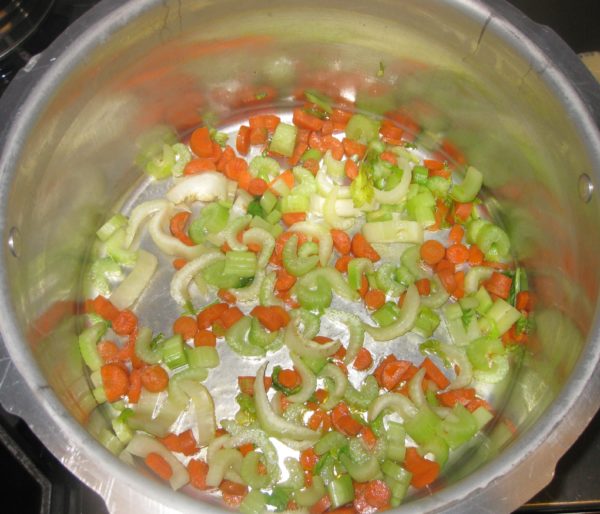
  3. Meanwhile, in a heavy-bottomed stock pot, large enough to hold all the ingredients, sauté the carrots and celery in ¼ cup of extra-virgin olive oil over high heat.
  4. As the carrots and celery begin to brown, add the onions and garlic.
  5. Continue cooking, adjusting heat to medium if necessary, to create nicely browned vegetables and fond without burning.
  6. When the vegetables are brown, add 1/2 cup of red wine and 1 cup of water to stop the cooking and set the pot aside until the turkey is ready.
  7. When the turkey is brown, add it and any pan drippings to the stockpot with the vegetables.
  8. Using some of the water, deglaze roasting pan and add the liquid to the stockpot. All these brown bits are important for flavor.
  9. Add the bay leaf, rosemary, sage, parsley, whole cloves, Parmigiano Reggiano cheese rind, if using, black pepper, and enough water to cover generously. Bring to a simmer and simmer, partially covered for six hours, stirring occasionally.
  10. Strain and refrigerate the stock. The stock may be made up to three days in advance.
Gravy
  1. Skim the fat from the top of the stock. Heat the fat to cook off any water. Measure ¾ cup of melted fat and reserve. Add butter, if necessary, to make ¾ cup.
  2. Gently boil the skimmed stock to reduce it to about six cups, if necessary.
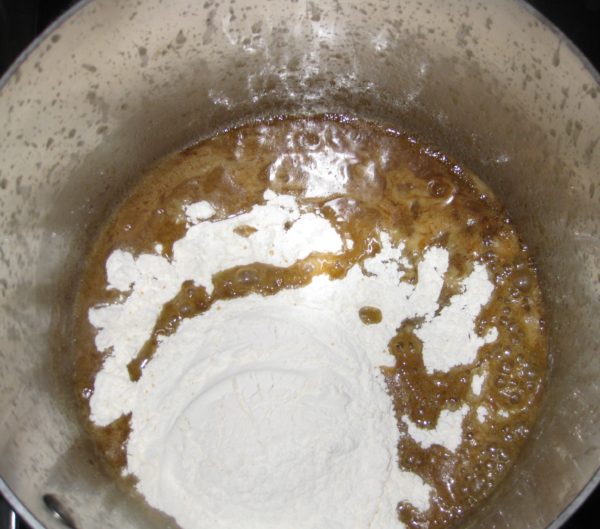
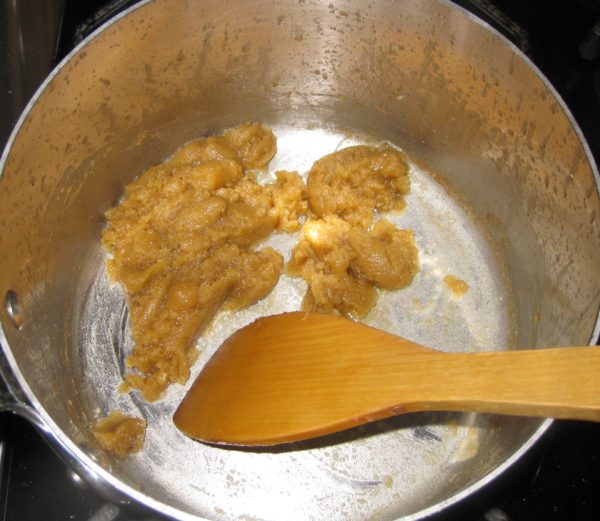
  3. Meanwhile, in a heavy-bottomed saucepan, gently brown the flour in the fat from the stock.
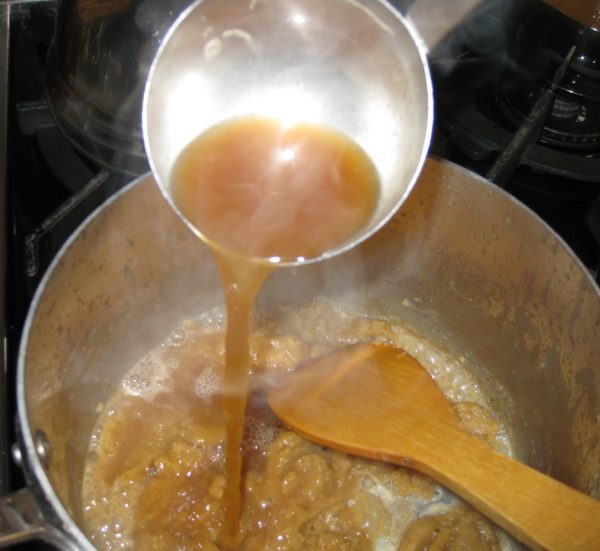
  4. Add the six cups of hot stock, approximately ¾ cup at a time, stirring well after each addition, to avoid lumps.
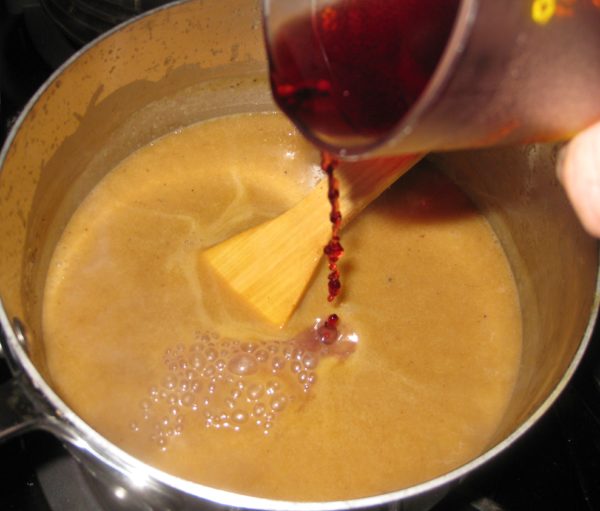
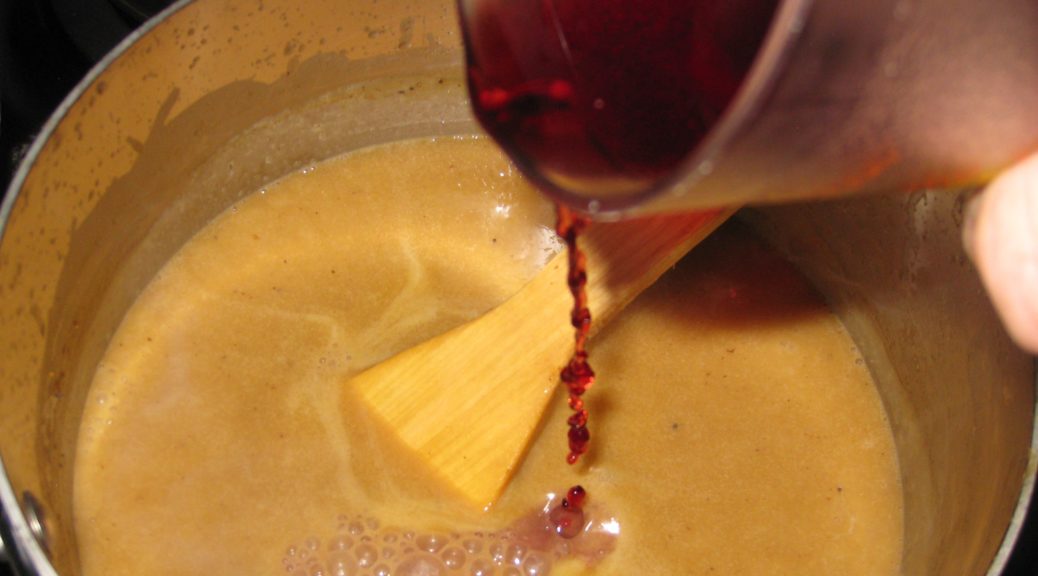
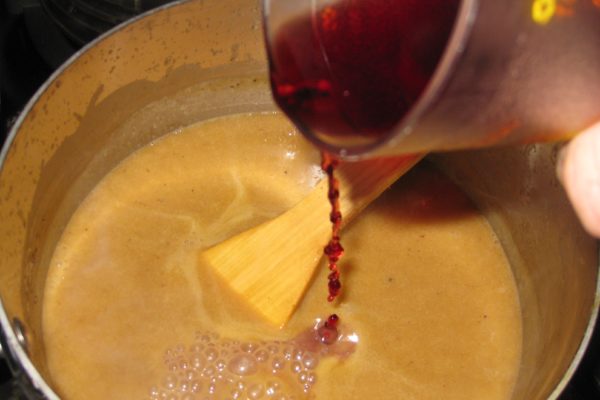
  5. After all the stock has been added, bring to a simmer. Add the wine. Season with 1 teaspoon salt and pepper to taste. (The drippings from the turkey can be fairly salty so the gravy should be under-salted until the final adjustment of seasoning.)
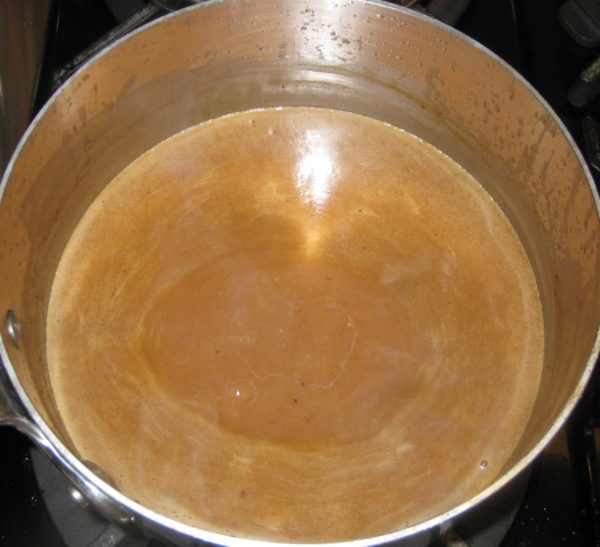
  6. Simmer gently till thick, approximately 2 hours, stirring frequently. Set aside, covered, until the turkey is ready.
  7. After removing the turkey from the oven, deglaze the roasting pan with water. Skim the fat from the deglazing liquid. Pour the defatted drippings into gravy and simmer briefly to achieve the desired consistency. Adjust seasoning.
Recipe Notes

Copyright © 2019 by Villa Sentieri, LLC. All rights reserved.
Share this Recipe

Sri Lankan Fish Croquettes

December 26, 2018

OK, I’m going out on a limb again posting another Sri Lankan recipe.

Whenever I do that, fewer people open the email and even fewer look at the recipe.  Sri Lankan food just doesn’t garner the interest (among my readers, at least) that Italian food does.  Interestingly (or not, perhaps) my cousin’s Marinated Pasta Salad from two weeks ago got the largest response ever!

Although a majority of my recipes are Italian, I am reluctant to post ONLY Italian recipes.  There are just so many things that I like to cook…and therefore want to share…that I want to keep my options open.  What happens, if for example if I choose to post only Italian recipes and then want to post my recipe for Bourbon Brown Sugar Apricot Jam?  That most certainly is NOT Italian.  (But it is so, so good!)


Join our mailing list and you’ll never miss a recipe again!


One possibility, I guess, would be to focus this blog on Italian food exclusively and to start a second blog that includes all the other foods I like to cook.  The majority of that food would end up being Asian with a smattering of Western Cuisines.  Bourbon Brown Sugar Apricot Jam would be just as out of place there as it would in an exclusively Italian-food-oriented blog. (And, I’m not sure I could keep two blogs going.)

Here’s my request:  Use the comment feature to let me know what you think about the options, or even come up with alternative suggestions, for how to focus the blog.  I plan to continue posting while I am in Italy for three months but that would be a great time to redesign the focus of the blog, if need be, and start fresh when I return.

Nanacy Rajapakse (left), who taught me the fundamentals of Sri Lankan cuisine, and her sister Thilaka in 2005.

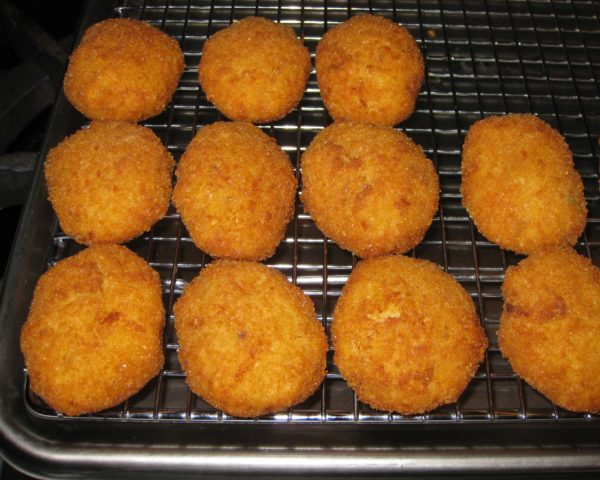
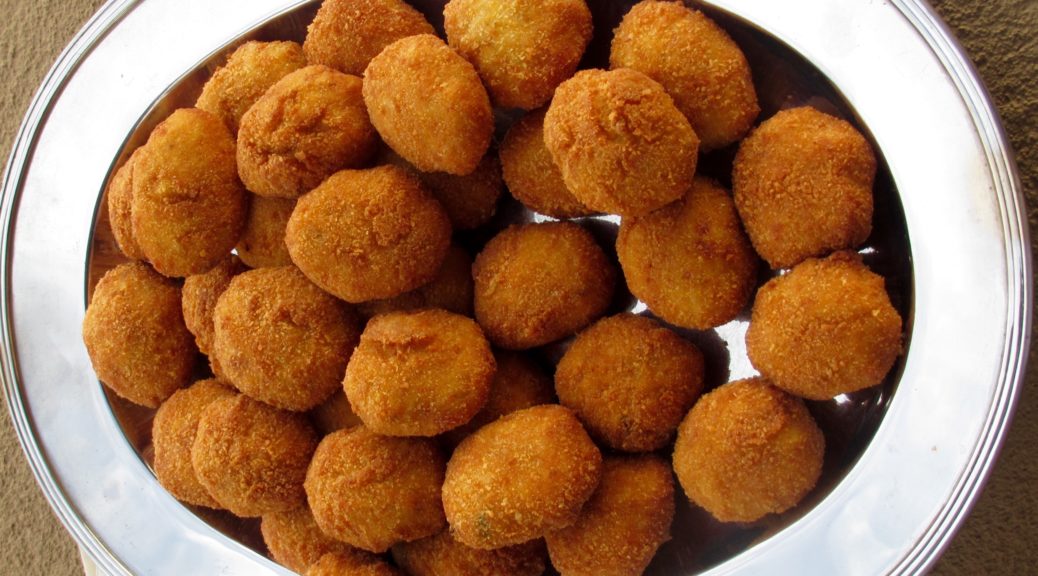
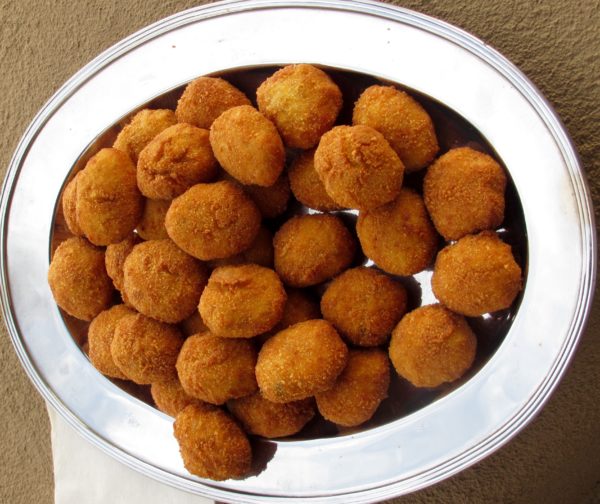
As for the Fish Croquettes, these are actually called Fish Cutlets in Sri Lanka but croquettes would be a more common term in the West.  I think you’ll find that they go really well with cocktails and, if you didn’t tell anyone they were Sri Lankan, nobody would be the wiser.


Follow us on your social media platform of choice


Over the next few months, I will post a few more of my favorite Sri Lankan recipes.  When I started doing this in the late summer, my plan was to post enough recipes for my readers to be able to put together a credible Sri Lankan meal, not that every dish I posted would need to be included but that I would have posted enough of an assortment of recipes to provide a good basis for selection.

Fishing boats in Sri Lanka

I am going to follow through on that plan in the coming months.  Upcoming recipes might include Beef Smoore, Devilled Cashews, Ghee Rice, Pol Sambol, Pork Badun, Beet Curry, Fish Curry, Pickled Lime, Pumpkin Curry, Tempered Cabbage and Peppers, and Wattalappam.  If you’ve got a favorite that you want me to post just let me know!

The blog will be an interesting juxtaposition over the next few months as I chronicle my culinary experience in Italy interspersed with Sri Lankan recipes.

Print Recipe
Sri Lankan Fish Croquettes
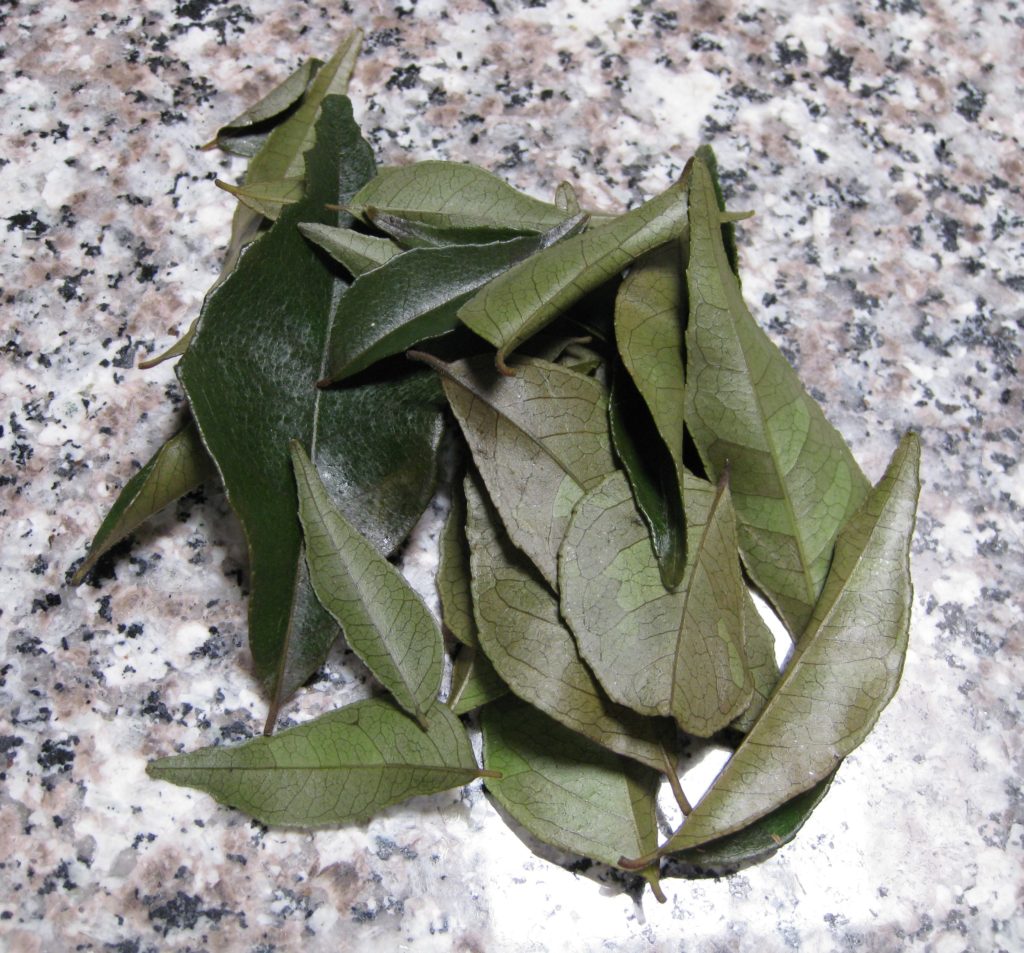
Although Tuna is a traditional fish used for cutlets, almost any type of fish will work. Good quality frozen tuna can be used in place of fresh. Curry leaves can be found in many Asian markets. There really is no substitute for them in terms of taste but if not having access to curry leaves is the only thing preventing you from trying this recipe, use another fresh green herb such as basil, thyme, or oregano. These may be served warm or at room temperature.
Votes: 0
Rating: 0
You:
Rate this recipe!
Prep Time 1 hour
Cook Time 1 1/2 hours
Passive Time 4 hours
Servings
croquettes
Ingredients
For the croquettes
For dredging and frying
Prep Time 1 hour
Cook Time 1 1/2 hours
Passive Time 4 hours
Servings
croquettes
Ingredients
For the croquettes
For dredging and frying
Votes: 0
Rating: 0
You:
Rate this recipe!
Instructions
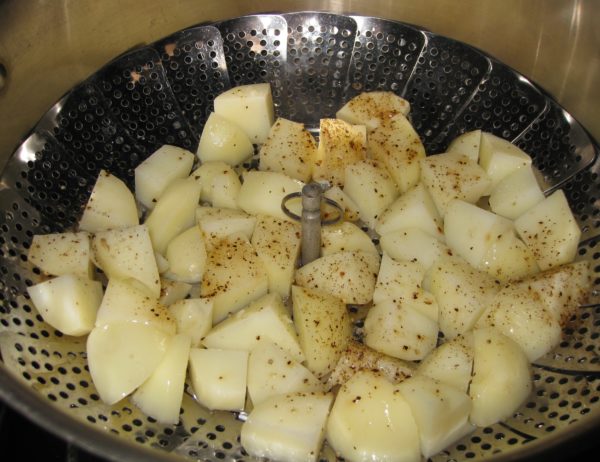
  1. Peel the potatoes. Cut them into pieces approximately ¾ inch on a side.
  2. Put the cut potatoes in a steamer basket. Sprinkle with ground black pepper to taste.
  3. Steam the potatoes over boiling water until tender, 15-25 minutes.
  4. Put the cooked potatoes into a mixing bowl.
  5. Cut the fish into strips approximately 1 ½ inches wide.
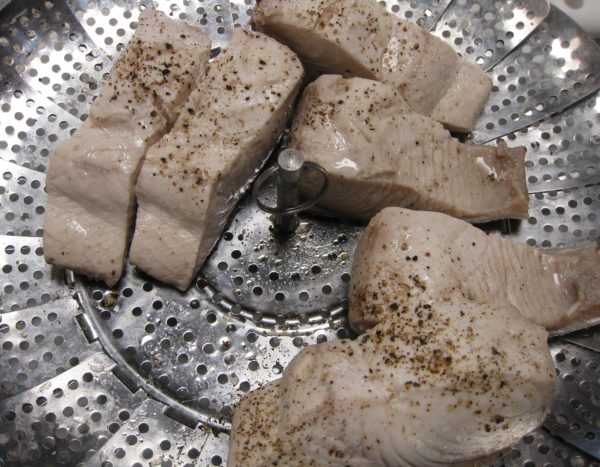
  6. Put the fish in the steamer basket. Sprinkle with ground black pepper to taste.
  7. Steam the fish over boiling water until fully cooked and flaky, 10-20 minutes. If the fish has skin, remove it after steaming.
  8. Put the fish on a plate to cool.
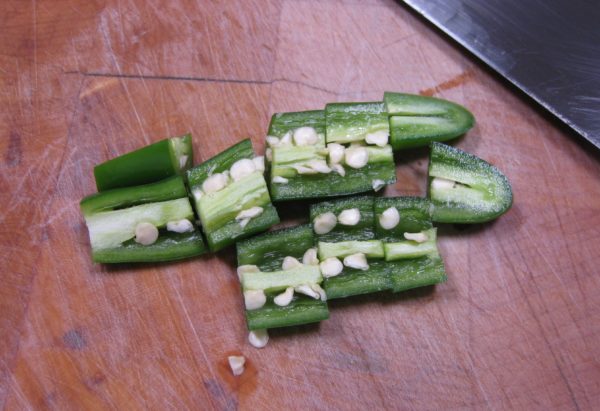
  9. Coarsely chop the green chiles
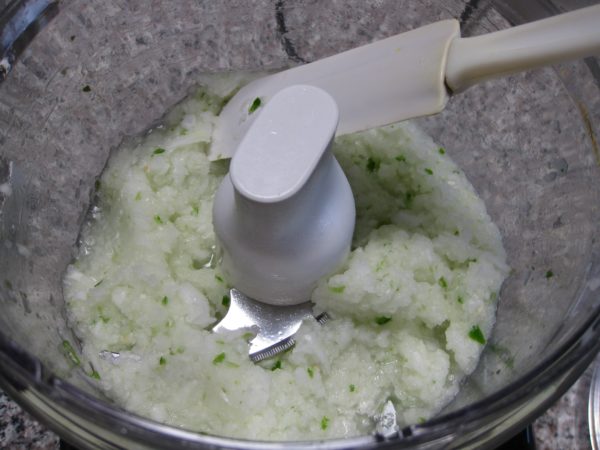
  10. Grind the onions and green chile in a food processor.
  11. Sauté the ground onion mixture, curry leaves, and cumin in the oil until the onion is soft but not brown, 6-8 minutes.
  12. Coarsely mash the partially cooled potato.
  13. Add the fish to the potato and mash again. The mixture should not be completely smooth but there should not be any really large chunks.
  14. Add the onion mixture and salt to the mashed potatoes and fish. Mix well.
  15. Add the eggs and then enough breadcrumbs to bind the mixture. The amount of breadcrumbs needed will vary based on the moisture content. Use your judgement and opt for making the mixture a little loose rather than overly stiff.
  16. Refrigerate, covered, for several hours for the breadcrumbs to fully hydrate.
  17. Taste and adjust salt (and chile if you wish).
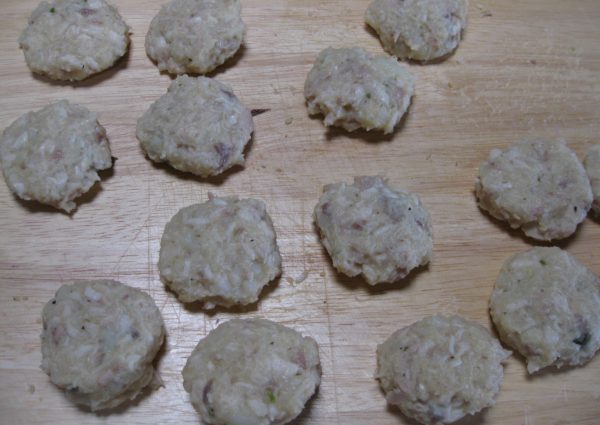
  18. Divide into 50 portions. Shape each into a slightly flattened oval shape.
Final Assembly
  1. Season the flour with salt and freshly ground black pepper to taste.
  2. Beat the four eggs lightly and season with salt and freshly ground black pepper to taste.
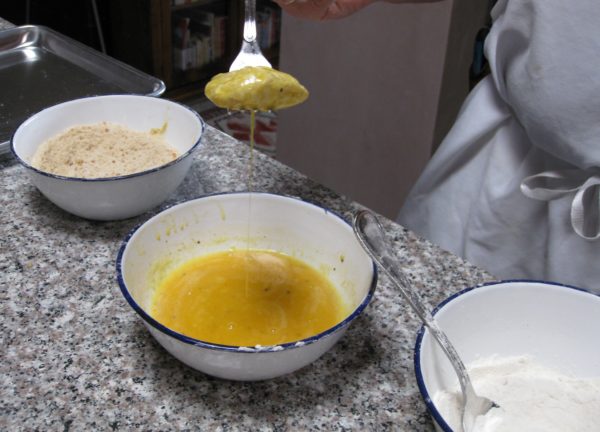
  3. Dredge each croquette in flour, then dip in the beaten egg, then roll in the breadcrumbs.
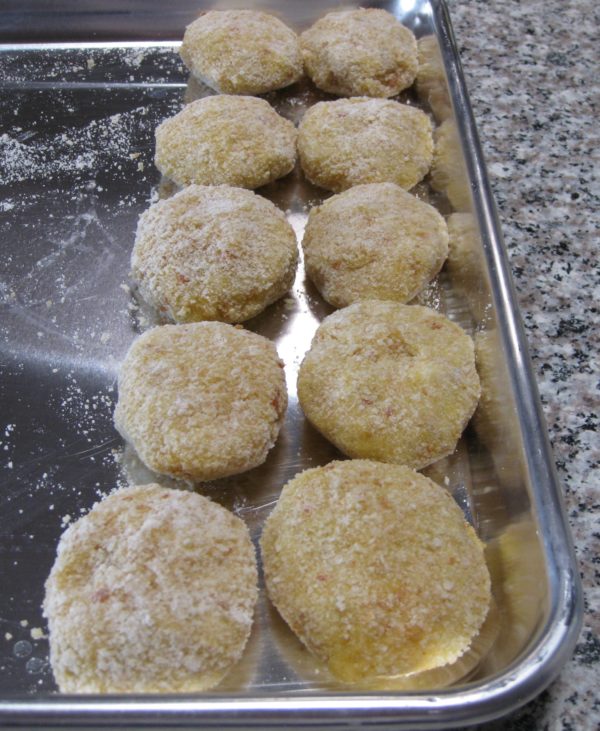
  4. Refrigerate, uncovered, at least one hour before frying.
  5. Deep fry the croquettes at 350°F to 375°F until golden brown.
  6. Drain on a rack set in a rimmed baking sheet.
Recipe Notes

Curry leaves have an alluring flavor that isn't really comparable to any other herb.  I recommend that you try to find them.  You will probably have extra left.  I suggest adding the whole fresh leaves to eggs before scrambling.

Fresh curry leaves

Copyright © 2018 by Villa Sentieri, LLC. All rights reserved.
Share this Recipe

Zia Ida’s Lemon Bars

July 4, 2018

Happy Fourth of July!!!

I’m posting this recipe today because it is one of the three desserts that I typically serve on the Fourth of July.  The other two are Dulce de Leche Cheesecake Bars and Nick Maglieri’s Supernatural Brownies.

Our front gate ready for the Fourth of July, 2017

The first year that these three became our traditional dessert course, one of our guests, after tasting them, commandeered the platter and started serving the other guests.  He introduced the dessert as “Sex on a platter!”

That was the moment when I knew I could not make changes to the dessert course without proof that the changes would actually be an improvement rather than just different.


Join our mailing list and you’ll never miss a recipe again!


The three desserts make a winning combination.

Guests arriving by van from the parking area

This year, we are not throwing our usual Fourth of July party.  Instead, we are spending two weeks on Fire Island.

For the last five and a half years, my husband, Frank, has been working in Alamogordo, New Mexico, a four-hour drive from our home in Santa Fe.  With rare exceptions, we’ve only seen each other on weekends during this time.  The trip to Fire Island is a celebration of his last day of work in Alamogordo which was this past Friday.

Fourth of July guests

Even when not part of the Fourth of July dessert trifecta, these lemon bars get great reviews but I have to apologize a bit to Zia Ida.

Zia Ida is my husband’s Aunt Ida.  Zia is the Italian word for aunt.

Zia Ida, far left, my father-in-law, and their aunt, Zia Fidalma, from Tuscany

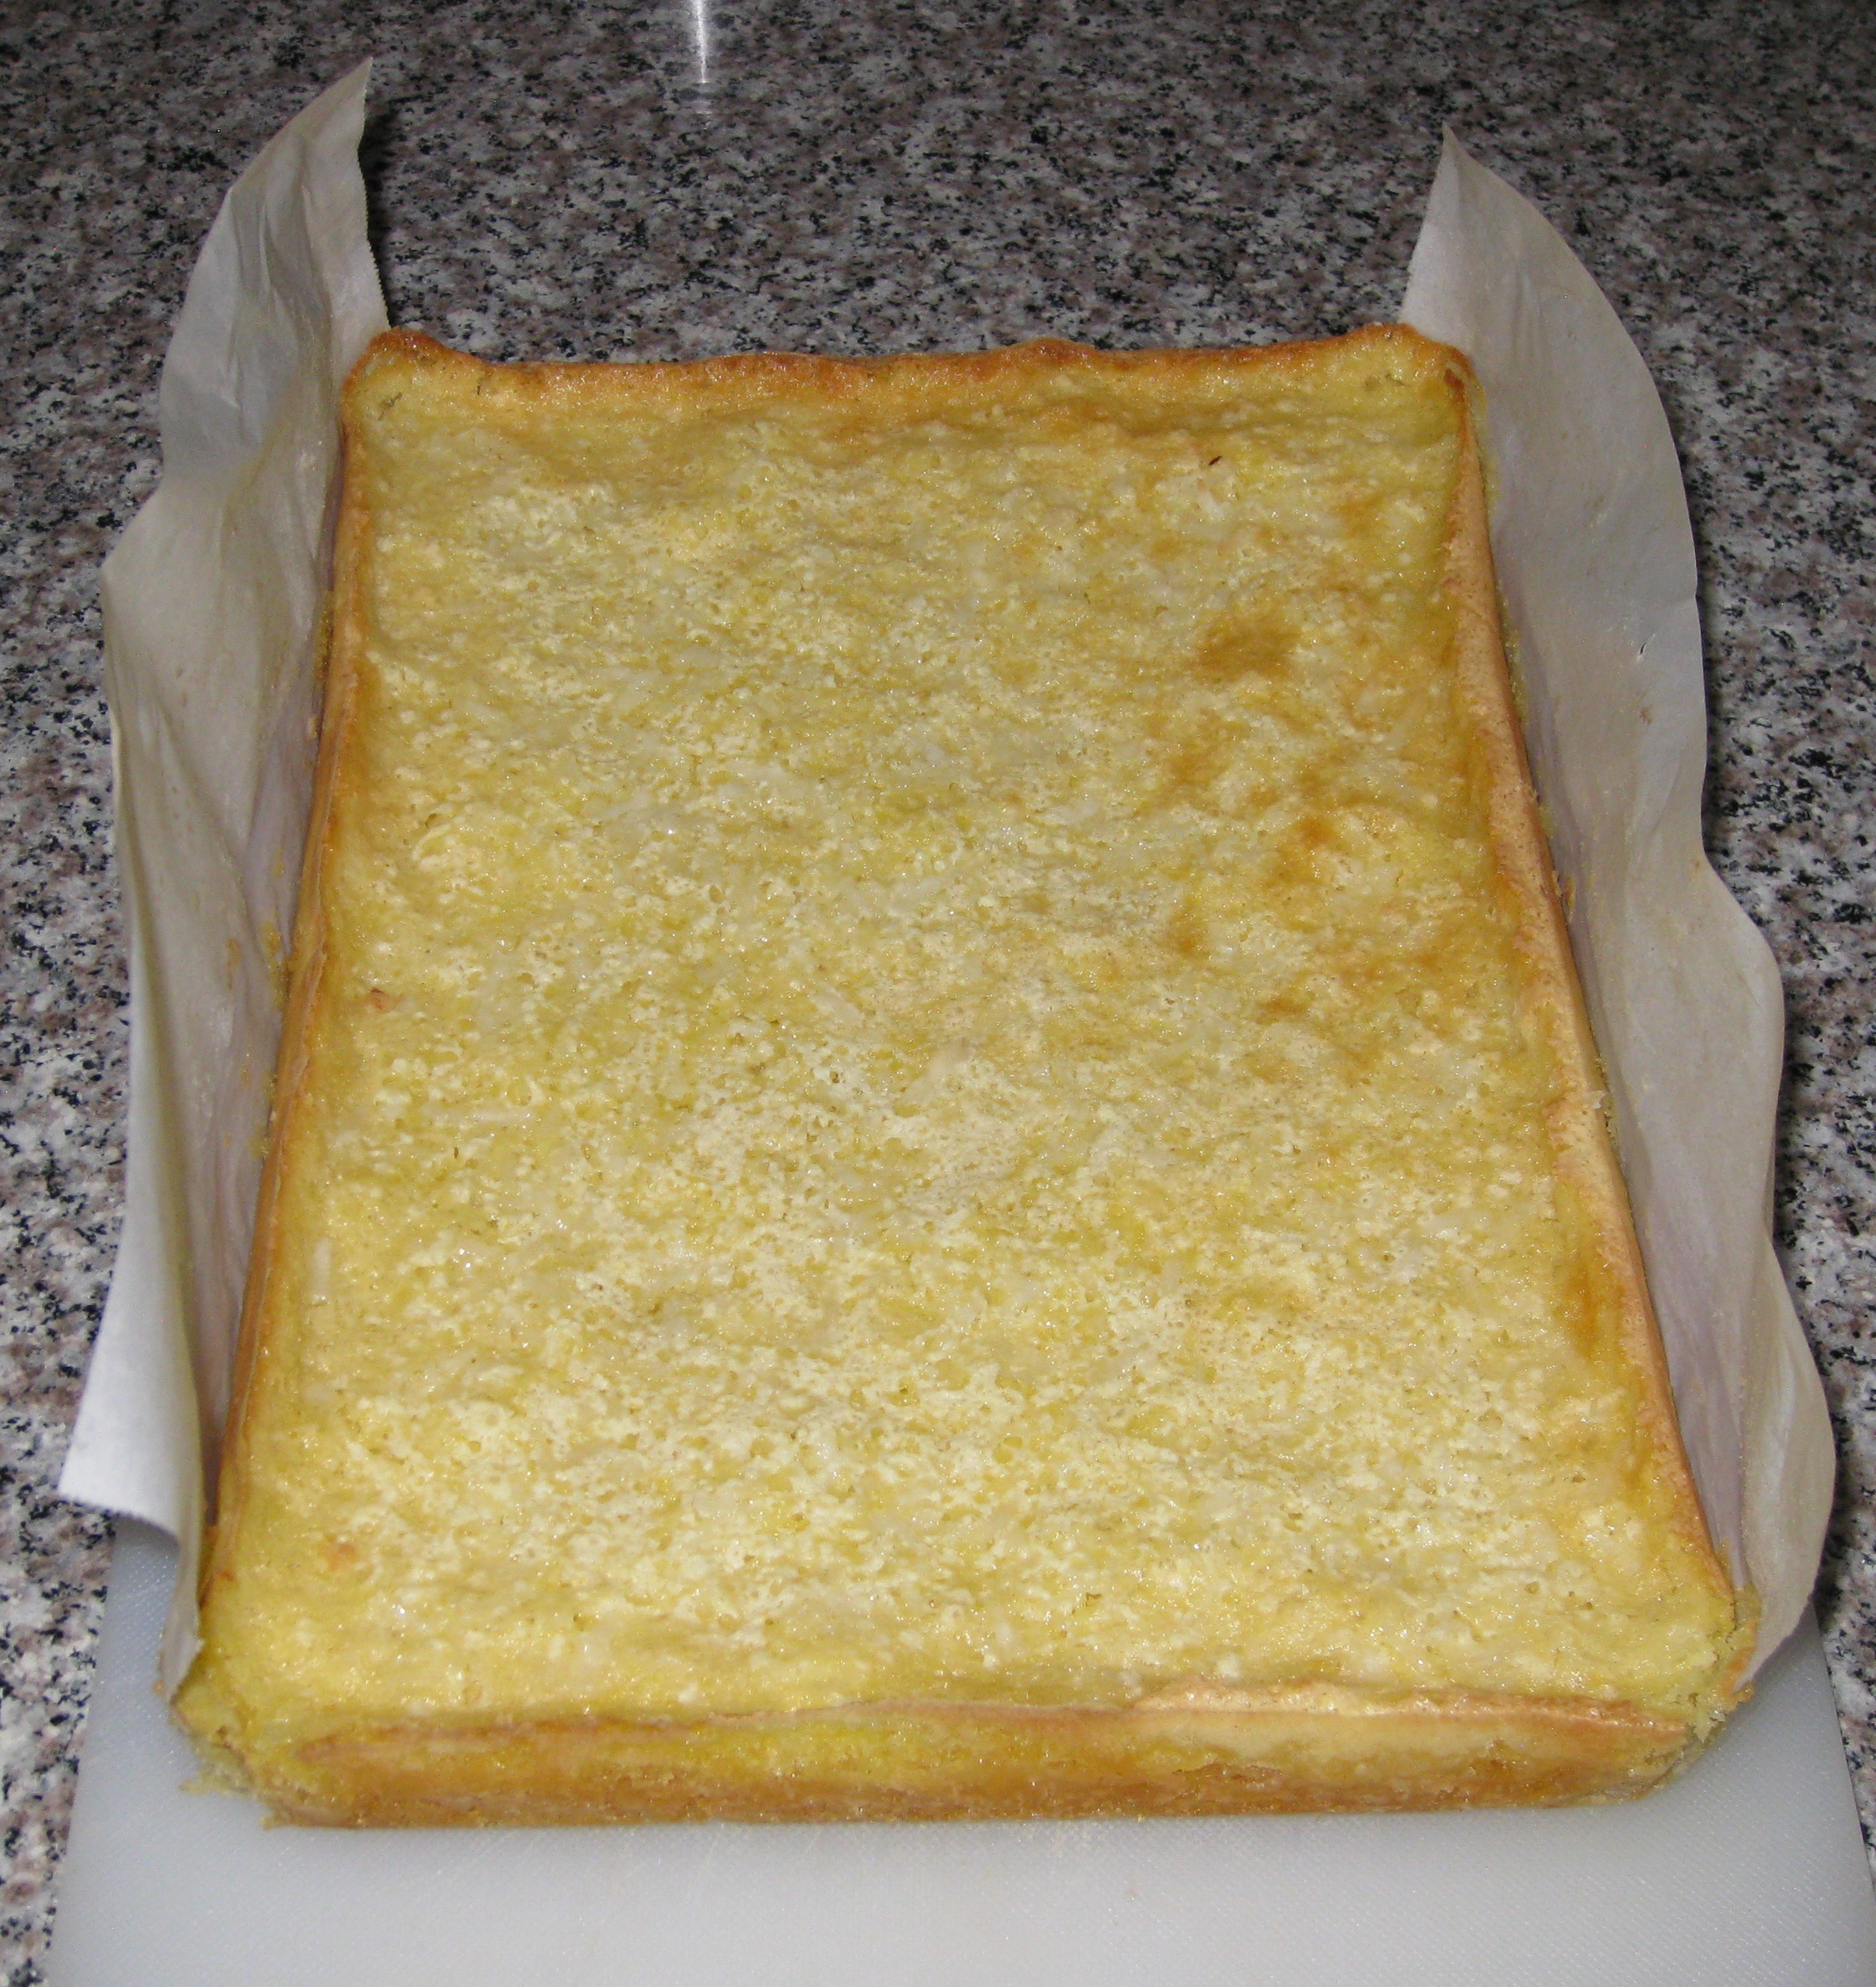
I still consider these to be her lemon bars even though I’ve tweaked her recipe.  I added the lemon zest as her original recipe only called for the juice.  I think the zest adds layers of lemon flavor as the essential oils are way more lemony than the juice.  I also like to add coconut, though it wasn’t part of the original recipe and can certainly be left out.  Since I like my lemon bars tart, I increased the lemon juice from the original 5 tablespoons.

These lemon bars are not fussy to make.  I’ve seen fussy recipes that include steps like precooking the filling and diddling with the crust.  I don’t think either of those steps would improve the flavor and they’d definitely increase the work involved.

More Fourth of July guests

If you have a favorite recipe for some sort of dessert bar, I’d love to see it.  In the meantime, I hope you enjoy Zia Ida’s Lemon Bars.

Print Recipe
Zia Ida's Lemon Bars
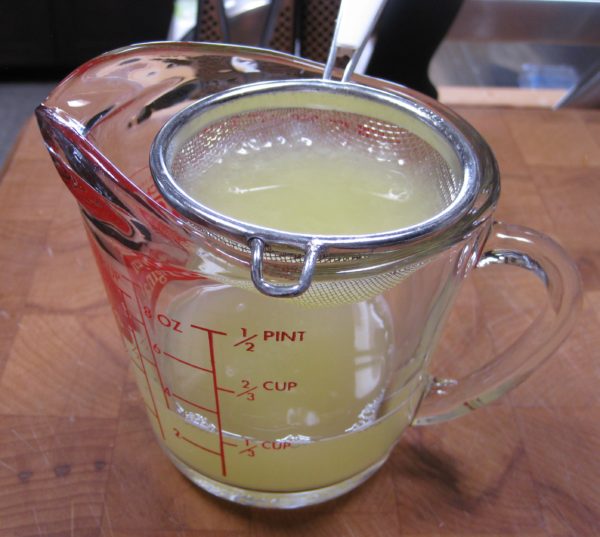
The coconut is optional. If you like your lemon bars less tart, use 5 tablespoons of lemon juice. After zesting the lemons for the crust and the lemon topping, squeeze the juice and strain well. You may need juice from an additional lemon.
Votes: 0
Rating: 0
You:
Rate this recipe!
Cuisine American
Prep Time 25 minutes
Cook Time 30 minutes
Passive Time 12 hours
Servings
bars
Ingredients
Crust
Topping
Cuisine American
Prep Time 25 minutes
Cook Time 30 minutes
Passive Time 12 hours
Servings
bars
Ingredients
Crust
Topping
Votes: 0
Rating: 0
You:
Rate this recipe!
Instructions
Crust
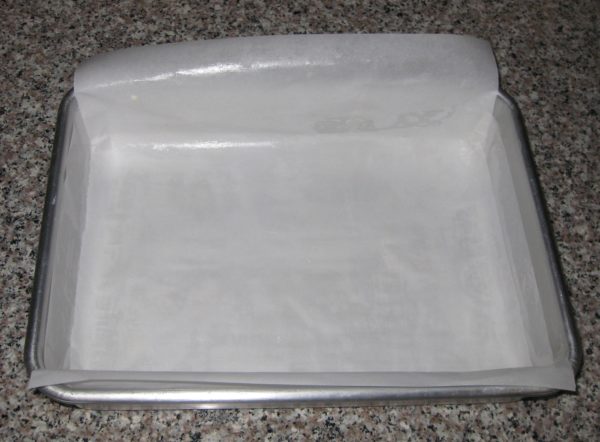
  1. Butter a 9" x 13" pan.
  2. Line the buttered pan with buttered parchment, allowing the parchment to overhang the sides of the pan a few inches in all directions.
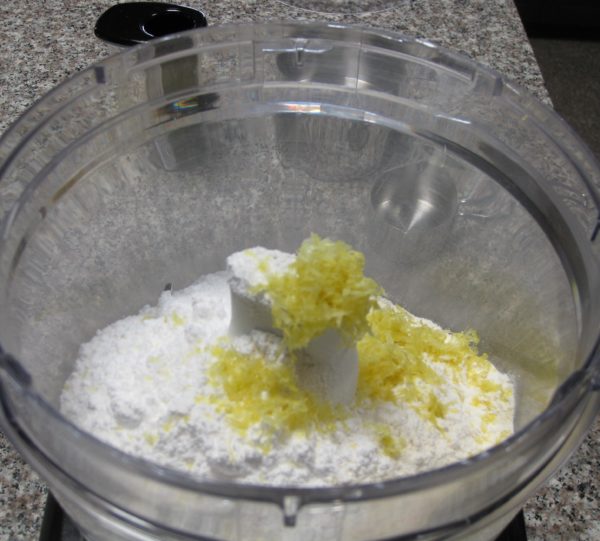
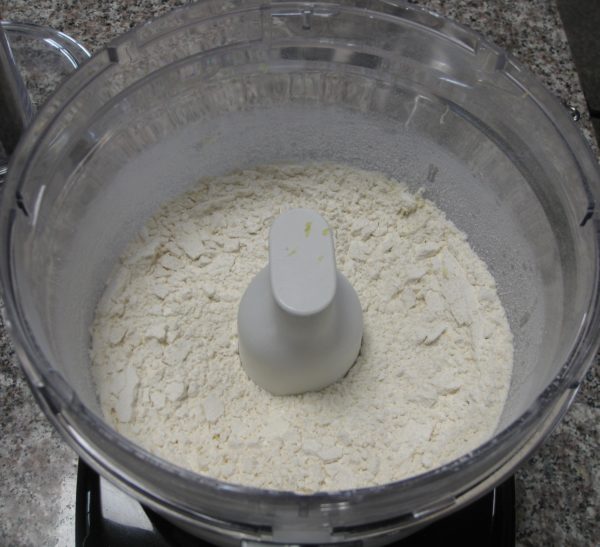
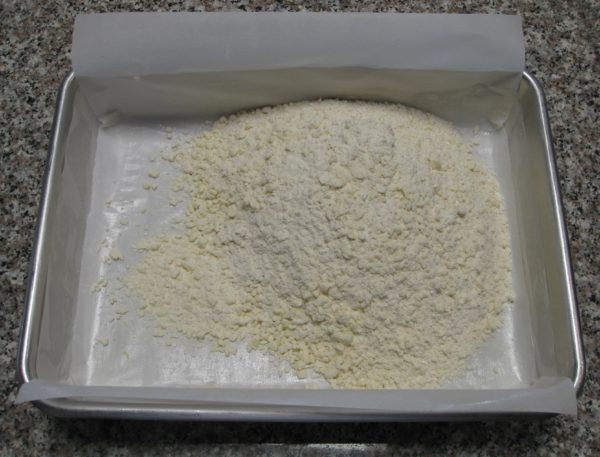
  3. Pulse flour, sugar and zest in food processor until combined.
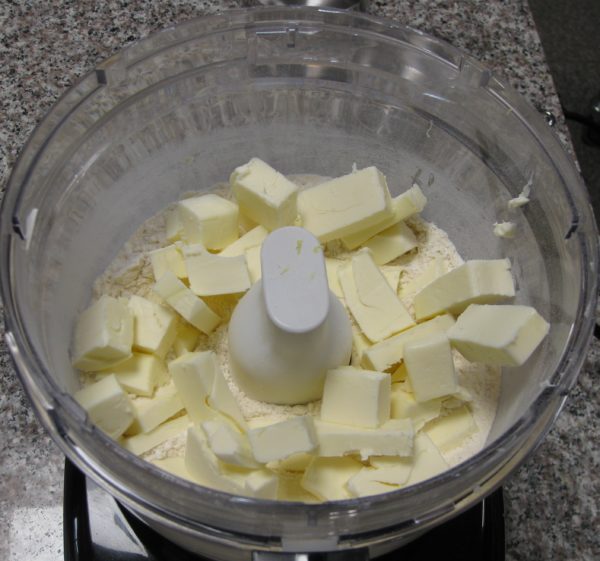
  4. Add cold butter, cut in small cubes. Briefly pulse until mixture forms coarse crumbs.
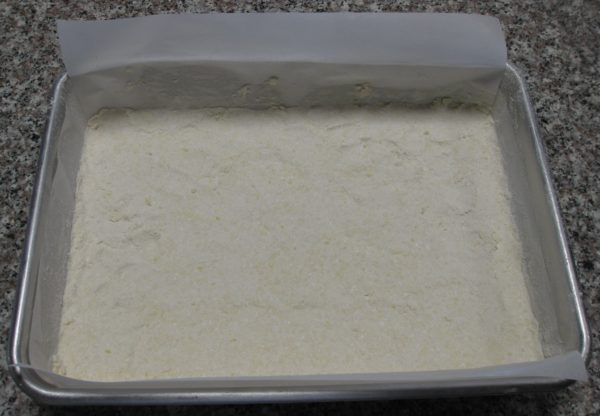
  5. Press the crust mixture into the prepared pan.
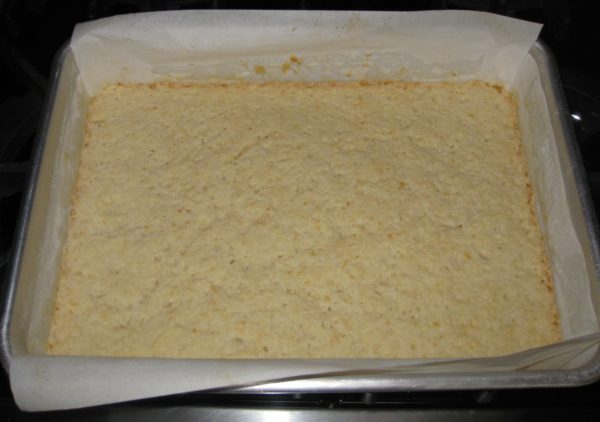
  6. Bake at 350°F for 20 minutes until lightly brown.
Topping
  1. As soon as the crust is out of the oven, make the topping.
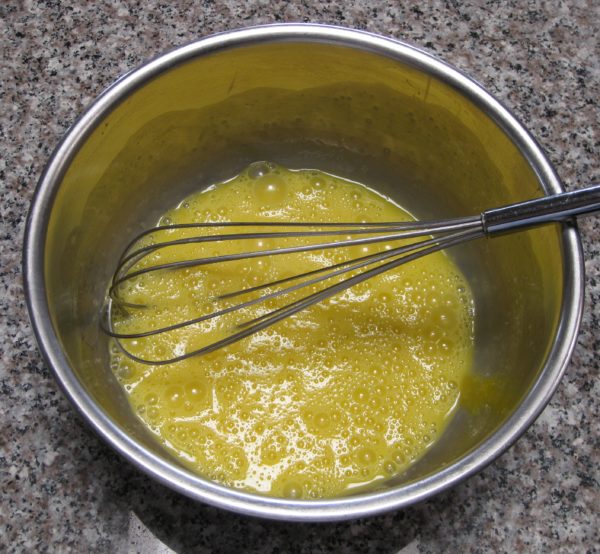
  2. Whisk the eggs to combine.
  3. Whisk in sugar, salt and lemon zest until light yellow.
  4. Whisk in flour and baking powder.
  5. Add strained lemon juice and mix well.
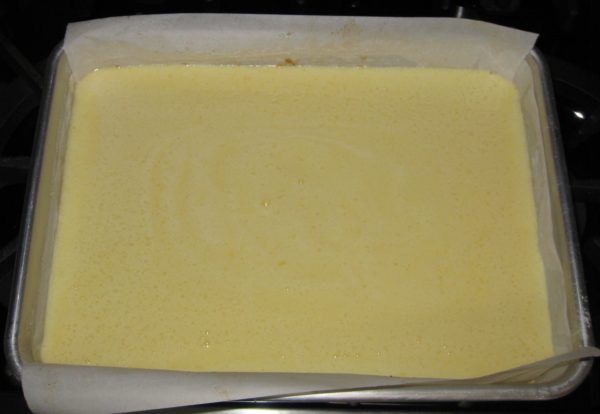
  6. Pour over the warm crust.
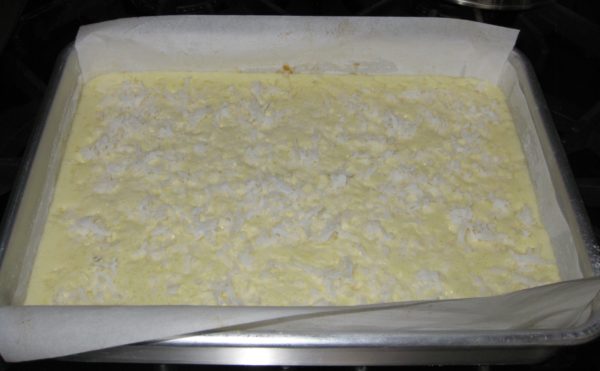
  7. Sprinkle with coconut, if using.
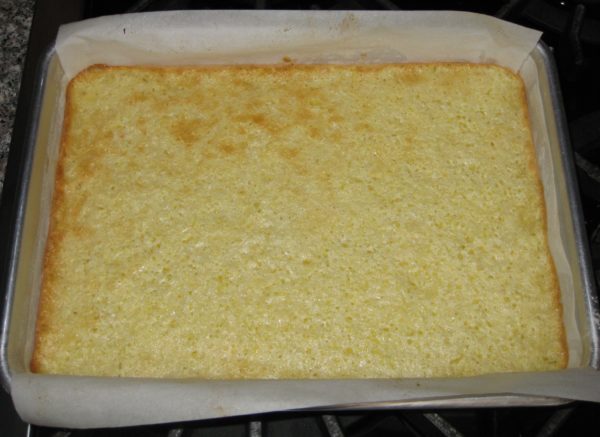
  8. Bake at 350°F for 20-25 minutes, until golden brown.
  9. Cool on a rack to room temperature.
  10. Cover the baking pan and refrigerate overnight or until cold and firm.
  11. Using the edges of the parchment, remove the cooled pastry from the pan.
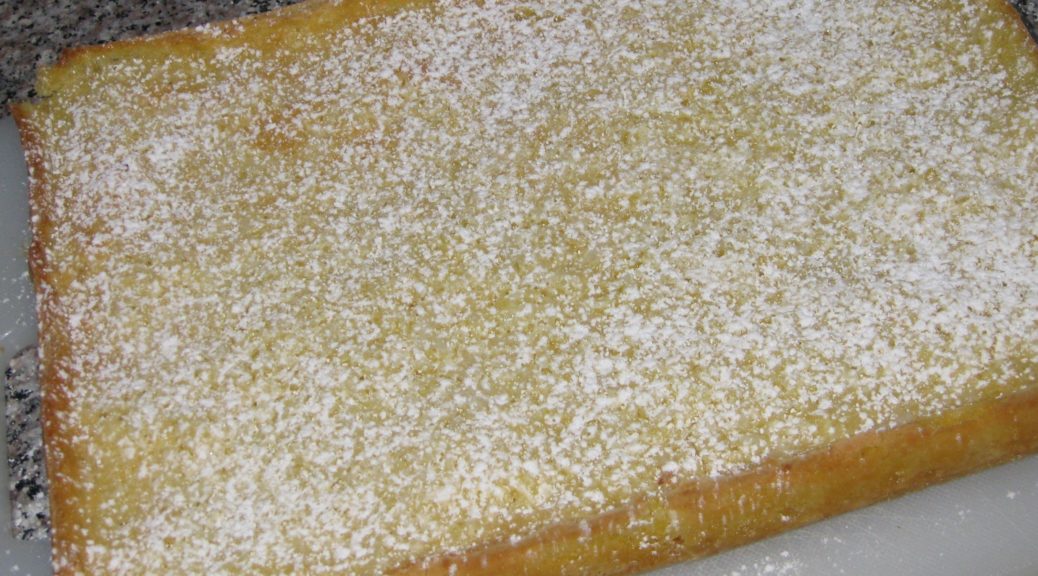
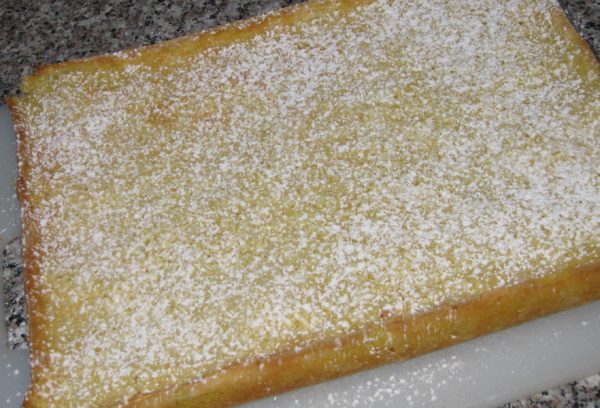
  12. Cut into squares. Dust with powdered sugar just before serving.
Recipe Notes

Copyright © 2018 by Villa Sentieri, LLC. All rights reserved.
Share this Recipe

Penne with Roasted Garlic Cream Sauce

May 14, 2018

I apologize!

In my inaugural messages, I clearly stated that I would publish traditional recipes, many (though not all) of them Italian, but with the emphasis on traditional.

I get really stoked by the idea of preserving traditional recipes in written form (even if it’s a bunch of zeroes and ones on a cloud server somewhere)!

I also truly appreciate new and innovative dishes…especially cakes, for some reason.  But my very strong preference if I’m going to work on perfecting and publishing a recipe is to focus on traditional recipes.  (I’m happy to eat good food of any type, traditional or not, that someone wants to serve me, however.)


Follow us on your social media platform of choice


My editorial calendar for this blog, including what I’ve published and what I currently have planned to publish, numbers 212 recipes.  The number keeps growing.  Most of these recipes are ones I listed (off the top of my head, so to speak) when I was planning the launch of the blog in late 2016.  The list came from simply thinking about my favorite recipes.  As I trawl through my recipe archive periodically, looking for recipes for particular events, or even just dinner, I usually come upon at least a few more recipes that get added to the list.

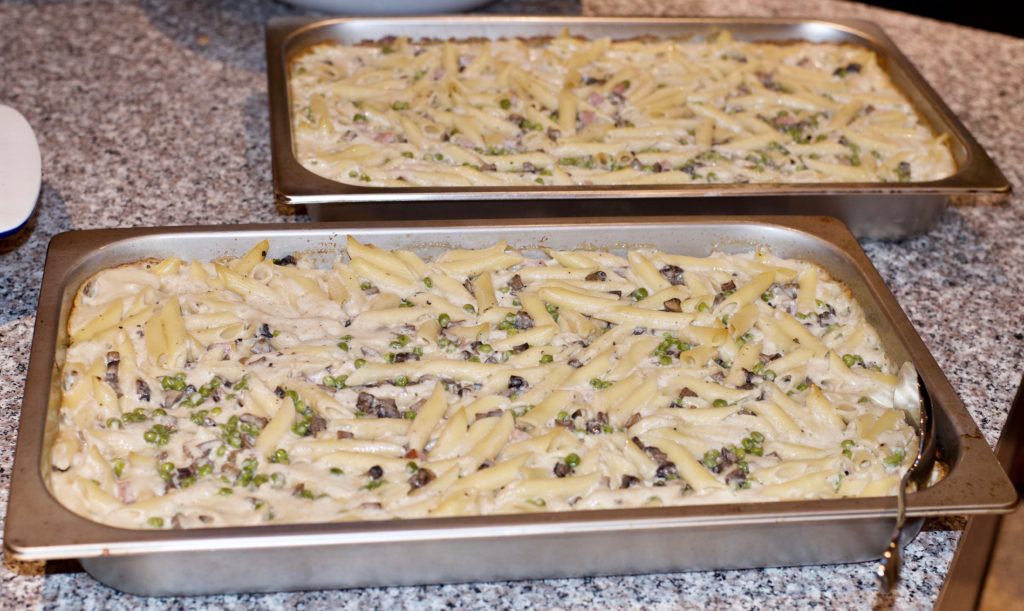
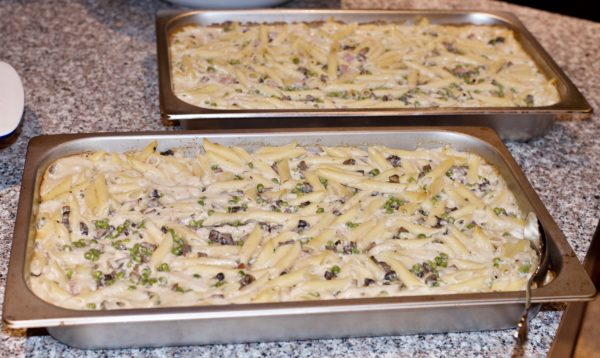
Two hotel pans hold a double batch, 4 pounds of penne, for a summer dinner party for the family from Tuscany

Windows says I have 4133 recipes saved in my recipe directory.  That does not count the hundreds of hand-written ones that I’ve not scanned in yet.

But I have to admit, not EVERYTHING I make is traditional.  I have this killer salmon recipe that I got from the New York Times that is now a regular on our table.  Almost any vegetable recipe by David Tanis is a winner in my book, well really ANY recipe by David Tanis, but he has a way with vegetables.  He has many make-ahead-and-heat-up-in-the-oven options that remove a lot of last minute work when putting dinner on the table, whether it be for 2 or 20!

In my defense, these are recipes that I think will become classics in a few decades just as many of the recipes that I started cooking 45 years ago in college have become classics for me.  I think if a recipe still tastes good after half a century it can be considered a classic…which is getting pretty close to traditional.

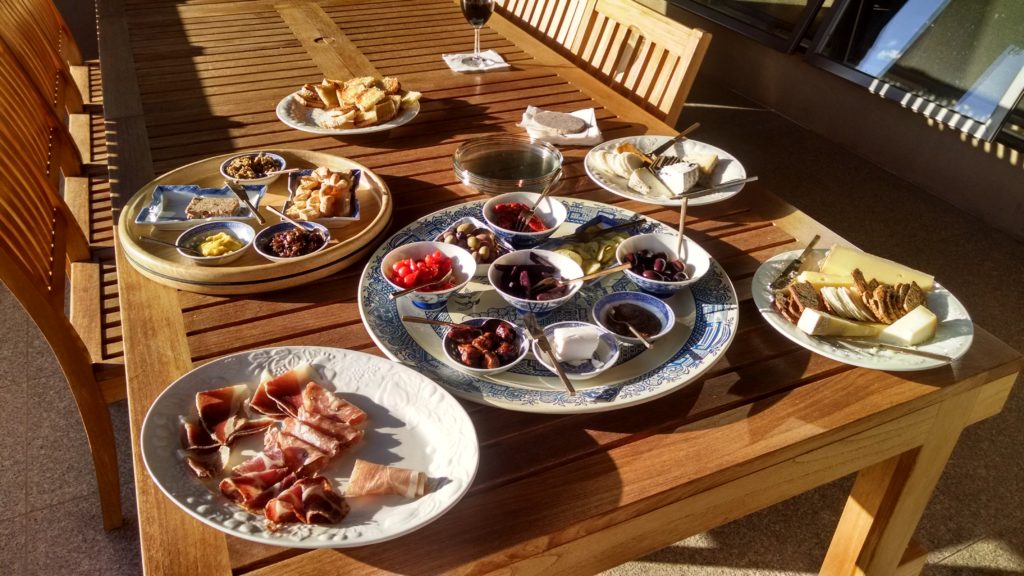
This is just a portion of the antipasto for the dinner for our Tuscan relatives

Think about all the things you ate 50 years ago that you don’t make any more, like fried bologna simmered in ketchup!  That actually is something that my very traditional mother put on the table in the 1960s!  Granted, it was a main course (and I use the term lightly) that could be whipped up in under half an hour after a day’s work.  The truth is, I actually liked it at the time.

I differentiate the fried bologna category of foods that I don’t make any more from the fried salami category of foods that I still love but that just have fallen off my rotation.  Have you ever had a sandwich of pan-fried salami?  If not, give it a try.  (Thinly slice the salami.  Make a cut from the middle to one edge, like the first cut of a pie, to reduce puckering.  Cook in a skillet over medium heat till lightly browned on each side.  No oil needed.  Pile on bread.  Enjoy…dripping fat and all!)


Join our mailing list and you’ll never miss a recipe again!


So why the apologia?

Today’s recipe isn’t traditional.  I developed it about four years ago for dinner for a large group of people.  It was such a hit, that I kept making it.  I even made it last summer for a dinner party for the family from Tuscany!  So, while it’s not really traditional (which I take to mean something with a cultural history, something that individuals from a particular culture and location make or made on a regular basis), it has a very traditional FLAVOR.

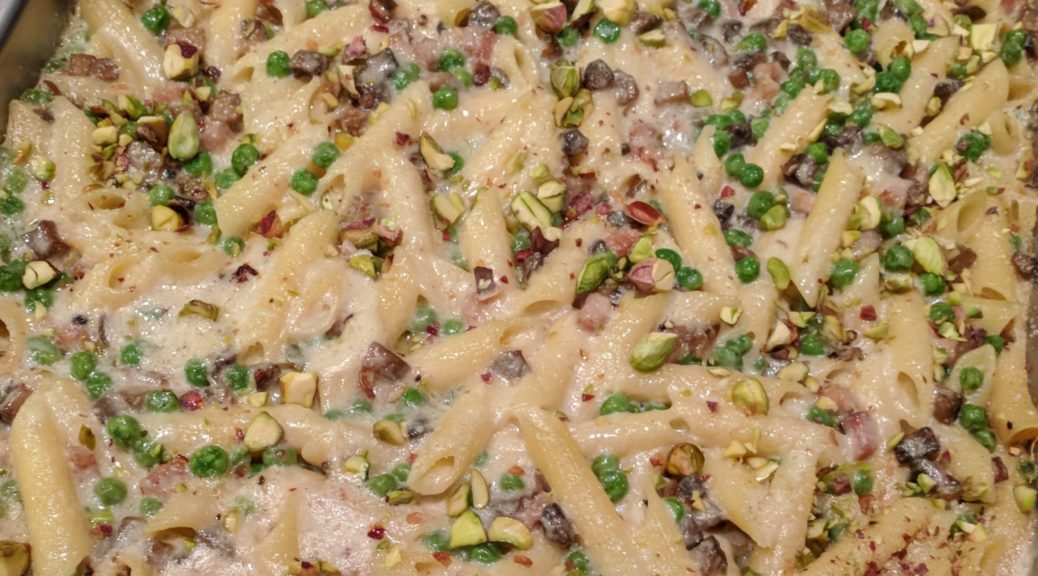
I made this penne for my father-in-law’s birthday party this past January. Everyone had clean plates!

In my mind it’s not a REAL (i.e. traditional) dish because I made it up.  On the other hand, the flavor profile makes it fit into an established canon of northern Italian food.  Italians would recognize it as Italian food, just not traditional Italian food.

Because it isn’t traditional, I hadn’t planned on publishing it.  I got a number of requests for the recipe after I mentioned it in one of my emails and decided that I should reconsider my initial decision.  There aren’t many photographs but the steps are not really complicated.  I know you can do it without all the usual photos.

Who knows, maybe in another 45 years it’ll become a classic!

Print Recipe
Penne with Roasted Garlic Cream Sauce
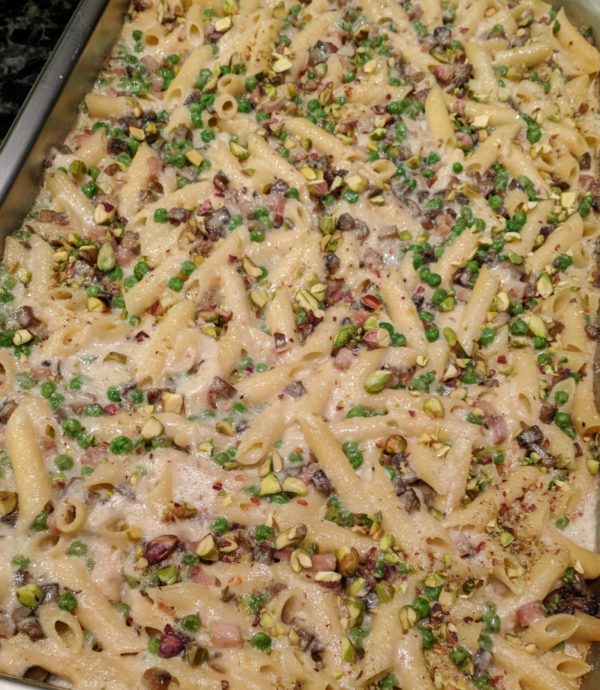
This takes some time to put together but once it’s assembled you can spend time with your guests while it cooks. The sauce has a luxurious amount of butter, about twice what would typically be used based on the amount of flour. This improves the flavor and mouth-feel of the sauce. Because I originally created this dish for an event in Alamogordo, New Mexico, I topped it with pistachios which are grown there. Chopped walnuts or whole pine nuts could be substituted. If you want to prepare the dish in advance, be sure to cool the pasta in a bowl of ice water. Mix the cooled pasta with cold white sauce and the other ingredients. Pour into a baking dish, cover tightly, and refrigerate. Allow the covered dish to sit at room temperature 60-90 minutes before baking.
Votes: 0
Rating: 0
You:
Rate this recipe!
Prep Time 2 hours
Cook Time 2 hours
Passive Time 2 hours
Servings
people
Ingredients
Balsamella (White Sauce)
Final Assembly
Prep Time 2 hours
Cook Time 2 hours
Passive Time 2 hours
Servings
people
Ingredients
Balsamella (White Sauce)
Final Assembly
Votes: 0
Rating: 0
You:
Rate this recipe!
Instructions
Balsamella (White Sauce)
  1. Put the garlic in a single layer in a small oven-proof dish with a tight-fitting lid. Alternatively, put the garlic on a sheet of heavy-duty aluminum foil.
  2. Sprinkle the garlic with olive oil.
  3. Put the lid on the dish, or fold up and seal the aluminum foil.
  4. Roast the garlic at 300°F until soft and golden brown, approximately 45 minutes, stirring occasionally.
  5. Put the garlic and any olive oil you can scrape out of the dish into a blender jar.
  6. Add 1 cup of the milk.
  7. Puree the garlic and milk. Reserve.
  8. Warm the remaining milk in a heavy-bottomed saucepan.
  9. Melt the butter in another heavy-bottomed saucepan over medium heat. Stir the flour into the butter.
  10. Cook for a few minutes on medium heat but do not allow flour to color.
  11. Stir in the warm milk, one ladleful at a time, incorporating well after each addition to avoid lumps.
  12. After about half the warm milk has been incorporated, add the pureed garlic mixture.
  13. Use some of the warm milk to rinse out the blender jar and add it to the pot. Stir well.
  14. Add the remaining milk to the pot along with the bay leaves, rosemary sprigs, and lemon zest.
  15. Bring to a boil over medium high heat stirring (nearly) constantly and cook until the sauce reaches the thickness of heavy cream, approximately 5 minutes.
  16. Strain the white sauce through a fine-mesh sieve.
  17. If not using the sauce immediately, cover it with plastic wrap, putting the plastic directly on the surface to prevent the formation of a skin, and refrigerate. [If you are going to prepare the casserole in advance, make sure the balsamella is cold before combining with the other ingredients.]
Final Assembly
  1. Put the frozen peas in a large sieve. Rinse with cool water to thaw the peas. Allow the peas to drain and completely thaw while proceeding with the recipe.
  2. Heat the olive oil in a large sauté pan over high heat.
  3. When the oil is hot, but not smoking, add the diced mushroom caps. Toss well.
  4. When the mushrooms have absorbed the oil, add 1 teaspoon of fine salt. Mix well.
  5. Turn the heat to medium low until the mushrooms begin to sweat.
  6. Turn the heat to high and continue sautéing until the liquid evaporates.
  7. Continue to cook until the mushroom pieces are browned in places.
  8. Season with black pepper. Add ham and cook 2-3 minutes.
  9. Remove from the heat and reserve.
  10. Bring a large pot of heavily salted water to a rolling boil. Add the pasta.
  11. Boil until the pasta is partially cooked. It should still be a little crunchy on the inside.
  12. If you are going to cook the casserole immediately, drain the pasta but do not rinse. If you are going to assemble the casserole in advance, drain the pasta and chill it in a bowl of ice water. When cold, drain well.
  13. Combine pasta, peas, mushroom and ham mixture, and balsamella. Mix well.
  14. Pour into a large buttered casserole. For this quantity, I use a full-size steam-table tray, also called a “hotel pan.”
  15. Put a sheet of parchment on top then cover the pan tightly with heavy-duty aluminum foil. You can skip the parchment if you are going to cook the casserole immediately. Food should not stay in extended contact with aluminum, hence the parchment paper if the dish is being assembled in advance.
  16. Either refrigerate or bake at 350°F until bubbly. Baking time will depend on whether the ingredients are hot or previously refrigerated and brought to room temperature, 1 ½ to 2 hours.
  17. Remove the foil and parchment. Sprinkle the top with Parmesan cheese and nuts.
  18. Place under the broiler, or on the top rack of an oven heated to 500°F, until the top is golden brown.
  19. Allow the casserole to rest at least 15 minutes before serving.
Recipe Notes

Copyright © 2018 by VillaSentieri.com. All rights reserved.
Share this Recipe

Torta di Riso (Italian Rice Tart)

January 31, 2018

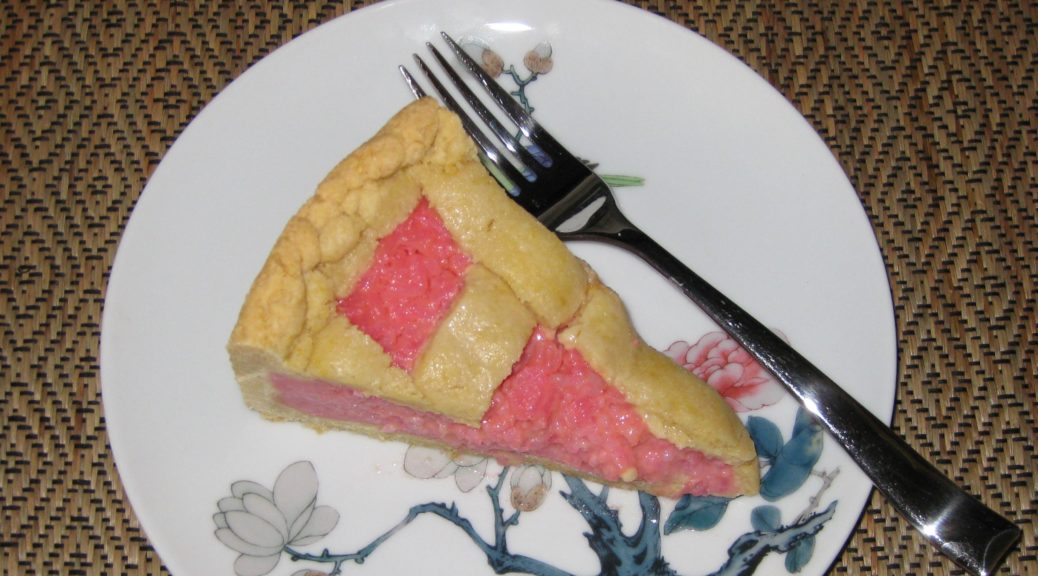
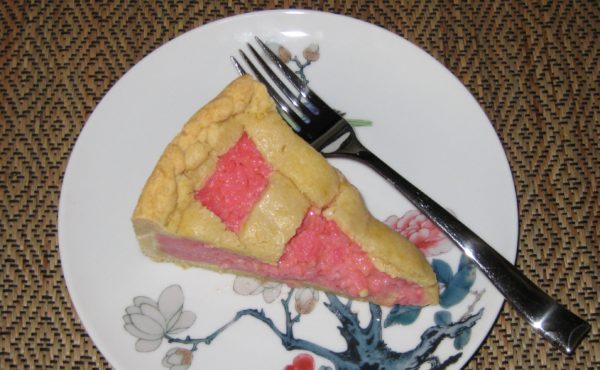
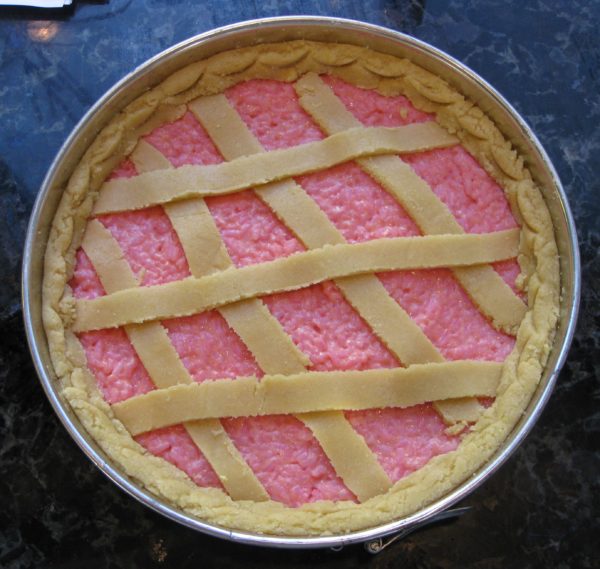
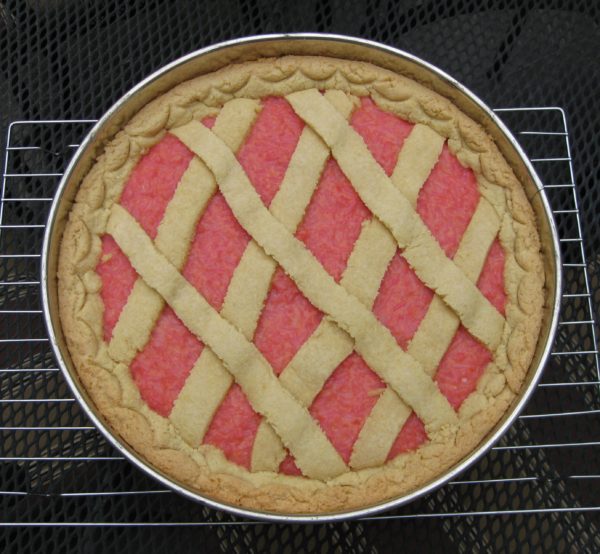
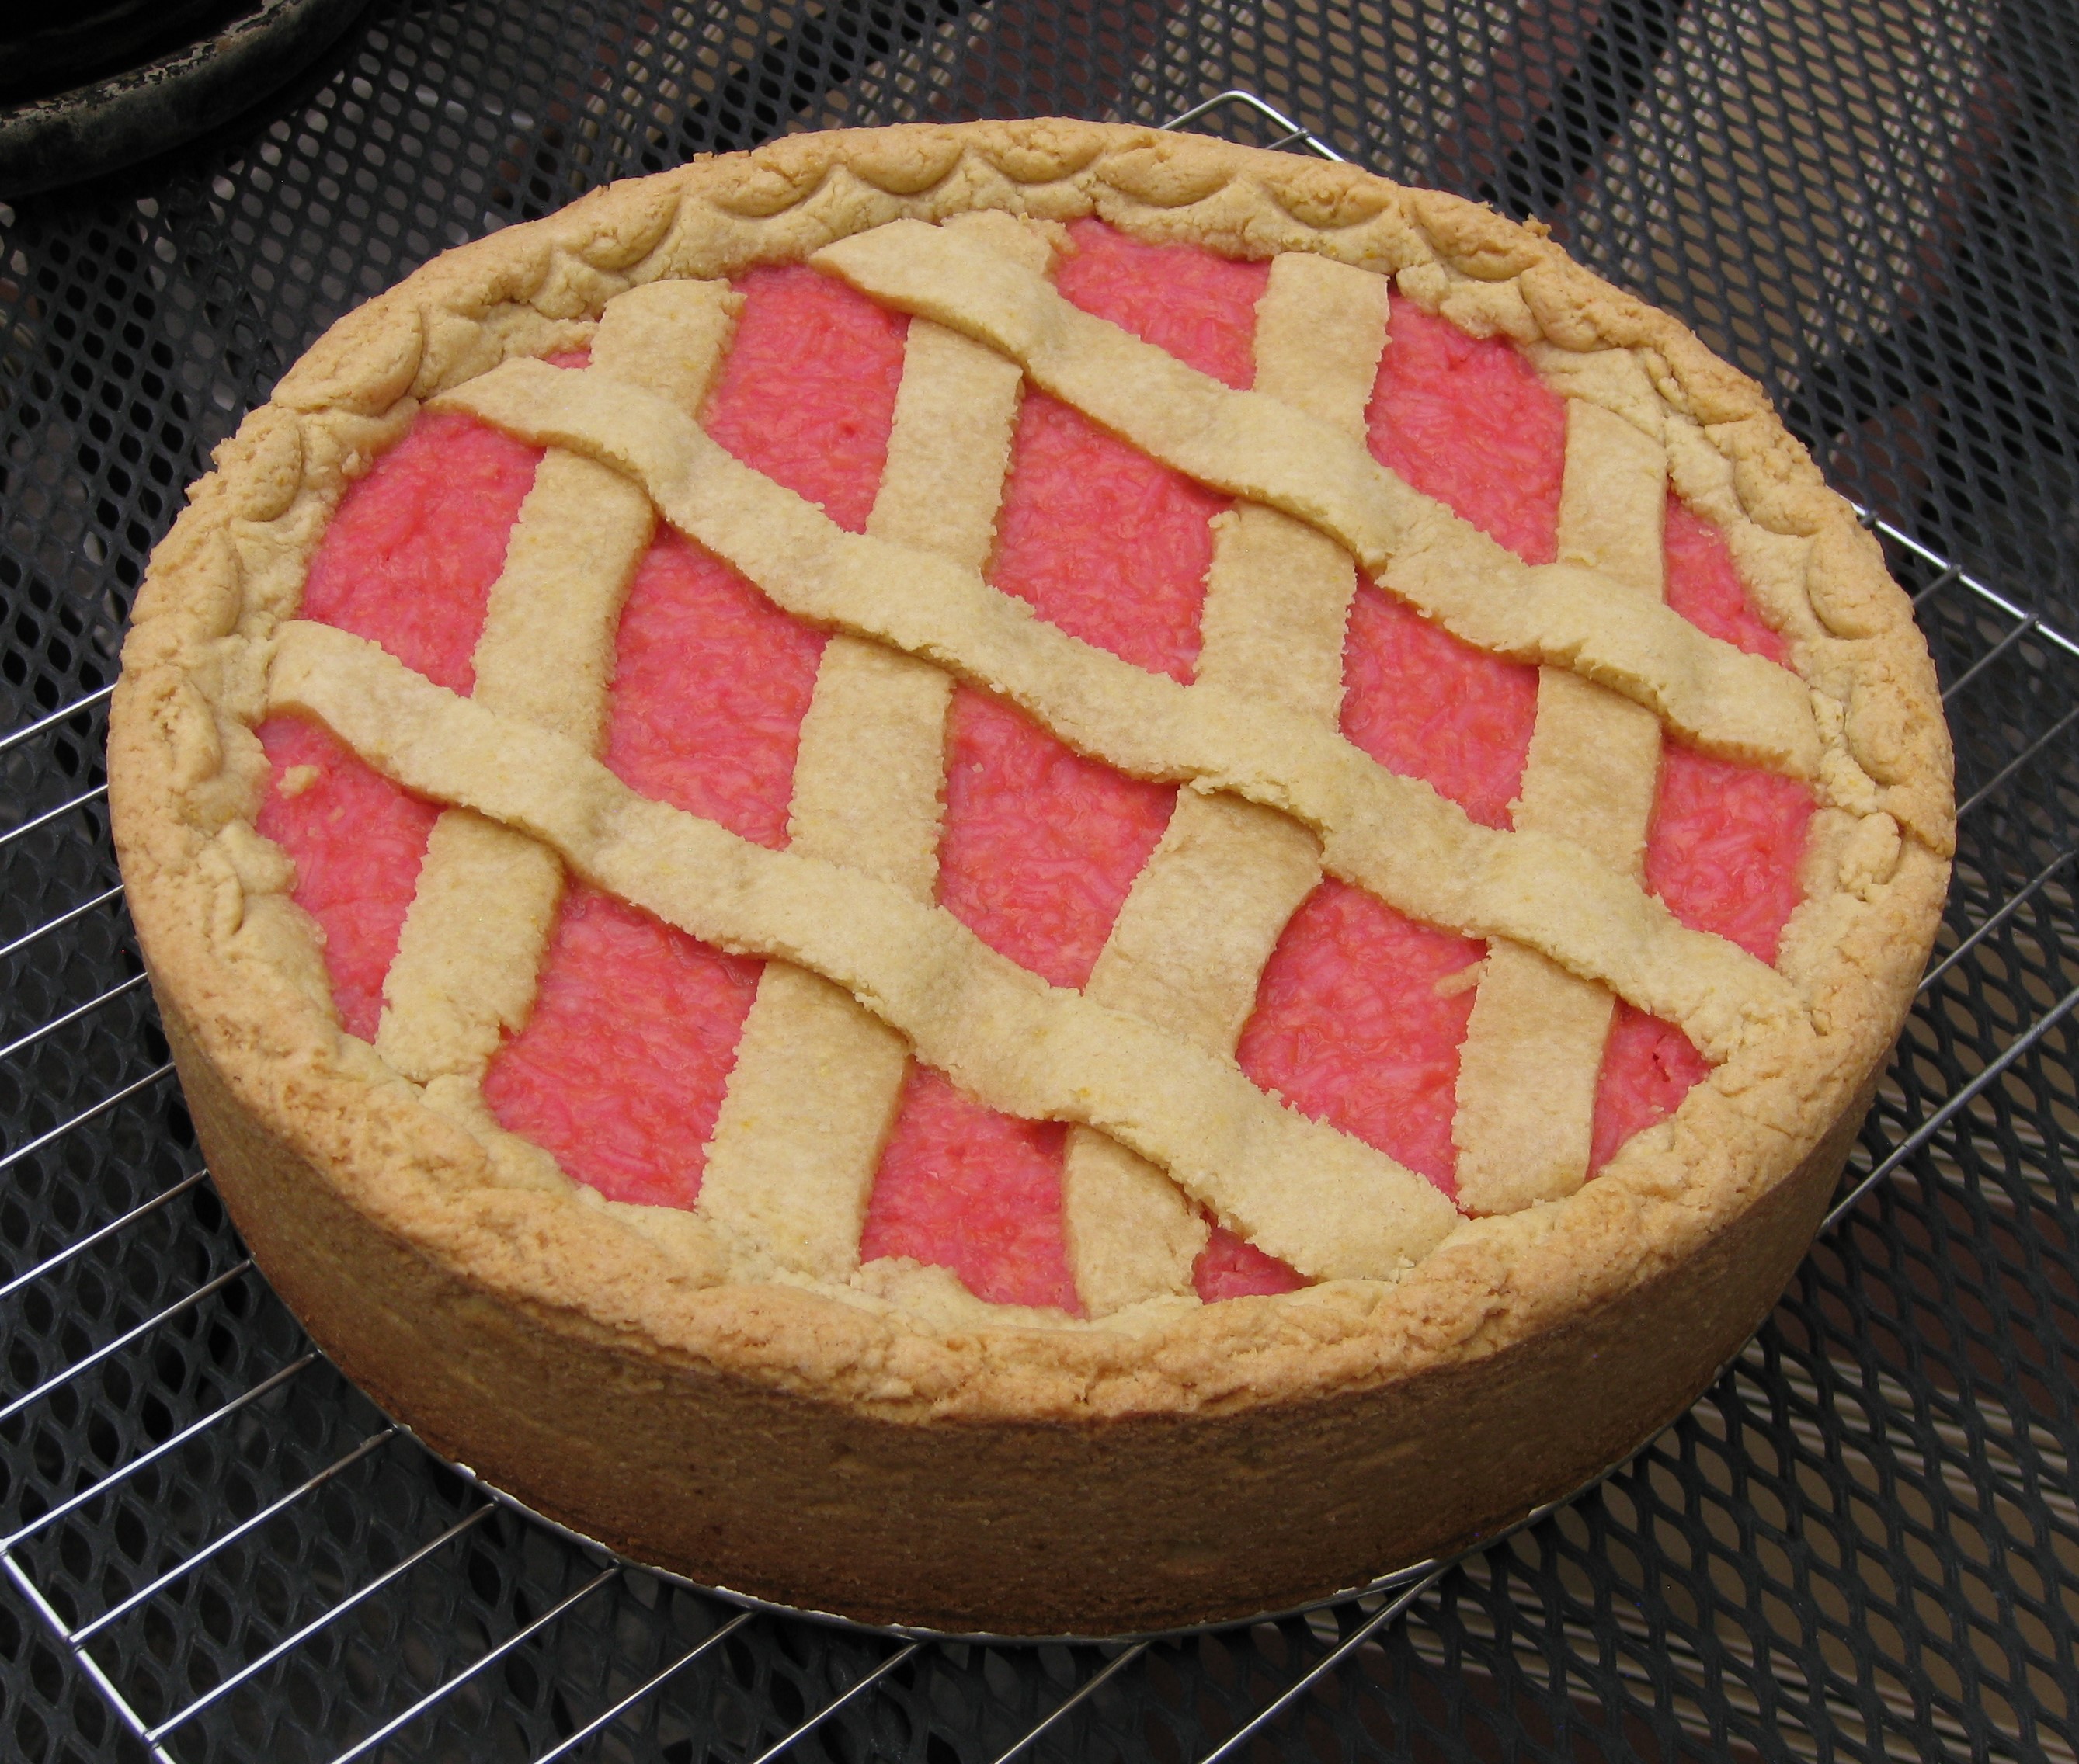
Torta di Riso is an Italian specialty.  It is basically a rice pudding baked inside of a pastry crust; a Rice Tart, so to speak.

I first had Torta di Riso more than 20 years ago while visiting Italy with my husband and his parents.

We ate meals at the homes of many relatives.  I often arrived with a spiral-bound notebook to jot down the inevitable recipes that would be discussed around the table or the recipes I begged for after being served something wonderful.  That notebook is a mashup of American and Metric measures and English and Italian words for ingredients.  It became a bible of sorts for recreating many of the dishes I ate on that trip.


Click HERE to join our mailing list and you’ll never miss a recipe again!


My father-in-law’s Zia (Aunt) Mery made the first Torta di Riso that I ever tasted.  Her recipe is below (adapted for American measures).

After having it at Zio (Uncle) Beppe and Zia Mery’s house, I started noticing Torta di Riso in many places in Tuscany.

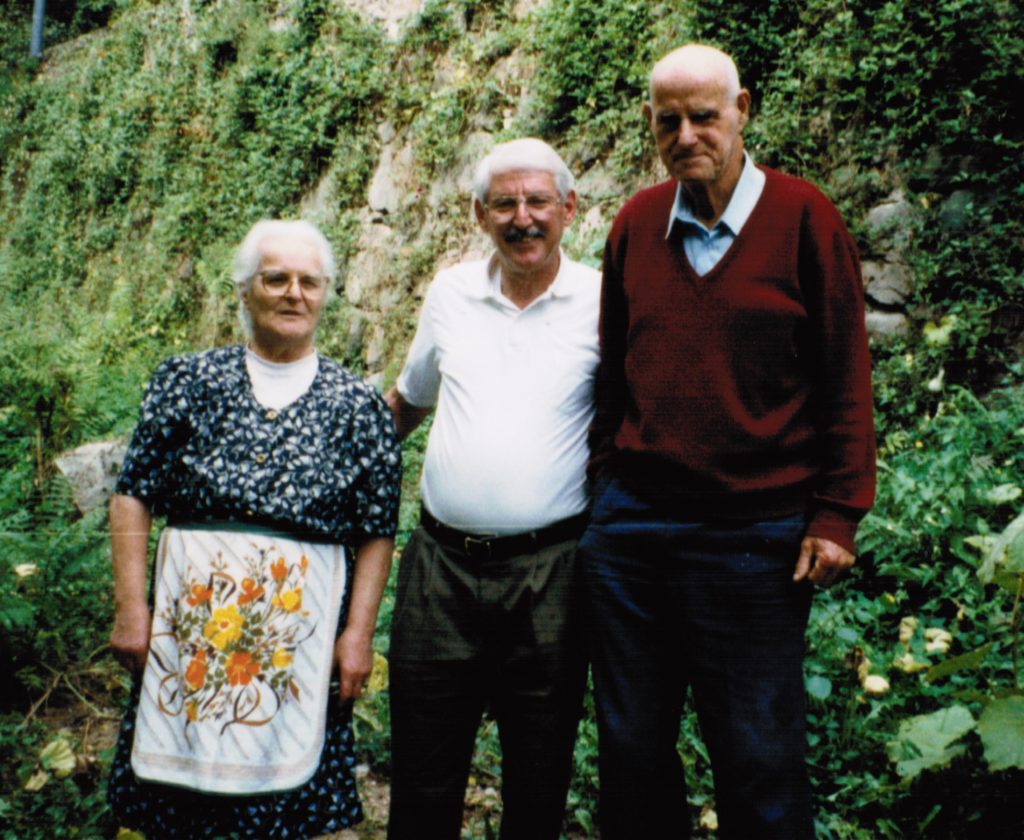
My father-in-law with his Uncle Beppe and Aunt Mery, from whom this recipe for Torta di Riso originated in their garden in Tuscany, 1994.

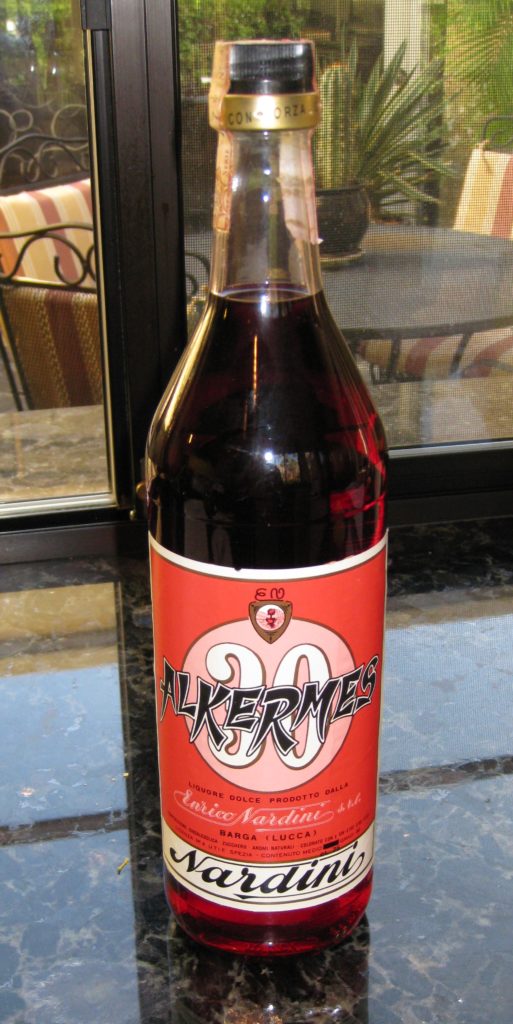
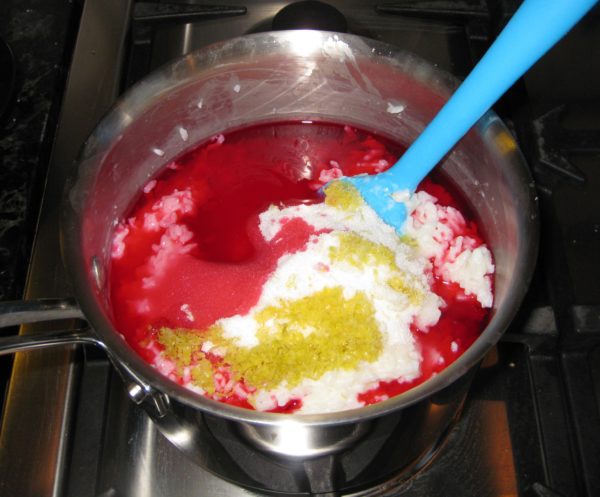
Alkermes liqueur originated in Tuscany so it is particularly appropriate to use it as the liqueur in Torta di Riso.  Alkermes is nearly impossible to find in the United States, however.  One can make a perfectly traditional Torta di Riso using rum in place of Alkermes but the resulting confection won’t be pink.

According to CooksInfo, “Alchermes was invented in the Frati Convent at Santa Maria Novella in Florence. Its making was kept secret, but the recipe was reputedly stolen by spies from the nearby city of Siena, which Florence was often at war with.”


Follow us on your social media platform of choice


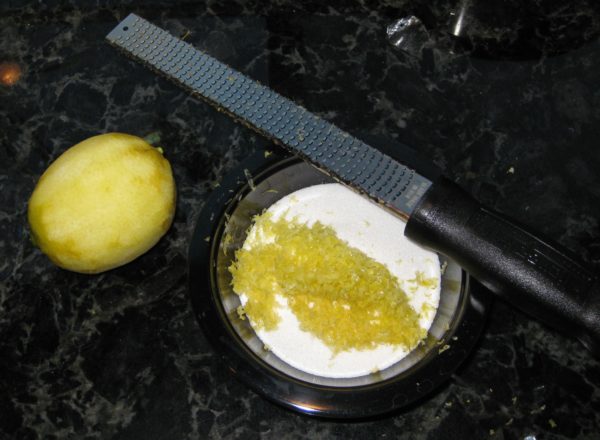
Recipes for alkermes (also spelled alchermes) are closely guarded but the process basically involves infusing alcohol with spices and flavorings like cinnamon, cloves, vanilla, nutmeg, mace, cardamom, star anise, rosewater, and orange zest.  The red color comes from cochineal, an insect that is the foundation for natural red food coloring.  The resulting infused alcohol is sweetened and diluted with water.

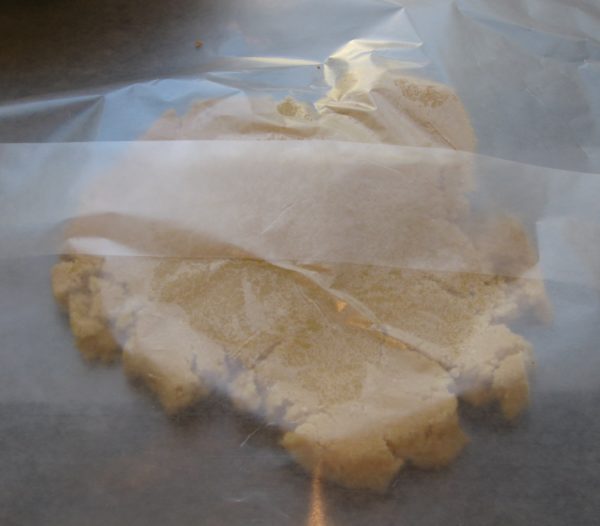
The pastry crust is pasta frolla, a slightly sweetened pastry, leavened with baking powder, and often flavored with vanilla and lemon zest.  This is Mery’s recipe for pasta frolla but I also have one from Zia Fidalma that makes about half the quantity.

Torta di Riso was a big hit at my father-in-law’s birthday dinner last week. So were the cocktails, wine, and champagne!

If you don’t have access to Alkermes, you can use rum.  In fact, torta di riso is not always pink.  Many that I saw in Italy were white.

If you want to try to make your own Alkermes you can find a recipe here.  Amazon even sells the dried cochineal insects that provide the traditional scarlet color.


If you have a favorite family recipe and a bit of a story to tell, please email me at santafecook@villasentieri.com and we can discuss including it in the blog. I am expanding the scope of my blog to include traditional recipes from around the country and around the world. If you haven’t seen Bertha’s Flan or Melinda’s Drunken Prunes, take a look.  They will give you an idea of what I’m looking for.


Print Recipe
Torta di Riso (Italian Rice Tart)
This classic Italian dessert is basically a rice pudding baked inside of a pastry crust. Alkermes is a traditional Tuscan liqueur used in a number of sweets, including torta di riso, for its color and spice-like flavor. If you don’t have Alkermes, use rum. Not all versions of torta di riso are brightly colored. Vanilla powder is a natural vanilla product, not artificial. Use vanilla extract if vanilla powder is not available.
Votes: 0
Rating: 0
You:
Rate this recipe!
Cuisine Italian
Prep Time 30 minutes
Cook Time 75 minutes
Passive Time 30 minutes
Servings
people
Ingredients
Pasta Frolla
Rice
Cuisine Italian
Prep Time 30 minutes
Cook Time 75 minutes
Passive Time 30 minutes
Servings
people
Ingredients
Pasta Frolla
Rice
Votes: 0
Rating: 0
You:
Rate this recipe!
Instructions
Pasta Frolla
  1. Blend the flour, sugar, baking powder, vanilla powder, salt and lemon zest in a food processor until combined.
  2. Add the butter, cut in pieces, and blend till well combined.
  3. Add the eggs and blend till the pastry almost forms a ball.
  4. Remove the pastry from the food processor and use your hands to press everything into a single ball.
  5. Wrap the pastry in waxed paper and refrigerate for an hour before using.
Rice
  1. Wash and drain the rice.
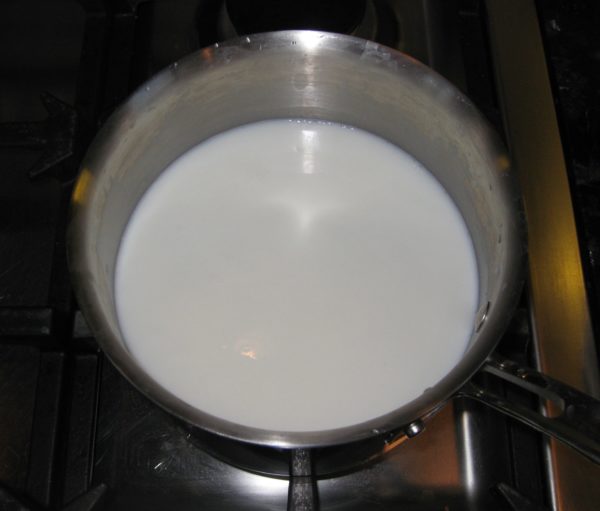
  2. Combine the rice, water and milk in a heavy-bottomed sauce pan.
  3. Bring the rice to a boil.
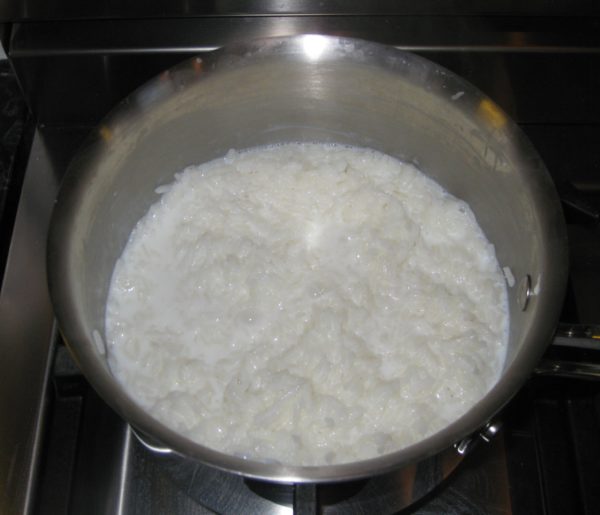
  4. Cover the rice and simmer, stirring frequently, until cooked and the liquid is almost completely absorbed. If the rice does not have the consistency of thick oatmeal, add a bit more milk at the end to make it creamy.
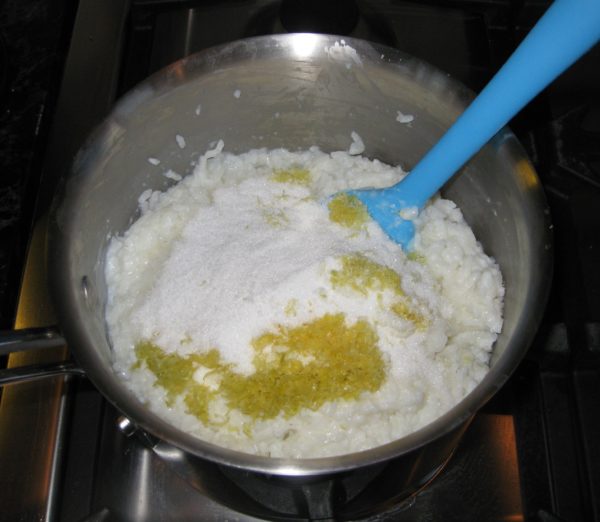
  5. Mix the sugar, lemon zest, and Alkermes and/or rum into the rice.
  6. Pour the rice into a bowl and cool, uncovered, stirring occasionally.
Assembly and Baking
  1. Cut off a small piece of the pastry to make a lattice top and refrigerate.
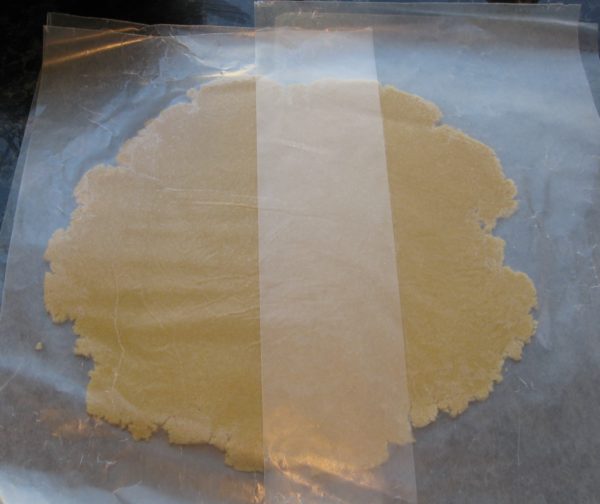
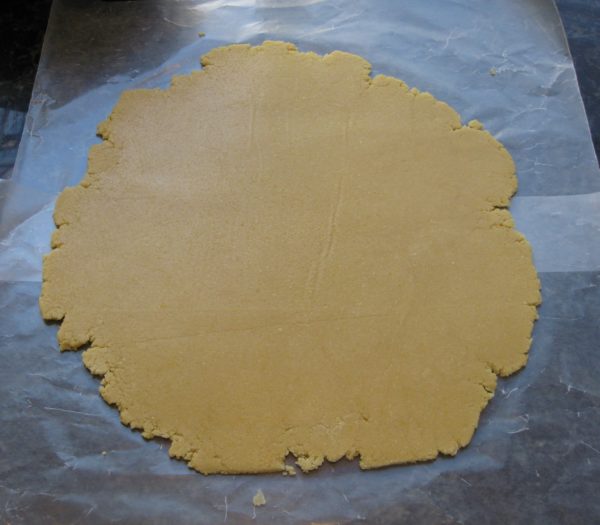
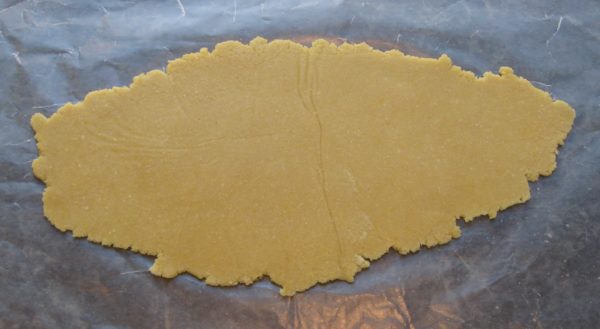
  2. Roll the remaining pastry between waxed paper, turning often, until it is large enough to cover the bottom and sides of a 10 inch springform pan.
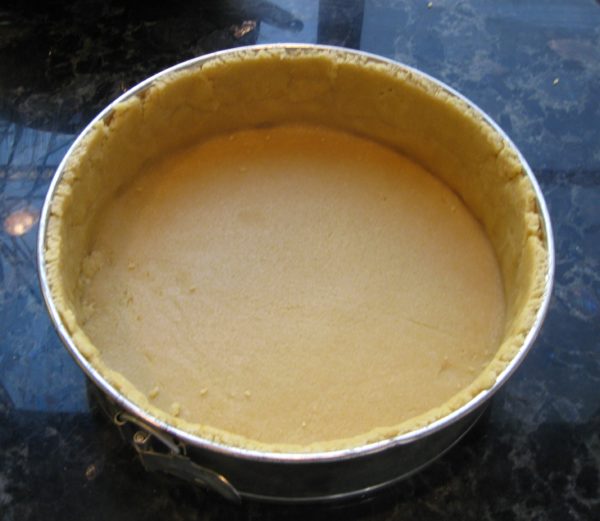
  3. Line a 10" springform pan with the pasta frolla.
  4. Cut the pastry even with the top of the pan. Add the scraps to the pastry you have reserved for the lattice.
  5. Beat the egg and egg yolks to combine.
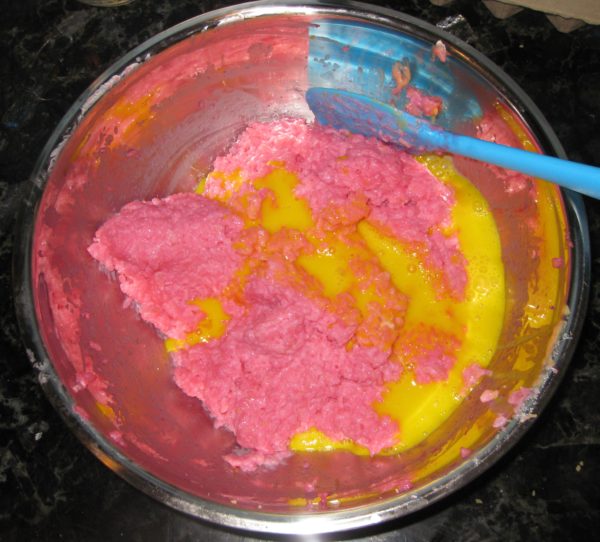
  6. Stir the beaten eggs into the cooled rice.
  7. Pour the rice into the pastry lined pan.
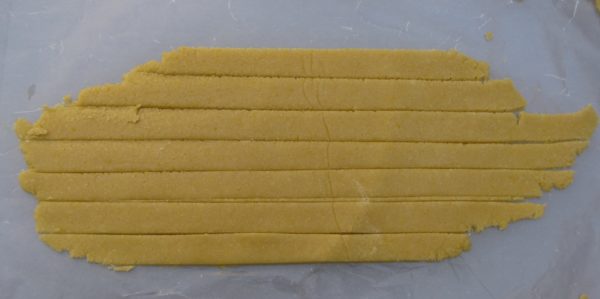
  8. Roll out the pastry reserved for the lattice.
  9. Cut seven or eight strips, approximately 1/2 inch wide.
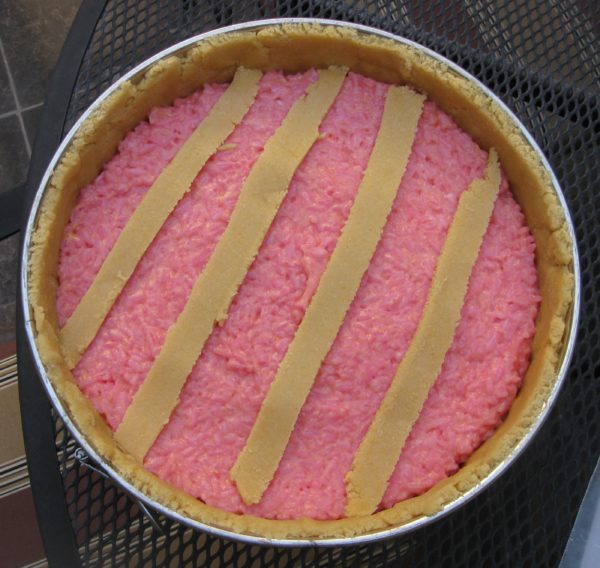
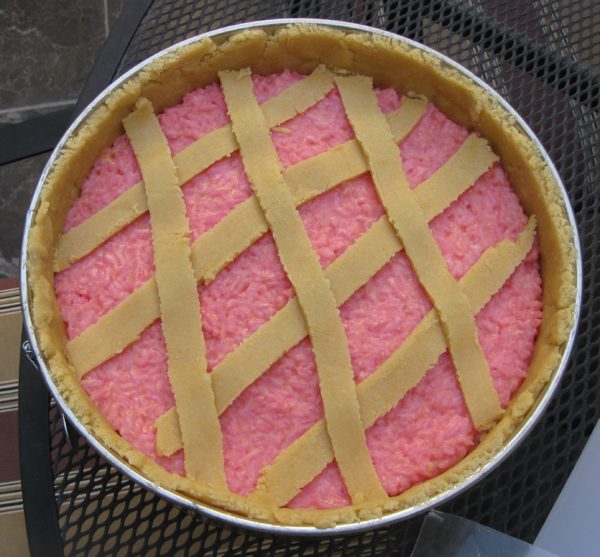
  10. Arrange the strips into a lattice on top of the rice. Cut off the excess.
  11. Roll the pastry lining the sides of the pan down to the top of the rice and form a decorative edge.
  12. Bake at 350°F until the crust is lightly browned and the rice is barely jiggley in the center, approximately 30-45 minutes.
  13. Cool on a rack for approximately 20 minutes.
  14. Remove the side of the pan and cool completely.
Recipe Notes

Copyright © 2018 by VillaSentieri.com. All rights reserved.
Share this Recipe

Aunt Margie’s Colored Cookies

December 15, 2017

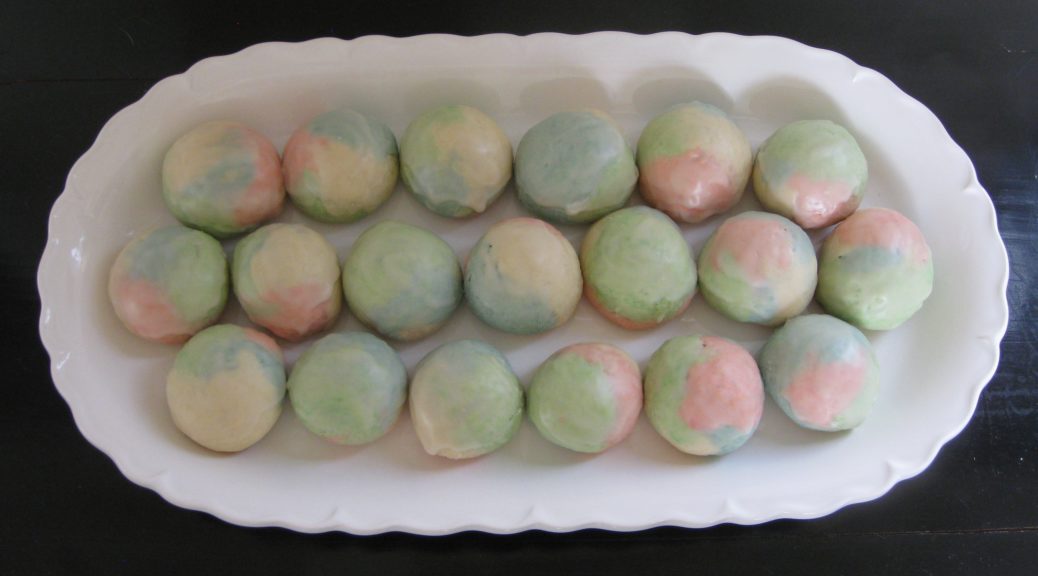
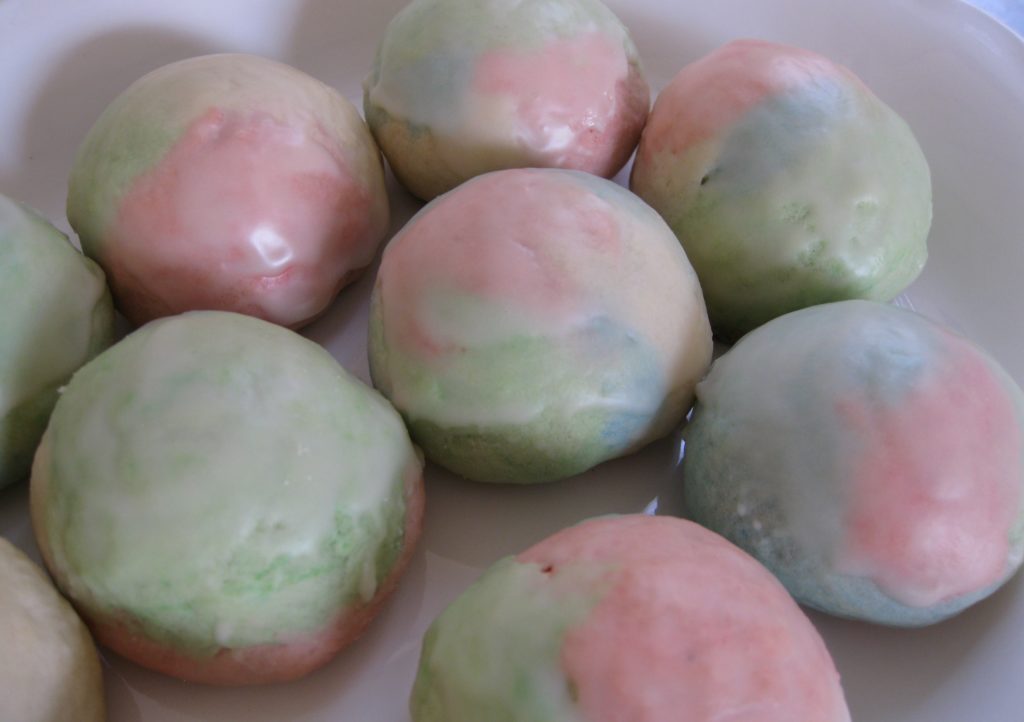
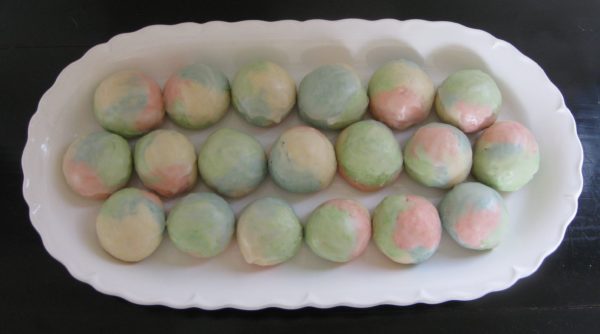
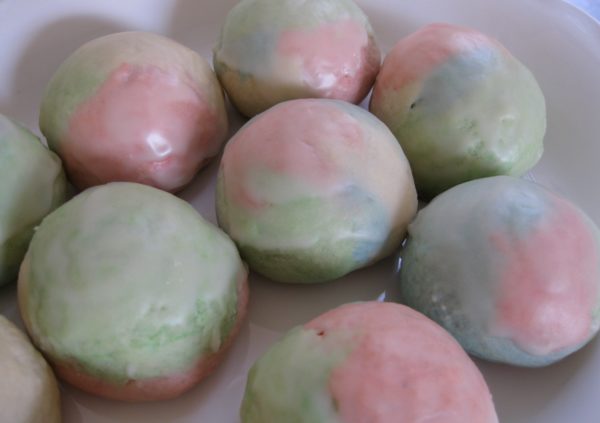
We called them “Colored Cookies.”

I’ve never seen them anywhere but in my hometown of Johnstown, Pennsylvania though I can’t believe they are unique to there.

Truth be told, I don’t think I’ve ever had them made by anyone besides Aunt Margie until I made them from her recipe.

Aunt Margie in 2004 with me on an architectural tour of Chicago by boat

Many of the Italian and Italian-American cookies that I grew up with were cake-like. A stiff batter of flour, sugar, eggs, and fat (lard and butter were the most common), leavened with baking powder, flavored in some way (vanilla, lemon, chocolate and spice, sesame, and so forth), rolled or shaped and baked, and usually iced with a thin powdered sugar-milk icing that would harden to a glaze.


Follow us on your social media platform of choice


Totos are a perfect example of the chocolate and spice variety.

Anginetti (Genets, as we called them in Italian-American-dialect-slang) also referred to as Lemon Knots, are lemon flavored. Although I’m devoting most of December to posting Italian-American pastry recipes, Anginetti won’t appear until next year.

Sesame Seed Cookies (which certain members of my family like to dip in wine) have no flavoring other than the sesame seeds they are rolled in before baking. These are coming next December, too.


Click HERE to join our mailing list and you’ll never miss a recipe again!


Colored Cookies are flavored with vanilla despite the riot of color that might suggest otherwise. There was a brief period of time, however, when Aunt Margie got creative (read iconoclastic) and used coconut extract instead of vanilla. Coconut and almond are my two favorite flavors when it comes to sweets, leagues beyond chocolate and vanilla as far as I’m concerned, but coconut-flavored colored cookies strayed too far from tradition for my taste. It didn’t keep me from eating them, however!

Colored Cookies

This is Aunt Margie’s original recipe. And if you flavor them with anything other than vanilla, please don’t tell me…just kidding!


If you have a favorite family recipe and a bit of a story to tell, please email me at santafecook@villasentieri.com and we can discuss it. I am expanding the scope of my blog to include traditional recipes from around the country and around the world. If you haven’t seen Bertha’s Flan, it will give you an idea of what I’m looking for.


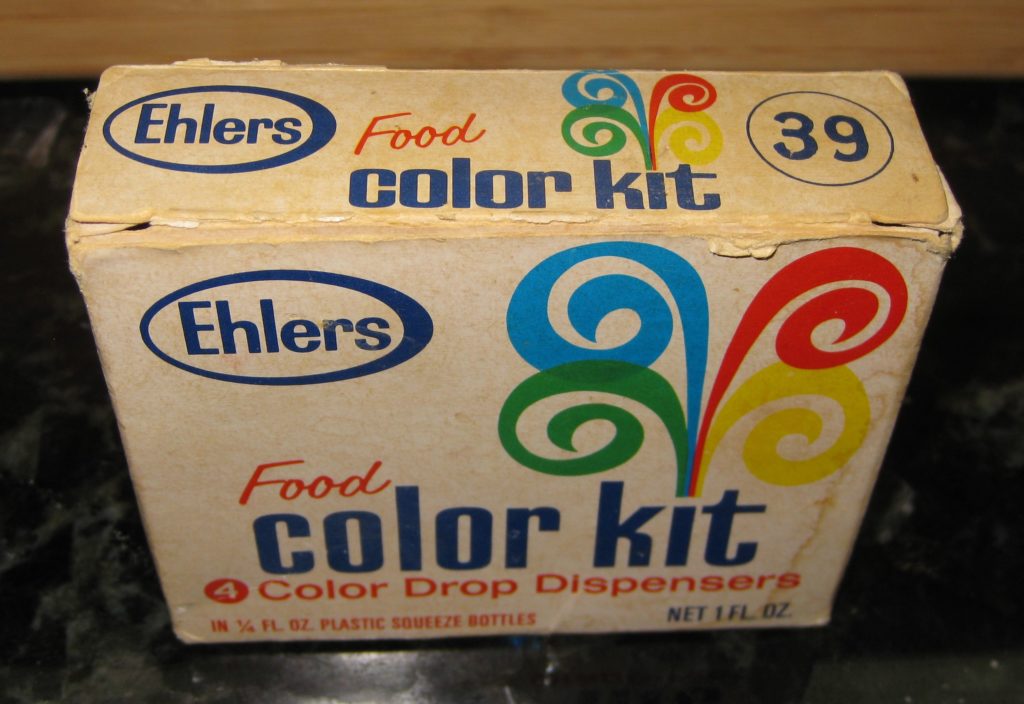
I don’t use a lot of food coloring.  The only other exception in recent memory (other than these cookies) was Jim’s Hawaiian Guava Cake.  Take a look at my box of food coloring.  The number 39 is the price:  39 cents!  I’ve had it a long time, though I used up the red making the Guava Cake.


Print Recipe
Aunt Margie's Colored Cookies
Use a very good quality vanilla extract, not artificial vanilla flavoring, as that is the predominant flavor. The best way to mix these is using your hand. If you don’t start there, you’ll end up there so just use your hand from the beginning. Although Aunt Margie’s original instructions were to ice the cookies while still warm, that is very difficult to accomplish without assistance. You can ice them after you have baked all of them with no noticeable difference. It is best to use medium-weight shiny aluminum cookie sheets. Dark metal makes the bottoms too dark before the cookies have completely cooked. You can divide the dough into five parts and color the last one yellow. If you do so, you will need to use slightly less of each dough to make a cookie.
Votes: 8
Rating: 4.25
You:
Rate this recipe!
Cuisine Italian
Prep Time 1 hour
Cook Time 2 hours
Servings
dozen
Ingredients
Cookies
Icing
Cuisine Italian
Prep Time 1 hour
Cook Time 2 hours
Servings
dozen
Ingredients
Cookies
Icing
Votes: 8
Rating: 4.25
You:
Rate this recipe!
Instructions
Cookies
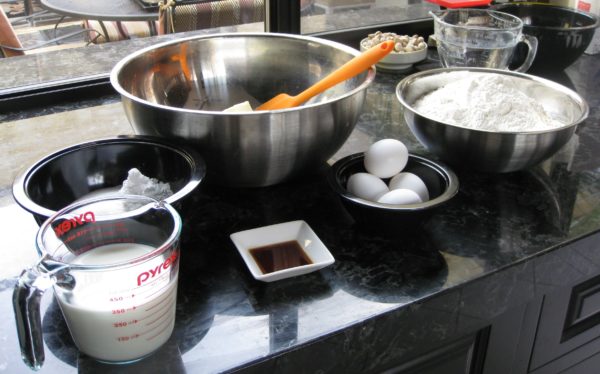
  1. Measure all the ingredients.
  2. Combine butter and sugar.
  3. Mix well using your hands.
  4. Add eggs one at a time mixing after each.
  5. Mix in salt and baking powder then add milk and vanilla.
  6. Combine well.
  7. Add flour and mix until a dough forms.
  8. Divide dough into four parts.
  9. Leave one part of dough white.
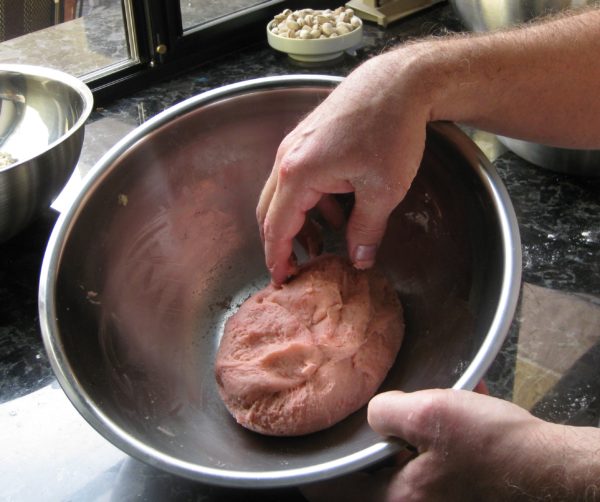
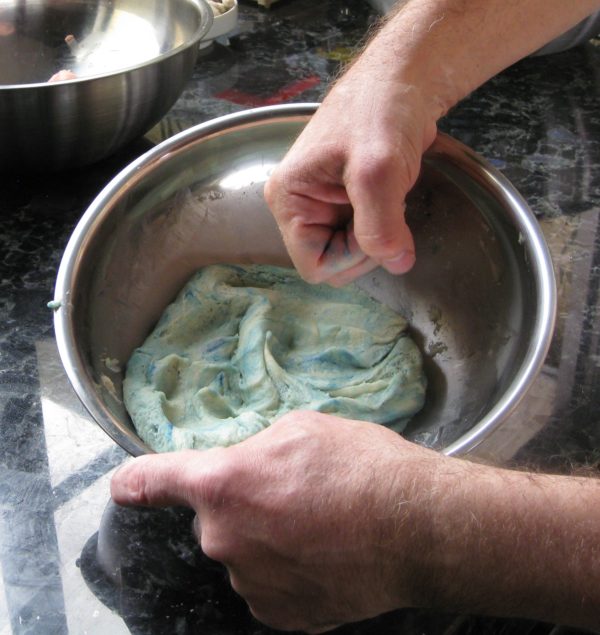
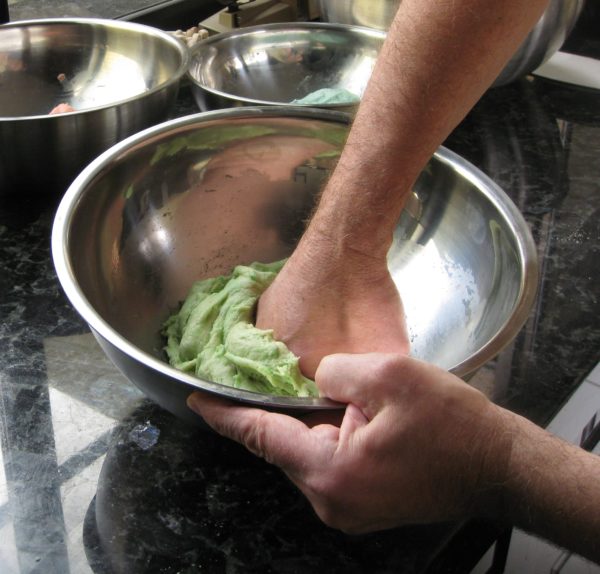
  10. Color the others pink, blue, and green.
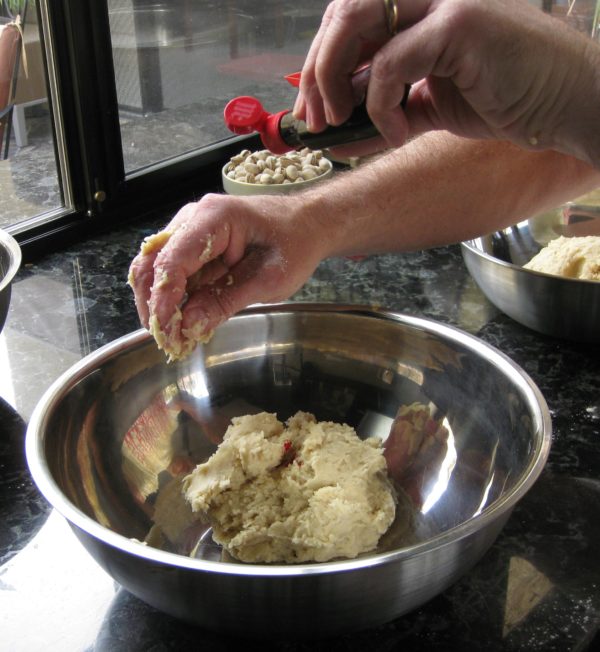
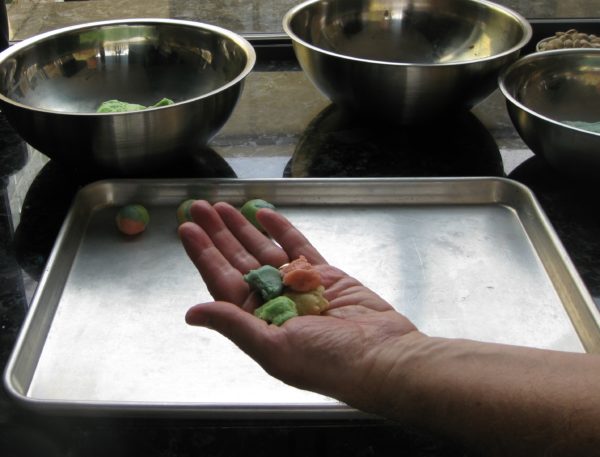
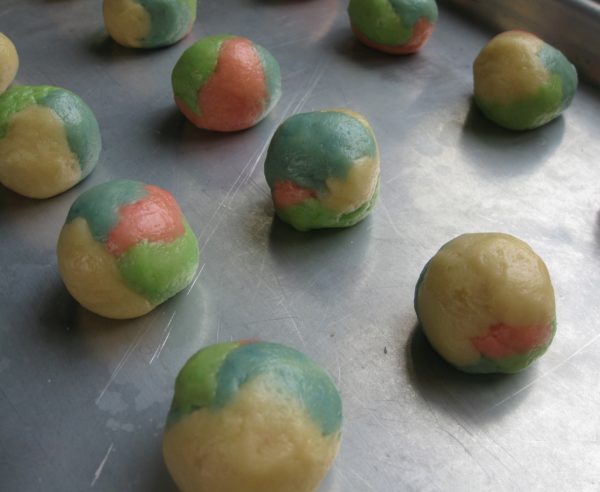
  11. Take approximately 1 teaspoon of each dough and roll into a ball the “size of a walnut” according to Aunt Margie’s recipe. You will need to apply a bit of pressure, without smashing the colors together, to be sure that the different colored doughs have joined into one cookie. If not, the cookies will split during baking.
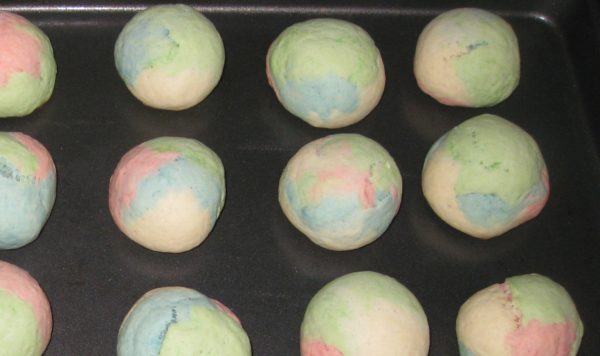
  12. Bake 350°F for 17-20 minutes until very light brown on the bottom and the top does not depress when touched lightly.
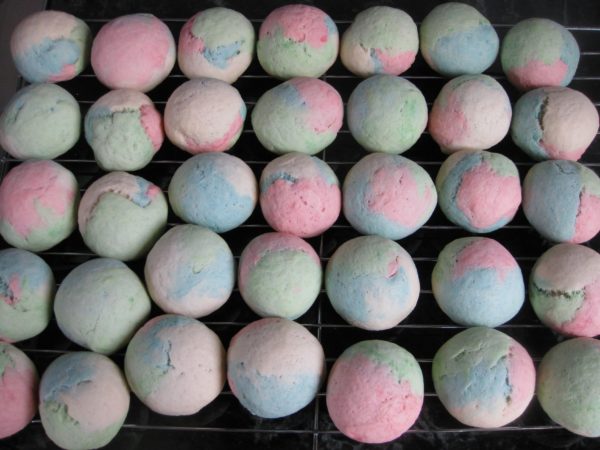
  13. Remove cookies from cookie sheet and put on a cooling rack.
  14. Using your finger, ice with powdered sugar icing while still warm.
Icing
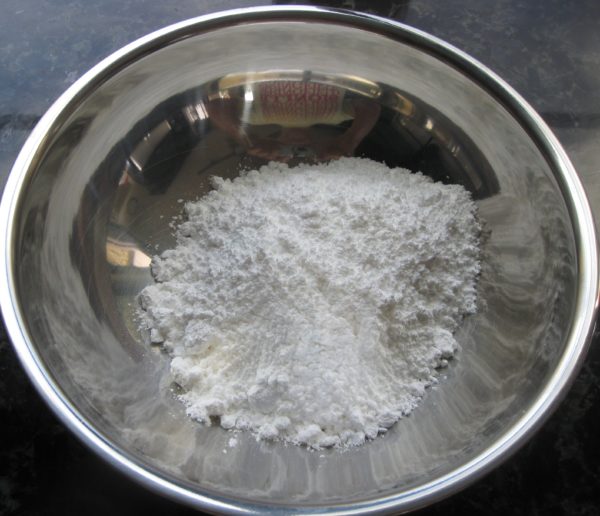
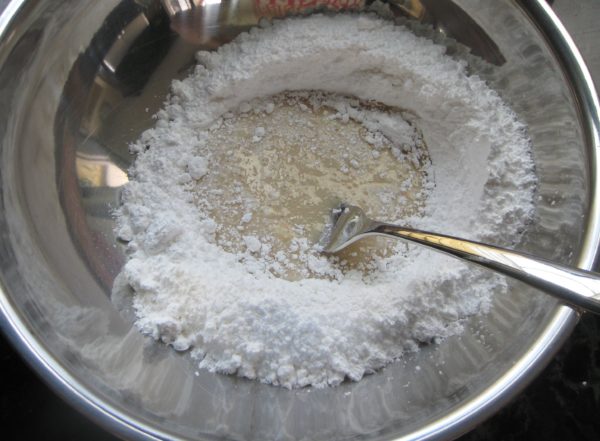
  1. Combine powdered sugar, vanilla and milk. Stir to combine.
  2. Stir to combine.
  3. Thin with a small amount of milk if needed. The icing should be of a spreading consistency.
Recipe Notes

Copyright © 2017 by VillaSentieri.com. All rights reserved.

Share this Recipe

Slovak Potato Cake (Baba or Bubba)

June 7, 2017

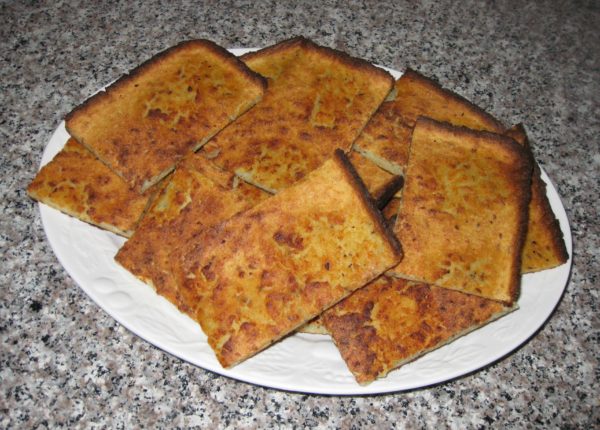
Baba was a favorite food in our house.  We often joked that my mother should open a shop selling pizza and baba.  We were convinced it would be a success, as were a number of family friends.

Although Johnstown, Pennsylvania, where I grew up, was originally founded by Germans (everyone, regardless of ethnic background, had sauerkraut, sausages, and pork on New Year’s Day), Italians and Eastern Europeans were among the largest ethnic groups when I lived there.  So, a “fusion” shop selling pizza and baba wasn’t so far-fetched!

Baba means old woman in Slovak.  I can’t tell you how it came to be applied to this very specific type of potato cake and whether it was just in our family or more widespread, though I suspect the latter.

Other than the crispy skin of our Thanksgiving turkey, this is the only food my sister and I fought over.  This, however, was three-way guerilla warfare also involving my father.  Crispy turkey skin has an immediacy about it.  It needs to be eaten right away, hot and crispy, or it loses its appeal.  The fight is right out there in the open, a virtual “land grab.”

Baba is different.  As good as it is freshly made, we all preferred it after a day or two.  Any leftover baba would be wrapped in aluminum foil and put in the oven, which had a pilot light way back then.  That kept it ever so slightly warmer than room temperature.  The baba would become chewy.

The natural tension that developed was between letting the baba mature till it had the optimum chewiness versus losing out entirely if someone else ate it first.

We all kept our eyes on the oven which was conveniently located at eye-level.  If it looked like the package had been disturbed, we could swing into action, grabbing what was left and eating it even if it didn’t have the optimum chew.  “Any baba is better than no baba” was definitely the operative mentality.

There was always the chance, however, that the first person to go for the baba would eat all of it, especially if there were only a few pieces left.

There was also the chance (sometimes turned into reality) that someone could deftly open the package, remove a piece of baba, close the package, and put it back in the oven it in a way that made it look undisturbed.  Well implemented, this was a strategy for getting more baba since others could be lulled into complacency thinking the cache of baba was still available to them for the taking.

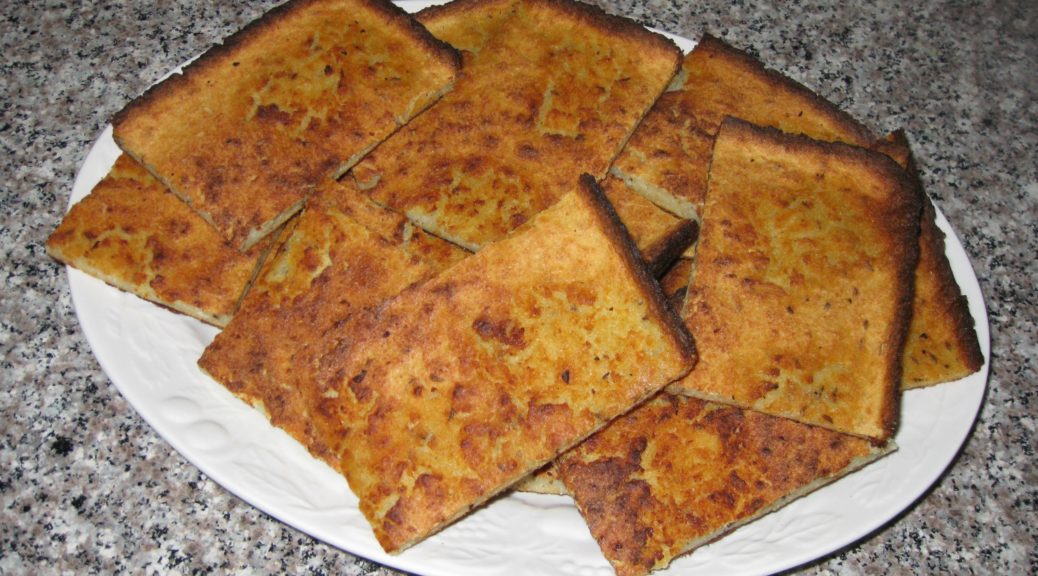
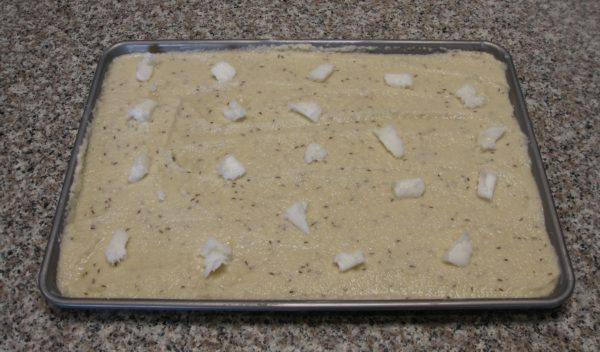
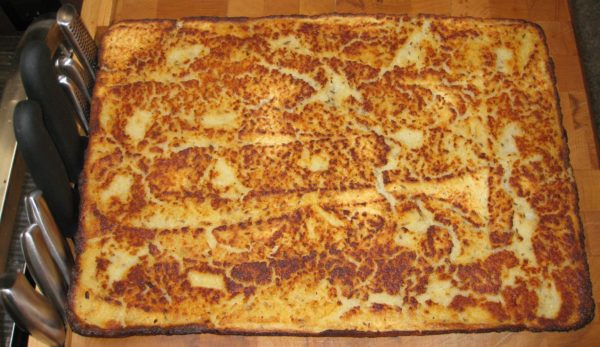
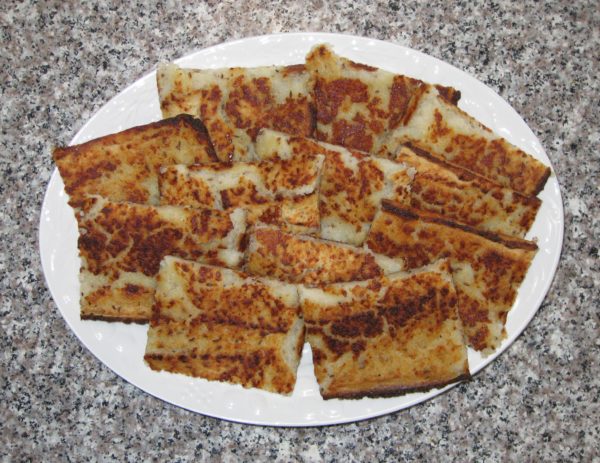
The ingredients of baba are pretty standard potato cake fare, potatoes, onions, salt, pepper, flour and, depending on the cook, egg.  Two things make it unusual in my experience: caraway seed and the cooking method.  To be sure, Slovaks put caraway seed in lots of foods but I have yet to find a recipe for Slovak potato cakes that contains caraway seed.

As for cooking method, baba is cooked in the oven in a rimmed baking sheet.  Remembering that my grandparents raised seven sons, who in later years were augmented by daughters-in-law and grandchildren, baba was made in large quantities.  When there wasn’t enough batter to fill another baking sheet “to the thickness of your finger,” as my Aunt Mary would say, the remaining batter would be turned into individual potato “pancakes” in a frying pan in shallow oil.

The proportions given here will nicely fill an 11” by 17” baking sheet.  If you prefer to fry the potato cakes rather than bake them, by all means do!

Print Recipe
Slovak Potato Cake (Baba)
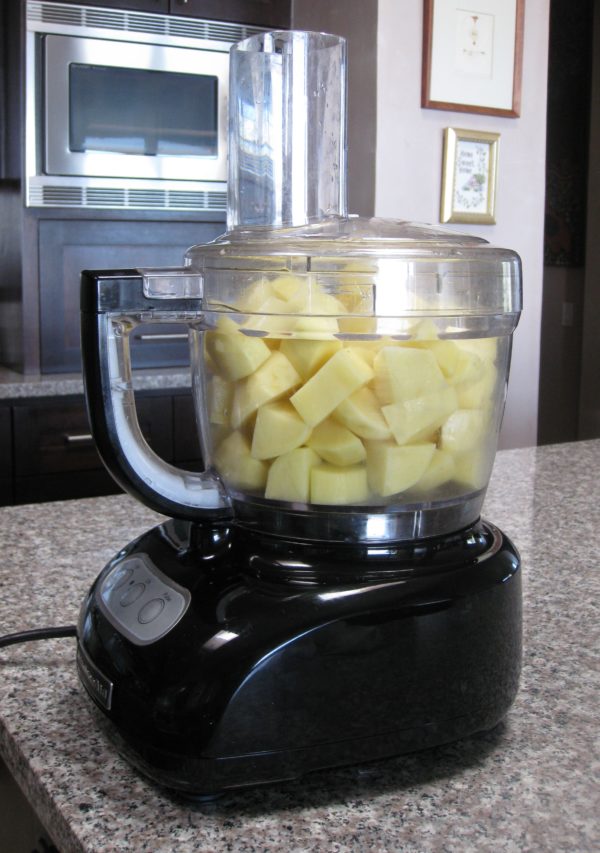
I remember watching my mother make this, and learning from her. Though it always tasted the same in the end, it seemed like the lack of precise measurements was an issue. My mother had no difficulty cooking her regular canon of Italian food without measurements. My suspicion is that the issue with Baba is that she didn’t make it all that often. I make it even less often (though I think that’s changing) which prompted me to carefully measure ingredients until I got a perfect batch and then stick with those measurements going forward. My mother put an egg in her Baba. My Aunt Mary did not. Aunt Mary, who lived next door to my Slovak grandparents for years, insists that Grandma never used egg. I have not tried it without the egg, being happy to stick with a recipe that works. Before food processors, the potatoes and onion were grated on the fine side of a box grater. The food processor eliminates the most tedious part of making Baba.
Votes: 0
Rating: 0
You:
Rate this recipe!
Prep Time 30 minutes
Cook Time 1 hour
Servings
people
Ingredients
Prep Time 30 minutes
Cook Time 1 hour
Servings
people
Ingredients
Votes: 0
Rating: 0
You:
Rate this recipe!
Instructions
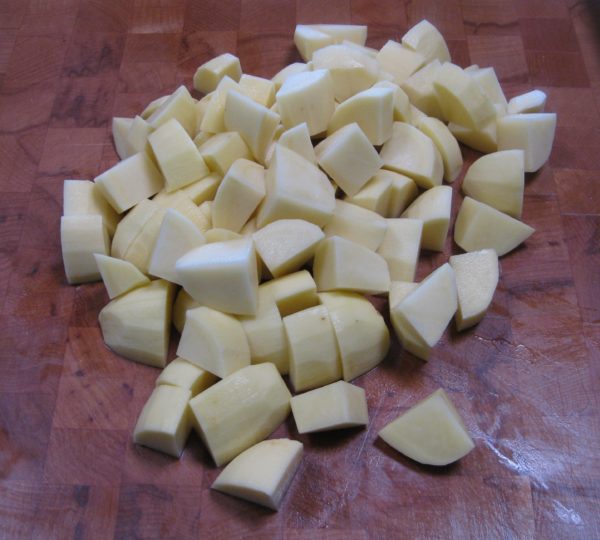
  1. Peel the potatoes. Rinse and dry them and cut into 1 inch cubes.
  2. Weigh out 1600 grams (3 ½ pounds) of potato cubes.
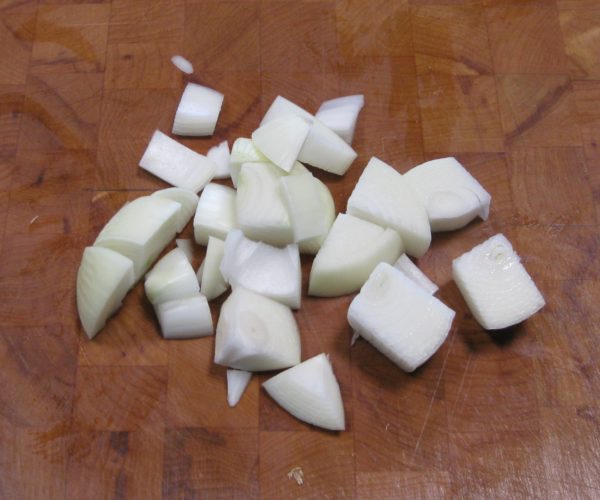
  3. Cut onion into 1 inch chunks.
  4. In two or three batches, depending on the size of your food processor, thoroughly grind the potato and onion, putting some potato and some onion in each batch.
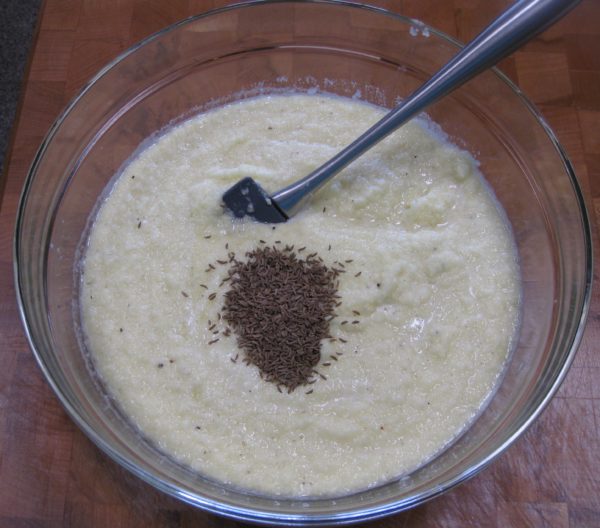
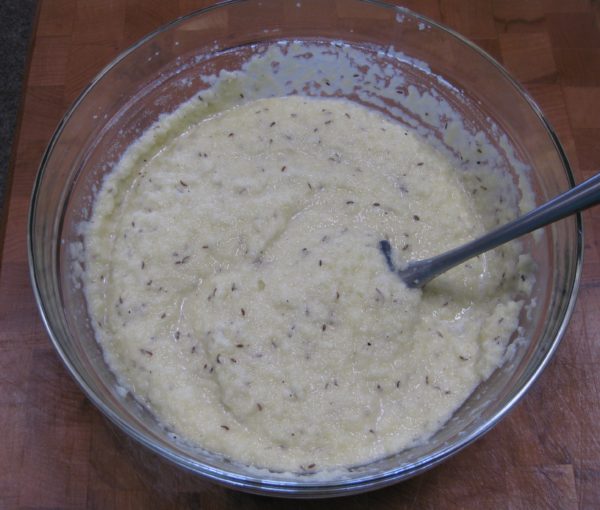
  5. Put the ground potatoes and onions into a large mixing bowl. Add the lightly beaten egg, salt, black pepper, and caraway seed.
  6. Mix well.
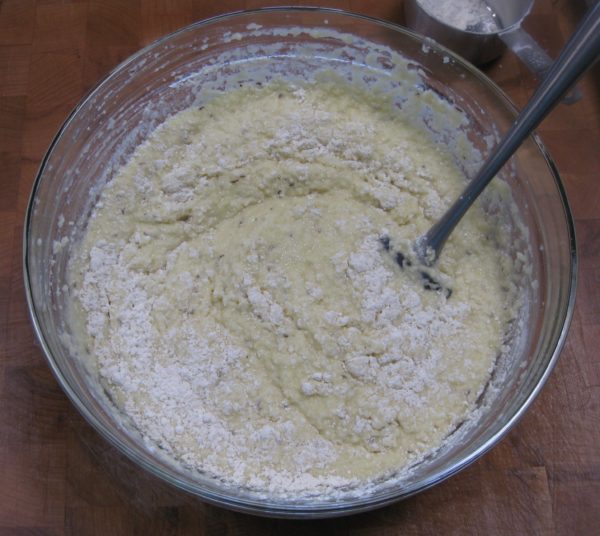
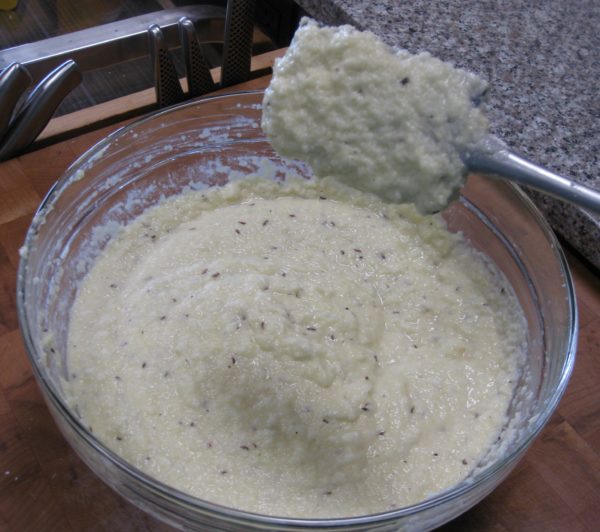
  7. Stir in about ¾ of the flour. Add enough of the remaining flour to thickly coat a spoon. Chances are you will need all the flour. If in doubt, just add it.
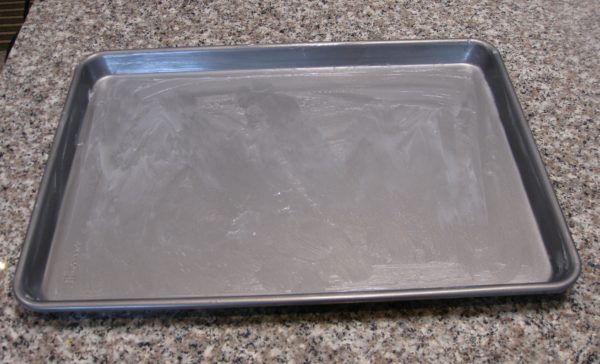
  8. Very, very generously grease an 11” x 17” x 1” baking sheet with lard. After you think you’ve used enough, add more! Remember, most potato cakes are fried. These are baked. They definitely need some fat for texture.
  9. Pour the batter into the prepared pan. Dot very generously with lard.
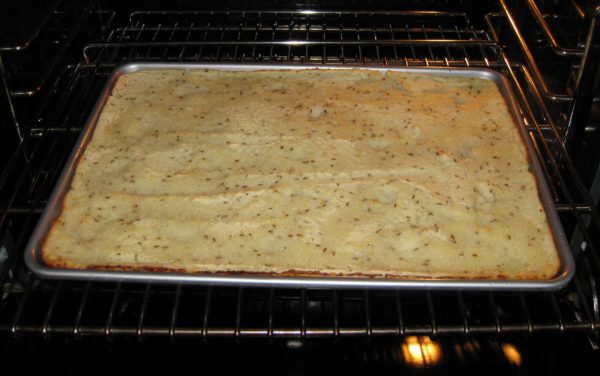
  10. Bake 425°F until browned on the bottom, about 30-40 minutes, turning the pan front to back after 20 minutes.
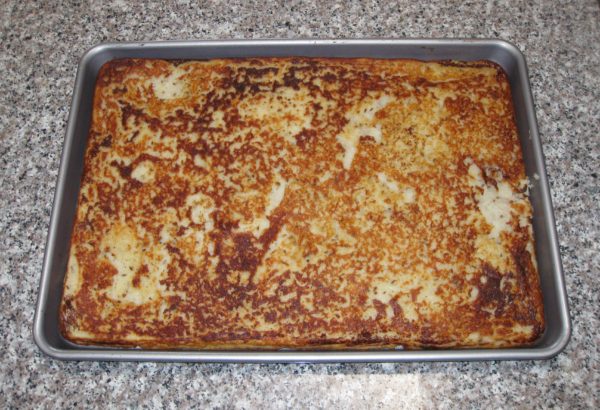
  11. When the bottom is brown, you’ll need to flip the Baba upside down. To do this, set another baking sheet of the same size on top of the Baba. The bottom of the baking sheet should be sitting on top of the Bubba.
  12. Flip the pans over. If you had enough lard in the pan, the Baba should release from the pan and be sitting, upside down, on the bottom of the other baking pan.
  13. Slide the Baba back into the original baking pan with the browned bottom now facing up.
  14. Bake another 20 minutes or so until browned on the bottom and thoroughly cooked.
  15. Turn out of the pan onto a large cutting board.
  16. Cut into 16 pieces. Serve warm or at room temperature.
Recipe Notes

Although you can use solid vegetable shortening in this recipe, I suggest you use lard for better taste and better health. You can find information about lard vs. vegetable shortening in this post.

Copyright © 2017 by VillaSentieri.com. All rights reserved.

Share this Recipe

Slovak Caraway Soup

April 26, 2017

Growing up with an ethnically Italian mother and an ethnically Slovak father, we mostly ate Italian food with Slovak food appearing on the table every week or two.  On Sundays we usually went to visit my father’s parents and got a bit more Slovak food.

There were some classic American dishes that appeared on our table, too.  But, honestly, not that often.  The only thing my mother made that I didn’t like was hamburgers.  Well, that and liver.

But even my mother didn’t like liver.  She made it because my father liked it.  There was never the expectation that anyone else would eat it.

When she made liver…and that process involved running from the living room, through the dining room, to the kitchen to turn the liver as it sautéed and then running back to the living room to avoid the smell…she always made something else for the rest of us.  Well, that wasn’t so unusual either.  Remember…Southern Italian mother…food is important…everyone needs to eat.  There were nights when she would make one meal for my father, one for my sister, and one for me.  She would eat one of the three.

We always ate dinner together as a family and, despite the comment above, we usually at the same meal.  Sometimes, though, we each got individually catered food.

But back to hamburgers for a moment.  My mother was a great cook.  I know she used really good beef for her hamburgers.  She usually picked out a whole cut and had the butcher grind it.  She never bought ground beef that I recall.  I still follow the basic blueprint of her hamburger recipe today and enjoy it.  So, I can’t really tell you why I thought her hamburgers were awful.  But I did.

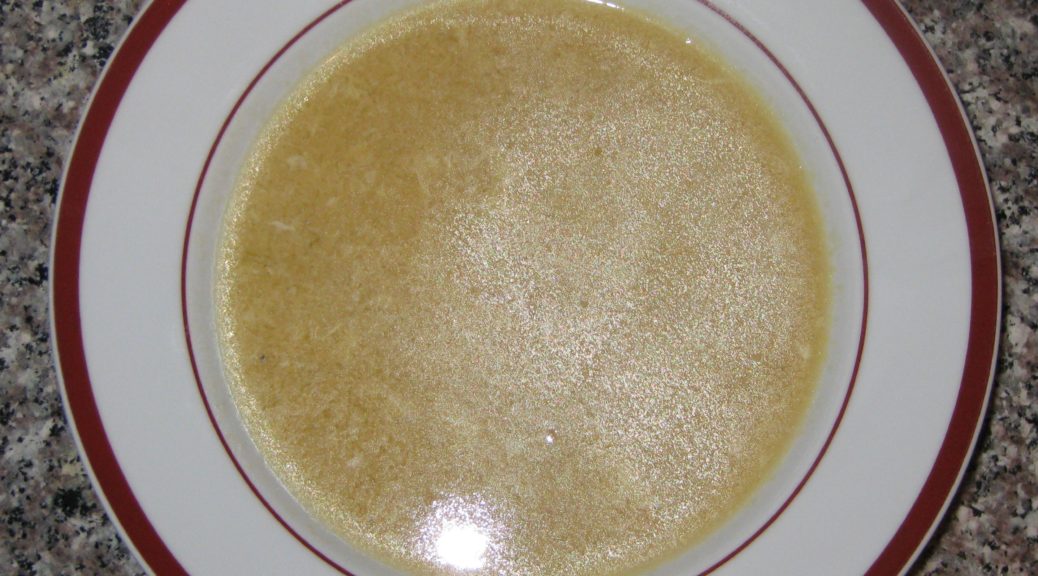
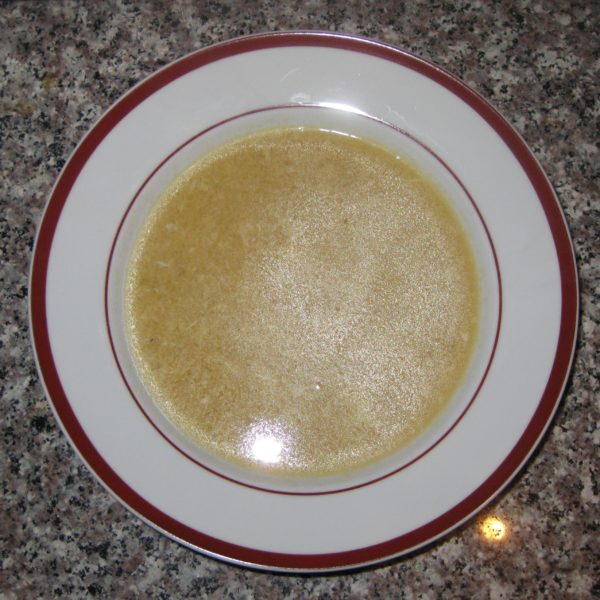
Soup was a big deal in our house.  My father really liked soup.  Interestingly, I don’t remember having Caraway Soup more than a few times while growing up.  I do know, however, that while I was in college I got the recipe from my mother after it appeared on our table one day.  It seemed like a revelation.

It has been a regular on my table ever since.

Print Recipe
Slovak Caraway Soup
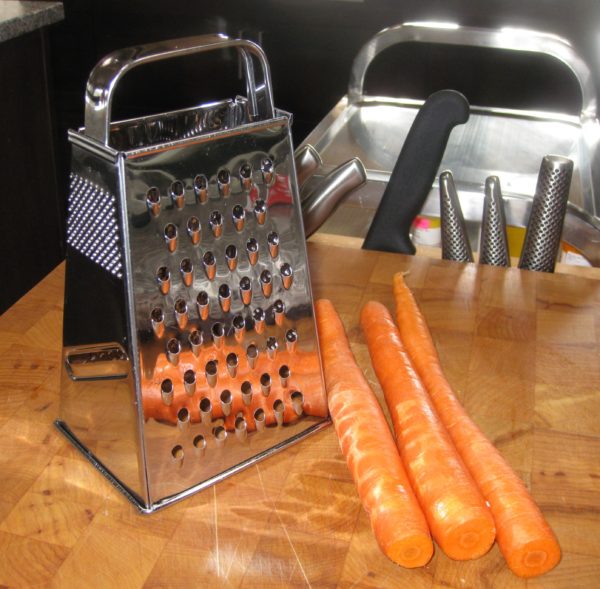
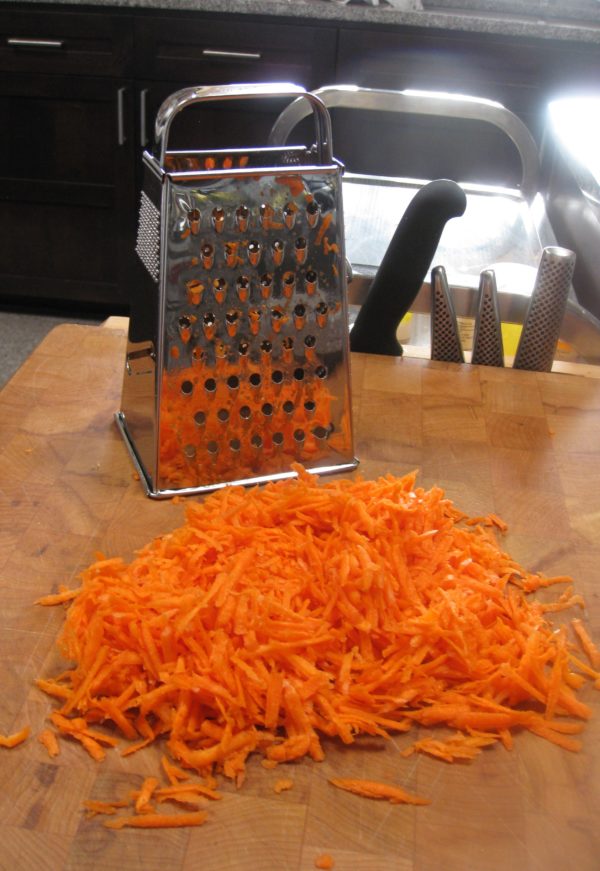
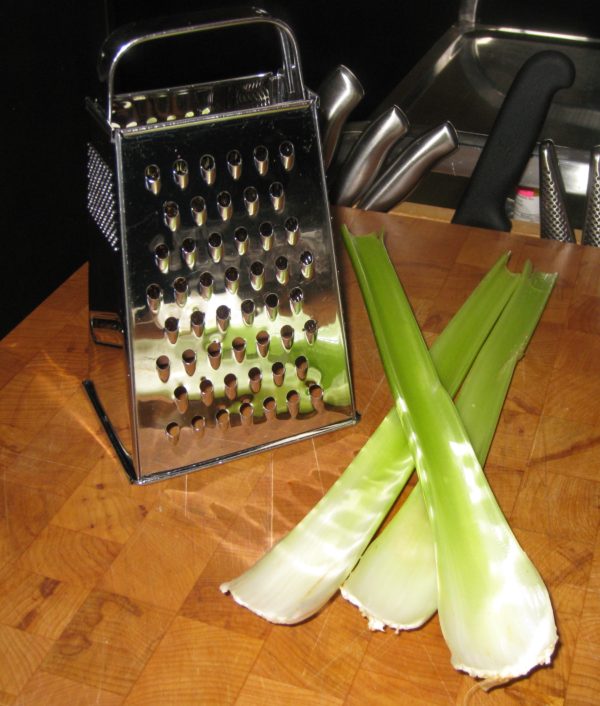
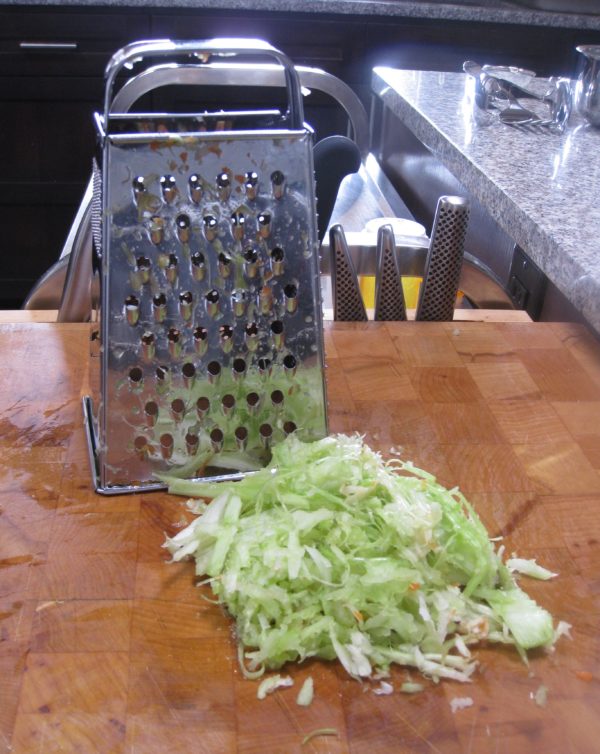
This is a light, refreshing soup based on a vegetable broth for which the ingredients are almost always on hand. I like serving it as a first course though it works equally well for lunch or as a light supper. Grating the vegetables on the large holes of a box grater was one of my mother’s tricks. It makes fast work of prep and the small pieces quickly flavor the broth.
Votes: 0
Rating: 0
You:
Rate this recipe!
Cuisine Slovak
Prep Time 15 minutes
Cook Time 1 hour
Passive Time 45 minutes
Servings
people
Ingredients
Cuisine Slovak
Prep Time 15 minutes
Cook Time 1 hour
Passive Time 45 minutes
Servings
people
Ingredients
Votes: 0
Rating: 0
You:
Rate this recipe!
Instructions
  1. Shred the carrots on the teardrop holes of a box grater.
  2. Shred the celery on the teardrop holes of a box grater.
  3. Thinly slice half an onion.
  4. Combine carrots, celery, sliced onion, 2 teaspoons of salt, ½ teaspoon of black pepper and 2 quarts of water in a stock pot. Cover. Bring to a boil then reduce heat and simmer for 30 minutes.
  5. Add the caraway seeds. Cover and simmer another 25 minutes.
  6. Strain the broth. Discard the solids.
  7. Return the broth to the stock pot. The soup can be made several hours ahead to this point.
  8. When your ready to finish the soup, return the broth to a bare simmer.
  9. In a heavy-bottomed stock pot large enough to hold the soup, sauté the minced onion in butter until soft but not brown, about 3-4 minutes.
  10. Add the flour to the sautéed onions and cook until lightly colored, about 2 minutes, stirring almost constantly.
  11. Stir the hot broth into the onion-flour mixture a ladleful at a time, stirring well while adding the broth to avoid lumps.
  12. After about one-third of the broth has been added, the remainder can be added all at once.
  13. Bring to a boil and boil gently for 1-2 minutes to thicken. Adjust salt and pepper.
  14. While the soup is boiling, beat the eggs with 1/3 cup of water. Season the eggs with salt.
  15. While constantly whisking the stock, drizzle in the eggs to create shreds of egg.
  16. Serve immediately.
Recipe Notes

Copyright © 2017 by VillaSentieri.com. All rights reserved.
Share this Recipe

Sformato di Spinaci (Spinach Casserole)

January 13, 2017

The word sformato in Italian means deformed or shapeless.  When applied to food, standard Italian-English dictionaries often translate it as pie or soufflé. It is none of the above.

A sformato is most definitely not deformed or shapeless.  In fact, a food historian described a sformato as “something that was cooked in the mould [sic] and then extracted from it” (Alexandra Grigorieva, Naming Authenticity and Regional Italian Cuisine in Authenticity in the Kitchen: Proceedings of the Oxford Symposium on Food and Cookery 2005, edited by Richard Hosking).  Nor is a sformato really a pie or a soufflé as those terms are usually used.  It has no crust of any sort, as would a pie.  It is not puffy like a souffle.  Sometimes it doesn’t even contain eggs.

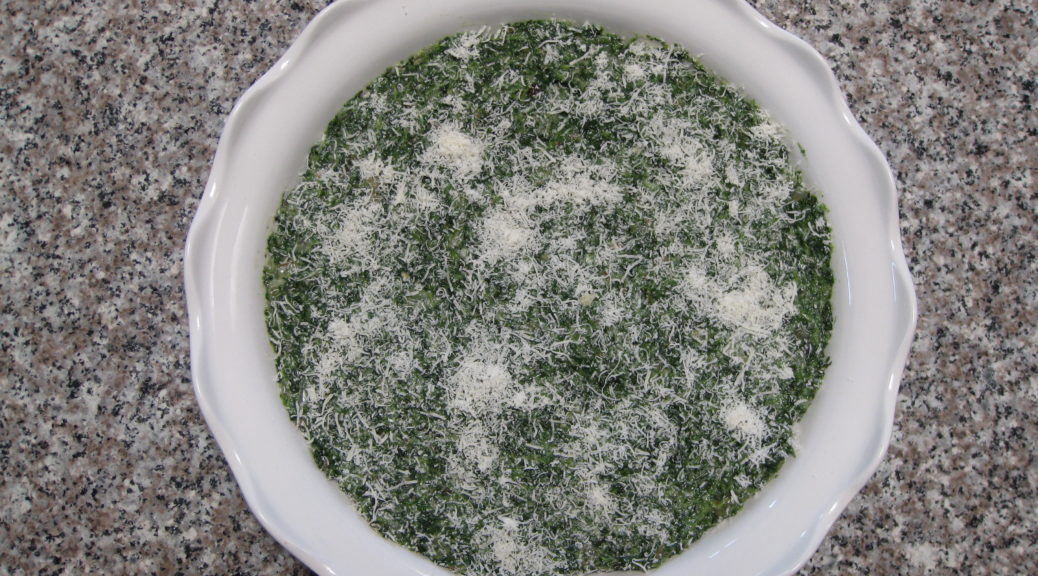
A sformato is most often made of vegetables, usually bound with some combination of eggs, cream, cheese, and/or béchamel (balsamella or besciamella in Italian), and cooked in a baking dish.  I think the best English translation of the word is casserole.

Sformato di Spinaci, spinach sformato (or, reluctantly, spinach casserole), is one of those dishes that has iconic status in my husband’s family.  Like Merluzzo in Umido, the recipe came from Italy with his grandmother whom we called Nonni.  Nonni is one of those made up words that sometimes take hold in a family based on the mispronunciations of little kids.  The Italian word for grandmother is Nonna.  However, Nonni is to Nonna as Gramma is to Grandmother.

Just as Pasta Ascuitta has only one meaning in my family, Sformato has only one meaning in my husband’s.  If you simply say “sformato,” everyone knows you mean spinach sformato, and not, for example, cauliflower sformato.

I first had sformato at Christmas Dinner at my in-law’s house in 1989.  Although I had been cooking northern Italian food since 1973 based largely on Marcella Hazan’s wonderful cookbooks, that Christmas was really the beginning of my learning to make some of my husband’s family’s northern Italian favorites.  It’s really a whole different taste profile from the southern Italian dishes I grew up with.

I’ve actually taken a heretical twist with my interpretation of Nonni’s sformato. I’ve added a little balsamella for moisture. This was most definitely not in the original, though it is not an uncommon addition to sformato. If you want to make the original version, just leave out the balsamella.  It will be a little drier.  You might want to not squeeze the spinach quite as tightly if you don’t include the balsamella.

Print Recipe
Sformato di Spinaci (Spinach Sformato or Spinach Casserole)
Nonni always made this with ground beef but Italian sausage, casing removed and crumbled, works really well (a bit of southern Italian heresy creeping in!). It can also be made without meat, but the amount of spinach should be increased by an additional 10 oz. to a total of 30 oz. I have occasionally used fresh spinach but, honestly, frozen chopped spinach works just fine. I doubt you could reliably tell the difference in a side-by-side comparison of fresh vs. frozen spinach in this dish.
Votes: 0
Rating: 0
You:
Rate this recipe!
Course Vegetables
Cuisine Italian
Prep Time 45 minutes
Cook Time 1 hour
Passive Time 15 minutes
Servings
people
Ingredients
For the spinach mixture
For the balsamella
Course Vegetables
Cuisine Italian
Prep Time 45 minutes
Cook Time 1 hour
Passive Time 15 minutes
Servings
people
Ingredients
For the spinach mixture
For the balsamella
Votes: 0
Rating: 0
You:
Rate this recipe!
Instructions
For the spinach mixture
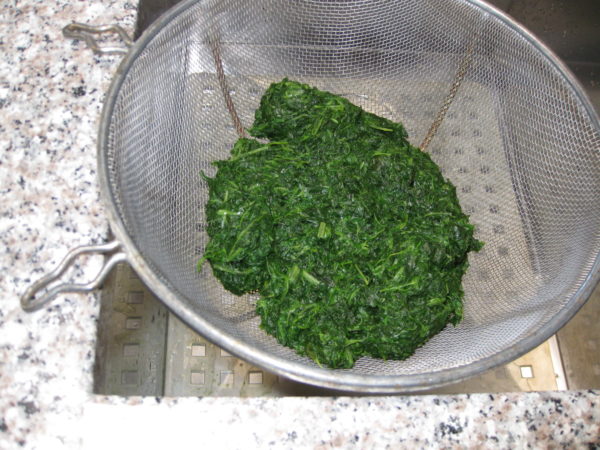
  1. Cook the frozen spinach in a heavy bottomed sauce pan tightly covered until thawed, breaking up the spinach from time to time.
  2. As soon as the spinach is thawed, pour the contents of the pan into a fine mesh sieve and allow the spinach to drain and cool.
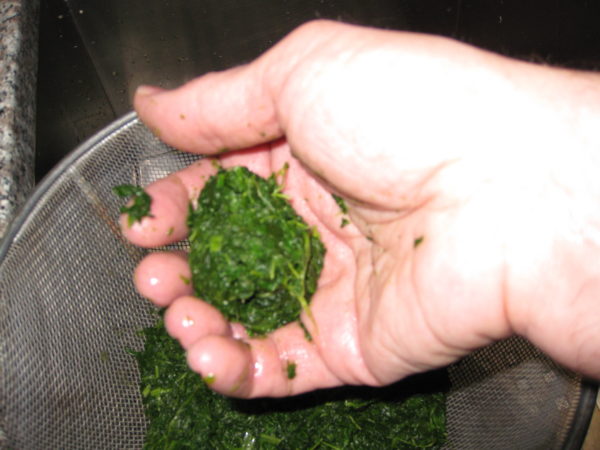
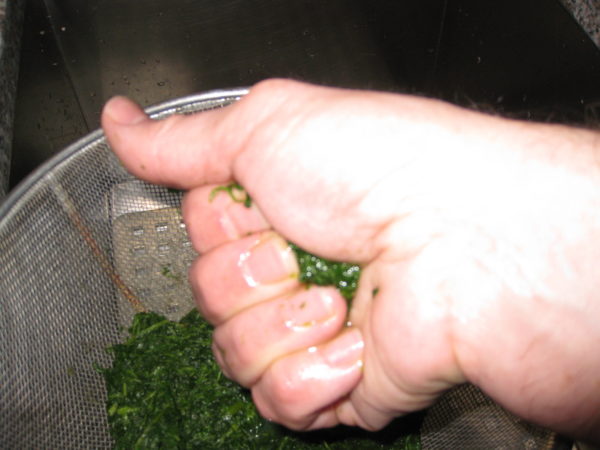
  3. When the spinach is cool enough to handle, squeeze small handfuls of the spinach to remove excess water.
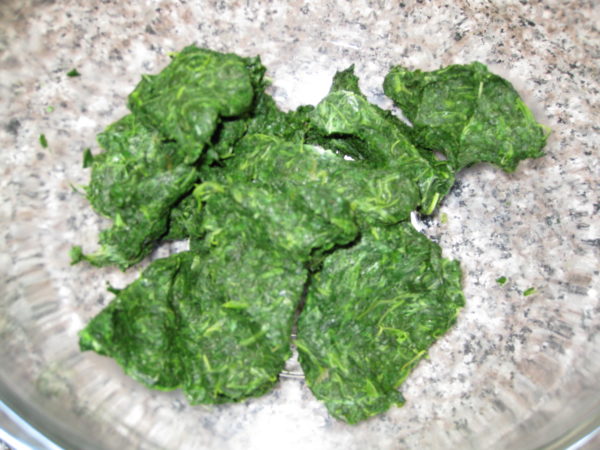
  4. Cut through the mass of squeezed spinach about eight or ten times with a knife then rub it through your fingers to loosen it. It will be pretty tightly wadded up from squeezing out the liquid.
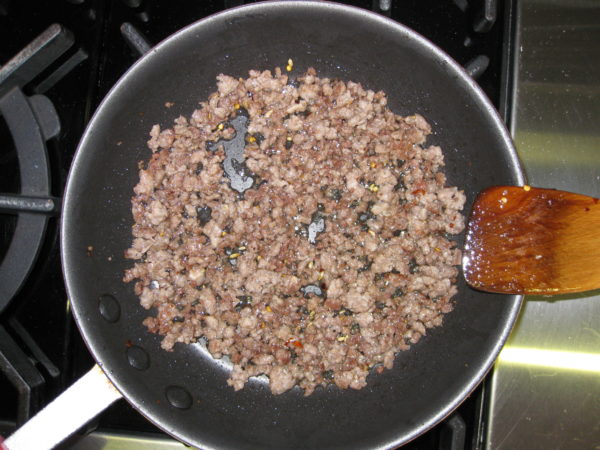
  5. Brown the ground beef or sausage in olive oil over medium heat. You want to get some really browned bits of meat for the flavor. Don't make the mistake of just cooking the meat until it is no longer pink.
  6. When the meat is nicely browned, add the onion and cook until golden and soft. Add the garlic and sauté until fragrant, about 1-2 minutes.
  7. Combine the meat mixture and spinach in a large mixing bowl. Season with salt and pepper and allow to cool briefly.
  8. Meanwhile, make the breadcrumbs by removing the crusts from a slice of two-day old home-style white bread. Tear the bread into pieces and whiz in a food processor until processed into evenly sized crumbs. Reserve.
  9. Melt the butter and toss with the breadcrumbs. Reserve.
  10. Make the balsamella (see directions below).
  11. Add the balsamella to the cooled meat and spinach mixture. Stir well, loosening up the spinach. When well combined, stir in the eggs. Be certain that the mixture is not so hot that it cooks the eggs.
  12. Reserve two tablespoons of the Parmesan cheese and mix the remainder into the spinach-meat-balsamella mixture.
  13. Pour the spinach mixture into a buttered 9-inch round or 8-inch square baking dish. Sprinkle top with the buttered crumbs and reserved Parmesan cheese.
  14. Bake at 350°F for approximately 60 minutes or until golden brown.
  15. Cool about 10 minutes before cutting and serving.
For the balsamella
  1. Heat the milk in a small heavy-bottomed saucepan until bubbles begin to form around the edges. Do not bring the milk to a boil.
  2. Meanwhile, melt the butter in a saucepan and add the flour when the foam subsides. Cook for several minutes without browning.
  3. Add the milk, approximately two tablespoonsful at a time, mixing well after each addition. Adding the milk in small amounts should allow you to stir out any lumps before adding the next bit of milk.
  4. After all the milk has been added, bring to a boil and cook for one minute, until thickened.
  5. Remove from the heat and stir in the nutmeg.
Recipe Notes

This recipe doubles well.  If you want to cook a double recipe in a single pan, use a 9-inch by 13-inch baking dish.  Bake at 325°F rather than 350°F as it will brown too much around the outside before the inside is cooked.  If necessary, raise the heat to 375°F at the very end, and put the sformato on the top shelf of the oven, to brown the top.

If you want to use fresh spinach, use 2 pounds instead of the 20 ounces of frozen spinach.  Remove the stems.  Wash the spinach, shaking off most of the water.  Put the spinach in a heavy-bottomed Dutch oven with just the liquid clinging to the leaves.  Cook covered, over medium heat till fully wilted.  Drain and proceed as above with the exception that you will need to do much more chopping of the cooked and squeezed spinach than the eight to ten cuts suggested above.

Copyright © 2017 by VillaSentieri.com. All rights reserved.
Share this Recipe