Brasato al Barolo (Beef Braised in Red Wine)

January 21, 2021

Pre-pandemic my husband randomly chose a region of Italy.  Most of our meals for the month were traditional foods of that region.

In response to the pandemic, I reduced my marketing, with rare exception, to one supermarket trip once a week.  Obtaining the ingredients to create very specific regional Italian cuisine became difficult with such a shopping regimen.  Meal planning, though still Italian, reverted to dishes for which I could obtain the necessary ingredients at the supermarket supplemented by deliveries from Amazon.
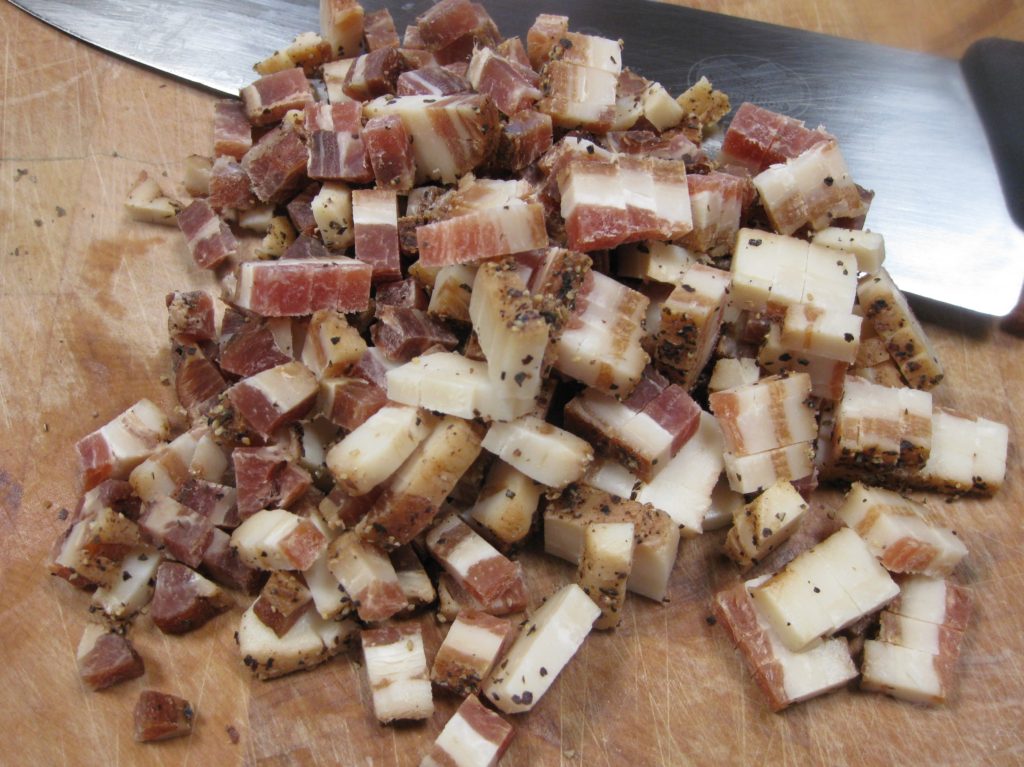
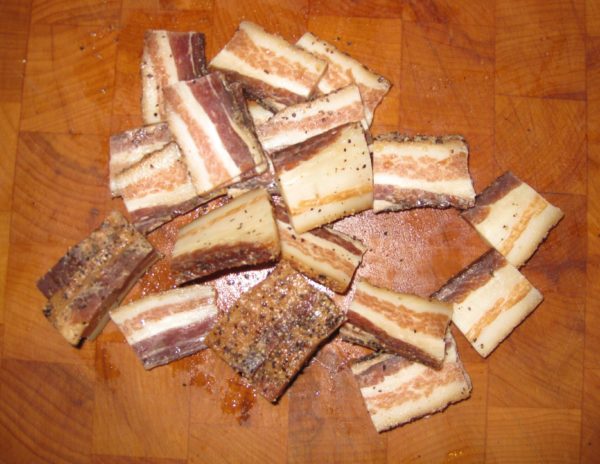
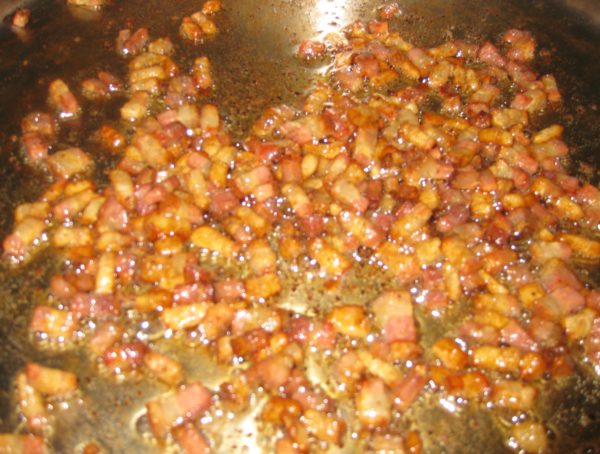
Home-cured pancetta diced and ready to be cooked. Good quality pancetta can be purchased. Be sure to have it sliced thickly.

Amazon is my source for Italian flour, several types of which I use for making pasta, bread, pizza and cake.  Carnaroli rice can be difficult to obtain under the best of circumstances but is available on Amazon.  Some of the ingredients for gelato are impossible to find in retail shops making Amazon the go-to source.

Other items, like specific types of cheeses or cured meats or olives, can only reasonably come from local retail markets.  The same is true for produce and an array of other ingredients.  One marketing trip a week to a general supermarket made it impossible to gather many of the required ingredients so the one-region-a-month-cooking-and-eating regimen fell victim to the pandemic, at least temporarily.


Follow us on your social media platform of choice


I made food from Piemonte (Piedmont) while our region-a-month plan was still active.  Piemonte has cows, so beef and dairy figure prominently in the cuisine.  Piemonte is also home to Barolo, among other wonderful wines.

Piemontese food does not shy away from calories or flavor!

This dish makes use of two of the stars of Piemontese cuisine, beef and wine.  The most traditional recipes call for a whole filet.  The wine is traditionally Barolo.
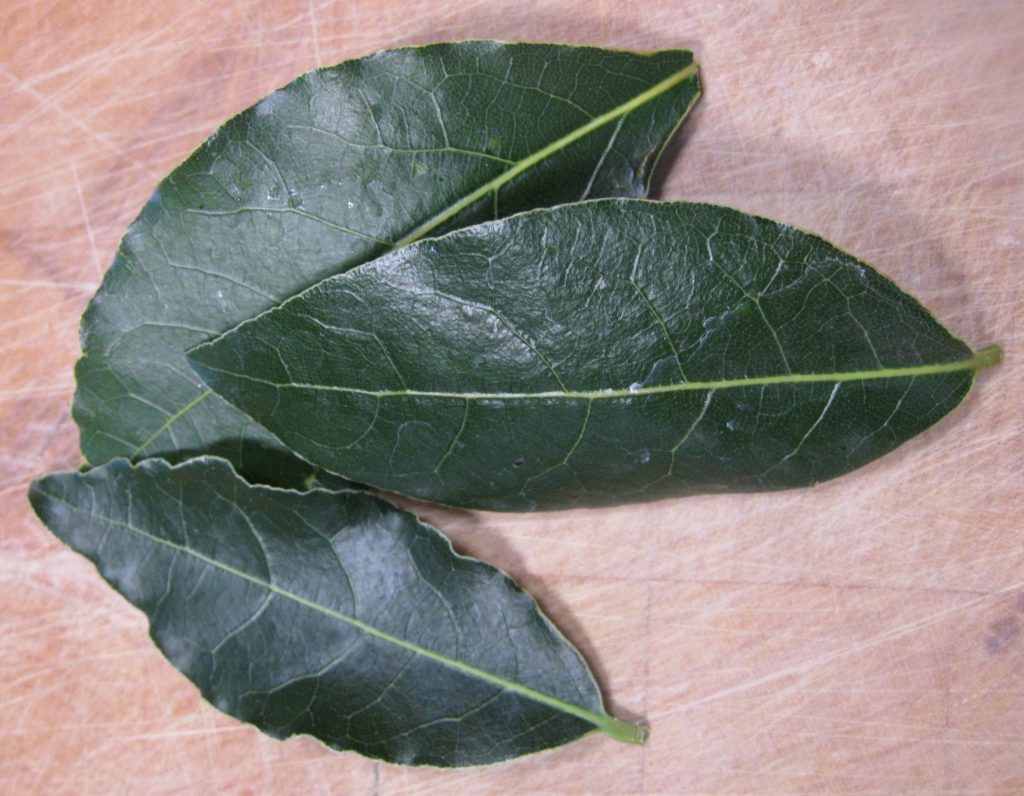
Fresh bay leaves have tremendously more aroma than dried ones.

There was a time when Barolo was affordable.  It is no longer a budget-friendly wine and certainly not one that I would use to braise beef in, even if it’s filet.  If you’re interested in how Barolo became so well-known, watch the movie Barolo Boys.

It’s rare to find a modern recipe that simply specifies Barolo as the red wine.  Even when the traditional name of the dish, Brasato al Barolo, is used, the wine is rarely Barolo.  Calling this Brasato al Vino would be more accurate but that name doesn’t really convey the historic context of the dish.


Join our mailing list and you’ll never miss a recipe again!


I’ve made this with filet that I dutifully larded with my home-cured pancetta.  While the taste was good, the texture of filet after braising was not good, even with the larding.

After that first attempt, I decided to use a cut more commonly used for long, slow, moist cooking even if it was not as high-brow as filet.  Once I made that decision, I started doing recipe research that stretched beyond my several very traditional multi-volume sets of Italian regional cuisine published in Italy in Italian.  I discovered that other (iconoclastic English-speaing) cooks had made the same shift to “lesser” cuts of meat.

I particularly like brisket that’s been braised though a nicely marbled chuck roast would work too.
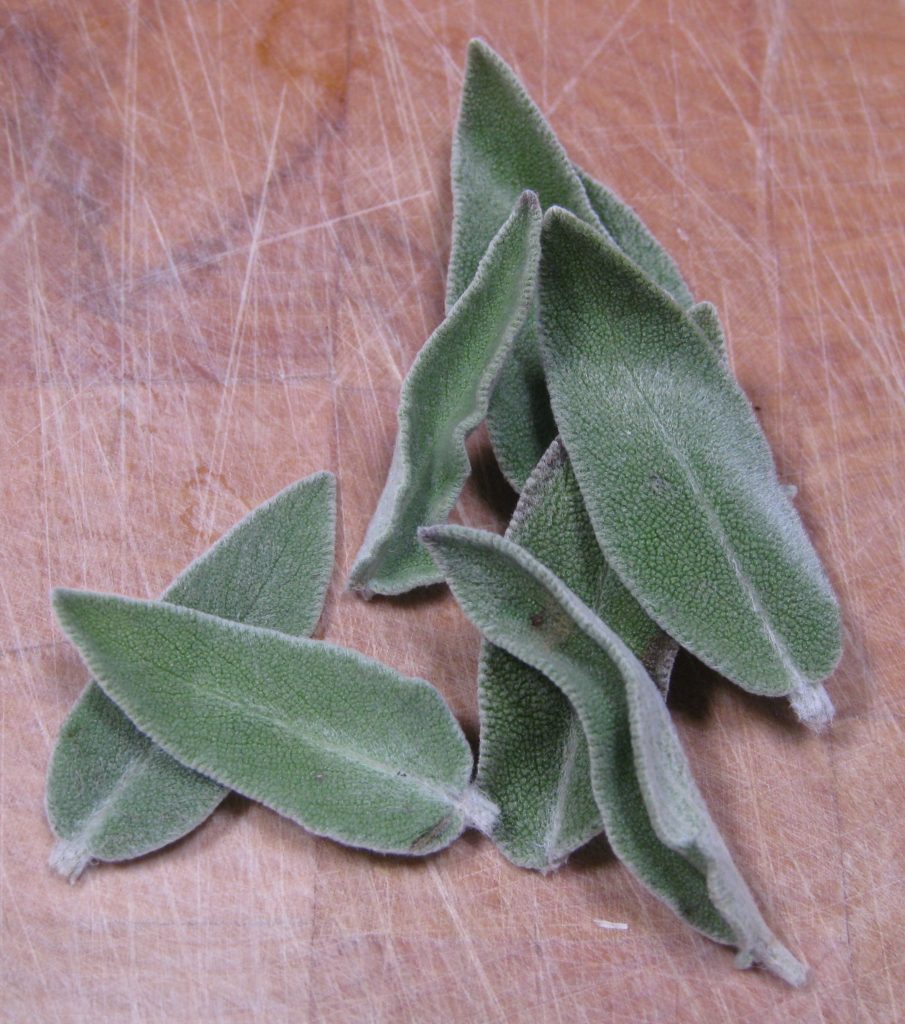
Fresh sage leaves are better than dried when it comes to flavor.

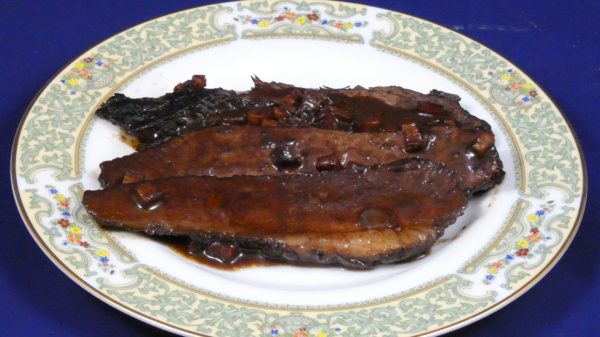
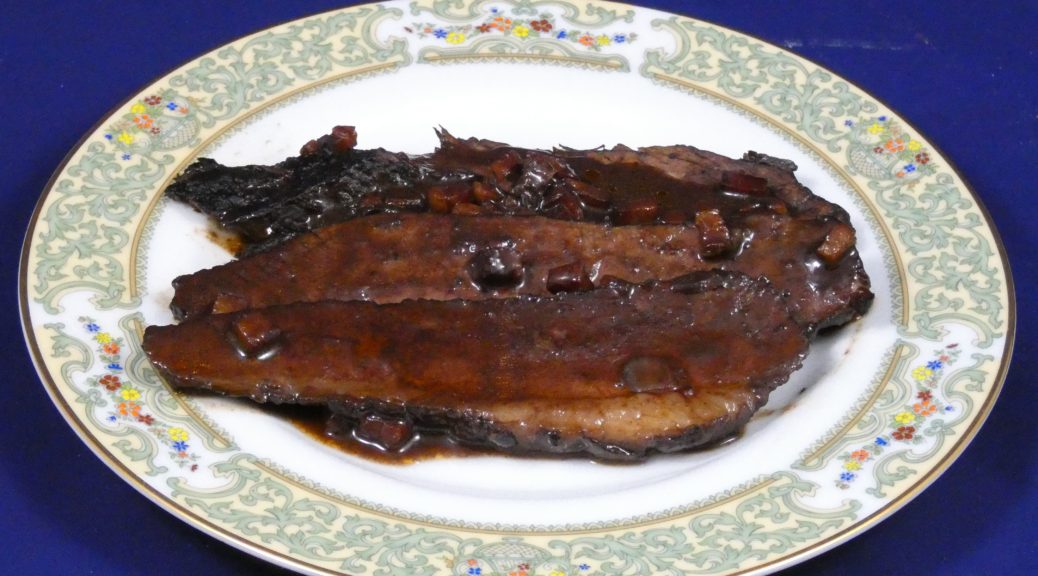
The dish was a hit when made with brisket.  Truth be told, the family didn’t care to ever have it again when I made it with filet.  With the textural change from the brisket it’s become part of our standard menu rotation.

This is a perfect dish for winter.  It’s great for entertaining as it is actually better if made the day before and reheated just before serving.

Oh, and if you actually make it with Barolo, please invite me to dinner!
Print Recipe
Brasato al Barolo (Beef Braised in Red Wine)
Since Barolo is so expensive, most contemporary recipes call for another full-bodied red wine. I have used Zinfandel as well as an Argentine wine that was 60% Merlot and 40% Syrah with great success. The meat can be served without refrigerating first but refrigeration makes it easier to get neat slices. If not refrigerating, pour the hot sauce on the sliced meat and serve immediately. If you don’t have a stash of garlic oil on hand, smash two cloves of garlic and sauté in the olive oil until golden then remove the garlic.
Votes: 0
Rating: 0
You:
Rate this recipe!
Course Mains, Meats
Cuisine Italian
Prep Time 30 minutes
Cook Time 4 hours
Passive Time 24 hours
Servings
people
Ingredients
Course Mains, Meats
Cuisine Italian
Prep Time 30 minutes
Cook Time 4 hours
Passive Time 24 hours
Servings
people
Ingredients
Votes: 0
Rating: 0
You:
Rate this recipe!
Instructions
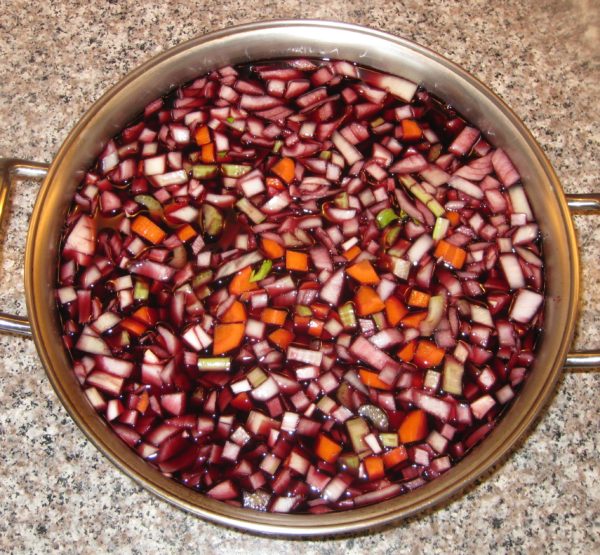
  1. Combine beef with the onion, carrot, celery, garlic, and wine. Cover and refrigerate overnight.
  2. The next day, remove the beef and wipe dry.
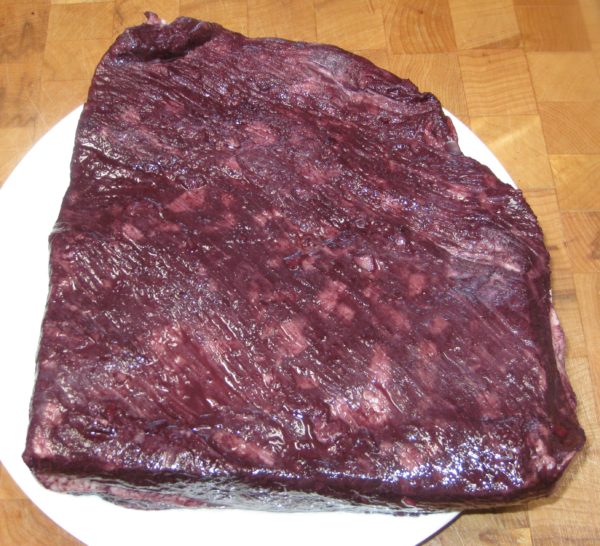
  3. Strain the marinade. Reserve the solids and liquid separately.
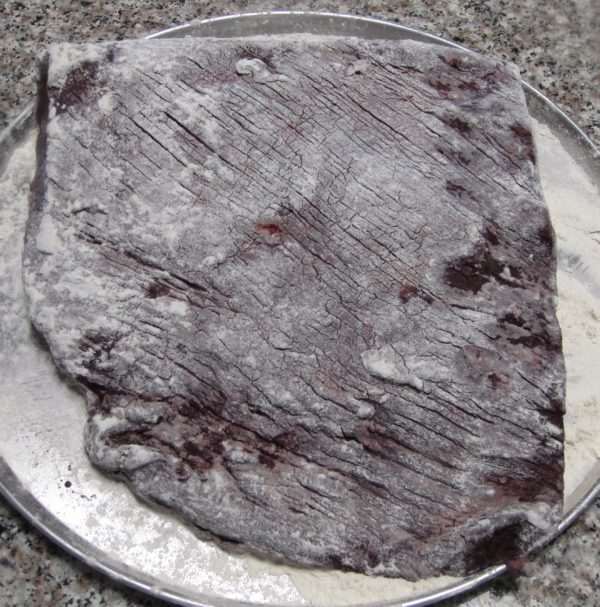
  4. Dredge the beef in flour.
  5. Sauté pancetta in garlic oil over low heat until it renders its fat and browns. Remove pancetta and reserve.
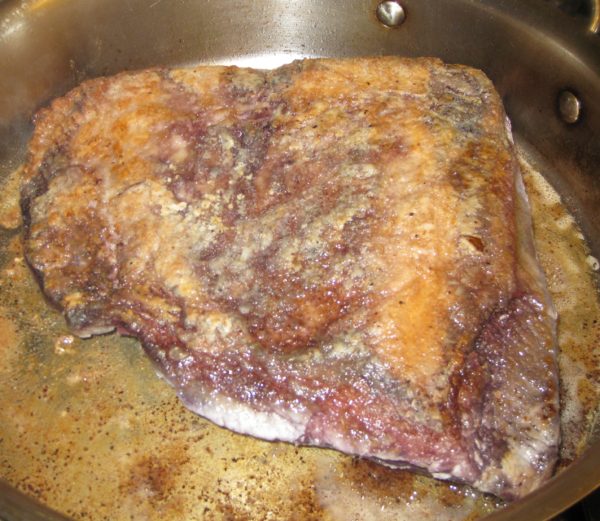
  6. Brown the beef in the rendered fat. Remove the beef.
  7. Add the vegetables to the pan and sauté until softened and the onions are translucent.
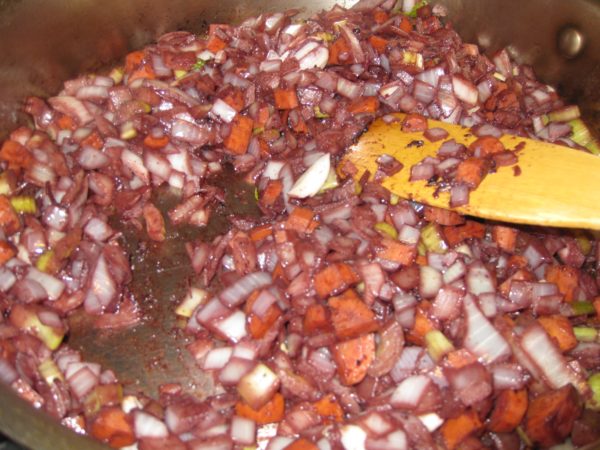
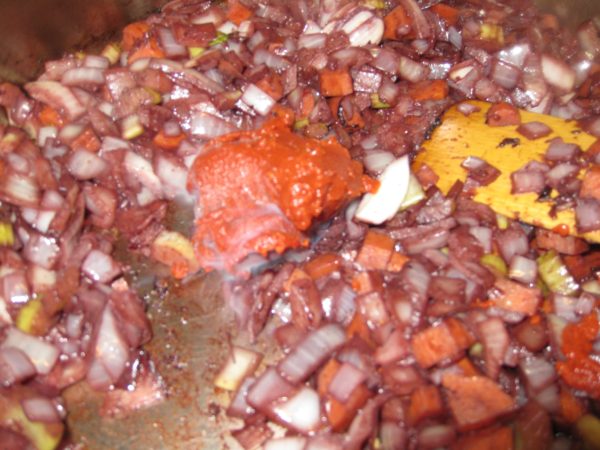
  8. Add the tomato paste. Sauté the tomato paste briefly to darken and sweeten it.
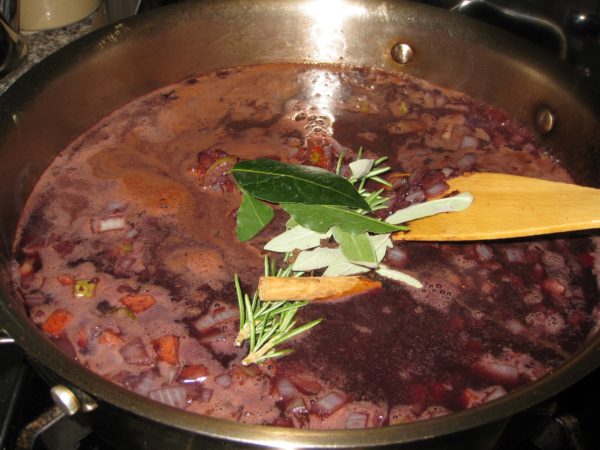
  9. Add the reserved marinade to the pan along with the bay leaves, cloves, rosemary, sage leaves, cinnamon, juniper berries and peppercorns. Bring to a boil, scraping up any browned bits.
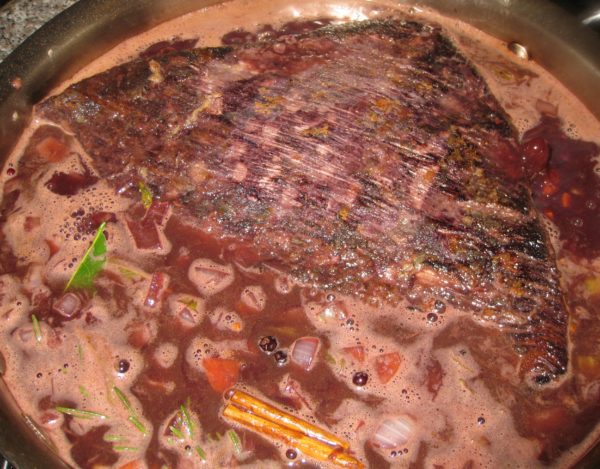
  10. Add the beef. Season with salt. Braise till tender, partially covered, approximately 3 hours.
  11. Remove the beef and refrigerate, tightly covered.
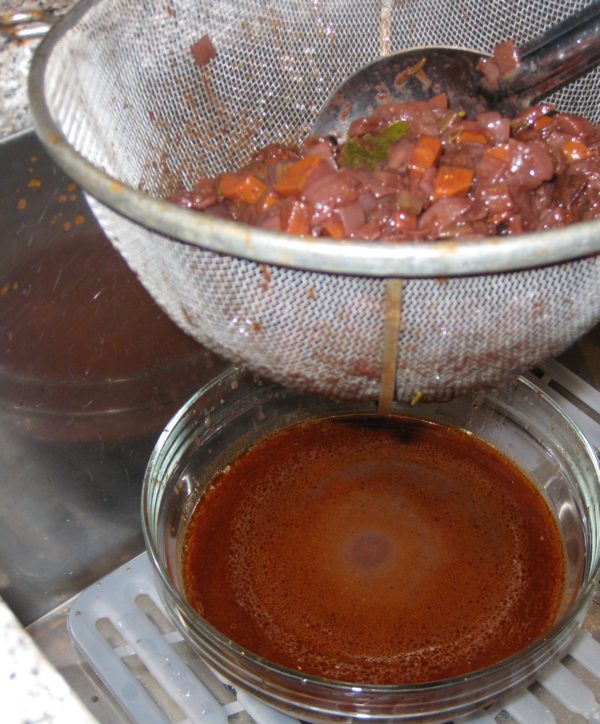
  12. Strain the braising liquid. Discard the solids and refrigerate the liquid.
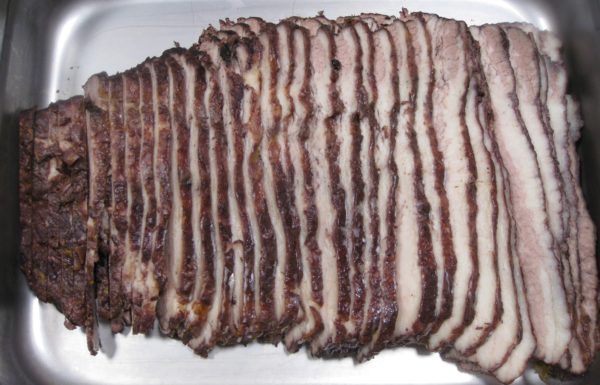
  13. When the beef is cold, slice it against the grain and put in an ovenproof pan or casserole.
  14. Skim the chilled braising liquid.
  15. Heat the de-fatted braising liquid with the reserved fried pancetta.
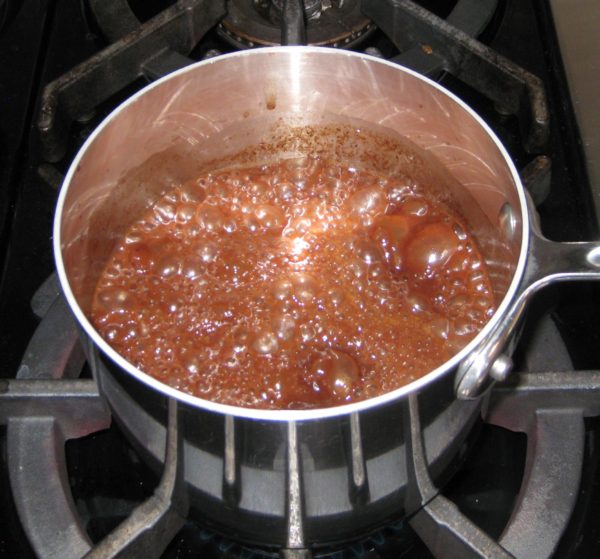
  16. When the braising liquid comes to a boil, remove from heat and add the Marsala. Pour the liquid over the beef, cover the pan, and heat at 350°F for approximately 1 hour.
Recipe Notes

Copyright © 2021 by Villa Sentieri, LLC. All rights reserved.

Share this Recipe

Spiedini (Italian Skewered Meat and Vegetables)

November 20, 2019

Spiedini means skewers.  By extension it also refers to food cooked on skewers.

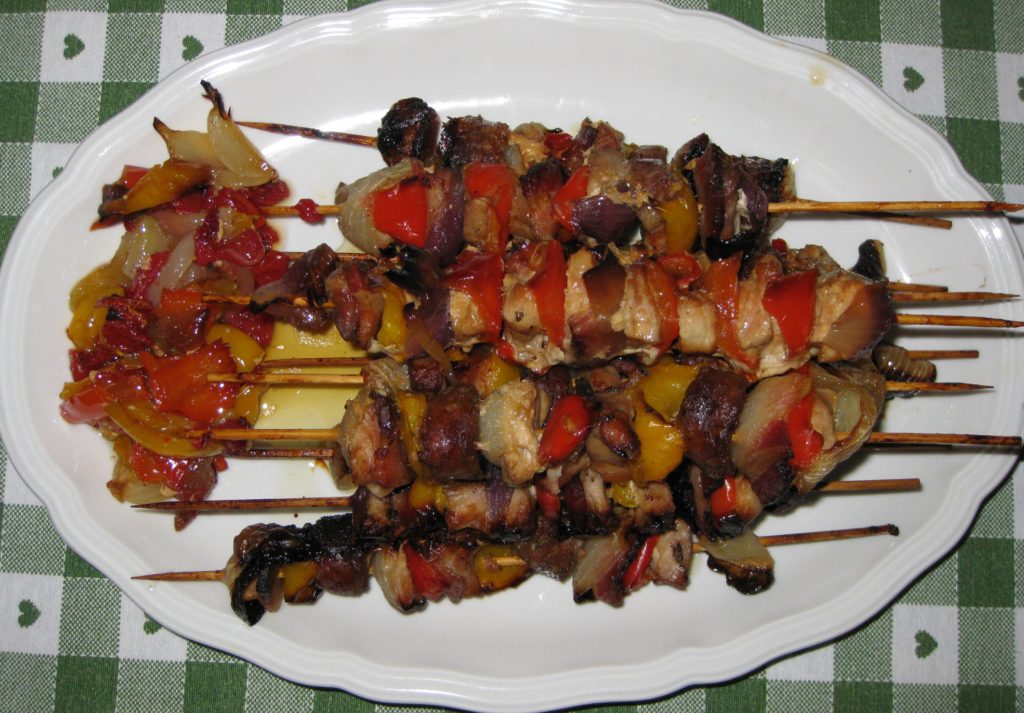
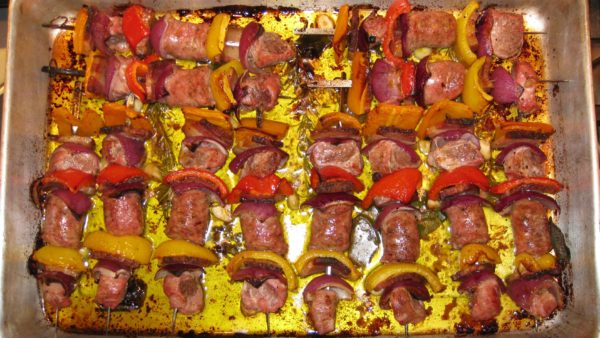
Zia Fidalma’s spiedini ready to be served. The extra cut-up vegetables were roasted along with the spiedini.

There is evidence that humans cooked food on skewers as far back as 300,000 years ago in an area that is encompassed by present-day Germany.

It’s an ancient cooking method.  So, it’s not surprising that food cooked on skewers is found almost everywhere.

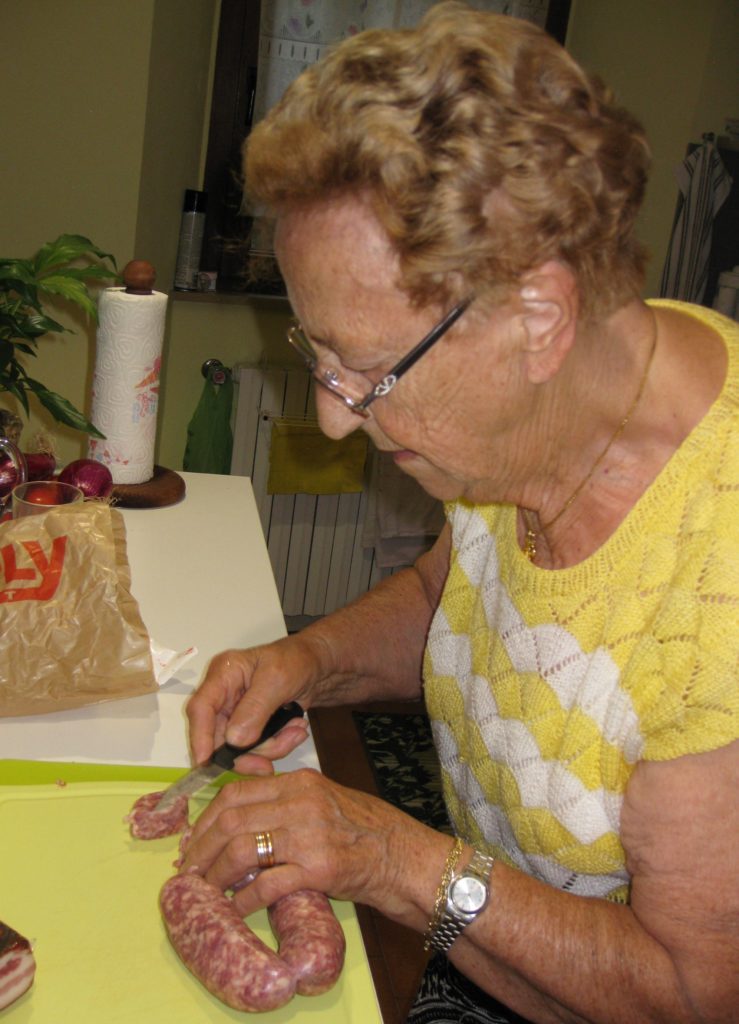
Zia Fidalma cutting sausage for spiedini at her home in Benabbio.

During my month of cooking in Tuscany with Zia Fidalma this past August, spiedini were on the lesson plan.

But first, there was the shopping.  Onions and peppers came from the weekly market in Bagni di Lucca.  Pork and sausage came from her favorite local butcher.  Pancetta tesa came from yet another vendor.  The pantry staples, including olive oil from her own olive grove, were on the ready at home.


Join our mailing list and you’ll never miss a recipe again!


The sausage that Zia Fidalma used is Salsiccia Toscana, Tuscan Sausage.  It does NOT have fennel seed.  What it DOES have appeared to be a mystery, at least temporarily.

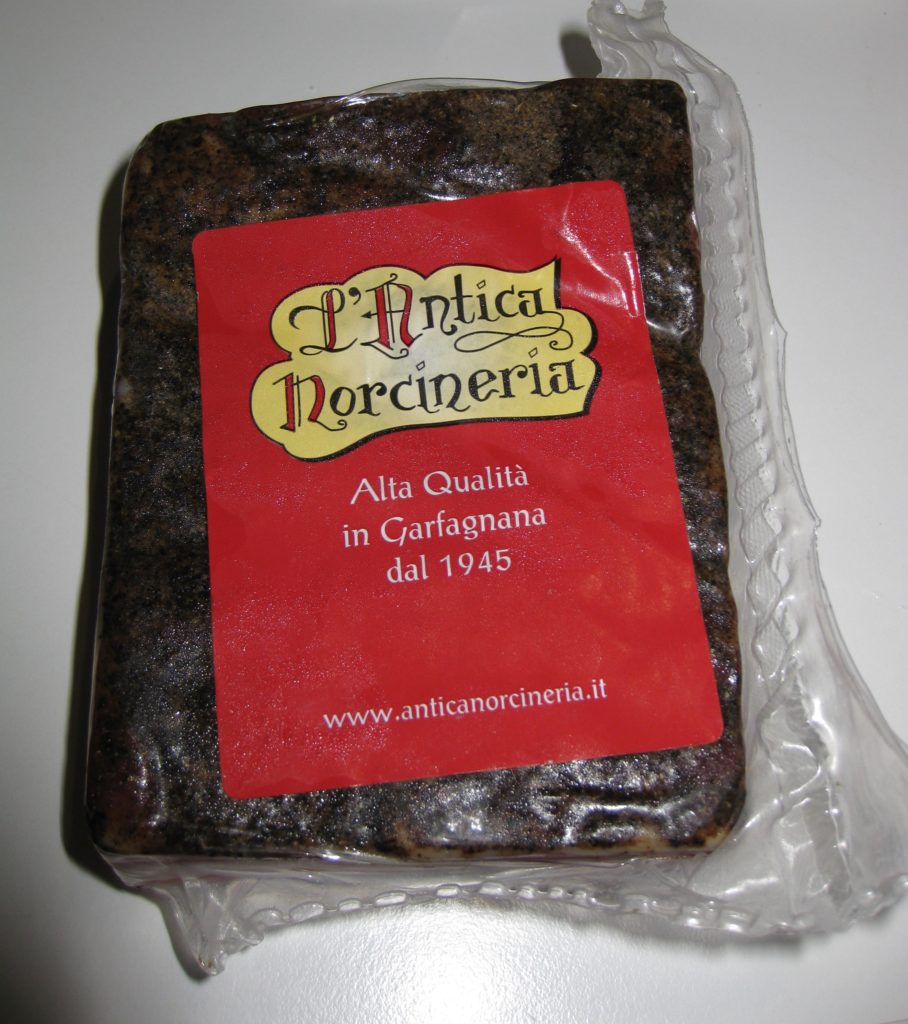
Pancetta Tesa produced in the Garfagnana area of Tuscany.

Butchers in Italy who make it say they don’t know because they buy the spice mix from a company.  Whether or not this is completely true is also unknown, to me at least.  Requests from friends and family in Tuscany also came up empty-handed.

A Google search, in Italian, turned up more useful information.  As expected, there is a range of ingredients.  Every recipe has salt and pepper.  Most have garlic (minced, chopped, or in one recipe, rubbed on one’s hands before one mixes the sausage!).  Many have a bit of wine, both white and red are called for.  I found one recipe that indicated that finely minced sage could be added if desired but NOT fennel!

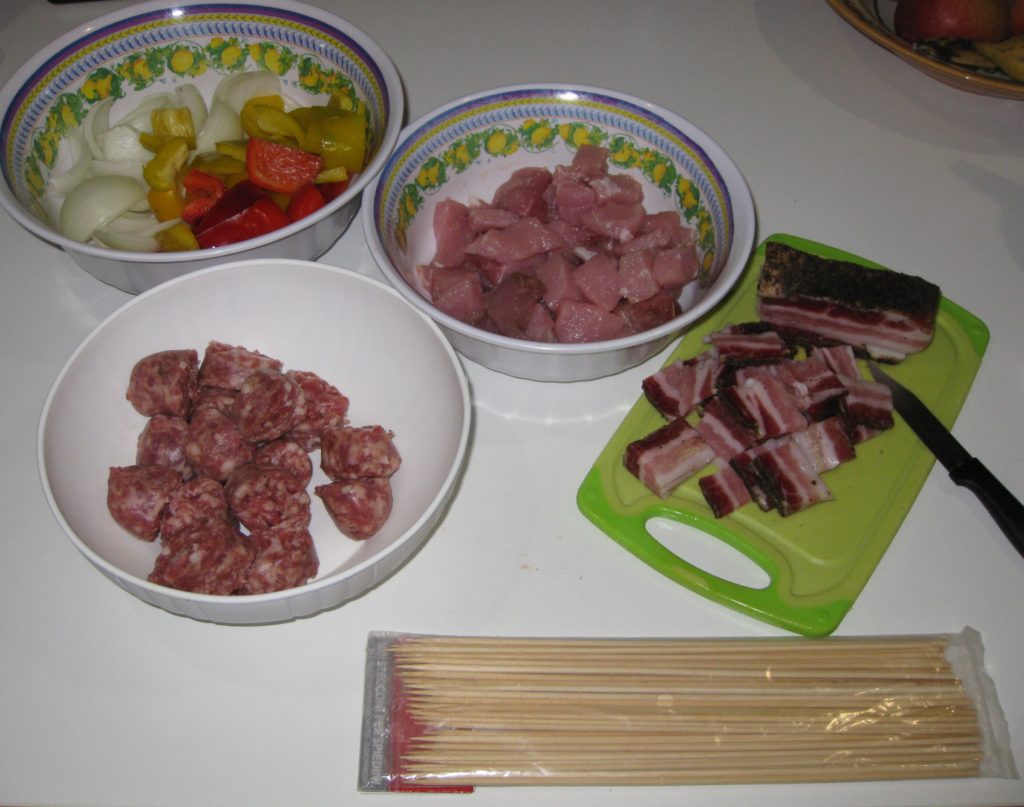
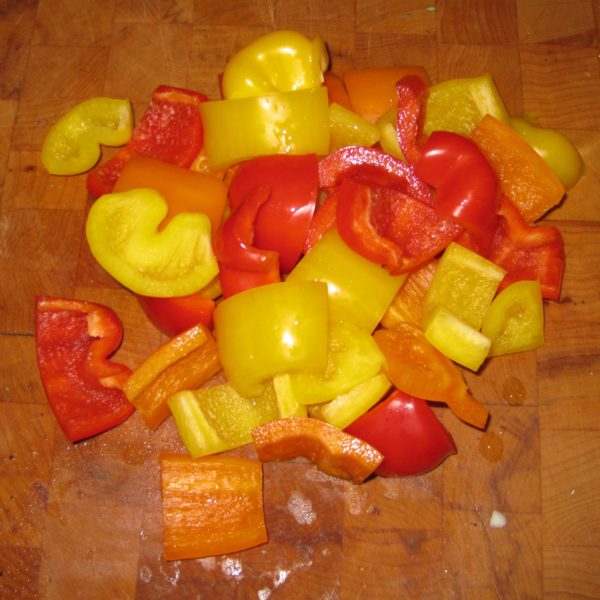
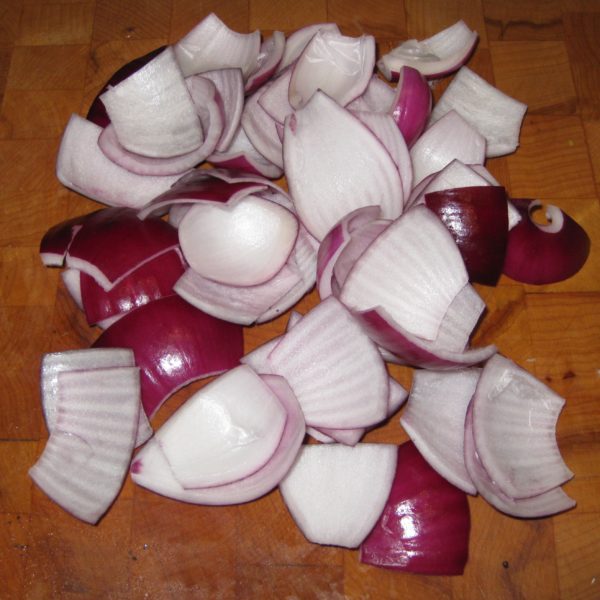
Ingredients ready to be skewered in Zia Fidalma’s kitchen.

So, basically, Tuscan sausage is very sparingly flavored with salt, pepper, garlic and maybe a bit of wine.

For a traditional Tuscan taste for these spiedini, purchase (or make) an “Italian” sausage without fennel and without red pepper or paprika.  (Note, there is no such thing as “Italian” sausage in Italy.  Like most foods in Italy, sausage is hyper-local and varies from region to region, province to province, and often town to town.)

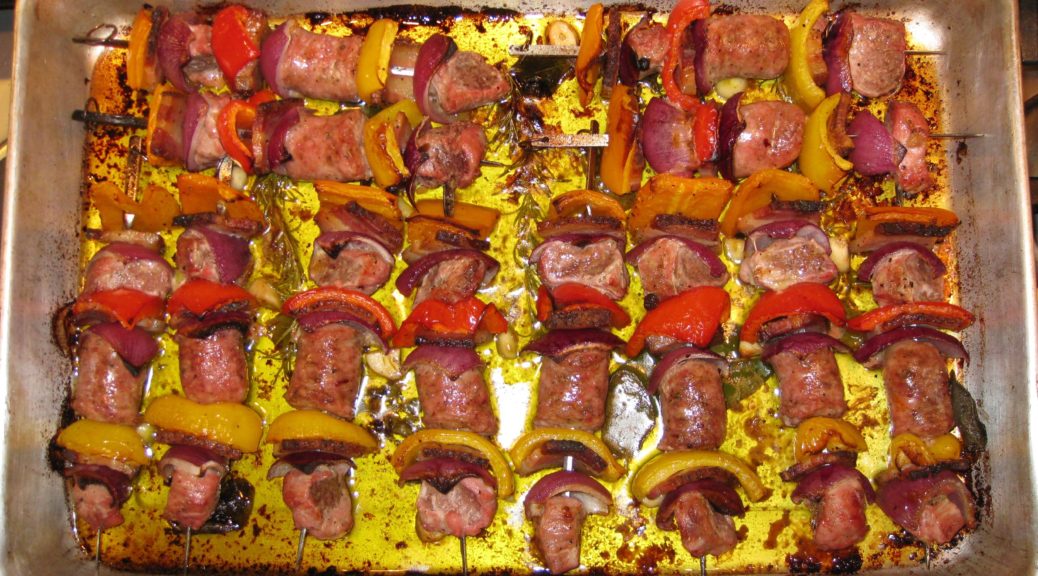
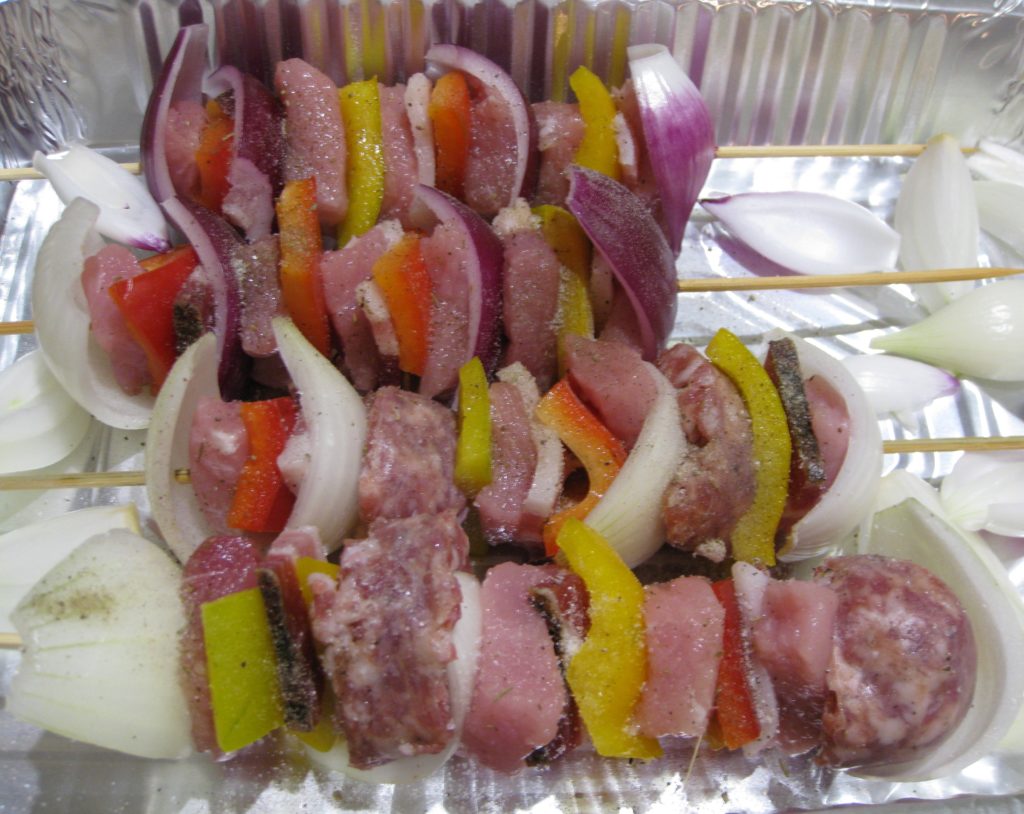
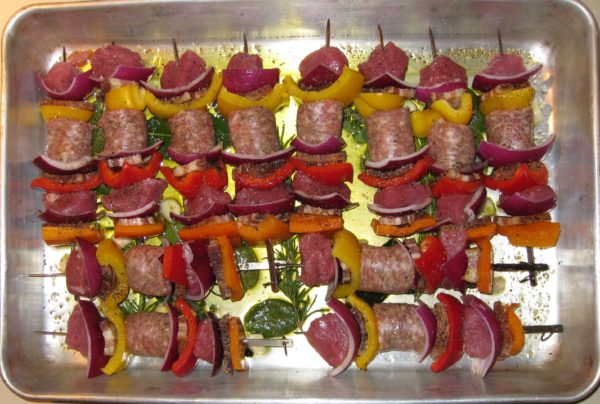
Zia Fidalma’s spiedini ready to be cooked.

Nobody is going to complain, however, if you use sausage with fennel seed as I had to do when I was unable to find sausage without fennel after trying four markets in Santa Fe.


Follow us on your social media platform of choice


Pancetta tesa (sometimes called pancetta stesa) may be more difficult to find than the correct sausage, however.  Pancetta tesa is flat, not rolled.  It is better to use for spiedini because it is easier to cut into shapes that facilitate skewering.

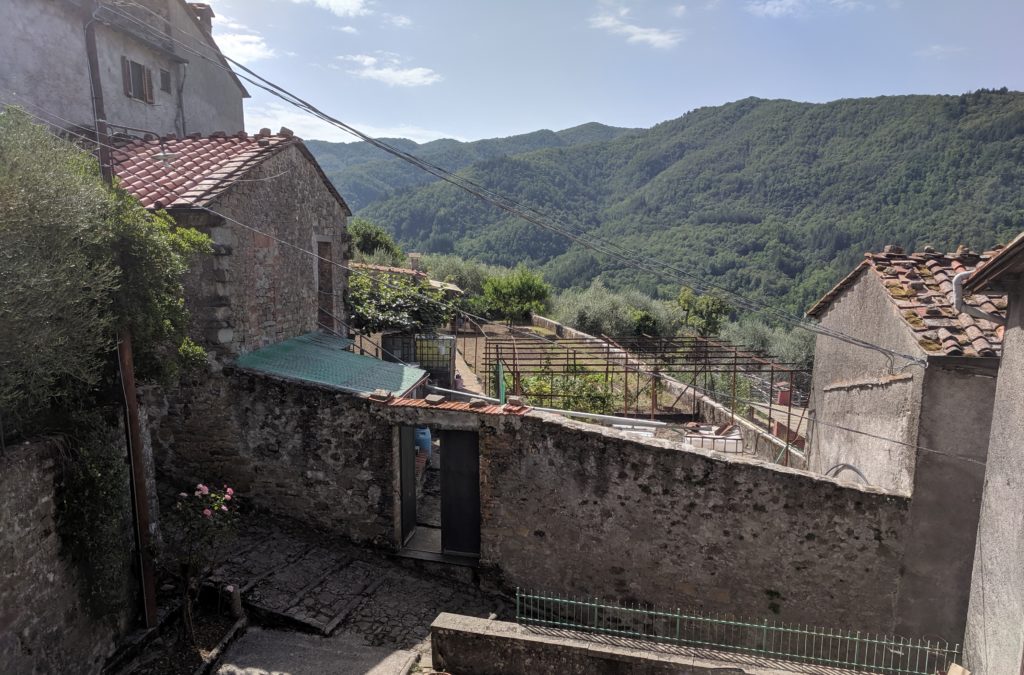
On the same day that I made spiedini with Zia Fidalma, we looked at a house for sale in her village. I’m still smitten by the house and the views and the idea of spending summers there!

While you might spend 30 to 45 minutes cutting up the meat and vegetables and threading them on a skewer, the cooking process is easy.  Feel free to experiment with the herbs, but I’ve called for the herbs that are most commonly used in Tuscan cooking.

Print Recipe
Spiedini (Italian Skewered Meat and Vegetables)
If you want a more elegant look, take the time to cut the ingredients to the same size, approximately 1-inch squares. For a more homestyle appearance, as shown in the pictures, some variability is fine as long as none of the pieces is extremely large or small. The exact sequence of how to skewer ingredients is up to you but I have provided a suggestion that worked well with the quantity of ingredients I had.
Votes: 0
Rating: 0
You:
Rate this recipe!
Course Mains, Meats
Cuisine Italian
Prep Time 45 minutes
Cook Time 30 minutes
Servings
people
Ingredients
Course Mains, Meats
Cuisine Italian
Prep Time 45 minutes
Cook Time 30 minutes
Servings
people
Ingredients
Votes: 0
Rating: 0
You:
Rate this recipe!
Instructions
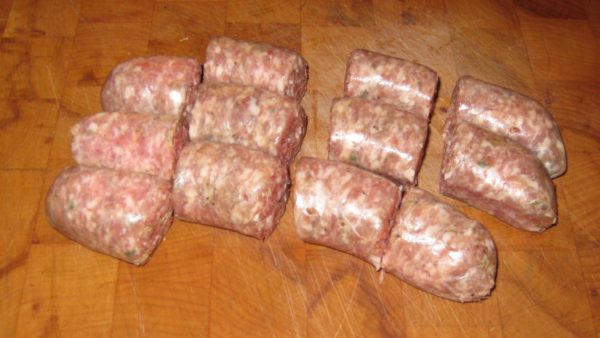
  1. Cut each link of sausage into four pieces.
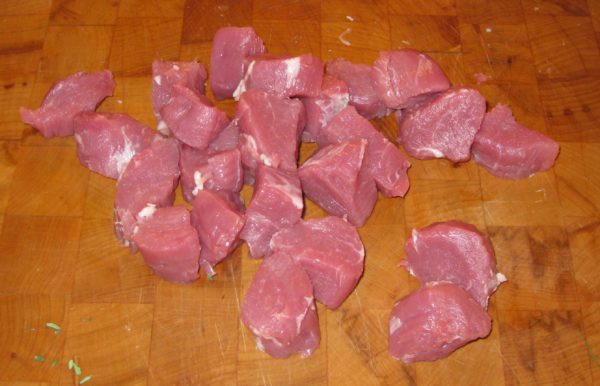
  2. Cut the pork into 24 pieces.
  3. Cut the pancetta tesa into 36 pieces
  4. Cut each pepper into 12 pieces.
  5. Separate the onion into layers and cut 36 pieces of onion about the same size as the pepper pieces
  6. Thread the meat and vegetables onto 12 skewers in the following order: Pepper, Pancetta, Onion, Pork, Pepper, Pancetta, Onion, Sausage, Pepper, Pancetta, Onion, Pork.
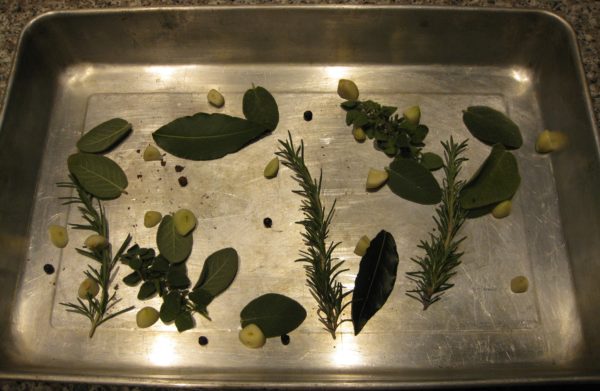
  7. On the bottom of a shallow roasting pan large enough to hold the skewers in a single layer, put the rosemary, sage, bay leaves, oregano, juniper berries and garlic.
  8. Put the skewers on top. Season generously with salt and pepper. Drizzle with olive oil.
  9. Roast at 400°F until the meat is cooked, approximately 20 to 30 minutes, basting occasionally with the oil from the pan.
  10. Arrange the skewers on a serving platter. Pour the oil over top being sure to add the cooked herbs and garlic. Serve immediately.
Recipe Notes

Copyright © 2019 by Villa Sentieri, LLC. All rights reserved.
Share this Recipe

Pancetta

March 19, 2018

I didn’t grow up with a tradition of curing meats at home.  There was a long tradition of homemade hot Italian sausage headed up by Uncle Joe Medile but no meat curing.

I started curing meats in medical school.  These were wet-cured products, corned beef and pickled pork.  I used them primarily to make West Indian food which was a significant part of my repertory at the time.

I bought myself a container of salt peter (sodium nitrate) and mixed my cures from old recipes.  The use of salt peter is no longer permitted commercially for wet cures and only as a minor addition to a cure containing sodium nitrite for meats that require a long, dry cure.  Wet cures are now made with sodium nitrite only.


Follow us on your social media platform of choice


During a long, dry cure, the sodium nitrate breaks down into sodium nitrite, acting like a time-release curing agent.

I frequently had two large containers of wet cure in my kitchen, one for beef and one for pork.  Refrigeration wasn’t necessary, which was a good thing, because I didn’t have lots of extra refrigerator space as a medical student.

Because of the small quantities of nitrates and nitrites used to cure meat, it is much easier to buy curing salt that consists mostly of table salt with appropriate amounts of curing salt mixed in.  Prague Powder #1 is a mixture of salt and sodium nitrite.  It is used for wet curing and for dry curing that doesn’t extend for weeks.  Prague Powder #2 is salt with both sodium nitrite and sodium nitrate.  It is used for dry curing.  Prague Powders are always colored pink to differentiate them from ordinary salt.

After my first year of medical school my meat curing came to an end as I was involved in much more demanding clinical rotations and then ultimately internship and residency.


Click HERE to join our mailing list and you’ll never miss a recipe again!


Though I occasionally made Italian sausage, I didn’t start curing meats again until around 2000 when we had a temperature and humidity controlled wine cellar at The Henry Rohkam House, our home in Chicago.

The Rohkam House in Chicago when we lived there

It actually started innocently enough.  When she heard about our wine cellar, Aunt Margie (my mother’s sister and Uncle Joe’s wife) asked me if I was going to make salami.  I hadn’t thought about it until that point but it seemed clear to me that she had memories of “the old Italian guys,” perhaps even her father, making salami and curing it in their wine cellars.

There was a temperature and humidity controlled wine cellar in the basement of the Coach House that was perfect for curing salumi of various types

For several years, I made different types of cured salumi including Calabrese salami and pepperoni.

It was fun, and really pretty easy.  It was also rewarding to slice up one’s own homemade salami for an antipasto platter when company arrived.

The drawing room at Villa Sentieri

Although we have a temperature and humidity controlled wine cellar at Villa Sentieri in Santa Fe, I haven’t made salami since moving there full time in 2012.  I have, however, made pancetta.  In fact, for a number of years now the only pancetta that I’ve used has been my own home-cured version.

The wine cellar at Villa Sentieri. We’ve been trying to drink down our collection, hence the bare look!

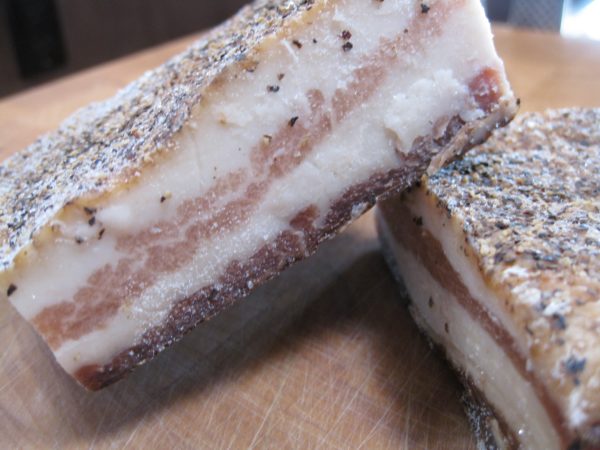
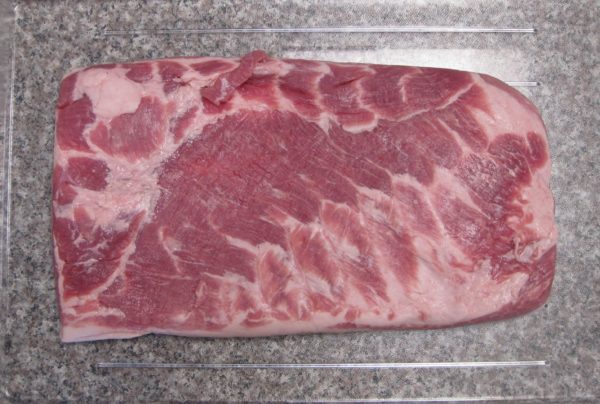
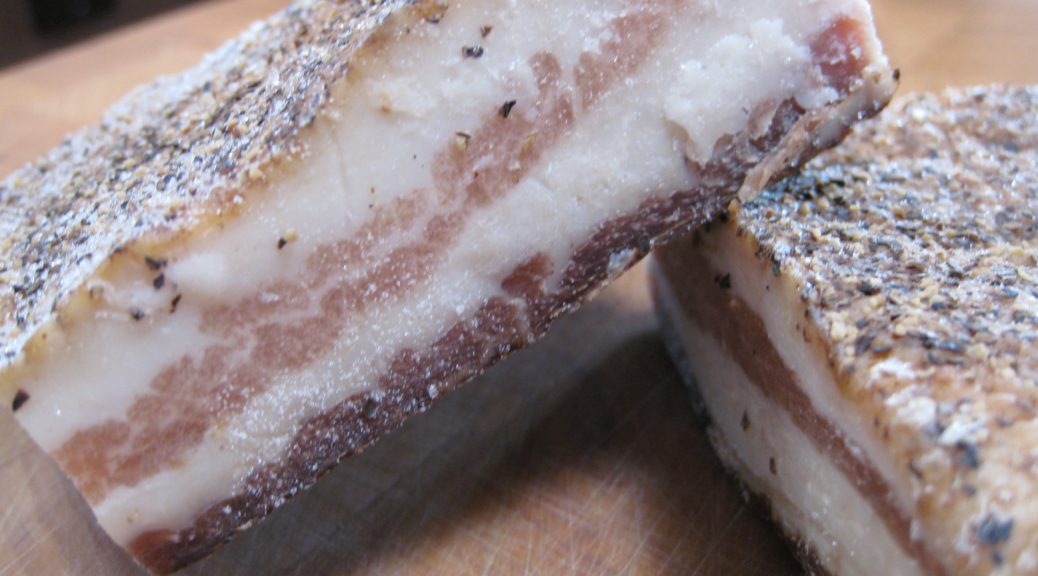
It’s even easier than making salami.  You just weigh out the ingredients, rub them on a slab of pork belly and refrigerate it.  There is no grinding of meat and stuffing of casings.  Although it takes several months to turn pork belly into pancetta, the actual active time can’t amount to more than 30 minutes over the entire time period, and most of that is the initial step of weighing out the ingredients and rubbing them on the meat.

Although I now buy about an eight-pound piece of pork belly when making pancetta, I started making pancetta with one-pound pieces from my butcher.  If you’re at all inclined to try home curing meat, a small quantity of pancetta is a great place to start.


If you have a favorite family recipe and a bit of a story to tell, please email me at santafecook@villasentieri.com and we can discuss including it in the blog. I am expanding the scope of my blog to include traditional recipes from around the country and around the world. If you haven’t seen Bertha’s Flan or Melinda’s Drunken Prunes, take a look.  They will give you an idea of what I’m looking for.


Print Recipe
Pancetta
The amounts below are for 450 grams of pork belly, approximately one pound. You will need to increase the ingredients proportionately if the pork belly is larger. Measurements are critical with the salt and Prague Powder. If you are making a larger quantity, a small electric coffee mill can be used to grind the spices. Just be certain they are finely powdered before mixing with the salt.
Votes: 0
Rating: 0
You:
Rate this recipe!
Prep Time 30 minutes
Passive Time 5 weeks
Servings
variable
Ingredients
Prep Time 30 minutes
Passive Time 5 weeks
Servings
variable
Ingredients
Votes: 0
Rating: 0
You:
Rate this recipe!
Instructions
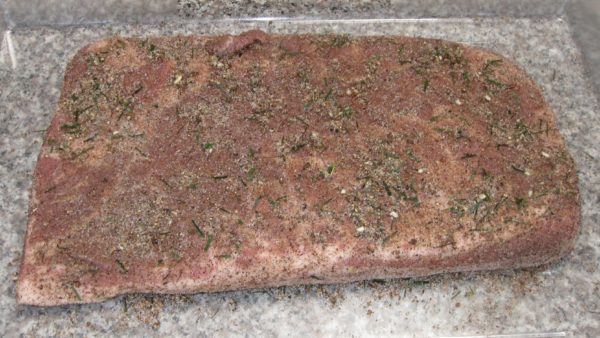
  1. Weigh out the ingredients, increasing the amount in proportion to the weight of the pork belly.
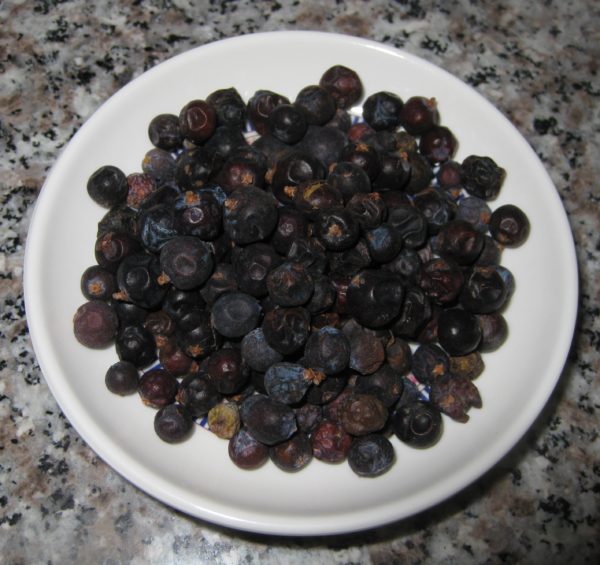
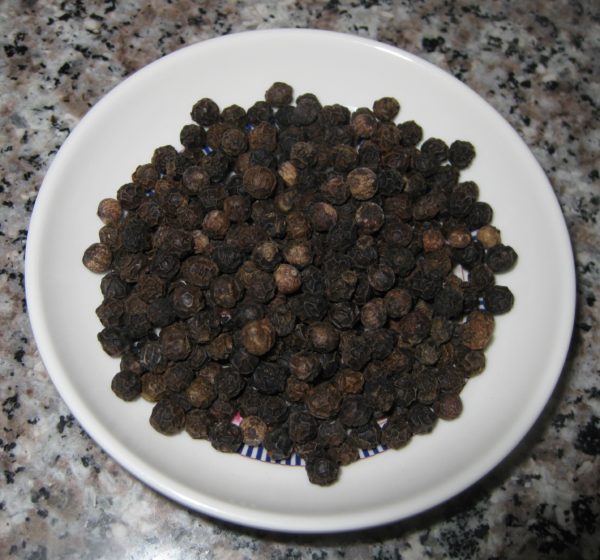
  2. Finely grind the juniper berries, peppercorns, allspice, and cloves in a mortar or small electric coffee grinder.
  3. Juniper berries
  4. Black peppercorns
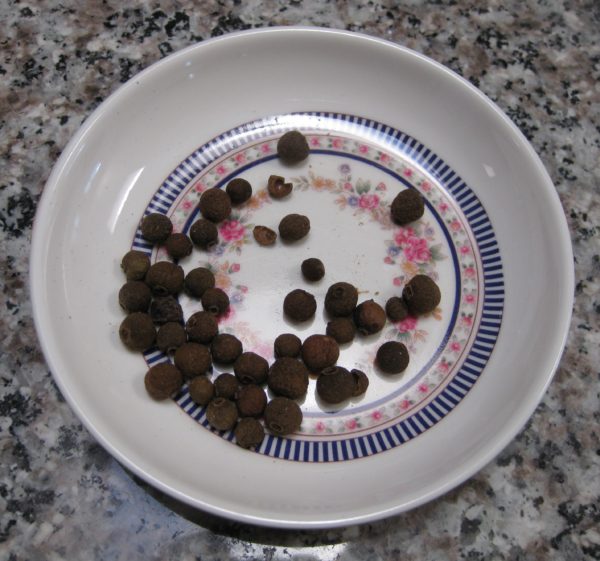
  5. Allspice berries
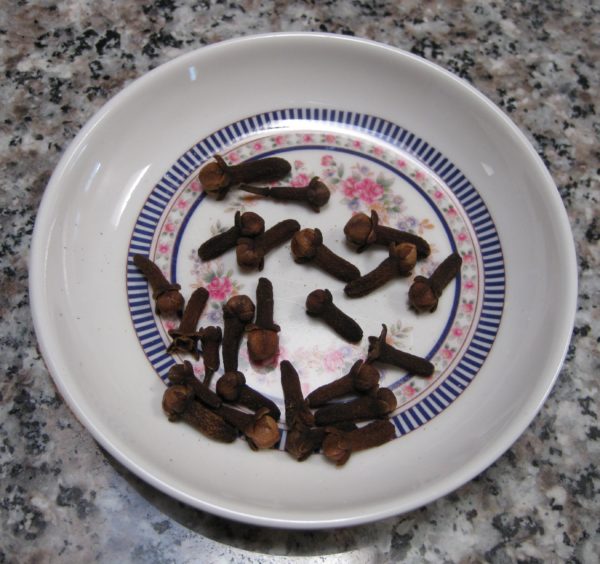
  6. Cloves
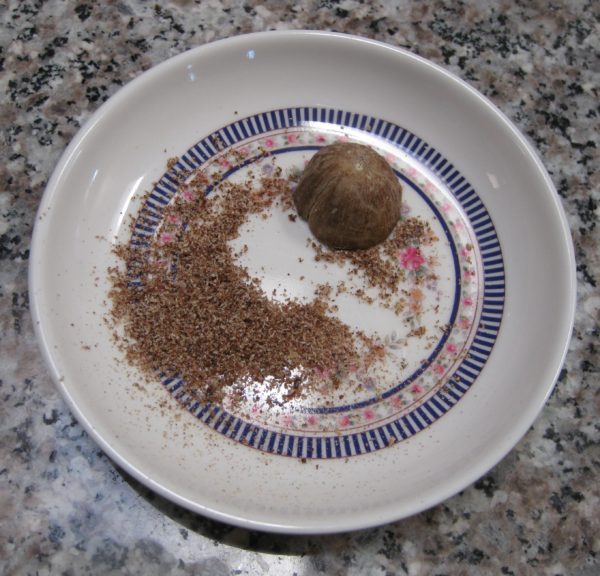
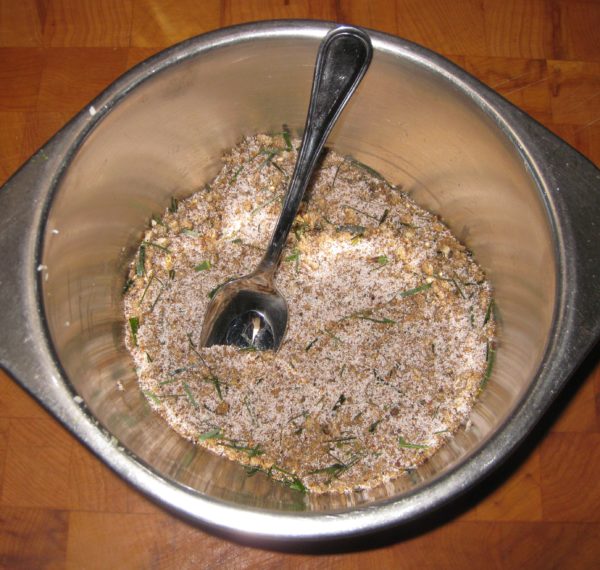
  7. Combine the ground spices with the nutmeg, shredded bay leaf, garlic, salt and Prague Powder #2.
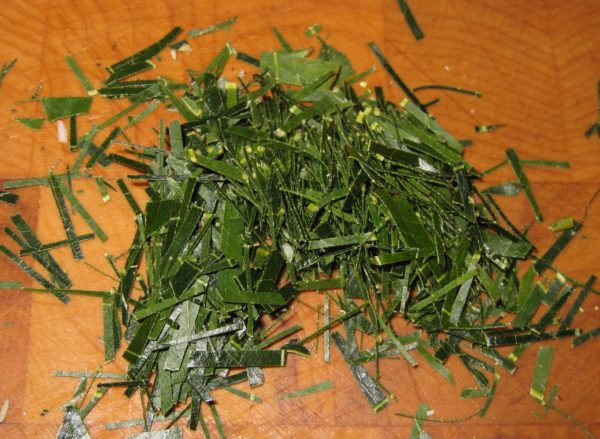
  8. Bay leaf
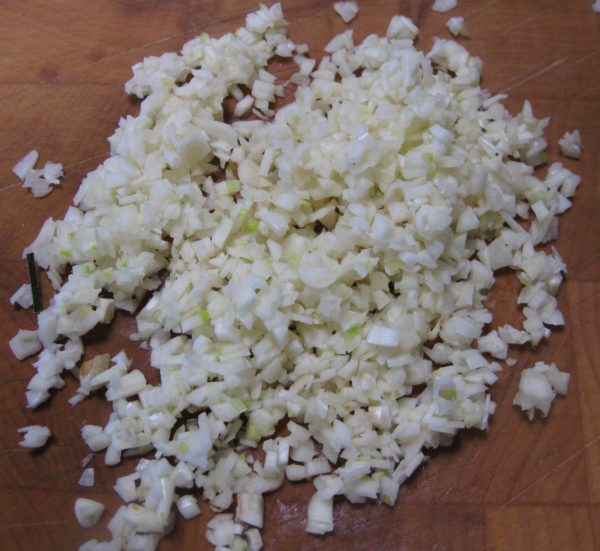
  9. Garlic
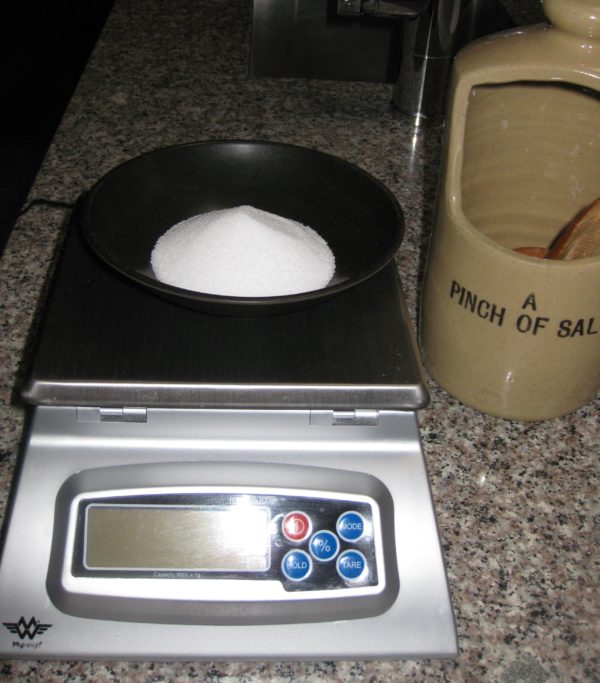
  10. Canning and pickling salt
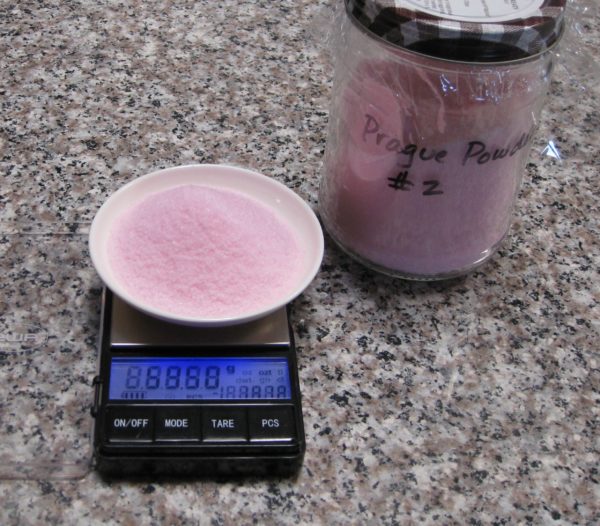
  11. Prague Powder #2
  12. Mix well.
  13. Place the pork belly in a non-reactive container with a tight-fitting cover.
  14. Rub the cure over the meat, massaging it in.
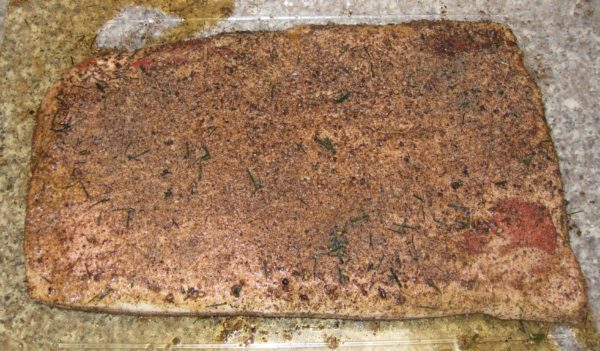
  15. Refrigerate the pork belly, tightly covered, turning every 2-3 days for 7-10 days, until it is of a uniform firmness. Some liquid will leach out of the pork.
  16. Rinse the cured pork belly to remove excess cure.
  17. Pat the cured pork belly dry.
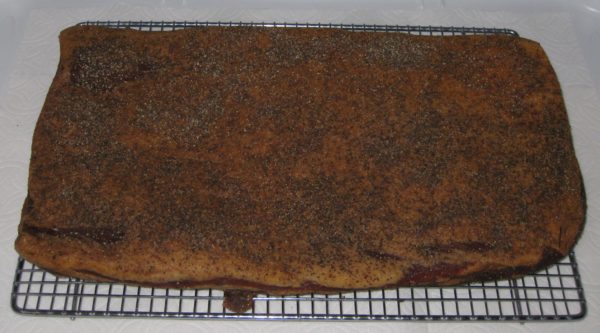
  18. Season the pancetta with a generous amount of coarsely ground black peppercorns.
  19. Weigh the cured pork belly and write down the weight and the date.
  20. Put the cured pork belly fat side up on a non-reactive rack over a shallow tray and refrigerate, uncovered, until it loses 20-25% of its weight, approximately 4 weeks.
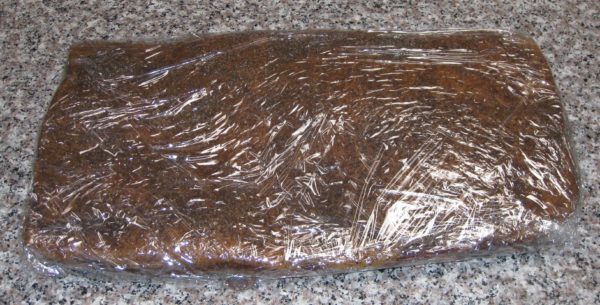
  21. Wrap it tightly in plastic wrap and refrigerate approximately one week to allow it to evenly hydrate. Even so, the edges will be drier than the middle.
  22. If you are not using the pancetta within a few weeks, cut it into pieces and freeze, tightly wrapped.
Recipe Notes

Copyright © 2018 by VillaSentieri.com. All rights reserved.
Share this Recipe

Slow-Cooked Pork Roast with Sauerkraut and Sausage

December 29, 2017

I grew up in Johnstown, PA. The town was founded by a Swiss German immigrant, Joseph Schantz in 1800. Over the years, in various documents, recorders anglicized his last name, most commonly rendering it “Johns,” a name the family ultimately adopted. The name of the town was ultimately changed from Schantzstadt to Johnstown.

Johnstown Panorama (Photo by Greg Hume)

I can’t say there was much of a noticeable German influence when I was growing up in the 1950s to 1970s, except for one: New Year’s Day dinner.

Regardless of one’s ethnic background, the most common dinner on New Year’s Day was “Pork and Sauerkraut.” It was commonly acknowledged that this was a nod to Johnstown’s German heritage. And, much like black-eyed peas in the South, was viewed as a way to bring good luck to the coming year.

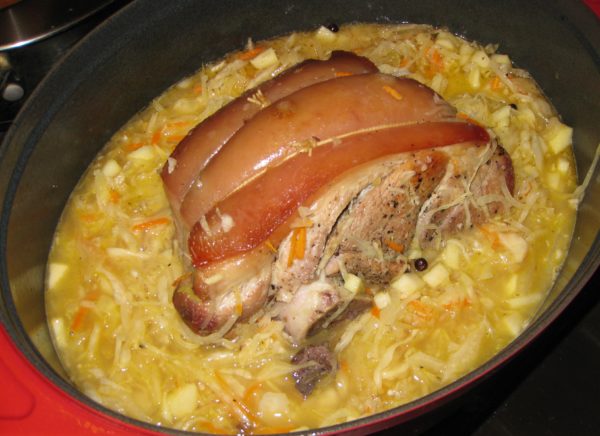
As you might expect, recipes for pork and sauerkraut vary. Sauerkraut and a large cut of pork are, obviously, essential. Sausages of some sort are common, as are dumplings.


Click HERE to join our mailing list and you’ll never miss a recipe again!


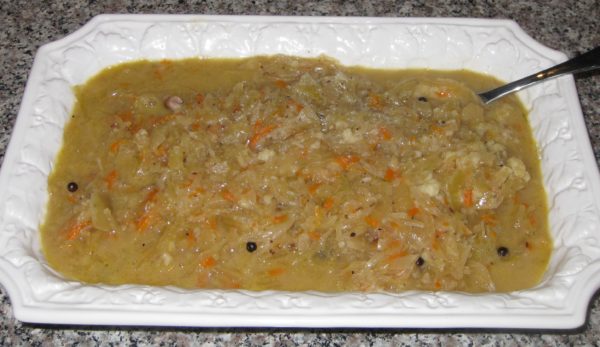
The recipe that I use is close to what my mother made except that I enhance the seasonings in the sauerkraut along more Germanic lines, with onion, carrot, apple, and juniper berries. My mother’s was more basic and similar to the way the Slovak side of my family prepared sauerkraut. My cousin Angie, of Italian heritage, added a brown gravy to hers, which also has Germanic roots.

The Inclined Plane goes from downtown Johnstown to the suburb of Westmont (Photo by Greg Hume)

Long and slow cooking is essential as much for pull-apart-tender pork as it is to mellow out the sauerkraut. Among Central and Eastern Europeans, sauerkraut tends to be cooked for several hours to tenderize it and tame its sour bite.

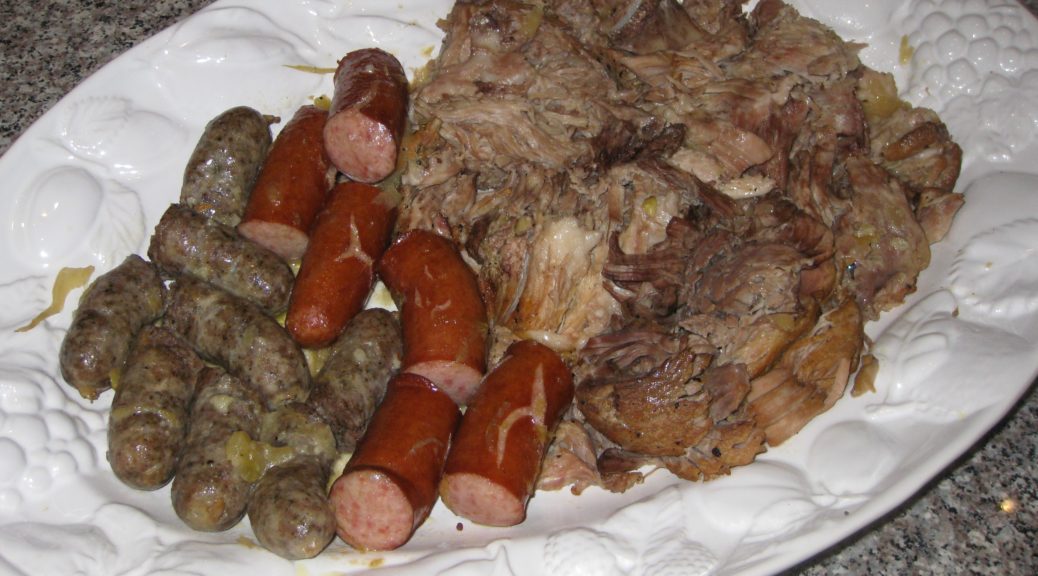
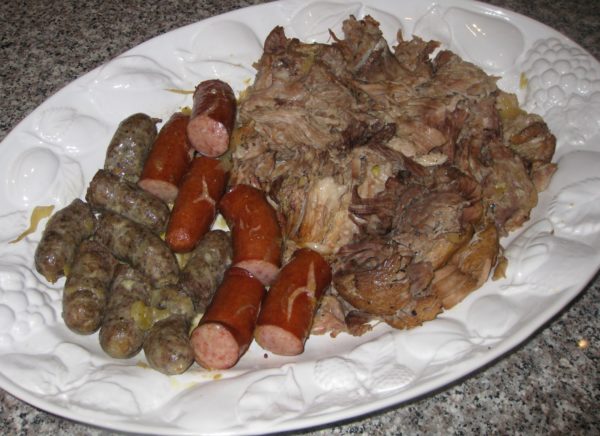
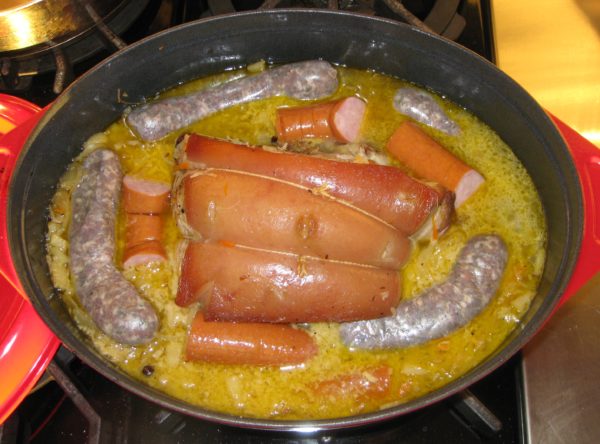
Kielbasa was a favorite sausage in our house and was always included in pork and sauerkraut. It was always locally made and never procured from large national meatpackers. Often times, other sausages, such as bockwurst or bratwurst, would also be added. But kielbasa was king in pork and sauerkraut and, in the sausage pantheon, second only to hot Italian sausage in our house.


Follow us on your social media platform of choice


The kielbasa that we ate on a regular basis was made from pork, or pork and beef, but venison kielbasa was common too. The first day of deer-hunting season was a public school holiday. You can imagine the importance of venison.

Some of the hunters would have their venison (or some of it, at least) turned into kielbasa, flavored with garlic and smoked. I remember on several occasions going with my father to have work done on the car in late December. The service station had a big platter of meats, cheeses, and pickles laid out for customers to nibble on. Among the offerings was venison kielbasa made from a deer that the owner of the service station had shot.

One of my resolutions for the new year is to find a small, artisanal purveyor of kielbasa that’s as good as what I remember from childhood.


If you have a favorite family recipe and a bit of a story to tell, please email me at santafecook@villasentieri.com and we can discuss including it in the blog. I am expanding the scope of my blog to include traditional recipes from around the country and around the world. If you haven’t seen the post on Melinda’s Drunken Prunes, it will give you an idea of what I’m looking for.


Print Recipe
Slow-Cooked Pork Roast with Sauerkraut and Sausage
Saueraut from the refrigerated section of the market is usually of better quality than canned, especially if the sauerkraut is from an artisinal producer. Draining the sauerkraut and rinsing it well under cool water will produce a more mellow taste. If you want dumplings with this (and who wouldn't?), remove the meat from the pan and keep warm while cooking dumplings on top of the sauerkraut on the stovetop. See the notes section below for my recipe for dumplings.
Votes: 0
Rating: 0
You:
Rate this recipe!
Course Mains, Meats
Cuisine German
Prep Time 20 m
Cook Time 6 1/2 hours
Servings
people
Ingredients
Course Mains, Meats
Cuisine German
Prep Time 20 m
Cook Time 6 1/2 hours
Servings
people
Ingredients
Votes: 0
Rating: 0
You:
Rate this recipe!
Instructions
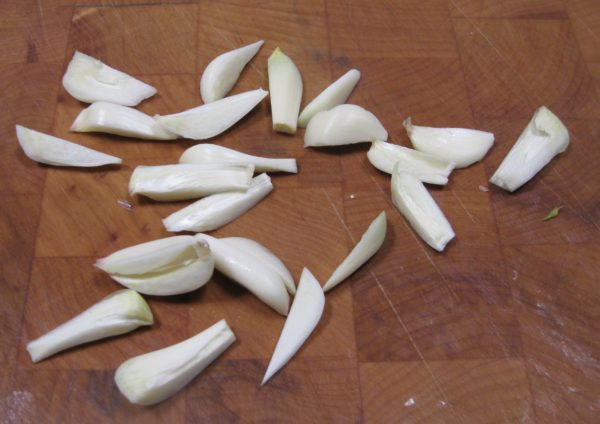
  1. Cut the cloves of garlic, top to bottom, into approximately 4-6 slivers each.
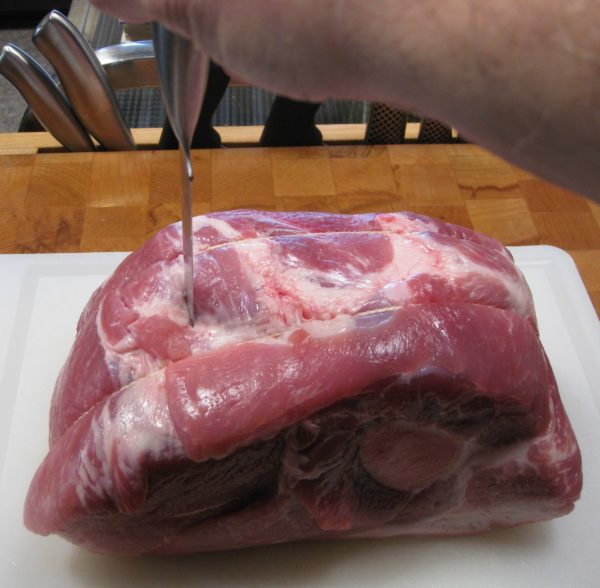
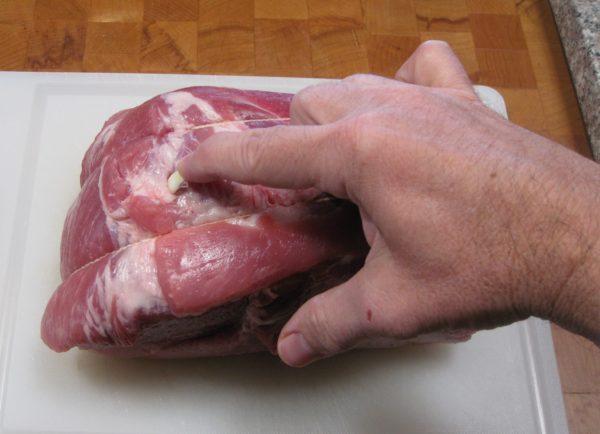
  2. Pierce the pork around the outside about 1 inch deep with the tip of a sharp knife.
  3. Insert slivers of garlic into the slits
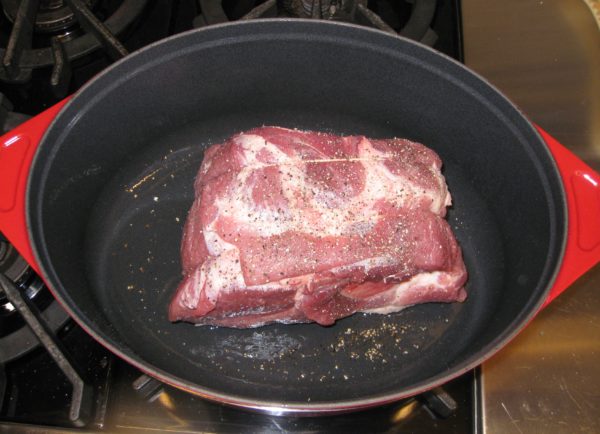
  4. Season the pork generously with salt and pepper.
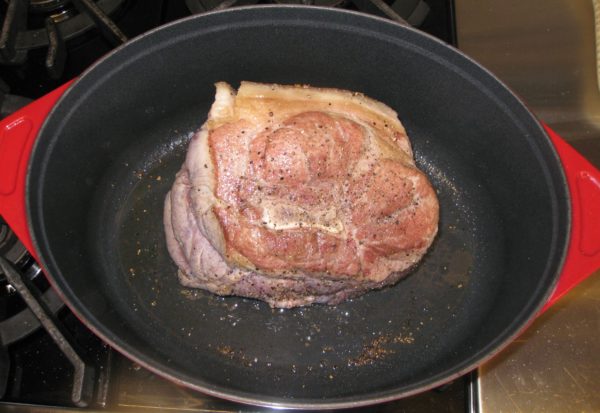
  5. Brown the pork in a heavy Dutch oven using the oil.
  6. Add white wine, cover tightly, and transfer to oven at 350°F.
  7. After one hour, reduce heat to 225°F.
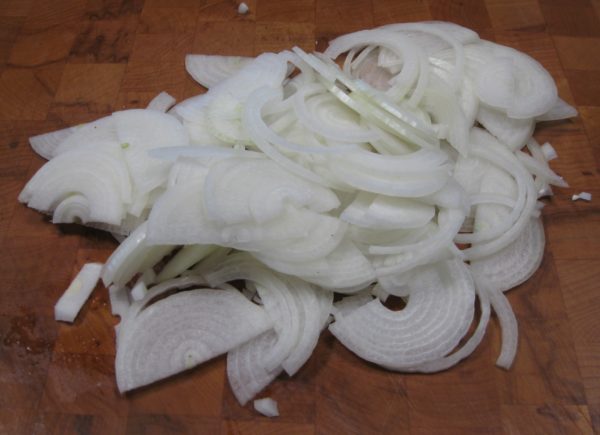
  8. Slice the onions in half top-to-bottom then cut crosswise into thin slices.
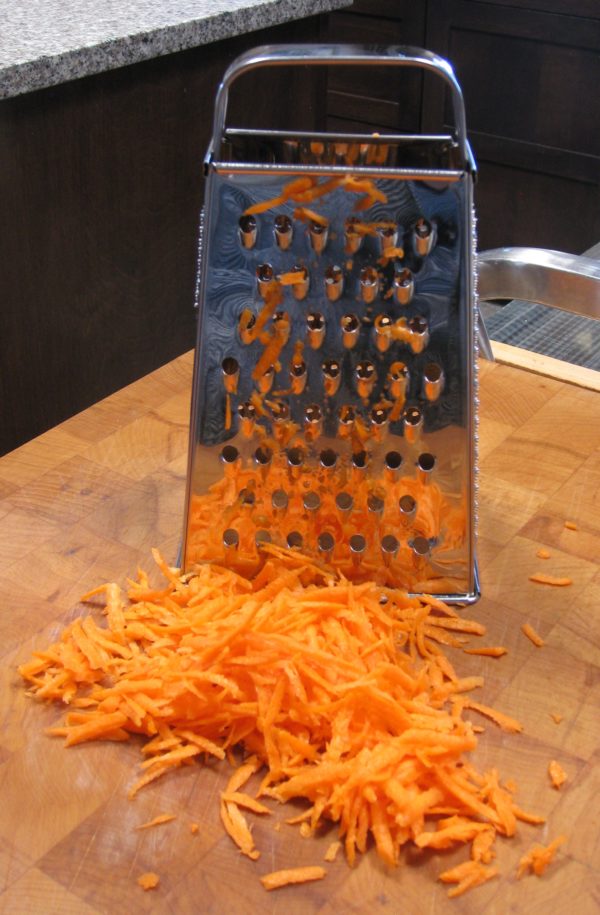
  9. Shred the carrot on the tear-drop side of a box grater.
  10. Cut the apple into small dice.
  11. After the pork has been cooking for a total of about 3 hours, drain and rinse the sauerkraut.
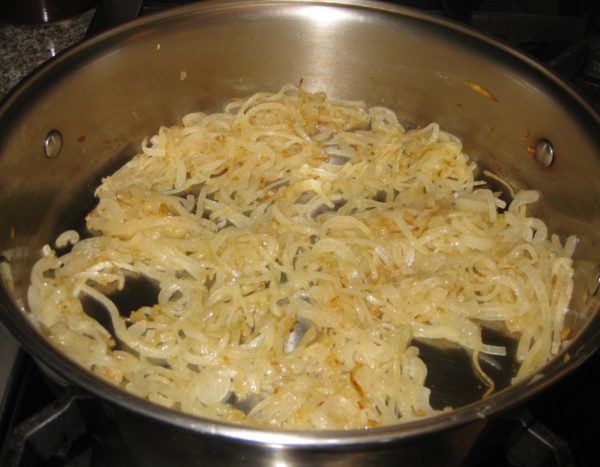
  12. Slowly sauté the onion in the butter or bacon fat until caramelized, approximately 20 minutes.
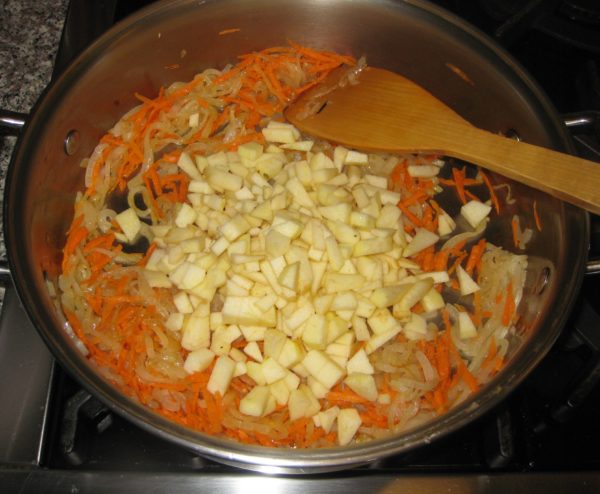
  13. Add the shredded carrot and diced apple and sauté until heated through.
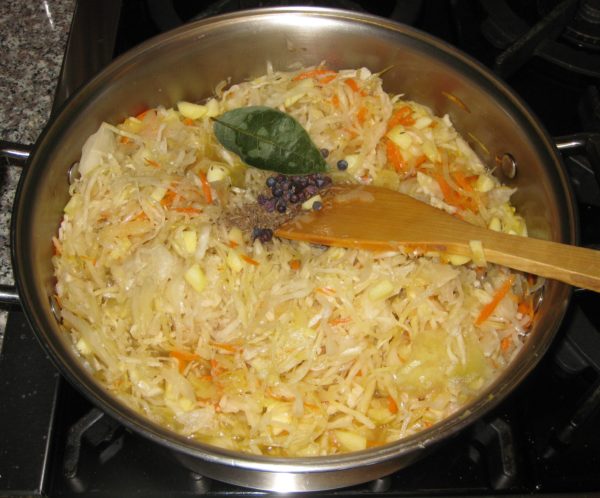
  14. Add sauerkraut, juniper berries, caraway seeds, bay leaf, and black pepper to taste.
  15. Add water and bring to a boil.
  16. Add the boiling sauerkraut to the pork after the pork has cooked for a total of four hours (1 hour at 350°F plus 3 hours at 225°F).
  17. An hour later nestle the kielbasa and other sausage into the sauerkraut.
  18. Continue to cook, covered, until the pork is fall-off-the-bone tender. Approximately 1-2 more hours.
  19. Remove the pork and sausages.
  20. Skim fat from the top of the sauerkraut.
  21. Put the Dutch oven on the stove and cook dumplings on top of the sauerkraut if desired.
  22. Meanwhile, pull the pork into big chunks. Keep the pork and sausages warm.
  23. Serve the sauerkraut in a separate bowl, or use it to surround the pork and sausages.
Recipe Notes

This is where you can find my recipe for dumplings.

Copyright © 2017 by VillaSentieri.com. All rights reserved.

Share this Recipe