Funghi Ripieni (Stuffed Mushrooms)

September 29, 2021

“Your grams are killing me!”

That’s what a friend told me recently regarding some of the recipes on my blog.

His comment came as he was considering how much pasta to cook for dinner.  I repeated what Great Aunt Fidalma told me:  80 grams per person.

Making the change to the metric system (International System or SI) of measurement isn’t easy and we don’t do much as a country to catalyze the change.  In some areas, though, we’ve made the transition.
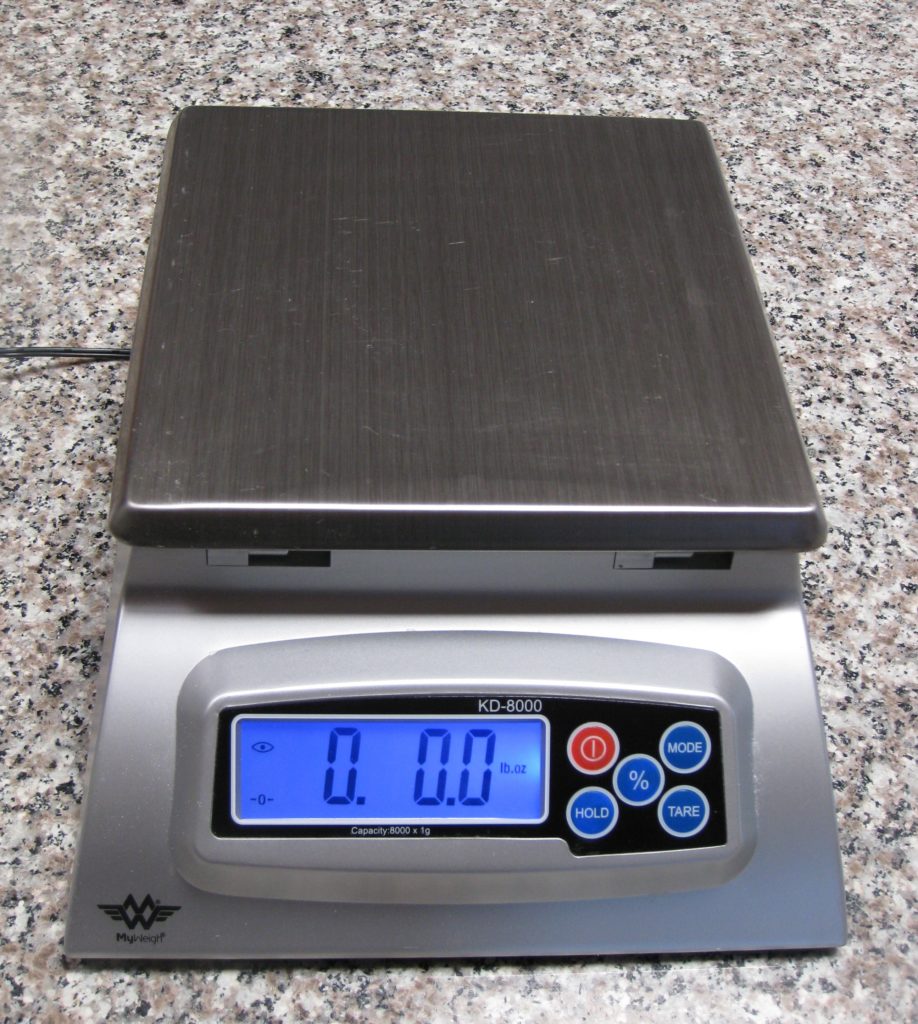
The digital scale I use on a daily basis. I also have two battery powered scales that are just as accurate that cost $20 each.

Have you looked carefully at a wine or liquor bottle recently?  The contents are specified in the metric system even as we continue to refer to a bottle of liquor as a “fifth.”  Until January 1979, a liquor bottle, indeed, held one-fifth of a US gallon, approximately 757 ml.  Standard liquor bottles now contain 750 ml, just a smidge less.


Join our mailing list and you’ll never miss a recipe again!


Cooking, and especially baking, is much easier with the metric system.  And that doesn’t even take into account the ease of weighing ingredients rather than trying to measure cups and fractions of cups.

I find that I am frequently scaling recipes up and down, but usually up.  If the recipe calls for 3/4 cup of water, and I’m upscaling by 20%, I end up with the unwieldy amount of 9/10 cup of water.  If I were using metric measures, I’d be starting with something like 180 ml and increasing by 20% to get to 216 ml which is much easier to measure out than 9/10 of a cup.
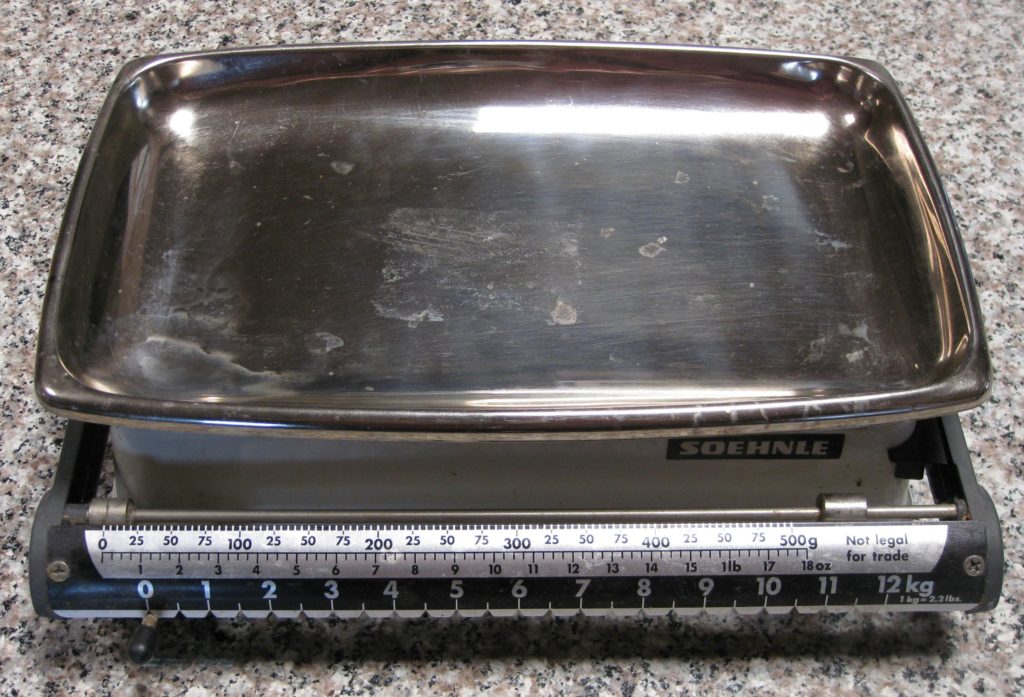
The manual scale that I used for many years. It has since been mothballed.

Let’s face it, how do you measure 9/10 cup.  You first start by determining what 1/10 cup is, which is 1.6 tablespoons.  Multiplying that by 9 gets you 14.4 tablespoons.  But since you’re not going to measure out that many tablespoons one by one (and you’re likely to get pretty inaccurate after a few tablespoons, if you do) you work backwards to figure out what standard measure comes close.  That gets you back to the 3/4 cup (12 tablespoons) you started with plus 2.4 tablespoons.

For most purposes, you can treat 2.4 tablespoons as if it were 2.5 tablespoons since the difference is likely within the margin of error for measuring with kitchen equipment.  But unless you have a set of measuring spoons that contains a 1/2 tablespoon measure, you’ll be measuring out 2 tablespoons plus 1 teaspoon plus 1/2 teaspoon… if you can remember how many teaspoons are in a tablespoon.

So rather than just pouring 215 ml into a measuring cup (a reasonable approximation for 216 ml and one that can be found marked on some metric measuring “cups”) you’d be measuring out ¾ cup plus 2 tablespoons plus 1 teaspoon plus 1/2 teaspoon.  In my book, that’s crazy!


Follow us on your social media platform of choice


It gets even easier if you give up the notion of measuring by volume and measure everything by weight, even liquids, as is typically done in professional kitchens.  You can get a very accurate scale for less than $20.  With that, you could weigh out the 216 grams of water (equivalent to 216 ml of water) and call it a day:  no guessing, no eyeballing, no complex calculations needed.

For weighing small quantities this little scale can’t be beat for accuracy.

So really, what’s holding you back from giving the Metric System a go?

It’s time for me to get off my soapbox (for now) and actually cook something.  How about stuffed mushrooms?  I’ll even write the recipe in American measures!!
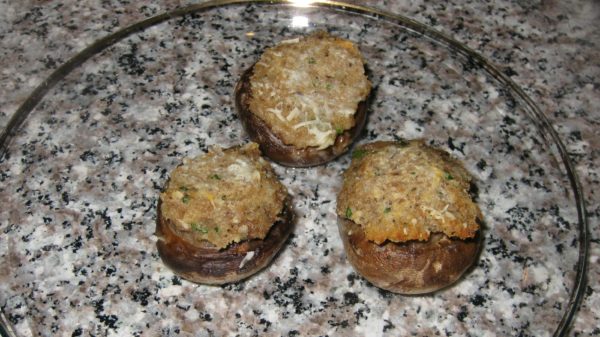
Print Recipe
Funghi Ripieni (Stuffed Mushrooms)
These stuffed mushrooms come together quickly and can be made early in the day and refrigerated until it’s time to pop them in the oven.
Votes: 0
Rating: 0
You:
Rate this recipe!
Prep Time 20 minutes
Cook Time 35 minutes
Servings
people
Ingredients
Prep Time 20 minutes
Cook Time 35 minutes
Servings
people
Ingredients
Votes: 0
Rating: 0
You:
Rate this recipe!
Instructions
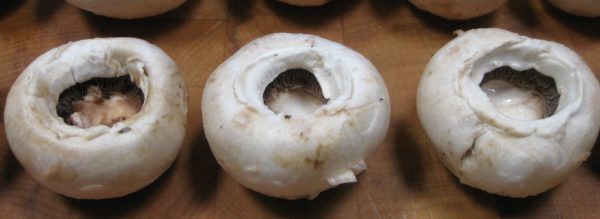
  1. Wipe the mushrooms with a damp cloth.
  2. Remove the stems.
  3. Finely grind the stems in a food processor.
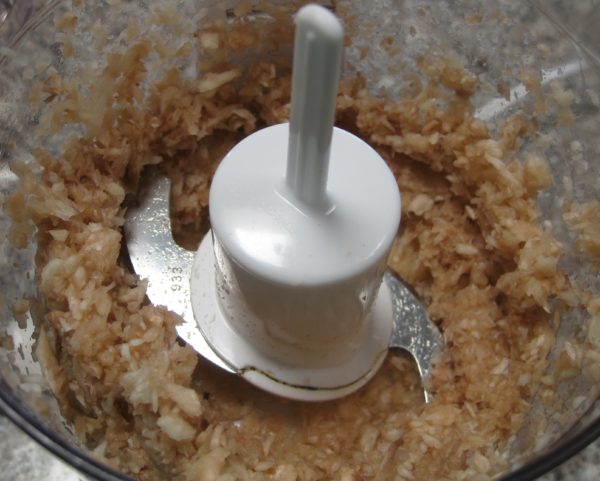
  4. Sauté the ground stems in the butter with a pinch of salt until the liquid is drawn out and then completely evaporated.
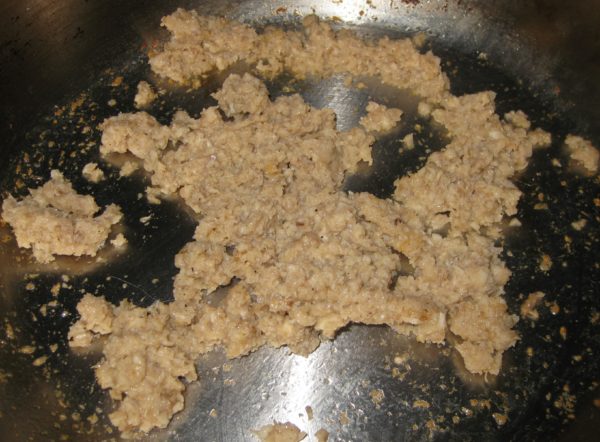
  5. Mix the cooked stems with the breadcrumbs, eggs, parsley, garlic, oregano, and salt and pepper to taste.
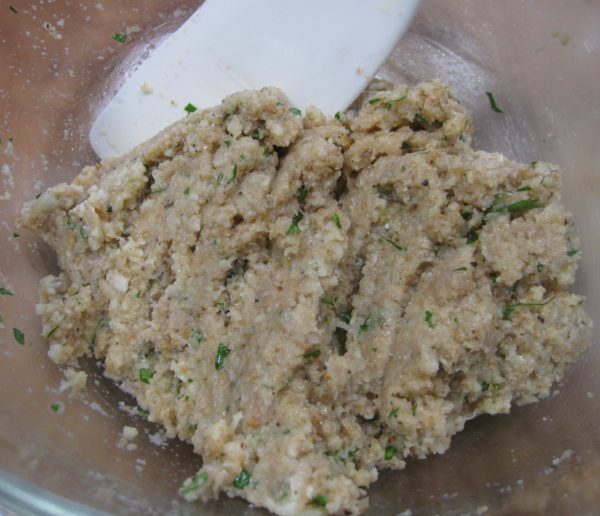
  6. Cool slightly and add 3 tablespoons Parmesan cheese.
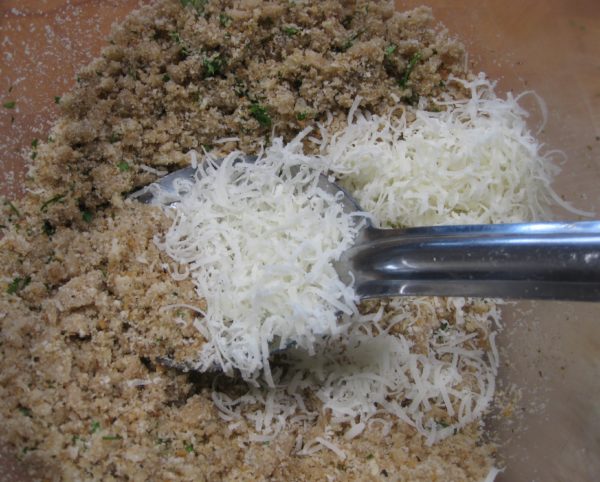
  7. Butter a baking dish large enough to hold the mushroom caps in a single layer, snugly.
  8. Fill each mushroom cap with some of the stuffing mixture.
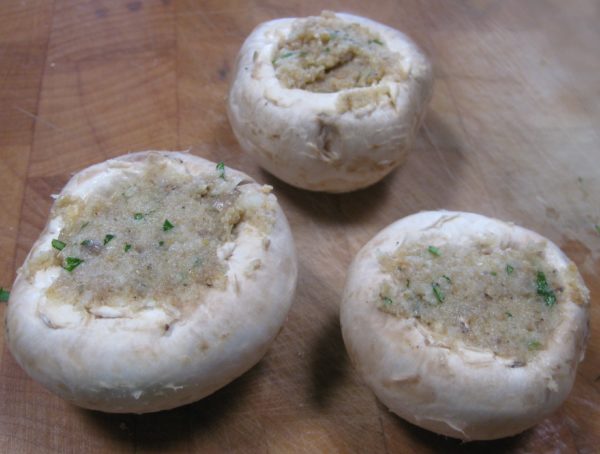
  9. Arrange the stuffed mushroom caps in the buttered dish.
  10. Sprinkle with additional Parmesan cheese, dot with butter and add a small amount of broth or water to the bottom of the dish to keep the mushrooms from sticking.
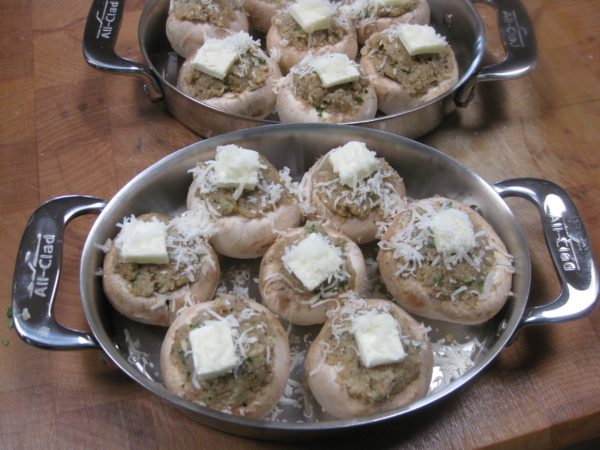
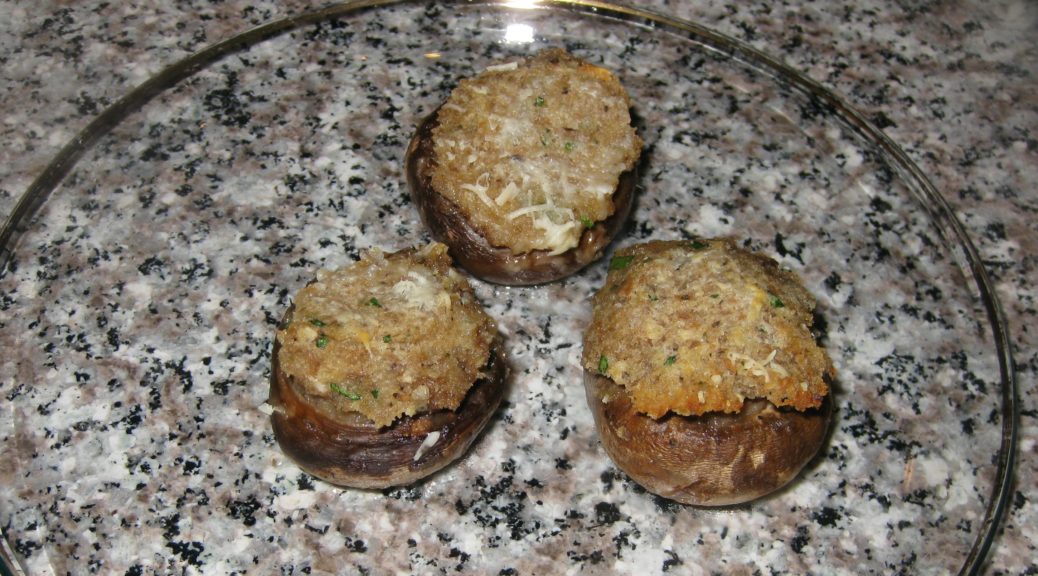
  11. Bake at 375°F for 20 minutes, until golden brown on top.
  12. Baste occasionally with the liquid in the pan during baking.
Recipe Notes

Copyright © 2021 by Villa Sentieri, LLC. All rights reserved.

Share this Recipe

Carciofi e Patate (Artichokes and Potatoes)

January 13, 2021

January 7th is International Porchetta Day.

It was declared so by the participants in a charcuterie class at the Italian Culinary Institute in January 2019.

There is a private Facebook group of individuals who subscribe to the cult of porchetta.  We agree to make porchetta annually on January 7th.

The charcuterie class in question began on January 7, 2019, one week before my three-month Master of Italian Cuisine course began.  I made a point of getting to Italy early, really early, as I didn’t want to find myself in class with a sharp knife in my hand the day after landing, jetlagged from a 29-hour trip and an eight-hour time change.

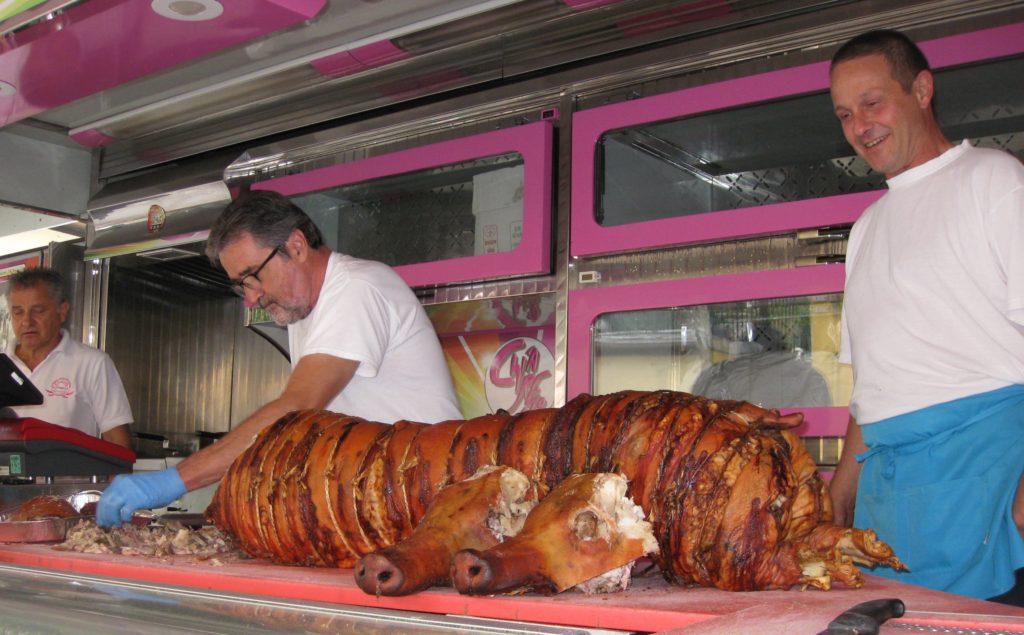
A traditional porchetta at a street fair in Bagni di Lucca.

I arrived the evening of January 8th, almost a week before my course started. I was invited to go to dinner with the charcuterie class.  I described that first chaotic day in my first dispatch from Calabria.


Join our mailing list and you’ll never miss a recipe again!


The next day, Chef John invited me to sit in on the charcuterie class.  Although not officially part of the class, I shared meals and course time with the group.

When International Porchetta Day was declared, with the date matching the first day of the charcuterie course, I became a member.

Traditionally porchetta is made with a whole pig, and not a small suckling pig, but a BIG one!

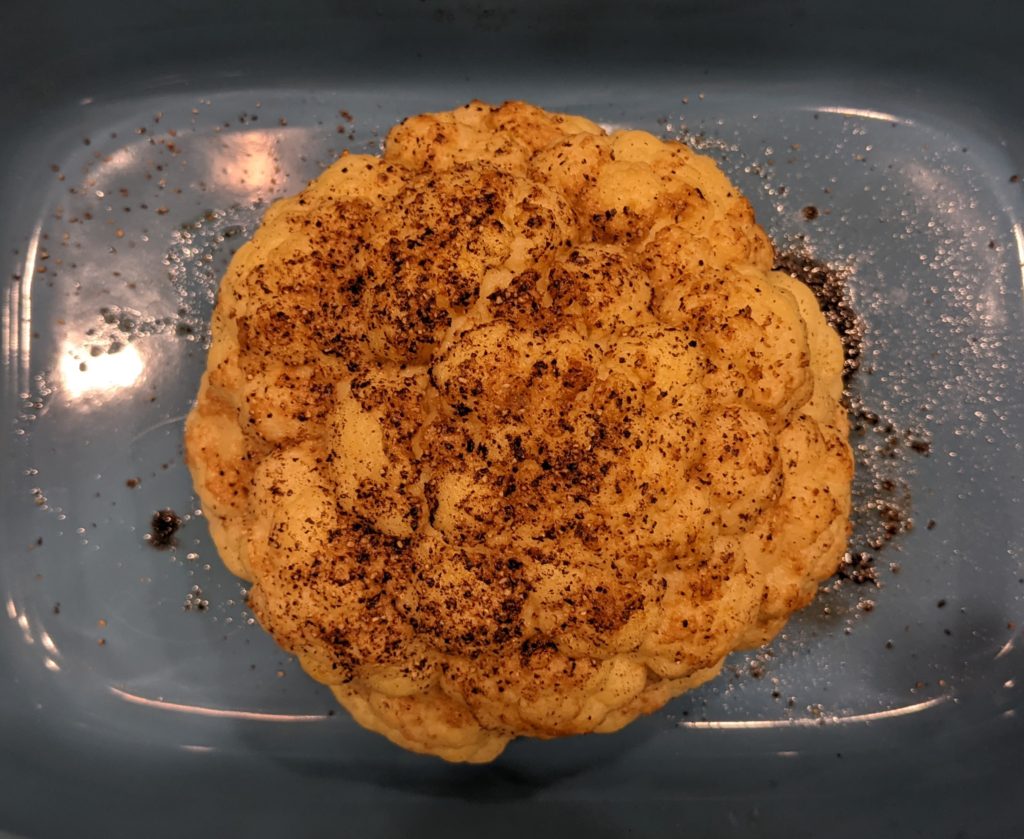
Roasted cauliflower is an easy and dramatic side dish.

When porchetta is made at home, it’s done with a smaller cut of meat.  I use the shoulder, aka Boston Butt.  At the Italian Culinary Institute, they use two cuts, the capo collo and a pork belly.  The capo collo is a long muscle group in the shoulder that, in essence, is a large cylinder.  The shoulder, and by extension the capo collo, contain beautiful marbling that makes a luscious roast.

At the Italian Culinary Institute, the belly is rolled around the capo collo.  The fat of the belly protects the capo collo.  It also makes a beautiful presentation.  It also adds about 8 pounds to the weight of the roast.  So, unless you’re cooking for a very large crowd, using the shoulder alone will more than likely be ample.

Given the limitations of the lock-down in Palm Springs where I’ve been sheltering in place, six of us, members of our COVID Pod, celebrated International Porchetta Day.

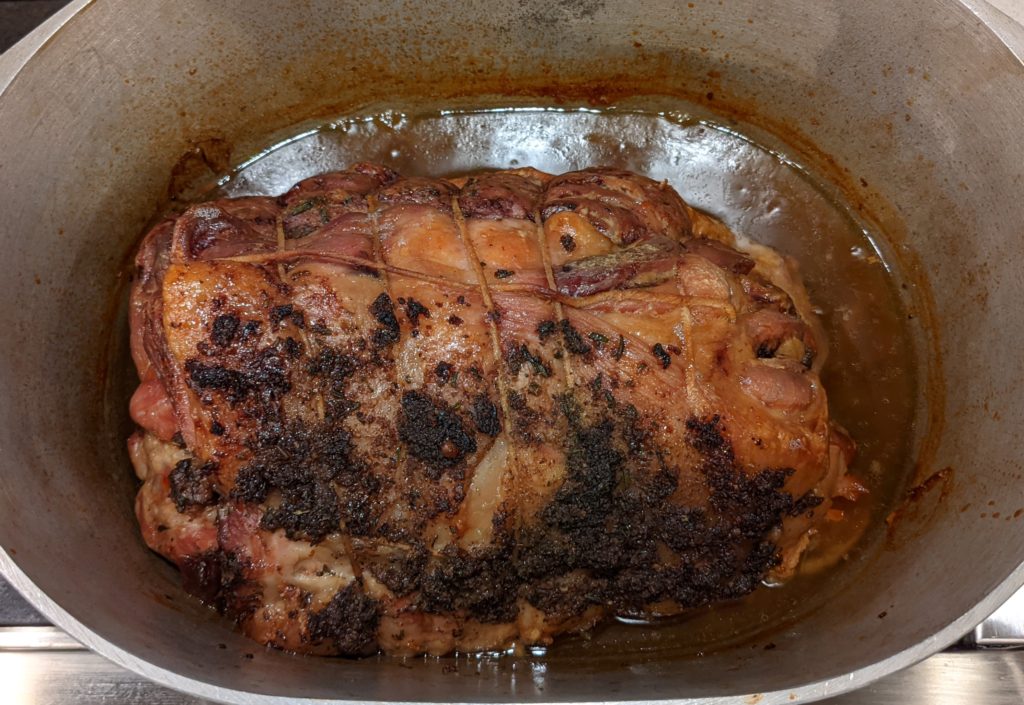
My porchetta ready for the serving platter.

Porchetta was obviously the centerpiece of the meal and I made my traditional version.  Here’s a link to my Porchetta recipe.

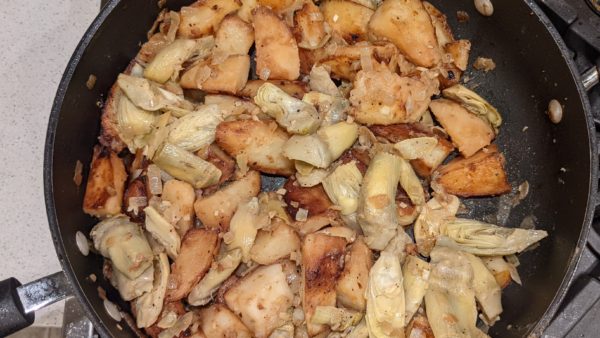
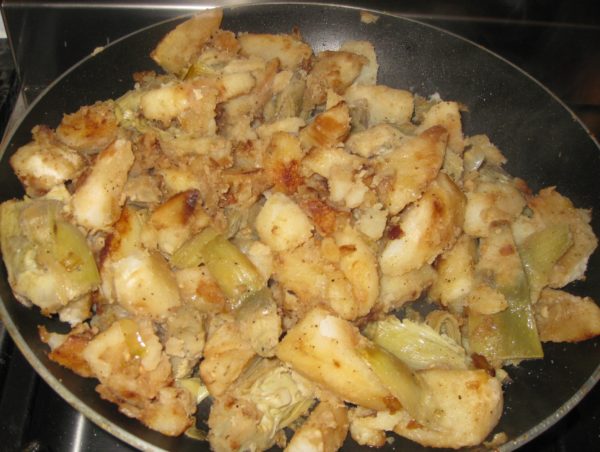
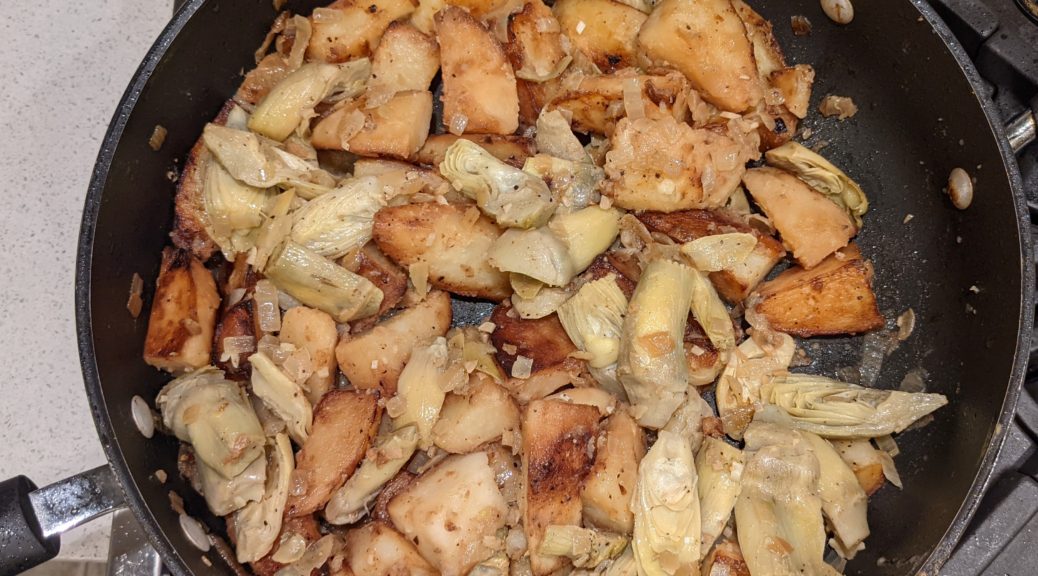
I focused on side dishes that would compliment the roast and settled on a whole roasted cauliflower and a Roman dish called Carciofi e Patate (artichokes and potatoes).  For dessert we had an Olive Oil Cake.


Follow us on your social media platform of choice


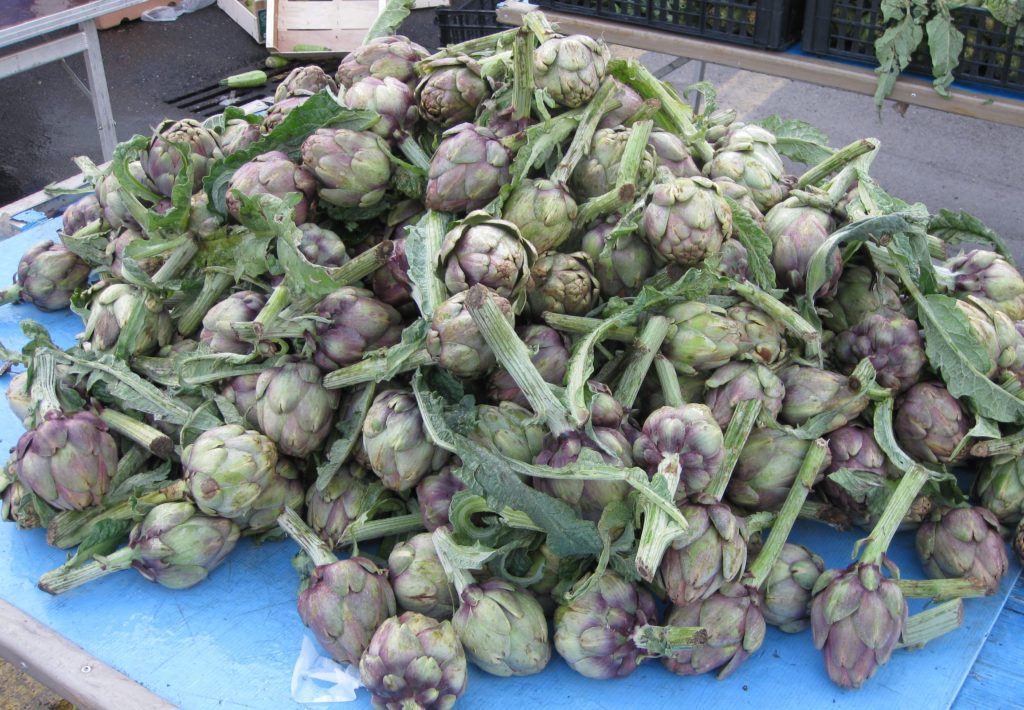
Carciofi e Patate is traditionally made with whole artichokes, lots of them!  In season, one can buy 12 artichokes for €1 in Italy!  That’s right, about 10¢ each!!! I once used 12 artichokes when I made the dish as part of Easter Dinner.  I spent more than $50 on artichokes for that one dish.  Clearly when Italians describe the dish as “economical” they have no idea about artichoke prices in the United States.

Artichokes in a market in Calabria.

While I prefer the dish made with fresh artichokes, I won’t do that again until I’m in Italy during artichoke season.  Frozen artichokes work well and are much more budget-friendly.

Print Recipe
Carciofi e Patate (Artichokes and Potatoes)
Carciofi e Patate is a classic Roman recipe. It pairs well with most roasts.
Votes: 0
Rating: 0
You:
Rate this recipe!
Prep Time 20 minutes
Cook Time 45 minutes
Servings
people
Ingredients
Prep Time 20 minutes
Cook Time 45 minutes
Servings
people
Ingredients
Votes: 0
Rating: 0
You:
Rate this recipe!
Instructions
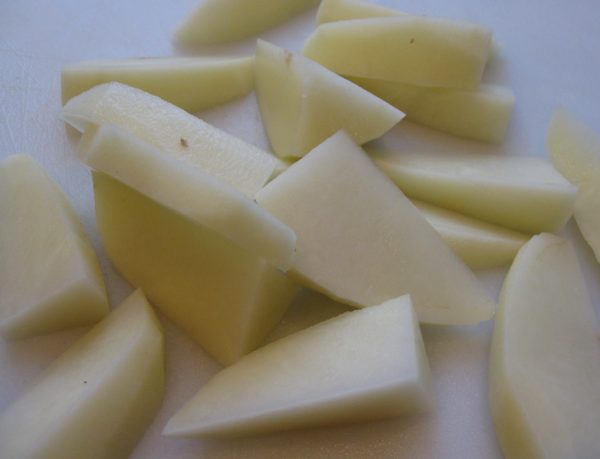
  1. Peel potatoes and cut in 8 wedges unless the potatoes are very large or very small.
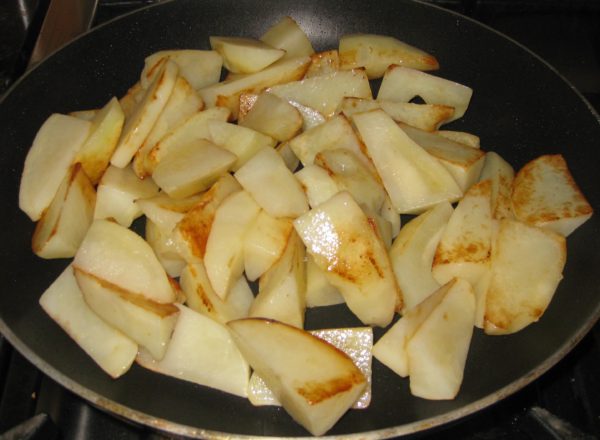
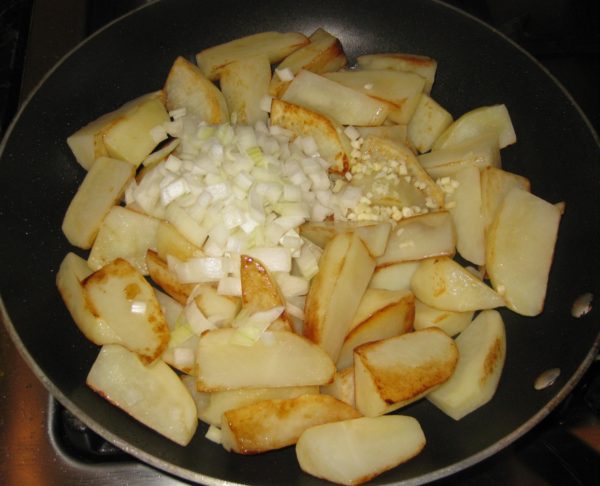
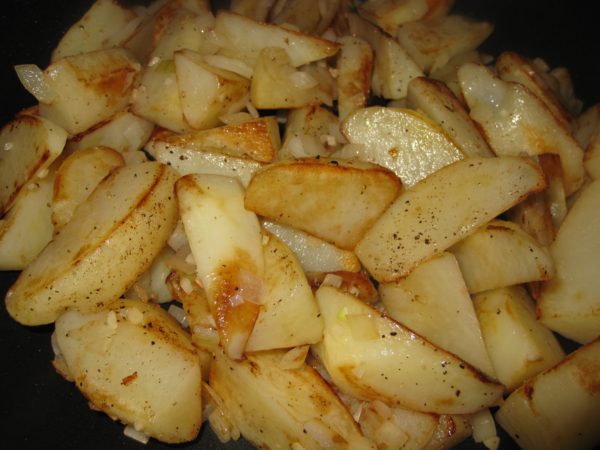
  2. Brown the potatoes in the three tablespoons of extra-virgin olive oil in a large sauté pan over high heat.
  3. When the potatoes are well-browned, reduce the heat to medium. Add half the onions and garlic.
  4. Sauté until the onion is golden.
  5. Season with salt and freshly ground black pepper to taste. Add approximately ½ cup of water. Cover and cook on medium heat until cooked through, adding more water as needed, approximately 25 minutes. There should be no water left when the potatoes are cooked.
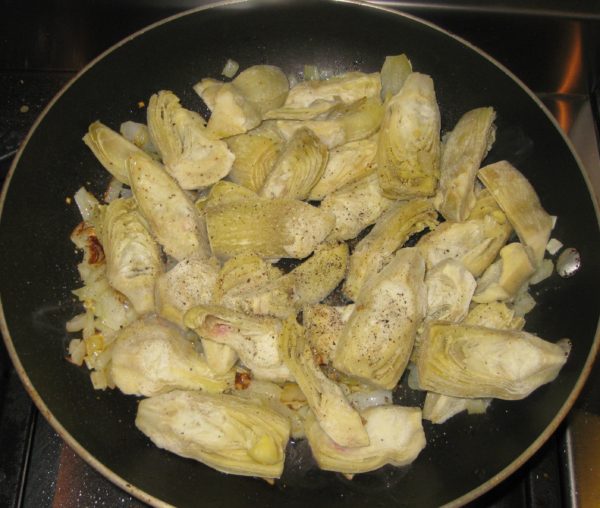
  6. Meanwhile, sauté the remaining onions and garlic in the remaining extra-virgin olive oil in a sauté pan.
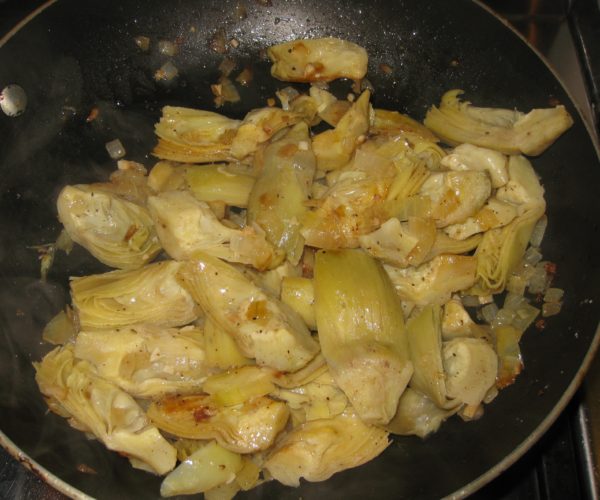
  7. When the onions are golden, add the artichokes and salt and pepper to taste. Sauté briefly.
  8. Add white wine, cover and braise until barely tender, approximately 10 minutes. The artichokes will cook further with the potatoes so do not over-cook them.
  9. Add artichokes to the pan with the potatoes.
  10. Sauté, uncovered, about 10 minutes longer, to meld flavors. Adjust salt and pepper.
  11. Stir in parsley and serve.
Recipe Notes

Copyright © 2021 by Villa Sentieri, LLC. All rights reserved.
Share this Recipe

Angie’s Marinated Pasta Salad

December 12, 2018

After driving a circuitous route for two days (I’ll explain why in a minute), I got home to Santa Fe from Palm Springs last Wednesday to a surprise.

My husband and I had plans to attend the holiday party for the Department of Psychiatry at the University of New Mexico, where he is Associate Professor, on Friday.  The surprise was that the party was a potluck and we had to bring a dish.

So, there I was on Wednesday evening, exhausted after two days of driving, with no prior knowledge that I had to produce a dish for a Friday event, coupled with the logistic challenge that I had to leave home around noon on Friday and ultimately make it to the party in Albuquerque by 7:00 PM with a dish in tow that I could neither refrigerate nor heat up!

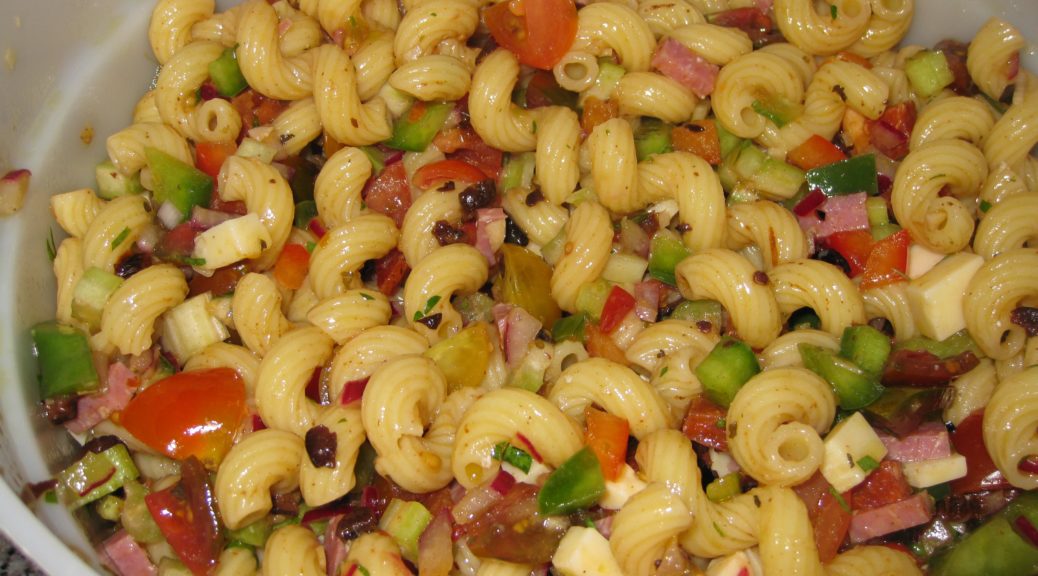
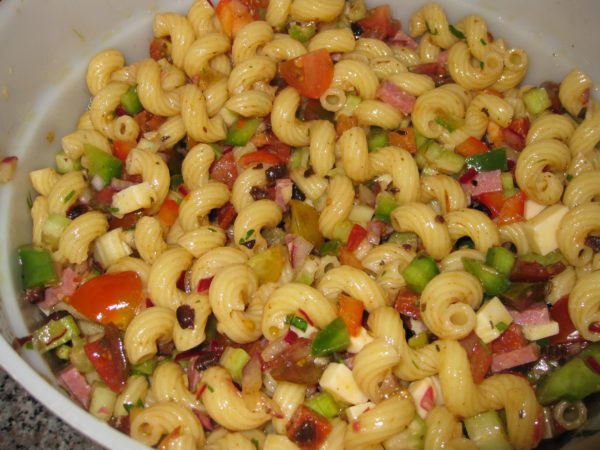
It didn’t take long before I settled on my cousin Angie Catanese’s Marinated Pasta Salad.  This is a recipe that I’ve been making for about 45 years and it never fails to please.  It has so much stuff in it besides pasta that it’s almost a misnomer to just refer to it as a pasta salad!

Join our mailing list and you’ll never miss a recipe again!

I went grocery shopping on Thursday morning, assembled the salad Thursday afternoon, and the rest is history!

You might also enjoy my cousin Angie’s recipe for Pickled Hot Peppers.


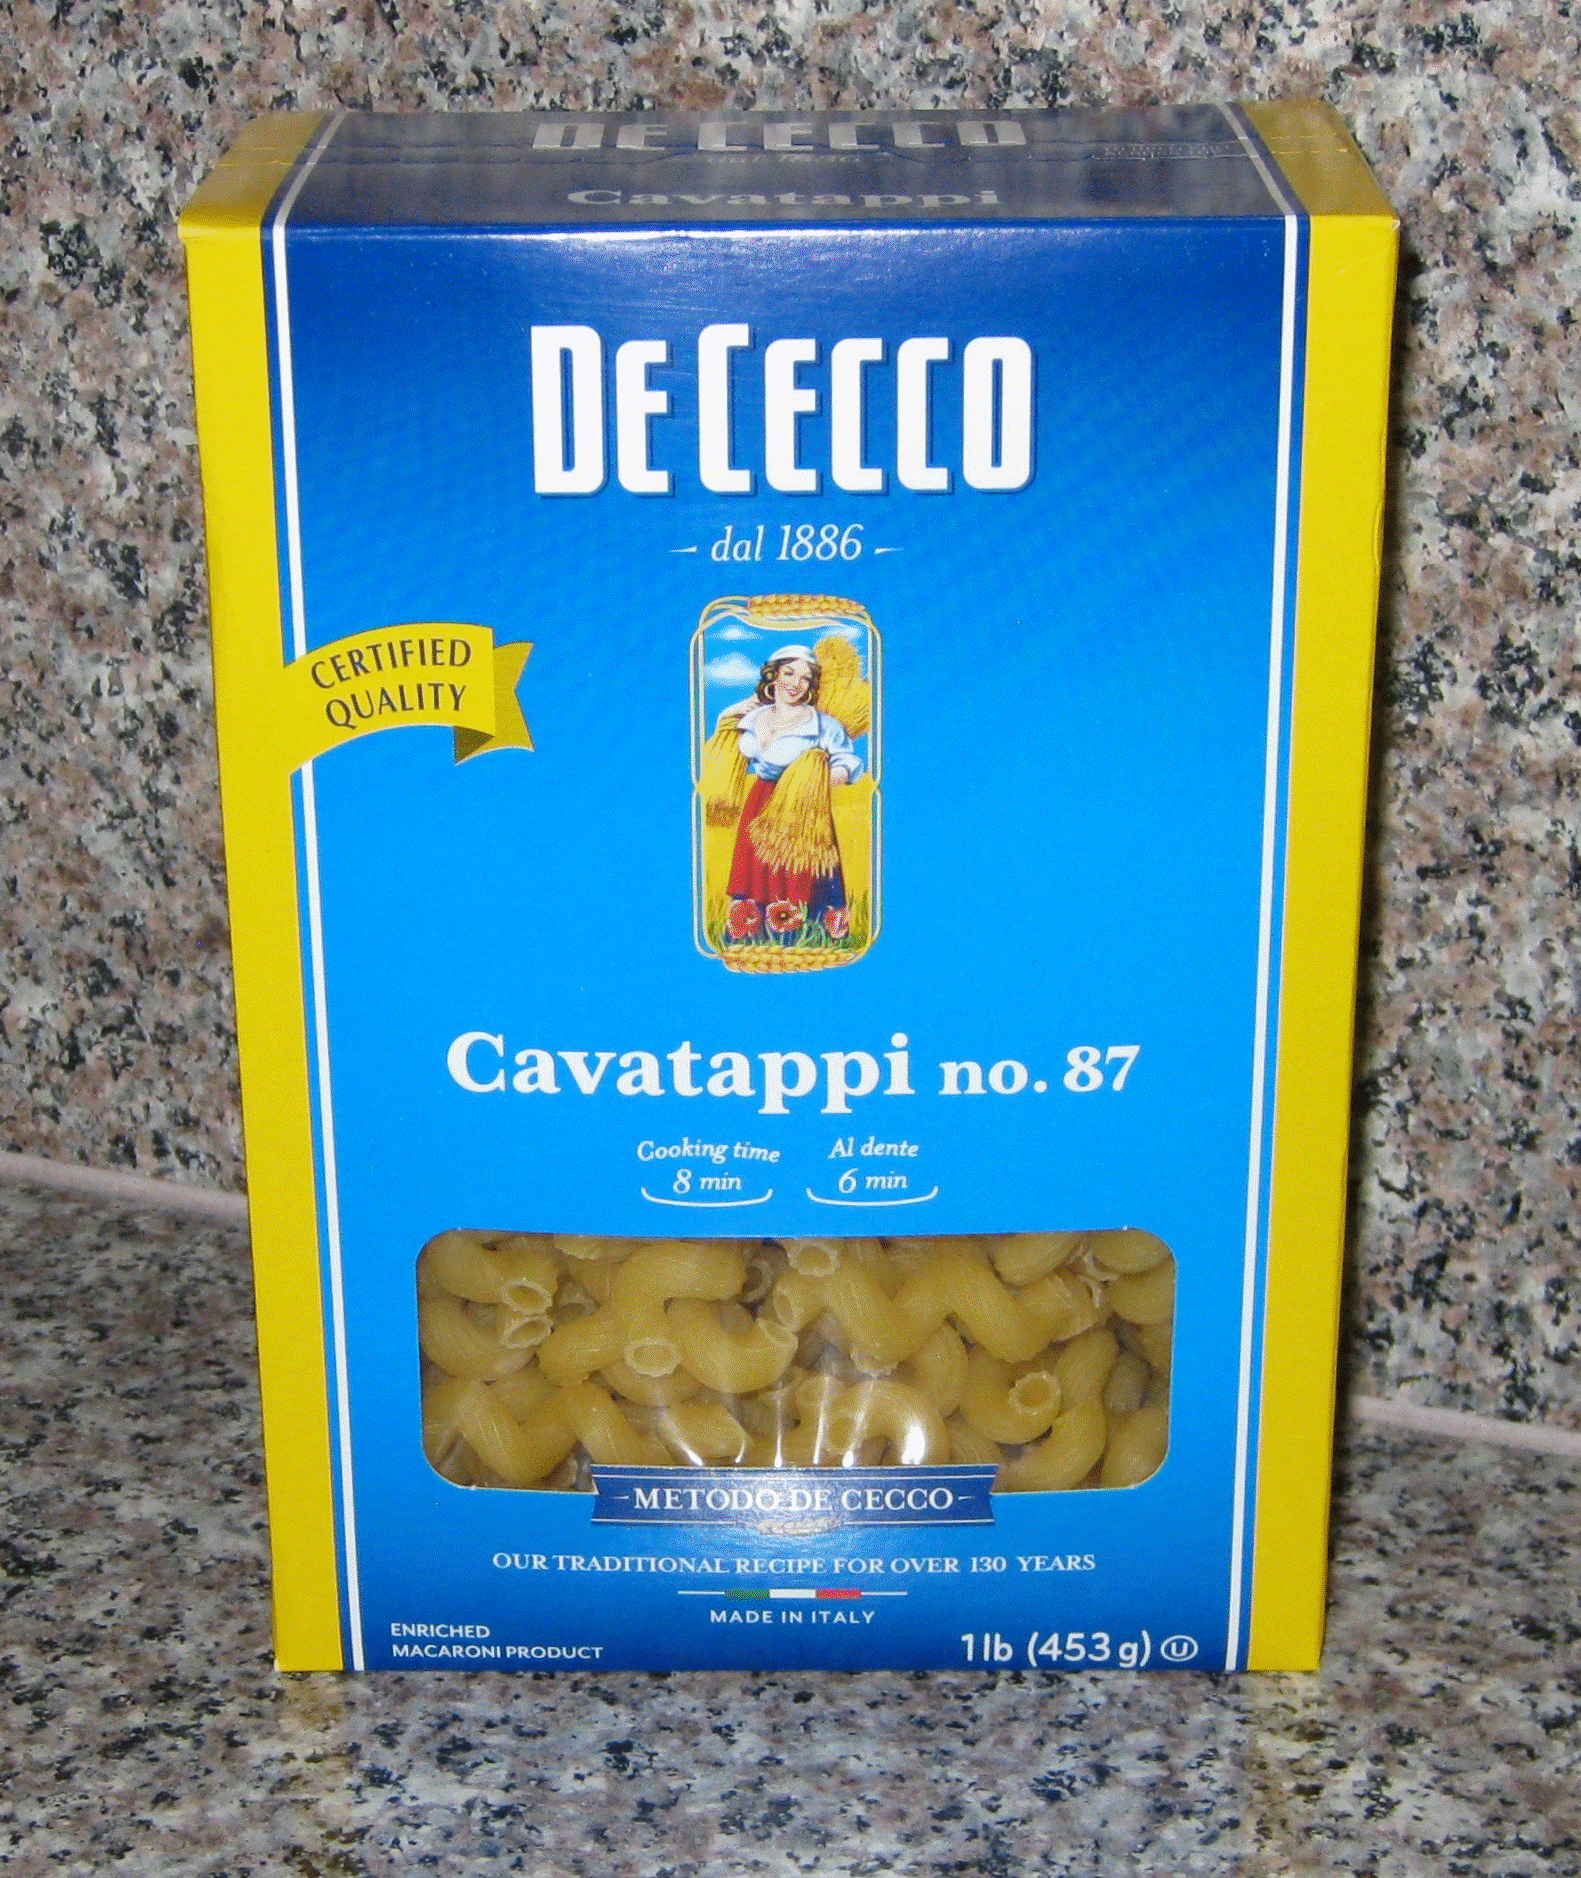
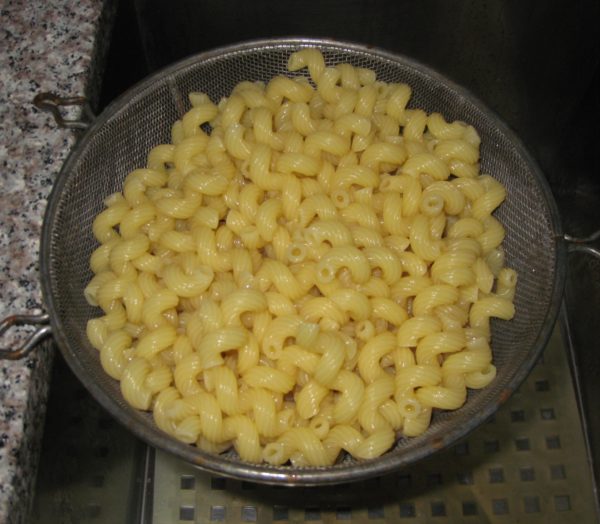
The availability of pasta in many different shapes has ballooned over the decades. Cavatappi makes a great replacement for shells in this pasta salad.

Now, for an explanation as to why you haven’t heard from me in two months and what will be coming up for the blog…

In early October I went to Palm Springs to complete recipe testing for the Trio Restaurant Cookbook.  One can’t really test recipes for a cookbook at 8,000 feet in elevation so I spent five weeks in Palm Springs testing and finalizing over 125 recipes for the cookbook.  I had intended to continue posting to the blog during this time but very quickly found it impossible to fit in anything other than grocery shopping, recipe testing, and note-taking!

I got back to Santa Fe a few days before Thanksgiving then, less than a week after Thanksgiving was back on my way to California to go to the Consulate General of Italy in Los Angeles to apply for a visa.

In early January I am going to Italy to attend a three-month intensive course in Italian cuisine geared toward professional chefs at the Italian Culinary Institute.  Because I’ll be in Italy more than 90 days I need a visa.

Follow us on your social media platform of choice


My visa appointment was Friday and I was planning on spending the weekend in Palm Springs then driving back to Santa Fe on Tuesday.  The consular official said my visa would be ready by Tuesday so, rather than trust my luck (and my passport) to FedEx, I decided to drive back to Los Angeles to retrieve my passport.

It took me 3 hours and 45 minutes to drive the 122 miles from our home in Palm Springs to the consulate!  I got my passport in about 5 minutes then did some shopping at Eataly, conveniently located across the street from the Italian Consulate.  (I’d love to know who was responsible for securing THAT location!)  I then reversed course and started the drive back to Santa Fe, passing within a few miles of our home in Palm Springs where I had started the day.  I spent the night in Payson, Arizona then finished the drive Wednesday (which is when this story began).

The entrance to the Consulate General of Italy in Los Angeles which is conveniently located across the street from Eataly!

While I’m in Italy I will most likely be posting fewer recipes than usual.  I hope to chronicle some of my experiences at the Institute and pass on some tips and pointers on Italian food.  I hope you’ll stick with me during that time.  When I return, I’ll be back to my regular schedule of posting recipes.

Oh, and by the way, judging from how the pasta salad disappeared at the party, I think it was a hit!

Print Recipe
Angie’s Marinated Pasta Salad
There is so much “stuff” in this that it could easily be the basis of a light meal with just some bread and cheese. Angie’s original recipe called for shells but other types of medium-size pasta work just as well. In fact, I think the cavatappi are especially nice given their unusual shape. If you are making this when tomatoes are at their peak, use three medium-sized tomatoes in place of the cherry and grape tomatoes. You can use 2 cups of purchased Italian salad dressing instead of the homemade dressing if you’re so inclined, though the flavor will obviously be somewhat different.
Votes: 0
Rating: 0
You:
Rate this recipe!
Prep Time 1 hour
Cook Time 10 minutes
Passive Time 16 hours
Servings
people
Ingredients
Salad Ingredients
Dressing
Prep Time 1 hour
Cook Time 10 minutes
Passive Time 16 hours
Servings
people
Ingredients
Salad Ingredients
Dressing
Votes: 0
Rating: 0
You:
Rate this recipe!
Instructions
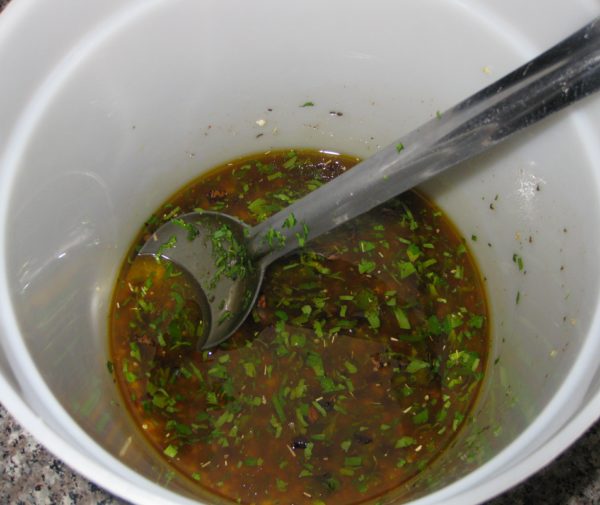
  1. In a large mixing bowl, combine all the dressing ingredients and set aside.
  2. Cook the pasta in abundantly salted water until just cooked but still slightly al dente.
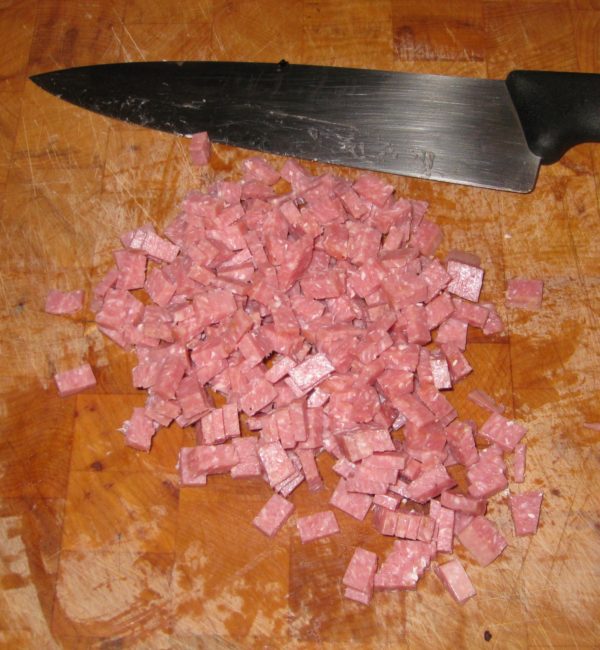
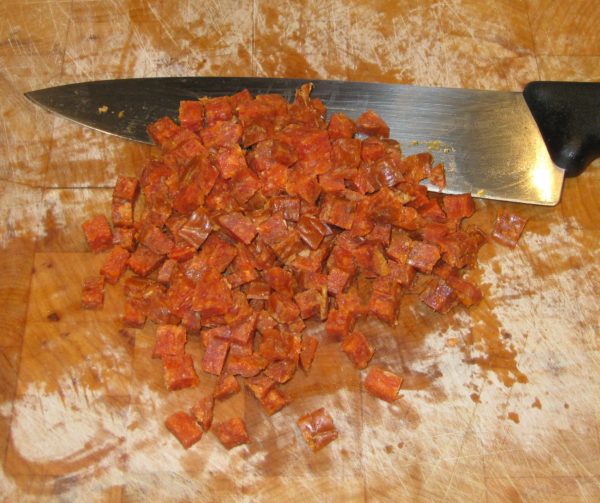
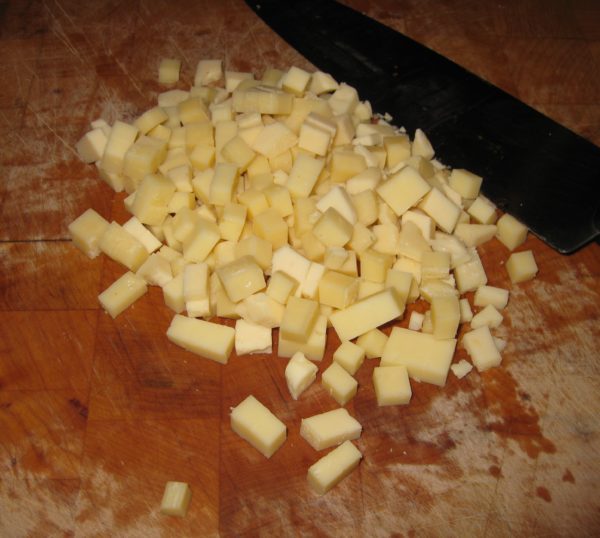
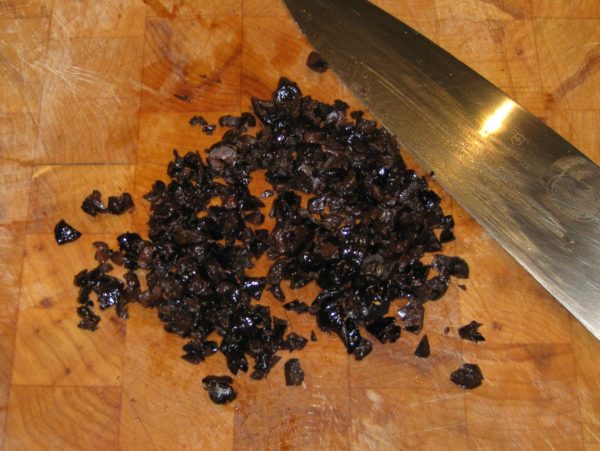
  3. Meanwhile, cut-up all the ingredients.
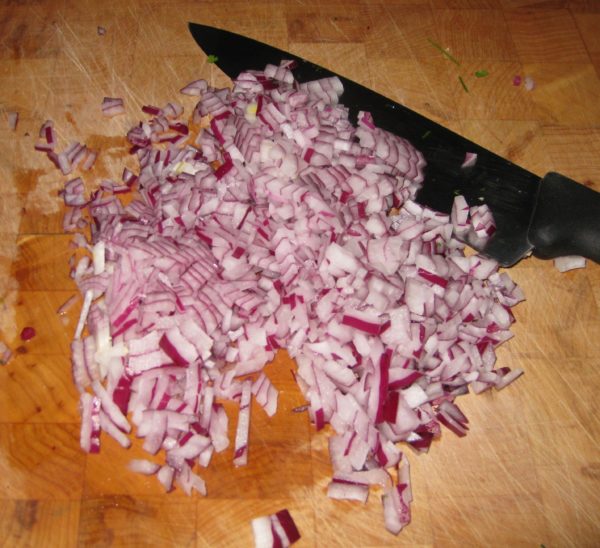
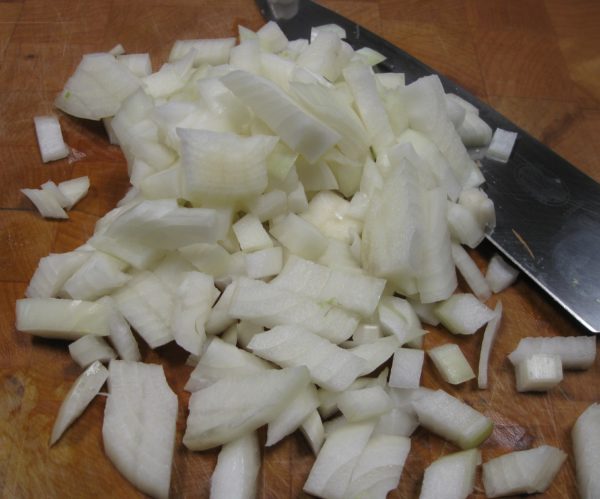
  4. Onion
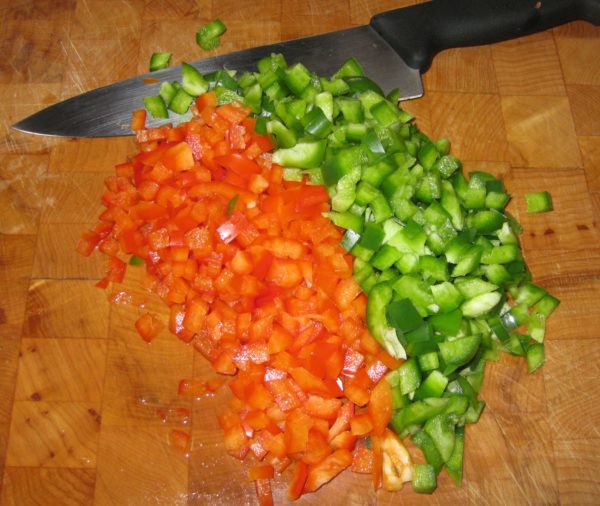
  5. Bell pepper
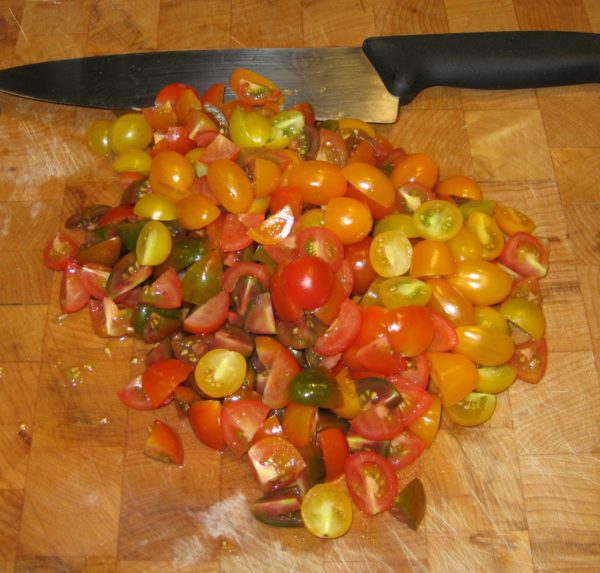
  6. Tomatoes
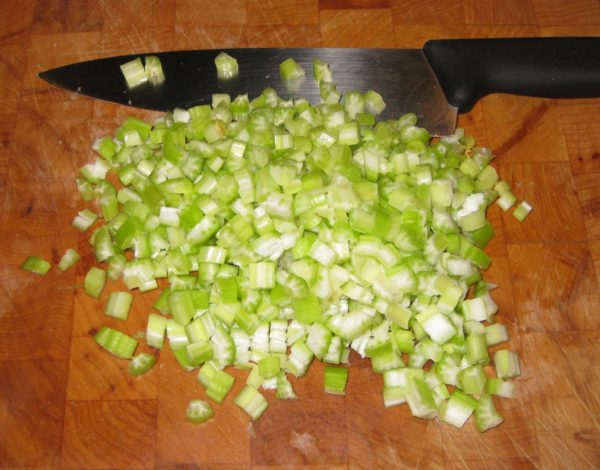
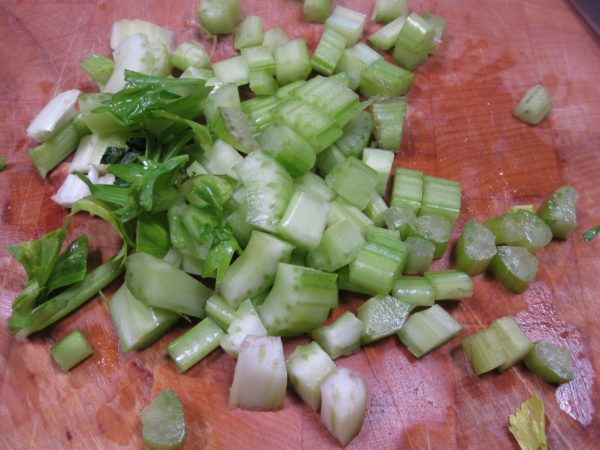
  7. Celery
  8. Genoa salami
  9. Pepperoni
  10. Provolone
  11. Oil-cured olives
  12. When the pasta is cooked, drain and rinse in cool water to stop cooking.
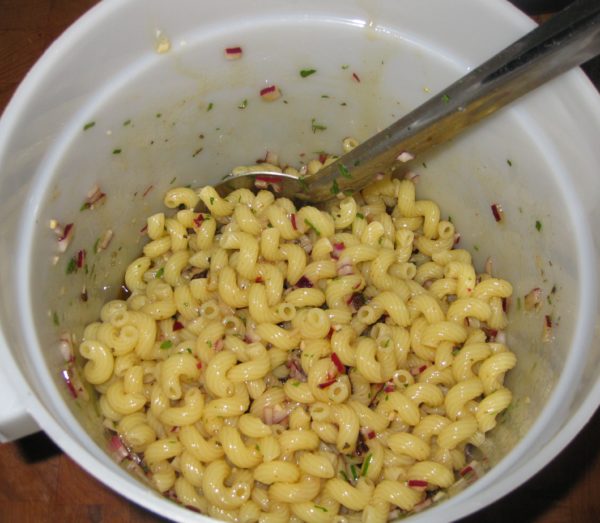
  13. Stir the pasta and diced onion into the dressing. Allow to cool to room temperature.
  14. When the pasta is cool, stir in all remaining ingredients.
  15. Refrigerate overnight before serving.
Recipe Notes

Copyright © 2018 by Villa Sentieri, LLC. All rights reserved.
Share this Recipe

White Bean Soup

June 2, 2017

The weather is turning warmer in fits and spurts here in Santa Fe as I write this in early-May.  I’m writing these posts a few weeks in advance due to upcoming travel.  Warm days and cold nights, alternating with cold days and colder nights make me think of soup.  Filling, warm, humble soup.

There are few soups that I like better than bean or lentil.

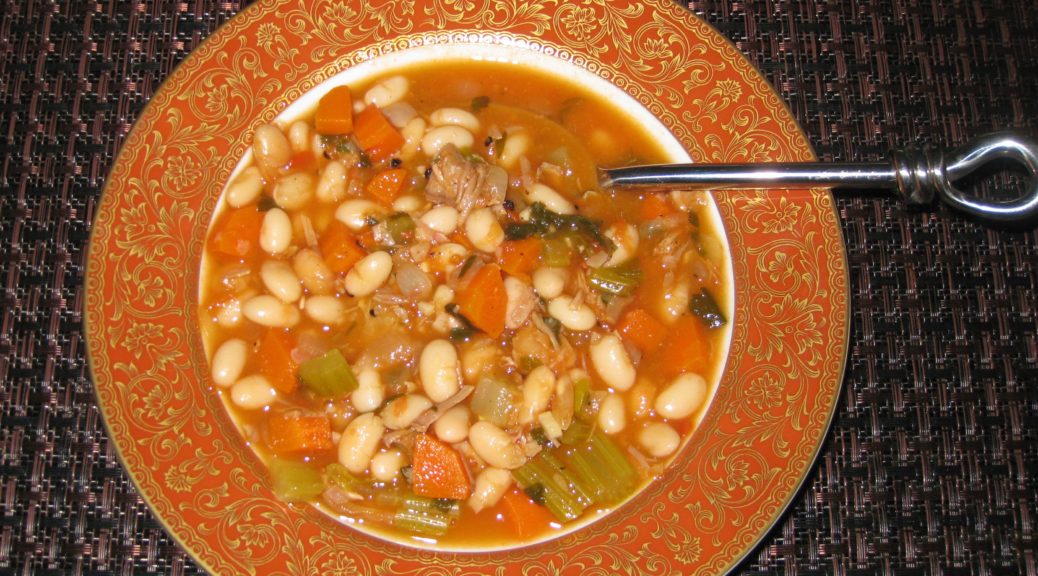
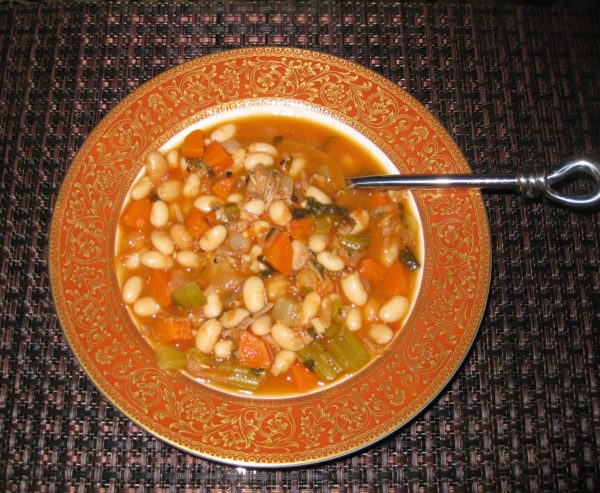
Although a ham bone is a classic way to start a bean soup, smoked turkey works well too.  I had a smoked turkey carcass in the freezer from a bird that I smoked a few months ago.  That and the combination of the cold weather made me think of making this classic American bean soup.  It made a really great dinner along with a platter of my grandmother’s potato cakes, the recipe for which will be appearing here in a few days.

This soup is assembled from very basic ingredients, many of which are almost always on hand.

With warm weather approaching, however, this will probably be the last time I serve such a hearty soup until autumn.

Which brings up an interesting topic: the effect weather has on our cooking and eating habits.  We tend to gravitate toward heartier, richer foods in the winter and lighter foods in warm weather.  Our caloric needs don’t really change appreciably from winter to summer so if we’re not gaining or losing weight, we’re probably eating about the same number of calories.  But it often doesn’t feel that way.

Eating seasonally is a good strategy for a number of reasons.  Locally grown, in-season, produce tastes better than produce shipped from far away.  Many fruits and vegetables start losing nutrients as soon as they are picked.  The shorter the time from farm field to table the more nutritious they are.

Did you ever think about what it takes to have “not from concentrate” orange juice available all year given that oranges are a seasonal crop?  Take a look here and here.  It will give you a sense of what is done to our industrialized food supply.  To be sure, we have ready access to more and cheaper food than has probably ever been the case in human history.  I’m not suggesting we abandon that, just that we become better informed consumers and make active choices about what we eat and why.

In addition to tasting better, and being more nutritious, eating seasonally brings back a sense of anticipation and, dare I say, romance, to eating.  Tomatoes are at their best in the summer so we eat lots of tomatoes then, for example.  Often times, lunch on Saturday in late summer will be thick slices of fresh tomato, fresh mozzarella cheese from The Old Windmill Dairy in Estancia, New Mexico, a few torn basil leaves from our garden, a sprinkle of salt and a drizzle of extra virgin olive oil along with some homemade bread to sop up all the juices.  Unless it’s from a can and going into something that’s cooked, you’ll rarely see a tomato in my kitchen the rest of the year.

The same sort of anticipation holds true with many other foods.  Some that come quickly to mind are zucchini blossoms (which I dip in batter and fry) and basil (which I turn into pesto and use to season quick-cooked tomato sauces all summer long but never use at other times of the year).

Seasonal eating isn’t limited to summer, however.  There are traditional winter crops and winter foods.  Cavolo nero, Tuscan kale, tastes better after a frost and is traditionally eaten in the late fall.  My mother-in-law pickles turnips each autumn which we eat in the winter made into a thick soup with cotechino, a Northern Italian sausage.

Traditionally, my mother-in-law’s pickled turnips would be made in the autumn.  That’s not only when the turnips are ready if you eat seasonally but that’s also when grapes are crushed and pressed for wine.  The turnips would be packed into a barrel with the solids left over from the grape pressing and allowed to ferment.  These days she makes a reasonable facsimile by simply pickling turnips in red wine vinegar though I keep hoping to find a winemaker in New Mexico who will sell me some crushed grapes to give the original recipe a try.

Red wine vinegar is always available, and mostly so are turnips.  Why don’t we make this at other times of the year?  Mostly it’s because of the association of pickled turnips (brovada) and cotechino with winter.  We try to maintain the seasonality even when we have the ability to circumvent it.  Doing that means there are always favorite foods to look forward to each season that we haven’t had in almost a year.

If it’s too warm where you live to have a hearty bowl of bean soup, tuck this recipe away for a few months and give it a try in the autumn.

Print Recipe
White Bean Soup
This white bean soup is easy to make and very nutritious. If you have the carcass of a smoked turkey or the bone from a baked ham, use my recipe for Roasted Turkey Broth, substituting the smoked turkey or ham bone, to make the broth for this soup. With a turkey carcass you definitely need to make broth otherwise you’d have lots of bones and bits in the final soup. While this isn’t the case with a large ham bone, I still prefer to make broth in advance so that I can skim off the fat. There is a link in the notes that follow this recipe to my recipe for Roasted Turkey Broth. Even if you don’t have a smoked turkey carcass or a ham bone you can make this soup. My supermarket sells various smoked turkey and pig parts. Just use them to make the broth. Be careful, though, as these products can be much smokier than a turkey or ham that was smoked to the right degree for eating. Failing all of that, use whatever broth you have on hand (or even water) to begin to cook the beans then add ¼ pound of chopped up bacon with the remaining ingredients.
Votes: 0
Rating: 0
You:
Rate this recipe!
Cuisine American
Prep Time 20 minutes
Cook Time 3 hours
Servings
people
Ingredients
Cuisine American
Prep Time 20 minutes
Cook Time 3 hours
Servings
people
Ingredients
Votes: 0
Rating: 0
You:
Rate this recipe!
Instructions
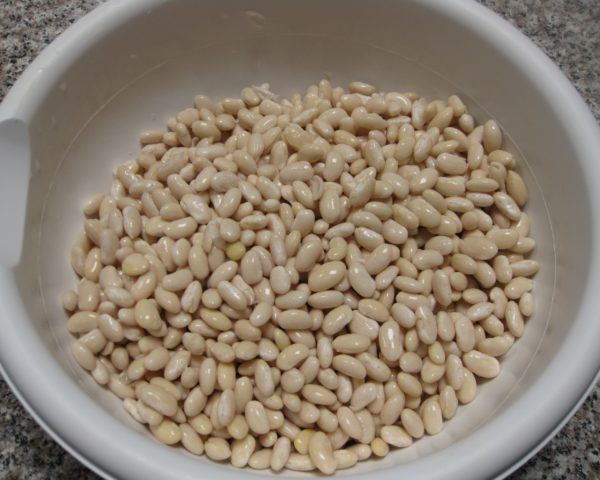
  1. Wash the beans. Cover with several inches of cold water. Refrigerate overnight.
  2. The next day, drain the beans.
  3. Combine the beans, broth, and bay leaf.
  4. Cover and bring to a boil.
  5. Cook, partially covered, at a medium boil for one hour, stirring occasionally.
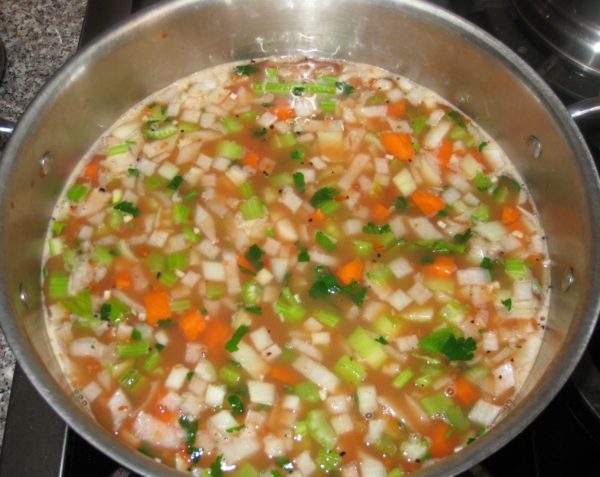
  6. Meanwhile, prepare the other ingredients.
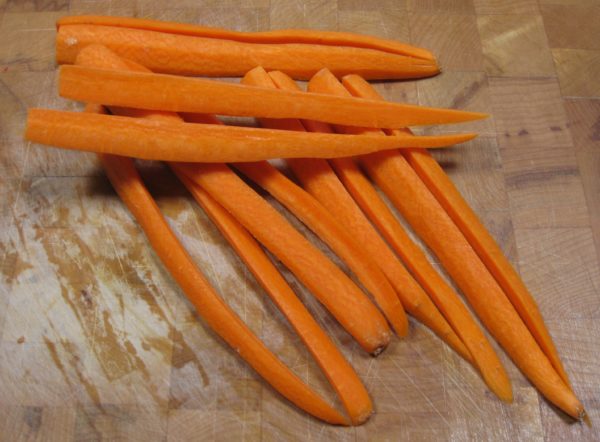
  7. Slice the carrots in quarters lengthwise.
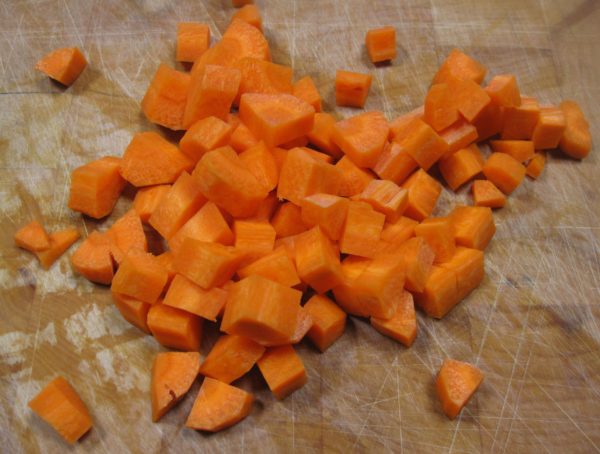
  8. Cut the carrots crosswise into 1/4 inch pieces.
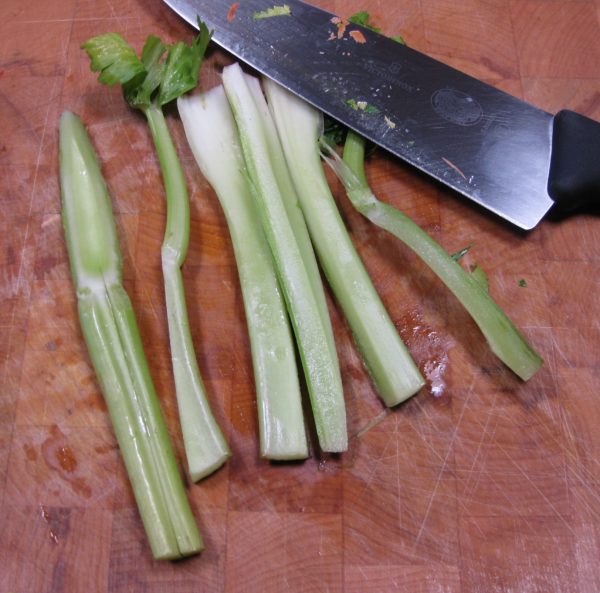
  9. Cut the celery into strips approximately the same size as the carrot strips.
  10. Cut the celery strips crosswise into 1/4 inch pieces.
  11. Dice the onion.
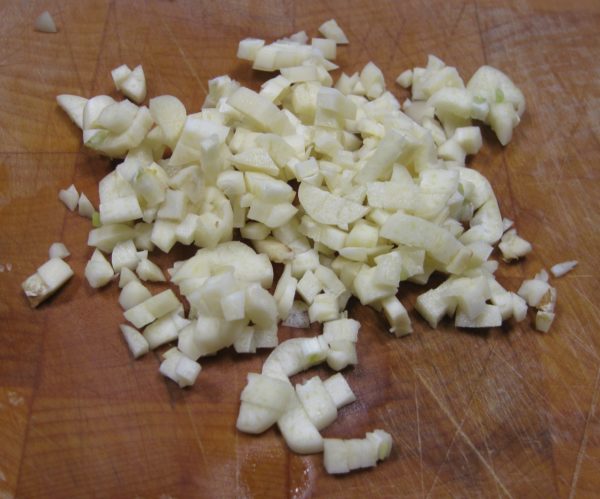
  12. Mince the garlic.
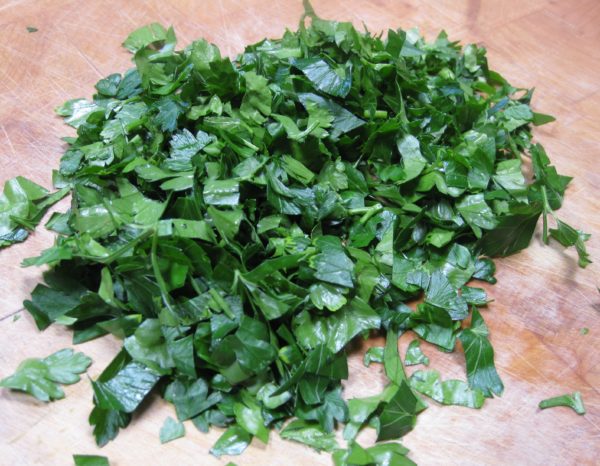
  13. Mince the parsley,
  14. Dig around in your freezer to find a Parmesan cheese rind that you froze with the intent of using in your next pot of soup.
  15. Ready a can of diced tomatoes.
  16. Combine all ingredients except the chopped ham or turkey with the partially cooked beans.
  17. Simmer, partially covered for another hour or two until beans are soft and vegetables are cooked. The cooking time will depend on the type of beans, their freshness, and your elevation.
  18. Adjust seasoning as needed while cooking.
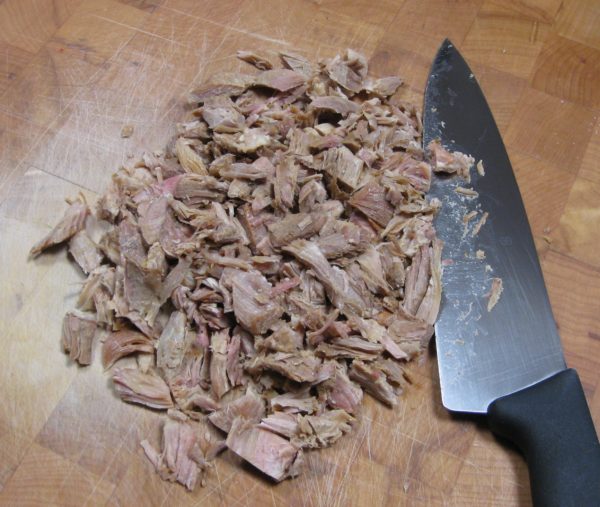
  19. Add the chopped ham or smoked turkey during the last 10 minutes of cooking.
  20. Serve with grated Parmesan cheese, if you wish.
Recipe Notes

As good as this soup is when it is made, I prefer to let it cool then refrigerate it for at least a day before rewarming and serving.

To make the broth, substitute a ham bone or smoked turkey carcass (or other smoked meat) for the roasted turkey in my recipe for Roasted Turkey Broth.

Copyright © 2017 by VillaSentieri.com. All rights reserved.

Share this Recipe

Croquetas de Jamon (Cuban Ham Croquettes)

May 1, 2017

In early 2014, my husband and I were lucky enough to go to Cuba with two close friends.  This was prior to the loosening up of restrictions on travel by Americans to the island nation.

Because of the guidelines governing such travel, we had to spend a significant portion of our time interacting with Cubans, not being tourists.  We visited a schools for the arts and music, toured cultural sites, attended lectures, saw a cigar factory, and met with some Cubans in their homes, among other activities.

All of Cuba is divided up into small units that are under the watchful eye of a trusted local who reports any unusual activities to the authorities.  These units could be a section of a street, for example, or a multi-unit building.  What turned out to be one of the most memorable events was meeting with the residents of one such building one evening in Cienfuegos.

The children put on a small performance, we had refreshments, then spent several hours chatting with the building’s residents.  It seemed to us that everyone was quite open, talking about the challenges, as well as the benefits (such as free education and health care) of life in Cuba.  In fact, while it seems that most Cubans we met were in favor of a more open society they were understandably very protective of their access to education and health care.

One man, seemed particularly open about the difficulties of life in Cuba.  This was surprising to us as his wife was the designated party operative responsible for overseeing this particular building.  Our suspicions seemed to be confirmed when he disappeared into their apartment shortly before the evening ended after his wife gave him “the look.”  As our vehicle was pulling away from the building, he ran out and waved us good-bye.  Clearly he had been banished from the meeting but kept a watchful eye from his apartment, exiting at just the right moment.

In addition to spending the major portion of our trip interacting with Cubans we were prohibited from actually going to the beach!  This was supposed to be an educational and cultural interchange, not fun.

Even more interesting is that, at the time, Americans were prohibited from buying Cuban cigars and rum.  Mind you, I’m not talking about bringing these items back to the United States which was definitely forbidden, but buying and using them while in Cuba.

This would seem to be a singularly difficult rule to enforce and I can’t say that anybody paid particular attention to it.  One of our most pleasant experiences was sitting at a park on the waterfront in Cienfuegos sipping rum (from plastic cups) smoking cigars and watching the sun set.

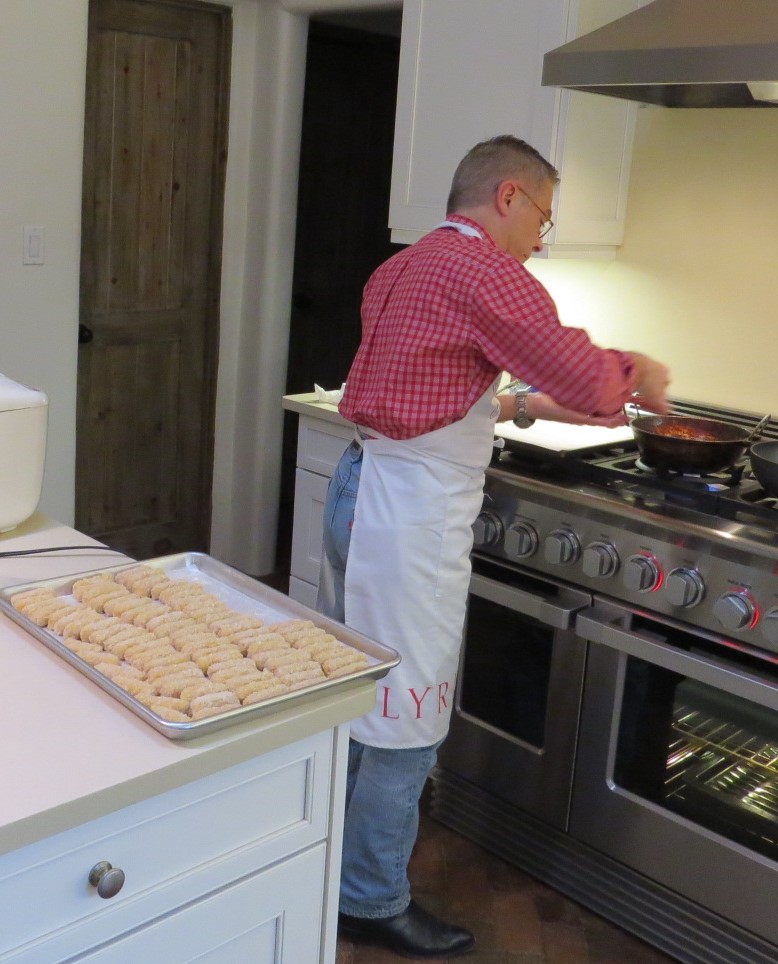
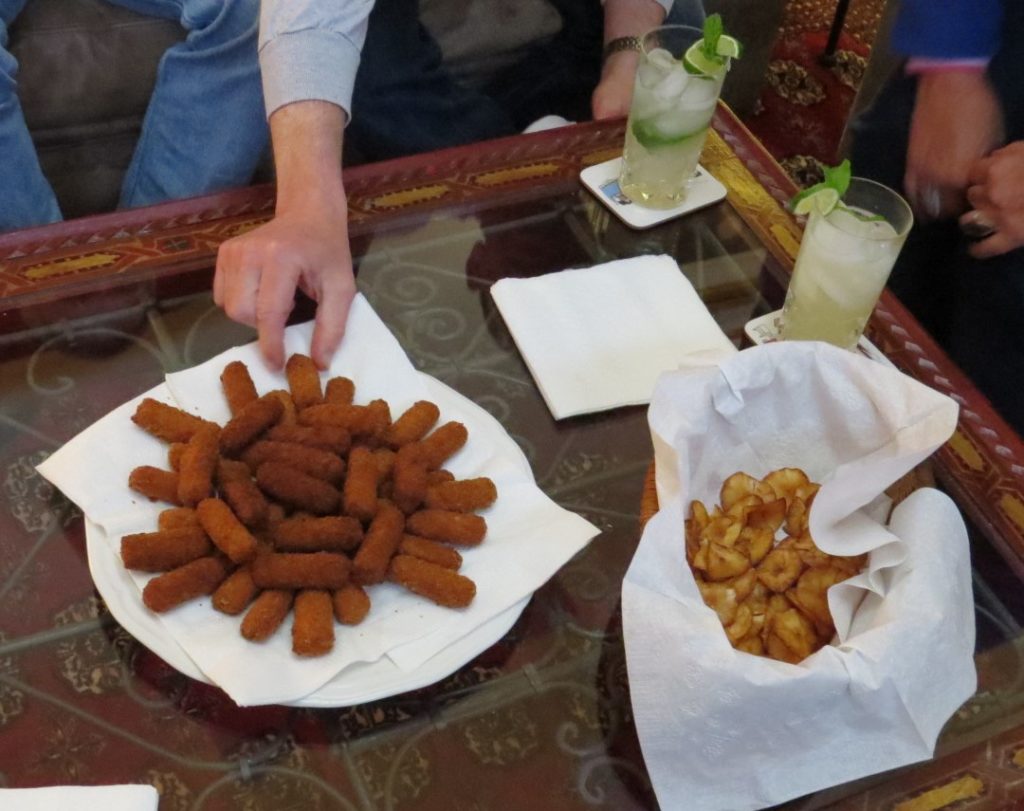
We ate a lot of croquetas in Cuba and drank a lot of rum punch, mojitos, and cariocas.  After we got back we pulled together a Cuban dinner with a few other friends.  I made the traditional finger-sized croquetas—seven dozen of them, actually!  Here is a picture of me frying them as well as a platter full of cooked ones along with some plantain chips and mojitos.

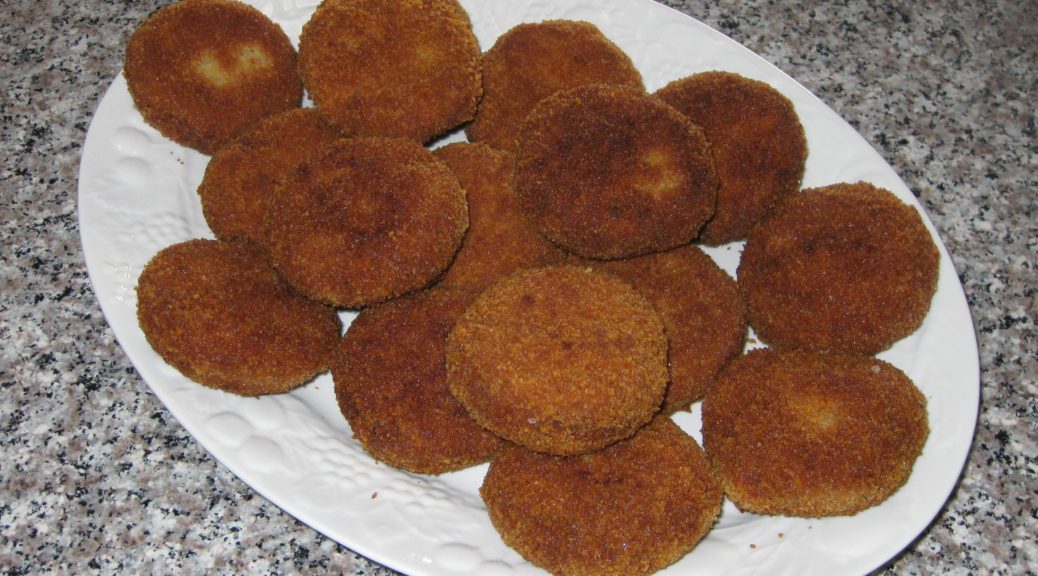
For this post, since I was cooking them as an entrée rather than as a nibble with cocktails, I made them larger.

Print Recipe
Croquetas de Jamon (Cuban Ham Croquettes)
Instead of ham, croquetas can be made with cooked fish, salted cod, or potatoes among other ingredients. Cracker crumbs are the standard coating used in Cuba but fine dry breadcrumbs will work fine. I really like using plain panko crumbs whizzed in the food processor to finely pulverize them. They give an amazing crunch! If you are making these to serve as nibbles, you should get seven dozen. If you are making larger croquetas to serve as a main course, this recipe will make 16. Two or three of the larger croquetas will serve one person depending on what else is being served.
Votes: 0
Rating: 0
You:
Rate this recipe!
Prep Time 1 hour
Cook Time 20 minutes
Passive Time 9 hours
Servings
people
Ingredients
Prep Time 1 hour
Cook Time 20 minutes
Passive Time 9 hours
Servings
people
Ingredients
Votes: 0
Rating: 0
You:
Rate this recipe!
Instructions
  1. If the ham was cooked with a sweet glaze, rinse the glaze off using warm water.
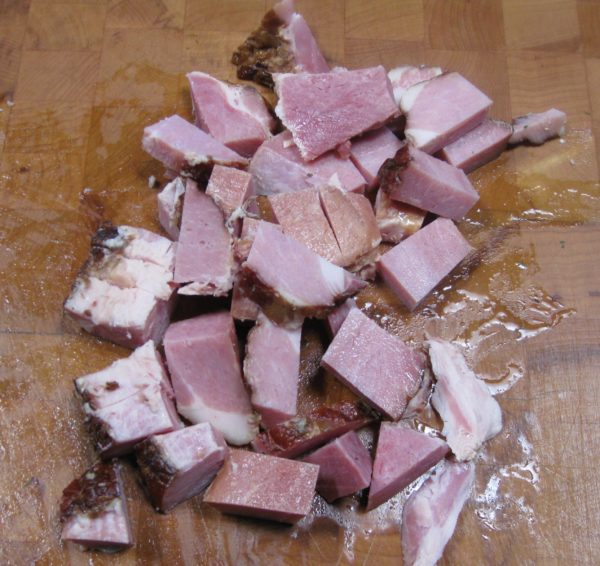
  2. Cut the ham into one-inch cubes.
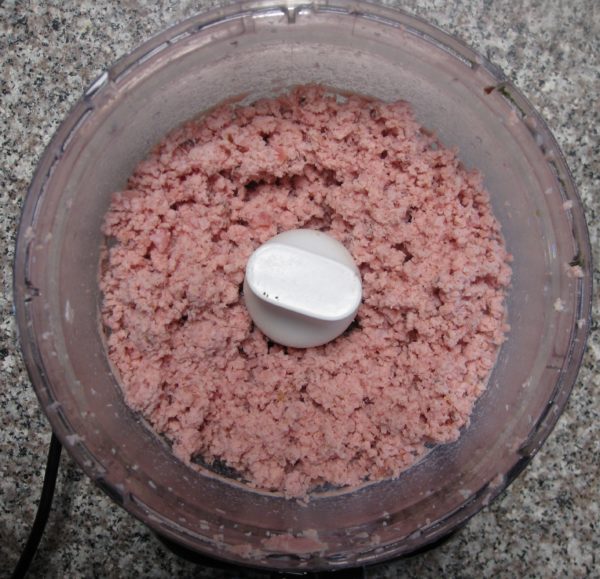
  3. Finely grind the ham in a food processor or meat grinder. Reserve the ground ham.
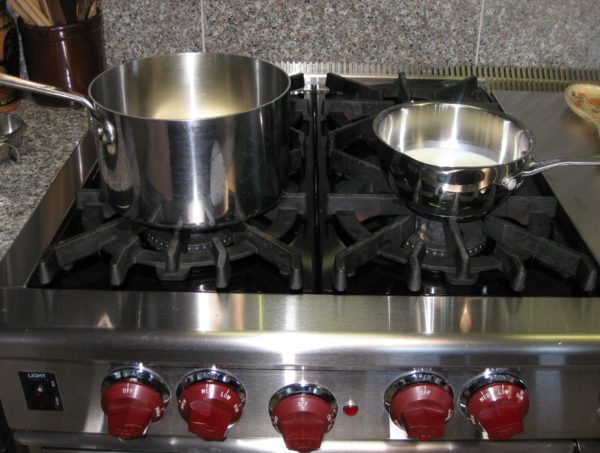
  4. Over medium heat, warm the milk in a small saucepan.
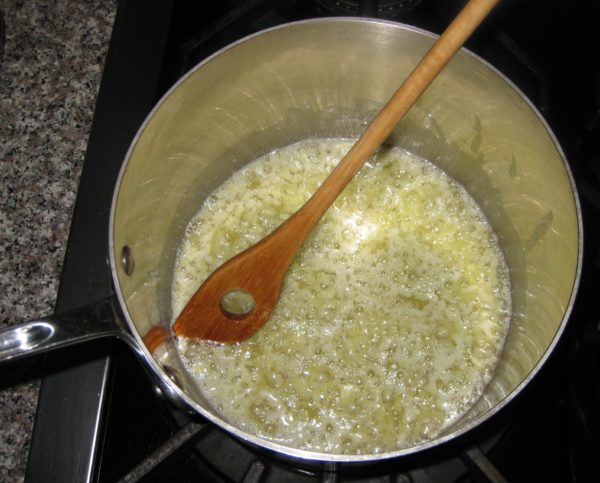
  5. Meanwhile, in a two-quart heavy bottomed pan, sauté the onion in butter on medium heat until soft, approximately 4-5 minutes.
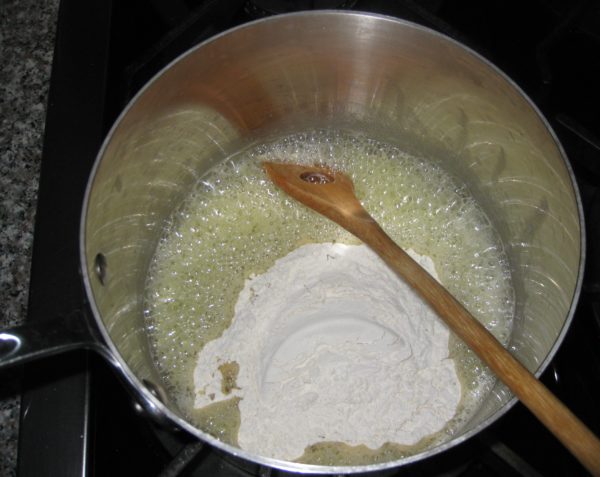
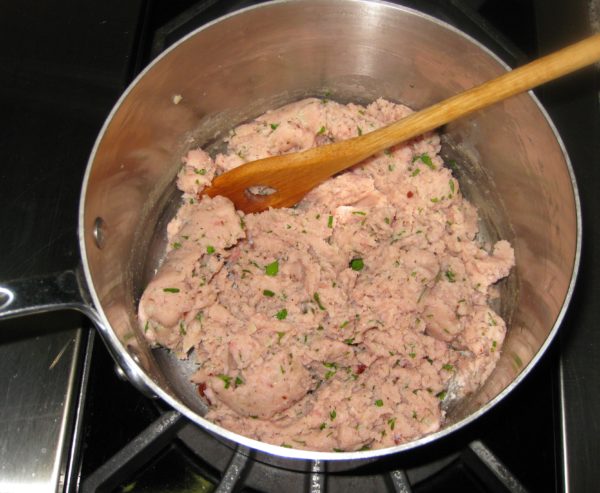
  6. Add the flour to the onion-butter mixture and cook for about two minutes, stirring constantly. Do not brown the flour.
  7. Note, the flour will appear golden from the combination of the butter and the onions.
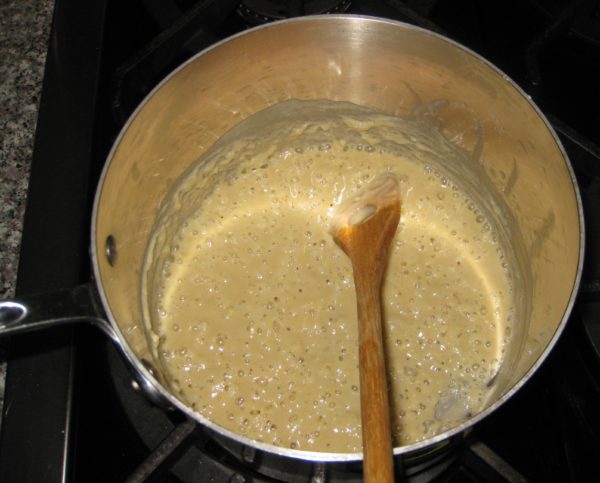
  8. Add about three tablespoons of the warm milk to the flour mixture. Stir well to fully incorporate. Continue adding about three tablespoons of warm milk at a time, stirring well after each addition, until all the milk has been incorporated. The mixture will form a rather heavy dough.
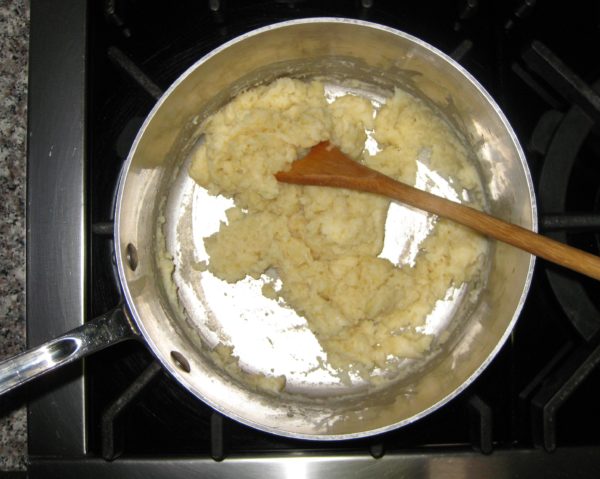
  9. Continue to cook the dough for 2-3 minutes, stirring constantly, without browning.
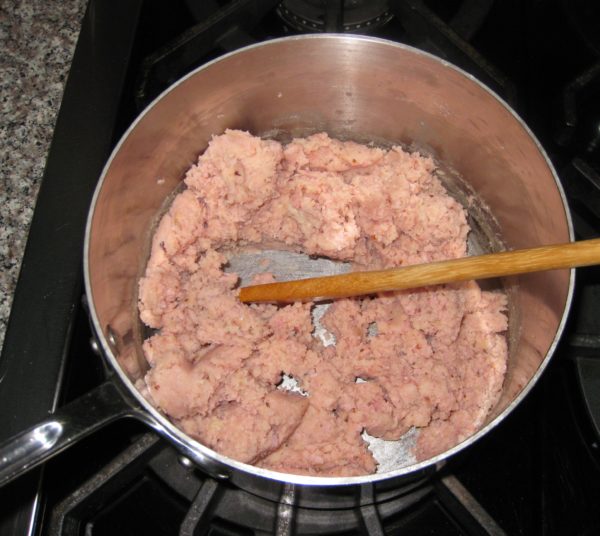
  10. Reduce the heat to low and stir in the ham. Keeping the mixture warm makes it much easier to blend the ham into the dough which would otherwise seize up with the addition of cold ham.
  11. Off the heat, stir in the nutmeg and parsley. Taste and adjust salt and pepper.
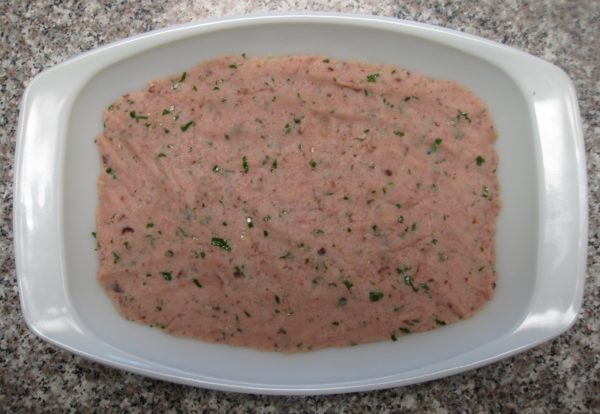
  12. Spread the mixture into a small oblong pan. Cool to room temperature uncovered.
  13. Cover and refrigerate until very cold, about six hours or overnight.
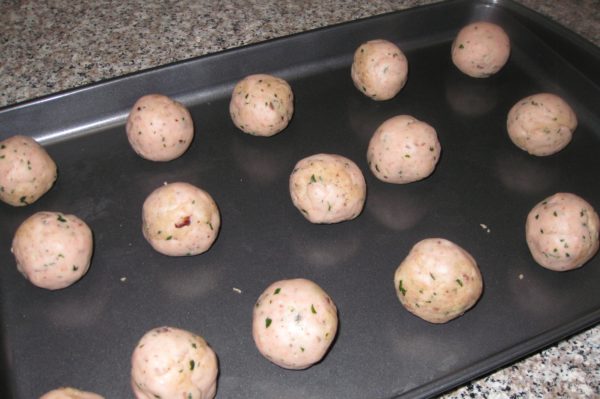
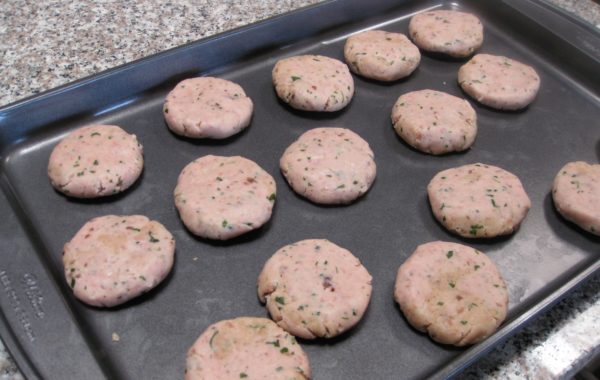
  14. Form the croquetas. If making small ones, roll portions of the dough into ½ inch diameter cylinders. Cut the cylinders into pieces about 2 inches long. If making larger croquetas, divide the mixture into 16 pieces. Roll each piece into a ball then flatten into a patty about ½ inch thick. Put the croquetas in a single layer on a cookie sheets. Refrigerate the croquetas until very cold.
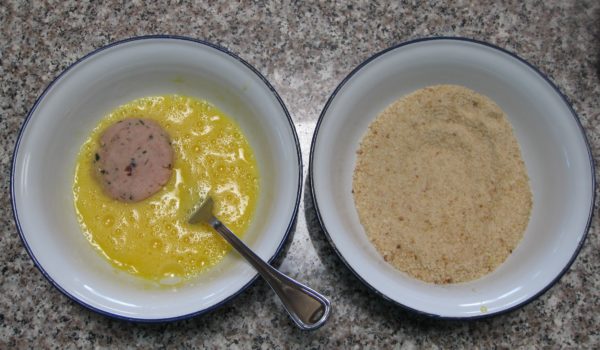
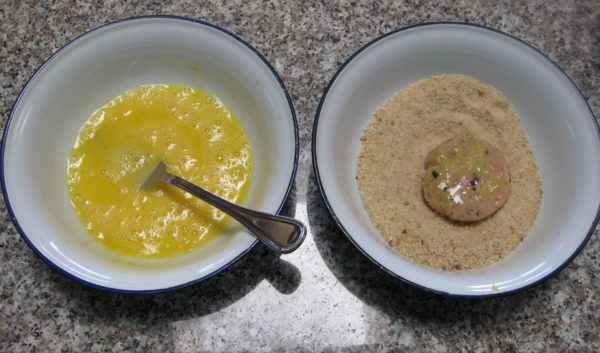
  15. To bread the croquetas, beat 3 eggs seasoned with ½ teaspoon of salt. Dip the croquettes in the beaten egg then roll in crumbs.
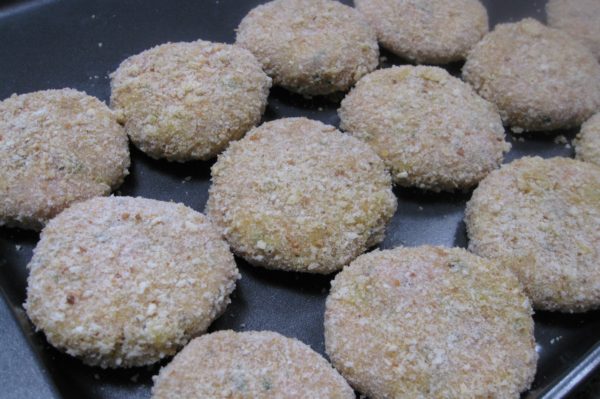
  16. Put the croquetas onto cookie sheets once again. Refrigerate until cold.
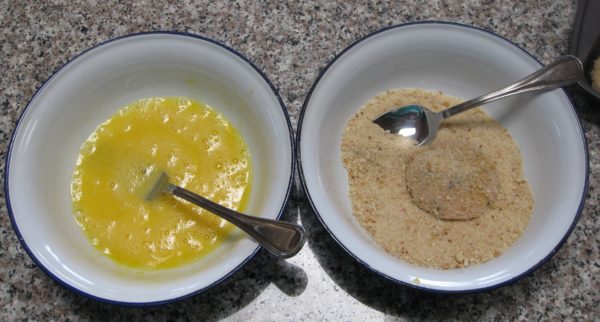
  17. Repeat the egg and crumb coating a second time. The second coating is necessary to get the traditional crunch. Refrigerate several hours or overnight.
  18. Cook the croquetas in a deep fryer at 350°F until deep brown. Alternatively, put ½ inch of oil in a heavy bottomed frying pan. Bring the oil to 350°F. Fry the croquetas, turning once, until deeply browned. Drain briefly on absorbent paper. Keep the croquetas warm in a low oven until they are all fried.
  19. The croquetas ready to serve.
Recipe Notes

Copyright © 2017 by VillaSentieri.com. All rights reserved.
Share this Recipe