Melinda’s Drunken Prunes

October 30, 2017

Italians love to put things in alcohol.

In the short life of this blog, we’ve already covered limoncello, cherries in brandy, and liquore al lauro.

Of course, it’s entirely possible that I love to put things in alcohol. If so, I’m not alone!

Melinda Orlando and I started working together in early 1989 when I moved to Chicago and became the Medical Director (Chief Medical Officer in today’s terminology) of Chicago-Read Mental Health Center, at the time a 600-bed psychiatric hospital with approximately 7000 admissions per year.


Follow us on Instagram:  click HERE!


Melinda and I have worked together ever since. Most recently she and I were business partners in The Mihalik Group, LLC (TMG). Though we sold the company last year, we still do a limited amount of consulting.

In our twenty-odd years at TMG we traveled a lot and ate at a lot of restaurants. We frequently joked that we probably ate more dinners together during that time than either of us did with our spouses.

At Chicago-Read, Melinda and I bonded early-on over a love of good food, especially Italian. Chicago-Read was located adjacent to a large Italian-American community. There were some really good Italian restaurants, butchers, pasta shops, and grocery stores just minutes away. It wasn’t a struggle to maintain my weight in those days so eating lunch at one of the nearby restaurants happened often.

This recipe for drunken prunes came from Melinda’s Grandmother.

Melinda’s grandmother came to the US as a young wife with two children. A third, Melinda’s father, was born onboard the ship. After going through Ellis Island she traveled to Chicago by train to meet her husband.

At one point, Melinda’s grandmother rented an apartment on Grand Avenue and took in boarders. These were day laborers who were working to save enough to bring their families to this country. They slept on the floor of the apartment and used the toilet in the hall. Baths were taken by all at Hull House down the street. They paid “rent” and got sleeping space, breakfast (coffee and something baked) and dinner (always including pasta).

Melinda’s grandmother was frugal, eventually saving enough to buy a building in Elmwood Park, at the end of the trolley line out of the city. The building became home for her and her five children (her husband was out of the picture), a store (selling candy and cigarettes), and a “bar” (providing beer for a nickel and a free bowl of pasta). It had the only telephone booth in the area. Eventually there was a jukebox and it became a popular place on weekends.

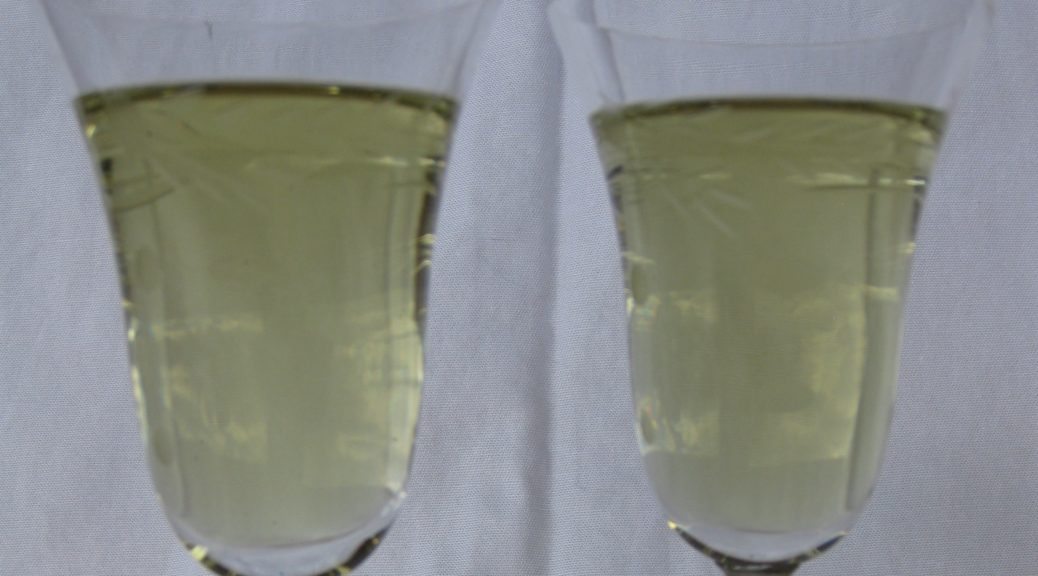
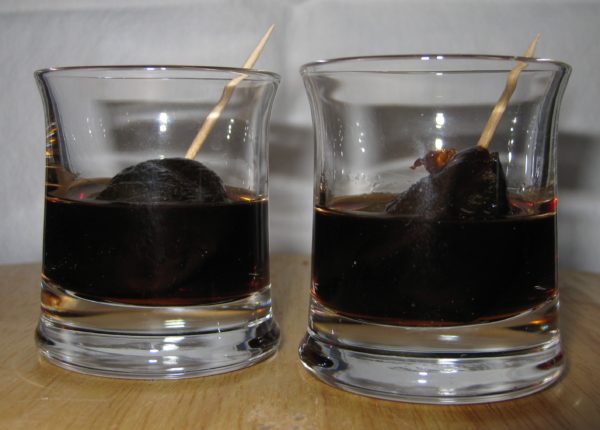
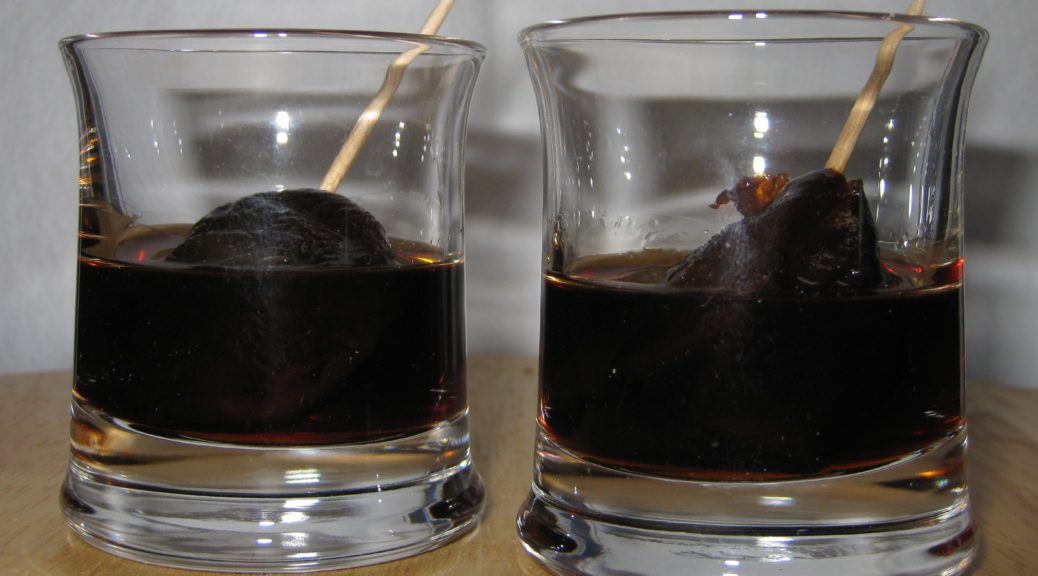
Melinda’s grandmother served drunken prunes in a shot glass speared on a toothpick, with some of the grappa poured into the glass.
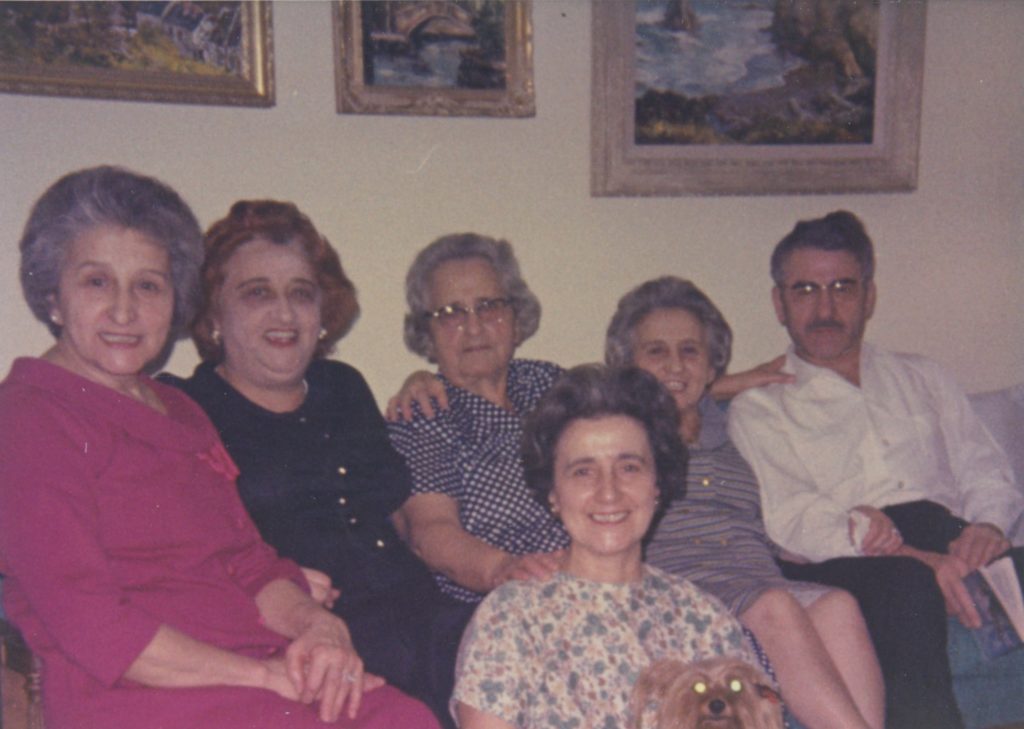
Melinda’s Grandmother, center, and her five children including Melinda’s father, far right

If not served at family events, the prunes generally accompanied a game of canasta among Grandma’s “women friends” and were intended to be nibbled on. Never were they eaten in a bite or two.  Seconds were rare, though they did occur.  (I’d love to know what the women said of those who had a second prune but that information is lost to history.)
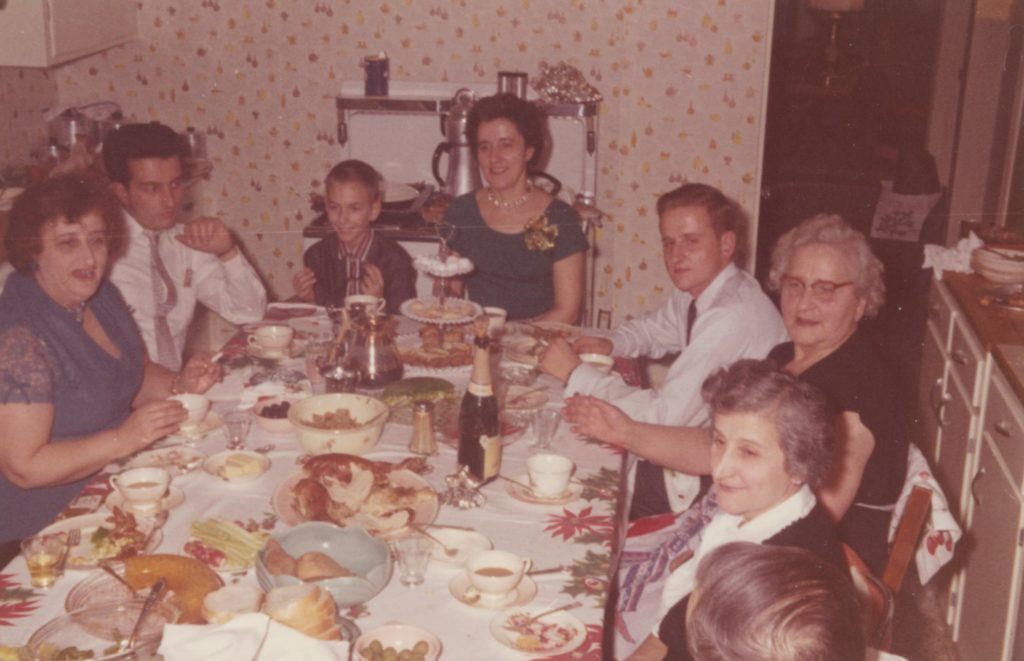
Christmas at Melinda’s Grandmother’s house

Before canasta, there was always lunch, almost always pasta, and dessert, usually pound cake.  Occasionally the pound cake was used to sop up the grappa in the bottom of the shot glass if it wasn’t  consumed outright.  A glass (single, of course) of wine was sipped all afternoon.
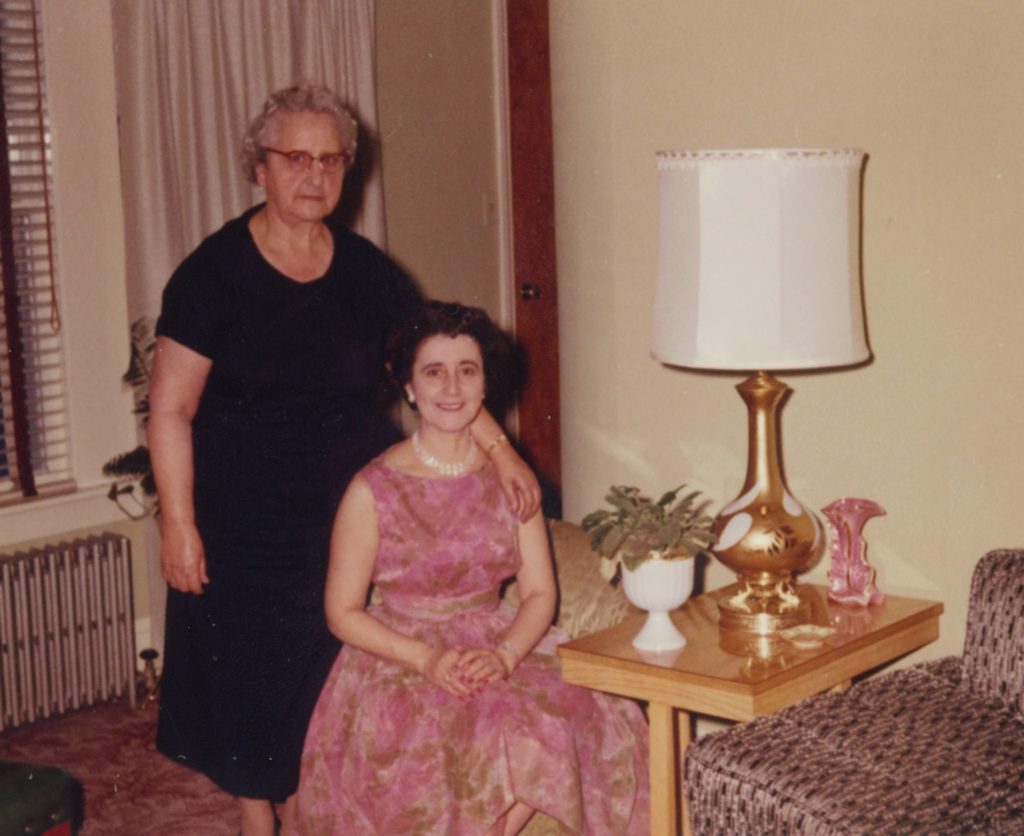
Melinda’s Grandmother and Aunt Enes, the youngest of the five children. Enes and her husband gave up their house to live with Melinda’s Grandmother

Drunken prunes were only served in the winter, never in the summer. As to what took their place for those summer canasta games, we’ll just need to wait for the next installment from Melinda!


Follow us


Click HERE to join our mailing list and you’ll never miss a recipe again!
Print Recipe
Melinda's Drunken Prunes
The amount of sugar will vary based on personal preference. I suggest starting with the smaller quantity and then adjusting after a month. Once you find your “sweet spot” you can put all the sugar in at the beginning.
Votes: 1
Rating: 5
You:
Rate this recipe!
Cuisine Italian
Prep Time 5 minutes
Passive Time 4 months
Servings
quart
Ingredients
Cuisine Italian
Prep Time 5 minutes
Passive Time 4 months
Servings
quart
Ingredients
Votes: 1
Rating: 5
You:
Rate this recipe!
Instructions
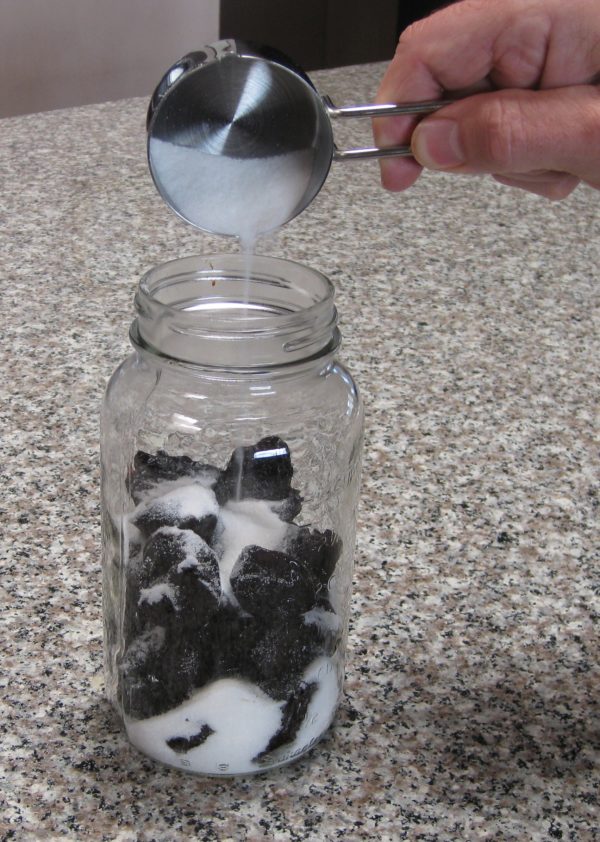
  1. Place prunes in a one quart glass jar.
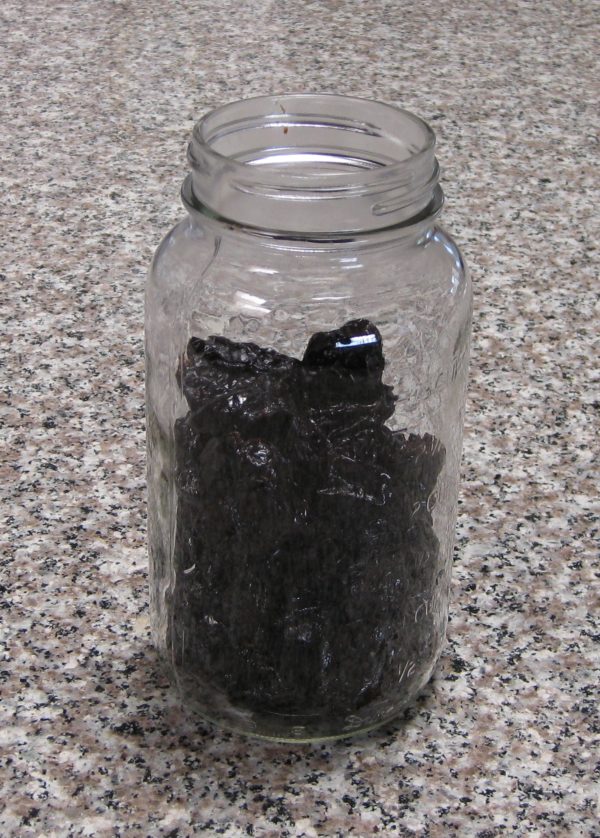
  2. Add 1/3 cup sugar.
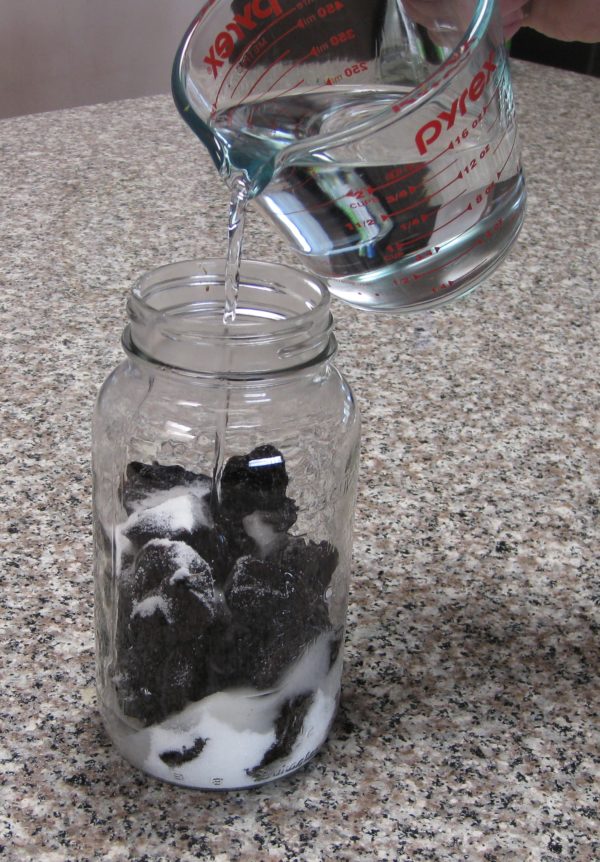
  3. Add grappa.
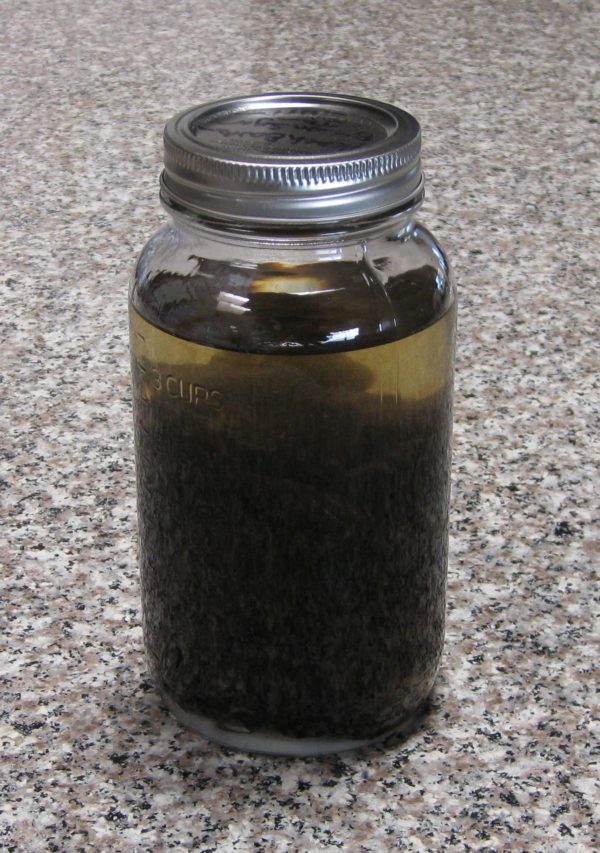
  4. Cover tightly.
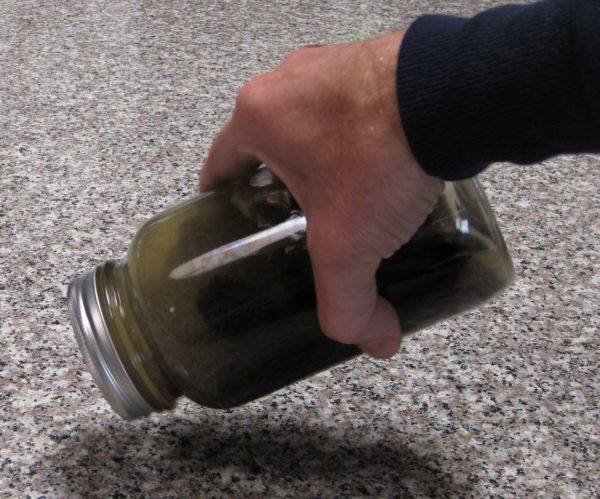
  5. Rotate the jar several times daily until the sugar dissolves.
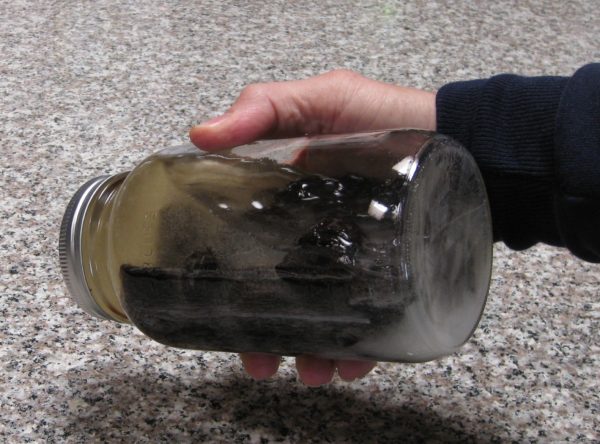
  6. Store the prunes in a cool spot out of direct sunlight.
  7. After one month taste and add additional sugar to taste.
  8. Allow the prunes to age for at least four months total before serving.
  9. Serve the prunes individually in shot glasses with a toothpick. Pour some of the grappa over the prunes.
  10. Nibble on the prunes holding them with the toothpick and sip the prune-infused grappa, preferably while playing canasta.
Recipe Notes

Copyright © 2017 by VillaSentieri.com. All rights reserved.

Share this Recipe

Jim’s Hawaiian Guava Cake

October 25, 2017

“Aloha Mr. Van Sant.”

So began a 2003 email from Simon Rusconi, the Hotel Manager of the Sheraton Moana Surfrider Resort on Oahu.

Mr. Van Sant, Jim to the rest of us, had complimented the resort on its guava cake and Mr. Rusconi was writing to share the recipe.

Jim printed out the email and affixed it to an index card and put it in his recipe box. Late in 2016, the subject of the guava cake came up somehow at a dinner party at Jim and Bill’s house. Jim offered to share the recipe with me if I was interested.

I was, and I said that I’d make it for him. Shortly thereafter, the original recipe arrived in the mail still affixed to the index card. Not wanting to keep his original, I scanned it into my recipe database and returned the hardcopy.

Since Jim and Bill rent a home in Palm Springs just steps from our house, and since baking cakes at nearly 8000 feet where I live in New Mexico is an iffy proposition, at best, I said I’d bake the cake in Palm Springs. Every winter they rent the Oscar Mayer House. Yes, that Oscar Mayer!

We had a delightful luncheon at tables set up around their pool with guava cake for dessert.

The back of the Oscar Mayer house in Palm Springs, California
Inside the Oscar Mayer House
The front of the Oscar Mayer House

But that’s jumping ahead.

Receiving the recipe from Jim was merely the beginning. I became fascinated by guava cake without having even made one. Almost any recipe with the degree of cultural significance that guava cake seemed to garner grabs my attention. I did internet searches and combed through my Hawaiian cookbooks (of which I have a goodly number).

It appears that there are basically three variations of guava cake in Hawaii: Guava Chiffon Cake, Guava Spice Cake, and (plain old) Guava Cake. Recipes for the last often start with a box of cake mix and use Cool Whip in the cream cheese frosting.

From what my research has revealed, the original was a Guava Chiffon Cake invented by Herbert Matsuba, owner of the Dee Lite Bakery, in the early 1960s.

The popularity of the cake no doubt led to multiple copycat recipes, including those using a box of cake mix and Cool Whip aimed at the home cook.

The recipe from the Moana Surfrider was a Guava Spice Cake. I followed the recipe closely the first time except that I needed to find a substitute for frozen concentrated guava nectar which I was unable to find after scouring 10 grocery stores in Palm Springs and nearby desert towns.

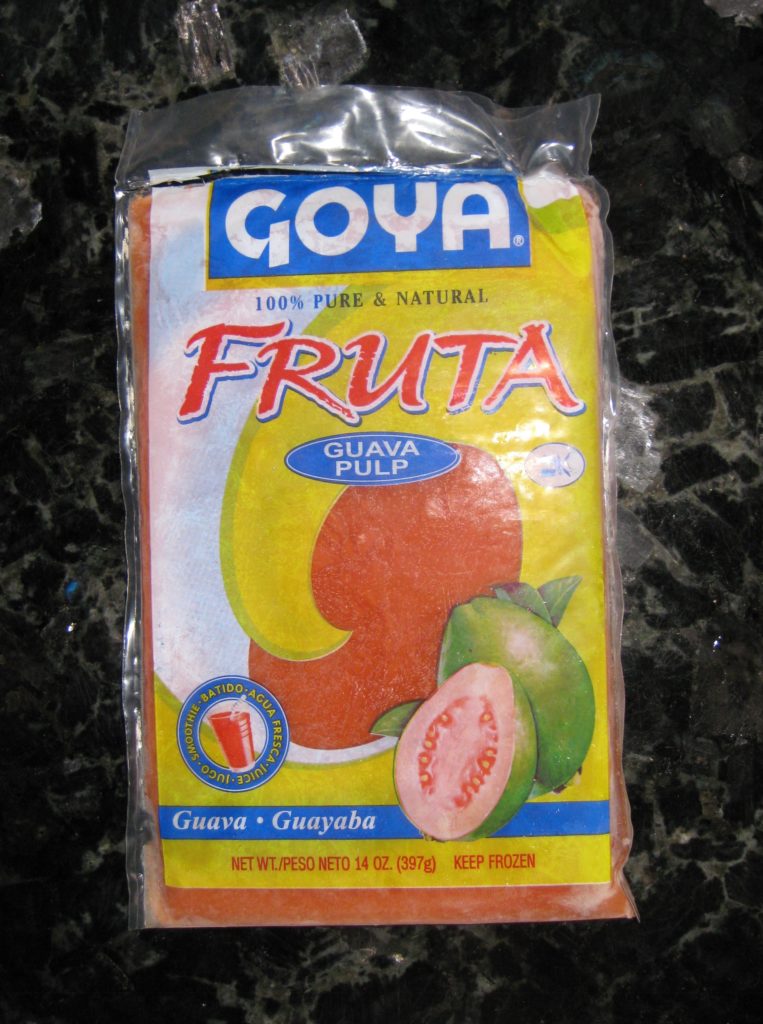
I ultimately was able to source pure guava puree at a market catering to Hispanic shoppers. It had no sweeteners so I thought I might need to add sugar to the batter in a subsequent trial but for the first round I used the guava puree as a direct substitute for concentrated guava nectar.

Frozen Guava Puree, a much easier to find substitute for frozen concentrated guava nectar

The cake was good but everyone who tasted it failed to taste any guava. It really just tasted like a spice cake. Certainly it was not worth hours of searching for guava concentrate only to have the flavor masked by spices.

Other than guava chiffon cake, which was definitely not the same genre as the cake that Jim had at the Moana Surfrider, I could not find a recipe for plain guava cake that did not start with a box of cake mix. I decided to make the original recipe without the spices.

That did it! The guava flavor came through but something told me that Herbert, a professional baker, might have used something to amp up the guava flavor.

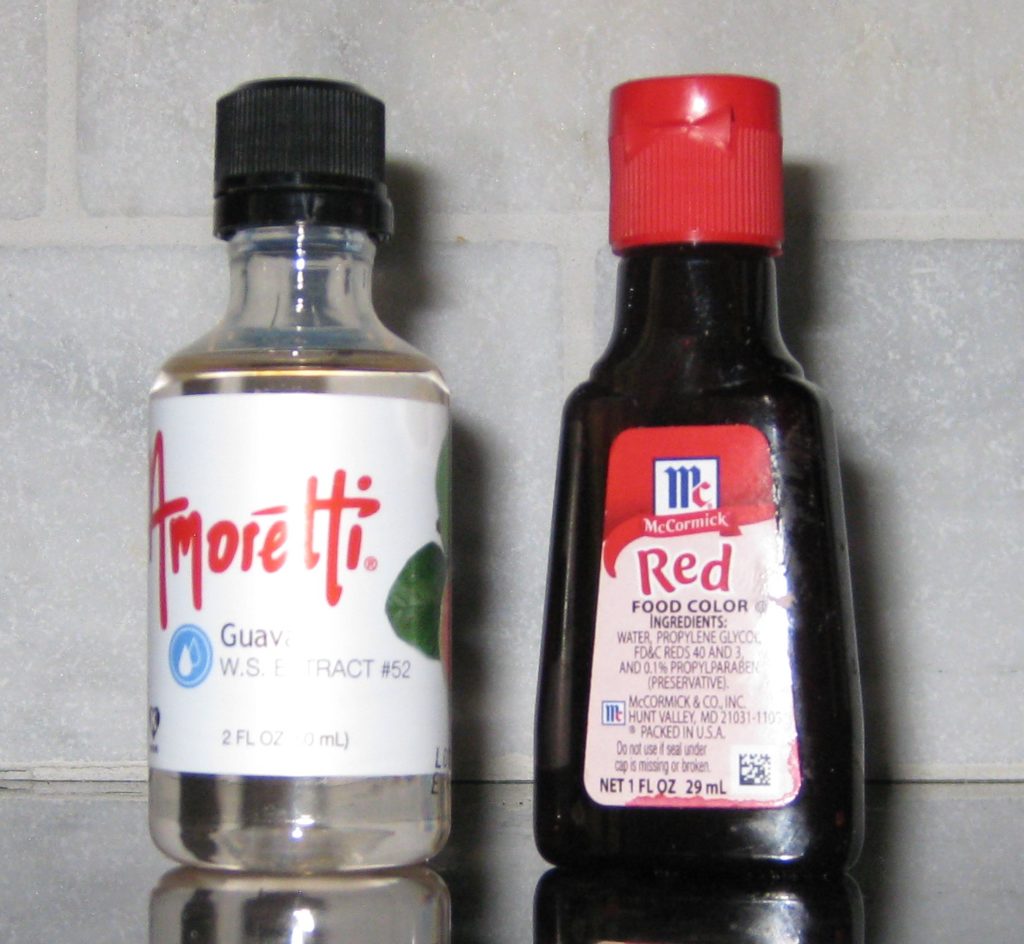
That started me on a search for natural guava extract. I found a wonderful extract made by Amoretti.

You can do without the Amoretti Guava Extract but not the red food coloring.

The next time I made the cake, I added a tiny bit of guava extract to the batter. I believe it enhanced the flavor but if one is not going to make a lot of guava cakes I would consider omitting the guava extract as it is expensive and very concentrated so a little bottle will last a long, long time.

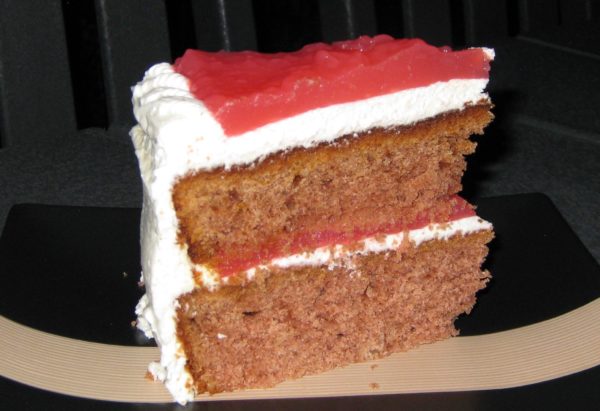
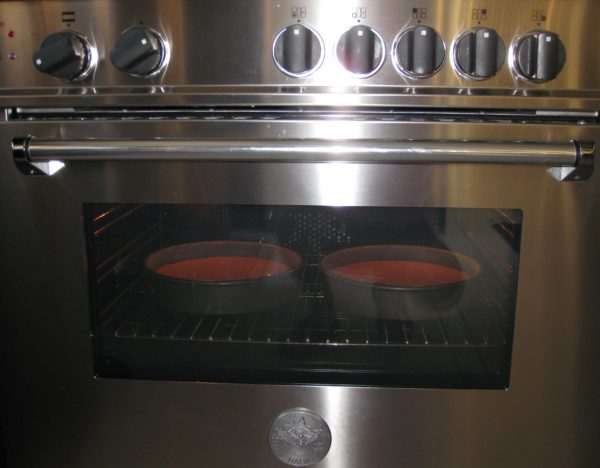
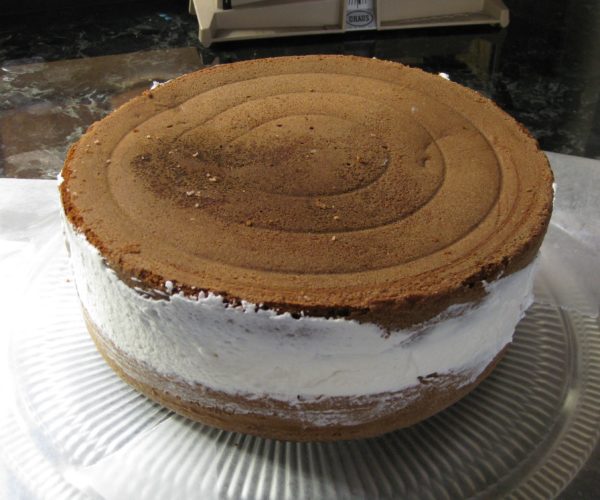
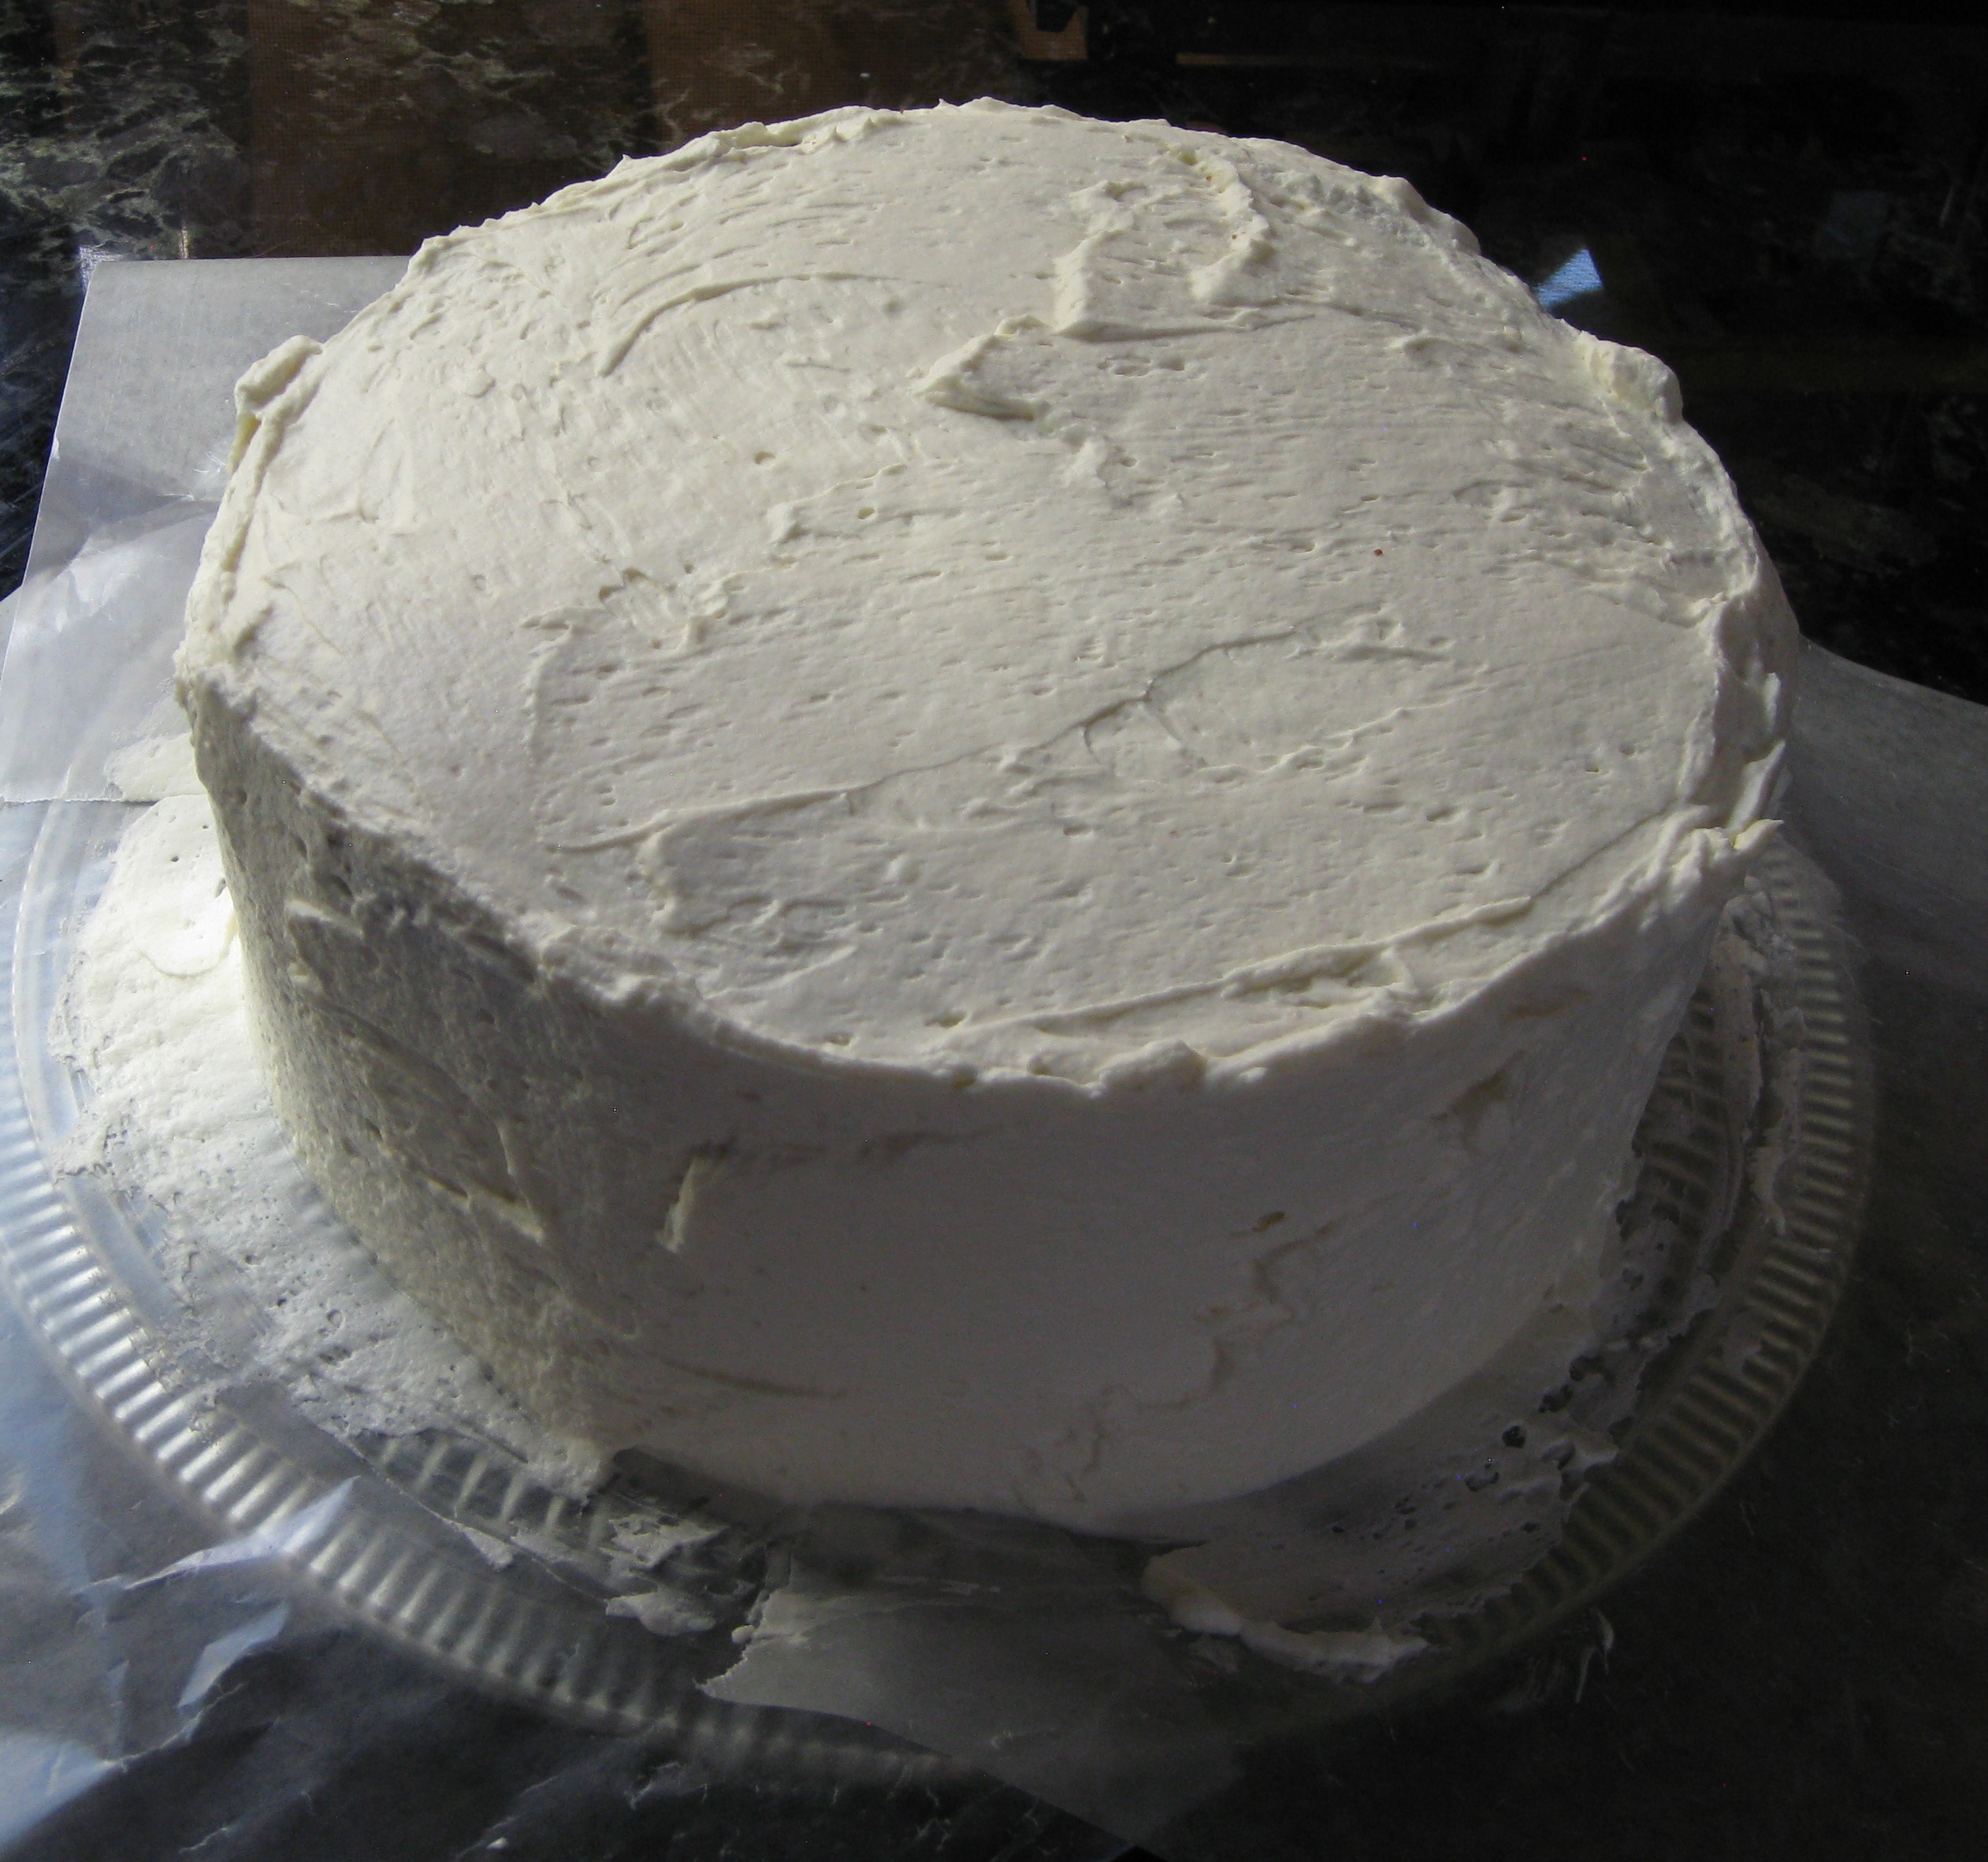
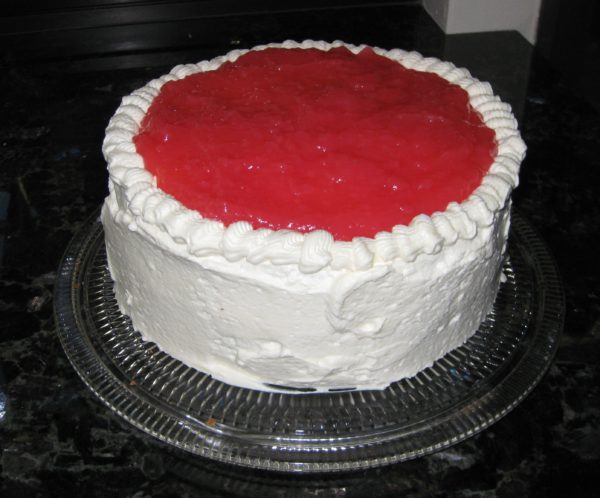
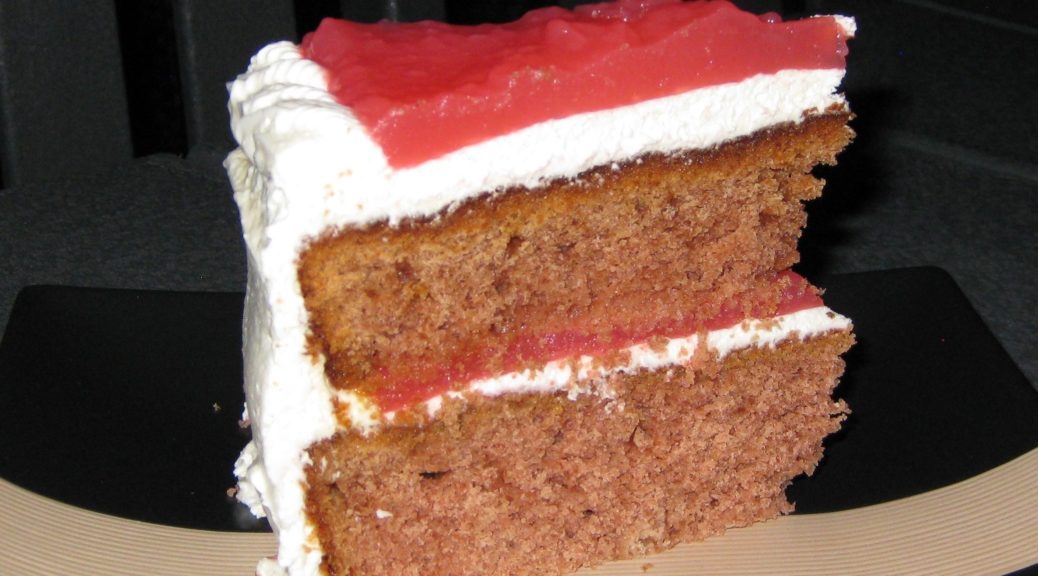
For an everyday cake, I suggest baking it in a 9” x 13” x 2” rectangular pan. For a more special presentation, make a layer cake by dividing the batter between two 9” round pans. If you are doing the latter, make a double batch of cream cheese frosting. You’ll have a little left over but a single batch will not be enough. You could always whip up half a batch of batter and make guava cupcakes to use the extra frosting!

In honor of Oscar Mayer, in whose house we all came together over Jim’s Hawaiian Guava Cake, I recommend the following tribute. Who knew there were so many variations on the Oscar Mayer Wiener theme?


Follow us


Click HERE to join our mailing list and you’ll never miss a recipe again!

Print Recipe
Jim's Hawaiian Guava Cake
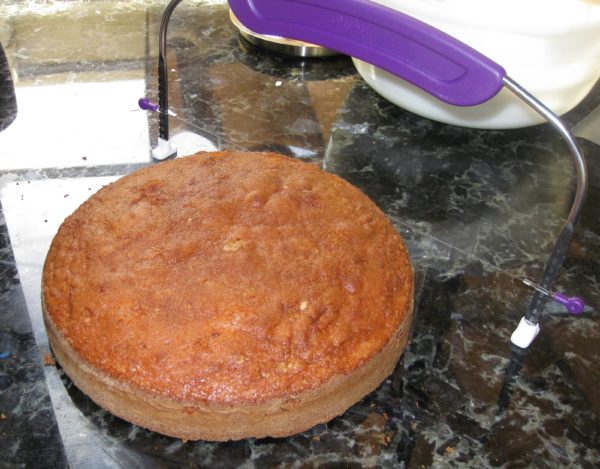
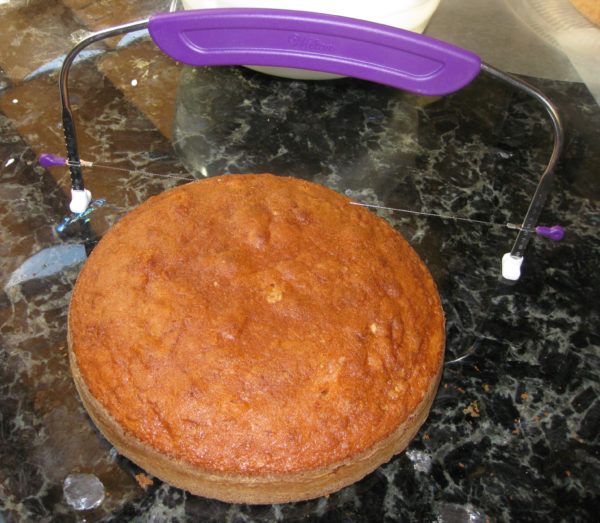
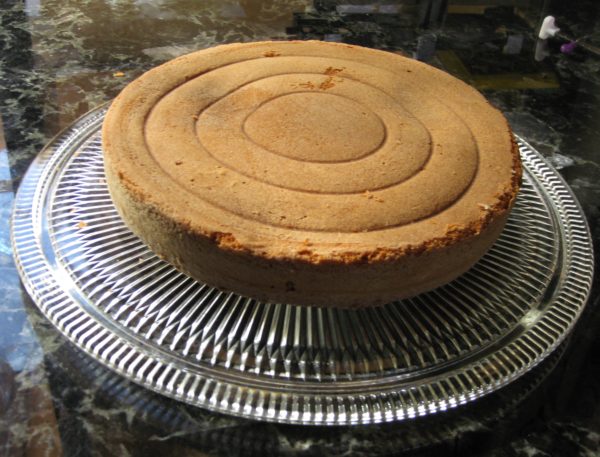
Because frozen, concentrated guava nectar is not readily available except in Hawaii, I standardized this recipe using frozen guava pulp which should be easy to find in large supermarkets or in markets catering to customers from Mexico, Central America, and the Caribbean. It is important that the cream cheese frosting be level so that the guava gel forms an even layer. If you are making a rectangular cake this means there will be a bit more frosting at the edges than in the middle. If you are making a round two-layer cake, I suggest cutting off the tops of the cakes to achieve a perfectly level appearance. Put the cakes cut side down to avoid having lots of crumbs working their way into the cream cheese frosting. Guava nectar can be purchased in cans or refrigerated. Guava pulp is frozen.
Votes: 0
Rating: 0
You:
Rate this recipe!
Prep Time 2 hours
Cook Time 1 hour
Passive Time 3 hours
Servings
people
Ingredients
Cake
Guava Gel
Cream Cheese Frosting (make a double batch for the round cake)
Prep Time 2 hours
Cook Time 1 hour
Passive Time 3 hours
Servings
people
Ingredients
Cake
Guava Gel
Cream Cheese Frosting (make a double batch for the round cake)
Votes: 0
Rating: 0
You:
Rate this recipe!
Instructions
Cake
  1. Butter and flour a 9 x 13 x 2 inch metal cake pan or two 9 inch round cake pans.
  2. Combine flour and baking soda. Reserve.
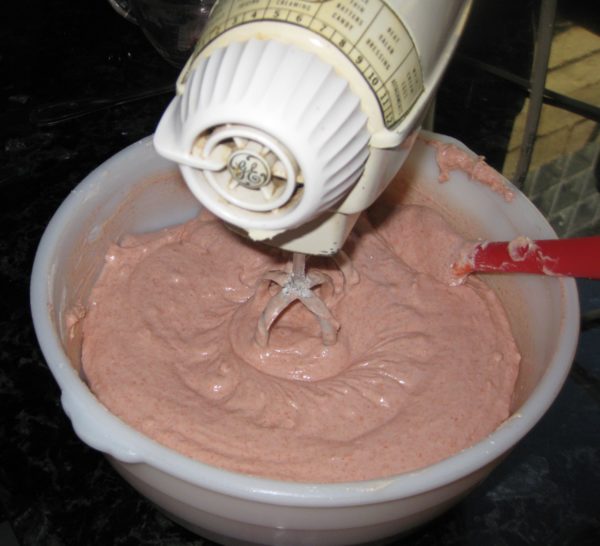
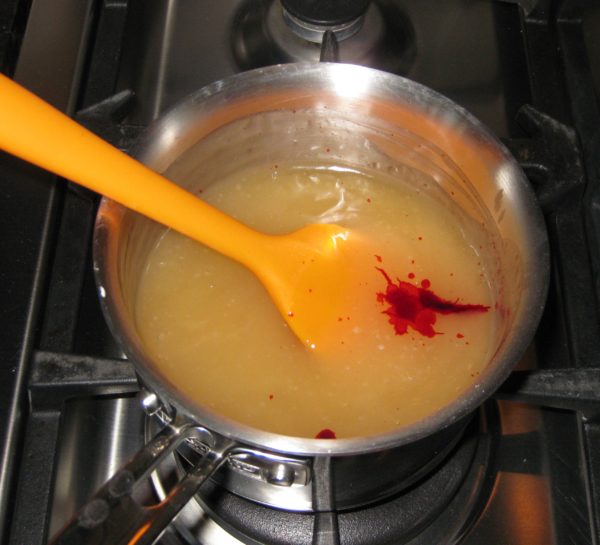
  3. Combine guava puree, guava nectar, guava extract and red food coloring. Reserve.
  4. Cream butter until light. Add sugar and cream until light and fluffy.
  5. Beat in eggs, one at a time, creaming well after each addition.
  6. On low, add dry ingredients alternating with wet ingredients, starting and ending with dry ingredients.
  7. For the rectangular pan: pour the batter into the prepared pan. Smooth the top. Rap the pan on the counter to release any air bubbles.
  8. Bake 350°F 40-45 minutes or until a tester comes out clean.
  9. Cool the cake in the pan then refrigerate.
  10. Frost with cream cheese frosting being careful to make the top of the frosting level. Refrigerate several hours to firm up the frosting.
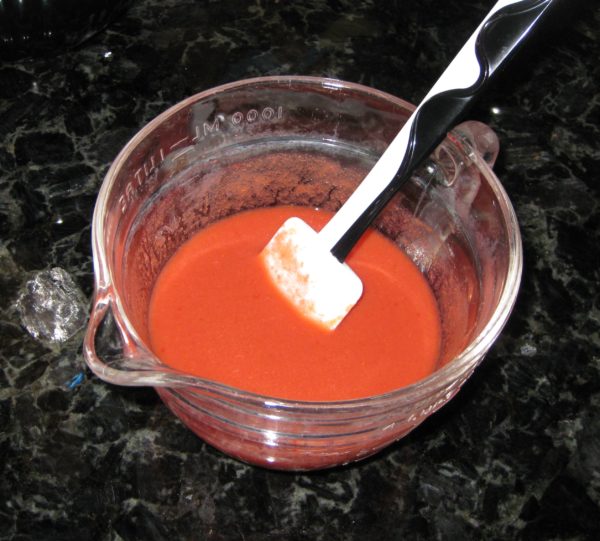
  11. Top with guava gel and smooth out to the edges. Refrigerate several hours to set the frosting and gel.
  12. Bring the cake to room temperature before serving.
  13. For the round pans: Pour the batter into the prepared pans. Smooth the tops. Rap the pans on the counter to release any air bubbles.
  14. Bake 350°F 30-35 minutes or until a tester comes out clean.
  15. Cool the cakes in the pans for 10 minutes. Remove and cool completely on a wire rack.
  16. Wrap the cakes and refrigerate until cold, or up to one day.
  17. Slice the rounded tops of the cakes off to make them level.
  18. x
  19. Put one layer, cut-side-down on a platter.
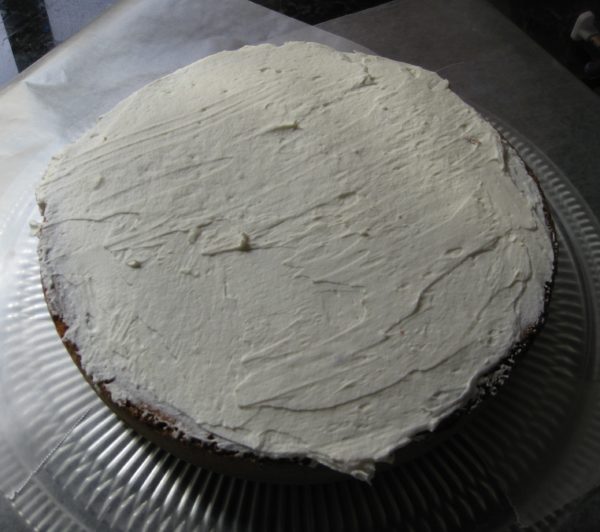
  20. Put a layer of cream cheese frosting on the top of this layer.
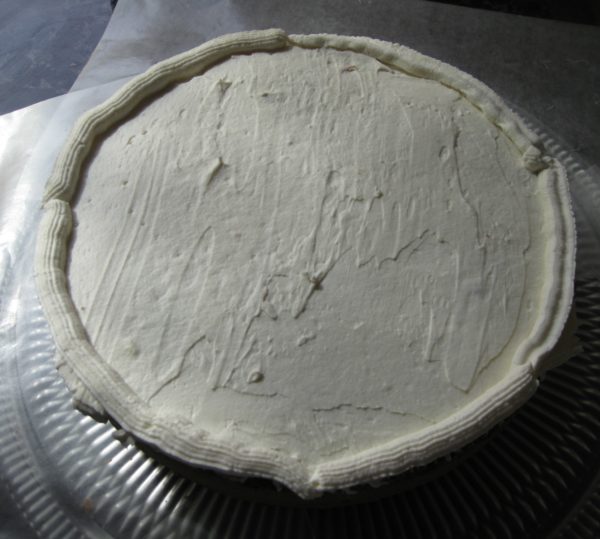
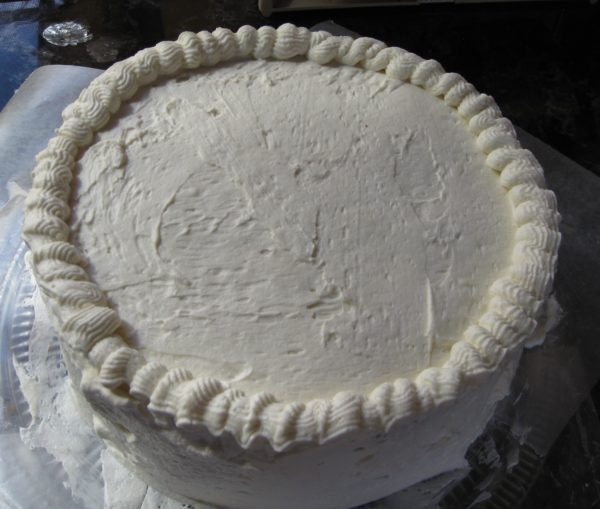
  21. Pipe a rim of frosting around the edge to hold the guava gel. This does not need to be fancy as it will be smoothed out.
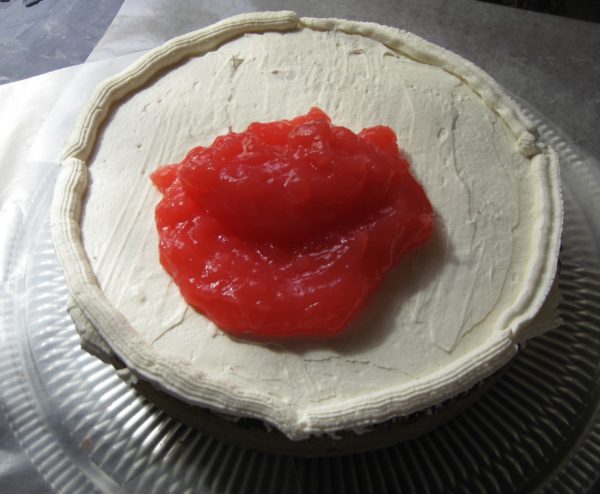
  22. Put just under ½ of the guava gel on top of the frosted bottom layer.
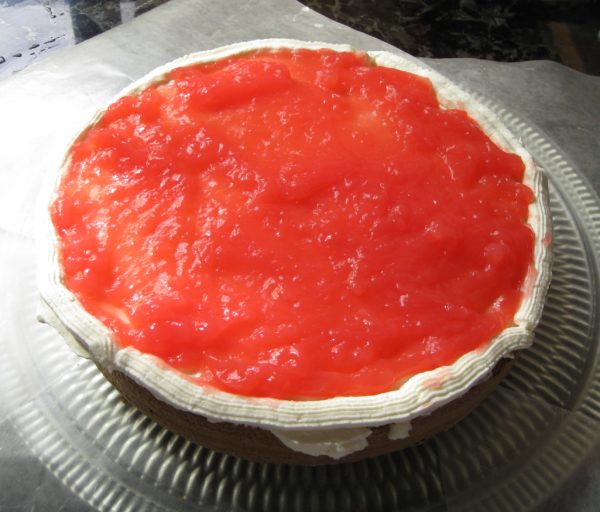
  23. Smooth the gel out to the piped edge.
  24. Top with the remaining cake, cut side down.
  25. Generously frost sides and top of the cake with cream cheese frosting.
  26. Pipe a decorative border around the edge of the top layer.
  27. Pour the remaining guava gel on top and smooth out to the edges.
  28. Refrigerate several hours to set the frosting and gel.
  29. Bring to room temperature before serving.
Guava Gel
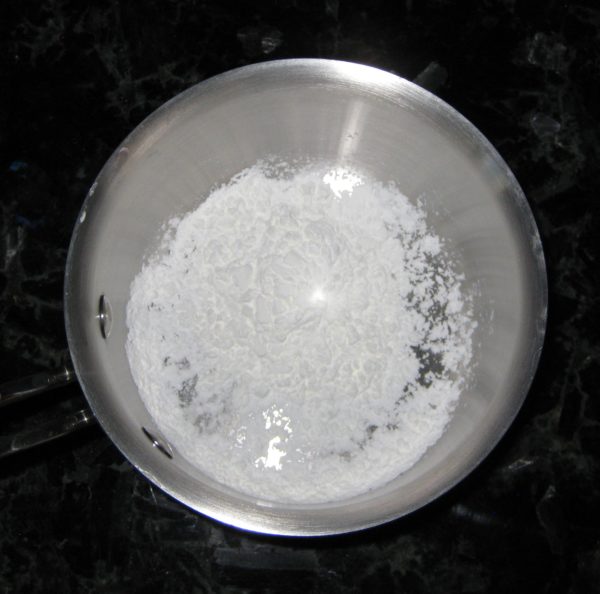
  1. Put the cornstarch in a small heavy-bottomed sauce pan.
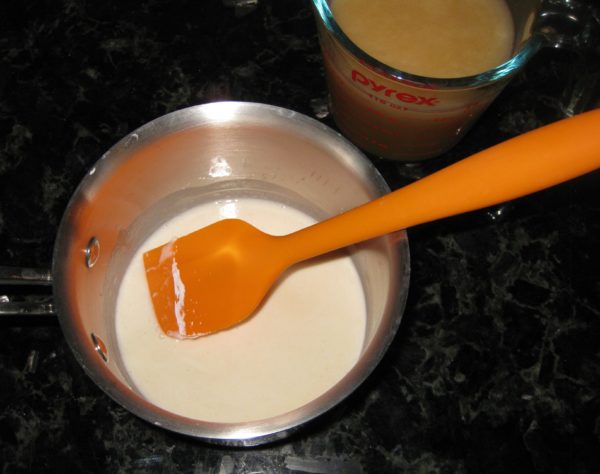
  2. Stir in the guava nectar, a little at a time, to dissolve the cornstarch without forming lumps.
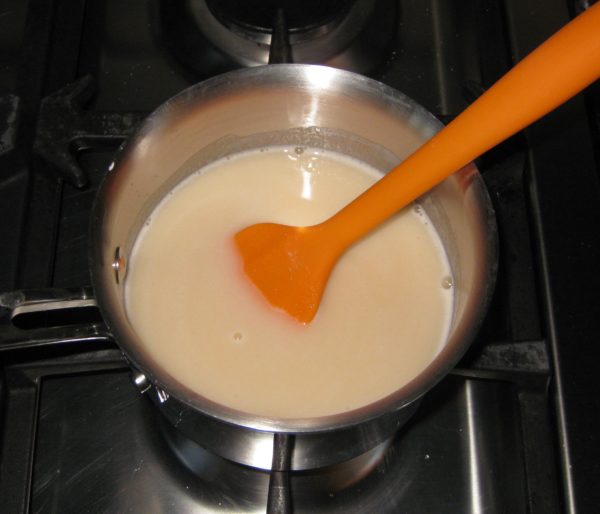
  3. When dissolved, add the remaining guava nectar and sugar.
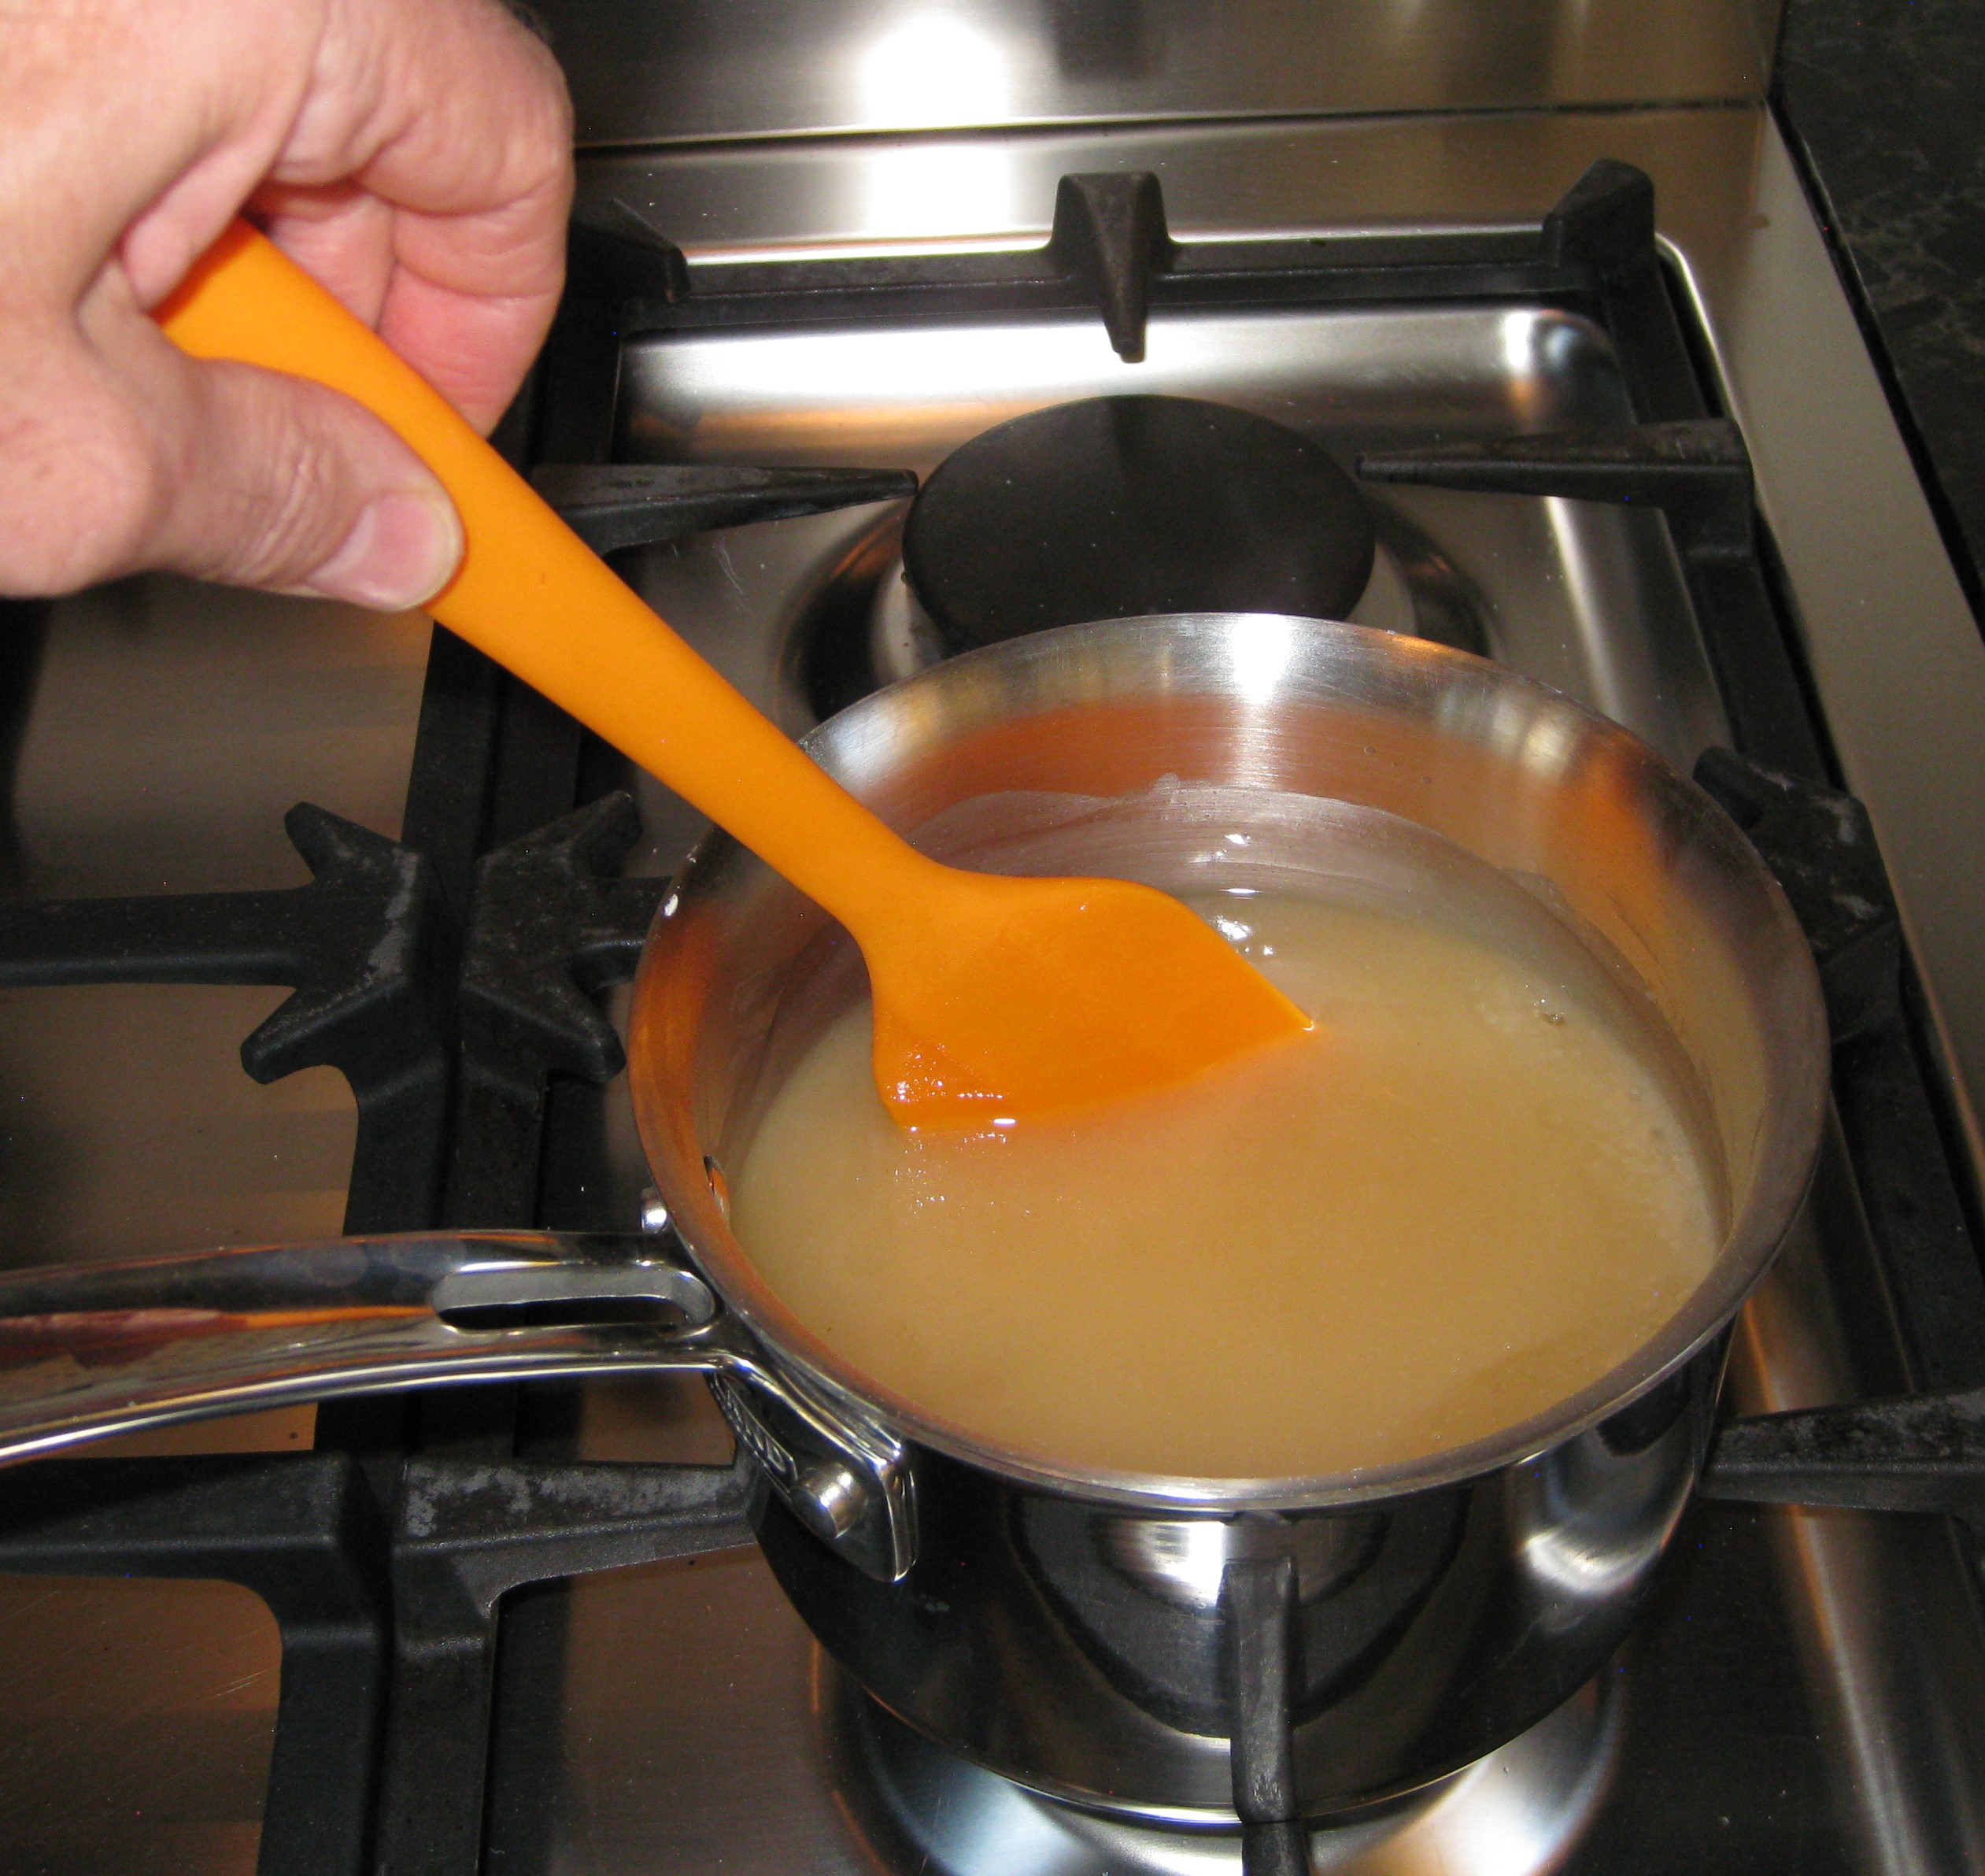
  4. Cook over medium heat, stirring constantly, until it comes to a full boil.
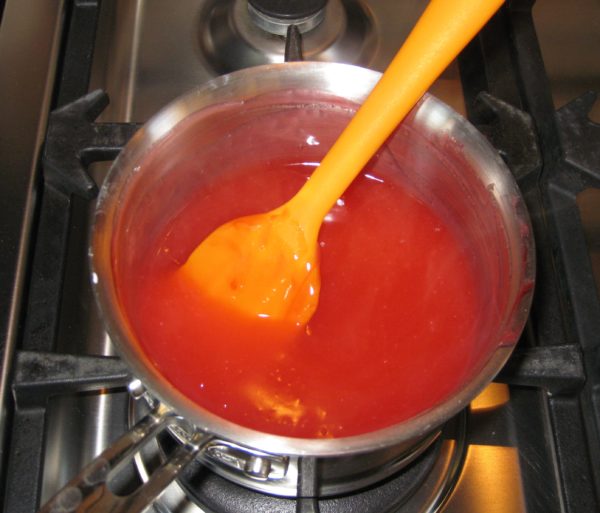
  5. Remove from heat and stir in red food coloring.
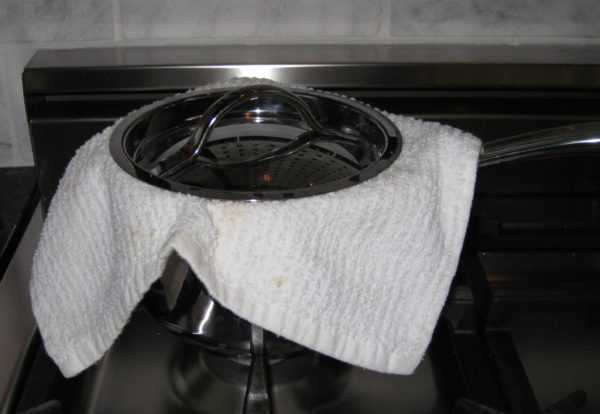
  6. Put a cloth on top of pan before putting cover back on to keep moisture from dripping back into the gel.
  7. After the gel reaches room temperature, refrigerate until cold.
Cream Cheese Frosting (make a double batch for the round cake)
  1. Chill the bowl and beaters for the whipped cream.
  2. Cream the cream cheese until light.
  3. Sprinkle in 1/3 cup of sugar and beat until light and fluffy.
  4. Mix in vanilla.
  5. In chilled bowl, beat the whipping cream until thick.
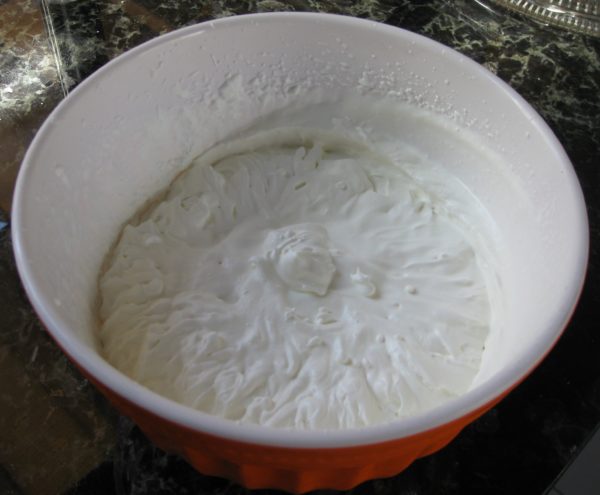
  6. Add 2 tablespoons of sugar and beat until the cream forms stiff peaks.
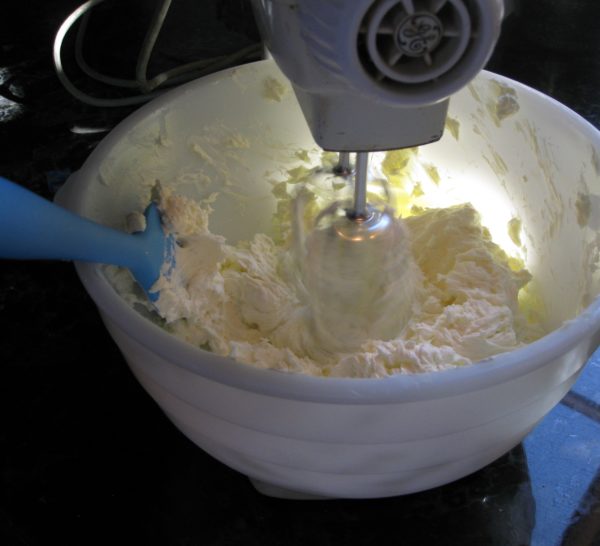
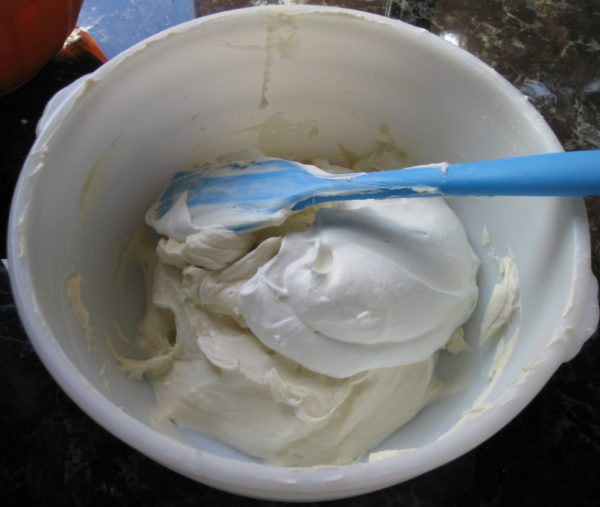
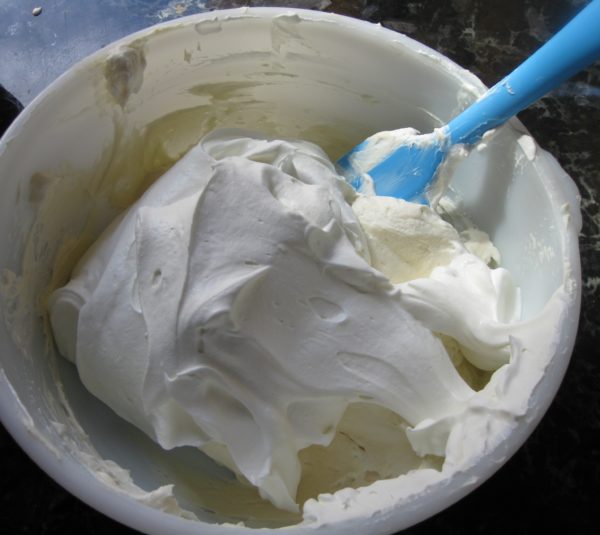
  7. Fold 1/3 of the whipped cream into the cream cheese to lighten it.
  8. Carefully, but thoroughly fold in the remainder of the whipped cream.
Recipe Notes

Copyright © 2017 by VillaSentieri.com. All rights reserved.
Share this Recipe

Eduardo’s Chimichurri

October 20, 2017

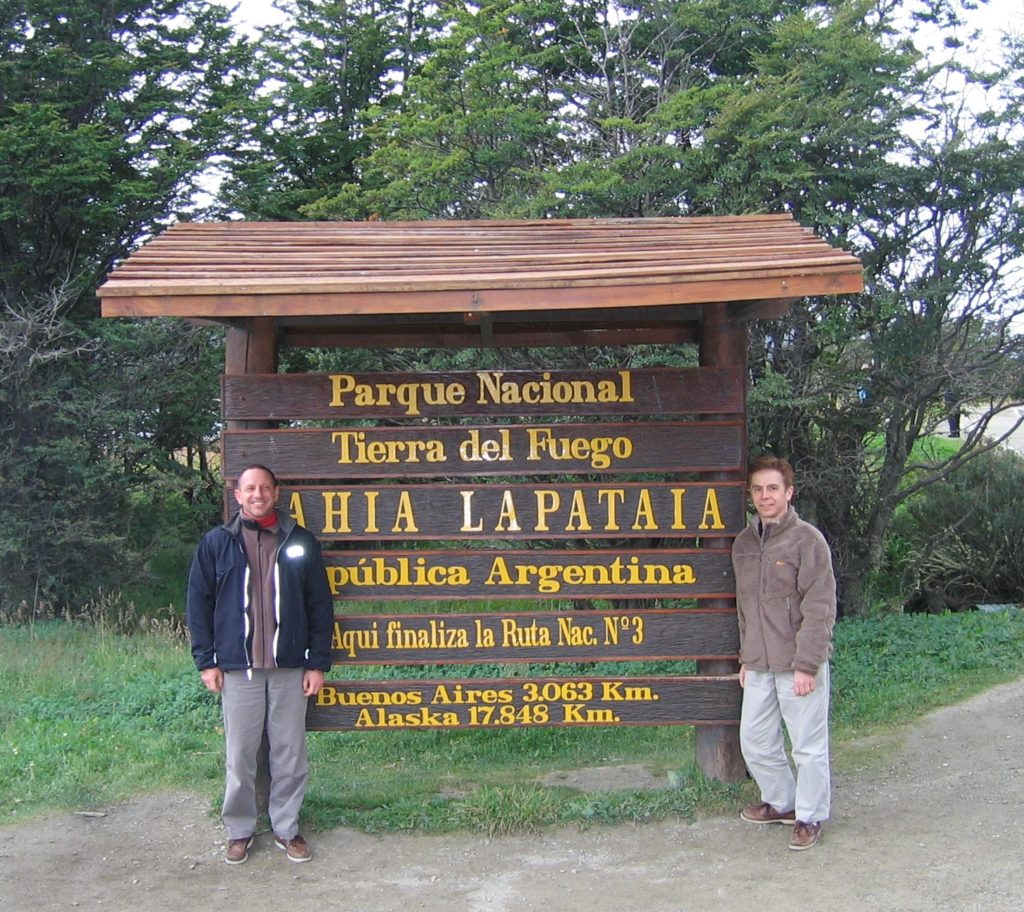
We’ve been to Argentina at least three times. Once as part of a trip to explore wine country in Chile and Argentina, once as part of a trip to Antarctica for which the ship left from Tierra del Fuego, and once with my in-laws to visit relatives who lived in Patagonia.

Tierra del Fuego, the starting point for our Antarctic adventure!
Penguins
Icebergs really are blue!

On each trip we spent some time in Buenos Aires, some more than others. And on each trip we did the Argentine thing of eating copious quantities of meat.

Eateries abound selling meats of various types cooked over live charcoal. The less fancy, but no less good, ones are often outdoor affairs with pots of chimichurri on each table. Often, the maestro de parrilla (grill master) is standing just feet away tending several large parrillas (grills) brimming with various cuts of meat. One of our most memorable meals of grilled meats was at just such a place in the suburbs of Buenos Aires with a friend from the States who married an Argentine and moved to Buenos Aires.

I developed a true appreciation for the extent to which Argentines love meat, however, at several family dinners at my husband’s Great Uncle Duilio and Great Aunt Juliana’s house in Puerto Madryn, Patagonia. Duilio is Fidalma’s brother. I’ve mentioned Fidalma several times in this blog.

We spent a week in Puerto Madryn and had two Sunday dinners with Duilio’s family (daughters, sons-in-law, and grandchildren).

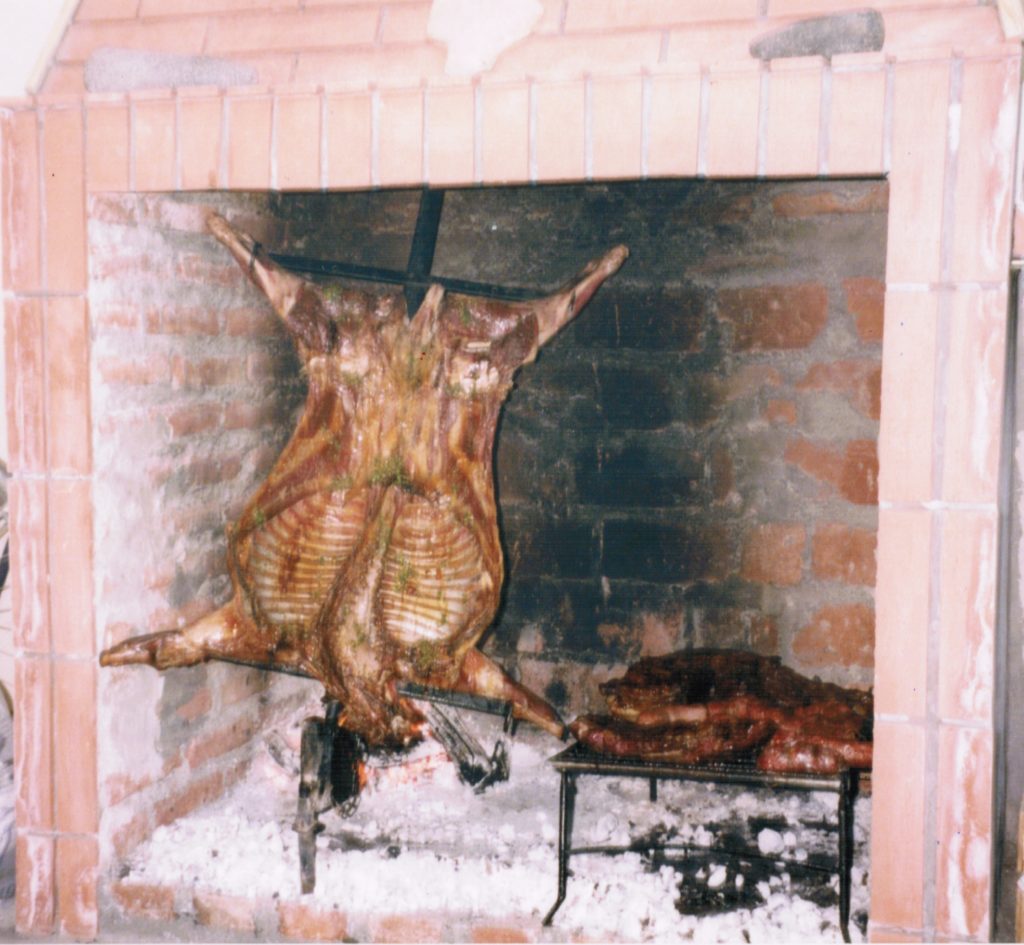
To accommodate large family gatherings, one of Duilio’s daughters converted an outbuilding to host bacchanalian feasts. There was a large indoor parilla with grill racks, an iron cross to hold an entire lamb near the charcoal, and a hook to hold a cauldron over the heat. There was another parilla just outside the door, in the courtyard. The rest of the interior space was given over to a very, very long table and chairs.

Indoor parilla with a whole lamb and sausages

When we arrived for the second Sunday dinner, Eduardo, one of Duilio’s sons-in-law was frying 15 kilos (that’s 33 pounds!) of calamari in a large cauldron set over a fire in the indoor parilla. This was just to keep us from getting restless and hungry as the rest of the meal was prepared.

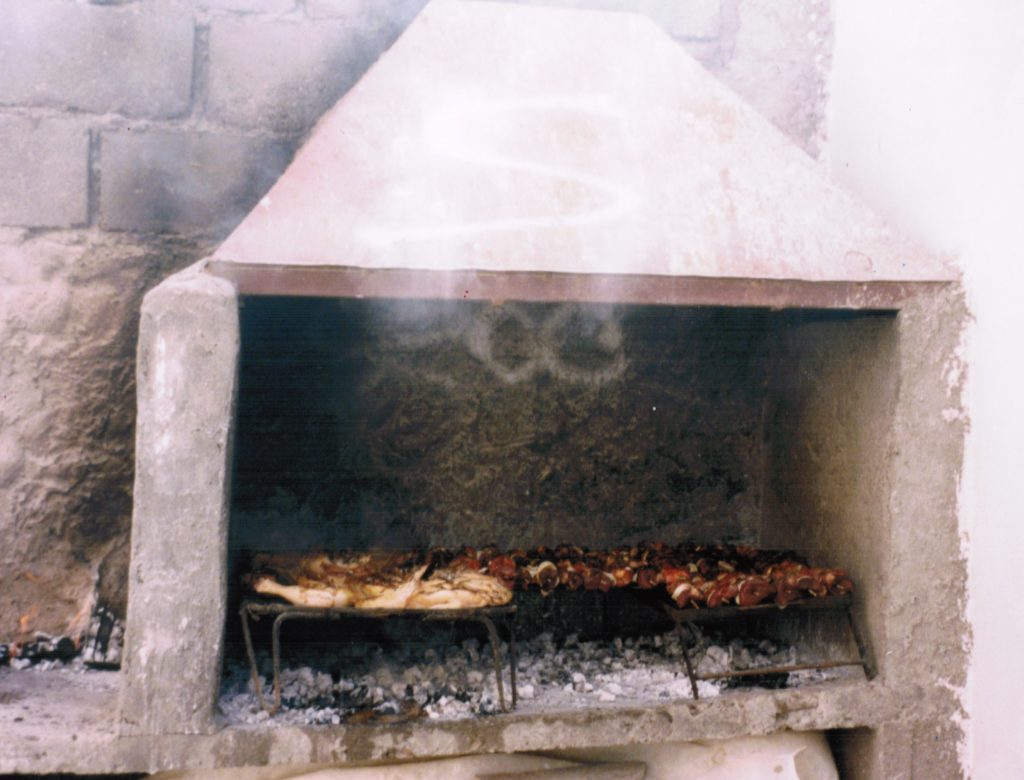
Outdoor parilla with chicken and brochettes

When we sat down to eat, the first course was grilled chicken. The grilled chicken course was followed by grilled sausages. The grilled sausages were followed by grilled lamb. The grilled lamb was followed by grilled beef.

Yep, each course was a different meat!

Truth be told, there were some vegetables on the table. But that doesn’t mean they were eaten by most of the family and the quantity certainly paled in comparison to the herd of animals that made its way onto the table in succession.

The seating arrangement was in strict age progression. Duilio and Juliana sat at the head. On either side of them sat my husband’s parents. Next to them on opposite sides of the table was where my husband and I were seated. After that came Dulio and Juliana’s daughters and their husbands. The remainder of the table was filled with grandchildren.

The vegetables started at “our” end of the table. Duilio and Juliana, as well as my in-laws and the two of us actually put vegetables on our plates. Duilio and Juliana’s daughters took a bite or two, as I recall. The sons-in-law and grandchildren wanted nothing to do with anything that was suspiciously related to a root!

And there you have it. Course after course of meat, no veggies for the “true” Argentines, a bit of dessert, and the obligatory cup of mate passed around the table.

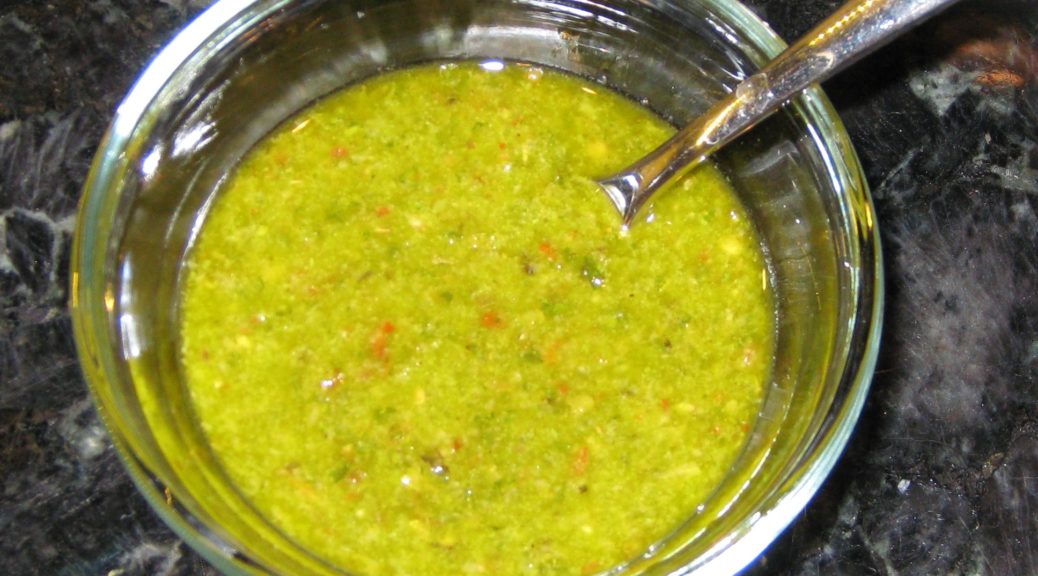
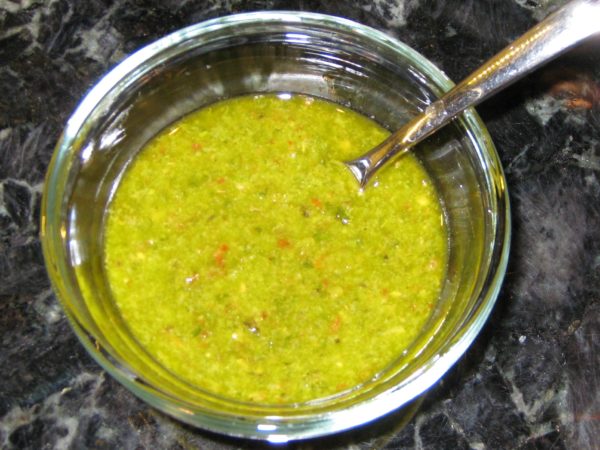
Eduardo cooked all the food magnificently. This is his chimichurri recipe. It contains a few ingredients that might seem unusual but since his family has been in Argentina for many generations who am I to argue?

In addition to serving as the typical condiment for grilled meat, chimichurri is also as a marinade for the same meat. It will keep a week in the refrigerator so be sure to make enough to both marinate the meat and serve as a condiment.


Follow us


Click HERE to join our mailing list and you’ll never miss a recipe again!

Print Recipe
Eduardo's Chimichurri
While a few of the ingredients may seem unusual, Eduardo’s family has lived in Argentina for several generations so I don’t doubt the traditional nature of this recipe. Make extra and use some to marinate the meat before cooking. Pass the remainder at the table. You can use either red or white wine vinegar but I prefer white as it does not dull the bright green color of the herbs.
Votes: 0
Rating: 0
You:
Rate this recipe!
Prep Time 20 minutes
Passive Time 3 hours
Servings
cups
Ingredients
Prep Time 20 minutes
Passive Time 3 hours
Servings
cups
Ingredients
Votes: 0
Rating: 0
You:
Rate this recipe!
Instructions
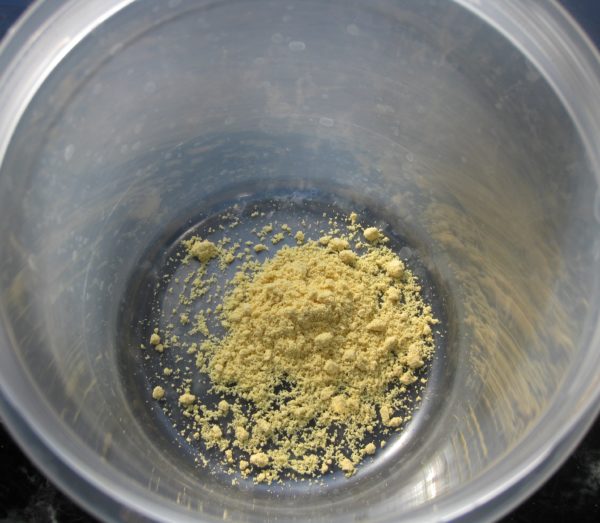
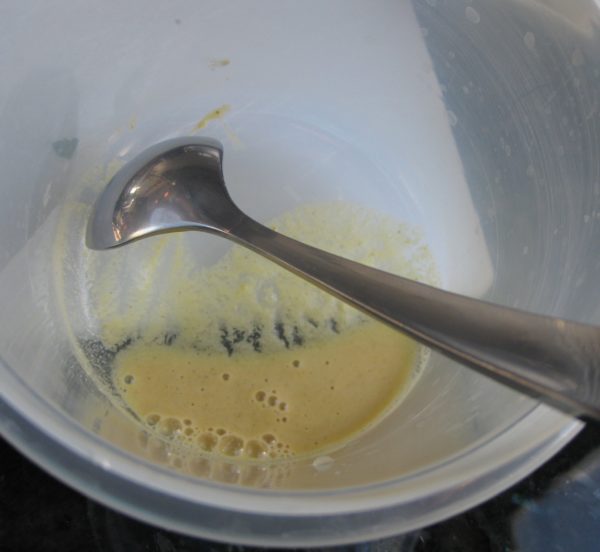
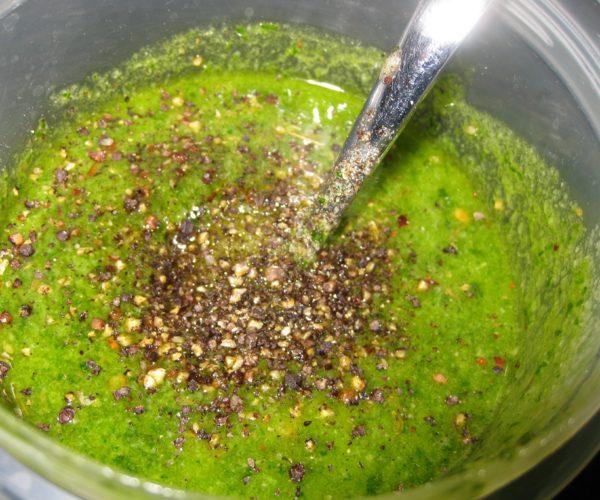
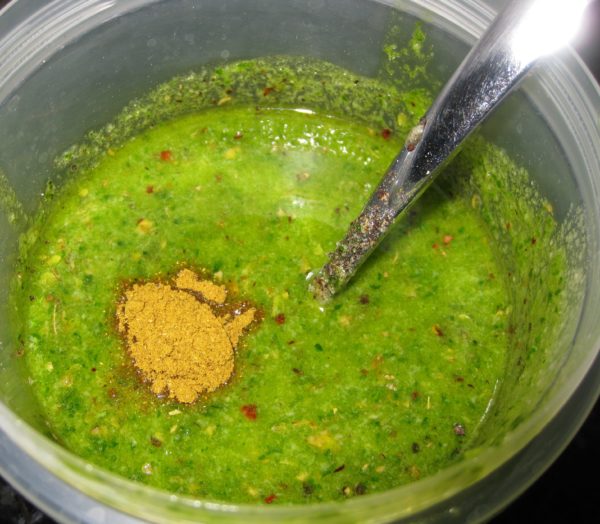
  1. In a jar with a tight-fitting lid large enough to hold the finished sauce, combine the mustard and water.
  2. Allow the mustard-water mixture to stand approximately 7-10 minutes to develop the mustard’s flavor.
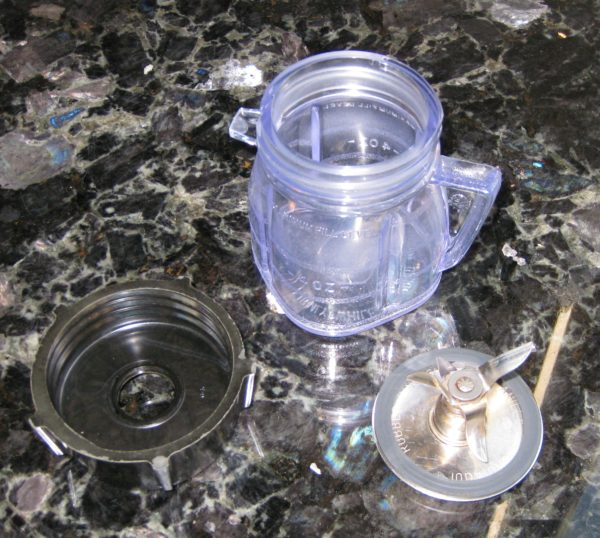
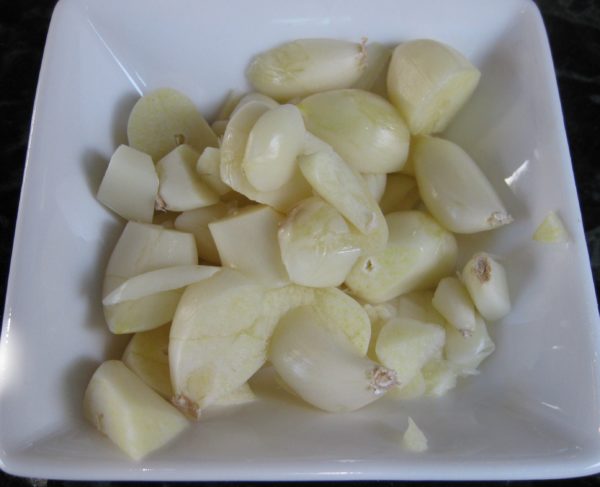
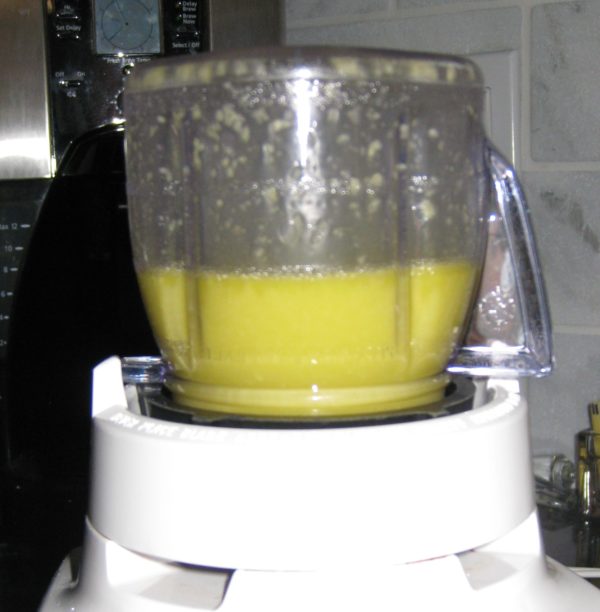
  3. Meanwhile, in a small blender jar, combine the garlic and one-half of the olive oil. Blend until garlic is finely minced.
  4. Add the basil to the garlic-oil mixture and blend again until basil is finely chopped but not pureed.
  5. Add the garlic-oil-basil mixture to the mustard mixture.
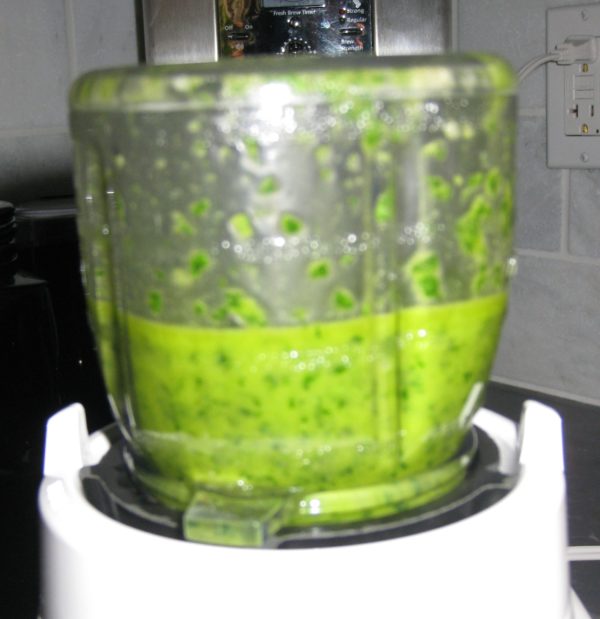
  6. Combine the remaining oil and parsley in the blender jar and blend until parsley is finely chopped but not pureed.
  7. Add the parsley-oil mixture to the herb mixture.
  8. Use the wine to rinse out the blender jar and then add it to the herb mixture.
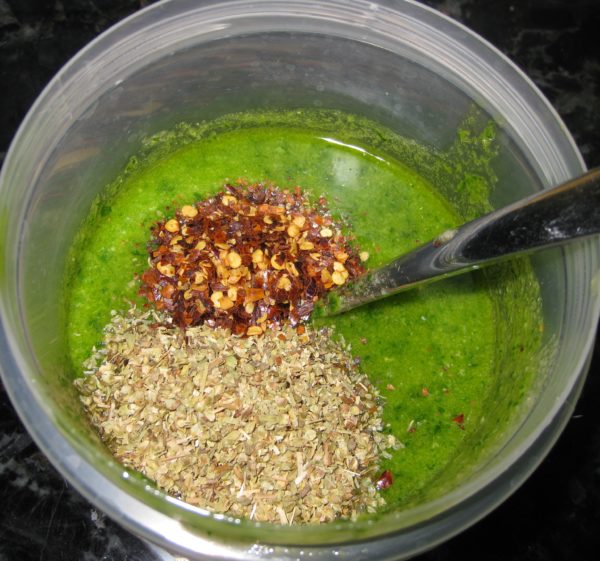
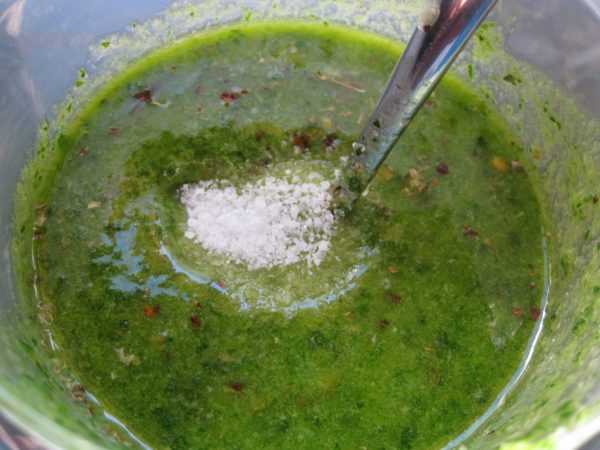
  9. Add all other ingredients. Mix well.
  10. X
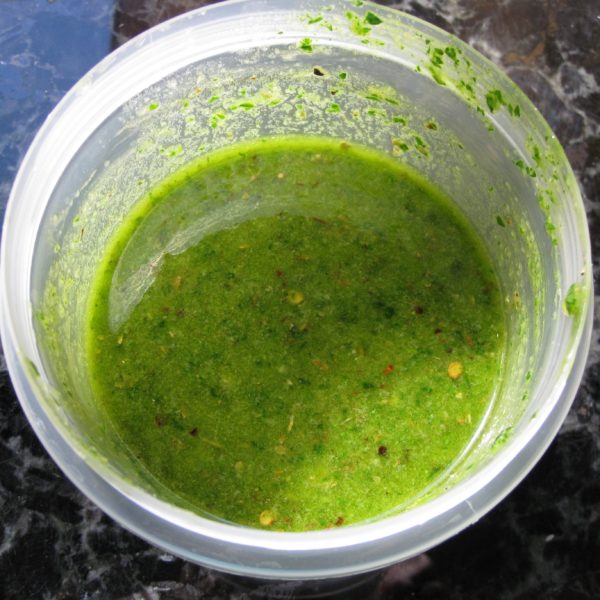
  11. Cover and allow the chimichurri to sit at room temperature for approximately three hours to develop flavor.
  12. The chimichurri can be refrigerated, tightly covered, for up to a week.
Recipe Notes

Copyright © 2017 by VillaSentieri.com. All rights reserved.
Share this Recipe

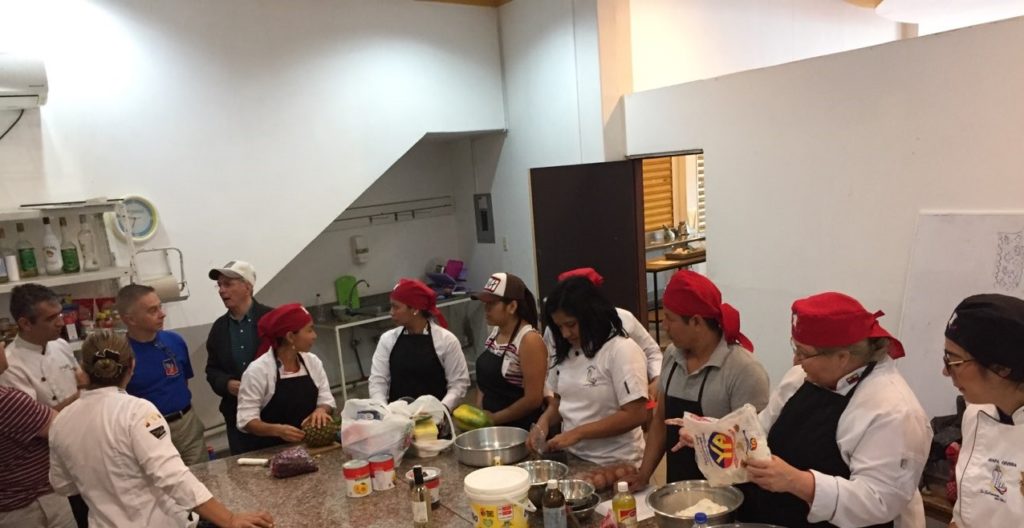
Academia de Gastronomía in Salinas, Ecuador

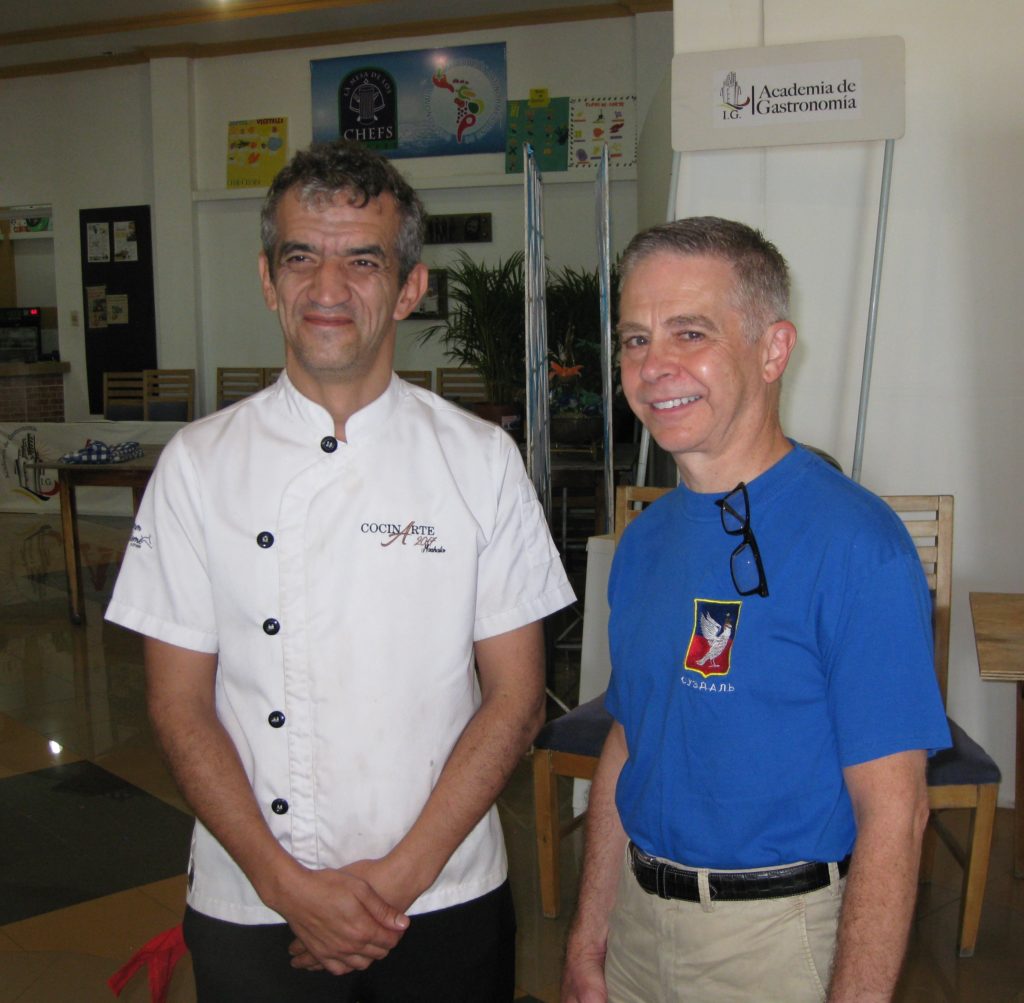
Chef Roberto Rabotti of the Academia and myself

I’m in Salinas, Ecuador this week.  Yesterday a local friend, Ed Farkas, took me and a few friends on a tour of Salinas and environs.

Our first stop was Academia de Gastronomia where I was introduced to Chef Roberto Rabotti.  We toured the facility and discussed his philosophy of culinary training (a one year intensive program in the classroom followed by practical experience in restaurant kitchens).

It was a slow day at the Academy as graduation was the day before.  The Academy is currently accepting new students.

One of the classrooms

The Academy has an on-site restaurant as well as a coffee shop.

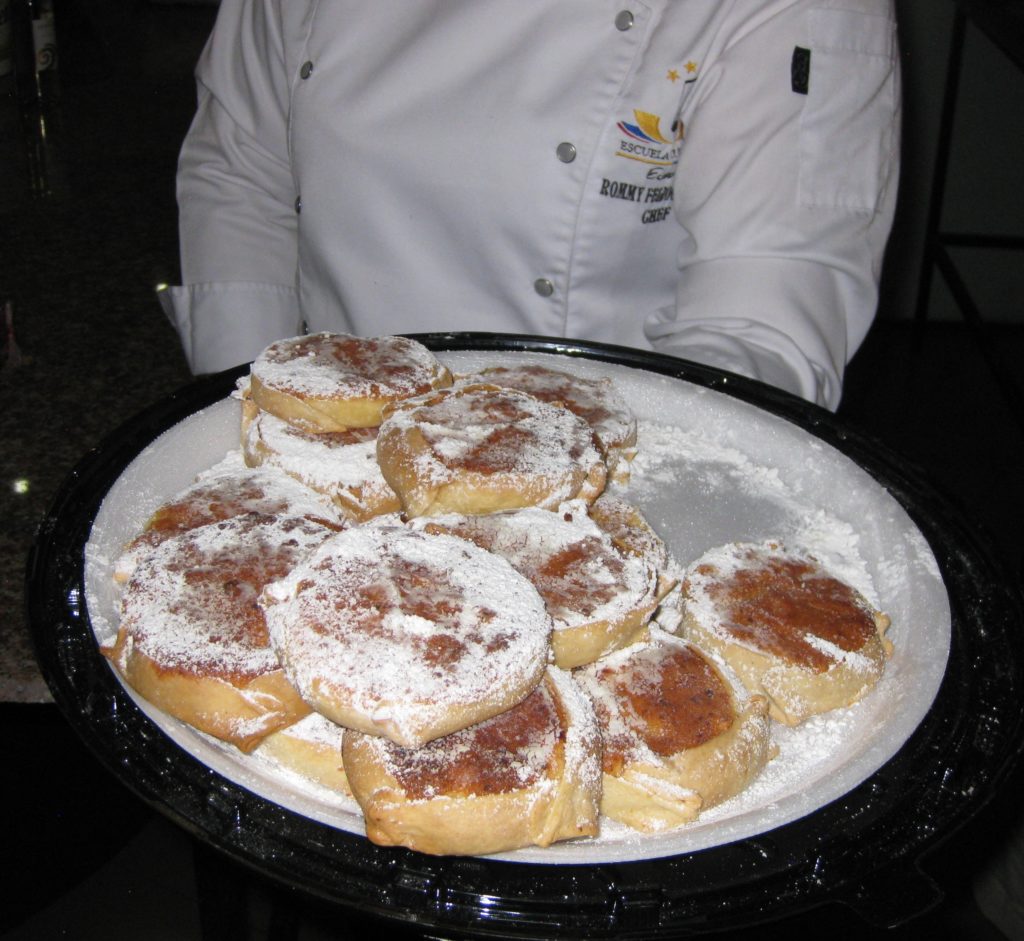
Pastries made by the students

Chef Rabotti is originally from Italy but has been in Ecuador for many years after working in Italy, Switzerland, Colombia and other countries.

The Academy provides critical professional training for a country that has an important tourist infrastructure.

I can attest that the pastries are very good

Chef Rabotti also has a very highly rated Italian restaurant, Italian Gourmet, in Salinas.  It is very near the condo we are in but it appears to be closed until tourist season starts in earnest next month.  We’ve tried to go there twice (once for lunch and once for dinner) but it was closed both times.  We’re going to give it one more try before we leave.

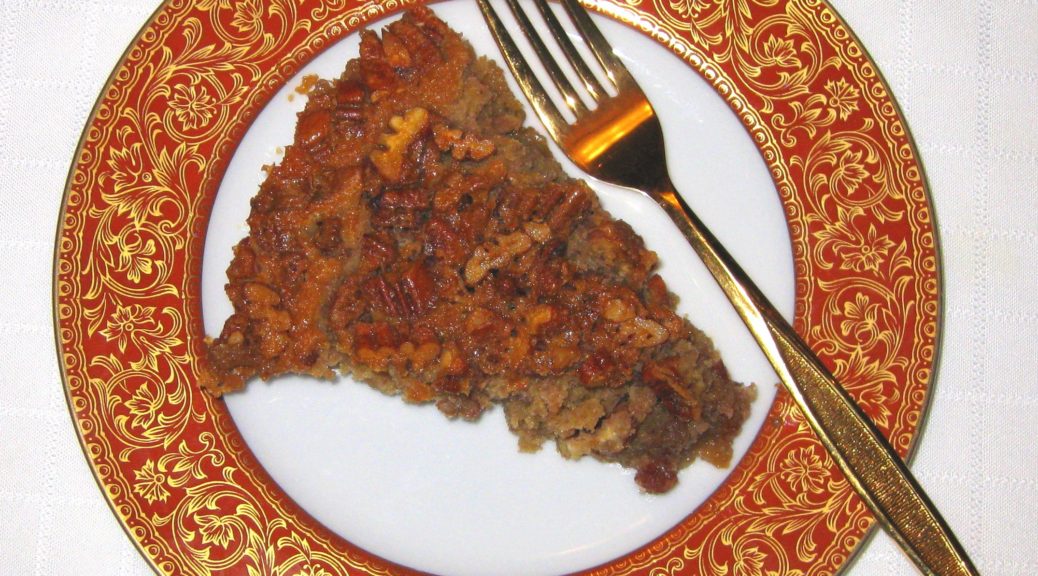
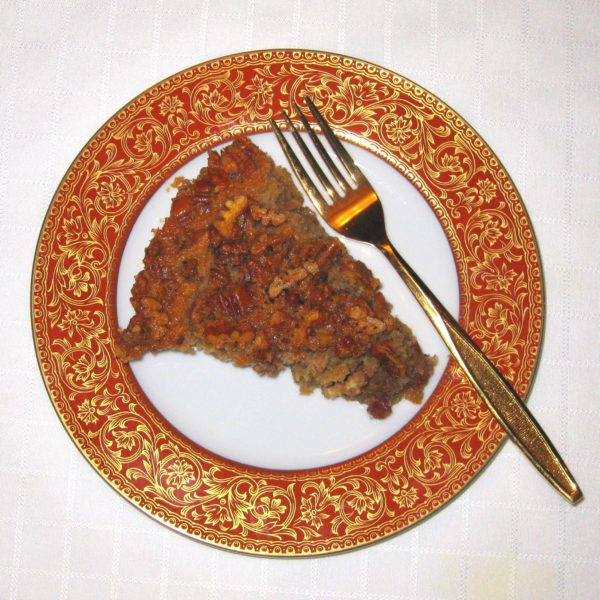
Julie’s Impossible Pecan Pie

October 16, 2017

Julie Paradise is the Queen of Impossible Pies.

Julie Paradise

I ate Impossible Pies back in the 1970s.   Savory Impossible Pies were a favorite of Auntie Helen. Auntie Helen was actually the aunt of Gene d’Aquili, my College Advisor. Ultimately, years later, I went into psychiatric practice with him. I spent lots of time with Gene and his family, including Auntie Helen, and her sister, Auntie Louise, from the early 1970s until the late 1980s when I left Philadelphia and moved to Tucson for a year before settling in Chicago. In a previous blog post, I talked about Auntie Helen and Auntie Louise.

Auntie Helen was especially fond of Impossible Tuna Pie. I have “her” recipe which exactly matches one I found on the internet a few months ago. I’m going to guess it was the one put out by the makers of Bisquick® way back in the day!

I’ve only ever had sweet impossible pies from Julie, but she says she makes savory ones too. Her take: “Green bean is delicious. Broccoli is fantastic and pretty. Zucchini is good.”

Julie is one of those folks who doesn’t like pie crust…and there are plenty of them. For her, Impossible Pies are the perfect solution.

On our recent visit to Julie and Gay’s home on Fire Island Julie made three Impossible Pies during a six-day stay. We ate every last crumb!

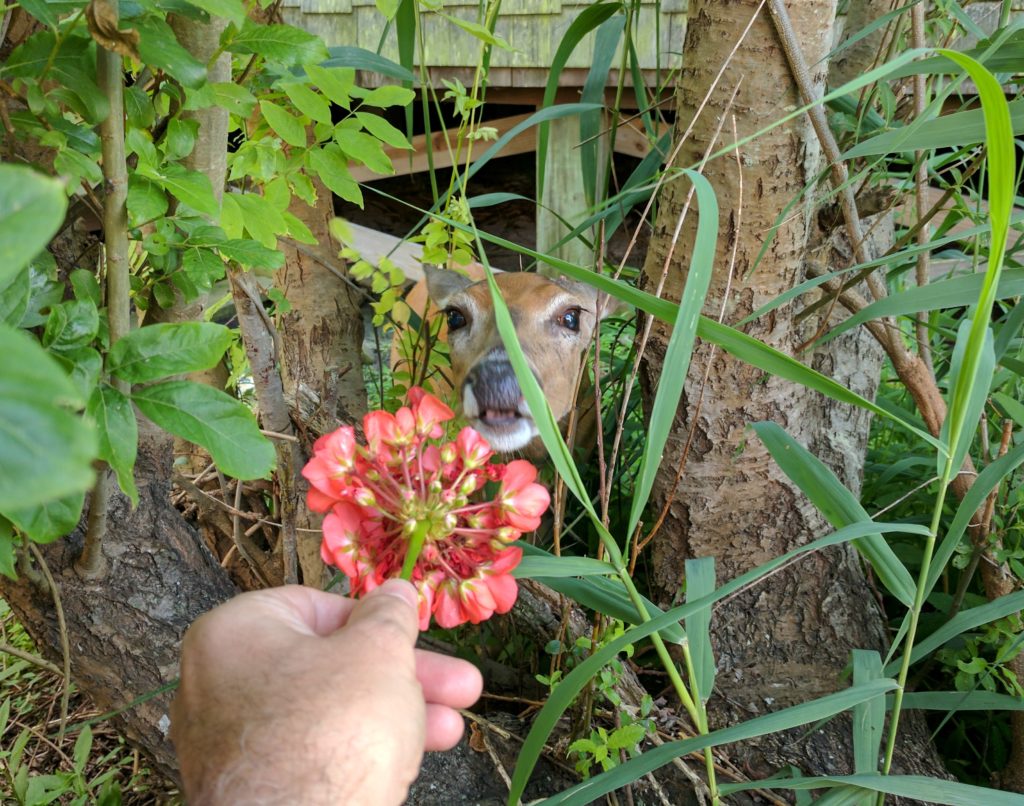
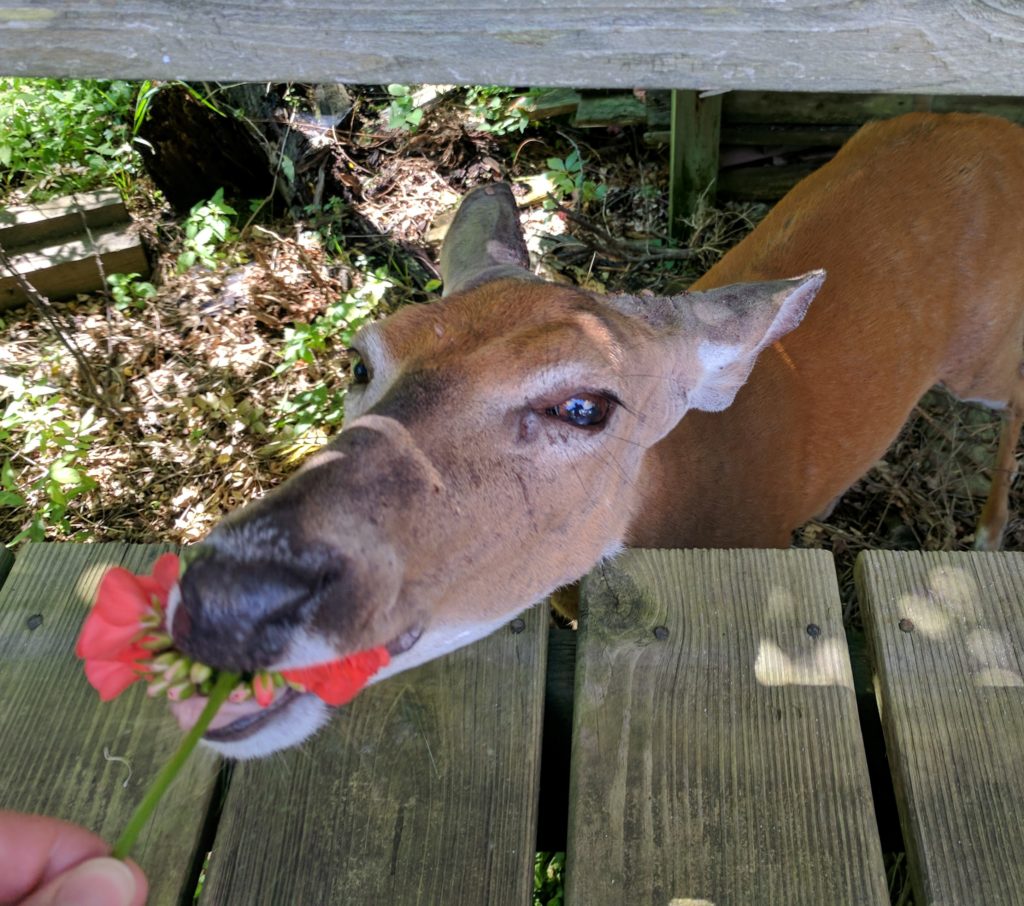
Deer near Gay and Julie’s deck eating geraniums out of my hand

Impossible Pies appear at the end of most every dinner that Gay and Julie host in Santa Fe and I wouldn’t want it any other way.

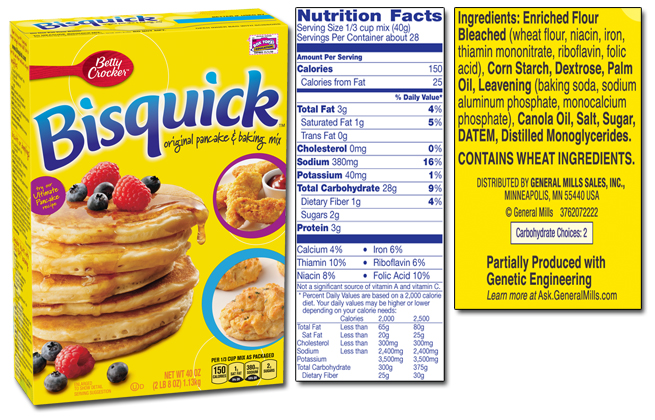
You’ve read my rants about the adverse health effects of hydrogenated and partially hydrogenated fats. That’s what baking mix (OK, let’s call it what it is, we’re really talking about Bisquick®) used to contain. I’m here to say: NO LONGER!

In prepping for making Julie’s Impossible Pecan Pie, I researched “baking mix” substitutes. There are many recipes available, all of which are very similar (flour, some sort of oil or fat, a bit of sugar, and baking powder). My plan was to make up a substitute rather than use the real thing because of my zero tolerance policy for hydrogenated and partially hydrogenated fats.

On a stroll through the supermarket, I saw the baking mix section and decided to take a look. That’s when I discovered that the good folks at Betty Crocker had changed the formula and replaced the partially hydrogenated fat with vegetable oil. I actually bought a box, intending to make all those things I had as a kid that were based on Bisquick and Auntie Helen’s Impossible Tuna Pie after making Julie’s Impossible Pecan Pie.

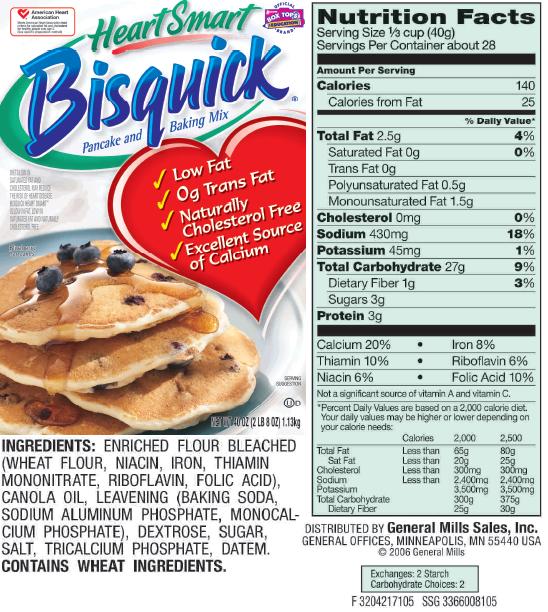
I looked at several other brands of baking mix and discovered that not all manufacturers are as enlightened as Betty. Partially hydrogenated fat was still a common ingredient in many of them. (There are also some specialty Bisquick products that contain—or may contain—based on the label, partially hydrogenated fats. It’s best to stick with what is labeled as the “Original” (which, of course it really isn’t) or the HeartSmart.

A funny thing happened with all this thinking about baking mix and baking mix substitutes. I realized that for all practical purposes, an Impossible Pie is like a Clafoutis! The only real difference is that the baking mix contains baking powder and the standard recipe for clafoutis does not. Given the variability of recipes from cook to cook, I guess it wouldn’t be unreasonable to call this a Pecan Clafoutis! And, as Julie says, a Clafoutis is best right out of the oven while an Impossible Pie is just fine at room temperature.

So, while I don’t often make Julia Child’s recipe for Clafoutis I think there are lots of Impossible Pies in my future.


Follow us


Click HERE to join our mailing list and you’ll never miss a recipe again!

Print Recipe
Julie's Impossible Pecan Pie
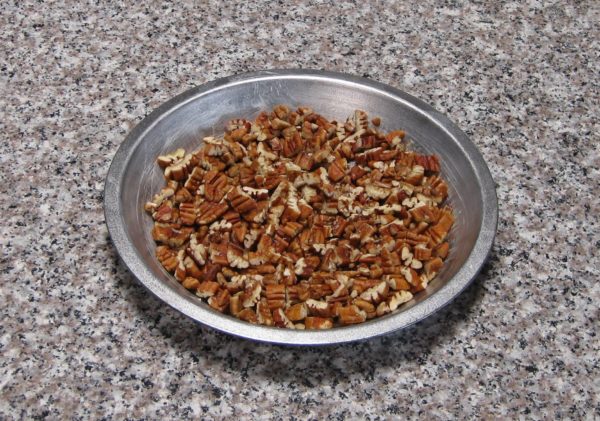
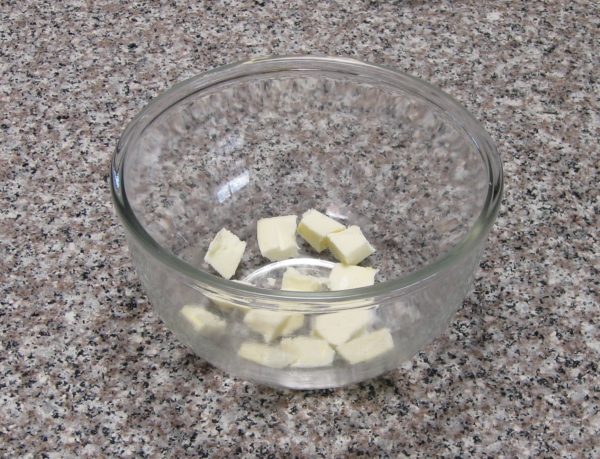
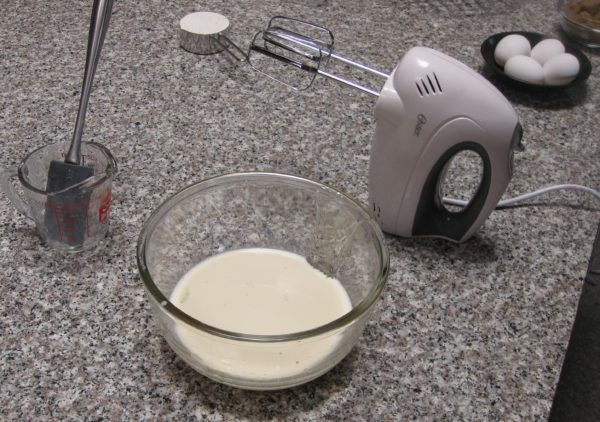
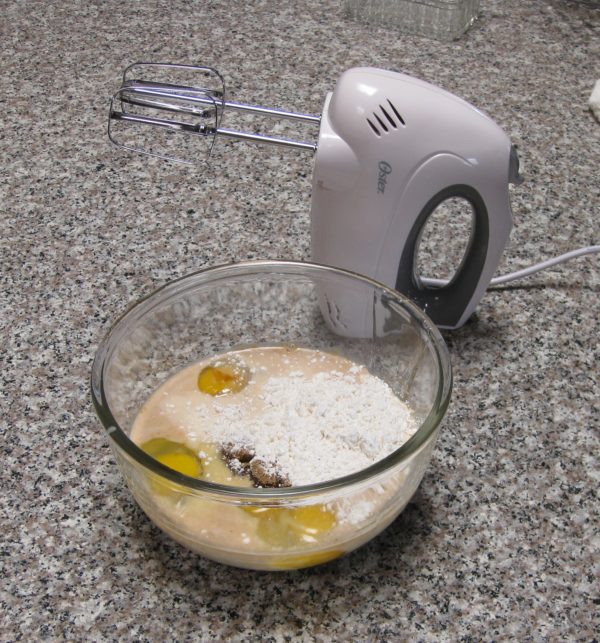
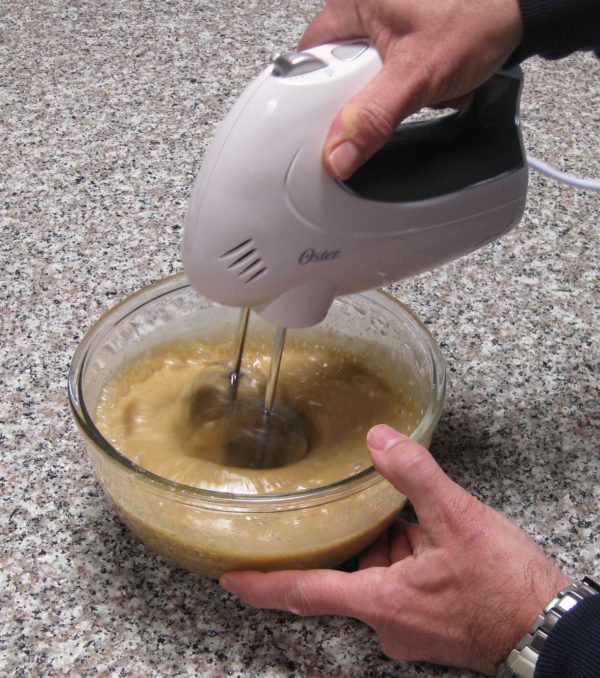
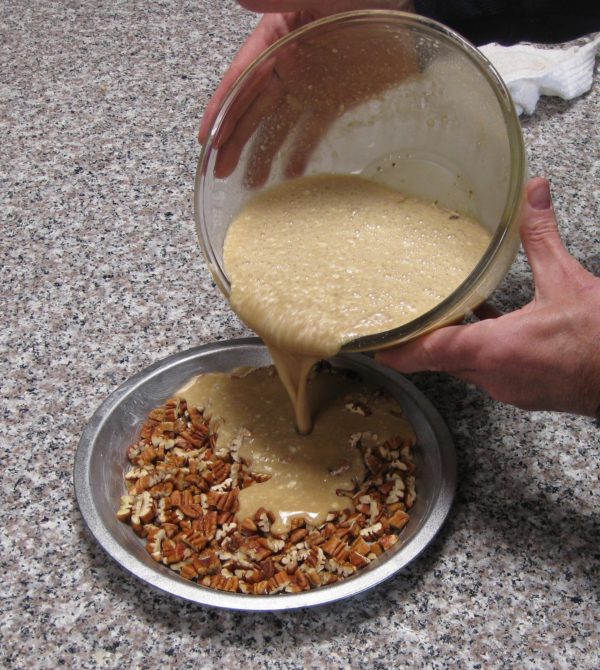
Although I used a mixer, as you’ll see in the pictures, a blender is easier and produces a smoother batter. Also, the original pie pan I chose was too small. You’ll see that I started putting everything into the 9-inch pan. I had to switch to a 10-inch deep dish pan! Although not part of Julie's original recipe, I've successfully added 1/4 teaspoon of almond essence to this pie. It's not enough to give the pie an almond flavor but it does amplify the nuttiness!
Votes: 3
Rating: 4.33
You:
Rate this recipe!
Cuisine American
Prep Time 15 minutes
Cook Time 1 hour
Servings
people
Ingredients
Cuisine American
Prep Time 15 minutes
Cook Time 1 hour
Servings
people
Ingredients
Votes: 3
Rating: 4.33
You:
Rate this recipe!
Instructions
  1. Prepare all the ingredients.
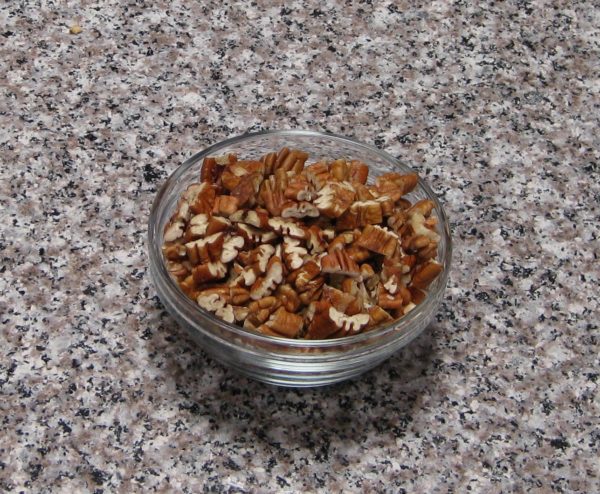
  2. Pecans
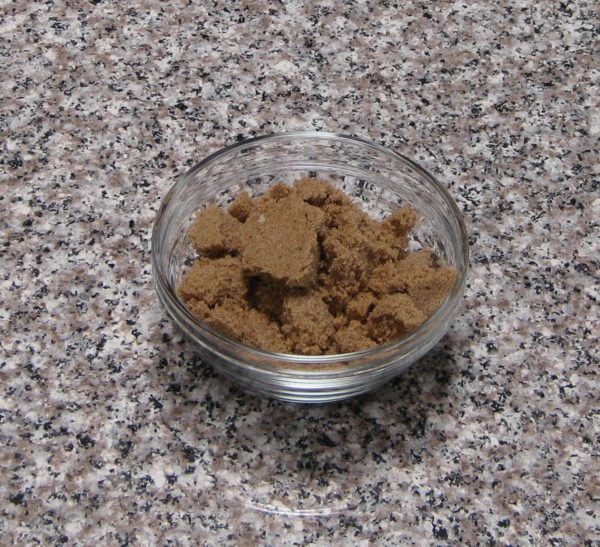
  3. Brown sugar
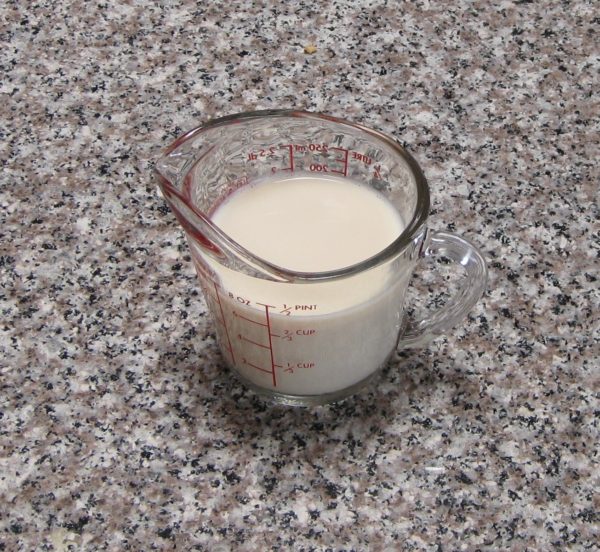
  4. Milk
  5. Corn syrup
  6. Eggs
  7. Baking mix
  8. Butter a 10-inch deep-dish pie pan.
  9. Add the pecans to the buttered pie pan and set aside.
  10. Put all remaining ingredients into a blender jar or mixing bowl and blend until thoroughly combined and no lumps remain. This will take approximately 15-20 seconds in a blender and at least one minute by electric mixer.
  11. Pour the batter over the pecans.
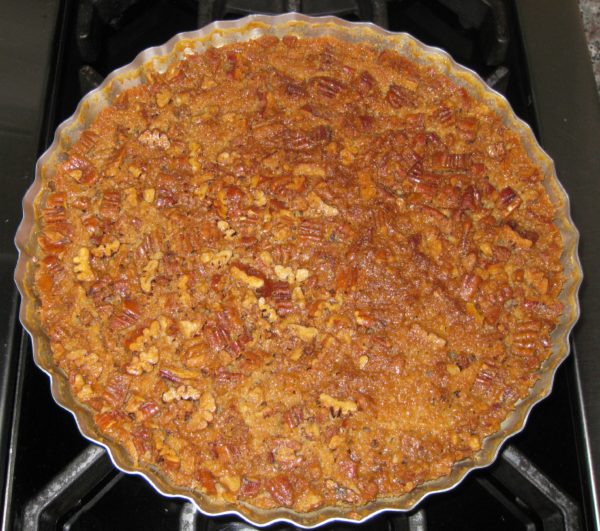
  12. Bake at 350°F for 50-55 minutes, until a knife inserted in the center comes out clean.
  13. Cool at least five minutes before serving or serve at room temperature.
Recipe Notes

Copyright © 2017 by VillaSentieri.com. All rights reserved.

Share this Recipe

Bertha’s Flan

October 11, 2017

Bertha Kravicas left Lithuania in 1927 with her family. They were hoping to get to America but when the quota was full they went to the closest place they could.

They thought their sojourn in Cuba would be brief but as the months turned into years, Bertha made a trip back to the Old Country where she met Victor Ashman in Latvia.

They married and returned to live in Cuba in 1931. Over the years, they became Cubans in the way that immigrants to the United States become Americans no matter their background.

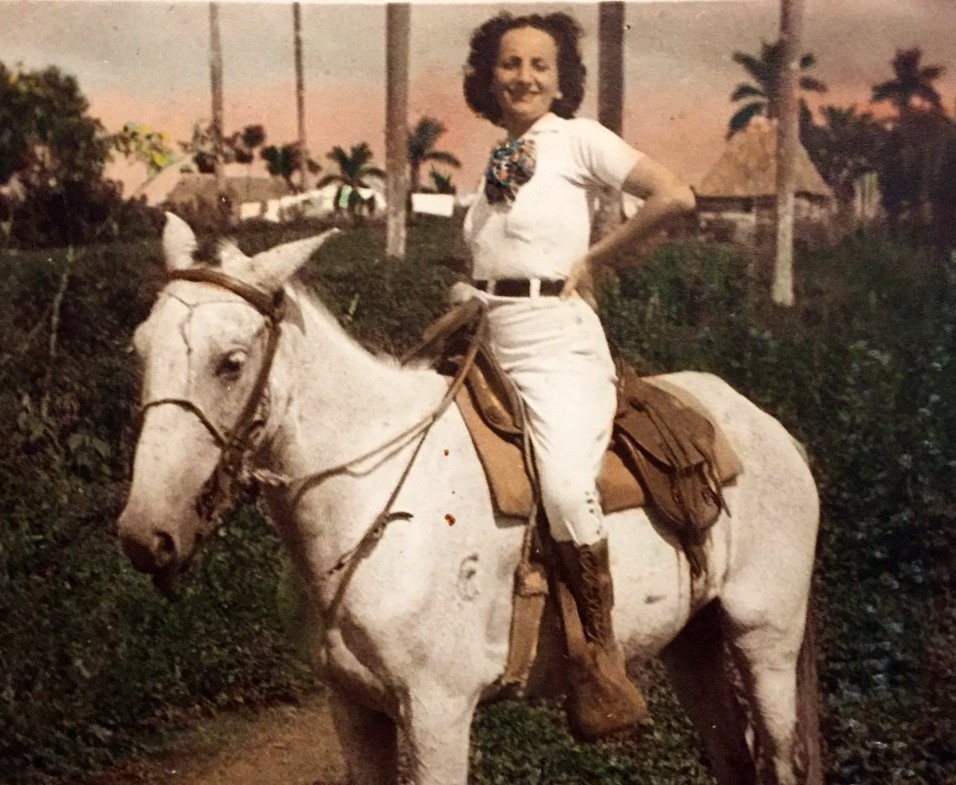
Bertha in Matanzas, Cuba in the 1940s

Victor even decided to run for public office. Because his name was not Cuban enough he officially changed it to Victor A. Larriga, in honor of his birthplace, Riga, Latvia.

One of the ways that Bertha adapted to her new country was through cooking.

Flan is made throughout the Spanish-speaking world but is especially popular in Cuba where it is the most common dessert. Flan is a source of family pride with each family believing that its flan is the best. (This sounds very familiar to me coming from a Southern Italian background where the same belief attaches to tomato sauce).

Flan recipes are passed down from generation to generation and fall into two general categories, those that contain canned milk and those that do not. Cubans smile approvingly when hearing that flan contains canned milk. After all, that’s how it should be!

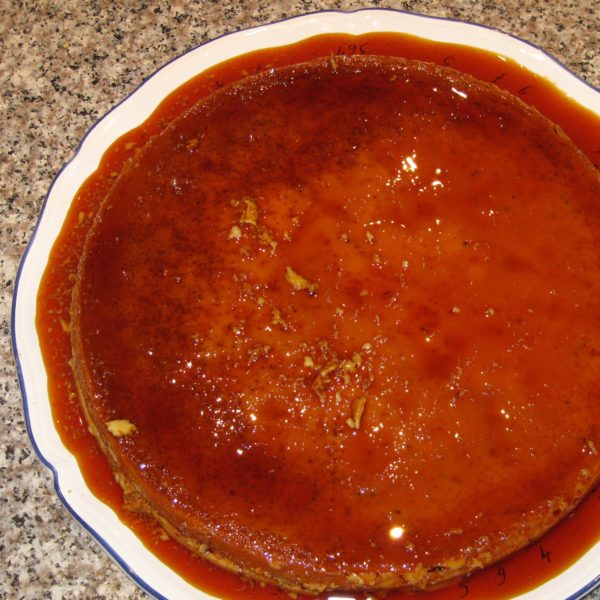
Bertha’s flan is made entirely from canned milk; two kinds actually. That, and the generous amount of egg, makes a substantial flan.

After the Cuban Revolution Bertha and Victor took advantage of President Eisenhower’s offer for Cubans to immigrate to the United States. They arrived in late 1960 along with their son, Stuart.

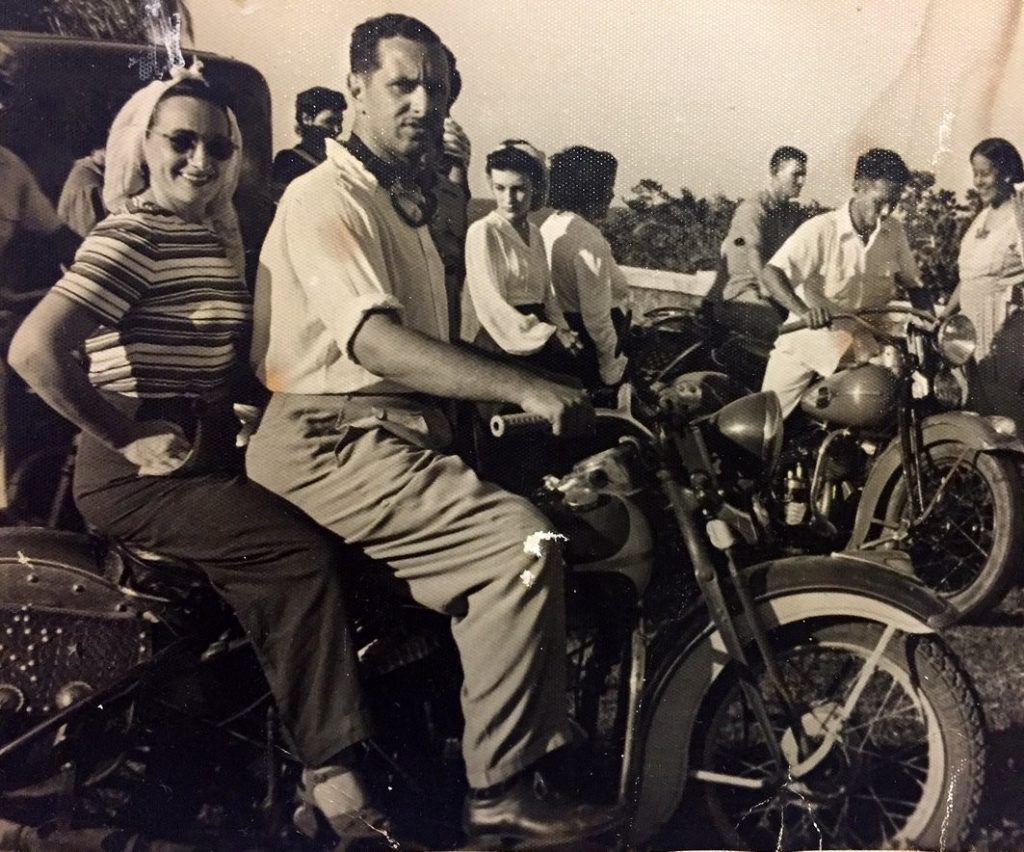
Bertha and Victor on their Harley in the 1940s

Stuart is now the Executive Director of the Center for Contemporary Arts in Santa Fe. It was at a CCA event earlier this summer that I tasted this remarkable flan made by Stuart’s wife Peggy Gaustad. Peggy is now the flan maker in the family, having taken over from Stuart. For the CCA event, Peggy made flan for 100 people but she recalls once making it for 150!

Stuart remembers that as a child, when his mother would make flan, he would be given the empty can of condensed milk and a chopped up banana to sop up the last bit of sweetness!

This recipe is actually double Bertha’s original. It’s the way Peggy makes it because there never seems to be enough from the original.


Follow us


Click HERE to join our mailing list and you’ll never miss a recipe again!

Print Recipe
Bertha's Flan
Before caramelizing the sugar in the pan you’re going to use for the flan, put the empty pan inside of the larger one that you’re going to use for the water bath then add water to the large pan to come at least one inch up the side of the pan that will hold the flan. Remove the pan that you’ll use for the flan.
Votes: 0
Rating: 0
You:
Rate this recipe!
Cuisine Cuban
Prep Time 10 minutes
Cook Time 1 1/2 hours
Passive Time 30 minutes
Servings
people
Ingredients
Cuisine Cuban
Prep Time 10 minutes
Cook Time 1 1/2 hours
Passive Time 30 minutes
Servings
people
Ingredients
Votes: 0
Rating: 0
You:
Rate this recipe!
Instructions
  1. For the flan, choose a 12-inch diameter pan with straight sides that can be heated on the stove and put in the oven.
  2. Put enough water into a pan large enough to hold the pan with the flan so that the water comes one-inch up the sides of the pan with the flan.
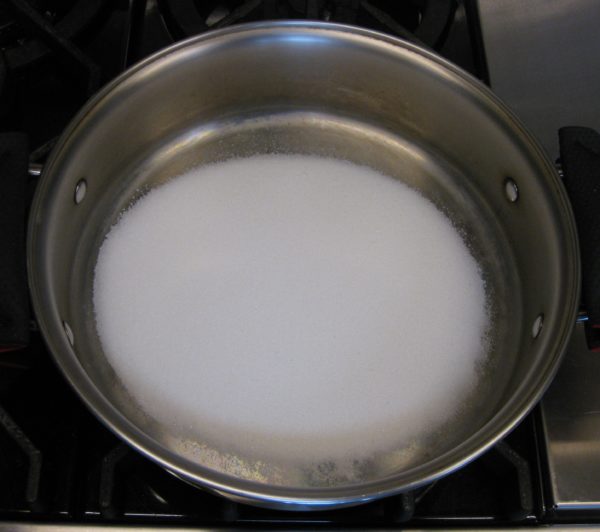
  3. Put the sugar into the pan selected for the flan.
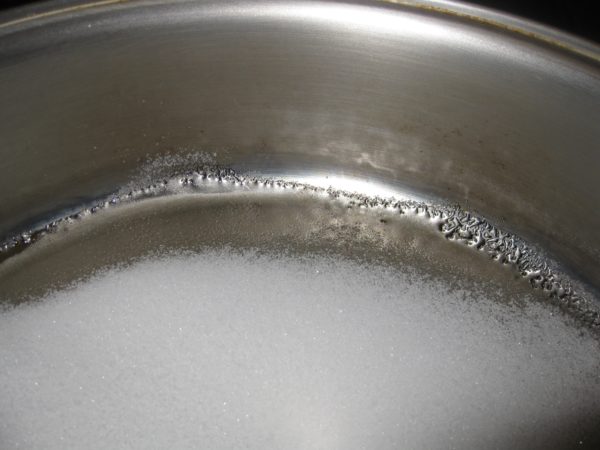
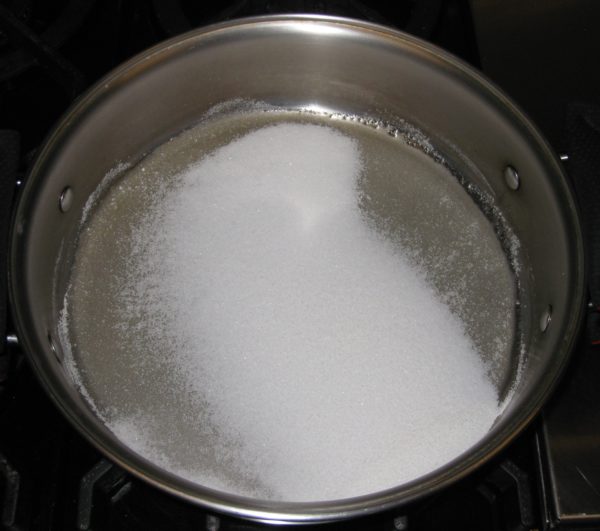
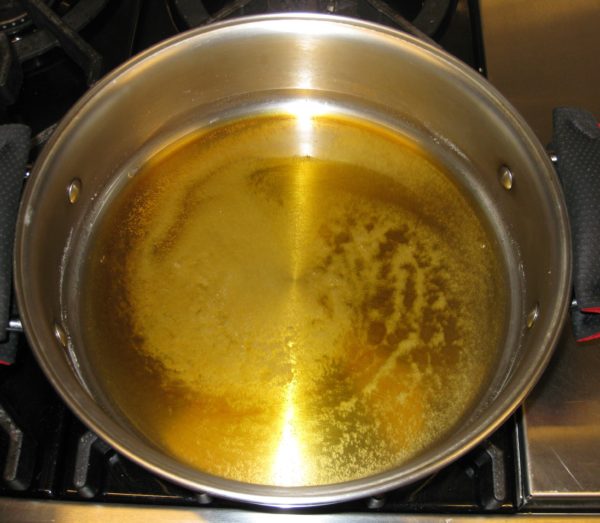
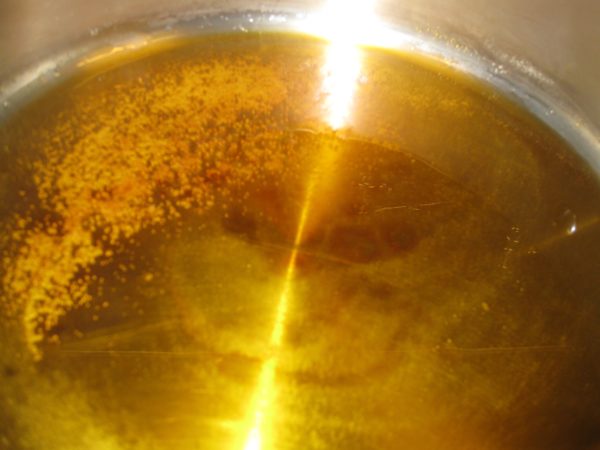
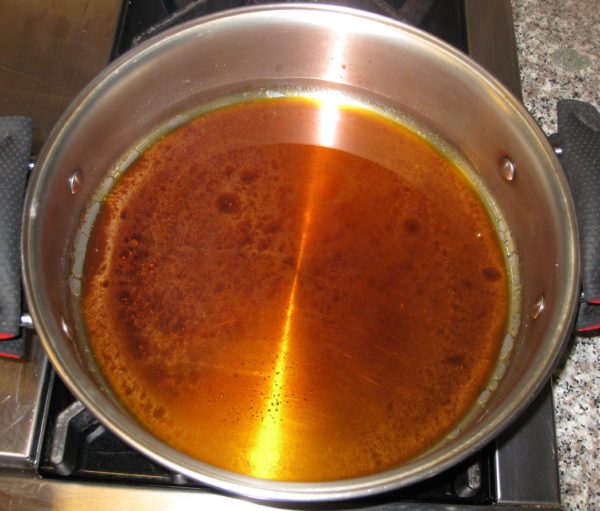
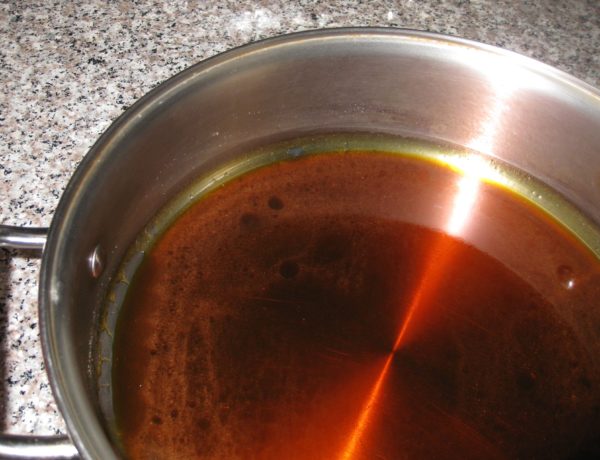
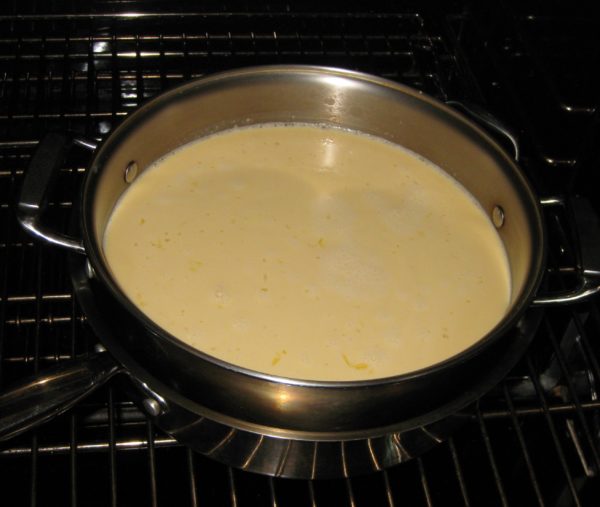
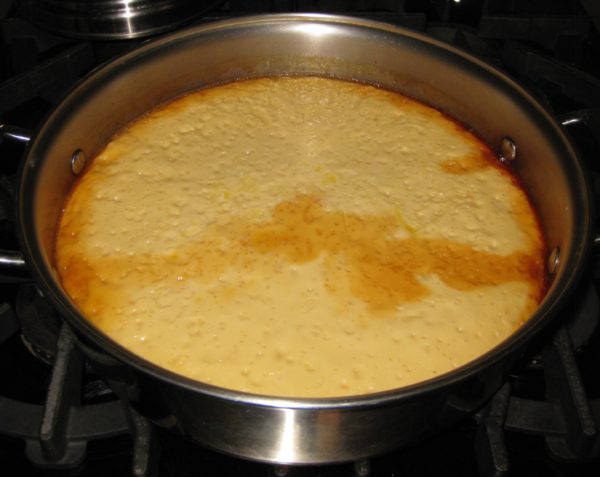
  4. Heat the pan with the sugar on medium heat until the sugar melts and turns dark brown. (A series of pictures follows showing the progression of the caramelization.)
  5. Do not stir the sugar or caramel. Simply swirl the pan from time to time to mix the caramel. Rotate the pan on the heat occasionally to reduce hot-spots.
  6. If the pan has a very heavy bottom, the retained heat will continue to brown the sugar off the heat. Stop caramelizing the sugar a little before you think it’s done otherwise it might burn. If it turns out that the caramel is not quite dark enough, you can heat the pan again briefly.
  7. Remove the pan from the heat and allow it to cool during which time the caramelized sugar will harden on the bottom.
  8. While the caramel is cooling, bring the water in the water bath to a simmer on the stovetop then put the pan into a 350°F oven.
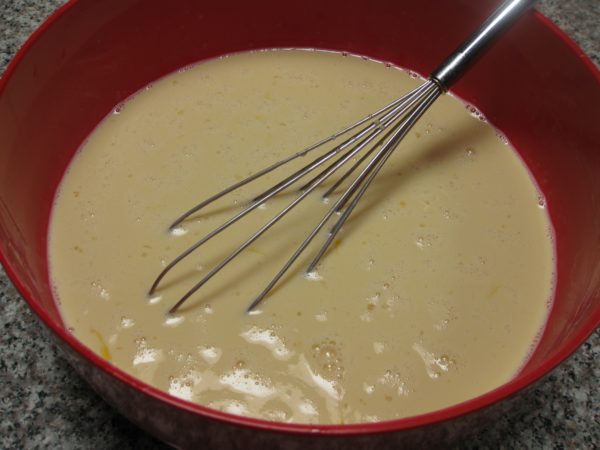
  9. Meanwhile, combine the condensed milk, evaporated milk, eggs, vanilla extract, and salt. Mix well.
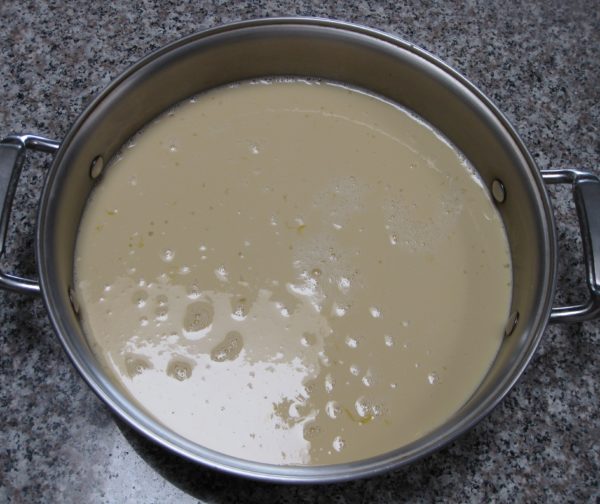
  10. When the caramel is hardened, pour the milk-egg mixture on top.
  11. Cover the pan tightly, either with foil or with a lid.
  12. Put the pan into the water bath in the 350°F oven.
  13. Bake for 1 hour 15 minutes at 350°F.
  14. A knife inserted in the center of the flan should come out clean. If not, cook a few minutes longer.
  15. Remove the flan from the oven and cool to room temperature.
  16. Refrigerate at least 8 hours. Overnight is best.
  17. When ready to serve, run a knife around the edge of the flan.
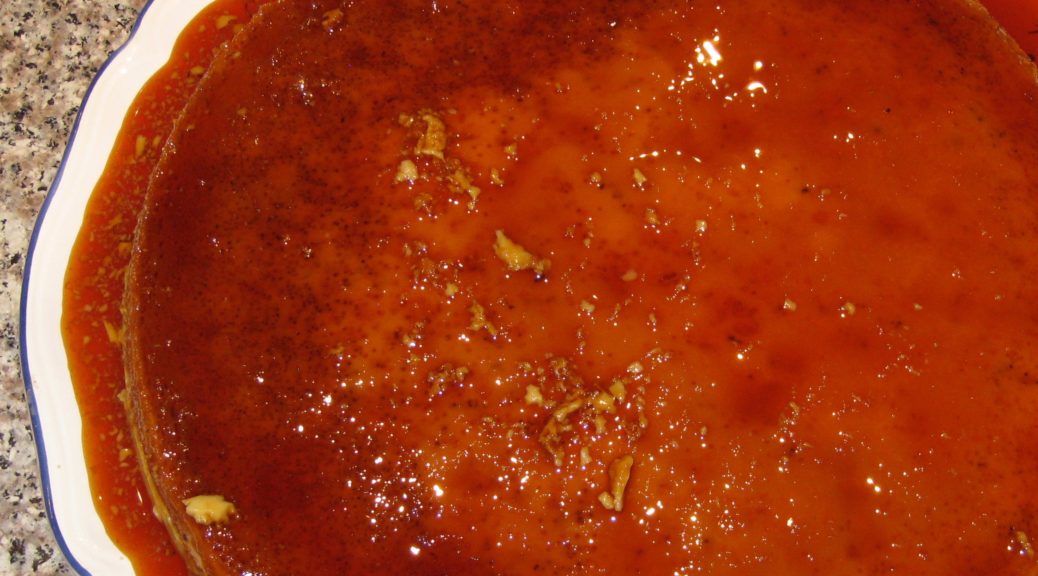
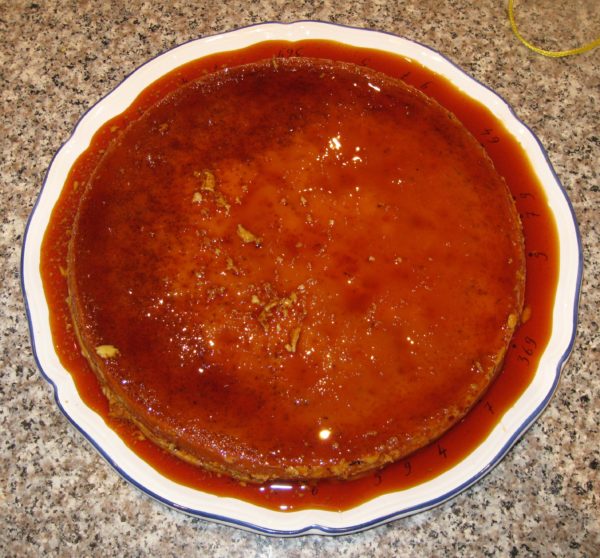
  18. Put a large platter upside down on top of the pan with the flan. Quickly flip the entire set-up over. The flan should come out of the pan in one piece. Pour any remaining caramel syrup onto the flan.
  19. Serve very cold.
Recipe Notes

Copyright © 2017 by VillaSentieri.com. All rights reserved.

Share this Recipe

Liquore al Lauro (Italian Bay Laurel Liqueur)

October 6, 2017

Making liqueurs at home is a time-honored Italian tradition. Limoncello is probably the most well-known but there are many others.

Many years ago at a now-shuttered artisanal Italian restaurant in the Andersonville neighborhood of Chicago I tasted house-made Liquore al Lauro, also referred to as Liquore Alloro.

I was hooked.

Every time I went to the restaurant, my meal ended with Liquore al Lauro.

Then the restaurant closed.

The Liquore al Lauro ended.

And I vowed to make it one day.

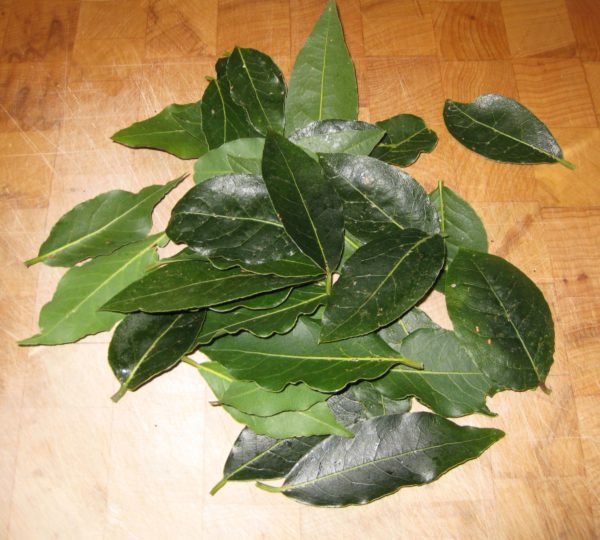
That day happened in late 2009 when our bay laurel plant was trimmed back for the winter. There was a pile of bay leaves on the kitchen counter. After I put a stash of them in the freezer for easy access during the winter (far, far better than dried!) I still had a pile that I couldn’t bear to discard.

Out came a book I bought on a previous trip to Italy with my in-laws. I think it’s the same trip where we brought back a copper polenta pot (which you can see in my Polenta post), a grape press, and a super-fancy (and super-heavy) brass faucet that is a gargoyle head with a sea-creature coming out of its mouth out of which the water comes, among other things.

The faucet was ultimately to be incorporated into a garden fountain. That hasn’t yet happened but I’m not giving up.

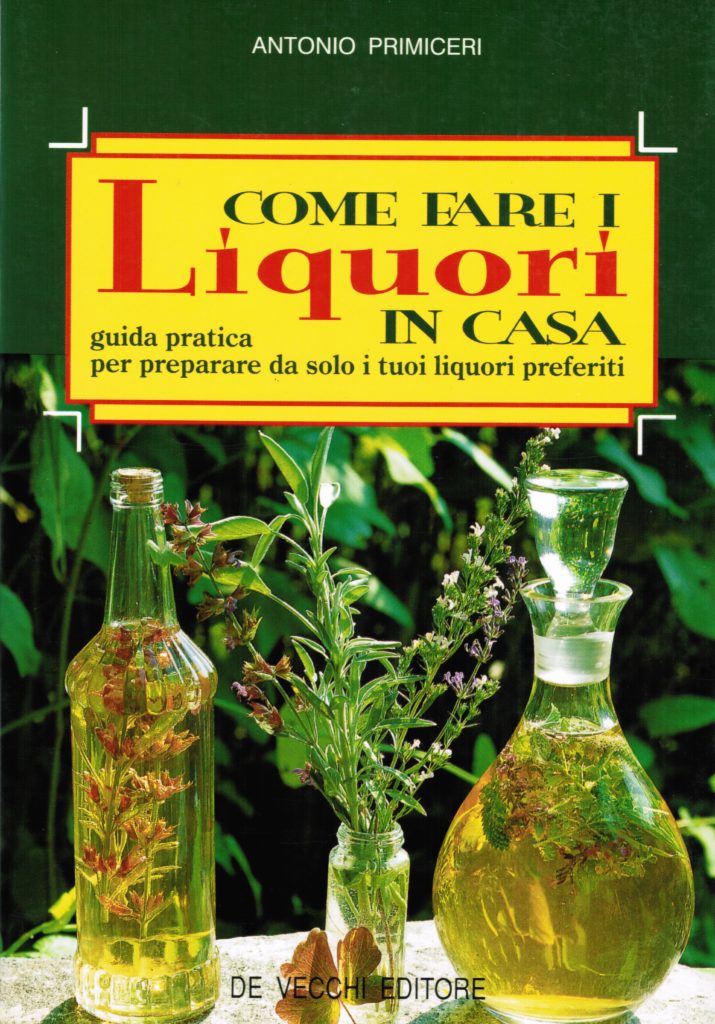
The book “How to Make Liqueurs at Home” (see the photo below) had a recipe for Liquore al Lauro.

It was an ill-fated first attempt, however. I was using California bay leaves instead of Mediterranean bay leaves. When cooking, recipes often specify using half the quantity of California bay as Mediterranean bay as they are more aromatic. I was prepared to dilute the liquore to determine the correct quantity of California bay leaves so that wasn’t the major issue.

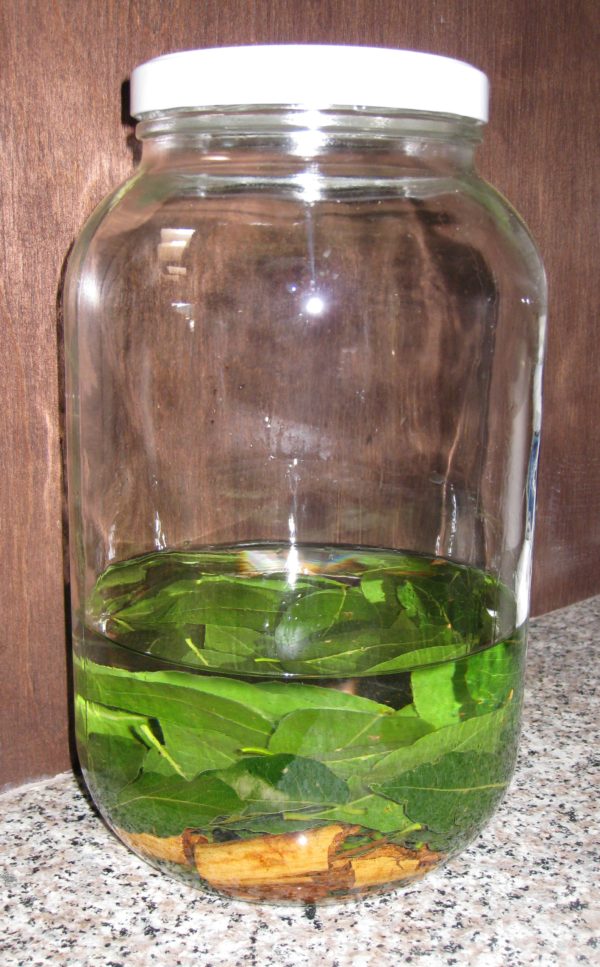
The real issue is that after I put up three large batches of bay leaves to macerate in alcohol, one plain, one with cinnamon, and one with coffee beans, my company landed a consulting contract in the United Arab Emirates.

Late fall into winter 2009 became a whirlwind of activity culminating with my moving to Dubai in January 2010 for much of the year.

A view from my apartment looking out at the Arabian Gulf and the man-made Palm Jumeriah island with the Atlantis hotel in the distance
Another view from the apartment looking at part of Dubai Marina, a 7 kilometer long man-made waterway
An evening view from the apartment

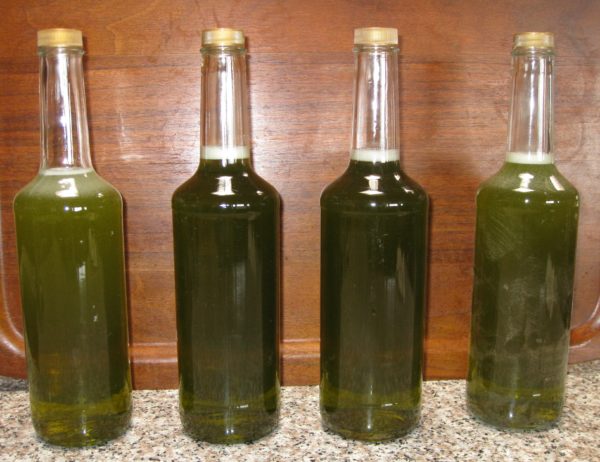
Dubai Marina is a paradise for walkersThe bay leaves macerated for months upon months. When I finally got around to trying to finish the Liquore al Lauro the mixture had turned bitter from over-extraction.

I had to discard gallons of bay-infused alcohol.

A few years went by before I decided it was worth trying again.
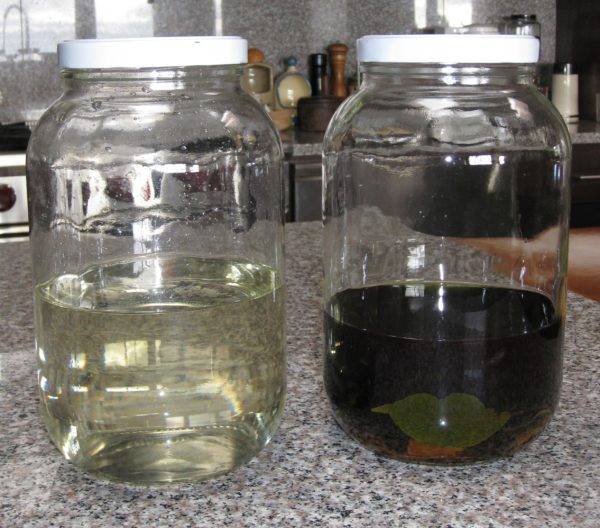
This time, I reduced the bay leaves by half right up front and shortened the maceration to four days to avoid any chance of bitterness. I made plain and cinnamon-infused but have not, to date, gone back to the coffee bean experiment.

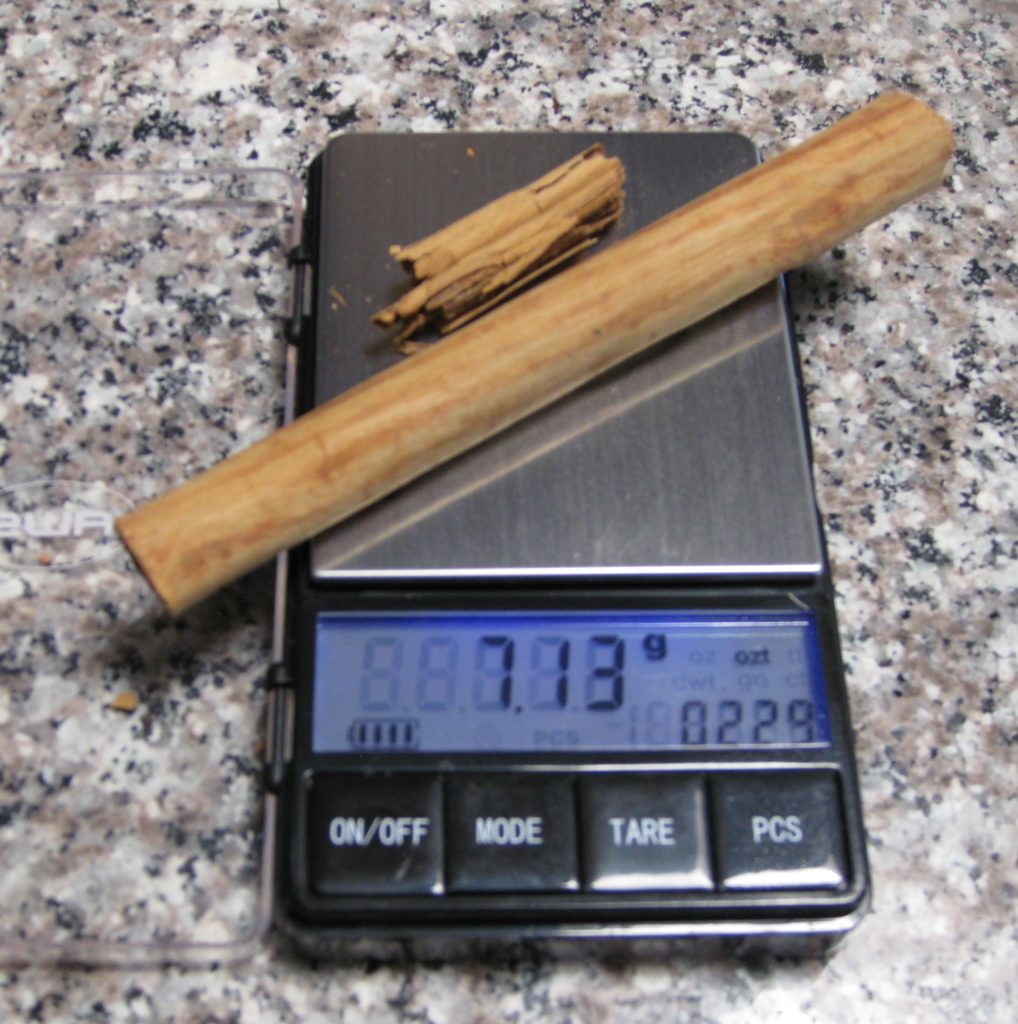
Because I want my recipes to be reproducible, I do my best to eliminate unnecessary variation. To that end, I weigh and measure ingredients precisely. For this recipe, I use a small metric scale that measures in hundredths of a gram (for the bay leaves and cinnamon), a large metric scale that measures in increments of one gram (for the sugar), and a graduated cylinder (for the water and alcohol). I can assure you that this does not happen in the average Italian household, nor does it need to happen in yours. The recipe app will convert the metric measures to US measures at the click of a button and I’ve provided an approximate count of bay leaves and inches of cinnamon stick that will work well.

The small scale that I use for precise weights

Follow us


Click HERE to join our mailing list and you’ll never miss a recipe again!

Print Recipe
Liquore al Lauro (Bay Leaf Liqueur)
Don’t be put off by the use of Everclear (or equivalent) the high proof is needed to extract the volatile oils in a reliable manner. The final liqueur ends up being about 63 proof, equivalent to most commercially produced liqueurs.
Votes: 1
Rating: 5
You:
Rate this recipe!
Course Beverages
Cuisine Italian
Prep Time 15 minutes
Passive Time 5 days
Servings
liters
Ingredients
Course Beverages
Cuisine Italian
Prep Time 15 minutes
Passive Time 5 days
Servings
liters
Ingredients
Votes: 1
Rating: 5
You:
Rate this recipe!
Instructions
  1. Wash the leaves in cool water and dry gently.
  2. In a jar with a tight-fitting lid that holds at least 2 quarts, combine the bay leaves, cinnamon (if using) and alcohol.
  3. Cover the jar and swirl.
  4. Put the jar in a cool spot out of direct sunlight for four days.
  5. Swirl the contents once or twice daily.
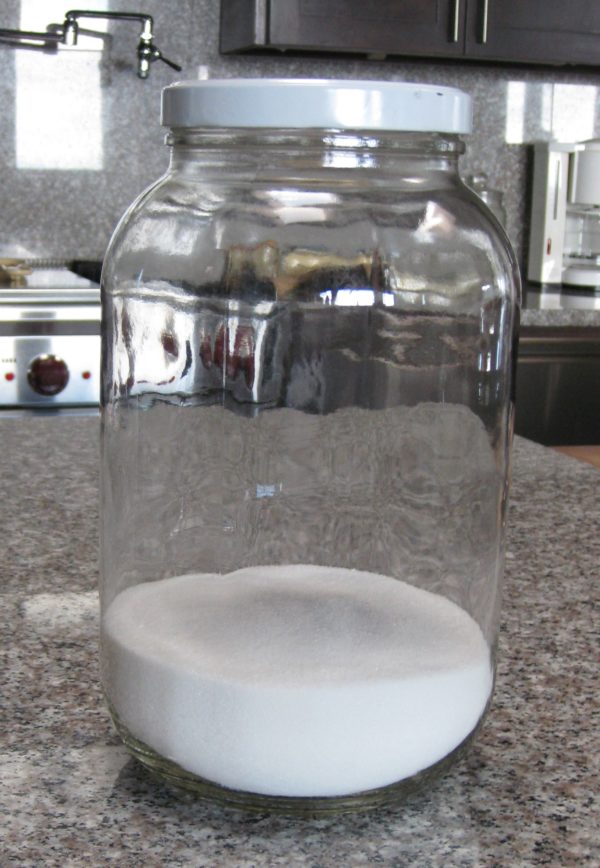
  6. On the third day, combine the sugar and water in a one-gallon jar (or other non-reactive container) with a tight-fitting lid.
  7. Swirl the sugar and water mixture every few hours throughout the day, until the sugar has dissolved. It can take up to 24 hours for the sugar to fully dissolve.
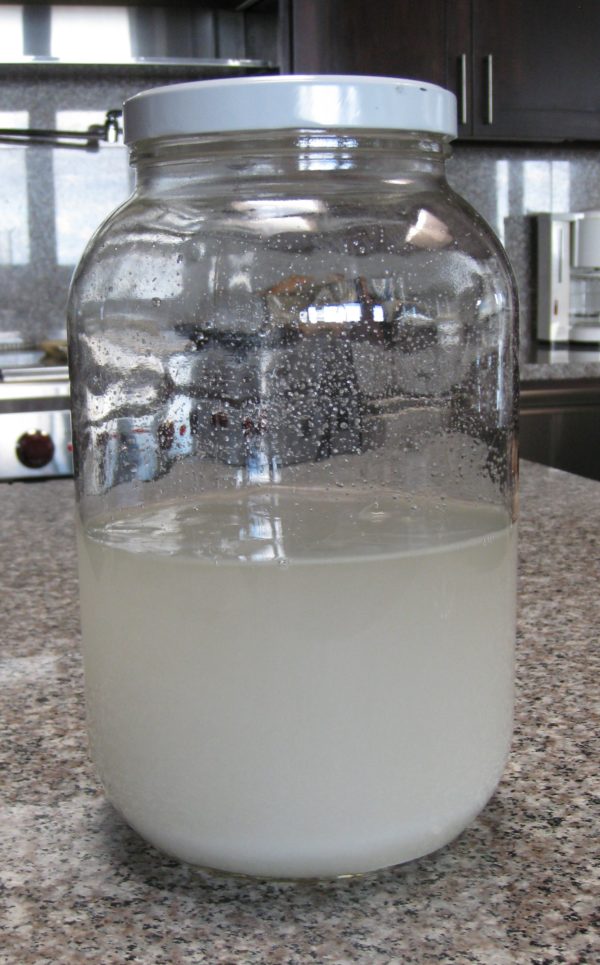
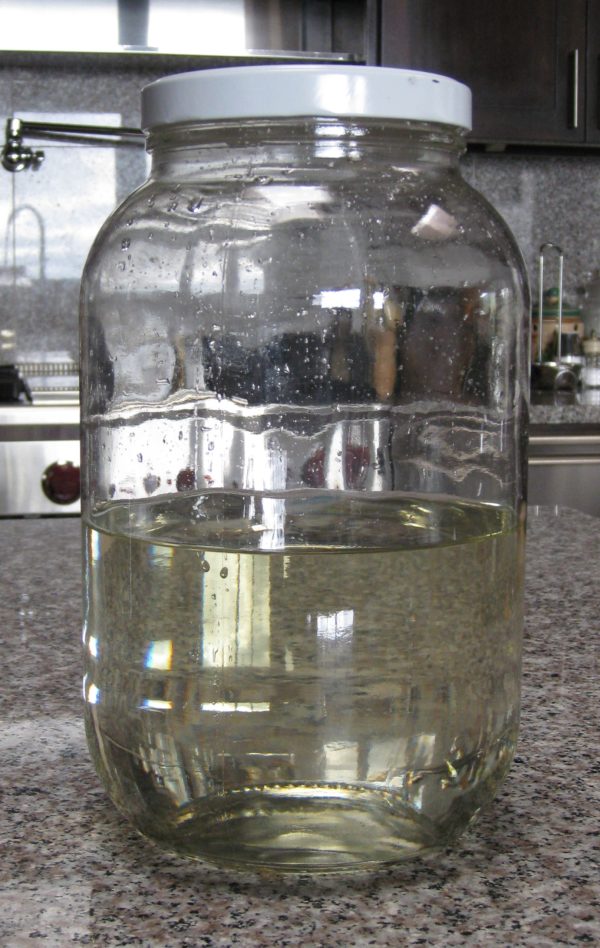
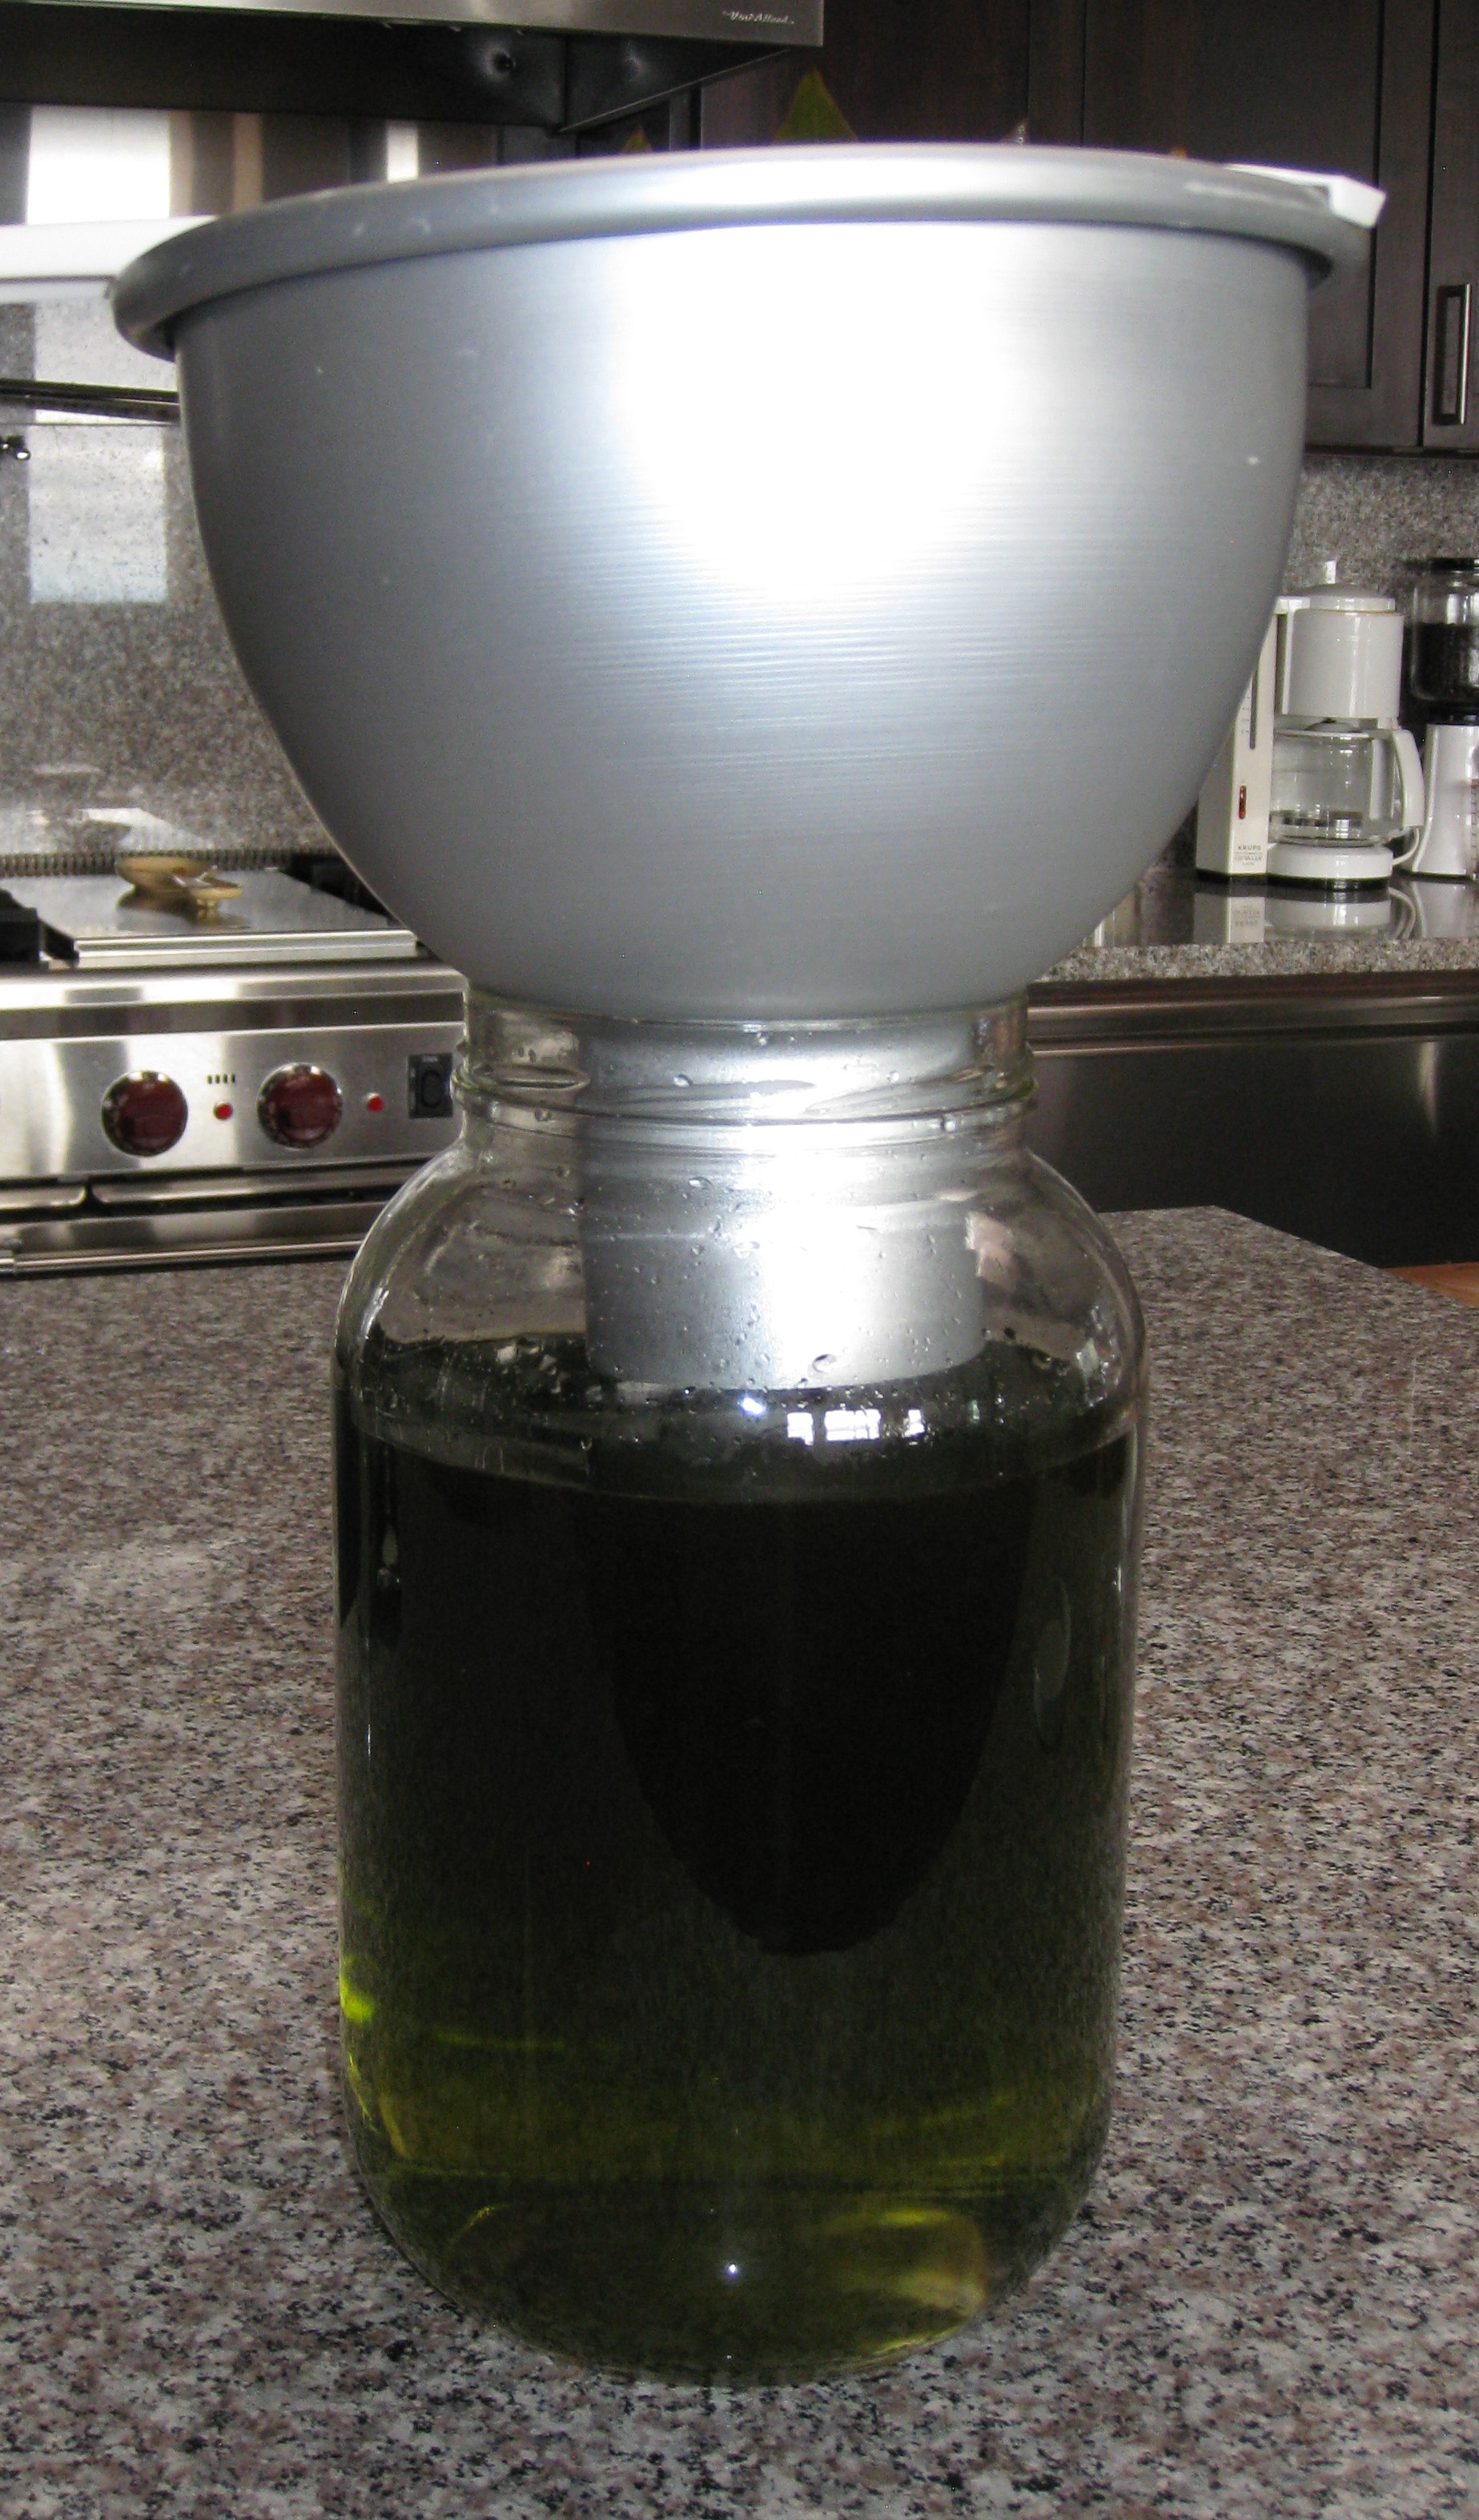
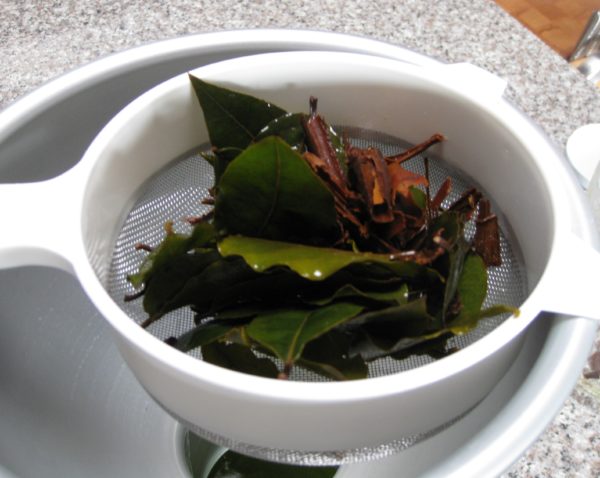
  8. On the fourth day, strain the bay-leaf-infused alcohol into the jar with the sugar water. The liquid may become cloudy but will become clear in about 24 hours with the occasional swirl.
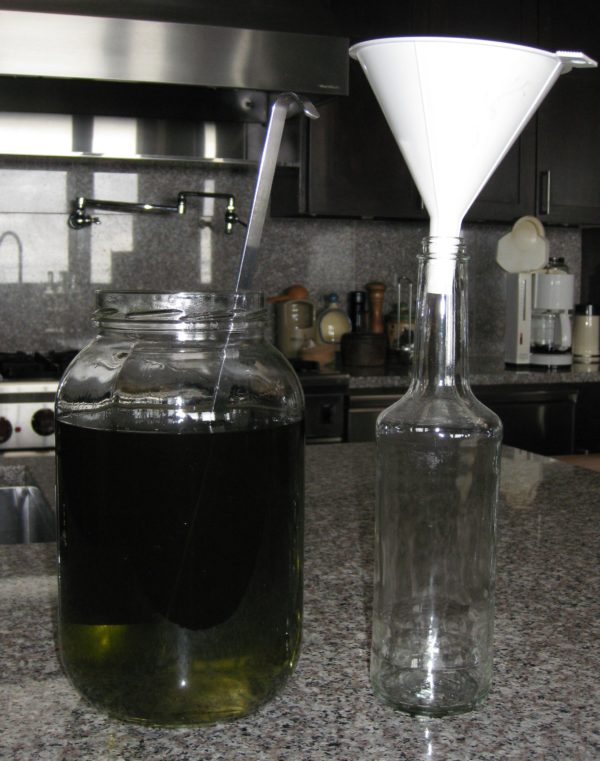
  9. After 24 hours, ladle the liqueur into smaller bottles, such as empty liquor bottles.
  10. Seal tightly and store in a cool, dark place for one month before drinking.
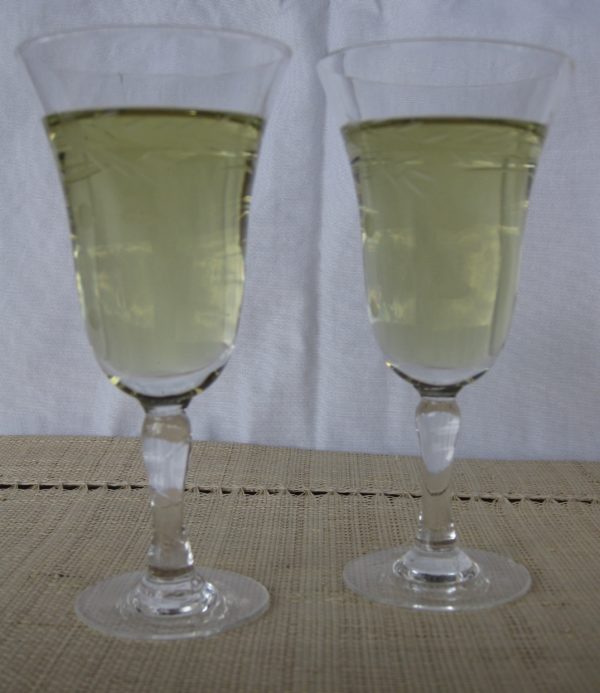
  11. Serve chilled or over ice or at room temperature based on your preference.
Recipe Notes

Copyright © 2017 by VillaSentieri.com. All rights reserved.

Share this Recipe

Roasted Sweet Peppers

October 2, 2017

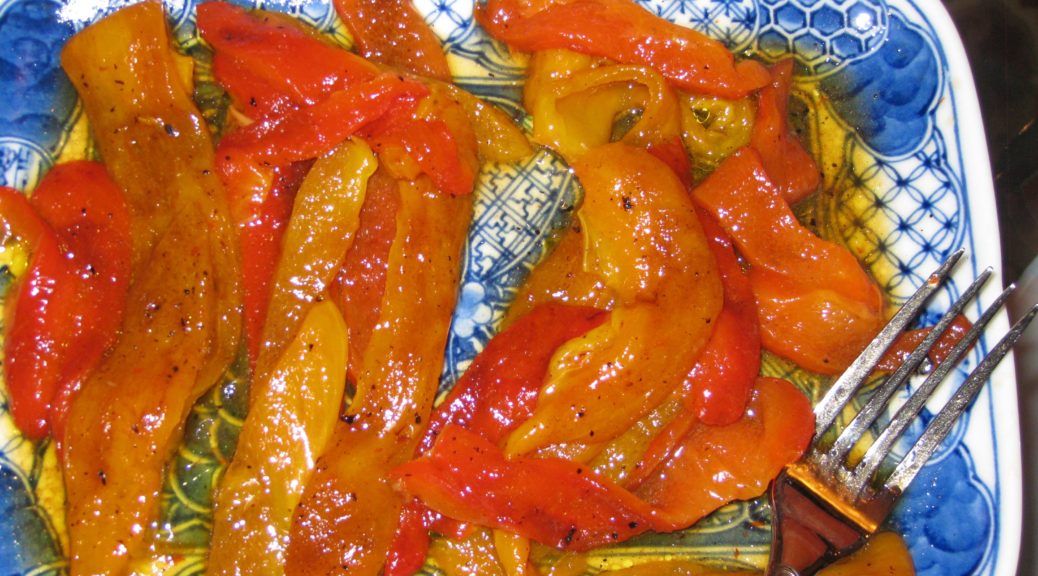
Roasted peppers are a classic of Italian cuisine. They are a perfect example of ingredient-driven cooking. All that is required are good peppers, good olive oil, and a few minutes of scorching heat. There’s no way to hide bad ingredients, since there are only two (not counting salt).

A wonderful presentation is to prepare an array of roasted vegetables such as peppers, onions, zucchini, tomatoes, eggplant, and scallions served artfully arranged on a platter and anointed with extra-virgin olive oil and sea salt.

It’s a “wonderful” presentation because it looks beautiful, it tastes great, it’s easy to prepare, and it can all be done in advance and served at room temperature. It makes an impressive antipasto platter in the winter and an inviting warm-weather side-dish in the summer.

But let’s not get carried away. Peppers are classic and work very well on their own. If you like how they turn out you can experiment with other vegetables.

The first time I got serious about making these was back in the late 1980s when we lived in Chicago. We had a four story townhouse. The top floor was the master suite with a very large deck. We had redwood planters made to encircle the perimeter of the deck. In addition, we added scores of pots and, when things got a little too crowded on our deck, we expanded to Billy and Carla’s deck next door!

We grew an amazing amount of produce on that deck. I can’t begin to remember all of it but it included tomatoes, tomatillos, sweet peppers, hot peppers, eggplant, a fig tree, corn, cucumbers, zucchini, and an abundance of herbs including enough basil to feed a small country. We installed a grape arbor but the grapes didn’t do well.

We bought an upright freezer and put it in the garage so that we could put up food from the garden.

One year I roasted peppers and conserved them under a layer of olive oil in the refrigerator. They were good but I subsequently discovered that the USDA recommends against this technique as the covering of oil creates an environment where anaerobic bacteria, like the one that causes botulism, can grow.

After that first year, I didn’t preserve roasted peppers in olive oil again but I did make flavored olive oils and flavored vinegars every year right up until we moved full-time to Santa Fe. The USDA has the same recommendation regarding putting herbs in oil but, for some reason, I chose to ignore the advice.

These days, when I want roasted peppers, I just buy fresh peppers at the farmers market, farm stand, or supermarket and roast them. Luckily Bell peppers are available year-round.

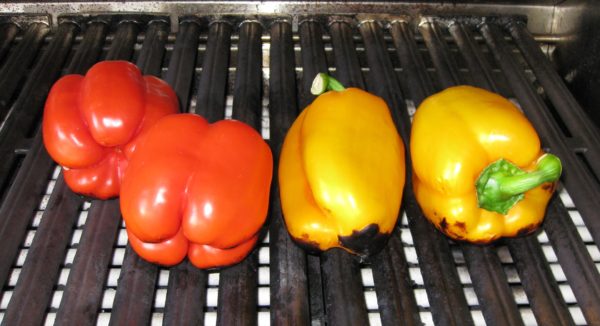
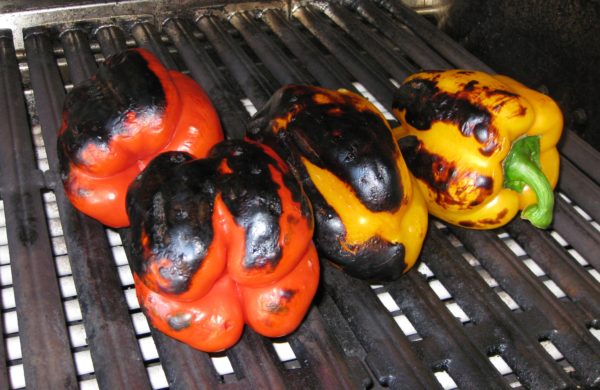
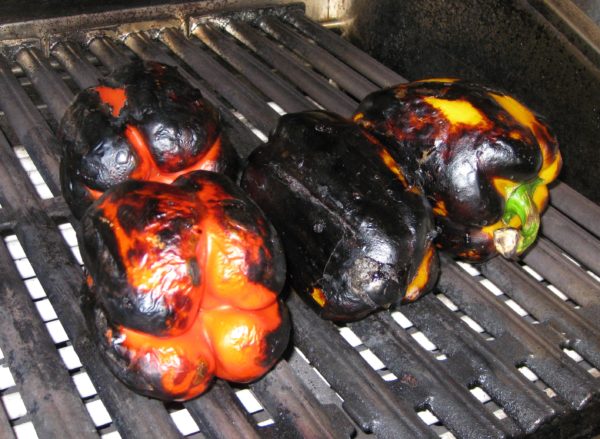
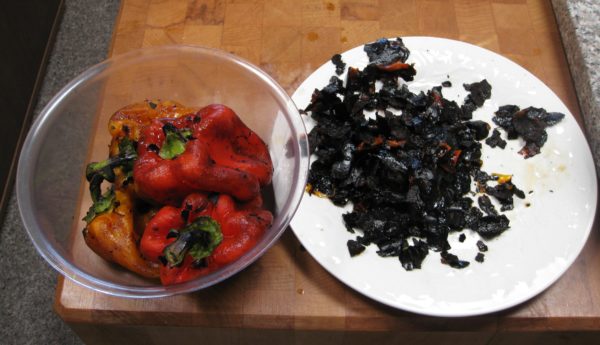
In addition to good-quality ingredients, scorching heat is required. The idea is to blacken and blister the skin quickly. If you do that too slowly the flesh of the pepper cooks too much and becomes mushy. For all practical purposes, you cannot blacken the skin too quickly. The flesh will always cook enough to be good. My usual method, as described here, is to use my gas grill on very high heat. If I only want to roast one or two peppers, I put them directly on the gas flame of my stove. Like I said, you cannot blacken the skin too quickly.

As good as the peppers are on their own, they can be used as ingredients in other dishes. Remember the uncooked tomato sauce I posted a few weeks ago? I said that the dish could be made with roasted peppers when tomatoes aren’t in season. Now that tomato season is coming to an end, consider roasting a few extra peppers and using them to make pasta later in the week.


Follow us


Click HERE to join our mailing list and you’ll never miss a recipe again!

Print Recipe
Roasted Sweet Peppers
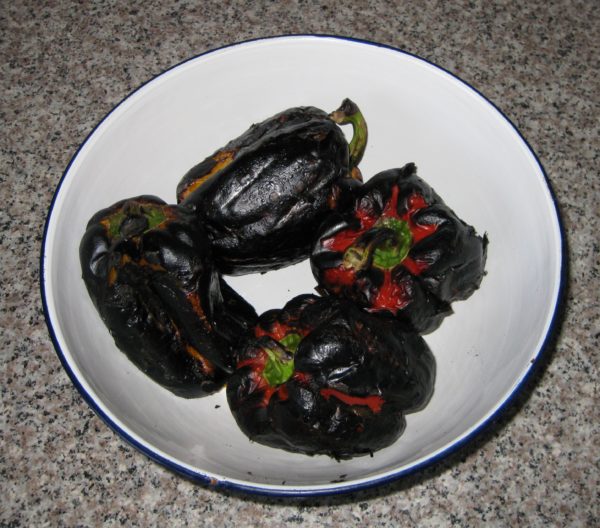
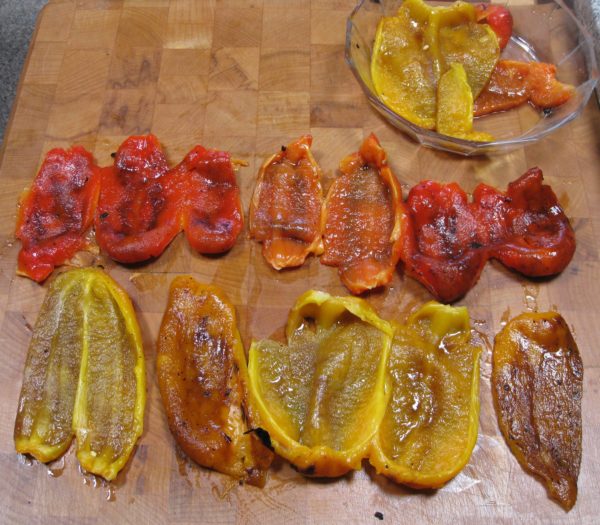
Red, yellow, and orange bell peppers are sweeter than green ones because they are fully ripe. I usually use an array of different colored peppers. Many recipes suggest steaming the peppers in a paper bag after roasting. I don’t like using a bag as it absorbs the juice that comes out of the peppers. A heatproof bowl with a tight-fitting lid allows the peppers to steam and preserves the pepper juices.
Votes: 0
Rating: 0
You:
Rate this recipe!
Prep Time 15 minutes
Cook Time 15 minutes
Passive Time 20 minutes
Servings
Ingredients
Prep Time 15 minutes
Cook Time 15 minutes
Passive Time 20 minutes
Servings
Ingredients
Votes: 0
Rating: 0
You:
Rate this recipe!
Instructions
  1. Heat a gas grill on the highest setting for at least 10 minutes.
  2. Put the peppers on the grill. Cover the grill
  3. Keep the heat on high.
  4. Turn the peppers every few minutes until the skin is evenly blackened.
  5. You will probably have to stand the peppers on their bottom end to get that part blackened.
  6. When the skin is black, put the peppers in a heatproof dish with a tight-fitting cover.
  7. Cover and allow the peppers to cool and steam for 10-20 minutes. This will finish cooking the peppers and loosen the skin.
  8. Holding the peppers over the dish to catch any liquid, remove the blistered skin using your fingers. The skin should slip off easily.
  9. Split the peppers in half. Using the tip of a sharp knife, remove the fleshy ribs of the peppers. Remove the seeds.
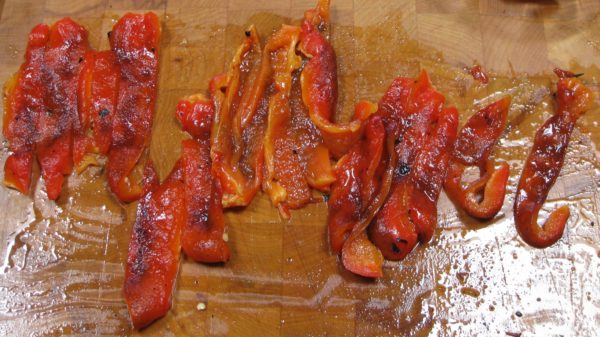
  10. Slice the peppers lengthwise in ½ inch wide strips.
  11. Pour the collected juices over the peppers, straining out seeds and skin.
  12. Sprinkle the peppers with olive oil, approximately 1 tablespoon per pepper. Toss well.
  13. Cover tightly and allow the peppers to sit at room temperature for an hour or two.
  14. When ready to serve, toss again and sprinkle liberally with coarse sea salt.
  15. The peppers can be made a day or two in advance and refrigerated after tossing with olive oil. Allow the peppers to come to room temperature for an hour or two before salting and serving.
Recipe Notes

Copyright © 2017 by VillaSentieri.com. All rights reserved.
Share this Recipe