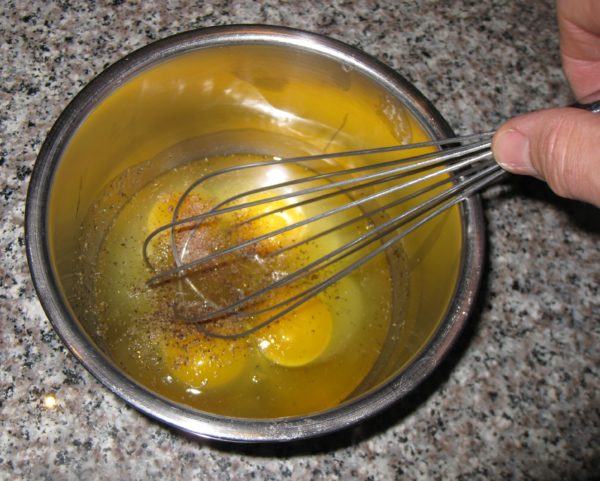
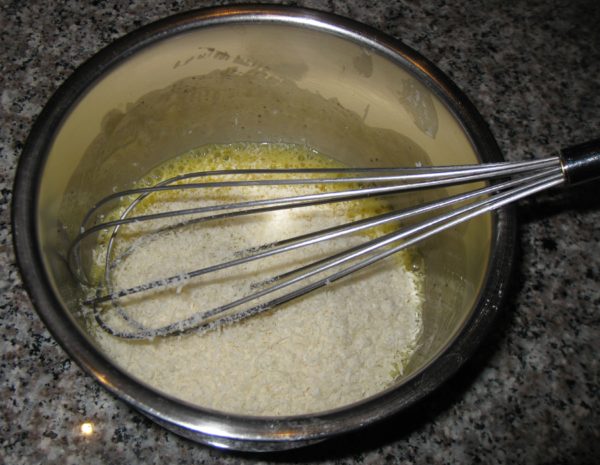
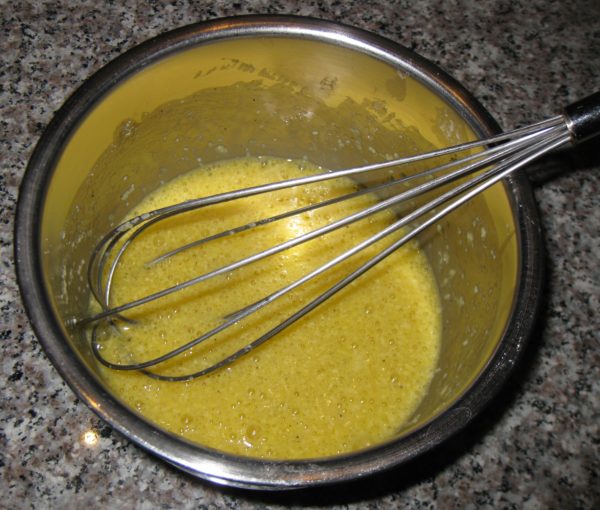
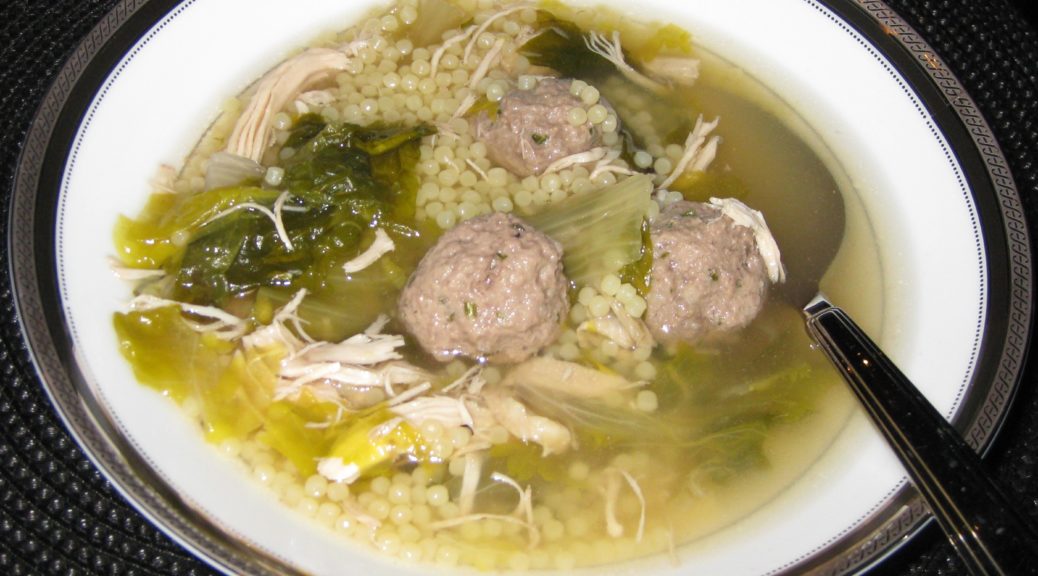
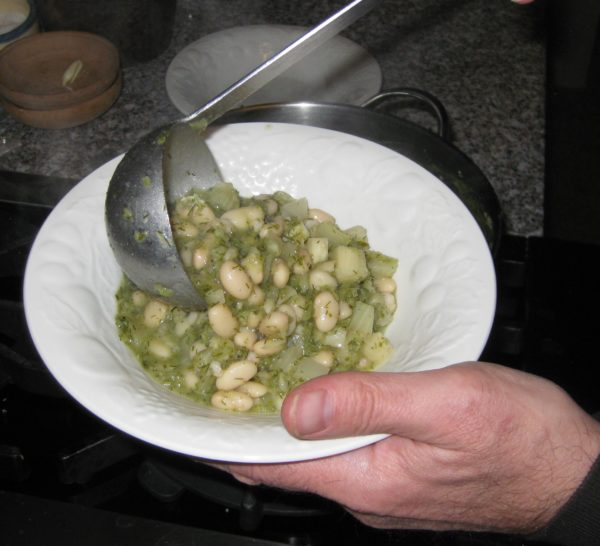
Sformato di Zucchini (Italian Zucchini Bake)

September 15, 2021

A lot has happened in the seven months since my last blog post.  I’m sure you’ll understand why I haven’t posted in a while.

We’re no longer in Santa Fe!

That’s right, we’ve moved full time to Palm Springs, California.

An aerial view of the “new” Villa Sentieri, foreground, with the hiking trail just beyond, that prompted the name of the Villa.

It was, and remains, exceedingly difficult to have left all our close friends in Santa Fe but Palm Springs called to us.


Join our mailing list and you’ll never miss a recipe again!


We get two growing seasons each year.  Since we’re just a few hundred feet above sea level, I don’t need to be concerned about testing recipes at high altitude.  The weather is pretty darn great, too!

The variety of what we can grow here is amazing.  We have ten citrus trees, three fig trees and an apricot tree.  We’re considering adding a pomegranate tree.  We have table grapes trellised up a side wall.  There are four raised beds for herbs and vegetables.

Frank grew the most awesome tomatoes this year.  I have quite a stash of homemade passata (tomato puree) in the freezer.
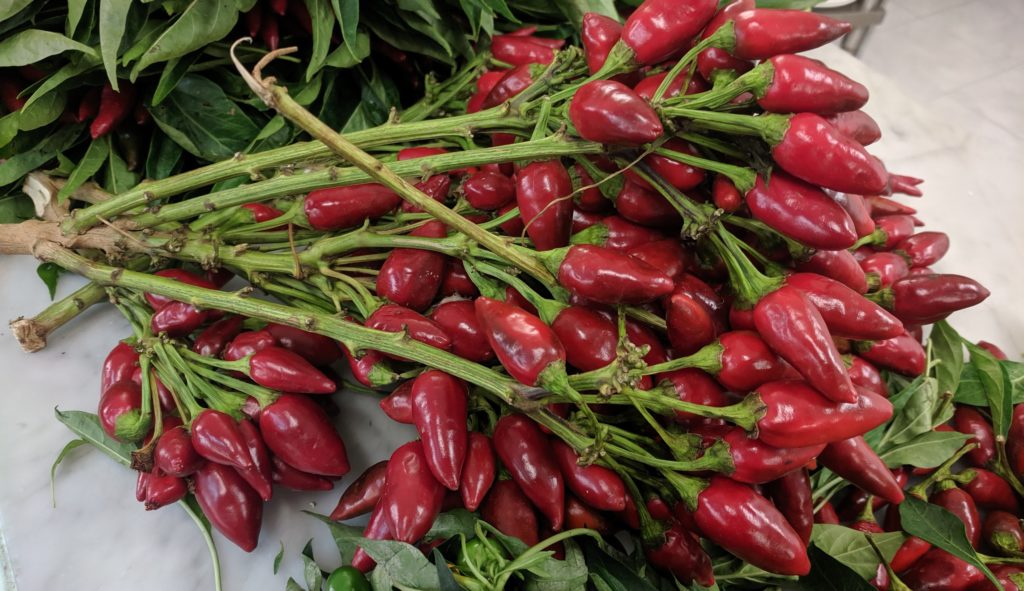
Naso di Cane (Nose of the Dog) peppers from Calabria. Seeds I brought back in 2019 just got planted in our garden in Palm Springs. I’m hoping to make “Olio Santo” (Holy Oil, aka Hot Chile Oil) in a few months.

The timing of our seasons takes a bit of getting used to.  Our first season pretty much ended in June.  That’s probably the time that most of you were just getting started with your gardens.  Though the herbs have continued to grow through the summer heat, all the vegetables were done by the end of June.


Follow us on your social media platform of choice


Right now we have an abundance of fresh limes.  The other citrus trees have fruit but it won’t be ripe for a few more months.

The vegetable beds sat fallow for the summer.  Just a few days ago, Frank planted them with seeds for what will be our second harvest of the year.  That will take place in November and December.

The “new” Villa Sentieri has an interior atrium with a koi pond filled with 17 koi.

Though we’re not harvesting vegetables at the moment, this is the perfect time for zucchini in most of the country.  When there’s an abundance of zucchini, sformato is the answer.
Print Recipe
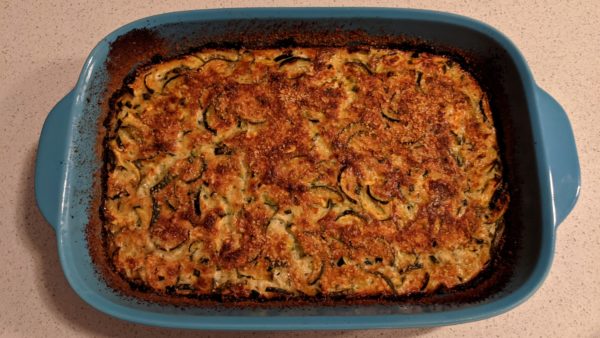
Sformato di Zucchini (Italian Zucchini Bake)
This was the first item that I cooked with Zia Fidalma at her home in Tuscany in August 2019. Green beans, cut in small pieces, can be prepared the same way except the beans are boiled and not sautéed. A combo of beans and zucchini is also possible. Zia does not usually add herbs to her sformato but since she had some niepita she added it. Though you’re not likely to have niepita (aka mentuccia romana), unless you grow your own, adding a small amount of marjoram or oregano is a welcome addition. If you don’t have fresh herbs, use a light sprinkling of dry herbs. In any case, herbs are totally optional.
Votes: 0
Rating: 0
You:
Rate this recipe!
Cuisine Italian
Prep Time 20 minutes
Cook Time 2 hours
Servings
people
Ingredients
Cuisine Italian
Prep Time 20 minutes
Cook Time 2 hours
Servings
people
Ingredients
Votes: 0
Rating: 0
You:
Rate this recipe!
Instructions
Besciamella
  1. In a small heavy-bottomed saucepan, melt the butter.
  2. Add the flour and sauté briefly until the raw smell is gone. Do not brown the flour.
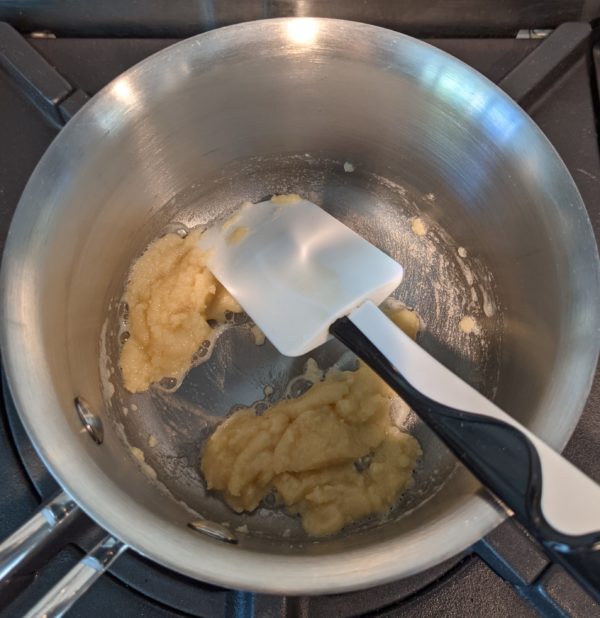
  3. Add the milk a little at a time, stirring well after each addition to avoid lumps.
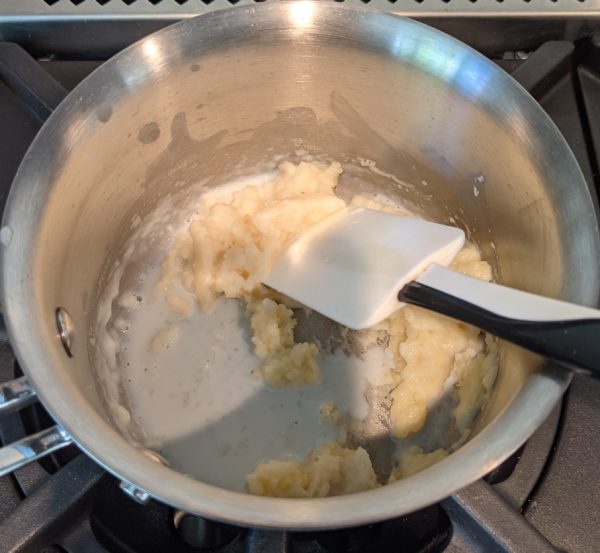
  4. After all the milk has been added, bring the mixture to a boil, stirring constantly and scraping the bottom of the pan. Boil for one minute.
  5. Remove from the heat and stir in the nutmeg.
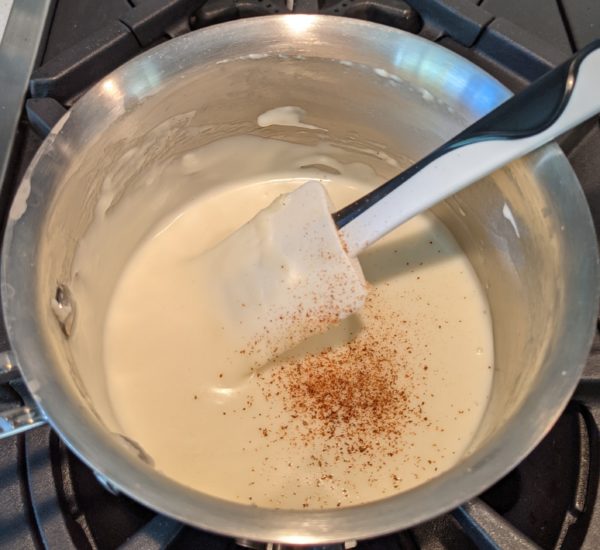
  6. If not using immediately, pour the besciamella into a heat-proof bowl and cover with plastic wrap touching the surface to avoid the formation of a skin.
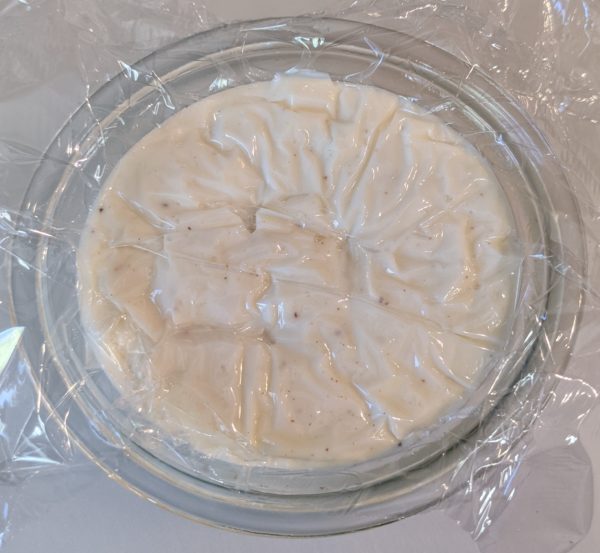
  7. Refrigerate if the besciamella will not be used within an hour or two.
Sformato
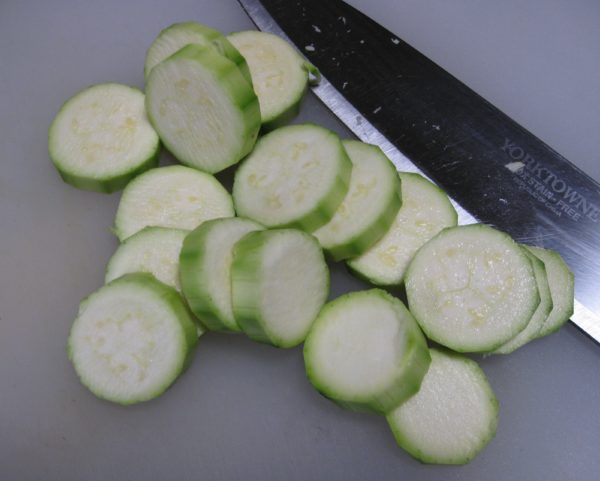
  1. Do not peel the zucchini. Cut off the stem ends and slice the zucchini lengthwise about 3/16 inch thick then crosswise the same thickness to make thick matchsticks.
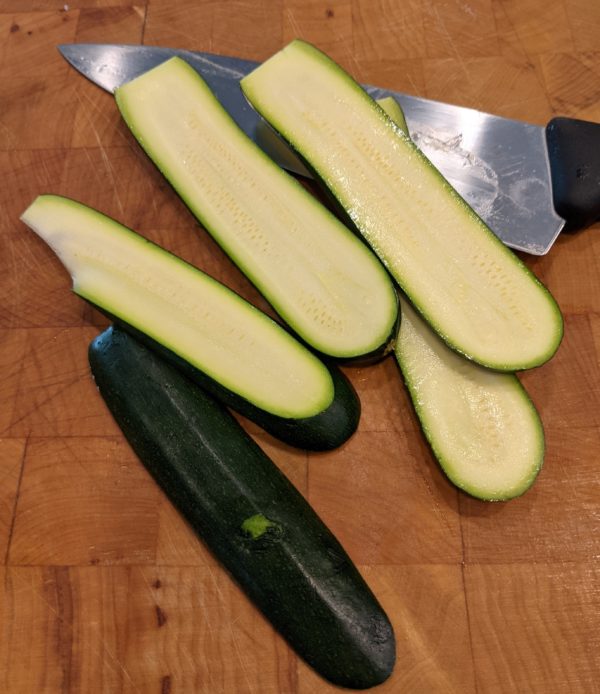
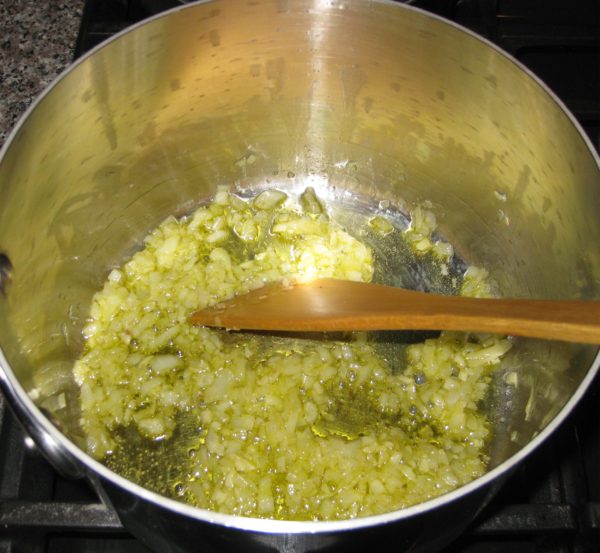
  2. Sauté the garlic in the olive oil until fragrant.
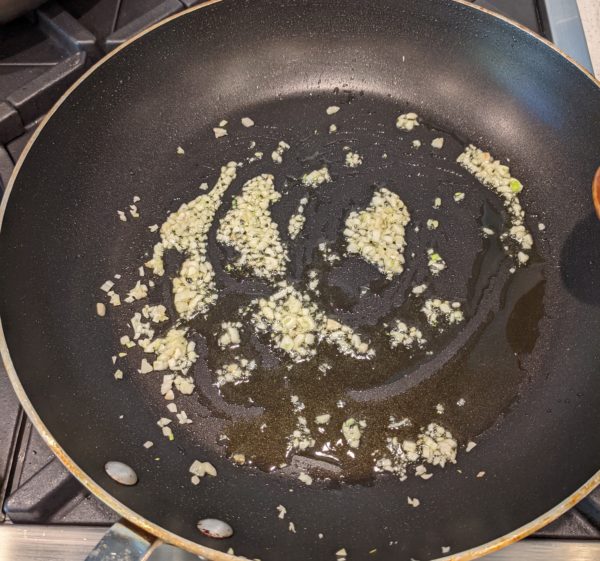
  3. Add the cut zucchini, chopped flowers and minced niepita if using. Season with salt and pepper and sauté briskly until just barely tender.
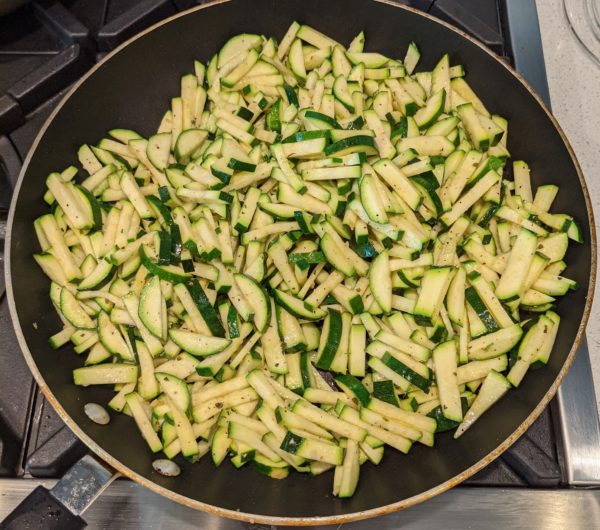
  4. Mix the cooked zucchini with the besciamella, nutmeg, and Parmigiano.
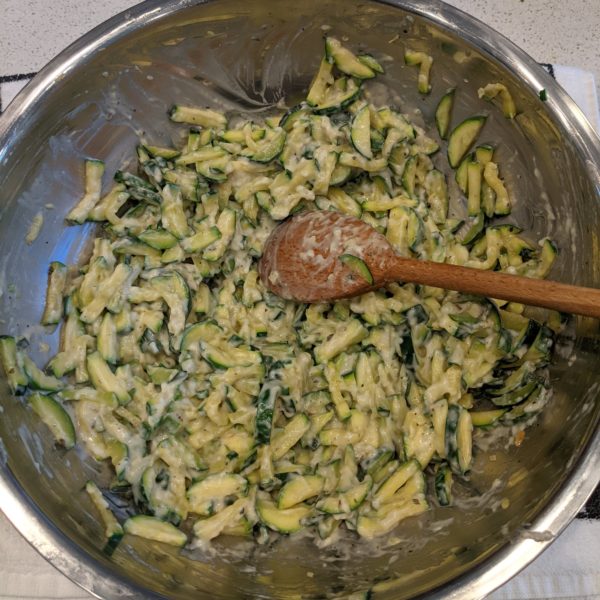
  5. Stir in the eggs after the mixture is cool enough to not cook the eggs.
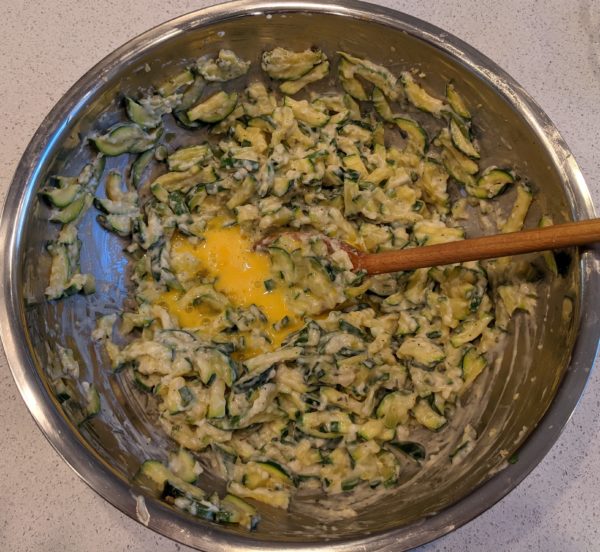
  6. Taste and adjust salt and black pepper.
  7. Butter a baking dish, approximately 7 ½” x 11”.
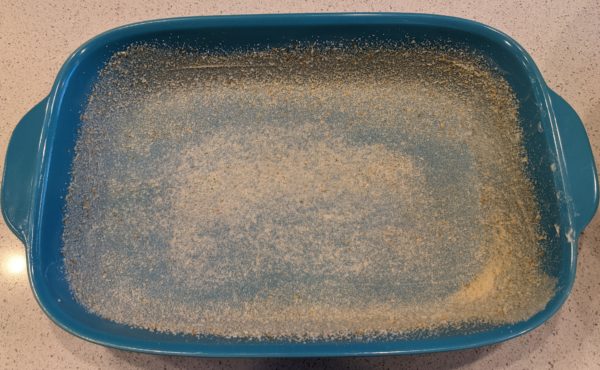
  8. Sprinkle the buttered dish with fine dry breadcrumbs.
  9. Pour the zucchini mixture into the prepared baking dish. It should be about ¾ inch thick.
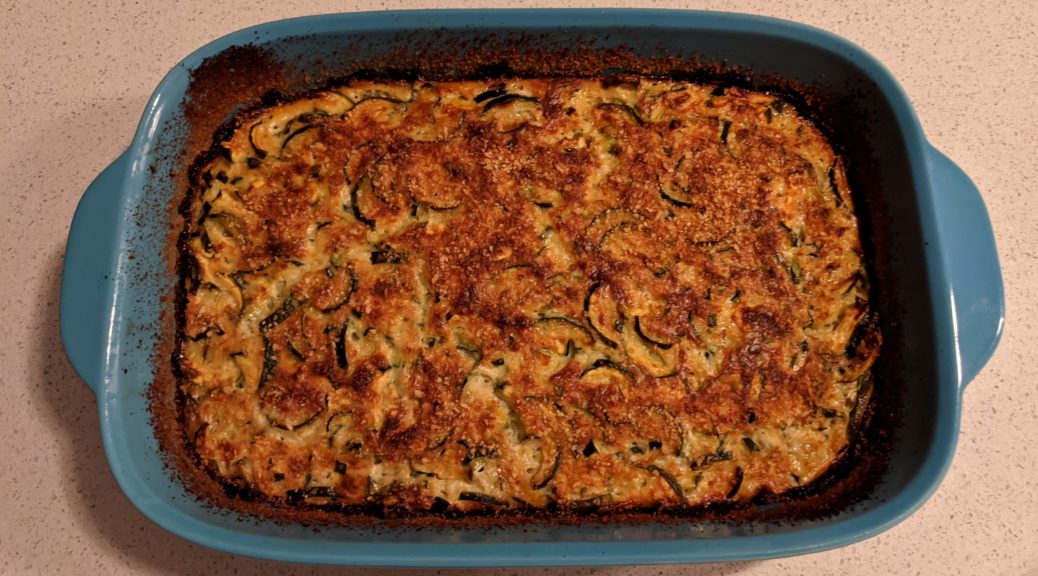
  10. Bake at 400°F till very brown on top, approximately 90 minutes. Cool 10 minutes before cutting.
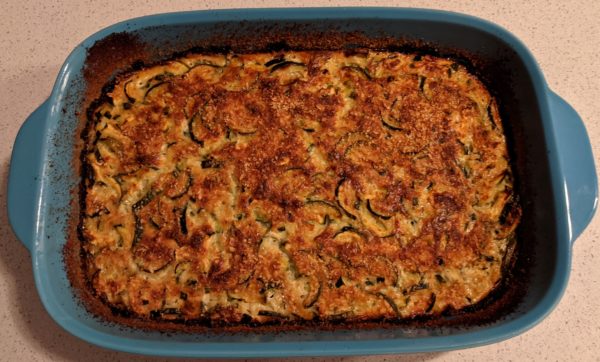
  11. Serve warm or at room temperature.
Recipe Notes

Copyright © 2021 by Villa Sentieri, LLC. All rights reserved.

Share this Recipe

Sformato di Patate (Italian Potato “Cake”)

July 13, 2020

I published a photo for this dish on my Facebook feed last week and got so much attention that I decided to actually post the recipe.

Sformato di Spinaci (spinach sformato or, if you must, spinach casserole) is a dish that garners great reverence in my husband’s family.  A while ago, I published my adaptation of the family recipe.

I make sformati out of lots of different vegetables besides spinach, including Swiss chard, zucchini, and cauliflower, among others.

Sometimes I swap out the ground beef in my husband’s grandmother’s recipe for sausage or Calabrese salame, or mushrooms.  This is a heretical act in his family but everyone still eats the sformato.  This is compounded  by the blasphemy of adding besciamella to the mix.


Join our mailing list and you’ll never miss a recipe again!


Although I make several versions of potato “cakes” I never thought of them as sformati until I stumbled upon the genre while perusing Italian-language food websites.

Although I had mixed meat, such as salame or prosciutto, and cheese into the potato mixture before baking it, I had never made a layer of filling in the middle.  Doing so changes the whole character of the dish.  It really feels like a main course (or what would be a secondo in an Italian meal) rather than gussied up potatoes that should be served as a side dish (contorno)!


Follow us on your social media platform of choice


When serving sformato di patate, I often start with soup and end with a salad… unless it’s a meal for which I developed a new gelato flavor to try! (This happens once, if not twice, per week… the gelato, not the sformato!)

This recipe calls for prosciutto cotto (cooked ham).  This is not the cured ham that we simply call “prosciutto” in English.  It really is just a cooked ham.  Typically, it would not be smoked.  I have successfully made this with good quality ham from the deli counter as well a fully-cooked lightly-smoked ham from the meat counter.

Since the cheese is smoked, I find that smoked ham works as well as un-smoked ham though the former is more traditional.

Print Recipe
Sformato di Patate (Italian Potato "Cake")
Italian prosciutto cotto is not smoked so the most traditional ham would be unsmoked but since the cheese is smoky, I’ve occasionally used a lightly smoked ham and gotten fantastic results. If the ham is not sliced very, very thinly, cut it into batons about the size of wooden matchsticks. I’ve chosen to keep this recipe in the metric measures that I use. You can click the button below to change to American measures. Feel free to round the quantities up or down a bit.
Votes: 0
Rating: 0
You:
Rate this recipe!
Course Meats
Cuisine Italian
Prep Time 30 minutes
Cook Time 90 minutes
Passive Time 15 minutes
Servings
people
Ingredients
Course Meats
Cuisine Italian
Prep Time 30 minutes
Cook Time 90 minutes
Passive Time 15 minutes
Servings
people
Ingredients
Votes: 0
Rating: 0
You:
Rate this recipe!
Instructions
  1. Peel the potatoes. Dice and cook in salted water until they can be easily pierced with a fork but are not falling apart.
  2. While still hot, pass the potatoes through a ricer and allow to cool until they are comfortable to touch.
  3. Combine potatoes with eggs, Parmigiano and milk. Mix well. Add salt and pepper to taste.
  4. Butter a 22 cm springform pan and coat with fine dry breadcrumbs.
  5. Press about 60% of the potato mixture onto the bottom and up the sides of the pan.
  6. Layer the prosciutto and scamorza inside, making two alternating layers of each.
  7. Top with the remaining potato mixture and smooth the top.
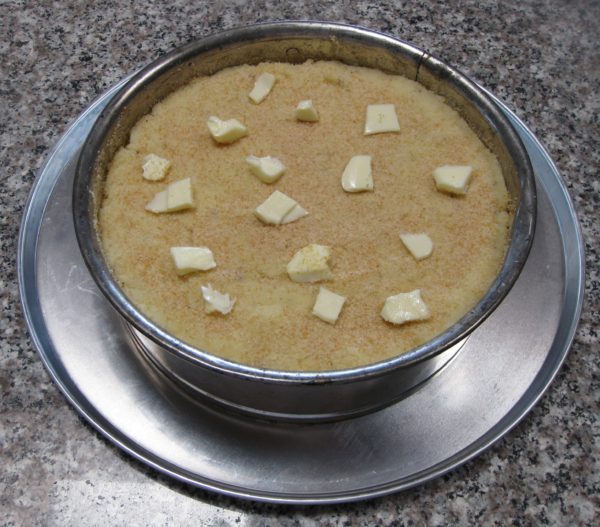
  8. Sprinkle the top with breadcrumbs and dot generously with butter.
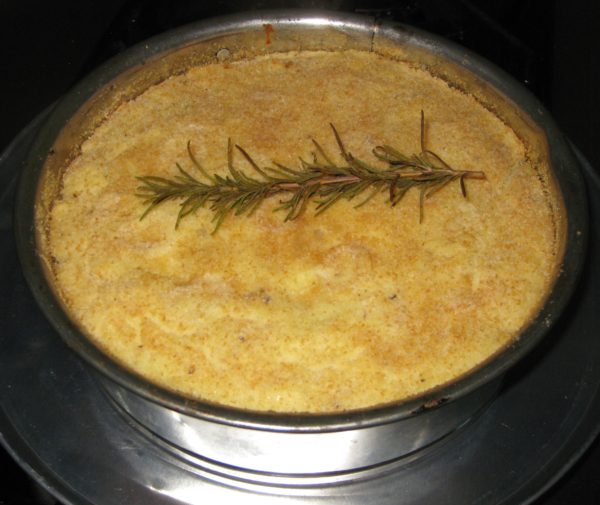
  9. Bake at 350°F for approximately one hour, until golden, adding the rosemary sprig to the top of the sformato after about 20 minutes of baking.
  10. After an hour, the internal temperature should be close enough to 165°F that it will reach that temperature while it rests.
  11. Remove from the oven and allow to cool approximately 15 minutes before removing the sides of the pan and serving.
Recipe Notes

Copyright © 2020 by Villa Sentieri, LLC. All rights reserved.
Share this Recipe

Lupara

May 29, 2019

A Lupara is an 8mm sawn-off shotgun favored by La Cosa Nostra.

It’s also the name of a pasta dish.

Lupara, the shotgun not the pasta. [Licensed from Bluedog, without changes].
Interestingly, if you search for lupara recipes online you’ll only find a few and you’ll be hard-pressed to discover much commonality among the recipes.  Some are spicy.  Some are not.  Some have sweet peppers.  Some do not.  Some have tomatoes.  Some do not.  And most of them will be made with spaghetti.

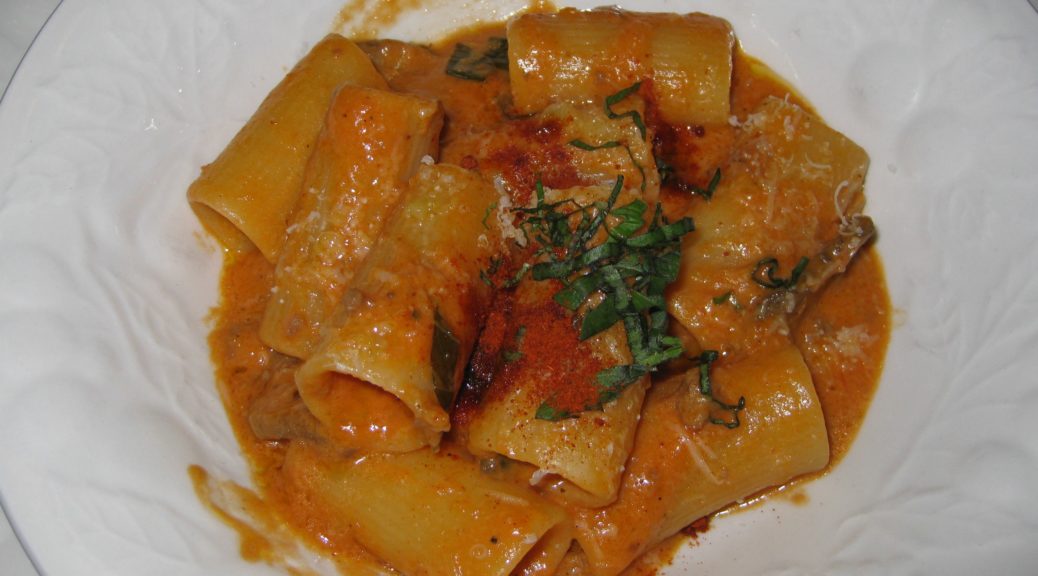
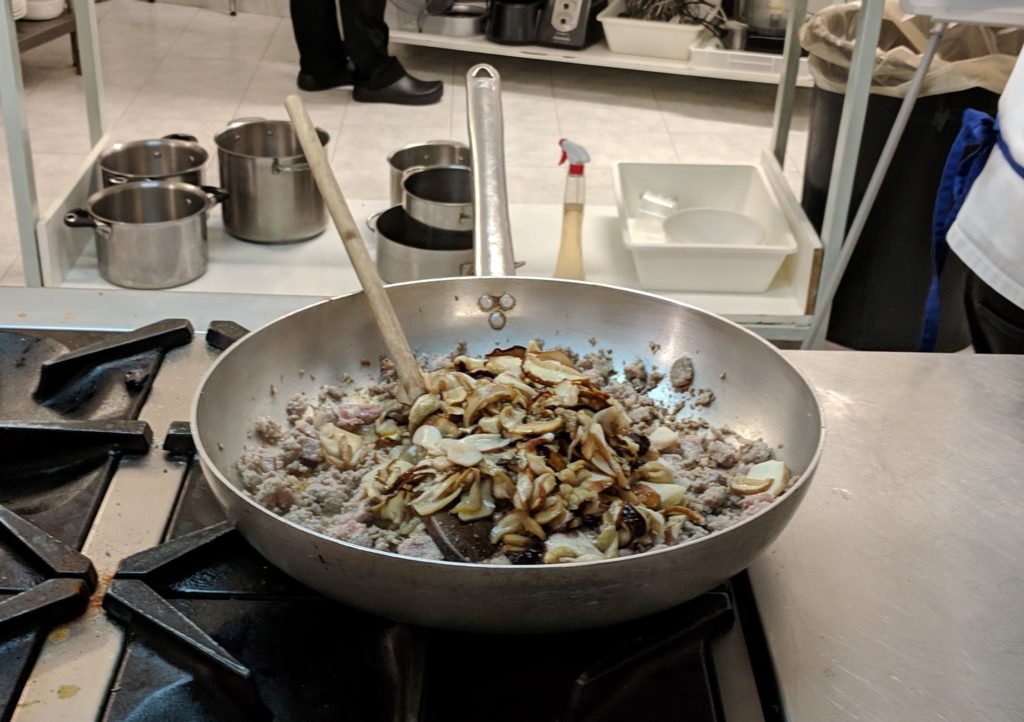
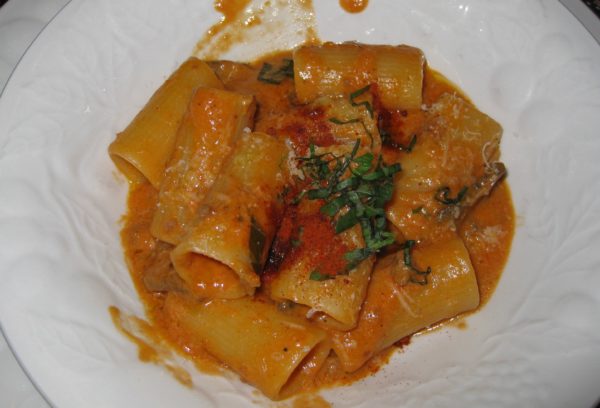
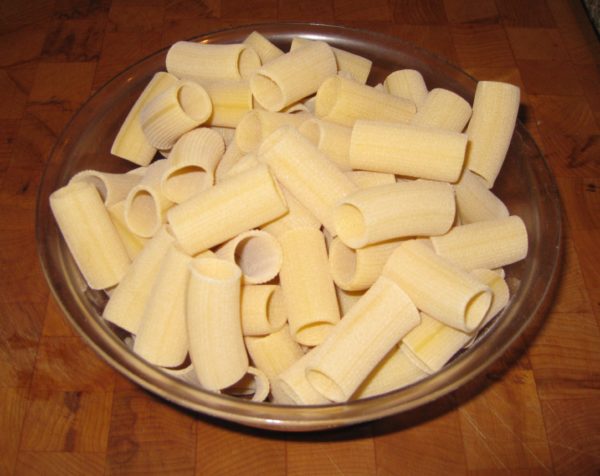
I learned to make lupara at the Italian Culinary Institute.  It was among the first pasta dishes demonstrated during the early days of the three-month course.  Made with short, cut pasta, like rigatoni, this rendition pays tribute to the shotgun for which it is named.

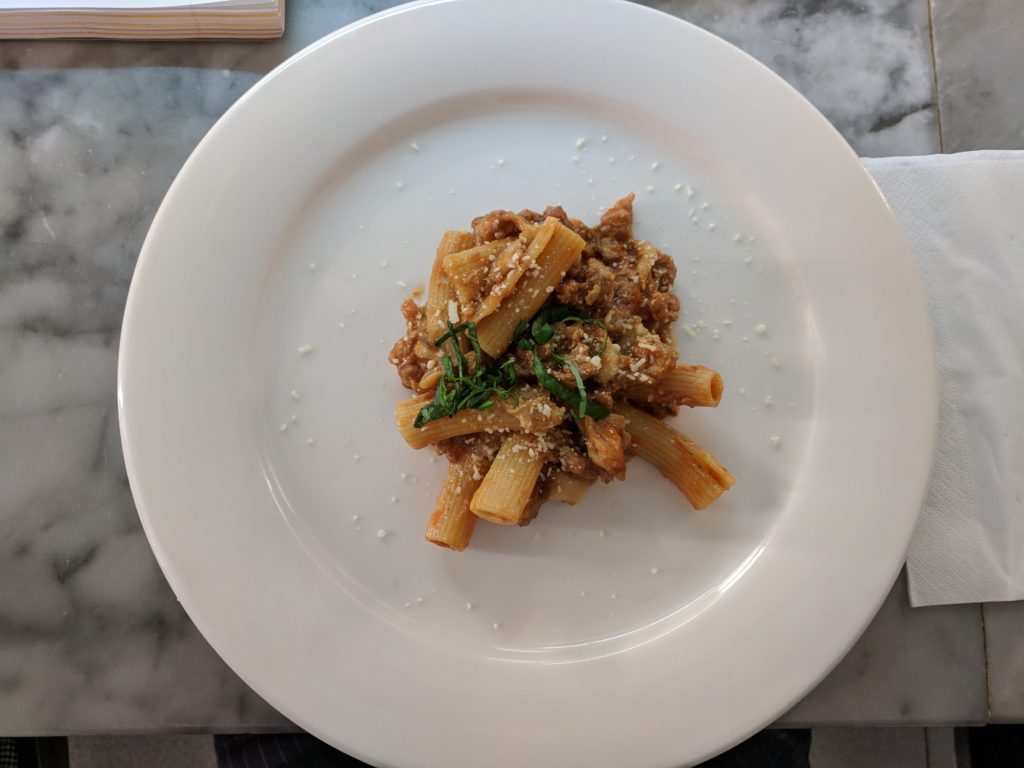
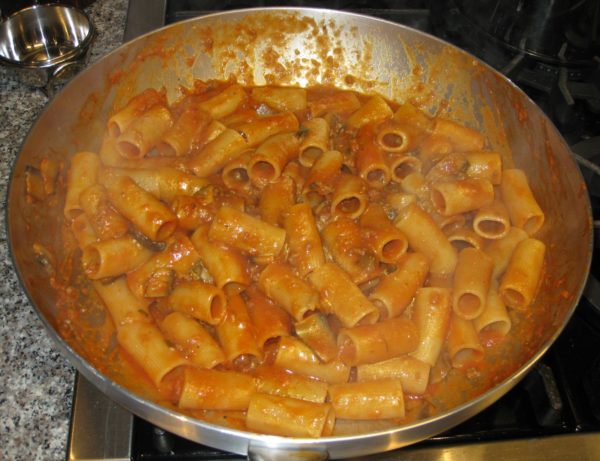
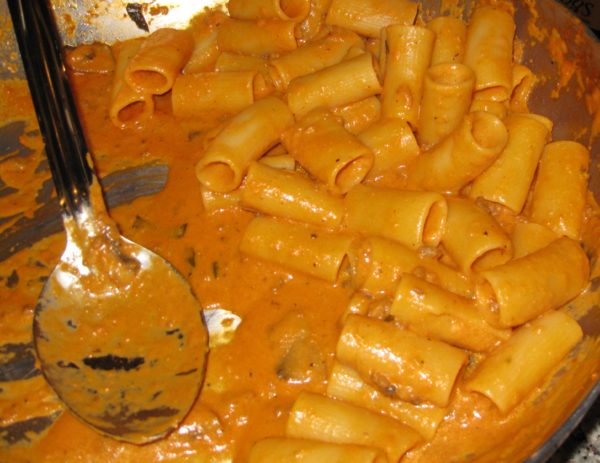
Lupara, the pasta not the shotgun, as prepared at the Italian Culinary Institute.

Join our mailing list and you’ll never miss a recipe again!

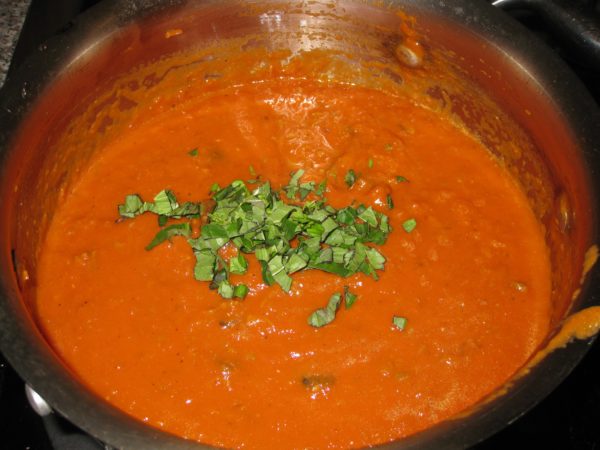
This dish makes use of a Basic Tomato Sauce, just tomatoes and a few aromatics cooked briefly.  You can make the tomato sauce in large batches and freeze it or you can make it as needed.  Although the sauce can be used on its own in some dishes, it is deliberately not aggressively seasoned.  This allows it to be used in a variety of preparations, with some final additional flavoring, without the sense that the same sauce is being used over and over.

I know this seems a little out of order, but I will publish the recipe for the Basic Tomato Sauce next week  For my first blog post since returning from Italy, I wanted to feature a dish that grabbed my attention.  This one did.  It’s got a great story and a great flavor.  Basic Tomato Sauce is good but it isn’t captivating (unlike a pasta dish named after the “Mob’s” favorite weapon!).  Basic Tomato Sause is meant to play a supporting role in most situations and that’s just not the type of recipe that I wanted to start with.

Lupara on the stove at the Italian Culinary Institute.

This version of Lupara is intended to be spicy but spicy means different things to different people.  There are two ways to build spice into this pasta.  You can use one or both of them.  The first method is to add dried, ground red pepper (peperoncino piccante in polvere, in Italian) during the final assembly of the pasta.  The other is to add thinly sliced fresh hot pepper (peperoncino fresco) when sautéing the sausage.  Getting authentic Italian peperoncino, powdered or fresh, is difficult in the States.  You can substitute Cayenne pepper for the ground one and a variety of long, red (always red!) chile, such as Thai or Cayenne, for the fresh.

Follow us on your social media platform of choice
         

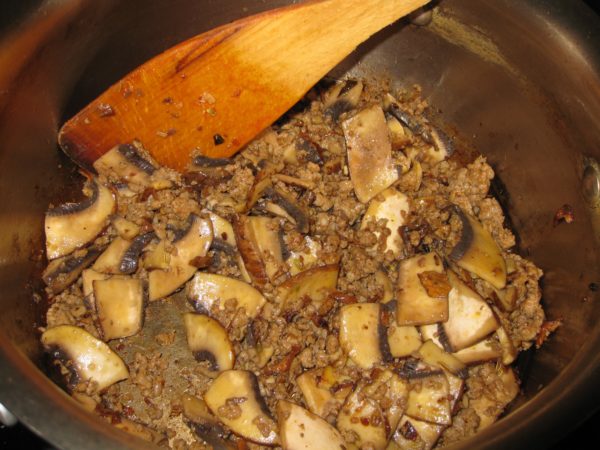
This recipe also calls for fresh porcini mushrooms.  These can be a challenge to find.  Feel free to substitute thinly sliced portobello mushrooms.  Though the flavor won’t be exactly the same, the dish will still be yummy!  If you are lucky enough to find fresh porcini, I suggest buying a heap, thinly slicing them, and freezing them.  They can be used in all sorts of cooked dishes, especially Trifulata which will hit the blog in the near future…as soon as I can find fresh porcini!! (You might notice portobello mushrooms in the pictures.)

This recipe requires a small amount of sausage.  It’s not a major player though it does add a nice meaty background note to the sauce.  Pick a good quality Italian-style sausage, sweet or hot.  I think that sausage with fennel seed adds a nice flavor but that’s a matter of personal taste.

Buon appetito!!

Print Recipe
Lupara
A lupara is an 8-gauge sawn-off shotgun associated with La Cosa Nostra (the “Mob”). Rigatoni resemble the barrel of a lupara. Adjust heat level to your taste. If you can’t find Italian powdered peperoncino piccante, substitute Cayenne pepper. For a different type of heat, add some thinly-sliced hot red chile when sautéing the sausage, instead of, or in addition to, the powered chile. If you can’t find fresh porcini, substitute portobello mushrooms. It is really important to use a very good quality Italian rigatoni, preferably an artisanal variety that is thicker than the usual boxed rigatoni to get the most benefit out of sautéing the pasta. If you want to make half as much pasta, freeze half the sauce. The recipe for Basic Tomato Sauce will be posted next week.
Votes: 0
Rating: 0
You:
Rate this recipe!
Prep Time 30 minutes
Cook Time 30 minutes
Servings
people
Ingredients
Sauce
Assembly
For serving
Prep Time 30 minutes
Cook Time 30 minutes
Servings
people
Ingredients
Sauce
Assembly
For serving
Votes: 0
Rating: 0
You:
Rate this recipe!
Instructions
Sauce
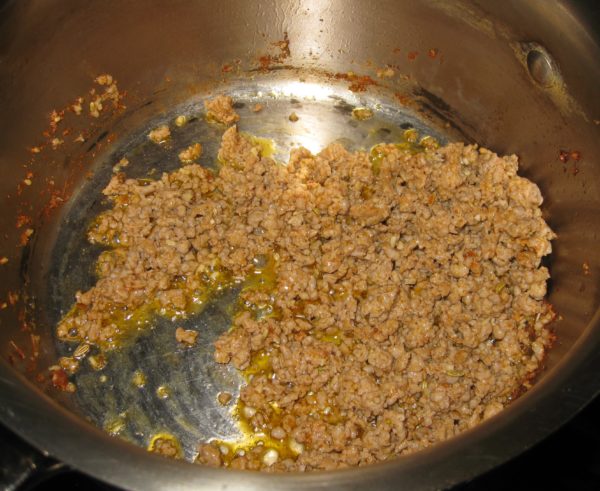
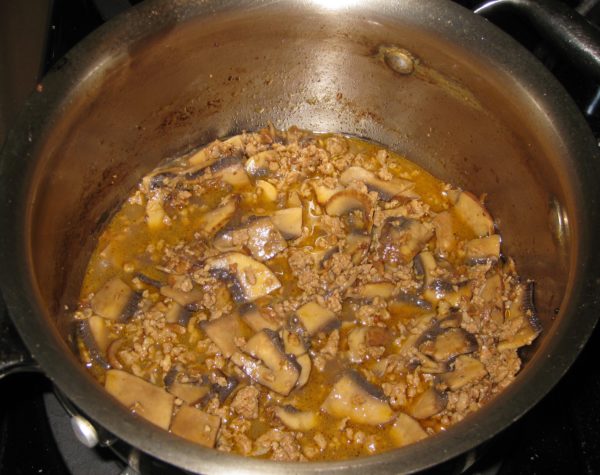
  1. Using a heavy-bottomed pot, sauté the sausage in the olive oil until colored.
  2. Add the porcini, butter, and fresh peperoncini, if desired, and sauté 5-7 minutes. During this time, the sausage should brown much more and the mushrooms should give up much of their liquid and take on some color.
  3. Add the wine and evaporate completely over high heat.
  4. Add the broth, partially cover, and simmer until completely evaporated.
  5. Add the Basic Tomato Sauce, basil, and salt and pepper to taste. Simmer about 10 minutes. Reserve.
Assembly
  1. Bring three quarts of heavily salted water (according to the Italians, it should taste like the sea) to a boil.
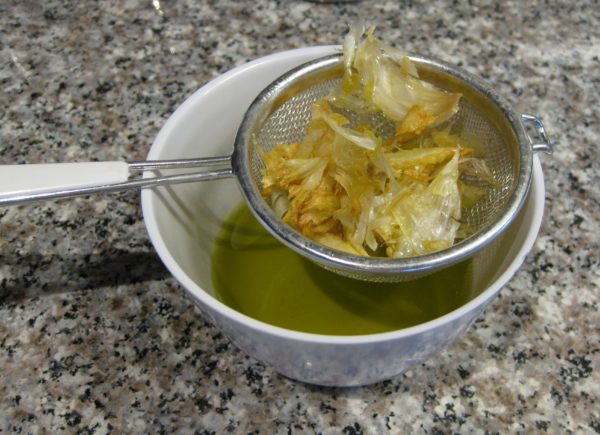
  2. Meanwhile, sauté the garlic in the extra-virgin olive oil until light brown. Drain and reserve the oil.
  3. Cook the rigatoni just until it no longer has a crunch in the center but is still far from done.
  4. While the pasta is cooking, put the sauce in a large sauté pan and bring to a simmer along with peperoncino piccate to taste.
  5. Drain the rigatoni, saving at least one quart of the pasta-cooking liquid.
  6. Add the rigatoni to the sauce and increase the heat to medium to medium-high. Add pasta-cooking liquid, a ladle at a time, stirring the pasta frequently to finish cooking.
  7. After adding a ladle or two of the pasta-cooking liquid, add the cream. Continue adding pasta-cooking liquid as needed until the pasta is just al dente and coated with a thick sauce.
  8. Off the heat, mix in the Parmigiano Reggiano cheese, cream, and the reserved garlic oil. You may need to thin with a little more pasta-cooking liquid as the cheese will thicken and emulsify the sauce.
  9. Divide the pasta among serving bowls. Garnish each with a drizzle of extra-virgin olive oil and sprinklings of Pecorino Romano cheese and fresh basil chiffonade.
Recipe Notes

Here's my recipe for Basic Tomato Sauce.

Copyright © 2019 by Villa Sentieri, LLC. All rights reserved.

Share this Recipe

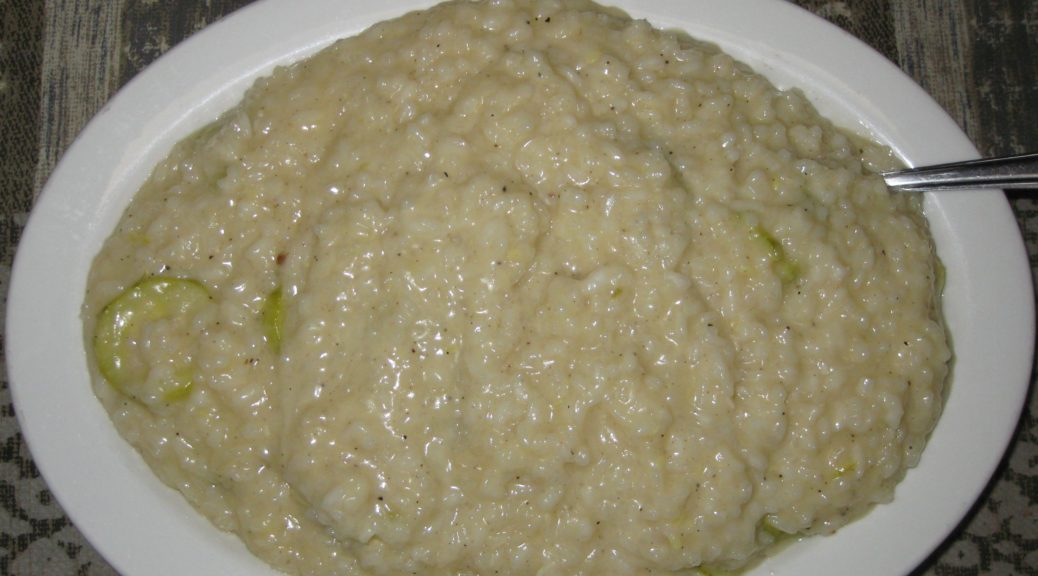
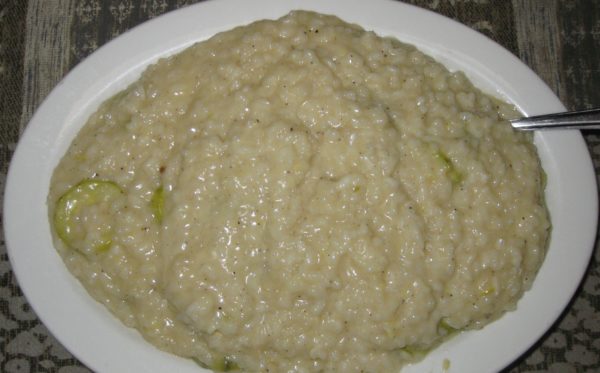
Risotto with Zucchini

August 15, 2018

One of the glories of summer produce is zucchini.

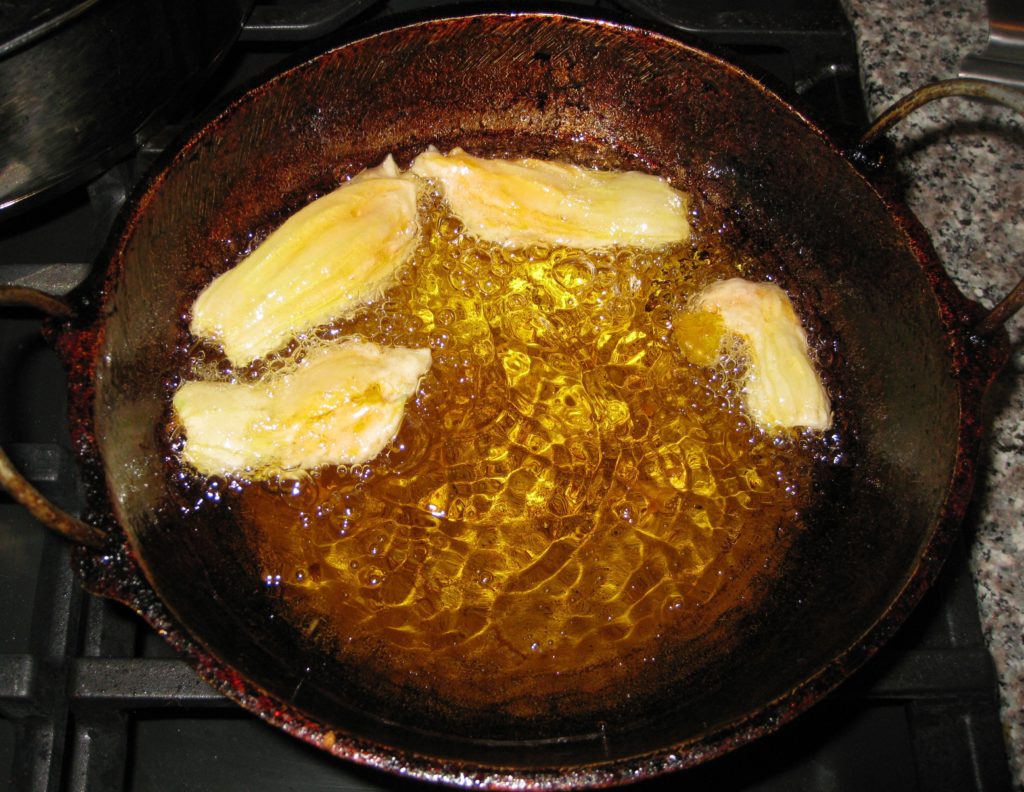
We eat our fill of fried zucchini blossoms but also zucchini itself in many ways, among them sautéed in olive oil with aromatics and herbs, made into a frittata, boiled and dressed with olive oil, stuffed with ricotta and mint, cooked in a light tomato sauce, made into calabacitas, and most definitely, used in risotto.

Join our mailing list and you’ll never miss a recipe again!

Although there are exceptions, such as Risotto Friulano and Risotto alla Milanese, most risotti that I make contain vegetables.  As far as actually cooking the rice goes, the technique doesn’t vary.

Fried zucchini blossoms are a much-loved summertime treat in our house

Aromatics (shallot, onion and/or garlic, depending on the risotto) are sautéed in olive oil.  The rice is added and cooked slightly.  A bit of wine is added and cooked away then the liquid (almost always broth but I make a killer champagne risotto and I also have a risotto recipe that uses carrot juice) is added in small amounts and cooked off before more is added.  Cheese and a bit of butter are stirred in at the end.

What varies for me is how the vegetables are prepared and when they are added.

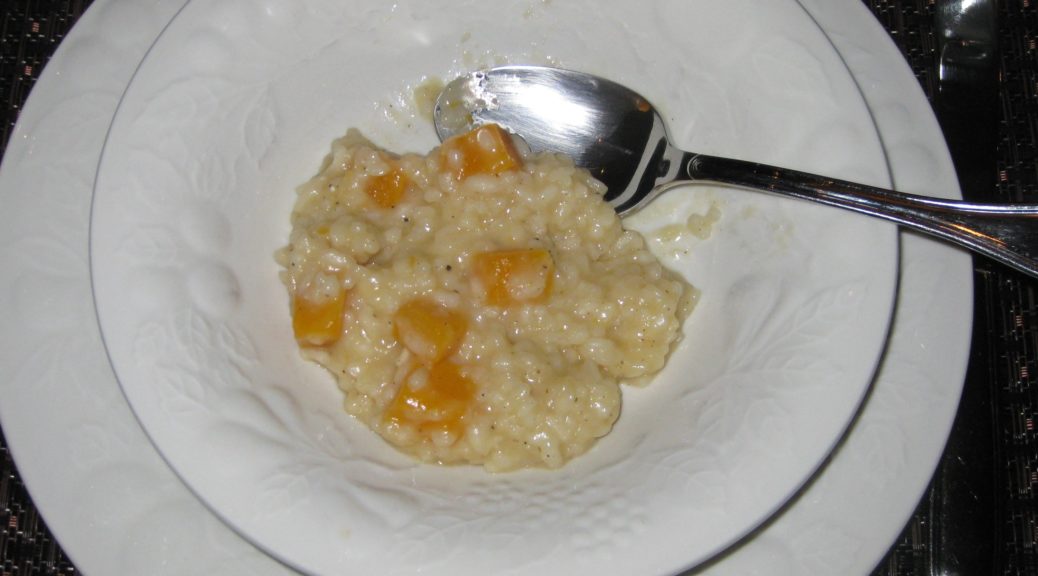
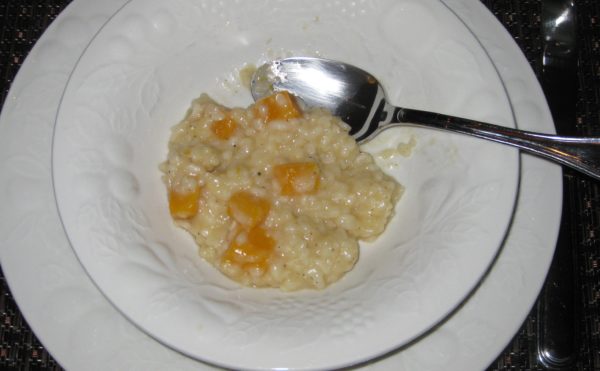
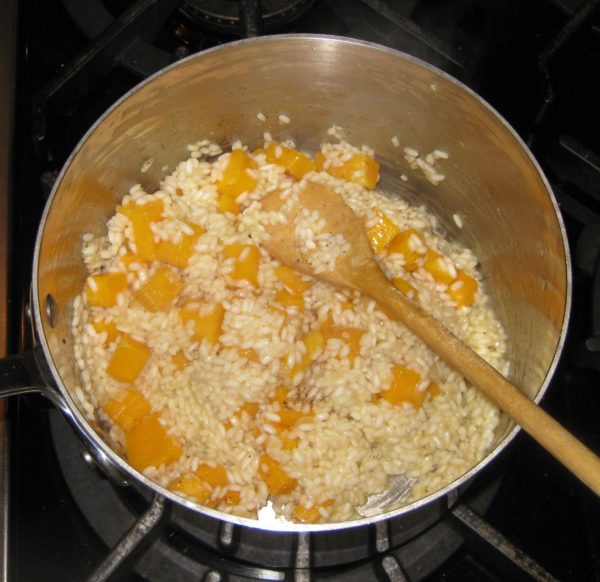
Some vegetables are cooked in advance then added to the rice when it is nearly done.  I do this, for example with the mushrooms for Risotto ai Funghi (Mushroom Risotto).  Other vegetables are put in at the very end and cooked briefly.  This method works best for vegetables that don’t really require cooking to be edible.  Believe it or not, really good summer corn fits into this category as do frozen peas.  The third method is to sauté the vegetable in the olive oil before the rice is added.  This is the method I use for Butternut Squash Risotto.

Follow us on your social media platform of choice


It is also possible to add the vegetables part-way through cooking the rice though I rarely use this method because it is not possible to guarantee the vegetables will be cooked properly when the rice is done.

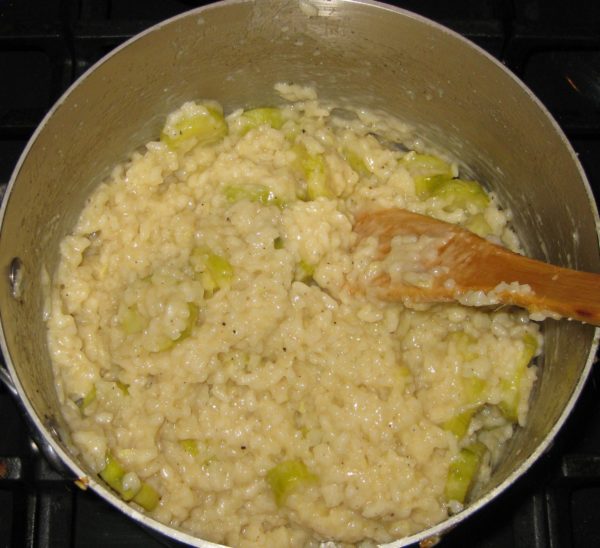
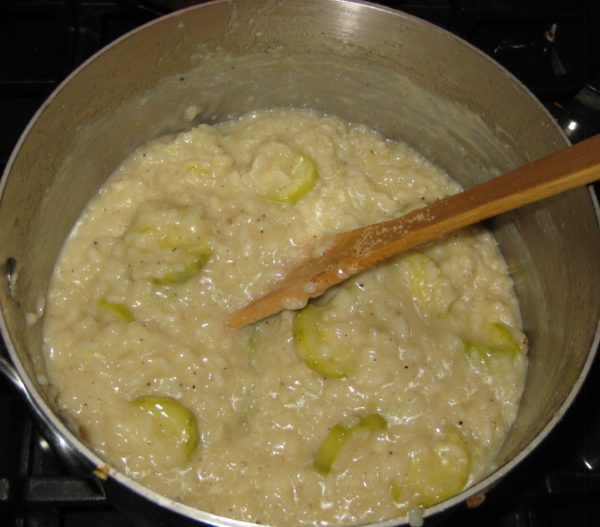
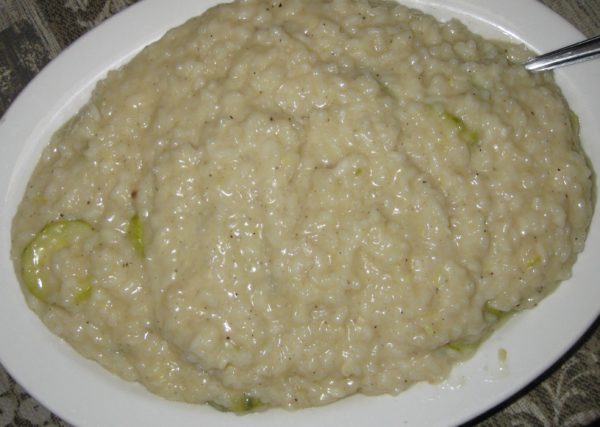
Despite the difference in texture, zucchini can be added at the beginning as with butternut squash.  The final texture is different, with the butternut squash being cooked but still holding its shape completely while the zucchini will soften much more but will still be recognizable.

Once you get the hang of cooking the rice for risotto, you can turn any vegetable into a risotto by just considering which of the cooking techniques to use.

Print Recipe
Risotto with Zucchini
Broth for risotto should be light in flavor, not a heavy stock. The broth should add the barest amount of background flavor but allow the other ingredients in the risotto to shine. Risotto uses a lot of broth. It is important that the broth have minimal salt so as not become overly salty. I never salt my homemade broth for this reason. If it seems that you will run out of broth before the risotto has finished cooking, put some water on to heat. It is important that all liquid added to the risotto, other than the initial addition of wine, be at a simmer.
Votes: 0
Rating: 0
You:
Rate this recipe!
Prep Time 15 minutes
Cook Time 45 minutes
Servings
people
Ingredients
Prep Time 15 minutes
Cook Time 45 minutes
Servings
people
Ingredients
Votes: 0
Rating: 0
You:
Rate this recipe!
Instructions
  1. Bring the broth to a bare simmer.
  2. Meanwhile, peel the zucchini then slice into ½-inch thick rounds.
  3. In a heavy-bottomed three-to-four-quart saucepan, heat the oil over medium to medium-high heat.
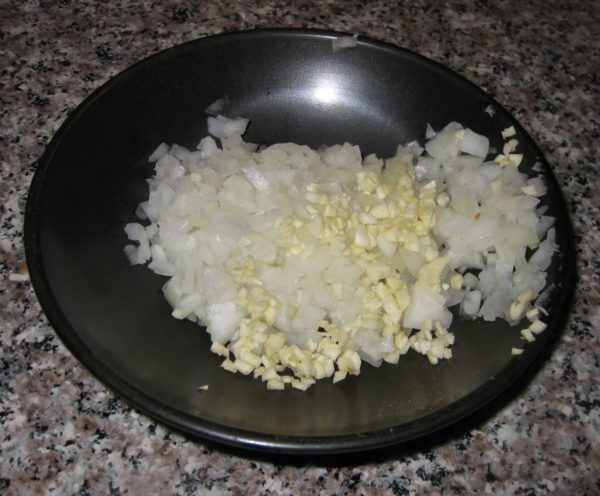
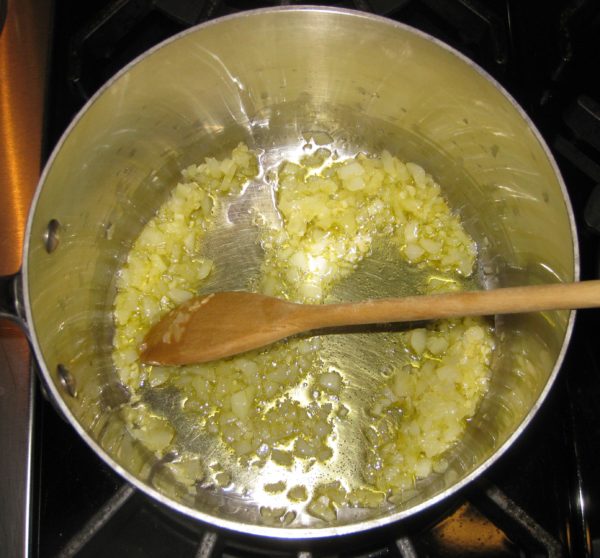
  4. Sauté the onion and garlic in the oil, stirring frequently, until the onion becomes translucent.
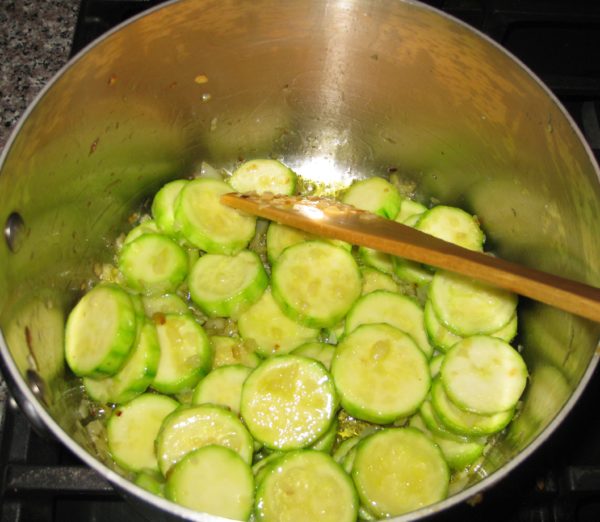
  5. Increase the heat to medium-high. Add the zucchini and ½ teaspoon of salt.
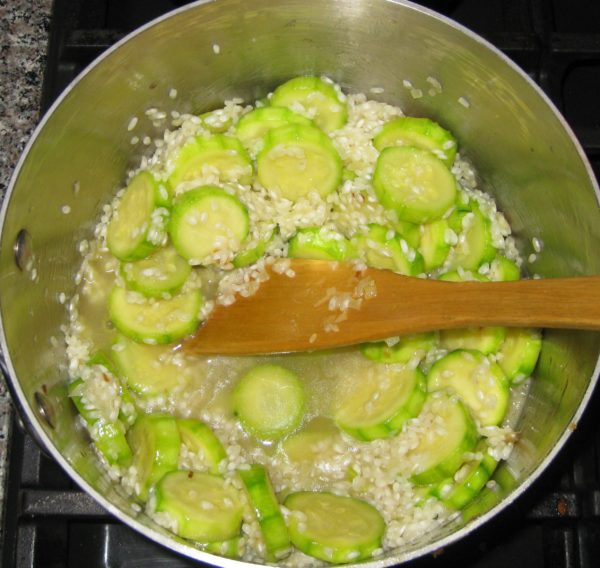
  6. Sauté the zucchini until the greenish color changes to a slightly less vibrant shade and the edges of the zucchini rounds become just a little less sharp, approximately 5-7 minutes.
  7. Add a few grindings of black pepper.
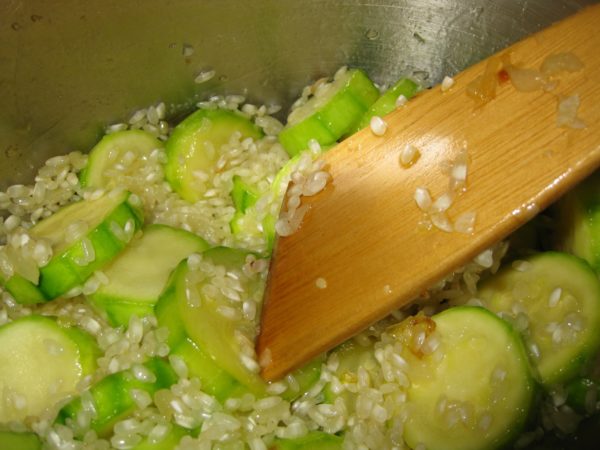
  8. Add the rice and stir until coated with oil.
  9. Sauté several minutes until the outer edges of the rice grains become translucent while the center remains white, approximately 5 minutes.
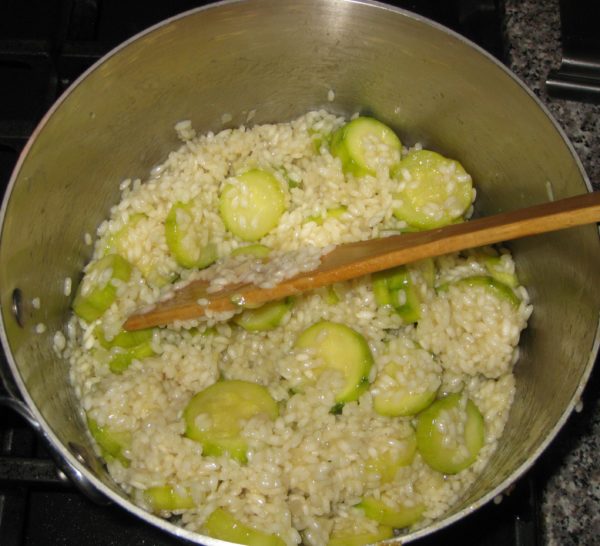
  10. Add the wine. Stir frequently, but not constantly, until the wine has totally evaporated. You will begin to see some starch leaching out of the rice. More and more of the starch will leach out as you cook the rice. This is what will make a creamy sauce, not a large quantity of butter, cheese or cream.
  11. When the wine has evaporated, add 1/2 cup of the simmering broth. Stir thoroughly, paying particular attention to loosening any spots where the starch seems to be sticking to the bottom of the pan. You don’t want to brown (or worse yet, burn) the starch.
  12. Stir frequently, but not constantly, until the broth has evaporated.
  13. If the broth is unsalted, as I recommend, add 1 ½ teaspoons of salt to the rice as you begin to add the broth. If the broth contains salt, do not add salt until the end.
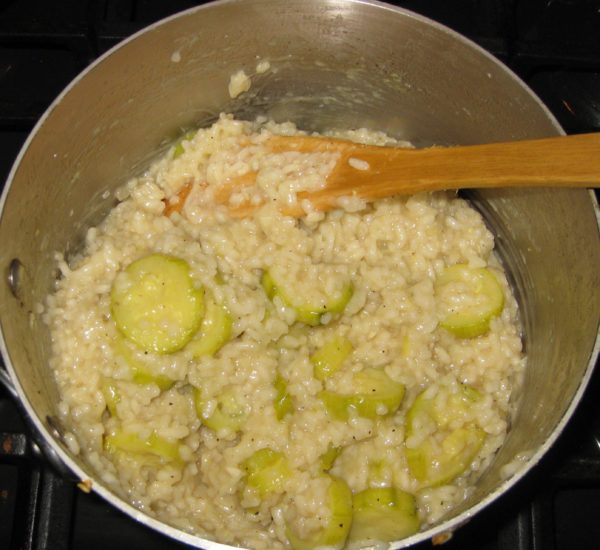
  14. Keep repeating the process with ½ cup of simmering broth each time: cooking, stirring, and loosening any spots that are sticking until each addition of broth evaporates. The heat should stay as close as possible to medium high. The moderate boiling of the liquid will coax starch out of the rice to create the creaminess that is the hallmark of a good risotto.
  15. Begin tasting for doneness after approximately 3 cups of simmering broth have been added. When the rice is al dente, firm but not crunchy in the center, add another ½ cup of simmering broth, stir, and remove the rice from the heat.
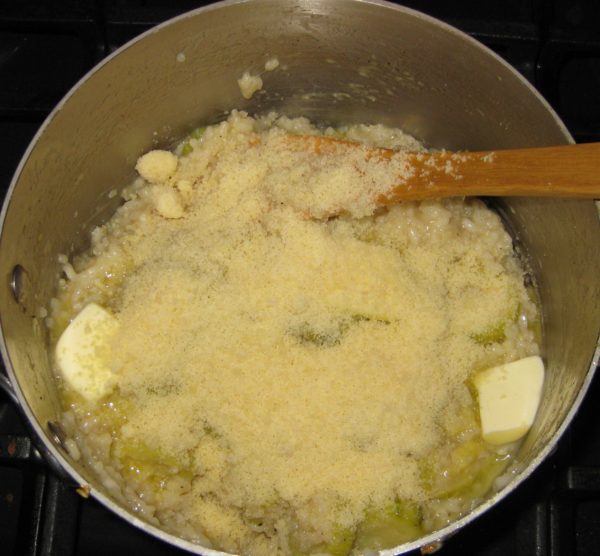
  16. Off the heat, stir in the Parmesan cheese, butter, parsley, if using, and freshly ground black pepper to taste. Taste and adjust salt.
  17. In two or three small additions, add as much of the broth as the risotto will absorb without becoming watery. Stir thoroughly.
  18. Serve immediately.
Recipe Notes

With risotto, the goal is to have rice grains that are still al dente (but not crunchy) in the middle surrounded by a creamy liquid. An Italian risotto should be creamy from the starch in the rice, augmented with a very modest amount of butter and cheese. Risotto served in America is often overly rich from butter, cheese, and sometimes cream.

Risotto rice is a short grain rice that cooks slowly, making it much easier to achieve an al dente texture because it takes a while to actually overcook it. The three types of rice for risotto are Arborio, Carnaroli, and Vialone Nano. Arborio is the easiest one to find though the other two are more forgiving than Arborio when it comes to overcooking.

I recommend buying good quality rice imported from Italy. It really isn’t priced that differently from domestic. Do not wash the rice.

Copyright © 2018 by Villa Sentieri, LLC. All rights reserved.

Share this Recipe

Frittata di Spaghetti (Frittata with Spaghetti)

March 9, 2018

Although I typically heat up left over pasta and have it for lunch, it definitely pales in comparison to the freshly made dish.

In the pre-microwave days of my youth, leftover pasta was heated gently in a sauté pan with a little bit of water added.  Now, the microwave makes quick work of the same task.

If you have leftover pasta, though, consider turning it into a frittata.  I think it constitutes an entirely new dish, and not leftovers, because it’s being turned into something totally different.

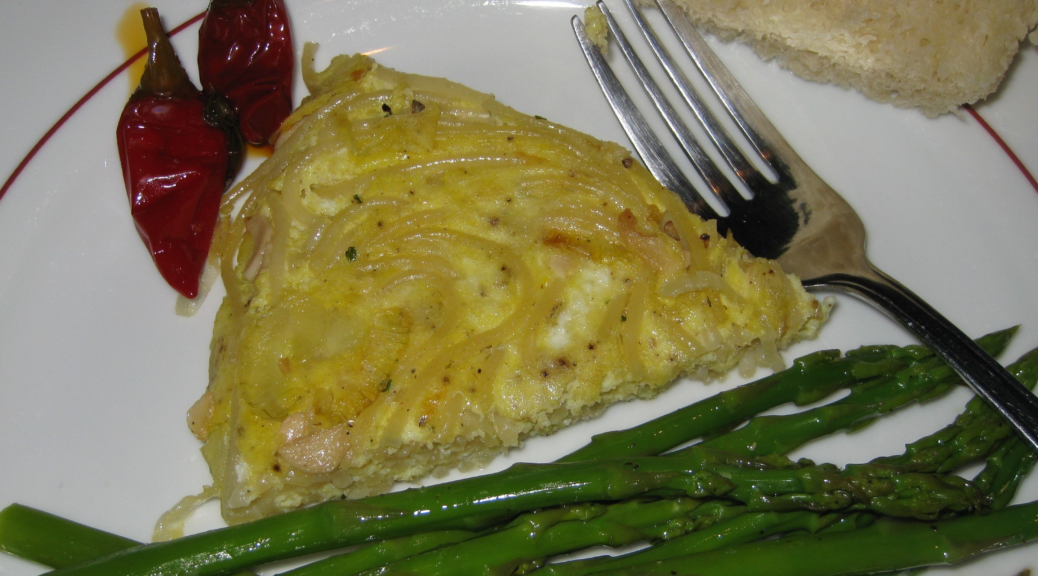
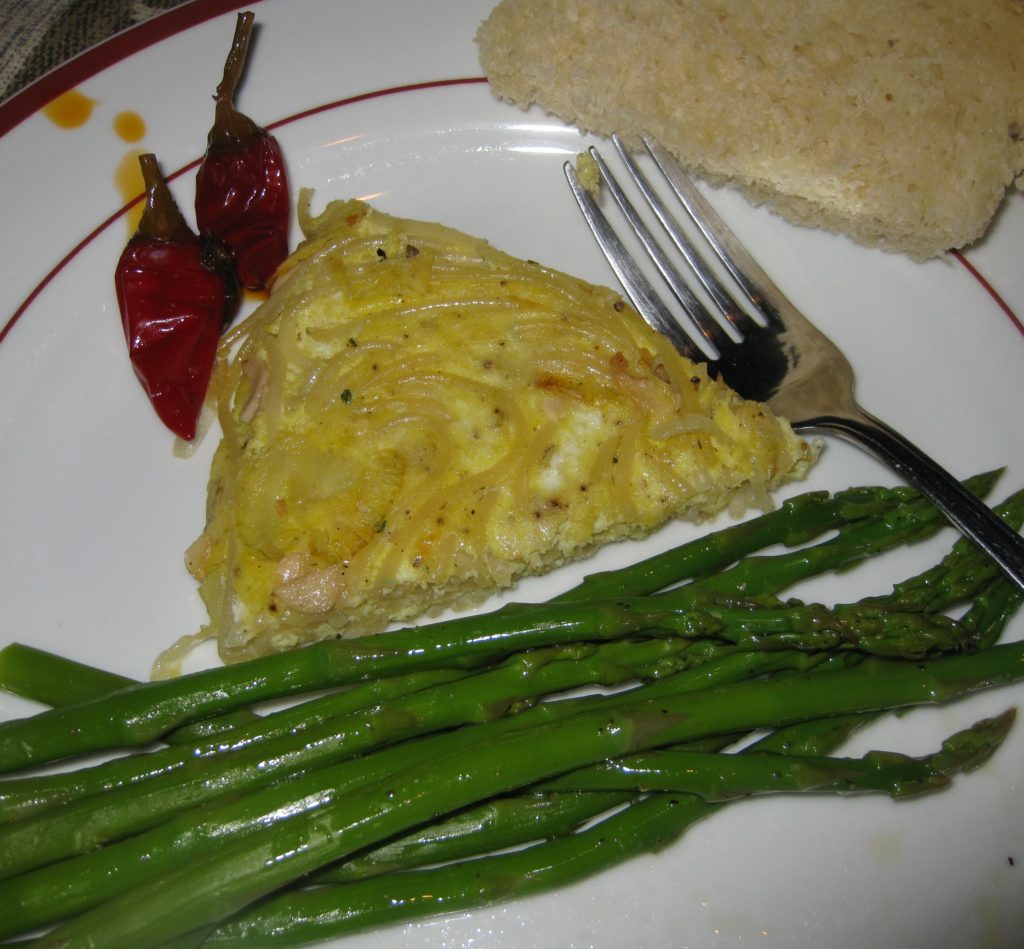
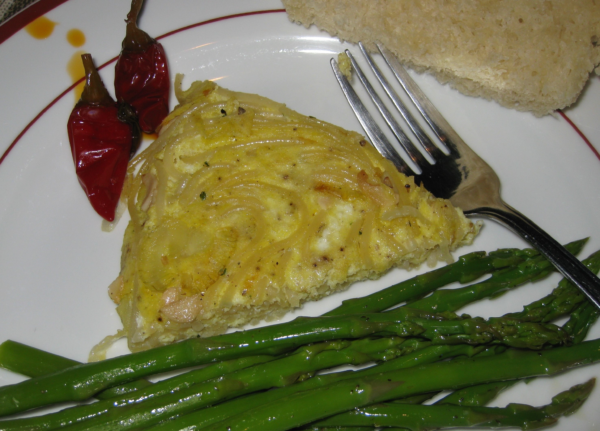
A slice of frittata with a few Calabrian oil-cured peppers on the side

We eat so much pasta in our house that if we turned the leftovers into frittate (the plural of frittata) our dinners would alternate between pasta and frittata almost every day of the week!  That’s why some of the leftover pasta is simply heated up for lunch.


Follow us on your social media platform of choice


A frittata is often referred to as an Italian omelet.  But an omelet it most definitely is not.  It is cooked using a different technique with a different intended outcome.

Calling a frittata an Italian omelet is like calling everything made from ground beef a hamburger.  (OK, off my soapbox for now.)

You can use most any combination of pasta and sauce for a frittata but you don’t want there to be lots of extra sauce or it will be difficult to get the eggs to set.

Most often, I’ll use a long thin pasta, like spaghetti or spaghettini with either a tomato sauce or anchovies and garlic.  They both work well.  That said, I’ve made frittate from a wide array of leftover types of pasta.  Shape is no object!

If you happen to know somebody who raises chickens or if you have access to freshly laid eggs at a farm stand or farmers’ market this is an excellent use for them.  There’s little that stands between you and the eggs, so using really good, fresh eggs is noticeable.

Crushed red pepper is a good alternative to Calabrian oil-cured peppers, but definitely not as flavorful

As I mentioned earlier this week, I’m losing the battle to raise chickens at our house.


Click HERE to join our mailing list and you’ll never miss a recipe again!


A frittata is cooked slowly in a sauté pan until the eggs set and turn golden brown on the bottom.  I prefer to do this with the pan covered as it aids in setting the top of the eggs, too.

Once the bottom is set, there are two methods to finish the frittata.  One is to put the frittata under the broiler or in the oven.  The good folks at Wikipedia think this is the only way to do it.  In fact, I would suggest that most Italians do not do that.  They simply flip the frittata over.  (OK, I was back on the soapbox for a moment there.)

If you’re going to finish the frittata by flipping, however, you need to be sure that the top of the frittata is not runny.  It should be just barely set.

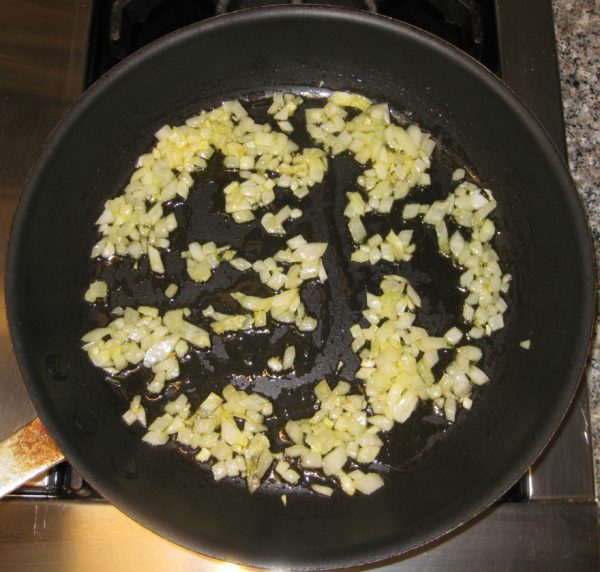
In case you missed it, I previously published a recipe for an onion frittata.  Although it uses a large quantity of onions, they cook down into sweet, golden deliciousness before the eggs are added.

And…before we leave the subject of leftovers…leftover frittata makes a great filling for a sandwich, especially with a few oil-cured Calabrian peppers!


If you have a favorite family recipe and a bit of a story to tell, please email me at santafecook@villasentieri.com and we can discuss including it in the blog. I am expanding the scope of my blog to include traditional recipes from around the country and around the world. If you haven’t seen Bertha’s Flan or Melinda’s Drunken Prunes, take a look.  They will give you an idea of what I’m looking for.


Print Recipe
Frittata di Spaghetti (Spaghetti Frittata)
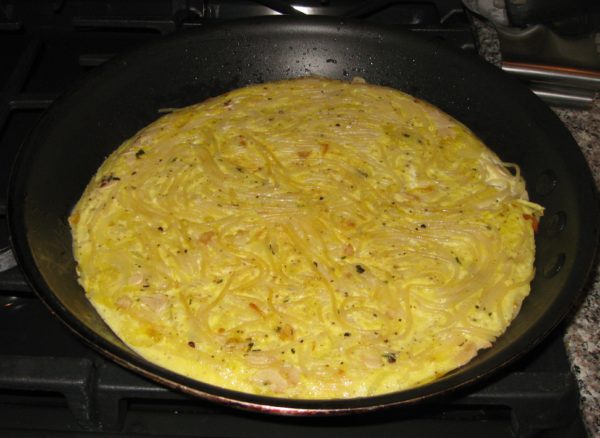
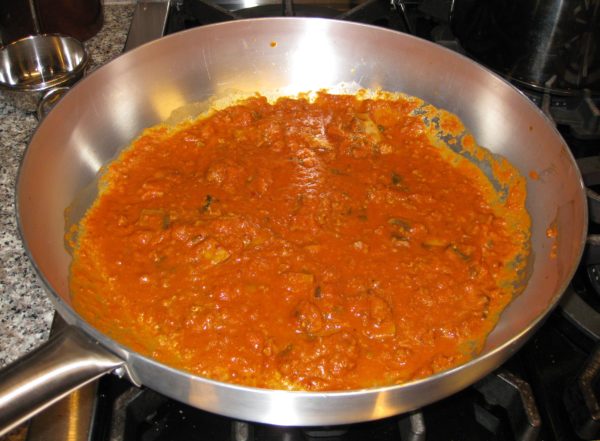
This is a wonderful Italian way to use leftover pasta by turning it into something completely different. The proportions are approximate and will depend on how much pasta is leftover. The pictures show this being made with about half a pound (uncooked weight) of spaghettini with anchovy and garlic (see the Notes section below for a link to the recipe) but it works equally well with most pastas and sauces, including tomato sauce. Use 8 eggs if you have a larger amount of leftover pasta or if you need to stretch the dish to feed more. Use either onion or garlic as the aromatic. Which you choose will depend on which better compliments the pasta. In this case, because the sauce had a lot of garlic, I chose onion to add a bit of a sweet note. If using a tomato sauce, I would have chosen garlic. Whether or not to use Parmesan cheese follows the same logic. Italians feel that cheese rarely goes with fish, like the anchovies in this sauce, so I didn’t use it.
Votes: 0
Rating: 0
You:
Rate this recipe!
Prep Time 10 minutes
Cook Time 1 hour
Servings
people
Ingredients
Prep Time 10 minutes
Cook Time 1 hour
Servings
people
Ingredients
Votes: 0
Rating: 0
You:
Rate this recipe!
Instructions
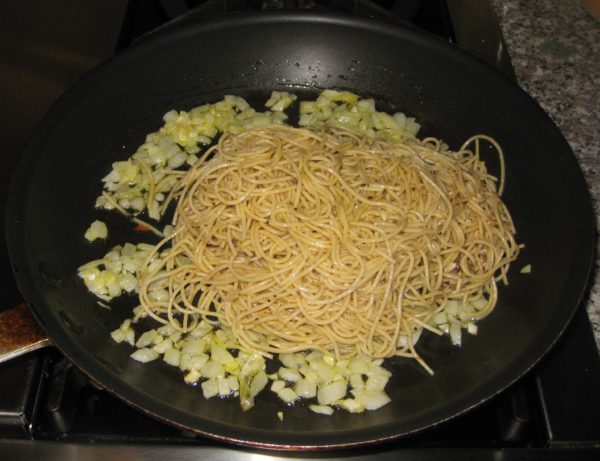
  1. Heat the oil in a 12 inch (preferably non-stick) sauté pan.
  2. Add the onion or garlic and sauté over medium heat until the onion is soft and caramelized or the garlic is fragrant.
  3. Add the pasta and sauce and heat gently.
  4. Toss the pasta a few times to be sure it heats evenly.
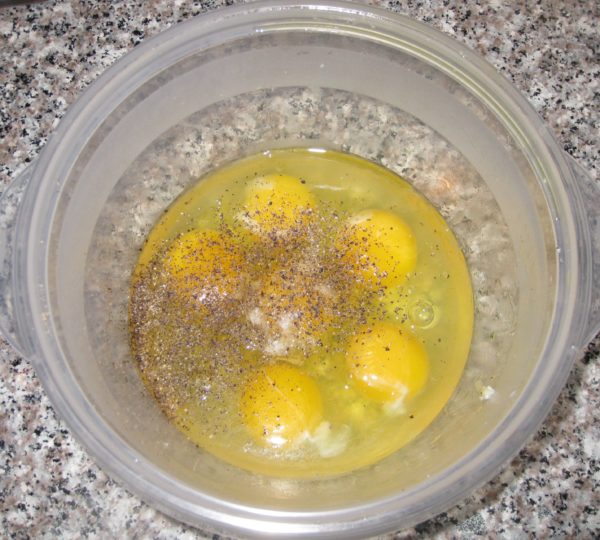
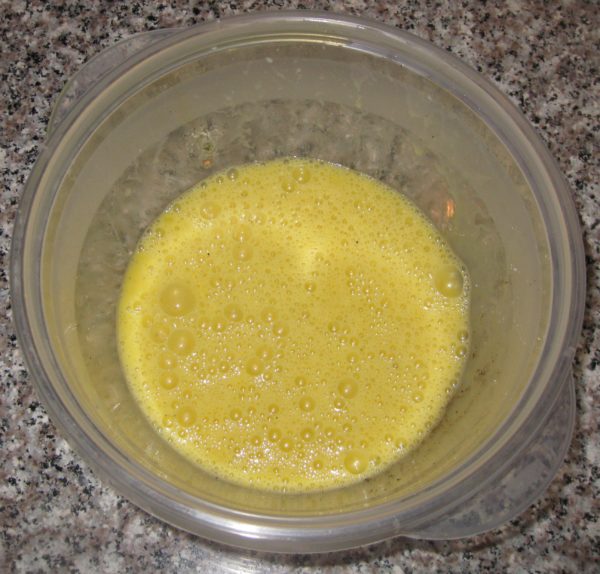
  5. Meanwhile, beat the eggs with salt and pepper to taste.
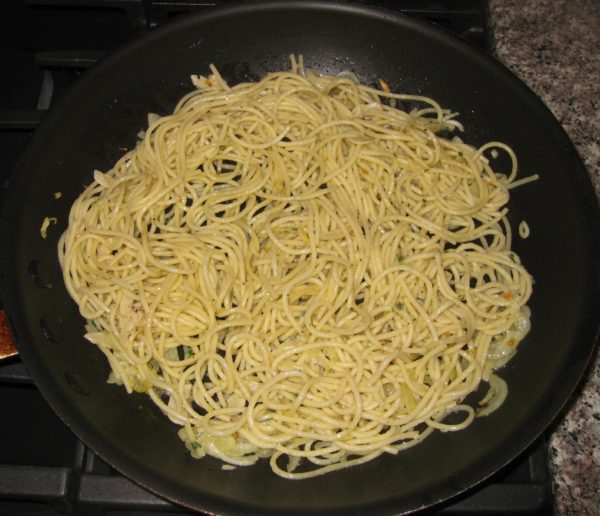
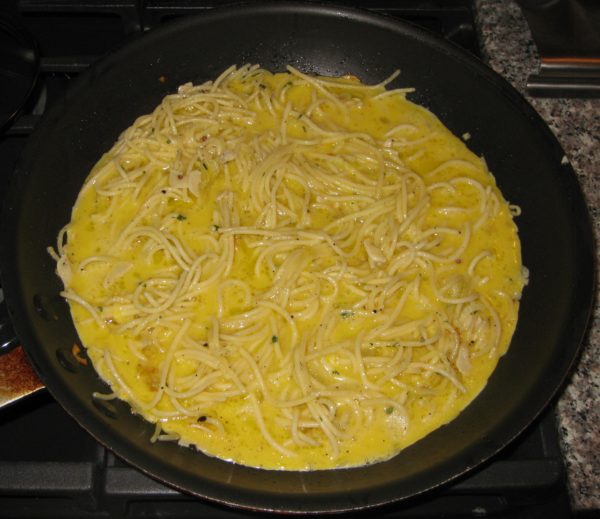
  6. When the pasta is heated through, spread it evenly on the bottom of the pan.
  7. If you cannot clearly see enough of a slick of oil on the bottom of the pan to protect the eggs from sticking, add a bit more. (Some sauces sop up the oil more than others.)
  8. Pour the eggs over the pasta, being careful to distribute them evenly.
  9. If using cheese, sprinkle it over the top of the eggs.
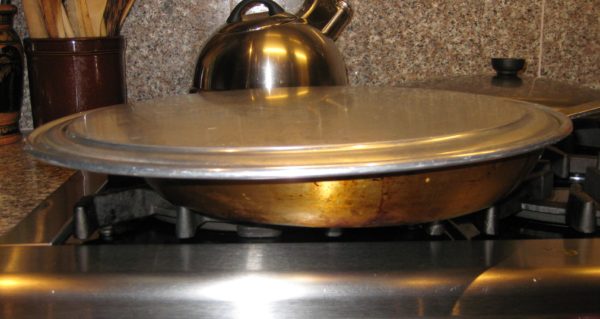
  10. Cover the pan and reduce the heat to low.
  11. Keep the eggs covered the whole time and move the pan around on the stove, even putting it off-center much of the time, to be sure the heat is evenly distributed around the bottom of the pan.
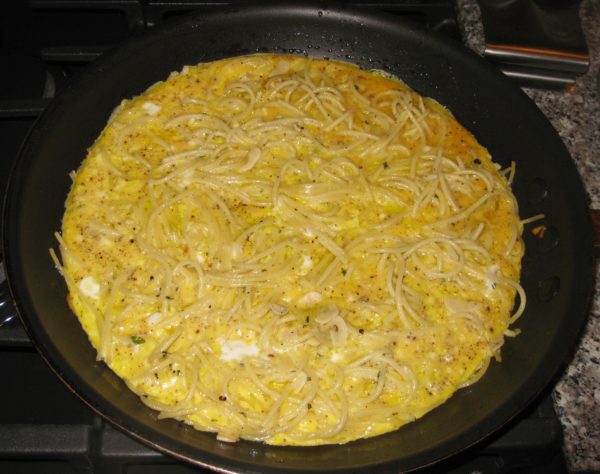
  12. Cook until the top of the eggs is just set. That is, there is no runny egg left. This will take approximately 25-30 minutes.
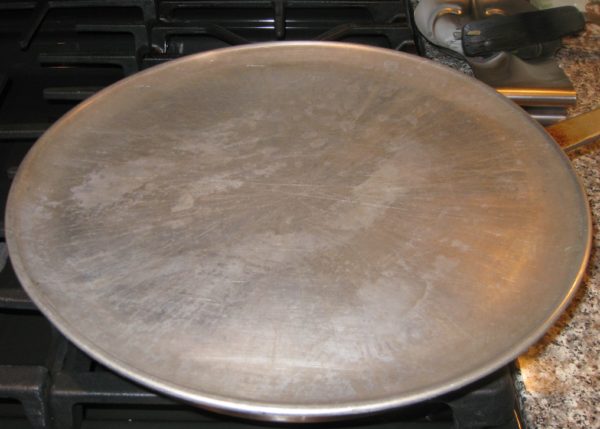
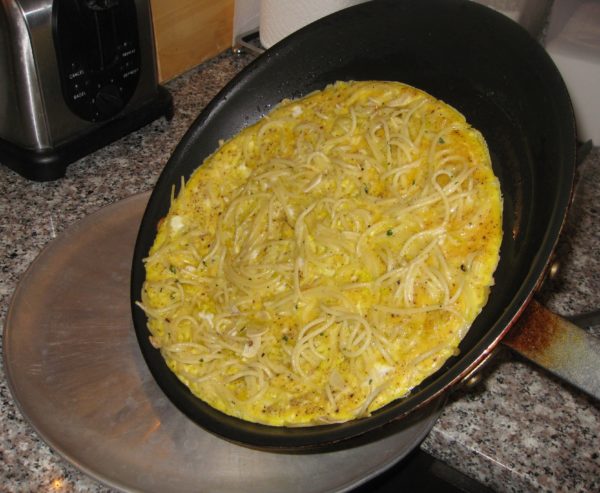
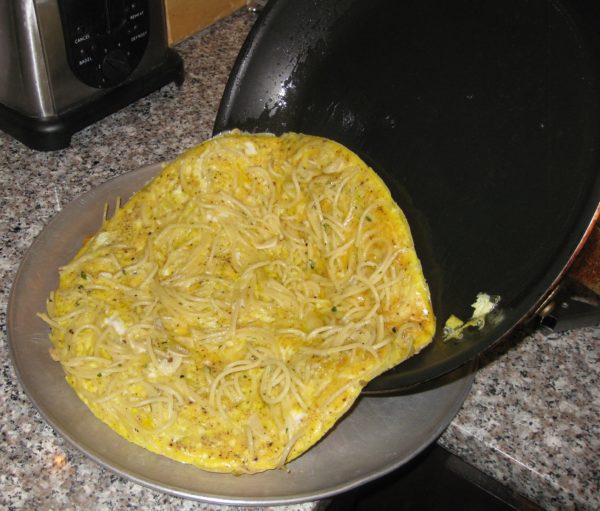
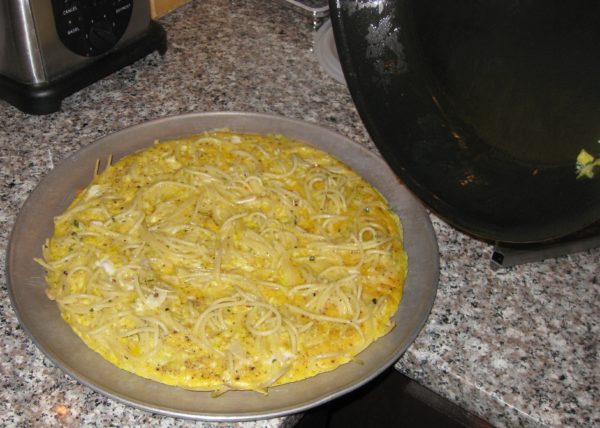
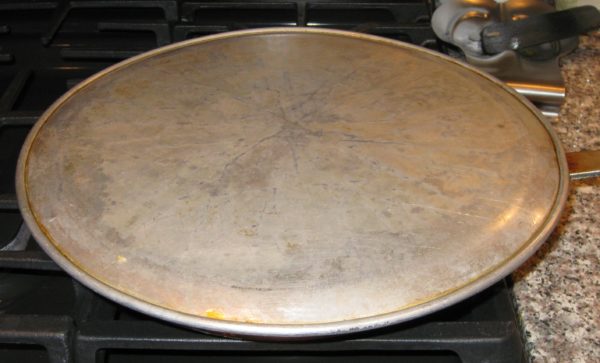
  13. When the eggs are set, slide them out of the pan onto a cookie sheet or pizza pan.
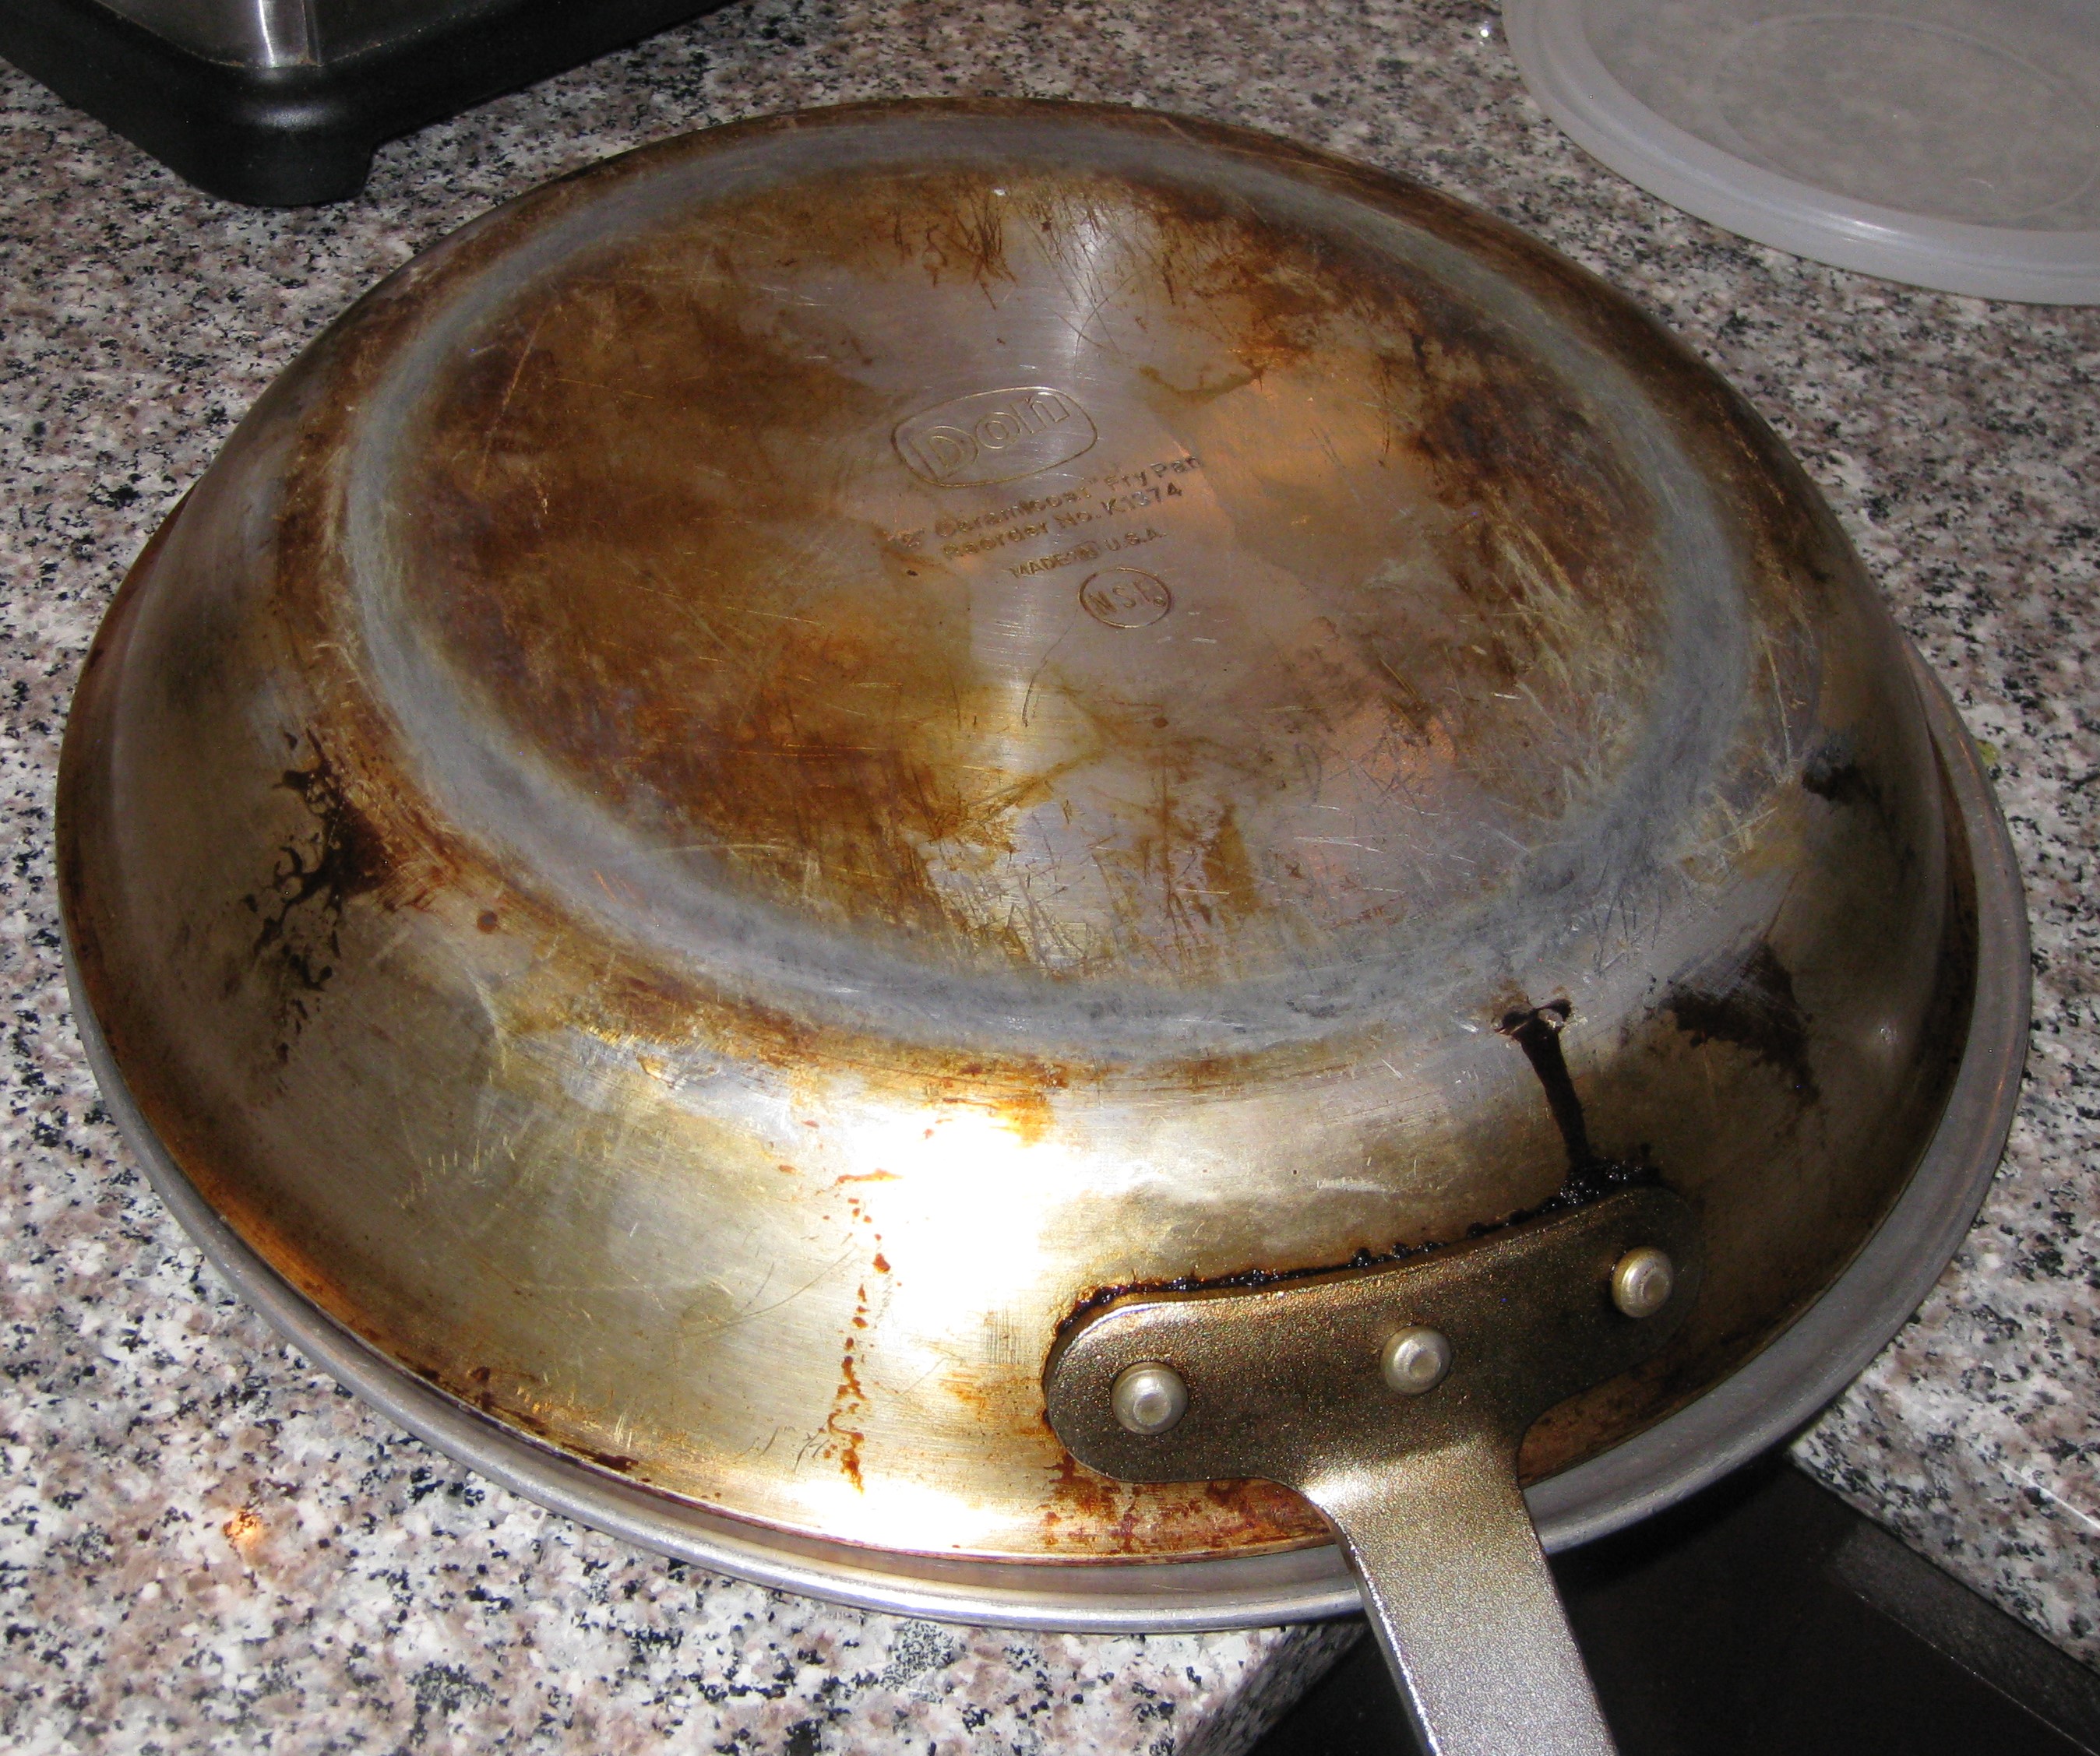
  14. Put the sauté pan upside down on the eggs and then flip the whole set-up over.
  15. Return the eggs to the heat, uncovered, for approximately 5 minutes to lightly brown the bottom.
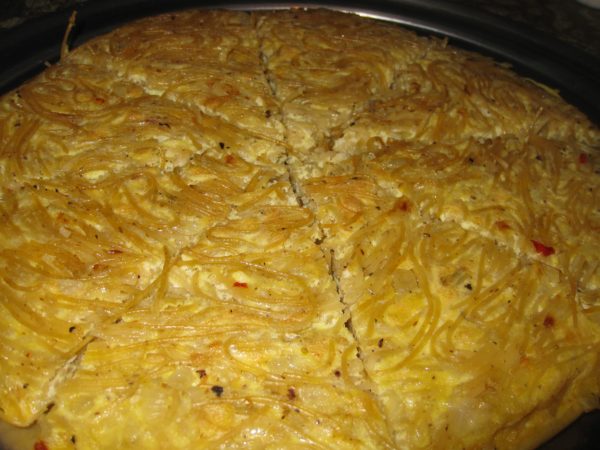
  16. Slide on to a serving platter and cut in wedges to serve.
Recipe Notes

This is where you can find my recipe for Spaghettini with Anchovy and Garlic.

Copyright © 2018 by VillaSentieri.com. All rights reserved.
Share this Recipe

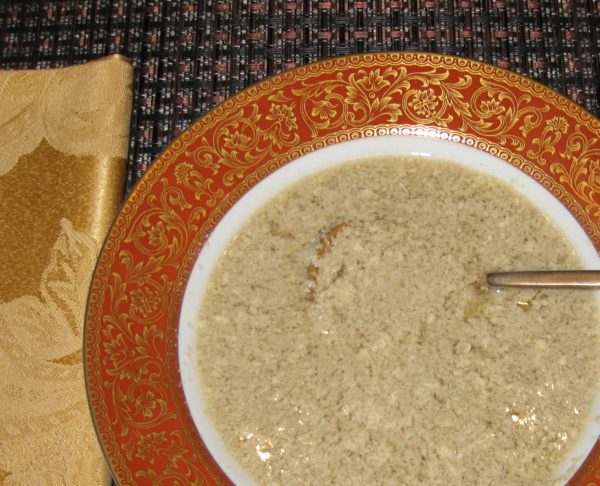
Stracciatella (Italian Egg Drop Soup)

March 5, 2018

The name of this Italian soup, Stracciatella, comes from the Italian verb meaning “to shred,” a reference to the strands of egg in the soup.

I learned to make this from Auntie Helen d’Aquili when I was in college.

Auntie Helen and I in 1976. Can you believe my hair!!!

It’s really simple to make but, like so many Italian dishes, it relies on few ingredients that must be of high quality.  In this case the broth is absolutely paramount as is high-quality Italian imported Parmigiano Reggiano cheese.


Follow us on your social media platform of choice


I have a few friends in Santa Fe who raise chickens and I am occasionally gifted with freshly laid eggs but good supermarket eggs are usually what I use.

I’ll let you in on a little domestic struggle, however.  I want to raise chickens.  My husband doesn’t.  So far, he’s winning the struggle but I haven’t given up.  His excuses are pretty lame as far as I’m concerned.  The most common one is that chickens will attract coyote.

HELLO!  We live in the forest.  We are surrounded by coyote and other wildlife.  Just an hour ago, while sitting at my desk getting ready to write this blog, a big deer walked through the paved area in front of our house gnawing down our landscaping like it was a salad bar.


Click HERE to join our mailing list and you’ll never miss a recipe again!


Most summer nights we hear the coyote yipping as go hunting.  They are mere yards from our house.  I don’t think a few chickens will bring them any closer than the already abundant rabbits currently do.  We just need to build a coyote-proof chicken enclosure.  There’s a great how-to right here (Frank! Frank, are you listening?).

Frank seems pretty happy in this selfie we took on Kauai. Chickens roam everywhere on Kauai. I think that is part of Frank’s happiness though he has yet to admit it.

Homemade broth is essential.  Chicken or beef broth are both standard choices, though Auntie Helen used beef.  You can make an excellent beef broth as part of the process of making Marisa’s Mystical Meatballs.  In fact, this soup would make an excellent first course followed by the meatballs and accompanied by a vegetable or two and some rice.


If you have a favorite family recipe and a bit of a story to tell, please email me at santafecook@villasentieri.com and we can discuss including it in the blog. I am expanding the scope of my blog to include traditional recipes from around the country and around the world. If you haven’t seen Bertha’s Flan or Melinda’s Drunken Prunes, take a look.  They will give you an idea of what I’m looking for.


Print Recipe
Stracciatella (Italian Egg Drop Soup)
This classic Italian soup requires top-notch broth and Parmigiano Reggiano cheese. Homemade broth is essential. See the Notes section, below, for a link to my blog post that contains instructions on making a wonderfully flavorful beef broth.
Votes: 0
Rating: 0
You:
Rate this recipe!
Cuisine Italian
Prep Time 10 minutes
Cook Time 20 minutes
Servings
people
Ingredients
Cuisine Italian
Prep Time 10 minutes
Cook Time 20 minutes
Servings
people
Ingredients
Votes: 0
Rating: 0
You:
Rate this recipe!
Instructions
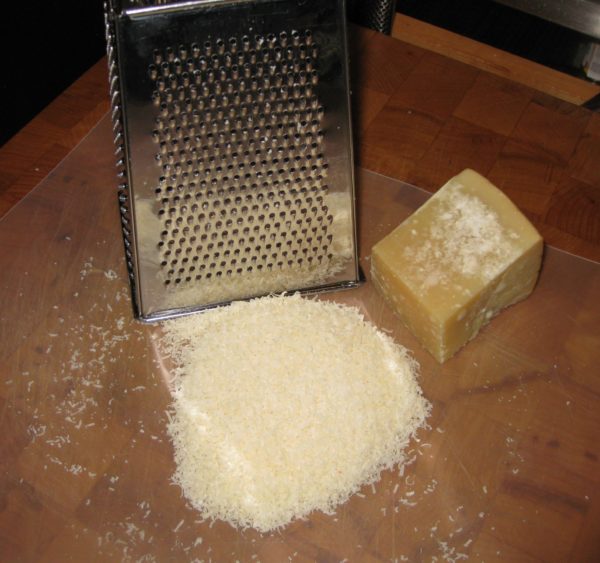
  1. Grate the cheese.
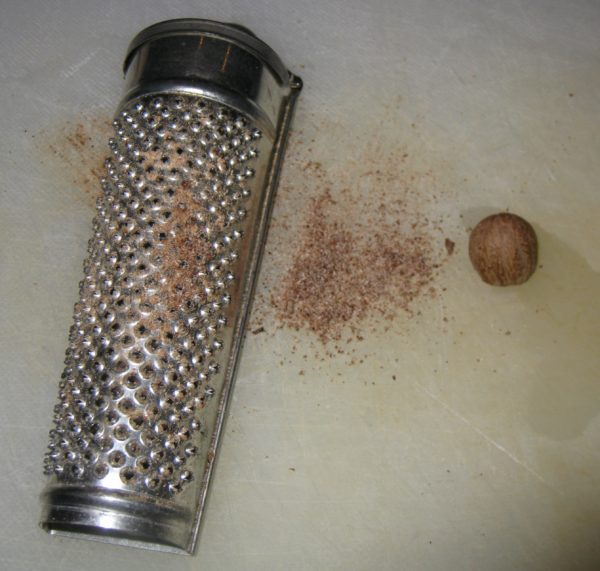
  2. Grate the nutmeg.
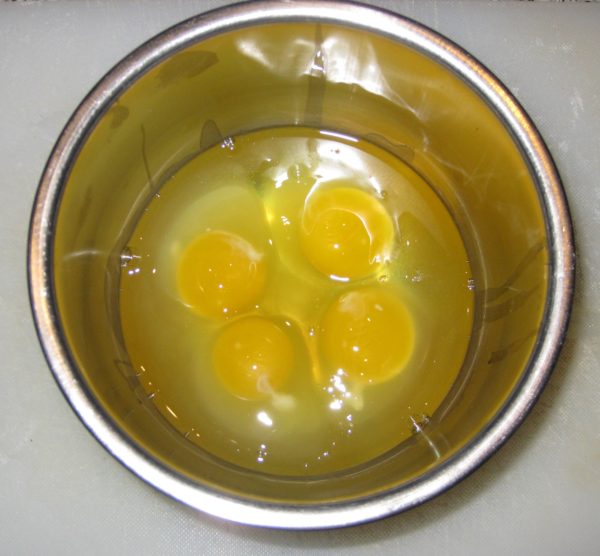
  3. Beat the eggs, cheese and nutmeg together.
  4. Beat 1/2 cup of cold broth into the egg mixture.
  5. Bring the remaining broth to a boil.
  6. Stir the boiling broth with a whisk while slowly adding the egg mixture.
  7. Bring to a simmer and remove from heat.
  8. Adjust salt and pepper.
  9. Serve immediately.
Recipe Notes

You can find a recipe for beef broth in my post on Marisa's Mystical Meatballs.

Copyright © 2018 by VillaSentieri.com. All rights reserved.
Share this Recipe

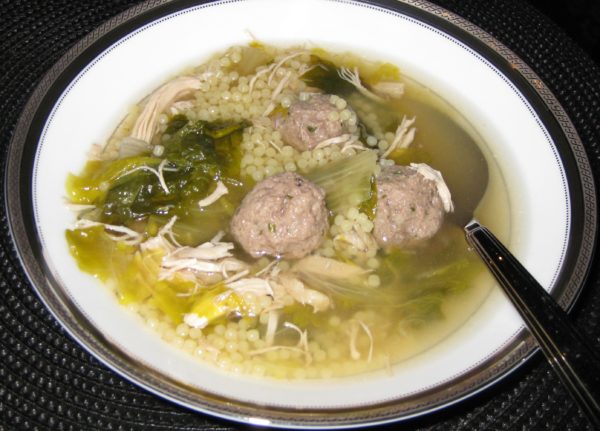
Italian Wedding Soup

February 5, 2018

Growing up I never really understood why this was called Wedding Soup.  It was NEVER served at weddings.

It was mostly served at home, unceremoniously.

The fact that it was unceremonious is a shame.  It is a wonderful soup and, being honest, takes a bit of work to pull together.  Both the soup, and the soup-maker, in my estimation, deserve a bit of attention.

Although it takes some work, it doesn’t require much in the way of heard-earned skills like frosting a cake or making pie crust.  It’s just a bit of slogging through a series of steps.

This is a beloved soup among Americans of Italian descent.  Interestingly, my in-laws who are actually from Italy had never heard of it until I made it for this blog!


Click HERE to join our mailing list and you’ll never miss a recipe again!


But back to the “wedding” part.  I did a bit of internet research (thanks Google!).  Actually, I hesitate to call it “research.”  I’m old school.  I remember when doing research meant hours upon hours spent in libraries looking at actual hardcopy materials.  It almost doesn’t seem fair to sit on my sofa with my laptop and read materials served up by Google based on natural language questions and call it research.

The “natural language” part is interesting too.  In the “old” days, if you found an article that was relevant to the research topic, you would look at the articles referenced by the author and find, potentially, other relevant articles.  But they would all be older than the first article.  This is where the “Science Citation Index” came into play.

The Index was a series of periodically published volumes that listed all the articles that cited a particular article in their bibliography.  With the Science Citation Index, you could start with a relevant article and then work forwards finding all the newer articles that had cited that article.

Now I just tell Google what I’m interested in and I get a bunch of (almost always) relevant “hits!”  Google is even nice enough to tell me how many hits there are and what fraction of a second it took Google to identify them.

Even when I’m researching a biomedical topic I sit on my sofa with my laptop and search the National Library of Medicine.  The search language is a bit more arcane than the natural language used by Google but it still feels like cheating compared to slogging around a library.  I can even have the full article delivered to my laptop so I don’t have to figure out what library has the publication I need.


Follow us on your social media platform of choice


So, what did I learn from my Google search?

It appears (at least it’s a plausible theory) that Wedding Soup is an inaccurate translation of Minestra Maritata or Married Soup; apparently so-named because of the way the different ingredients marry together so well.

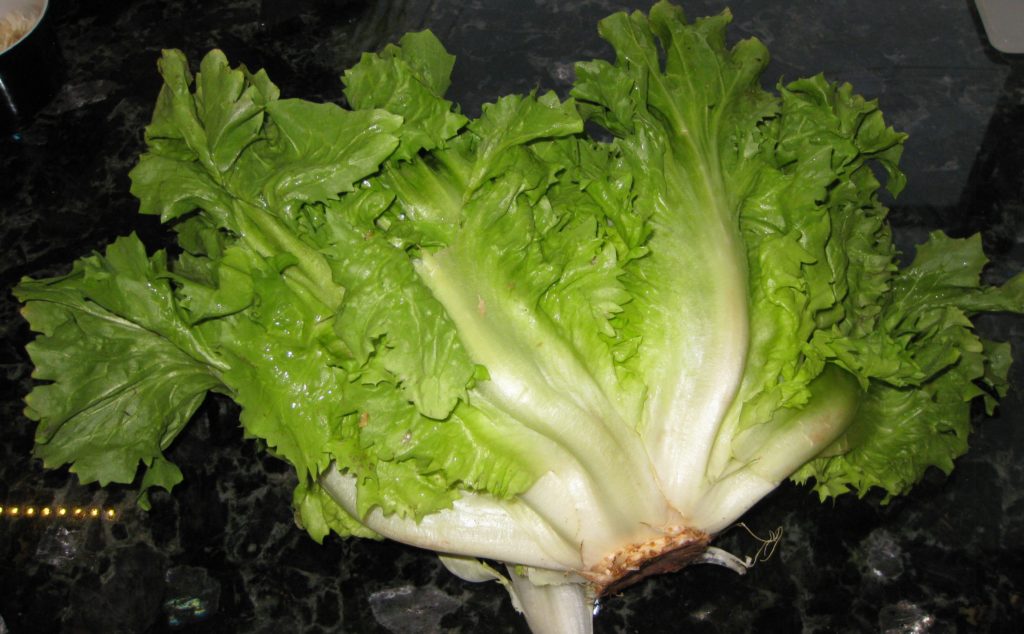
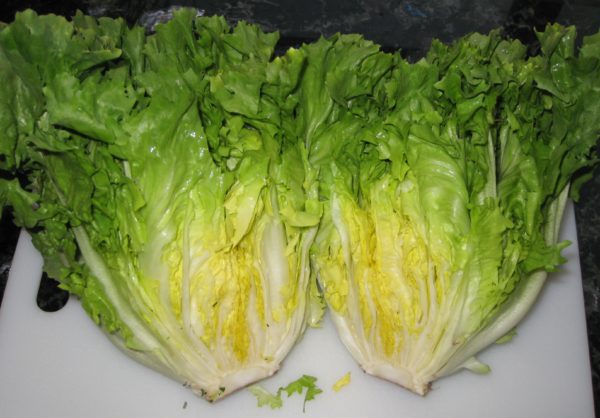
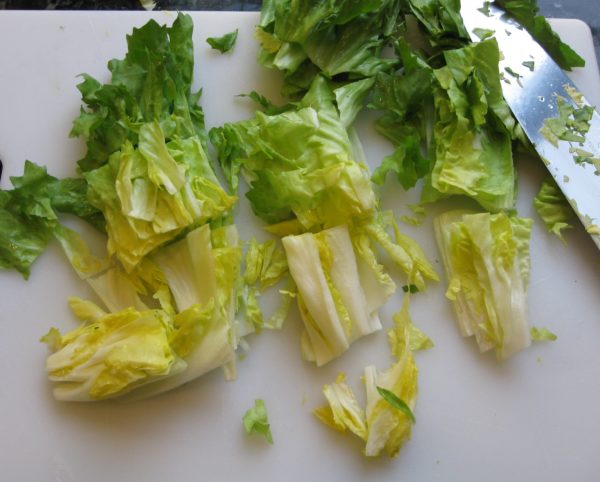
I’m guessing that many Americans with no affiliation to Italy have never had escarole.

Interestingly, my husband’s Tuscan grandmother would use up small amounts of different types of dried pasta, perhaps putting them into a soup or serving them with a simple sauce.  She referred to this as Pasta Maritata because she was marrying the different types of pasta to create a dish.

If this theory is correct, I am perplexed by the inaccurate translation but, be that as it may, the soup is wonderful.  I urge you to give it a try.

I like breaking up the work over two days, especially since I like to make a long-simmered broth as the base of the soup.  My mother didn’t do this.  Once the chicken was cooked, it was removed and shredded and the broth was used without additional simmering to make the soup.  It shaves about 3 hours off of the prep time.  But, since making broth is mostly hands off, and the improvement in flavor is dramatic, I simmer everything a bit longer before straining and discarding the solids.


If you have a favorite family recipe and a bit of a story to tell, please email me at santafecook@villasentieri.com and we can discuss including it in the blog. I am expanding the scope of my blog to include traditional recipes from around the country and around the world. If you haven’t seen Bertha’s Flan or Melinda’s Drunken Prunes, take a look.  They will give you an idea of what I’m looking for.


Print Recipe
Italian Wedding Soup
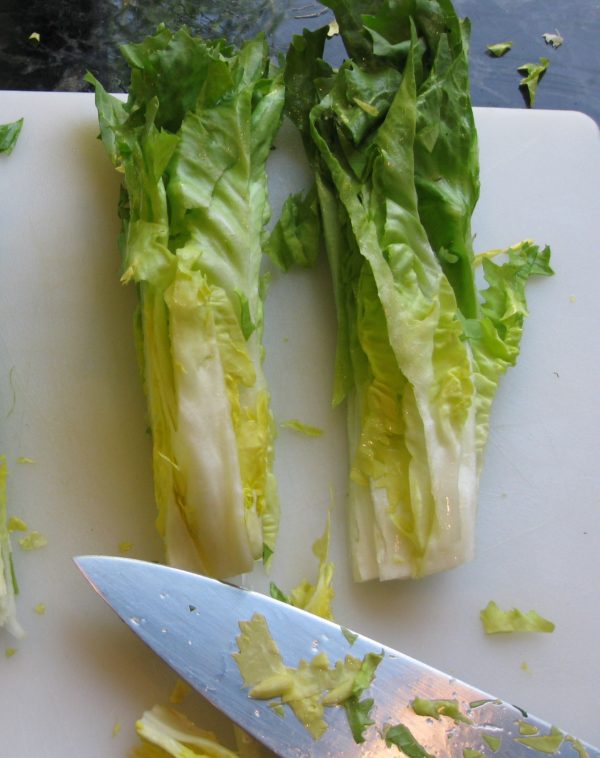
If you don’t want to use the white center of the escarole, start with two heads and just use the dark green parts. The pale inner portion can be served in a salad or cooked in a number of ways. I like to divide up the work over two days, making the broth on the first day and the remainder on the second day. It’s perfectly feasible to do it all on the same day, however. I always keep a stash of rinds from Parmigiano Reggiano and Pecorino cheeses in the freezer. They add great flavor to broths, beans, and an array of other dishes.
Votes: 0
Rating: 0
You:
Rate this recipe!
Cuisine Italian
Prep Time 1 hour
Cook Time 5 hours
Passive Time 2 hours
Servings
people
Ingredients
Broth and Chicken
Meatballs
Final assembly
Cuisine Italian
Prep Time 1 hour
Cook Time 5 hours
Passive Time 2 hours
Servings
people
Ingredients
Broth and Chicken
Meatballs
Final assembly
Votes: 0
Rating: 0
You:
Rate this recipe!
Instructions
Broth and Chicken
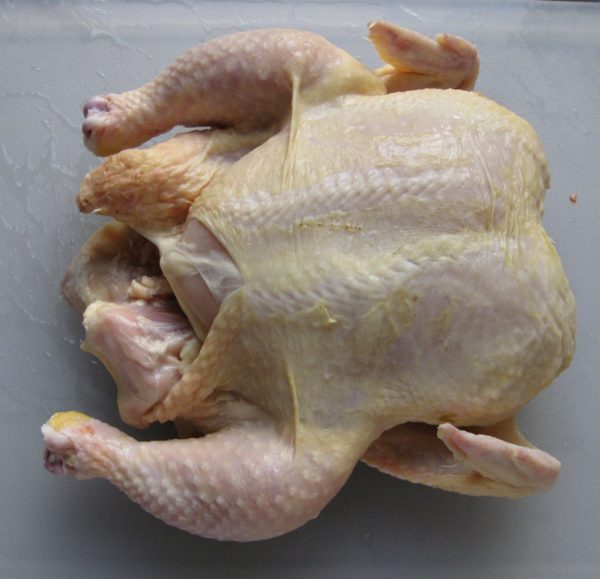
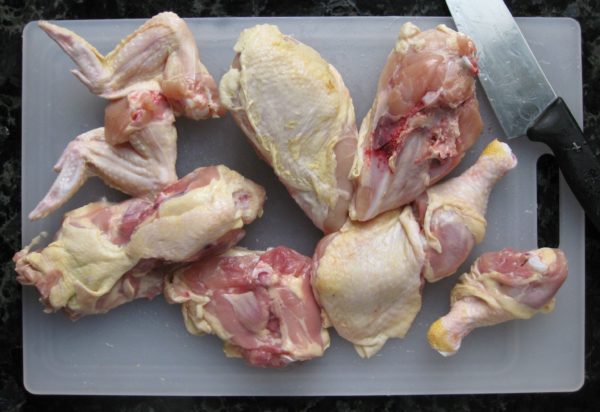
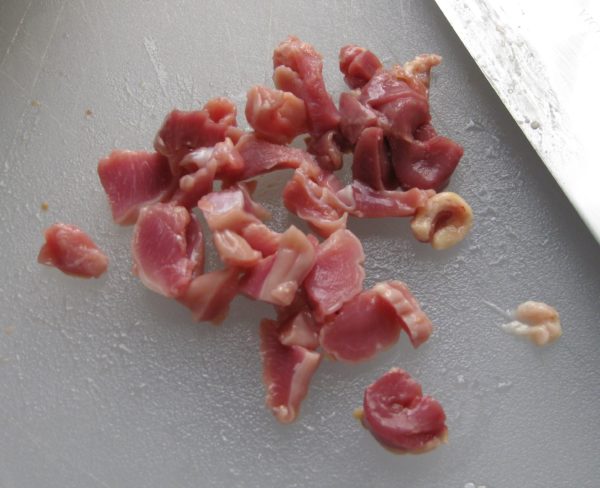
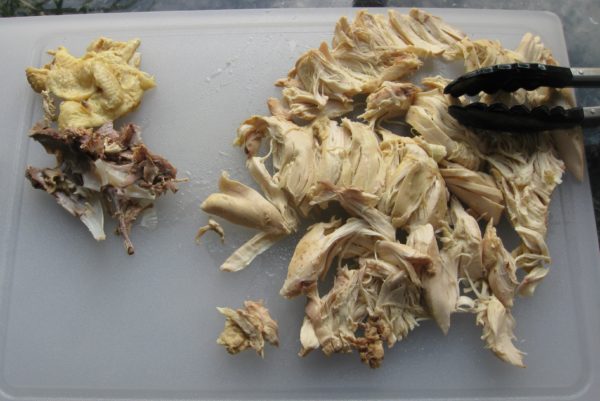
  1. Cut the chicken into breast halves, legs, thighs, and wings. Cut the back into 2 or three pieces. Reserve the liver for another use but chop the remaining giblets.
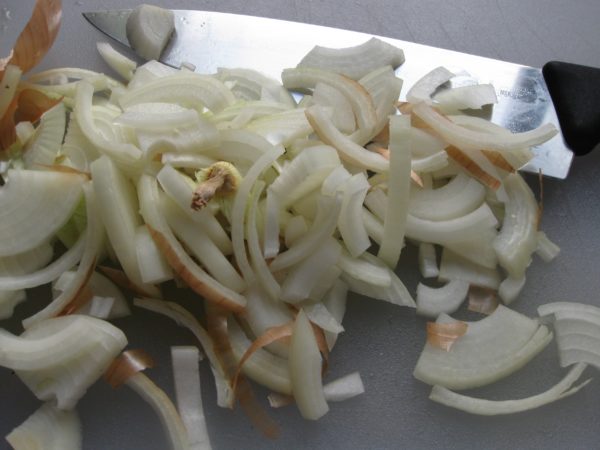
  2. Slice the onions. There's really no need to peel them first.
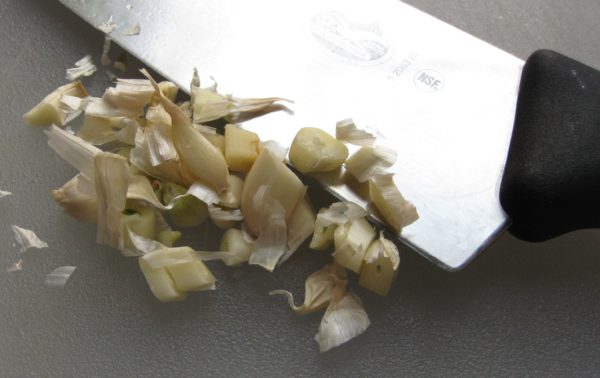
  3. Same with the garlic, no need to peel. It all gets strained out in the end.
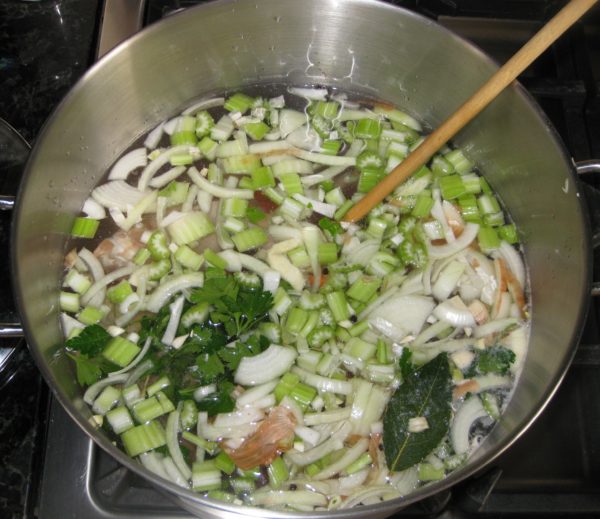
  4. Combine all ingredients in a large stock pot. Cover and bring to a boil. Reduce heat, and simmer, partially covered for two hours.
  5. After two hours, remove the breasts, legs, and thighs. Continue to simmer the broth.
  6. Remove the meat from the bones. Return the chicken bones and skin to the broth.
  7. Continue to simmer the broth for another two hours, adjusting seasoning as needed.
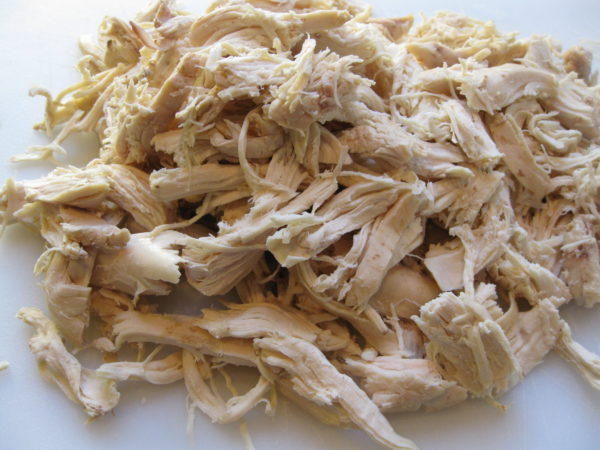
  8. Meanwhile, shred the breast meat and refrigerate.
  9. Reserve the leg and thigh meat for another use.
  10. After the broth has finished cooking, cool it for several hours. Strain and discard the solids. Allow the broth to come to room temperature and refrigerate.
  11. Alternatively, immediately strain and discard the solids and proceed as below.
Meatballs
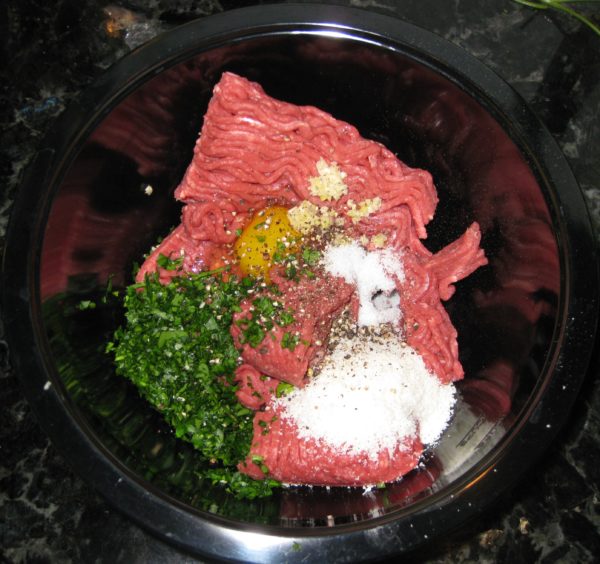
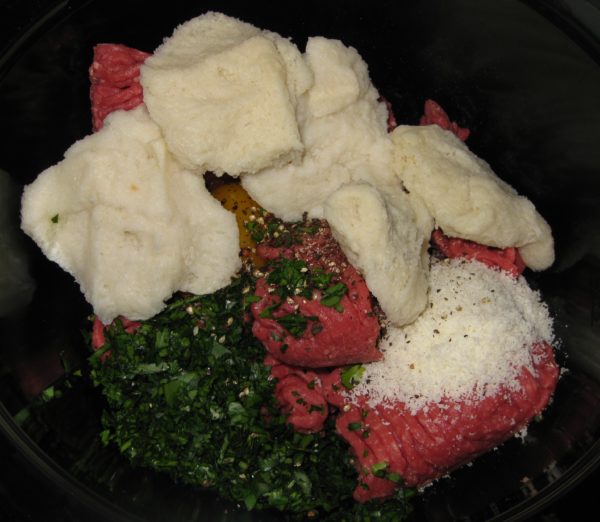
  1. Put all the ingredients except the bread into a mixing bowl.
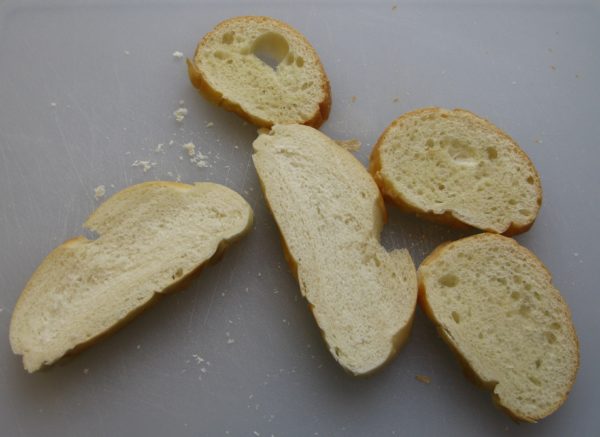
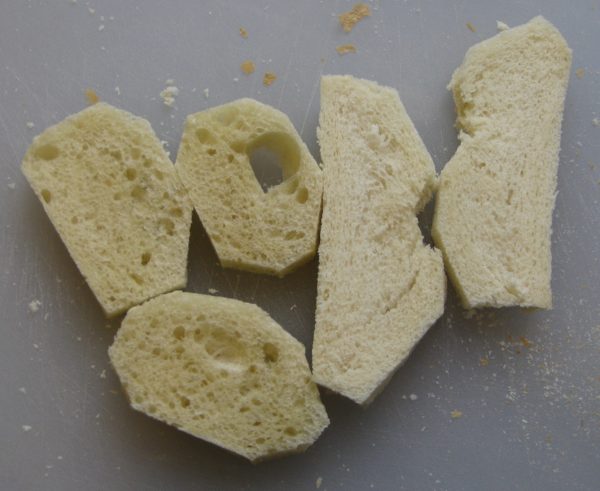
  2. Cut the crusts from the bread.
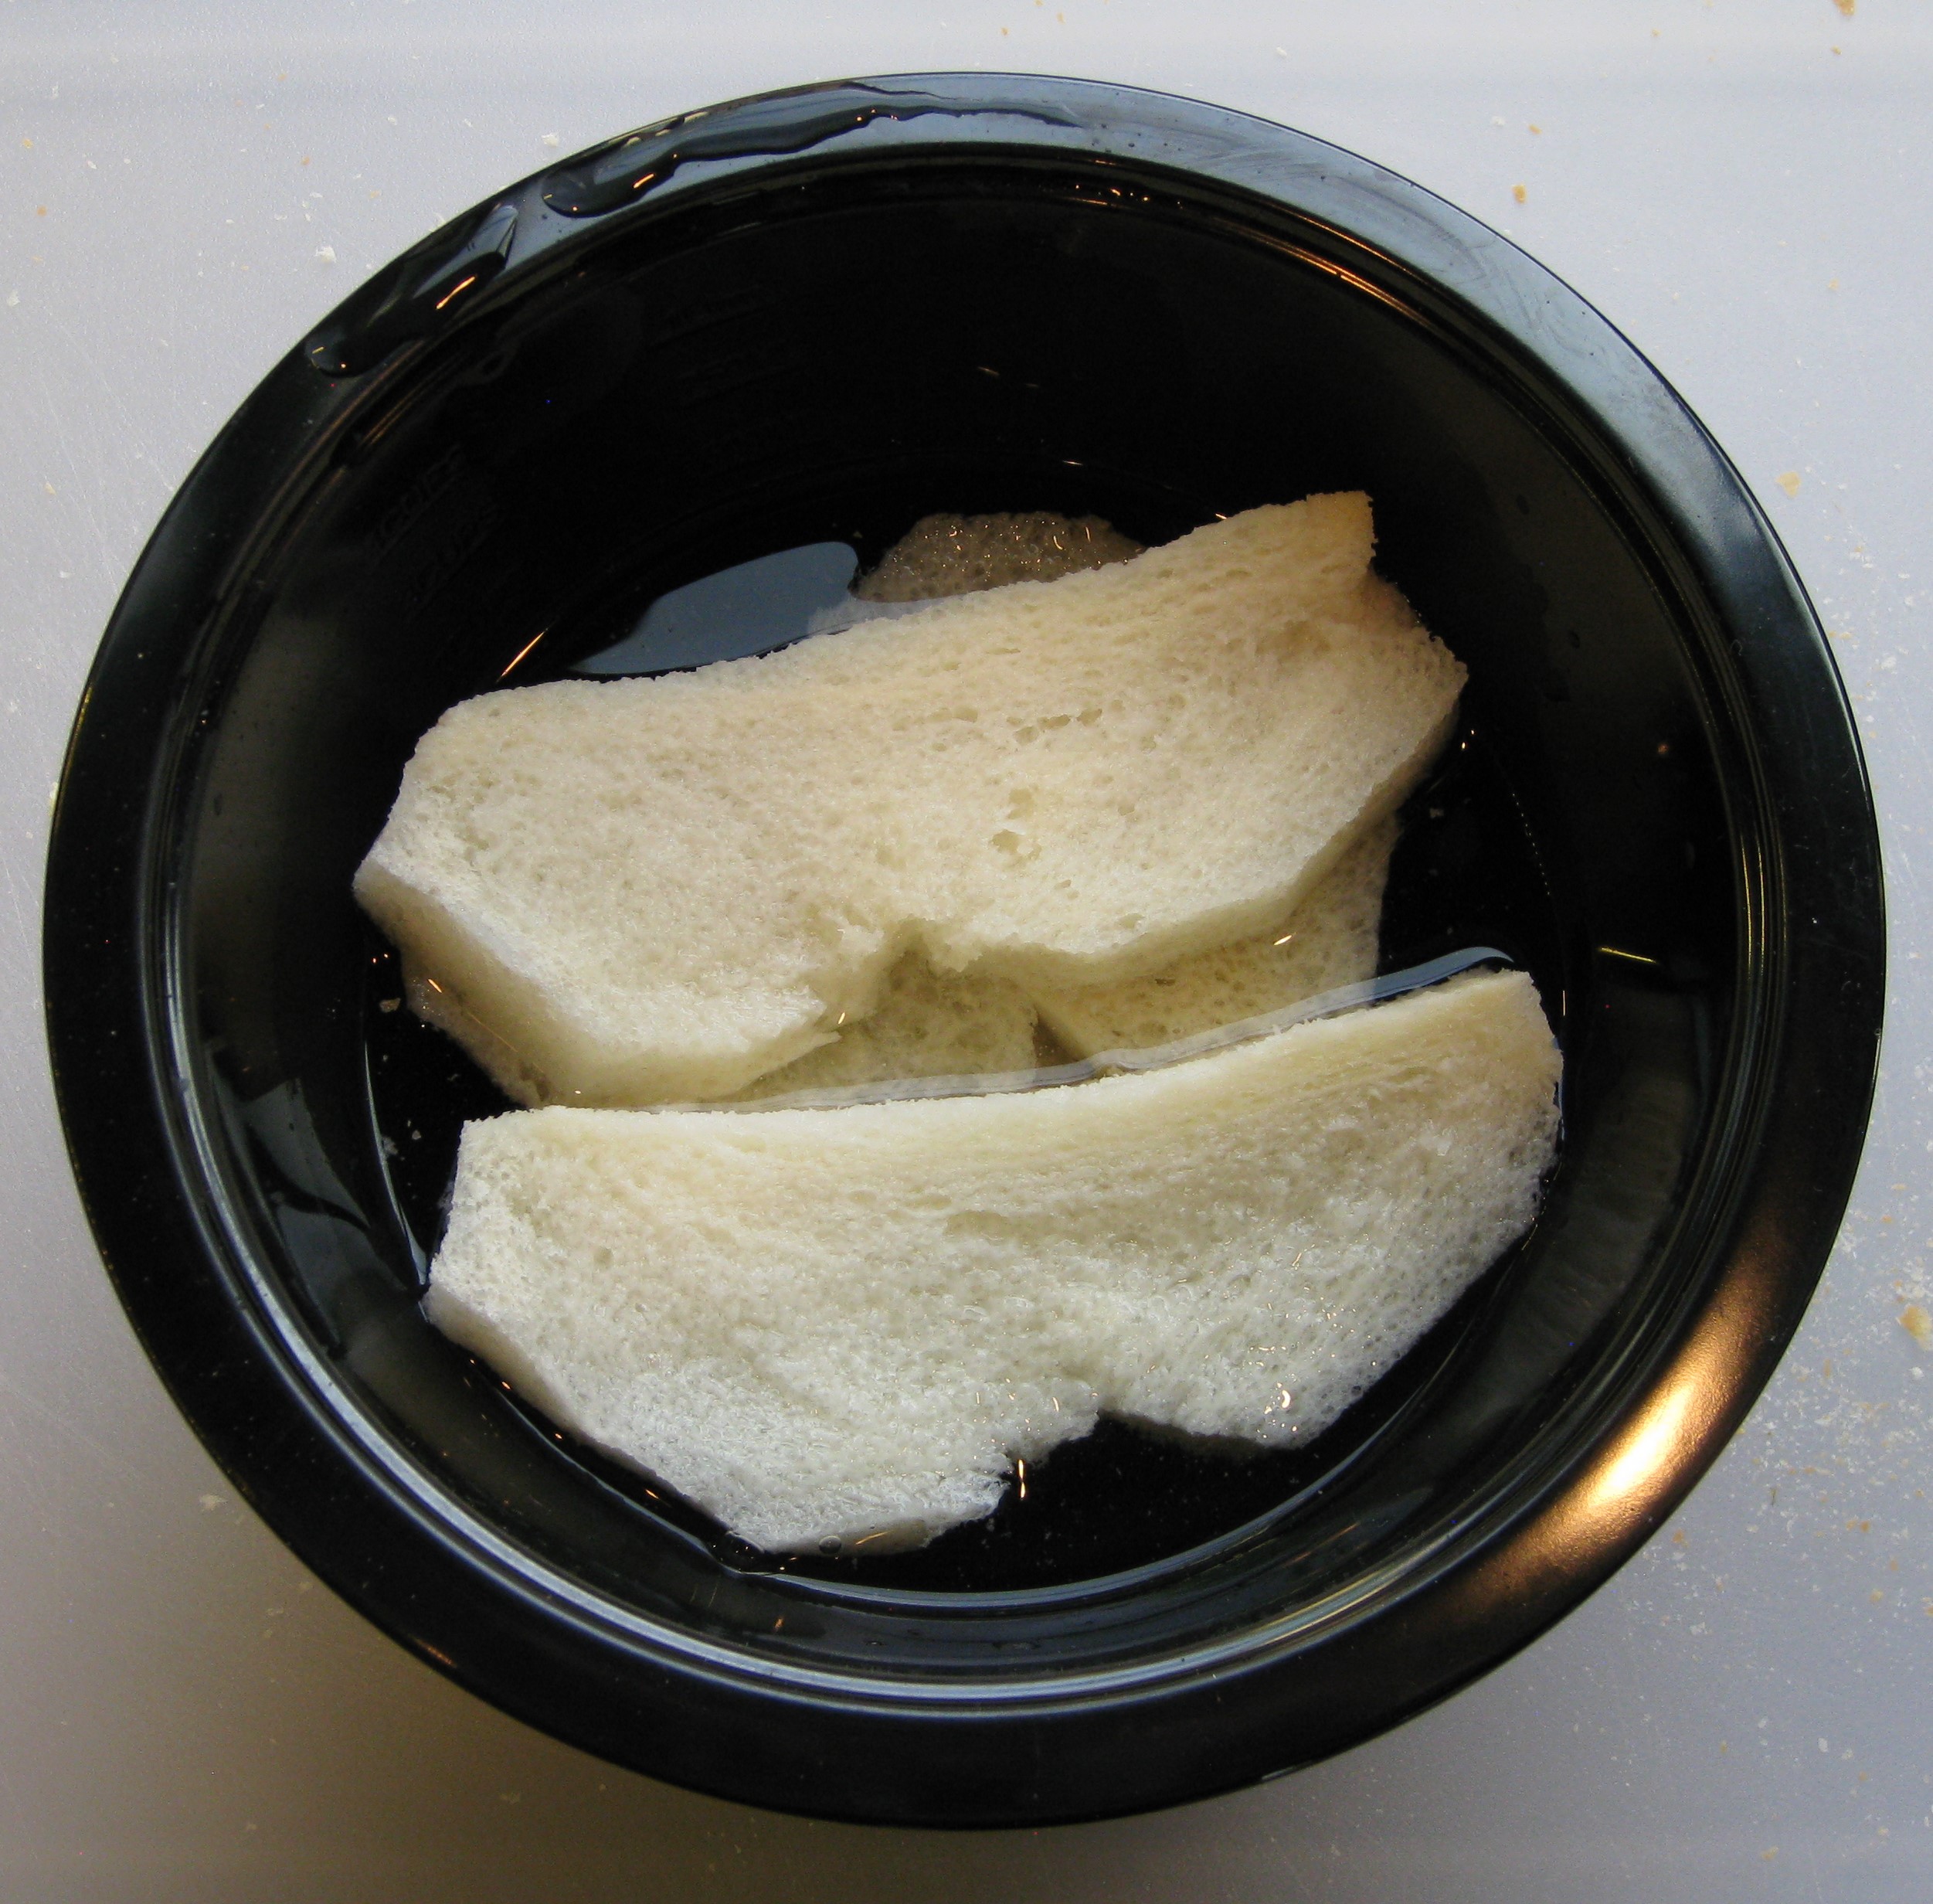
  3. Cover the bread with warm water for 3-4 minutes.
  4. Squeeze some of the water from the bread.
  5. Add the bread to the mixing bowl.
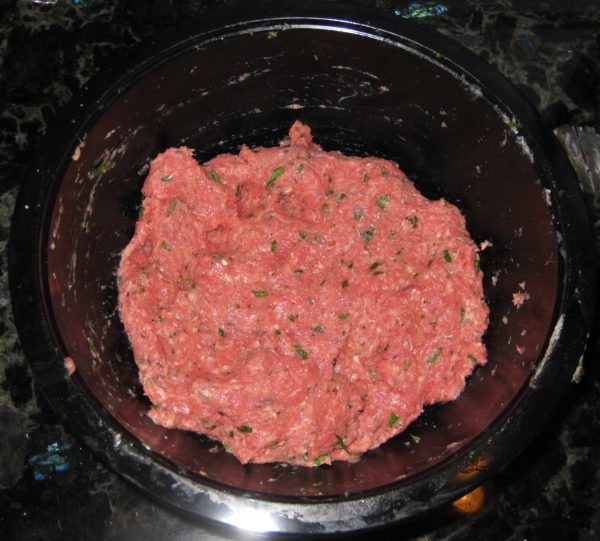
  6. Mix with your hands, until thoroughly combined and no streaks of white from the bread remain visible.
  7. As you are mixing add a bit of the bread soaking water from time to time (about a quarter cup or so total) to keep the mixture moist but not wet.
  8. The mixture should become tacky from the effects of the water and the mixing on the proteins in the meat. The tackiness will help the meatballs hold together for the same reason that sausage doesn’t fall apart when the casing is removed.
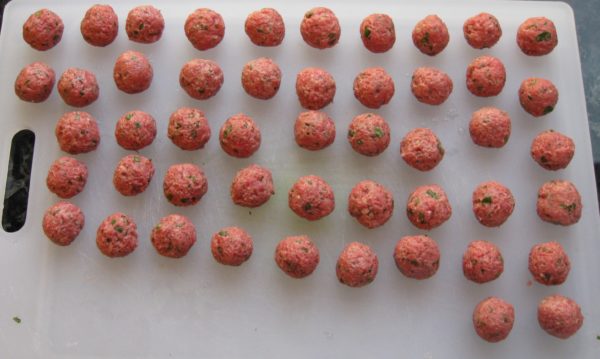
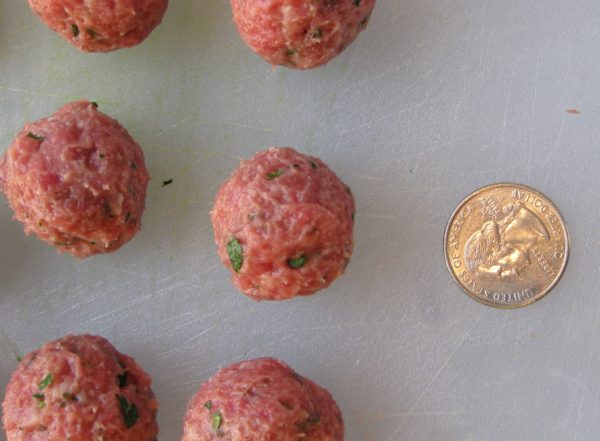
  9. With damp hands, roll the mixture into approximately 50 meatballs. Keeping your hands moist will enable you to create a smooth surface on the meatballs. If there are visible cracks, the meatballs will split when cooking.
Final assembly
  1. Skim the fat from the broth. Add water to make 6 quarts of broth. Bring the broth to a boil.
  2. Meanwhile, coarsely chop the escarole.
  3. As the broth comes to a boil, adjust the salt and pepper.
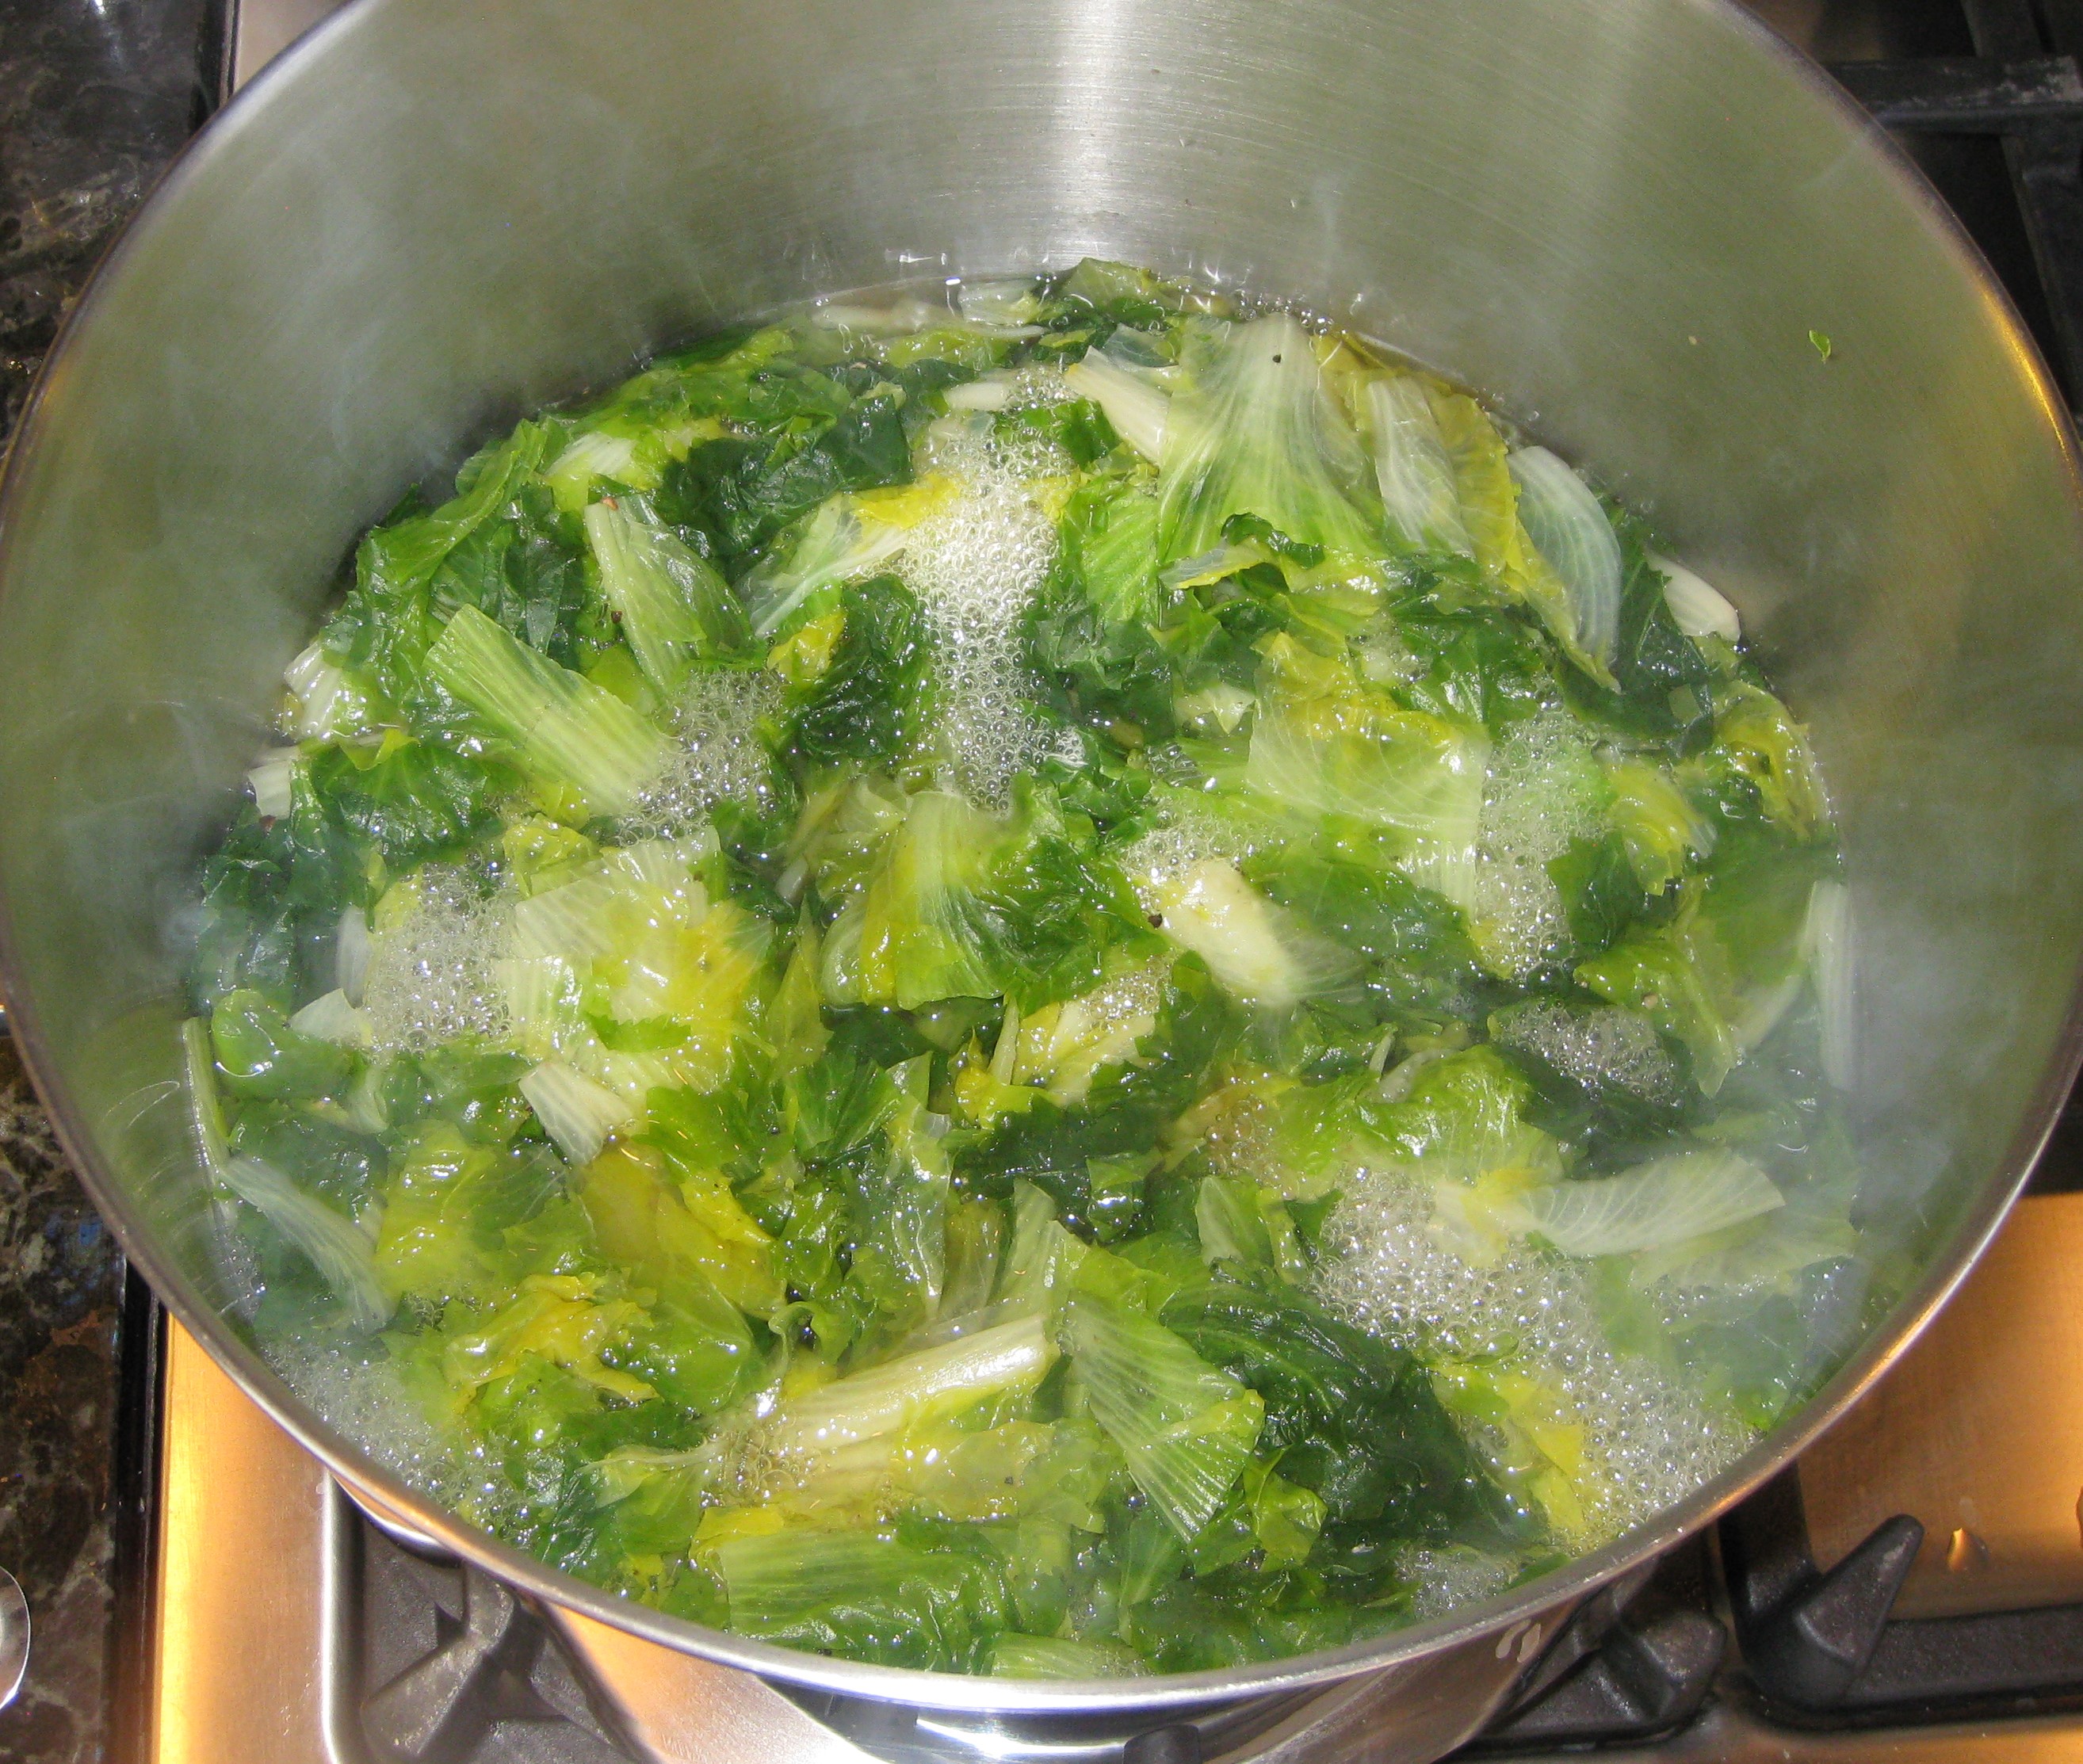
  4. Add the chopped escarole. Return to a boil and cook at a moderate boil for approximately 5 minutes.
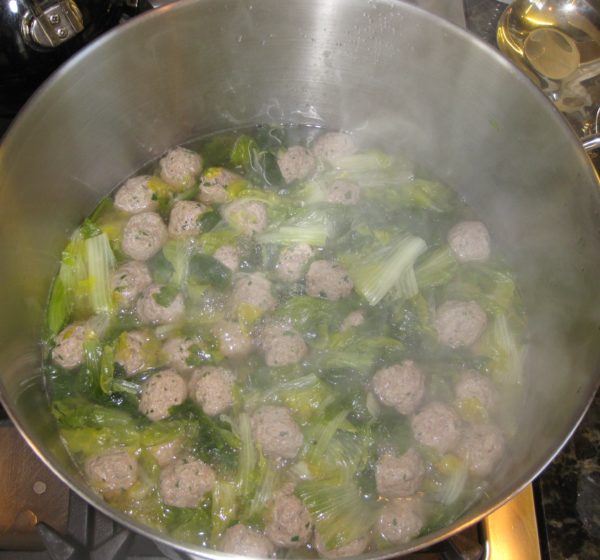
  5. Add the meatballs. Return to a boil and boil gently, so the meatballs don’t break, for 10-12 minutes.
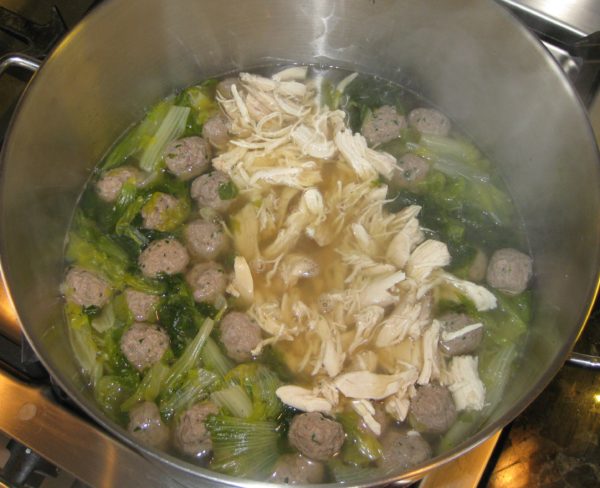
  6. Add the shredded white meat chicken and return to a gentle boil.
  7. Adjust salt and pepper. At this point, slightly over-salt the soup as the dry pasta will reduce the saltiness of the soup. The soup can be made ahead to this point. Return to a boil and add the pasta just before serving.
  8. Add the pasta and boil gently until pasta is cooked, approximately 10 minutes.
  9. Adjust salt and pepper.
  10. Serve with freshly grated Parmigiano Reggiano cheese.
Recipe Notes

Copyright © 2018 by VillaSentieri.com. All rights reserved.
Share this Recipe

Risotto with Butternut Squash

February 22, 2018

Risotto isn’t really a recipe.  It’s a technique.

Yes, there are a few quintessentially classic risotti for which precise instructions are needed (like Risotto alla Milanese) but, in general, you can adapt the technique to use an array of vegetables and other ingredients.

Risotto with Asparagus is a good example of a risotto where the vegetables are pre-cooked and added near the end.  The same can be done with both peas and mushrooms, for example.

Risotto with Butternut Squash is an example of a risotto where the vegetables are added at the beginning and complete their cooking as the rice cooks.  Though you wouldn’t think it would work, Risotto with Zucchini works the same way, as long as the zucchini are cut into thick slices.


Click HERE to join our mailing list and you’ll never miss a recipe again!


In a traditional Italian meal, risotto, pasta, and soup are all considered the same course:  the first course (Il Primo Piatto).  The first course follows the antipasto (which means, literally, before the pasta).  Il Primo Piatto is followed by the second course (Il Secondo Piatto), consisting of fish, meat, or poultry and accompanied by several side dishes (contorni).  The first and second courses have almost equal weight in an Italian meal; very different from an American meal.

While restaurants often par-cook a risotto so that it can be quickly finished for service, I find that cooking a risotto at home is best done “in the moment.”  That means I only make risotto for a small group when everyone can hang out in the kitchen during the 45 minutes, or so, that it takes to cook.  That pretty much consumes the cocktail hour.  Because of this, for me, risotto is a dish for family or very close friends.


Follow us on your social media platform of choice


Risotto isn’t something I grew up eating.  It is traditionally a Northern Italian dish.  I also don’t remember Auntie Helen, who was from Rome, making risotto either.

As with much of Northern Italian cooking, my first introduction was through Marcella Hazan’s The Classic Italian Cookbook.  Beyond that, my Italian repertoire grew based on trips to Italy, cooking with Italian friends, and ultimately, marrying into my husband’s very Northern Italian family.

Risotto with butternut squash is a wonderful dish for late fall and winter.


If you have a favorite family recipe and a bit of a story to tell, please email me at santafecook@villasentieri.com and we can discuss including it in the blog. I am expanding the scope of my blog to include traditional recipes from around the country and around the world. If you haven’t seen Bertha’s Flan or Melinda’s Drunken Prunes, take a look.  They will give you an idea of what I’m looking for.


It is important to use what the Italians would call “riso per risotto” (rice for risotto).  The rice used for risotto is short-grained.  It can absorb a lot of liquid, turning creamy in the process while still maintaining the ideal “al dente,” (toothy) quality at the very core.  The most commonly available types of rice for risotto are Arborio, Carnaroli, and Vialone Nano.   Far and away, Arborio is the most common.

Since creaminess is the goal, rice used for risotto shouldn’t be washed.  The little extra starch on the grains will improve the texture.

A well-made risotto gets almost all of its creamy texture from the cooking method, not from the addition of butter, cheese, or cream.  To be sure, a bit of butter and Parmigiano Reggiano cheese are almost always added at the end but this should be for flavor, not to compensate for poor technique.

My most common quibble with risotto made in the United States is that it is overly rich with butter and cheese and (heaven forbid) sometimes cream.

To coax creaminess out of the rice, broth is added in small amounts and completely cooked off before the next bit is added.  In general, the amount of broth I add each time is no more than 1/3 the quantity of rice I start with.  For example, if I’m using one cup of rice, I add no more than 1/3 cup of broth each time liquid is needed.  The rice should be stirred frequently, but not constantly.

Print Recipe
Risotto with Butternut Squash
Broth for risotto should be light in flavor, not a heavy stock. The broth should add the barest amount of background flavor but allow the other ingredients in the risotto to shine. Risotto uses a lot of broth. It is important that the broth have minimal salt so as not to result in an overly salty dish. I never salt my homemade broth for this reason. If it seems that you will run out of broth before the risotto has finished cooking, put some water on to heat. It is important that all liquid added to the risotto be at a simmer.
Votes: 0
Rating: 0
You:
Rate this recipe!
Prep Time 15 minutes
Cook Time 45 minutes
Servings
people
Ingredients
Prep Time 15 minutes
Cook Time 45 minutes
Servings
people
Ingredients
Votes: 0
Rating: 0
You:
Rate this recipe!
Instructions
  1. Bring the broth to a simmer.
  2. Meanwhile, heat a three or four quart heavy-bottomed saucepan over medium high heat. Add the olive oil.
  3. When the oil is hot, add the onion and garlic.
  4. Sauté, stirring frequently until the onion softens and turns translucent. Do not brown the onion. You may need to reduce the heat.
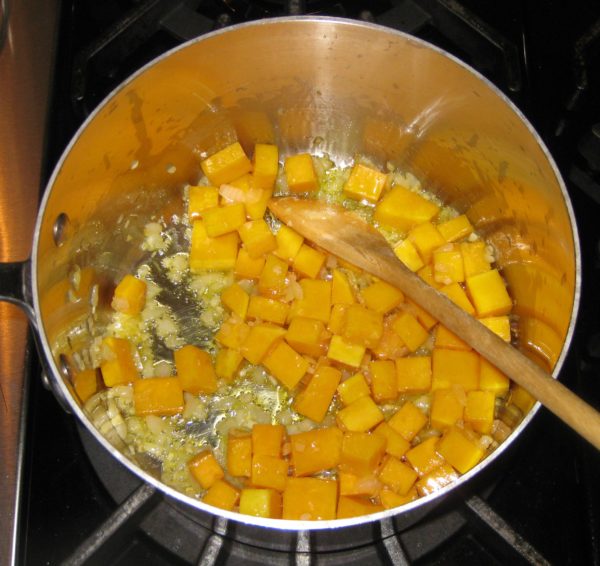
  5. When the onion is soft, return the heat to medium high and add the butternut squash.
  6. Sauté, stirring often, until the squash starts to soften, about five minutes. Be careful not to brown the onion or garlic.
  7. Add 1/3 cup of wine and immediately cover the pot. Cook another five minutes, stirring occasionally.
  8. Remove the cover and cook off any remaining wine.
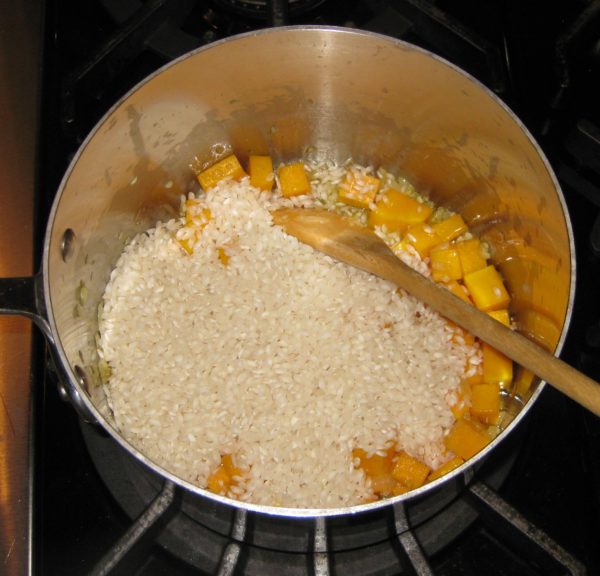
  9. With the heat still on medium high, add the rice.
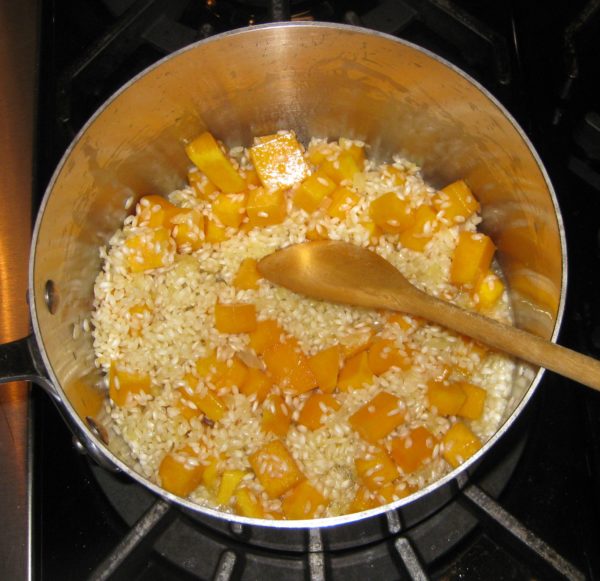
  10. Continue cooking, stirring frequently, until the outer portion of the rice becomes translucent while the inside remains opaque white.
  11. Add the remaining 2/3 cup of wine. Stir frequently, but not constantly, until the wine has totally evaporated. You will begin to see some starch leaching out of the rice. More and more of the starch will leach out as you cook the rice. This is what will make a creamy sauce, not a large quantity of butter, cheese, or cream.
  12. When the wine has evaporated, add a scant ½ cup of simmering broth. Stir thoroughly paying particular attention to loosening any spots where the starch seems to be sticking to the bottom of the pan. You don’t want to brown (or worse yet, burn) the starch.
  13. Stir frequently, but not constantly, until the broth has evaporated.
  14. If the broth is unsalted, as I recommend, you can add a teaspoon of salt to the rice as you begin to add broth. If the broth contains salt, I recommend not adding salt until the end.
  15. Keep repeating the process with a scant ½ cup of broth, cooking, stirring, and loosening any spots that are sticking until each addition of broth evaporates. The heat should stay as close as possible to medium high. The moderate boiling of the liquid will coax starch out of the rice to create the creaminess that is the hallmark of a good risotto.
  16. Add the sage after about 20 minutes of cooking.
  17. Begin tasting the rice for doneness at the same time. It will probably still be quite crunchy at the very core. Until you get the hang of it, I suggest testing a rice grain each time you add more broth so you develop a sense of how quickly the texture changes.
  18. Continue cooking, adding simmering broth or water as needed, until the rice is al dente. Once the rice is cooked, add another 1/2 cup of simmering broth, stir, and then immediately remove the rice from the heat.
  19. Off the heat, stir in the butter and Parmesan cheese.
  20. Stir in enough additional simmering broth or water to create a creamy “sauce.” The starch that you have coaxed out of the rice, plus the modest amount of butter and cheese, should allow you to add at least another ½ cup of liquid, possibly more.
  21. Taste and add salt and freshly ground black pepper to taste.
Recipe Notes

Check out the introduction to my recipe for Risotto with Asparagus for more information on making risotto.

Copyright © 2018 by VillaSentieri.com. All rights reserved.
Share this Recipe

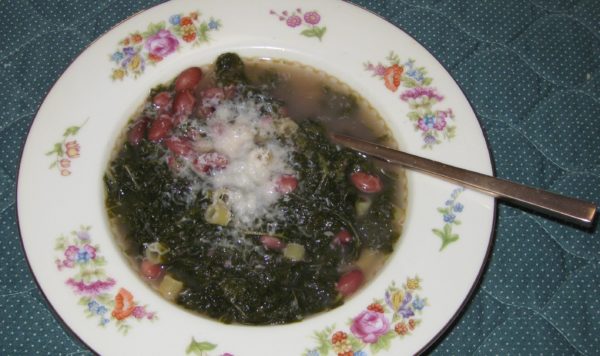
Roman Beans and Kale

January 12, 2018

I don’t remember my mother making Roman Beans and Kale till I was in my late teens.

The first time she made it, I remember her talking about her mother making it.  For something she really liked, she waited an awfully long time to make it.  But then, again, I did the same thing with her pasta è fagioli.

There were some dishes from her childhood that she talked about but never made.  Tiella is the one that I remember most.  It took me multiple tries over many years to recreate it from her description.

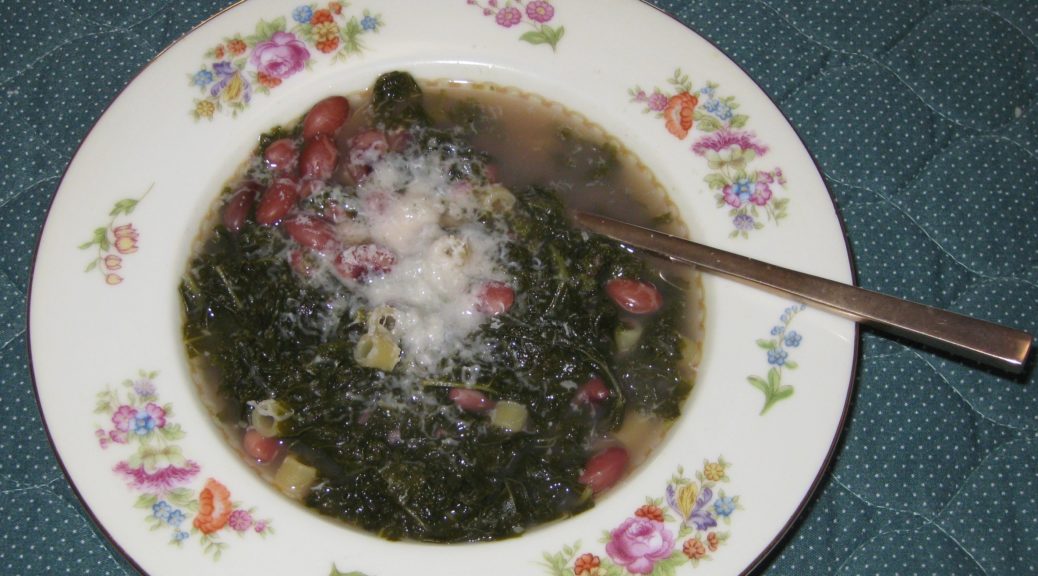
Roman beans and kale might seem a little unusual to many American palates due to the length of time the kale is cooked.  There is a point where it becomes silky but most definitely not mushy.  Southerners, though, would find the kale in this recipe cooked in a familiar way.  It is much like the Southern low-and-slow style of cooking greens of various types, such as collards or mustard greens, until they achieve the requisite tenderness.

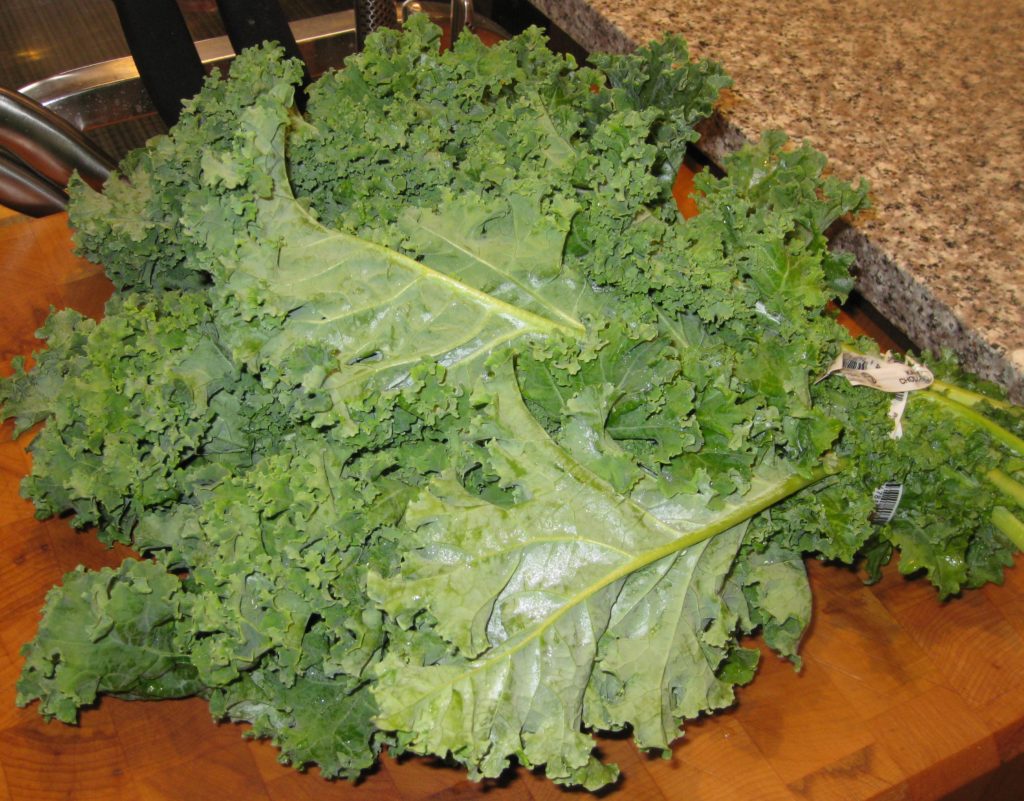
A bunch of kale

Follow us on your social media platform of choice


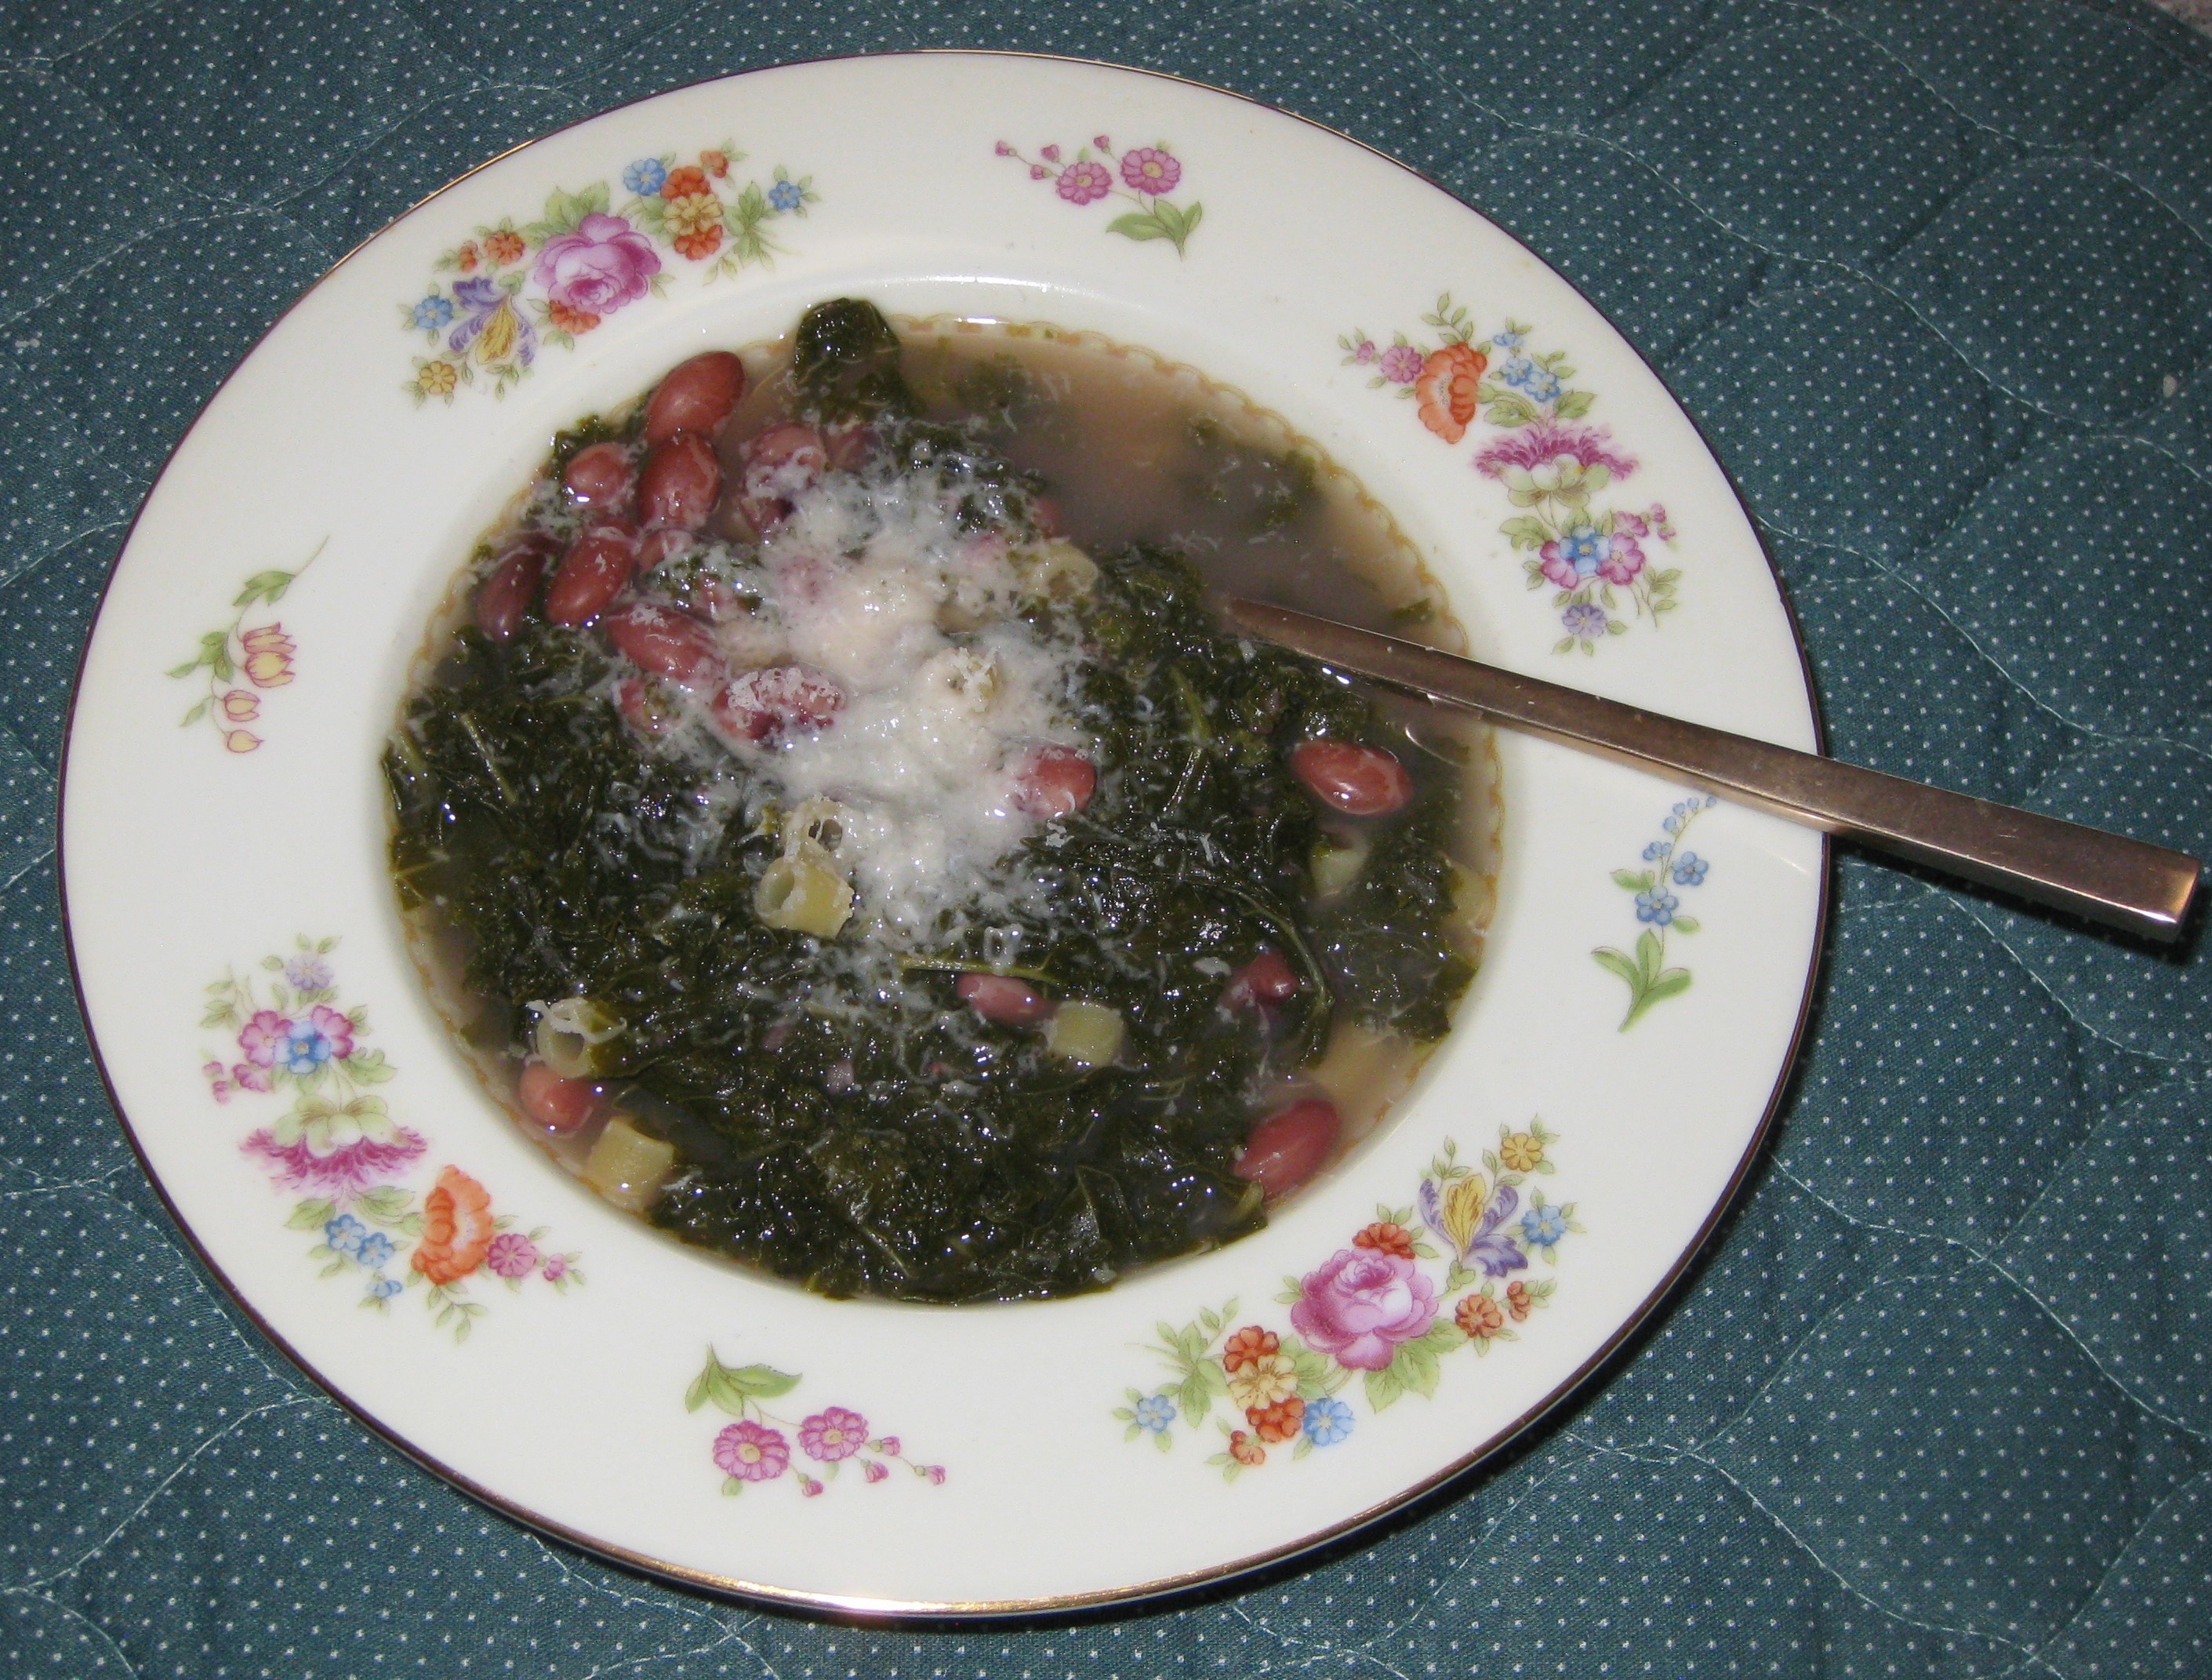
Texture is an important part of this dish. The beans should yield but not be falling apart.  The kale should not provide any resistance the way it would if it were just quickly sautéed.  The pasta, however, should be al dente.

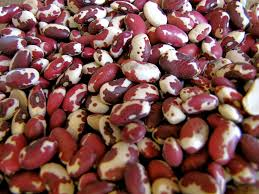
Roman beans

Beans, kale and pasta are all pretty mellow-tasting in my estimation.  The garlic, olive oil, and Parmesan cheese are what give this dish its flavor oomph!  At the table, I add crushed red pepper but it shouldn’t be cooked into the dish.

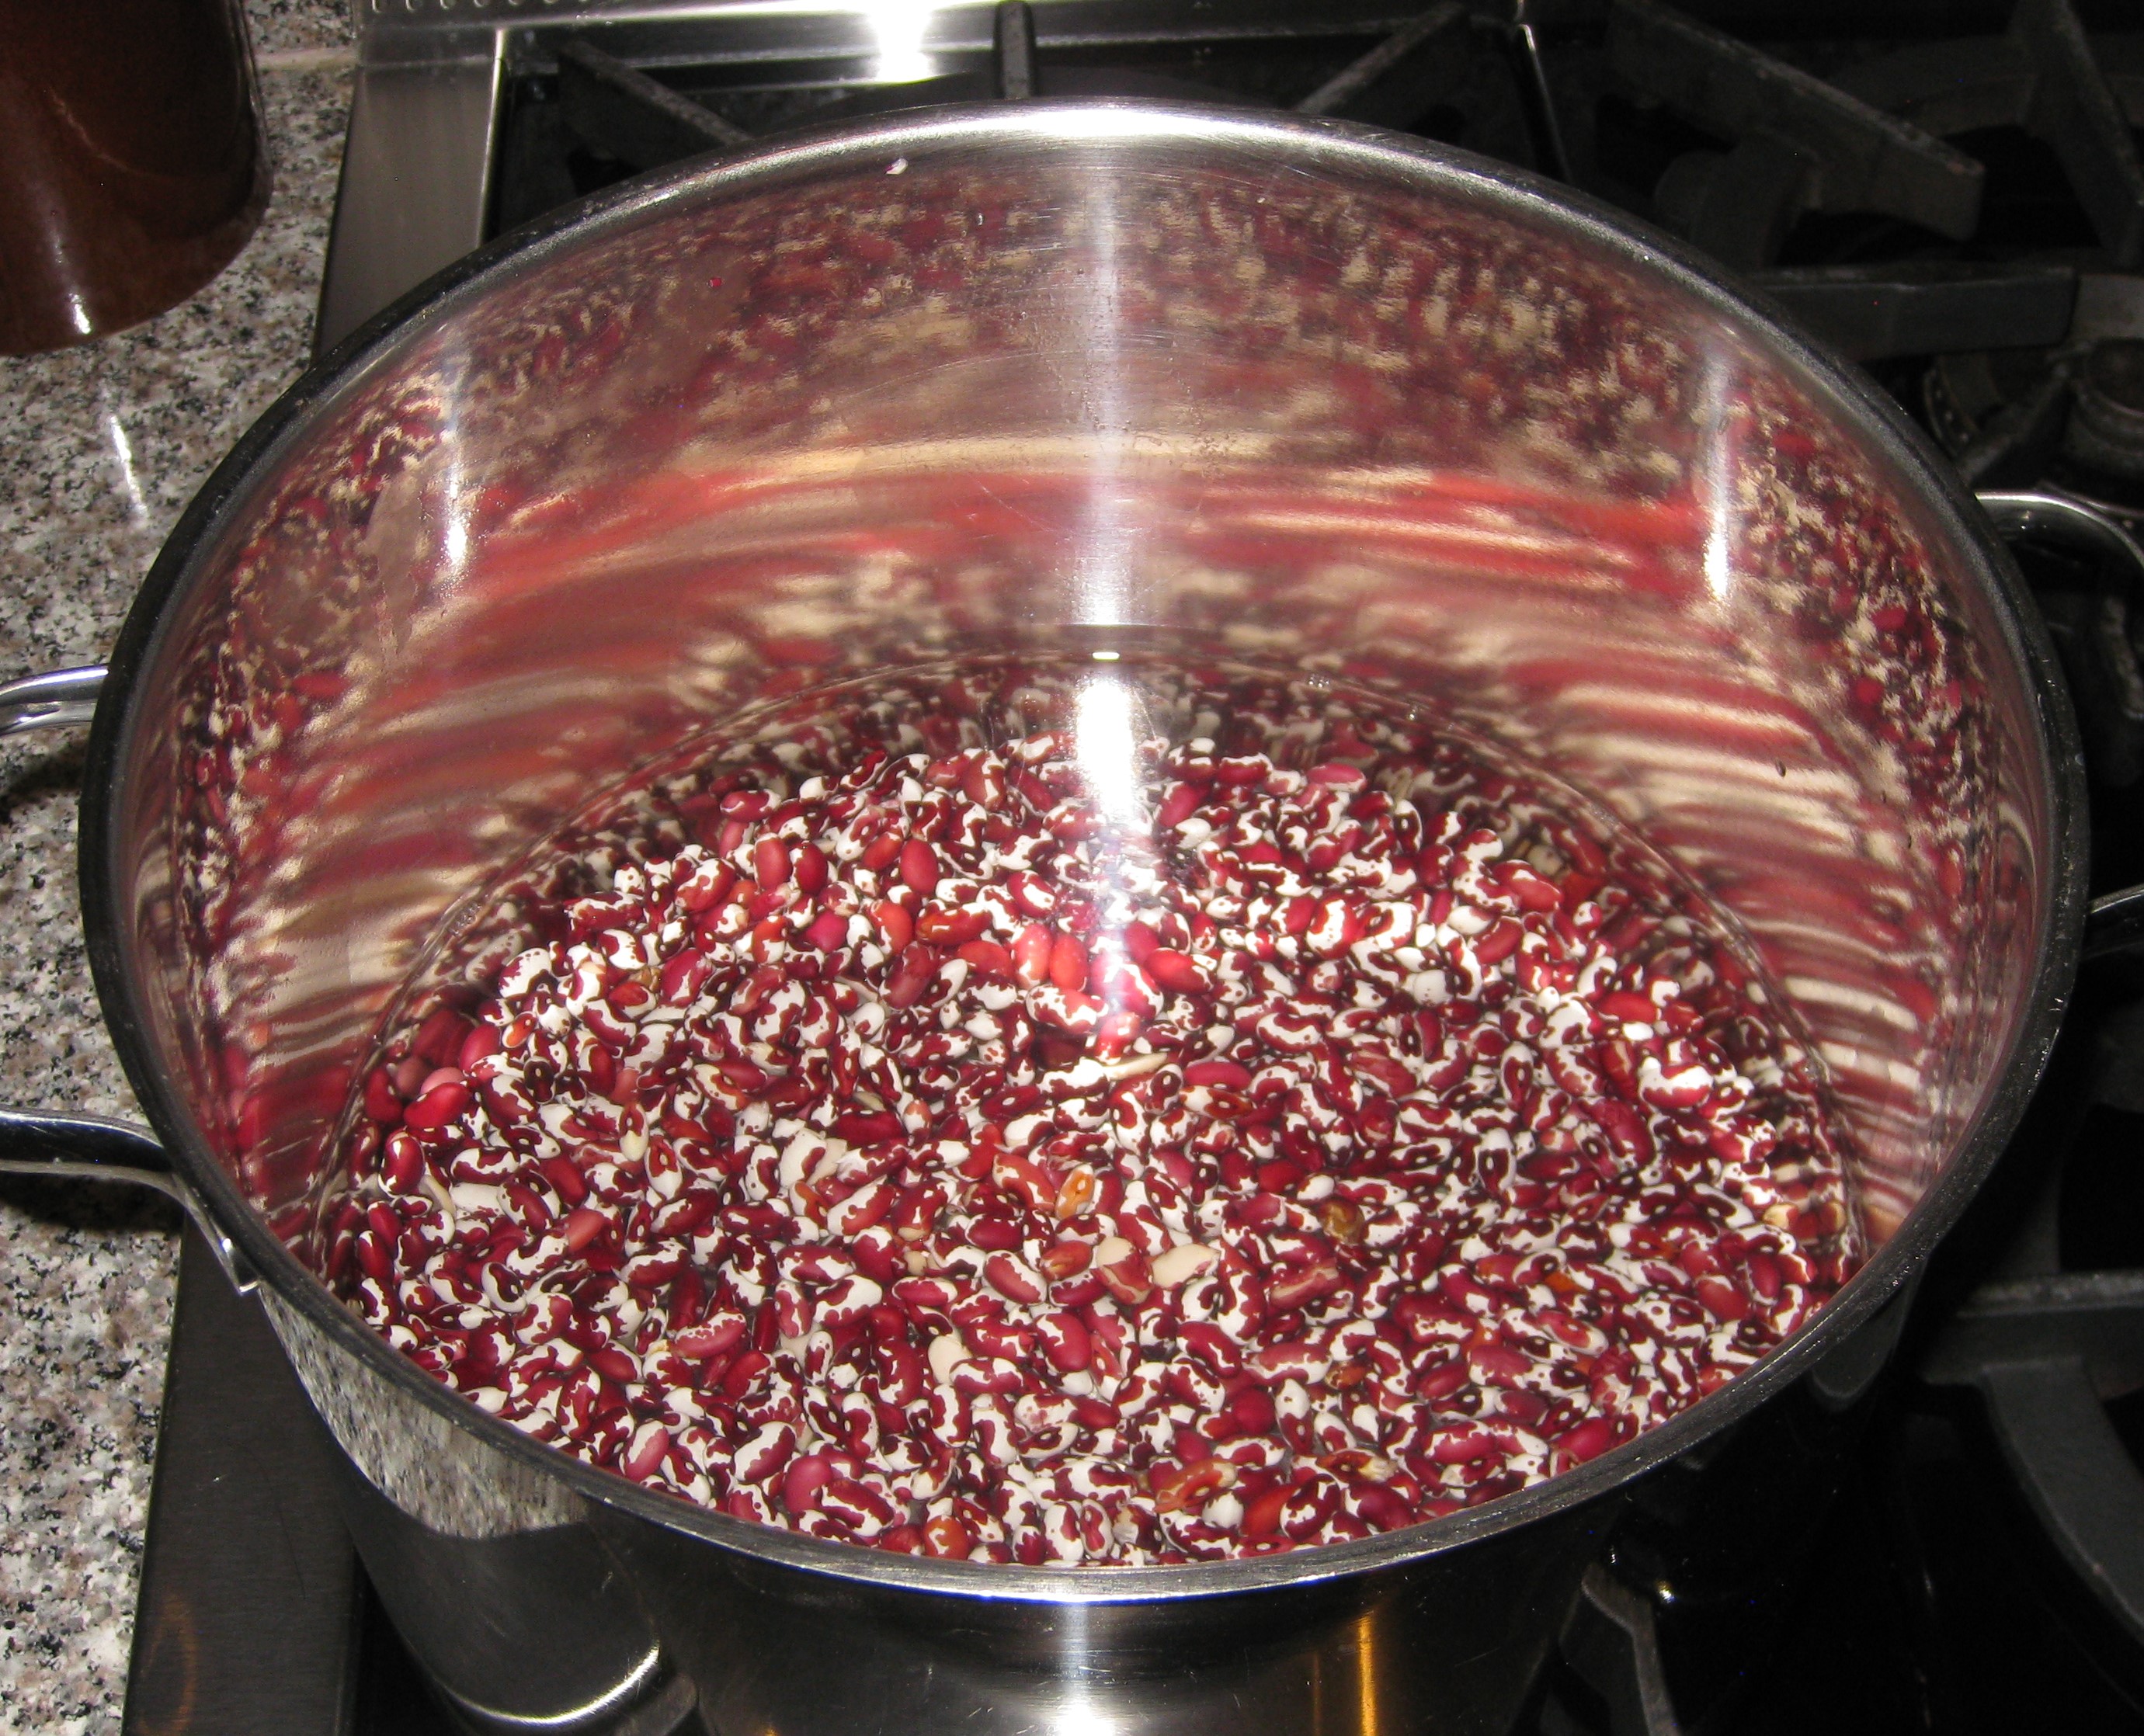
Roman beans are also called Borlotti or Cranberry beans.  Depending on where you live you might have to order them.  In a pinch, though, you could use pinto beans or Anasazi beans.  (If you’re a bean savant, you’ll notice that I used Anasazi beans as I was unable to find Roman beans after searching market shelves in two different cities for a couple of months.  Though I could have gotten them online, I didn’t think the huge price premium was worth it.)

Anasazi beans

My mother’s approach to cooking most foods was definitely low and slow.  It’s classically Italian and so NOT French, which often aims for “high and fast!”  Though culinary education is now more inclusive and not so heavily French, we have a strong cultural bias away from slow, leisurely cooking due to the strong French influence of the past decades.  There are exceptions however, largely based on strong regional traditions, barbecue, for example.  But for the most part, mainstream America, and certainly mainstream American food and cooking publications, just don’t “get” low and slow.


Click HERE to join our mailing list and you’ll never miss a recipe again!


There are some foods that don’t benefit from low and slow, at least when cooked traditionally; steaks for instance.  My mother’s approach to these was that they should be well done, even though that state was achieved quickly.  In our house steaks were most often seasoned with olive oil, garlic, oregano, basil, salt and pepper and broiled.  I think it’s a wonderful flavor combination.  But it wasn’t until my late teens that I developed an appreciation for rare beef.

I remember one meal where my sister and I cooked the steaks for ourselves and our dad.  They were medium rare, as I recall.  Even though our mom didn’t have a hand in cooking them (and cooked her own steak well done) she spent the entire meal feeling like she had served us bad food.  The fact that we liked it didn’t seem to matter.  She had very definite opinions about what constituted good food, and something that was bleeding onto the plate didn’t fit!


If you have a favorite family recipe and a bit of a story to tell, please email me at santafecook@villasentieri.com and we can discuss including it in the blog. I am expanding the scope of my blog to include traditional recipes from around the country and around the world. If you haven’t seen Bertha’s Flan or Melinda’s Drunken Prunes, take a look.  They will give you an idea of what I’m looking for.


Recently I bought sous vide equipment.  I haven’t tried it yet but I’m itching to do so.  Steaks will be first.  The food gets vacuum sealed and then cooked slowly…for hours…in a hot water bath that is maintained at the temperature one wants the food to achieve.  The meat is cooked uniformly throughout…low and slow!  For steaks, one would want to quickly sear the outside before serving but many foods, like fish, poached eggs, and even hollandaise sauce can be used right out of the water bath.

For now, though, let’s try a slow-cooked pot of beans and greens…Italian style!!

Print Recipe
Roman Beans and Kale
The beans should be cooked through but not falling apart. The kale should take on a silky texture but not be mushy. The pasta should still be a bit “toothy." This is even better if made a day or two in advance and refrigerated. If you are doing this, you will want to undercook the pasta so that it is not too soft after the dish is reheated for serving. Alternately, you can omit the pasta when mixing the beans and kale, then add it when reheating. Depending on where you live, you might not be able to find Roman beans. Roman beans are also called Cranberry or Borlotti beans. If you can’t find Roman beans, you can substitute Pinto or Anasazi beans.
Votes: 1
Rating: 5
You:
Rate this recipe!
Prep Time 15 minutes
Cook Time 2 1/2 hours
Servings
people
Ingredients
Prep Time 15 minutes
Cook Time 2 1/2 hours
Servings
people
Ingredients
Votes: 1
Rating: 5
You:
Rate this recipe!
Instructions
  1. Rinse and pick over the beans.
  2. Cover the beans with six cups of water.
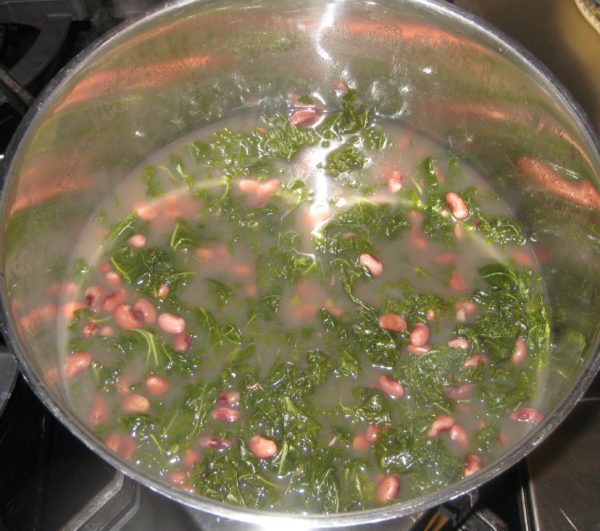
  3. Simmer the beans until almost fully cooked, adding 2 teaspoons of salt and black pepper to taste after the beans have cooked for an hour. If necessary, add a bit of boiling water from time to time to keep the beans just submerged. The beans will cook for about 10-15 minutes more after the kale is added so don't overcook them.
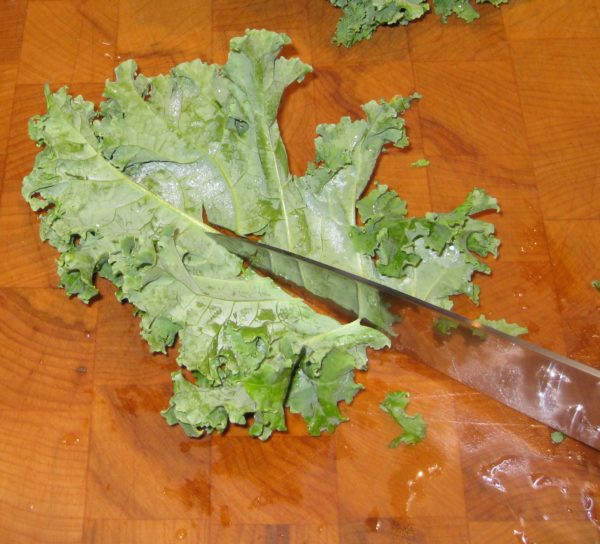
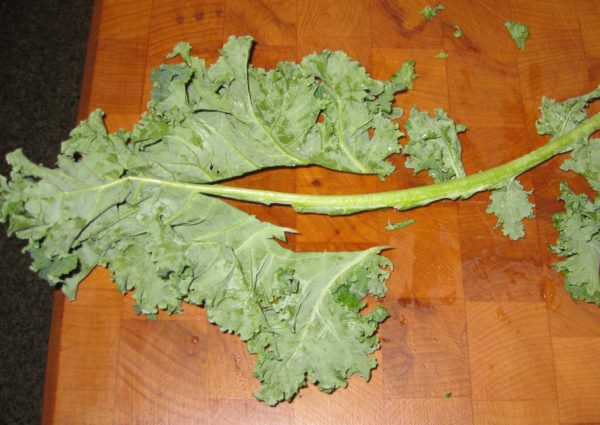
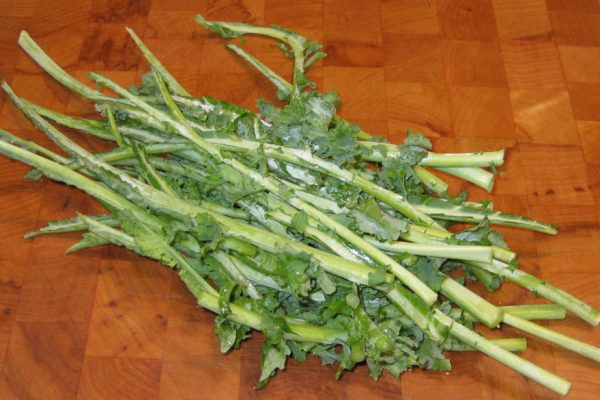
  4. Meanwhile, cut out the center ribs of the kale.
  5. Kale ribs about to be discarded.
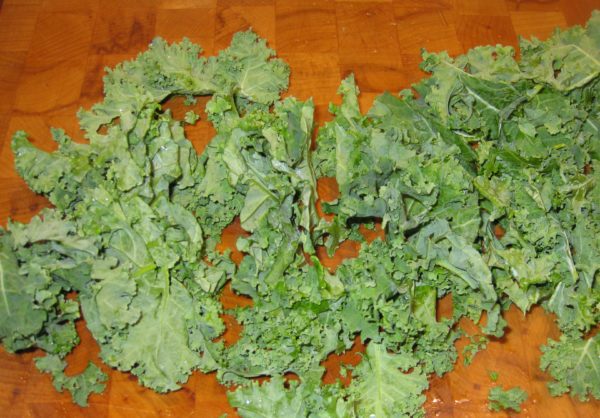
  6. Cut the leaves crosswise into large pieces.
  7. Rinse and drain the kale.
  8. Bring a quart of salted water to a boil.
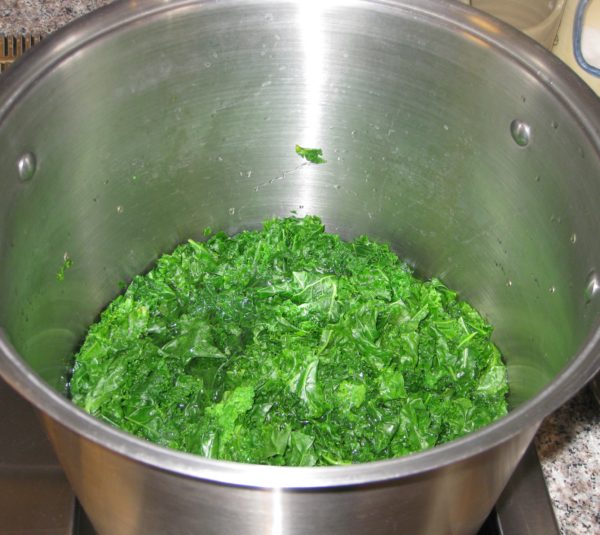
  9. Add the kale. The kale should quickly wilt enough to be covered by water. If not add a bit more water to just cover the kale.
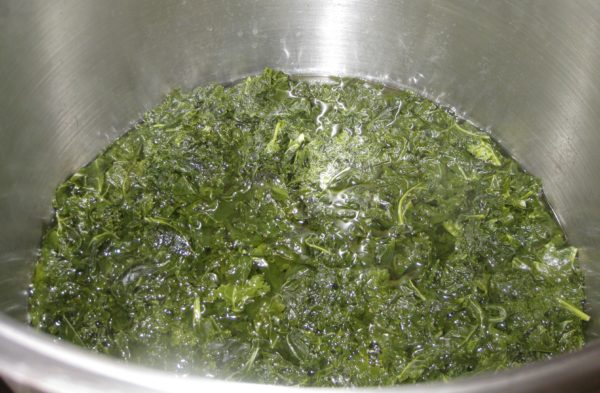
  10. Simmer the kale, covered, stirring occasionally, until cooked to a silky texture, approximately 1 hour.
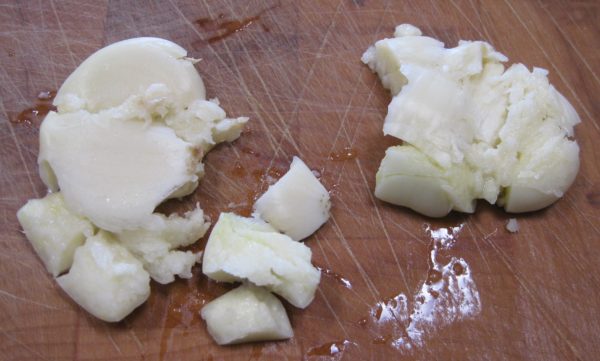
  11. While the kale is cooking, crush the garlic with the side of a chef's knife.
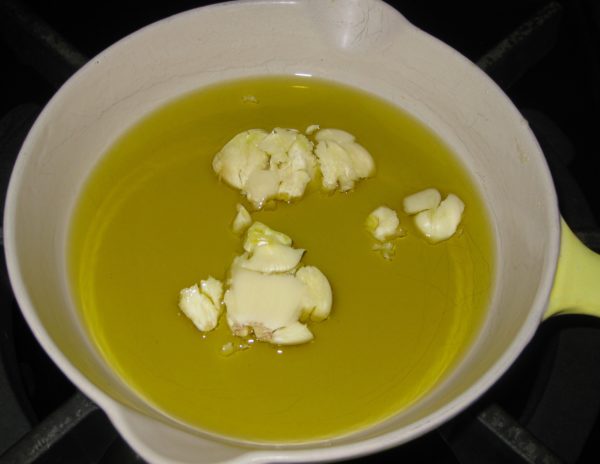
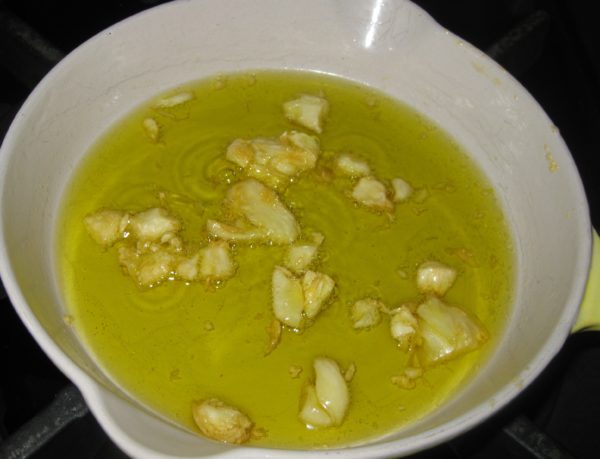
  12. Slowly brown the garlic in the olive oil.
  13. Once the garlic has browned, remove the oil from the heat. Discard the garlic. Reserve the garlic-infused oil.
  14. If using pasta, bring two quarts of water seasoned with 1/4 cup of salt to a rolling boil.
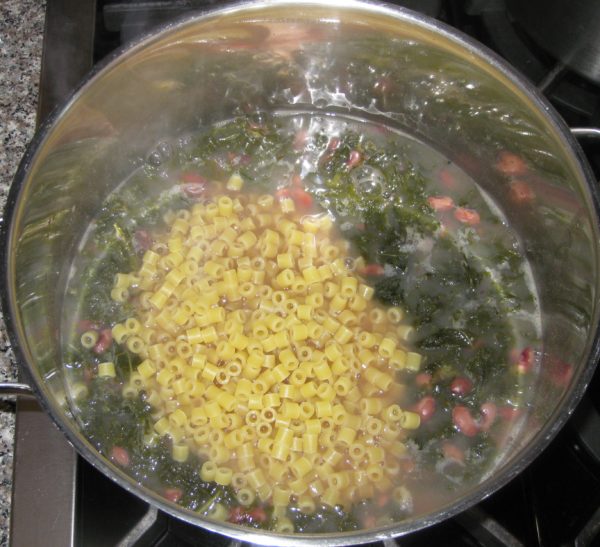
  15. When the pasta-cooking water comes to a boil, add the pasta. At the same time, add the kale and its cooking water to the beans. Keep the beans and kale at a simmer.
  16. Cook the pasta in boiling water until it is still a little crunchy on the inside.
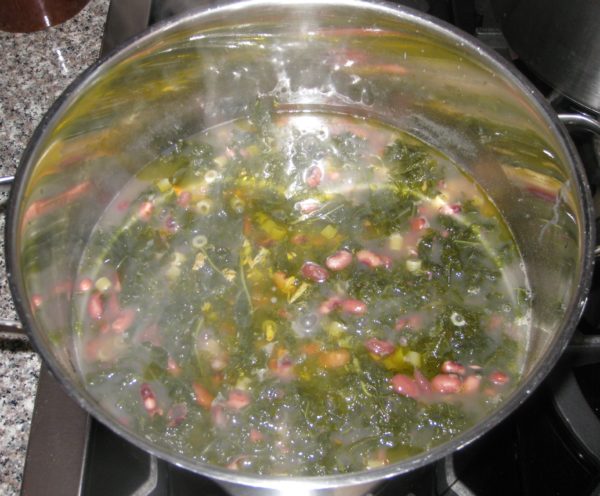
  17. Drain the pasta and add it to the pot with the beans and kale.
  18. Add the garlic-infused oil.
  19. Taste and adjust seasoning.
  20. Cook everything, uncovered, until the pasta is al dente, just a few minutes longer.
  21. Serve with grated Parmigiano Reggiano cheese.
Recipe Notes

Copyright © 2018 by VillaSentieri.com. All rights reserved.
Share this Recipe

Cannellini and Fennel Soup

January 3, 2018

A few years ago I was at a party and struck up an interesting conversation with a couple of guys originally from the East Coast.  One of the guys was of Italian heritage and the conversation turned to food, naturally!

He described a soup he grew up eating that included fennel stalks as well as the bulb.

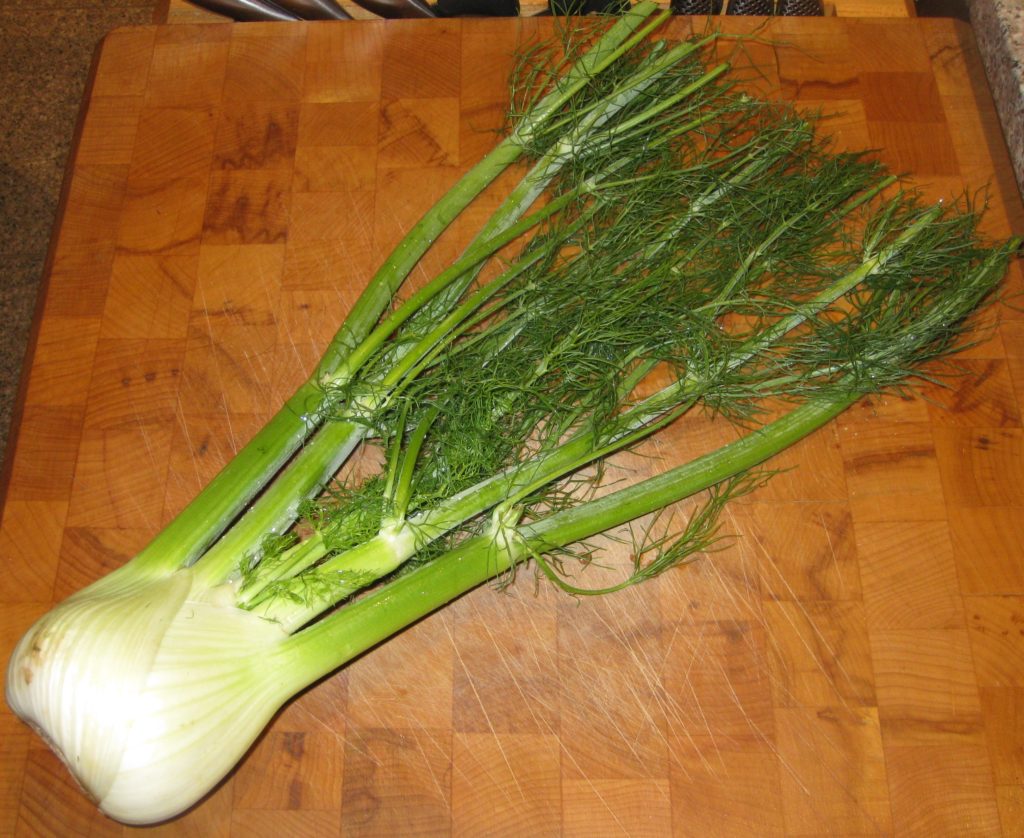
It caught my interest because I’d not encountered a recipe that used the stalks before; some of the fronds, yes, but not the stalks.  It always seems like such a waste to me to throw them out as they contain so much flavor.

But they’re tough!


Click HERE to join our mailing list and you’ll never miss a recipe again!


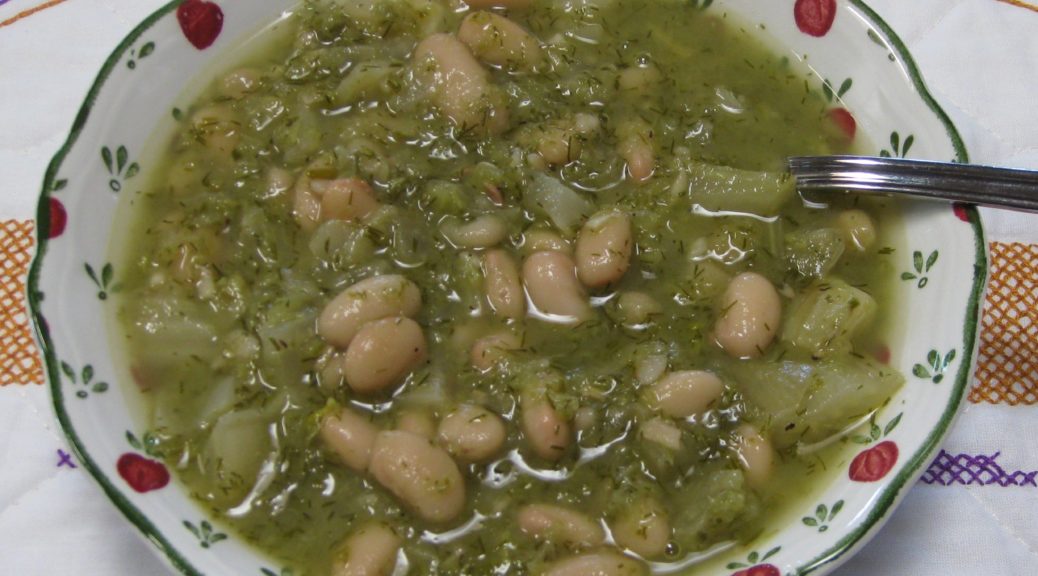
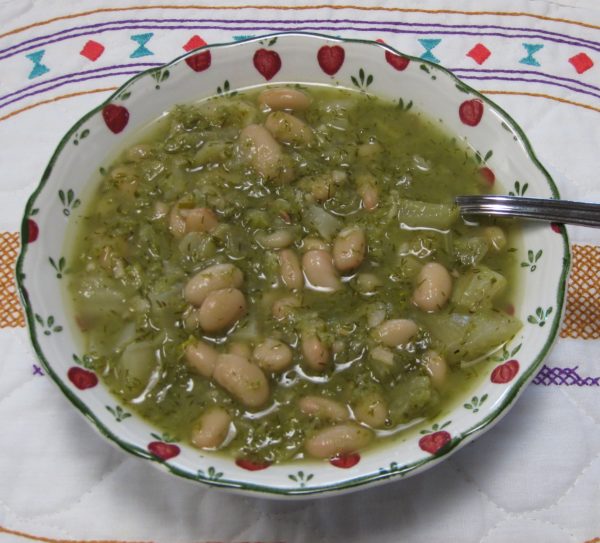
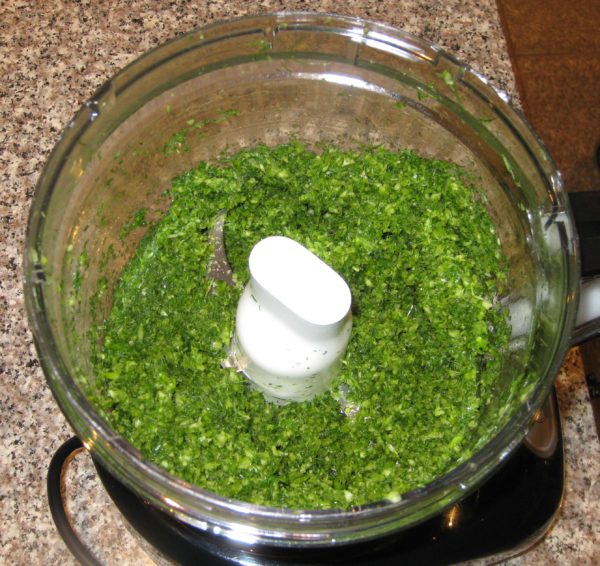
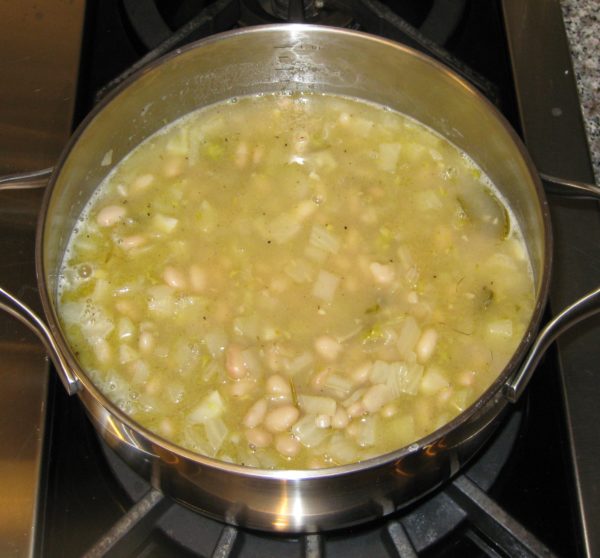
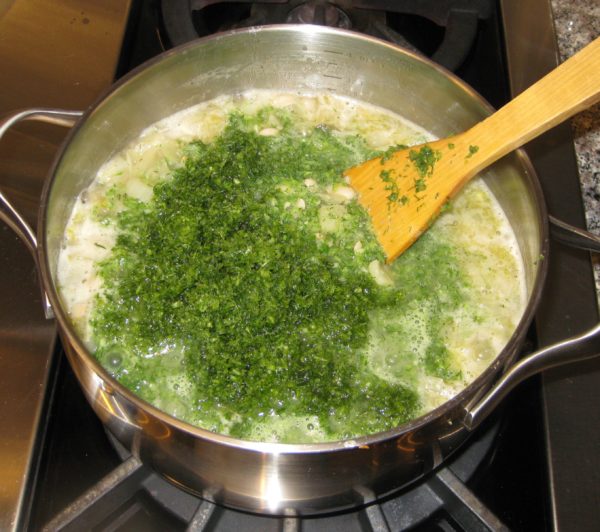
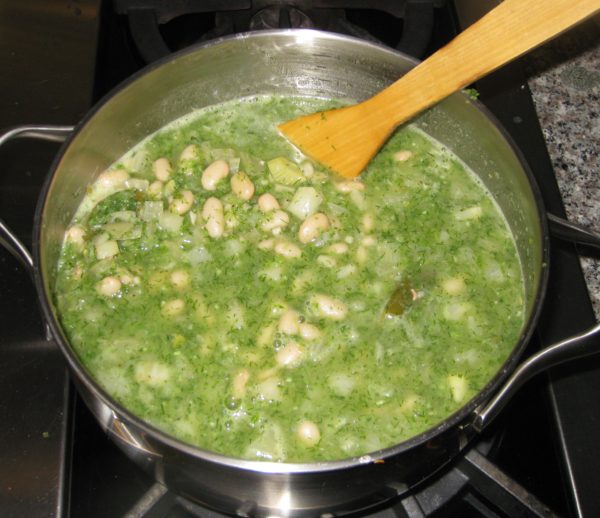
In this soup, the stalks are pureed in a food processor and added to the diced bulb and some cannellini beans.

Fennel bulb and stalks. For most preparations only the white bulb is used. This soup uses the stalks, too.

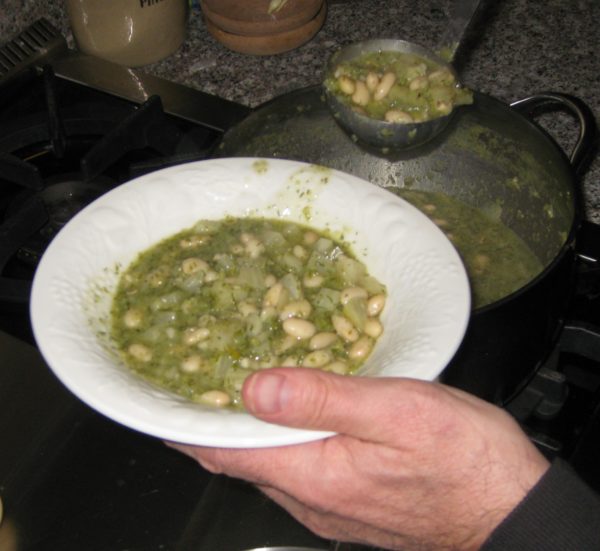
It is wonderfully flavorful, completely vegetarian, and comes together in a snap.

If you have some of my Cannellini alla Toscana lurking in your freezer, by all means use them in the soup.  If not, canned cannellini will work just fine.

As for the guys who gave me the recipe, I can’t find anyone who knows who they might be.  I’ve talked to the hosts of the party and they’re stumped.  I always like to include a personal interest story along with each recipe and I’ve truly exhausted what I know about this particular version of this soup.


Follow us on your social media platform of choice


From my research, however, I can tell you that this appears to be a popular soup in Italy given the number of recipe variations I was able to turn up written in Italian.  Most contain meat, such as speck, and other vegetables, such as carrots and celery.  One even contains seaweed!  None of the recipes is quite as simple as this one…and I love the simplicity.

Give it a try and let me know what you think.


If you have a favorite family recipe and a bit of a story to tell, please email me at santafecook@villasentieri.com and we can discuss including it in the blog. I am expanding the scope of my blog to include traditional recipes from around the country and around the world. If you haven’t seen Bertha’s Flan or Melinda’s Drunken Prunes, take a look.  They will give you an idea of what I’m looking for.


Print Recipe
Cannellini and Fennel Soup
This is one of the very few recipes I have seen that uses the stalks of the fennel plant, not just the bulb. Adding the stalks and fronds really intensifies the fennel flavor. You can substitute 4 cans (approximately 15 ounces each) of cannellini beans in place of the home-cooked beans. See the notes section, below, for a link to the Cannellini alla Toscana recipe. You can easily cut this recipe in half.
Votes: 0
Rating: 0
You:
Rate this recipe!
Cuisine Italian
Prep Time 20 minutes
Cook Time 1 hour
Servings
people
Ingredients
Cuisine Italian
Prep Time 20 minutes
Cook Time 1 hour
Servings
people
Ingredients
Votes: 0
Rating: 0
You:
Rate this recipe!
Instructions
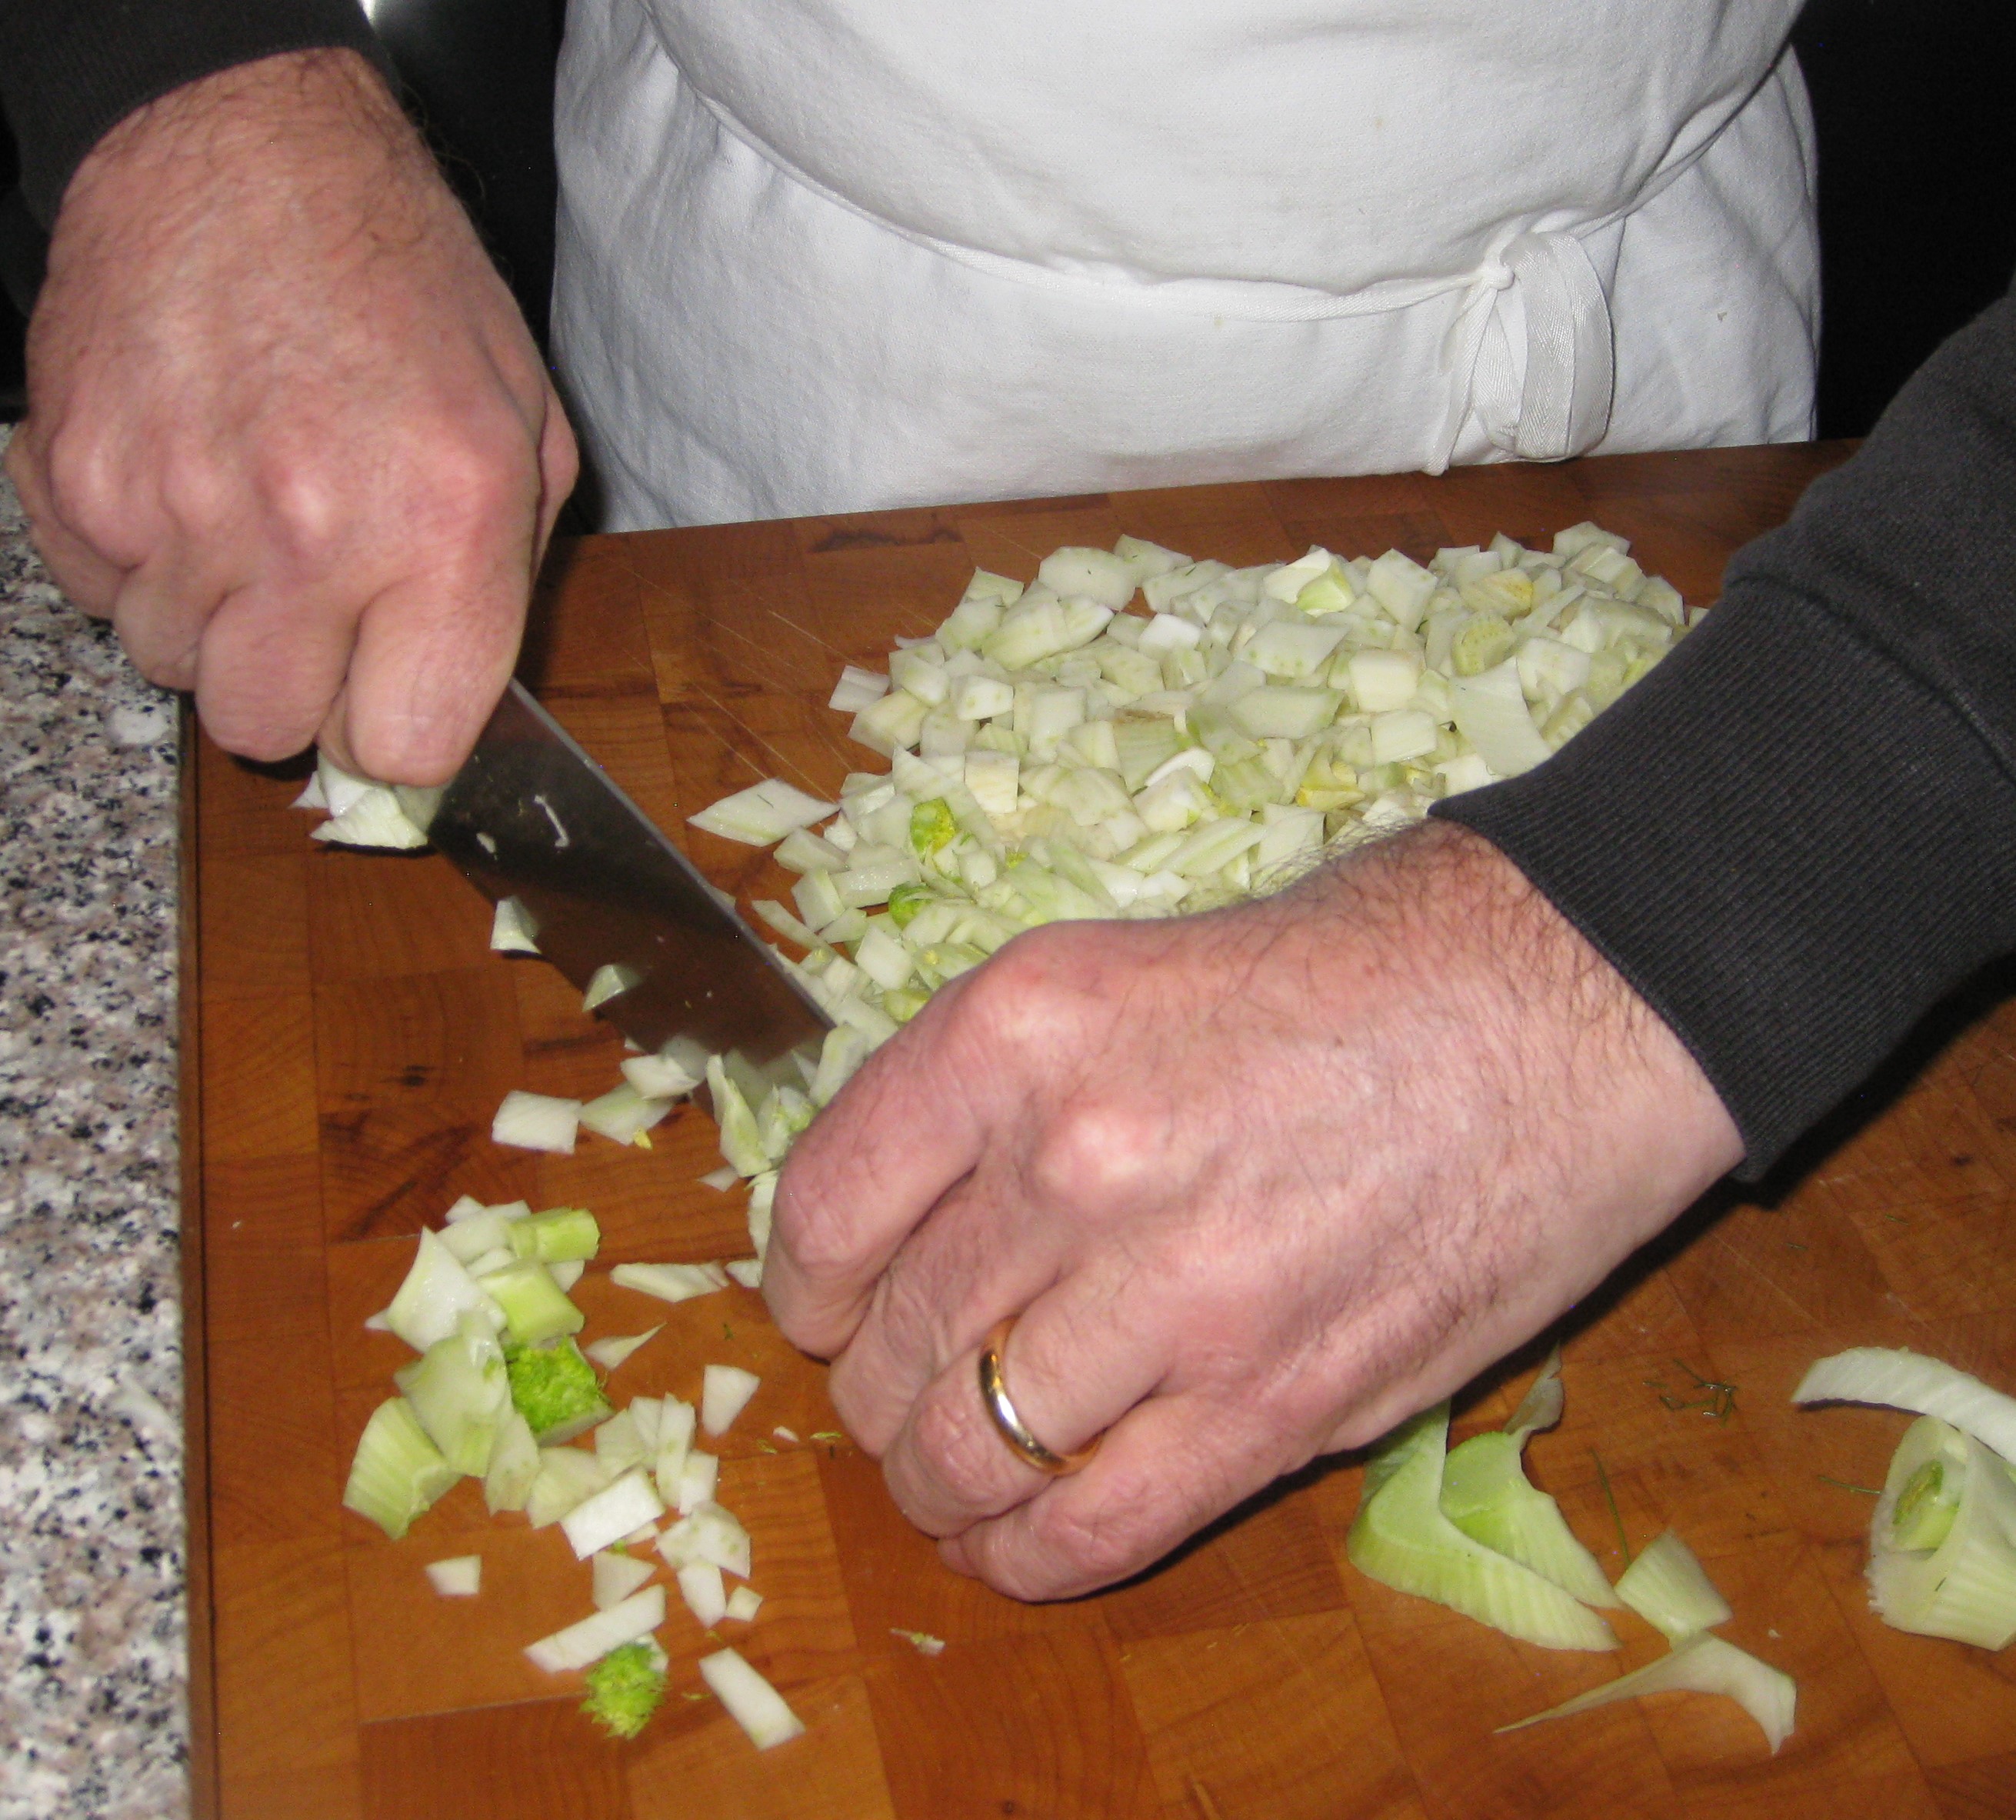
  1. Cut the stalks and fronds off the fennel.
  2. Coarsely chop the stalks.
  3. Grind the chopped stalks and fronds in a food processor. Reserve.
  4. Dice the fennel bulbs.
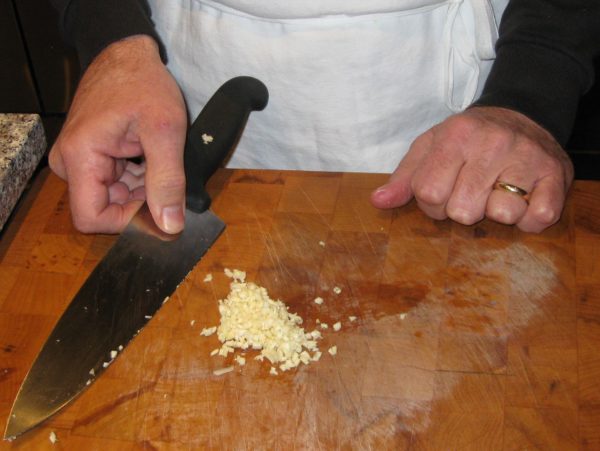
  5. Mince the garlic.
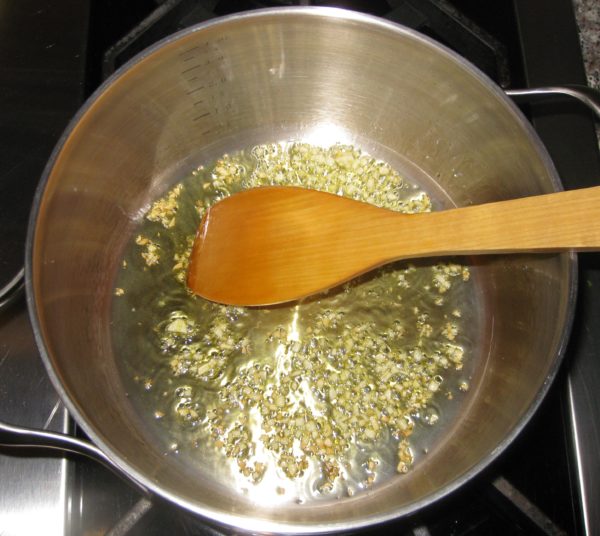
  6. Sauté the garlic in the olive oil until fragrant.
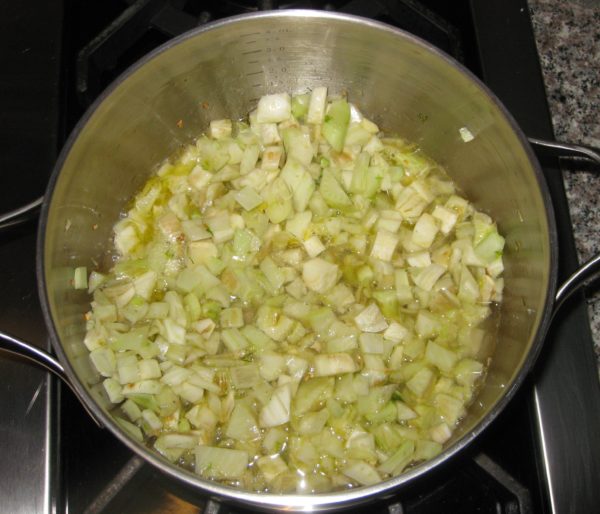
  7. Add the diced fennel. Season with salt. Sauté approximately 5 minutes.
  8. Add the wine. Cover the pot and cook until the fennel begins to soften.
  9. Add the cooking liquid from the cannellini (but not the beans) adding water if necessary to cover the fennel. Simmer until the fennel is almost completely cooked.
  10. Add the cannellini. Simmer 10 minutes.
  11. Add the ground fennel stalks and fronds and salt and pepper to taste.
  12. Season with salt and pepper.
  13. Simmer for 15 minutes, until fennel is tender but not mushy.
  14. Serve with grated Parmigiano Reggiano cheese.
Recipe Notes

Here’s where you can find the recipe for Cannellini alla Toscana.

Copyright © 2018 by VillaSentieri.com. All rights reserved.
Share this Recipe