Pollo allo Scarpariello (Chicken Shoemaker Style)

October 8, 2021

Unappetizing pictures!

Sometimes really delicious food makes unappetizing pictures.

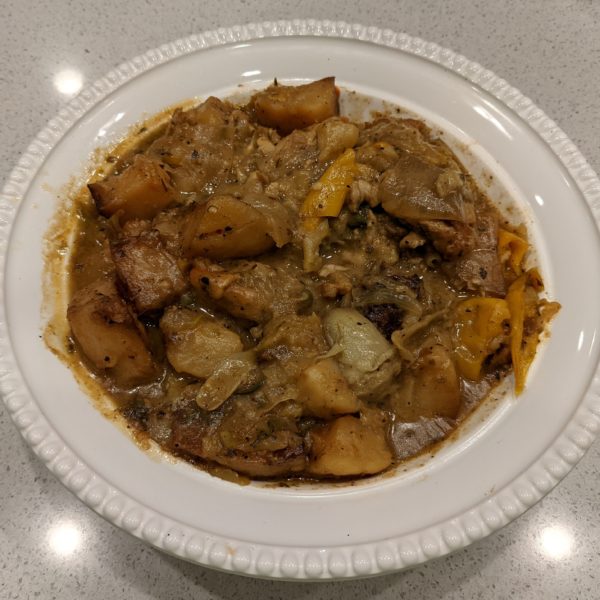
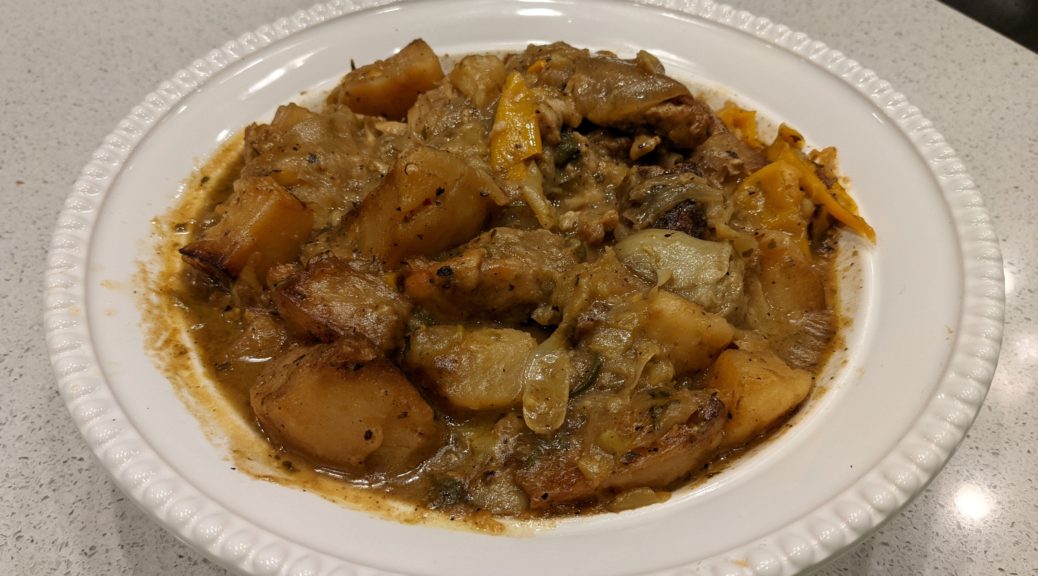
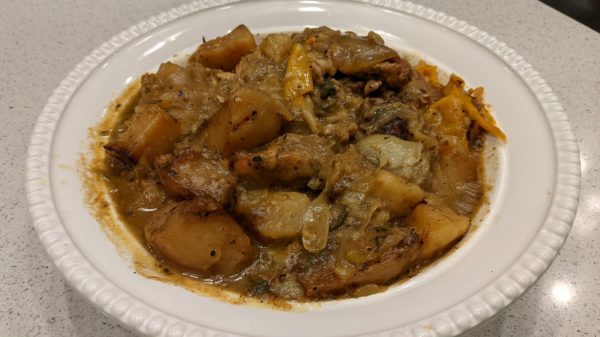
Take Chicken Scarpariello, for example.  By the time the chicken is unctuous, the potatoes creamy, and the sauce tangy the dish is unappetizingly brown (at least in a photograph).  I discovered this when looking at the photographs I had taken for this blog post.

This is really a shame because the taste is superb.
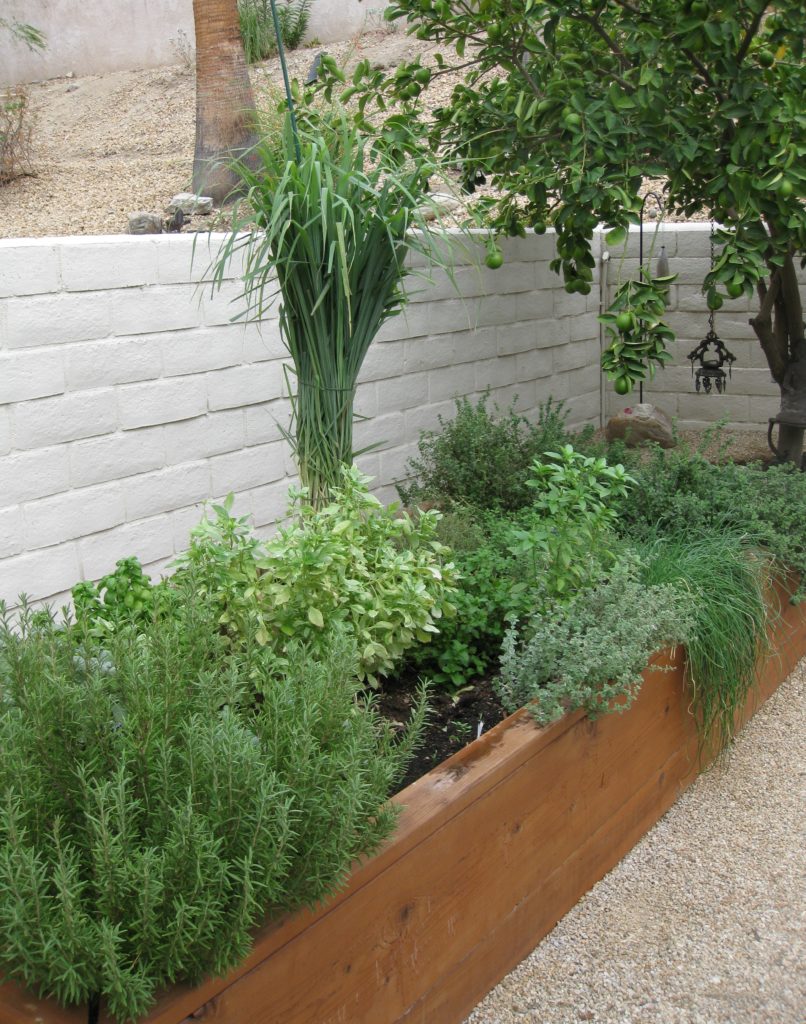
We’re several weeks into planting our new vegetable beds but these herbs have been going strong since March 2021. They were cut back drastically last week to encourage growth.

Brown food can be challenging to photograph, especially brown food in a brown sauce.  Food stylists might solve this problem by using barely cooked potatoes that look pale and peppers that are still yellow and green, not really cooked as required by the dish.  This doesn’t represent reality.  The dish, cooked properly, will never look like the photograph.  This is an approach that I think is inherently unfair.

I’m willing to admit that some of the problem relates to my picture-taking ability.  My photographic ability isn’t great but even that meager ability sometimes suffers because I’m hastily taking photographs as I’m trying to put the food on the table.


Follow us on your social media platform of choice


If I weren’t doing that, I could carefully plate a piece of chicken with the potatoes and peppers artfully arranged off to the side, lots of white space on the plate, and a few colorful garnishes or side dishes.  I could even wipe a little of the sauce off of the potatoes to make them lighter in color.  All this would mitigate the “brown problem” but it just isn’t practical because the food I post on the blog is something that I actually made to eat at the moment it is ready.
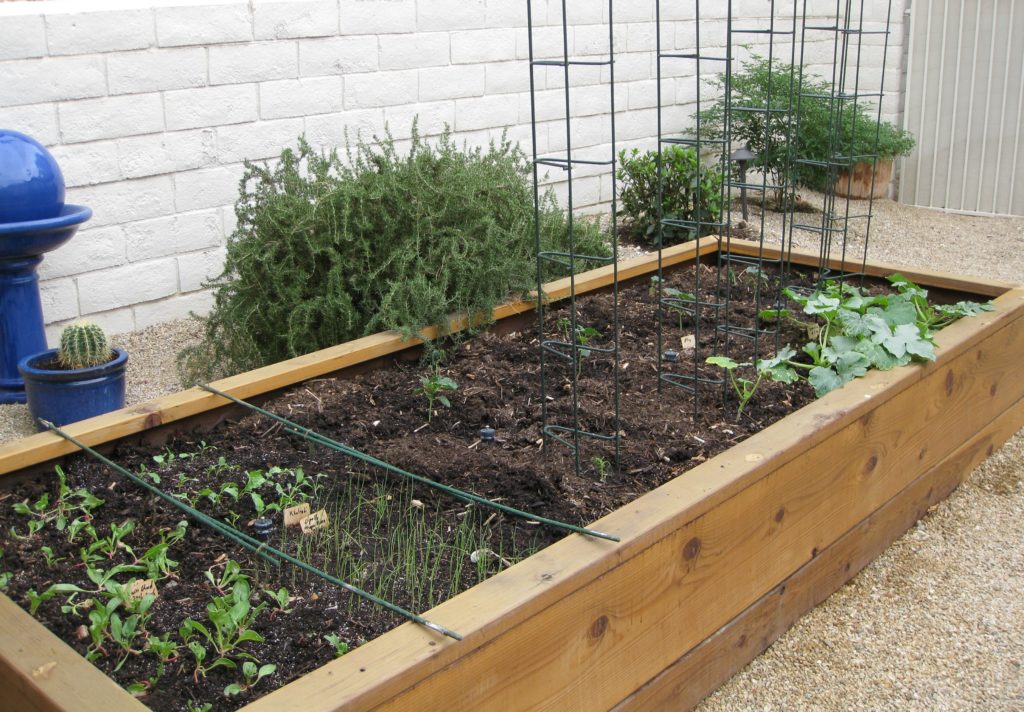
One of three vegetable beds beginning to sprout.  In the back, not in the bed, are four plants: rosemary, bay, chile pepper, and niepita.

I guess I could spend time carefully taking pictures and serve cold food but that approach wouldn’t last long in my household.

I could cook specifically for the blog and not worry about serving the food, at least not the day I cook it.  That would create a major leftover problem.  Besides, many dishes aren’t at their best when reheated.  On the other hand, many foods are better if made in advance.  So, I guess this is a partial solution to the problem that could work on a case-by-case basis depending on what the dish is.


Join our mailing list and you’ll never miss a recipe again!


I can think of other potential solutions but each has its problem.  This could include having a photographer arrange the plate and photograph it (presumably while I’m having dinner with the rest of the household).
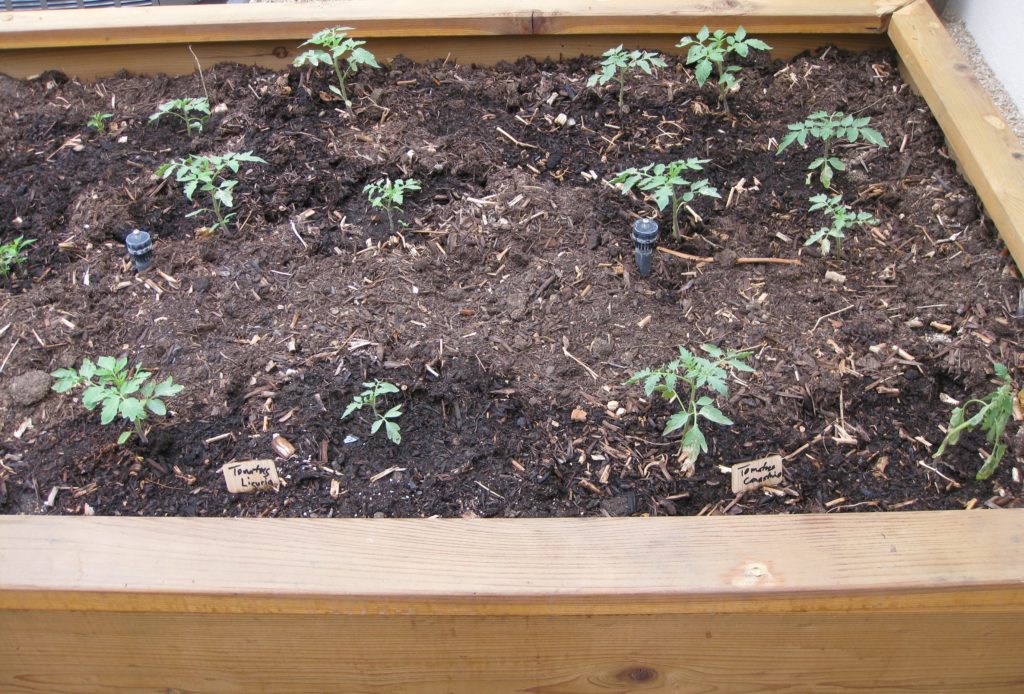
We’re looking forward to a winter crop of tomatoes!

Alternatively, I could serve everyone then spend time arranging a plate to photograph, hoping to join the dinner table before everyone is finished.

I’ll keep working on a fix to the issue but, in the meantime, I encourage you to try this Italian-American dish.  It scales up easily so you can feed a crowd if you need to.  The leftovers are pretty incredible, too!
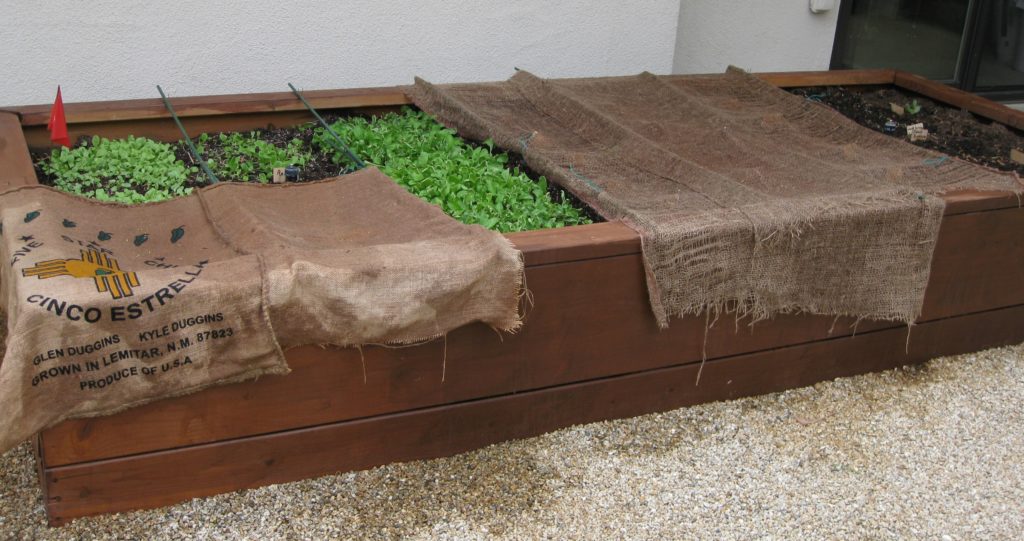
Greens for salad being started directly in the bed.

American websites, including the New York Times, usually say the name of this dish translates as Chicken Shoemaker Style.  However, you won’t find the word “scarpariello” in an Italian dictionary.  To be sure, the word “scarpa” means shoe but the Italian word for shoemaker is “calzolaio.”  Scarpariello, however, is the word for shoemaker in the Neapolitan dialect, which gives a clue as to which immigrant group might have been responsible for creating this Italian-American favorite.
Print Recipe
Pollo allo Scarpariello (Chicken Shoemaker Style)
Scarpariello means shoemaker in the Neapolitan dialect. This may give a clue as to the origins of this Italian-American favorite. The dish builds on a classic combination in the cooking of many regions of Italy: chicken cooked with wine and vinegar. The capers are optional. Use sweet or hot pickled peppers as you prefer or, if you want to spice it up, add some crushed red pepper when sautéing the garlic. If you don't have a stove-to-oven pot large enough to hold all the ingredients, do the browning in a large saute pan then assemble everything in a large baking dish.
Votes: 0
Rating: 0
You:
Rate this recipe!
Course Mains, Poultry
Prep Time 30 minutes
Cook Time 2 1/2 hours
Servings
people
Ingredients
Course Mains, Poultry
Prep Time 30 minutes
Cook Time 2 1/2 hours
Servings
people
Ingredients
Votes: 0
Rating: 0
You:
Rate this recipe!
Instructions
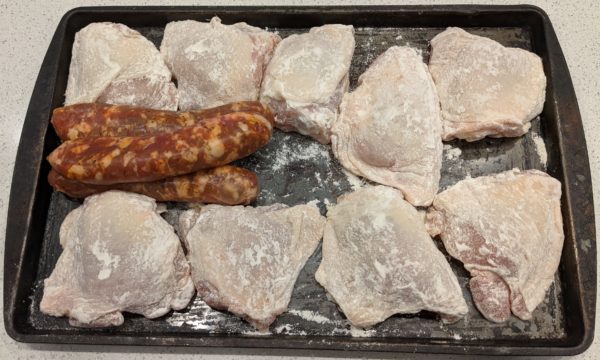
  1. Dredge the chicken in flour. Reserve.
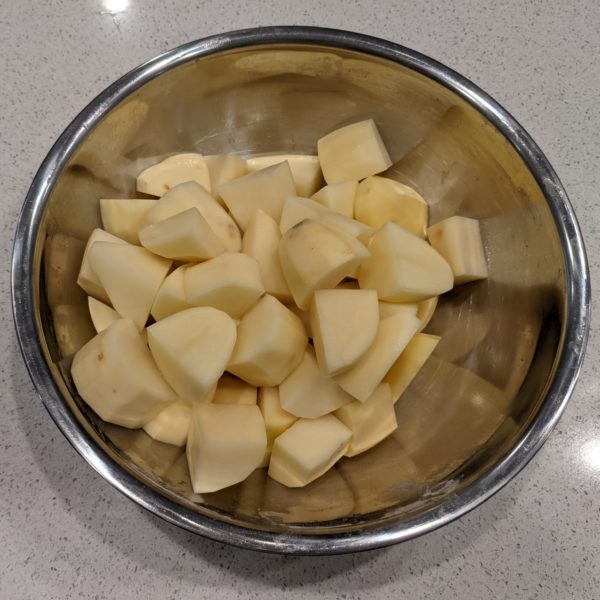
  2. Peel the potaotes and cut in large chunks.
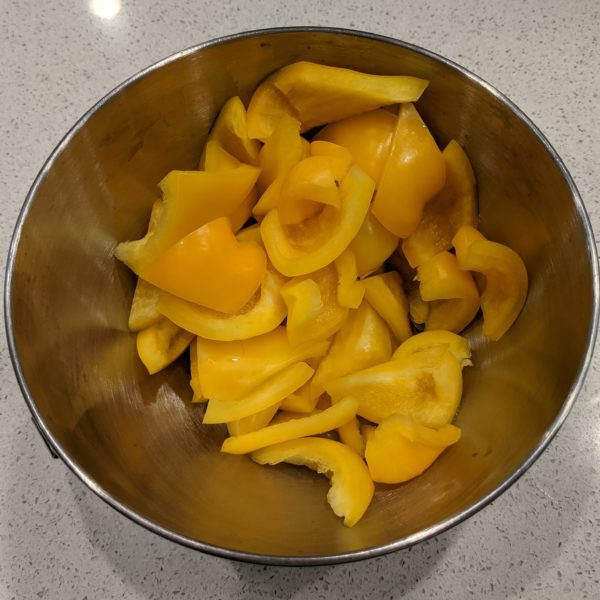
  3. Cut the Bell peppers in triangles
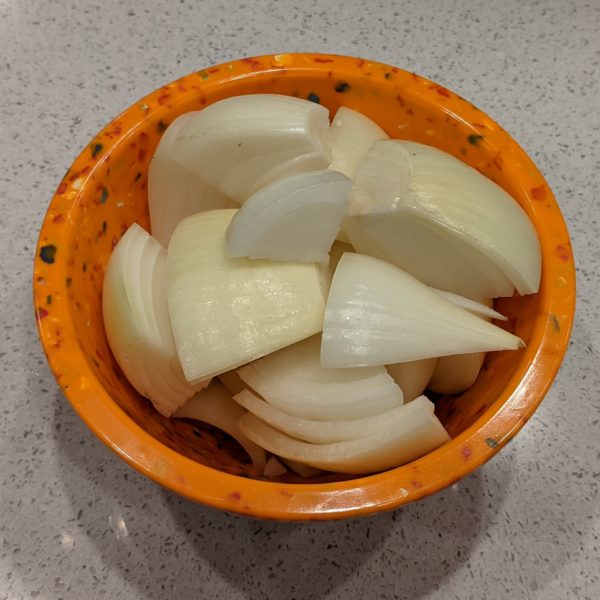
  4. Cut the onions in eighths
  5. In a large stove-to-oven pot, heat the olive oil. Brown the chicken, sausage, and potatoes. Do this in batches, if necessary.
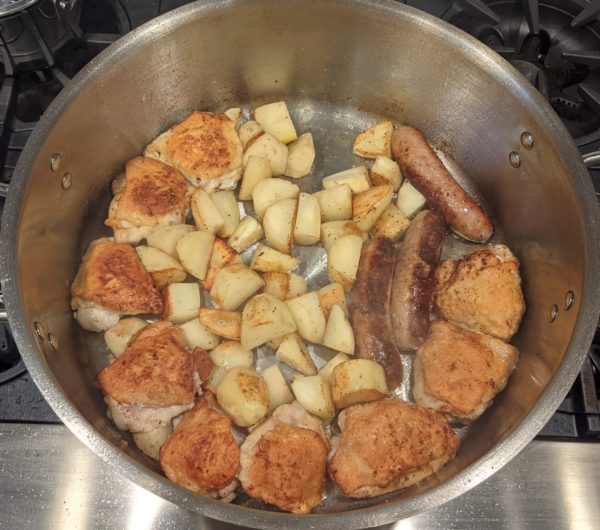
  6. Remove everything from the pot. Cut the cooked sausage into 1 ½ inch long pieces.
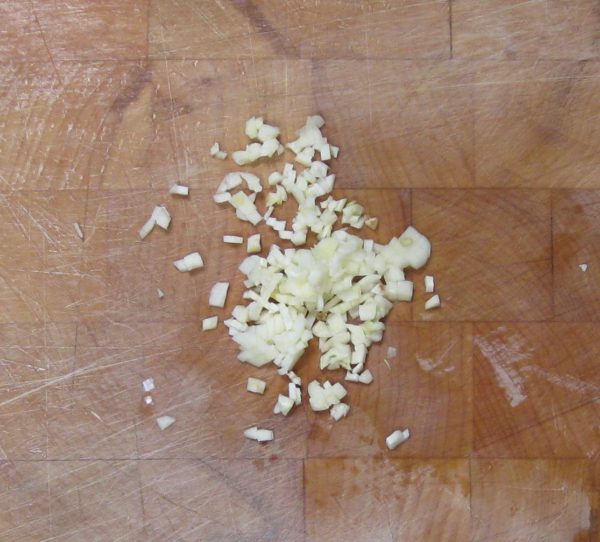
  7. Add the garlic to the oil remaining in the pot and sauté until it is fragrant and golden.
  8. Add the bell pepper and onion, season with salt, and sauté until the onion is beginning to soften and turns gold and brown in spots.
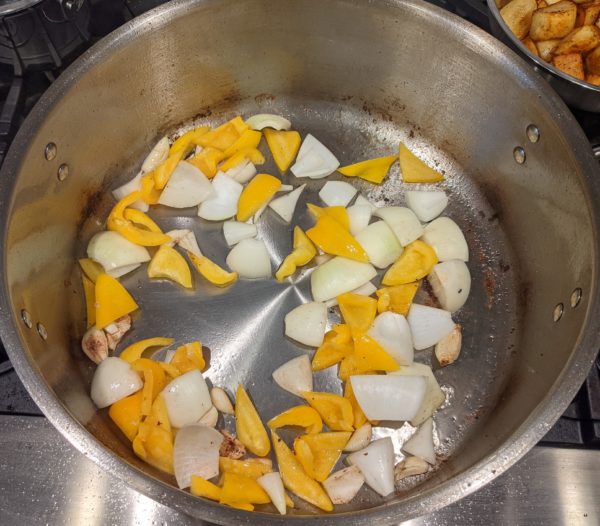
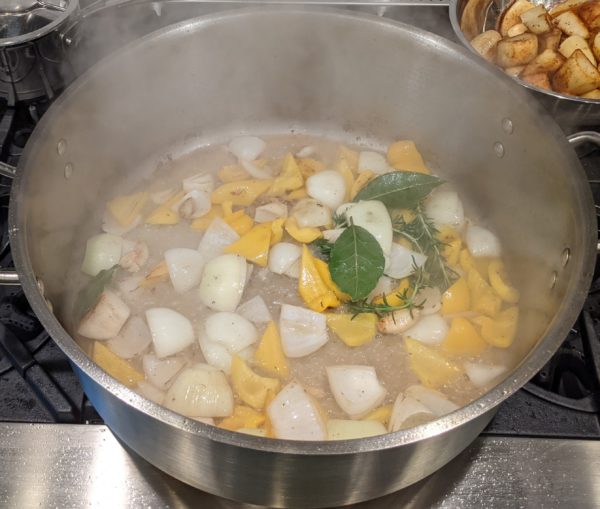
  9. Add the rosemary and bay leaves and sauté briefly.
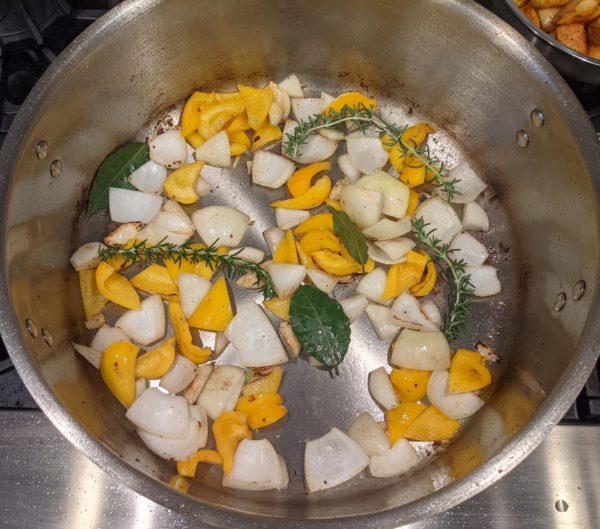
  10. Add the wine and deglaze.
  11. When wine is almost completely evaporated, return chicken, sausage, and potatoes to the pot along with any accumulated juices.
  12. Add about 1 cup of chicken broth and the vinegar along with the pickled peppers. Season well with salt, pepper, and oregano.
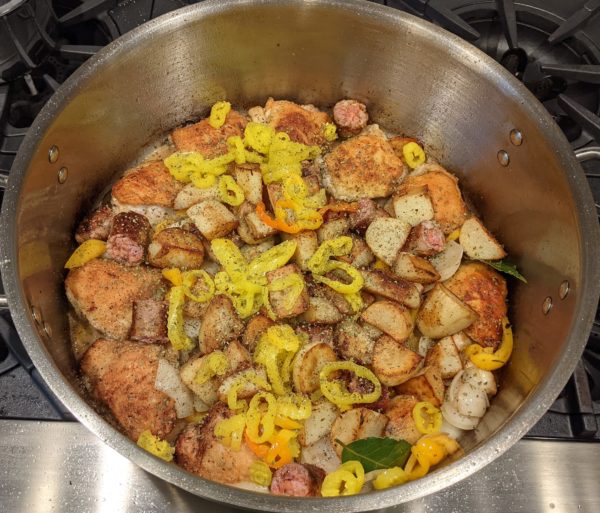
  13. Bring to a boil, cover, and put in the oven at 350°F.
  14. An hour later, stir the contents of the pot. Add the drained artichoke hearts and capers, if using. Add more broth if needed to keep the contents from sticking. Adjust the seasoning.
  15. Cook for another hour until chicken is very tender and potatoes are cooked through.
  16. Stir in parsley and serve.
Recipe Notes

Copyright © 2021 by Villa Sentieri, LLC. All rights reserved.

Share this Recipe

Marisa’s Mystical Meatballs

February 9, 2018

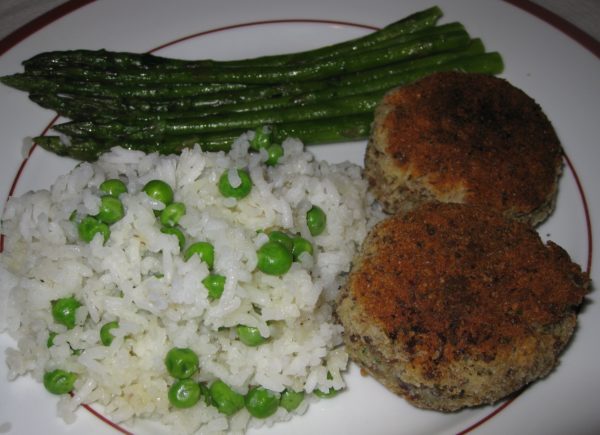
These meatballs are really mystical if you consider the sway they hold on my husband, his brother, and his father.  They go wild for these meatballs.

Well, wild in that very restrained Northern Italian way.

If they were Southern Italian, where a dinner conversation can seem like a minor riot, their meatball response would barely register on the scale.  It would signal almost utter disregard for the meatballs.

But that, in fact, is not the case.  The meatballs hold some sort of magical, mystical charm.

Marisa, of course, is my mother-in-law and these are her meatballs.  She considers them quite unusual, having learned to make them from her mother and basically not remembering any other relatives or friends making something similar.

And, as meatballs, they ARE unusual!

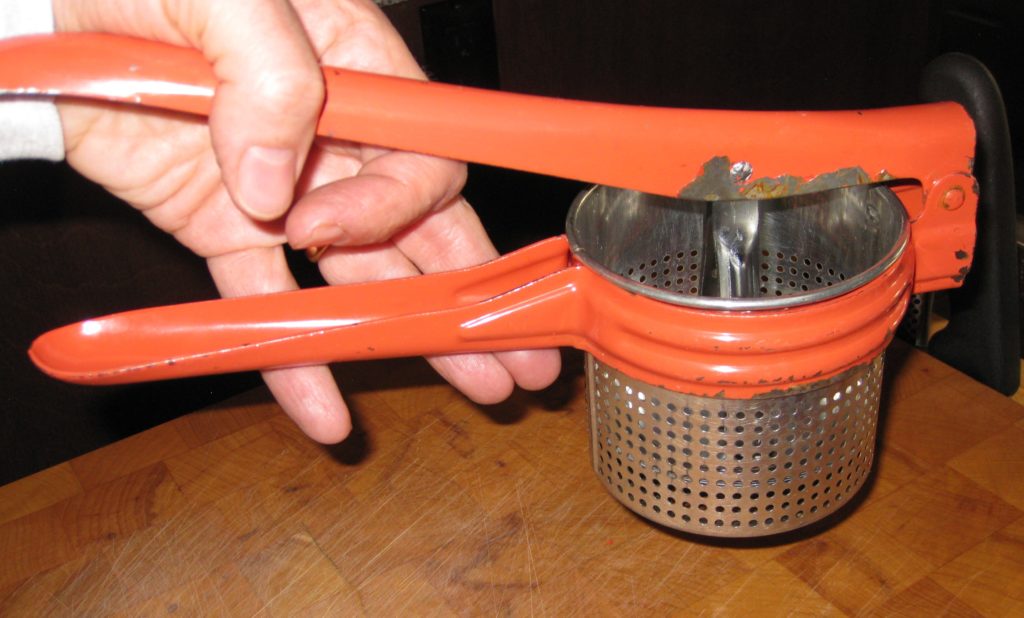
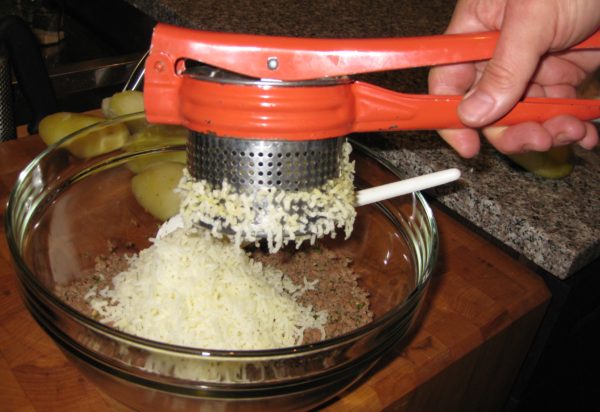
An old-fashioned ricer is still an indispensable piece of kitchen equipment. Make sure yours is very sturdy. Many new ones are not.

Click HERE to join our mailing list and you’ll never miss a recipe again!


But here’s a secret that I haven’t told anyone yet.  They really AREN’T meatballs.  They’re croquettes!  Crocchette in Italian.

There, I said it.  Marisa’s Mystical Meatballs aren’t really meatballs.  But everybody in the family calls them “Ma’s Meatballs.”  “Ma’s Croquettes” doesn’t have the same alliterative allure, even if it’s more accurate.

My mother-in-law and father-in-law celebrating his birthday.

When I did a Google search for crocchette, Google turned up about 1,730,000 results in 0.51 seconds.  When I searched for crocchette patate e carne (potato and meat croquettes), Google returned 1,500,000 results in 0.72 seconds.

And that was doing searches in Italian!

I found a Japanese woman who seems to have the same relationship to her mother’s meat and potato croquettes (korokke) as my husband and his family have to his mother’s.


Follow us on your social media platform of choice


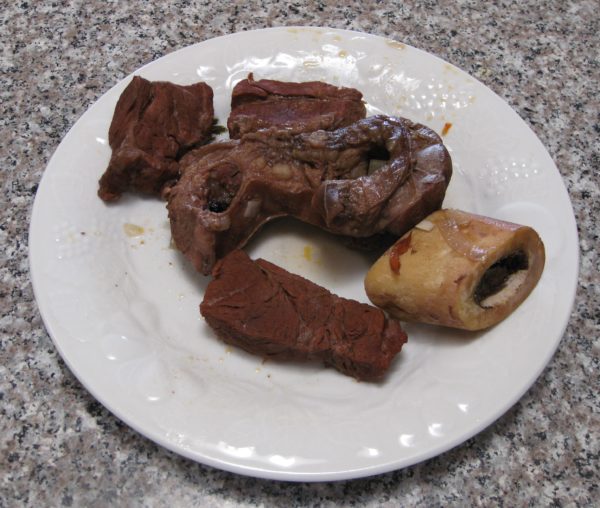
The meat for these “meatballs” (a word I’ll use in deference to my husband and his family of origin) is boiled before being finely chopped.  This presents a perfect opportunity to make a really nice beef broth.  You don’t have to do that, of course, but since you’re going to be boiling the meat anyhow, and since it only takes a few extra minutes to throw some aromatics into the pot, why not!

The broth from the meat for the specific batch of meatballs shown in this blog is sitting in the freezer ready to be turned into Auntie Helen’s Stracciatella, which will be coming up on the blog next month.


If you have a favorite family recipe and a bit of a story to tell, please email me at santafecook@villasentieri.com and we can discuss including it in the blog. I am expanding the scope of my blog to include traditional recipes from around the country and around the world. If you haven’t seen Bertha’s Flan or Melinda’s Drunken Prunes, take a look.  They will give you an idea of what I’m looking for.


Print Recipe
Marisa's Mystical Meatballs
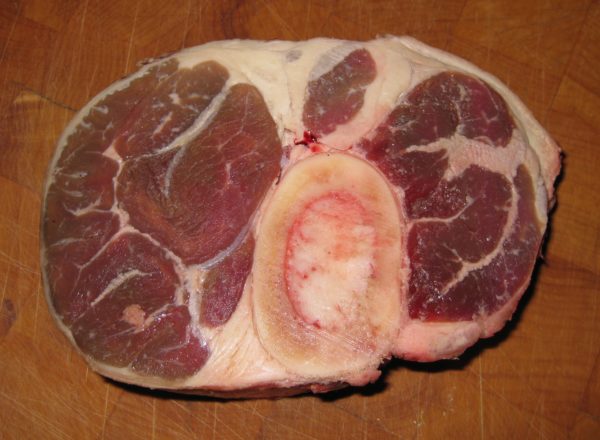
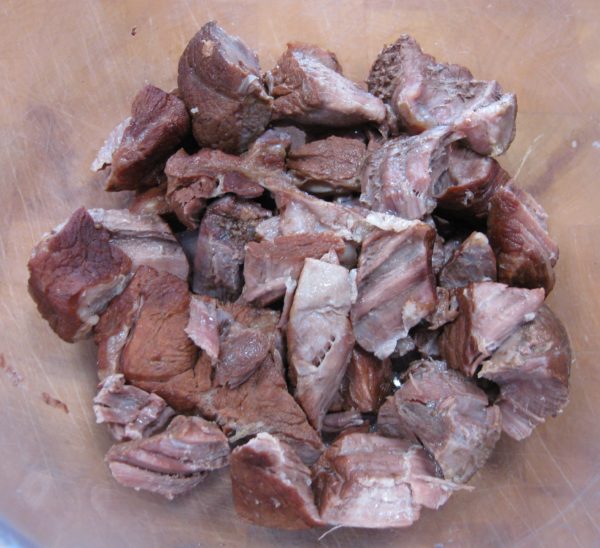
Marisa says she usually uses cross-cut beef shank for the meatballs. When we made them, she also had a piece of beef she bought for soup so we used both. In the end, we got ½ pound of cooked beef, with fat and gristle removed. Adjust the proportion of the other ingredients if you get substantially more or less cooked beef. If you want to use just cross-cut beef shank, I would try about 2 ½-3 lbs. The beef is boiled and then finely chopped to make the meatballs, giving you the opportunity to make a really nice beef broth with just a few minutes more work.
Votes: 0
Rating: 0
You:
Rate this recipe!
Prep Time 30 minutes
Cook Time 6 hours
Servings
meatballs
Ingredients
Beef and Broth
Meatballs
Prep Time 30 minutes
Cook Time 6 hours
Servings
meatballs
Ingredients
Beef and Broth
Meatballs
Votes: 0
Rating: 0
You:
Rate this recipe!
Instructions
Beef and Broth
  1. Cross-cut beef shank.
  2. Put the meat and all other broth ingredients in a large stock pot.
  3. Cover with abundant cold water.
  4. Bring to a boil, reduce heat and simmer, partially covered, for 4-6 hours, until the meat is very tender.
  5. Remove and cool the beef.
  6. Strain the broth and reserve for another use.
Meatballs
  1. Remove fat, gristle and bone from beef. You should have approximately ½ pound of cooked beef.
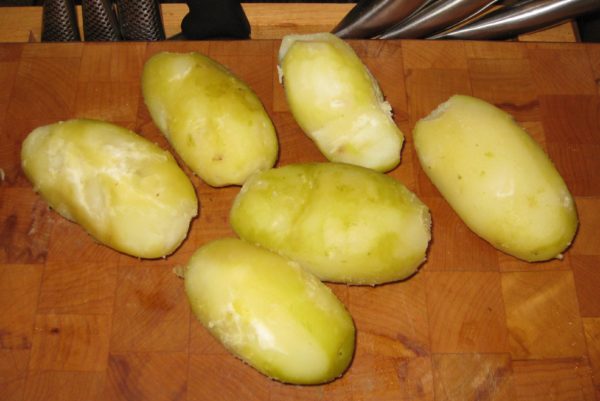
  2. Cook the unpeeled potatoes in boiling water until you can easily pierce them with the tines of a long fork or paring knife, 20-25 minutes.
  3. Remove the potatoes from the water and allow to cool for about 10 minutes.
  4. Meanwhile, mince the garlic or grate it on a microplane grater.
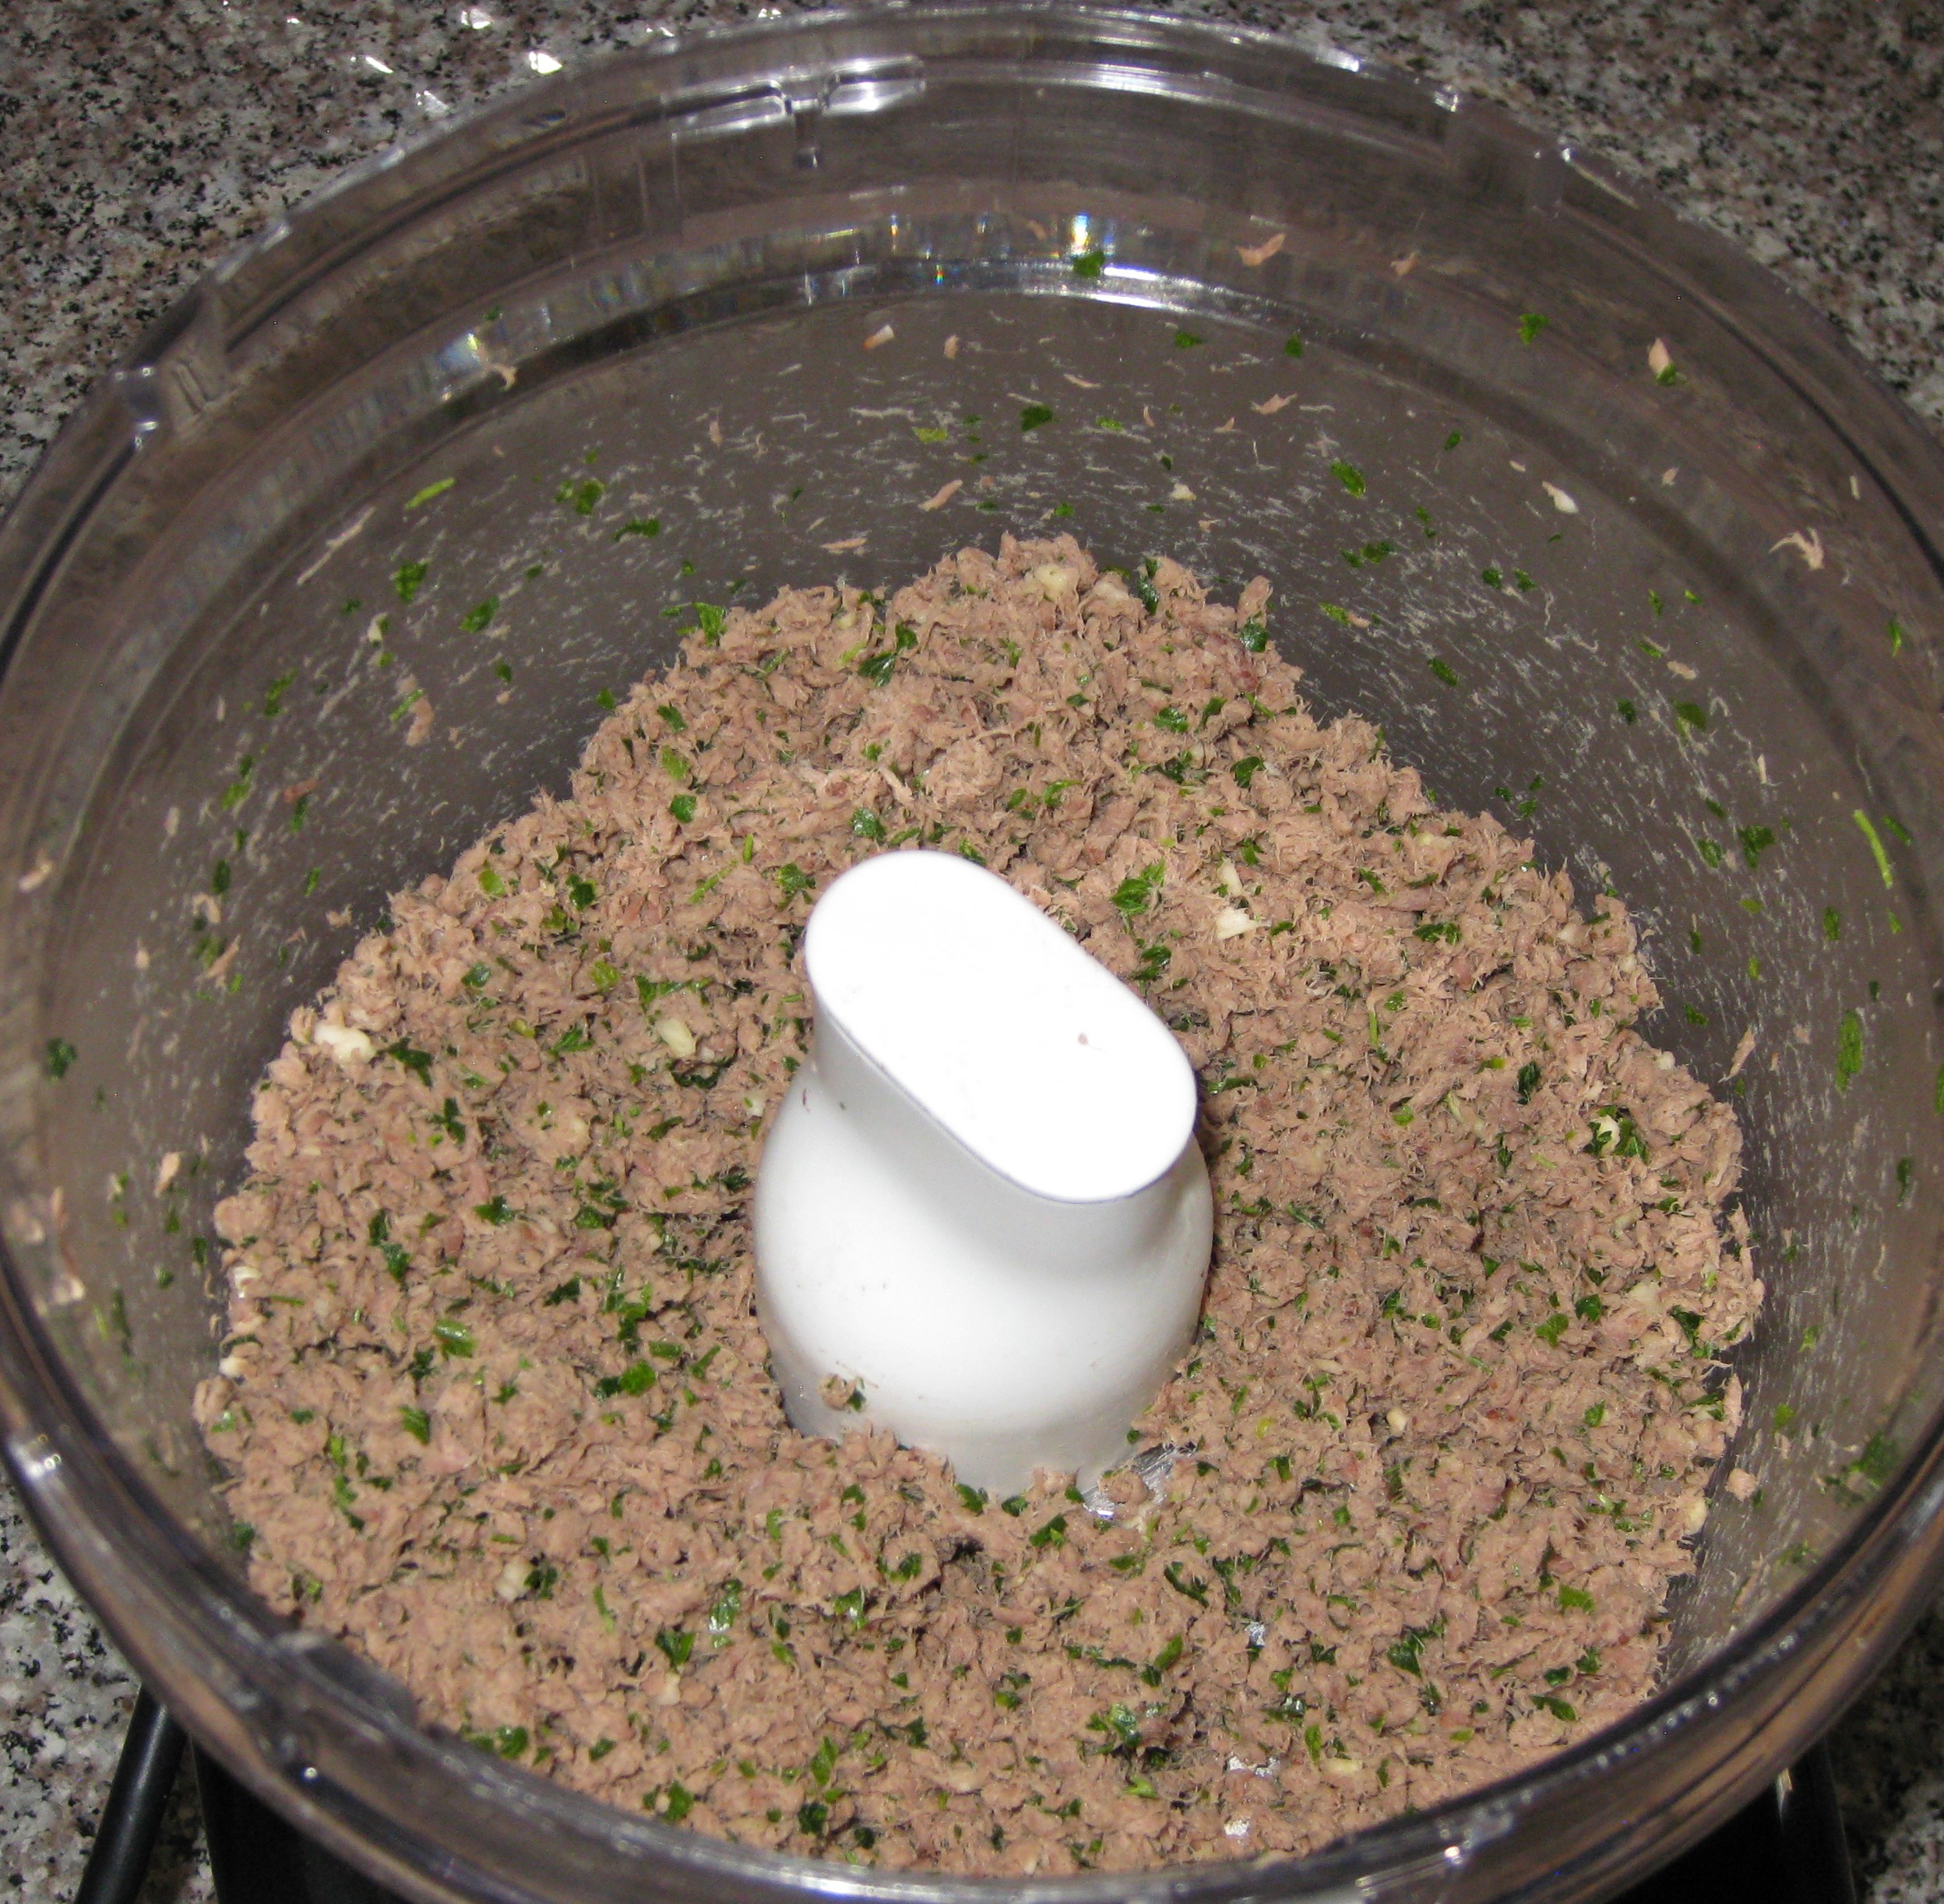
  5. Combine beef, parsley and garlic in a food processor. Process until finely chopped.
  6. Peel the slightly cooled potatoes. If they are too cool it will be difficult to rice them.
  7. Pass the potatoes through a ricer.
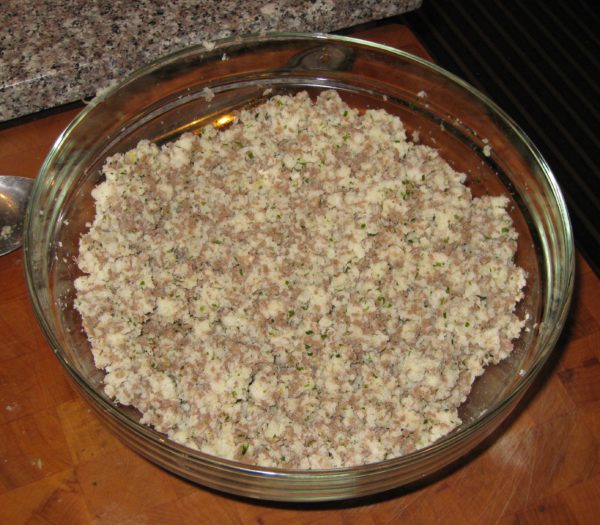
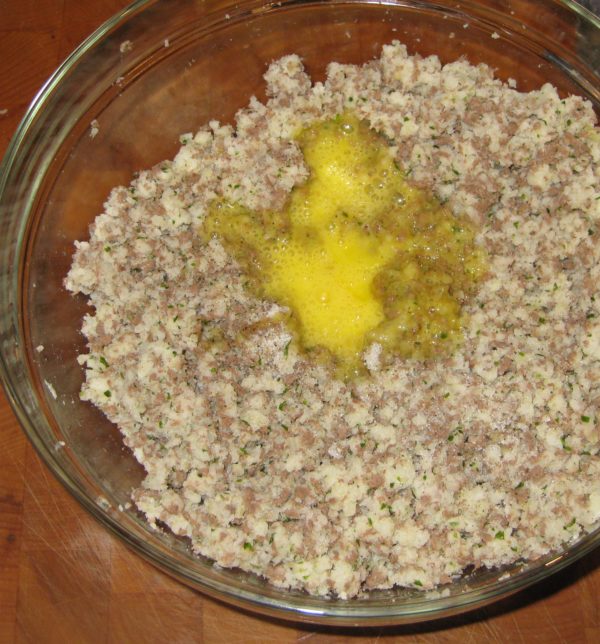
  8. Combine the beef mixture with the potatoes, nutmeg, allspice, salt and black pepper.
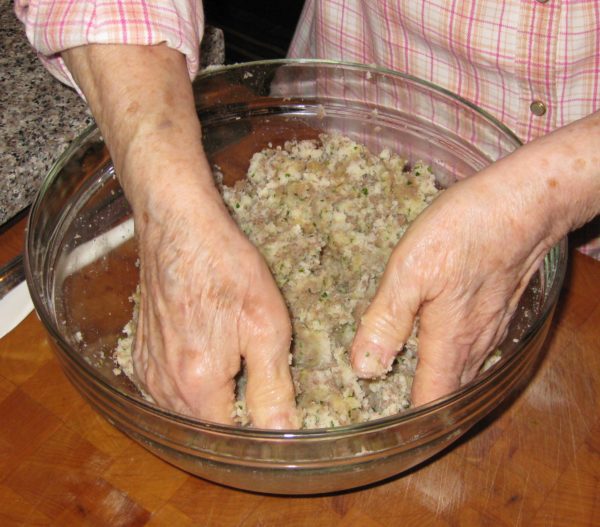
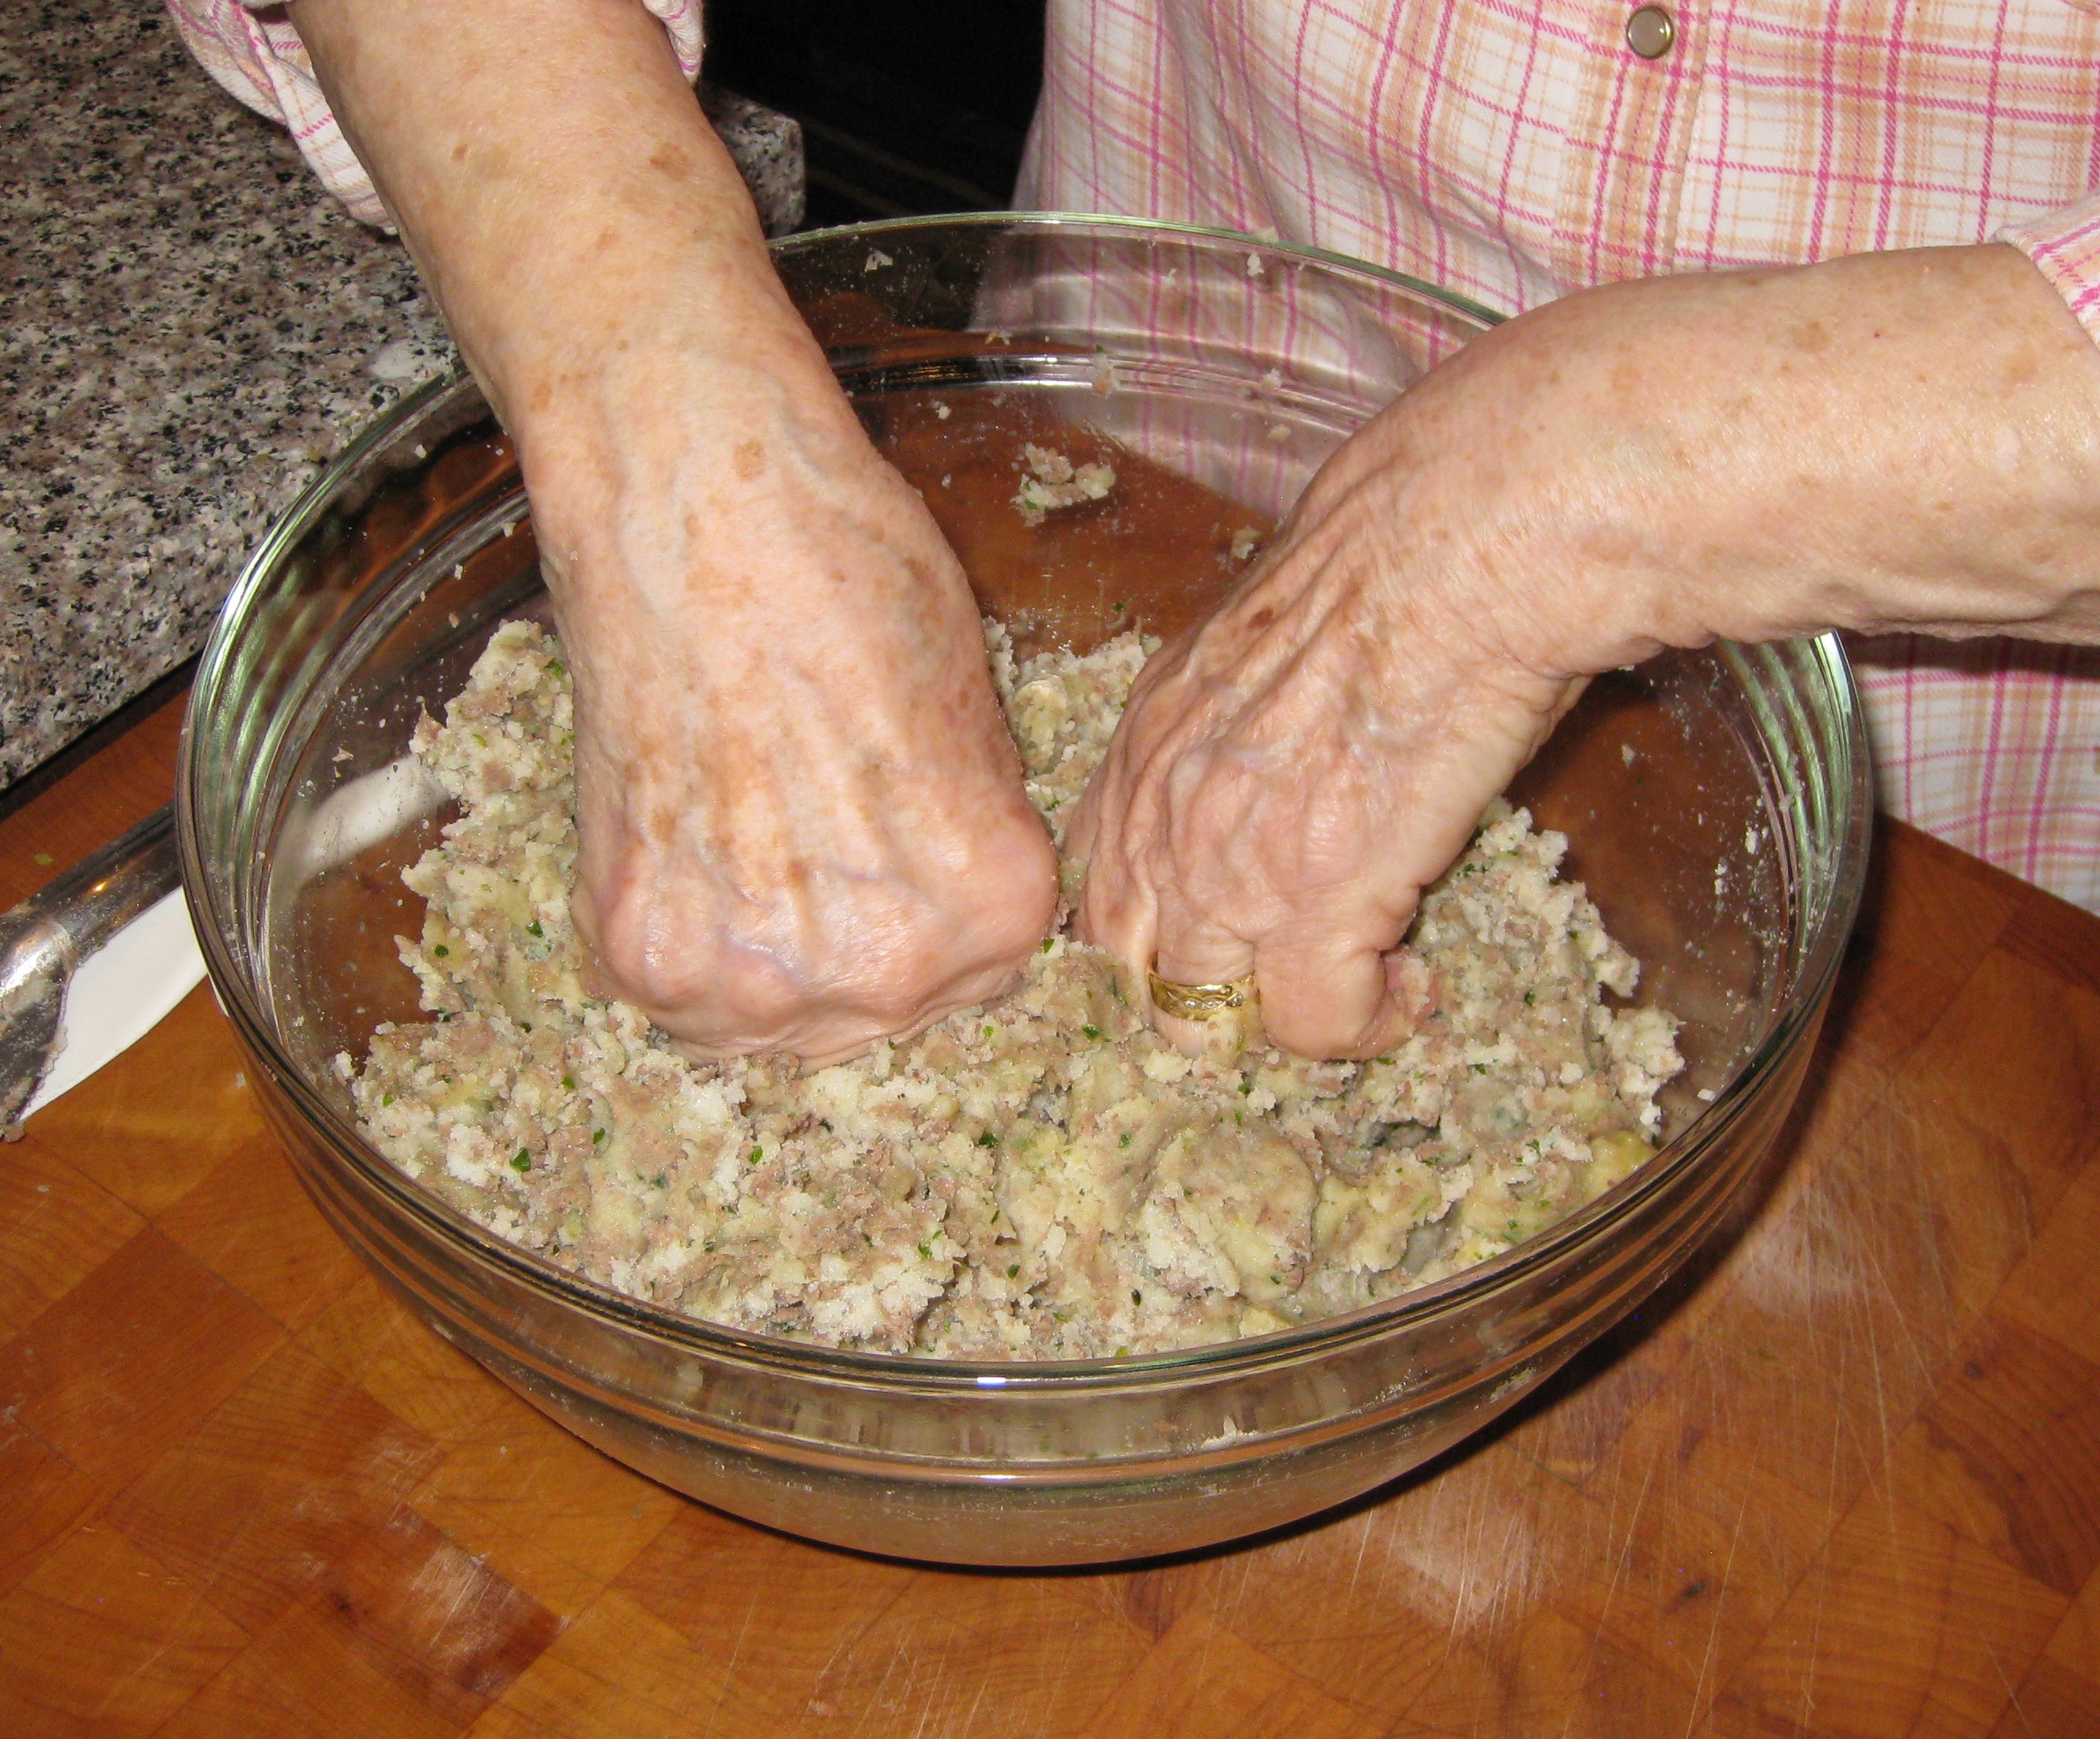
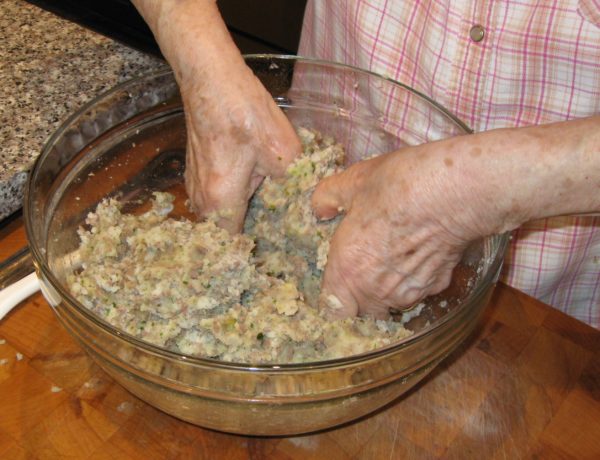
  9. Mix well with a large spoon or your hands.
  10. Add the lightly beaten eggs.
  11. Mix well using your hands.
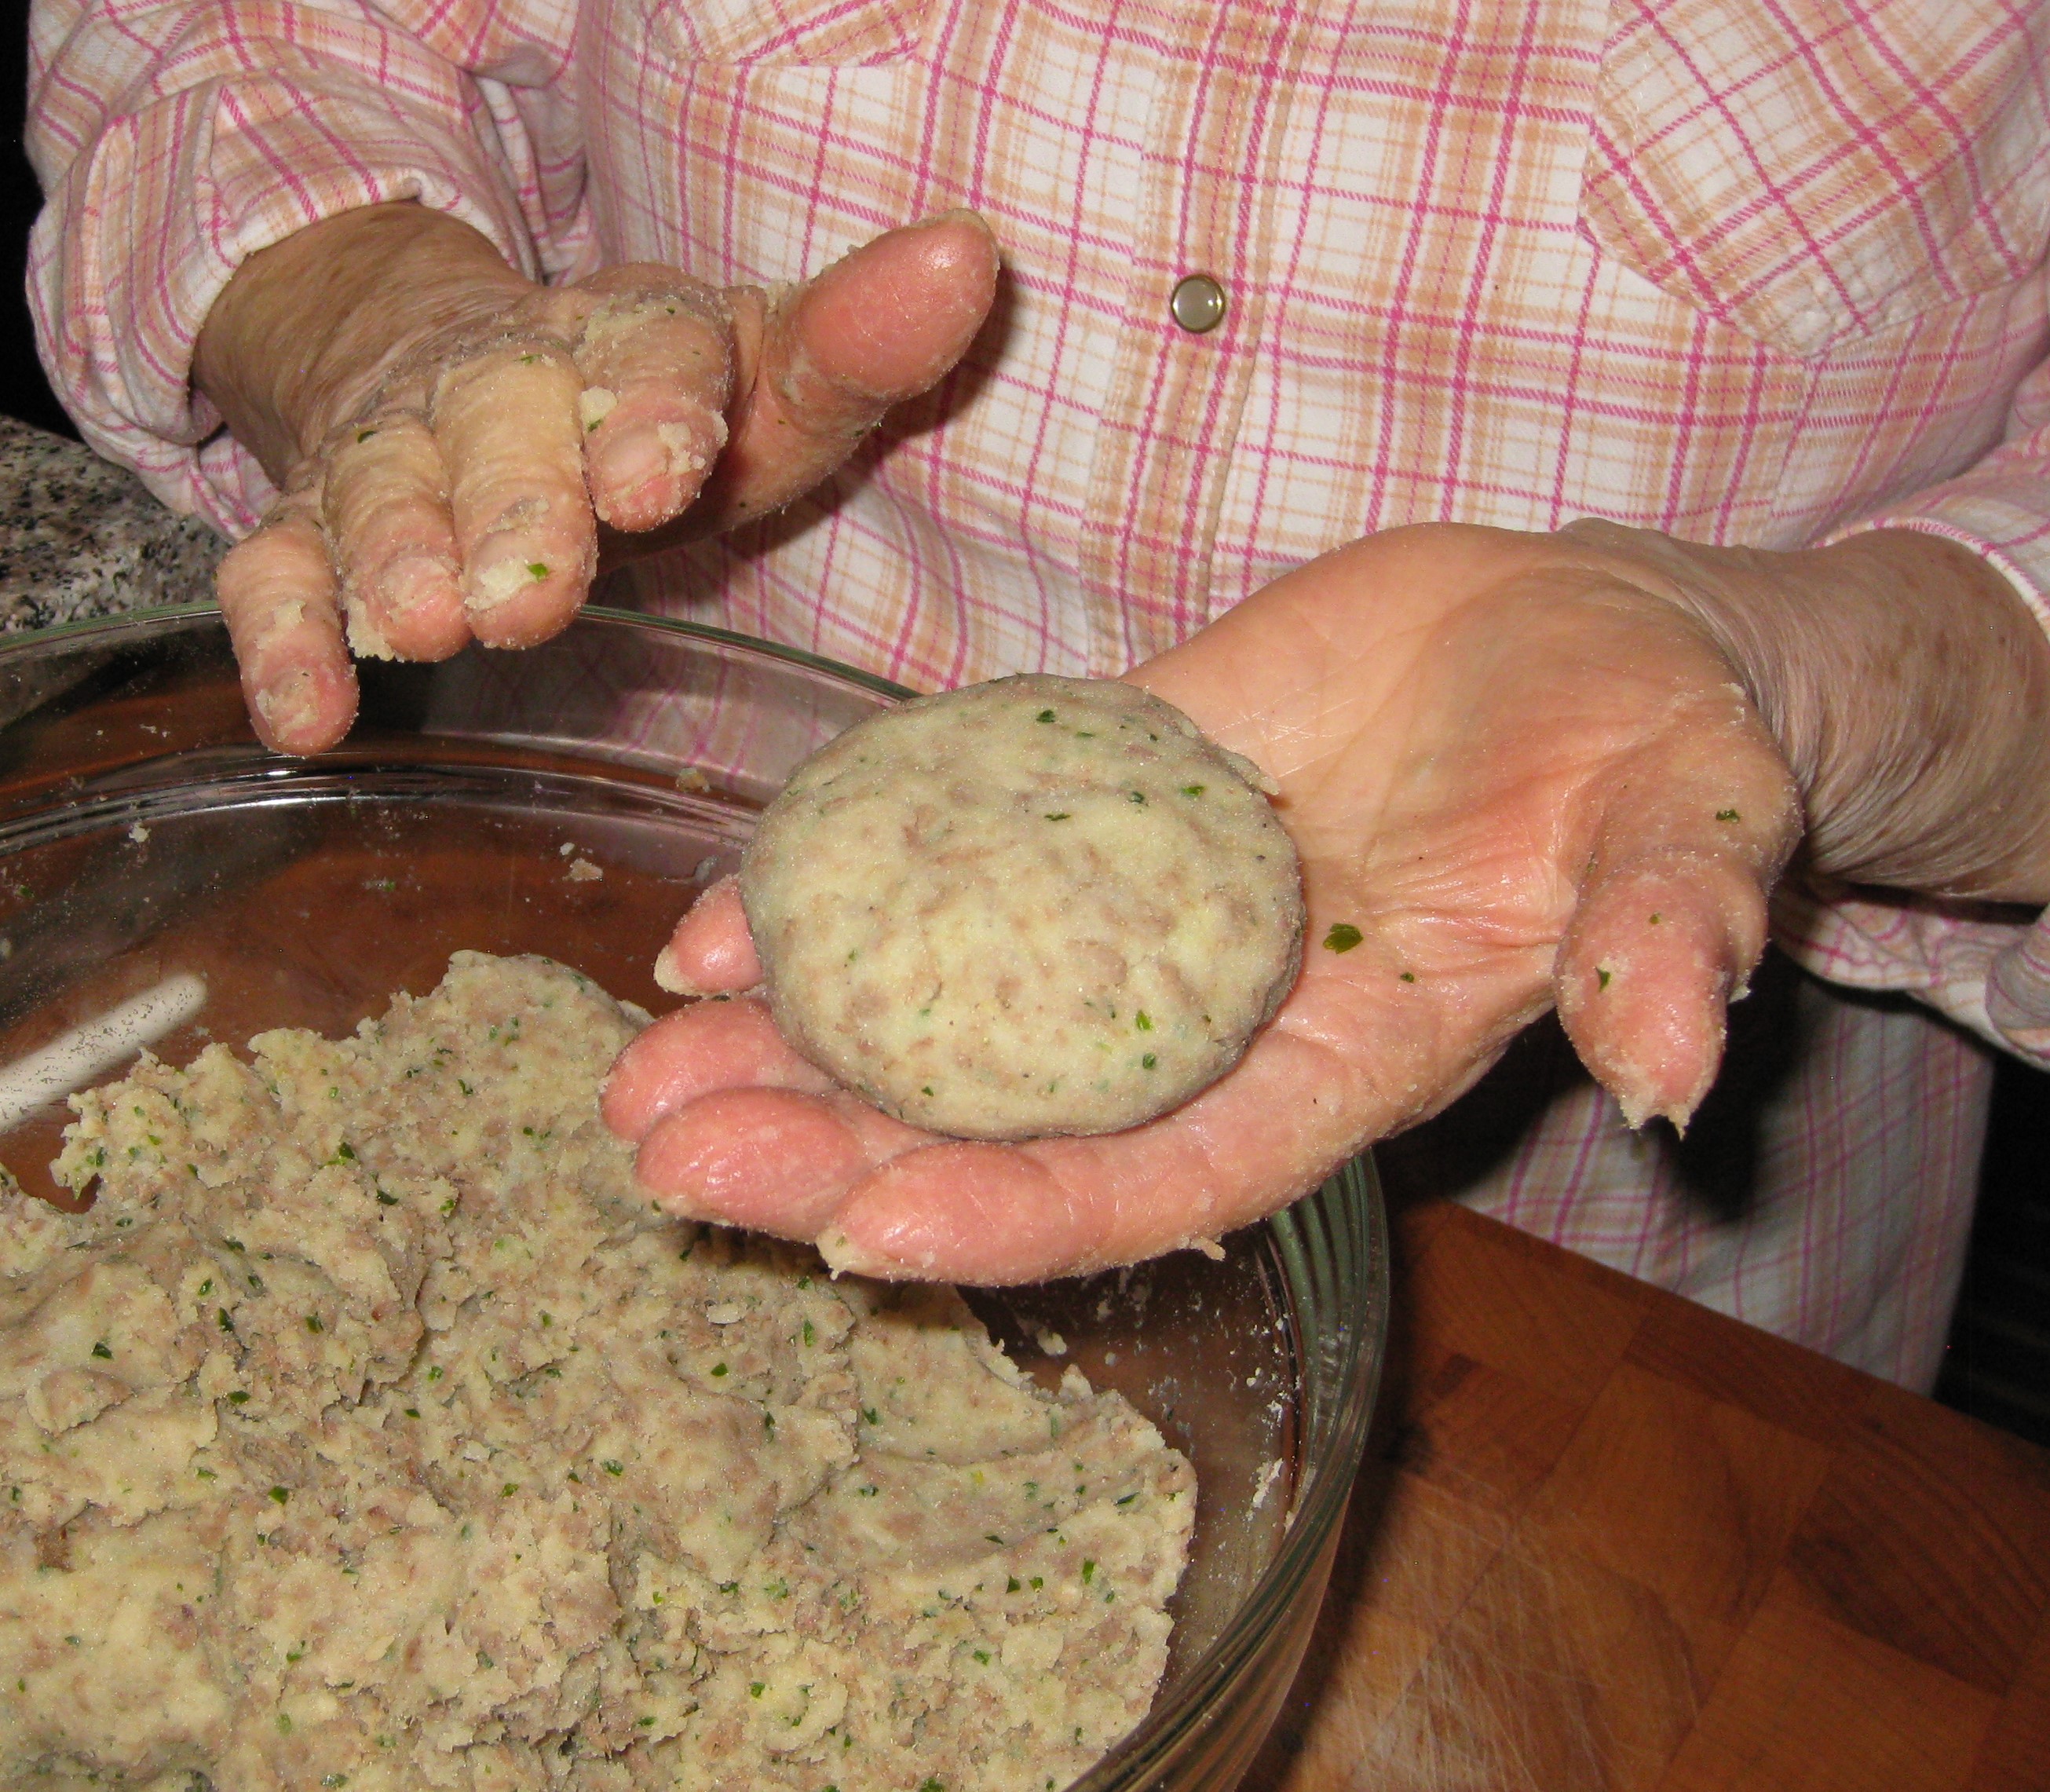
  12. Form the mixture into 16 balls and then flatten them slightly.
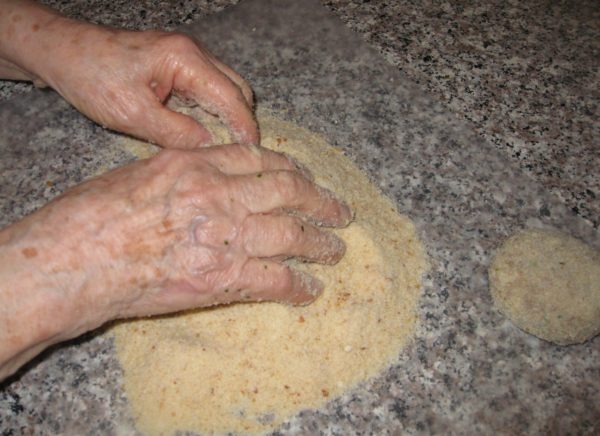
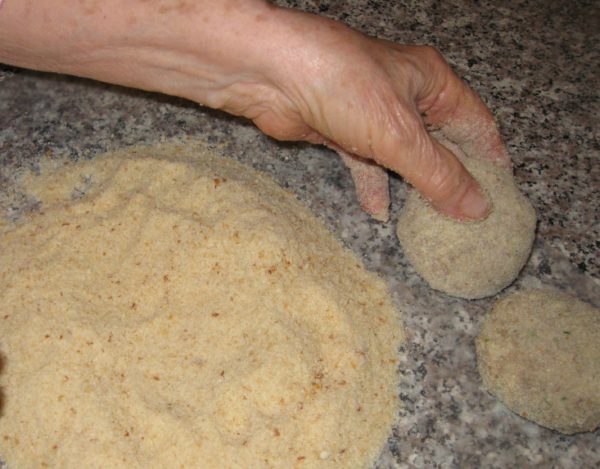
  13. Lightly roll the meatballs in fine dry breadcrumbs.
  14. Pour ⅛ inch of oil into a large sauté pan.
  15. Heat the oil on medium-high heat.
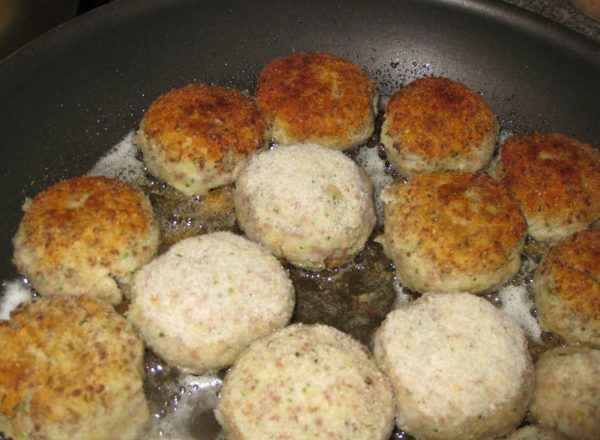
  16. Fry the meatballs in two batches, on medium-high, flipping once, until brown.
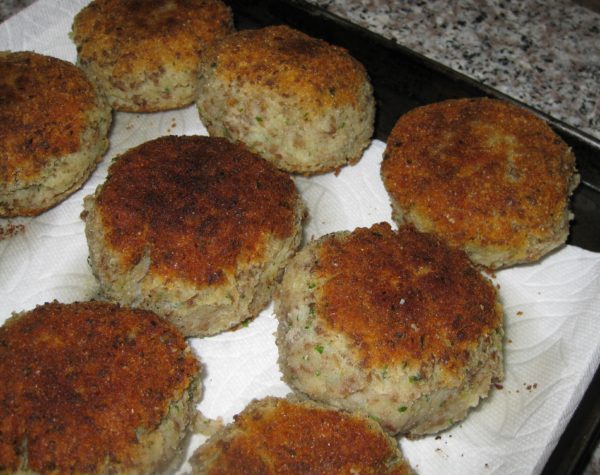
  17. Drain on paper towels.
  18. Serve warm or at room temperature.
Recipe Notes

Copyright © 2018 by VillaSentieri.com. All rights reserved.
Share this Recipe

Cabbage and Noodles (Halushki)

November 27, 2017

One of the interesting consequences of working on this blog is that it is getting me to cook more Slovak food.

We ate way more Italian food than Slovak food when I was growing up but, nonetheless, Slovak food was a significant presence on our table.

Things that only lived in my memory, like the Chicken Paprikash that I posted a few weeks ago, and my Grandma Mihalik’s Butter Cookies that are coming up in a week or two, are now real. And it’s not only the Slovak food. The Chinese Five-Spice Roast Pork from last week hasn’t been on my table in more than 40 years!


Click HERE to follow us on Instagram


Part of the reason is that, as much as I enjoy cooking, I hadn’t devoted as much time to planning what I was going to cook as I did when I was younger.  That is, until I got deep into this blog (and the restaurant cookbook I’ve been asked to write).

In Junior and Senior years of college there was a plan for dinner for every day of every week. Sometimes there was a plan for lunch, too!

Good provisions weren’t conveniently located to the University of Pennsylvania campus except for some specialty items from the ethnic markets near campus or the occasional very basic item from one of two nearby (in-super) supermarkets. Grocery shopping was done weekly and involved a trip to Ninth Street (sometimes called the Italian Market), and to the Pathmark supermarket in Broomall, PA.

Every meal got planned and a shopping list was created.

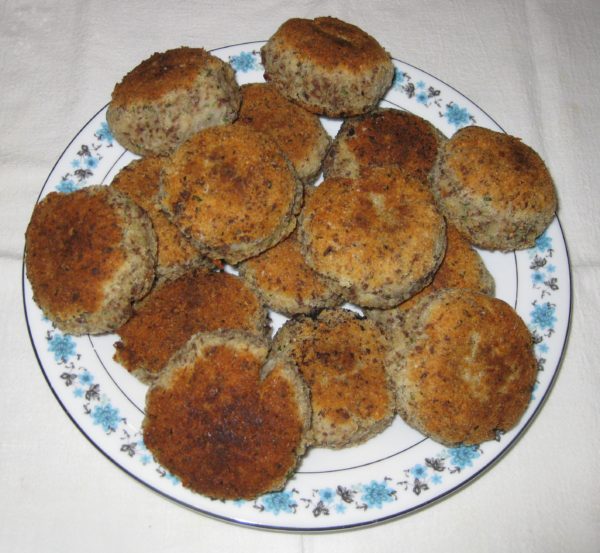
The planning was usually done in the evenings when I needed a break from studying (which I know some of you think I never did!). I would sit down with a cookbook or two, or my box of recipes handwritten on 3” x 5” index cards, or the typewritten recipes from Mrs. Hugh, my roommate’s mother and, over the course of the week, generate a list of what my roommate and I were going to have for dinner each night. Some were favorites but many were new, like the whole poached fish I made from Marcella Hazan’s first cookbook or Mrs. Hugh’s Crispy Duck (see the photo embedded in this blog post).

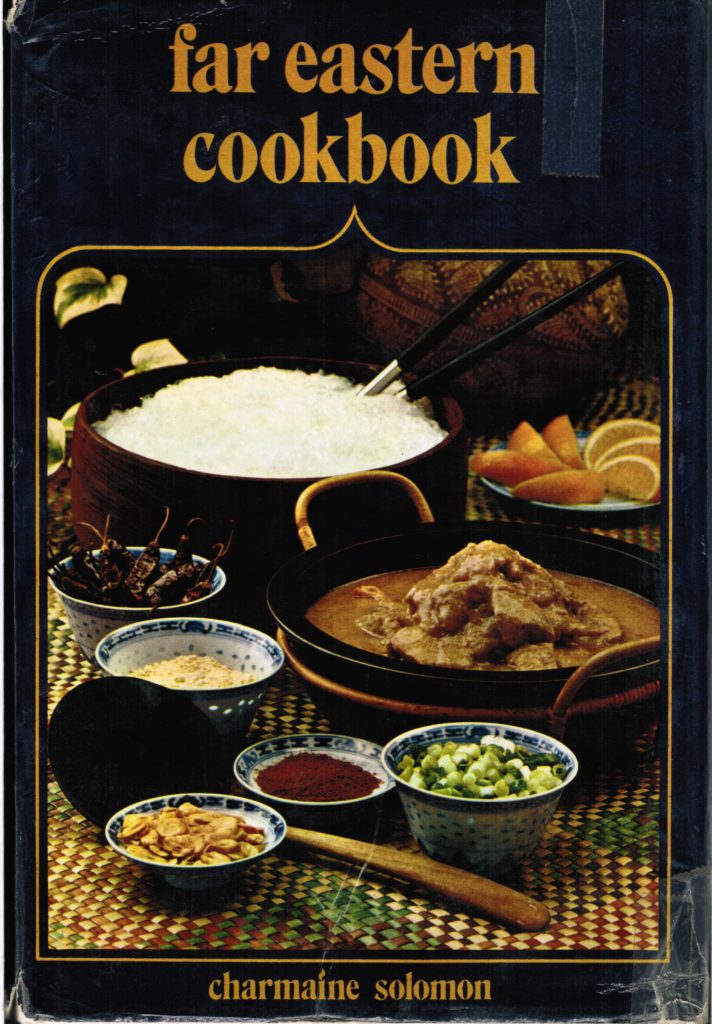
One of my favorite books was a slim volume by Charmaine Solomon. Charmaine was from Sri Lanka and two of the resident advisors in my college house, Reggie and Nanacy Rajapakse, were also from Sri Lanka and knew Charmaine. Charmaine’s Far Eastern Cookbook was copyrighted in 1972 (the year I started college). The edition I have was printed in 1973 so it was quite new when I bought it in 1974 shortly after entering the International Residence Project. I read that book cover to cover, like a novel, many times. I could sit for hours and pore over Charmaine’s recipes.

My dog-eared and much beloved copy of Charmaine Solomon’s Far Eastern Cookbook

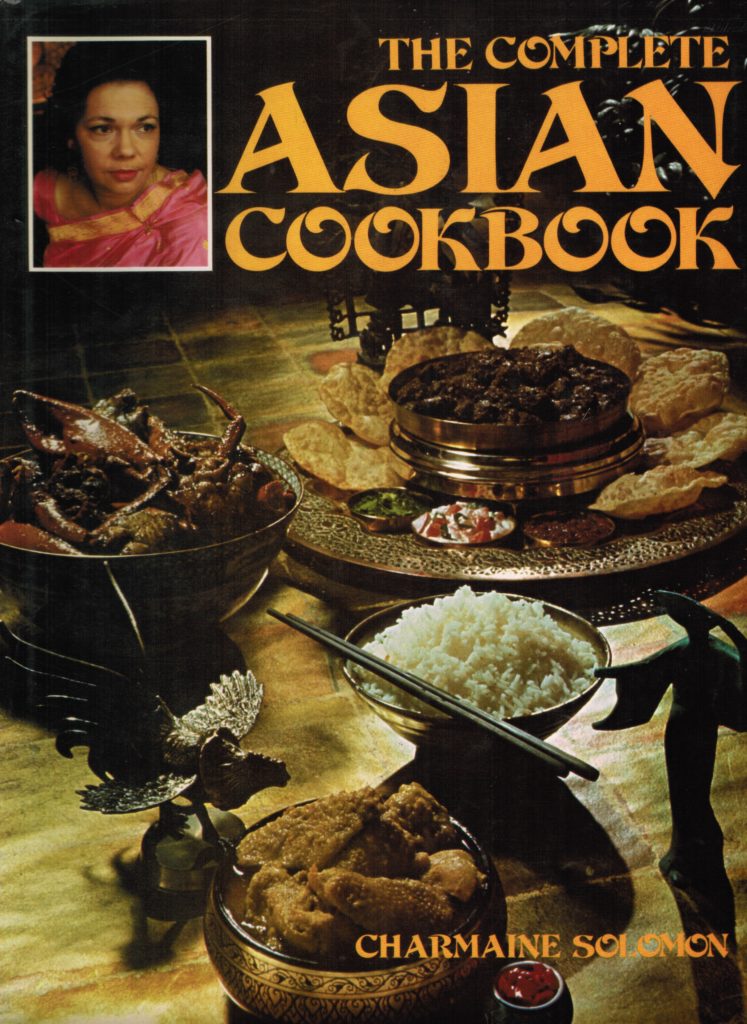
In 1976, when I graduated college, Reggie and Nanacy bought me another of Charmaine’s cookbooks as a present, The Complete Asian Cookbook.

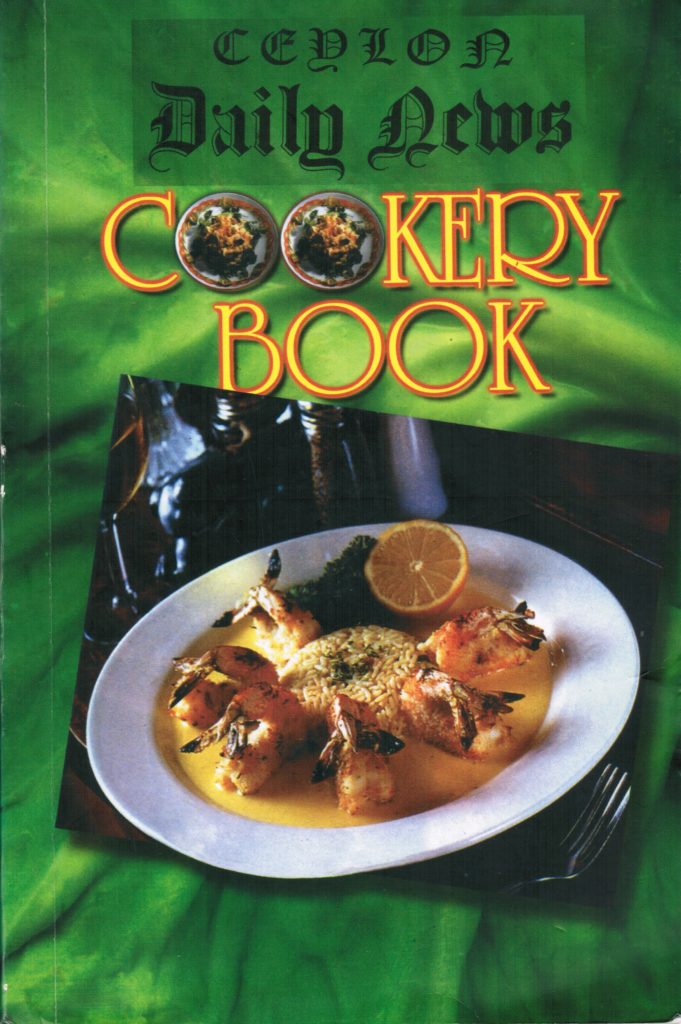
Another favorite cookbook was the [Ceylon] Daily News Cookery Book which was in the collection of the Van Pelt library at the University of Pennsylvania. I would check it out, keep it as long as I could, return it, and then check it out again. It was a hardcover book with a red cloth cover. It was simply titled the Daily News Cookery Book.  Reference to Ceylon was nowhere to be found in the title.  Many years later, on a trip to Sri Lanka, I was able to get a reprint of the book (with the word Ceylon added to the title).

My point, though, is that my cooking repertoire expanded because I worked at it. Ray and I planned every meal, we went grocery shopping, we cooked, and we most certainly ate. I was still able to keep up a good cooking pace through medical school but after that, as I got busier and busier, it became harder and harder.

While I can put food on the table any given night without much thought, recreating past favorites or trying out new recipes requires more planning. I now have a calendar specifically devoted to cooking. Dishes get planned out weeks, if not months, in advance. It’s a lot of work, yes, but it’s tremendously rewarding to prepare my favorite foods, many of which I haven’t had in many years, and introduce them to others.

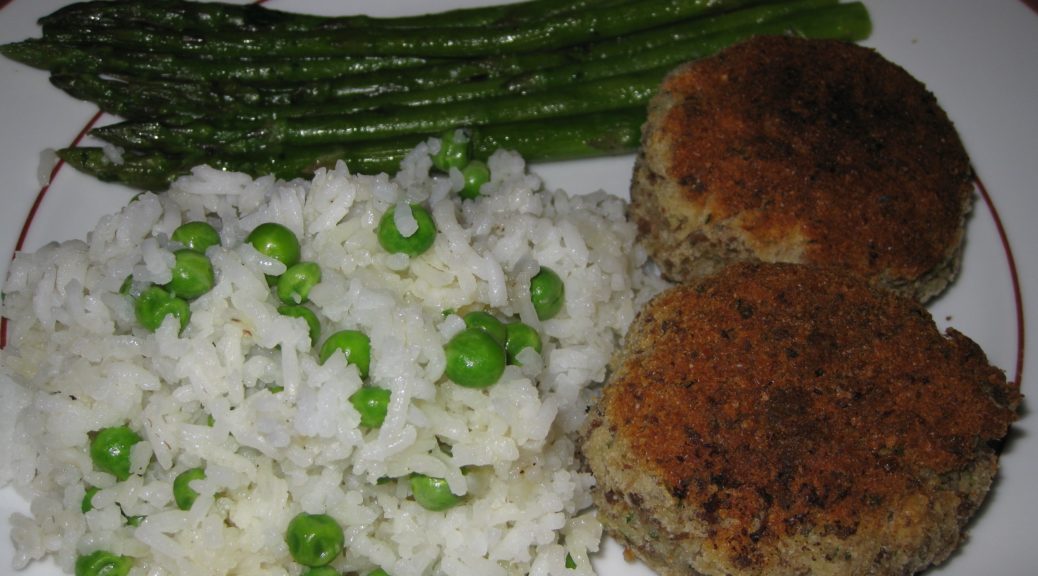
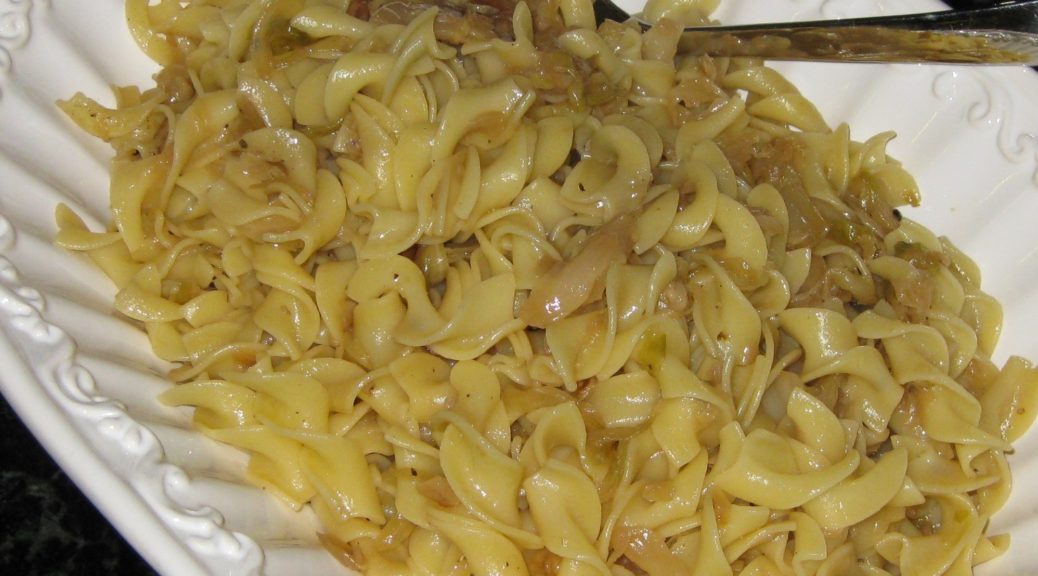
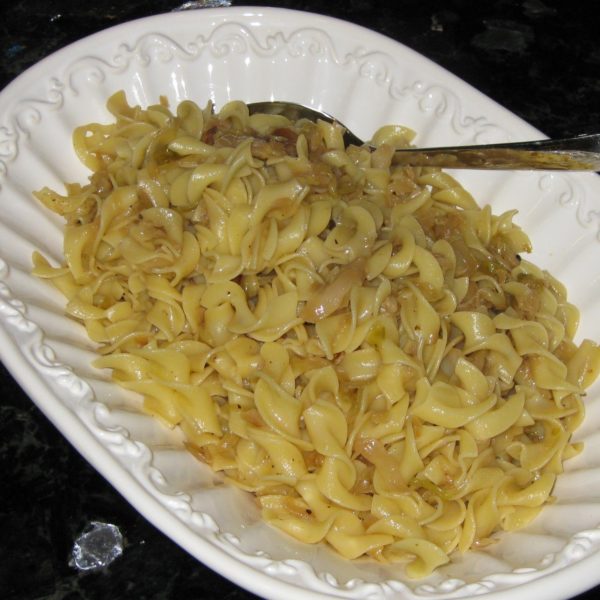
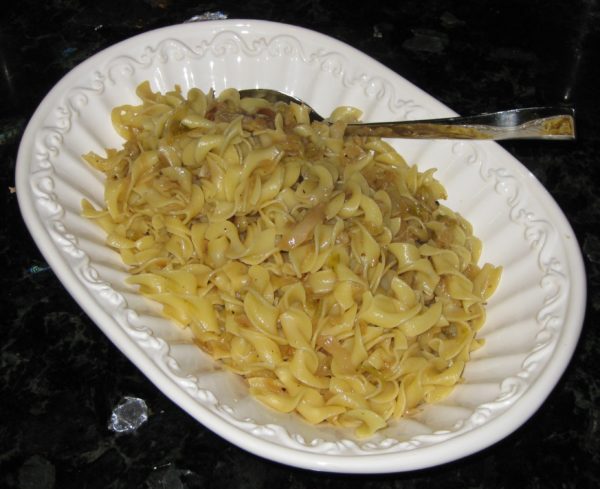
Cabbage and Noodles, sometimes called Halushki, was frequently on our table. I remember it particularly being served with Salmon Patties, one of my favorite Friday meals when we didn’t eat meat. We had it other times, too, but the association of Cabbage and Noodles with Salmon Patties is very strong.


Follow us


Click HERE to join our mailing list and you’ll never miss a recipe again!

Print Recipe
Cabbage and Noodles (Halushki)
Although three pounds of cabbage sounds like a lot, it cooks down a tremendous amount. If you wish, you can add a teaspoon or two of caraway seed to the cabbage during the last 20 minutes of cooking. Though my family did not do that, it is not unusual to do so.
Votes: 0
Rating: 0
You:
Rate this recipe!
Prep Time 15 minutes
Cook Time 2 hours
Servings
people
Ingredients
Prep Time 15 minutes
Cook Time 2 hours
Servings
people
Ingredients
Votes: 0
Rating: 0
You:
Rate this recipe!
Instructions
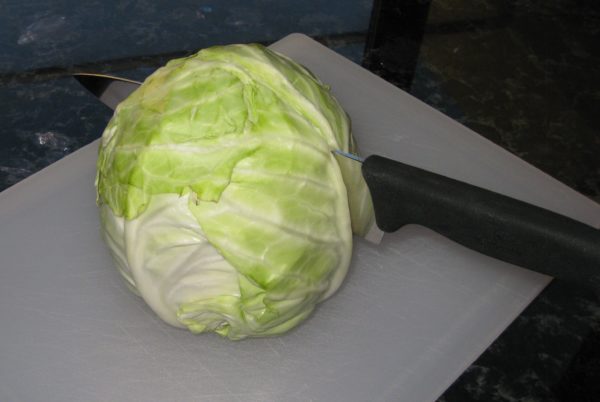
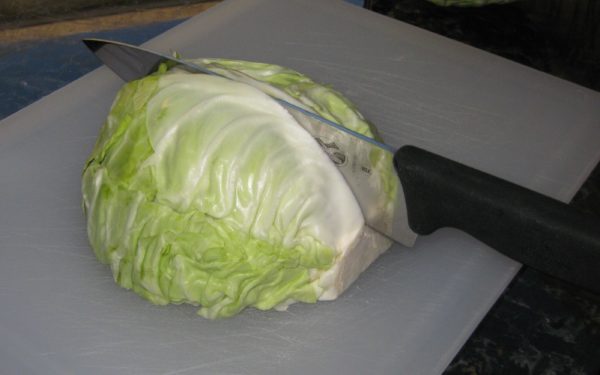
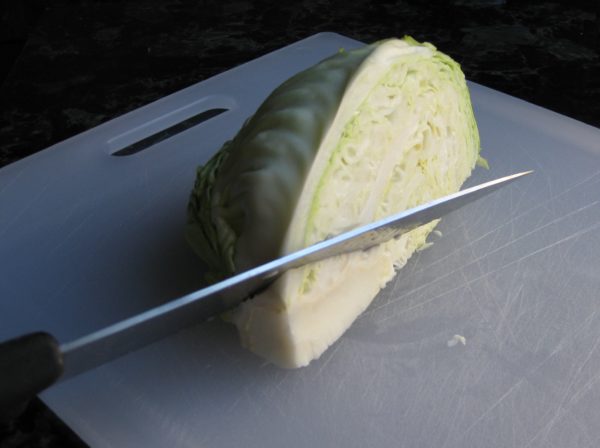
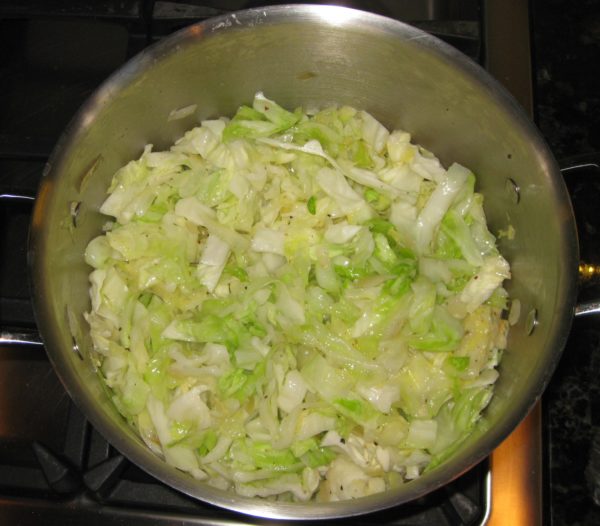
  1. Quarter and core the cabbage.
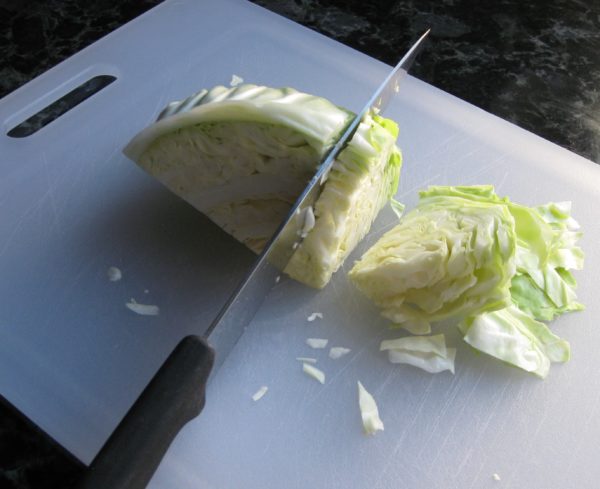
  2. Slice each quarter crosswise into ½ inch wide ribbons.
  3. In a heavy-bottomed pot large enough to hold the cabbage comfortably melt four tablespoons of the butter.
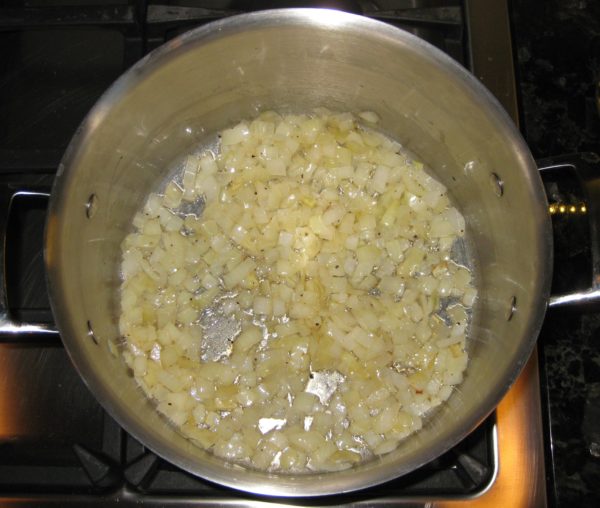
  4. Sauté the onion in the butter until golden.
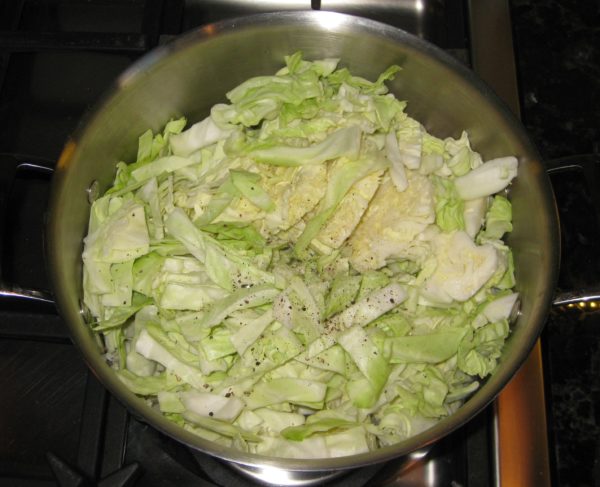
  5. Add the cabbage. Season generously with salt and pepper.
  6. Sauté on medium heat, stirring often, until the cabbage wilts.
  7. Reduce the heat if the cabbage starts to stick to the pot.
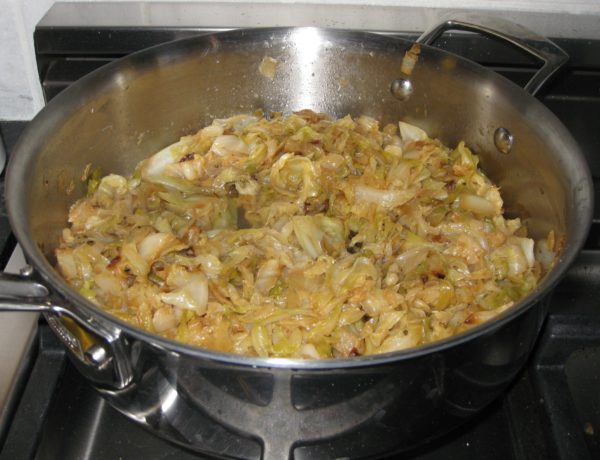
  8. Continue to cook on medium low, partially covered and stirring often, until the cabbage is silky, golden, and sweet. This will take 1 ½ to 2 hours total from start to finish.
  9. The cabbage can be cooked several hours in advance to this point. Warm the cabbage before proceeding.
  10. Bring 3 quarts of water to a rolling boil. Add 1/3 cup of salt.
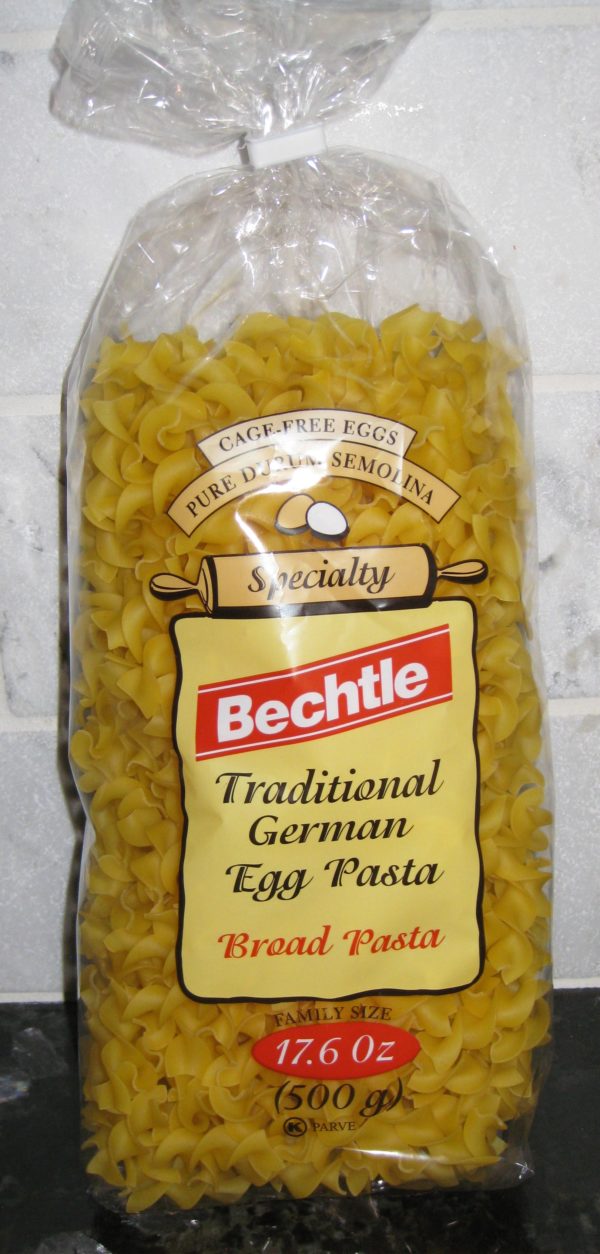
  11. Cook the egg noodles in the salted water until just done. They should be slightly toothy and definitely not mushy.
  12. Drain the noodles.
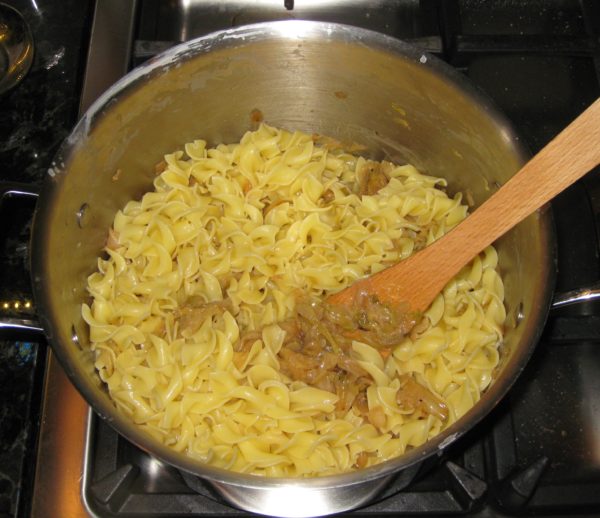
  13. Add the noodles to the cooked cabbage along with the remaining 2 tablespoons of butter. Toss well.
  14. Taste and adjust salt and pepper.
Recipe Notes

Copyright © 2017 by VillaSentieri.com. All rights reserved.
Share this Recipe

New Mexican Green Chile Sauce

September 22, 2017

Those of you who haven’t spent time in New Mexico may not know that chile (definitely spelled with an “e”) has cult status in the state.

New Mexican food wouldn’t be the same without “red” or “green.” Chile, that is. Those are the standard sauces used in New Mexican cuisine.

When ordering most dishes in a New Mexican restaurant in Santa Fe, the first question from the server, if the customer hasn’t specified, is “Red or Green or Christmas?”

Just 70 miles away in Taos, the question is “Red or Green or Caribe?”

It’s not that you can’t get Christmas in Taos, which as you might have guessed is half red chile sauce and half green chile sauce, it’s that never, ever is Caribe an option in Santa Fe. It just isn’t. I believe this speaks to the development of related, but different, foodways in the historically isolated towns and villages of New Mexico.

The most famous of all New Mexico chile is Hatch. There are about six varieties of chile grown in Hatch but, if they’re grown there, they can all be labeled as Hatch Chile. The tiny village of Chimayó, just under 30 miles from Santa Fe in northern New Mexico, grows good chile, too.

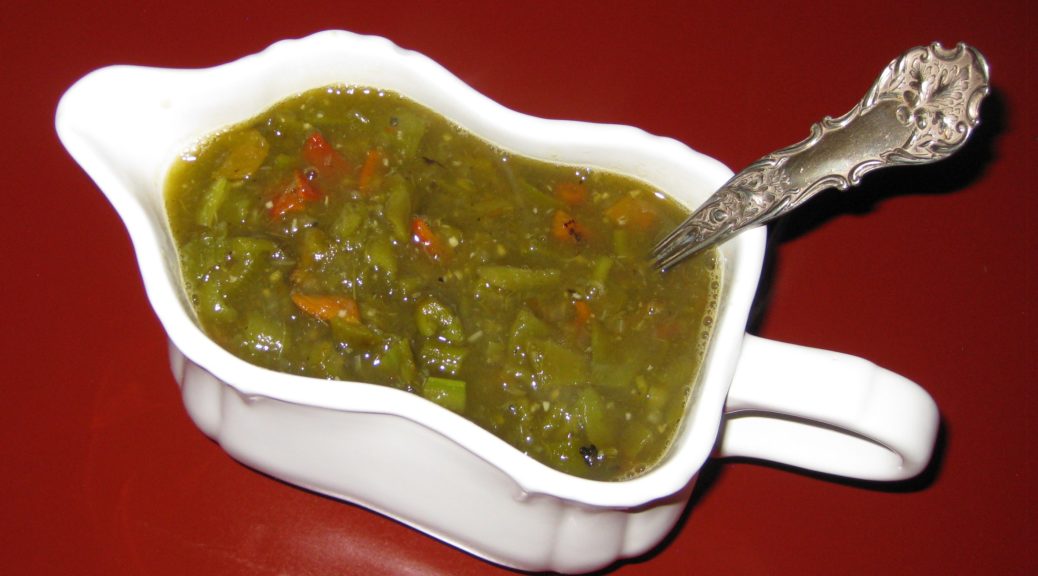
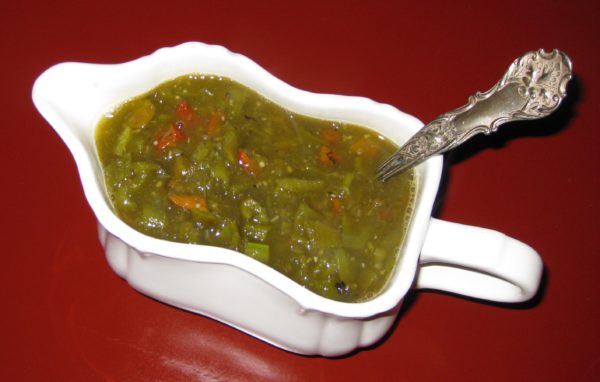
When I buy roasted green chile at the Santa Fe Farmers Market, I usually head for the vendor selling chile from Chimayó. That’s exactly what I did last week to make a batch of Green Chile for this blog post (honestly, we don’t add the word “sauce” to the end as the context indicates whether one is talking about the sauce or the fruit. And, yes, chile is a fruit!). Chimayó has a multi-hundred year history of growing heirloom chile and I feel good supporting that history, if even in a very small way.

A typical chile-roasting set-up found throughout parking lots in New Mexico in the late summer.

I served that chile during a dinner party for a group of close friends. Among the ten of us, only one was born and raised in New Mexico, Pat Assimakis (aka Pat Paris if you’re a maître d’ and she’s ever made a reservation at your restaurant). I gave Pat a taste of my green chile, she thought for a second and said, “Chimayó?” She nailed it! It’s got a slightly different taste from Hatch chile.

New Mexicans have strong opinions about their chile, be it red or green. The usual divide is between those who put almost nothing but chile in their chile (see, you knew the first meant the fruit and the second meant the sauce, right?) except for a bit of onion and/or garlic and those who add herbs (like oregano) and spices (like cumin). I am firmly in the former camp. Onion and garlic help to round out the flavor but, to my taste, herbs and spices detract from the pure chile goodness.

The other divide is degree of heat. Back to the restaurant scenario above, a frequent question from the customer after the server says “Red or Green?” is “Which is hotter?” Restaurants stake out their territory, not only in how they make their chile, but in terms of which is hotter.

Since I’m a bit of a chile-head, given a choice between the medium-hot and the hot Chimayó chile at the Farmers Market, I opted for the hot. So, I was more than a little concerned when Doug Howe, one of the other friends at our dinner, and the first to ladle some green chile onto his plate, took three large spoonsful. Before I could warn him, he took a bite and was in agony. I relieved him of his green chile, putting it on my plate, instead. Pat and I sure enjoyed the chile, Doug not so much. As for the other seven diners, I’m not sure.

In case you missed it, here is my recipe for Red Chile.


Follow us


Click HERE to join our mailing list and you’ll never miss a recipe again!

Print Recipe
New Mexican Green Chile Sauce
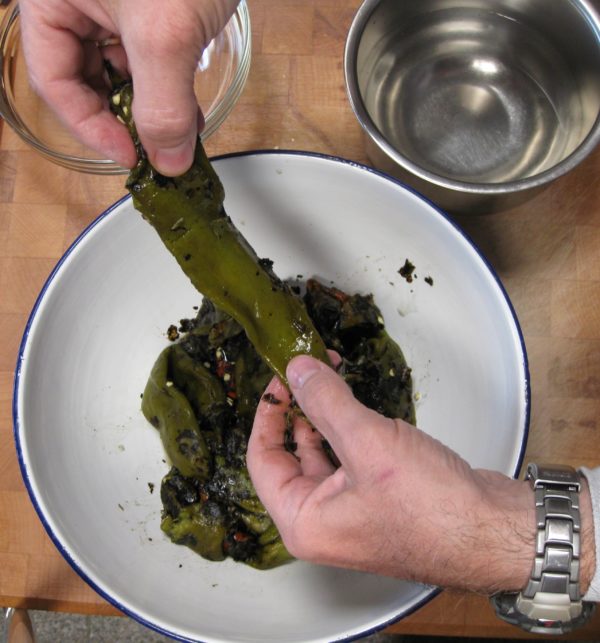
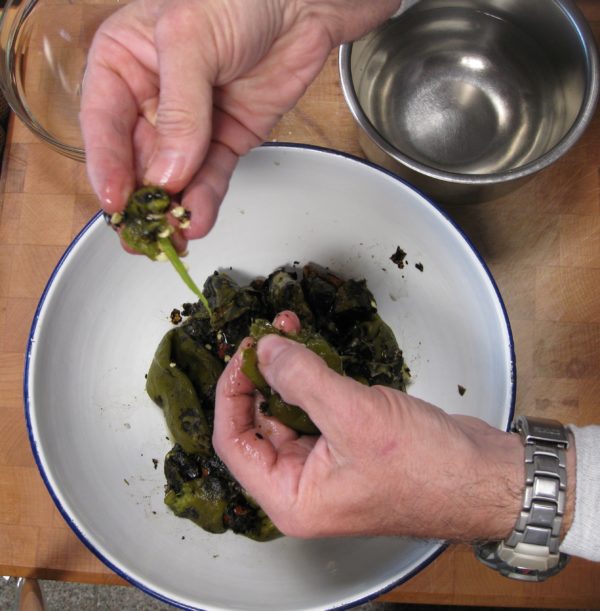
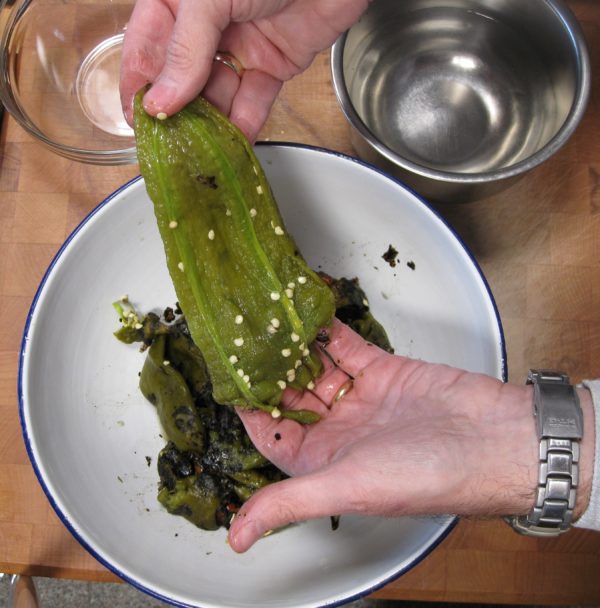
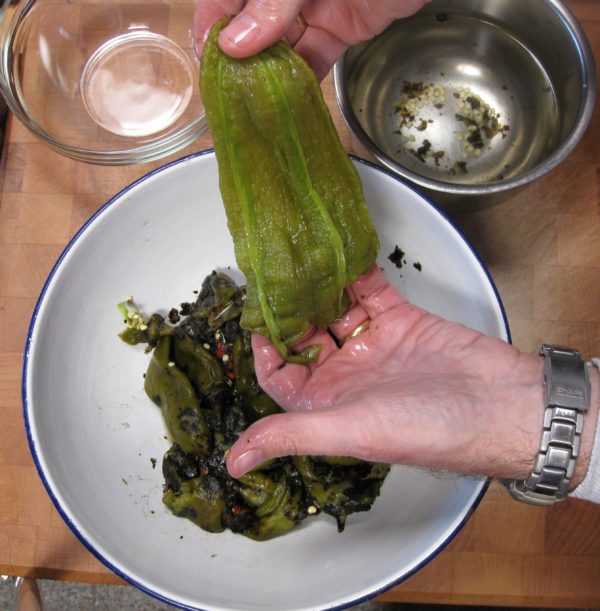
This is classic New Mexican Green Chile. There are just a few aromatics and no herbs and spices to muddy the flavor. Removing the skin and seeds can be a chore as they want to stick to your fingers. Dipping the chile and your fingers in water makes the task a breeze however, you want to use that water as part of the sauce because all of the tasty liquid that collects inside the chile as it roasts would be lost otherwise.
Votes: 0
Rating: 0
You:
Rate this recipe!
Prep Time 30 minutes
Cook Time 45 minutes
Servings
cups
Ingredients
Prep Time 30 minutes
Cook Time 45 minutes
Servings
cups
Ingredients
Votes: 0
Rating: 0
You:
Rate this recipe!
Instructions
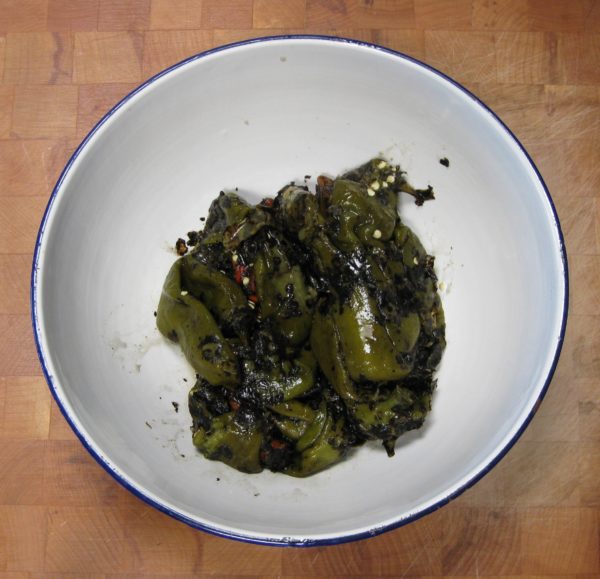
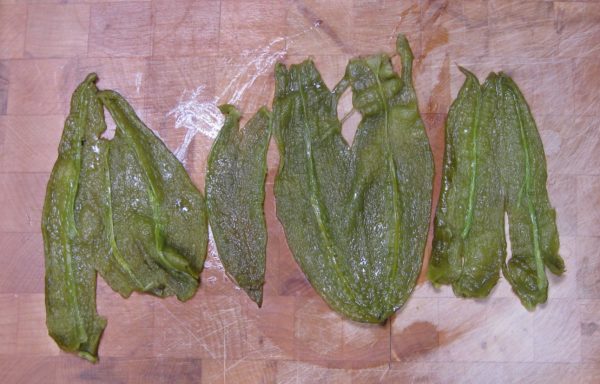
  1. Roasted green chile ready to be cleaned.
  2. Put two cups of water in a small bowl.
  3. Holding the chile over a bowl to catch any juice, use your fingers to remove the skin of the roasted chile. Most of the skin should slide off easily. You may need to work on a few bits here and there. Remove as much skin as possible but a few bits of stubbornly sticking skin aren’t a problem.
  4. Shake whatever skin you can from your fingers (it has a tendency to cling desperately to your fingers) then dip your fingers and the chile in the bowl of water to remove the clinging skin.
  5. Still holding the chile over a bowl, remove the stem end. You can usually do this by pinching the top of the chile but a pair of kitchen shears works well, too.
  6. Discard the stem end and any seeds that cling to it.
  7. Split the chile in half lengthwise. Again, this is pretty easy to do with a fingernail.
  8. Dip the chile into the bowl of water and scrape away the seeds.
  9. Put the cleaned chile into a clean bowl and repeat the process with the remaining chile.
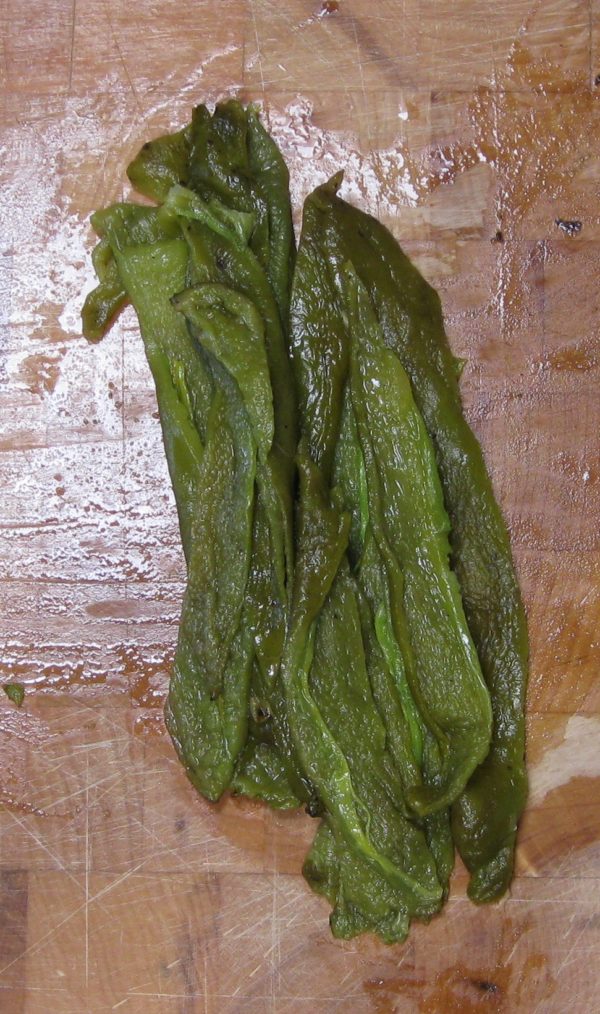
  10. Cut the chile into long strips.
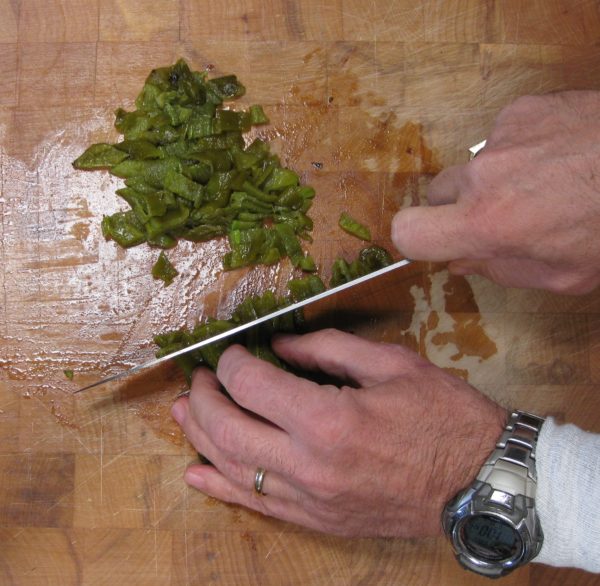
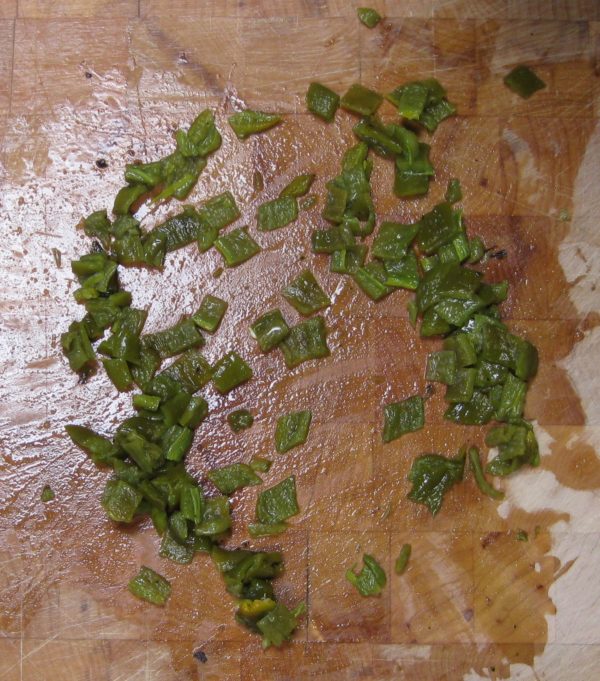
  11. Cut the chile crosswise into small squares
  12. Add any liquid that has collected in the bottom of the bowl from the chopped chile to the bowl of water.
  13. Strain out seeds and bits of flesh from the water using a three step process. Strain the water through a large sieve.
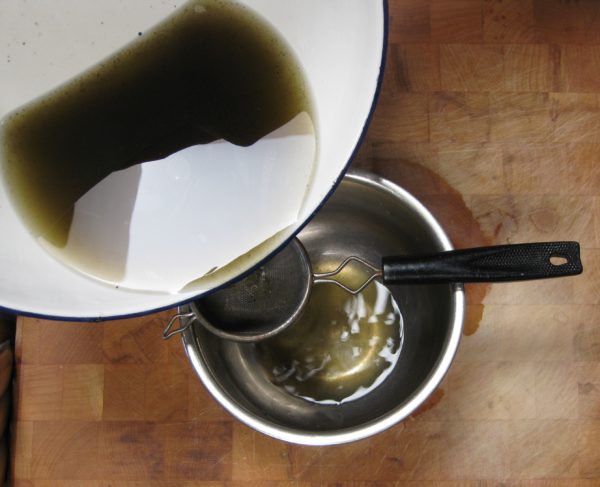
  14. Strain the liquid through a fine, small sieve.
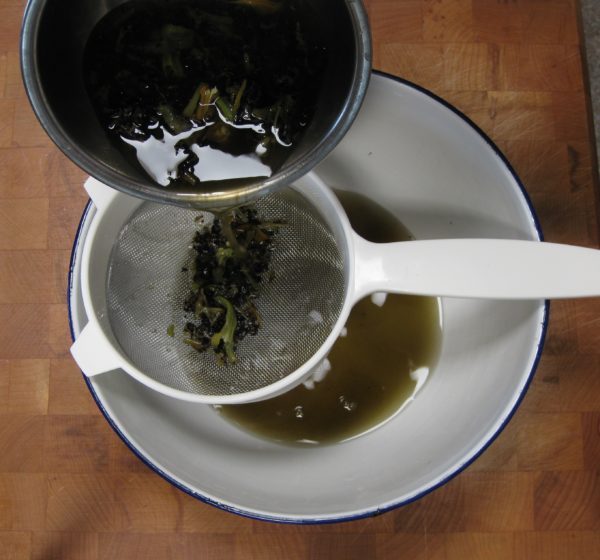
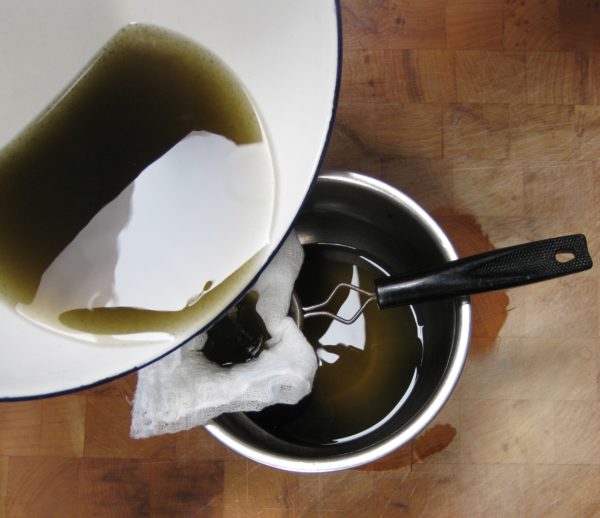
  15. Strain the liquid through several layers of cheesecloth or a paper filter.
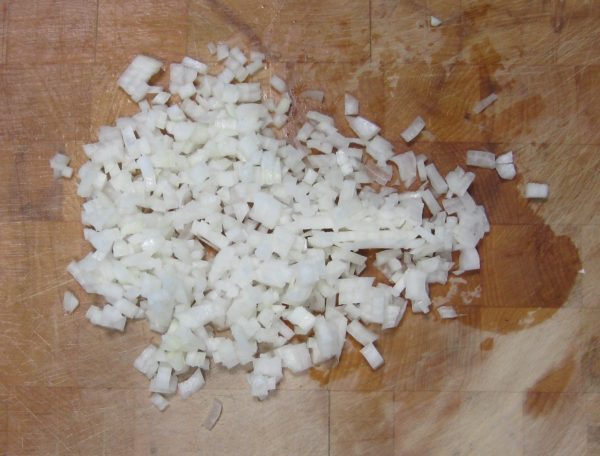
  16. Chop the onion.
  17. Mince the garlic.
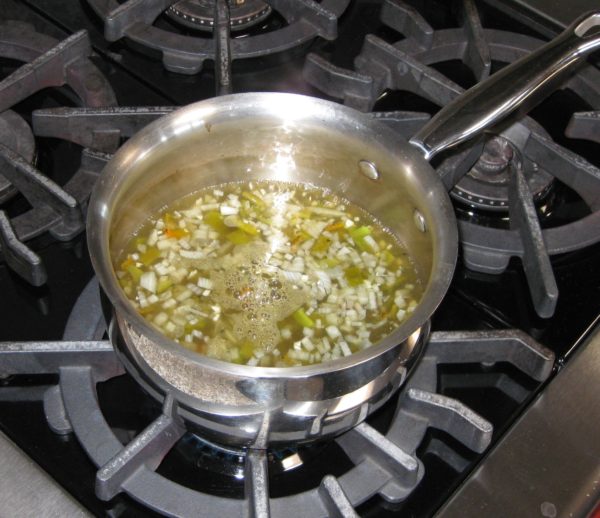
  18. Combine ½ cup of chopped chile, onion, garlic, strained water, and salt in a saucepan. Bring the mixture to a boil and simmer for 20 minutes.
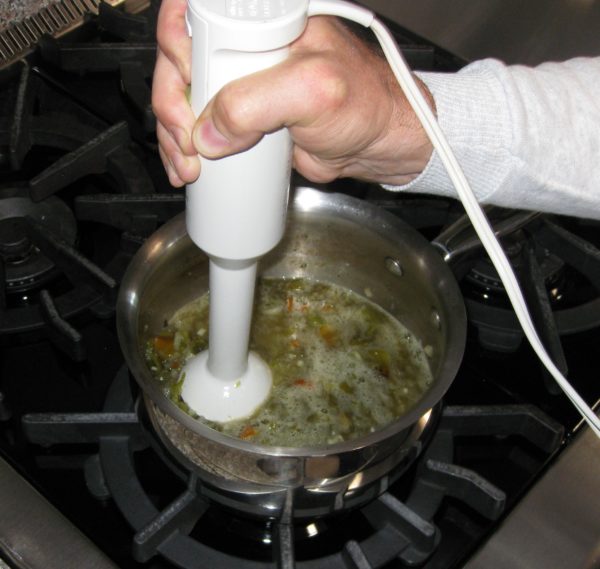
  19. Using an immersion blender or a regular blender puree the chile mixture. This will help to thicken the chile sauce without using a thickening agent.
  20. Add the remaining diced chile and two cups of water to the puree and simmer until the chile is soft to the bite, but not mushy, approximately 15-20 minutes, adjusting salt approximately 10 minutes into the simmer. If you used a regular blender in the previous step, use the water to rinse out the blender jar before adding it to the pot.
  21. The green chile can be refrigerated or frozen. It will become softer if frozen so best to cook it for a shorter time if it is going to be frozen.
Recipe Notes

Copyright © 2017 by VillaSentieri.com. All rights reserved.
Share this Recipe

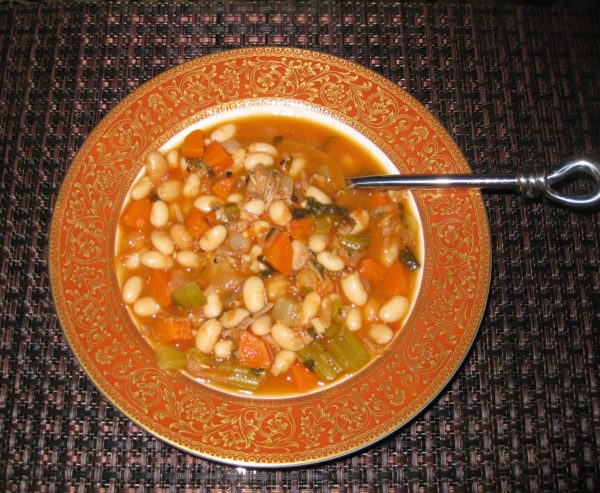
White Bean Soup

June 2, 2017

The weather is turning warmer in fits and spurts here in Santa Fe as I write this in early-May.  I’m writing these posts a few weeks in advance due to upcoming travel.  Warm days and cold nights, alternating with cold days and colder nights make me think of soup.  Filling, warm, humble soup.

There are few soups that I like better than bean or lentil.

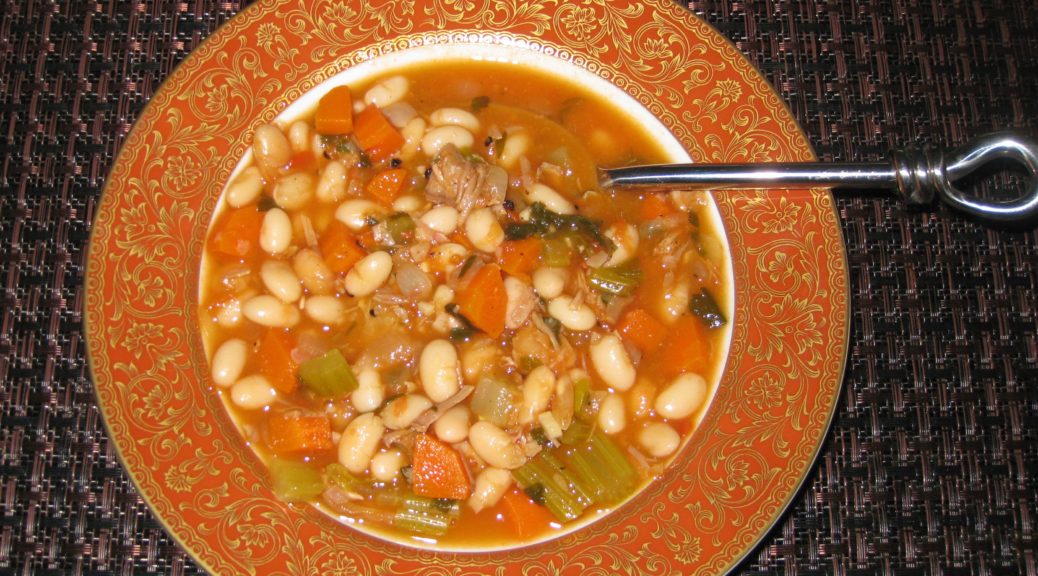
Although a ham bone is a classic way to start a bean soup, smoked turkey works well too.  I had a smoked turkey carcass in the freezer from a bird that I smoked a few months ago.  That and the combination of the cold weather made me think of making this classic American bean soup.  It made a really great dinner along with a platter of my grandmother’s potato cakes, the recipe for which will be appearing here in a few days.

This soup is assembled from very basic ingredients, many of which are almost always on hand.

With warm weather approaching, however, this will probably be the last time I serve such a hearty soup until autumn.

Which brings up an interesting topic: the effect weather has on our cooking and eating habits.  We tend to gravitate toward heartier, richer foods in the winter and lighter foods in warm weather.  Our caloric needs don’t really change appreciably from winter to summer so if we’re not gaining or losing weight, we’re probably eating about the same number of calories.  But it often doesn’t feel that way.

Eating seasonally is a good strategy for a number of reasons.  Locally grown, in-season, produce tastes better than produce shipped from far away.  Many fruits and vegetables start losing nutrients as soon as they are picked.  The shorter the time from farm field to table the more nutritious they are.

Did you ever think about what it takes to have “not from concentrate” orange juice available all year given that oranges are a seasonal crop?  Take a look here and here.  It will give you a sense of what is done to our industrialized food supply.  To be sure, we have ready access to more and cheaper food than has probably ever been the case in human history.  I’m not suggesting we abandon that, just that we become better informed consumers and make active choices about what we eat and why.

In addition to tasting better, and being more nutritious, eating seasonally brings back a sense of anticipation and, dare I say, romance, to eating.  Tomatoes are at their best in the summer so we eat lots of tomatoes then, for example.  Often times, lunch on Saturday in late summer will be thick slices of fresh tomato, fresh mozzarella cheese from The Old Windmill Dairy in Estancia, New Mexico, a few torn basil leaves from our garden, a sprinkle of salt and a drizzle of extra virgin olive oil along with some homemade bread to sop up all the juices.  Unless it’s from a can and going into something that’s cooked, you’ll rarely see a tomato in my kitchen the rest of the year.

The same sort of anticipation holds true with many other foods.  Some that come quickly to mind are zucchini blossoms (which I dip in batter and fry) and basil (which I turn into pesto and use to season quick-cooked tomato sauces all summer long but never use at other times of the year).

Seasonal eating isn’t limited to summer, however.  There are traditional winter crops and winter foods.  Cavolo nero, Tuscan kale, tastes better after a frost and is traditionally eaten in the late fall.  My mother-in-law pickles turnips each autumn which we eat in the winter made into a thick soup with cotechino, a Northern Italian sausage.

Traditionally, my mother-in-law’s pickled turnips would be made in the autumn.  That’s not only when the turnips are ready if you eat seasonally but that’s also when grapes are crushed and pressed for wine.  The turnips would be packed into a barrel with the solids left over from the grape pressing and allowed to ferment.  These days she makes a reasonable facsimile by simply pickling turnips in red wine vinegar though I keep hoping to find a winemaker in New Mexico who will sell me some crushed grapes to give the original recipe a try.

Red wine vinegar is always available, and mostly so are turnips.  Why don’t we make this at other times of the year?  Mostly it’s because of the association of pickled turnips (brovada) and cotechino with winter.  We try to maintain the seasonality even when we have the ability to circumvent it.  Doing that means there are always favorite foods to look forward to each season that we haven’t had in almost a year.

If it’s too warm where you live to have a hearty bowl of bean soup, tuck this recipe away for a few months and give it a try in the autumn.

Print Recipe
White Bean Soup
This white bean soup is easy to make and very nutritious. If you have the carcass of a smoked turkey or the bone from a baked ham, use my recipe for Roasted Turkey Broth, substituting the smoked turkey or ham bone, to make the broth for this soup. With a turkey carcass you definitely need to make broth otherwise you’d have lots of bones and bits in the final soup. While this isn’t the case with a large ham bone, I still prefer to make broth in advance so that I can skim off the fat. There is a link in the notes that follow this recipe to my recipe for Roasted Turkey Broth. Even if you don’t have a smoked turkey carcass or a ham bone you can make this soup. My supermarket sells various smoked turkey and pig parts. Just use them to make the broth. Be careful, though, as these products can be much smokier than a turkey or ham that was smoked to the right degree for eating. Failing all of that, use whatever broth you have on hand (or even water) to begin to cook the beans then add ¼ pound of chopped up bacon with the remaining ingredients.
Votes: 0
Rating: 0
You:
Rate this recipe!
Cuisine American
Prep Time 20 minutes
Cook Time 3 hours
Servings
people
Ingredients
Cuisine American
Prep Time 20 minutes
Cook Time 3 hours
Servings
people
Ingredients
Votes: 0
Rating: 0
You:
Rate this recipe!
Instructions
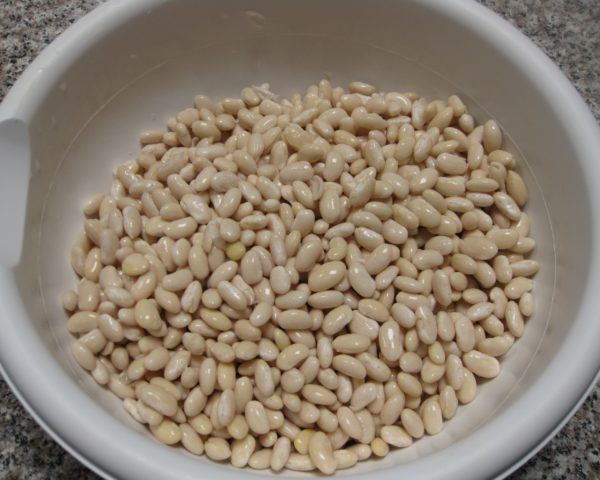
  1. Wash the beans. Cover with several inches of cold water. Refrigerate overnight.
  2. The next day, drain the beans.
  3. Combine the beans, broth, and bay leaf.
  4. Cover and bring to a boil.
  5. Cook, partially covered, at a medium boil for one hour, stirring occasionally.
  6. Meanwhile, prepare the other ingredients.
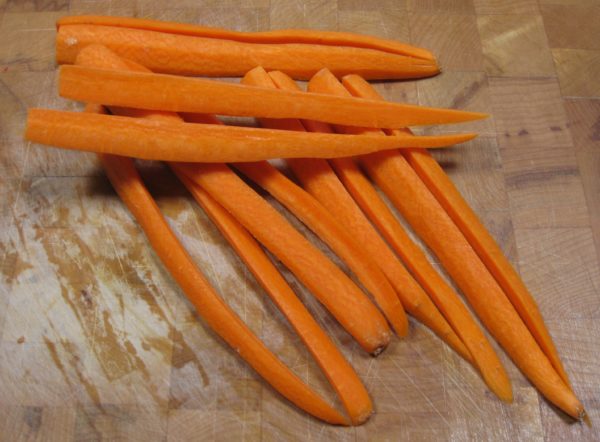
  7. Slice the carrots in quarters lengthwise.
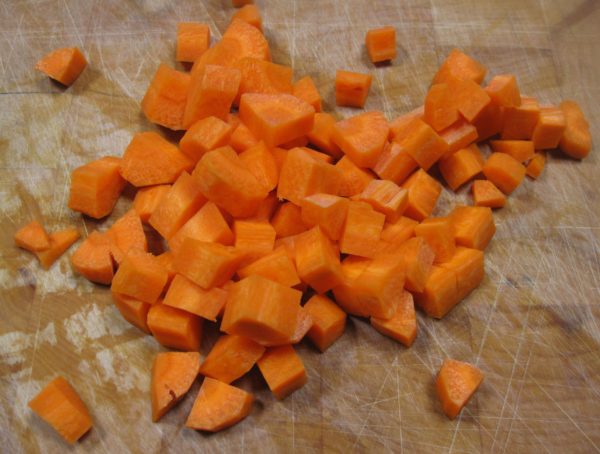
  8. Cut the carrots crosswise into 1/4 inch pieces.
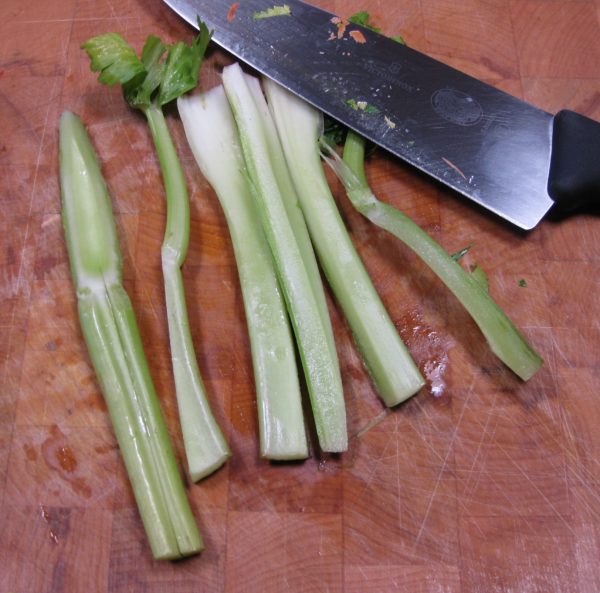
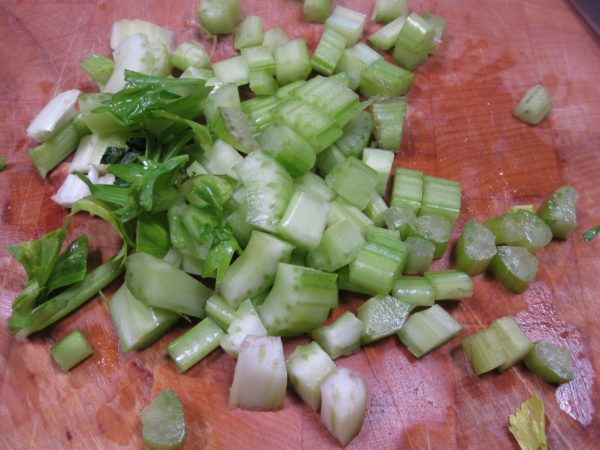
  9. Cut the celery into strips approximately the same size as the carrot strips.
  10. Cut the celery strips crosswise into 1/4 inch pieces.
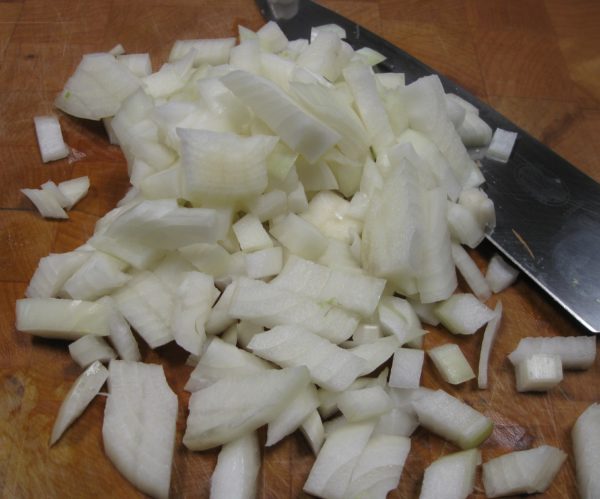
  11. Dice the onion.
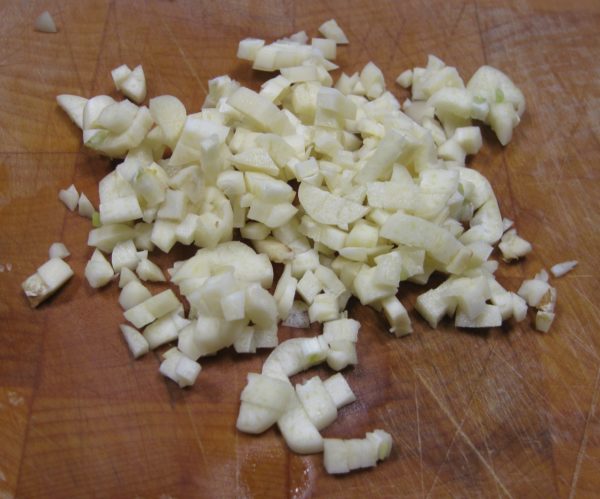
  12. Mince the garlic.
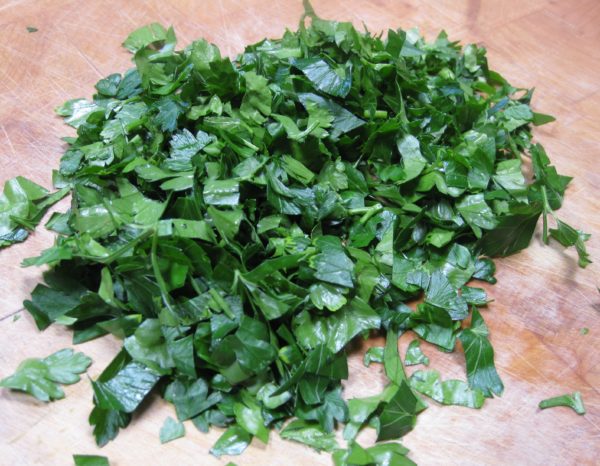
  13. Mince the parsley,
  14. Dig around in your freezer to find a Parmesan cheese rind that you froze with the intent of using in your next pot of soup.
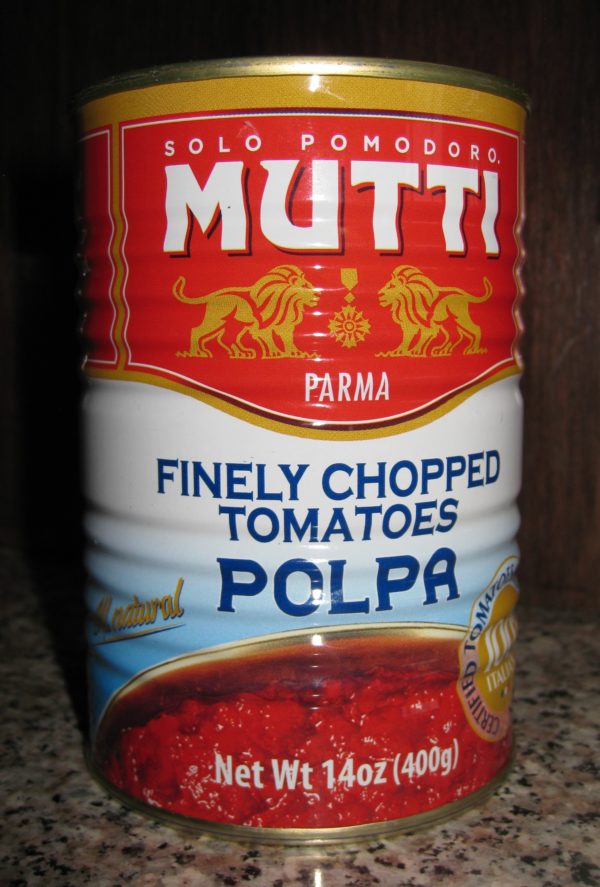
  15. Ready a can of diced tomatoes.
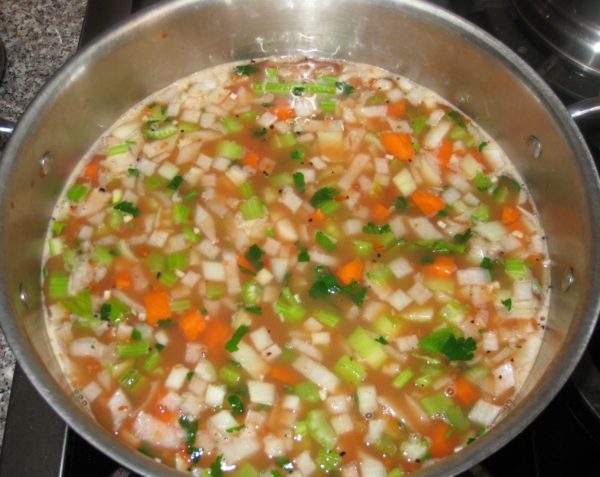
  16. Combine all ingredients except the chopped ham or turkey with the partially cooked beans.
  17. Simmer, partially covered for another hour or two until beans are soft and vegetables are cooked. The cooking time will depend on the type of beans, their freshness, and your elevation.
  18. Adjust seasoning as needed while cooking.
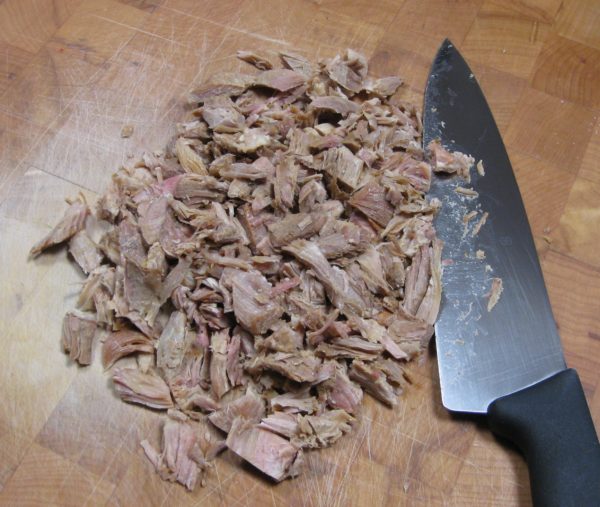
  19. Add the chopped ham or smoked turkey during the last 10 minutes of cooking.
  20. Serve with grated Parmesan cheese, if you wish.
Recipe Notes

As good as this soup is when it is made, I prefer to let it cool then refrigerate it for at least a day before rewarming and serving.

To make the broth, substitute a ham bone or smoked turkey carcass (or other smoked meat) for the roasted turkey in my recipe for Roasted Turkey Broth.

Copyright © 2017 by VillaSentieri.com. All rights reserved.
Share this Recipe

Cavolfiore alla Friulana (Cauliflower Friuli-Style)

February 1, 2017

I started cooking in the early 1970’s when most cooking authorities were trying to convince us that vegetables needed to be crunchy to be good.  No doubt, many vegetables served on American tables were gray, mushy and lifeless but not all vegetables, and certainly not all vegetable dishes, are meant to be toothy, let along crunchy.

I was having a conversation with friends over dinner in Palm Springs just last week about cooking .  They asked me when I started cooking and when I told them, the muscles on their faces froze ever so briefly which made me do a quick calculation.  I started cooking before they were born!  Which means, basically, I’ve seen a lot of food fads and crazes.  I try to avoid them.

I embrace new ingredients or, as is more often the case with “new” ingredients, old ingredients that are finally finding their way to our markets and are, therefore, new to us.  When I think about the ingredients that are available to me now compared to when I started cooking, the difference is staggering.

Honestly, though, the core of my cooking hasn’t changed.  I still focus on traditional foods.  I try to find dishes that have stood the test of time; dishes that have been made for a generation or two, if not a century or two.

Sometimes, though, food crazes get us to think about how we cook and cause us to make changes for the better.  Take crunchy vegetables.  I think American vegetable cookery started getting better when “everyone” was hyping crunchy vegetables.  It got us to think about what was on our plates and whether the essence of a particular vegetable dish was best presented with soft vegetables, crunchy vegetables, or something in between.

Not every vegetable dish is better with crunchy vegetables.  That took me a while to learn as a novice cook in the 1970s when I tried to convert every vegetable recipe to one with toothy vegetables.  They were not all successful.  Not only does texture change with more cooking, flavor does too.  Sometimes those flavor changes “make” the dish as much as the textural change.

This recipe is a good example, though it is not one that I was making in the 70’s.  The essence of the dish is slow-cooked cauliflower and onions that become sweet as the natural sugars caramelize and the cauliflower softens.

I learned to make this from my mother-in-law, who is from Friuli.  Friuli is northeast of Venice, adjacent to Slovenia.  The food definitely shows the influence of Eastern and Central Europe but more on that in upcoming posts.

Print Recipe
Cavolfiore alla Friulana (Cauliflower Friuli-Style)
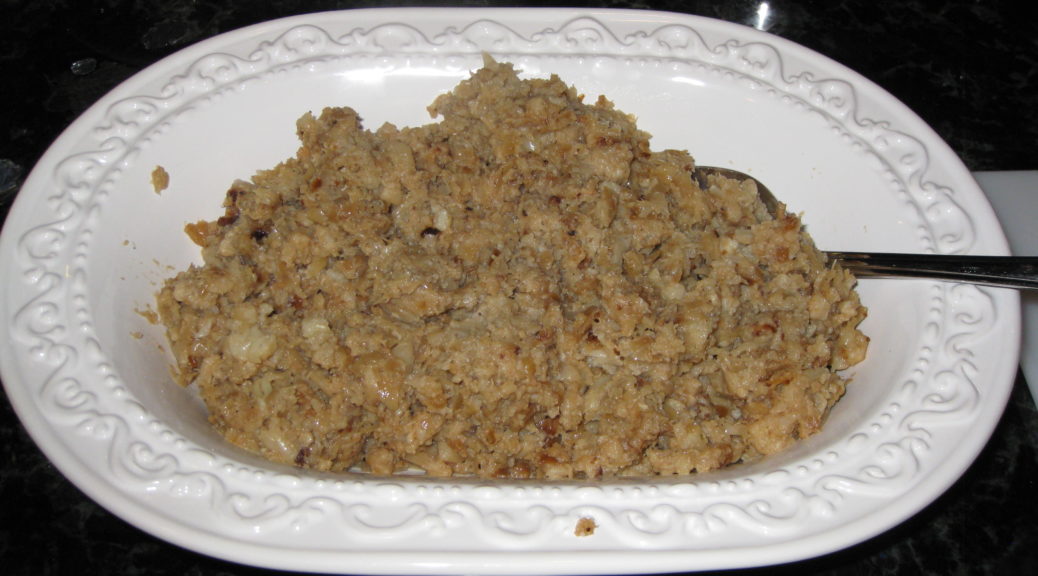
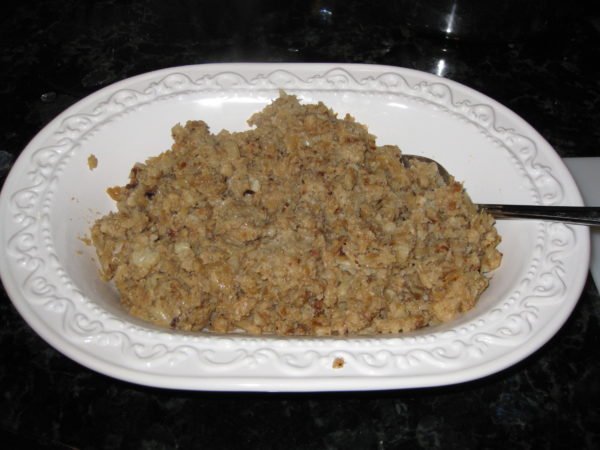
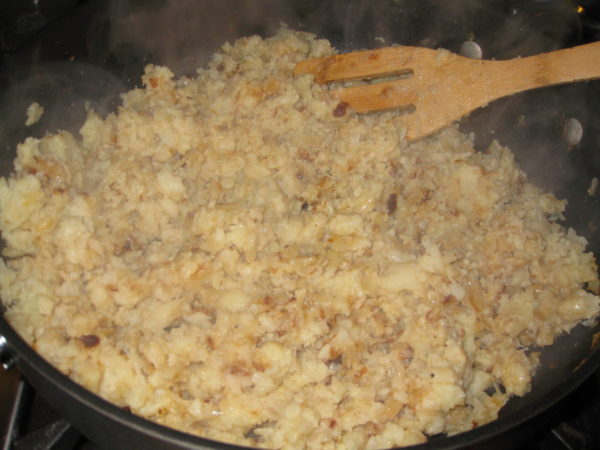
This dish goes really well with roasted meat. It is a little on the sweet side because the sugars in the onion and cauliflower caramelize during the long, slow cooking. I especially like it with roast chicken or roast pork. Experiment with the cooking time to achieve different textures, but never crunchy. The cauliflower should be soft but not mushy. You can keep the florets more intact during the cooking by being gentle. You can also press down on them every now and then causing them to break up. Both styles are equally traditional. As you will see in the pictures, I opted for longer cooking to create more caramelization and the pressing motion to break the florets into small pieces.
Votes: 0
Rating: 0
You:
Rate this recipe!
Course Sides, Vegetables
Cuisine Italian
Prep Time 20 minutes
Cook Time 2 hours
Servings
people
Ingredients
Course Sides, Vegetables
Cuisine Italian
Prep Time 20 minutes
Cook Time 2 hours
Servings
people
Ingredients
Votes: 0
Rating: 0
You:
Rate this recipe!
Instructions
  1. Bring a large pot of heavily salted water to a boil.
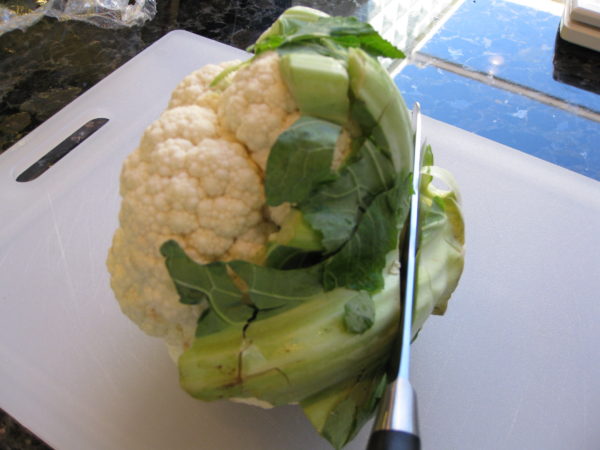
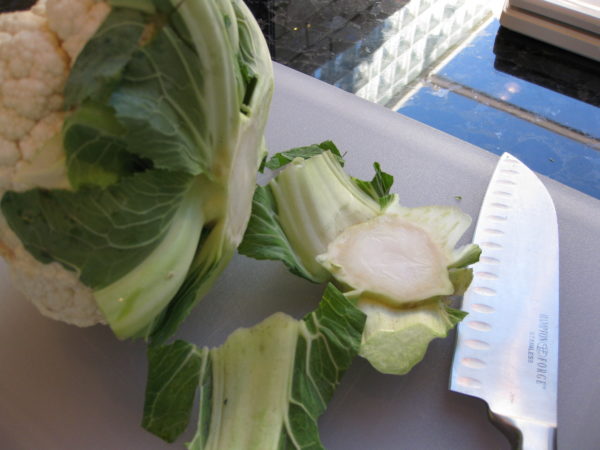
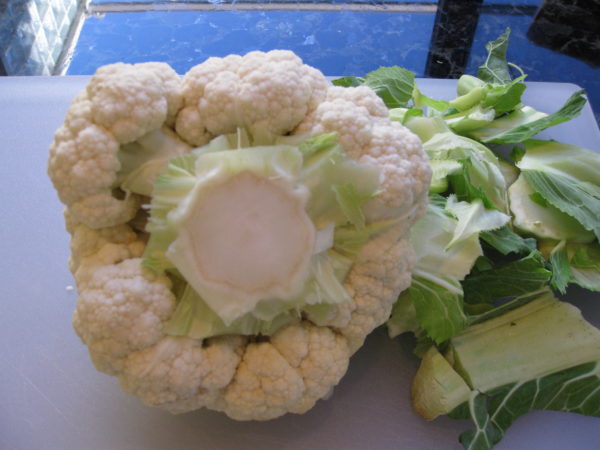
  2. Meanwhile, cut off the base of stem of the cauliflower and remove the green leaves.
  3. Add the cauliflower to the boiling water and cook, uncovered, until it shows just a little resistance when pierced with the point of a knife. This will take between 6 and 10 minutes depending on the cauliflower and how far above sea level you are. When in doubt, opt for less cooking rather than more as you can compensate during the slow-cooking phase.
  4. Using a large slotted spoon, remove the cauliflower. Place it in a colander to drain.
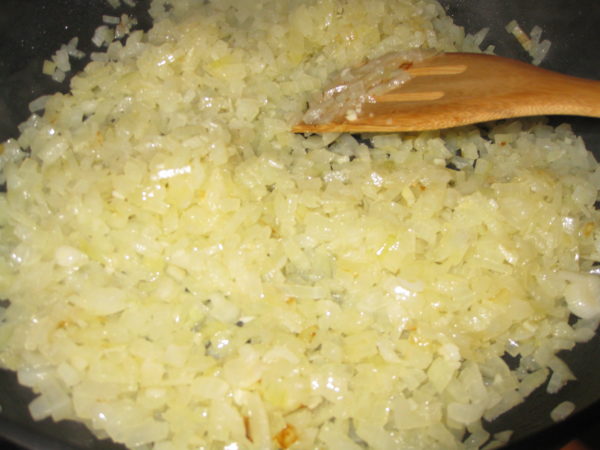
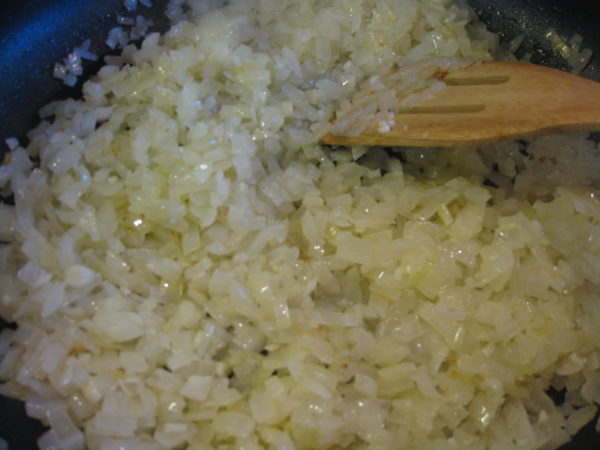
  5. Meanwhile, in a large sauté pan, sauté the diced onion in olive oil (or butter) over medium-high heat. Season with salt. The salt will draw out moisture from the onion. As the moisture evaporates you will need to reduce the heat to medium-low to prevent the onion from browning.
  6. When the liquid has evaporated and the onion is beginning to soften, add the minced garlic, if you are using it. Continue to cook over low heat until the onion turns golden but not brown. This can easily take another 20-30 minutes.
  7. As the onion is cooking, cut the cooked cauliflower into florets.
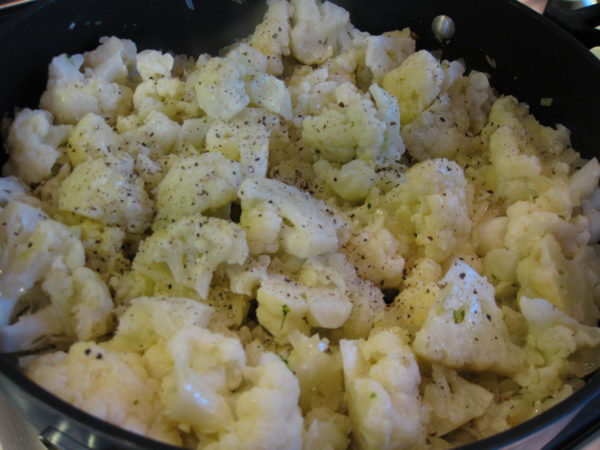
  8. When the onion is golden, add the cauliflower. Season with salt and freshly ground black pepper. Cover and cook, stirring occasionally.
  9. Add a little wine or water from time to time, as needed, to keep the cauliflower from sticking. There really shouldn’t be any appreciable liquid in the bottom of the pan. Should that happen, uncover the pan slightly till the liquid evaporates.
  10. The florets will break apart as the cauliflower cooks. If you want small pieces, press down on the cauliflower from time to time while cooking. As the cauliflower cooks, taste a few times to adjust salt and pepper.
  11. The cauliflower will slowly darken through caramelization. How far you want to go is up to you. I went fairly far when cooking the cauliflower in these pictures. The cauliflower gets softer the longer it cooks but it also caramelizes more. Figure out the balance of texture and taste you like best.
Recipe Notes

Copyright © 2017 by VillaSentieri.com. All rights reserved.
Share this Recipe