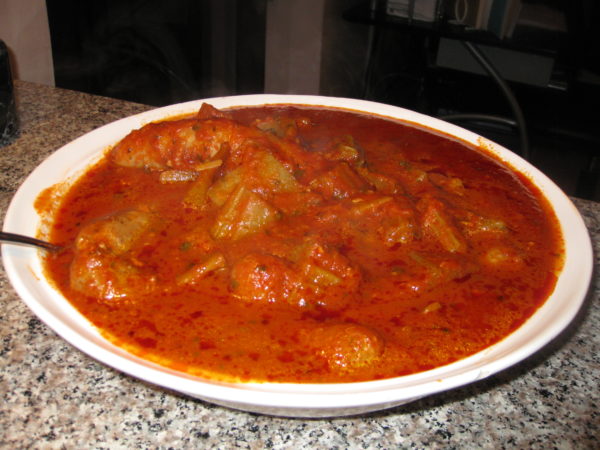
Pollo allo Scarpariello (Chicken Shoemaker Style)

October 8, 2021

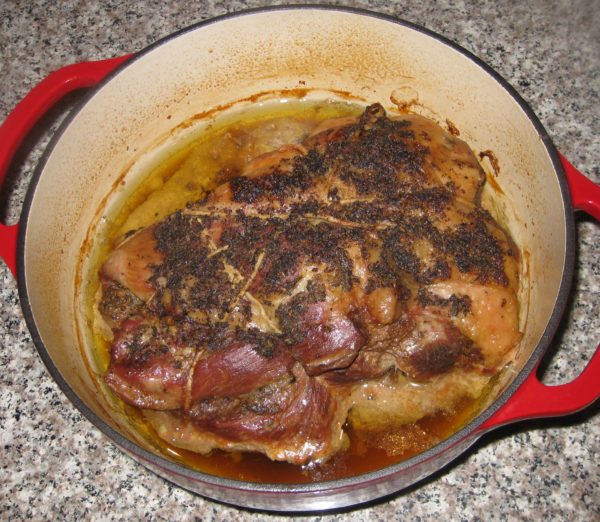
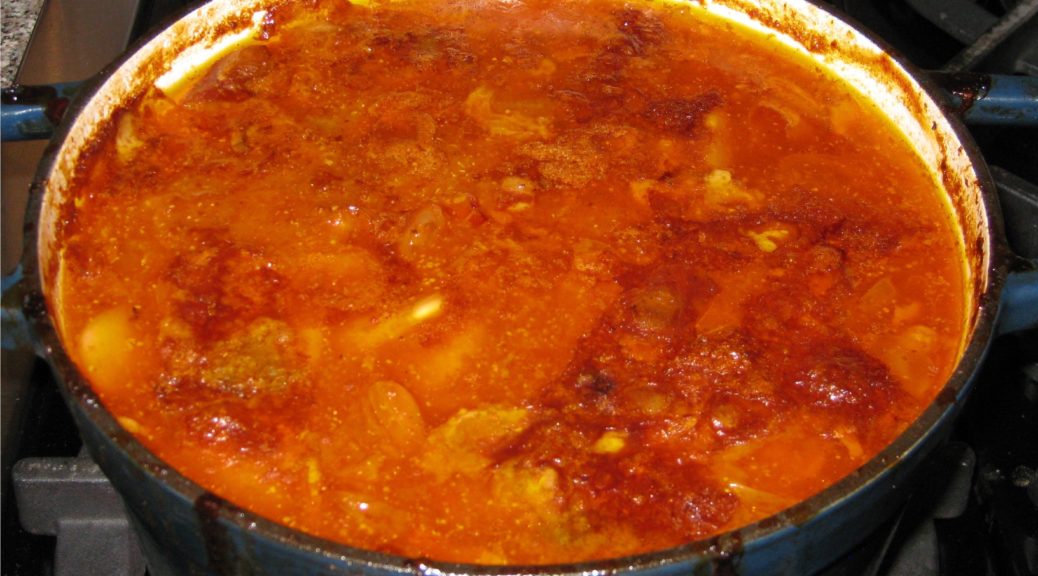
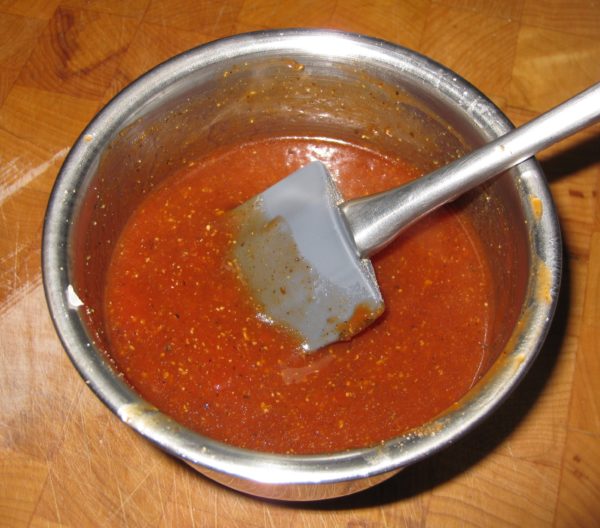
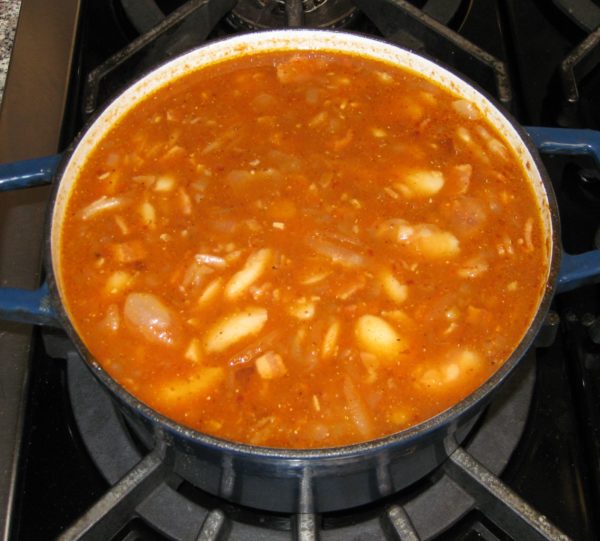
Unappetizing pictures!

Sometimes really delicious food makes unappetizing pictures.

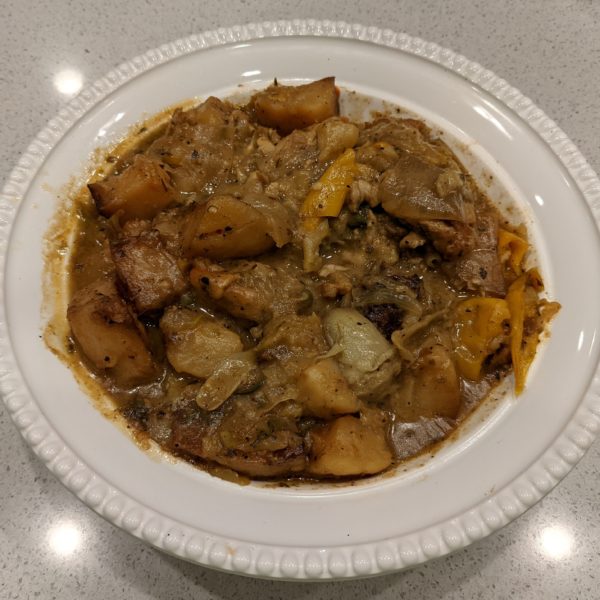
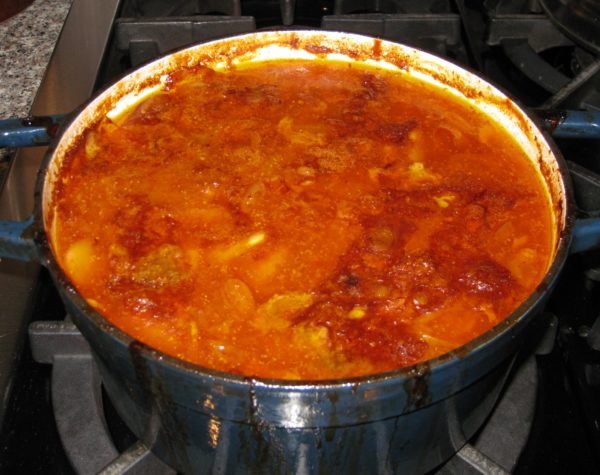
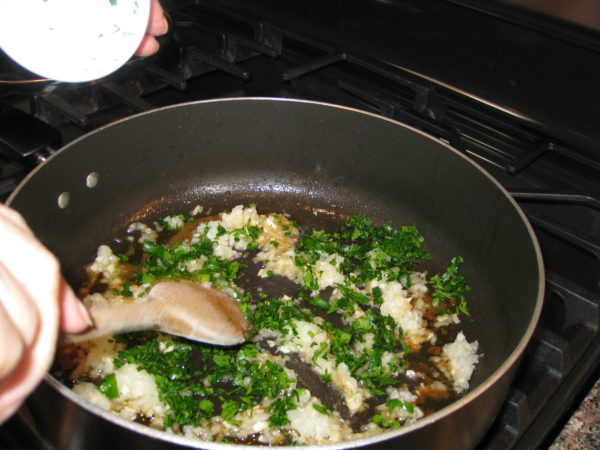
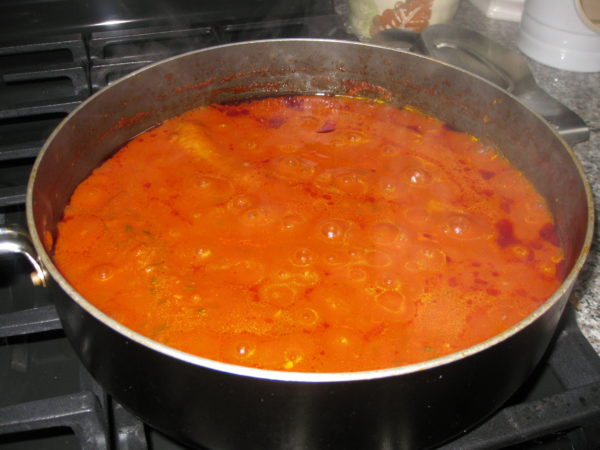
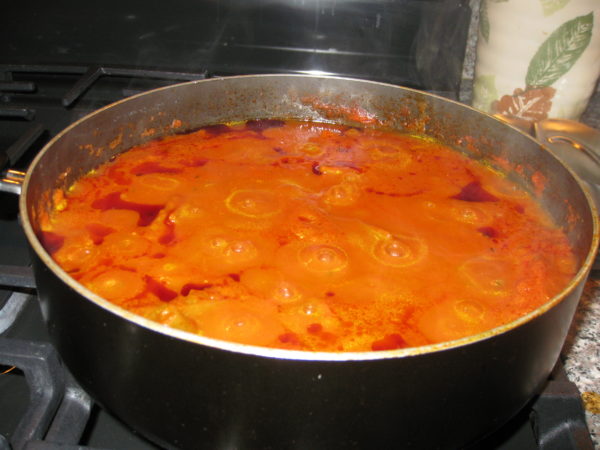
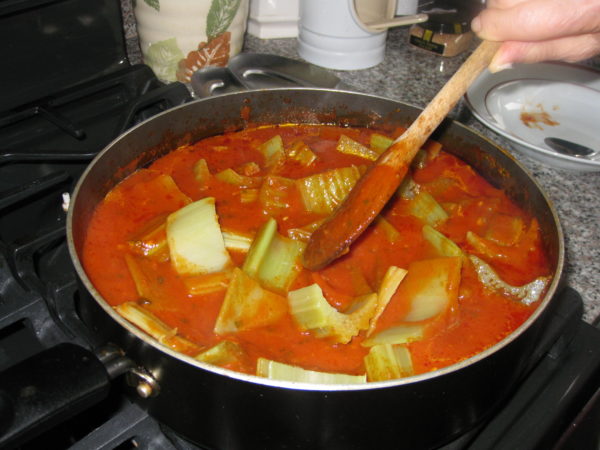
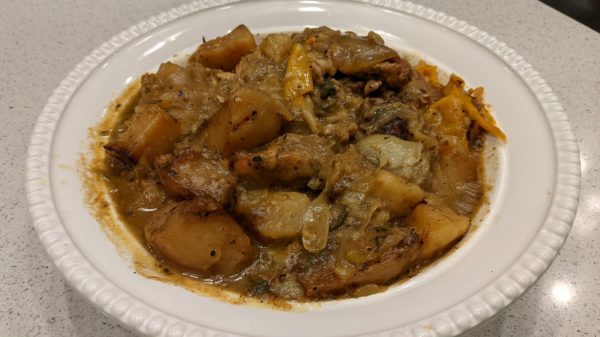
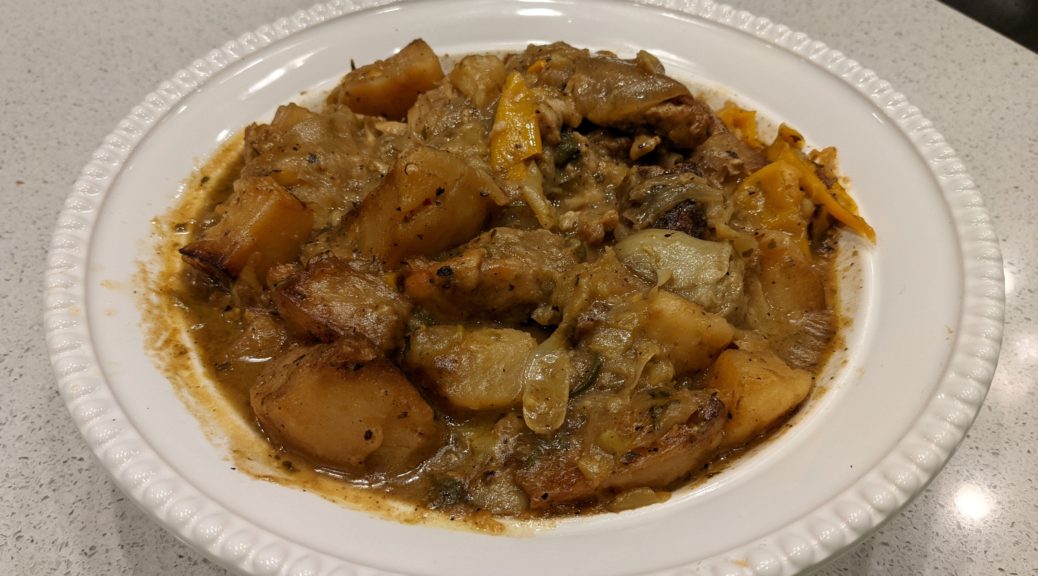
Take Chicken Scarpariello, for example.  By the time the chicken is unctuous, the potatoes creamy, and the sauce tangy the dish is unappetizingly brown (at least in a photograph).  I discovered this when looking at the photographs I had taken for this blog post.

This is really a shame because the taste is superb.
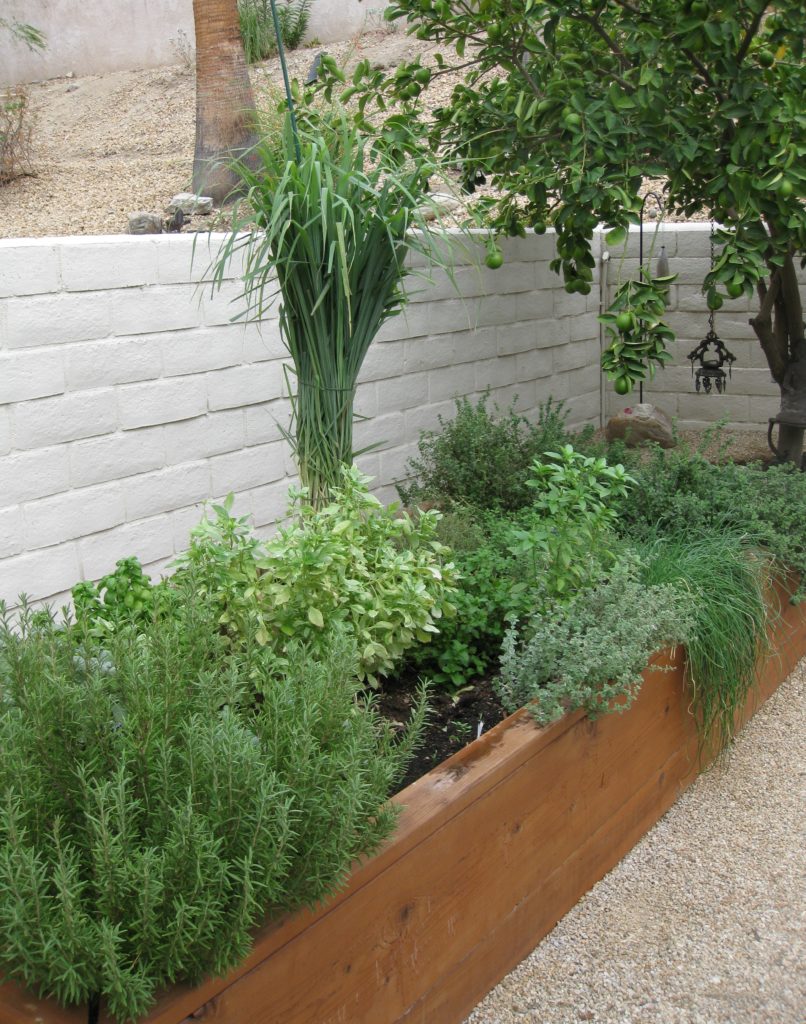
We’re several weeks into planting our new vegetable beds but these herbs have been going strong since March 2021. They were cut back drastically last week to encourage growth.

Brown food can be challenging to photograph, especially brown food in a brown sauce.  Food stylists might solve this problem by using barely cooked potatoes that look pale and peppers that are still yellow and green, not really cooked as required by the dish.  This doesn’t represent reality.  The dish, cooked properly, will never look like the photograph.  This is an approach that I think is inherently unfair.

I’m willing to admit that some of the problem relates to my picture-taking ability.  My photographic ability isn’t great but even that meager ability sometimes suffers because I’m hastily taking photographs as I’m trying to put the food on the table.


Follow us on your social media platform of choice


If I weren’t doing that, I could carefully plate a piece of chicken with the potatoes and peppers artfully arranged off to the side, lots of white space on the plate, and a few colorful garnishes or side dishes.  I could even wipe a little of the sauce off of the potatoes to make them lighter in color.  All this would mitigate the “brown problem” but it just isn’t practical because the food I post on the blog is something that I actually made to eat at the moment it is ready.
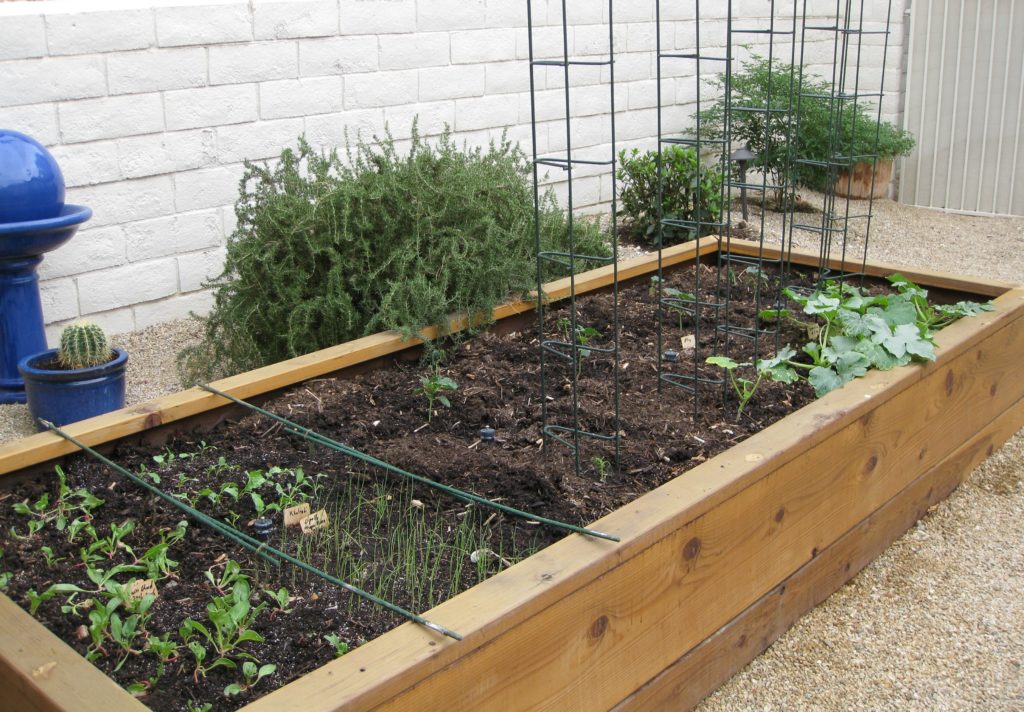
One of three vegetable beds beginning to sprout.  In the back, not in the bed, are four plants: rosemary, bay, chile pepper, and niepita.

I guess I could spend time carefully taking pictures and serve cold food but that approach wouldn’t last long in my household.

I could cook specifically for the blog and not worry about serving the food, at least not the day I cook it.  That would create a major leftover problem.  Besides, many dishes aren’t at their best when reheated.  On the other hand, many foods are better if made in advance.  So, I guess this is a partial solution to the problem that could work on a case-by-case basis depending on what the dish is.


Join our mailing list and you’ll never miss a recipe again!


I can think of other potential solutions but each has its problem.  This could include having a photographer arrange the plate and photograph it (presumably while I’m having dinner with the rest of the household).
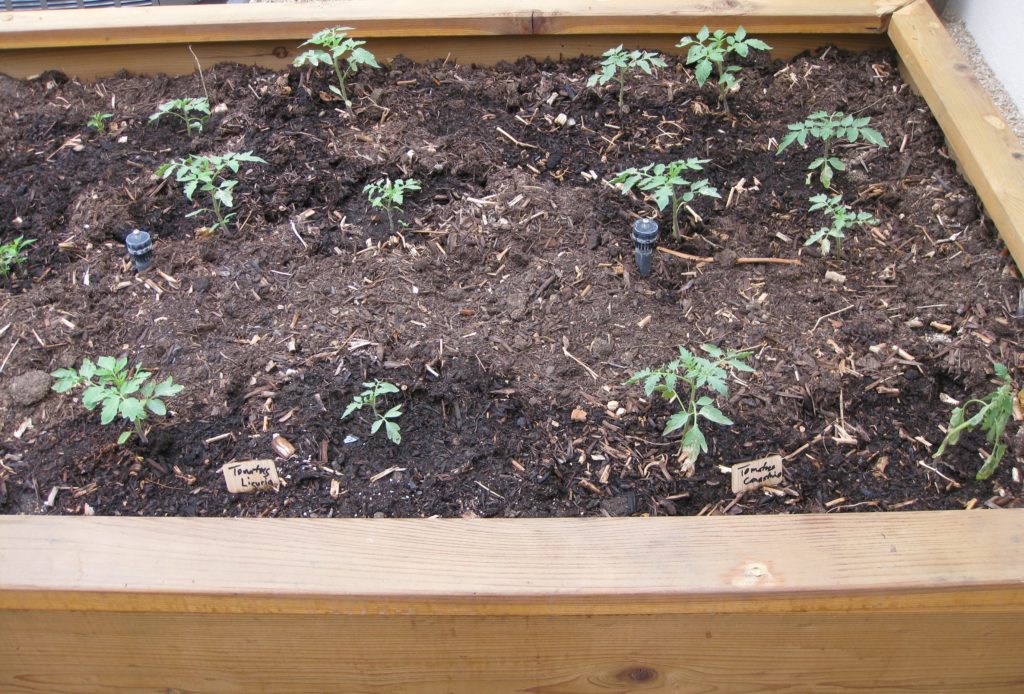
We’re looking forward to a winter crop of tomatoes!

Alternatively, I could serve everyone then spend time arranging a plate to photograph, hoping to join the dinner table before everyone is finished.

I’ll keep working on a fix to the issue but, in the meantime, I encourage you to try this Italian-American dish.  It scales up easily so you can feed a crowd if you need to.  The leftovers are pretty incredible, too!
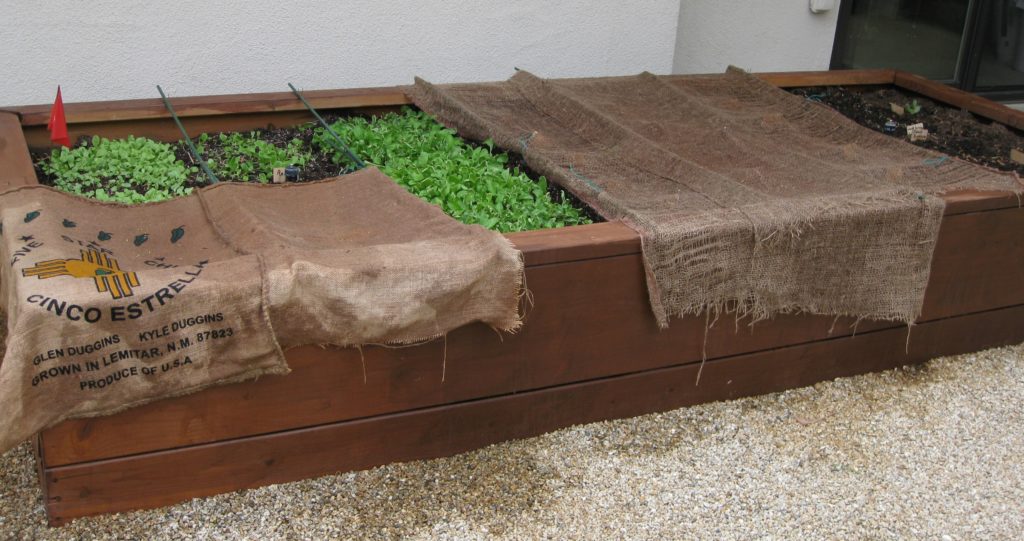
Greens for salad being started directly in the bed.

American websites, including the New York Times, usually say the name of this dish translates as Chicken Shoemaker Style.  However, you won’t find the word “scarpariello” in an Italian dictionary.  To be sure, the word “scarpa” means shoe but the Italian word for shoemaker is “calzolaio.”  Scarpariello, however, is the word for shoemaker in the Neapolitan dialect, which gives a clue as to which immigrant group might have been responsible for creating this Italian-American favorite.
Print Recipe
Pollo allo Scarpariello (Chicken Shoemaker Style)
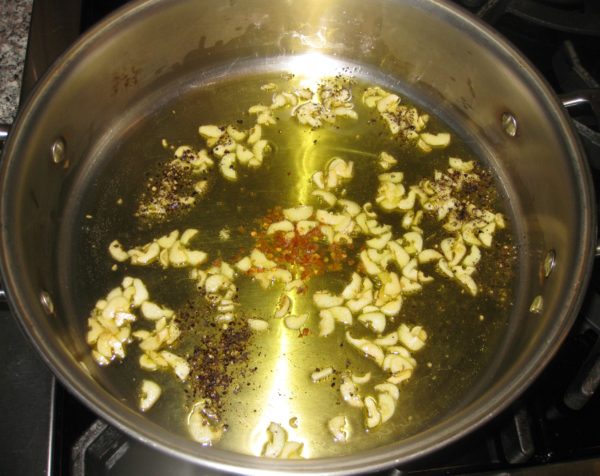
Scarpariello means shoemaker in the Neapolitan dialect. This may give a clue as to the origins of this Italian-American favorite. The dish builds on a classic combination in the cooking of many regions of Italy: chicken cooked with wine and vinegar. The capers are optional. Use sweet or hot pickled peppers as you prefer or, if you want to spice it up, add some crushed red pepper when sautéing the garlic. If you don't have a stove-to-oven pot large enough to hold all the ingredients, do the browning in a large saute pan then assemble everything in a large baking dish.
Votes: 0
Rating: 0
You:
Rate this recipe!
Course Mains, Poultry
Prep Time 30 minutes
Cook Time 2 1/2 hours
Servings
people
Ingredients
Course Mains, Poultry
Prep Time 30 minutes
Cook Time 2 1/2 hours
Servings
people
Ingredients
Votes: 0
Rating: 0
You:
Rate this recipe!
Instructions
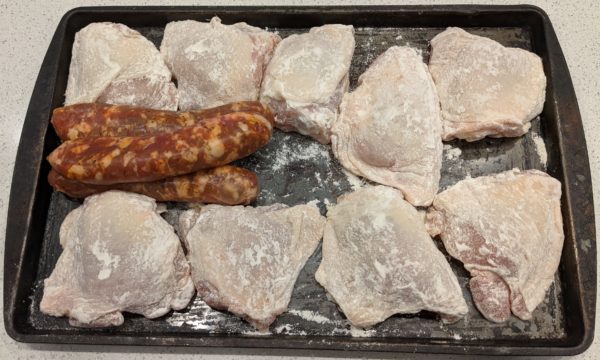
  1. Dredge the chicken in flour. Reserve.
  2. Peel the potaotes and cut in large chunks.
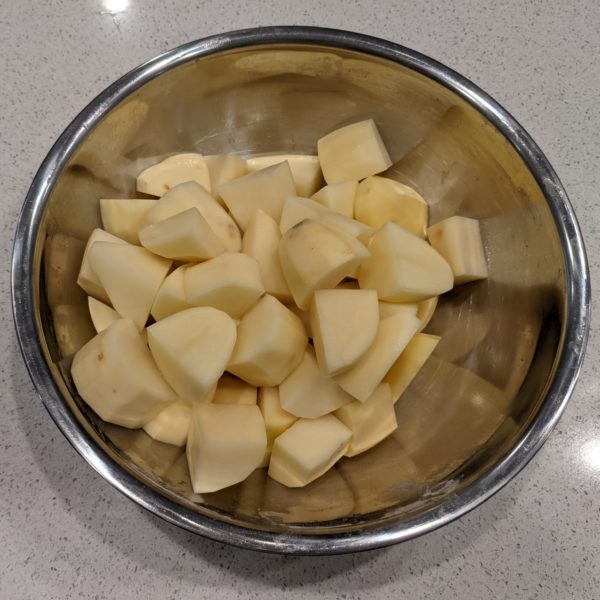
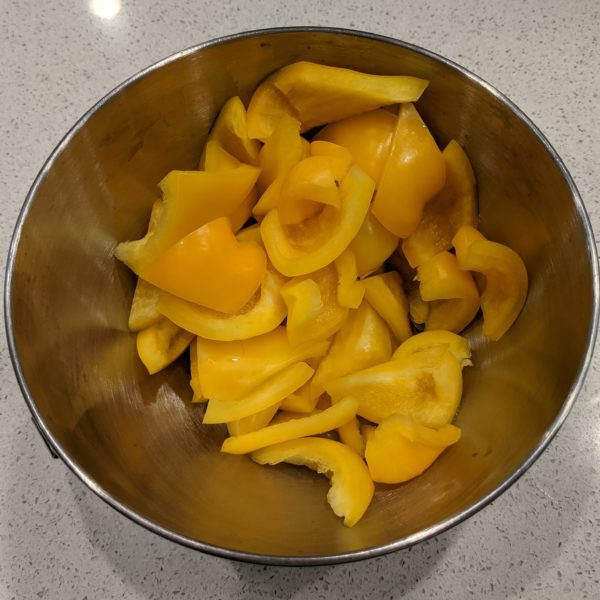
  3. Cut the Bell peppers in triangles
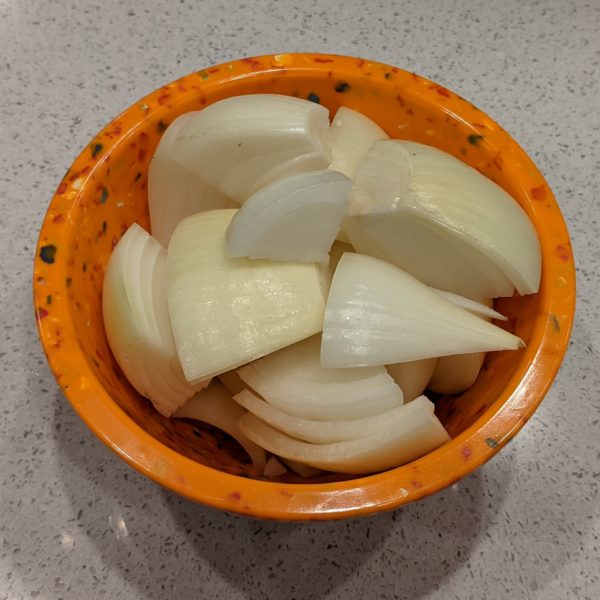
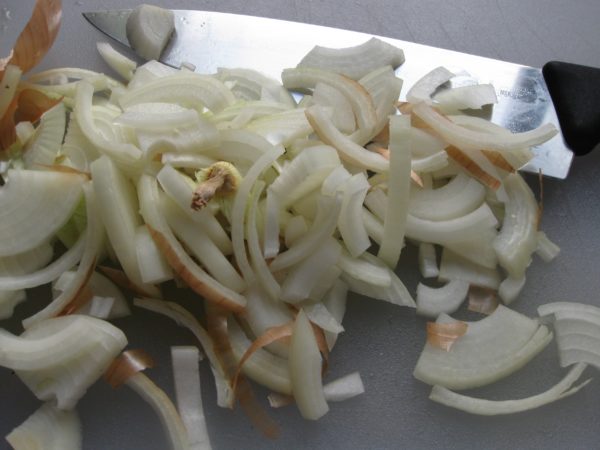
  4. Cut the onions in eighths
  5. In a large stove-to-oven pot, heat the olive oil. Brown the chicken, sausage, and potatoes. Do this in batches, if necessary.
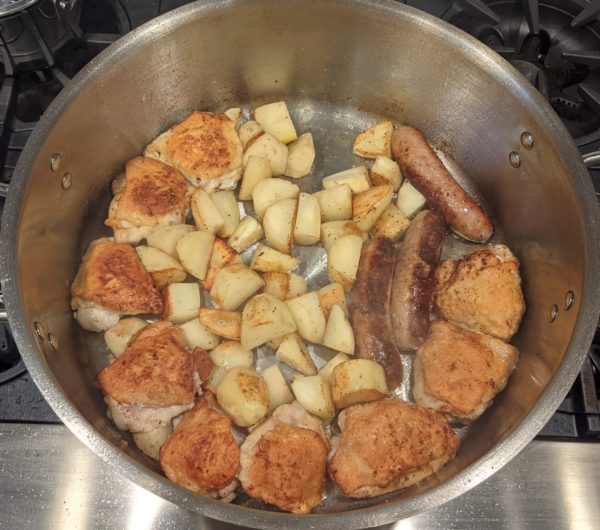
  6. Remove everything from the pot. Cut the cooked sausage into 1 ½ inch long pieces.
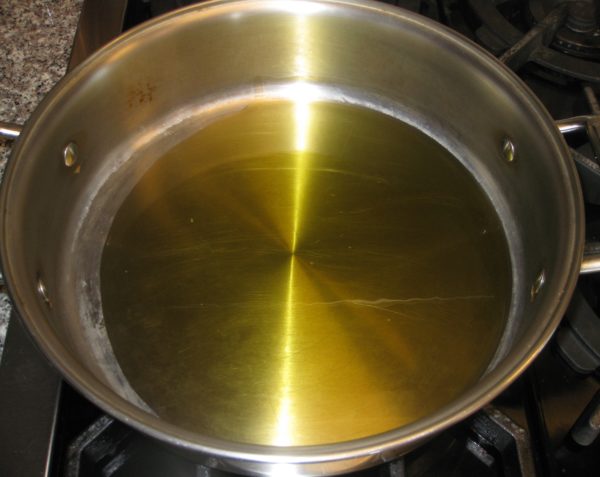
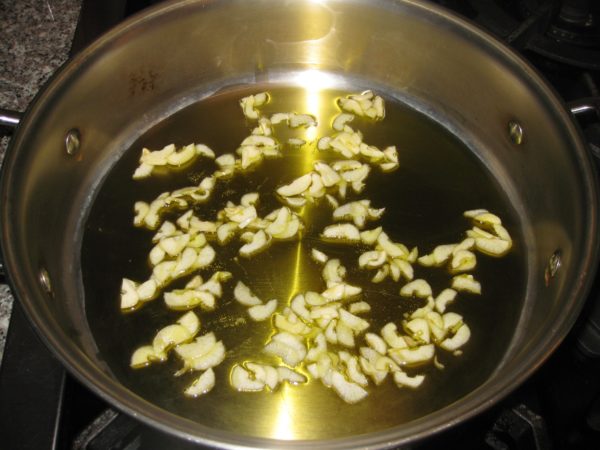
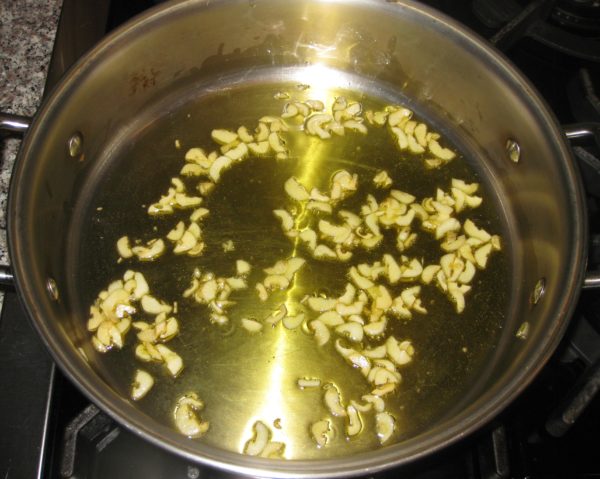
  7. Add the garlic to the oil remaining in the pot and sauté until it is fragrant and golden.
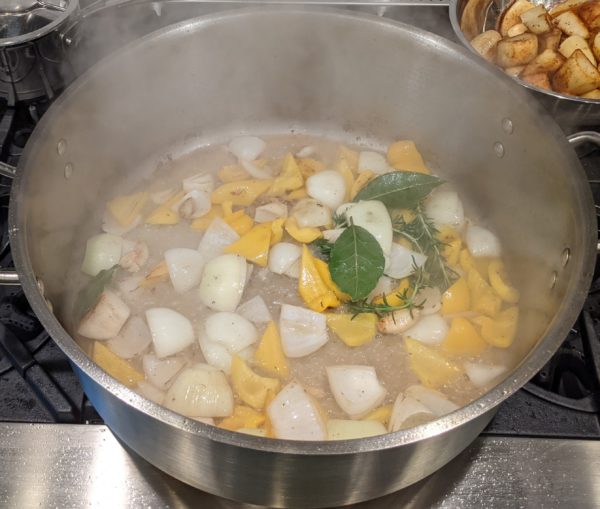
  8. Add the bell pepper and onion, season with salt, and sauté until the onion is beginning to soften and turns gold and brown in spots.
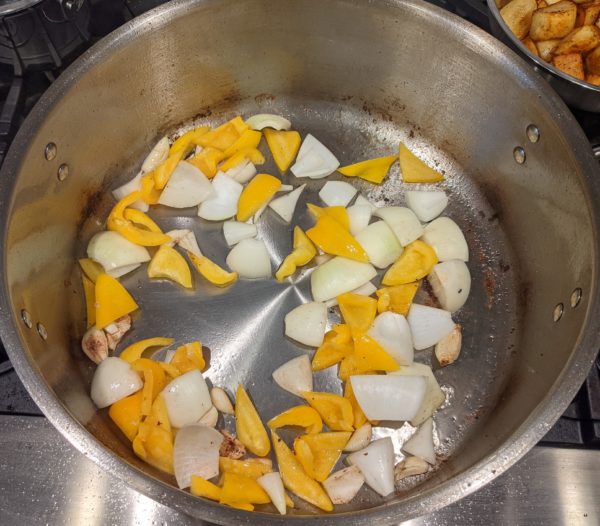
  9. Add the rosemary and bay leaves and sauté briefly.
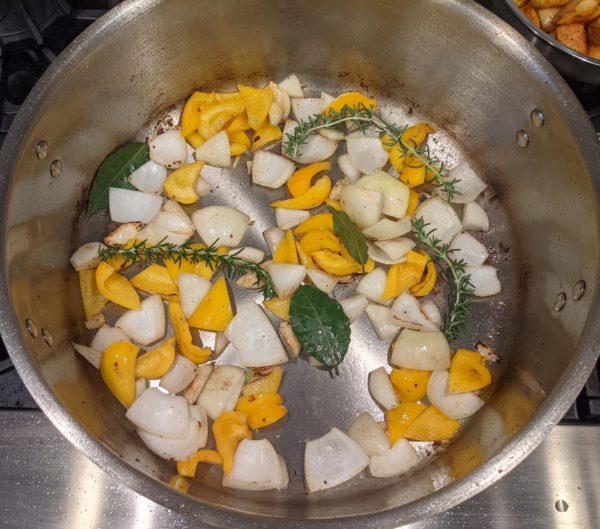
  10. Add the wine and deglaze.
  11. When wine is almost completely evaporated, return chicken, sausage, and potatoes to the pot along with any accumulated juices.
  12. Add about 1 cup of chicken broth and the vinegar along with the pickled peppers. Season well with salt, pepper, and oregano.
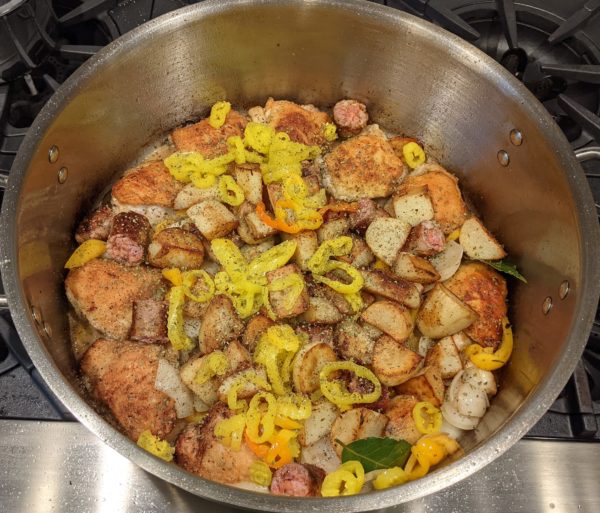
  13. Bring to a boil, cover, and put in the oven at 350°F.
  14. An hour later, stir the contents of the pot. Add the drained artichoke hearts and capers, if using. Add more broth if needed to keep the contents from sticking. Adjust the seasoning.
  15. Cook for another hour until chicken is very tender and potatoes are cooked through.
  16. Stir in parsley and serve.
Recipe Notes

Copyright © 2021 by Villa Sentieri, LLC. All rights reserved.

Share this Recipe

Porchetta: A Festive Pork Roast from Italy

February 14, 2020

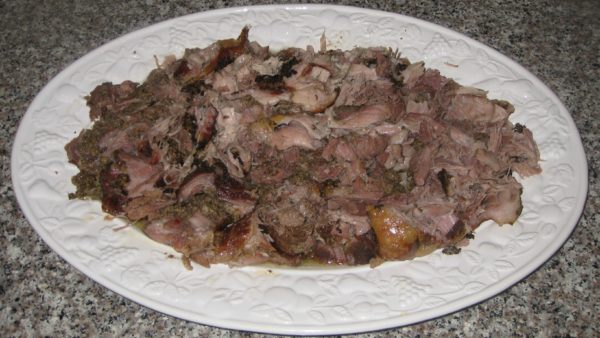
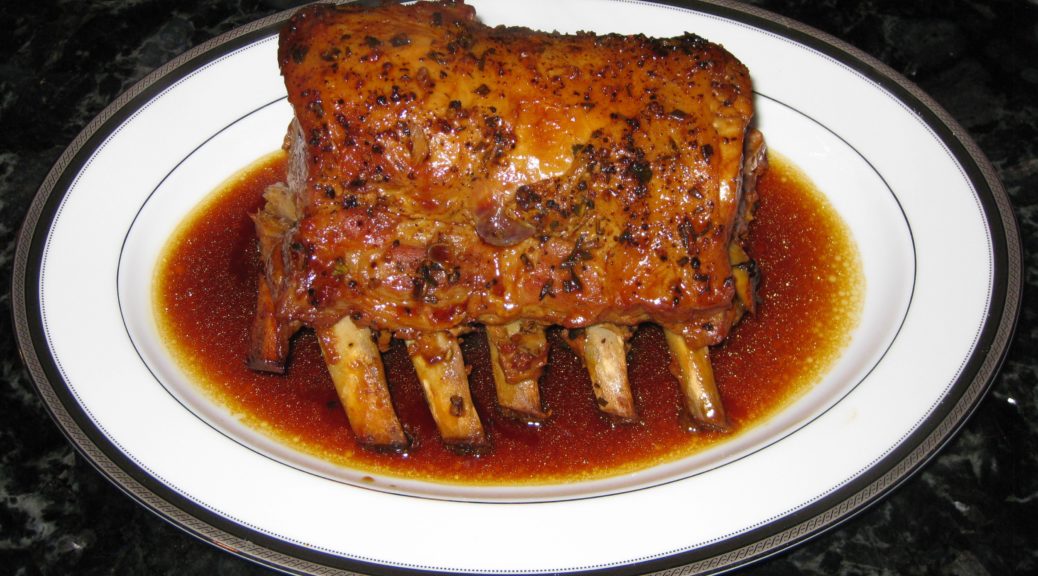
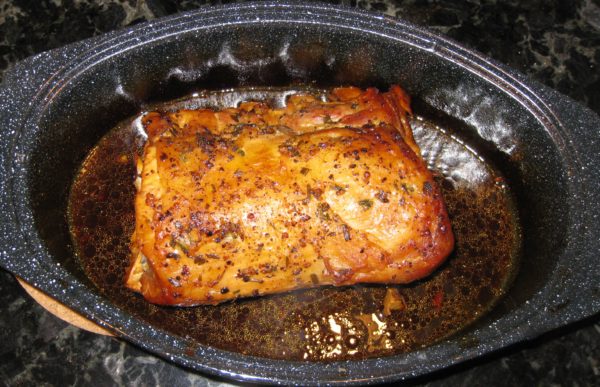
Porchetta is roast pork, but it’s no ordinary roast pork.  In its most traditional form, it is made from a whole pig, well-seasoned, and slowly roasted.

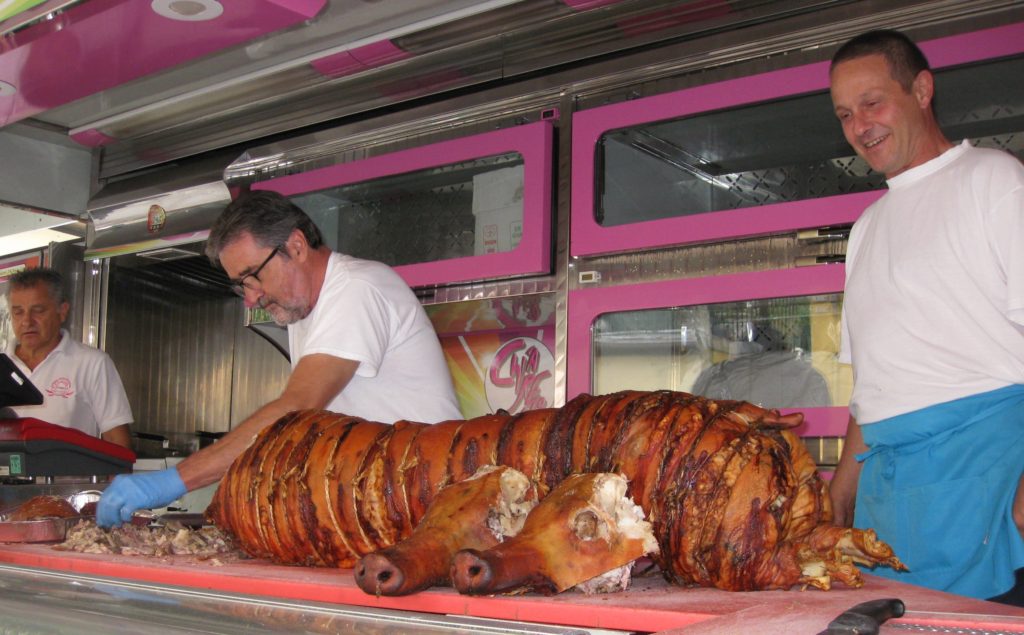
Porchetta can be found throughout Italy at festivals and street fairs, such as the one in Bagni di Lucca that I attended this past August.

Porchetta, made from a whole pig, at a festival in Bagni di Lucca.

Though there is some debate, Porchetta probably originated in Lazio in Central Italy.  Lazio is the region where Rome is located.


Follow us on your social media platform of choice


Seasonings vary with the region and often include some combination of garlic, rosemary, fennel, and black pepper.  Some regional variations include chopped entrails or liver in the mix.

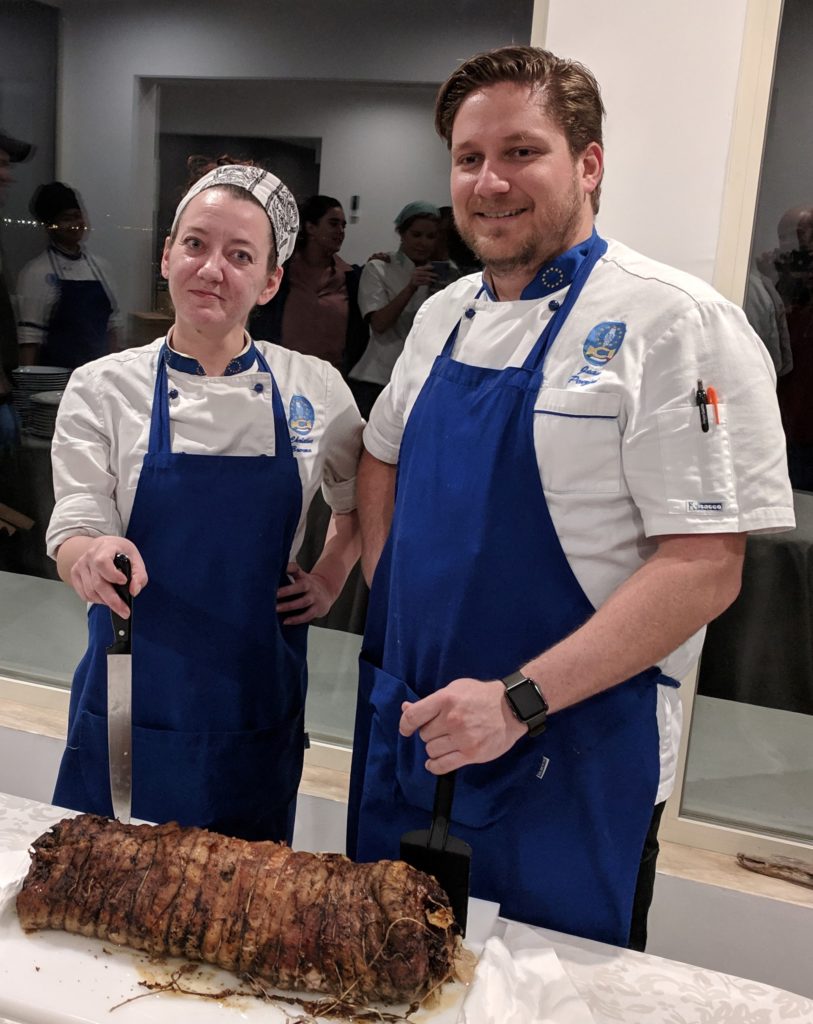
Perhaps the most unusual version of Porchetta that I’ve encountered is made at the Italian Culinary Institute in Stalettì, Calabria.  It is seasoned with salt and a large amount of truffle puree!

Chef Juan and Chef Chris about to carve a truffle-laden porchetta at the Italian Culinary Institute.

Most of us are not going to roast an entire pig which raises the question of what cut or cuts to use.  This is especially important as much of the mouth-feel of porchetta derives from the combination of fatty and lean meat inherent in using an entire pig.

One solution, that makes for an elegant presentation, is to roll a slab of pork belly around a lean pork loin and tie it.  This strategy allows one to cut neat slices that contain both lean and fatty meat.


Join our mailing list and you’ll never miss a recipe again!


Another solution is to use a cut of meat that inherently contains about 20% fat.  A pork shoulder fits the bill nicely.  The bone must be removed and the thickest parts of the meat butterflied before being seasoned and tied.  This cut of meat doesn’t create consistent slices as does the pork-belly-wrapped-around-a-pork-loin method.  It does, however, create supremely succulent meat, more so that the pork loin that’s encased in the pork belly.

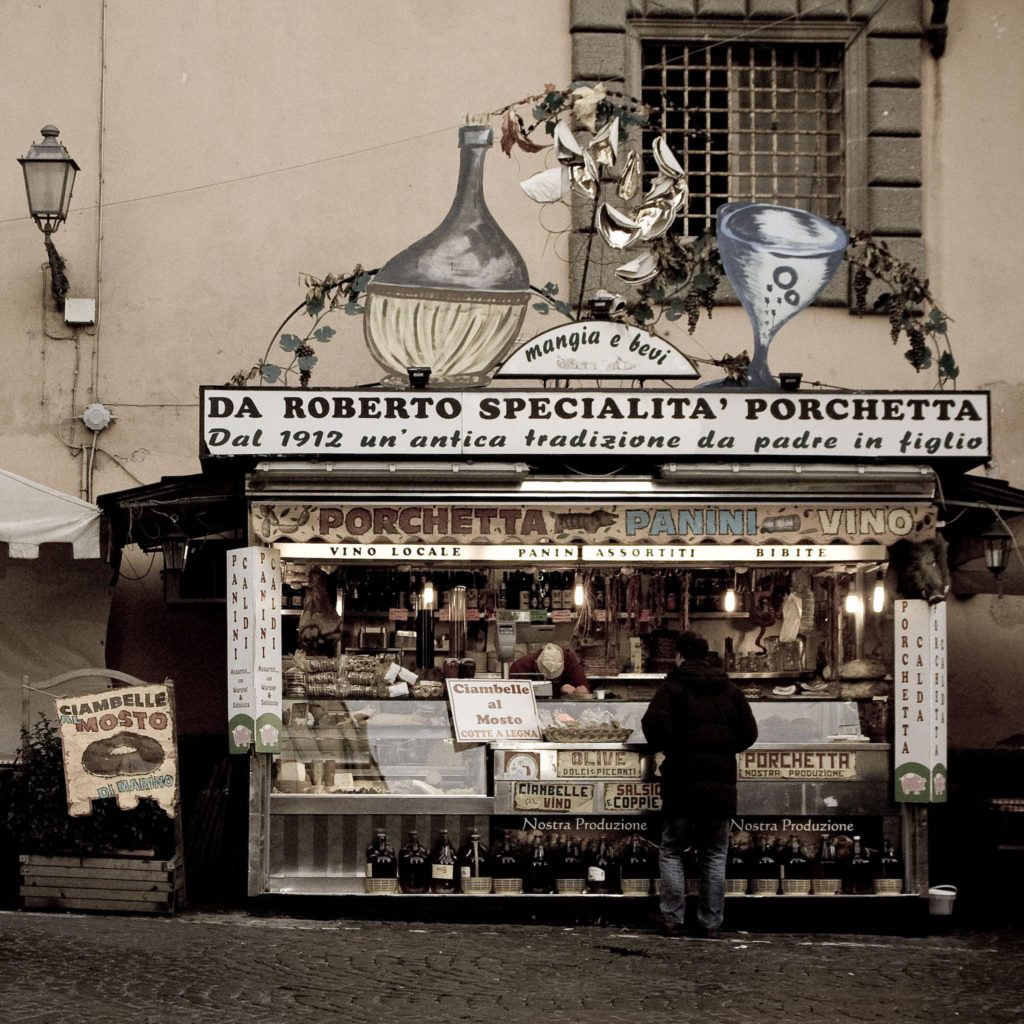
A porchetta vendor in Rome. (Photo by Alessandro Pinna – Flickr, CC BY-SA 2.0, https://commons.wikimedia.org/w/index.php?curid=34665585)

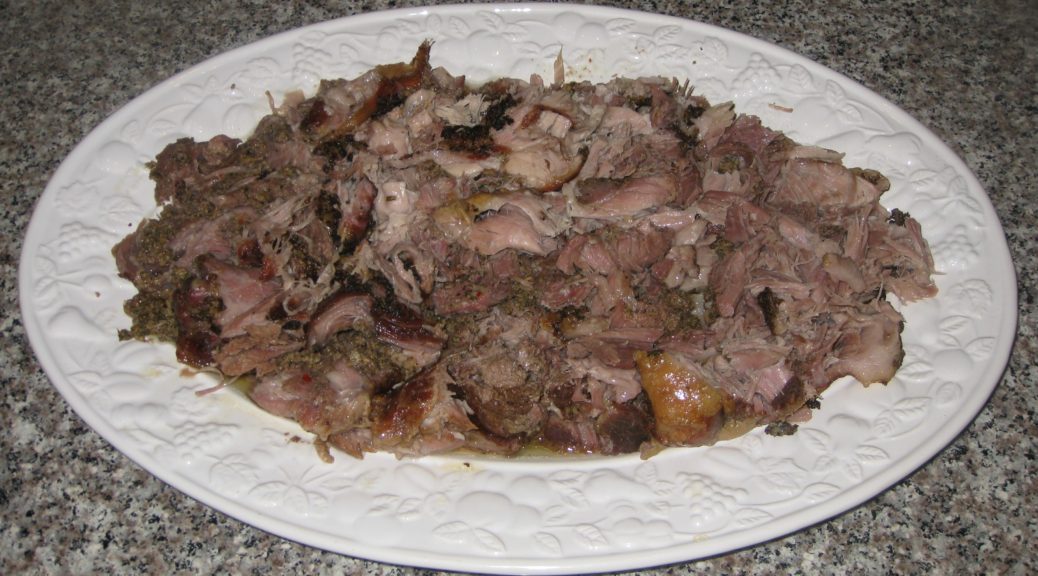
I lean towards the “pulled pork” version of porchetta, so slices aren’t really important to me.  I always opt for the boneless shoulder method and pull the cooked meat apart in large chunks.  Given the chance, though, I’d like to try a whole pig.

Print Recipe
Porchetta
The seasonings in this version of Porchetta closely adhere to what is used in central Italy. Be sure to spread the seasoning very evenly on the meat before rolling and tying.
Votes: 0
Rating: 0
You:
Rate this recipe!
Course Mains, Meats
Cuisine Italian
Prep Time 1 hour
Cook Time 10 hours
Passive Time 2 days
Servings
persons
Ingredients
For the initial seasoning
Final seasoning and cooking
Course Mains, Meats
Cuisine Italian
Prep Time 1 hour
Cook Time 10 hours
Passive Time 2 days
Servings
persons
Ingredients
For the initial seasoning
Final seasoning and cooking
Votes: 0
Rating: 0
You:
Rate this recipe!
Instructions
For the initial seasoning
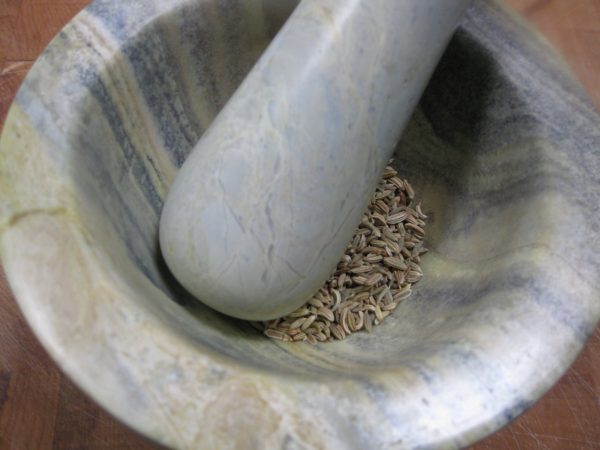
  1. Crush fennel seeds in a mortar. Reserve.
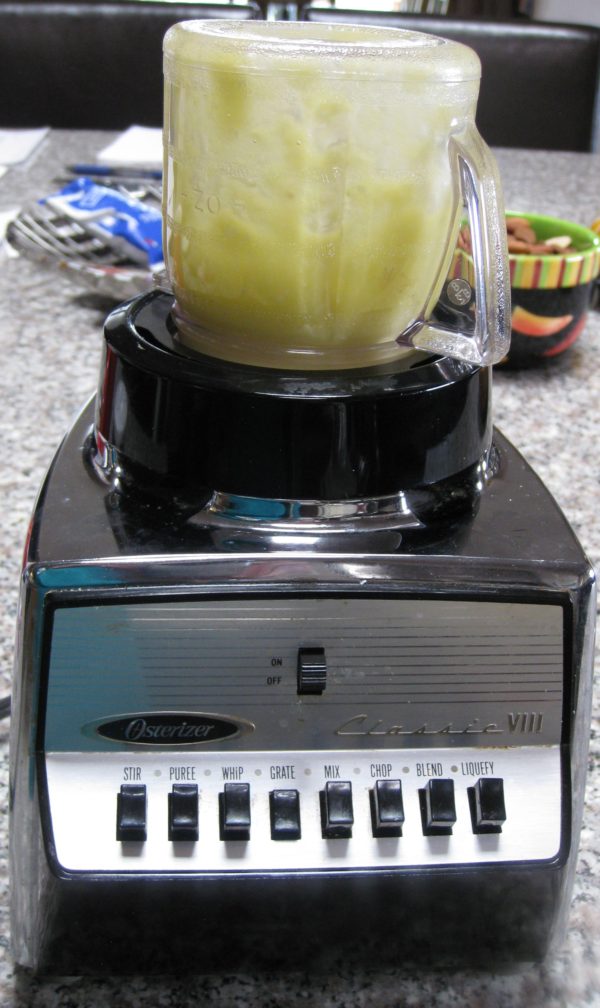
  2. Puree the garlic and olive oil in a small blender jar.
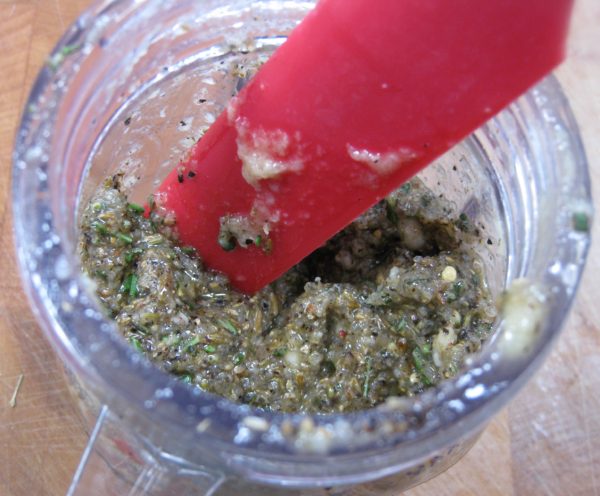
  3. Add the crushed fennel seeds, salt, black pepper, rosemary, chile and enough olive oil to make a paste.
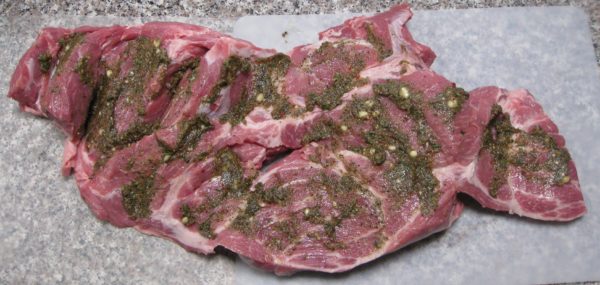
  4. Rub the paste over what will be the inside of the roast once it is rolled and tied.
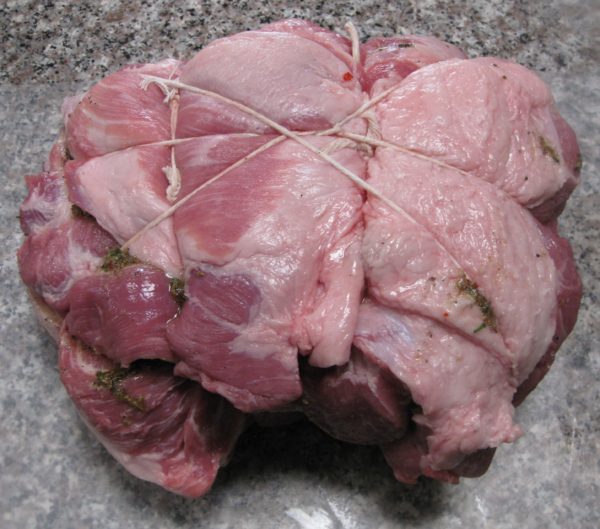
  5. Roll up roast and tie with butcher’s twine.
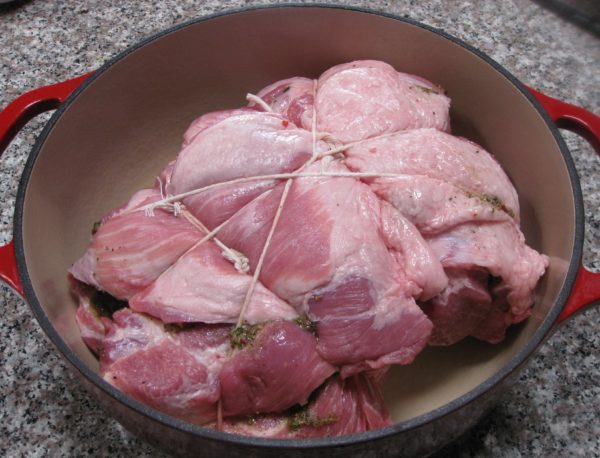
  6. Put the tied roast, fat side up and seam down, into a non-reactive roasting pan and cover with plastic wrap.
  7. Put the cover on roasting pan (or cover tightly with aluminum foil) and refrigerate for 2 days.
Final seasoning and cooking
  1. Remove the pork from refrigerator about 60-90 minutes before roasting.
  2. Using a mortar and pestle, grind the fennel seeds.
  3. Add garlic and salt to the fennel and crust into a paste.
  4. Add black pepper and rosemary. Combine well.
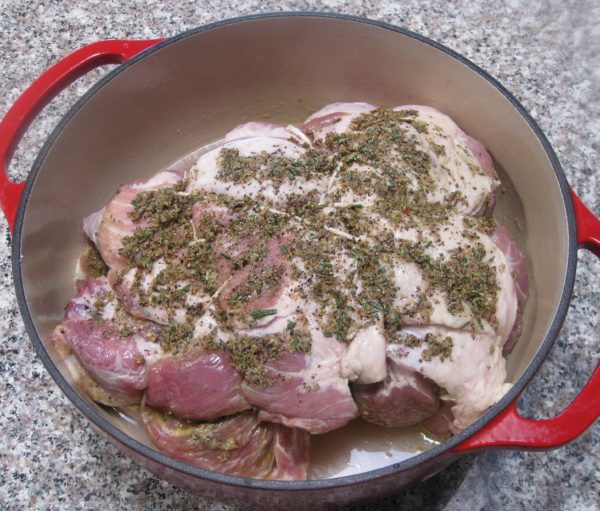
  5. Rub spice mixture over the top of the roast.
  6. Pour the white wine into the bottom of the roasting pan.
  7. Cover the pan and roast at 250°F, for 10 hours, occasionally basting with pan juices after about 5 hours.
  8. Uncover the pan for the last hour of roasting. If necessary, but usually not, add a bit of water to the pan.
  9. Remove the roast from the roasting pan and place it on a serving platter. Pull the roast into chunks.
  10. Skim the fat from the pan drippings. Drizzle the pan drippings over the meat.
Recipe Notes

Copyright © 2020 by Villa Sentieri, LLC. All rights reserved.
Share this Recipe

Smoky Baked Beans

June 1, 2018

In my first year of medical school (I know that only because of the apartment that I was living in at the time) my parents and my Aunt Ann came to visit for a weekend.  I’ve talked about Aunt Ann in previous blog posts, like this one that includes her recipe for Pineapple Cream Cheese Pie.  She was married to my father’s brother, Jano.

As often happened with my mother, the conversations frequently veered to food.  On this occasion, for some reason, my Aunt Mary’s baked beans.

Aunt Mary was really my mother’s Aunt Mary by marriage.  She was my Great Aunt Mary.  Actually, by the time I knew her, she wasn’t really my aunt, great or otherwise, because she and my mother’s Uncle Derp had gotten divorced.  Nonetheless, we all still called her Aunt Mary.  Well, really, due to some bizarre twist, we called her Aunt Mary Derp if we were referring to her in a conversation and it wasn’t otherwise clear which of the several Aunt Marys in the family was the one we meant.  Why we appended the name of her ex-husband to hers rather than using her last name, I’ll never know!!


Join our mailing list and you’ll never miss a recipe again!


In any case, my parents both talked about Aunt Mary’s baked beans.  They recalled that she baked them overnight.  My mother came up with a reasonable facsimile of what went into the beans.

We tried to do the initial boiling of the beans in a slow cooker while we went out for the day.  That was a failure.  On the low setting, the beans were still hard after hours and hours of cooking.  That got remedied by a quick boil on the stove.

My smoker has an adjustment for the heat output but not temperature, per se. If the wind or external temperature change, the internal smoker temperature changes, too.

We took the par-boiled beans and mixed them with all the other ingredients and put them in the oven overnight.  That was failure number two, but one we couldn’t recover from.  The long cooking period created a burnt taste in the beans given the high sugar content.  The beans hadn’t actually dried out but they must have gotten hot enough to start caramelizing the sugar.  The road from caramel to burnt isn’t long.  Unless one doesn’t get more than six hours sleep, we discovered that it wasn’t ideal to bake the beans overnight!

Eventually, I figured it out.  The recipe for my version of Aunt Mary’s Baked Beans now sits proudly on the hard drive of my computer along with two recipes of my own development.  I also have this great hack for doctoring canned baked beans that I learned from my cousin Shirley (it always generates requests for the recipe that I artfully dodge) but that isn’t actually written down anywhere.


Follow us on your social media platform of choice


Today, we’re going to focus on my recipe for baked beans cooked in a smoker.  I’ll also share a trick for making these in the oven if you don’t have a smoker.

When I make these, I put them on the bottom rack of my smoker, uncovered, with meat on the racks above.  Meat juices drip into the beans making them extra tasty!  The high humidity in the smoker keeps the uncovered beans from drying out.

Print Recipe
Smoky Baked Beans
Adding salt to the bean-soaking liquid is optional. It seasons them and also decreases the cooking time. I find it especially useful where I live as water boils at less than 198°F and beans take much longer to cook. If you don’t have a smoker, add 1 teaspoon of Liquid Smoke seasoning and cook the beans in the oven with a cover. As a reality check, if you’re paying close attention to the photos, you’ll notice that these are “adult” lima beans not baby lima beans. There must have been a run on baby lima beans when I went shopping for the ingredients for this recipe as none of the markets had them.
Votes: 0
Rating: 0
You:
Rate this recipe!
Prep Time 30 minutes
Cook Time 8 hours
Passive Time 12 hours
Servings
people
Ingredients
Prep Time 30 minutes
Cook Time 8 hours
Passive Time 12 hours
Servings
people
Ingredients
Votes: 0
Rating: 0
You:
Rate this recipe!
Instructions
  1. Wash and pick over the beans.
  2. Dissolve 1 ½ tablespoons salt, if using, in 2 quarts of water. Add the beans.
  3. Soak the beans for about 12 hours in the refrigerator.
  4. Drain and rinse the beans.
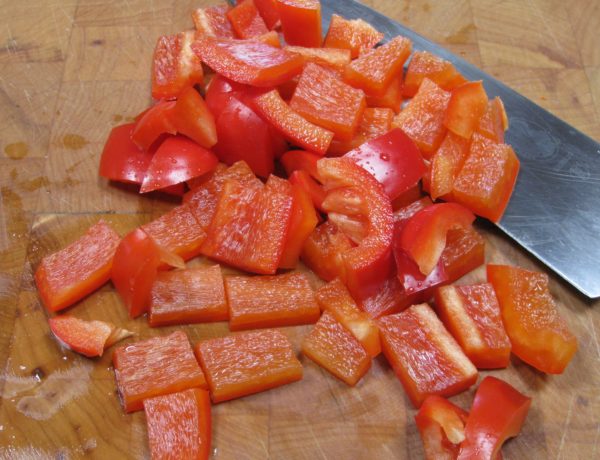
  5. Coarsely chop the red Bell pepper.
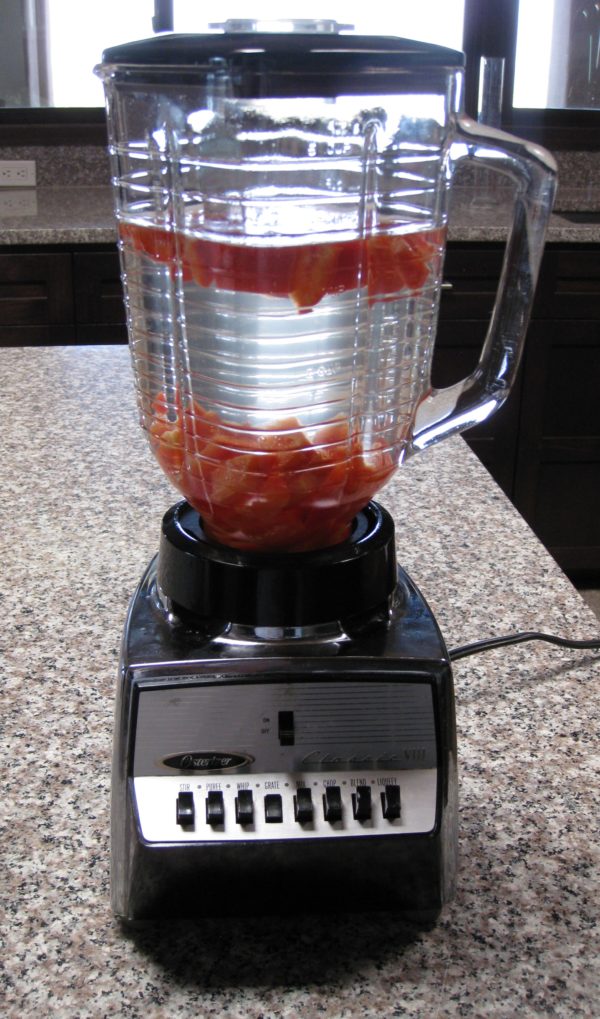
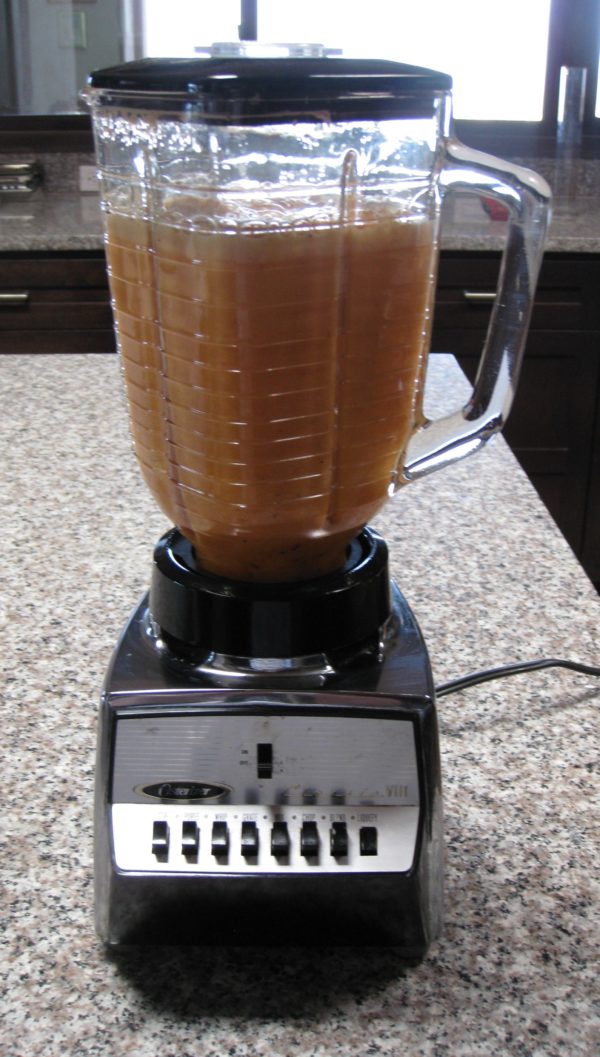
  6. In a blender jar, combine the Bell pepper with some of the 6 cups of water.
  7. Puree the Bell pepper.
  8. Add the chipotle pepper, if using, and puree again. Reserve the pepper puree.
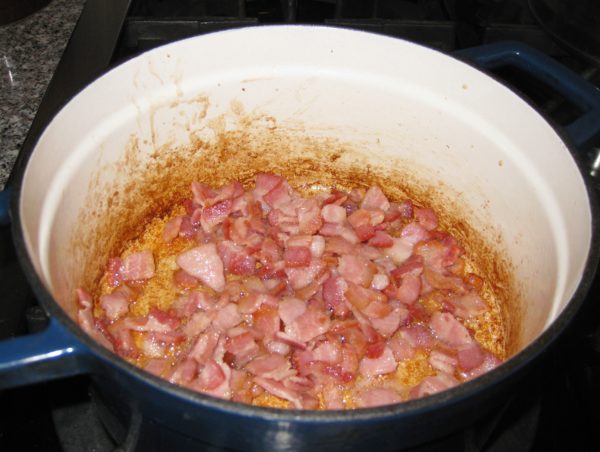
  9. Sauté the bacon until golden.
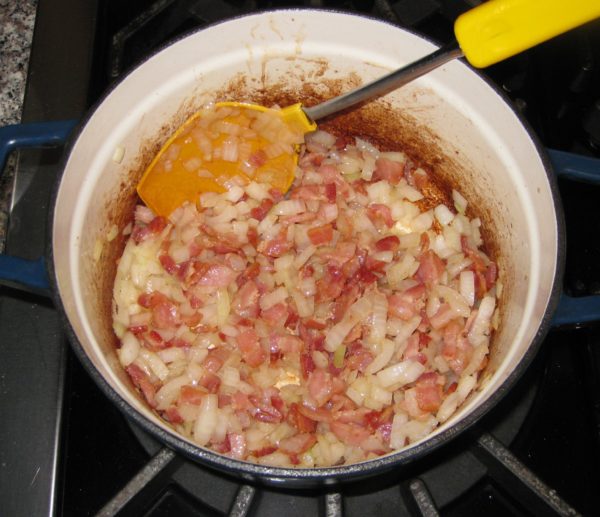
  10. Add the onion and sauté until soft.
  11. Add the garlic and sauté until fragrant.
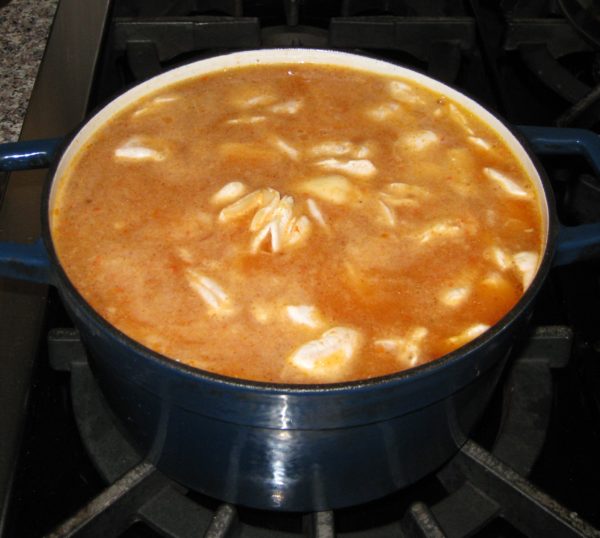
  12. Add the drained beans, pepper puree, remaining water, and bay leaves.
  13. Gently boil, partially covered until almost tender (1 to 2 hours). Add water from time to time if needed. The beans should be just barely covered with liquid at the end.
  14. Combine the ketchup, white wine, brown sugar, Worcestershire sauce, mustard, salt and black pepper.
  15. Stir the ketchup mixture into the cooked beans.
  16. Return to a simmer on the stovetop then bake (uncovered if using a smoker or covered if using the oven) at 225°F for six hours, stirring once or twice.
Recipe Notes

Copyright © 2018 by Villa Sentieri, LLC. All rights reserved.
Share this Recipe

Mom’s Slow-Roasted Pork

February 14, 2018

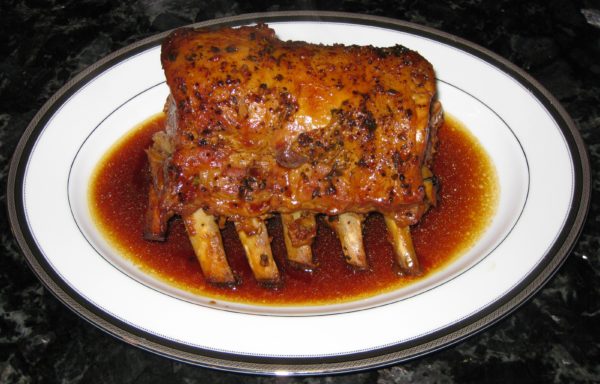
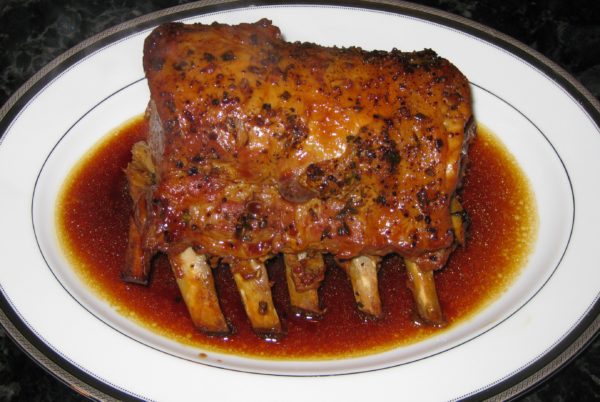
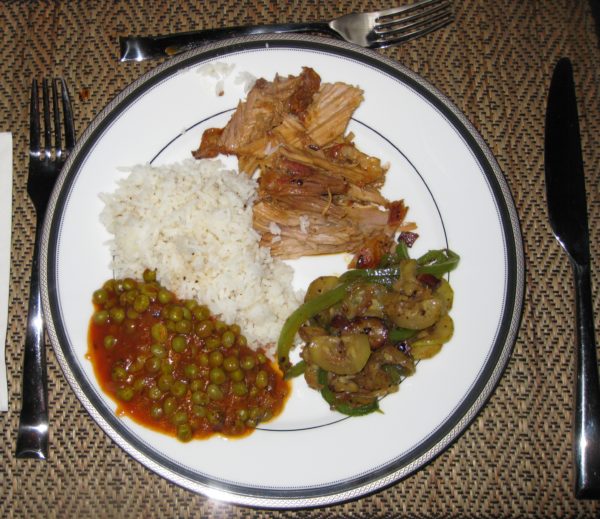
Growing up, Sunday dinner almost always included some sort of pasta with my mother’s long-simmered Southern Italian sugo.

The sauce was made with large pieces of pork which were always served on the side.  In addition, there might be meatballs, simmered in the sauce after being fried to a deep brown.  Sometimes, actually, much more often than sometimes, there would be veal cutlets.  This was back in the day when people didn’t really think about how veal was produced…or maybe it was produced more humanely back then.  I’m not sure.

Sometimes a pork roast would accompany the pasta.  Occasionally, though not often, the pork roast would be accompanied by potatoes and there wouldn’t be pasta on the table.

A Sunday without pasta, though, was quite unusual in my parents’ house.


Click HERE to join our mailing list and you’ll never miss a recipe again!


The pasta could have been homemade linguine or fettuccine, which my mother and her sister, my Aunt Margie, made on a regular basis and then dried and stored in large rectangular aluminum tins that once held baccala (salted cod).

Those tins had a myriad of uses, from protecting pasta and cookies to storing recipes and papers.  Even though they were made of an inert metal, they had to be thoroughly scrubbed and allowed to air out, uncovered, for weeks to rid them of the smell of baccala.

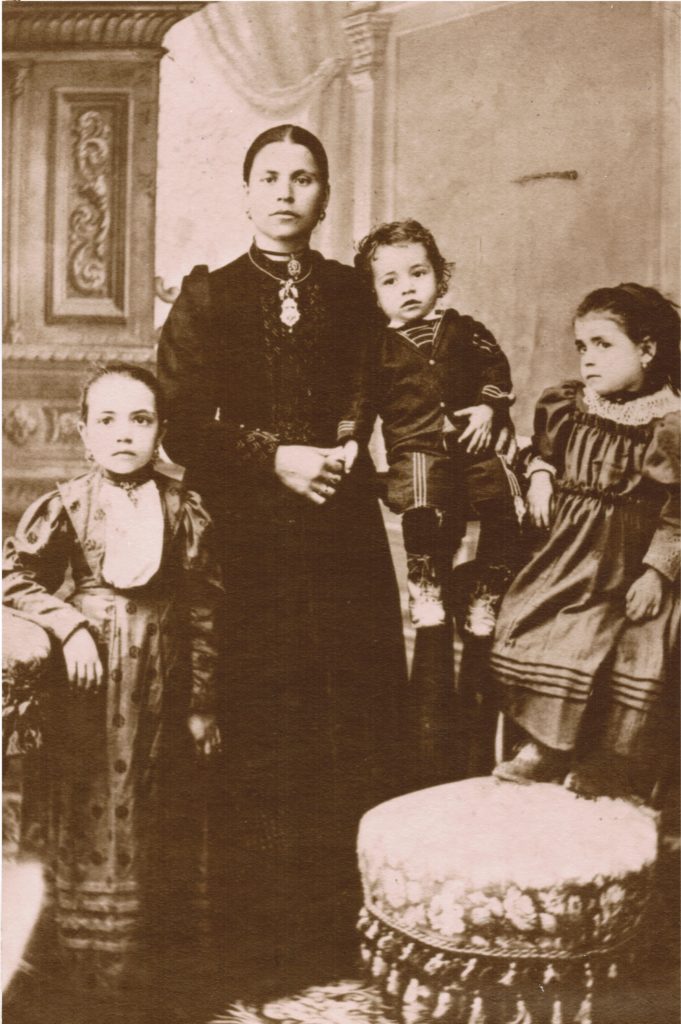
My mother learned her style of Southern Italian cooking from her mother, Angelina (far left). No doubt she learned it from her mother (center).

Sometimes the Sunday pasta was homemade ravioli, never was it gnocchi as my father didn’t like gnocchi.  Those were reserved for dinners when my father was out of town.

Usually, though, the pasta was dried pasta from a box: spaghetti, rigatoni, wagon wheels, fettuccine, and so forth.  Dried pasta is really a different sort of pasta with some different uses than fresh pasta (even if the fresh pasta is dried before use as mom and Aunt Margie often did).


Follow us on your social media platform of choice


I know many of you have heard me say this, but roasts in our house were much more similar in texture to pulled pork than the typical French-American style of “just-how-little-can-we-cook-this-hunk-of-meat-and-say-it’s-done” type of roast.

A huge advantage of this style of cooking is that you can know in advance when it will be done because it’s really the clock that counts, not the thermometer.  I don’t like making an American style roast for a dinner party.  It makes me crazy.

I don’t get to enjoy cocktails and I don’t get to enjoy the first course because I’m focused on when the thermometer might say the roast is done.  While the temperature to be achieved is precise, the time is not.

On the other hand, the Italian style of roasting eliminates all of these problems because the meat is not “just barely cooked enough.”  The collagen begins to liquefy and the roast becomes unctuous.

If you haven’t experienced this style of roast, give it a try.  If you like it, look up my recipe for Italian Slow-Roasted Chicken or Turkey for the poultry equivalent.


If you have a favorite family recipe and a bit of a story to tell, please email me at santafecook@villasentieri.com and we can discuss including it in the blog. I am expanding the scope of my blog to include traditional recipes from around the country and around the world. If you haven’t seen Bertha’s Flan or Melinda’s Drunken Prunes, take a look.  They will give you an idea of what I’m looking for.


Print Recipe
Mom's Slow-Roasted Pork
I have an assortment of blue spatterware roasting pans which are perfect for this type of roast. I also have an array of heavy stainless steel, aluminum, and enameled cast-iron roasters. The more important issue is using a roasting pan of the right size to hold the roast without crowding (it shouldn’t touch the sides or top of the roaster) or without too much empty space. The initial cooking at higher temperature not only browns the roast, it helps it to reach the optimum temperature for collagen to break down to produce that pull-apart texture. You can easily increase the size of the roast. With a 4 to 5 pound roast, you would probably need to add another 45 minutes to 1 ½ hours to the roasting time.
Votes: 0
Rating: 0
You:
Rate this recipe!
Course Mains, Meats
Cuisine Italian
Prep Time 15 minutes
Cook Time 4 hours
Servings
people
Ingredients
Course Mains, Meats
Cuisine Italian
Prep Time 15 minutes
Cook Time 4 hours
Servings
people
Ingredients
Votes: 0
Rating: 0
You:
Rate this recipe!
Instructions
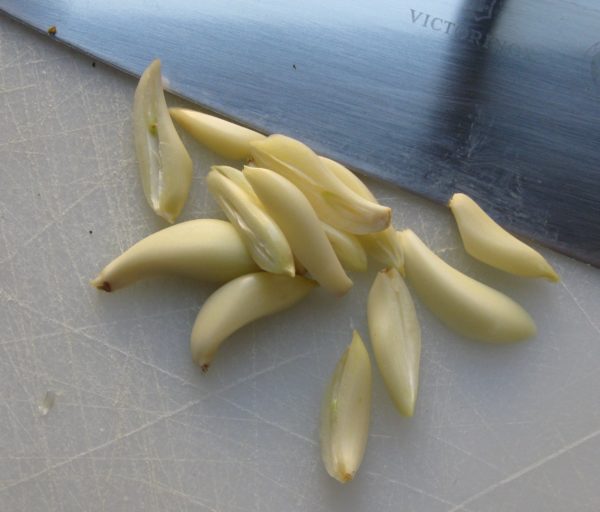
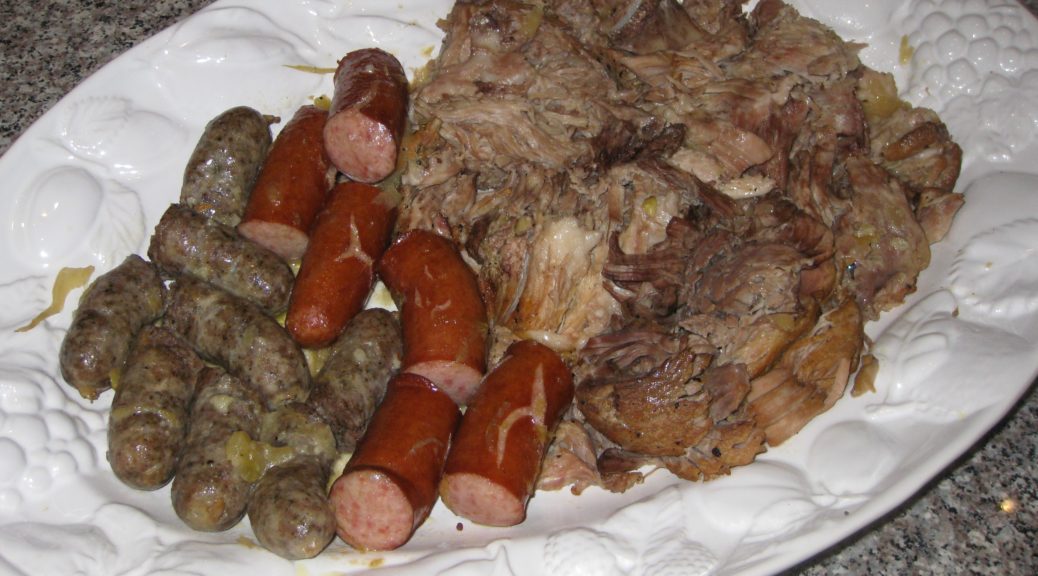
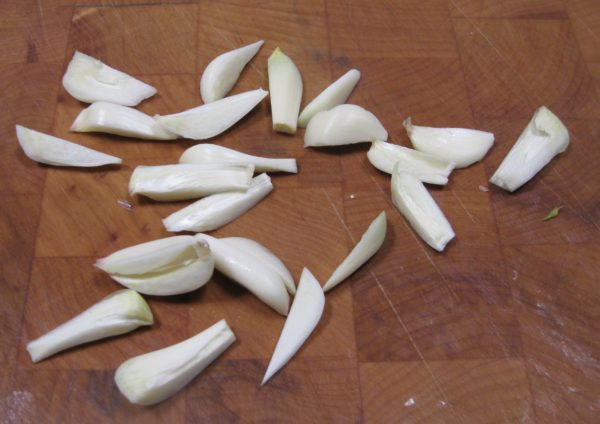
  1. Cut the garlic cloves into 3 to 4 slivers each.
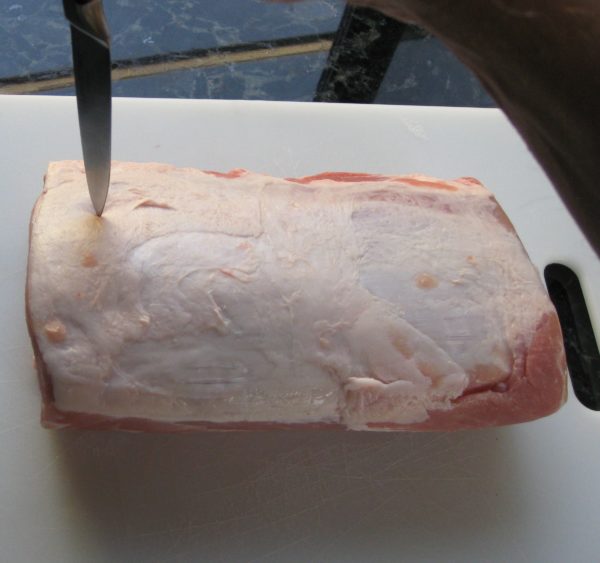
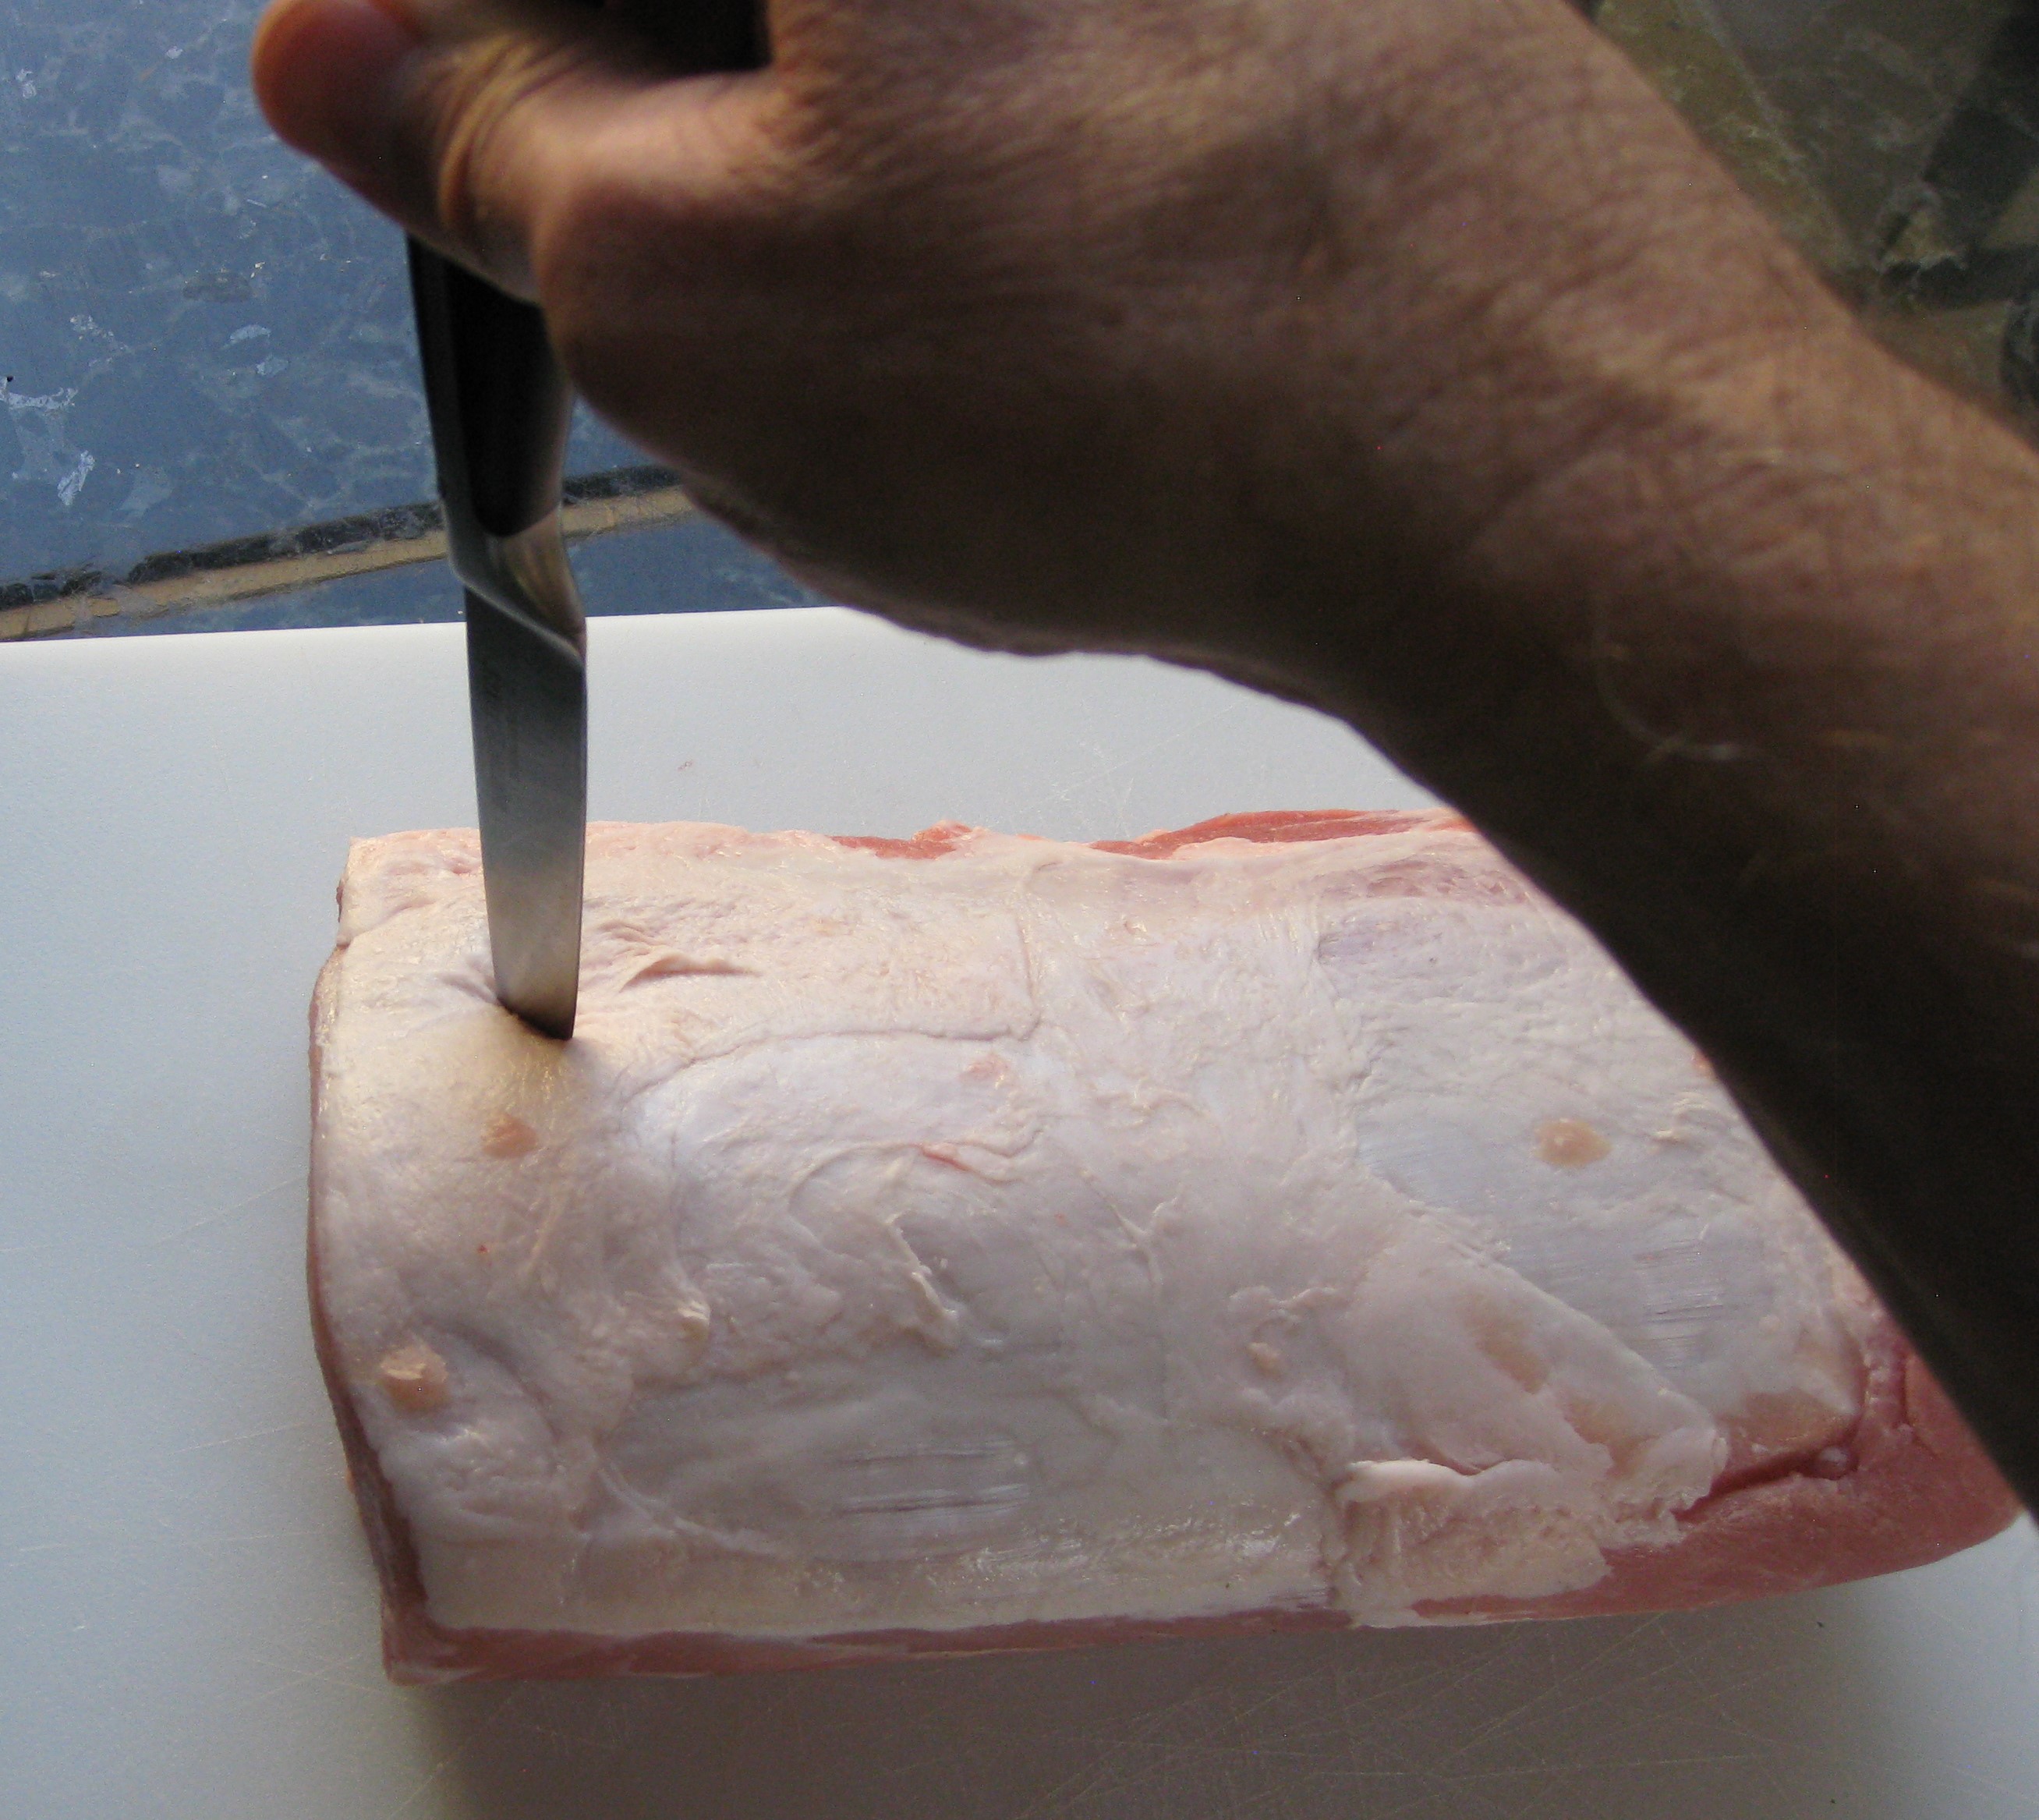
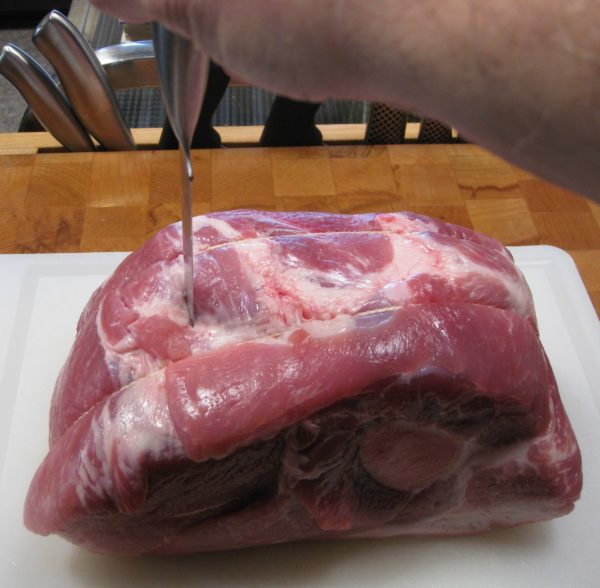
  2. Plunge a paring knife into the pork at intervals to make small pockets about 1 inch deep. Space the pockets out around the roast.
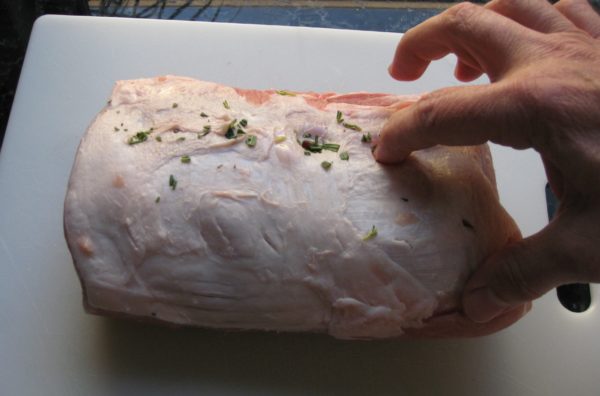
  3. Put a piece of garlic and some of the fresh rosemary into each pocket.
  4. Some of the rosemary will invariably stick to the fat cap. Don’t sweat it, just try to get most of it in the slits.
  5. Put the roast into a roasting pan that is just large enough to hold it.
  6. Generously season the roast with salt and pepper.
  7. Pour the wine (or water) into the bottom of the roasting pan.
  8. Roast, uncovered, at 375°F until the roast is browned a little, 45-60 minutes.
  9. Baste with pan juices.
  10. Cover and continue to roast at 275-300°F for about another three hours, basting with the pan juices every 30-45 minutes or so.
  11. The pan juices will dry up. Be careful not to burn the bits on the bottom of the pan, but allow them to brown before adding another ¼ cup of water or so. After two or three cycles of this, the pan juices will be a luscious dark brown.
  12. Remove the roast from the pan. Allow to cool for 10 minutes.
  13. To serve, pull the roast into large pieces. Don’t even try to slice it. It’s not supposed to slice.
  14. Pour a little of the pan juices on top. Pass the rest.
Recipe Notes

Copyright © 2018 by VillaSentieri.com. All rights reserved.
Share this Recipe

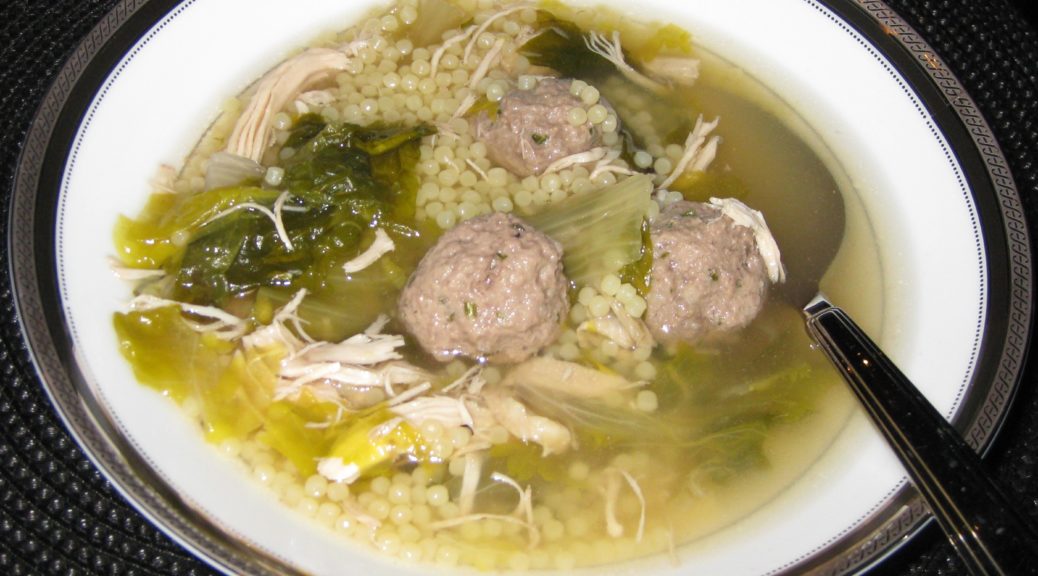
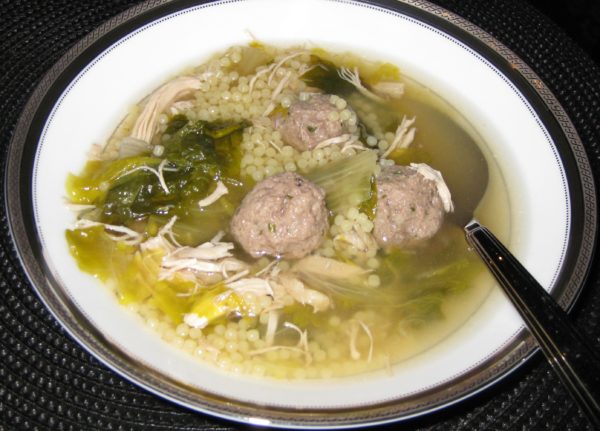
Italian Wedding Soup

February 5, 2018

Growing up I never really understood why this was called Wedding Soup.  It was NEVER served at weddings.

It was mostly served at home, unceremoniously.

The fact that it was unceremonious is a shame.  It is a wonderful soup and, being honest, takes a bit of work to pull together.  Both the soup, and the soup-maker, in my estimation, deserve a bit of attention.

Although it takes some work, it doesn’t require much in the way of heard-earned skills like frosting a cake or making pie crust.  It’s just a bit of slogging through a series of steps.

This is a beloved soup among Americans of Italian descent.  Interestingly, my in-laws who are actually from Italy had never heard of it until I made it for this blog!


Click HERE to join our mailing list and you’ll never miss a recipe again!


But back to the “wedding” part.  I did a bit of internet research (thanks Google!).  Actually, I hesitate to call it “research.”  I’m old school.  I remember when doing research meant hours upon hours spent in libraries looking at actual hardcopy materials.  It almost doesn’t seem fair to sit on my sofa with my laptop and read materials served up by Google based on natural language questions and call it research.

The “natural language” part is interesting too.  In the “old” days, if you found an article that was relevant to the research topic, you would look at the articles referenced by the author and find, potentially, other relevant articles.  But they would all be older than the first article.  This is where the “Science Citation Index” came into play.

The Index was a series of periodically published volumes that listed all the articles that cited a particular article in their bibliography.  With the Science Citation Index, you could start with a relevant article and then work forwards finding all the newer articles that had cited that article.

Now I just tell Google what I’m interested in and I get a bunch of (almost always) relevant “hits!”  Google is even nice enough to tell me how many hits there are and what fraction of a second it took Google to identify them.

Even when I’m researching a biomedical topic I sit on my sofa with my laptop and search the National Library of Medicine.  The search language is a bit more arcane than the natural language used by Google but it still feels like cheating compared to slogging around a library.  I can even have the full article delivered to my laptop so I don’t have to figure out what library has the publication I need.


Follow us on your social media platform of choice


So, what did I learn from my Google search?

It appears (at least it’s a plausible theory) that Wedding Soup is an inaccurate translation of Minestra Maritata or Married Soup; apparently so-named because of the way the different ingredients marry together so well.

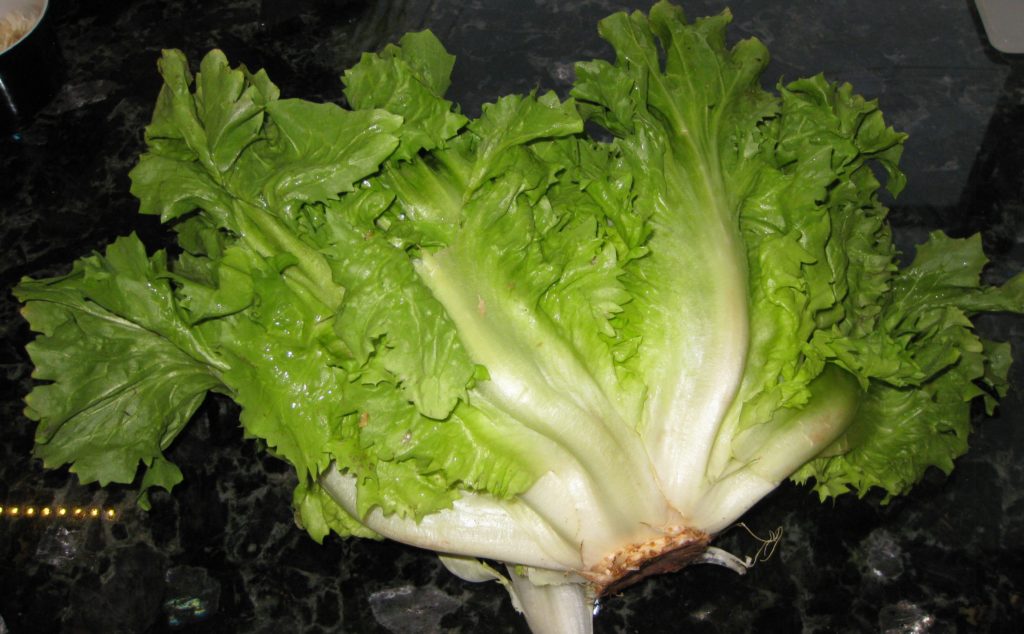
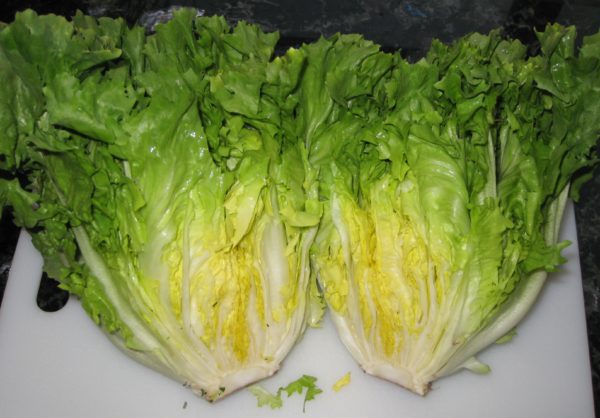
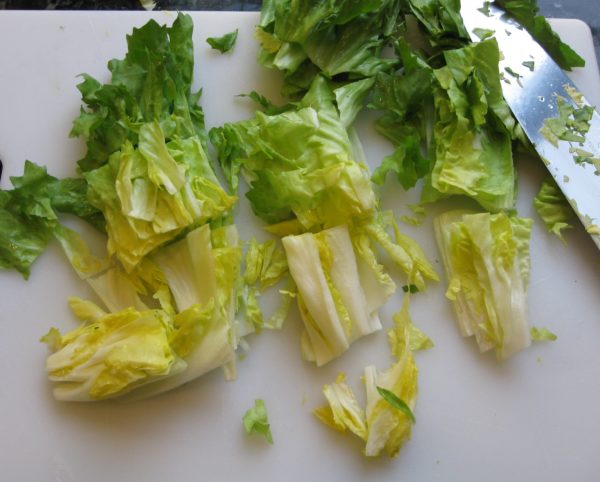
I’m guessing that many Americans with no affiliation to Italy have never had escarole.

Interestingly, my husband’s Tuscan grandmother would use up small amounts of different types of dried pasta, perhaps putting them into a soup or serving them with a simple sauce.  She referred to this as Pasta Maritata because she was marrying the different types of pasta to create a dish.

If this theory is correct, I am perplexed by the inaccurate translation but, be that as it may, the soup is wonderful.  I urge you to give it a try.

I like breaking up the work over two days, especially since I like to make a long-simmered broth as the base of the soup.  My mother didn’t do this.  Once the chicken was cooked, it was removed and shredded and the broth was used without additional simmering to make the soup.  It shaves about 3 hours off of the prep time.  But, since making broth is mostly hands off, and the improvement in flavor is dramatic, I simmer everything a bit longer before straining and discarding the solids.


If you have a favorite family recipe and a bit of a story to tell, please email me at santafecook@villasentieri.com and we can discuss including it in the blog. I am expanding the scope of my blog to include traditional recipes from around the country and around the world. If you haven’t seen Bertha’s Flan or Melinda’s Drunken Prunes, take a look.  They will give you an idea of what I’m looking for.


Print Recipe
Italian Wedding Soup
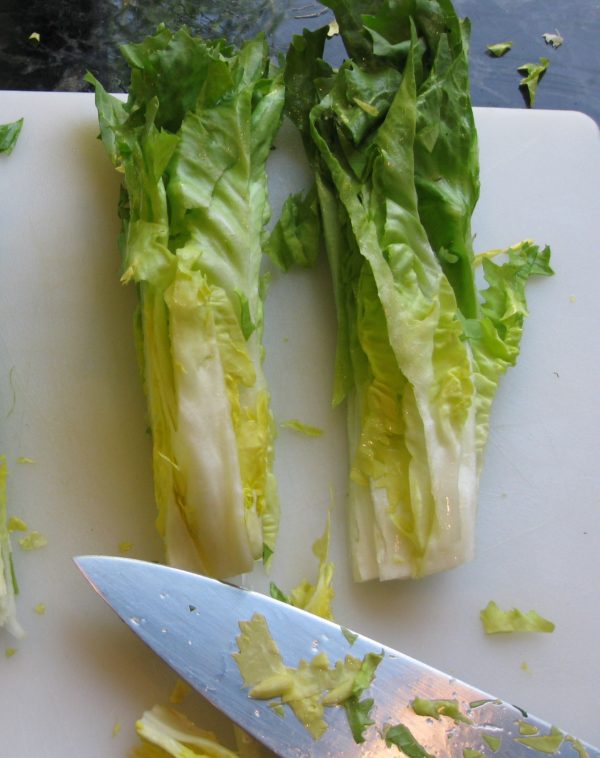
If you don’t want to use the white center of the escarole, start with two heads and just use the dark green parts. The pale inner portion can be served in a salad or cooked in a number of ways. I like to divide up the work over two days, making the broth on the first day and the remainder on the second day. It’s perfectly feasible to do it all on the same day, however. I always keep a stash of rinds from Parmigiano Reggiano and Pecorino cheeses in the freezer. They add great flavor to broths, beans, and an array of other dishes.
Votes: 0
Rating: 0
You:
Rate this recipe!
Cuisine Italian
Prep Time 1 hour
Cook Time 5 hours
Passive Time 2 hours
Servings
people
Ingredients
Broth and Chicken
Meatballs
Final assembly
Cuisine Italian
Prep Time 1 hour
Cook Time 5 hours
Passive Time 2 hours
Servings
people
Ingredients
Broth and Chicken
Meatballs
Final assembly
Votes: 0
Rating: 0
You:
Rate this recipe!
Instructions
Broth and Chicken
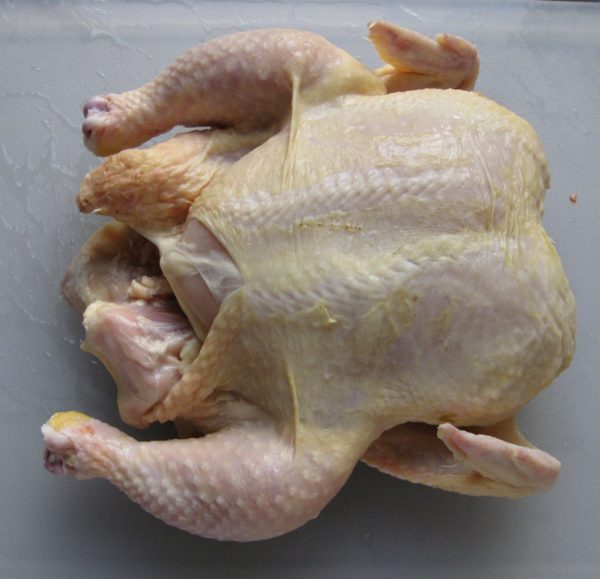
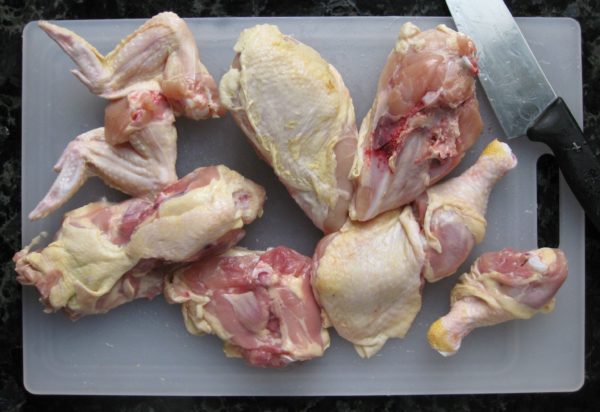
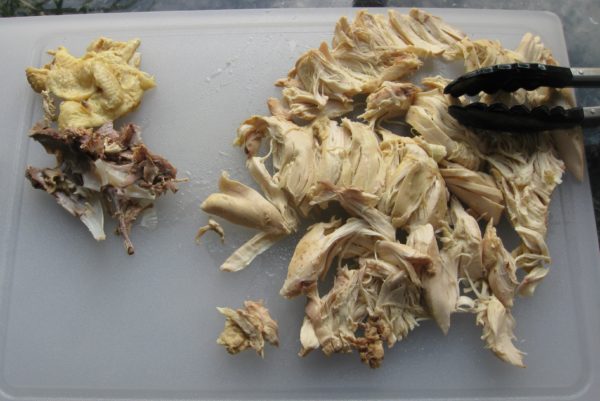
  1. Cut the chicken into breast halves, legs, thighs, and wings. Cut the back into 2 or three pieces. Reserve the liver for another use but chop the remaining giblets.
  2. Slice the onions. There's really no need to peel them first.
  3. Same with the garlic, no need to peel. It all gets strained out in the end.
  4. Combine all ingredients in a large stock pot. Cover and bring to a boil. Reduce heat, and simmer, partially covered for two hours.
  5. After two hours, remove the breasts, legs, and thighs. Continue to simmer the broth.
  6. Remove the meat from the bones. Return the chicken bones and skin to the broth.
  7. Continue to simmer the broth for another two hours, adjusting seasoning as needed.
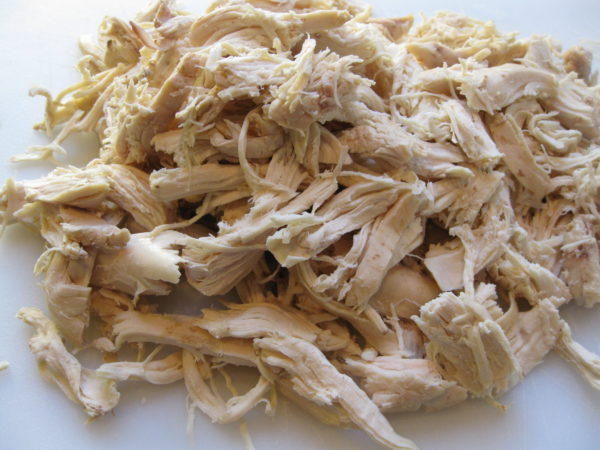
  8. Meanwhile, shred the breast meat and refrigerate.
  9. Reserve the leg and thigh meat for another use.
  10. After the broth has finished cooking, cool it for several hours. Strain and discard the solids. Allow the broth to come to room temperature and refrigerate.
  11. Alternatively, immediately strain and discard the solids and proceed as below.
Meatballs
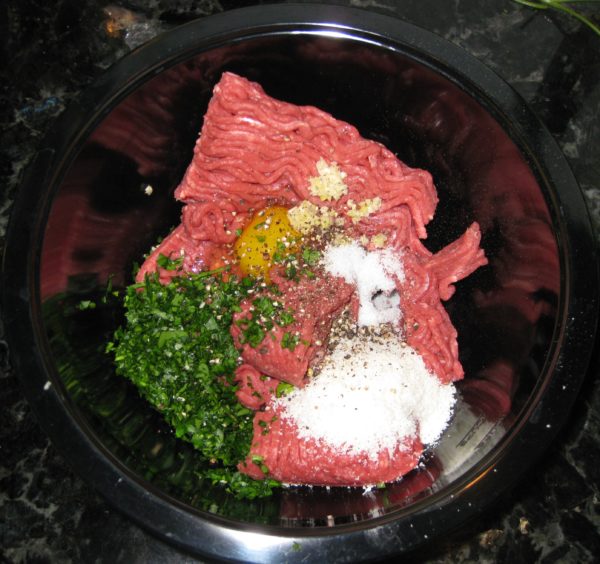
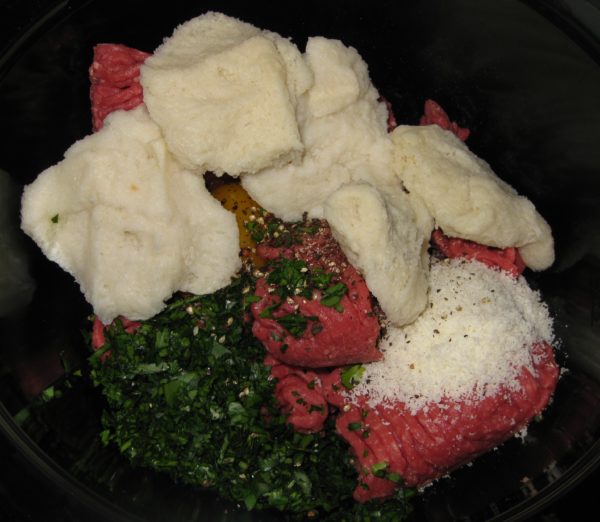
  1. Put all the ingredients except the bread into a mixing bowl.
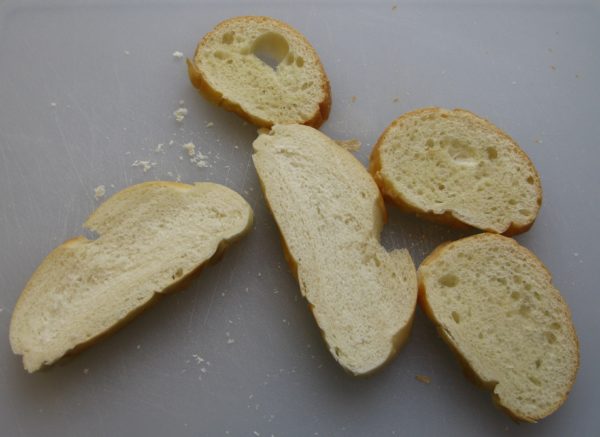
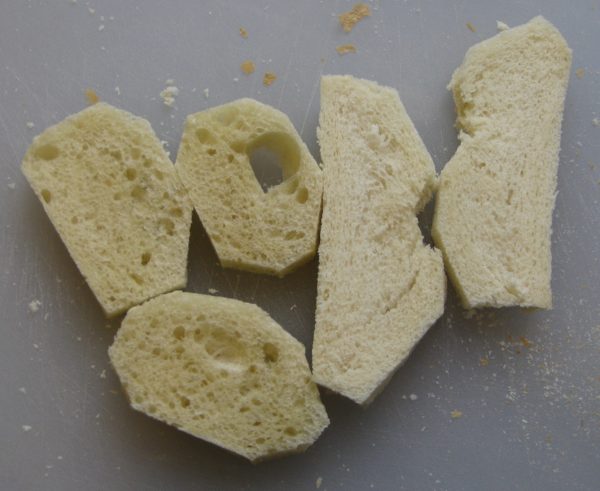
  2. Cut the crusts from the bread.
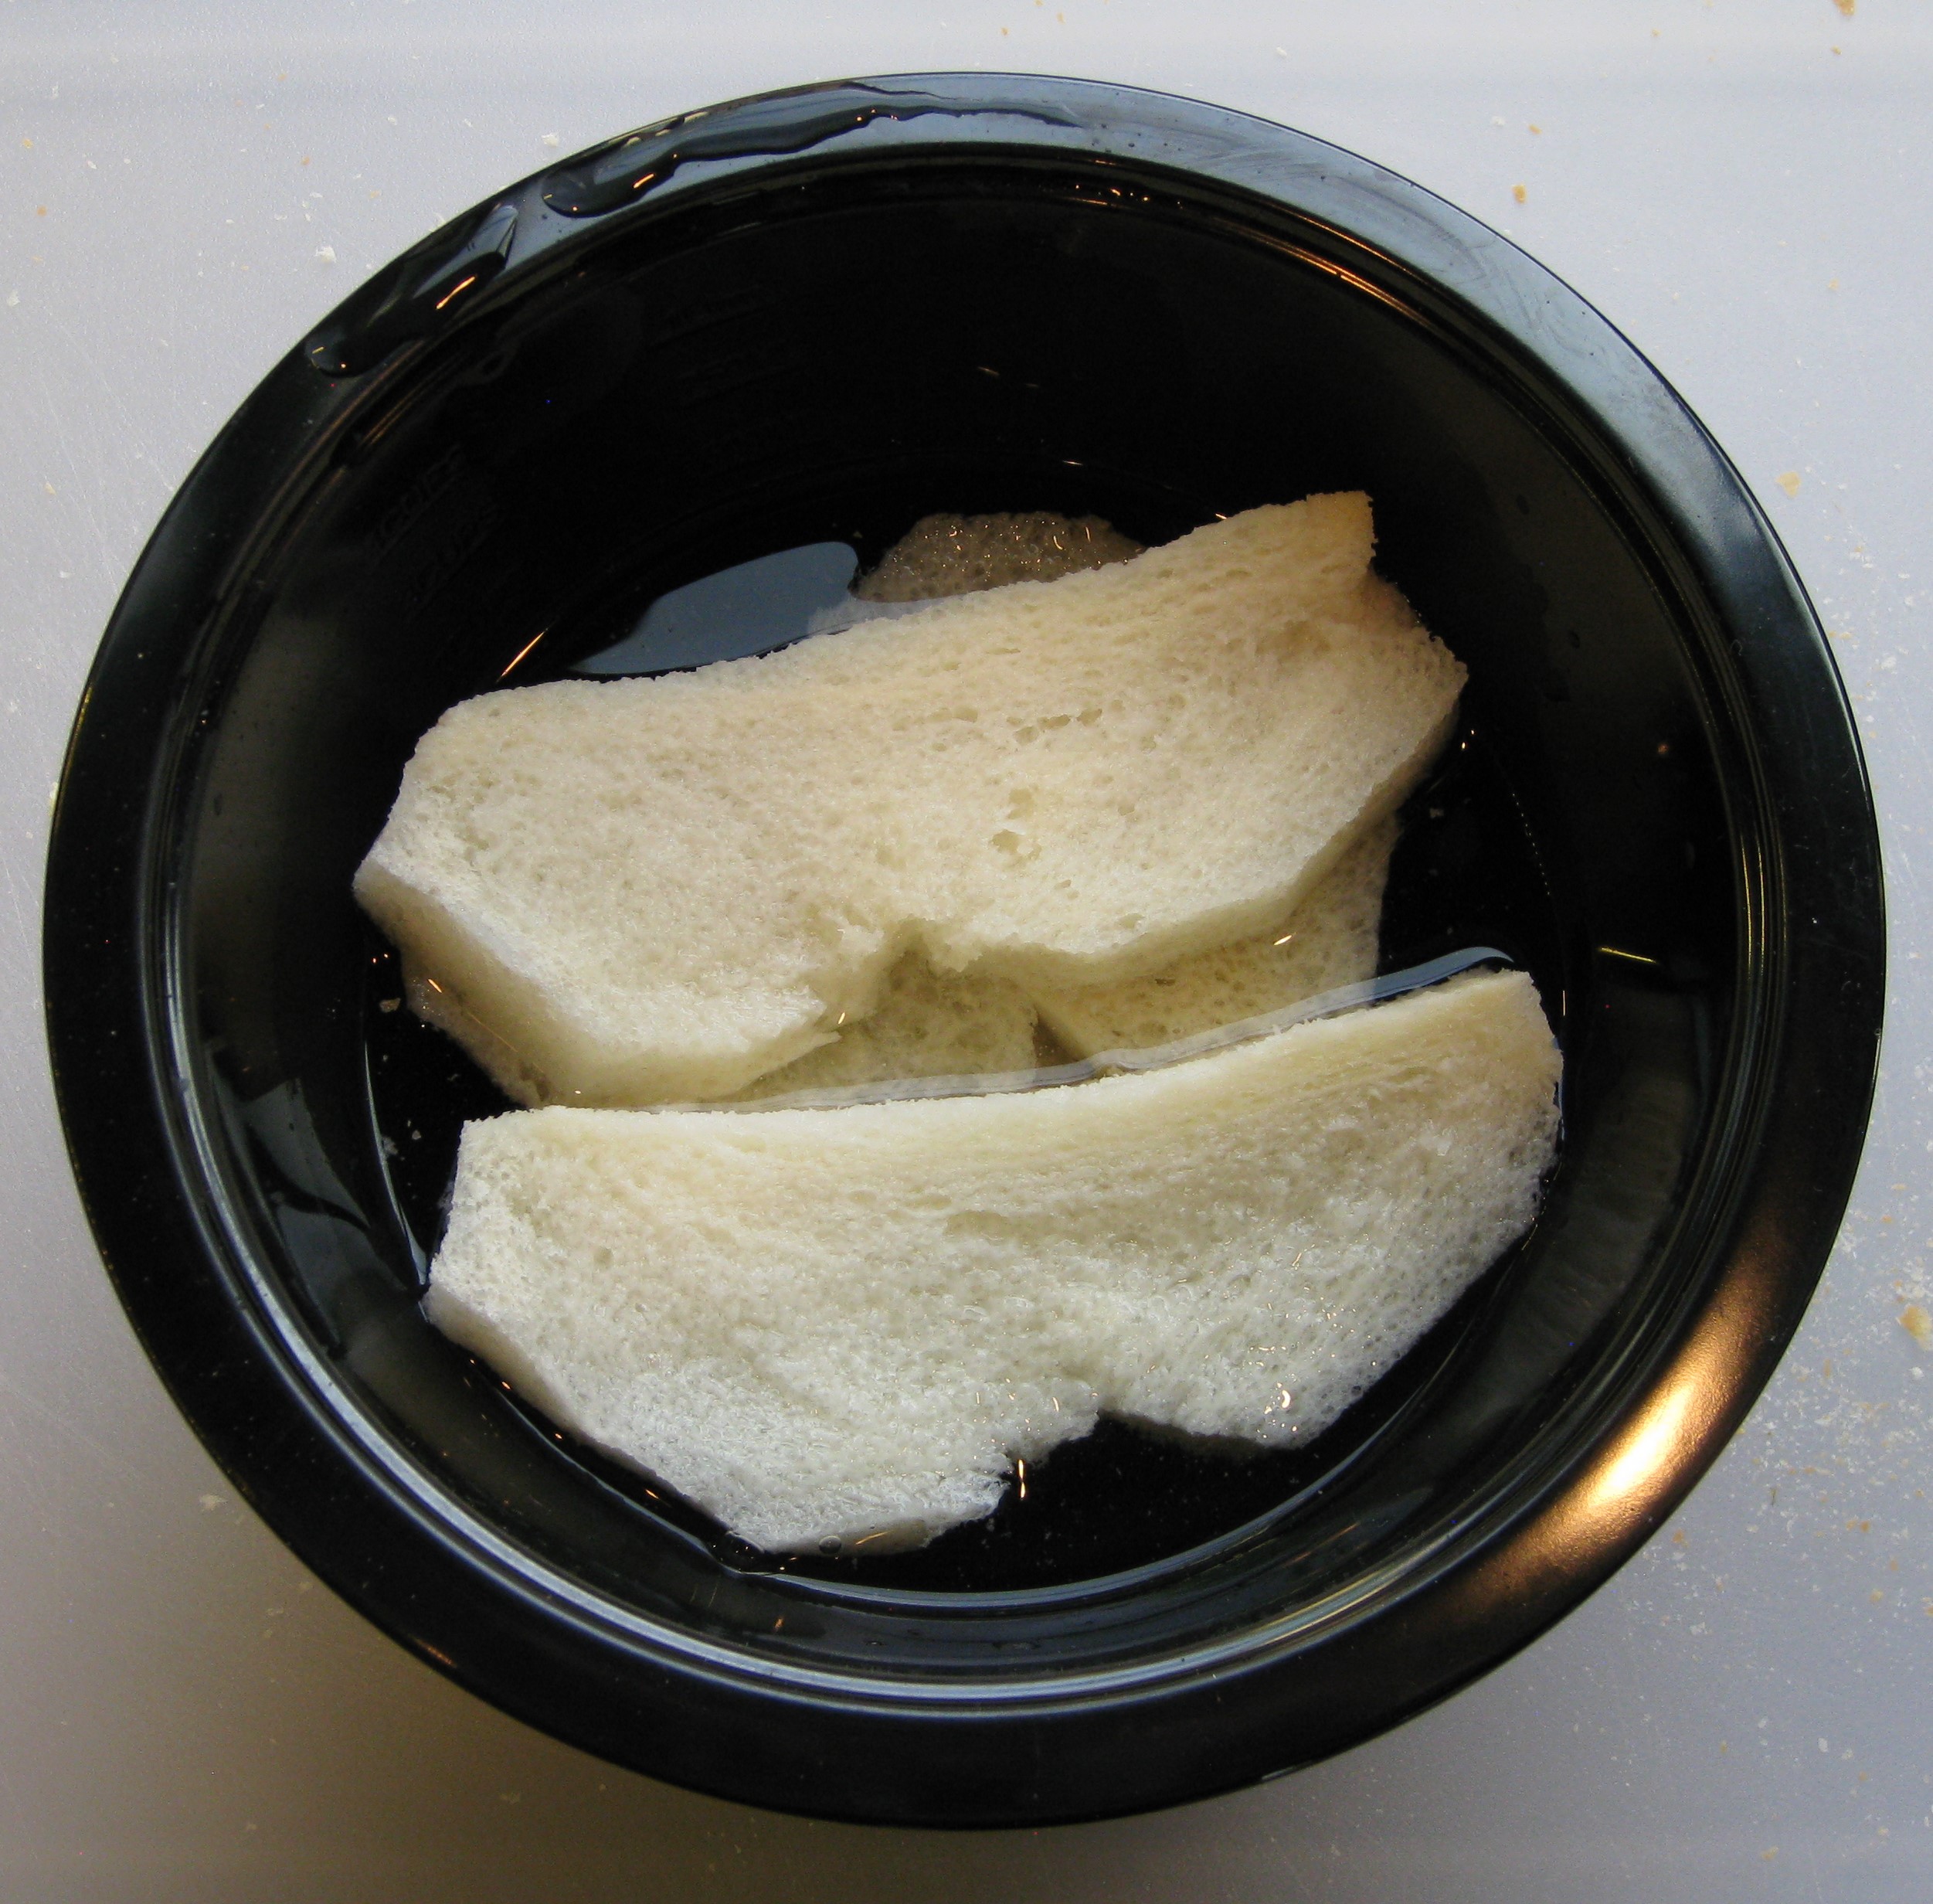
  3. Cover the bread with warm water for 3-4 minutes.
  4. Squeeze some of the water from the bread.
  5. Add the bread to the mixing bowl.
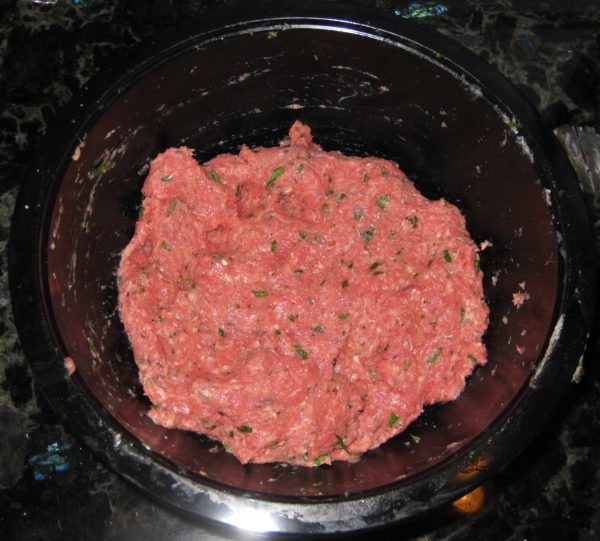
  6. Mix with your hands, until thoroughly combined and no streaks of white from the bread remain visible.
  7. As you are mixing add a bit of the bread soaking water from time to time (about a quarter cup or so total) to keep the mixture moist but not wet.
  8. The mixture should become tacky from the effects of the water and the mixing on the proteins in the meat. The tackiness will help the meatballs hold together for the same reason that sausage doesn’t fall apart when the casing is removed.
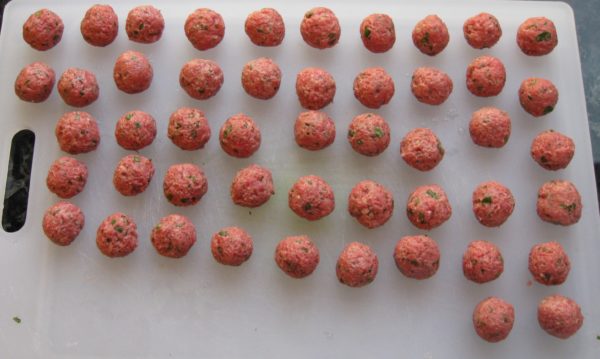
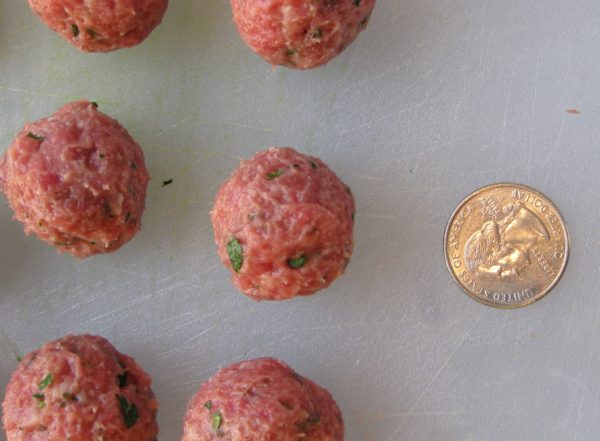
  9. With damp hands, roll the mixture into approximately 50 meatballs. Keeping your hands moist will enable you to create a smooth surface on the meatballs. If there are visible cracks, the meatballs will split when cooking.
Final assembly
  1. Skim the fat from the broth. Add water to make 6 quarts of broth. Bring the broth to a boil.
  2. Meanwhile, coarsely chop the escarole.
  3. As the broth comes to a boil, adjust the salt and pepper.
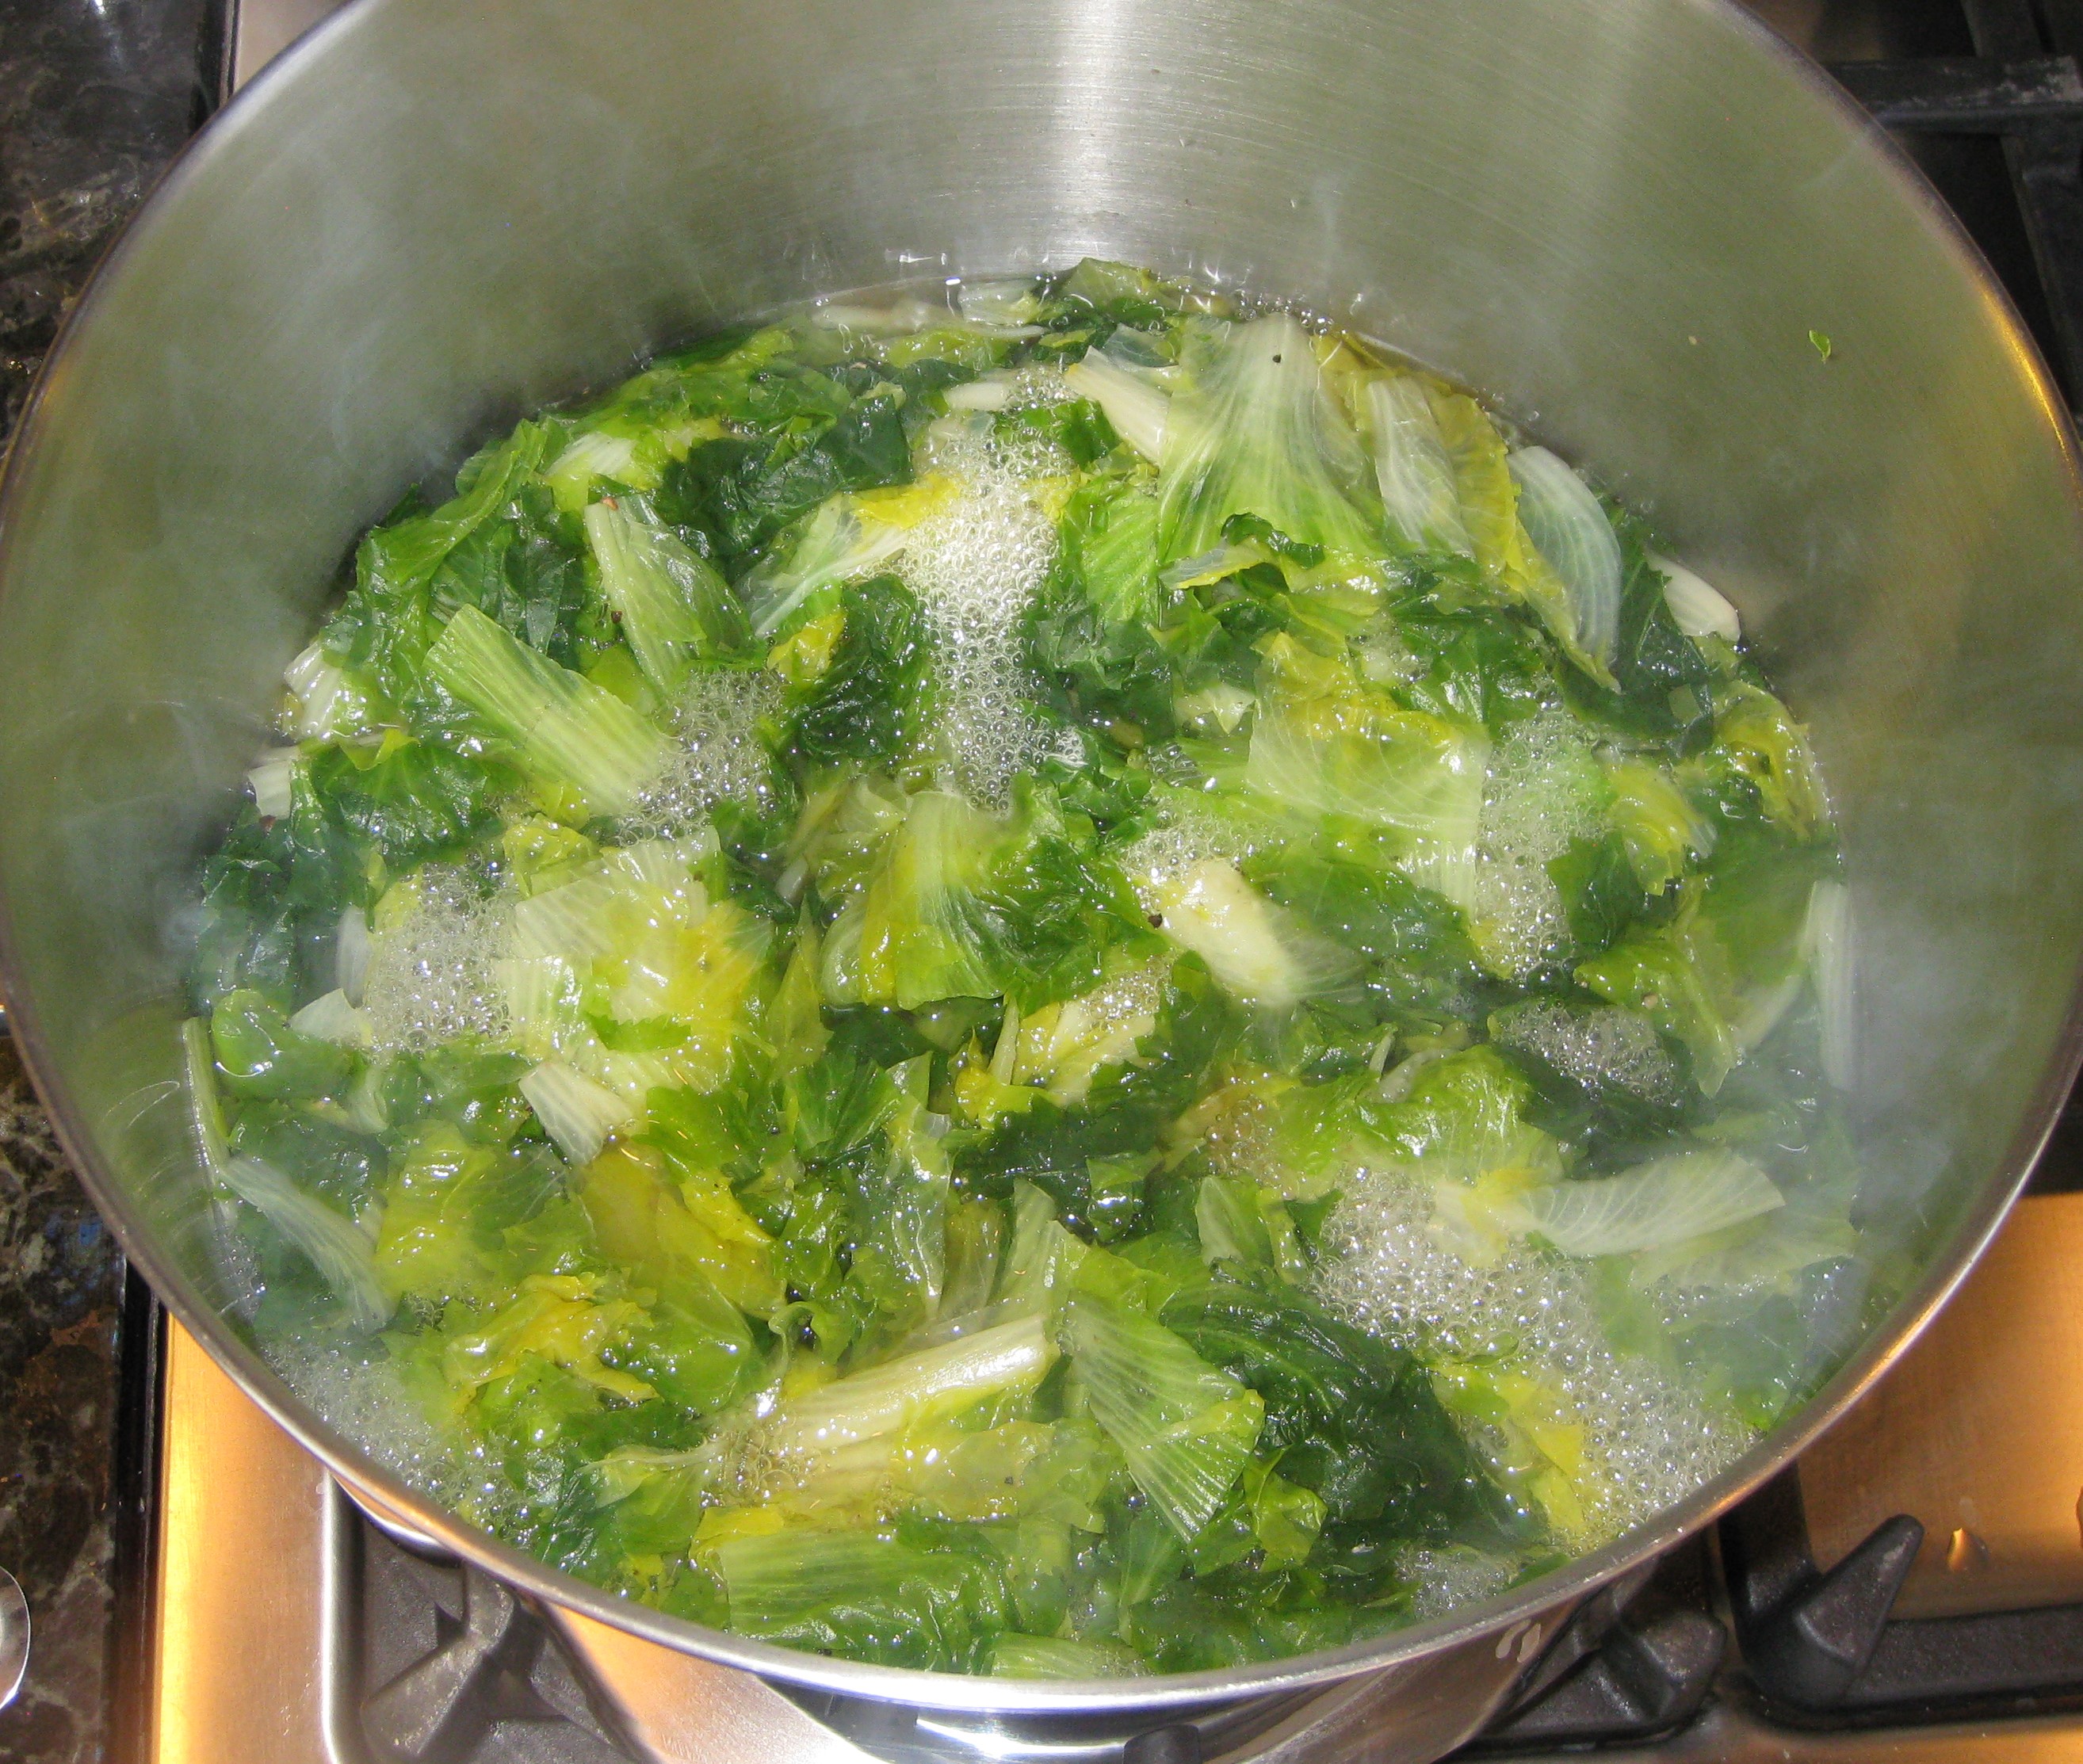
  4. Add the chopped escarole. Return to a boil and cook at a moderate boil for approximately 5 minutes.
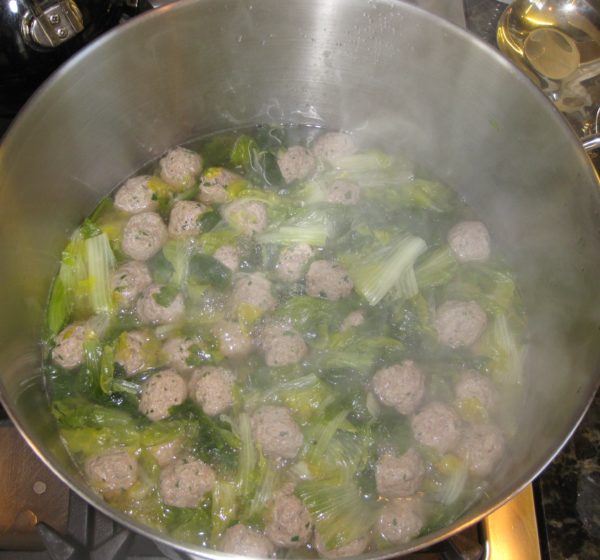
  5. Add the meatballs. Return to a boil and boil gently, so the meatballs don’t break, for 10-12 minutes.
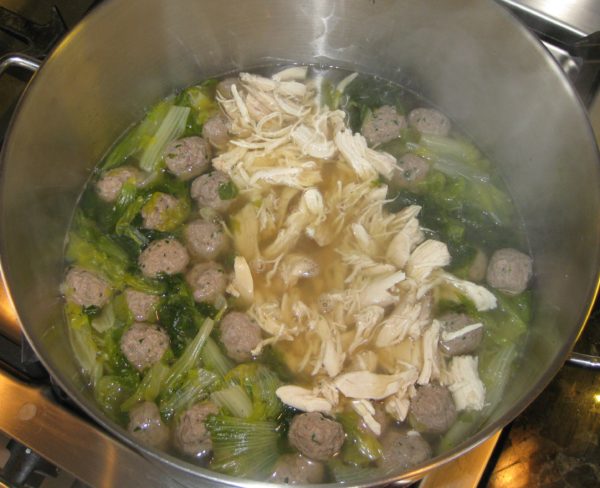
  6. Add the shredded white meat chicken and return to a gentle boil.
  7. Adjust salt and pepper. At this point, slightly over-salt the soup as the dry pasta will reduce the saltiness of the soup. The soup can be made ahead to this point. Return to a boil and add the pasta just before serving.
  8. Add the pasta and boil gently until pasta is cooked, approximately 10 minutes.
  9. Adjust salt and pepper.
  10. Serve with freshly grated Parmigiano Reggiano cheese.
Recipe Notes

Copyright © 2018 by VillaSentieri.com. All rights reserved.
Share this Recipe

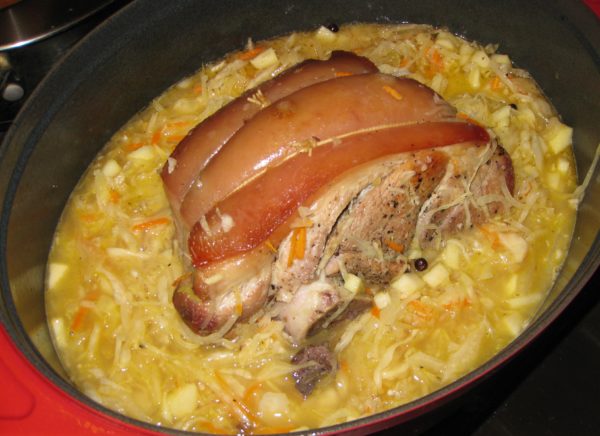
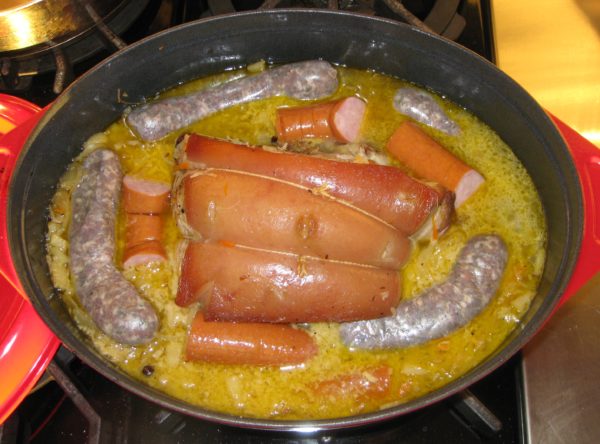
Slow-Cooked Pork Roast with Sauerkraut and Sausage

December 29, 2017

I grew up in Johnstown, PA. The town was founded by a Swiss German immigrant, Joseph Schantz in 1800. Over the years, in various documents, recorders anglicized his last name, most commonly rendering it “Johns,” a name the family ultimately adopted. The name of the town was ultimately changed from Schantzstadt to Johnstown.

Johnstown Panorama (Photo by Greg Hume)

I can’t say there was much of a noticeable German influence when I was growing up in the 1950s to 1970s, except for one: New Year’s Day dinner.

Regardless of one’s ethnic background, the most common dinner on New Year’s Day was “Pork and Sauerkraut.” It was commonly acknowledged that this was a nod to Johnstown’s German heritage. And, much like black-eyed peas in the South, was viewed as a way to bring good luck to the coming year.

As you might expect, recipes for pork and sauerkraut vary. Sauerkraut and a large cut of pork are, obviously, essential. Sausages of some sort are common, as are dumplings.


Click HERE to join our mailing list and you’ll never miss a recipe again!


The recipe that I use is close to what my mother made except that I enhance the seasonings in the sauerkraut along more Germanic lines, with onion, carrot, apple, and juniper berries. My mother’s was more basic and similar to the way the Slovak side of my family prepared sauerkraut. My cousin Angie, of Italian heritage, added a brown gravy to hers, which also has Germanic roots.

The Inclined Plane goes from downtown Johnstown to the suburb of Westmont (Photo by Greg Hume)

Long and slow cooking is essential as much for pull-apart-tender pork as it is to mellow out the sauerkraut. Among Central and Eastern Europeans, sauerkraut tends to be cooked for several hours to tenderize it and tame its sour bite.

Kielbasa was a favorite sausage in our house and was always included in pork and sauerkraut. It was always locally made and never procured from large national meatpackers. Often times, other sausages, such as bockwurst or bratwurst, would also be added. But kielbasa was king in pork and sauerkraut and, in the sausage pantheon, second only to hot Italian sausage in our house.


Follow us on your social media platform of choice


The kielbasa that we ate on a regular basis was made from pork, or pork and beef, but venison kielbasa was common too. The first day of deer-hunting season was a public school holiday. You can imagine the importance of venison.

Some of the hunters would have their venison (or some of it, at least) turned into kielbasa, flavored with garlic and smoked. I remember on several occasions going with my father to have work done on the car in late December. The service station had a big platter of meats, cheeses, and pickles laid out for customers to nibble on. Among the offerings was venison kielbasa made from a deer that the owner of the service station had shot.

One of my resolutions for the new year is to find a small, artisanal purveyor of kielbasa that’s as good as what I remember from childhood.


If you have a favorite family recipe and a bit of a story to tell, please email me at santafecook@villasentieri.com and we can discuss including it in the blog. I am expanding the scope of my blog to include traditional recipes from around the country and around the world. If you haven’t seen the post on Melinda’s Drunken Prunes, it will give you an idea of what I’m looking for.


Print Recipe
Slow-Cooked Pork Roast with Sauerkraut and Sausage
Saueraut from the refrigerated section of the market is usually of better quality than canned, especially if the sauerkraut is from an artisinal producer. Draining the sauerkraut and rinsing it well under cool water will produce a more mellow taste. If you want dumplings with this (and who wouldn't?), remove the meat from the pan and keep warm while cooking dumplings on top of the sauerkraut on the stovetop. See the notes section below for my recipe for dumplings.
Votes: 0
Rating: 0
You:
Rate this recipe!
Course Mains, Meats
Cuisine German
Prep Time 20 m
Cook Time 6 1/2 hours
Servings
people
Ingredients
Course Mains, Meats
Cuisine German
Prep Time 20 m
Cook Time 6 1/2 hours
Servings
people
Ingredients
Votes: 0
Rating: 0
You:
Rate this recipe!
Instructions
  1. Cut the cloves of garlic, top to bottom, into approximately 4-6 slivers each.
  2. Pierce the pork around the outside about 1 inch deep with the tip of a sharp knife.
  3. Insert slivers of garlic into the slits
  4. Season the pork generously with salt and pepper.
  5. Brown the pork in a heavy Dutch oven using the oil.
  6. Add white wine, cover tightly, and transfer to oven at 350°F.
  7. After one hour, reduce heat to 225°F.
  8. Slice the onions in half top-to-bottom then cut crosswise into thin slices.
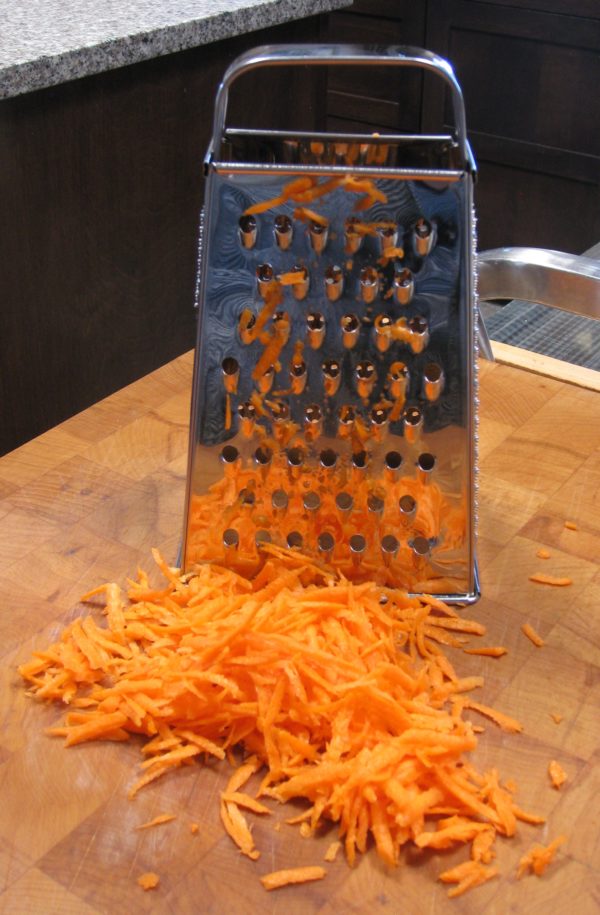
  9. Shred the carrot on the tear-drop side of a box grater.
  10. Cut the apple into small dice.
  11. After the pork has been cooking for a total of about 3 hours, drain and rinse the sauerkraut.
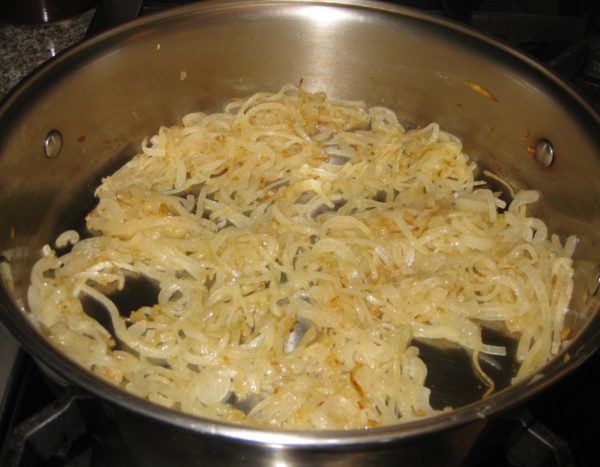
  12. Slowly sauté the onion in the butter or bacon fat until caramelized, approximately 20 minutes.
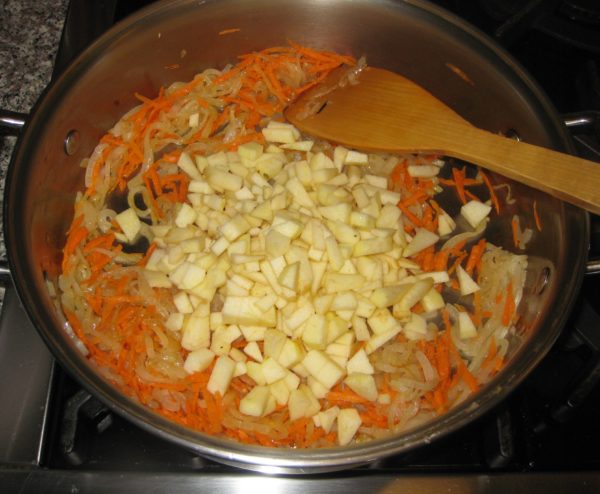
  13. Add the shredded carrot and diced apple and sauté until heated through.
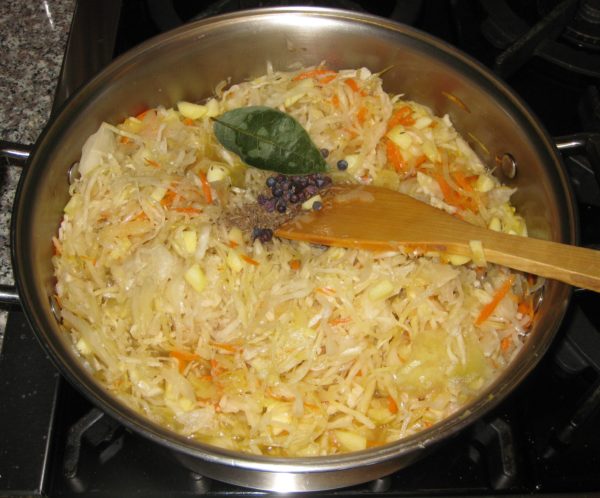
  14. Add sauerkraut, juniper berries, caraway seeds, bay leaf, and black pepper to taste.
  15. Add water and bring to a boil.
  16. Add the boiling sauerkraut to the pork after the pork has cooked for a total of four hours (1 hour at 350°F plus 3 hours at 225°F).
  17. An hour later nestle the kielbasa and other sausage into the sauerkraut.
  18. Continue to cook, covered, until the pork is fall-off-the-bone tender. Approximately 1-2 more hours.
  19. Remove the pork and sausages.
  20. Skim fat from the top of the sauerkraut.
  21. Put the Dutch oven on the stove and cook dumplings on top of the sauerkraut if desired.
  22. Meanwhile, pull the pork into big chunks. Keep the pork and sausages warm.
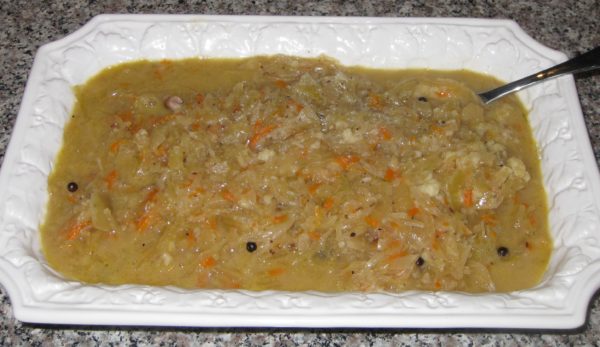
  23. Serve the sauerkraut in a separate bowl, or use it to surround the pork and sausages.
Recipe Notes

This is where you can find my recipe for dumplings.

Copyright © 2017 by VillaSentieri.com. All rights reserved.
Share this Recipe

Cuban Black Beans

December 1, 2017

Black beans are ubiquitous on tables in Cuba.

Getting beans to the right texture and the liquid to the right thickness is almost an art form.

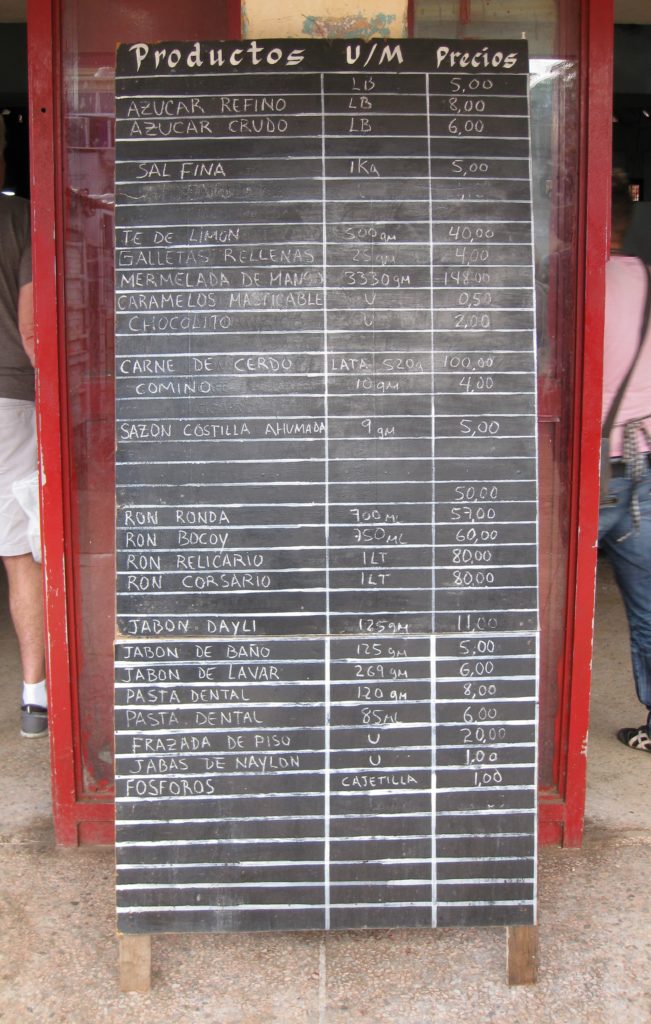
Food is scarce in Cuba…at least if you’re a Cuban paying in Cuban Pesos. Not so much if you’re paying in CUCs (Cuban Convertible Pesos), which is what foreigners use. The CUC is pegged to the US Dollar but if you change Dollars for CUCs you pay a 10% penalty as opposed to exchanging another currency, say the Euro, for CUCs.


Click HERE to follow us on Twitter


Prices in Cuban Pesos at a locals’ only market

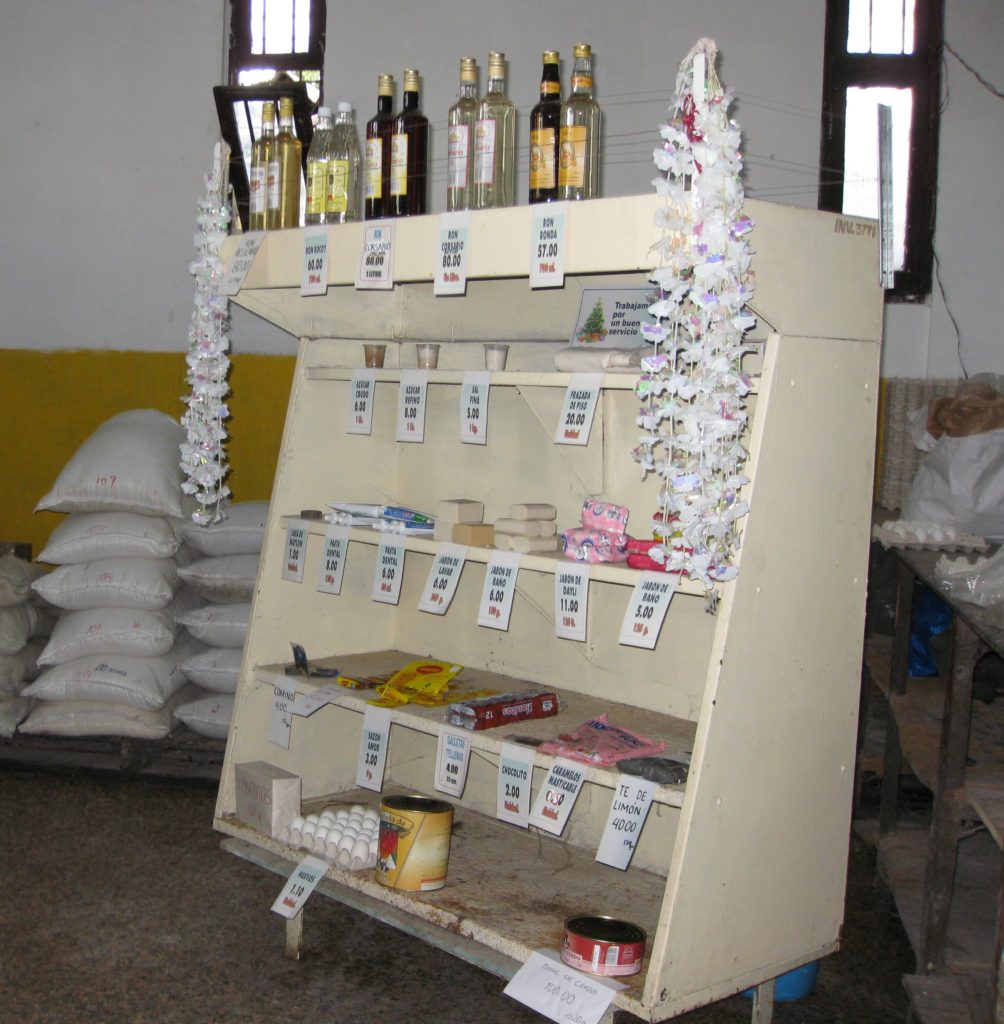
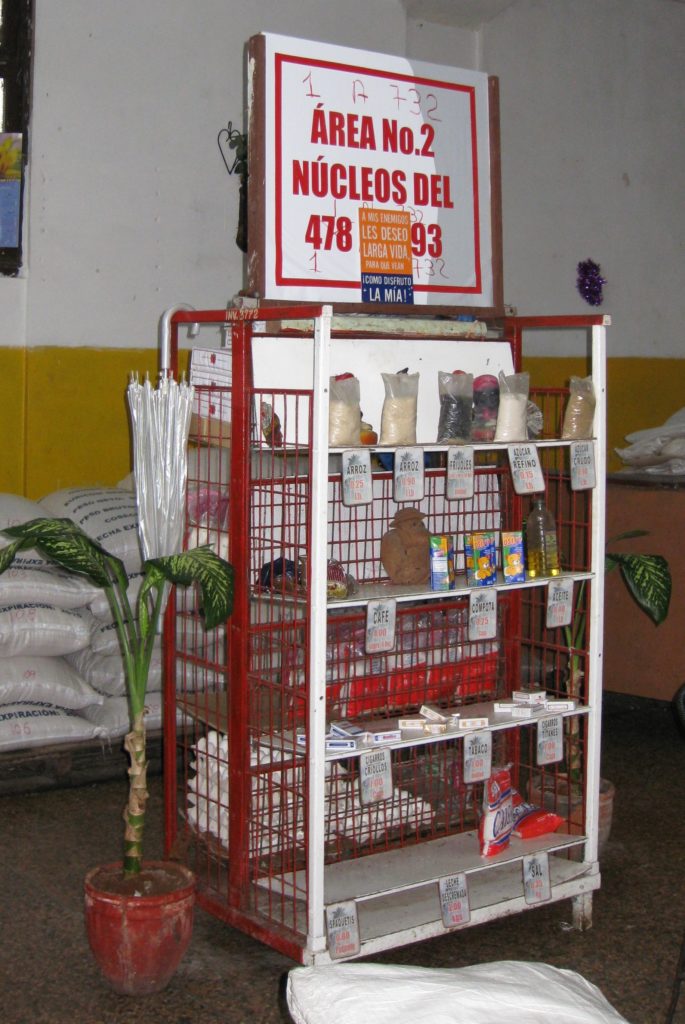
One view of a locals’ only market
Another view of a locals’ only market

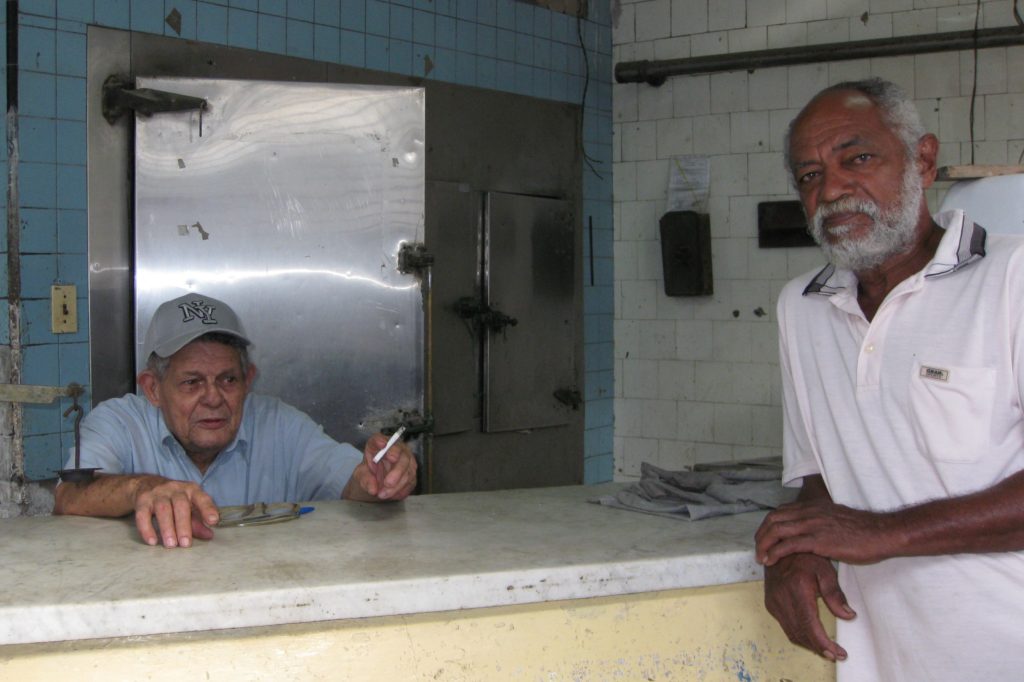
I visited a butcher shop in Havana which pretty much now only sells chicken; when chicken is available, that is. If you notice the door to the cooler is open. That’s because the cooler isn’t on because there’s no inventory.

A butcher shop in Havana

The butcher is just waiting around for chicken to arrive.

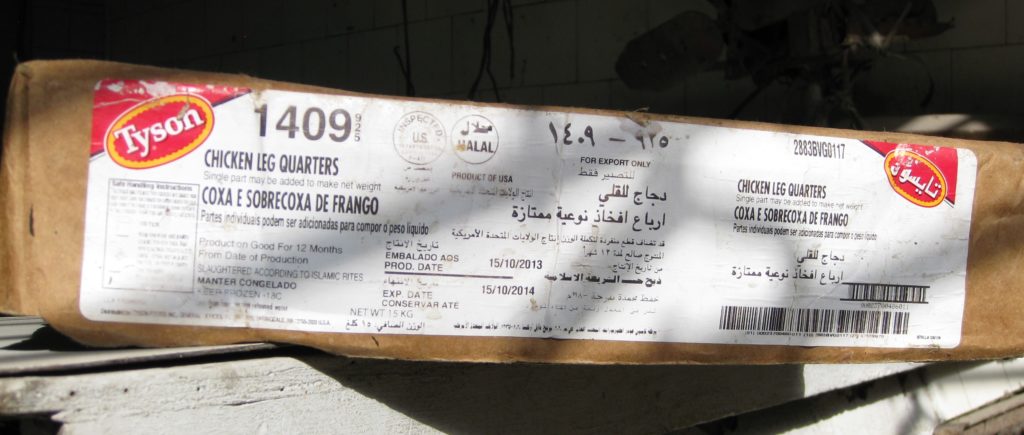
When that chicken does arrive, it will likely be frozen Tyson chicken from the United States. Even though, when this picture was taken, the US embargo of Cuba was in full force.

Most of the chicken in Cuba is frozen Tyson chicken from the United States

The same is true of hot sauce. If one asks for hot sauce at a restaurant in Cuba one is likely to get a bottle of Tabasco shipped in from Avery Island, Louisiana. Clearly there are exceptions to the embargo for some American companies!

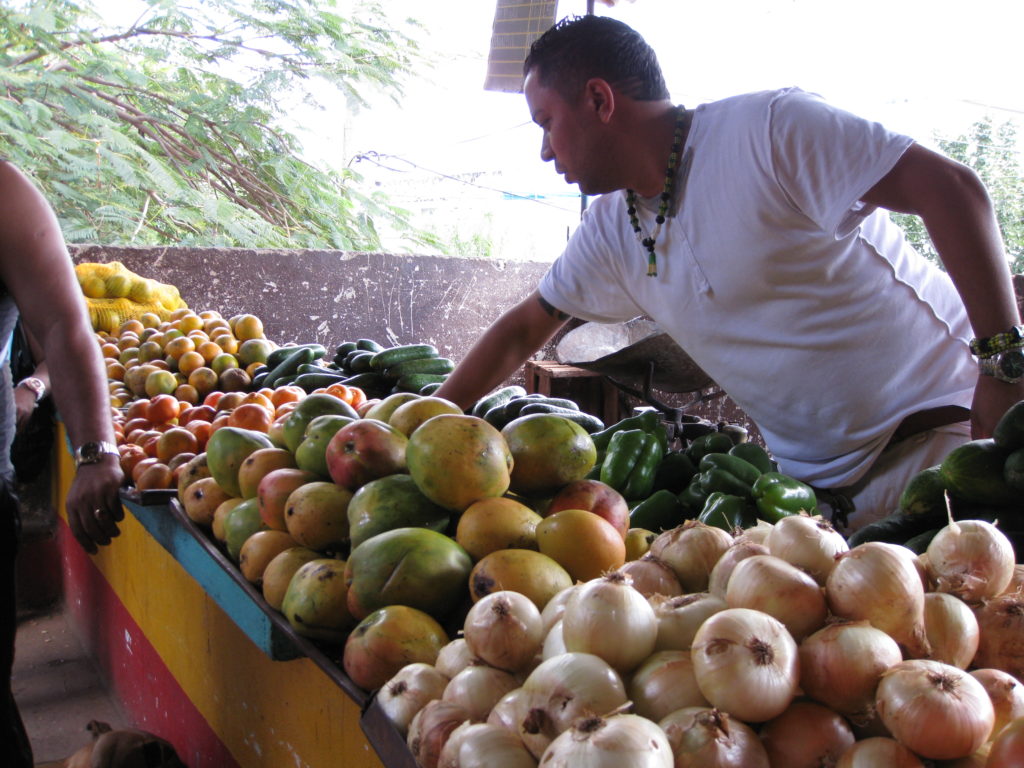
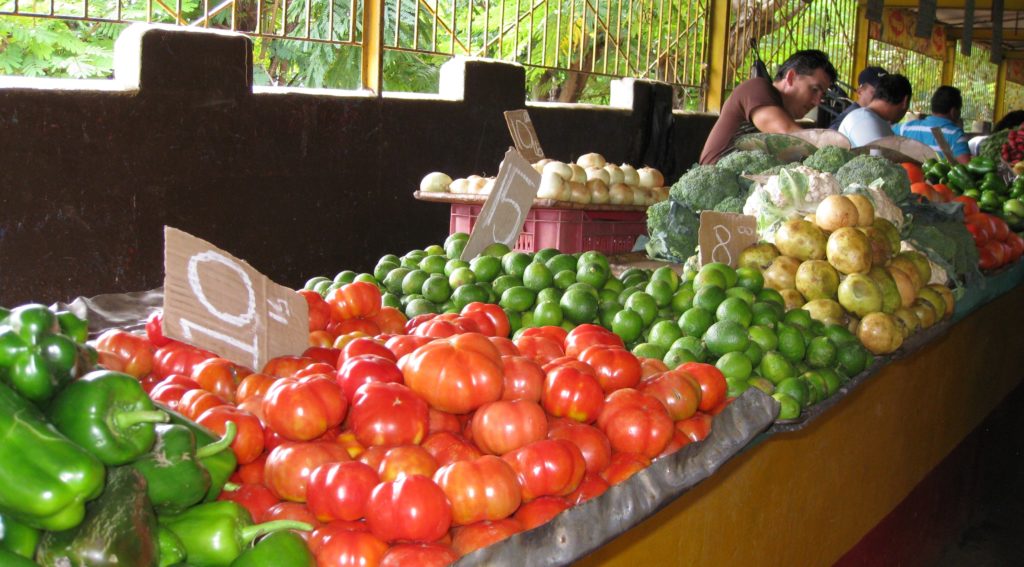
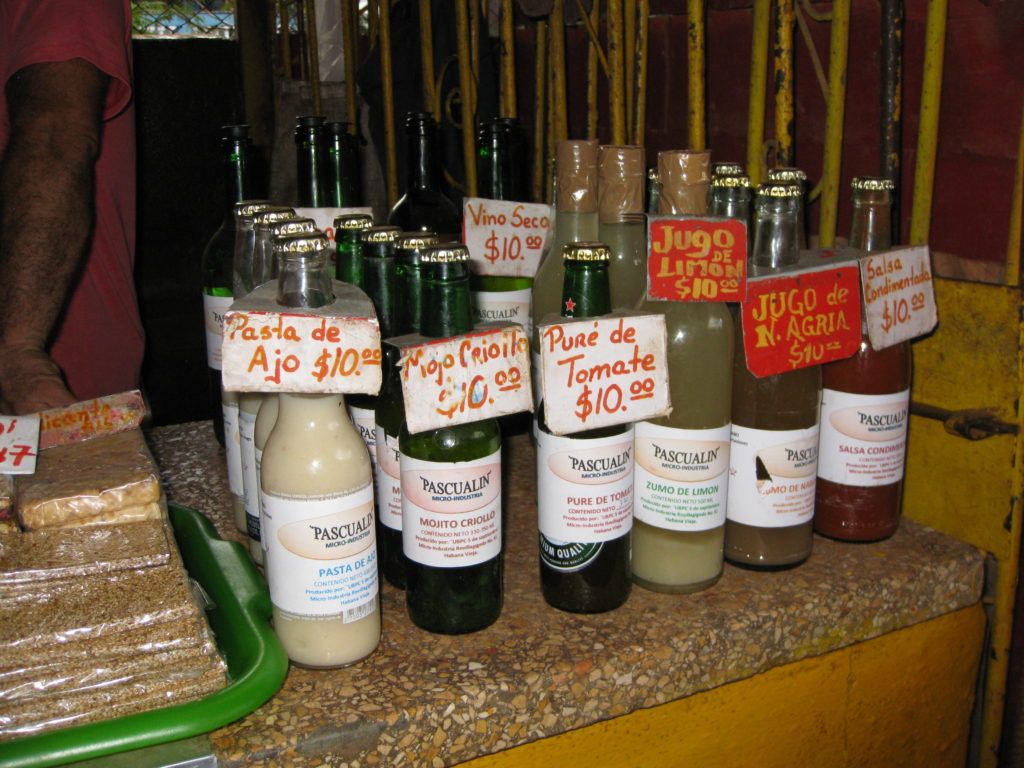
If you pay in CUCs, the food available increases dramatically.

One stall in a multi-vendor market where prices are denominated in CUCs
Another stall in the same market
Locally prepared beverages in the CUC-denominated market

The disparity in prices for food purchased with Pesos vs CUCs is so large that average Cubans cannot afford to buy food with CUCs, even if they can get them. It takes 25 Cuban Pesos to buy one CUC. Paying in Pesos limits one to shopping in pretty-much locals’ only stores, with limited inventory where the products, like rice and beans, are sold at subsidized prices.

Rum is widely available regardless of the currency.  You’ll pay more if you’re a foreigner, however.

Havana Club is a popular brand of rum in Cuba
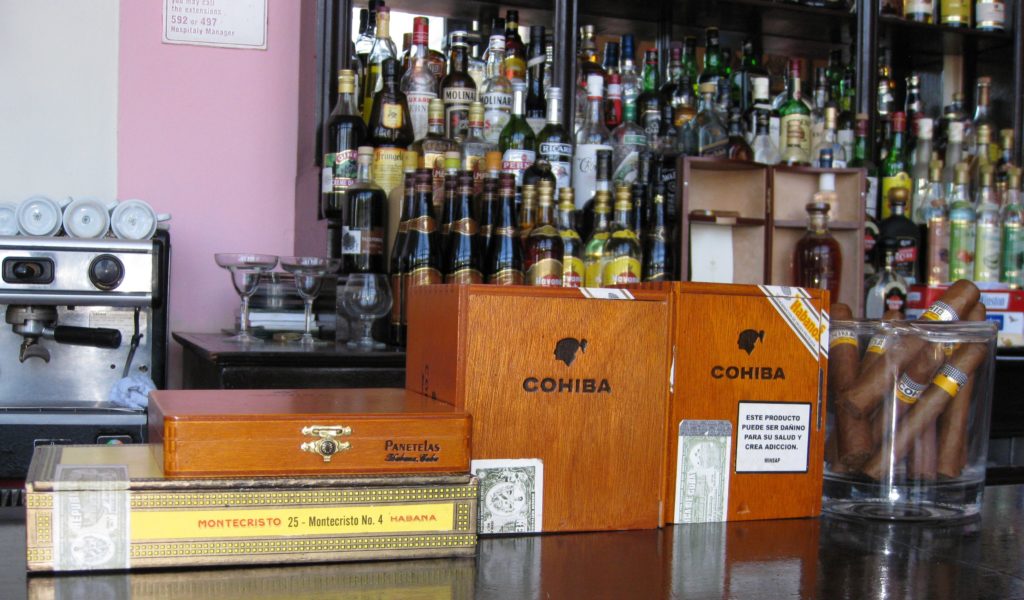
A well-stocked bar ready for the day’s customers
Cuban cigars for sale at the bar

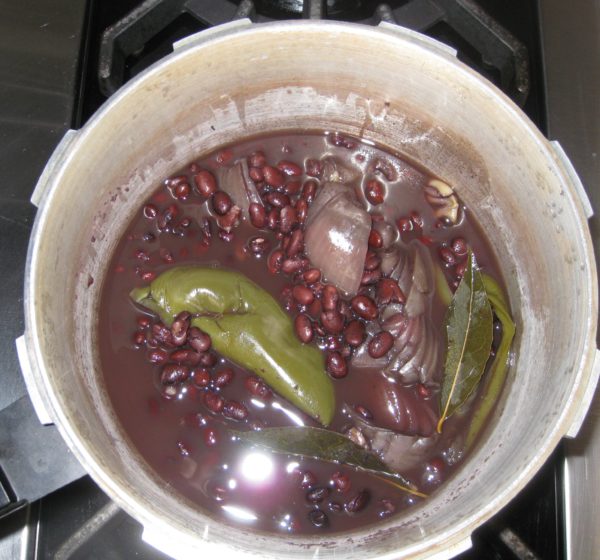
After returning from the trip to Cuba in 2014, I tried but couldn’t get the texture of my “Cuban” black beans right. But then, my mother-in-law got a recipe from Beatriz (Betty) Scannapieco. Betty is from Cuba. She was in the exercise group my in-laws attend. Betty’s recipe, using a pressure cooker as is common in Cuba, works like a dream. It’s really pretty effortless, too. The green pepper, onion, and garlic add tremendous flavor but are removed after cooking leaving just beans and the silky cooking liquid.

I made three changes to Betty’s recipe. She called for 1 teaspoon of white wine. I use 1 tablespoon. Betty didn’t use tomato paste or black pepper but both are common ingredients in many Cuban black bean recipes.


Follow us


Click HERE to join our mailing list and you’ll never miss a recipe again!

Print Recipe
Cuban Black Beans
This recipe came from Beatriz (Betty) Scannapieco in my in-law’s exercise group. Betty is from Cuba. I added the tomato paste and black pepper to Betty’s recipe. I also increased the wine from 1 teaspoon to 1 tablespoon. It can be challenging to get the bell pepper, onion, and garlic out of the beans as they very soft after cooking. If you want to make it easier, you could tie them in cheesecloth.
Votes: 0
Rating: 0
You:
Rate this recipe!
Prep Time 10 minutes
Cook Time 1 1/4 hours
Servings
people
Ingredients
Prep Time 10 minutes
Cook Time 1 1/4 hours
Servings
people
Ingredients
Votes: 0
Rating: 0
You:
Rate this recipe!
Instructions
  1. Wash the beans.
  2. Cover beans with water by a couple of inches and soak overnight in the refrigerator.
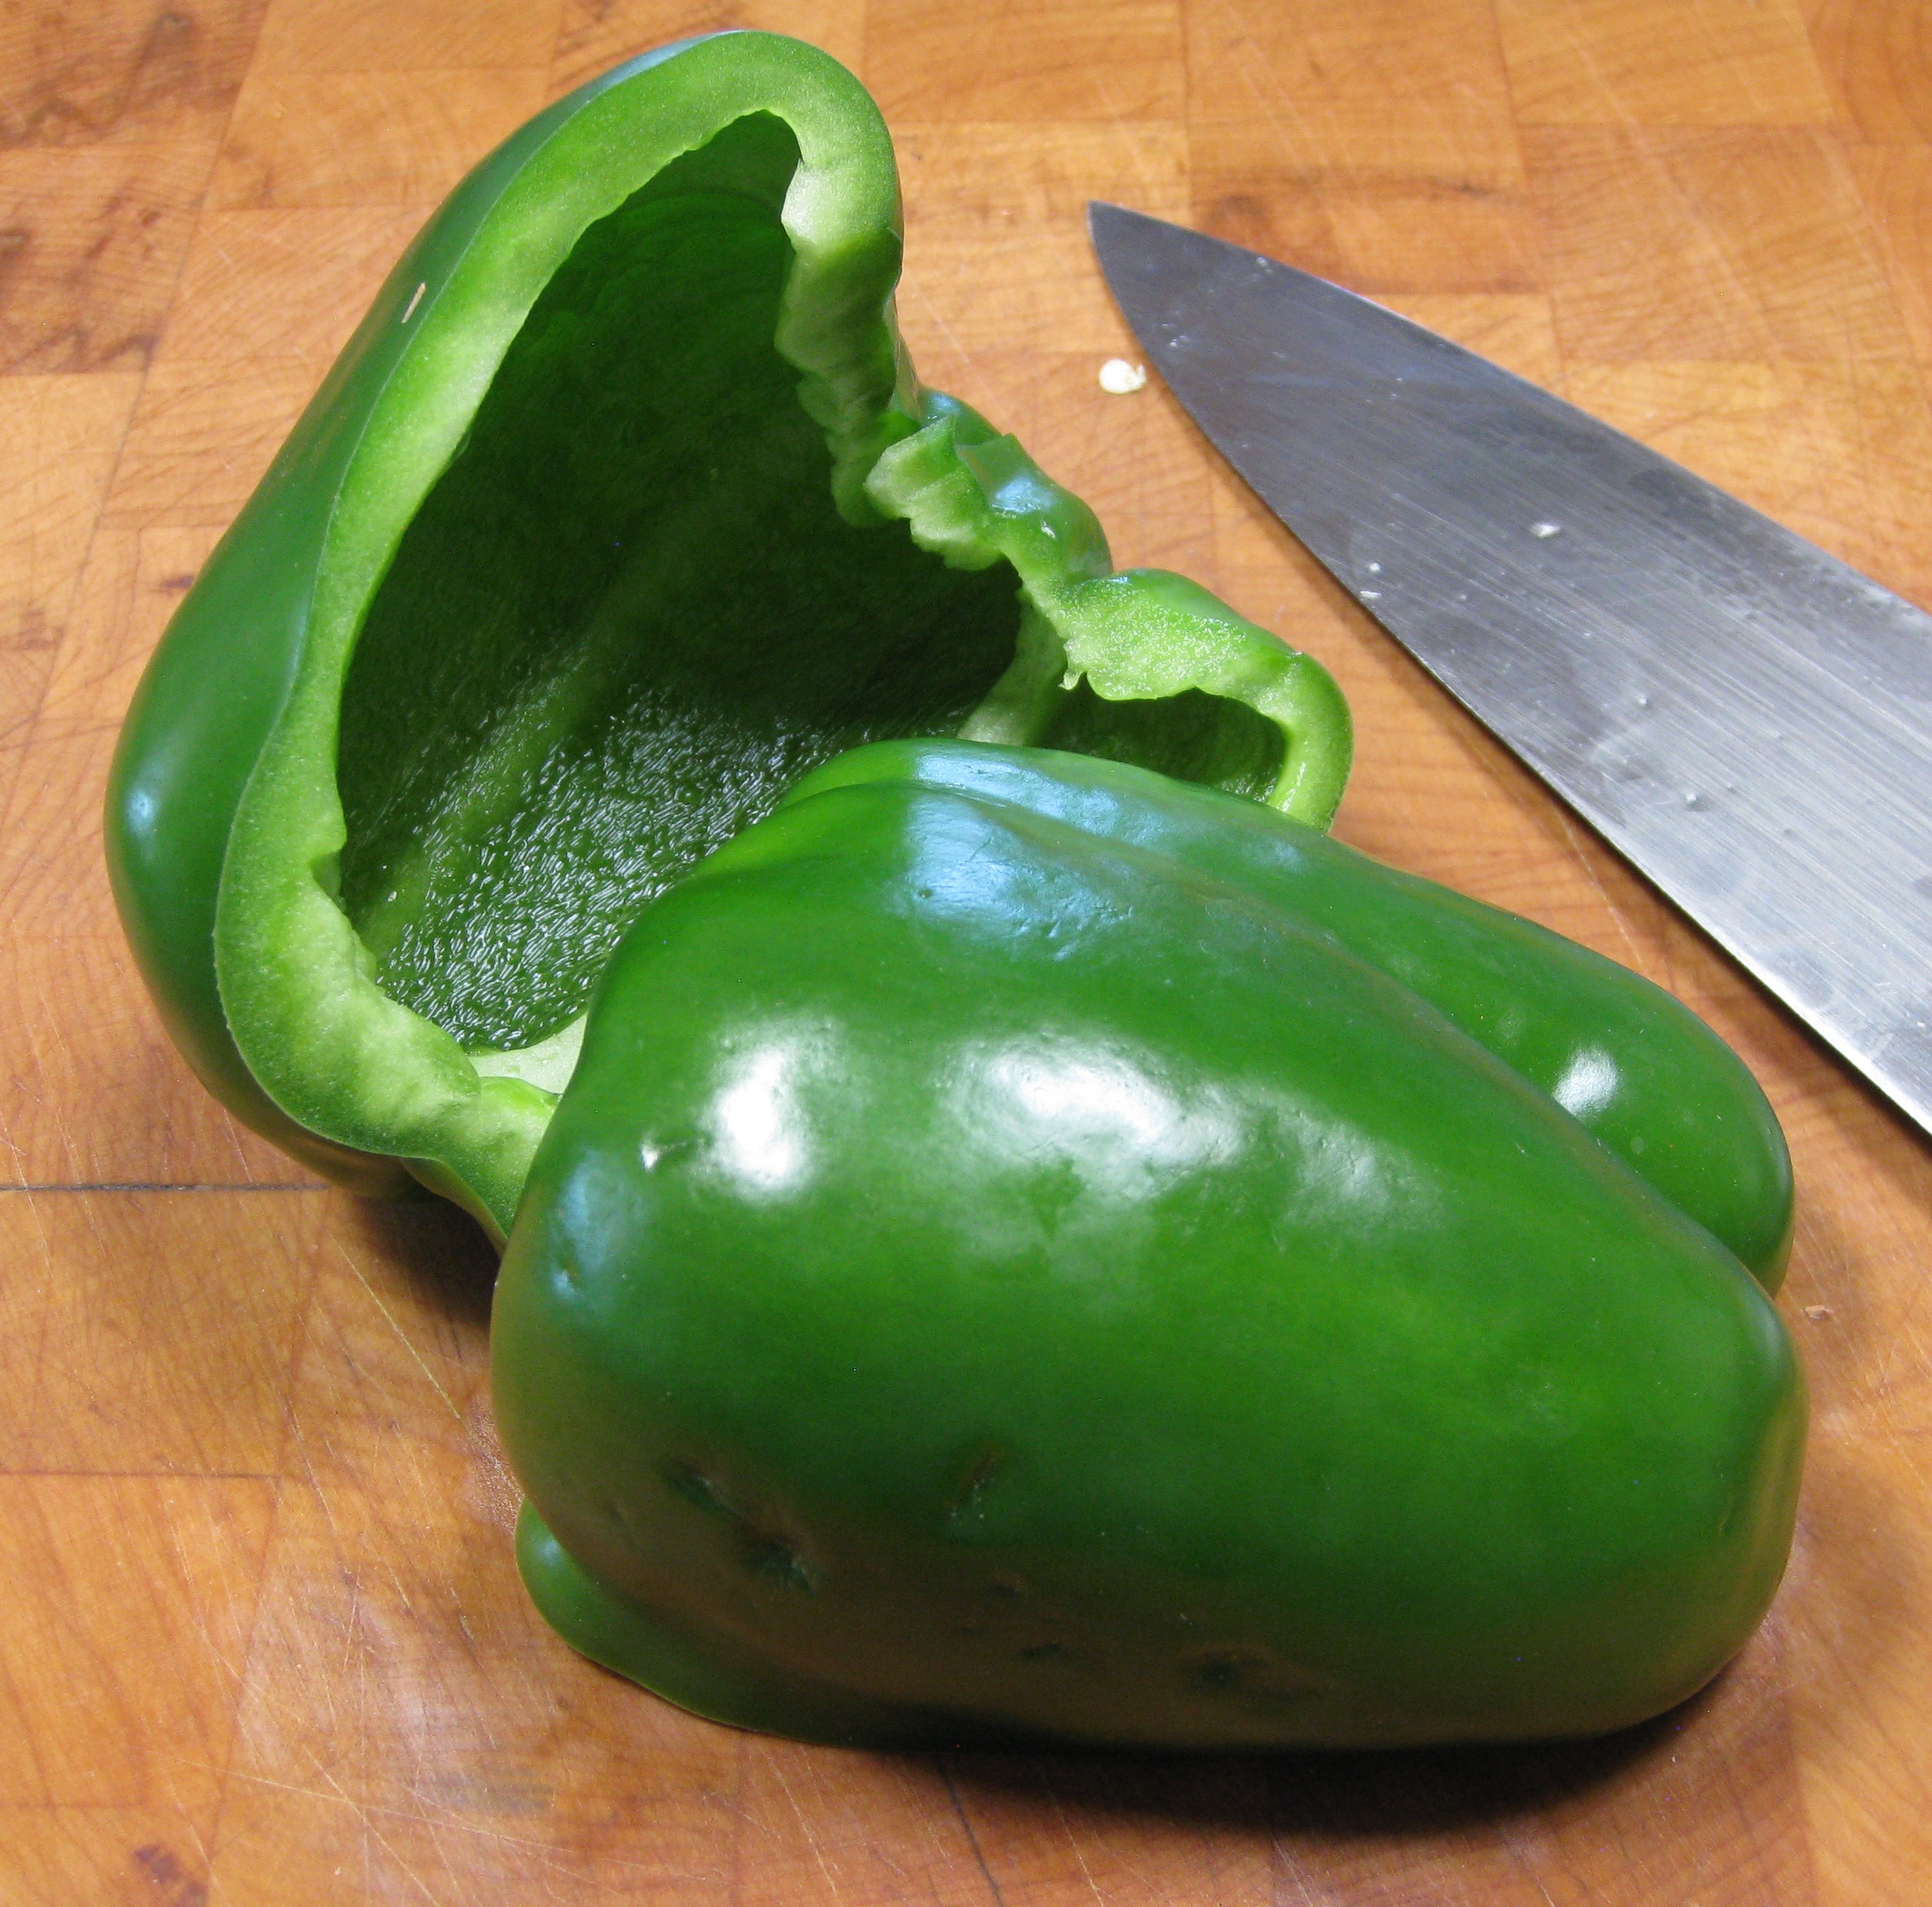
  3. The next day, cut the bell pepper in half and remove ribs and seeds.
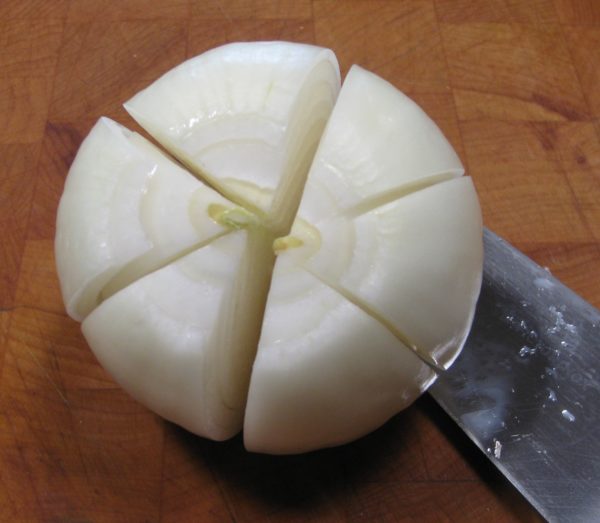
  4. Cut the onion into 4 or 6 wedges, but do not cut the whole way through the root end.
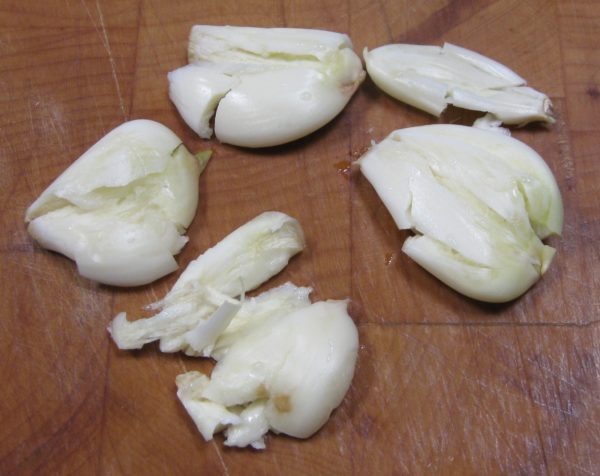
  5. Bruise the garlic by laying the blade of a chef's knife on top and gently pounding the knife blade.
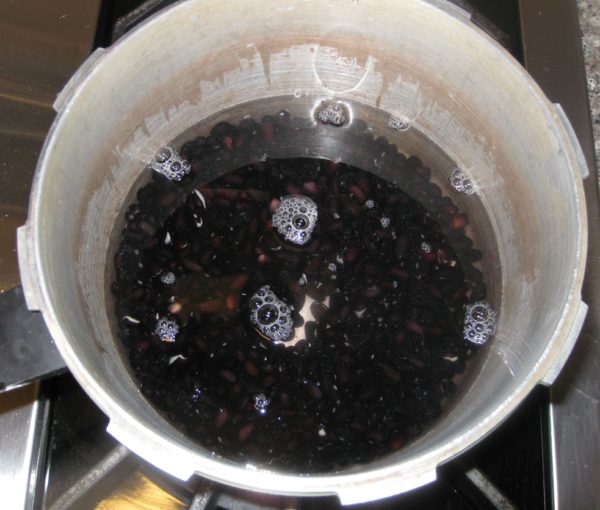
  6. Drain the beans. Put the beans in a pressure cooker along with 3 ¼ cups of fresh water.
  7. Bring the beans to a boil, uncovered.
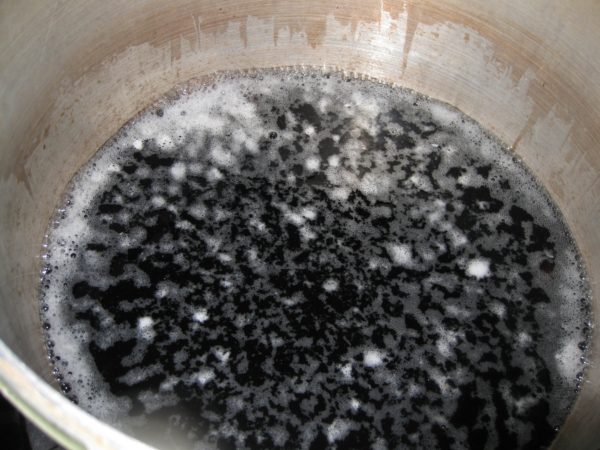
  8. Skim the foam from the beans then remove the pot from heat.
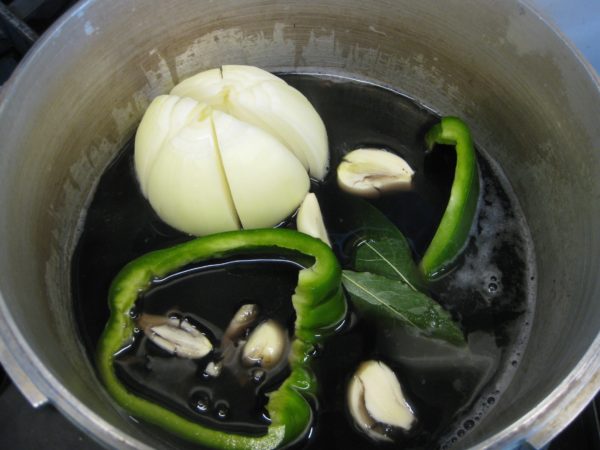
  9. Add the green pepper, onion, garlic and bay leaves to the beans.
  10. Put the lid on the pressure cooker and bring to 10 pounds pressure.
  11. Reduce heat and cook for 30 minutes.
  12. Remove the pressure cooker from heat and allow pressure to dissipate naturally.
  13. Uncover the pressure cooker.
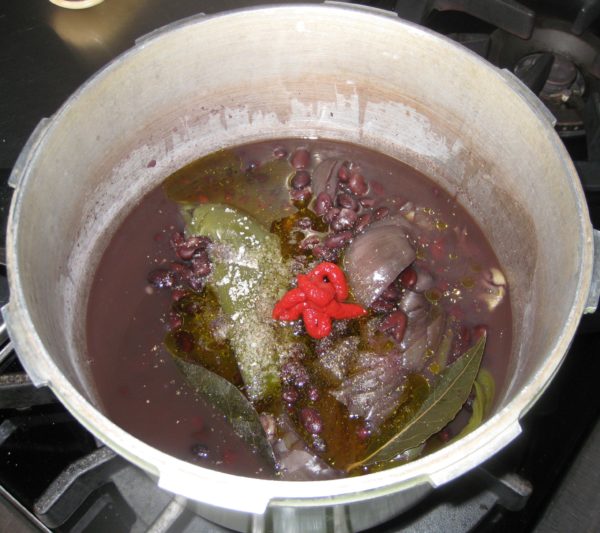
  14. Add the olive oil, tomato paste (if using), wine, vinegar, salt and black pepper (if using).
  15. Bring to a boil uncovered and boil for 5 minutes.
  16. Remove from heat. Cool slightly and remove bell pepper, onion, bay leaves, and garlic.
  17. The beans can be served immediately but are better if refrigerated overnight.
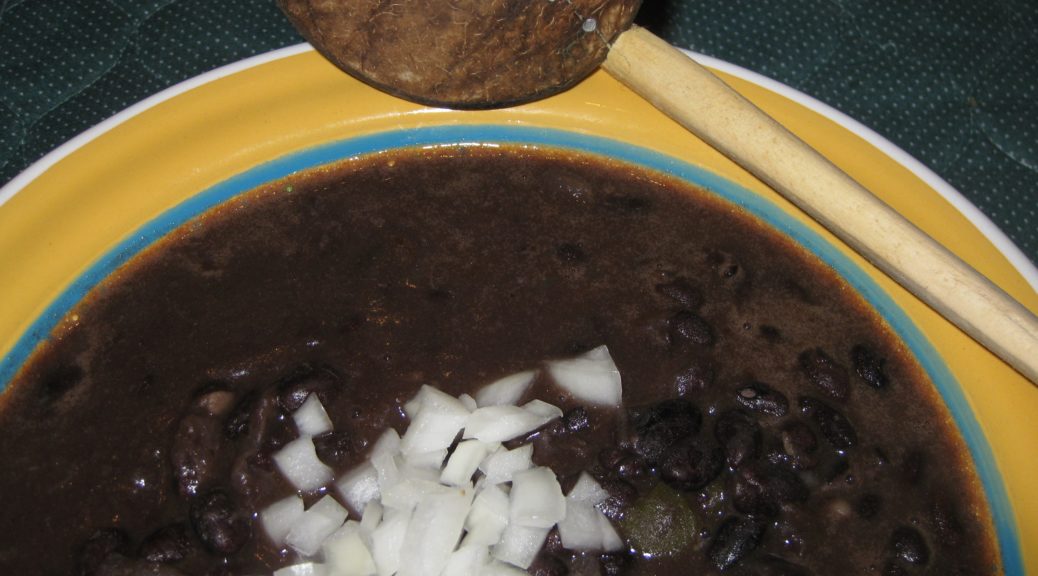
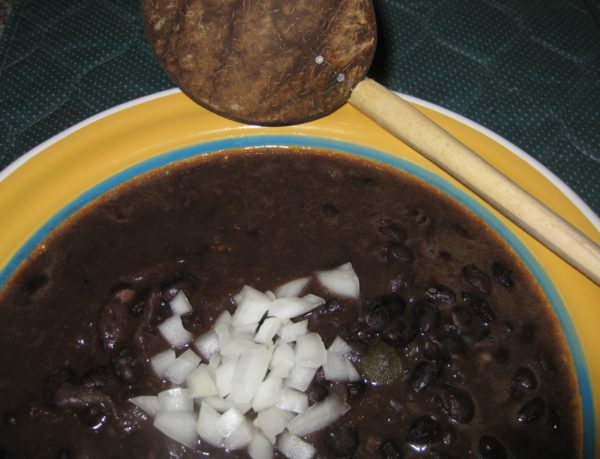
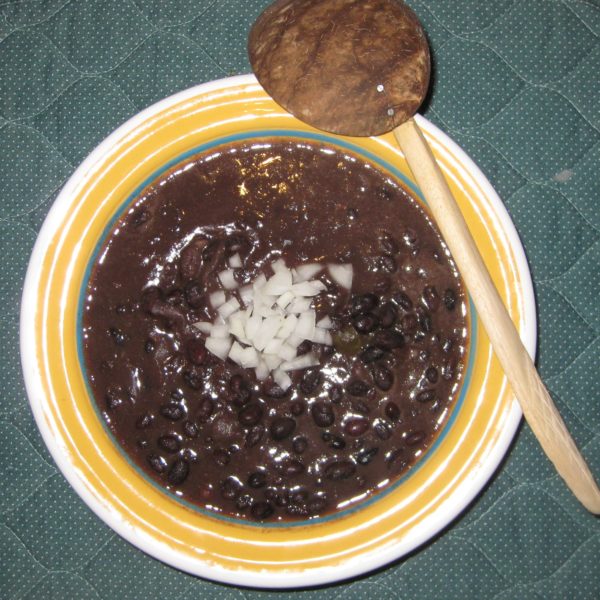
  18. Serve the beans in a shallow bowl with pieces of finely diced raw onion in the center. Black beans are customarily accompanied by white rice.
Recipe Notes

Copyright © 2017 by VillaSentieri.com. All rights reserved.
Share this Recipe

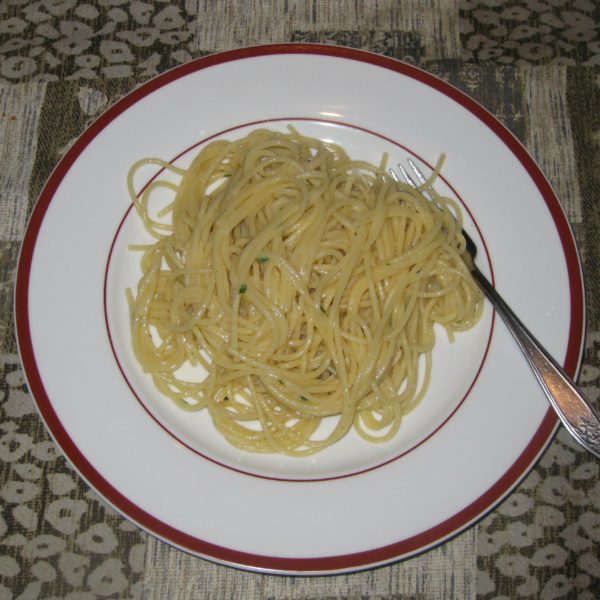
Spaghetti Aglio, Olio, e Pepperoncino (Spaghetti with Garlic, Oil and Red Pepper)

November 8, 2017

How many Italian pasta sauces can you think of that do not include olive oil and garlic?

Precious few, I would guess!

This dish, classically Roman, elevates those two ingredients to center stage. You cannot hide bad olive oil or poorly cooked garlic in this dish. There are very few other flavors.

But simplicity has its virtues. It’s really hard to go wrong with this dish unless you use bad olive oil or not-so-stellar cheese or you burn the garlic.


Follow us on Facebook:  Click HERE


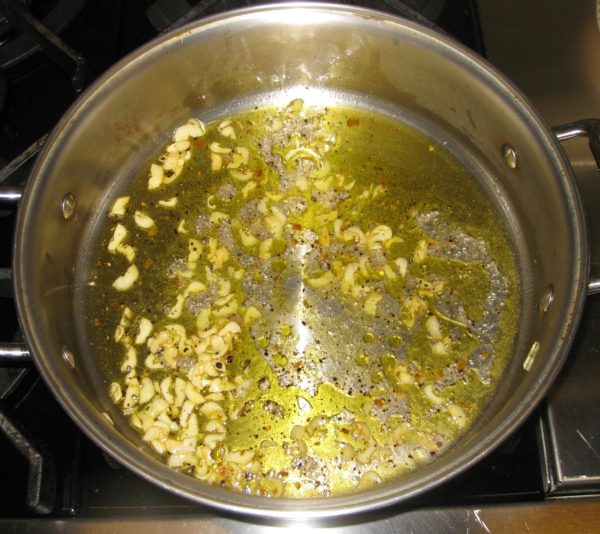
You can make a case for cooking the garlic for a whole range of times, from mere seconds up until it is dark brown. For many years I even cooked three different batches of garlic, one until brown, one until golden, and one until just fragrant. There is an interesting depth of flavor from doing so but it’s not the classic technique.

My point is, unless you burn the garlic and make it bitter, you won’t ruin the dish. You may prefer the flavor of the garlic when it is more or less brown but that’s just a preference not an absolute.

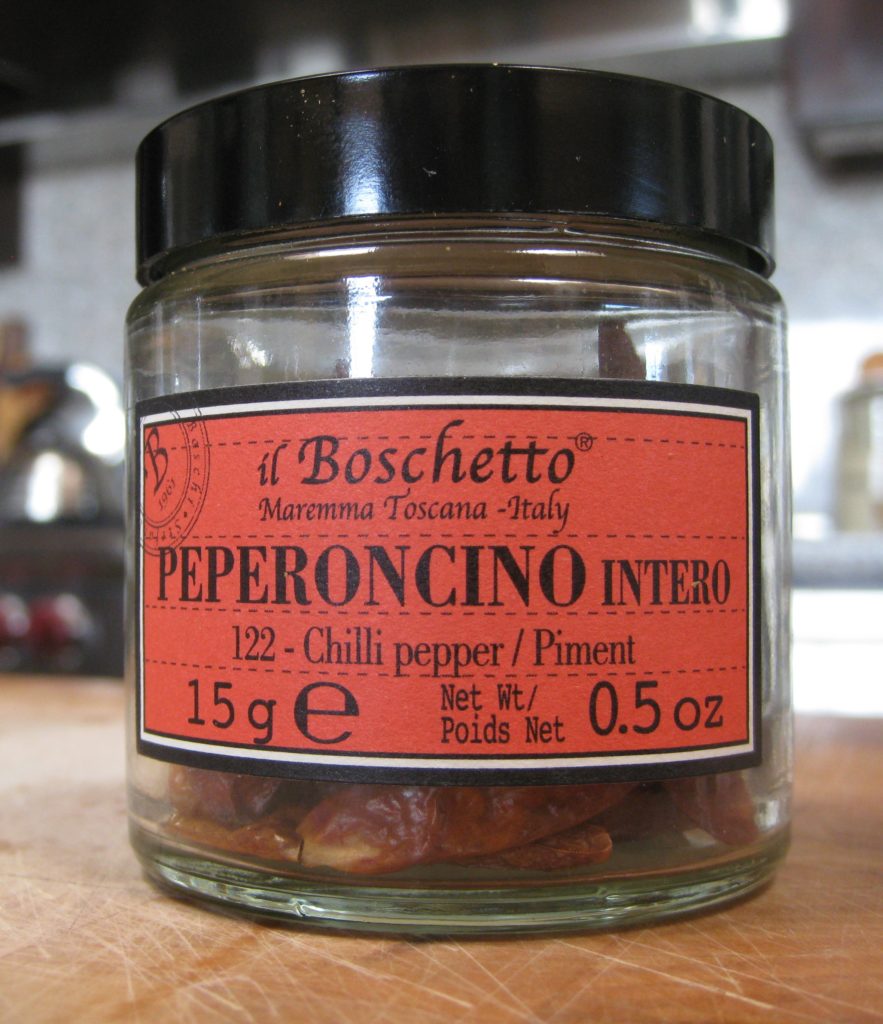
These little Italian peppers (“pepperoncino”) pack a nice flavor, not just heat

My recipe diverges from the classic Roman recipe in two places.

While making dinner, I’m usually chatting…with my in-laws (on most nights), with my husband (when he’s not away on business), or with guests. While I know I can time everything to be ready at exactly the right moment, I ask, why stress about it? So, yes, I can time the sautéing of the garlic to be just right when the pasta is ready but there’s an easier way.

I get the garlic to exactly the spot I want and then stop the cooking by taking the pan off the heat and adding a splash of wine (or water, if you must). That’s not classically Roman but it sure makes it much easier to have a conversation and a cocktail or three while making dinner. As soon as I plan on draining the pasta, I turn the heat on under the garlic oil and boil away the liquid I’ve added. Let’s face it, how often do we get to stop time with no consequences?

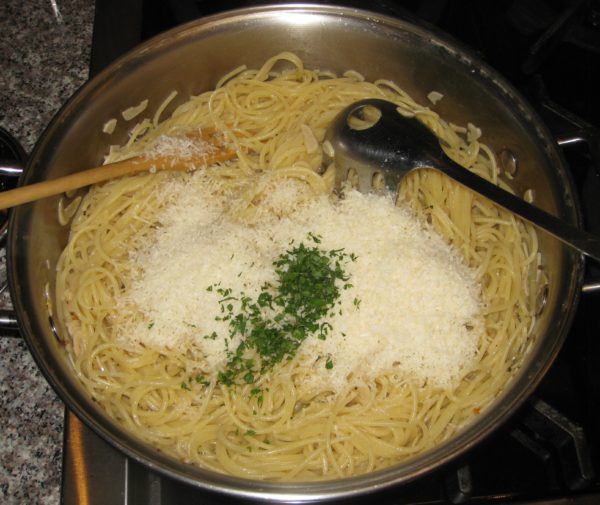
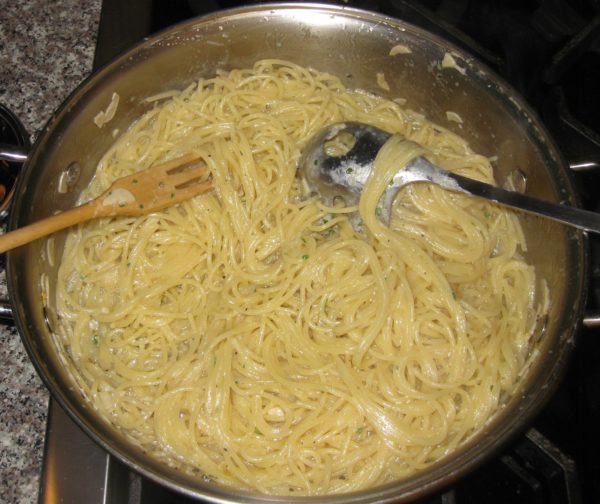
The second divergence from classic technique is that I add cheese to the pasta while mixing it with the garlic oil rather than just adding it at the table. In my mind there is no doubt that this pasta needs cheese. Adding it at the final stage of preparation allows me to create a glossy sauce where there would otherwise only be garlic oil. Not that that is bad, but I’ve made a bit of a reputation for myself by turning out glossy sauces where there would often only be oil.

It’s not hard. It just takes a bit of practice and some understanding (minimal) of the chemistry involved. And let’s face it, if the sauce isn’t glossy, you’re the only one who’s going to know. Again, there’s no penalty involved!

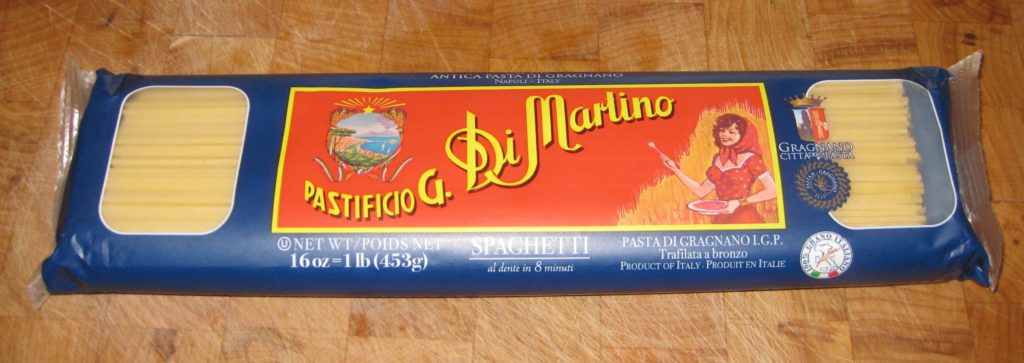
A brand of pasta that I really like

In Italy this pasta is often prepared and eaten after a night of over-indulging in alcohol. At least that’s the reputation it has. However, this was a common dish put on the dinner table when I was growing up. It’s easy, quick, filling, and darn good. Oh, and for an entirely different flavor, try butter in place of the olive oil!


Follow us


Click HERE to join our mailing list and you’ll never miss a recipe again!

Print Recipe
Spaghetti Aglio, Olio, e Pepperoncino (Spaghetti with Garlic, Oil and Red Pepper)
I like to reduce last minute work, so I prep the garlic oil in advance and stop the cooking with a splash of wine. You can use water, if you wish, or, if you are sautéing the garlic as the pasta is cooking, some of the pasta-cooking liquid. As the pasta is nearing completion, I reheat the garlic oil, quickly boiling off the wine, and proceed. Use more or less garlic, to your taste. The same is true with the red pepper. For myself, I would use at least double this amount but that would be way too much for other folks.
Votes: 0
Rating: 0
You:
Rate this recipe!
Prep Time 15 minutes
Cook Time 20 minutes
Servings
people
Ingredients
Prep Time 15 minutes
Cook Time 20 minutes
Servings
people
Ingredients
Votes: 0
Rating: 0
You:
Rate this recipe!
Instructions
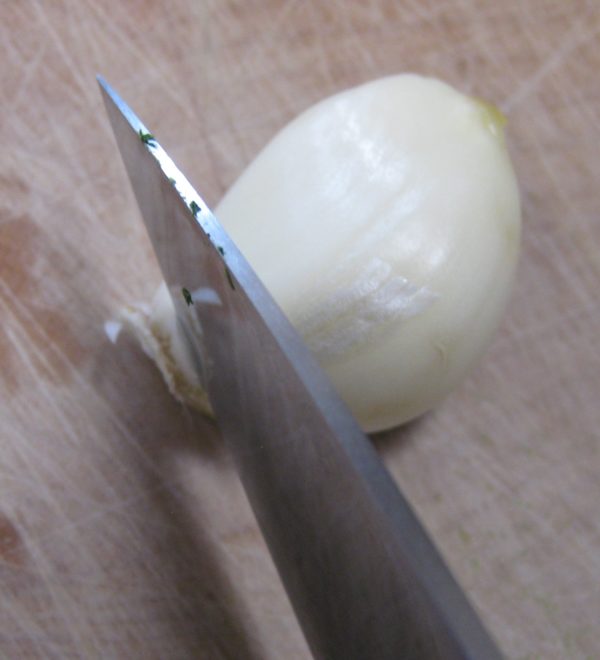
  1. Slice off the hard base of each garlic clove.
  2. Cut the cloves in half top to bottom.
  3. Cut each half-clove of garlic crosswise into very thin slivers.
  4. In a sauté pan large enough to hold all the cooked spaghetti comfortably heat 1/3 cup of olive oil over gentle heat.
  5. Add the slivered garlic and sauté slowly and gently until golden brown. This should take 10-15 minutes if the heat is low enough.
  6. Add the red pepper and black pepper and sauté for another minute.
  7. Add the wine to stop cooking and remove the pan from the heat.
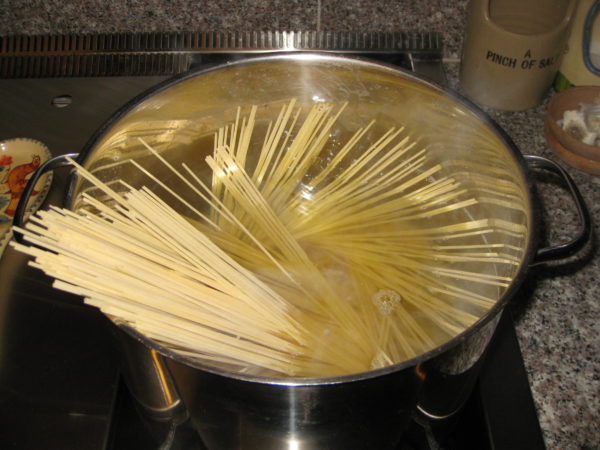
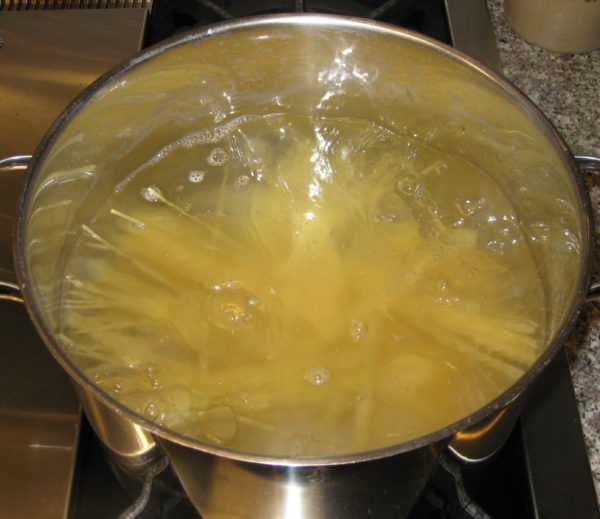
  8. Bring 2 ½ quarts of water to a boil. Season with ¼ cup of salt.
  9. Boil the spaghetti about two minutes less than the package indicates is needed for al dente.
  10. As the pasta is nearing completion, reheat the garlic oil.
  11. Just before removing the pasta from the boiling water, add 1 cup of pasta-cooking liquid to the garlic oil and turn the heat to medium high.
  12. Reserve another cup of pasta-cooking liquid then drain the pasta.
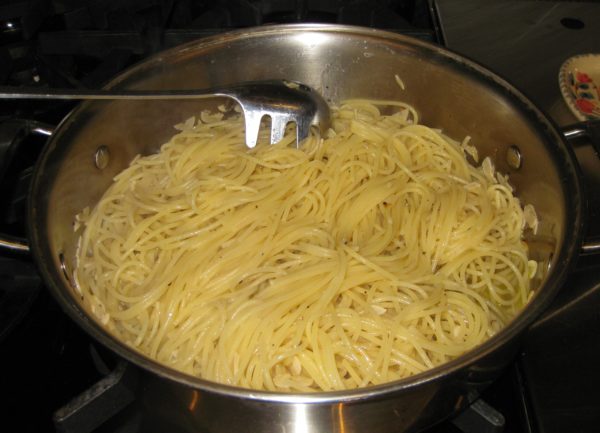
  13. Add the drained pasta to the pan with the garlic oil.
  14. Cook over medium to medium-high heat, stirring frequently, until the pasta is al dente. Add some of the reserved pasta-cooking liquid from time to time as needed.
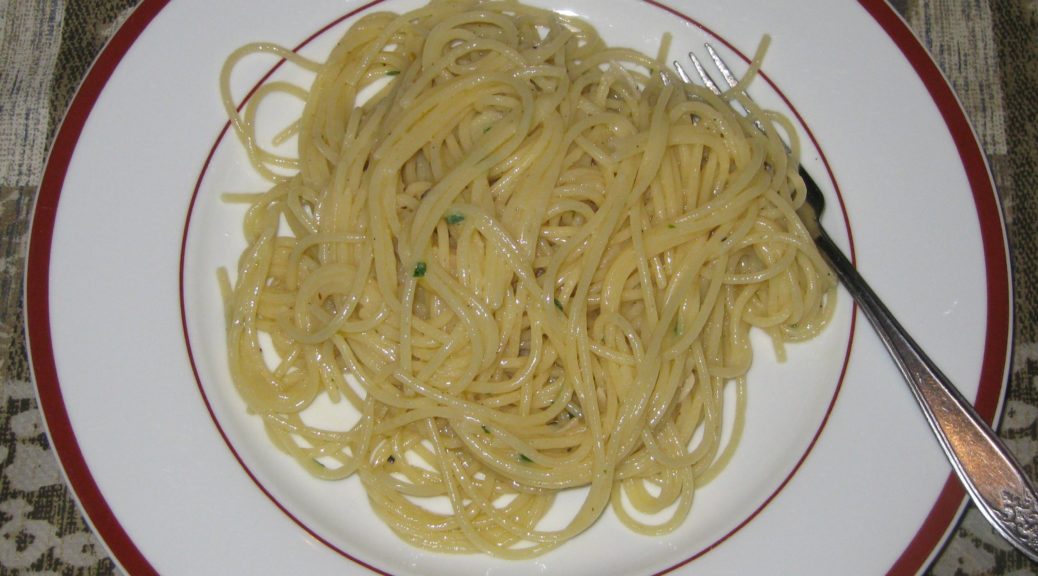
  15. When the pasta is al dente, remove the pan from the heat. Sprinkle the parmesan cheese and parsley on top.
  16. Mix well to create a sauce by melting the cheese and emulsifying the oil and water. Add more of the pasta-cooking water, if needed, to coat the pasta.
  17. Stir in the 3 tablespoons of fruity or peppery extra-virgin olive oil for finishing.
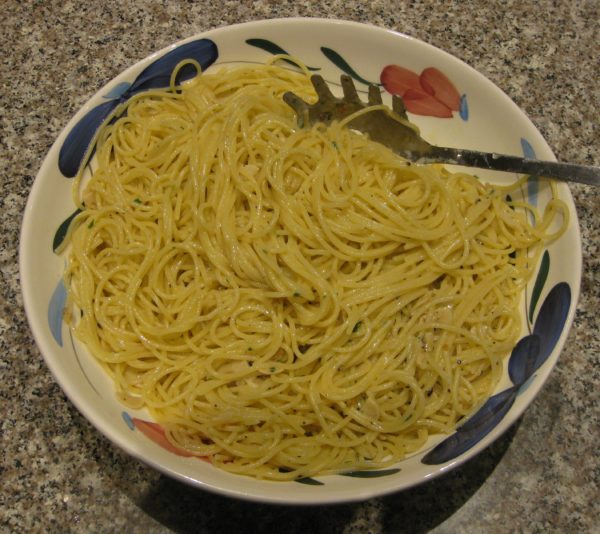
  18. Serve immediately with extra Parmesan cheese.
Recipe Notes

Since olive oil loses much of its distinctive flavor from heating, adding some at the end, when the dish is off the heat, improves the flavor. Usually I keep several types of olive oil that I just use for finishing in this way. They tend to have different flavor profiles. Usually I have a peppery one and a buttery one on hand. These oils are used in small quantities so their higher price tag is worth the flavor they add.

Copyright © 2017 by VillaSentieri.com. All rights reserved.
Share this Recipe

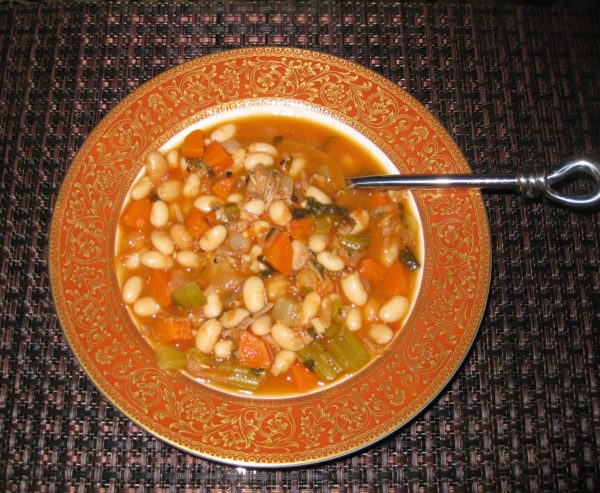
White Bean Soup

June 2, 2017

The weather is turning warmer in fits and spurts here in Santa Fe as I write this in early-May.  I’m writing these posts a few weeks in advance due to upcoming travel.  Warm days and cold nights, alternating with cold days and colder nights make me think of soup.  Filling, warm, humble soup.

There are few soups that I like better than bean or lentil.

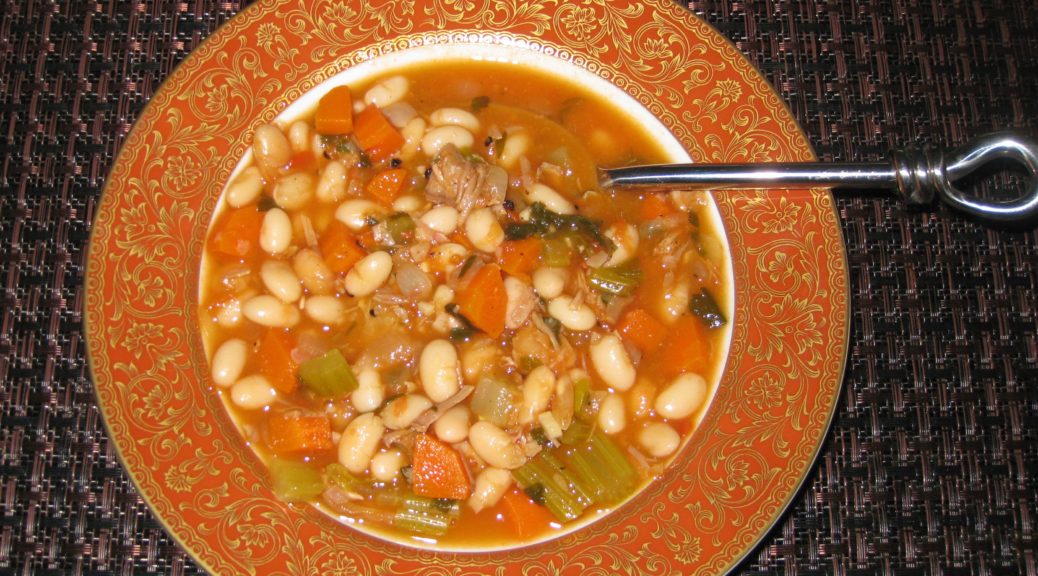
Although a ham bone is a classic way to start a bean soup, smoked turkey works well too.  I had a smoked turkey carcass in the freezer from a bird that I smoked a few months ago.  That and the combination of the cold weather made me think of making this classic American bean soup.  It made a really great dinner along with a platter of my grandmother’s potato cakes, the recipe for which will be appearing here in a few days.

This soup is assembled from very basic ingredients, many of which are almost always on hand.

With warm weather approaching, however, this will probably be the last time I serve such a hearty soup until autumn.

Which brings up an interesting topic: the effect weather has on our cooking and eating habits.  We tend to gravitate toward heartier, richer foods in the winter and lighter foods in warm weather.  Our caloric needs don’t really change appreciably from winter to summer so if we’re not gaining or losing weight, we’re probably eating about the same number of calories.  But it often doesn’t feel that way.

Eating seasonally is a good strategy for a number of reasons.  Locally grown, in-season, produce tastes better than produce shipped from far away.  Many fruits and vegetables start losing nutrients as soon as they are picked.  The shorter the time from farm field to table the more nutritious they are.

Did you ever think about what it takes to have “not from concentrate” orange juice available all year given that oranges are a seasonal crop?  Take a look here and here.  It will give you a sense of what is done to our industrialized food supply.  To be sure, we have ready access to more and cheaper food than has probably ever been the case in human history.  I’m not suggesting we abandon that, just that we become better informed consumers and make active choices about what we eat and why.

In addition to tasting better, and being more nutritious, eating seasonally brings back a sense of anticipation and, dare I say, romance, to eating.  Tomatoes are at their best in the summer so we eat lots of tomatoes then, for example.  Often times, lunch on Saturday in late summer will be thick slices of fresh tomato, fresh mozzarella cheese from The Old Windmill Dairy in Estancia, New Mexico, a few torn basil leaves from our garden, a sprinkle of salt and a drizzle of extra virgin olive oil along with some homemade bread to sop up all the juices.  Unless it’s from a can and going into something that’s cooked, you’ll rarely see a tomato in my kitchen the rest of the year.

The same sort of anticipation holds true with many other foods.  Some that come quickly to mind are zucchini blossoms (which I dip in batter and fry) and basil (which I turn into pesto and use to season quick-cooked tomato sauces all summer long but never use at other times of the year).

Seasonal eating isn’t limited to summer, however.  There are traditional winter crops and winter foods.  Cavolo nero, Tuscan kale, tastes better after a frost and is traditionally eaten in the late fall.  My mother-in-law pickles turnips each autumn which we eat in the winter made into a thick soup with cotechino, a Northern Italian sausage.

Traditionally, my mother-in-law’s pickled turnips would be made in the autumn.  That’s not only when the turnips are ready if you eat seasonally but that’s also when grapes are crushed and pressed for wine.  The turnips would be packed into a barrel with the solids left over from the grape pressing and allowed to ferment.  These days she makes a reasonable facsimile by simply pickling turnips in red wine vinegar though I keep hoping to find a winemaker in New Mexico who will sell me some crushed grapes to give the original recipe a try.

Red wine vinegar is always available, and mostly so are turnips.  Why don’t we make this at other times of the year?  Mostly it’s because of the association of pickled turnips (brovada) and cotechino with winter.  We try to maintain the seasonality even when we have the ability to circumvent it.  Doing that means there are always favorite foods to look forward to each season that we haven’t had in almost a year.

If it’s too warm where you live to have a hearty bowl of bean soup, tuck this recipe away for a few months and give it a try in the autumn.

Print Recipe
White Bean Soup
This white bean soup is easy to make and very nutritious. If you have the carcass of a smoked turkey or the bone from a baked ham, use my recipe for Roasted Turkey Broth, substituting the smoked turkey or ham bone, to make the broth for this soup. With a turkey carcass you definitely need to make broth otherwise you’d have lots of bones and bits in the final soup. While this isn’t the case with a large ham bone, I still prefer to make broth in advance so that I can skim off the fat. There is a link in the notes that follow this recipe to my recipe for Roasted Turkey Broth. Even if you don’t have a smoked turkey carcass or a ham bone you can make this soup. My supermarket sells various smoked turkey and pig parts. Just use them to make the broth. Be careful, though, as these products can be much smokier than a turkey or ham that was smoked to the right degree for eating. Failing all of that, use whatever broth you have on hand (or even water) to begin to cook the beans then add ¼ pound of chopped up bacon with the remaining ingredients.
Votes: 0
Rating: 0
You:
Rate this recipe!
Cuisine American
Prep Time 20 minutes
Cook Time 3 hours
Servings
people
Ingredients
Cuisine American
Prep Time 20 minutes
Cook Time 3 hours
Servings
people
Ingredients
Votes: 0
Rating: 0
You:
Rate this recipe!
Instructions
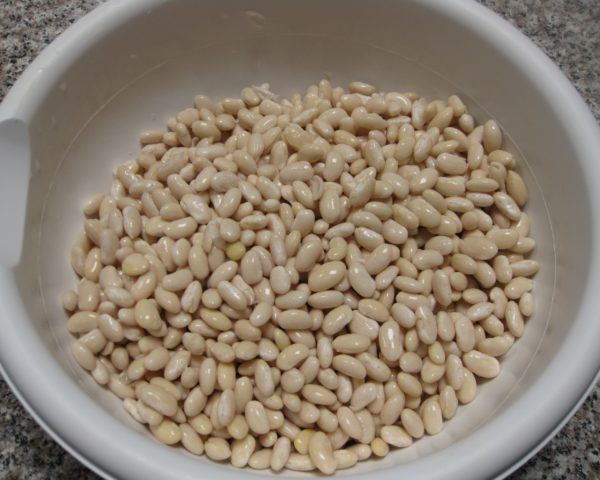
  1. Wash the beans. Cover with several inches of cold water. Refrigerate overnight.
  2. The next day, drain the beans.
  3. Combine the beans, broth, and bay leaf.
  4. Cover and bring to a boil.
  5. Cook, partially covered, at a medium boil for one hour, stirring occasionally.
  6. Meanwhile, prepare the other ingredients.
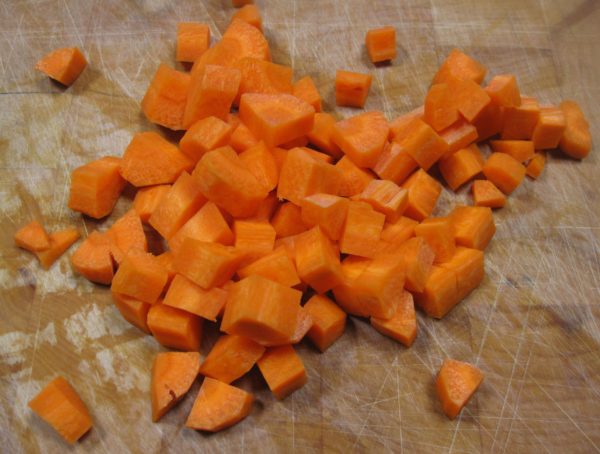
  7. Slice the carrots in quarters lengthwise.
  8. Cut the carrots crosswise into 1/4 inch pieces.
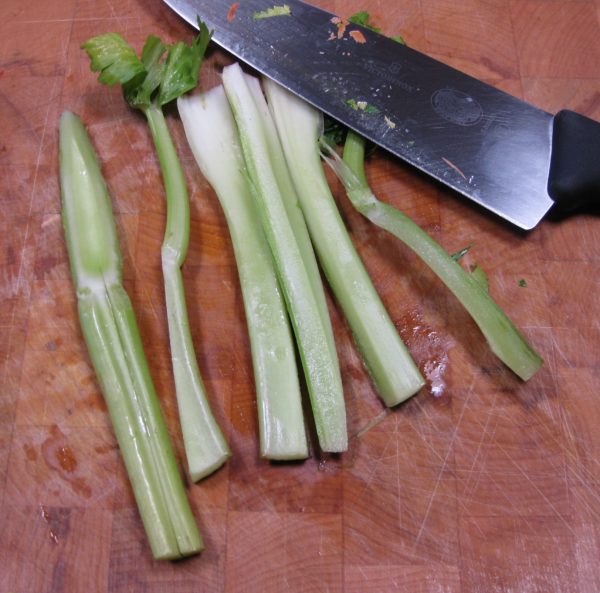
  9. Cut the celery into strips approximately the same size as the carrot strips.
  10. Cut the celery strips crosswise into 1/4 inch pieces.
  11. Dice the onion.
  12. Mince the garlic.
  13. Mince the parsley,
  14. Dig around in your freezer to find a Parmesan cheese rind that you froze with the intent of using in your next pot of soup.
  15. Ready a can of diced tomatoes.
  16. Combine all ingredients except the chopped ham or turkey with the partially cooked beans.
  17. Simmer, partially covered for another hour or two until beans are soft and vegetables are cooked. The cooking time will depend on the type of beans, their freshness, and your elevation.
  18. Adjust seasoning as needed while cooking.
  19. Add the chopped ham or smoked turkey during the last 10 minutes of cooking.
  20. Serve with grated Parmesan cheese, if you wish.
Recipe Notes

As good as this soup is when it is made, I prefer to let it cool then refrigerate it for at least a day before rewarming and serving.

To make the broth, substitute a ham bone or smoked turkey carcass (or other smoked meat) for the roasted turkey in my recipe for Roasted Turkey Broth.

Copyright © 2017 by VillaSentieri.com. All rights reserved.
Share this Recipe

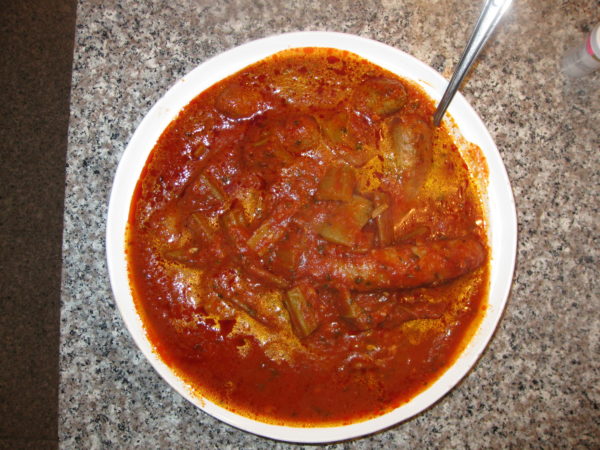
Salsicce con Cardone (Sausage with Cardoons)

February 17, 2017

We made our move to multi-generational living in 1998 when my husband’s parents moved into the Coach House at our estate in Chicago, The Henry Rohkam House.  (There are a couple pictures of the main house in a prior post.)

Pretty quickly we settled into a routine of having meals together.  When we went to work, the dogs went to Grandma and Grandpa’s (21 feet away in the Coach House) for the day.

My husband started gardening with his father.  A large piece of our one-third-of-an-acre property in Chicago’s Lakeview neighborhood was turned over to cultivation.  We had grapes, strawberries, corn, tomatoes, eggplant, sweet peppers, radicchio, arugula, leaf lettuce, Swiss chard, okra, hot peppers of various types, an array of herbs and other vegetables that varied year by year.  The fruit trees never did very well.  The kiwi thrived but never bore fruit.  One of the four kiwi was accidentally injured and died.  In retrospect, it was probably the male plant (there were three female and one male plant), hence no fruit.

Every fall we canned and preserved foods in various ways.  We made jars of olives marinated in red wine vinegar and herbs from the garden.  We made herb-infused vinegar and olive oil.  We dried herbs for the winter.  We froze vats of tomato sauce.  I’ll admit to even freezing pesto which, while it doesn’t taste like its fresh-made cousin, is pretty awesome in the dead of a Chicago winter!

Some years there were enough strawberries to put up jam.  City squirrels can be quite bold, however.  I was standing alongside the garden one spring day when a squirrel, who had gone grocery shopping in our strawberry patch, literally ran over the top of my foot with a strawberry in his mouth on his way out of the produce isle.

The birds had Houdini-like skills.  Despite wrapping the grape arbor in yards of netting, the birds found their way in, decimated the grapes, and escaped.   The few grapes we were able to harvest were very sweet!

We built a temperature-controlled wine cellar in the basement of the Coach House.  My husband made wine for a few years but stopped when work got too busy.

I started cooking more often with my mother-in-law.  Every month or so, my husband’s grandmother, Noni, would come to visit for a weekend.  Noni was a marvelous cook.  Some dish always appeared during those weekends that I had never had before.  Sausage with Cardone was one of them.

For a vegetable that has been popular since the ancient Romans, I’m surprised I’d never hear of it.  I grew up eating sausage with peppers and onions.  Sometimes the sausage was cooked in a tomato sauce, sometimes not.  Cardone was a whole new thing!

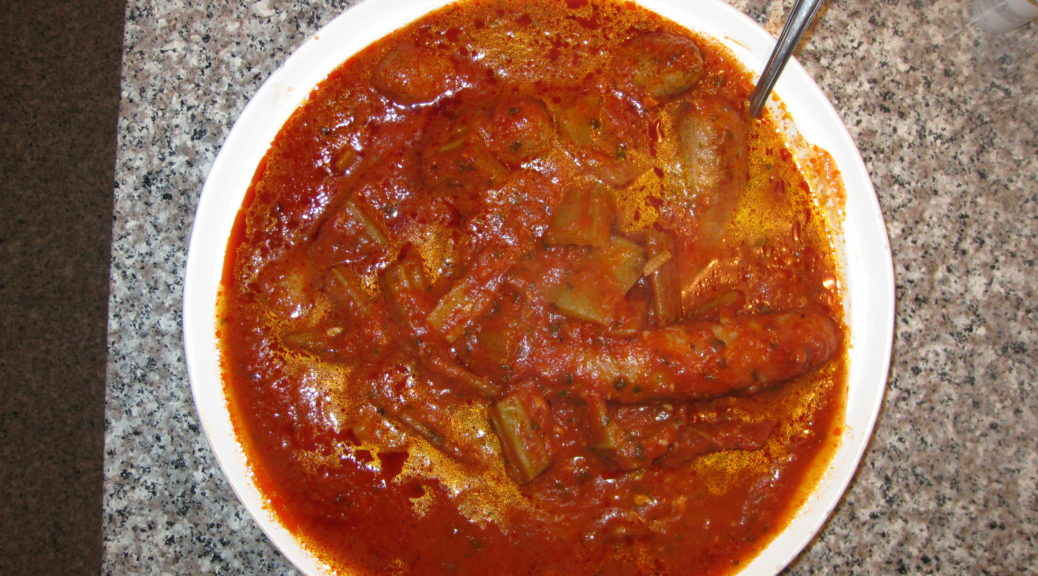
This goes really well with polenta but it’s equally good on its own.  Leftover sauce can be put on pasta or can accompany a frittata.  You may notice from the pictures that we didn’t use as much sausage as called for in the recipe.  We didn’t want leftover sausage but that didn’t mean we didn’t want leftover sauce!  Sadly, the cardone usually all gets eaten on the first go-around but on those rare occasions where it doesn’t, I like to use it as a sandwich filling for lunch.

Print Recipe
Salsicce con Cardone (Sausage with Cardoons)
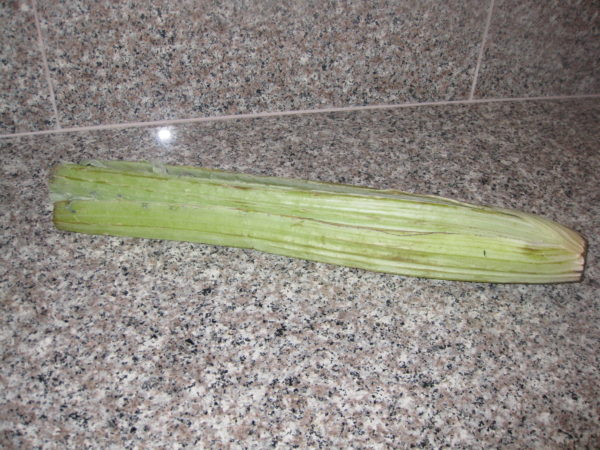
Cardone looks like oversized celery. It is giant, about 2 feet long as sold trimmed in the grocery store. It is related to the artichoke and was popular among the ancient Romans. Cardone should always be served cooked. Leaves should be removed and not eaten.
Votes: 0
Rating: 0
You:
Rate this recipe!
Course Mains, Meats
Cuisine Italian
Prep Time 15 minutes
Cook Time 2 1/2 hours
Servings
people
Ingredients
Course Mains, Meats
Cuisine Italian
Prep Time 15 minutes
Cook Time 2 1/2 hours
Servings
people
Ingredients
Votes: 0
Rating: 0
You:
Rate this recipe!
Instructions
  1. The starting point: cardone from the market.
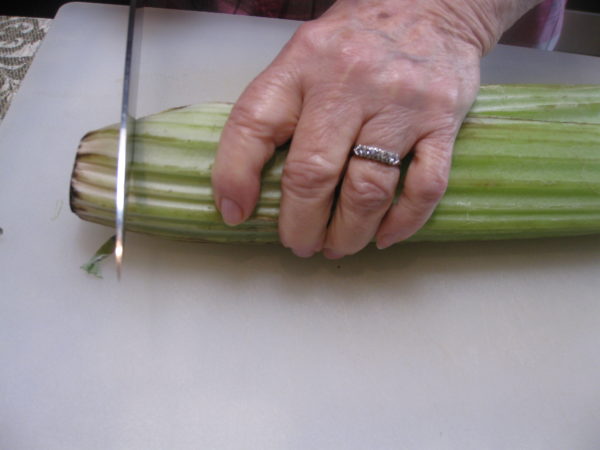
  2. Cut off the bottom of the cardone.
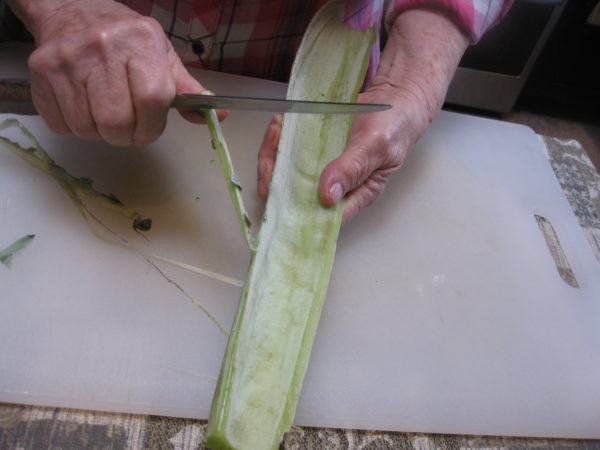
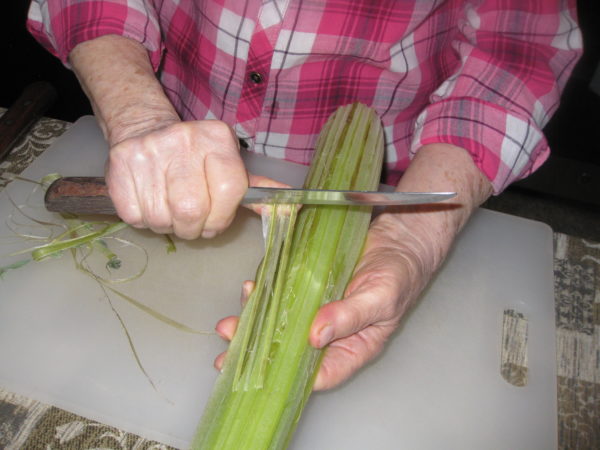
  3. Using a vegetable peeler (or knife if you are my mother-in-law), remove the leafy edges of the cardone.
  4. Remove any stringy parts of each rib.
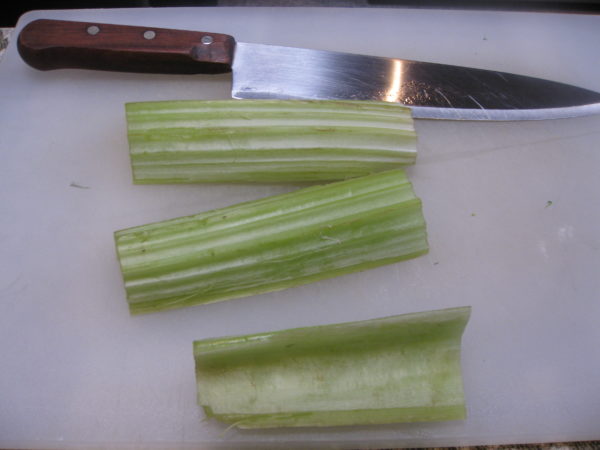
  5. Cut the ribs into pieces approximately 4 inch long. Wash well.
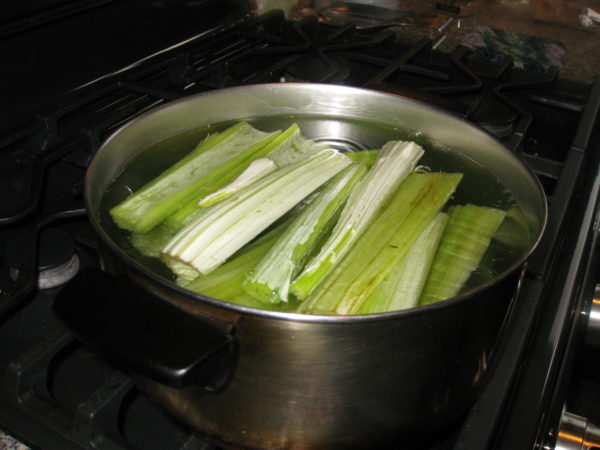
  6. Bring 3 quarts of water to a boil. Add 3 tablespoons of salt and a pinch of baking soda. Add the cardone and boil until you can pierce it relatively easily with the point of a sharp knife. Do not overcook the cardone as it will be cooked further with the sausage.
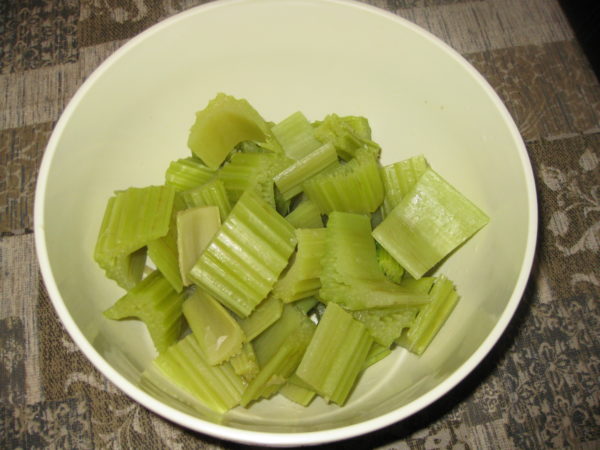
  7. Remove the cardone from the water. Stop cooking by putting the cardone in a bowl of ice water. When cold, cut into pieces approximately 1 ½ inches long and reserve.
  8. If the sausage is not in links, cut into pieces approximately 4-5 inches in length. Using the tines of a fork, pierce the skin of each piece of sausage in several places.
  9. Heat the olive oil in a large, heavy-bottomed sauté pan or a wide, shallow casserole. Add the sausage and brown well on all sides.
  10. Remove the sausage from the pan.
  11. Add the onions, garlic, parsley, and rosemary to the sausage drippings in the pan. Sauté until the onions are soft and golden.
  12. Add the wine, if using. Allow wine to mostly cook away then add tomato puree and water.
  13. Return the sausage to the pot with the sauce. Season with salt and freshly ground pepper. Simmer, partially covered, for about an hour.
  14. Add the cardone. Taste for seasoning. Simmer, partially covered, until the cardone is tender, approximately 30-45 minutes.
  15. Pour into a serving dish and bring to the table.
Recipe Notes

Copyright © 2017 by VillaSentieri.com. All rights reserved.
Share this Recipe