Brasato al Barolo (Beef Braised in Red Wine)

January 21, 2021

Pre-pandemic my husband randomly chose a region of Italy.  Most of our meals for the month were traditional foods of that region.

In response to the pandemic, I reduced my marketing, with rare exception, to one supermarket trip once a week.  Obtaining the ingredients to create very specific regional Italian cuisine became difficult with such a shopping regimen.  Meal planning, though still Italian, reverted to dishes for which I could obtain the necessary ingredients at the supermarket supplemented by deliveries from Amazon.
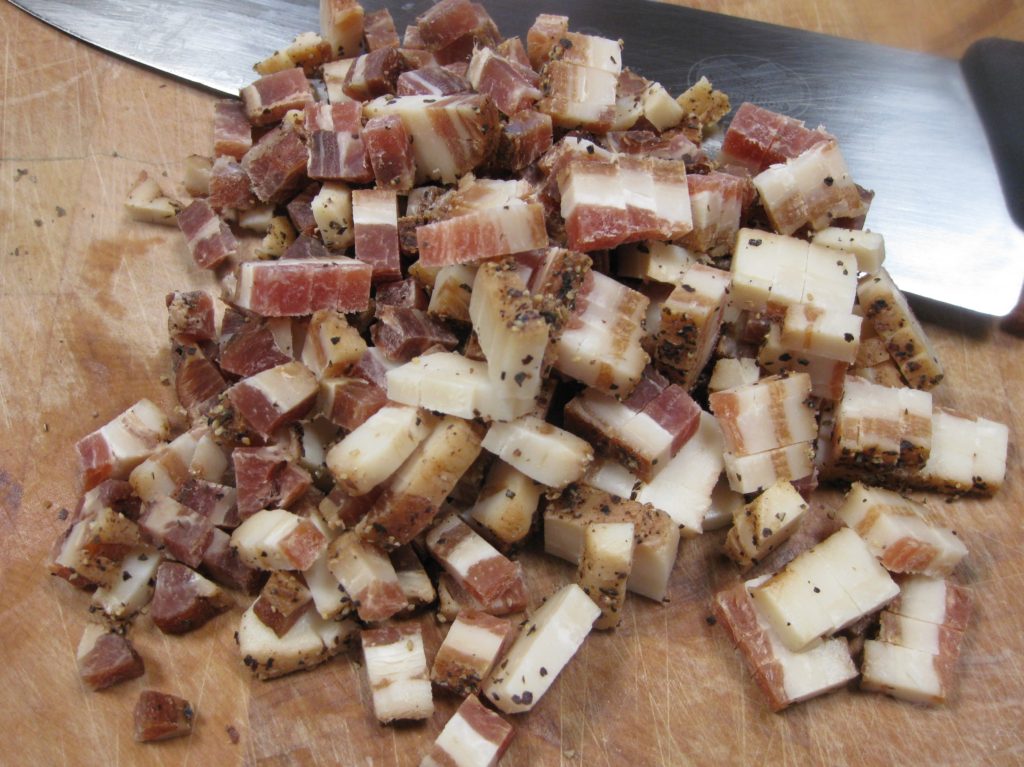
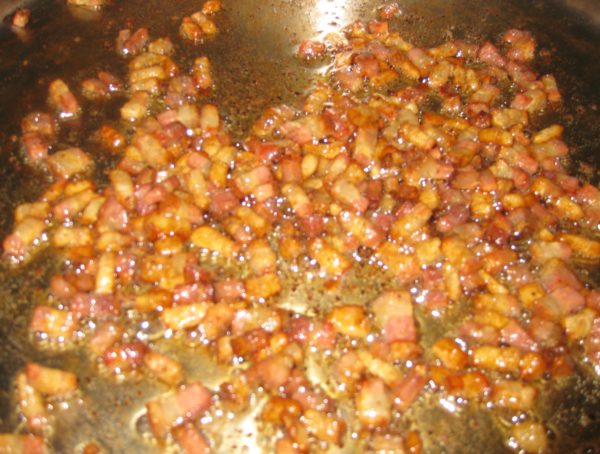
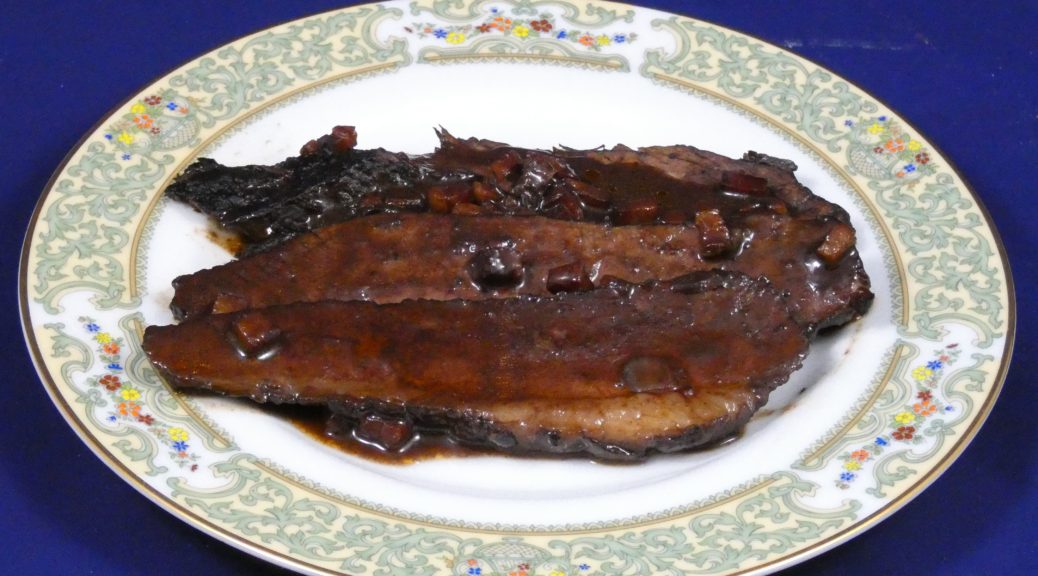
Home-cured pancetta diced and ready to be cooked. Good quality pancetta can be purchased. Be sure to have it sliced thickly.

Amazon is my source for Italian flour, several types of which I use for making pasta, bread, pizza and cake.  Carnaroli rice can be difficult to obtain under the best of circumstances but is available on Amazon.  Some of the ingredients for gelato are impossible to find in retail shops making Amazon the go-to source.

Other items, like specific types of cheeses or cured meats or olives, can only reasonably come from local retail markets.  The same is true for produce and an array of other ingredients.  One marketing trip a week to a general supermarket made it impossible to gather many of the required ingredients so the one-region-a-month-cooking-and-eating regimen fell victim to the pandemic, at least temporarily.


Follow us on your social media platform of choice


I made food from Piemonte (Piedmont) while our region-a-month plan was still active.  Piemonte has cows, so beef and dairy figure prominently in the cuisine.  Piemonte is also home to Barolo, among other wonderful wines.

Piemontese food does not shy away from calories or flavor!

This dish makes use of two of the stars of Piemontese cuisine, beef and wine.  The most traditional recipes call for a whole filet.  The wine is traditionally Barolo.
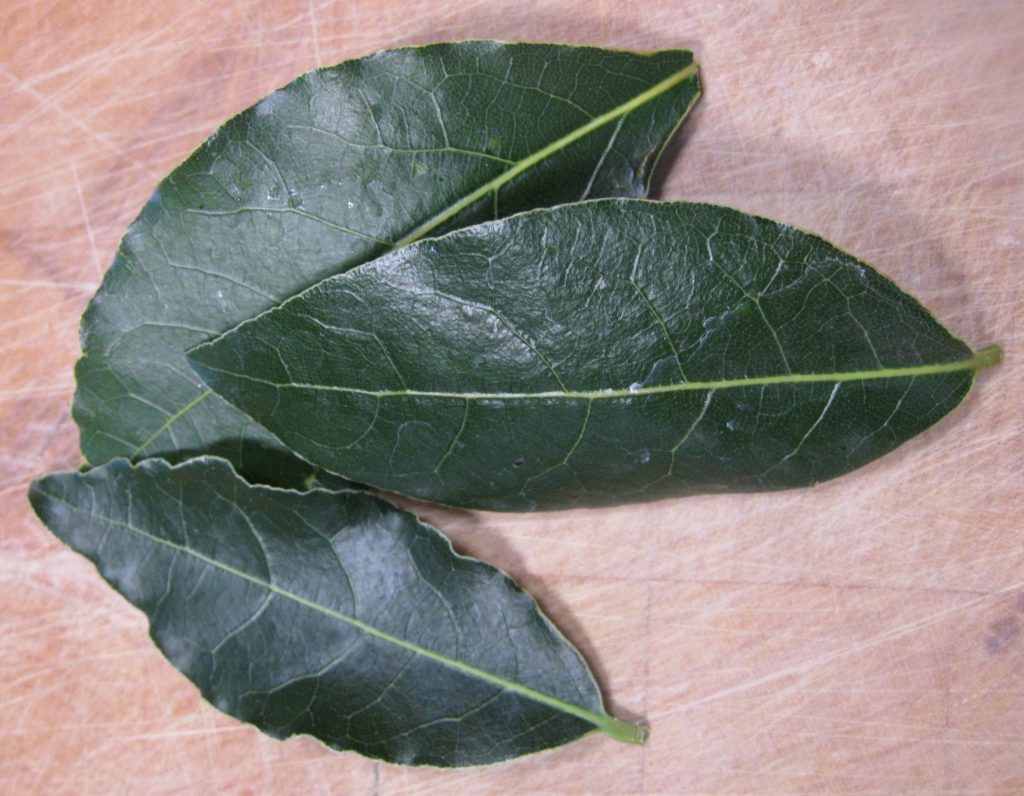
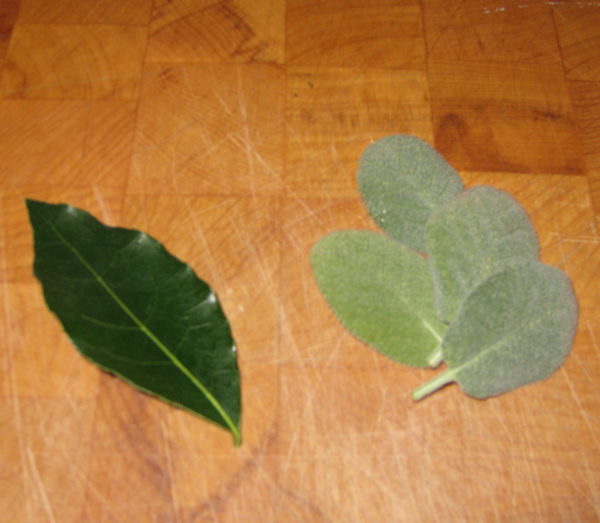
Fresh bay leaves have tremendously more aroma than dried ones.

There was a time when Barolo was affordable.  It is no longer a budget-friendly wine and certainly not one that I would use to braise beef in, even if it’s filet.  If you’re interested in how Barolo became so well-known, watch the movie Barolo Boys.

It’s rare to find a modern recipe that simply specifies Barolo as the red wine.  Even when the traditional name of the dish, Brasato al Barolo, is used, the wine is rarely Barolo.  Calling this Brasato al Vino would be more accurate but that name doesn’t really convey the historic context of the dish.


Join our mailing list and you’ll never miss a recipe again!


I’ve made this with filet that I dutifully larded with my home-cured pancetta.  While the taste was good, the texture of filet after braising was not good, even with the larding.

After that first attempt, I decided to use a cut more commonly used for long, slow, moist cooking even if it was not as high-brow as filet.  Once I made that decision, I started doing recipe research that stretched beyond my several very traditional multi-volume sets of Italian regional cuisine published in Italy in Italian.  I discovered that other (iconoclastic English-speaing) cooks had made the same shift to “lesser” cuts of meat.

I particularly like brisket that’s been braised though a nicely marbled chuck roast would work too.
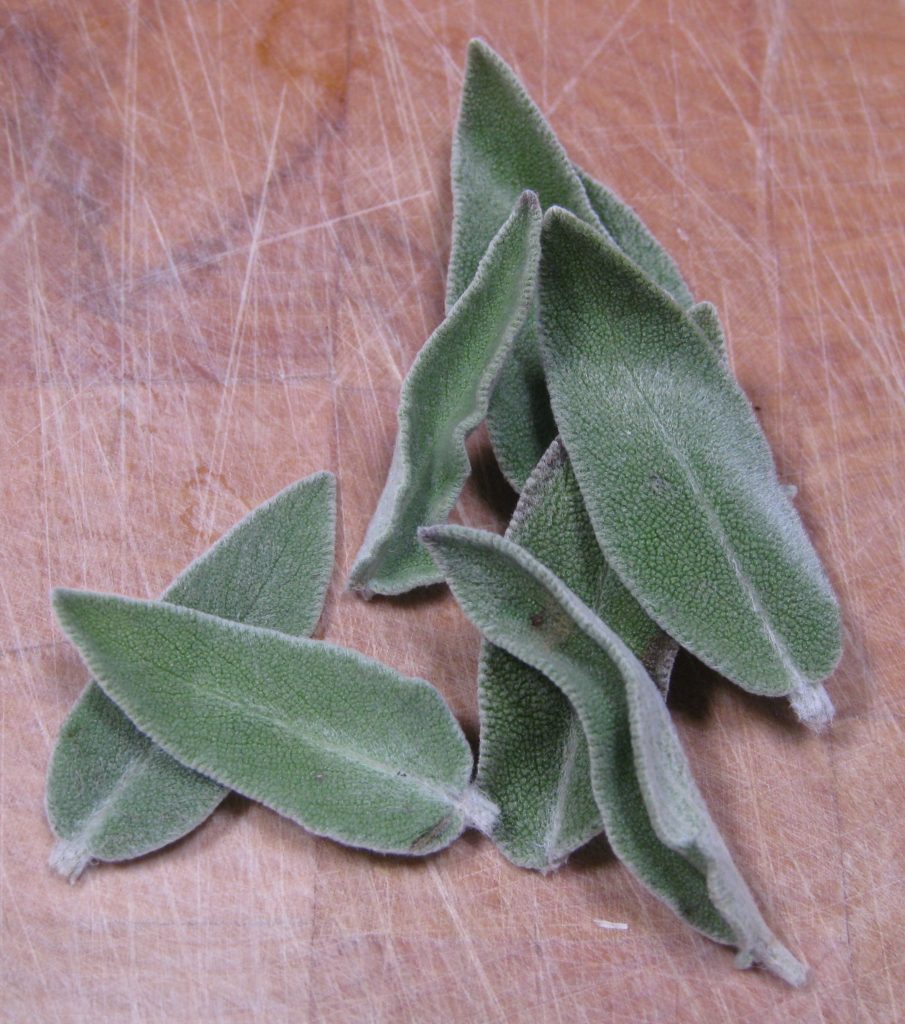
Fresh sage leaves are better than dried when it comes to flavor.

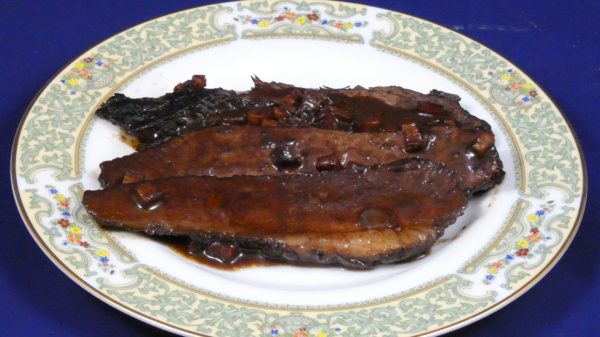
The dish was a hit when made with brisket.  Truth be told, the family didn’t care to ever have it again when I made it with filet.  With the textural change from the brisket it’s become part of our standard menu rotation.

This is a perfect dish for winter.  It’s great for entertaining as it is actually better if made the day before and reheated just before serving.

Oh, and if you actually make it with Barolo, please invite me to dinner!
Print Recipe
Brasato al Barolo (Beef Braised in Red Wine)
Since Barolo is so expensive, most contemporary recipes call for another full-bodied red wine. I have used Zinfandel as well as an Argentine wine that was 60% Merlot and 40% Syrah with great success. The meat can be served without refrigerating first but refrigeration makes it easier to get neat slices. If not refrigerating, pour the hot sauce on the sliced meat and serve immediately. If you don’t have a stash of garlic oil on hand, smash two cloves of garlic and sauté in the olive oil until golden then remove the garlic.
Votes: 0
Rating: 0
You:
Rate this recipe!
Course Mains, Meats
Cuisine Italian
Prep Time 30 minutes
Cook Time 4 hours
Passive Time 24 hours
Servings
people
Ingredients
Course Mains, Meats
Cuisine Italian
Prep Time 30 minutes
Cook Time 4 hours
Passive Time 24 hours
Servings
people
Ingredients
Votes: 0
Rating: 0
You:
Rate this recipe!
Instructions
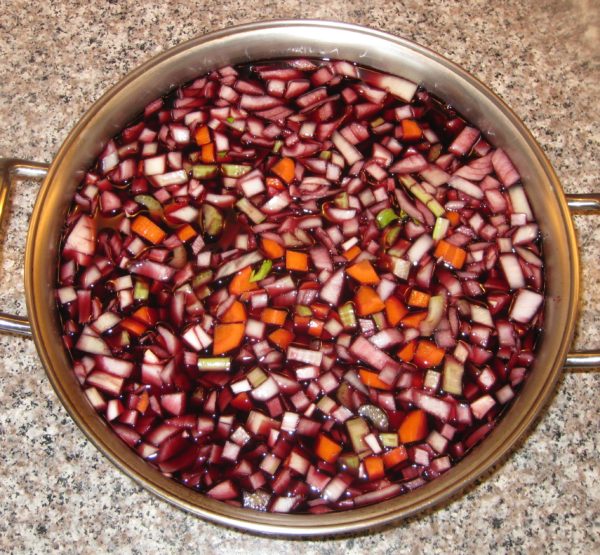
  1. Combine beef with the onion, carrot, celery, garlic, and wine. Cover and refrigerate overnight.
  2. The next day, remove the beef and wipe dry.
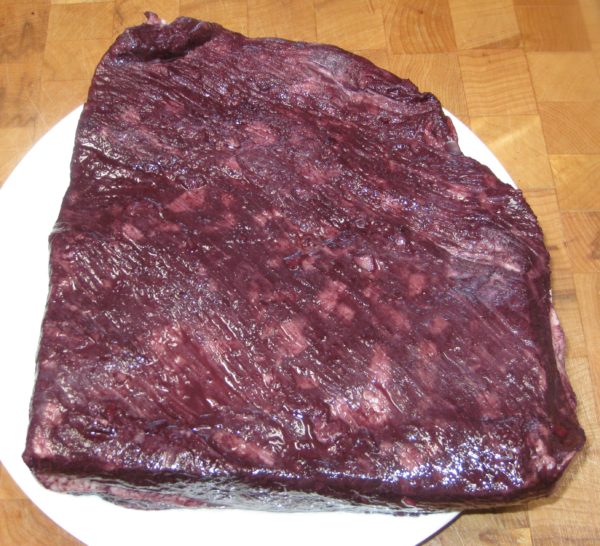
  3. Strain the marinade. Reserve the solids and liquid separately.
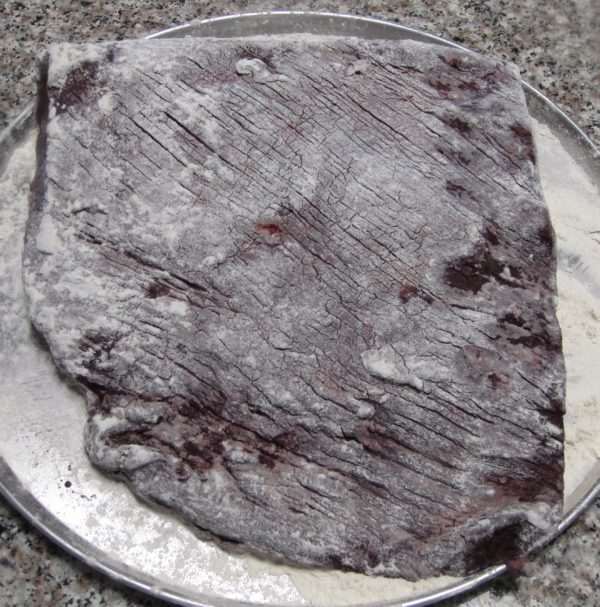
  4. Dredge the beef in flour.
  5. Sauté pancetta in garlic oil over low heat until it renders its fat and browns. Remove pancetta and reserve.
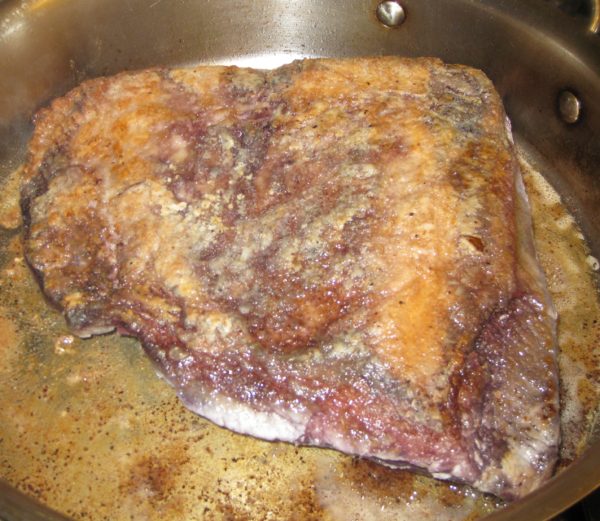
  6. Brown the beef in the rendered fat. Remove the beef.
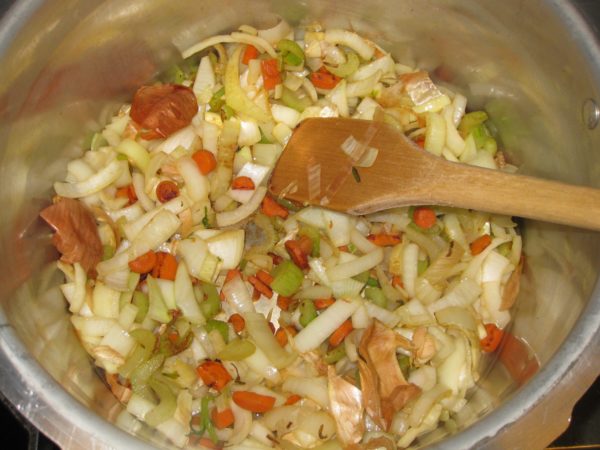
  7. Add the vegetables to the pan and sauté until softened and the onions are translucent.
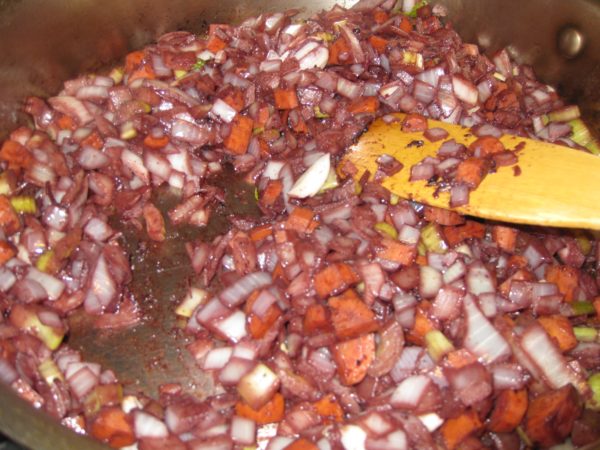
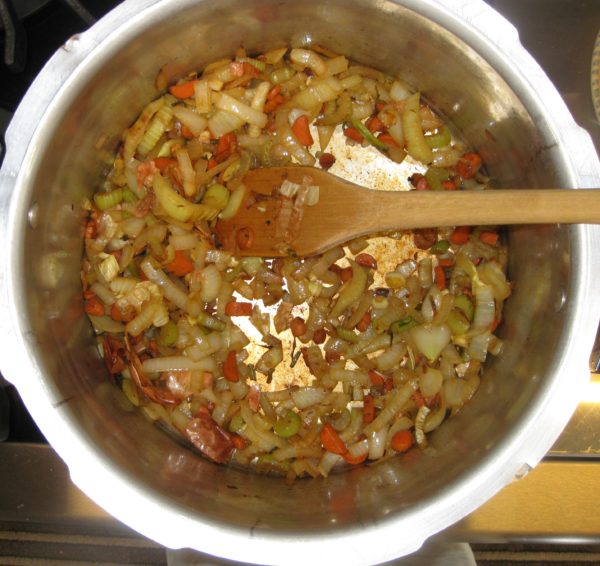
  8. Add the tomato paste. Sauté the tomato paste briefly to darken and sweeten it.
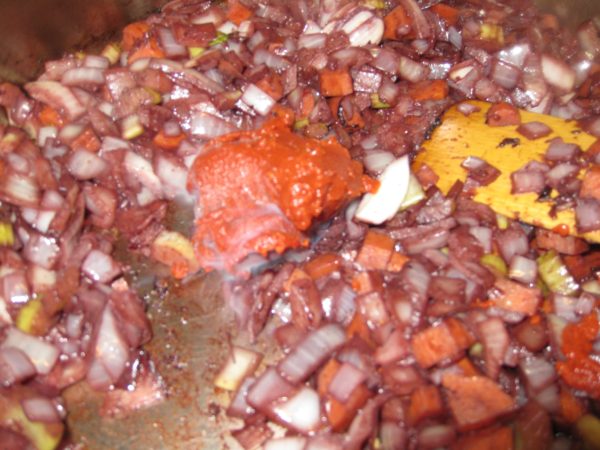
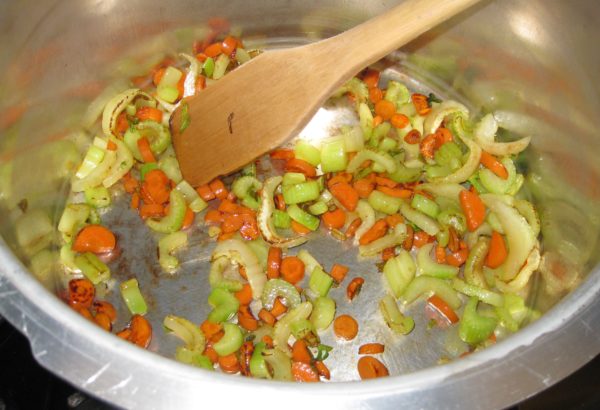
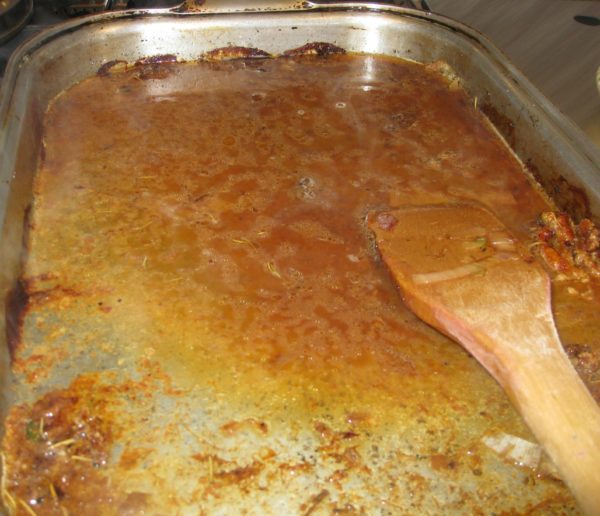
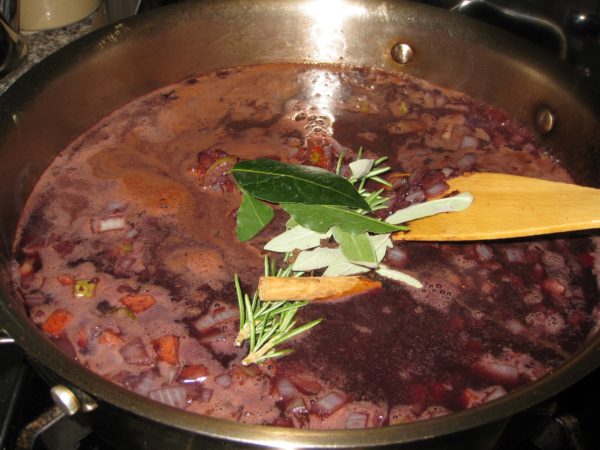
  9. Add the reserved marinade to the pan along with the bay leaves, cloves, rosemary, sage leaves, cinnamon, juniper berries and peppercorns. Bring to a boil, scraping up any browned bits.
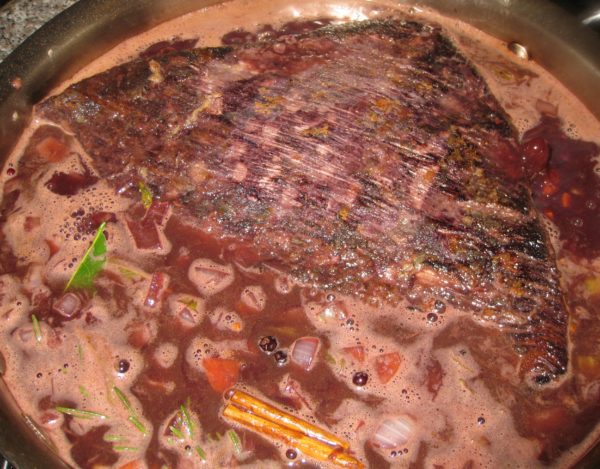
  10. Add the beef. Season with salt. Braise till tender, partially covered, approximately 3 hours.
  11. Remove the beef and refrigerate, tightly covered.
  12. Strain the braising liquid. Discard the solids and refrigerate the liquid.
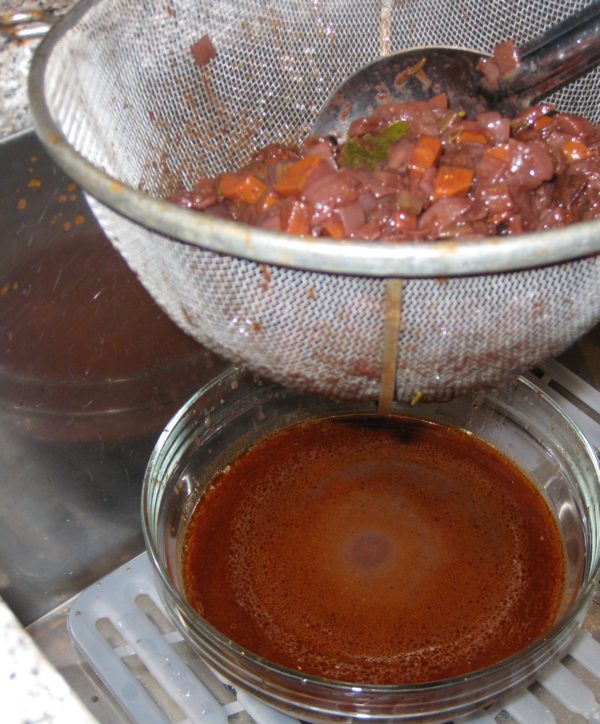
  13. When the beef is cold, slice it against the grain and put in an ovenproof pan or casserole.
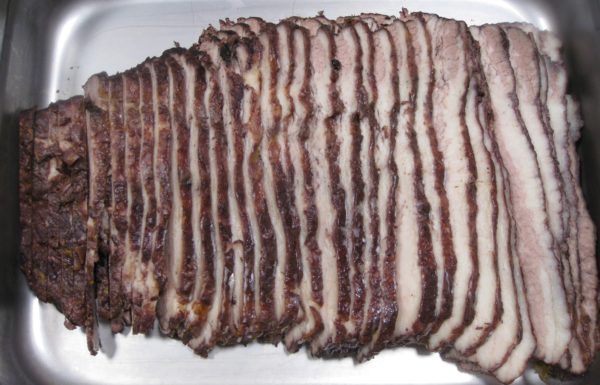
  14. Skim the chilled braising liquid.
  15. Heat the de-fatted braising liquid with the reserved fried pancetta.
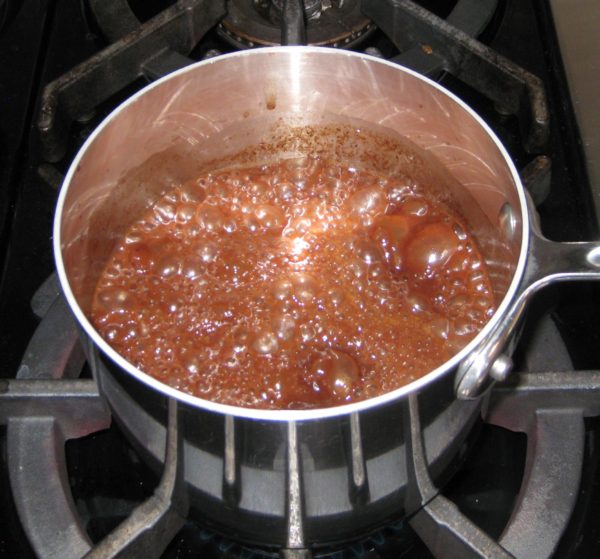
  16. When the braising liquid comes to a boil, remove from heat and add the Marsala. Pour the liquid over the beef, cover the pan, and heat at 350°F for approximately 1 hour.
Recipe Notes

Copyright © 2021 by Villa Sentieri, LLC. All rights reserved.

Share this Recipe

Thanksgiving Gravy

November 7, 2019

I’m not much of a turkey person.

If it were up to me, I’d probably never make turkey, except for the fact that turkey is a GREAT excuse to make killer stuffing and gravy.

OK, OK, those of you who know me know that I’m enough of a traditionalist that I’d probably still make turkey on Thanksgiving, with or without stuffing and gravy, because it’s, well, traditional.

Turkey aside, though, I absolutely LOVE stuffing and I LOVE gravy.

After Thanksgiving, I carefully hide the leftover stuffing in the fridge and keep it all for myself.  There usually isn’t much leftover so I get maybe two days of snacking on cold stuffing.  And it has to be cold, not warm, with a bit of added salt because the taste of salt is dulled by the coldness of the stuffing.


Click HERE to join our mailing list and you’ll never miss a recipe again!


As for the gravy, when I was a kid, I liked gravy so much that I would stir enough into my mashed potatoes that they became runny and spread out over my plate!  I don’t do that anymore but I still love gravy.

I love gravy so much that I roast poultry specifically to make gravy then discard the poultry because I’ve browned it to a fare-thee-well to get a really flavorful gravy.  But I only do that once a year—on Thanksgiving—hence the name Thanksgiving gravy.

When I was growing up, my parents hosted Thanksgiving dinner.  My Aunt Margie and Uncle Joe hosted Christmas Eve dinner.

On Thanksgiving, while my mother and Aunt Margie were getting everything ready to bring to the table (everything included a full Italian meal with sausage, meatballs, lasagna, etcetera alongside a full traditional American Thanksgiving meal!) my Aunt Mamie would make gravy from the pan drippings.


Follow us on your social media platform of choice


From my current vantage point, however, there is a very limited amount of gravy that can be made that way, otherwise it doesn’t have enough meaty goodness.  Though I have to say that Aunt Mamie did a great job of making gravy.  Hers was the one that I most often stirred into my mashed potatoes.

The search for lots of meaty-tasting gravy is what got me started on the path of roasting poultry a few days in advance simply to make a brown stock to use as the base for my gravy.

I guess, in reality, my gravy is more of a variation on French brown sauce (Sauce Espagnole) with added pan drippings than traditional American-style gravy but it packs the flavor that I expect from good gravy.

If there’s any leftover gravy, I warm it with some cream and sautéed mushrooms and then gently reheat leftover turkey in the sauce.

Print Recipe
Thanksgiving Gravy
Roasting poultry to make a flavorful stock creates a gravy with an extra punch of flavor. Turkey wings and necks are ideal but chicken and Cornish hen work very well, too. Whatever poultry you use, cut it into lots of pieces to create more surface area for browning. I use a lot of Parmigiano Reggiano cheese and I put all the rinds in a container in the freezer. I use one whenever I make stock or broth, as I do for the stock for this gravy. It is not necessary to peel the onions and garlic.
Votes: 0
Rating: 0
You:
Rate this recipe!
Prep Time 30 minutes
Cook Time 11 hours
Passive Time 12 hours
Servings
cups
Ingredients
Brown Stock
Prep Time 30 minutes
Cook Time 11 hours
Passive Time 12 hours
Servings
cups
Ingredients
Brown Stock
Votes: 0
Rating: 0
You:
Rate this recipe!
Instructions
Brown Stock
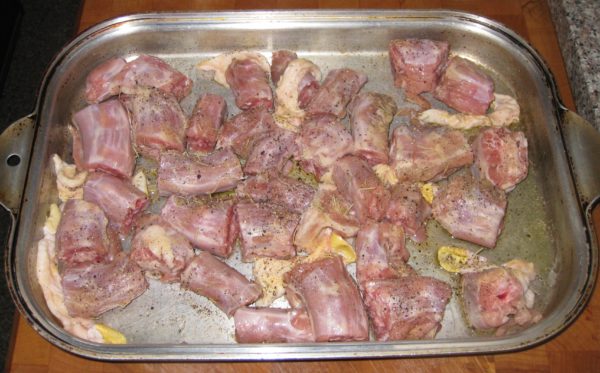
  1. Cut the turkey or other poultry into chunks. Put the cut-up turkey into a heavy roasting pan. Mix with ¼ cup of extra-virgin olive oil. Season generously with garlic powder and salt.
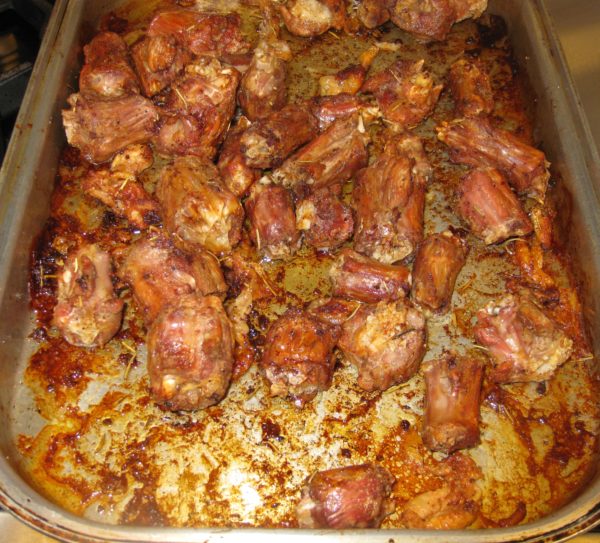
  2. Roast the turkey at 425°F until dark brown, turning often, 1½ to 2 hours.
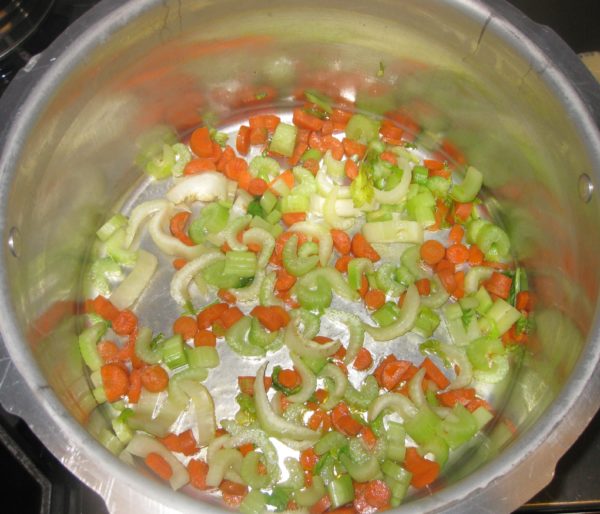
  3. Meanwhile, in a heavy-bottomed stock pot, large enough to hold all the ingredients, sauté the carrots and celery in ¼ cup of extra-virgin olive oil over high heat.
  4. As the carrots and celery begin to brown, add the onions and garlic.
  5. Continue cooking, adjusting heat to medium if necessary, to create nicely browned vegetables and fond without burning.
  6. When the vegetables are brown, add 1/2 cup of red wine and 1 cup of water to stop the cooking and set the pot aside until the turkey is ready.
  7. When the turkey is brown, add it and any pan drippings to the stockpot with the vegetables.
  8. Using some of the water, deglaze roasting pan and add the liquid to the stockpot. All these brown bits are important for flavor.
  9. Add the bay leaf, rosemary, sage, parsley, whole cloves, Parmigiano Reggiano cheese rind, if using, black pepper, and enough water to cover generously. Bring to a simmer and simmer, partially covered for six hours, stirring occasionally.
  10. Strain and refrigerate the stock. The stock may be made up to three days in advance.
Gravy
  1. Skim the fat from the top of the stock. Heat the fat to cook off any water. Measure ¾ cup of melted fat and reserve. Add butter, if necessary, to make ¾ cup.
  2. Gently boil the skimmed stock to reduce it to about six cups, if necessary.
  3. Meanwhile, in a heavy-bottomed saucepan, gently brown the flour in the fat from the stock.
  4. Add the six cups of hot stock, approximately ¾ cup at a time, stirring well after each addition, to avoid lumps.
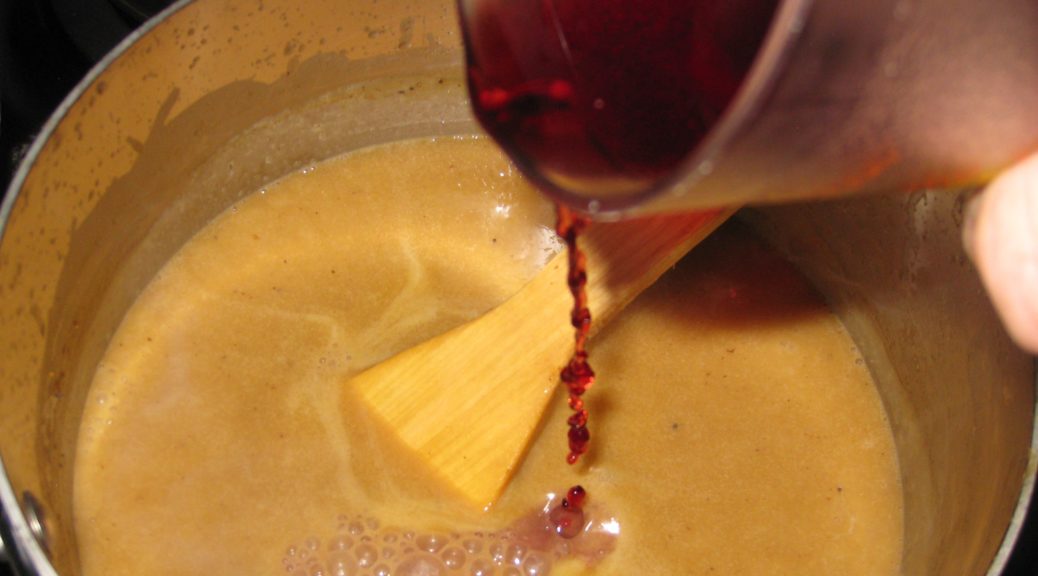
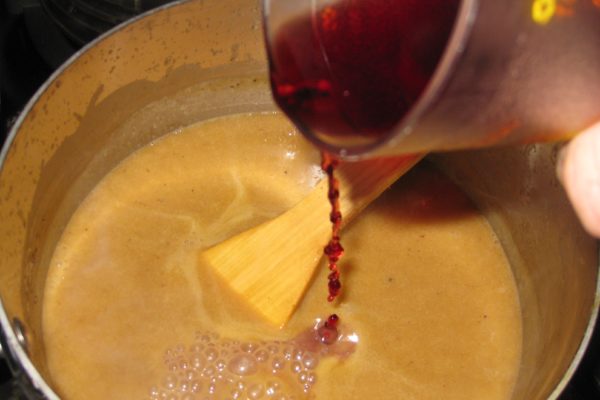
  5. After all the stock has been added, bring to a simmer. Add the wine. Season with 1 teaspoon salt and pepper to taste. (The drippings from the turkey can be fairly salty so the gravy should be under-salted until the final adjustment of seasoning.)
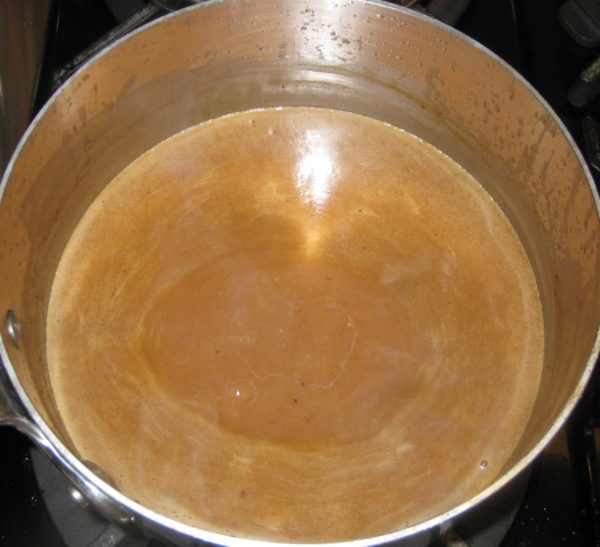
  6. Simmer gently till thick, approximately 2 hours, stirring frequently. Set aside, covered, until the turkey is ready.
  7. After removing the turkey from the oven, deglaze the roasting pan with water. Skim the fat from the deglazing liquid. Pour the defatted drippings into gravy and simmer briefly to achieve the desired consistency. Adjust seasoning.
Recipe Notes

Copyright © 2019 by Villa Sentieri, LLC. All rights reserved.
Share this Recipe

Cherry Aperitif

October 3, 2018

I apologize for the “radio silence” for the past few weeks.  I was traveling in Europe and did not have a reliable internet connection.  I was planning on keeping up my regular posting schedule, and I had everything with me that I needed (having cooked and photographed all the dishes in advance) but it just wasn’t realistic to upload pictures at a snail’s pace.

Today’s recipe is a bit of a departure from what I usually post.  It’s an adaptation of a recipe from David Lebovitz, the only food blogger that I regularly follow.

How I found out about David, and this particular recipe, is curious.

Join our mailing list and you’ll never miss a recipe again!

In mid-2016 my business partner, Melinda Orlando, and I sold the health care consulting business that I founded in 1994 and that we built together.  We brought our two long-term employees, Joe Kohberger, who celebrated his 20th anniversary with The Mihalik Group this year, and Zorina Granjean, who celebrated her 15th anniversary this year, to Santa Fe for a weekend along with their spouses.

It was a time devoted to enjoying each other’s company, exploring good food and drink in Santa Fe, and a way for Melinda and I to say “thank-you” to Joe and Zorina for all they did to make The Mihalik Group successful.

During one of our conversations, Zorina mentioned a recipe for a cherry aperitif that she got from a food blog that she followed.  The really interesting part is that the aperitif didn’t actually contain cherries but cherry leaves!

Based on Zorina’s recommendation, Rich DePippo and I whipped up a few batches in 2017 using leaves from his cherry trees.  Truth be told, as much as I like infusing alcohol with different botanicals (see my recipe for Limoncello, Melinda’s Drunken Prunes, and Liquore al Lauro for examples), I would never have tried this recipe based on cherry leaves rather than cherries and cherry pits.

That would have been a mistake!

Follow us on your social media platform of choice


It’s a great pre-dinner drink served over (lots of) ice, with or without a twist of citrus peel.  It’s not very alcoholic but it’s very flavorful.  Plus, it’s a cinch to make (assuming you can get a fistful of cherry leaves).

It’s very good made with just cherry leaves but adding one of the other botanicals changes its character.  The cherry flavor is still there but the aperitif becomes more complex.

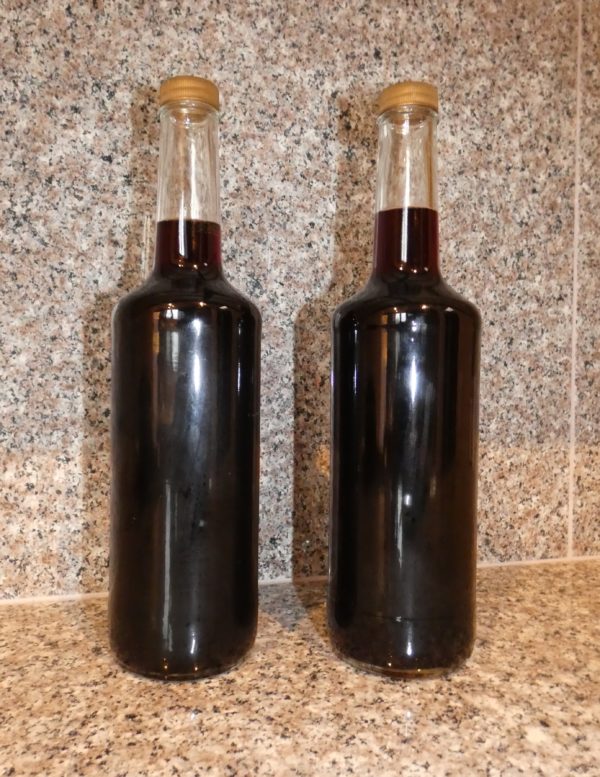
Don’t use expensive wine or vodka.  Pedestrian alcohol works quite well.  In fact, I usually use red wine from a Trader Joe’s box.

Print Recipe
Cherry Aperitif
If you’re not into the metric measurements, just toggle to the American ones. Select an inexpensive fruity red wine such as Merlot or Shiraz. Boxed wine is perfectly fine. I prefer to add only one additional botanical per batch so that I get the distinct flavor of cherries along with the added ingredient. If you come up with any good combinations, or other botanicals to add, please post a comment.
Votes: 0
Rating: 0
You:
Rate this recipe!
Course Beverages
Cuisine French
Prep Time 20 minutes
Passive Time 7 days
Servings
liters
Ingredients
Basic Ingredients
Optional Botanicals (use only one per batch)
Course Beverages
Cuisine French
Prep Time 20 minutes
Passive Time 7 days
Servings
liters
Ingredients
Basic Ingredients
Optional Botanicals (use only one per batch)
Votes: 0
Rating: 0
You:
Rate this recipe!
Instructions
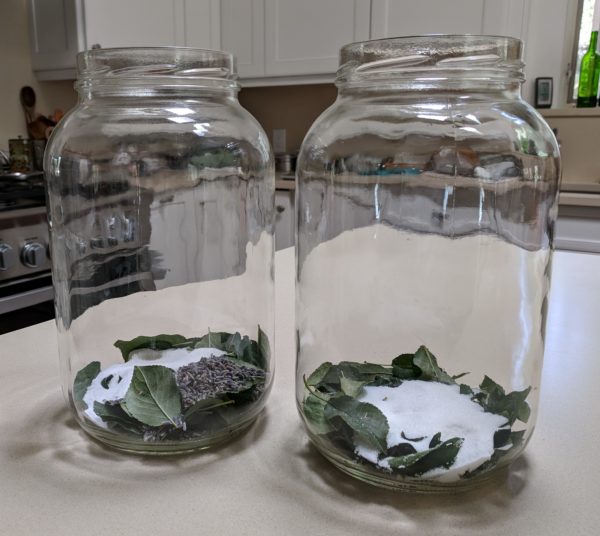
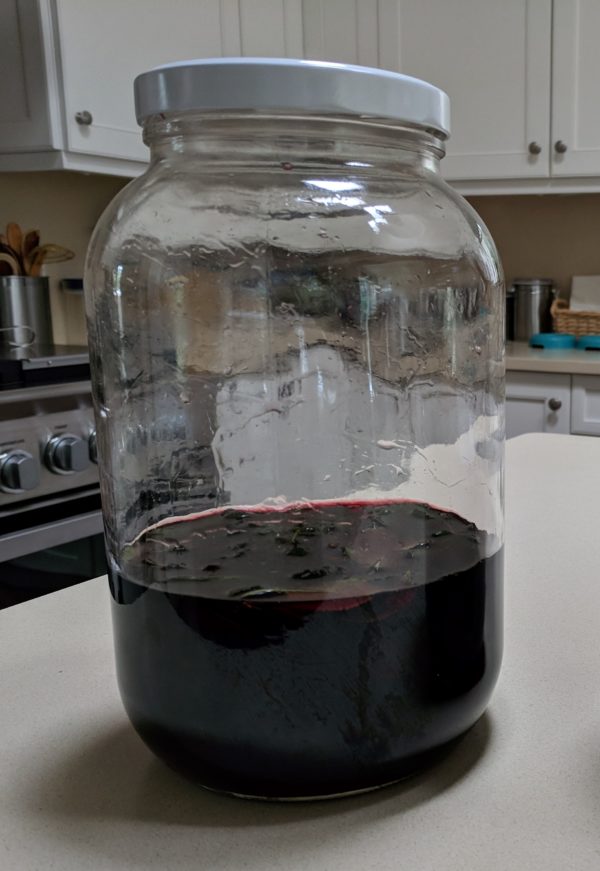
  1. Combine all ingredients in a large jar with a tight-fitting lid.
  2. Swirl the jar to completely dissolve the sugar.
  3. Keep the jar at room temperature but out of direct sunlight.
  4. Swirl the jar daily for seven days.
  5. Strain and discard the solids.
  6. Pour the aperitif into bottles with tight-fitting lids.
  7. Refrigerate the aperitif several weeks before using.
  8. Serve over ice with a citrus peel, if you would like.
Recipe Notes

Copyright © 2018 by Villa Sentieri, LLC. All rights reserved.
Share this Recipe

Sri Lankan Roasted Curry Powder

August 8, 2018

Most historians of cooking claim that curry powders are legacies of the European colonization of South and Southeast Asia.   I don’t doubt that this is partially true but I think the reality is much more nuanced.

The word “curry” is believed to come from the Tamil word “kari,” meaning sauce.  Now, however, the term is applied to a range of dishes from a wide swath of South and Southeast Asian countries, not just to dishes from India.

What constitutes a “curry powder?”  Does it take multiple spices and herbs or just more than one?

In Sri Lankan cooking, for example, the combination of coriander and cumin in a two-to-one mixture is commonly used in many dishes.  This is so much the case, that Nanacy Rajapakse, who taught me Sri Lankan cooking, suggested that I make the mix and have it available for use as needed.

Join our mailing list and you’ll never miss a recipe again!

I think we can generally acknowledge that “curry” as we use the term in the Western world, is really a Western construct.  It usually refers to a generously spiced dish cooked in liquid, though the liquid may be (mostly) boiled away in some cases to make a “dry” curry.  The word “curry” (or translational equivalent) may not figure into the name of a given dish in the local language but when rendered in English, I suspect, the word “curry” is often used in the name of a dish to signify the general concept.

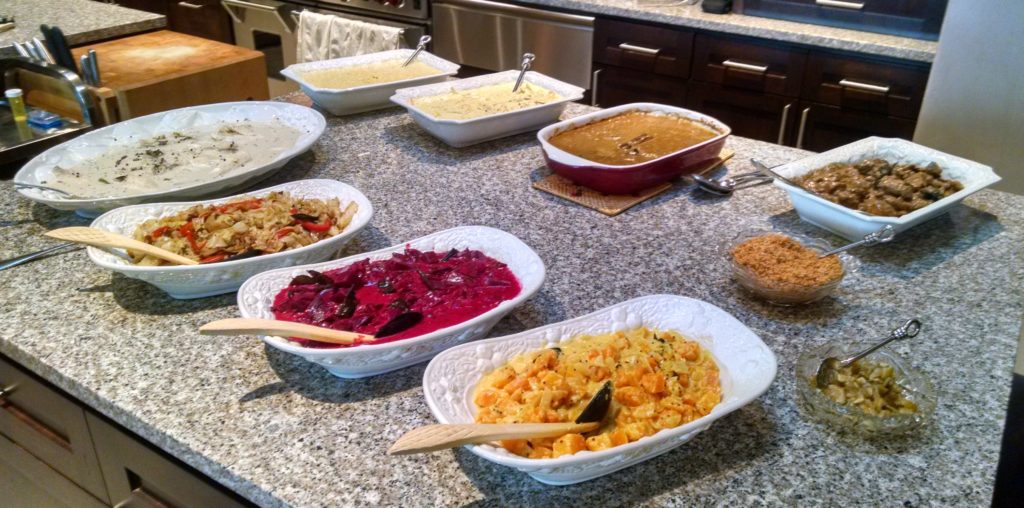
An array of Sri Lankan dishes. The darker beef and pork dishes make use of roasted curry powder.

Whether commonly prepared spice blends used in these countries actually constitute “curry powders” is a matter of definition and whether or not these spice blends pre-date, or are a result of, European influence is up for debate.  Even when curry powders or pastes are used, my experience is that other herbs and spices are almost always added to fine tune the taste of a dish.  In South and Southeast Asian cooking, it would be rare to rely on curry powder alone to flavor a dish.

Clearly, however, the way spice blends are used in South and Southeast Asia differs from the way “curry powder” is used the Western cooking, whether the curry powder is used to impart an interesting flavor to an otherwise Western dish (like deviled eggs, for example) or to create a Western version of an Asian dish (like a generic “curry” found in so many cookbooks that predate the last 20 years, or so).

Follow us on your social media platform of choice


In addition to the coriander-cumin blend noted above, Sri Lankan cuisine makes use of roasted curry powder for meat dishes and unroasted curry powder for vegetable dishes.

Though the spices for many “curries” are cooked in oil at the start, the roasted curry powder of Sri Lanka is different.  It produces a depth of flavor that is completely different from that which can be obtained by simply frying the raw spices and herbs at the beginning of cooking.  While it’s easy to pull together different spices individually for each non-meat dish that might otherwise use an unroasted curry powder, one cannot replicate the taste of roasted curry powder without actually roasting it.  There really is no substitute for roasted curry powder if one wants to make traditional Sri Lankan food.

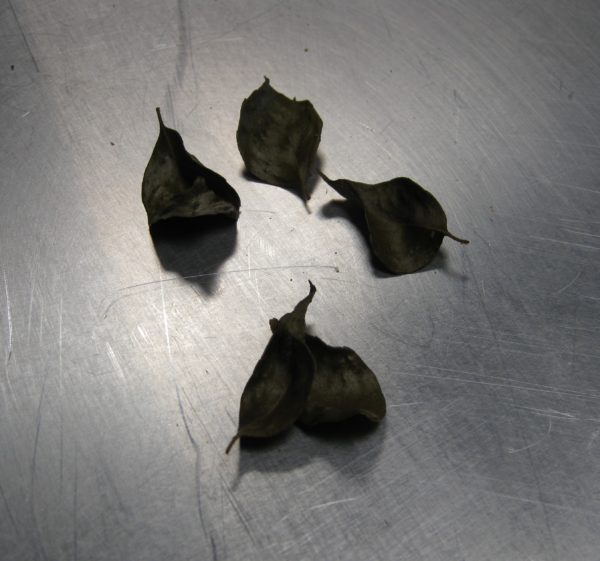
A curry leaf plant.  The leaves are very fragrant.

There are several dishes planned for the coming months that make use of roasted curry powder.  Today’s recipe is the starting point for those recipes.  If  you have any interest in Sri Lankan, or South Asian, cooking you won’t be disappointed in whipping up a batch of this curry powder.

Print Recipe
Sri Lankan Roasted Curry Powder
Roasted curry powder is used in Sri Lanka for meat dishes. It brings a depth of flavor that cannot be achieved by any other means.
Votes: 0
Rating: 0
You:
Rate this recipe!
Prep Time 10 minutes
Cook Time 25 minutes
Servings
cup
Ingredients
Prep Time 10 minutes
Cook Time 25 minutes
Servings
cup
Ingredients
Votes: 0
Rating: 0
You:
Rate this recipe!
Instructions
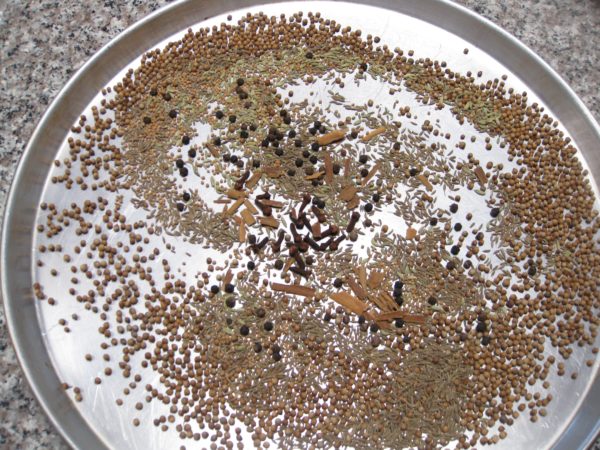
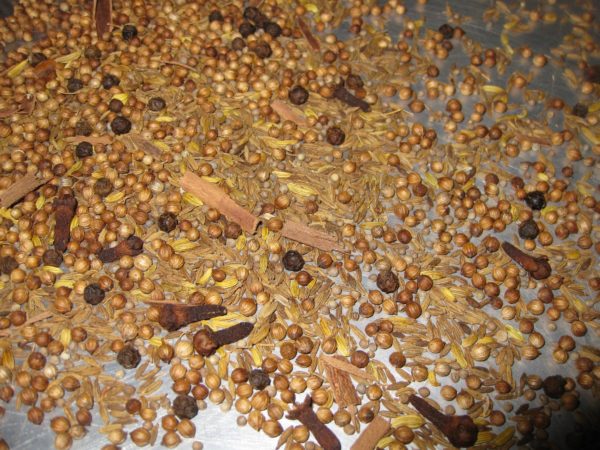
  1. Combine the coriander seeds, cumin seeds, peppercorns, mustard seeds, fennel seeds, cloves, and cinnamon on a rimmed baking sheet.
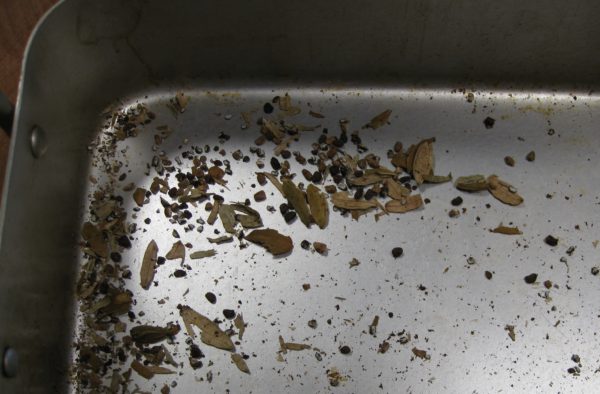
  2. Roast in the oven 325º F, stirring occasionally, until golden brown, approximately 20-25 minutes.
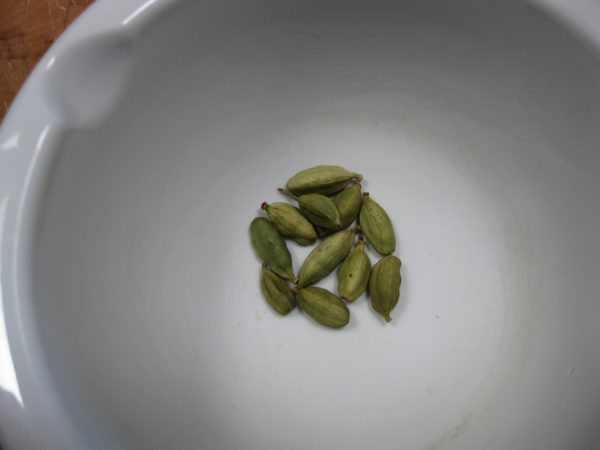
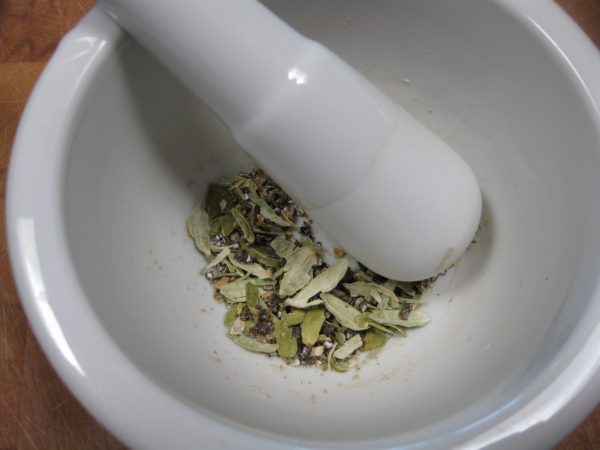
  3. Lightly crush the cardamom pods but don't remove the husk.
  4. Combine the cardamom pods and curry leaves on a different baking sheet.
  5. Roast the cardamon pods and curry leaves in the same oven as the seeds until the leaves are crispy. Remove the leaves
  6. Continue roasting the cardamom pods until lightly browned.
  7. Roast the cayenne pepper in a dry frying pan over moderate heat till slightly darkened in color.
  8. After removing the roasted spices from the heat, immediately pour them into a cool rimmed baking sheet as the heat of the baking or frying pan can overcook them.
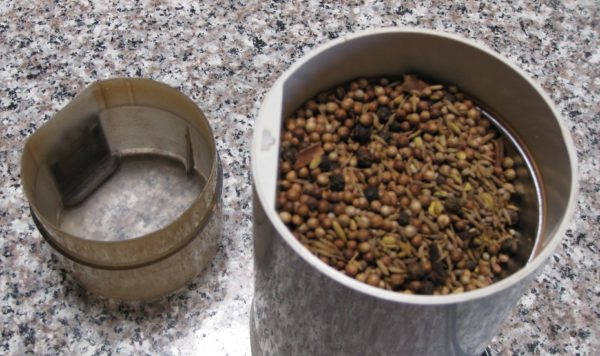
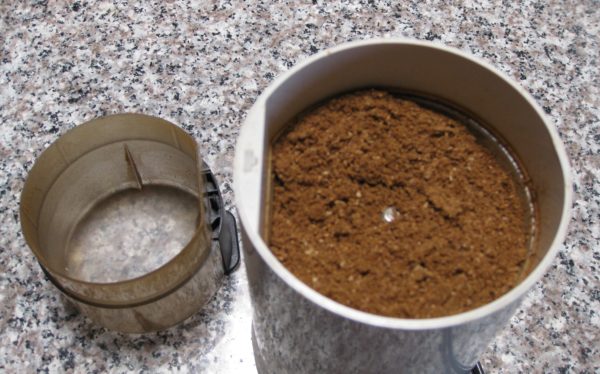
  9. Finely grind the coriander seeds, cumin seeds, peppercorns, mustard seeds, fennel seeds, cloves, and cinnamon in a coffee mill.
  10. Stir in the roasted cardamom pods, curry leaves and cayenne pepper. The curry leaves and crushed should not be ground.
Recipe Notes

Copyright © 2018 by Villa Sentieri, LLC. All rights reserved.
Share this Recipe

Marisa’s Mystical Meatballs

February 9, 2018

These meatballs are really mystical if you consider the sway they hold on my husband, his brother, and his father.  They go wild for these meatballs.

Well, wild in that very restrained Northern Italian way.

If they were Southern Italian, where a dinner conversation can seem like a minor riot, their meatball response would barely register on the scale.  It would signal almost utter disregard for the meatballs.

But that, in fact, is not the case.  The meatballs hold some sort of magical, mystical charm.

Marisa, of course, is my mother-in-law and these are her meatballs.  She considers them quite unusual, having learned to make them from her mother and basically not remembering any other relatives or friends making something similar.

And, as meatballs, they ARE unusual!

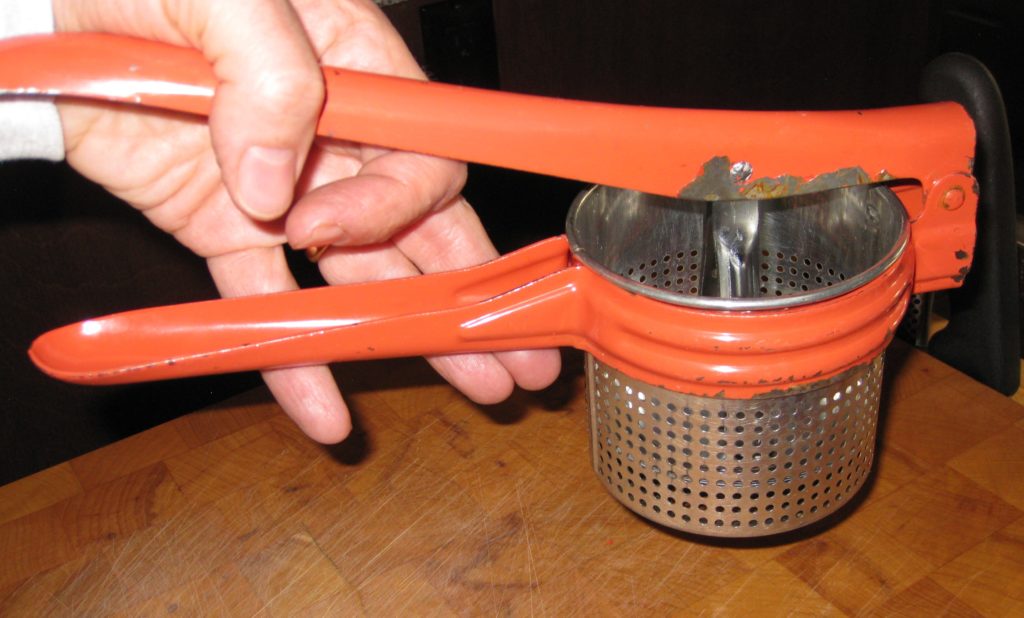
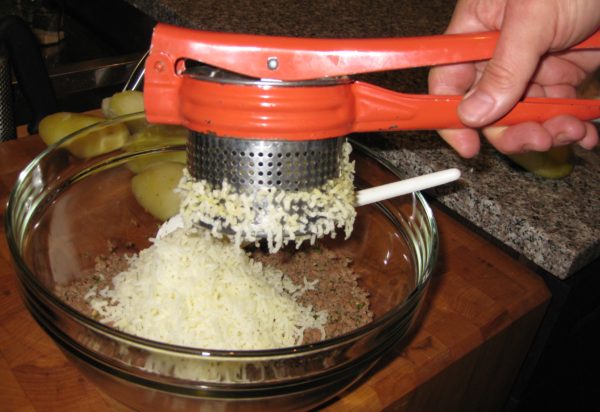
An old-fashioned ricer is still an indispensable piece of kitchen equipment. Make sure yours is very sturdy. Many new ones are not.

Click HERE to join our mailing list and you’ll never miss a recipe again!


But here’s a secret that I haven’t told anyone yet.  They really AREN’T meatballs.  They’re croquettes!  Crocchette in Italian.

There, I said it.  Marisa’s Mystical Meatballs aren’t really meatballs.  But everybody in the family calls them “Ma’s Meatballs.”  “Ma’s Croquettes” doesn’t have the same alliterative allure, even if it’s more accurate.

My mother-in-law and father-in-law celebrating his birthday.

When I did a Google search for crocchette, Google turned up about 1,730,000 results in 0.51 seconds.  When I searched for crocchette patate e carne (potato and meat croquettes), Google returned 1,500,000 results in 0.72 seconds.

And that was doing searches in Italian!

I found a Japanese woman who seems to have the same relationship to her mother’s meat and potato croquettes (korokke) as my husband and his family have to his mother’s.


Follow us on your social media platform of choice


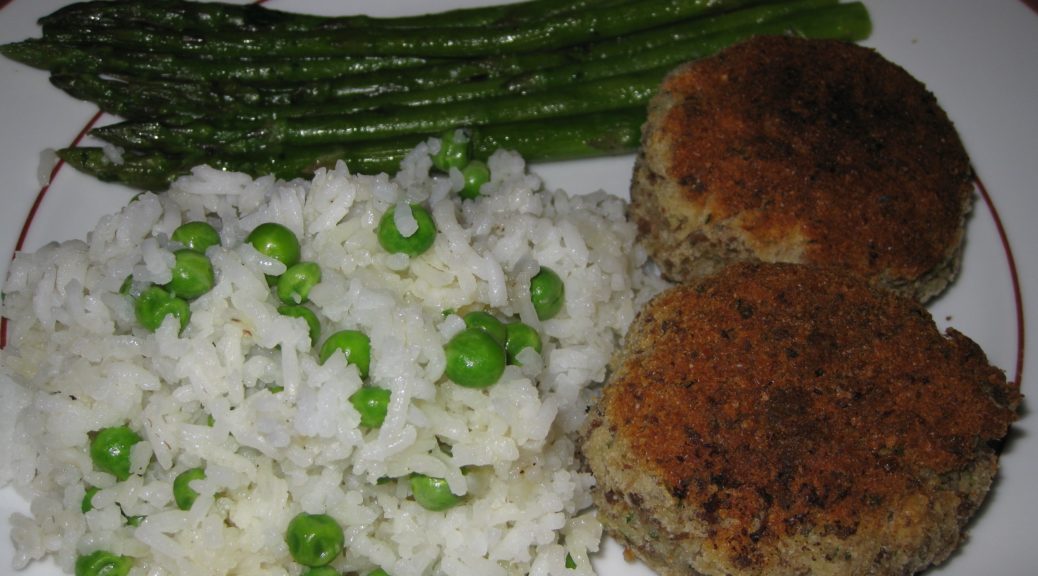
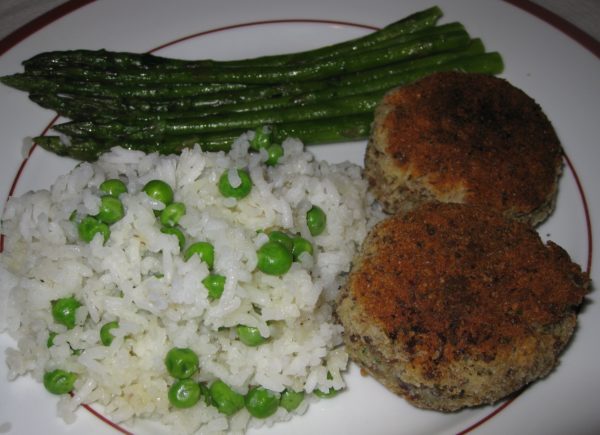
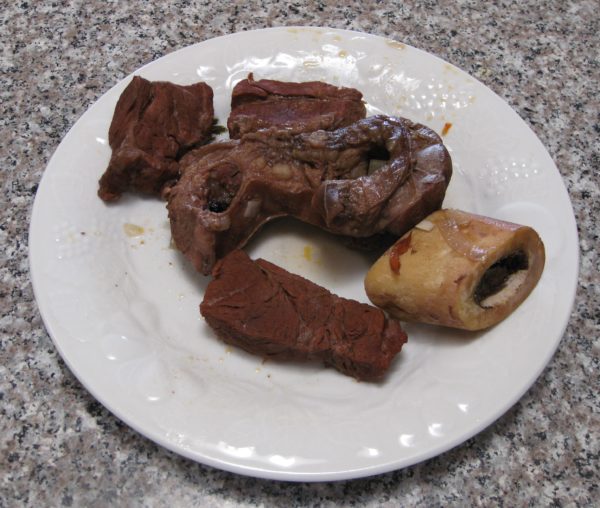
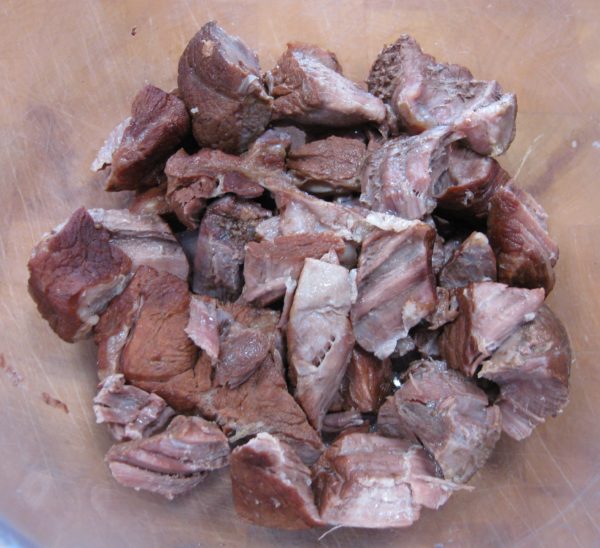
The meat for these “meatballs” (a word I’ll use in deference to my husband and his family of origin) is boiled before being finely chopped.  This presents a perfect opportunity to make a really nice beef broth.  You don’t have to do that, of course, but since you’re going to be boiling the meat anyhow, and since it only takes a few extra minutes to throw some aromatics into the pot, why not!

The broth from the meat for the specific batch of meatballs shown in this blog is sitting in the freezer ready to be turned into Auntie Helen’s Stracciatella, which will be coming up on the blog next month.


If you have a favorite family recipe and a bit of a story to tell, please email me at santafecook@villasentieri.com and we can discuss including it in the blog. I am expanding the scope of my blog to include traditional recipes from around the country and around the world. If you haven’t seen Bertha’s Flan or Melinda’s Drunken Prunes, take a look.  They will give you an idea of what I’m looking for.


Print Recipe
Marisa's Mystical Meatballs
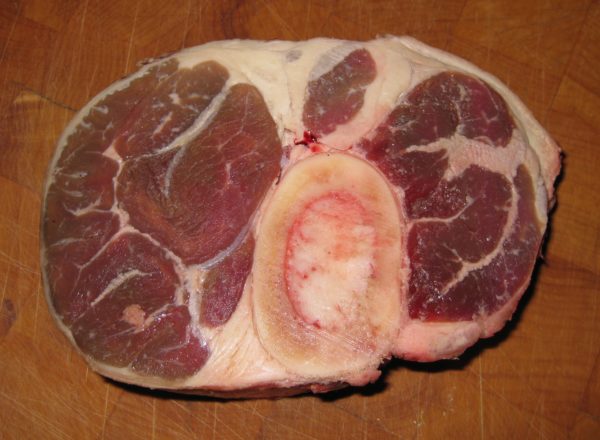
Marisa says she usually uses cross-cut beef shank for the meatballs. When we made them, she also had a piece of beef she bought for soup so we used both. In the end, we got ½ pound of cooked beef, with fat and gristle removed. Adjust the proportion of the other ingredients if you get substantially more or less cooked beef. If you want to use just cross-cut beef shank, I would try about 2 ½-3 lbs. The beef is boiled and then finely chopped to make the meatballs, giving you the opportunity to make a really nice beef broth with just a few minutes more work.
Votes: 0
Rating: 0
You:
Rate this recipe!
Prep Time 30 minutes
Cook Time 6 hours
Servings
meatballs
Ingredients
Beef and Broth
Meatballs
Prep Time 30 minutes
Cook Time 6 hours
Servings
meatballs
Ingredients
Beef and Broth
Meatballs
Votes: 0
Rating: 0
You:
Rate this recipe!
Instructions
Beef and Broth
  1. Cross-cut beef shank.
  2. Put the meat and all other broth ingredients in a large stock pot.
  3. Cover with abundant cold water.
  4. Bring to a boil, reduce heat and simmer, partially covered, for 4-6 hours, until the meat is very tender.
  5. Remove and cool the beef.
  6. Strain the broth and reserve for another use.
Meatballs
  1. Remove fat, gristle and bone from beef. You should have approximately ½ pound of cooked beef.
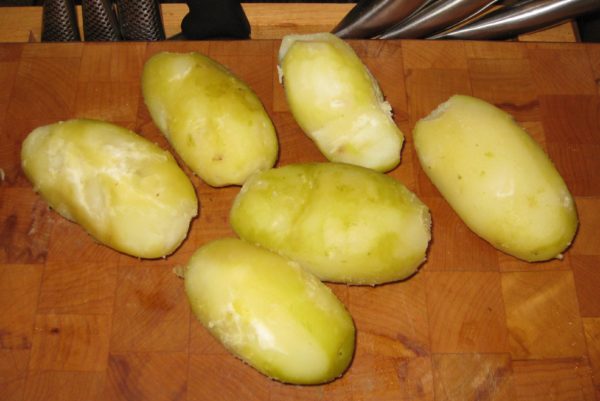
  2. Cook the unpeeled potatoes in boiling water until you can easily pierce them with the tines of a long fork or paring knife, 20-25 minutes.
  3. Remove the potatoes from the water and allow to cool for about 10 minutes.
  4. Meanwhile, mince the garlic or grate it on a microplane grater.
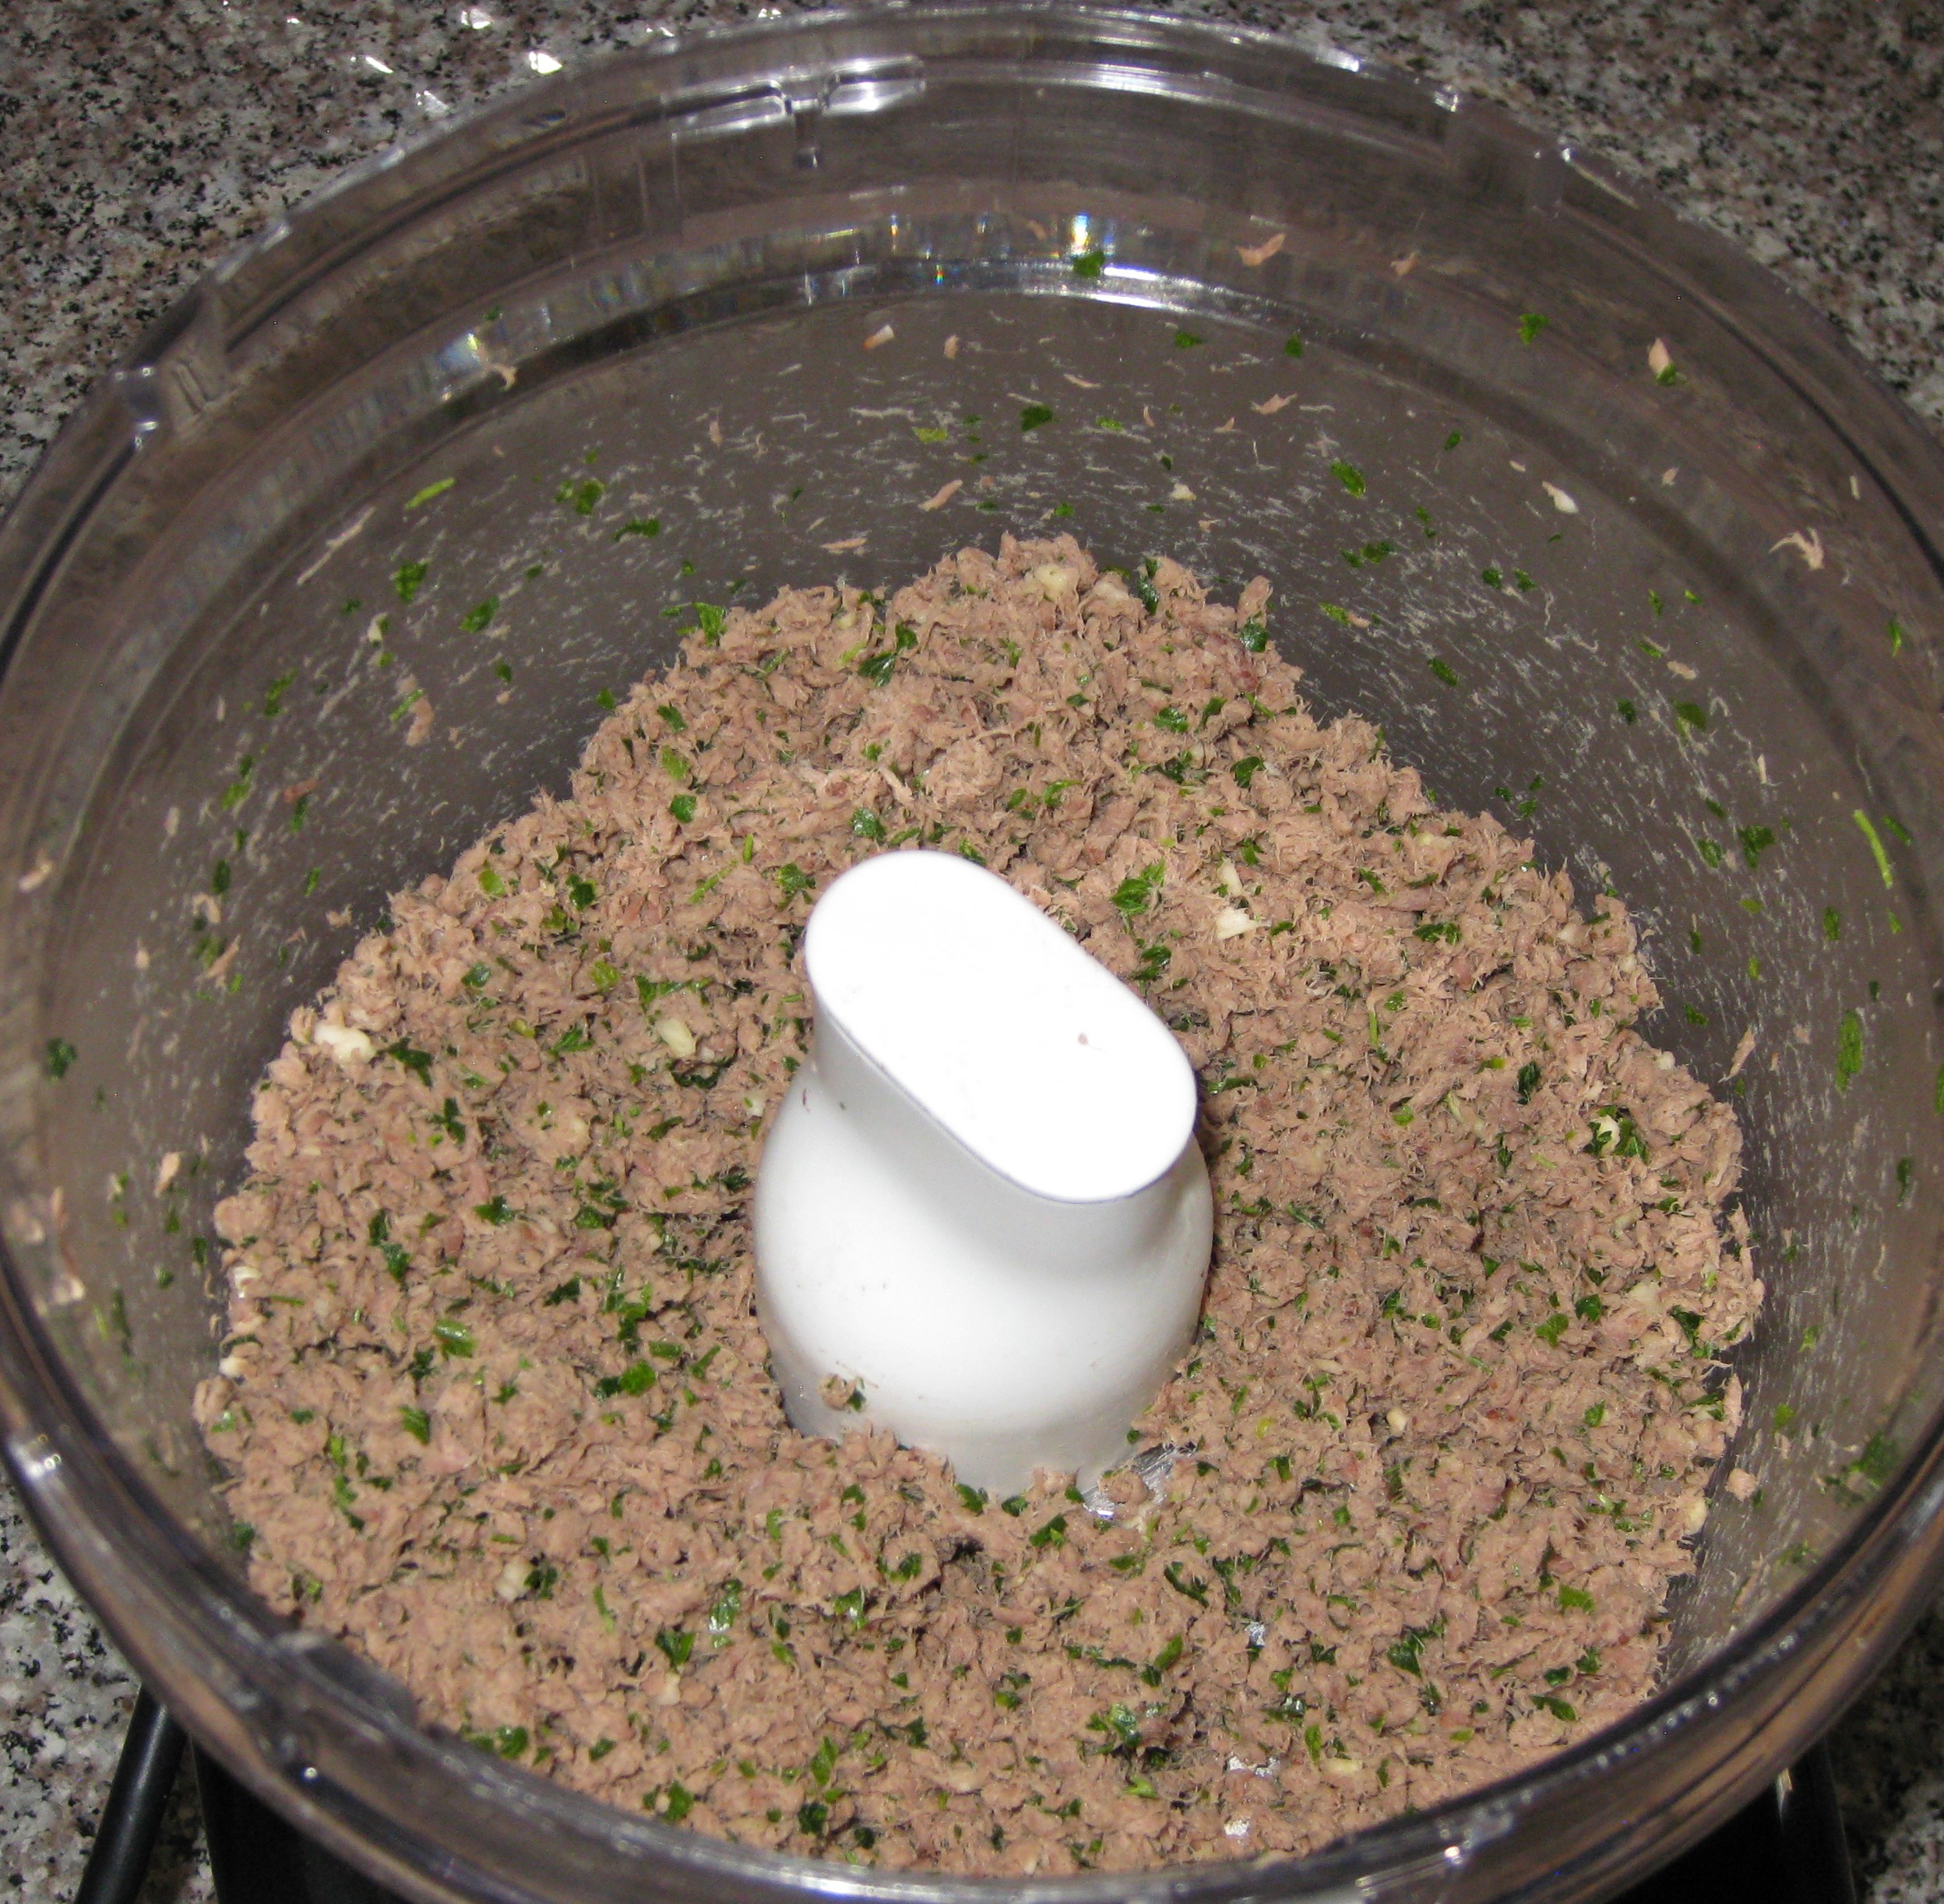
  5. Combine beef, parsley and garlic in a food processor. Process until finely chopped.
  6. Peel the slightly cooled potatoes. If they are too cool it will be difficult to rice them.
  7. Pass the potatoes through a ricer.
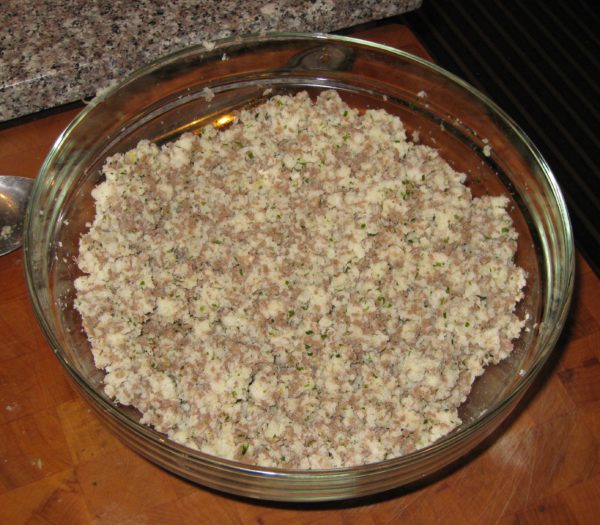
  8. Combine the beef mixture with the potatoes, nutmeg, allspice, salt and black pepper.
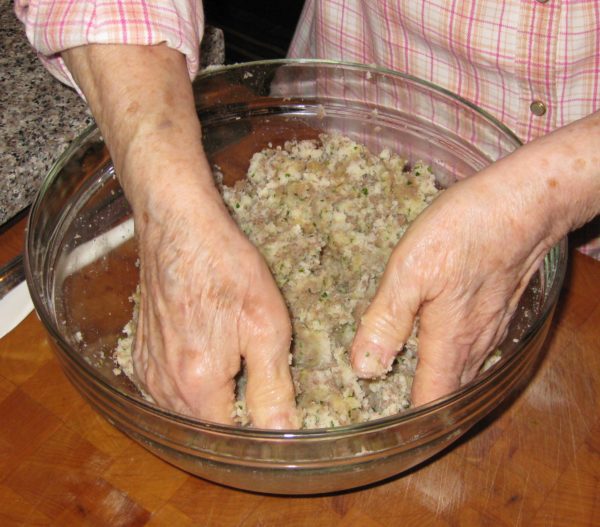
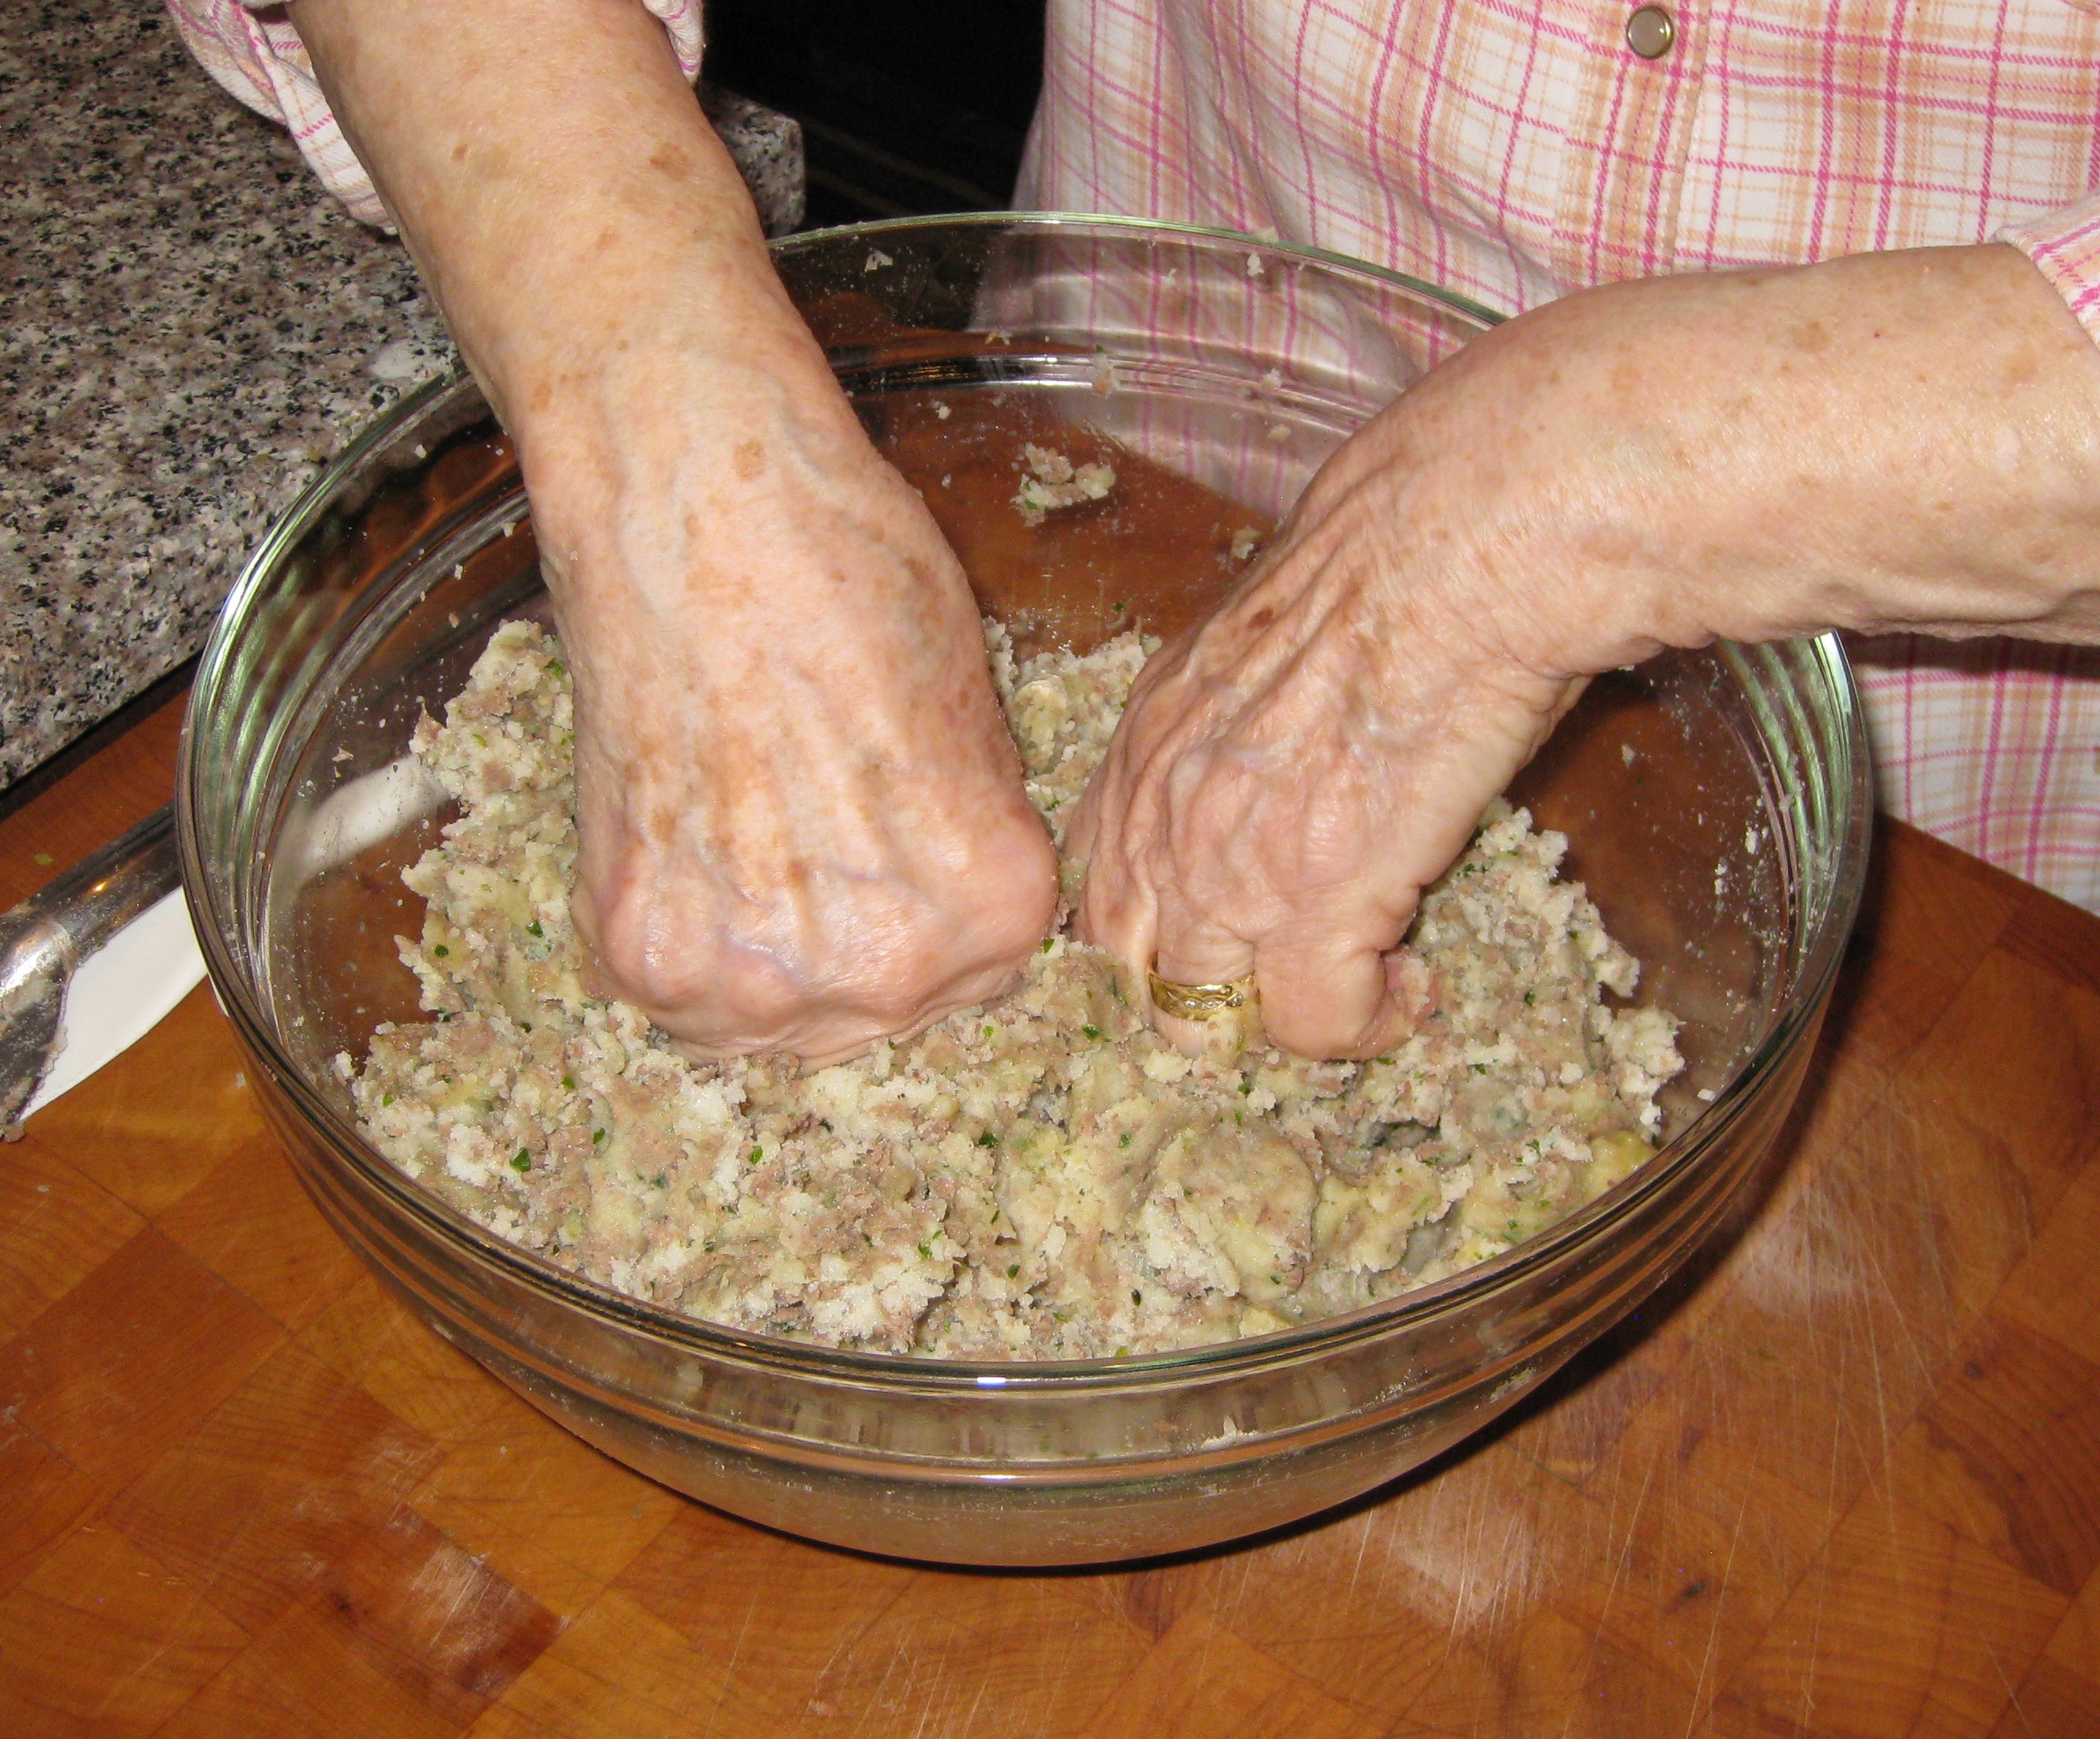
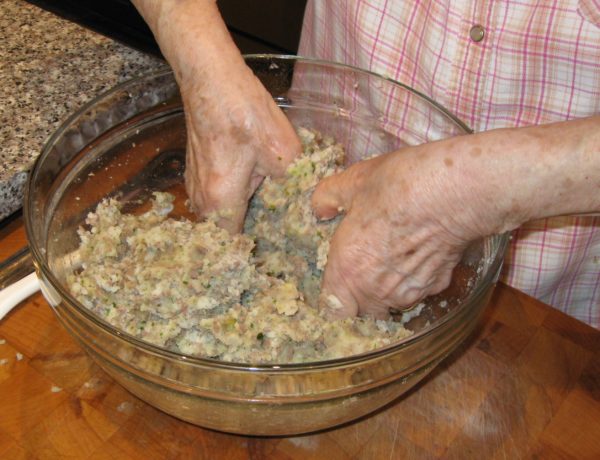
  9. Mix well with a large spoon or your hands.
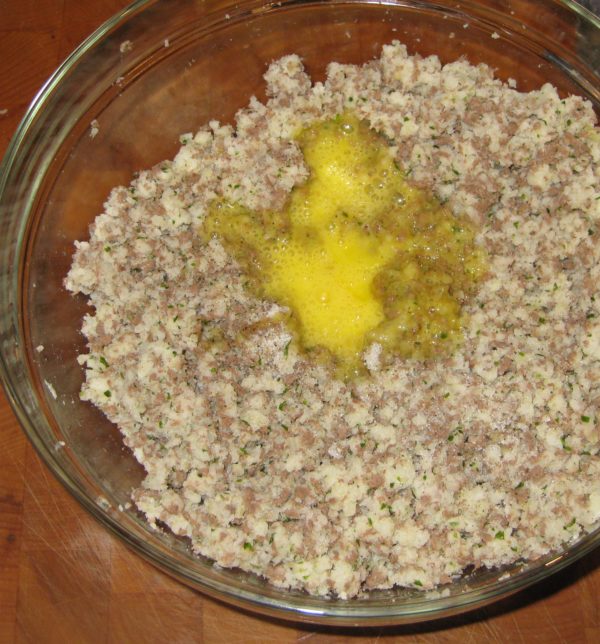
  10. Add the lightly beaten eggs.
  11. Mix well using your hands.
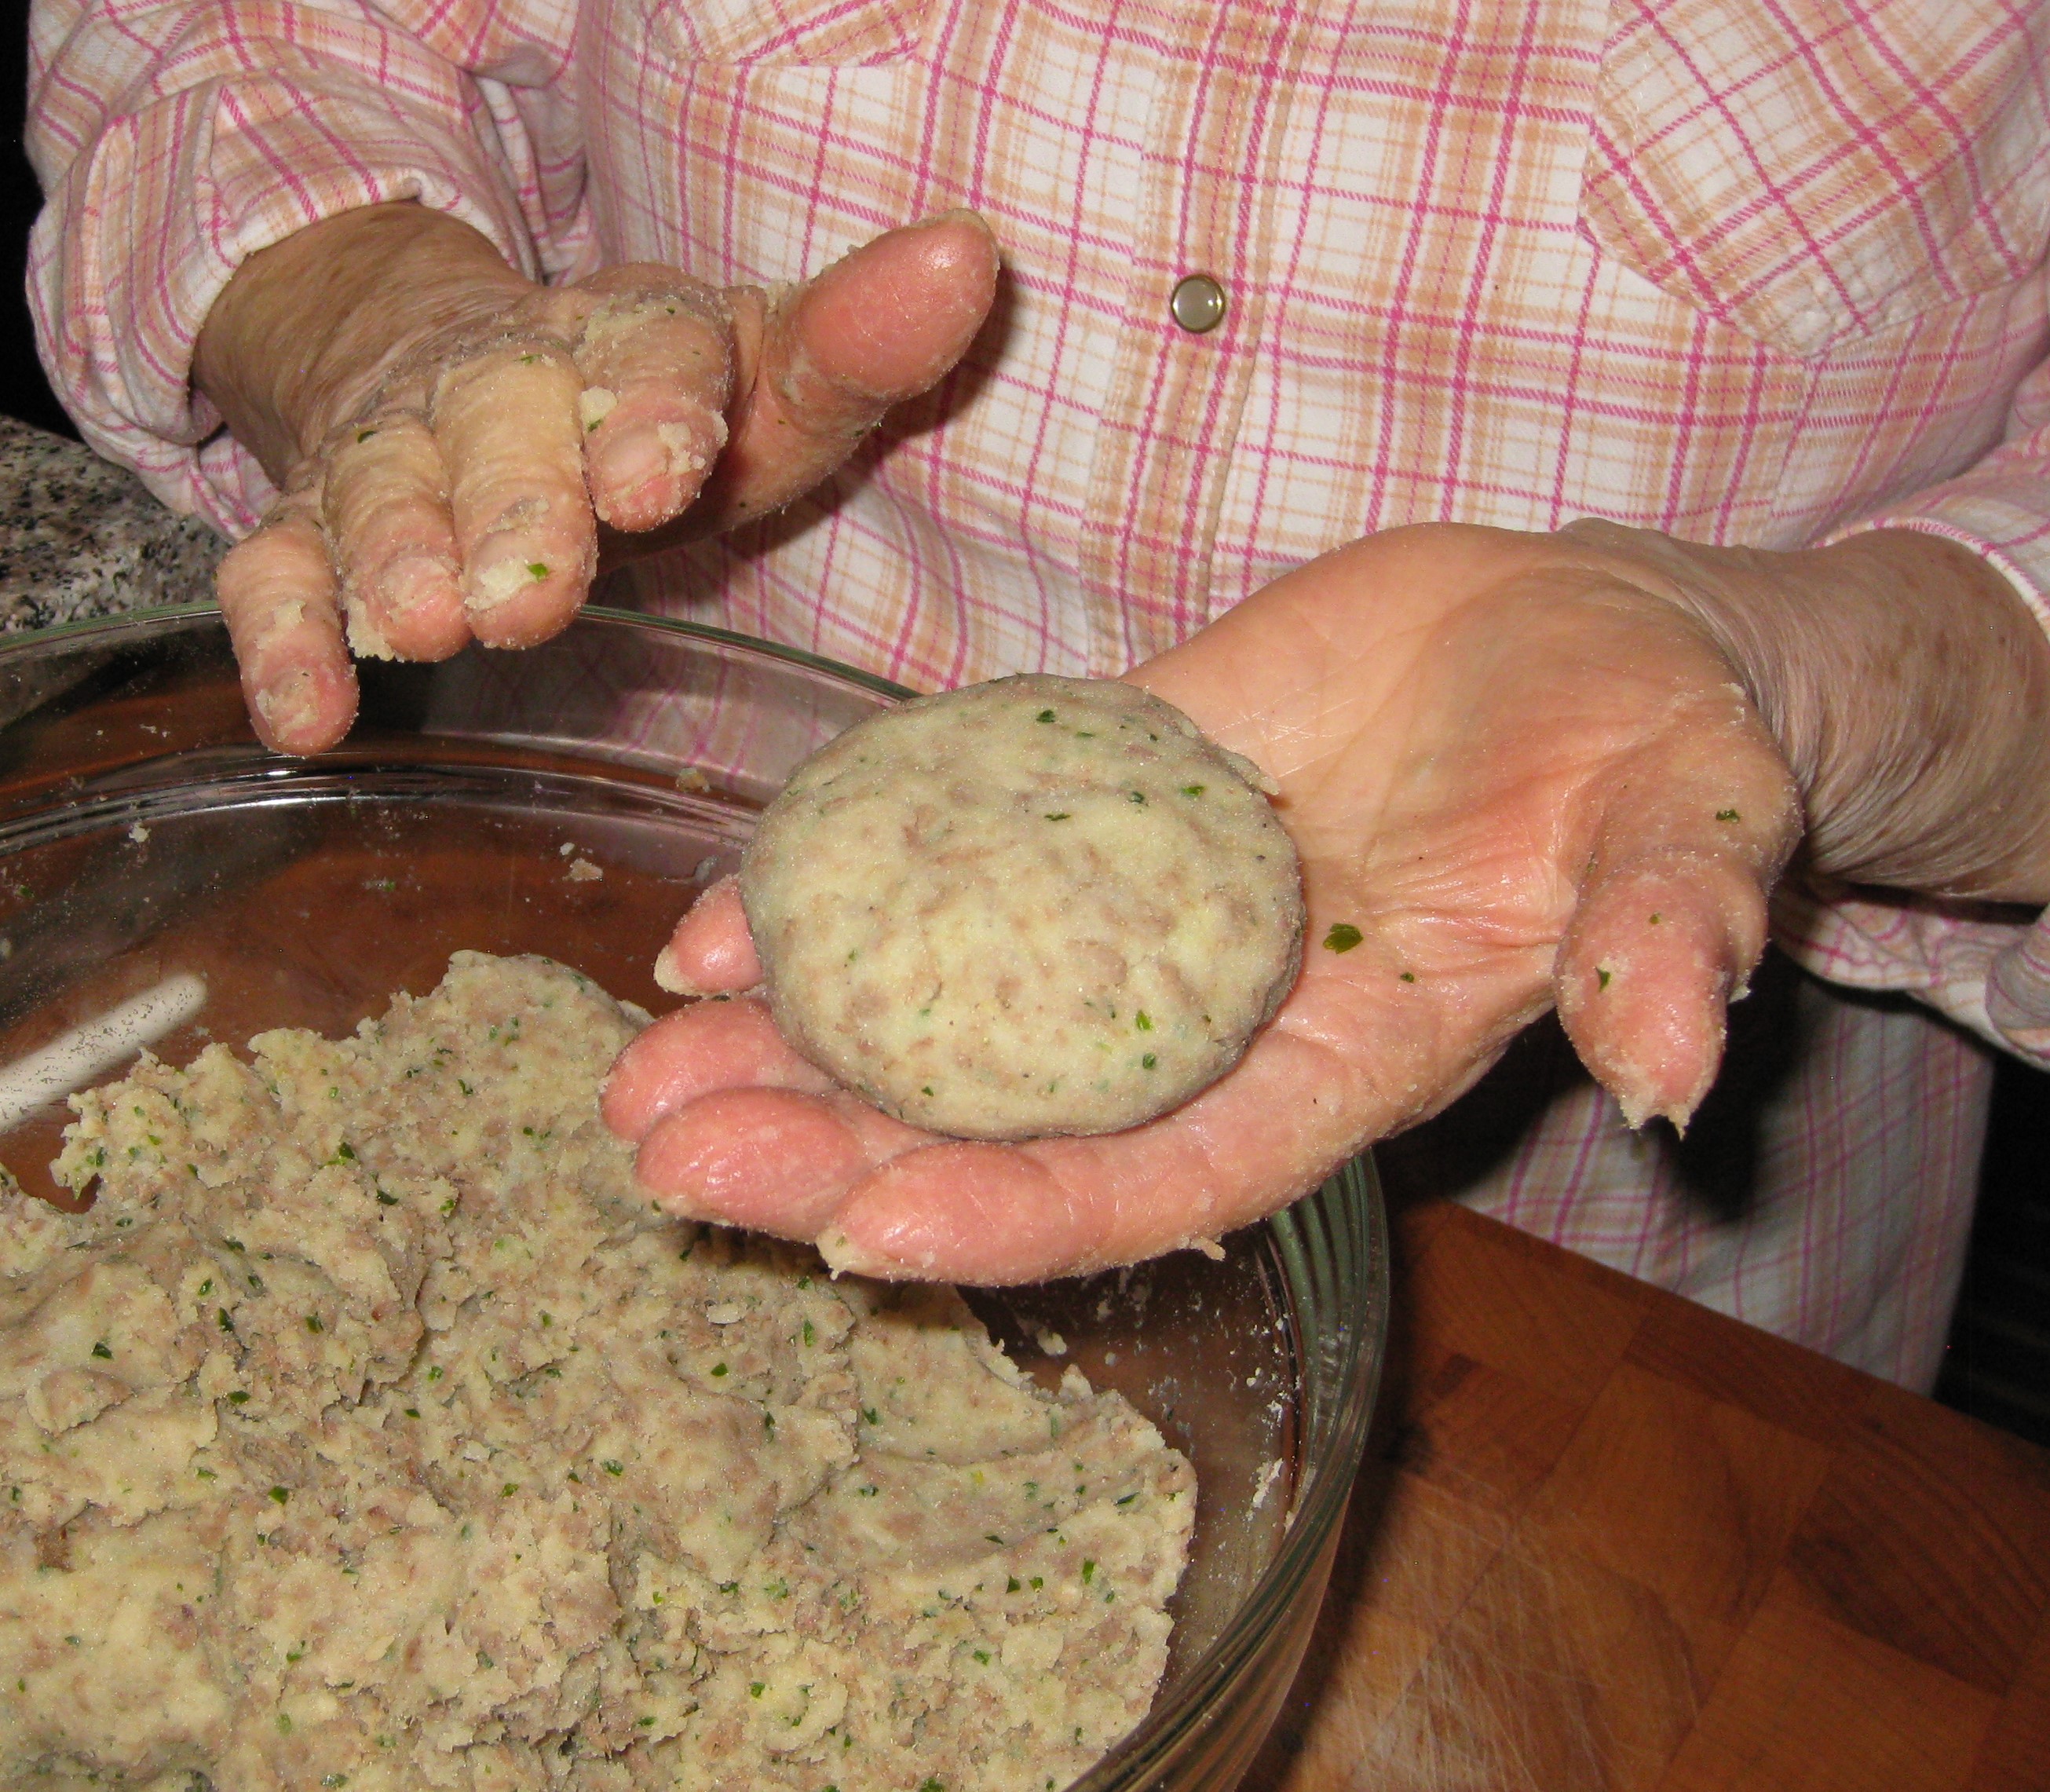
  12. Form the mixture into 16 balls and then flatten them slightly.
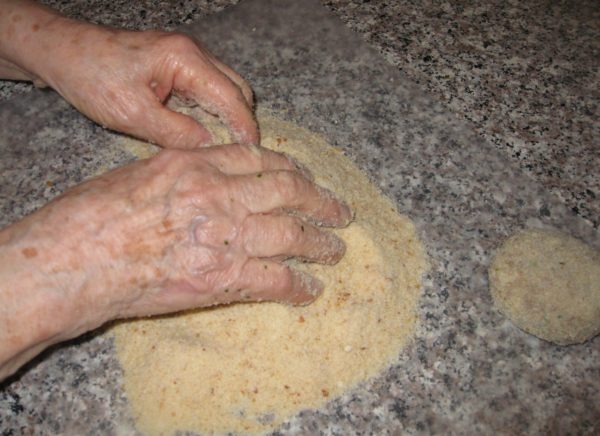
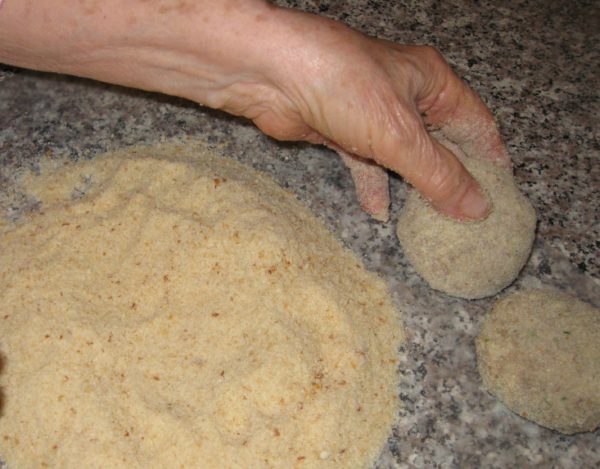
  13. Lightly roll the meatballs in fine dry breadcrumbs.
  14. Pour ⅛ inch of oil into a large sauté pan.
  15. Heat the oil on medium-high heat.
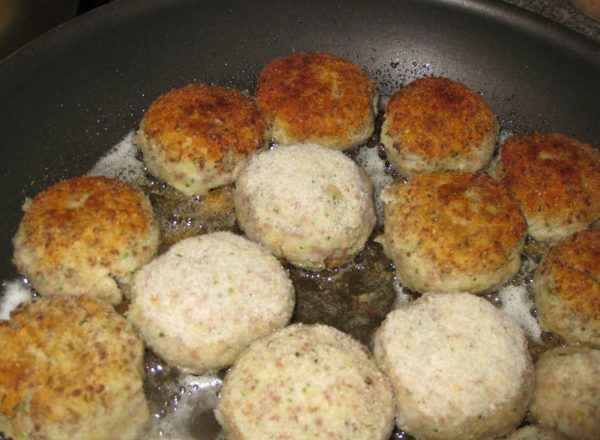
  16. Fry the meatballs in two batches, on medium-high, flipping once, until brown.
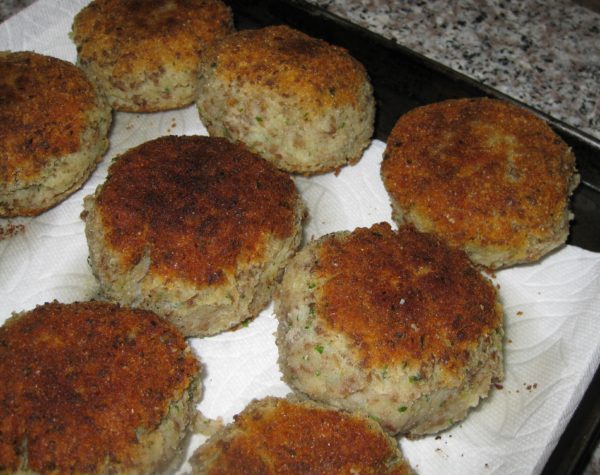
  17. Drain on paper towels.
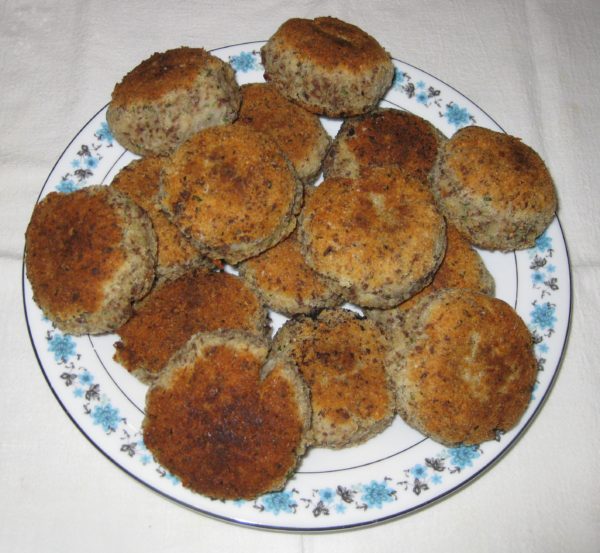
  18. Serve warm or at room temperature.
Recipe Notes

Copyright © 2018 by VillaSentieri.com. All rights reserved.
Share this Recipe

Roasted Turkey Broth

May 5, 2017

I grew up in a house where there was absolutely no use for the carcass from a roasted turkey.  Other than my sister and I fighting over who got the crispy skin from the turkey breast, the skin went into the trash heap too.

You might imagine my surprise when, in college, I discovered that people actually did things with carcasses from roast turkey, like make broth to be used for turkey noodle soup.

To be sure, my recipe for turkey noodle soup will be posted later this month but in the meantime I would encourage you to make broth from the bones of most any roast, be it turkey, chicken, duck, pork, or beef.  Then, be creative with how to use it.

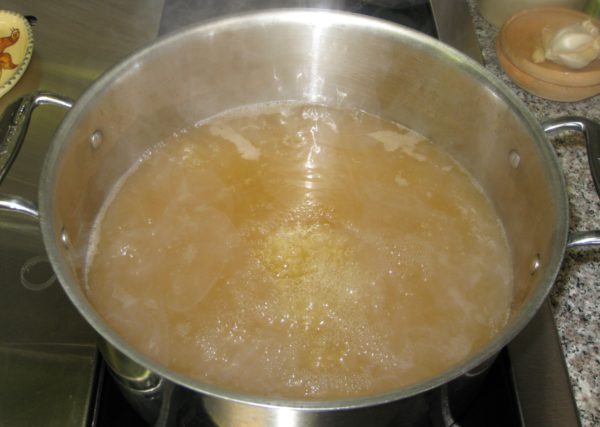
Broths made from roasted meat bones and bits of meat have a really savory quality that you won’t get from a broth made with uncooked meat.  You can’t always use them interchangeably so think about how the roasted-meat savoriness will play off the other flavors in the dish.

Roasted meat broths usually work well in hearty soups, for example, or as the liquid in a pot of Southwestern style cooked beans.  Frozen in small containers or ice cube trays, you can use the broth as the liquid for a quick pan sauce or to enrich gravy.

In fact, when I make gravy for Thanksgiving, I start by roasting a couple of Cornish game hens or a few pounds of chicken or turkey wings until they are very, very brown.  I use the roasted meat and some vegetables to make a rich, dark brown broth.  I concentrate the broth even more by boiling it down to about 3-4 cups.  While the turkey is roasting, I use the broth to make gravy, which I simmer for a couple of hours until it’s silky.  When the turkey is cooked, I deglaze the pan, skim the fat off, strain out the solids, and add the liquid to the gravy that has been bubbling away for a couple of hours.  By the time the turkey has rested and been carved, the gravy has reduced, again, to the right consistency.  The gravy is rich and savory and, more importantly, there’s enough to smother everyone’s mashed potatoes and turkey.  Doing it this way also removes the last-minute rush of actually making gravy on-the-spot from the pan drippings while you’re trying to get the meal on the table.

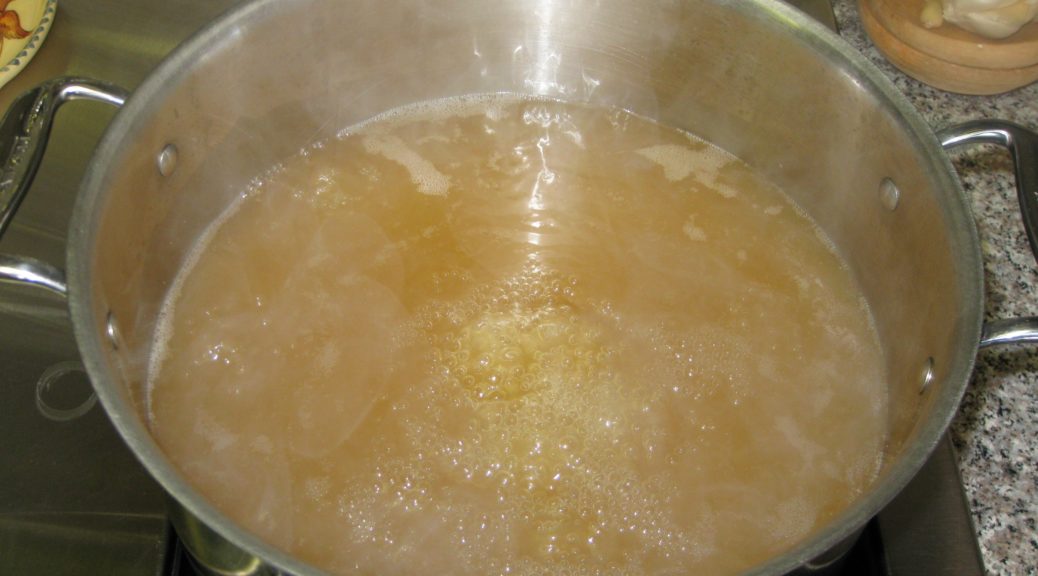
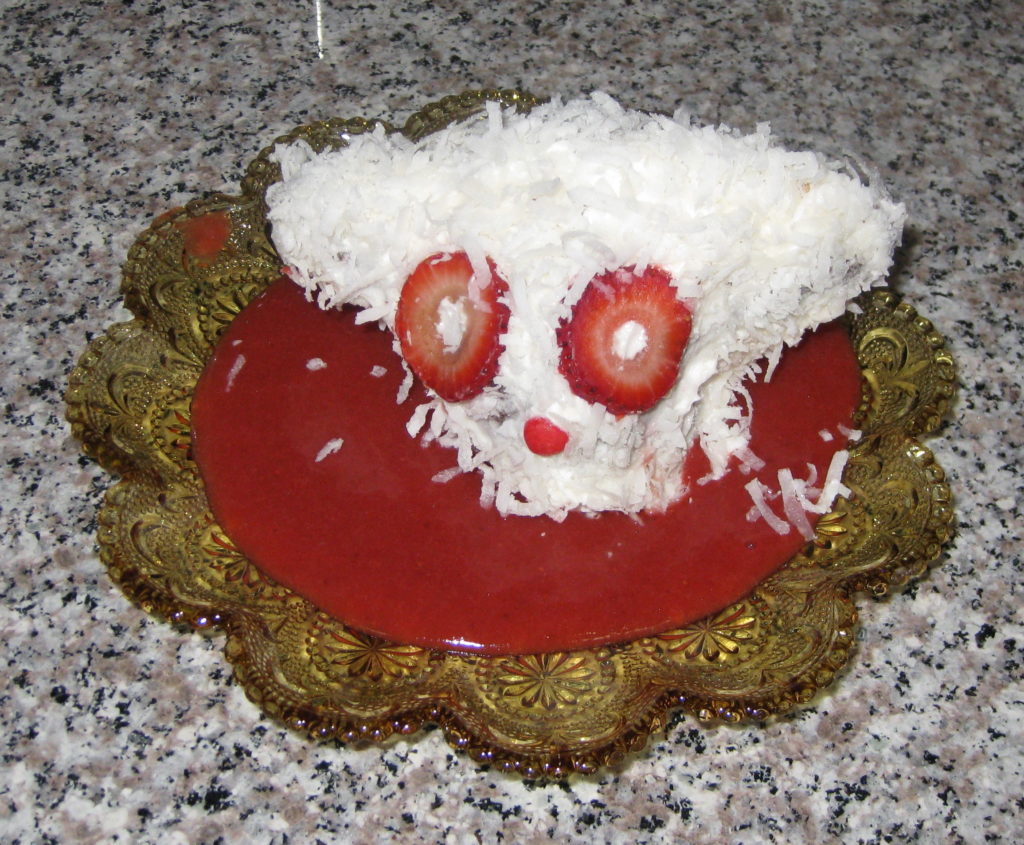
You might ask why I am dealing with a roasted turkey in spring rather than November.  Easter Dinner!  In addition to ham, I always make turkey since some of our friends don’t eat critters with more than two legs.  So, just for fun, here are a few pictures from Easter, complete with the bleeding lamb cake we always have for dessert.

I have a couple of different types of fat separators.  One is the more common style that resembles a small watering can with a spout that draws from the bottom of the liquid.  My preferred one, however, has an opening on the very bottom.  You just pour in the liquid, allow the fat to rise to the top, and squeeze the handle.  The opening opens and out pours the fat-free liquid from the bottom.  You can find a picture of it on my equipment page.

Print Recipe
Roasted Turkey Broth
Unless I need an absolutely clear broth, I prefer to use the pressure cooker. It gets the job done in an hour of cooking and makes a more flavorful broth than simmering it on the stove. However, the broth is somewhat cloudy. If you don’t want to use a pressure cooker and you don’t want to have to think about a pot on the stove, make the broth in a slow-cooker for 6-8 hours. If your pressure cooker or slow-cooker won’t accommodate 3½ quarts of water, use as much as you can and then dilute the final product to 3 quarts.
Votes: 0
Rating: 0
You:
Rate this recipe!
Course Miscellaneous
Cuisine American
Prep Time 15 minutes
Cook Time 5 hours
Passive Time 4 3/4 hours
Servings
quarts
Ingredients
Course Miscellaneous
Cuisine American
Prep Time 15 minutes
Cook Time 5 hours
Passive Time 4 3/4 hours
Servings
quarts
Ingredients
Votes: 0
Rating: 0
You:
Rate this recipe!
Instructions
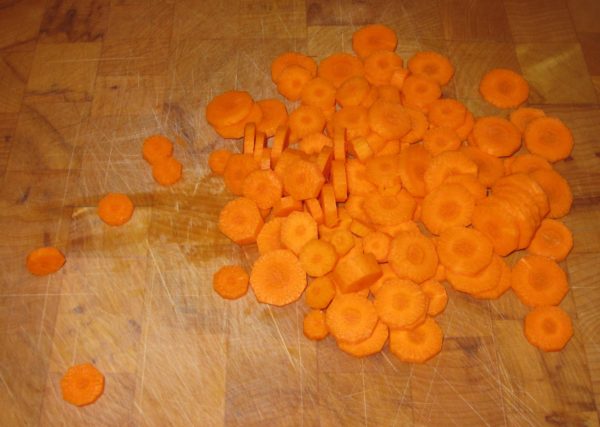
  1. Thinly slice the carrots, celery and onion.
  2. Combine all the ingredients in a stockpot.
  3. Bring to a boil, reduce the heat, and simmer for 4-6 hours, stirring occasionally. Alternatively, cook at 10 pounds pressure for one hour or in a slow-cooker on low for 6-8 hours.
  4. Strain the broth.
  5. Because the broth will likely develop a gelatin-like quality on cooling, I suggest removing the fat using a fat separator while the broth is still warm.
  6. Add water to make three quarts.
Recipe Notes

I never add salt to any broth that I make unless I am making it for a specific purpose and I can plan for the final product. Broth with salt can make a dish too salty if the liquid needs to be reduced. The salt in a broth can also slow down the tenderization of dried beans. This might not be much of an issue at lower elevations but at 8000 feet getting dried beans to soften can be a challenge and anything that hinders the process is to be avoided.

Copyright © 2017 by VillaSentieri.com. All rights reserved.

Share this Recipe

Cannellini alla Toscana (Tuscan-Style White Kidney Beans)

December 16, 2016

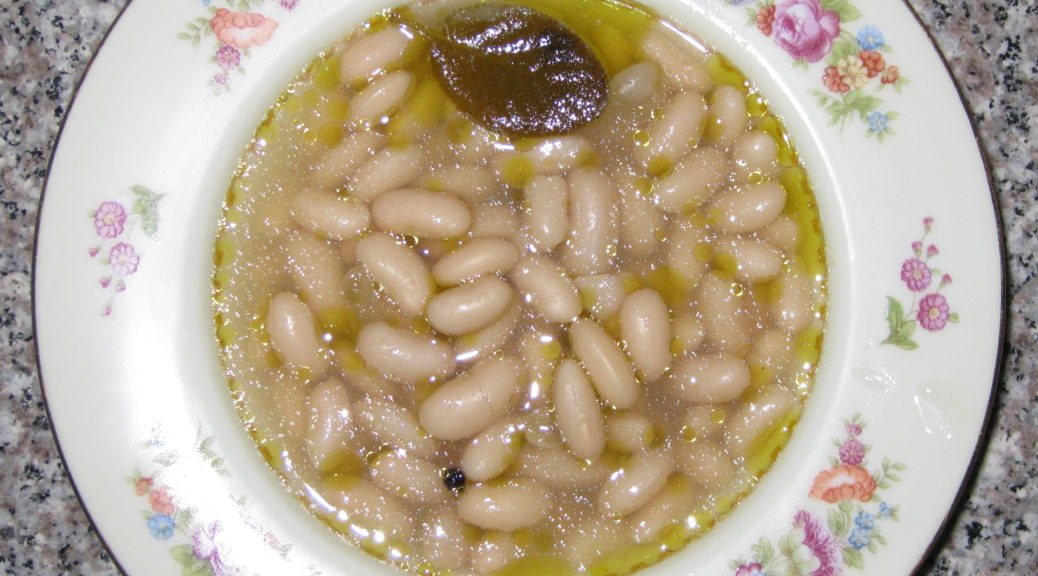
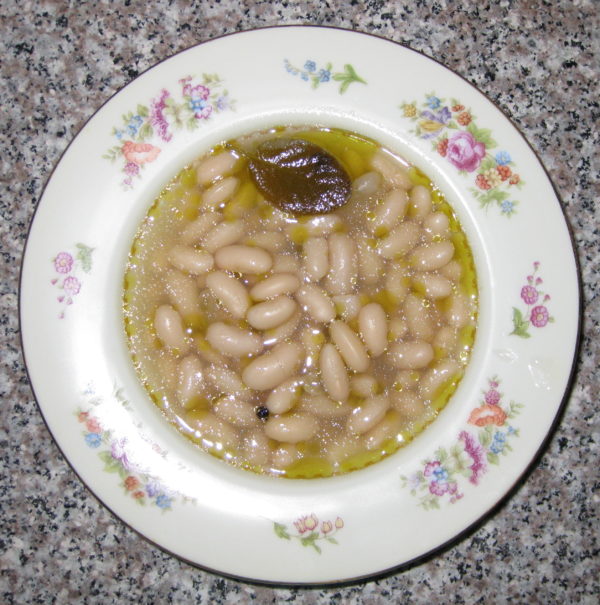
These Tuscan-style white kidney beans are deceptively simple.  A lot of flavor is coaxed out of a few ingredients.  They are great on their own as a side dish or a vegetarian main dish.  They make wonderful pasta e fagioli (pasta and beans).  They freeze well so you can always have them on hand.  The flavor is so good, you won’t resort to canned beans again!

Quite typically, these beans would have been made in the fading embers of a fire, often left to cook overnight.  Although the contemporary version uses a standard kitchen oven, I made them in our wood-burning oven a while back.  It was a challenge to keep the temperature at 250-275ºF but in the end it was worth it.  There was a very subtle smoky flavor to the beans.

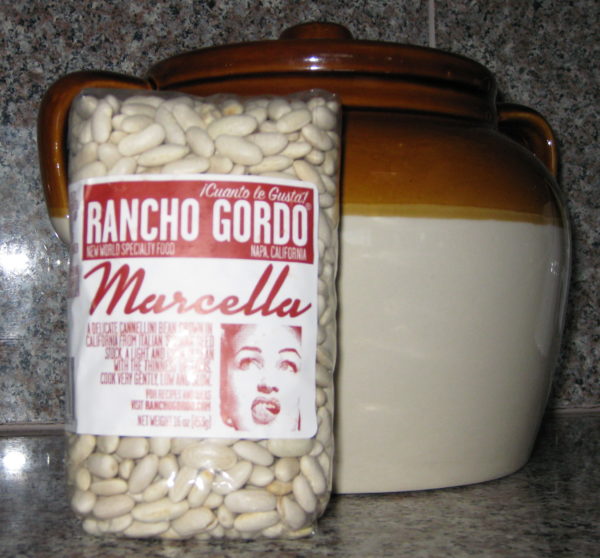
Buy the best quality and freshest dried cannellini beans you can find.  If the beans are old they may never completely tenderize.  I particularly like the Marcella Beans from Rancho Gordo.

Print Recipe
Cannellini alla Toscana
Votes: 0
Rating: 0
You:
Rate this recipe!
Cuisine Italian
Prep Time 15 minutes
Cook Time 3-5 hours
Passive Time 12 hours
Servings
people
Ingredients
Cuisine Italian
Prep Time 15 minutes
Cook Time 3-5 hours
Passive Time 12 hours
Servings
people
Ingredients
Votes: 0
Rating: 0
You:
Rate this recipe!
Instructions
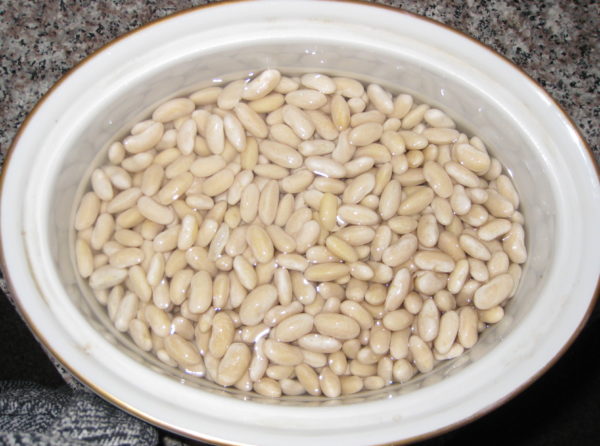
  1. Pick over and wash the cannellini beans. Soak them in abundant water to cover, under refrigeration, for 6-8 hours or overnight.
  2. Drain the beans and put them in an earthenware bean pot or ovenproof casserole with a lid. Add water to just reach top of beans then add another 2 cups of water.
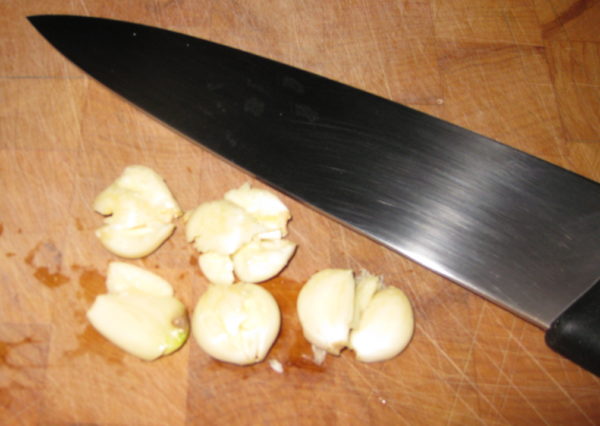
  3. Using the side of chef's knife, bruise the garlic.
  4. Add garlic, sage, bay leaf, peppercorns and olive oil to the beans. Cover and bake at 250ºF for 2 hours.
  5. Add the salt and stir well. Cover and cook the beans, stirring every 30-45 minutes, until they are creamy and not at all chalky. Do not overcook the beans or they will blow apart. This could take another one to three hours depending on the beans and your elevation.
Recipe Notes

The beans are best made a day or two in advance.  If not serving immediately, cool the beans to room temperature and refrigerate or freeze.  When ready to serve, warm the beans in a 250ºF oven.

Copyright © 2016 by VillaSentieri.com.  All rights reserved.

Share this Recipe